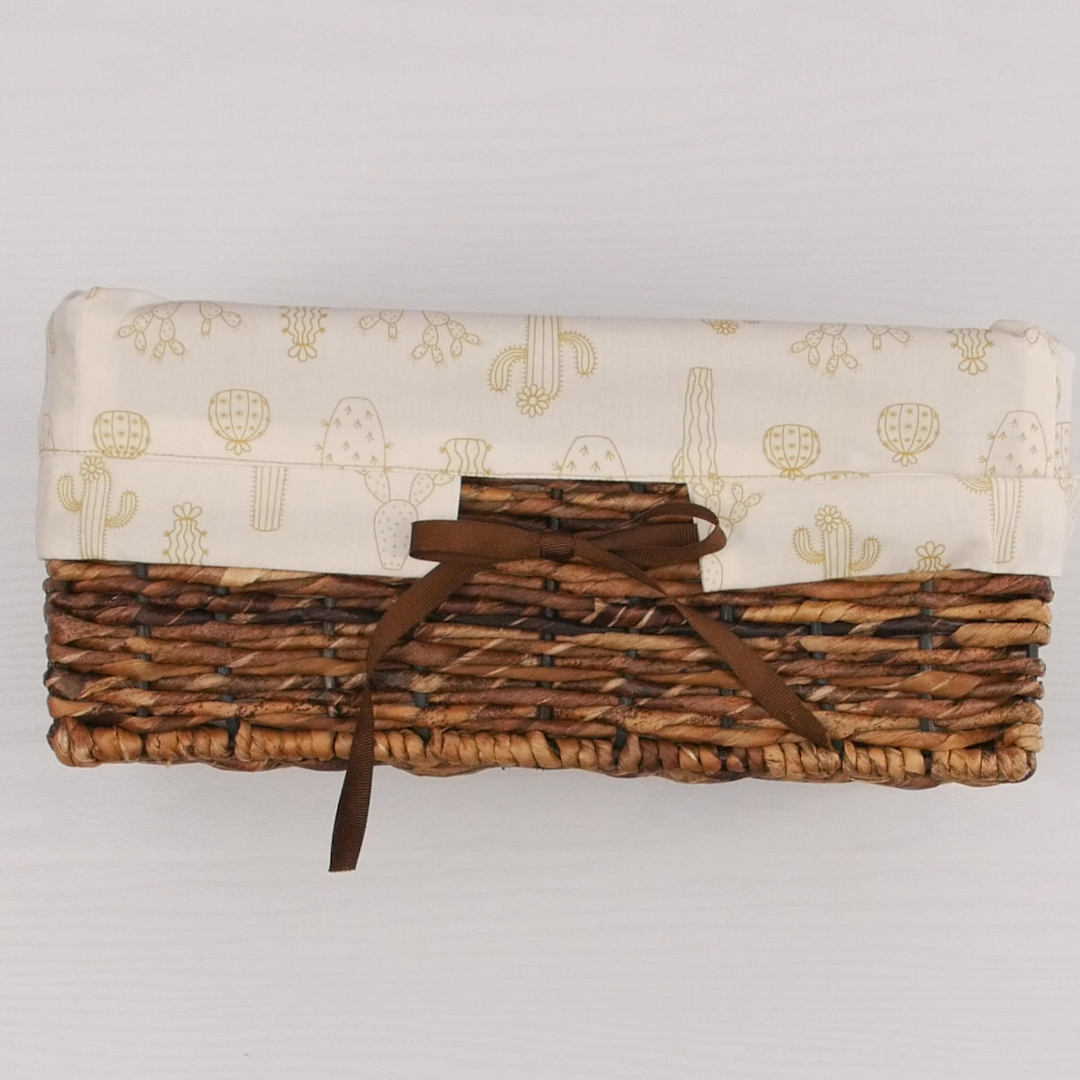
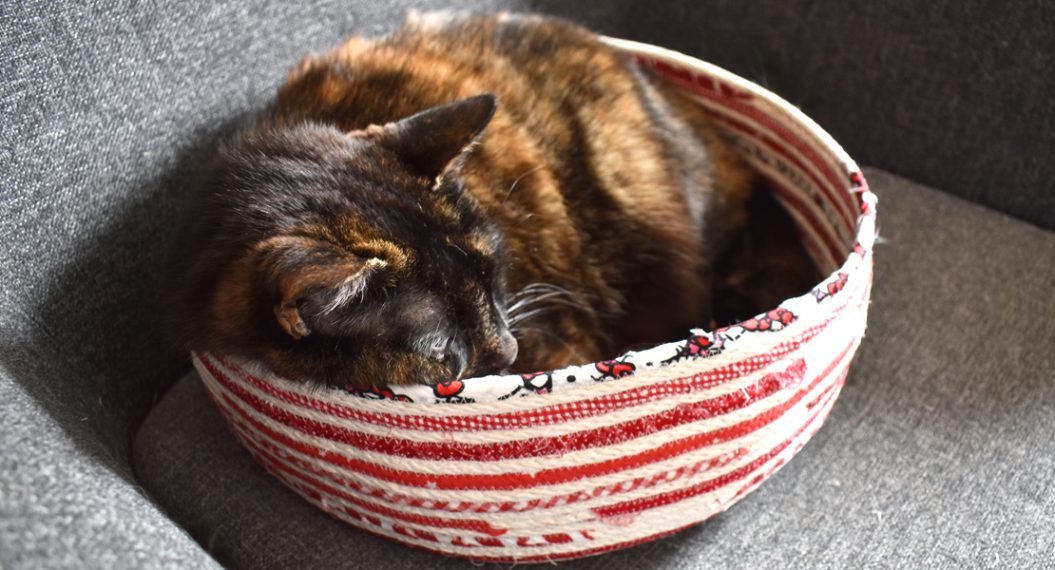
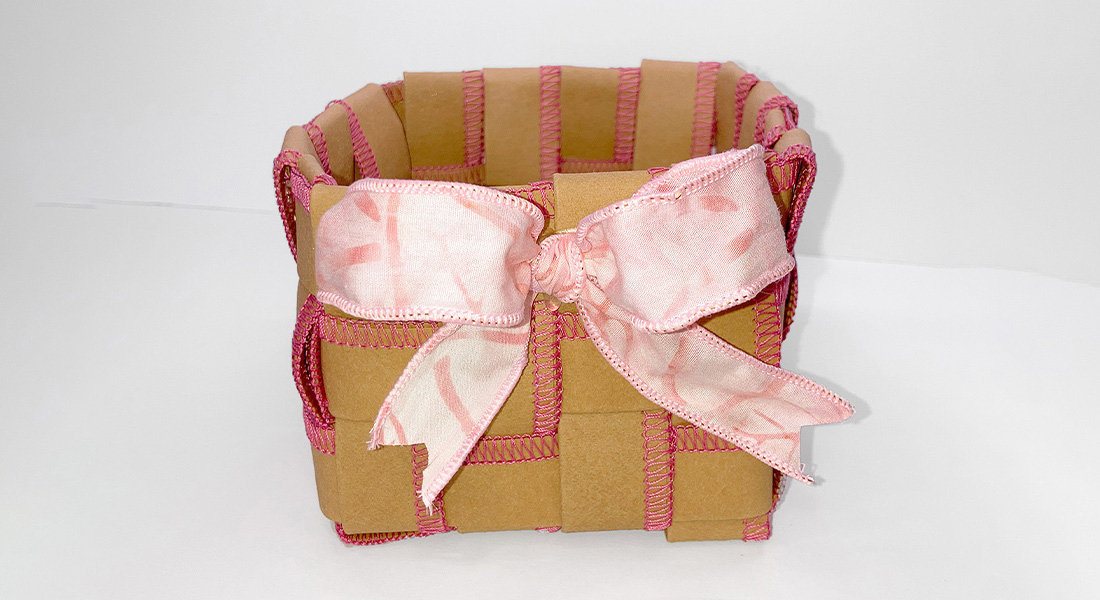
How to Create a Basket Liner
Seems like organizing is all the rage these days, and what better way to do it than with a beautiful basket? How about kicking it up a notch with a custom basket liner?
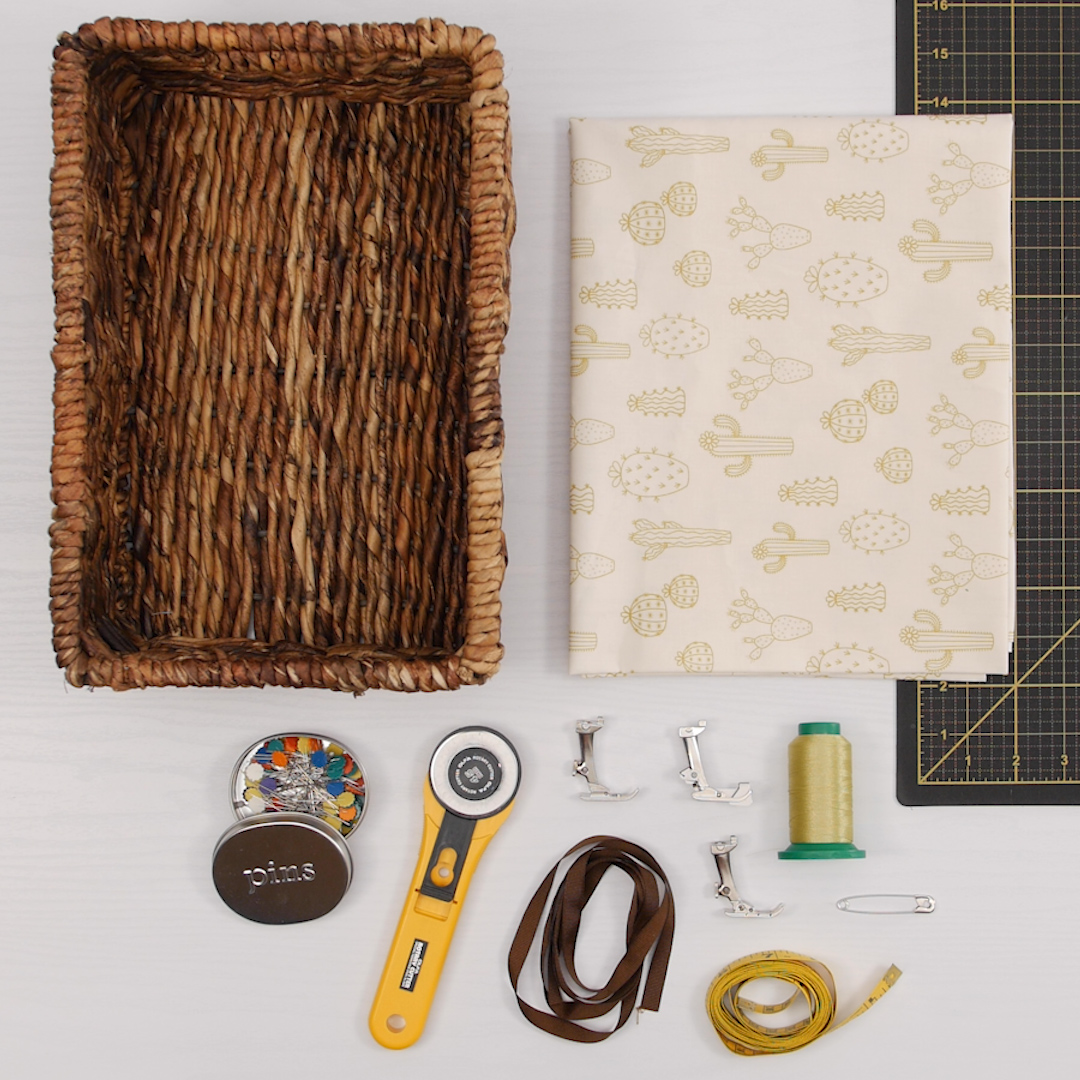
Materials to Create a Basket Liner
- Basket Liner Measurements Worksheet
- Sewing Machine (We used the BERNINA 435)
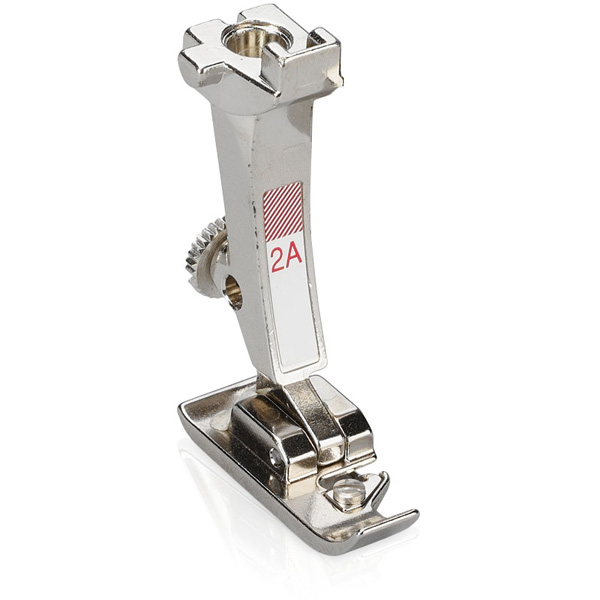
- Bernina Overlocker or Overlock Foot #2A
- Reverse Pattern Foot #1
- Edgestitch Foot #10
- Cotton Fabric, yardage depends on the size of your basket
- 5/8” grosgrain ribbon, length depends on the size of your basket
- Nifty Notions Flower Head Pins
- Rotary Cutter, Ruler, and Mat
- Nifty Notions Measuring Tape
- Large safety pin or bodkin
- Mettler Metrosene Thread for assembly
- Isacord Thread for topstitching
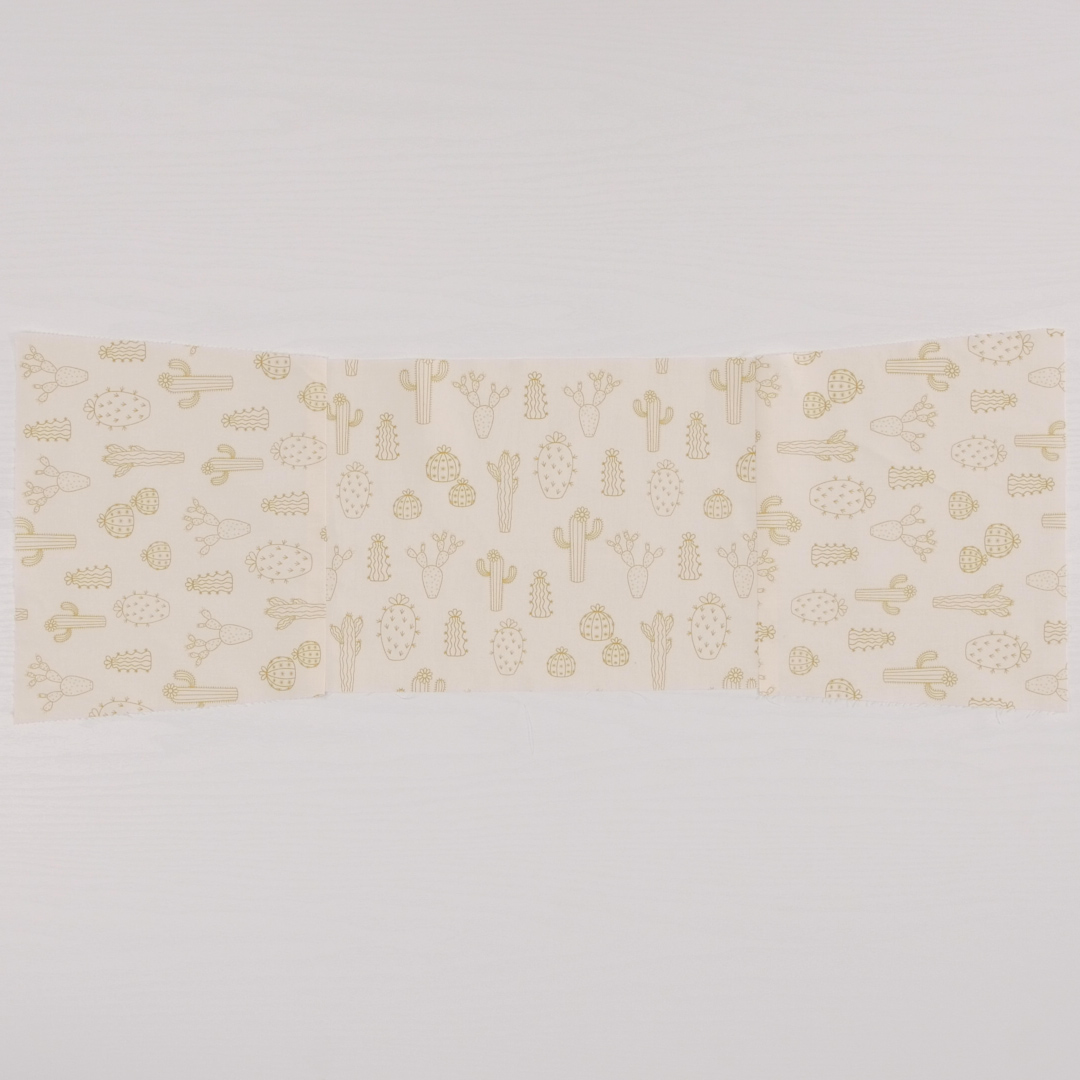
Putting together a basket liner is a quick-to-sew project, and we’ve made it even easier by giving you a worksheet to cut the pieces to the right size. As you’ll discover when you use the worksheet, the side pieces are actually cut to trapezoids, even though we are using a straight-sided basket. Why? Otherwise, your liner won’t have enough ease to fold over the top of the basket. Following this worksheet will allow you to make a liner that fits neatly in the bottom and still folds over the top. Download the worksheet here.

The worksheet will guide you in measuring your basket.
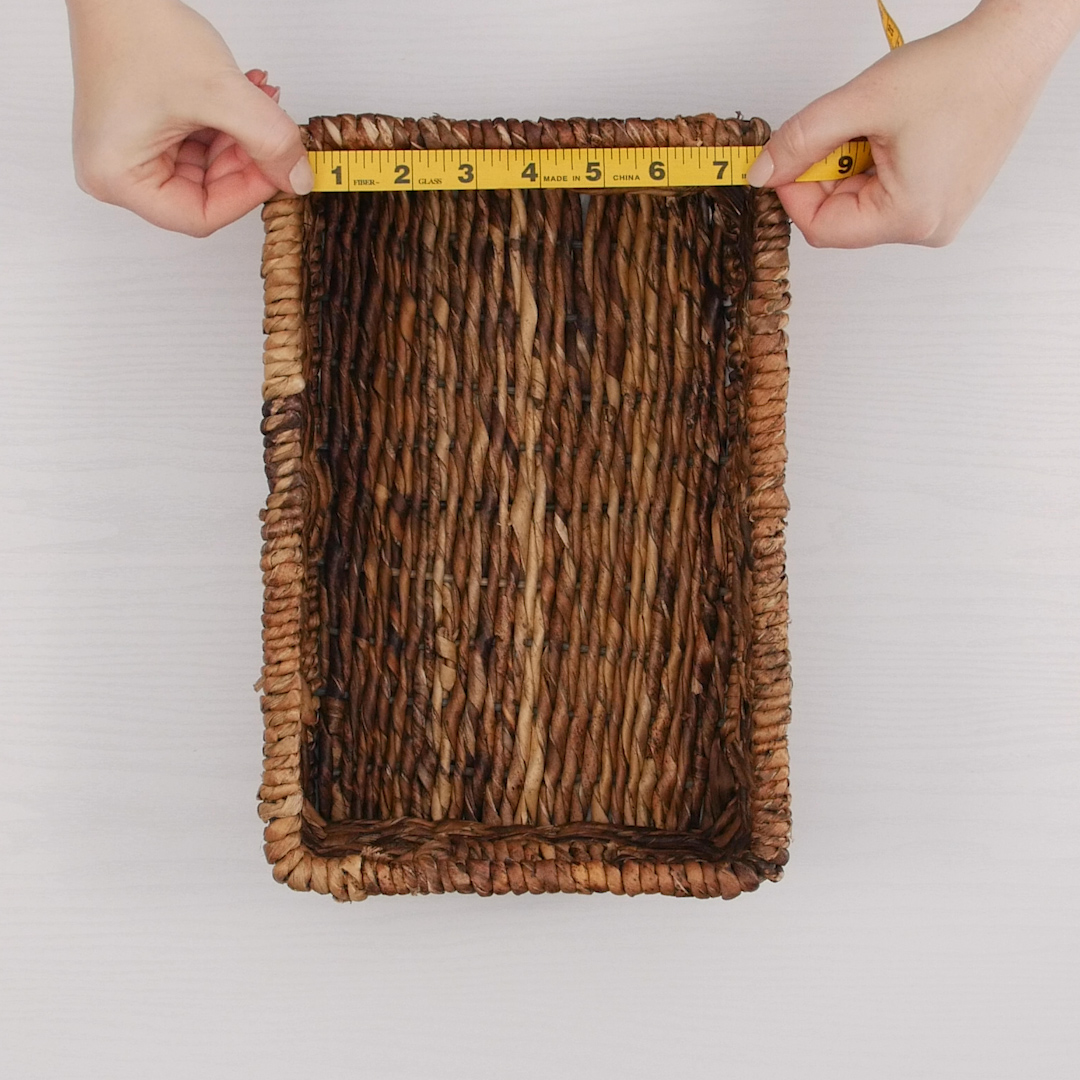
Tip: if you are using a basket with angled sides, you’ll need to adjust the measurements to “grade” the lining pieces from the bottom to the top. If you’re a beginner, start with a straight-sided basket for simplicity.
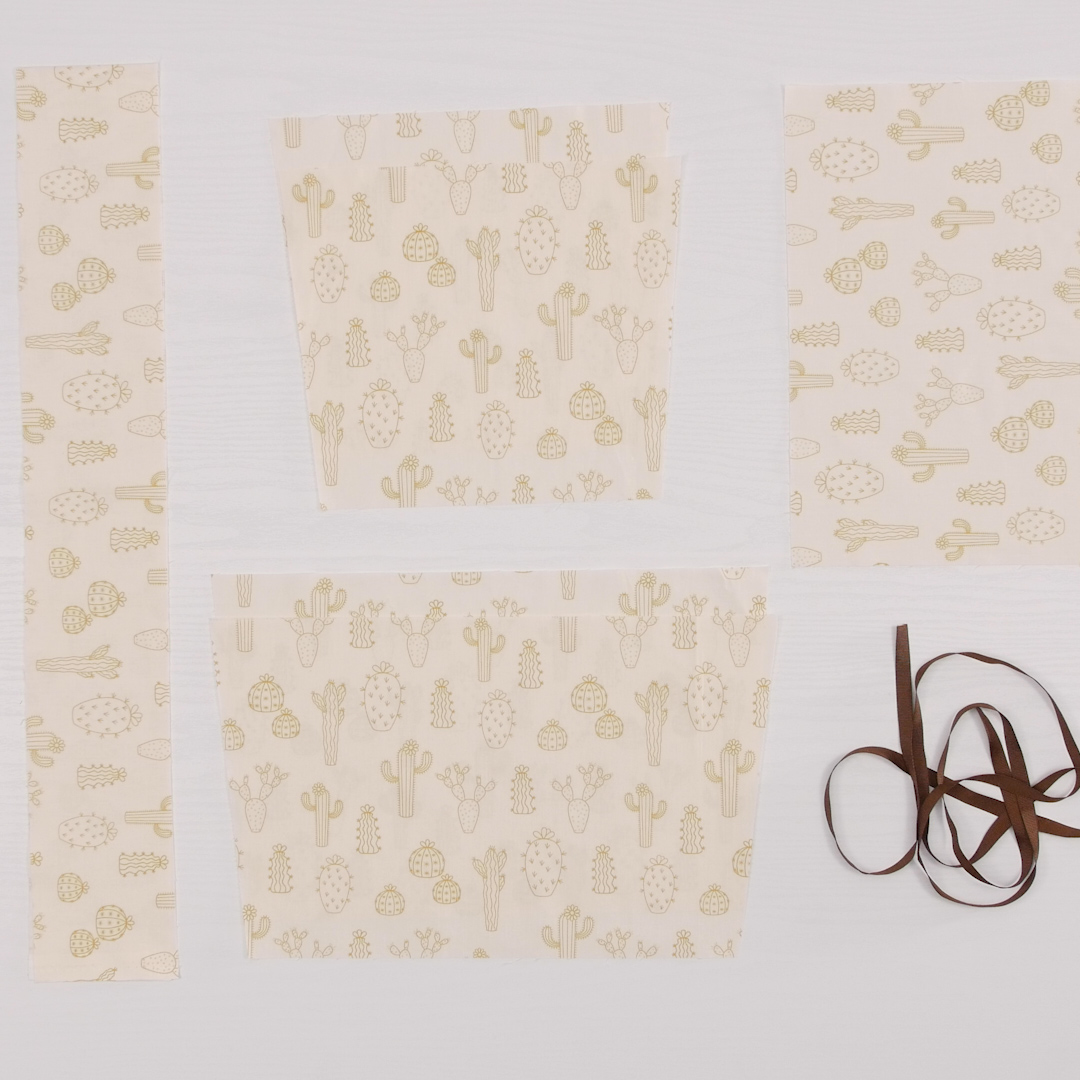
Once you’ve used the worksheet, you’ll have cut 6 pieces: 4 sides, the bottom, and the casing. You’ll also need a length of ribbon.
MTC Basket Liner Measurements Worksheet
Note: Use a half-inch seam allowance for the entire project and Reverse Pattern Foot #1 for the assembly.
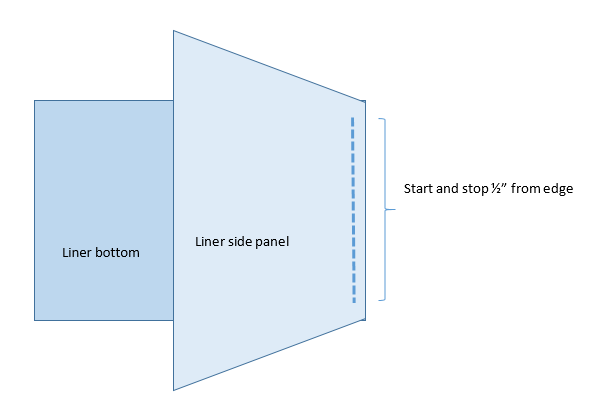
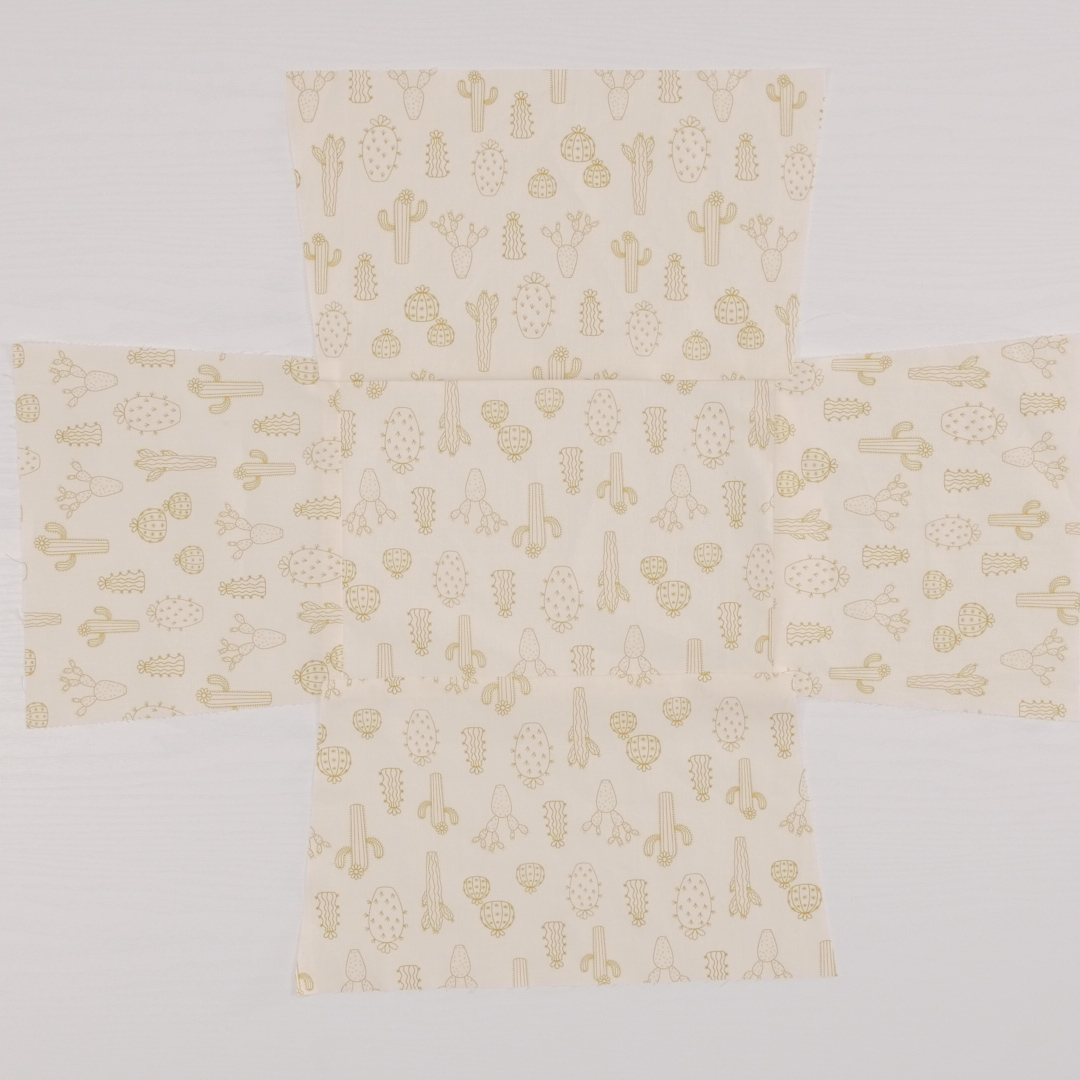
Start by sewing the bottom (shorter side) of two opposite panels to the coordinating two sides of the liner bottom.
To get the neatest corners, start and stop ½” from the edge when you sew. Be sure to secure the beginning and ending of your seam. This will leave a ½” unsewn end on both sides. Because we are sewing three pieces of fabric together, this step will allow you to “pivot” the seam allowances open where the three fabrics meet so the fabric doesn’t get pinched in the corner. You’ll do this for the bottom and sides of your liner.
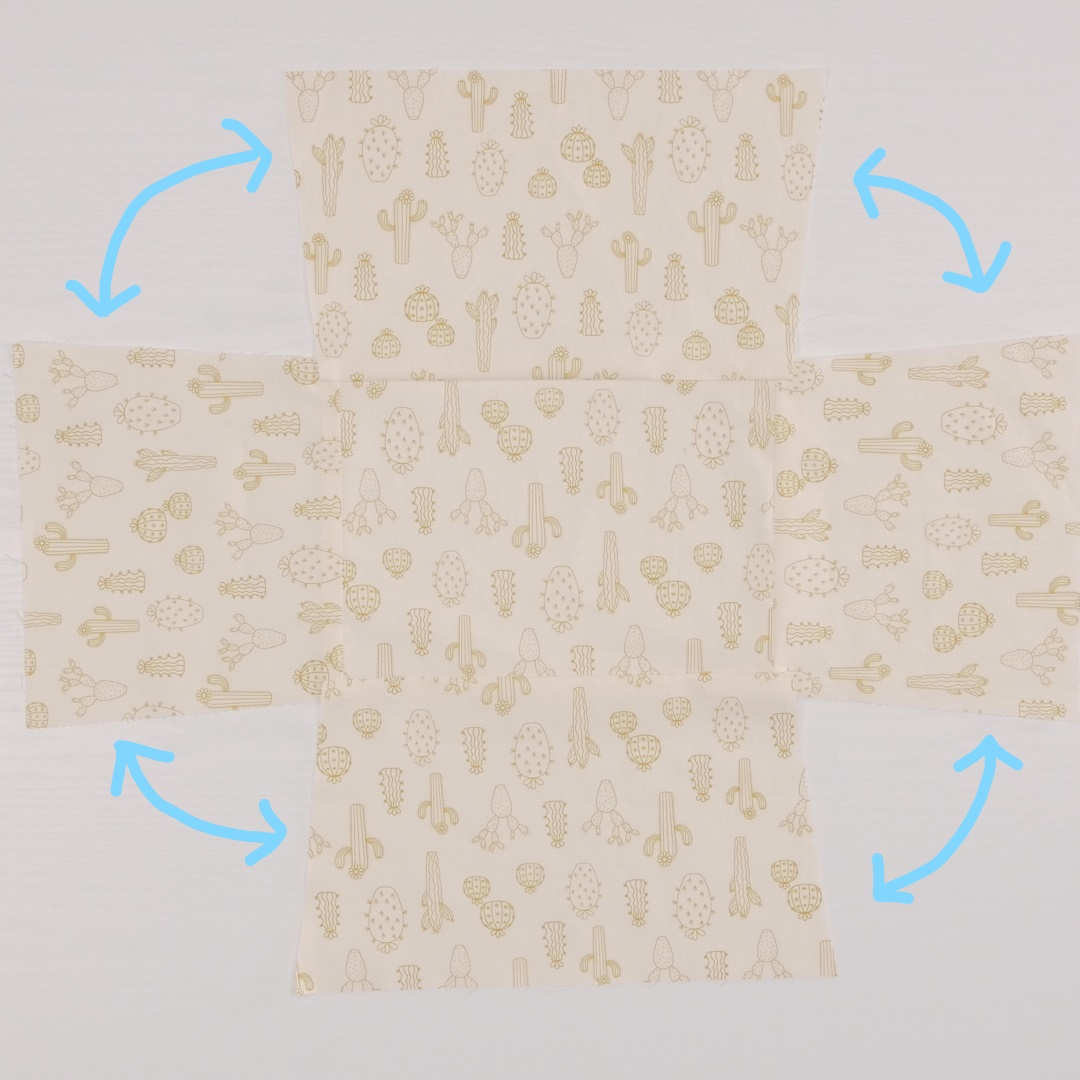
Now sew the bottom of the two remaining panels to the liner bottom.
Sew up the open sides of the liner panels. You now have the “bag” part of your liner.
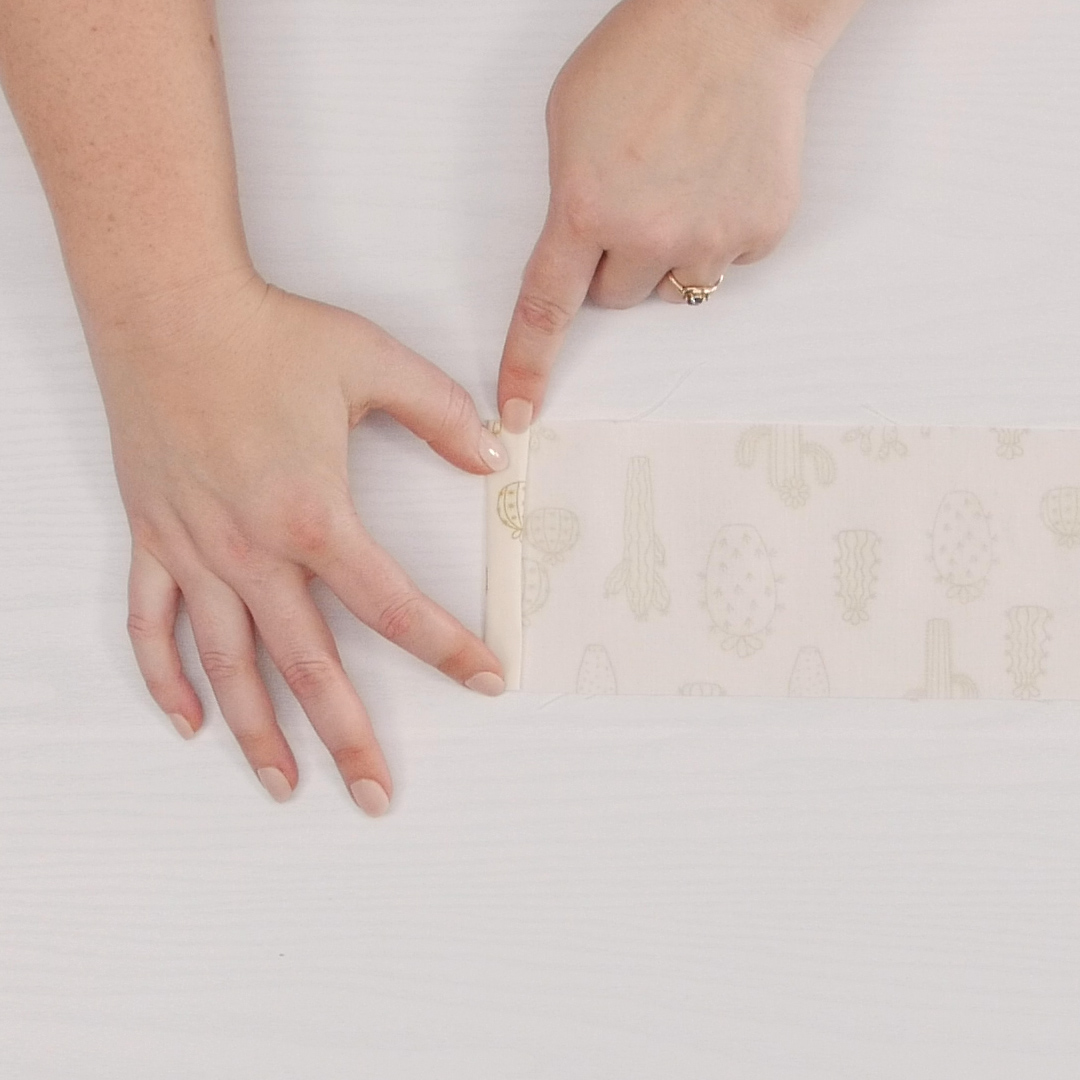
Now, prepare the liner casing. Start by sewing a hem on each short end of the casing: fold a half inch double hem and sew along the edge of the hem.
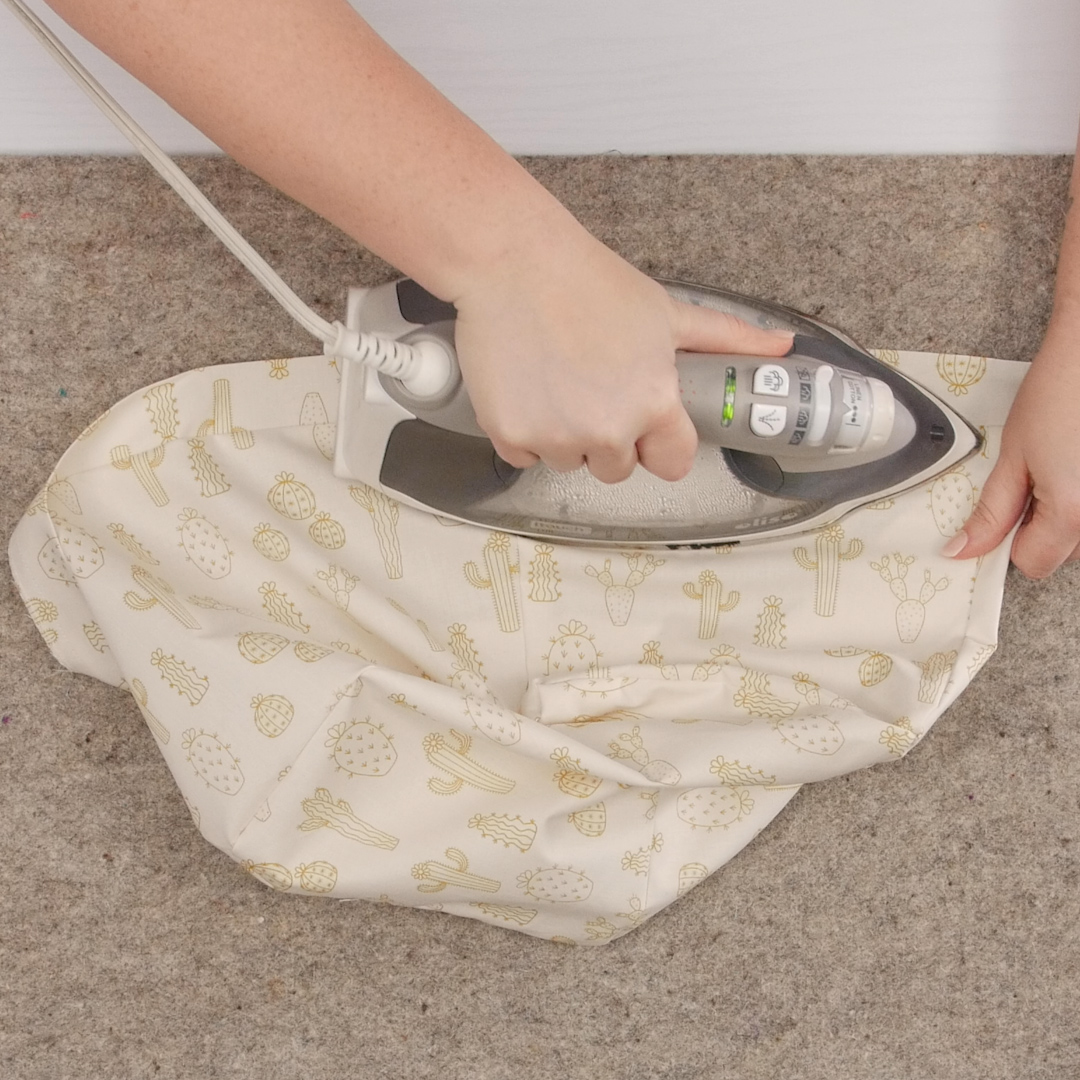
Now, press the entire strip in half lengthwise.

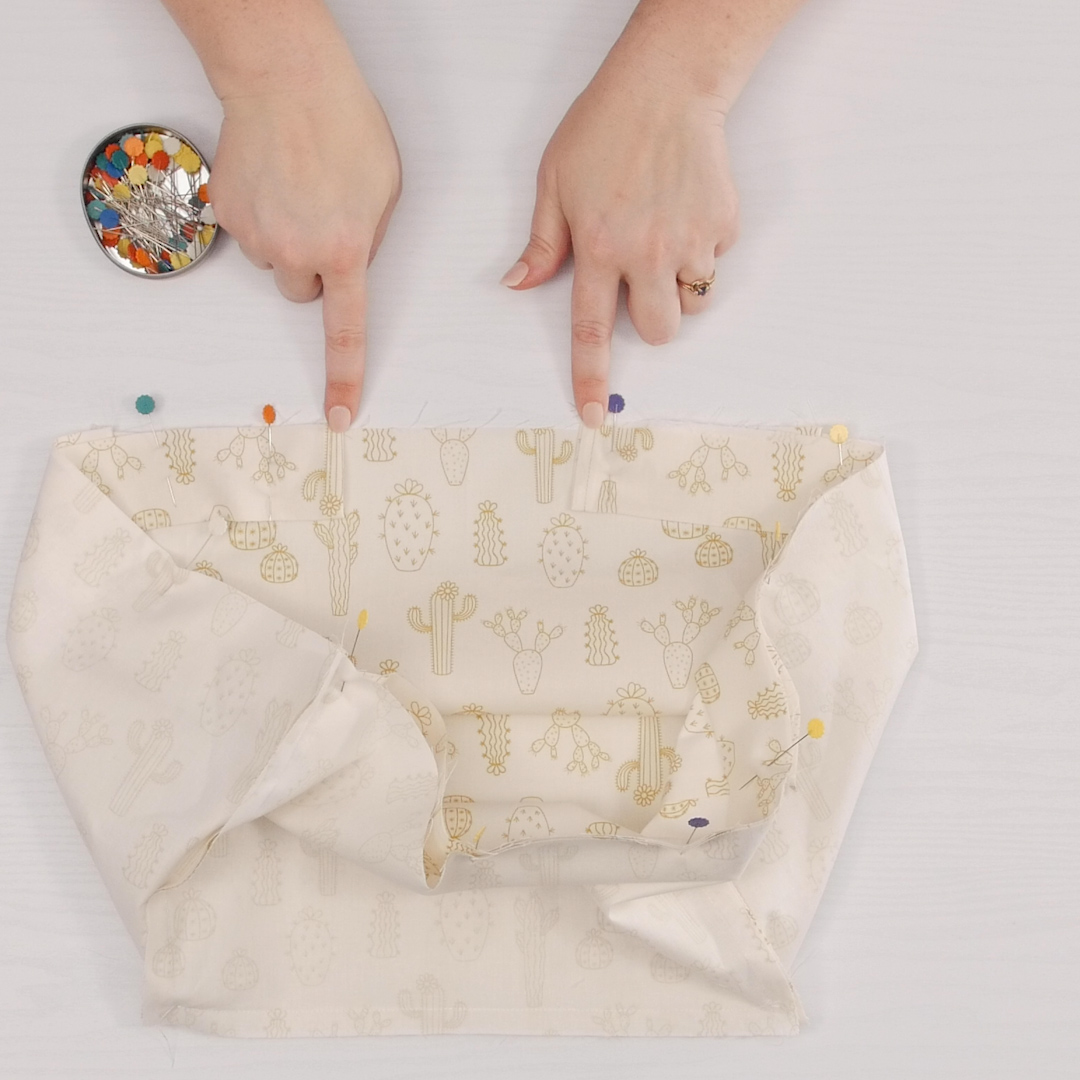
Fold the long strip in half to find the center. Pin the center of the liner to the center of one side of the liner, on the opposite side of where you want the casing opening. Pin right sides and raw edges together.

Continue to pin the casing to the liner. There will be a gap at the front.
Sew the strip to the basket liner with a ½” seam allowance.

Finish the edges with an Overlocker or an overlock stitch on the sewing machine using Overlock Foot #2A. Be sure to also finish the edge of the “open” portion of the liner.
Press the seam to the basket liner side.
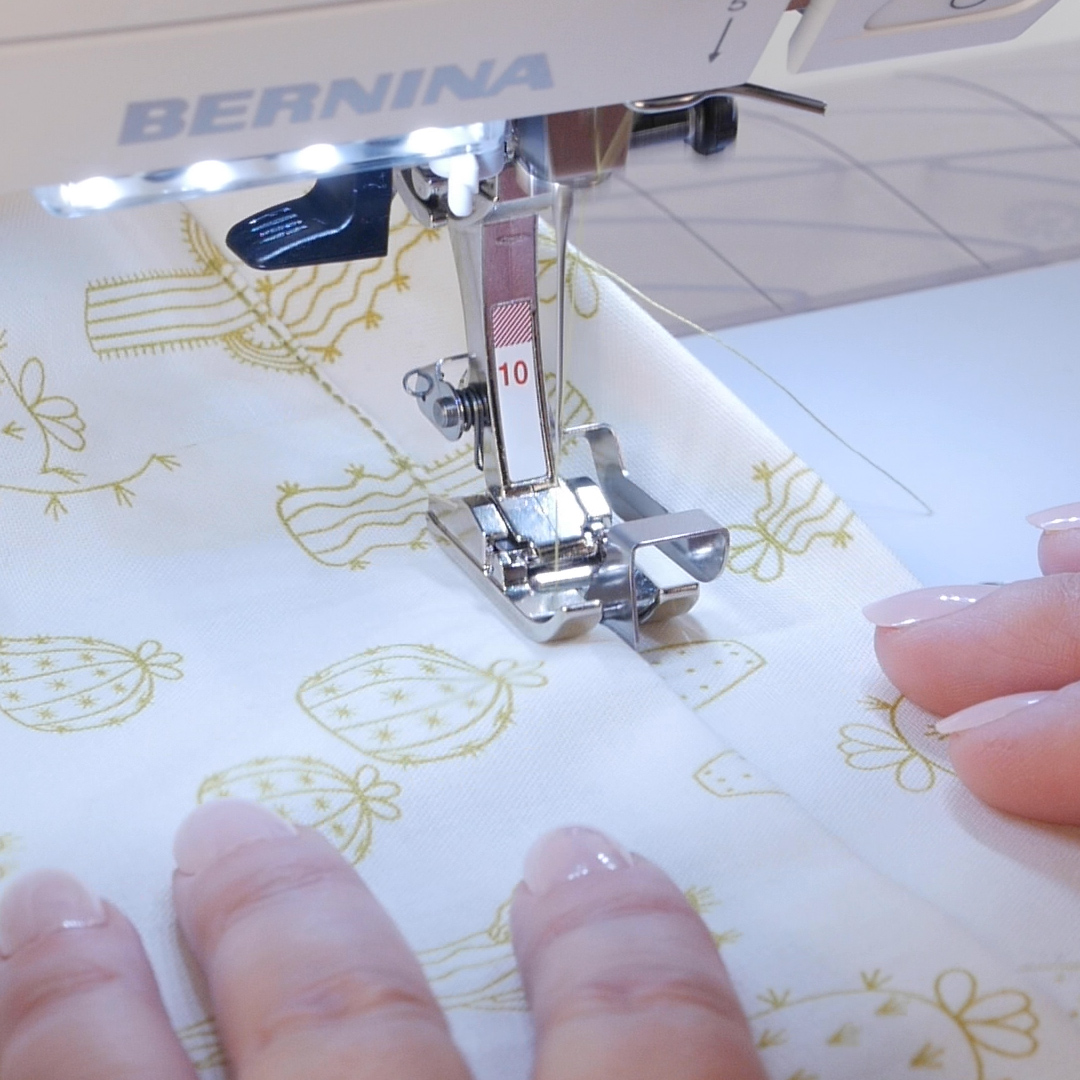
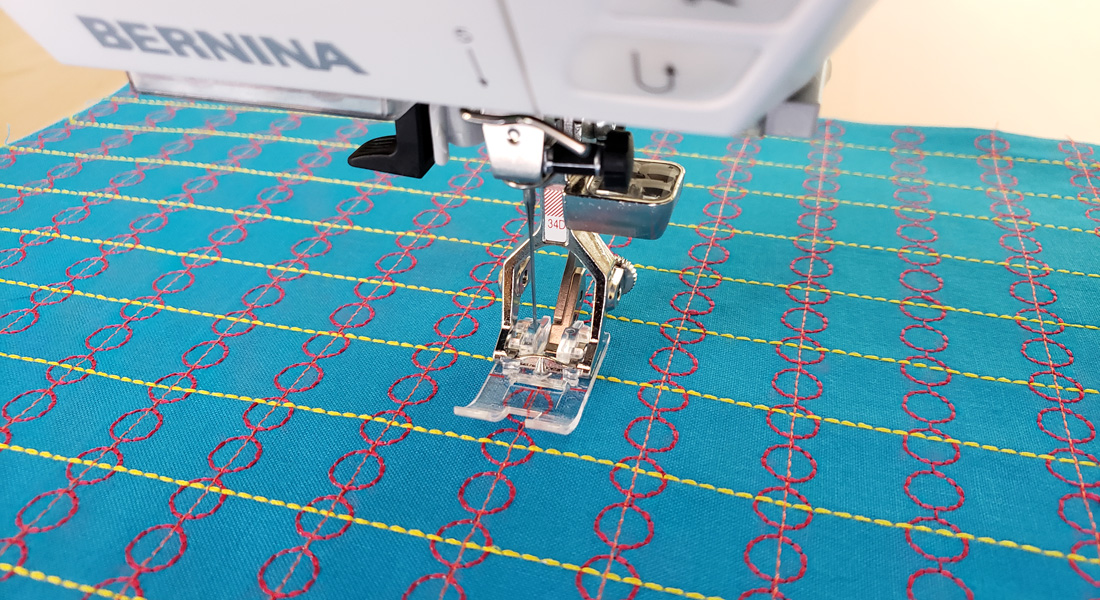
Edgestitch on the basket liner side along the seam between the liner and the casing, using the Edgestitch Foot #10 and a Triple Straight Stitch. For tips on edgestitching, see this post.
Insert the ribbon into the casing using a bodkin.

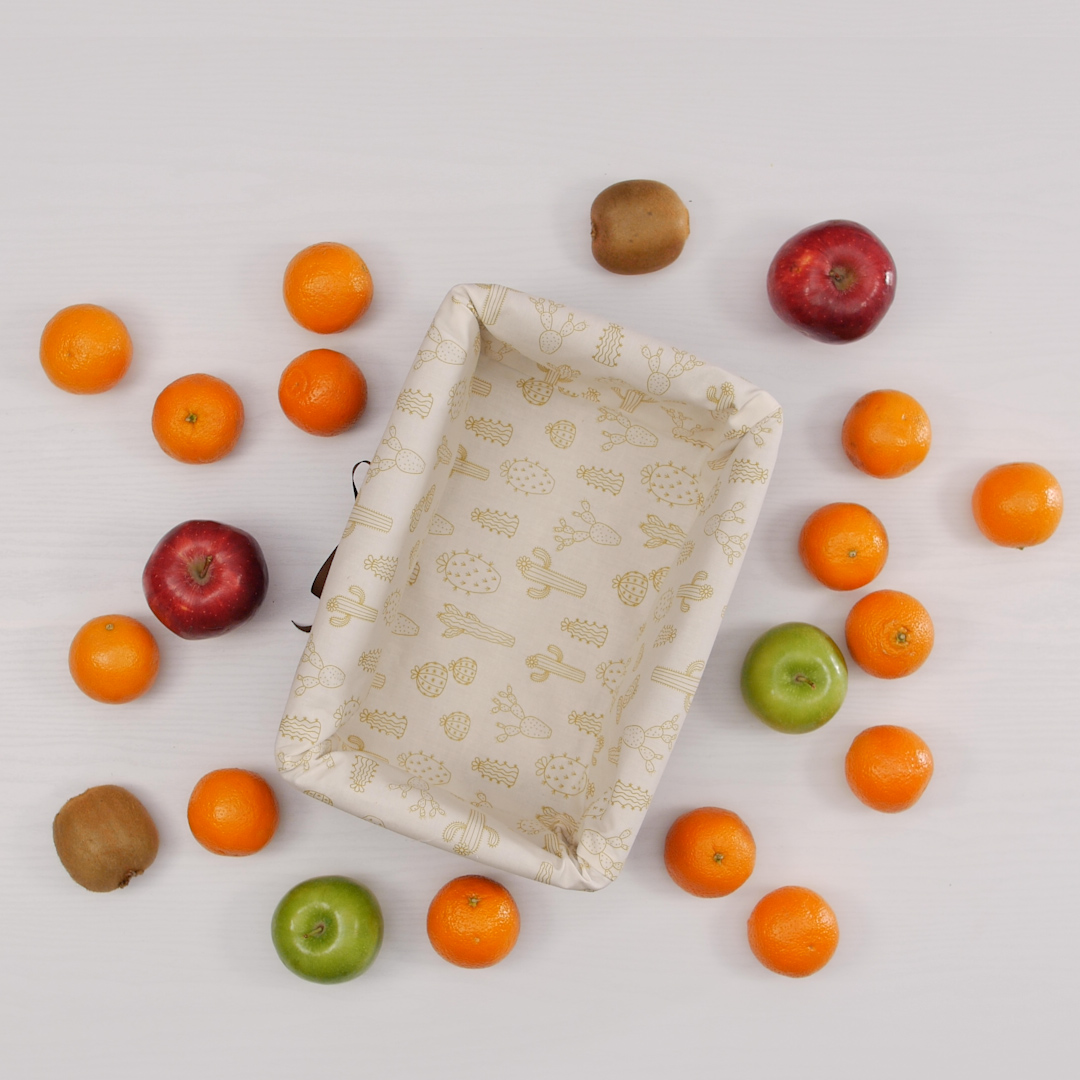
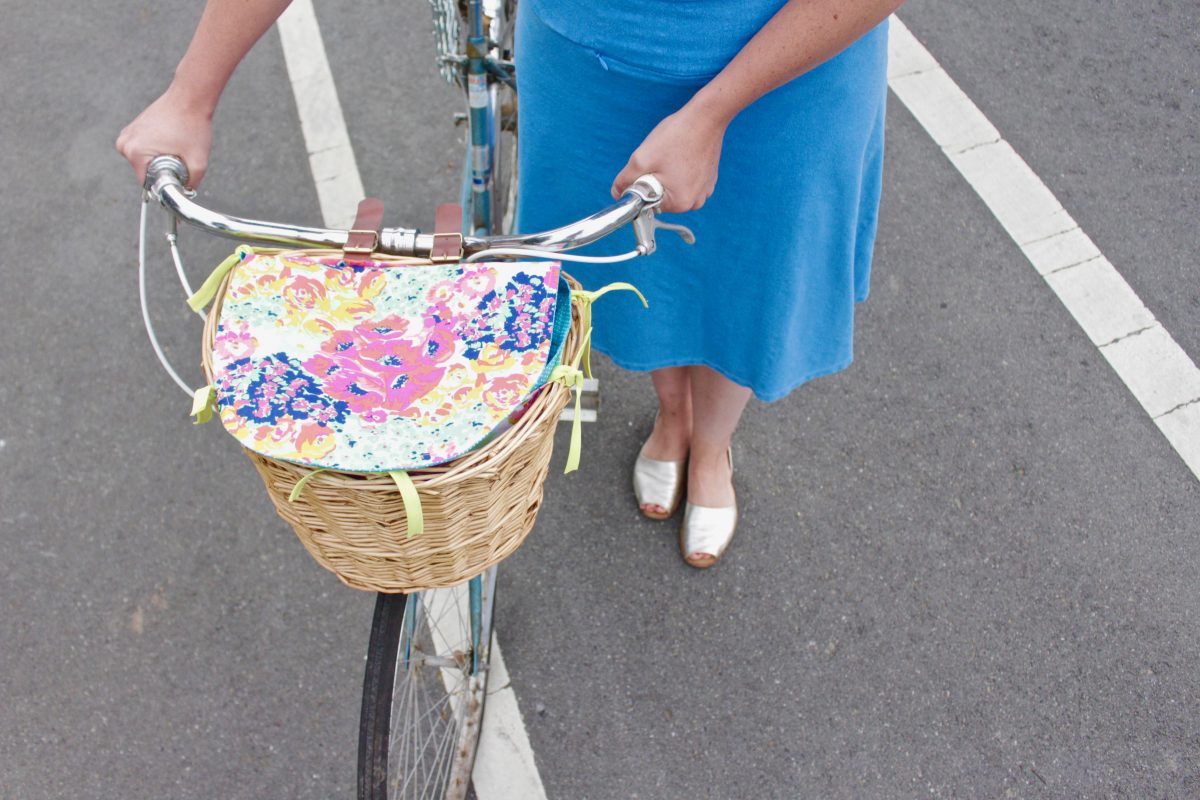
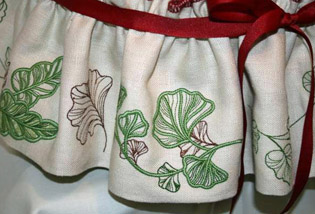
Now insert the liner into the basket, fold over the top edge, and tie your ribbon!
Have more organizing to do? Check out these tutorials!
DIY Basket Sewing Tutorials


What you might also like


One comment on “How to Create a Basket Liner”
Leave a Reply
You must be logged in to post a comment.

This is a very good project. I especially like the worksheet idea.