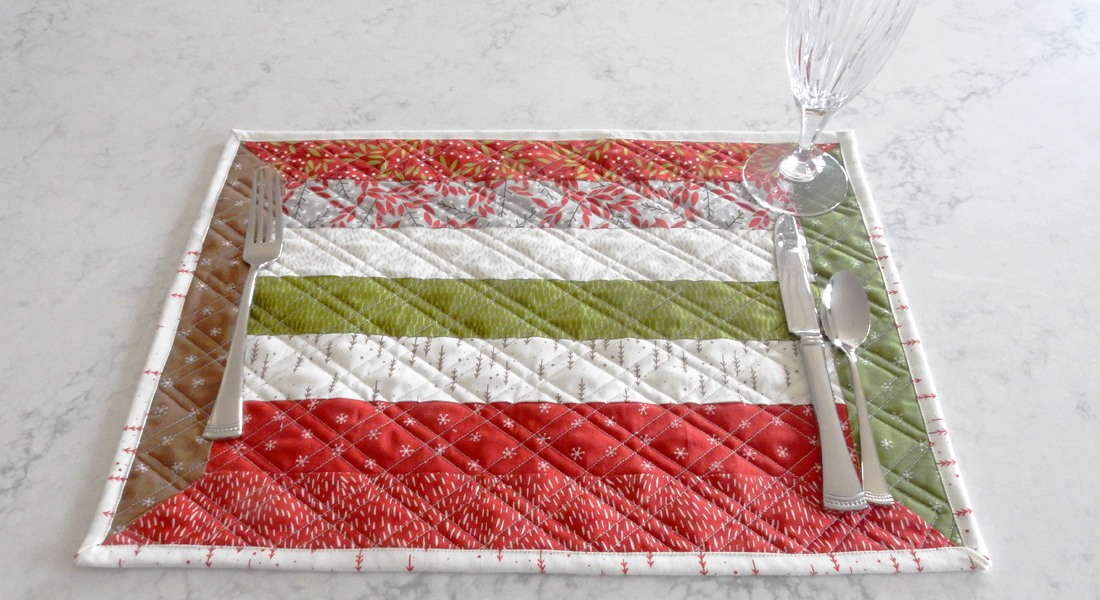
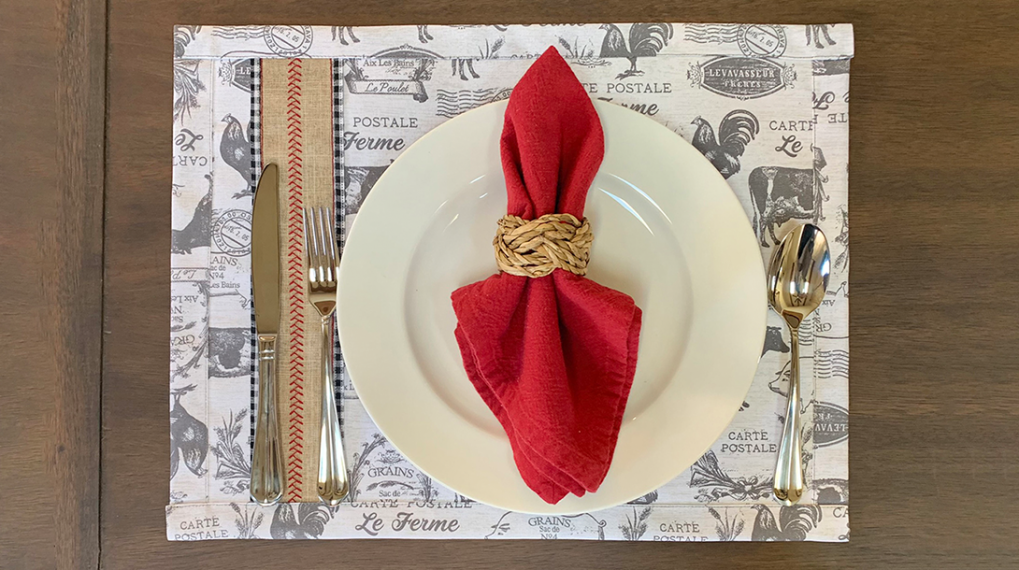
How to Create Thanksgiving Placemats
Hello, everyone! Kymona is here to show you how to sew and embroider “Give Thanks” placemats for your Thanksgiving celebration.
Thanksgiving is a couple of weeks away, and the world has opened back up enough for us to break bread with our family and friends this year. Decorating the table is a big part of this holiday, so why not have your placemats say what you want to say to all of your guests?!
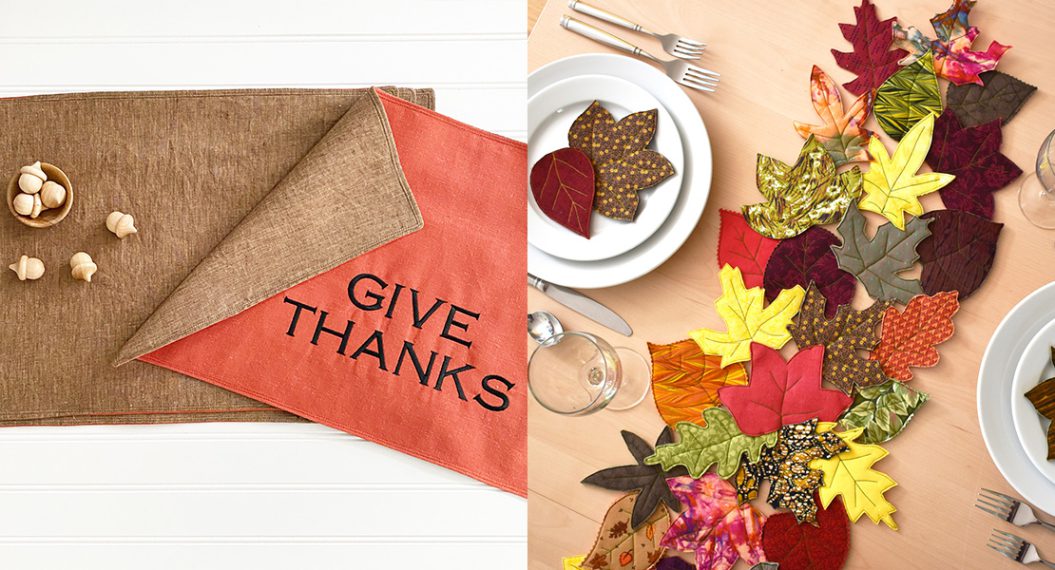
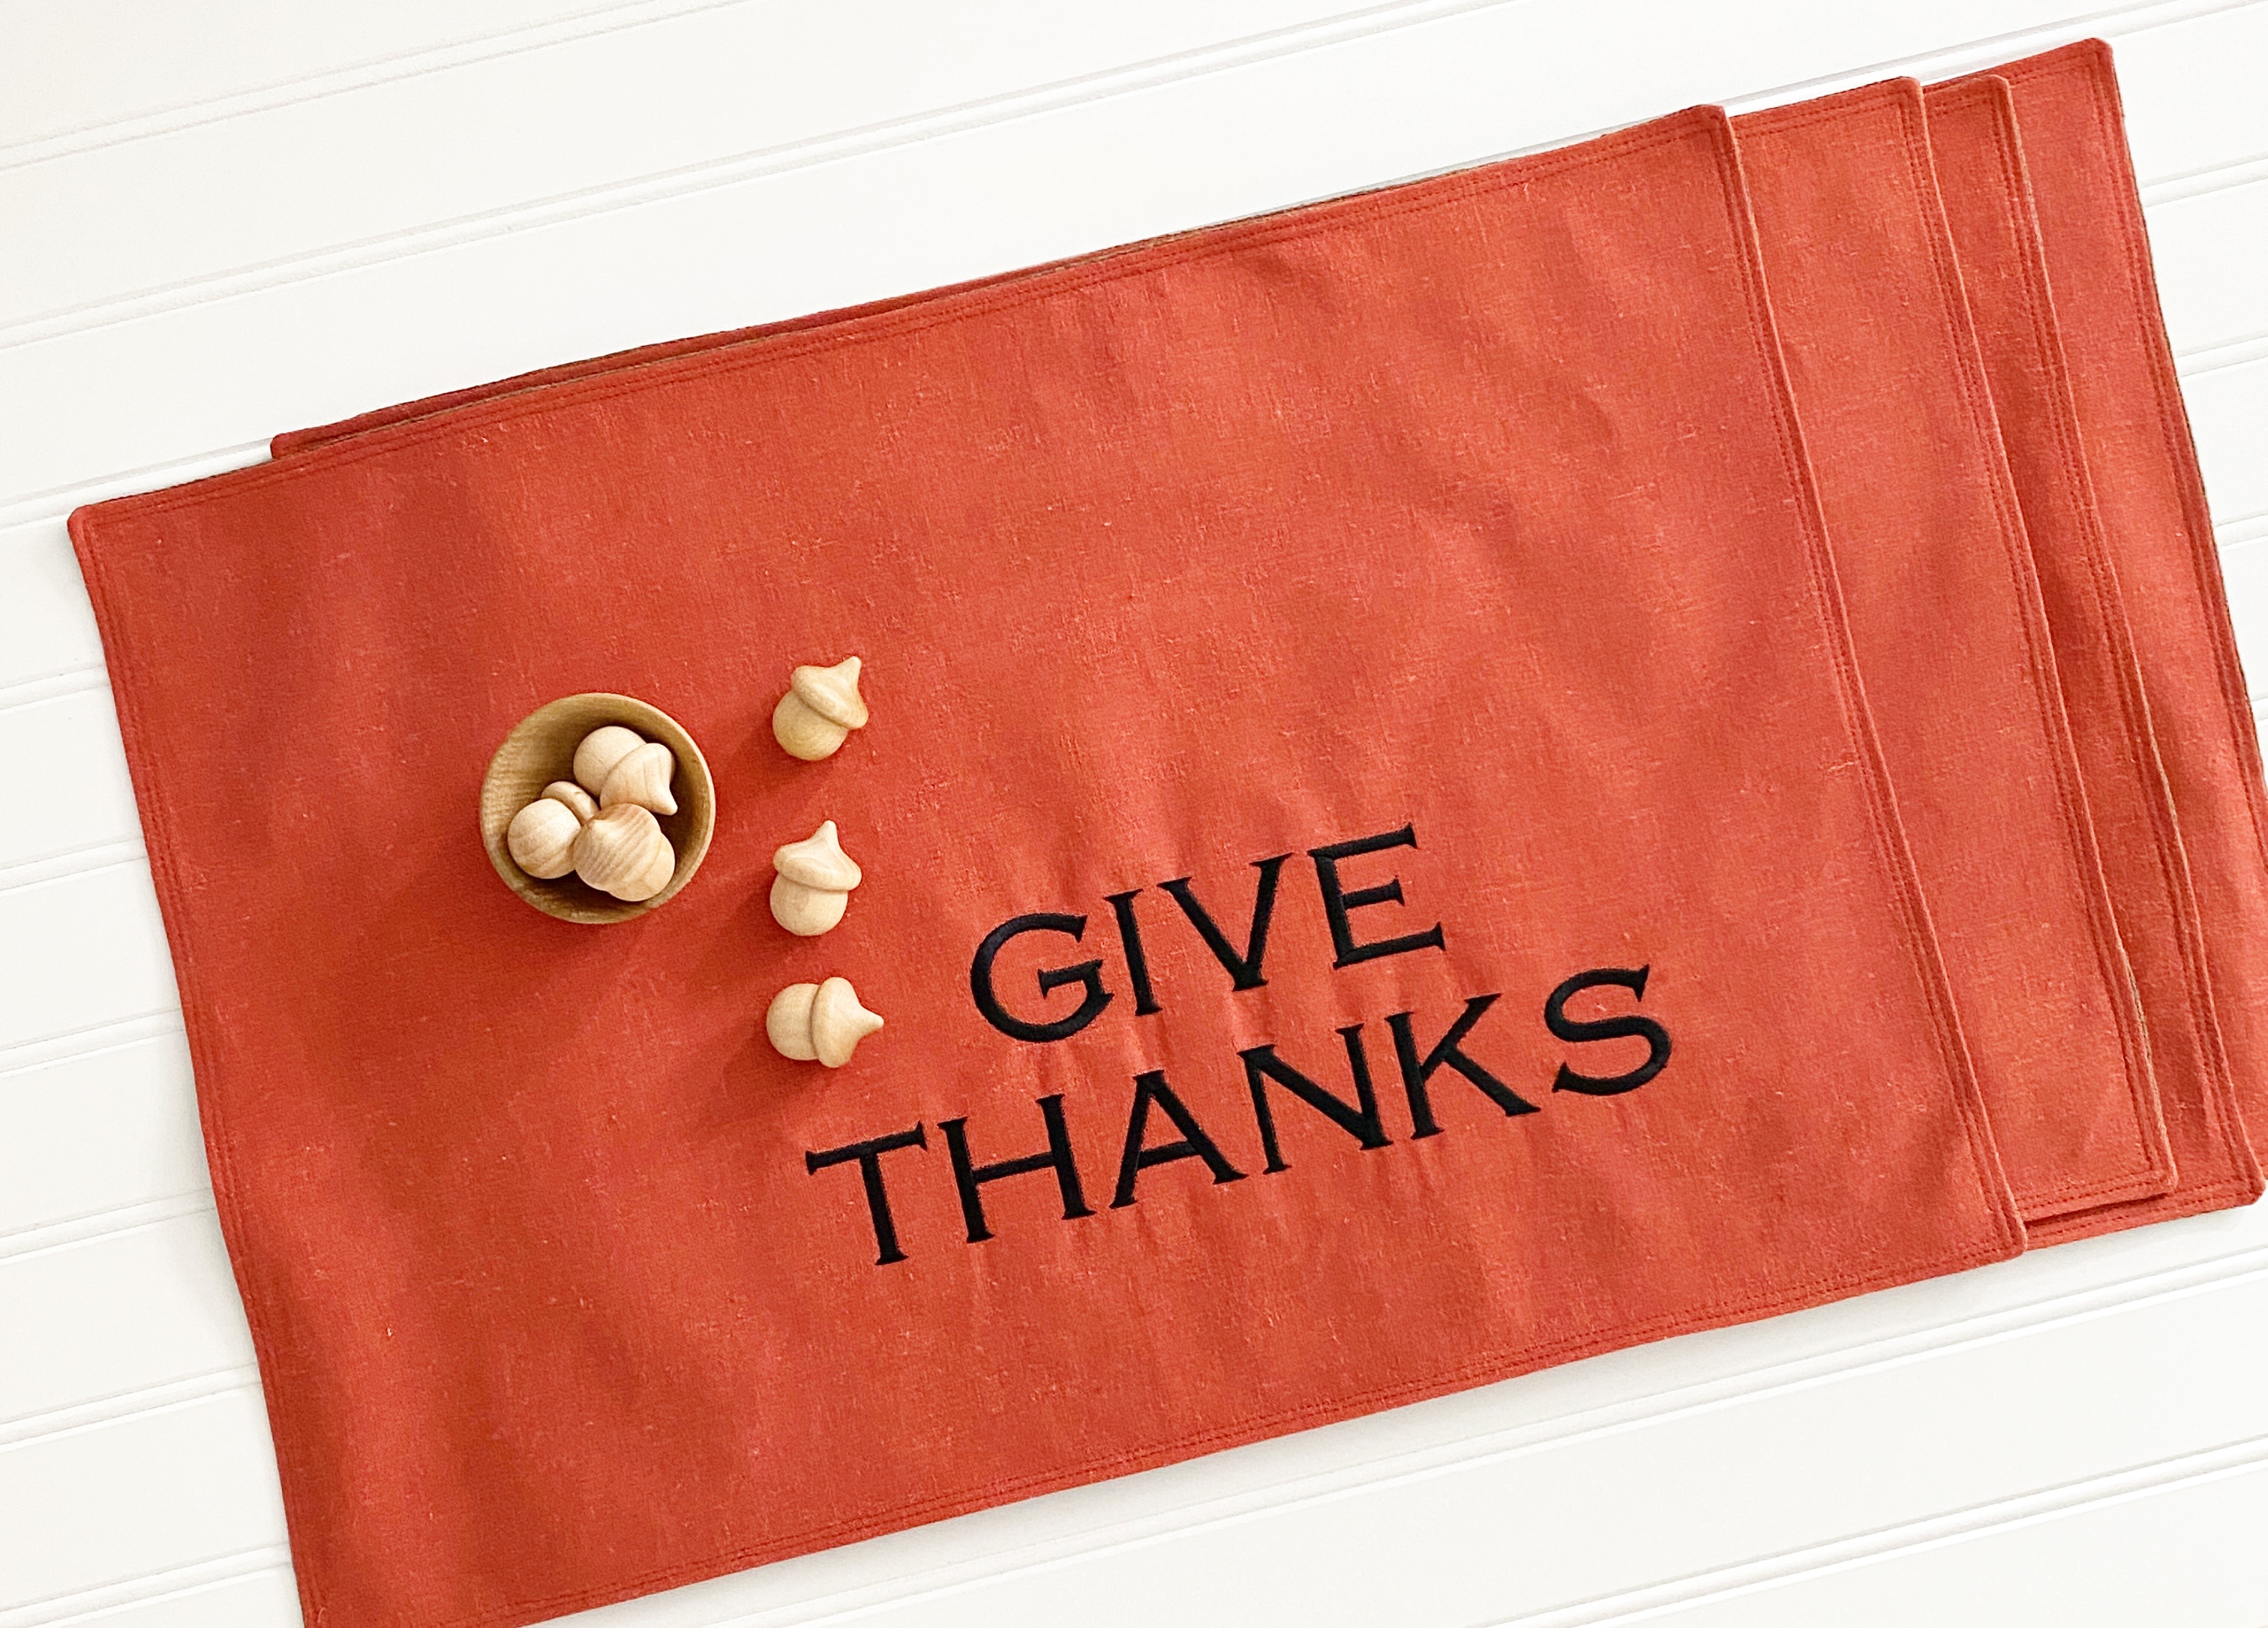
Let me show you a set of “Give Thanks” placemats!

Beautiful right?! Let’s make a set of “Give Thanks” placemats!
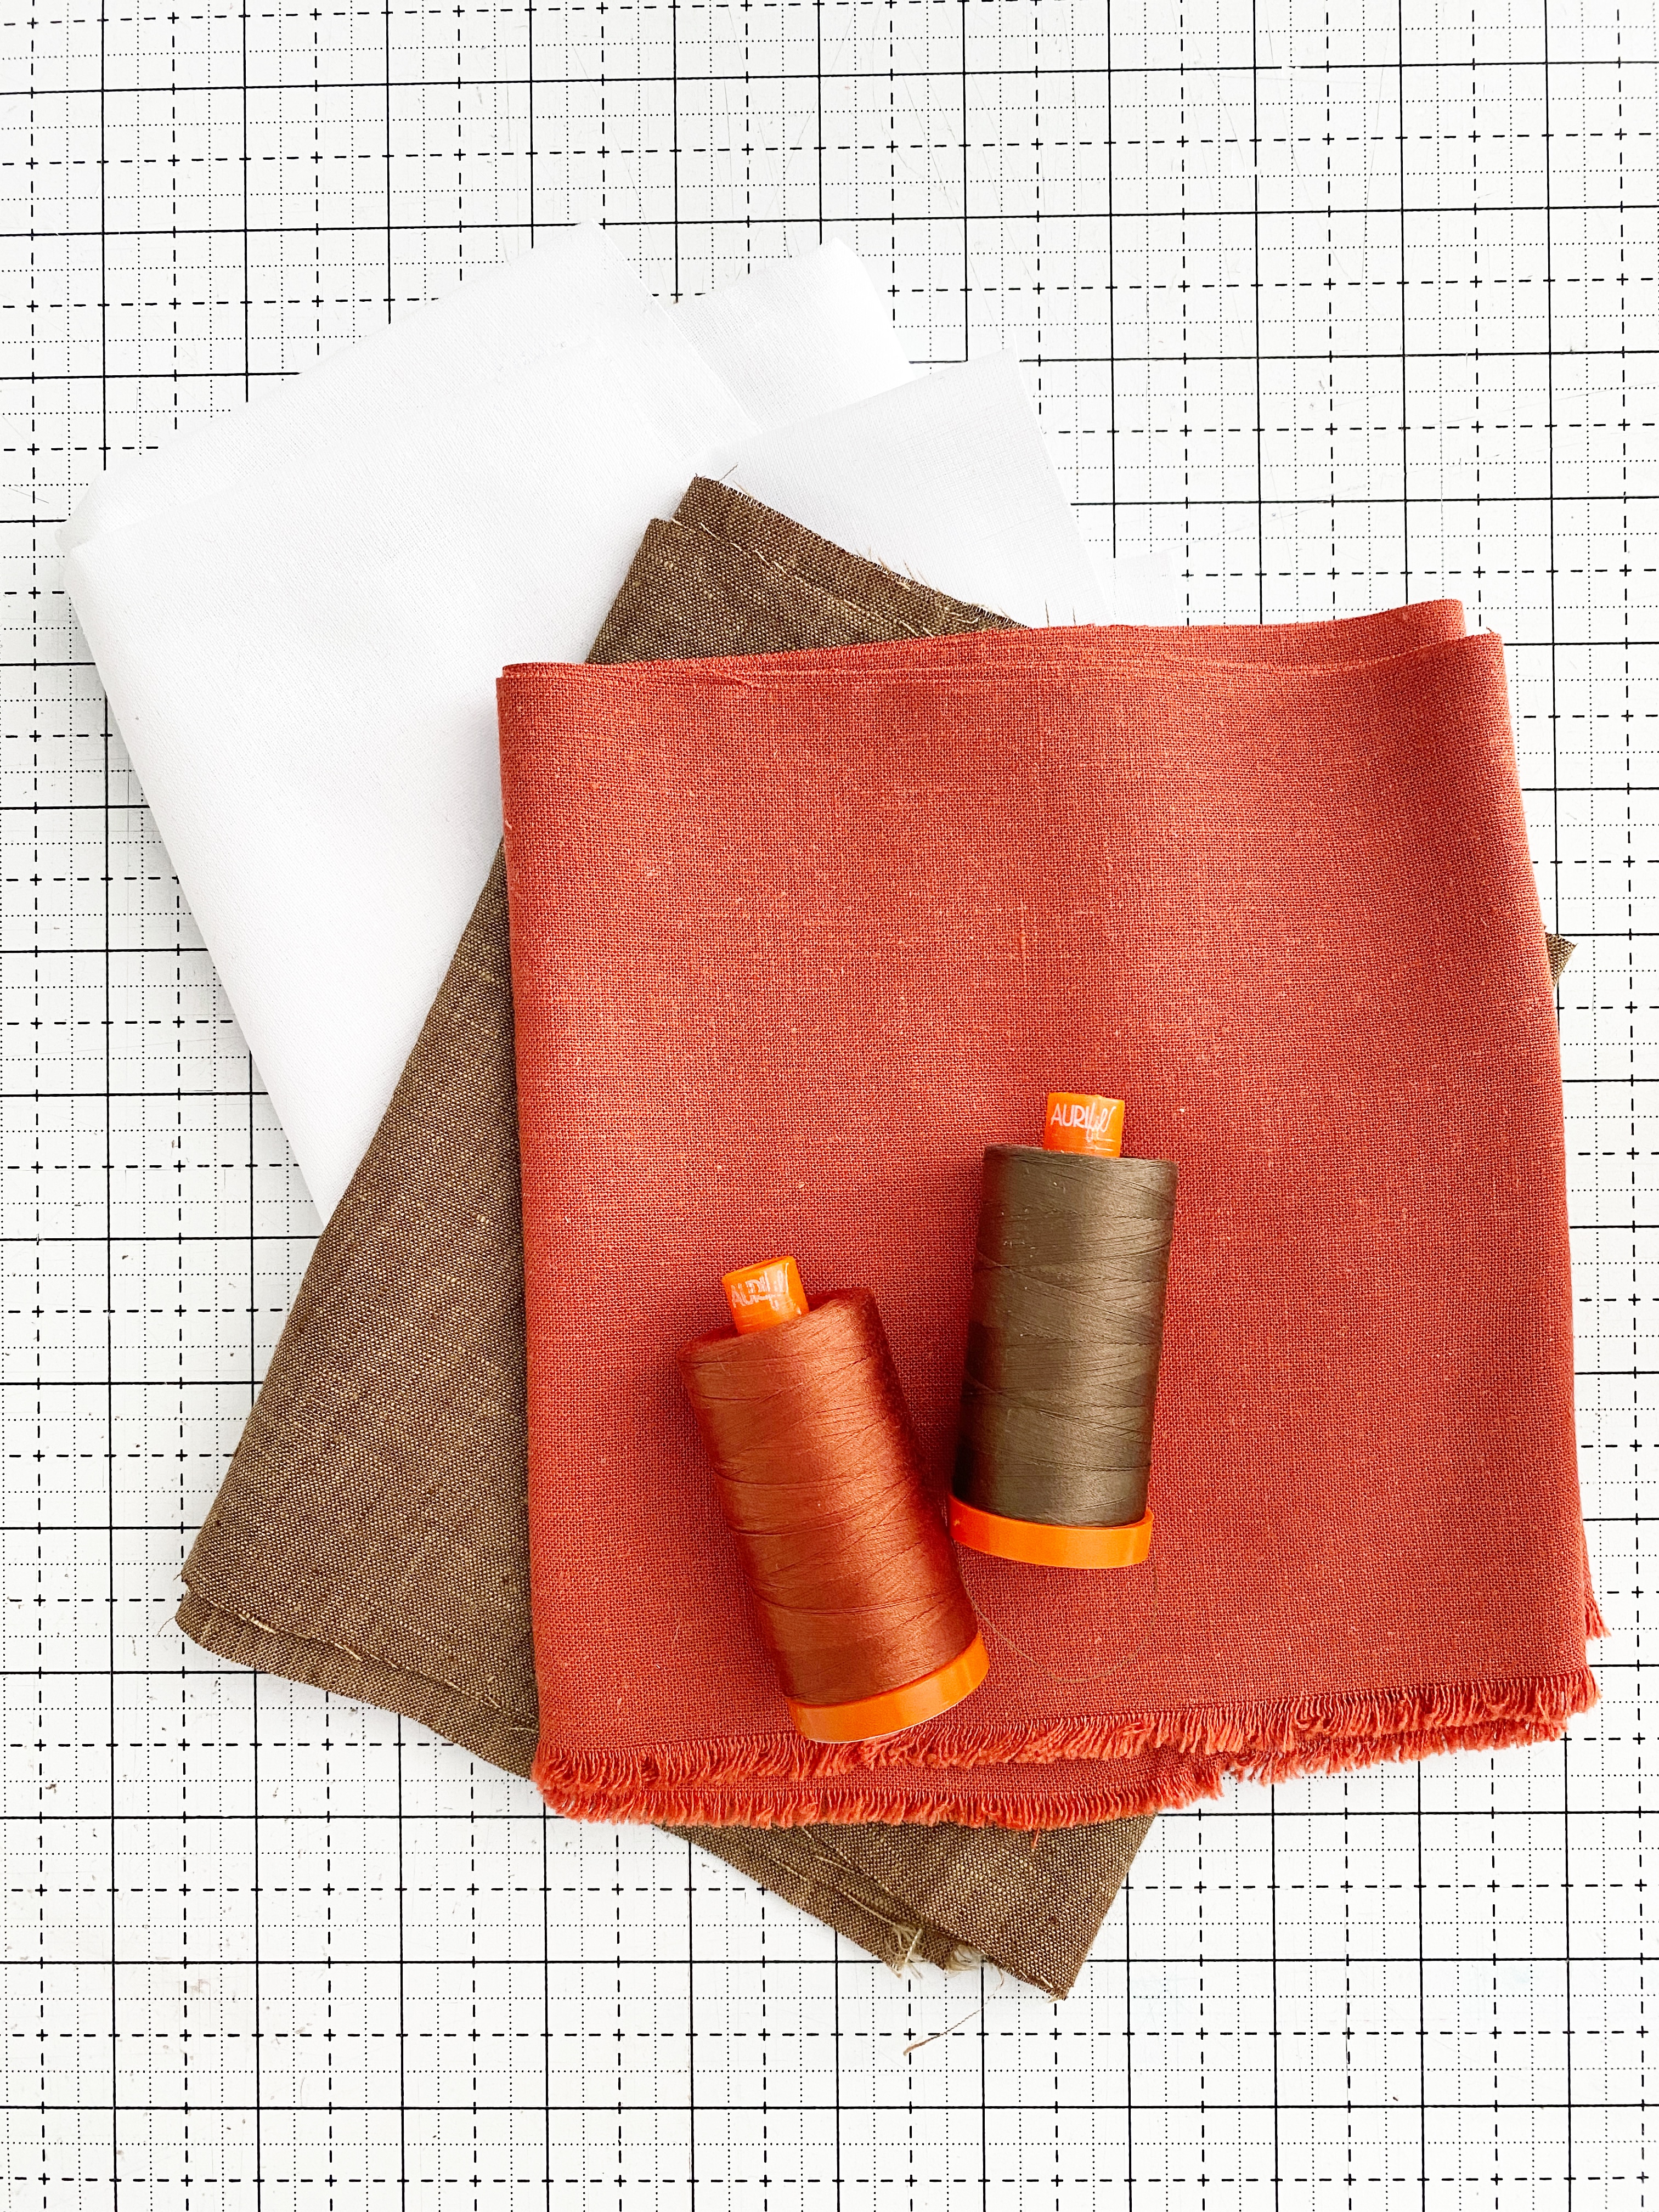
Materials to Create Thanksgiving Placemats
- 1 yard of auburn linen fabric
- 1 yard of brown linen fabric
- OESD Fusible Woven Stabilizer
- OESD Cut-Away Stabilizer
- Iscocard Black Embroidery Thread
- Aurifil Coordinating Thread
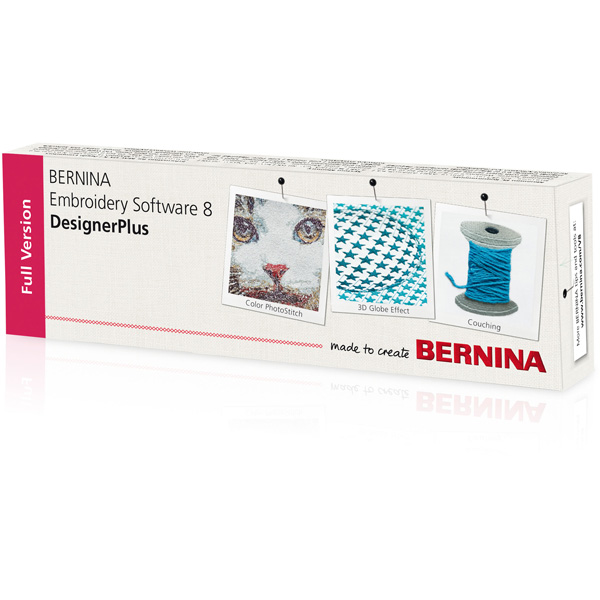
- BERNINA Embroidery Software 8.2
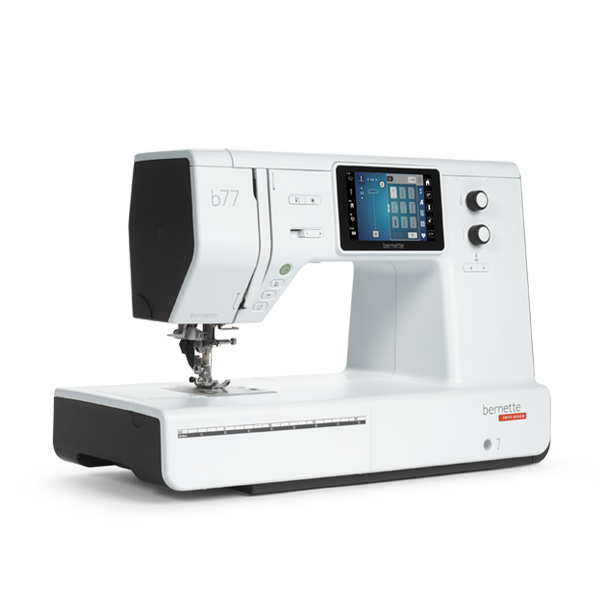
- BERNINA 570 QE E
- bernette 77
- BERNINA Mega Embroidery Hoop
Instructions to Create Thanksgiving Placemats
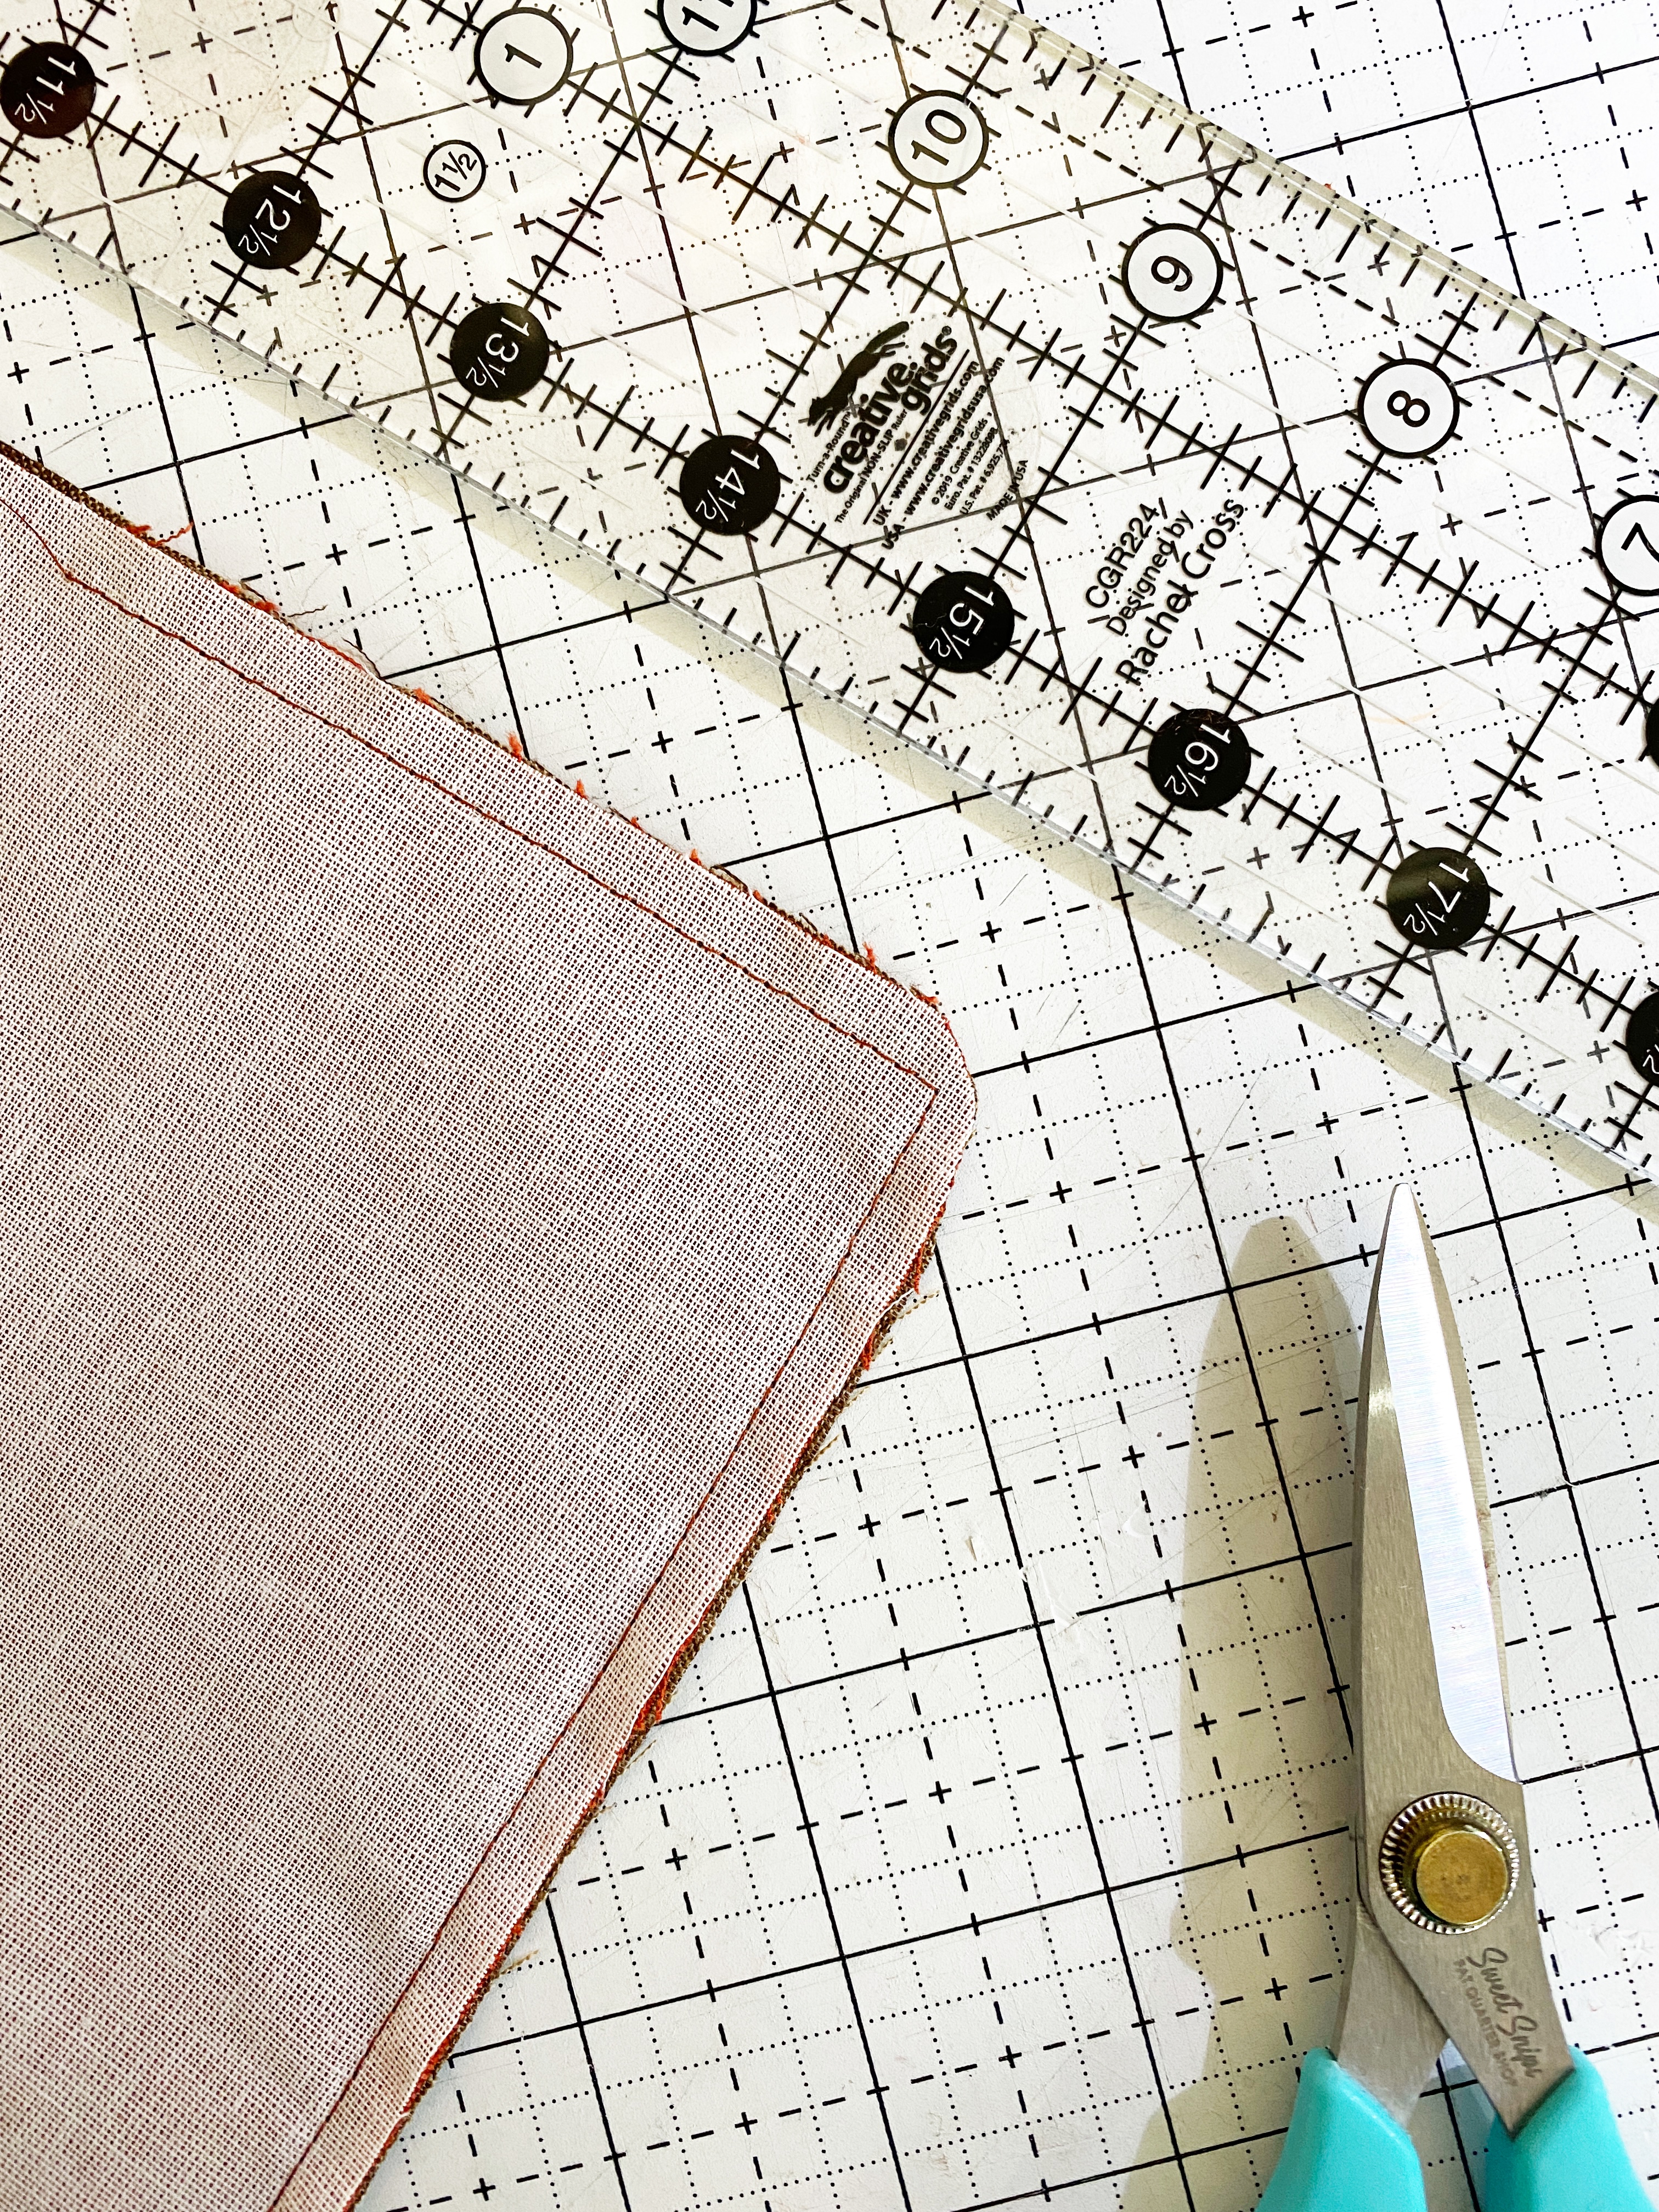
Step 1: Cut the Fabric
- Cut four pieces of auburn and brown linen 14 inches x 20 inches.
- Cut four pieces of the fusible woven stabilizer to 14 inches x 20 inches.
Step 2: Prepare the Fabric
Follow the manufacturer’s instructions and iron on the four pieces of fusible woven stabilizer to the four pieces of auburn linen.
Step 3: Prepare the Embroidery Hoop
Using the Mega Embroidery Hoop, hoop the linen with the fusible woven stabilizer and a piece of cut-away stabilizer. This design will appear on the right lower quadrant of the placemat, so hoop the fabric close to the bottom right.
Step 4: Create the Design
- Click on the toolbox labeled Digitize.
- The object properties box will open up the lettering tab.
- Type the sentiment you want to embroider. For this project, we’re using “Give Thanks.”
- Select the font that you want to use.
- Click “OK” to close the window.
- Resize the image so that it is big enough on the placemat.
Step 5: Export the Design
- Click on file.
- Then export the machine file.
- Choose the USB designation.
- Name the design and press save.
Step 6: Stitch Out the “Give Thanks” Design
- Attach the embroidery module to the machine.
- Lower the feed dogs.
- Attach the USB stick to the machine.
- Select the USB icon and select your design.
Step 7: Stitch Out the Design
- Attach the embroidery module to the machine.
- Lower the feed dogs.
- Attach the USB stick to the machine.
- Select the USB icon and select your design.
- Change the hoop size, and thread the machine with black thread.
- Attach the hoop to the machine.
- Do check to make sure the needle will not hit the right side of the hoop.
- If everything looks good, press start.
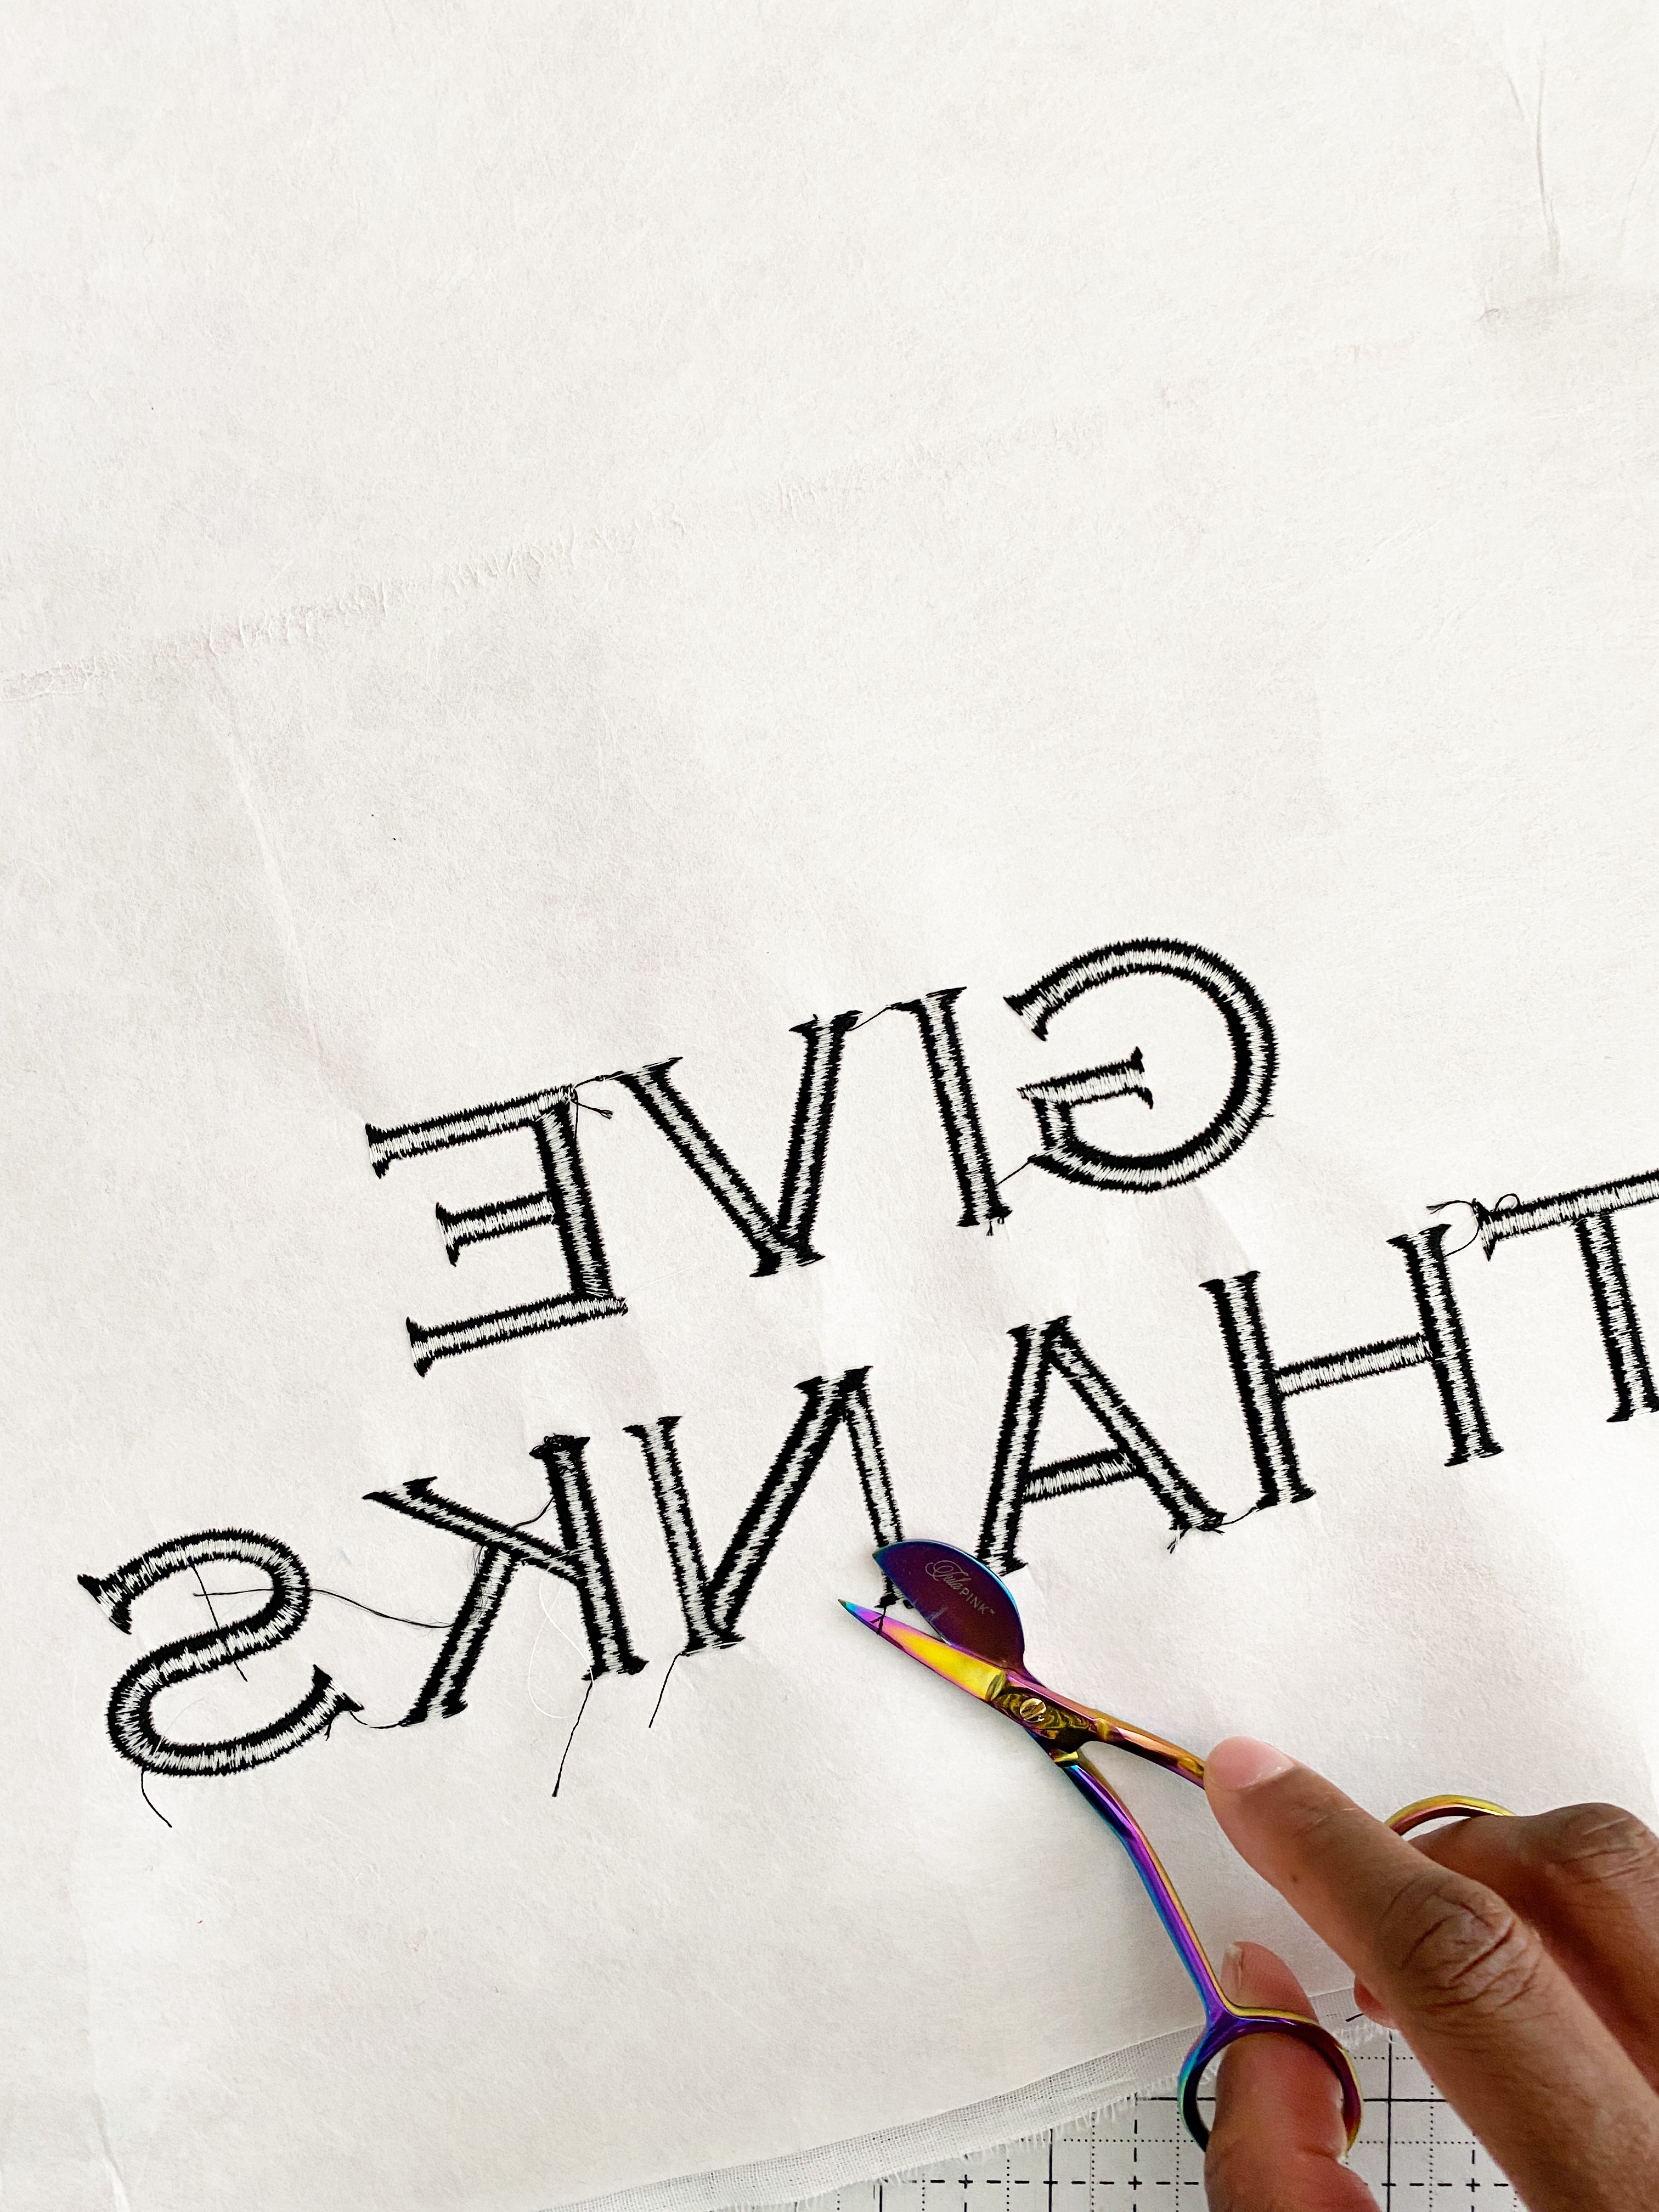
Step 8: Unhoop and Cut
Once the design finishes stitching out, unhoop the fabric.
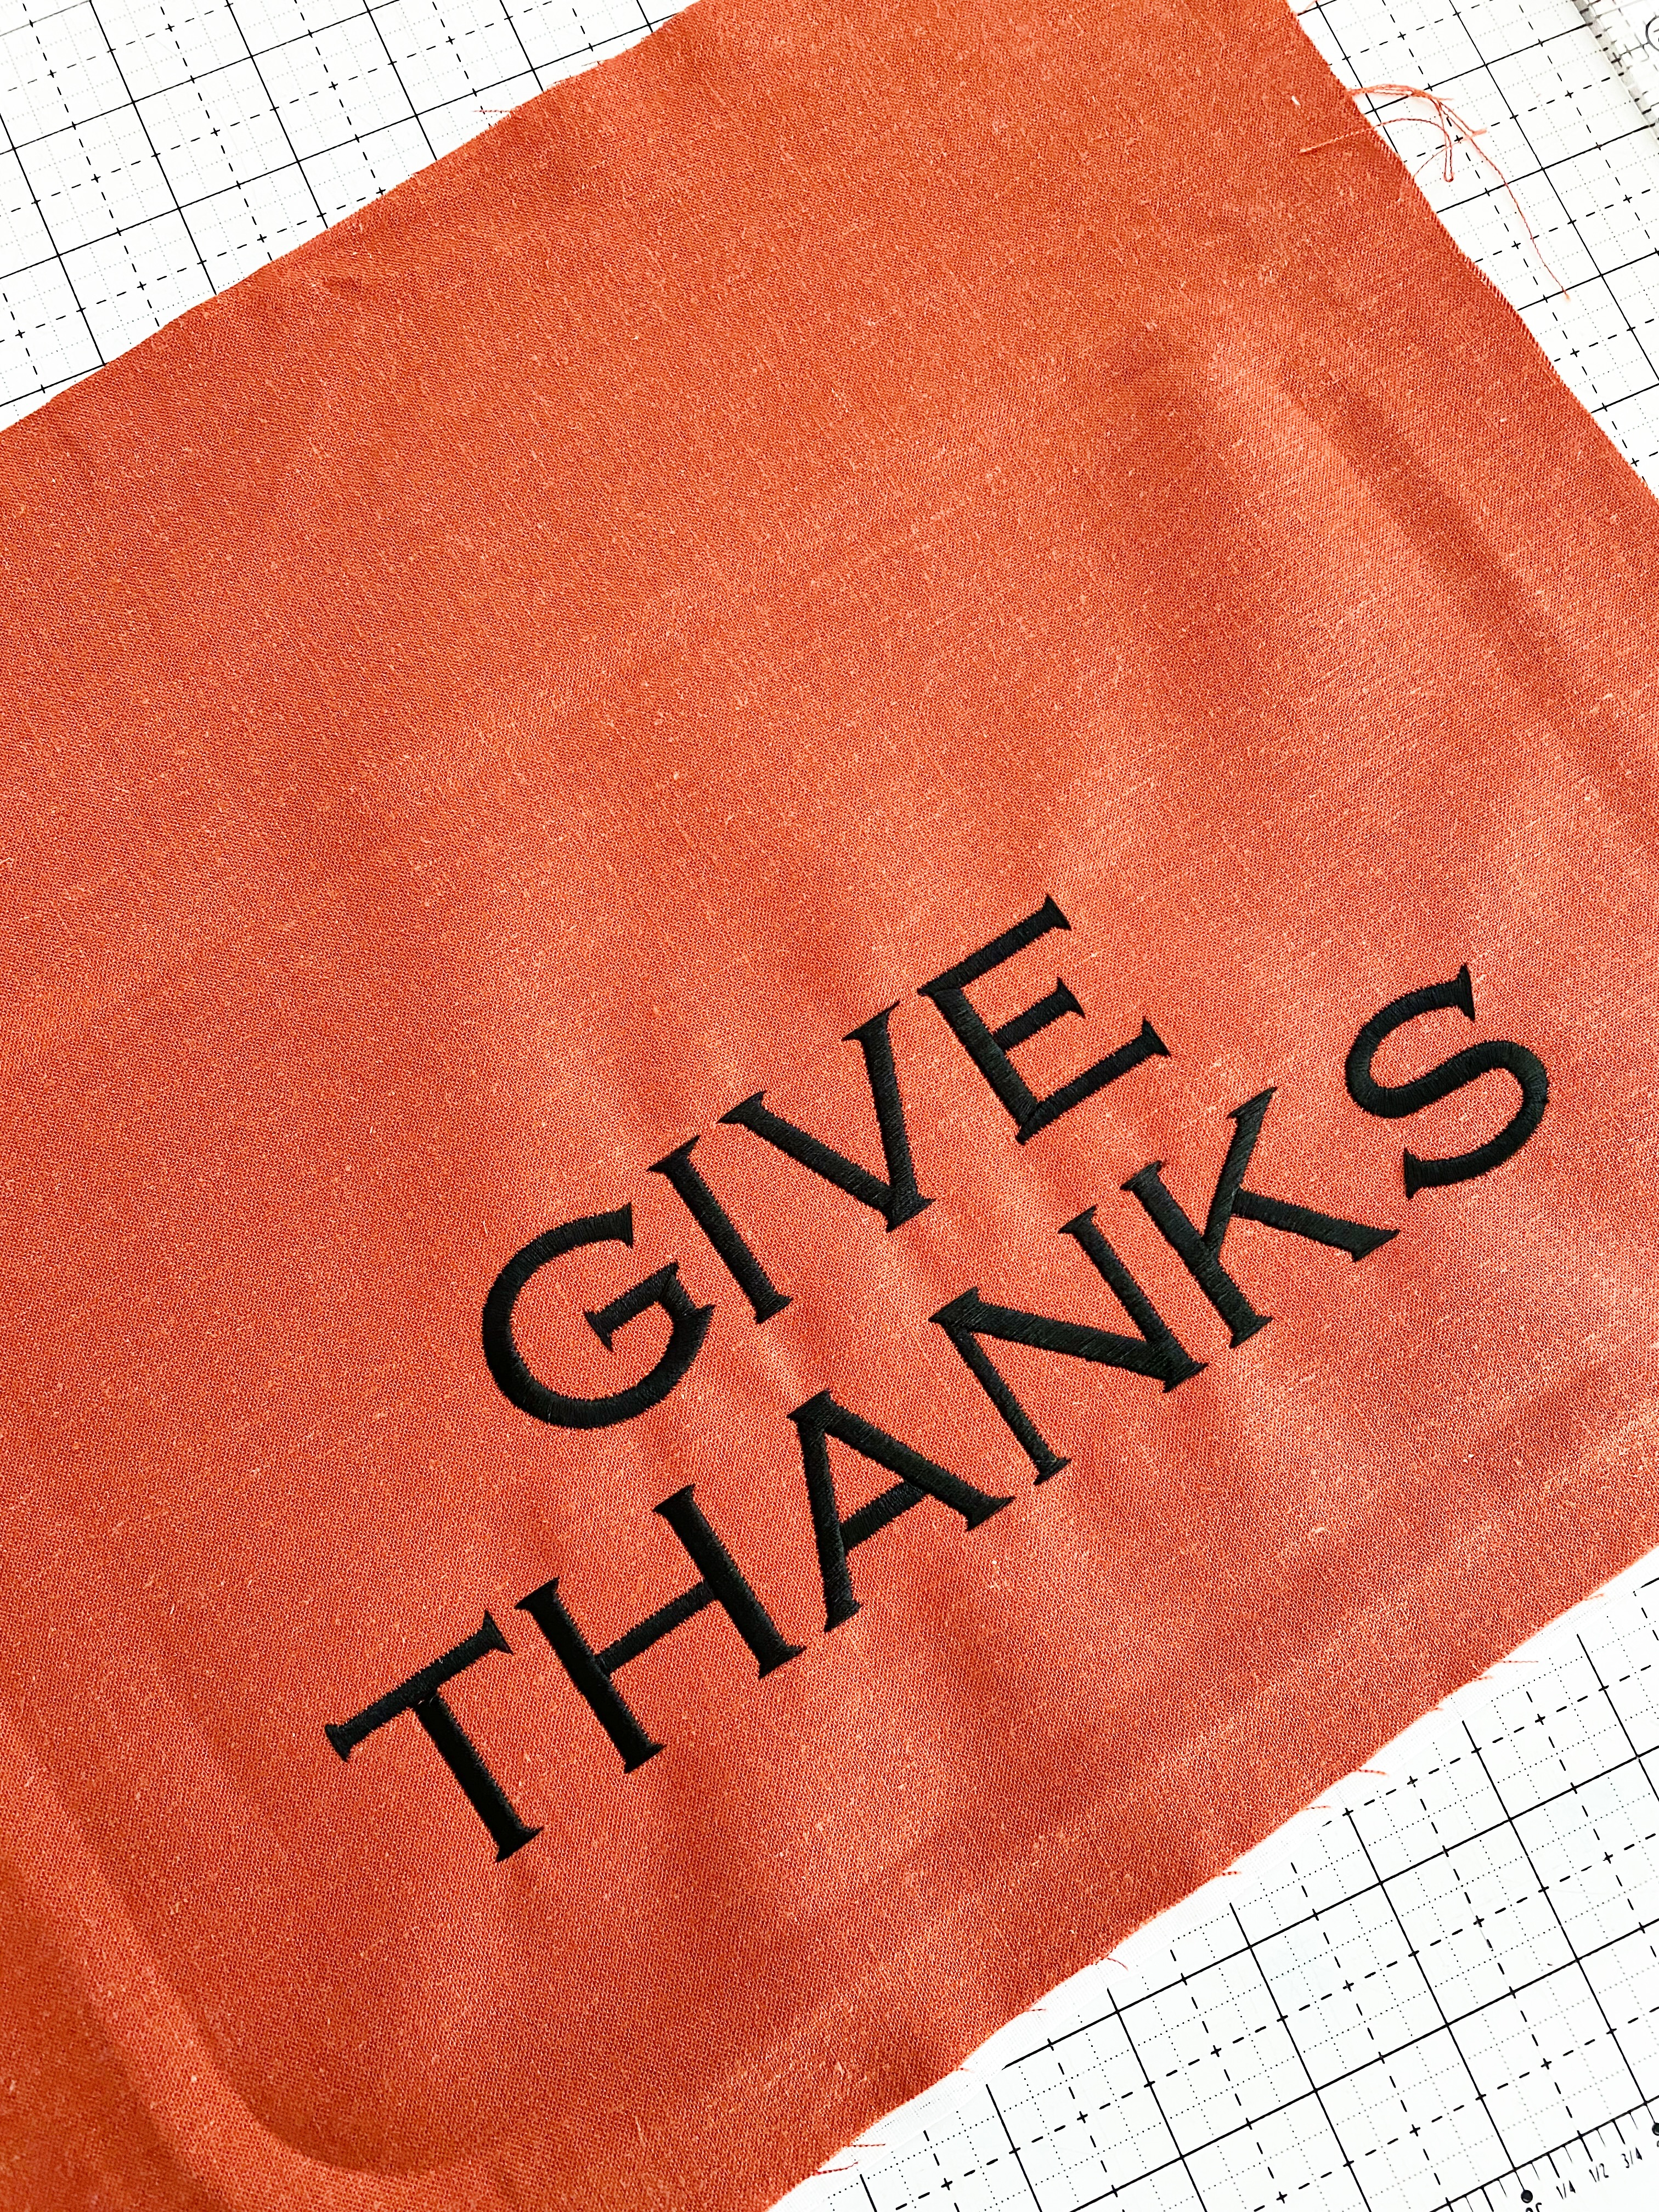
Cutaway the excess stabilizer.

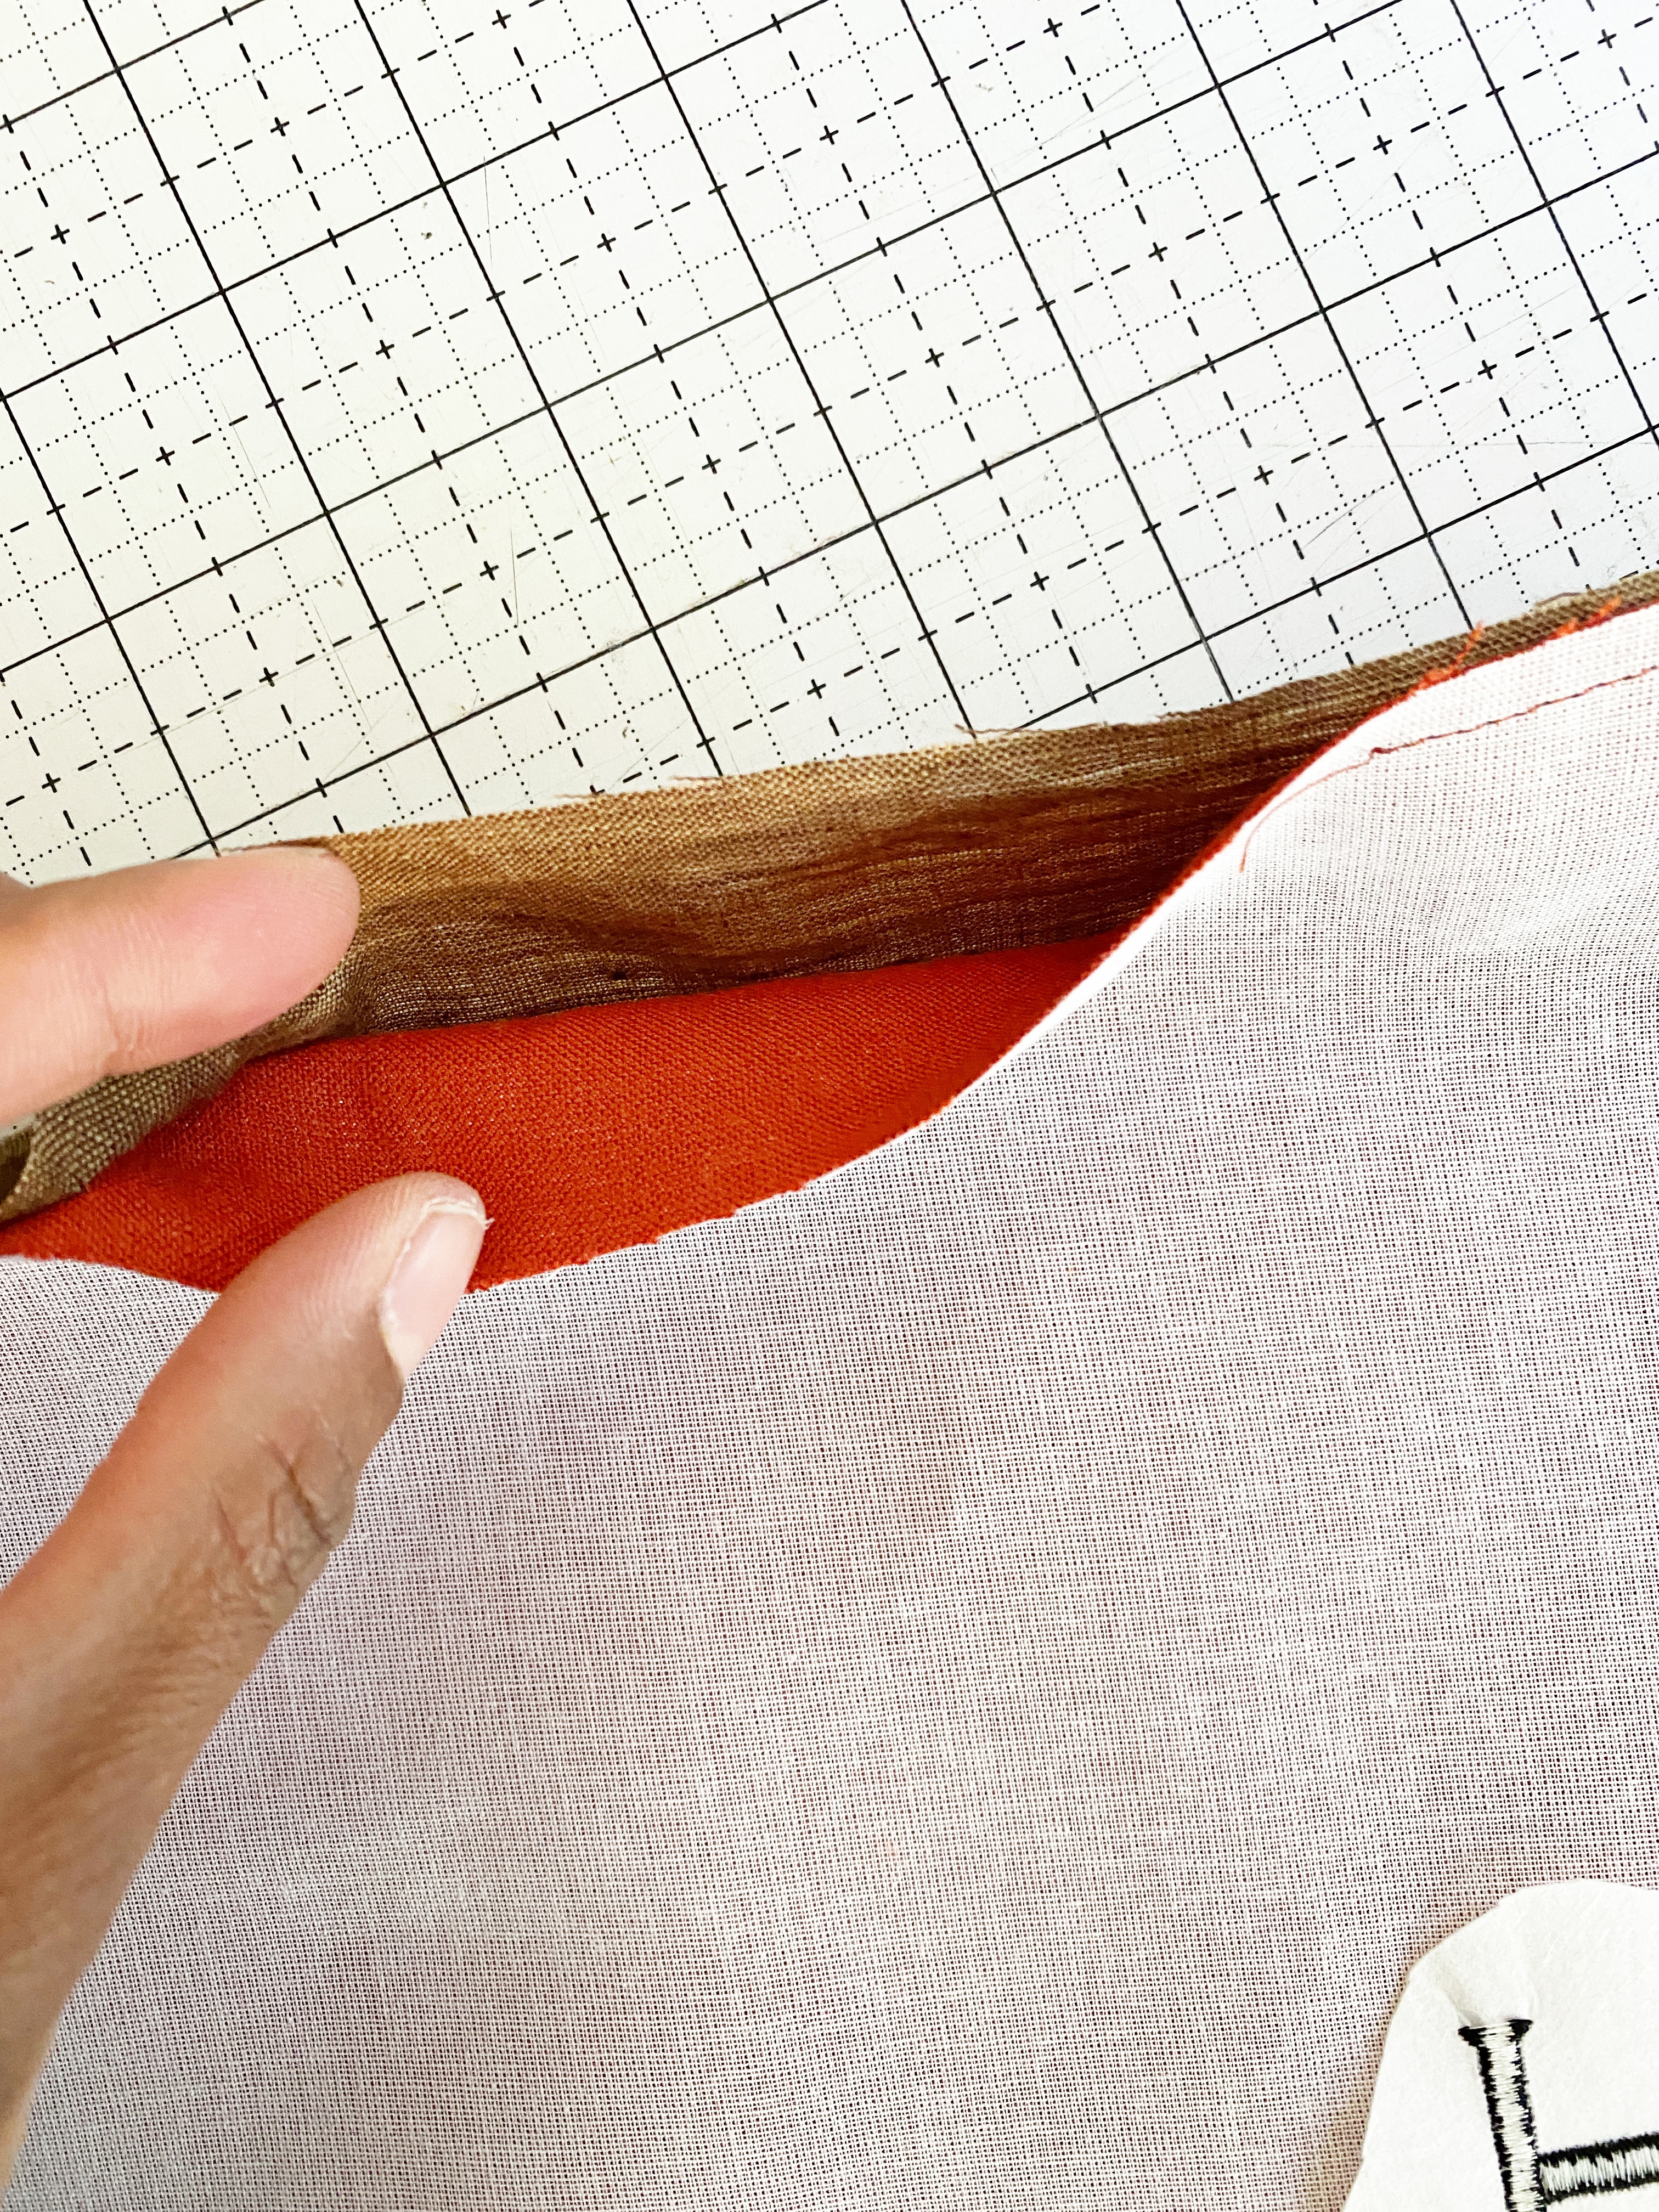
Step 9: Prepare the Placemat for Stitching
- Place the embroidered fabric right sides up.
- Place the brown linen right side down on top of the embroidered fabric.
- Pin both pieces together.
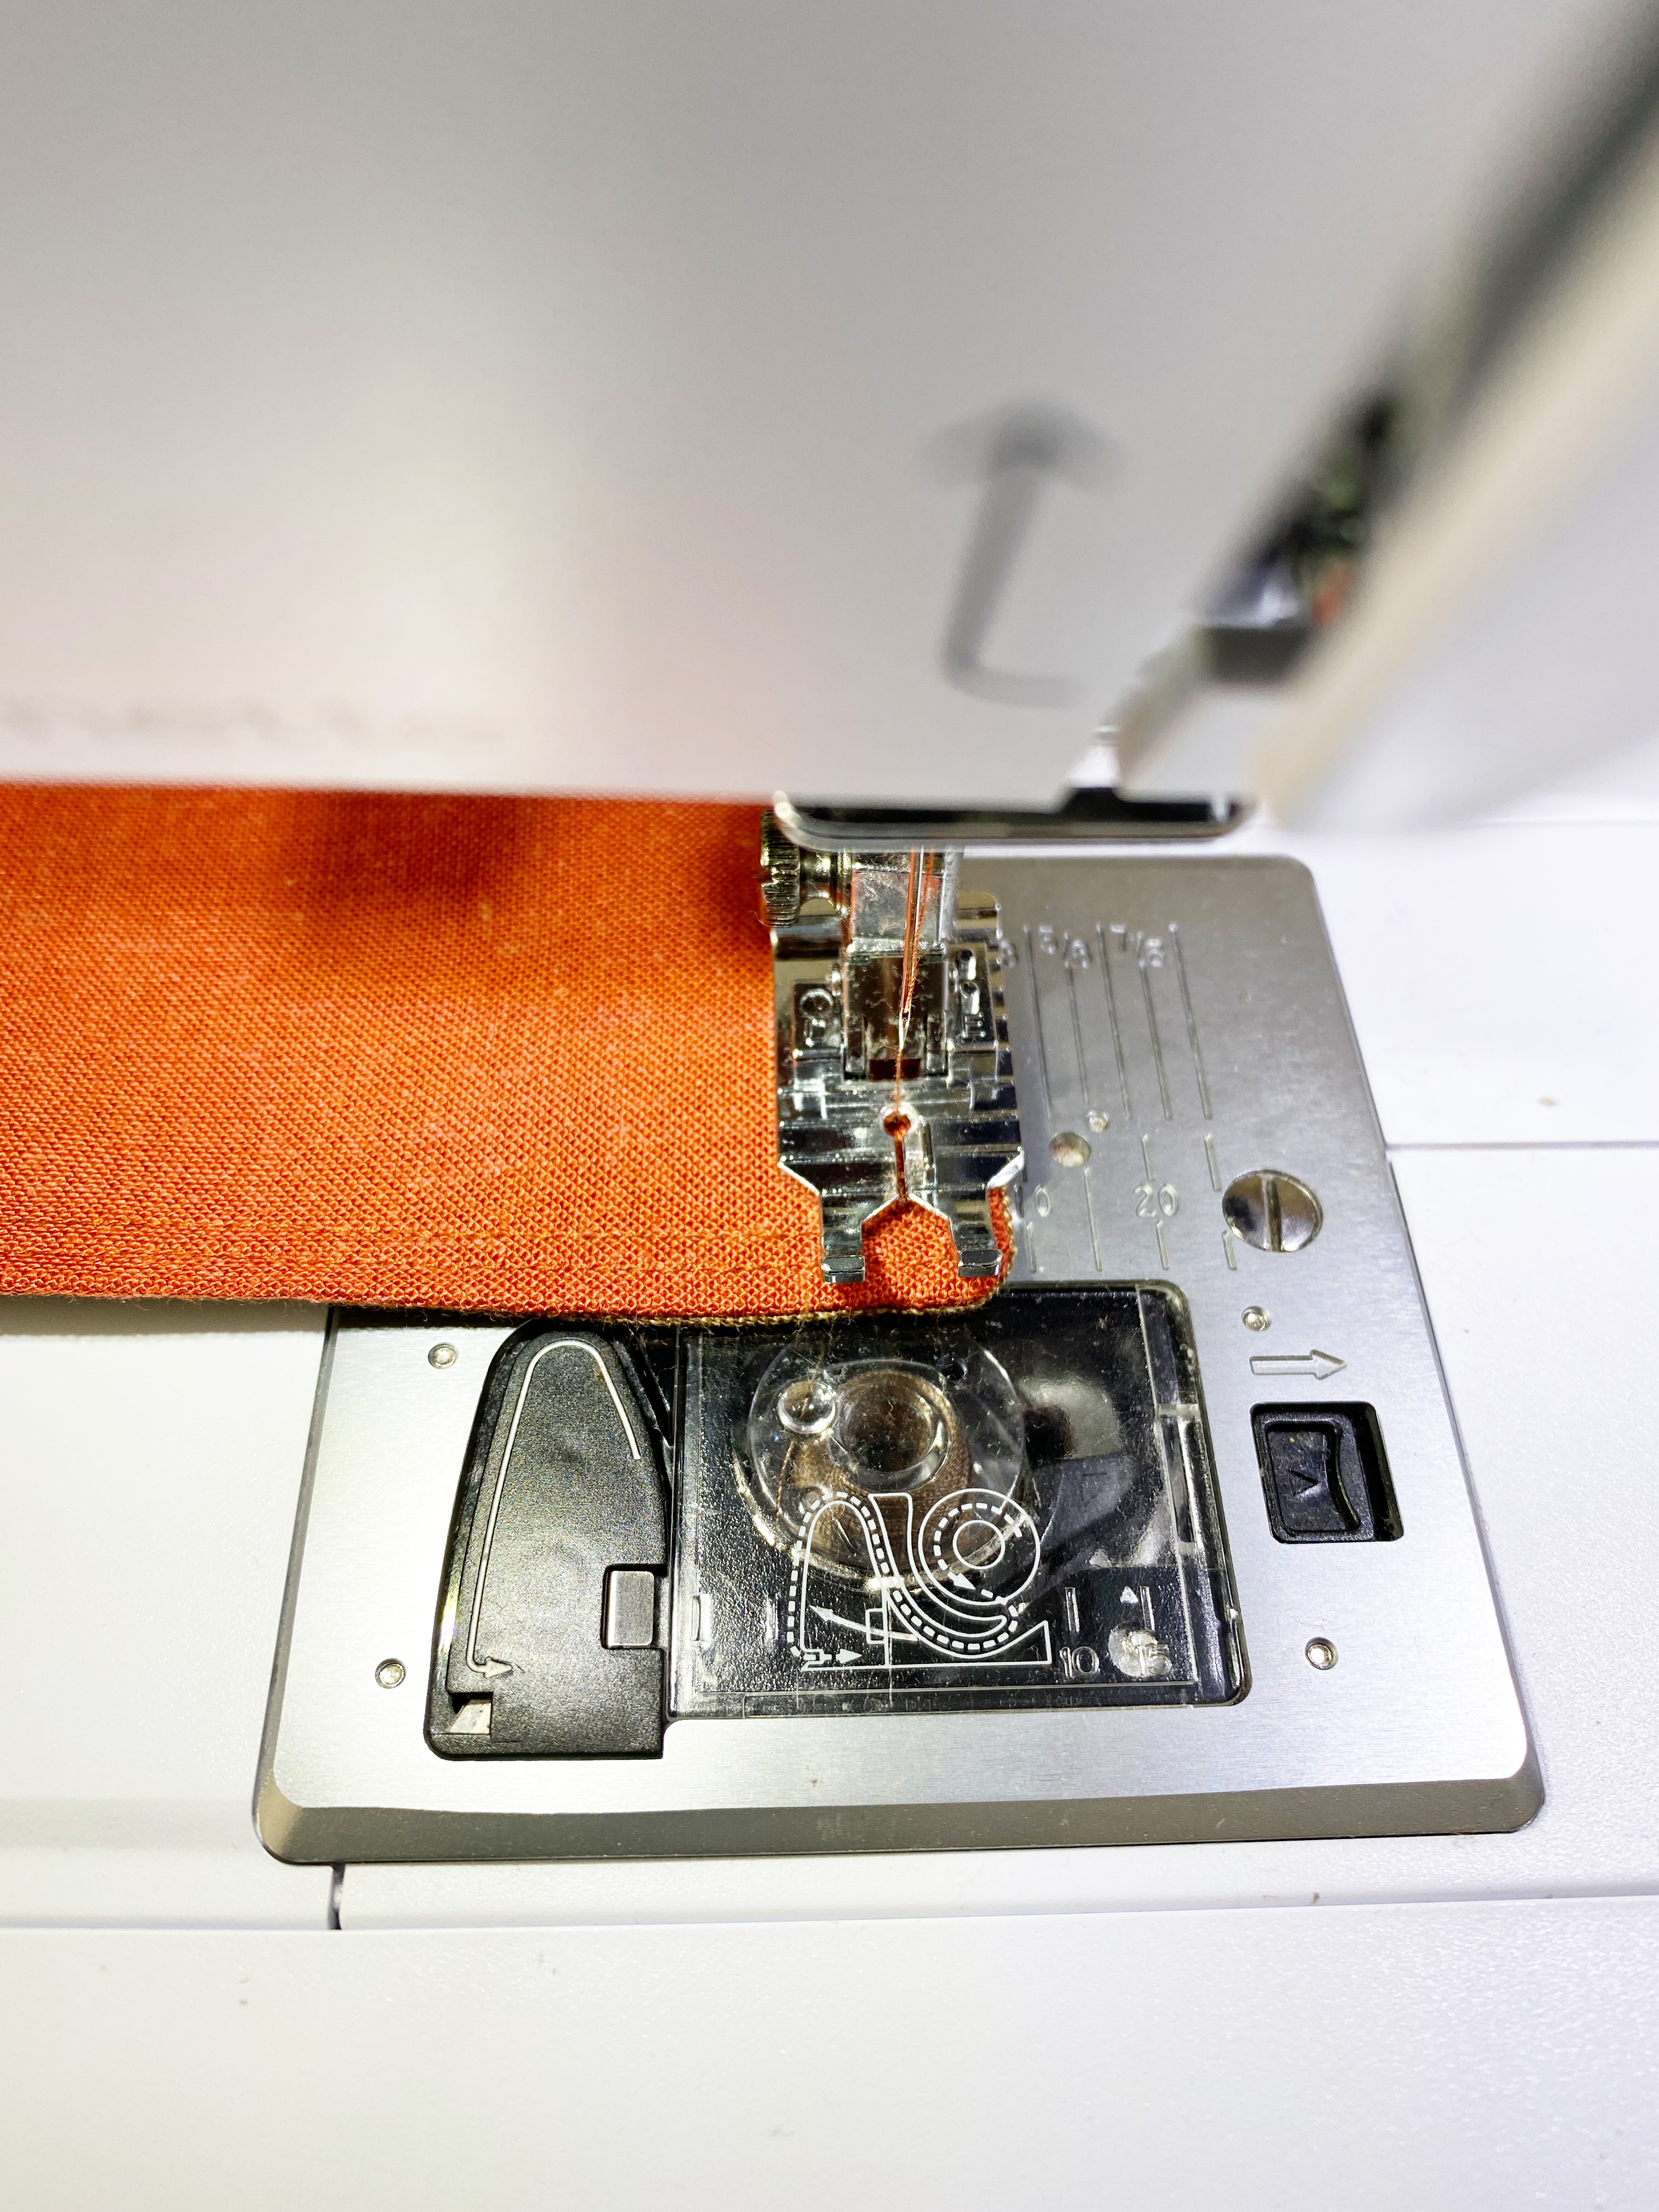
Step 10: Stitch the Placemat
Stitch around the placemat using a 1/4 inch seam allowance, leaving a 3-inch hole for turning. I used my bernette 77 for this step.
Trim the excess fabric and clip the corners.
Turn inside out.
Step 11: Top Stitch the Placemat
To close the opening, add two topstitch lines about 1/4 apart from each other.
Now repeat for the remaining three placemats.
Guess what; they are reversible!
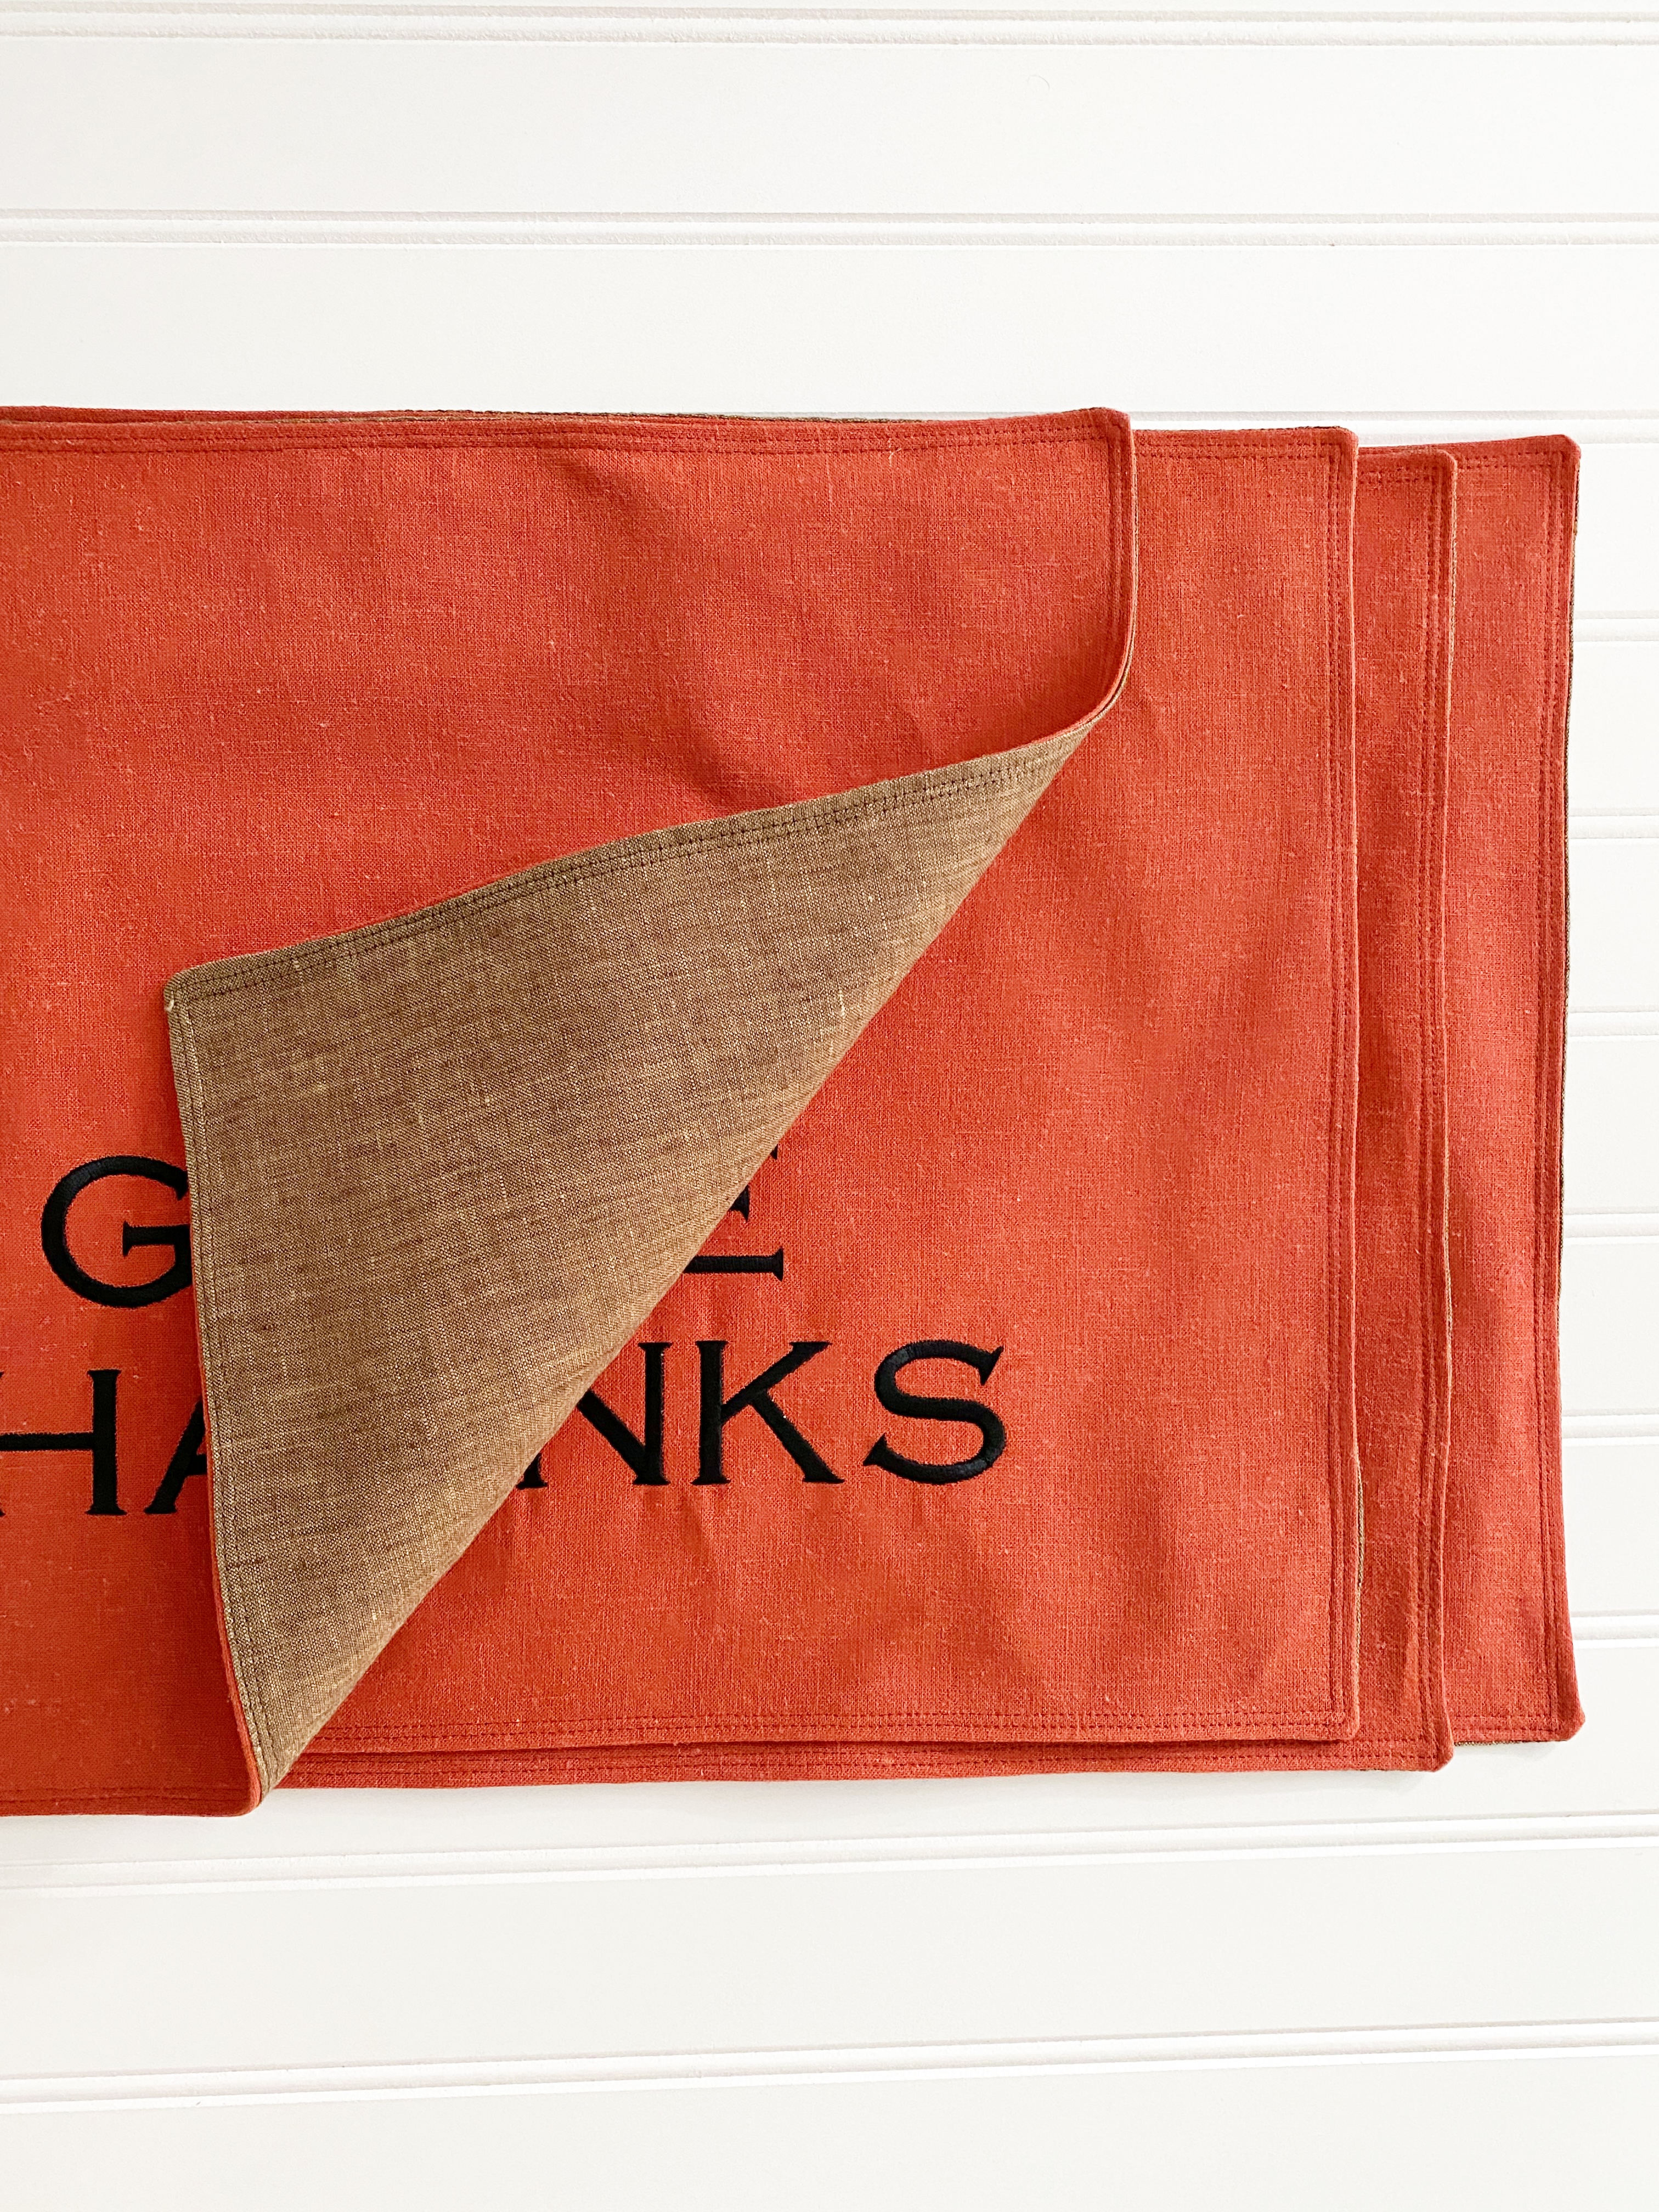
You can use them on the opposite side during the rest of the year.
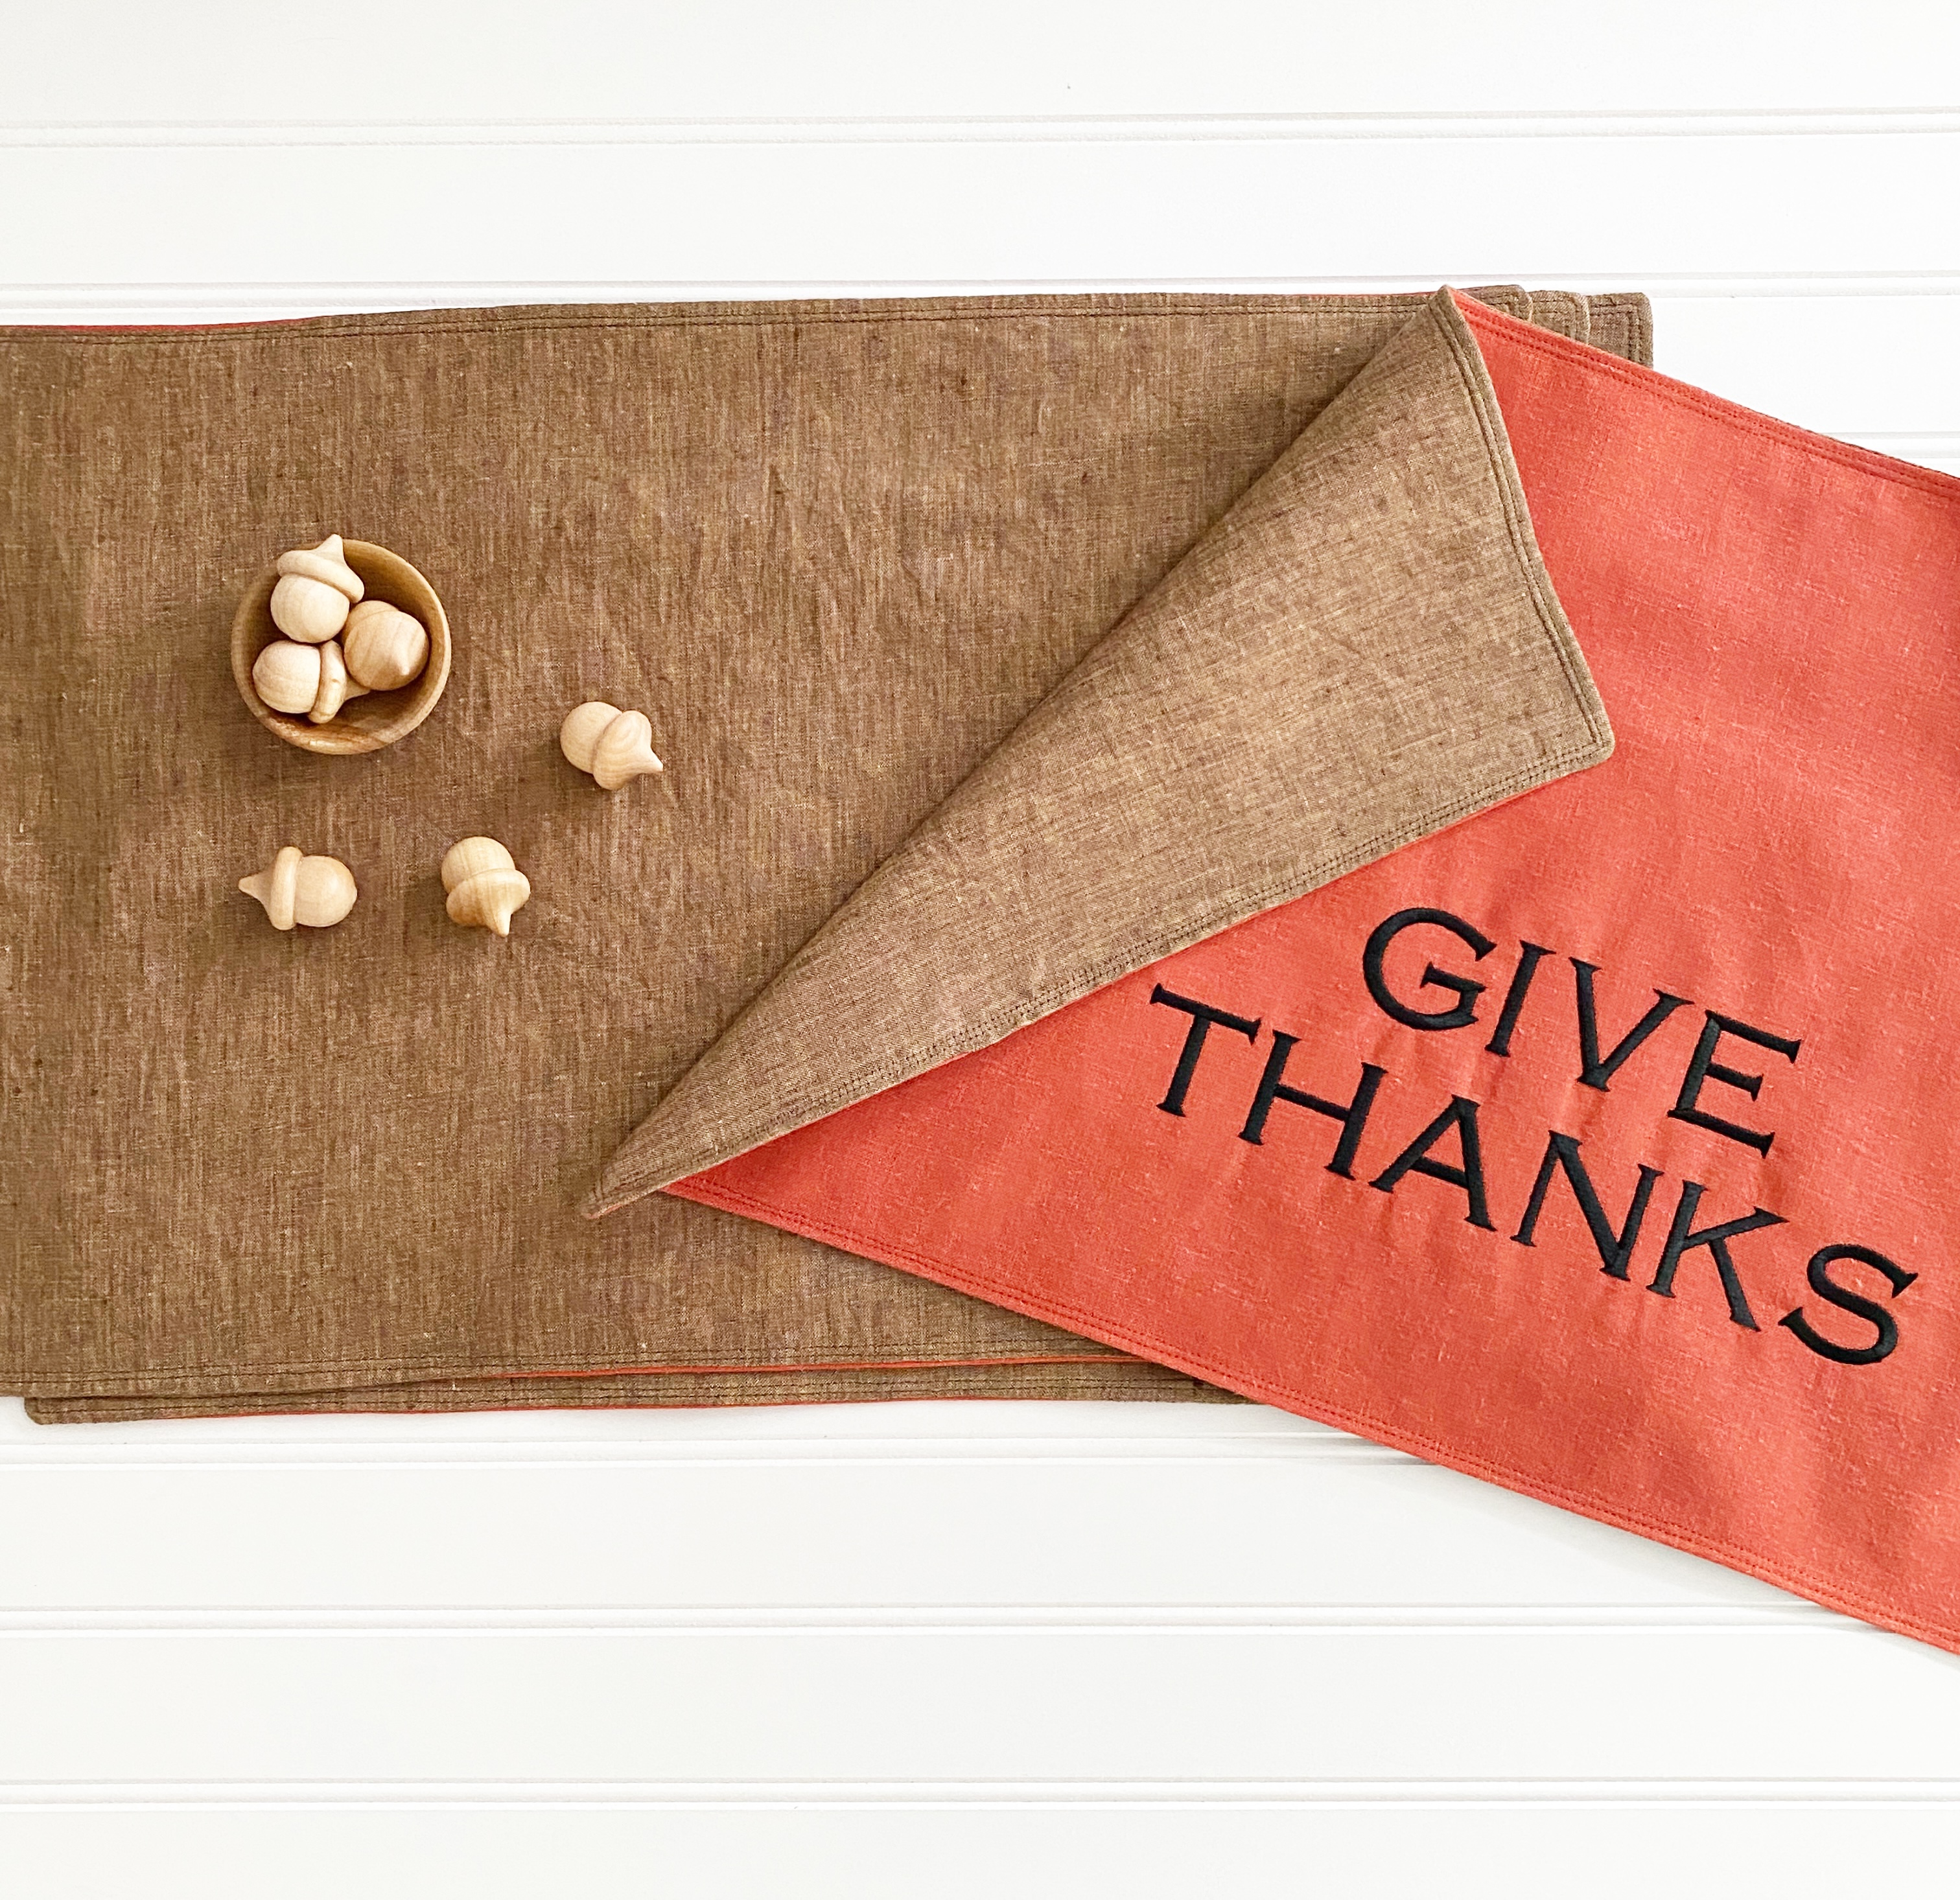
These are an excellent addition to your Thanksgiving dinner table.