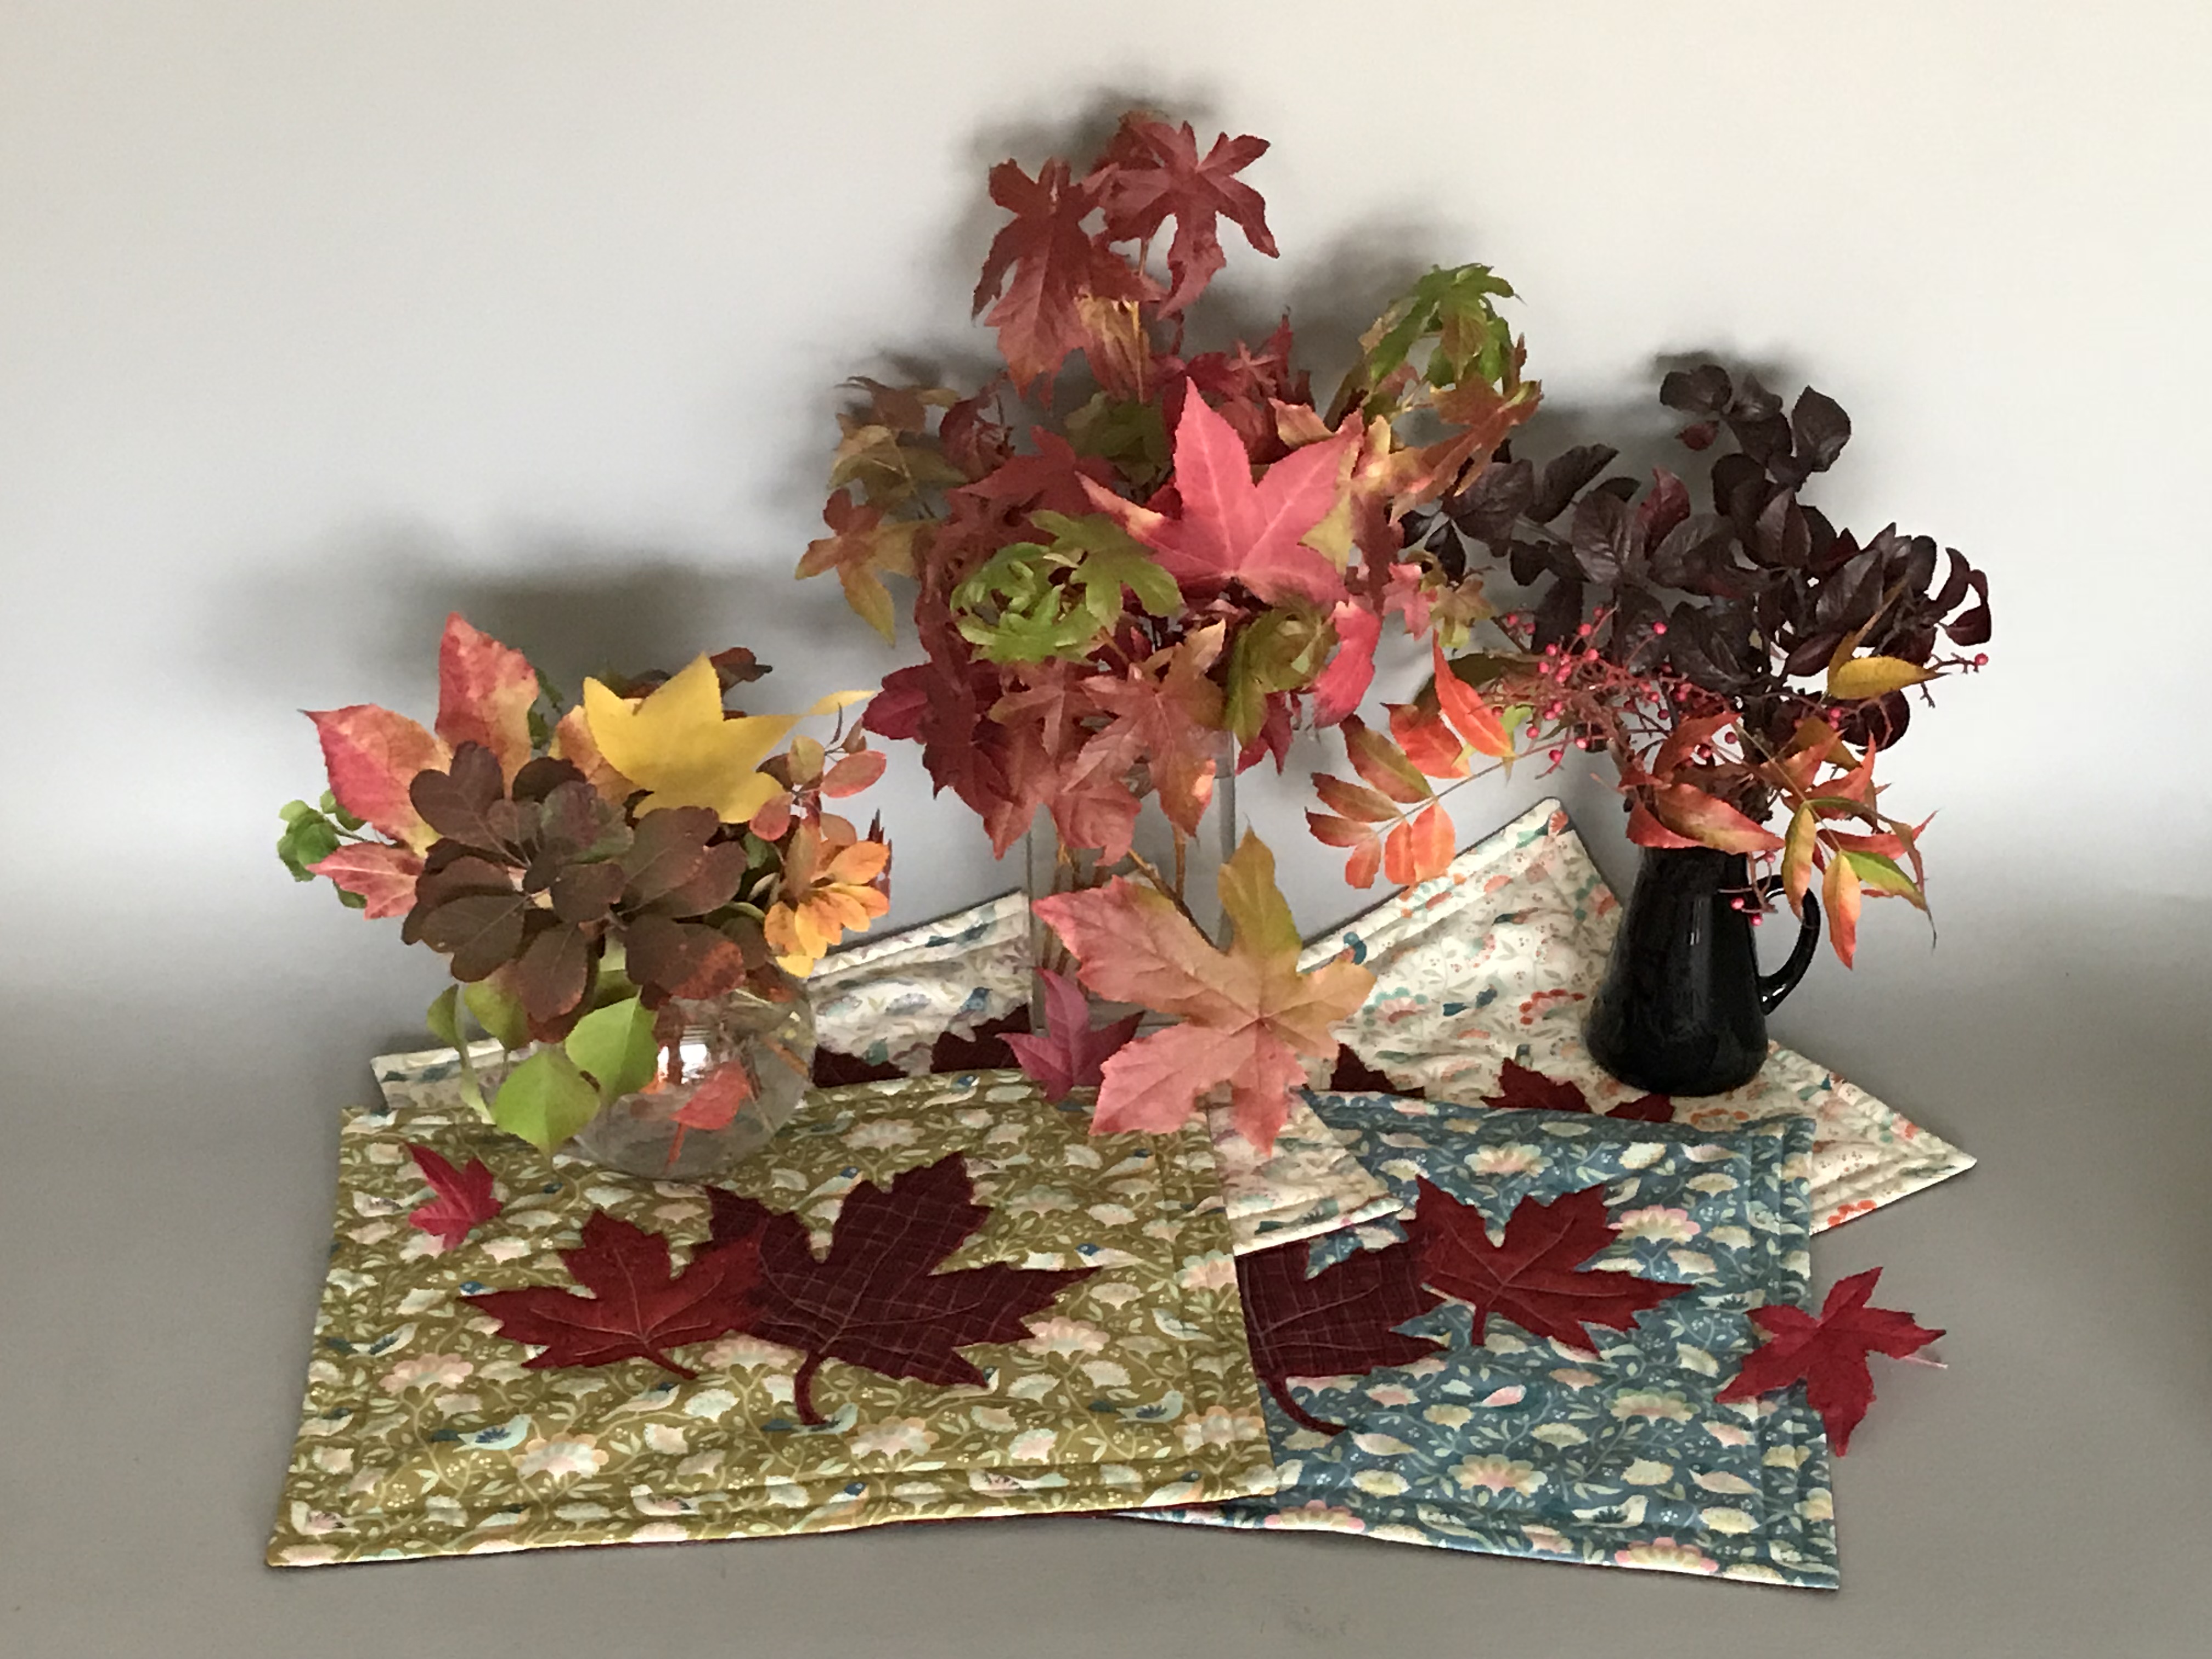
Vintage Tea Towel Placemats

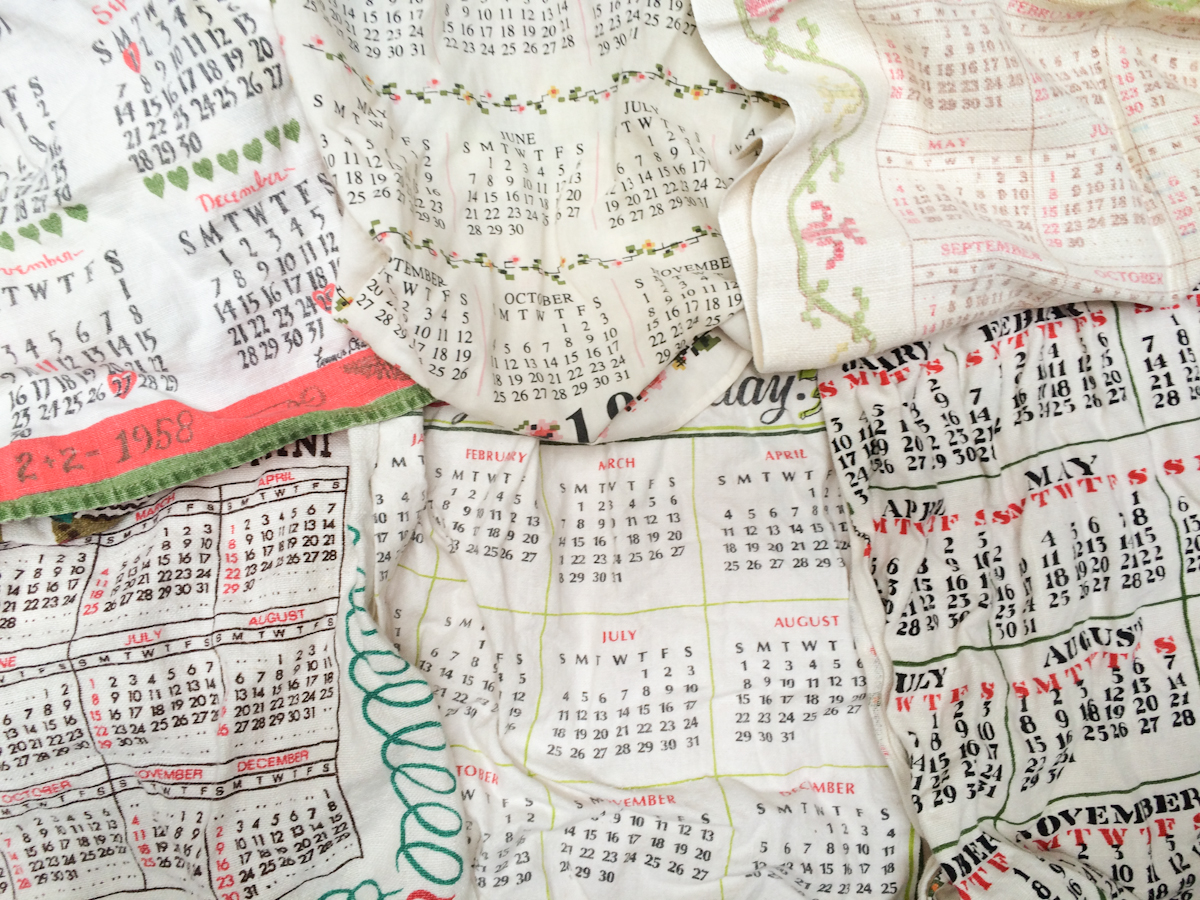
To know me is to know that I am a collector. I recently moved from New York to Portland, OR, and I’m so excited to be living in a place with yard sales. As a midwesterner, I missed them an awful lot when I was living in Brooklyn (where no one even has a yard, let alone a yard sale!). One of the things that I’ve been collecting for a long time are vintage dishtowels, particularly vintage calendar towels.
My wife recently noticed the pile of them in a drawer and asked why in the world I had so many, since they were not getting used all that often. Frankly, one of the reasons was because they require ironing to look halfway decent, and although I have an iron in my studio for projects, I rarely bust out the iron for dishtowels or dinner napkins. So, there they sat until one day I had an idea to use the towels to make a stack of placemats, and to use quilting to sort of beat them into submission and negate the necessity of ironing. Yahtzee!
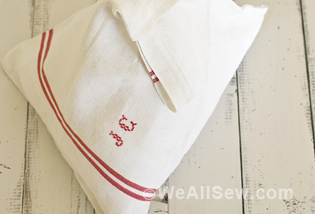
To make these placemats both sentimental and a great conversation starter at the dinner table, I used a satin stitch to highlight special dates for our family. The extra wide needle plate on the BERNINA 770 makes for some incredible satin stitch.
If you’re not an avid yard saler/ thrift shopper, you can easily find lots of these type of towels on Etsy or Ebay. You may even be able to purchase a “lot” or bundle of them for pennies. I love projects that use up things that I already have laying around, and this project does just that, even taking advantage of an old mattress pad en lieu of quilt batting. I encourage you to do the same and use what you’ve got. An old blanket (or even ahem, an old quilt) would also make excellent filling for these placemats.
Materials for the Calendar Towel Placemats
- Vintage calendar dishtowels or similar, one per placemat
- Cutting Mat
- Rotary Cutter
- Fusible web (I used Heat n’ Bond Lite)
- Quilting cotton, more dishtowels or similar for backing cut to 13 x 19 inch rectangles
- Quilt batting, old mattress pad or blanket for batting.
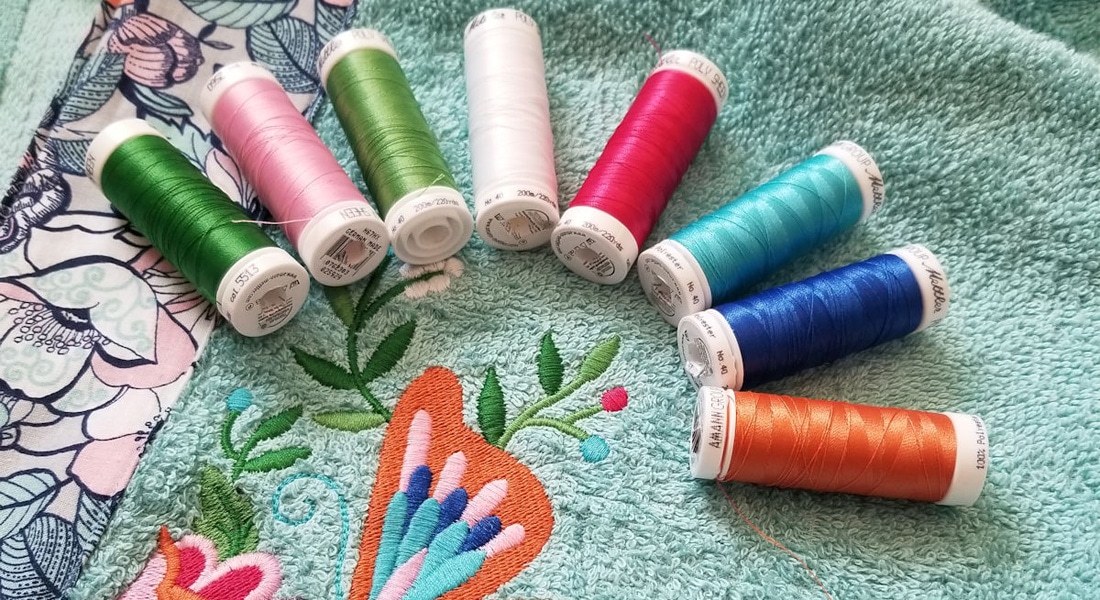
- Cotton Thread
- Sewing Machine (I use a BERNINA 770)
- BERNINA Dual Feed with Reverse pattern foot #1D
- Iron and Ironing Surface
- Bias tape or 3″ bias strips
1. Start out by laying out all your towels and giving them a good wash and iron. If there are spots, I find a soak in oxiclean and an afternoon in the sun usually does the trick. For my placemats, I wanted the numbers to be horizontal on the mats, and to do that I needed to piece a little extra around the edges as you can see here. I did that by cutting the tops off the calendars and doing a little piecing rearranging. For all the stitching in this project, I used the Reverse pattern foot #1D with the Dual Feed engaged. It sews like a dream!
2. Keep piecing until the tops of your placemats measure 13 inches by 19 inches, or however big you’d like them to be. Next, iron a 13 by 19 inch piece of fusible web to the backside.
3. After peeling the backing off the fusible web, iron all your placemats onto the mattress pad or quilt batting to fuse them together. This prevents the wobbly linen towels from shifting around too much during the quilting process, and makes the placemats iron free forever—win win!) Cut out each individual placemat.
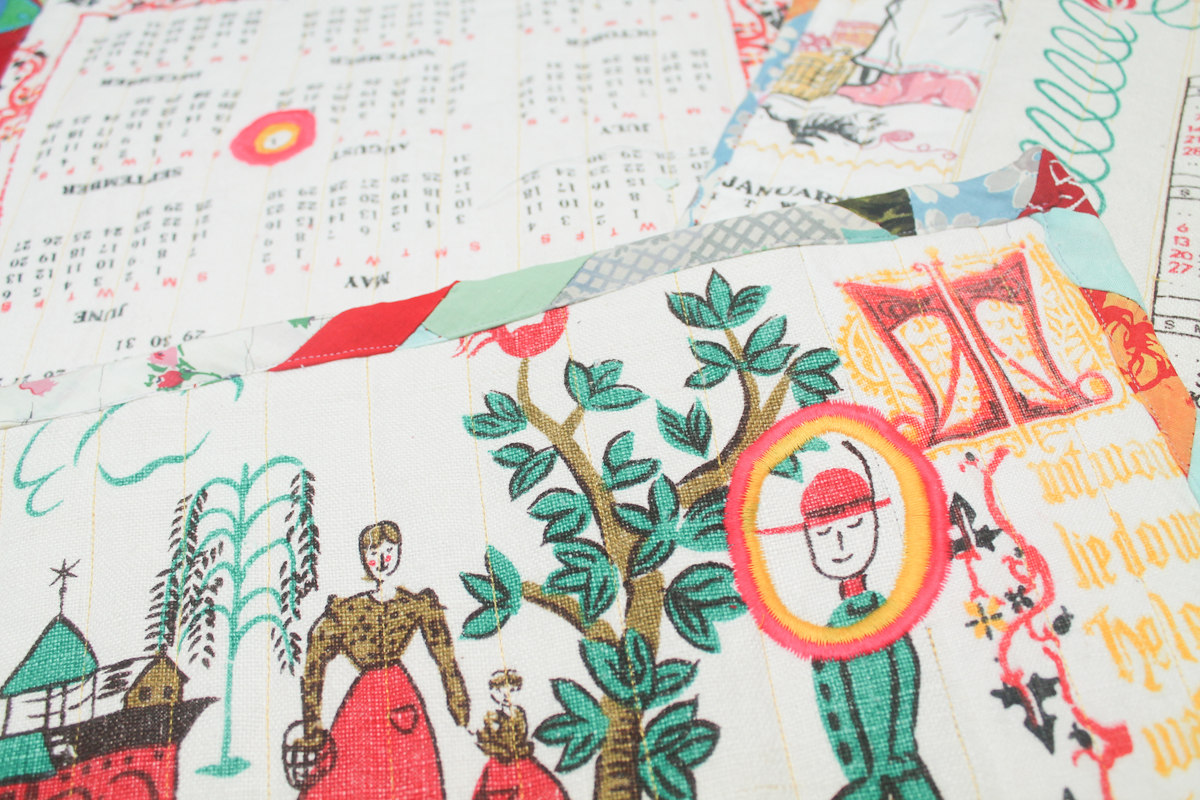
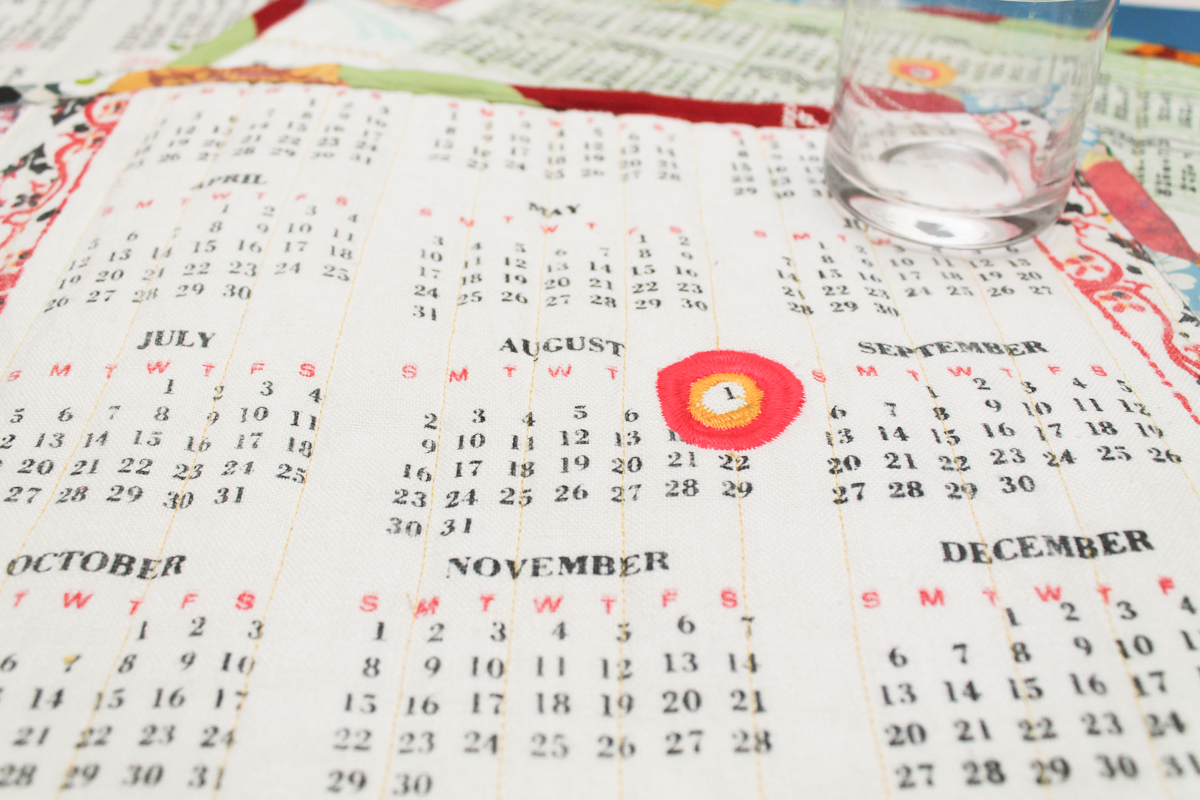
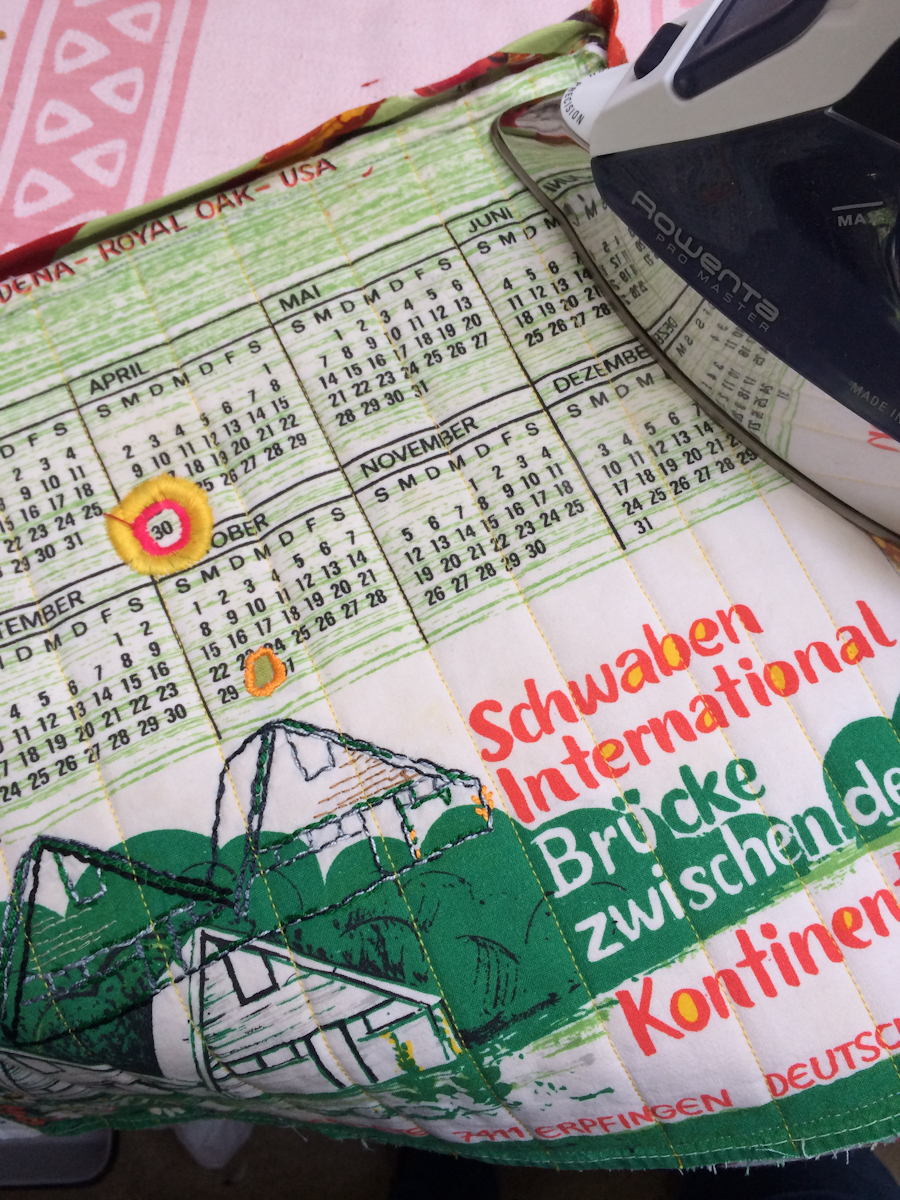
4. Now comes the fun part, and the part where my BERNINA 770 really shines. I used a satin stitch to sew circles around special dates, making concentric circles of color (the satin stitch is just zigzag stitch that has a wide width and very very short length.) The BERNINA 770 has an extra wide needle plate, making much wider zig zags than an average machine, and I love the way the perfect tension control makes for beautiful satin stitches. I sewed around each circle twice to make them extra dense, and followed up with a second color that barely overlaps the first. Circle one date on each calendar, or circle all your families highlights on every calendar. It’s up to you! One of the placemats I made did not have a calendar, as you can see. I used the satin stitches on that one to circle the happy farmer. These circles are a great way to highlight your favorite design elements. I used bright yellow and pink threads to contrast with the slightly dull vintage towels.

5. Now that you are finished with the satin stitching, you can stack each placemat together with your backing fabrics, with wrong sides together.
6. Use the Dual Feed with Reverse pattern foot #1D to quilt all the layers together. I did not use any pins since these are small placemats. If you forgo the fusible web, I do recommend using safety pins here to prevent wrinkles and tangles.
7. Trim any loose threads or wonky edges.
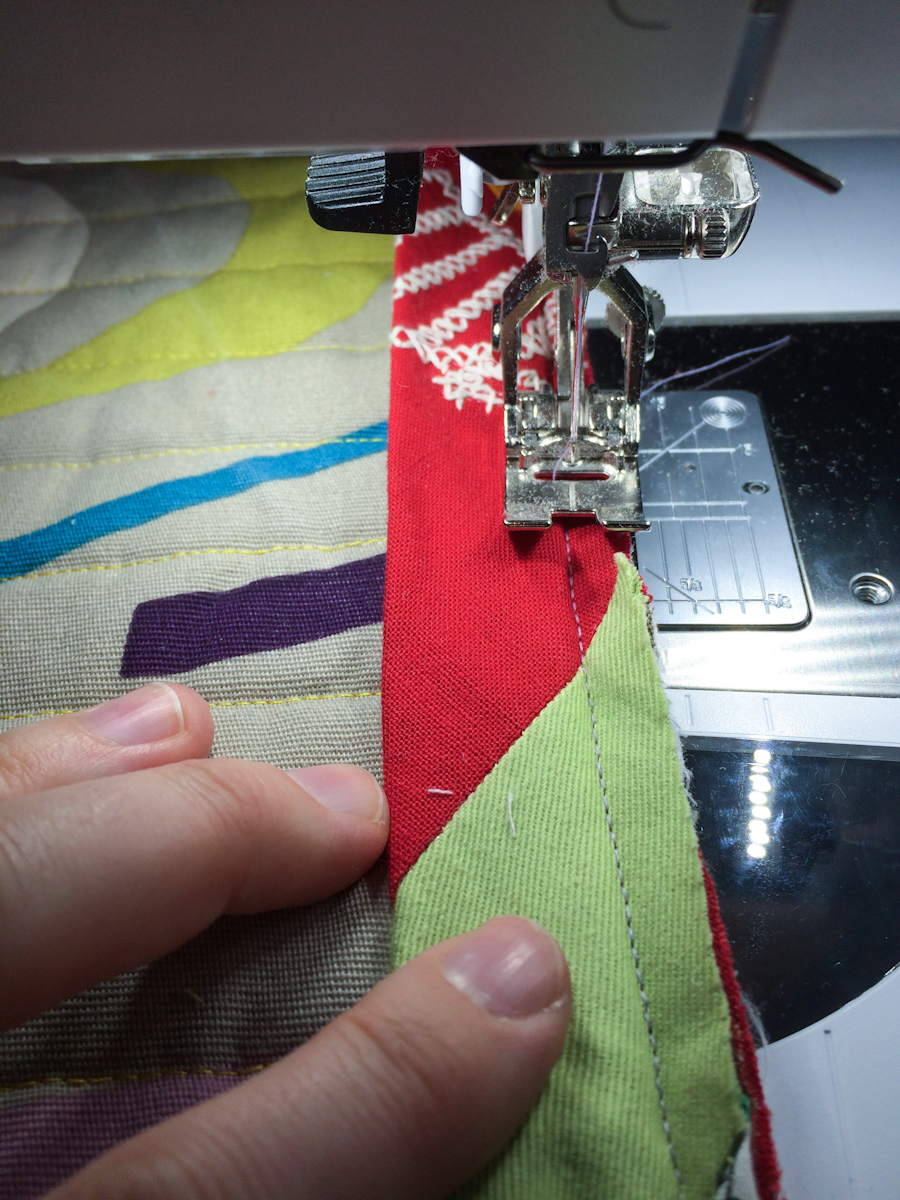
8. Now it’s time to finish the edges. For these placemats, I used an old quilt top that had been hanging around waiting to get quilted for years, and cut it down into 2.5″ bias strips that I pieced together to make enough binding. Of course, this presented some problems when it came to the corners, as there was extra bulk, but the end result was worth the fussy stitching. With the Dual Feed engaged, sew the bias tape onto the back side of the placemat as shown with a ¼ inch seam allowance, folding over and back at each corner to make mitered corners.
9. Cut the edges down to reduce bulk, trimming away part of the batting to make the fold-overs easier, and trimming the corners.
10. Iron the bias tape from the backside.
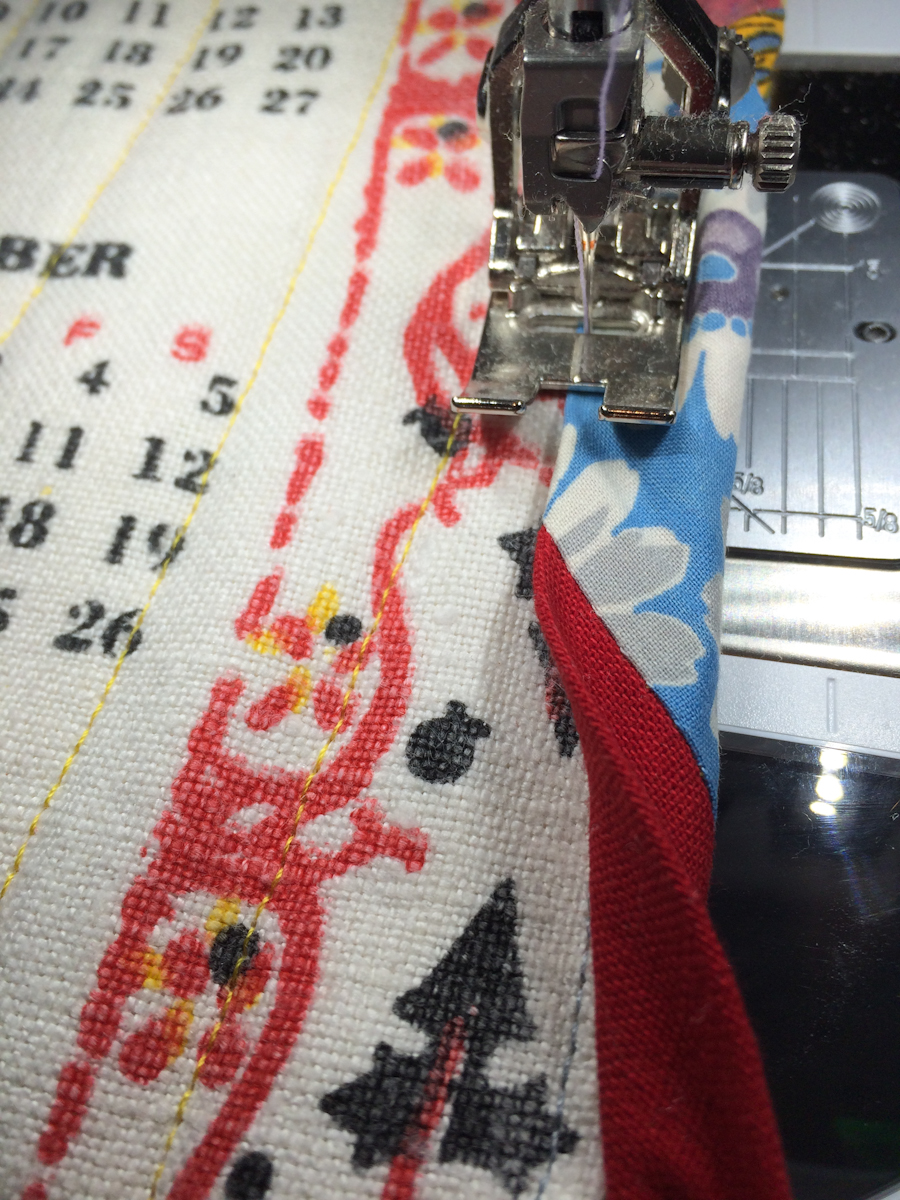
11. Fold the bias tape over and begin stitching it down to the front side either by hand, or by machine using the Dual Feed and Reverse pattern foot #1D.
12. Iron to finish.


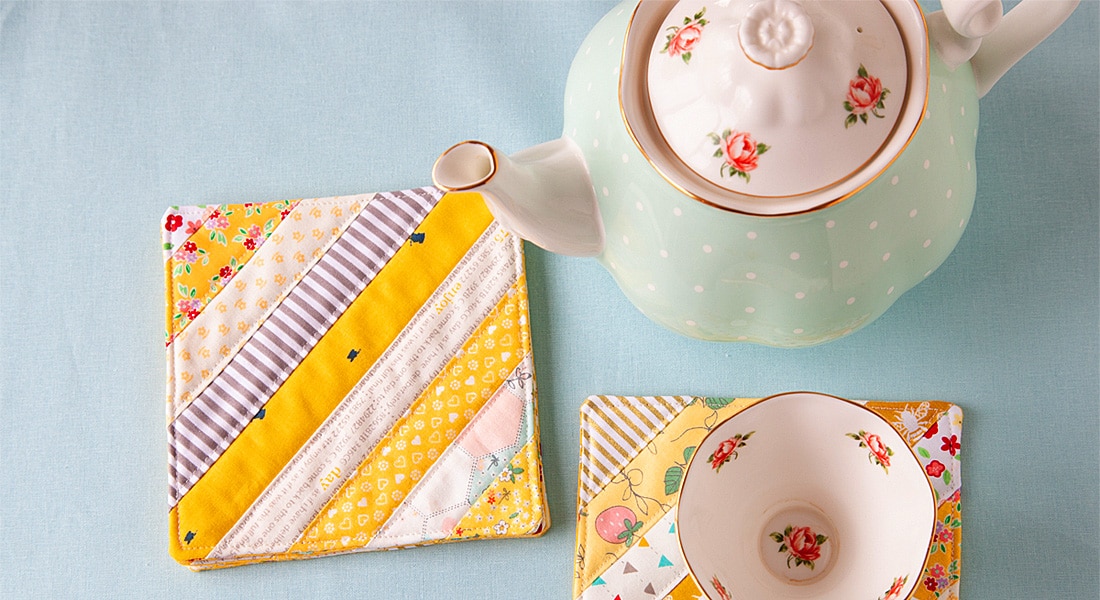
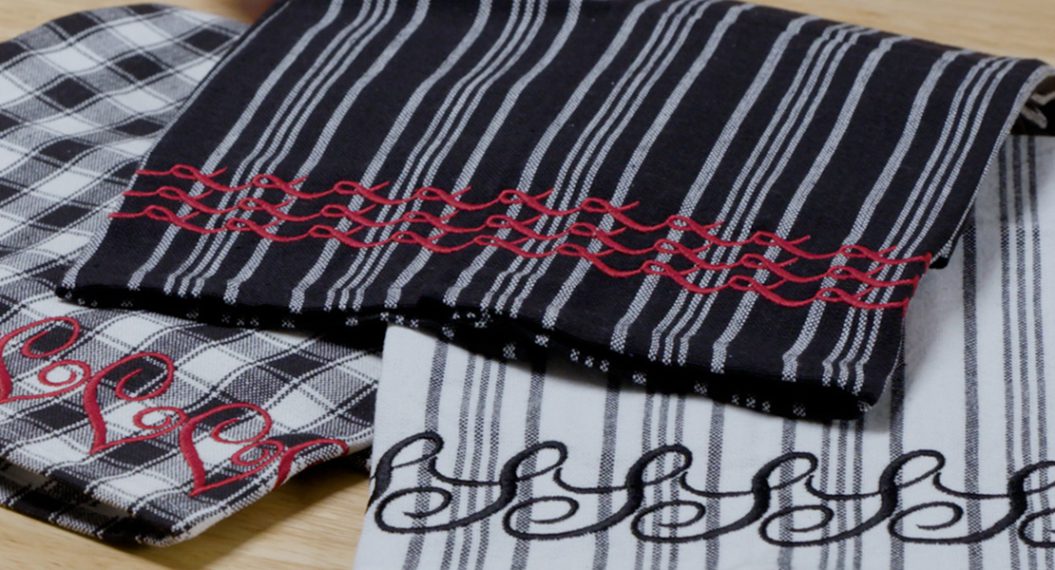
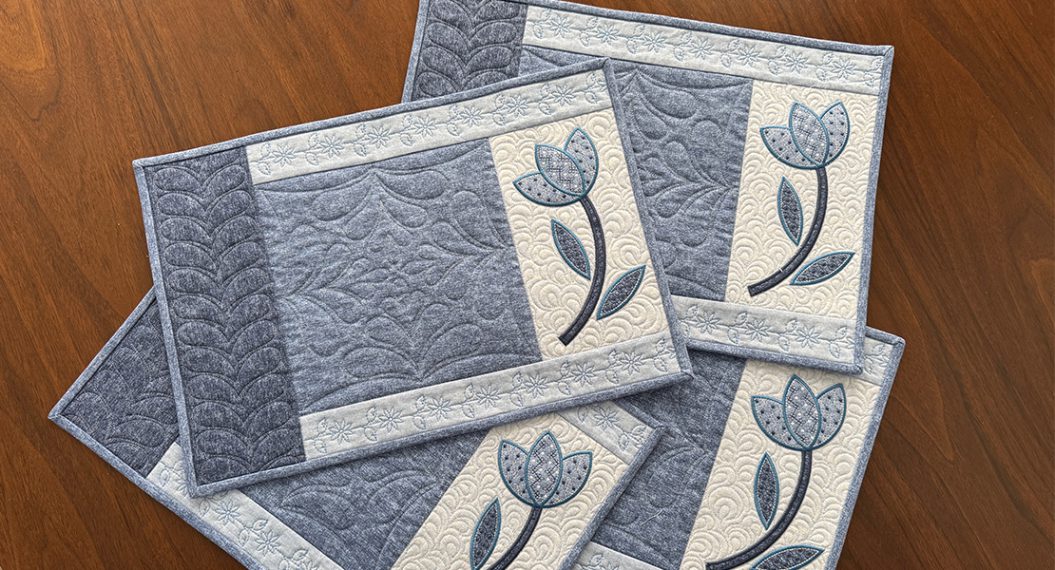
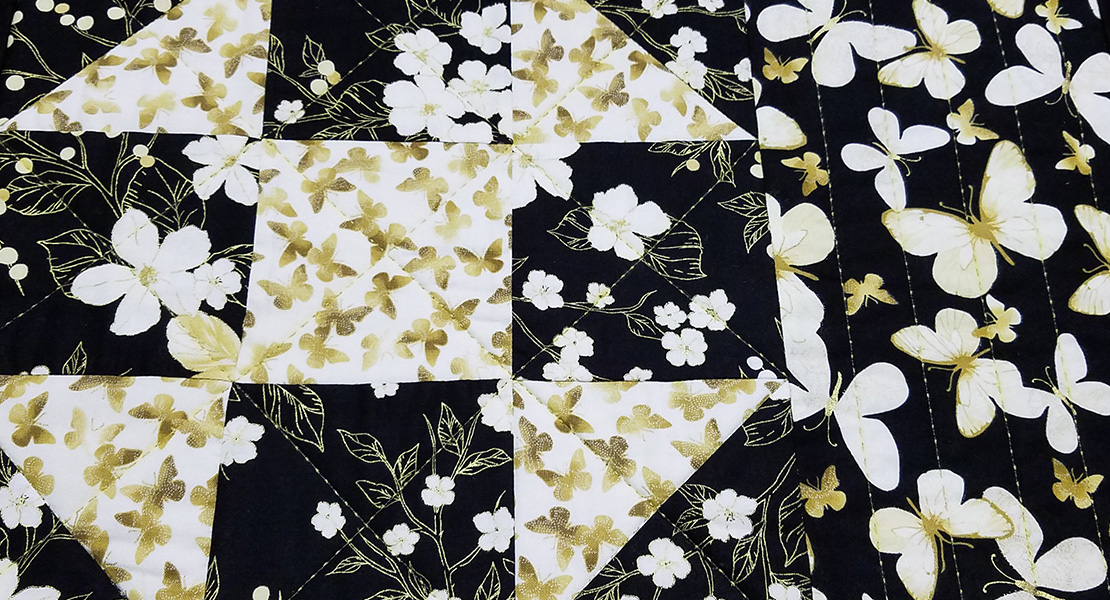
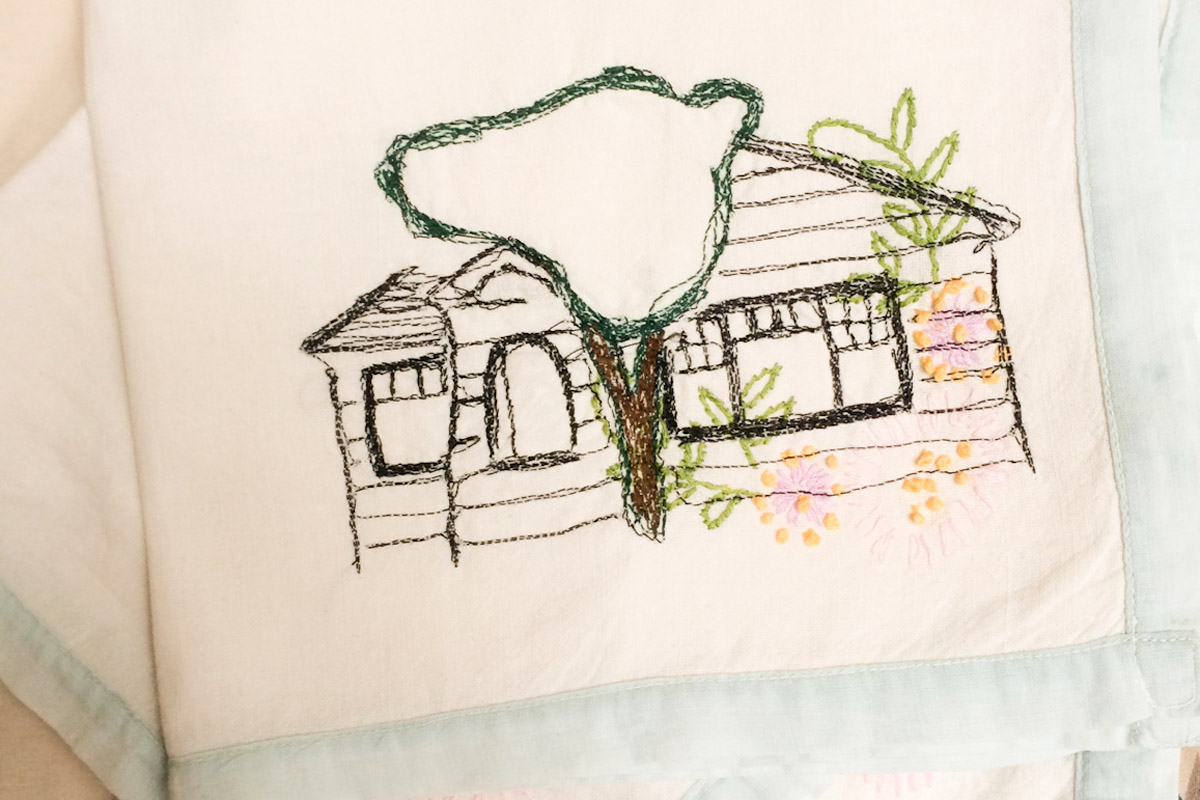
What you might also like


6 comments on “Vintage Tea Towel Placemats”
-
-
Thank you!
-
-
Great idea – for all kinds of bits of vintage fabrics, really. Hmmm …
-
Yes!
-
-
In the ’50s and ’60s, my mother purchased a calendar tea towel every year, and when the year had passed, she laundered and pressed it and gave it to me. I have often wondered what I could do with that pile of tea towels. Thanks for the great idea!
-
My neighbor gave me a whole stack of these tea towels that her mother-in-law had given her every year for like 30 years. I think I will enjoy making placemats with them and getting them back for a birthday present.
Leave a Reply
You must be logged in to post a comment.

LOVE this idea……