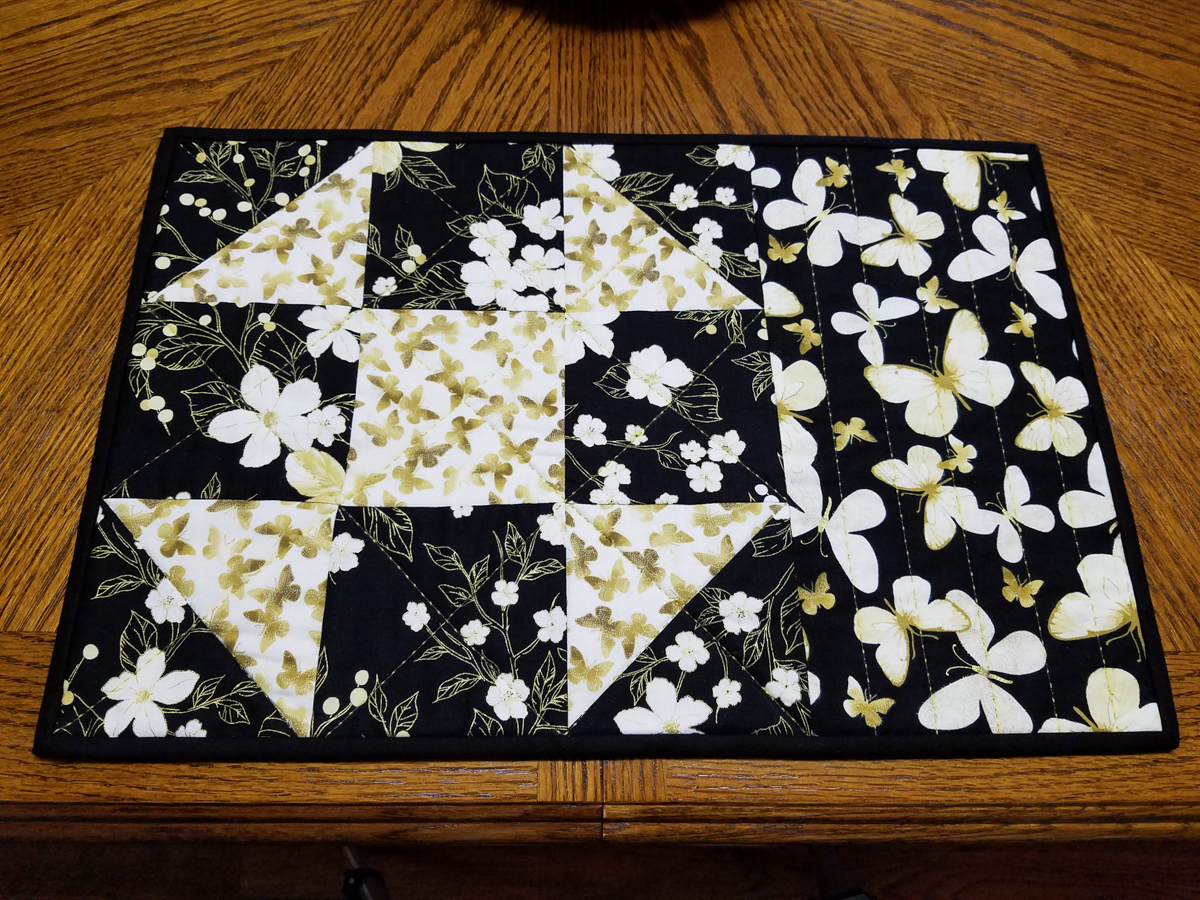
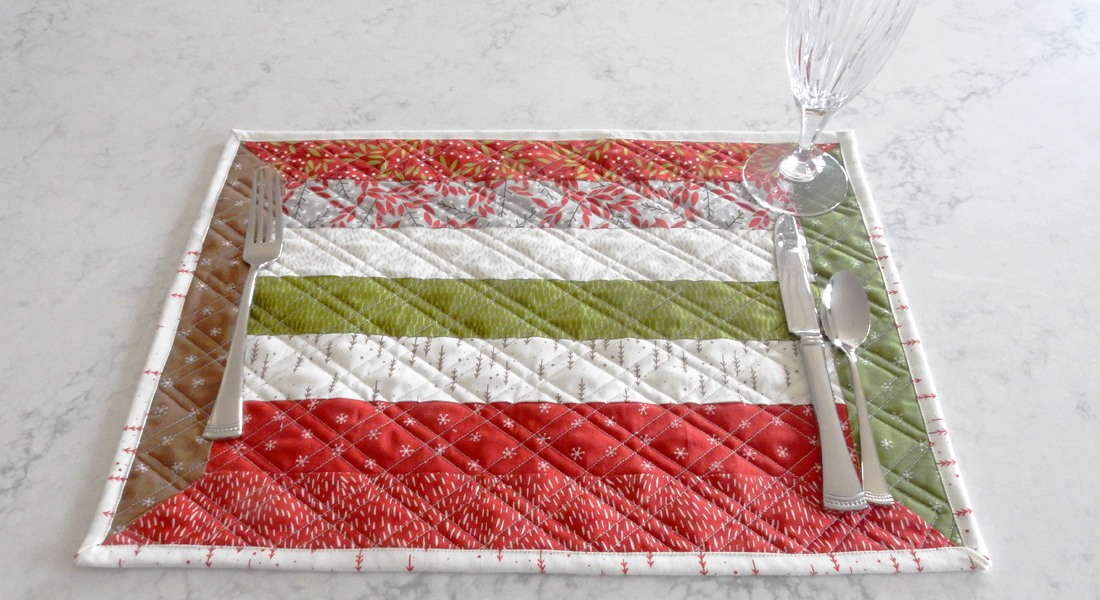
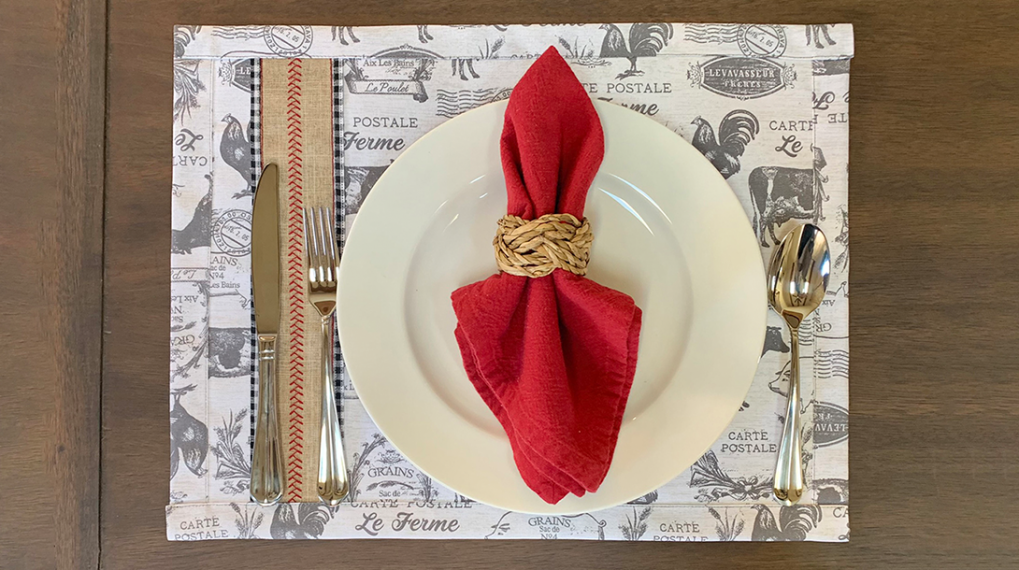
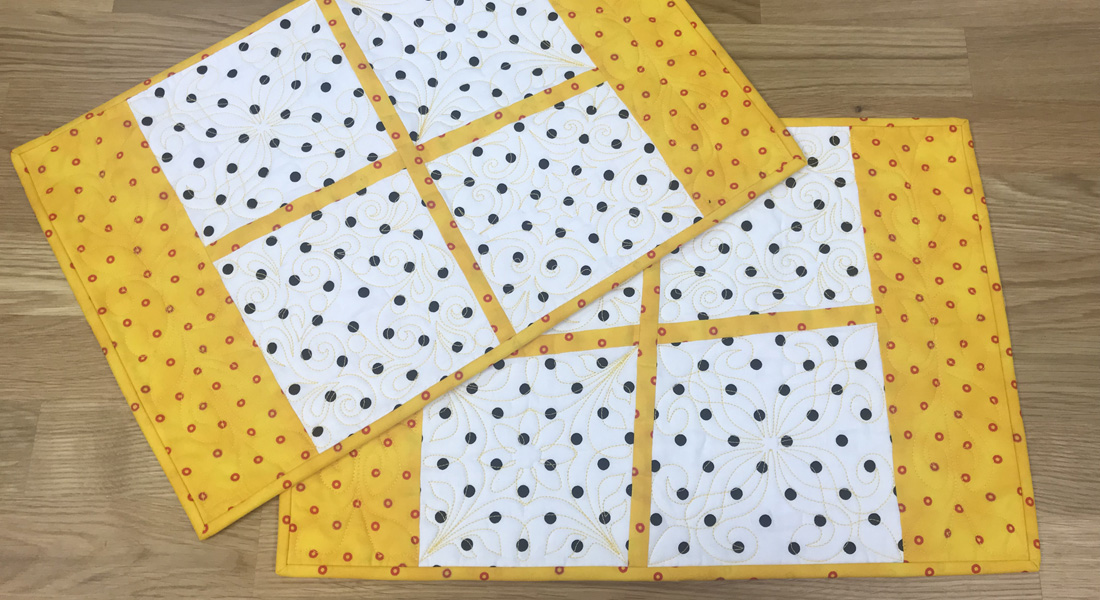
Shoofly Block Placemats
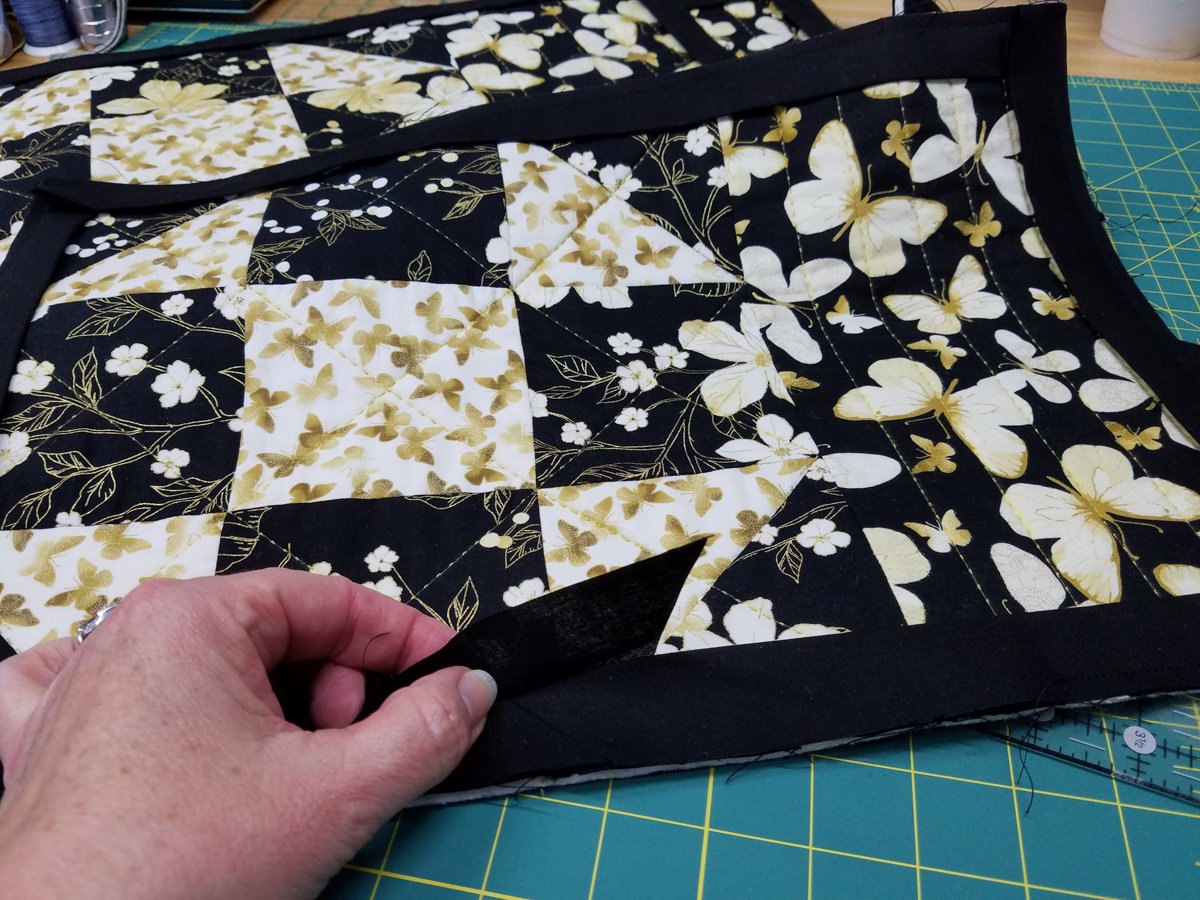
When I saw Block 2 of the BERNINA Block Party, I knew had to make placemats out of the shoofly block. To do so, I needed to add a 6 ½” by 12 ½” strip to the right side of the block, making it more rectangular and fitting to a placemat to dress any table. So, let me show you how to make your own!


Supplies for four Placemats
- Reverse Pattern Foot #1/#1C/#1D
- Patchwork Foot #37/37D
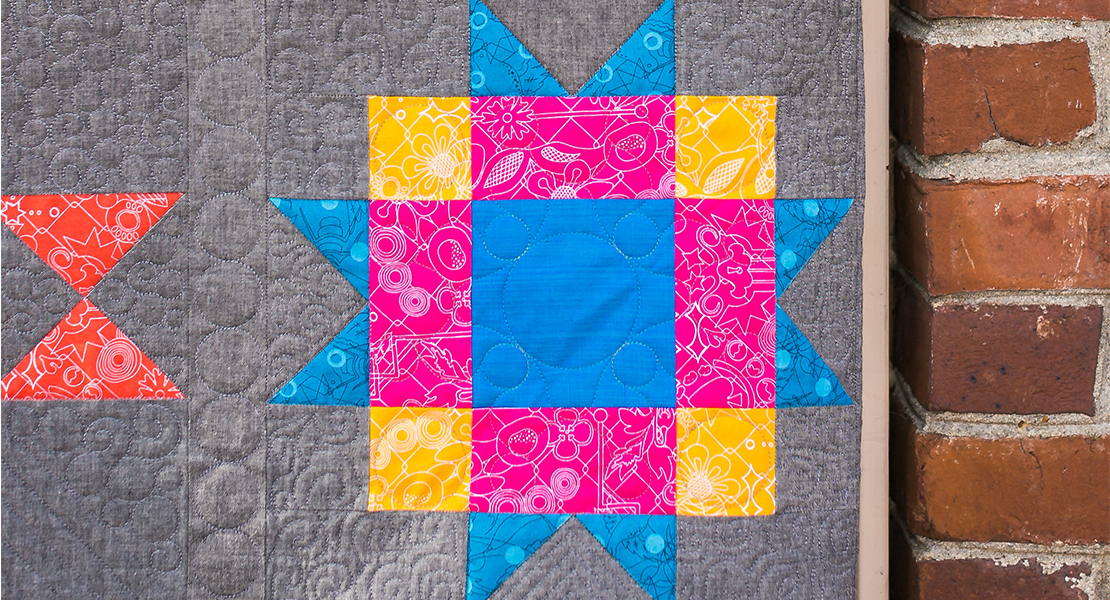
- Four Shoofly Blocks (I used 3 fabrics from New Traditions fabric collection by Benartex)
- Side pieces: Cut four 6 ½” x 12 ½” strips
- Batting: Cut four 21″ x 15″ rectangles
- Backing: Cut four 22″ x 16″ rectangles
- Binding: Cut a total of seven strips 2 ¼” x width of 44″ fabric
Instructions on How to Create the Placemats
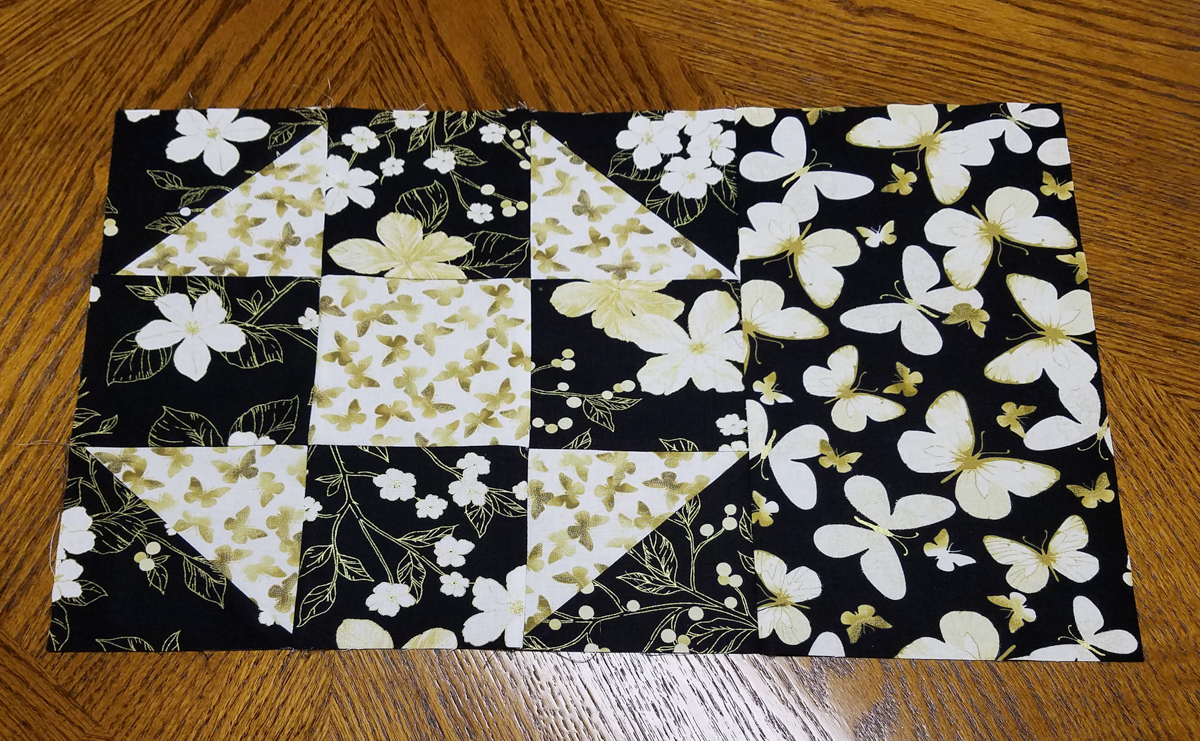
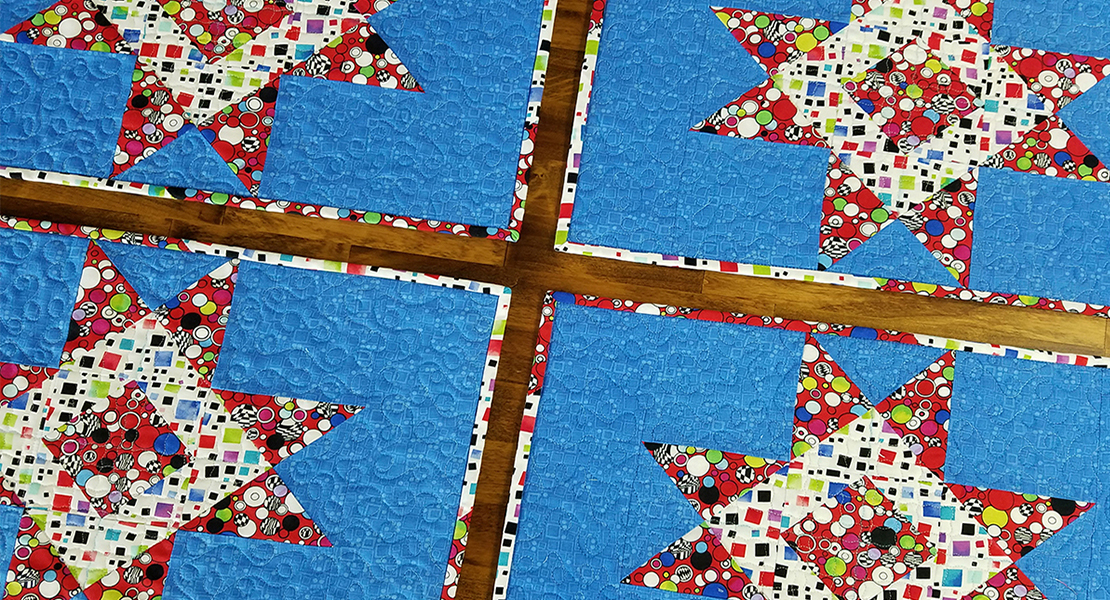
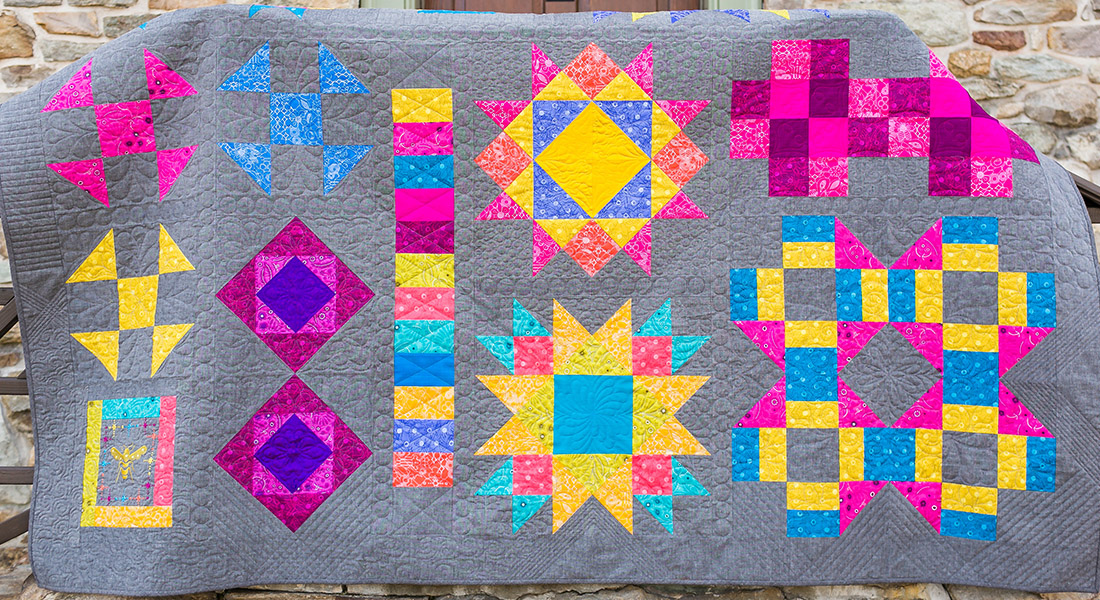
Create the Shoofly Block following BERNINA Block Party Shoofly instructions. Choose the fabrics you wish to showcase on your table.
Add a 6 ½” x 12½” strip to one side of each block using a scant quarter inch seam allowance.
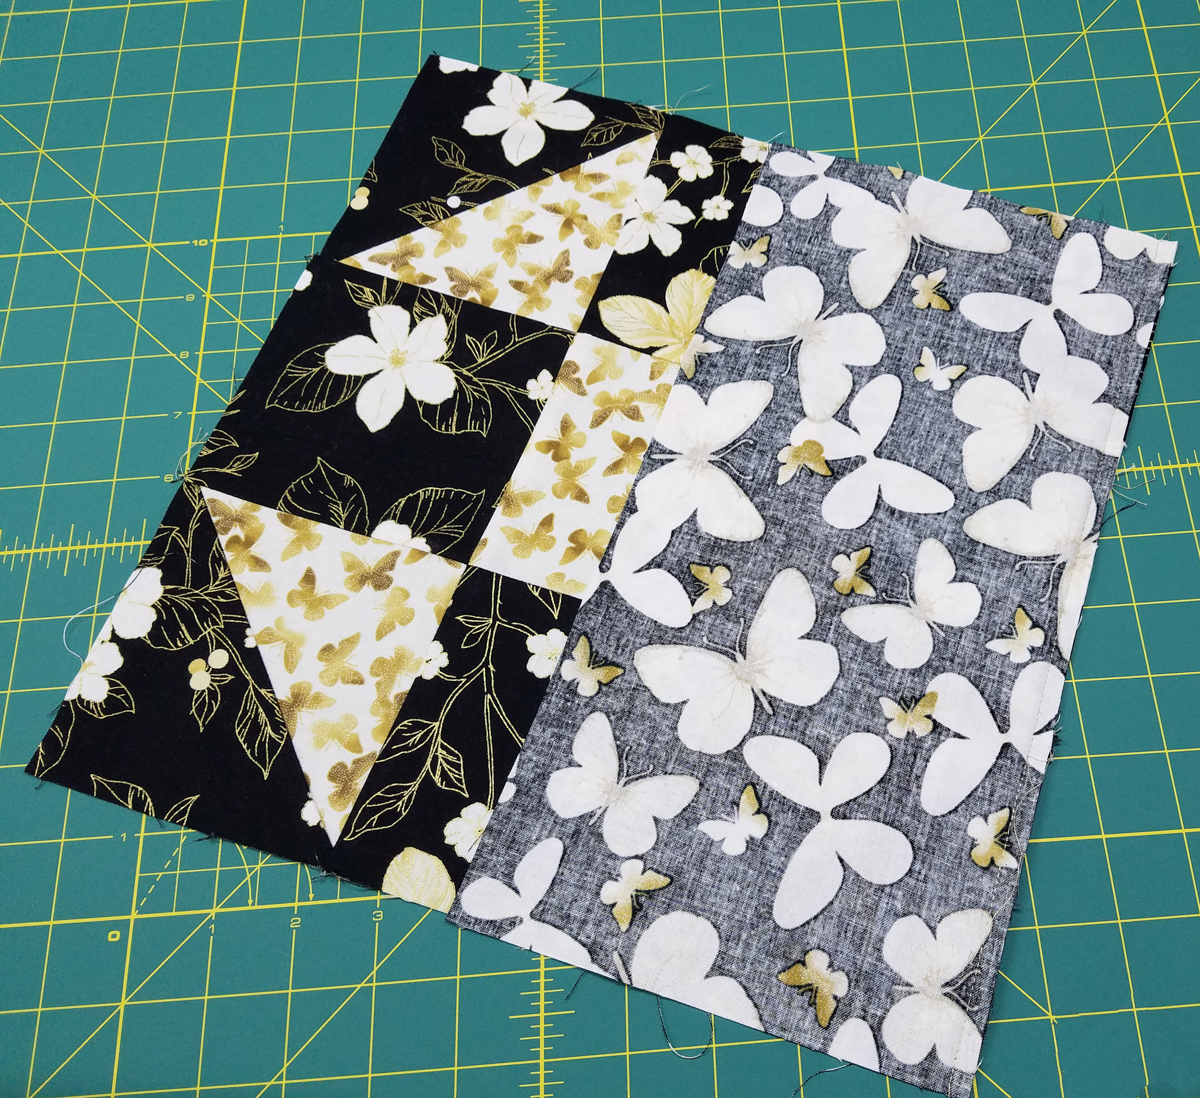
Press the seam away from the block.
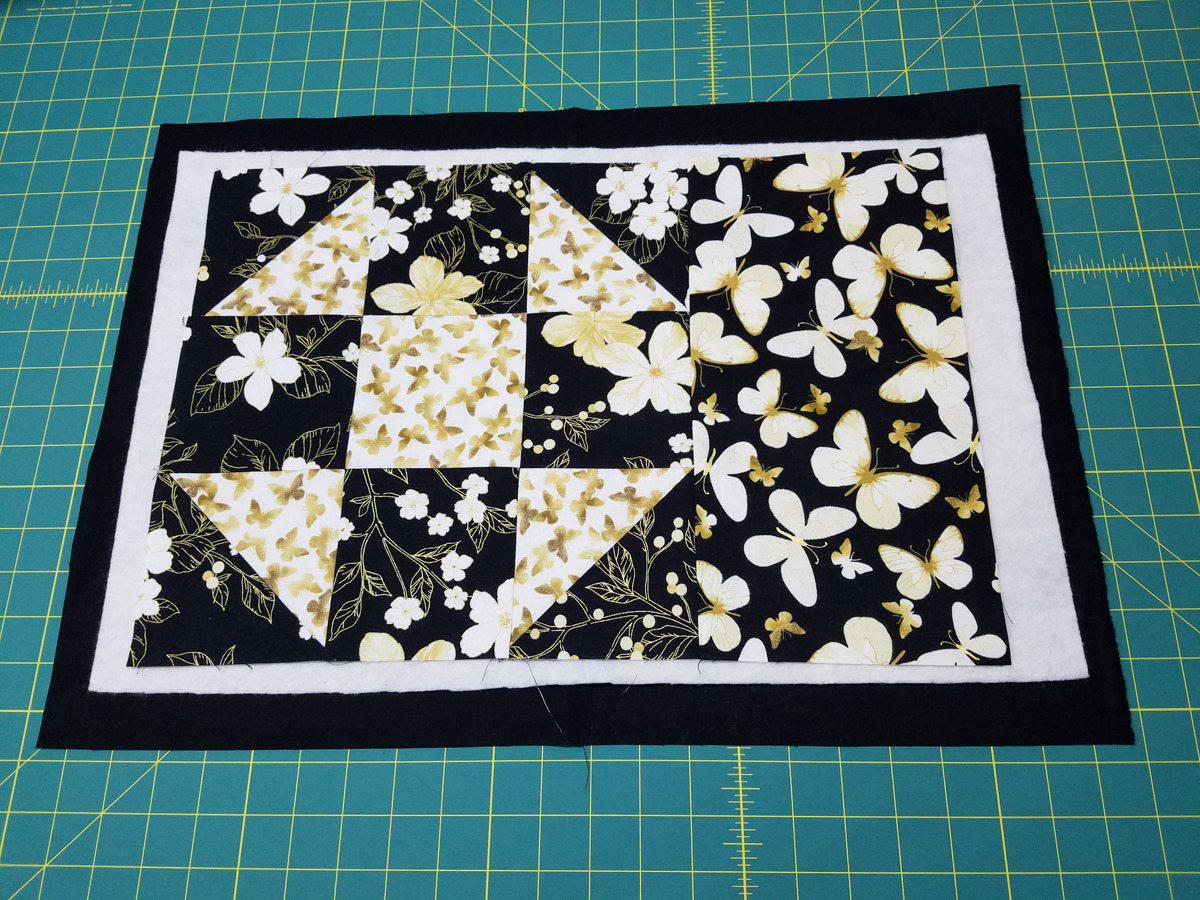
Make a quilt sandwich for each placemat by layering the backing with the wrong side up, the batting, and then the block right side up.
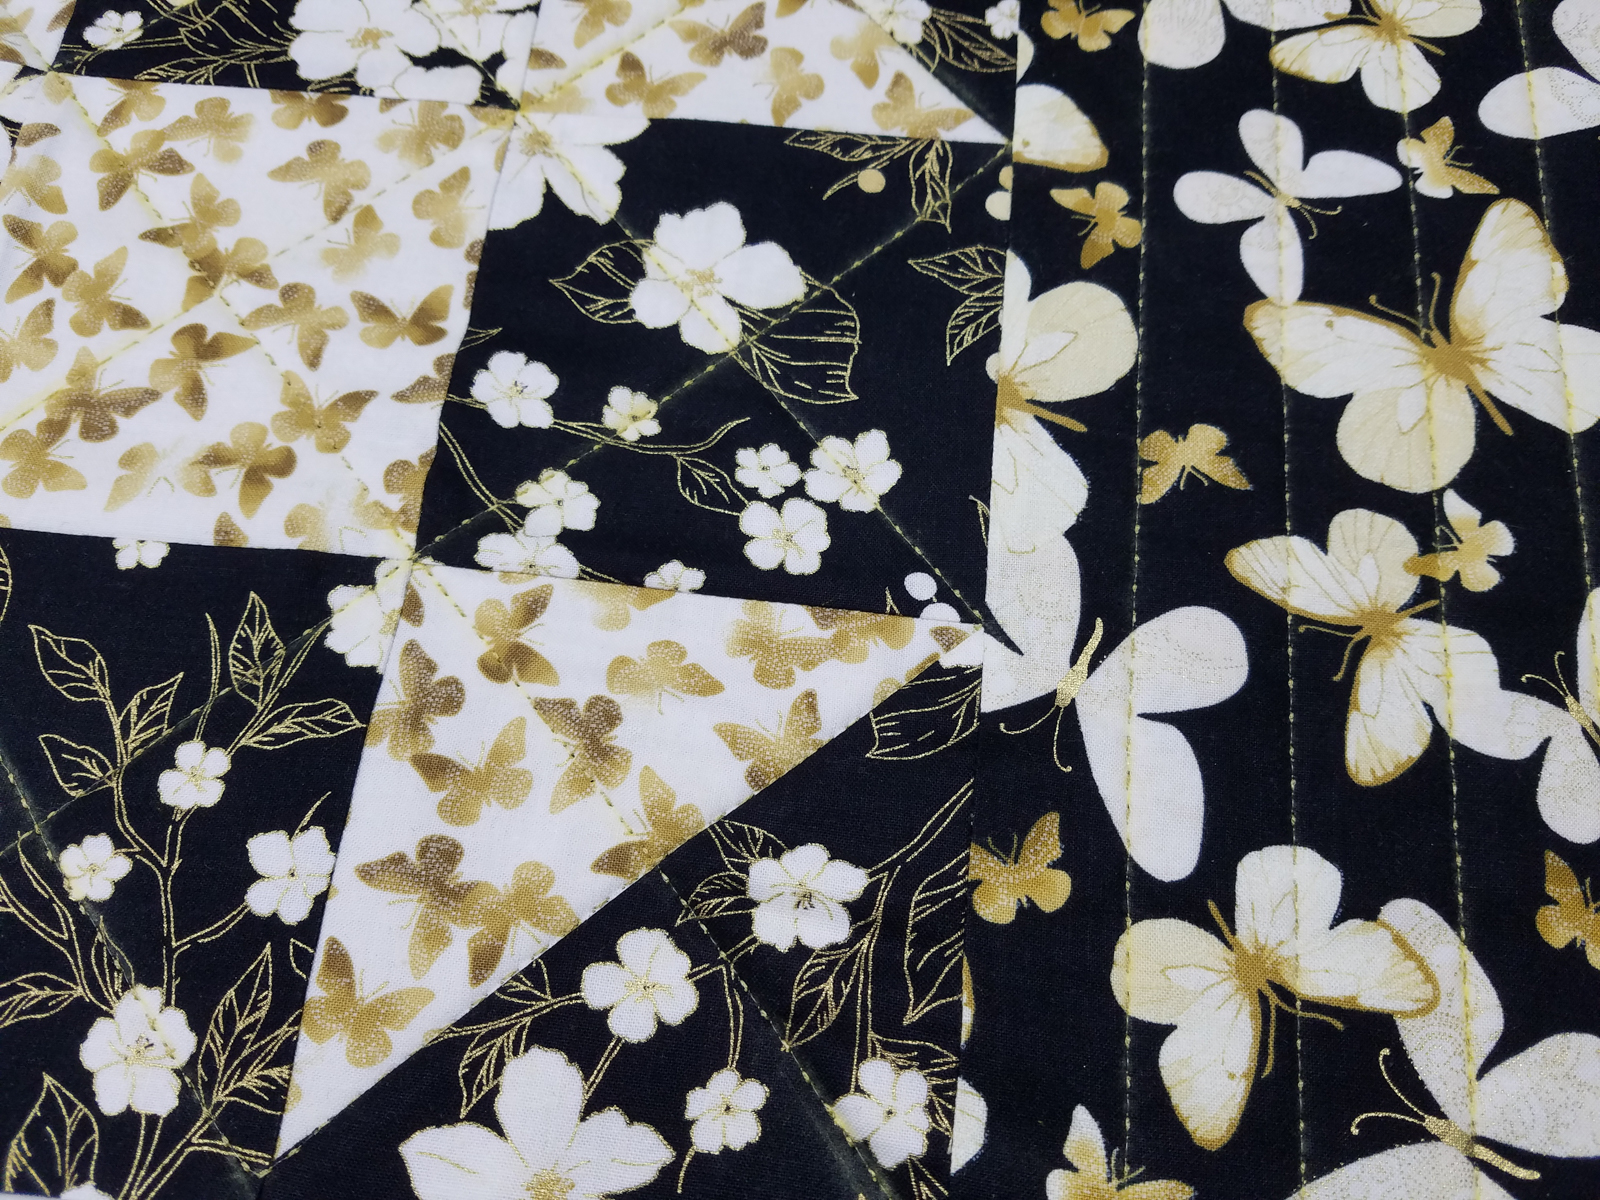
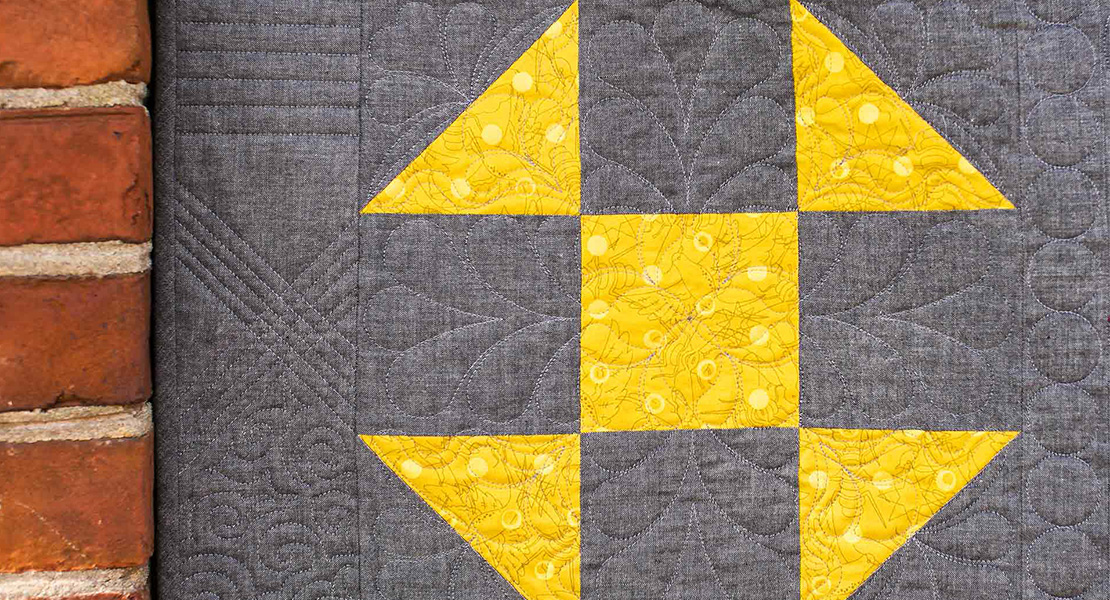
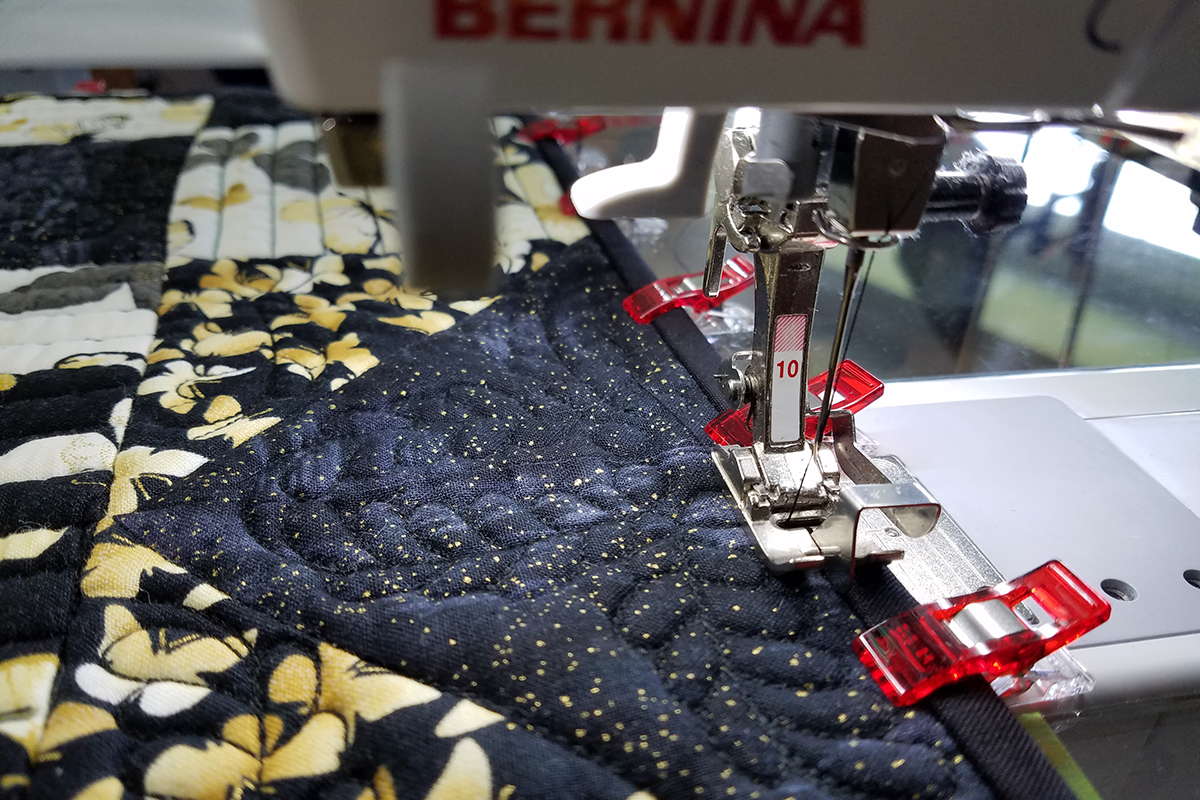
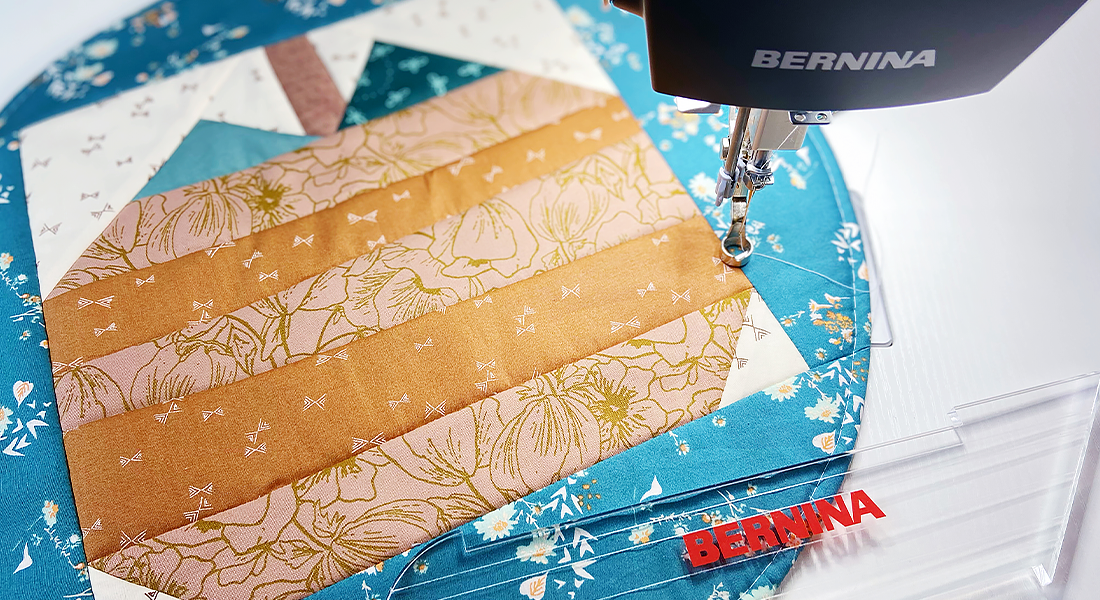
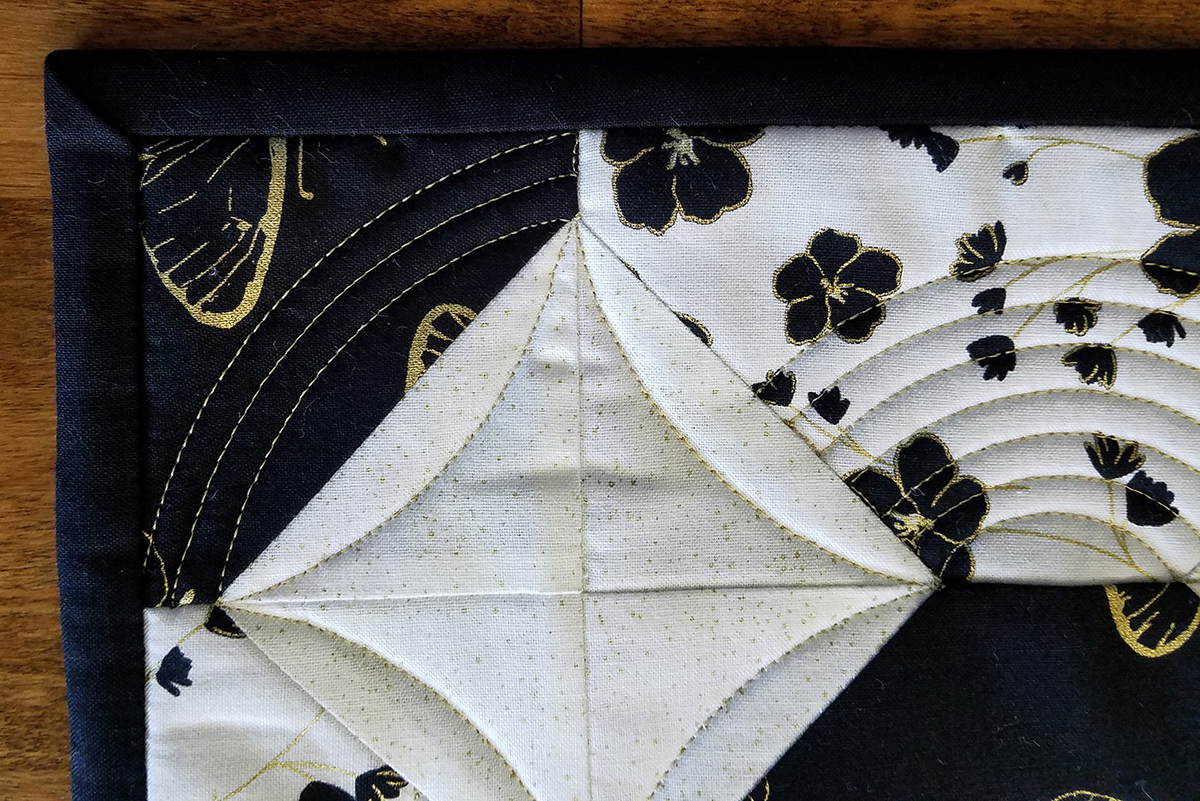
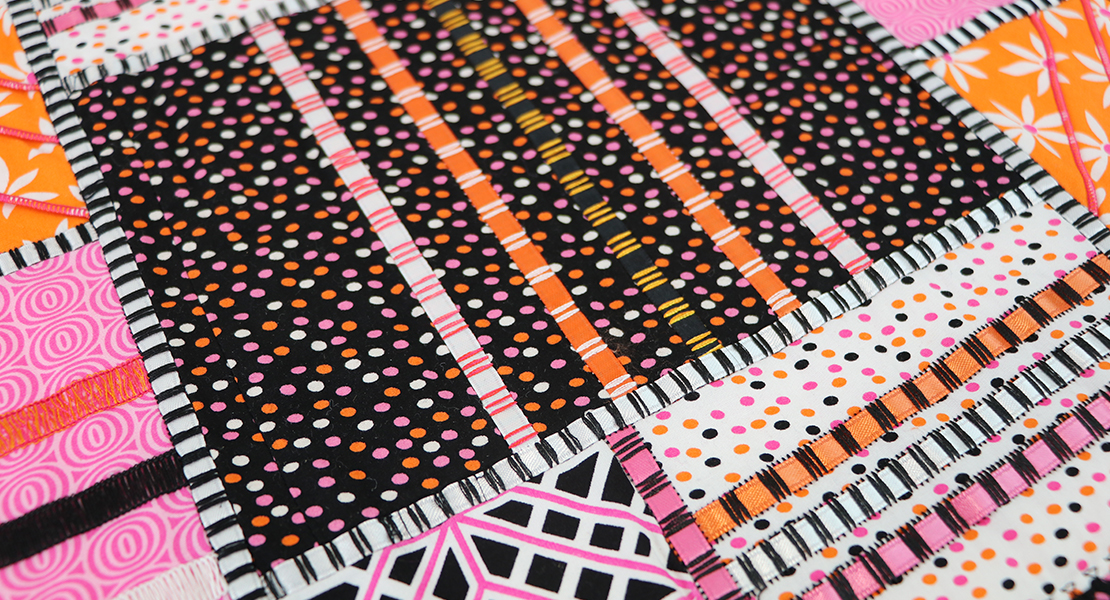
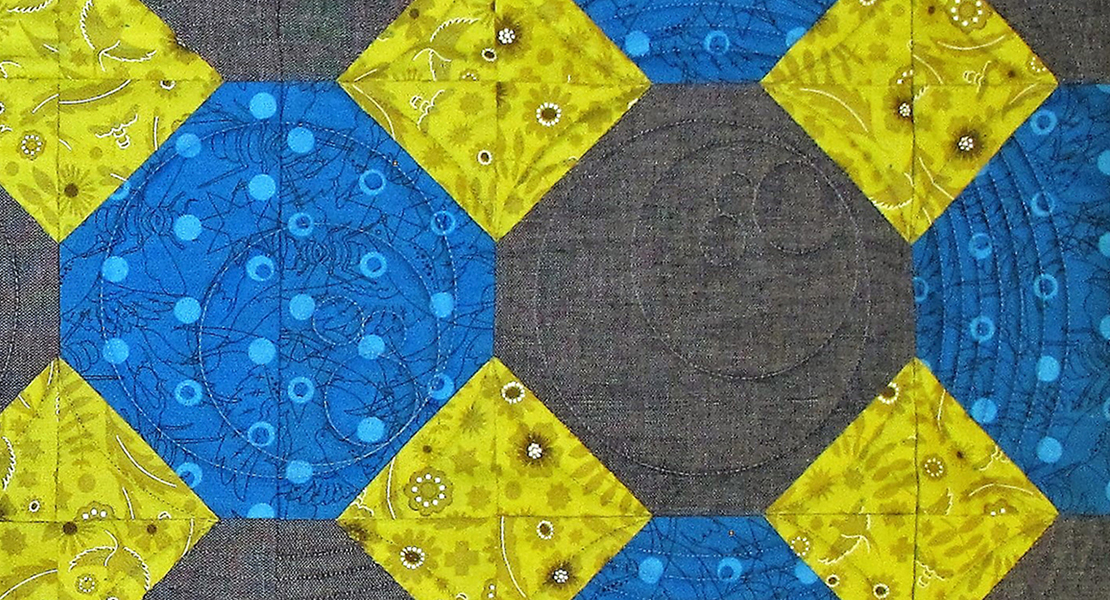
Use the Hand-look Quilting Stitch and diagonal stitching to quilt the layers together in the Shoofly Block.
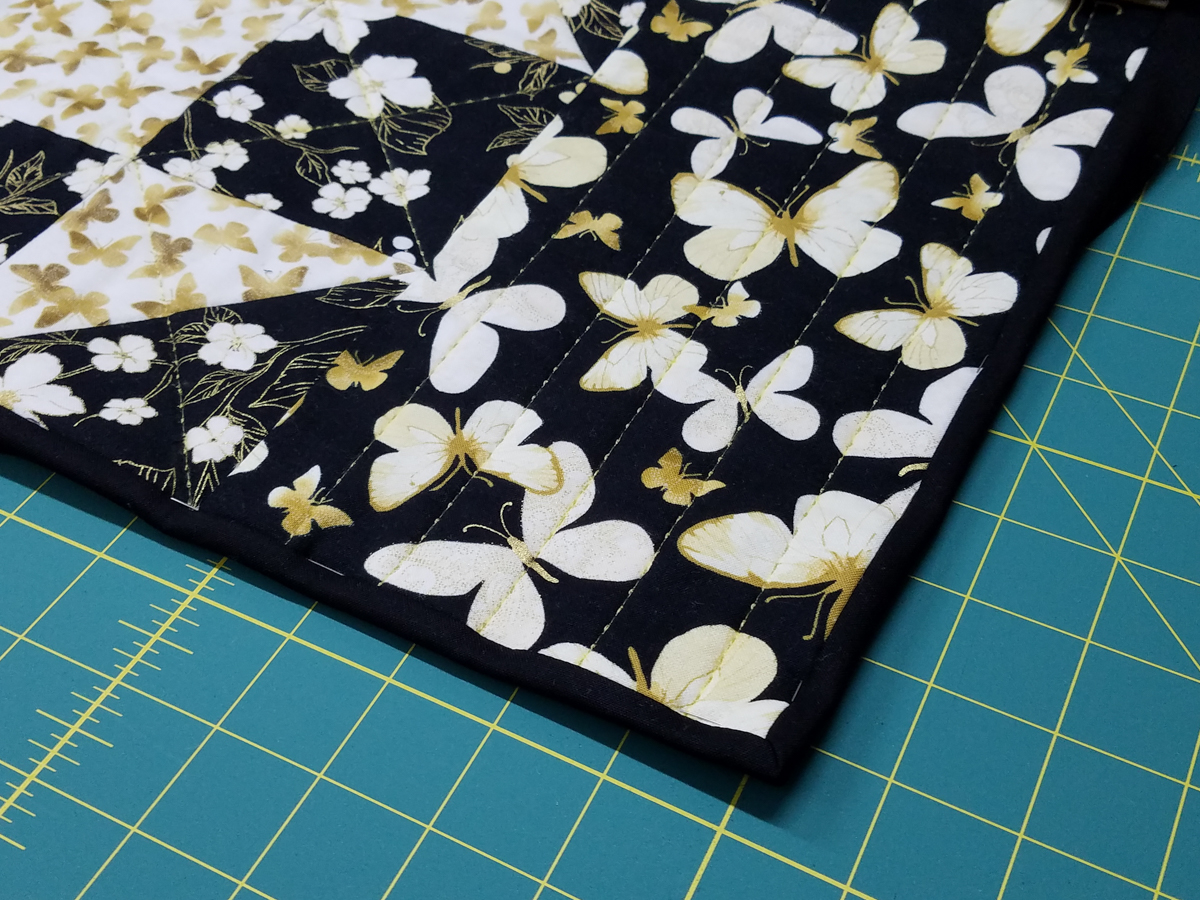
On the 6 ½” strip on the side of the block, use the same technique, but stitch straight vertical lines about an inch or so apart.
Use a rotary cutter and ruler to trim away the excess batting and backing.
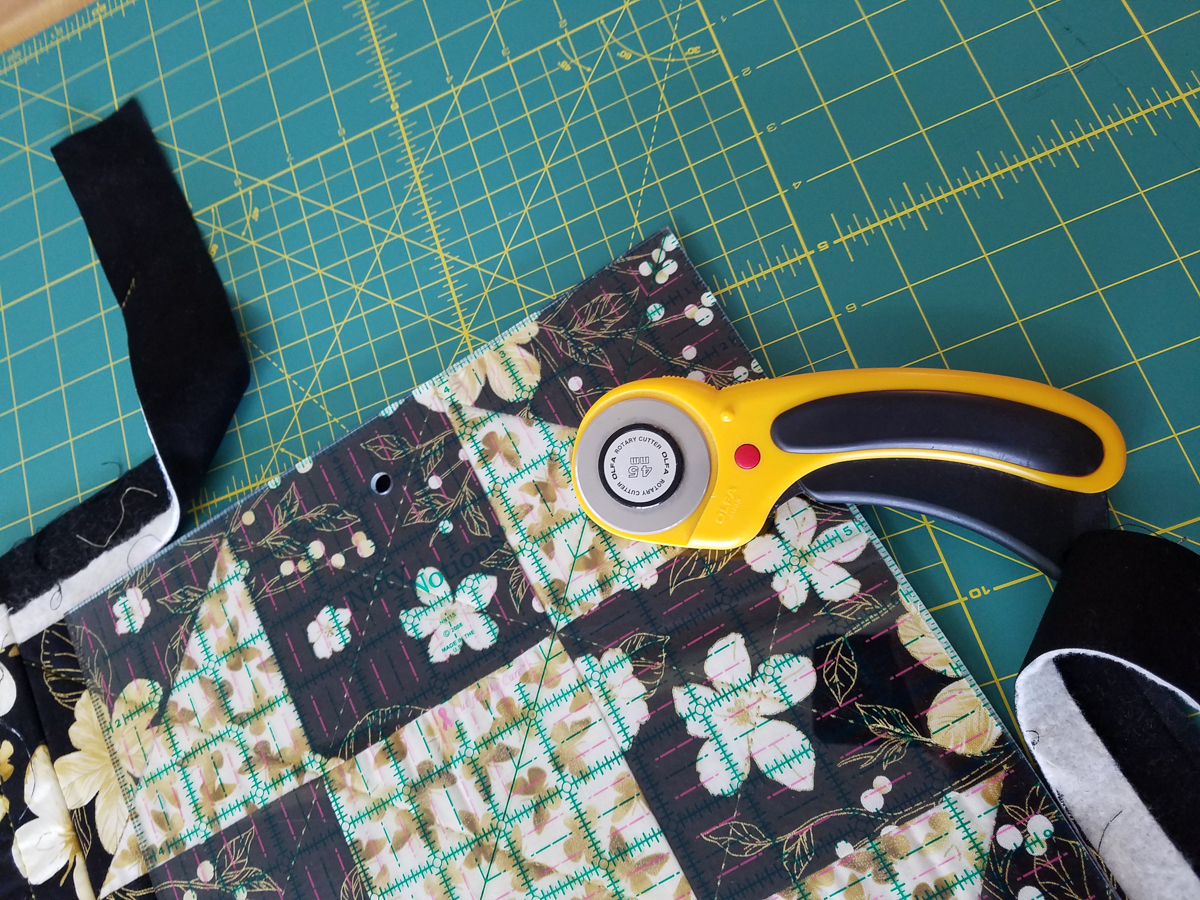
Square up the placemat using the rotary cutter and ruler.

Finishing the Placemats with Binding
Stitch all the 2 ¼” wide strips together using a diagonal seam to form one long continuous strip using diagonal seams.
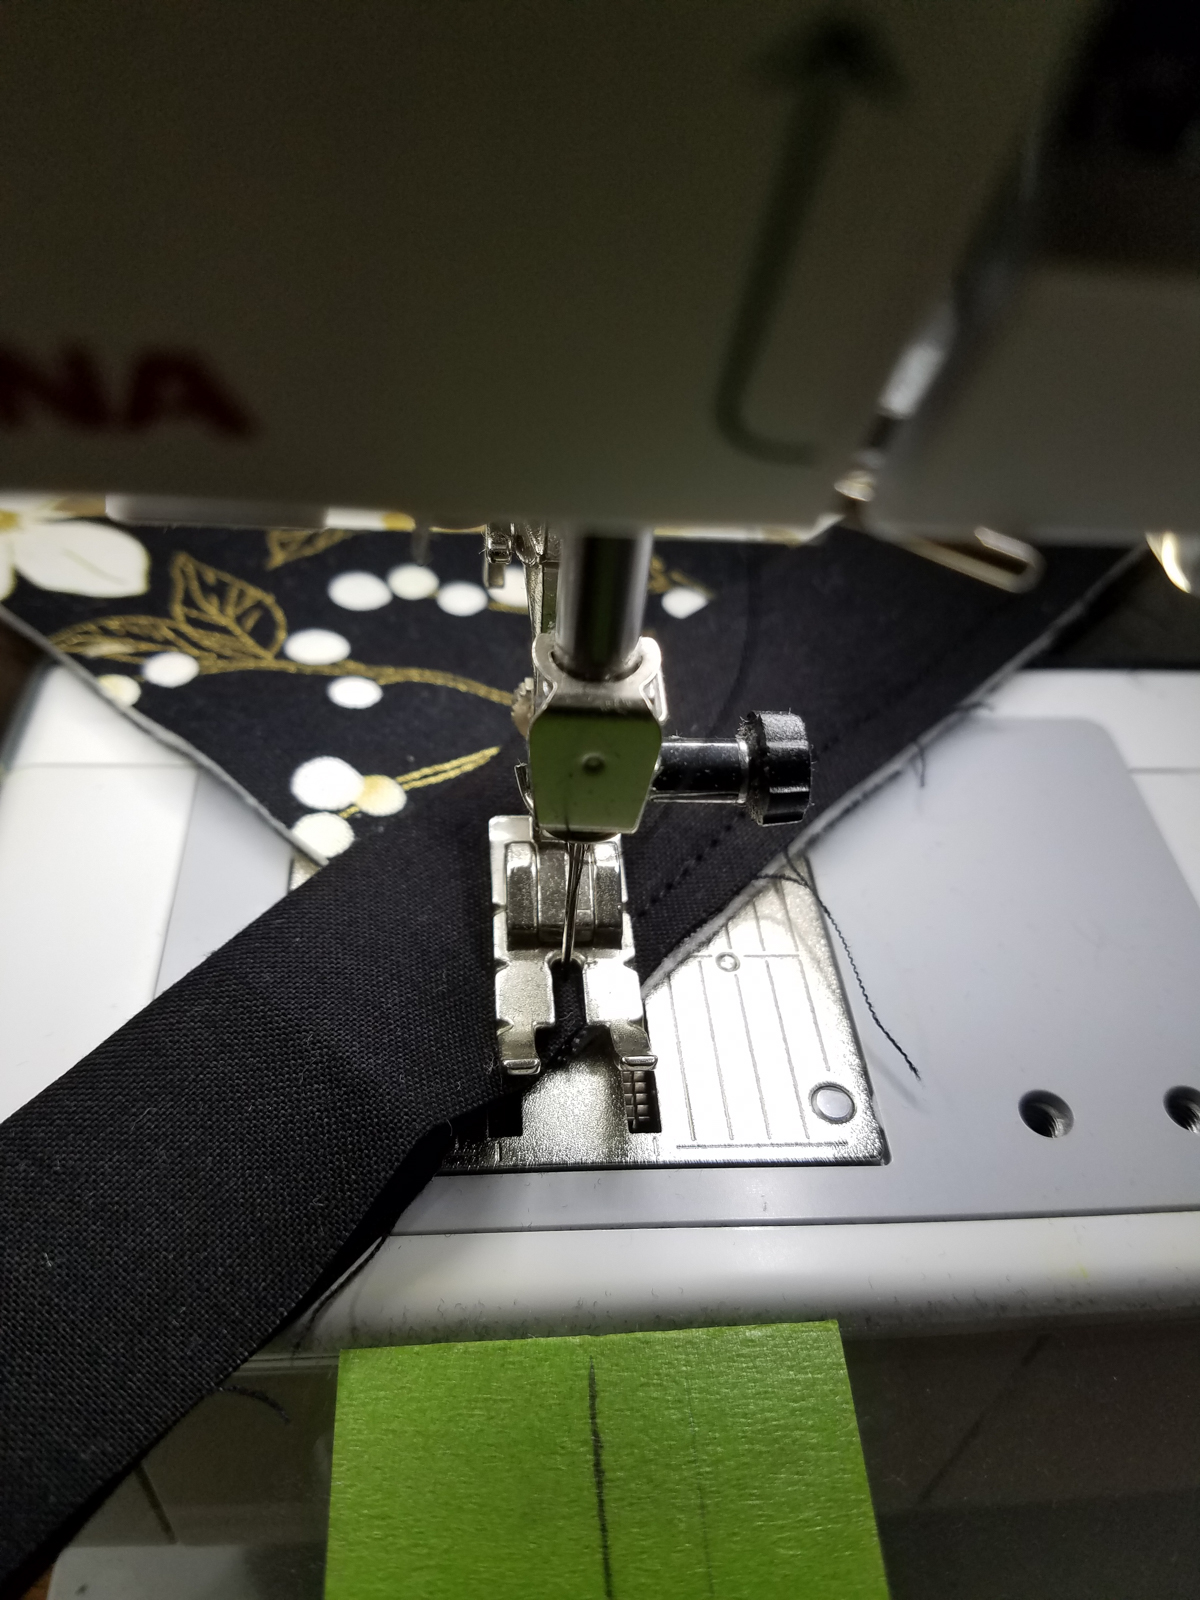
I like to have a straight line in the center on my table extension to help me keep the stitching line straight. That is the green painters tape you see—I place the tape on the extension table and then use a clear ruler to draw a line directly in front of the needle. The painters tape is easy to remove and does not leave residue on my sewing table.
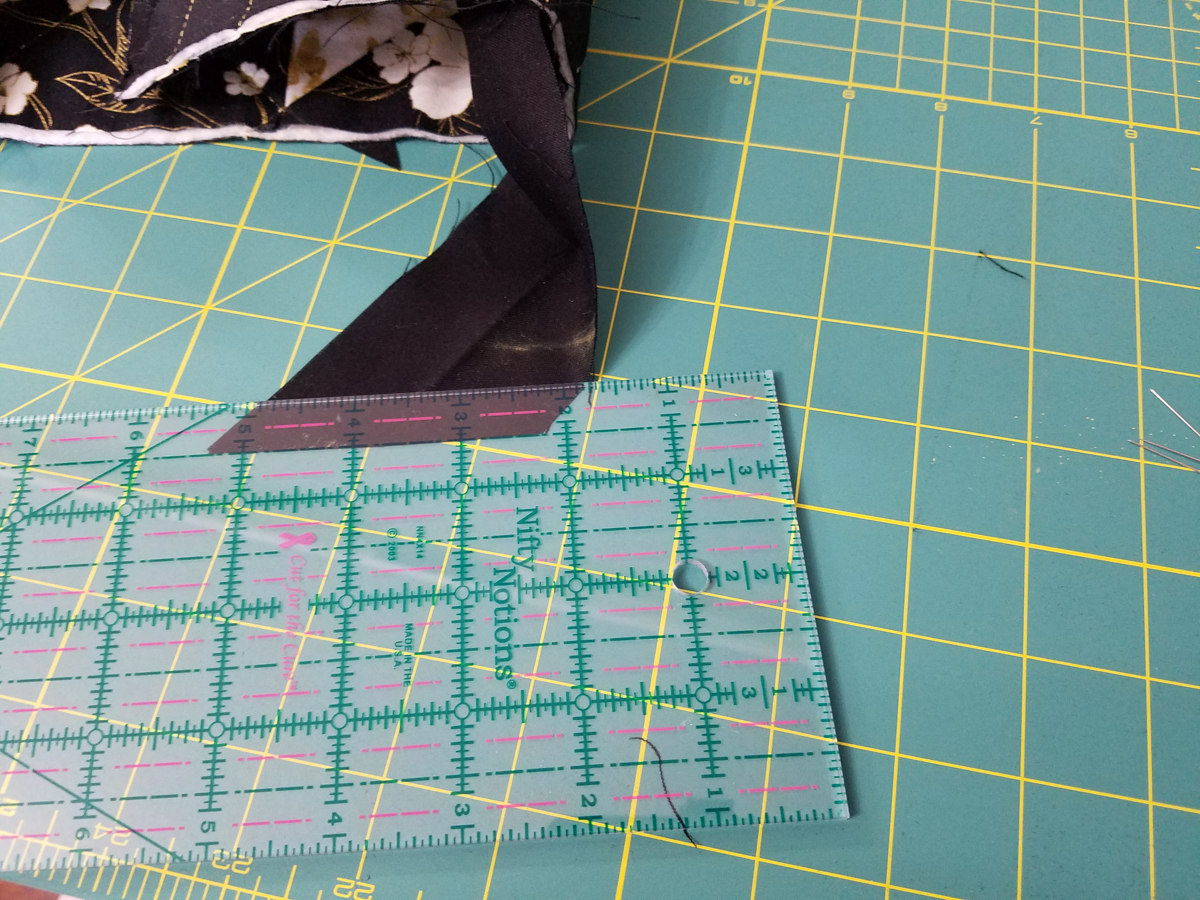
After all of the strips are stitched together, trim seam allowances to ¼” and press open. Trim the end of binding you started with to a 45 degree angle. Fold binding in half with wrong sides together and press.
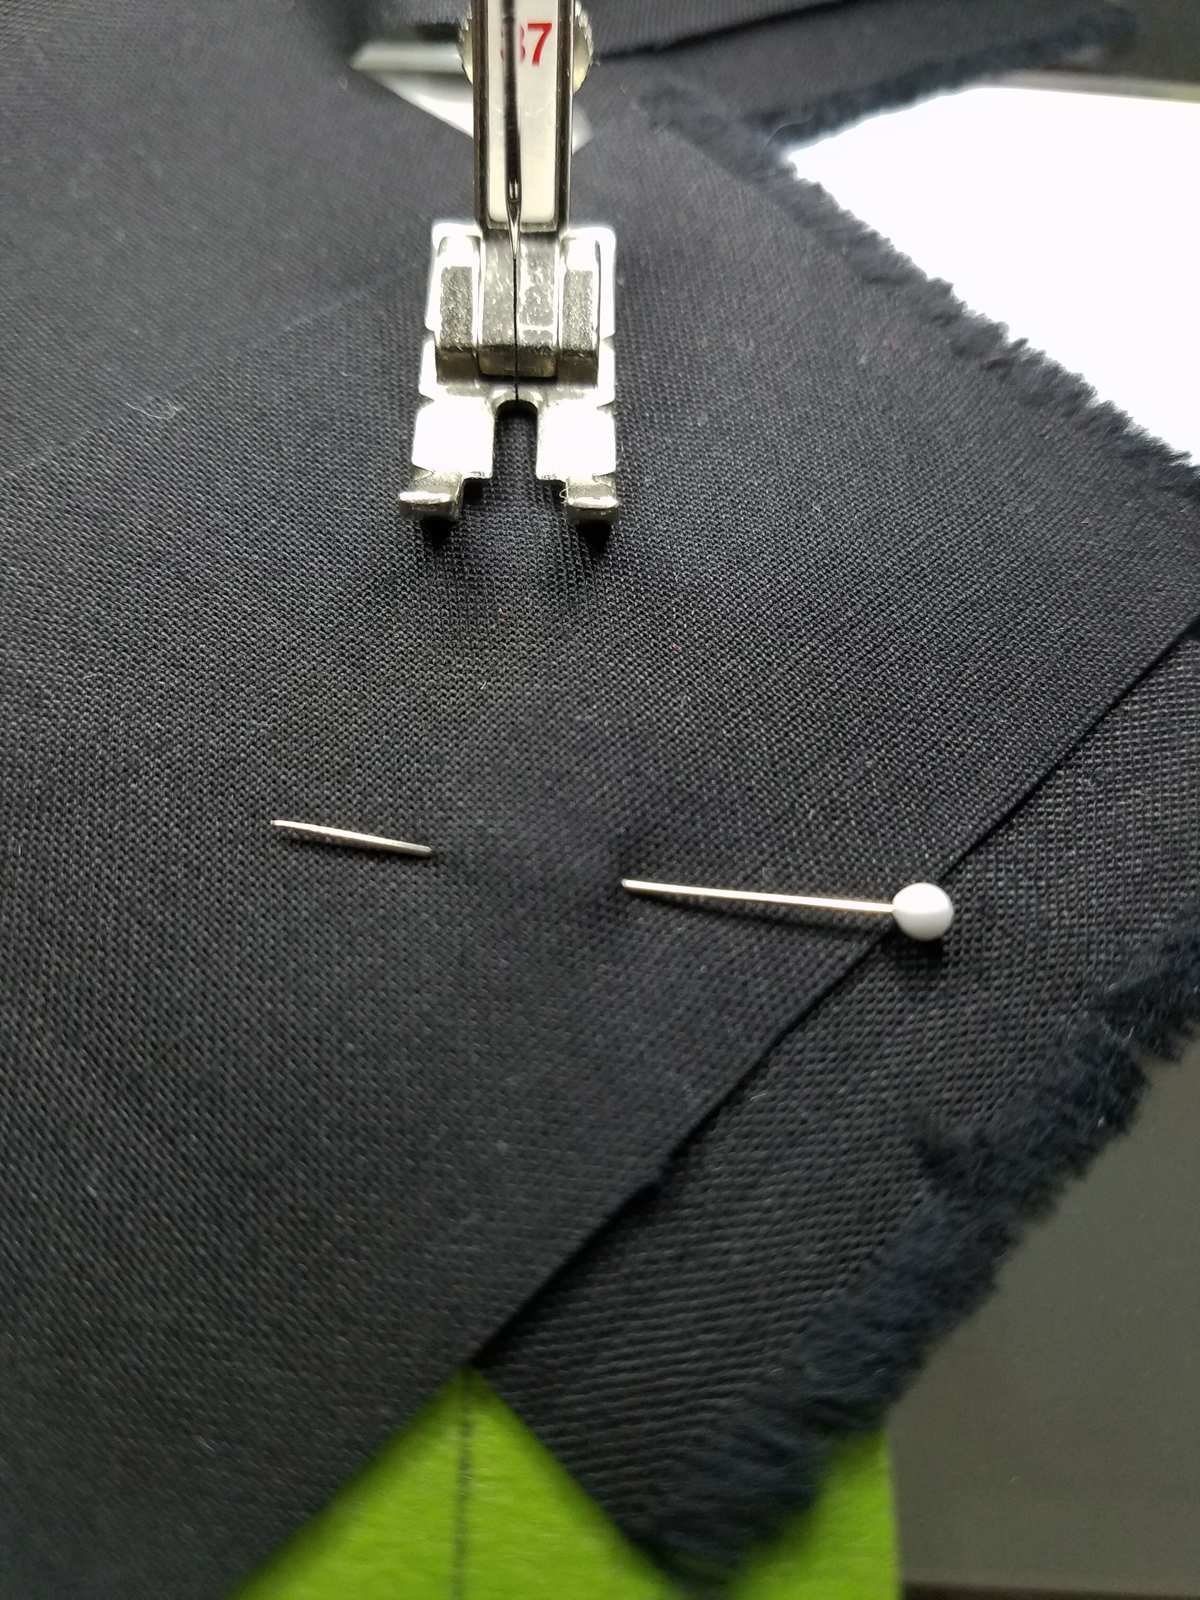
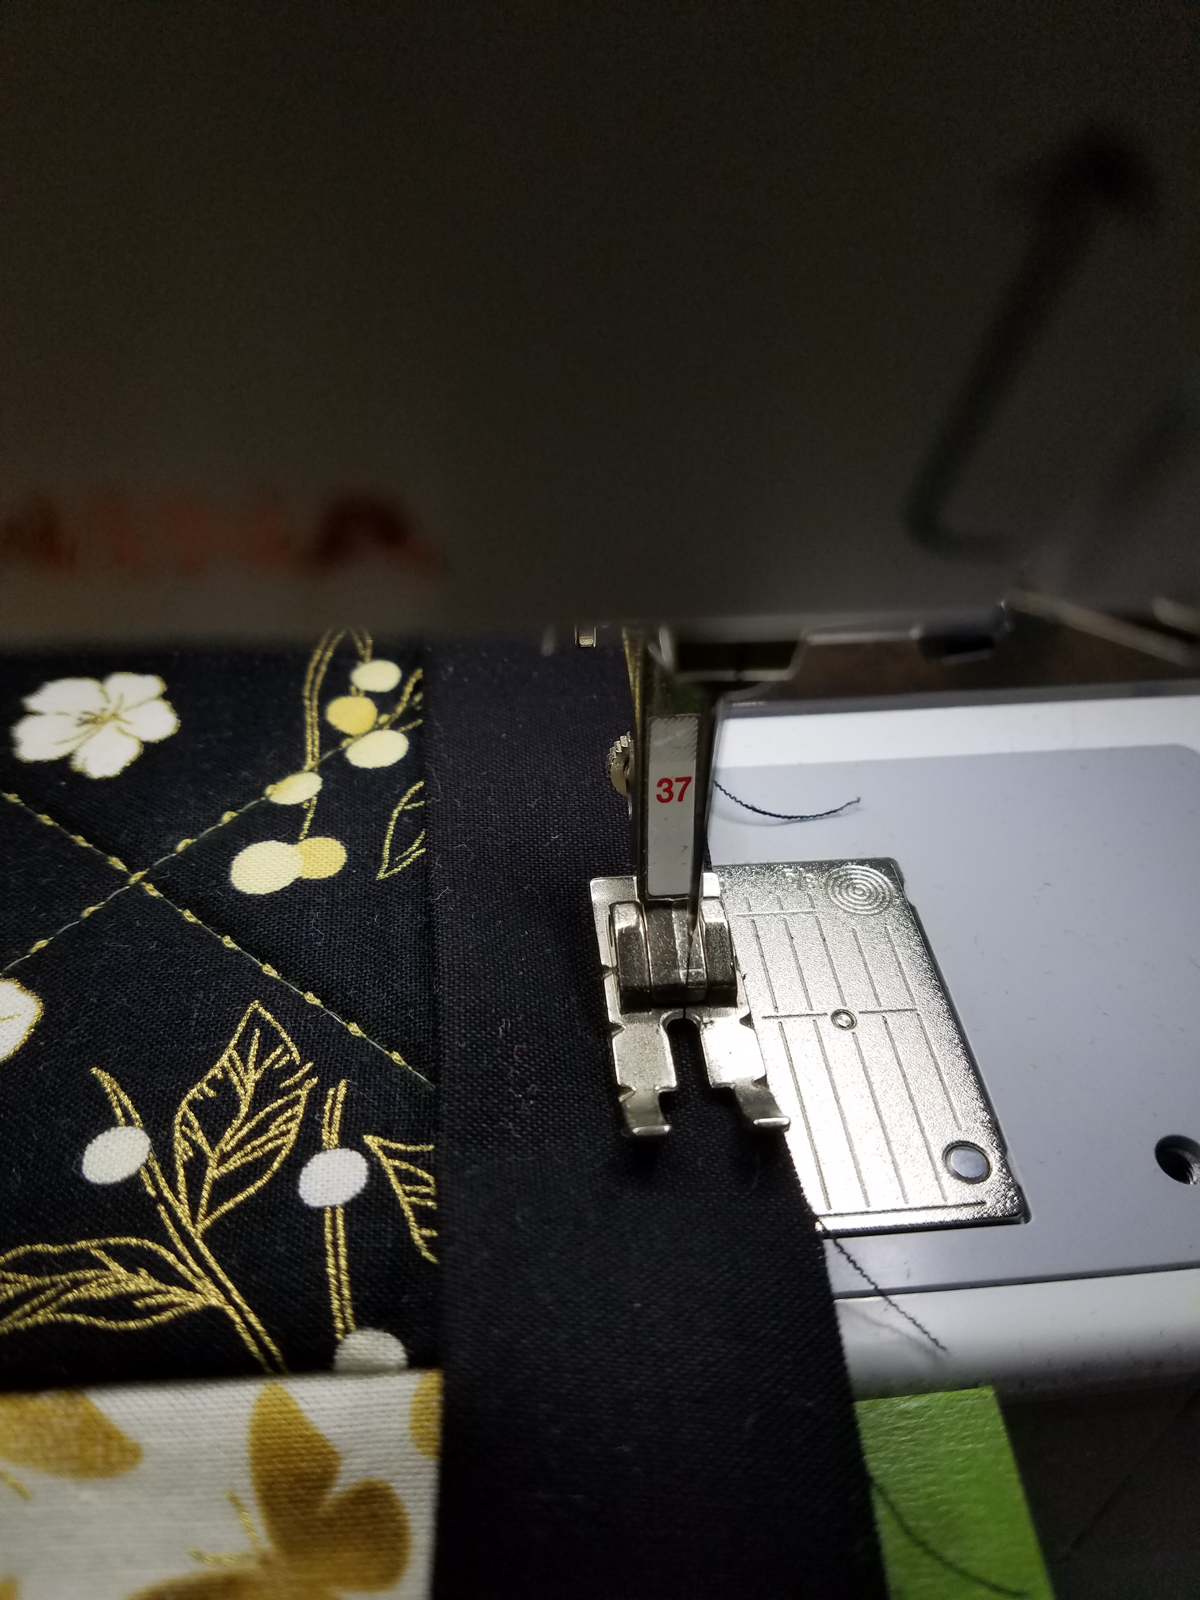
The binding will be placed on the right side of the placement with raw edges of the binding even with the placemat cut edge. Use a quarter inch seam allowance and stitch in place. I like the look of a small binding on the front of my placemats, so the quarter inch seam will make the binding appear approximately ¼” wide on the front side.
Keep about 5 or 6 inches of binding unstitched as you begin and end stitching.
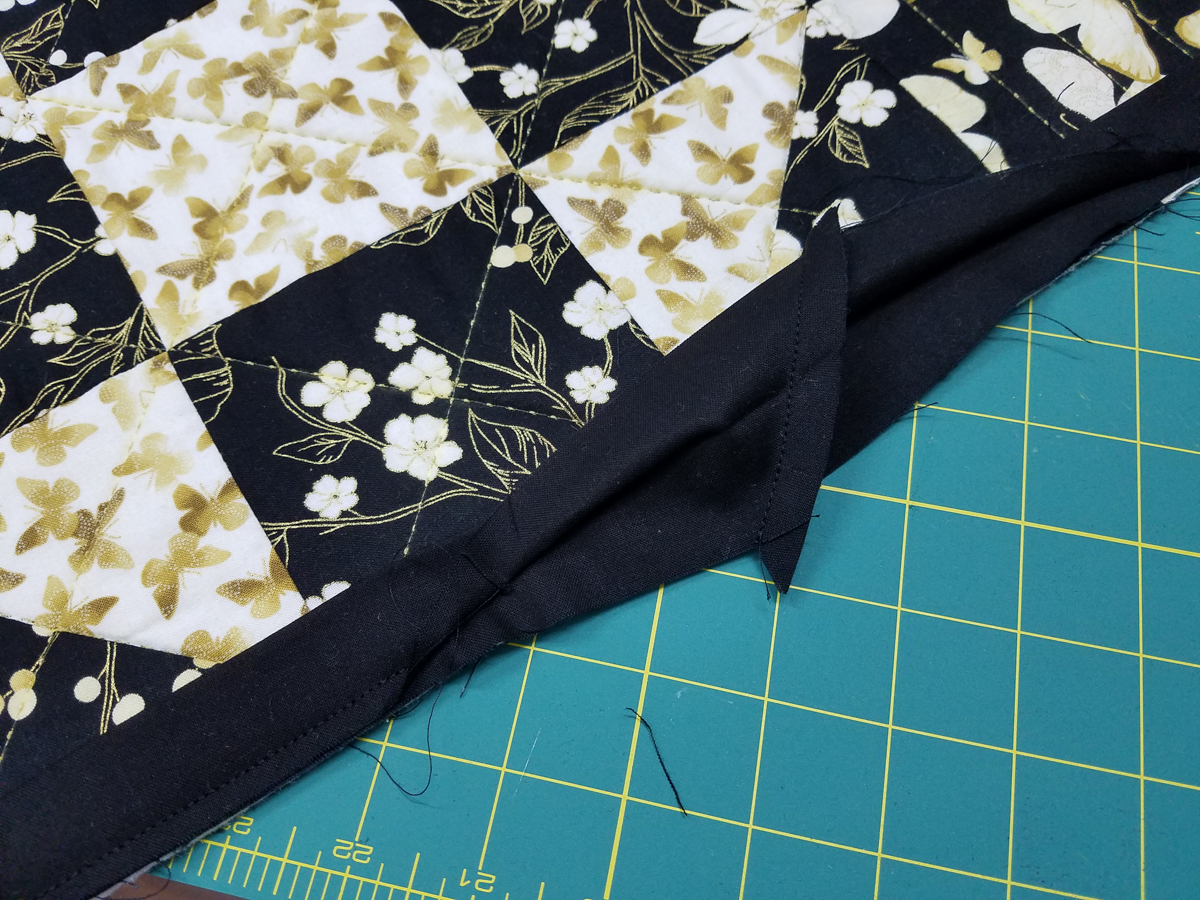
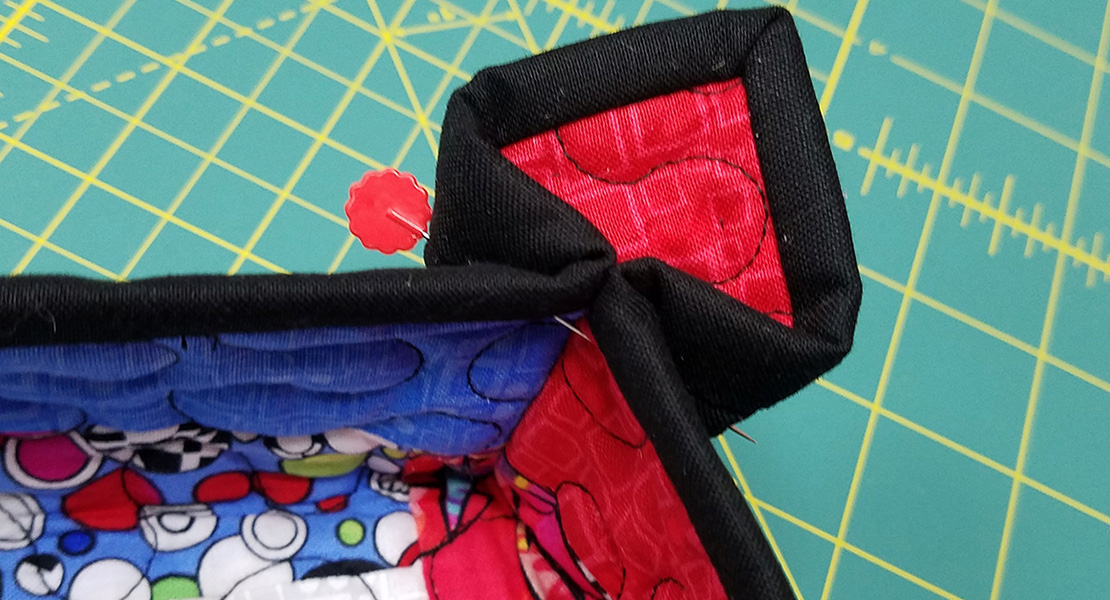
When you get to the first corner, stop stitching ¼” from cut edge of the placemat. Raise the presser foot and turn a 45 degree angle and stitch right off the corner making sure to secure your stitching.
Turn placemat so that the previously stitched binding edge is at the top. Fold binding tail up. The raw edges of the binding will align with the second side of the placemat.
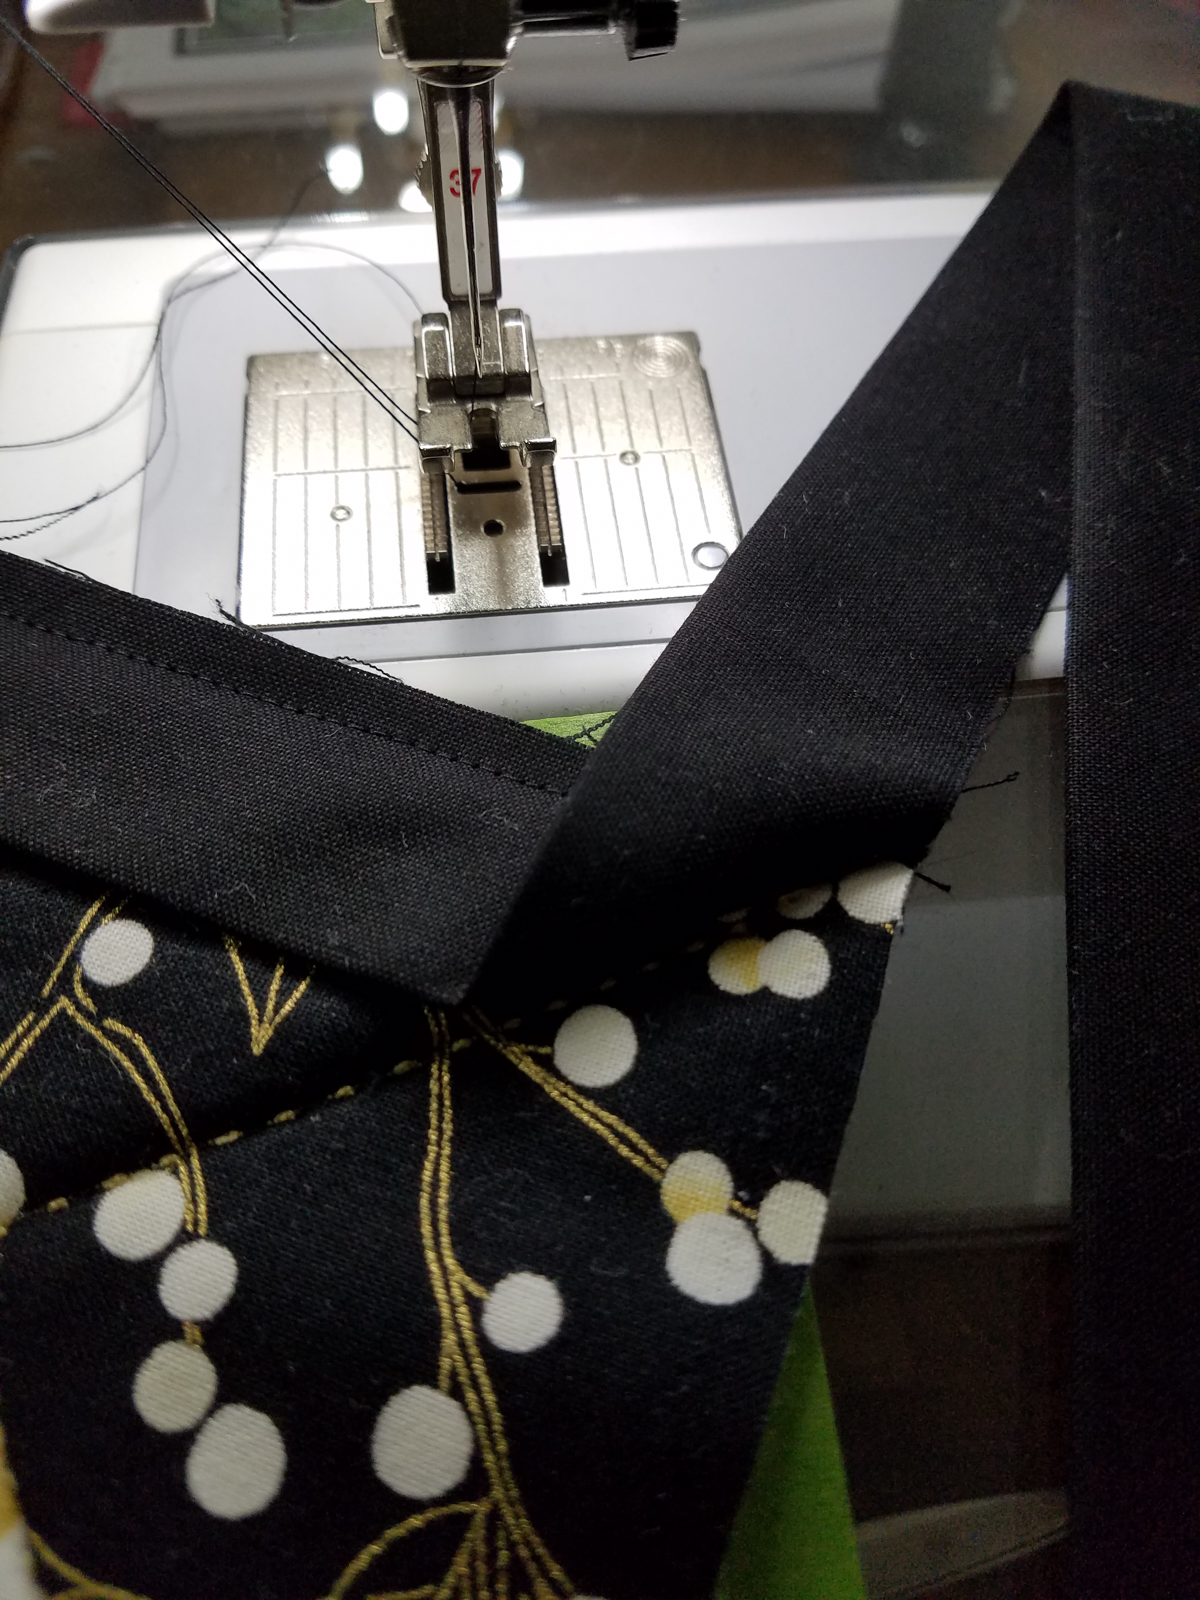
Fold the binding back down on itself to create a mitered corner in your binding.
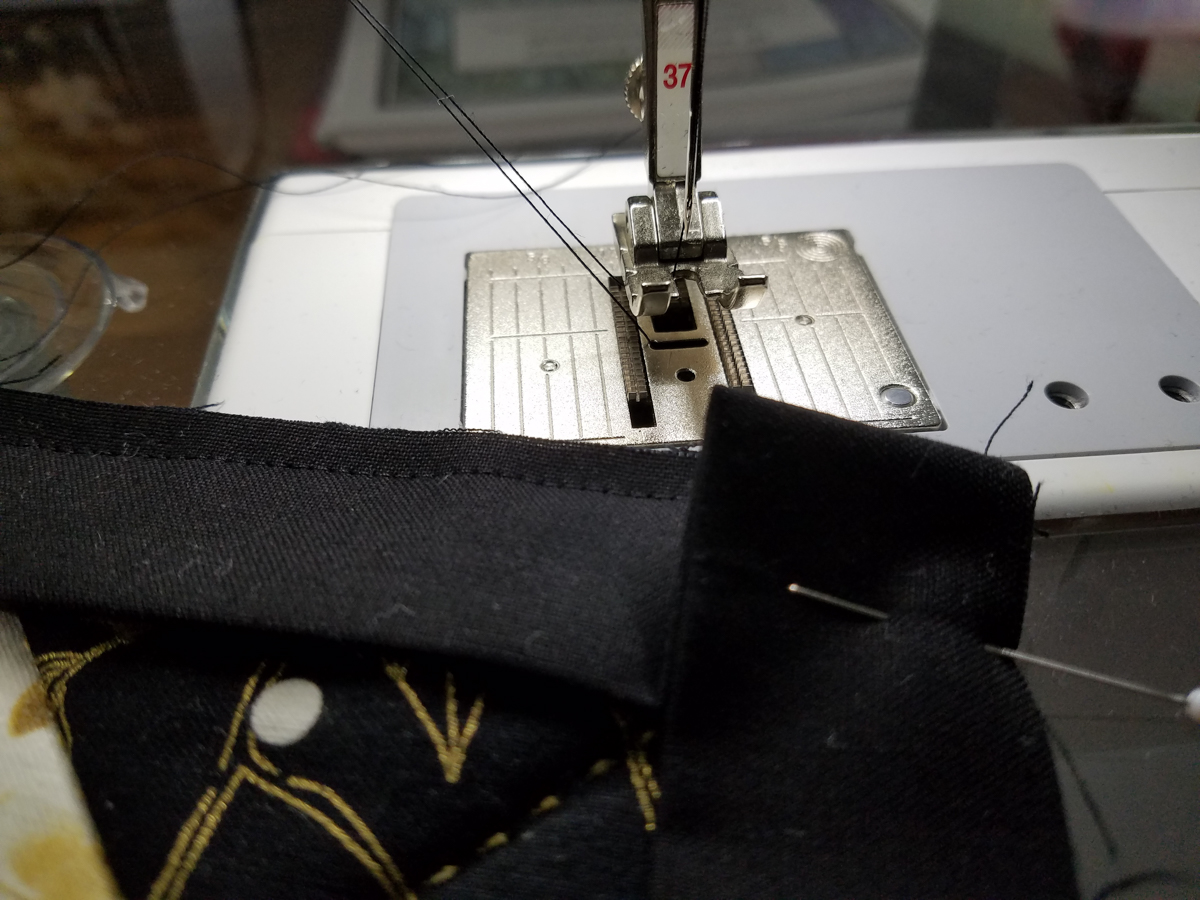
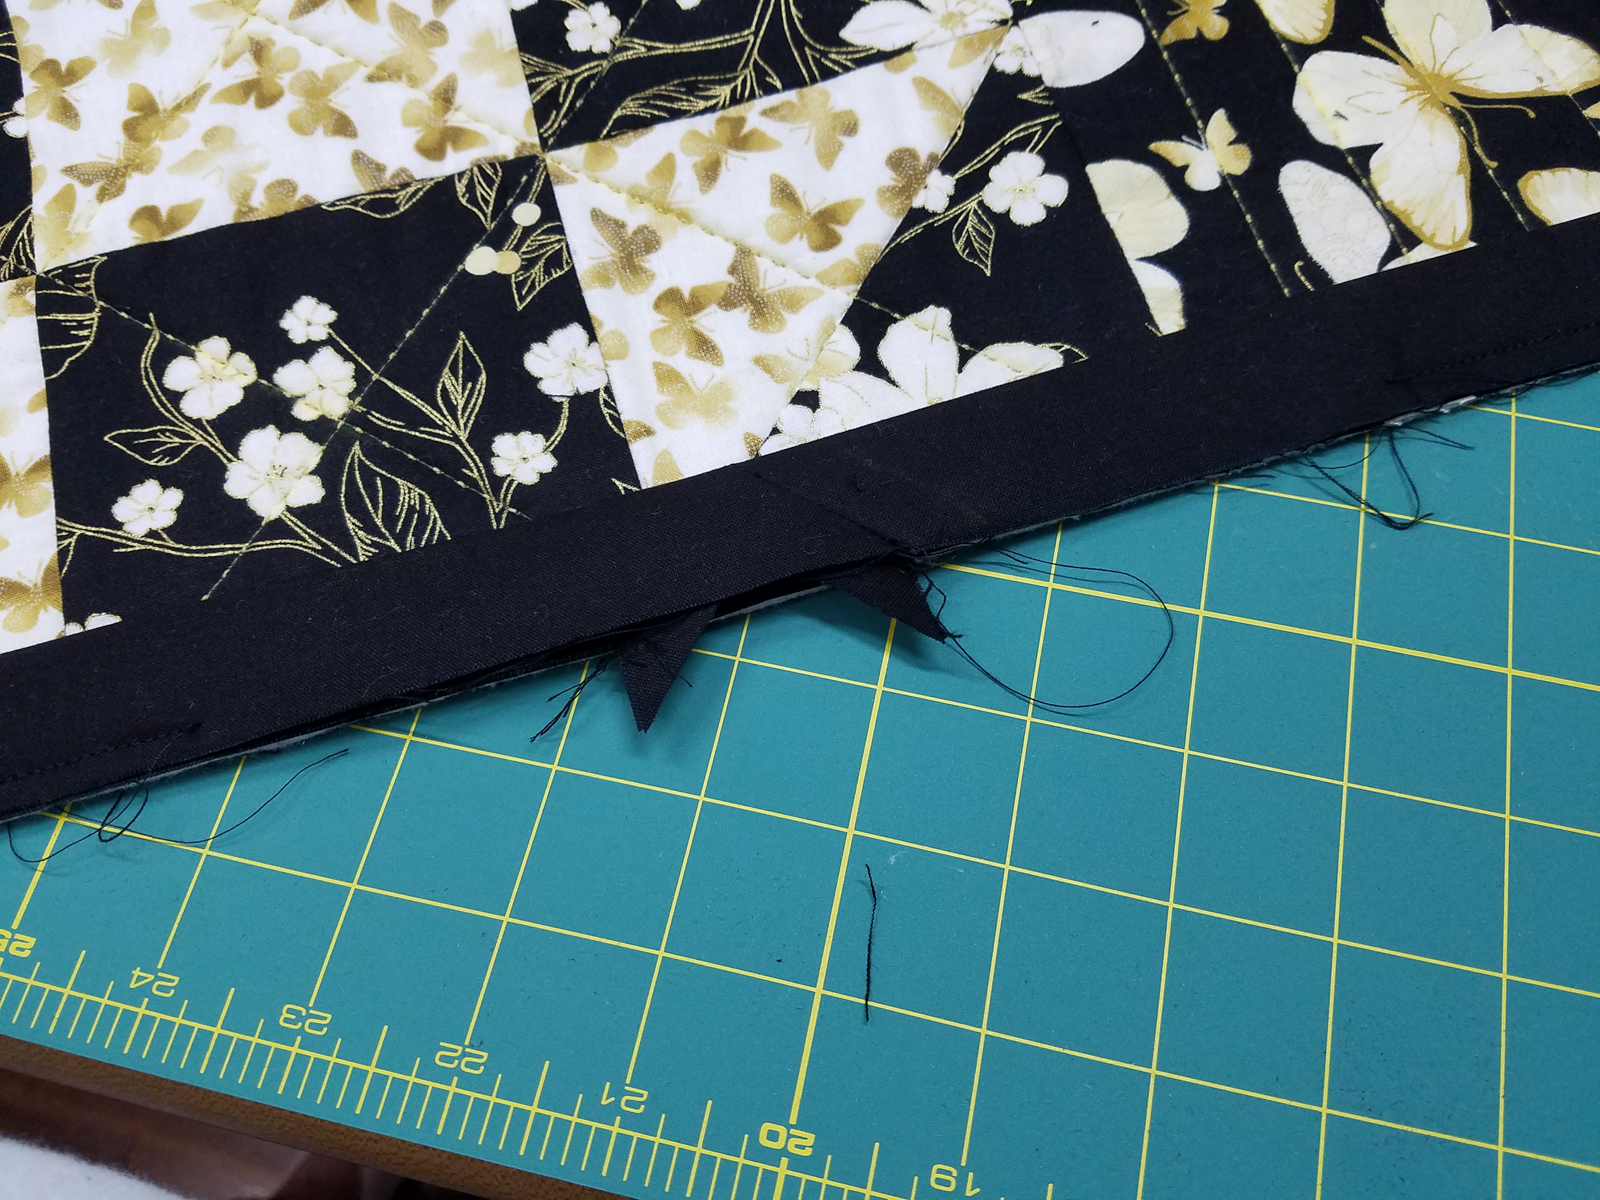
Continue stitching from the folded edge using a ¼” seam allowance, securing at the beginning and end. Repeat the steps for all corners.

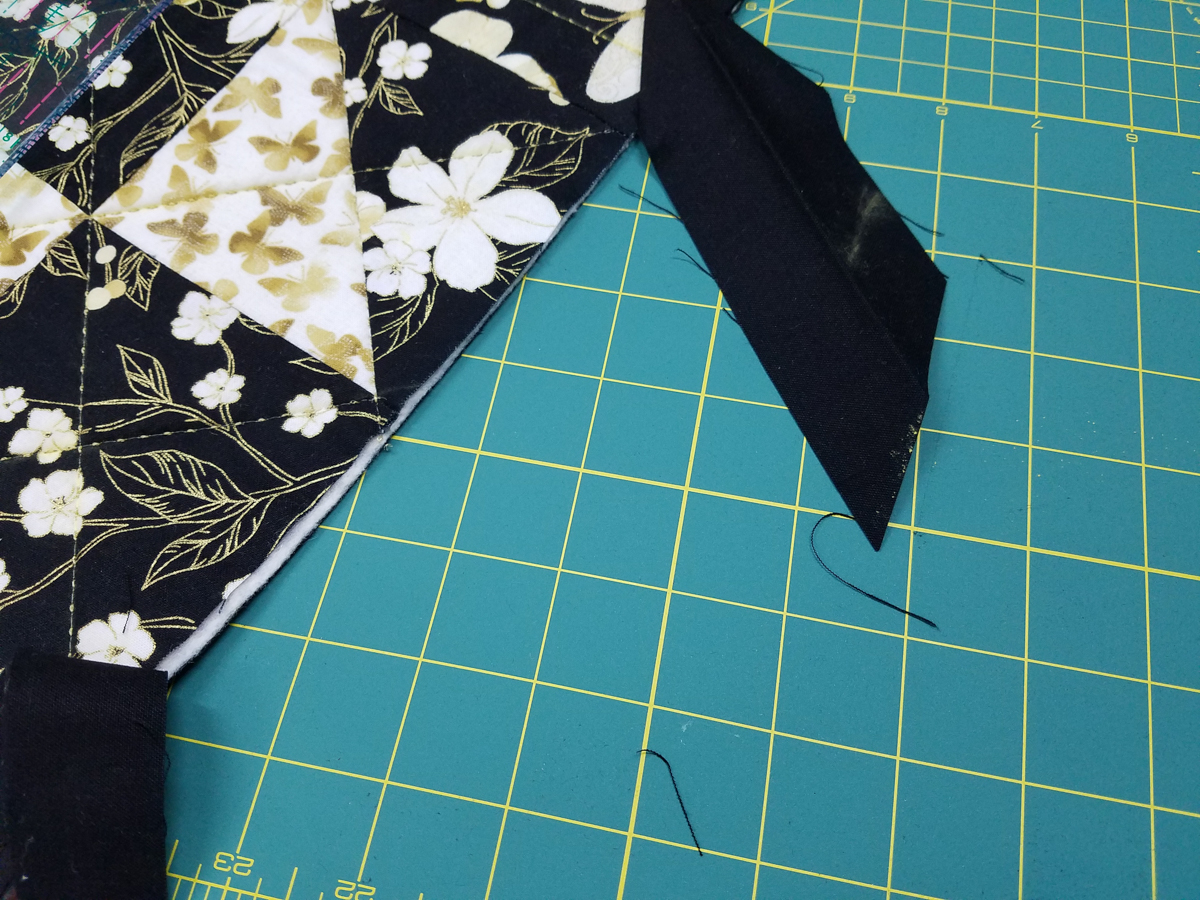
When you get all the way around, stop stitching about 5 or 6 inches from where the starting tail is.
Slide the end of the binding into the folded/mitered end of the beginning tail.
Trace the angle of the beginning tail onto the ending tail with a chalk marker.

Cut off excess tail a half inch beyond the chalked line.
Mark another line on the beginning tail ½ inch from the cut end.
Line up the marked ½ inch lines, pin the ends together and stitch.

Open seam and figure press seam allowance open.

Place binding in its final position with raw edges aligned.
Trim corner tips from seams. Line up raw edges and stitch to complete.

Press the binding toward seams from the right side of the placemat.

Wrap binding to back and pin.
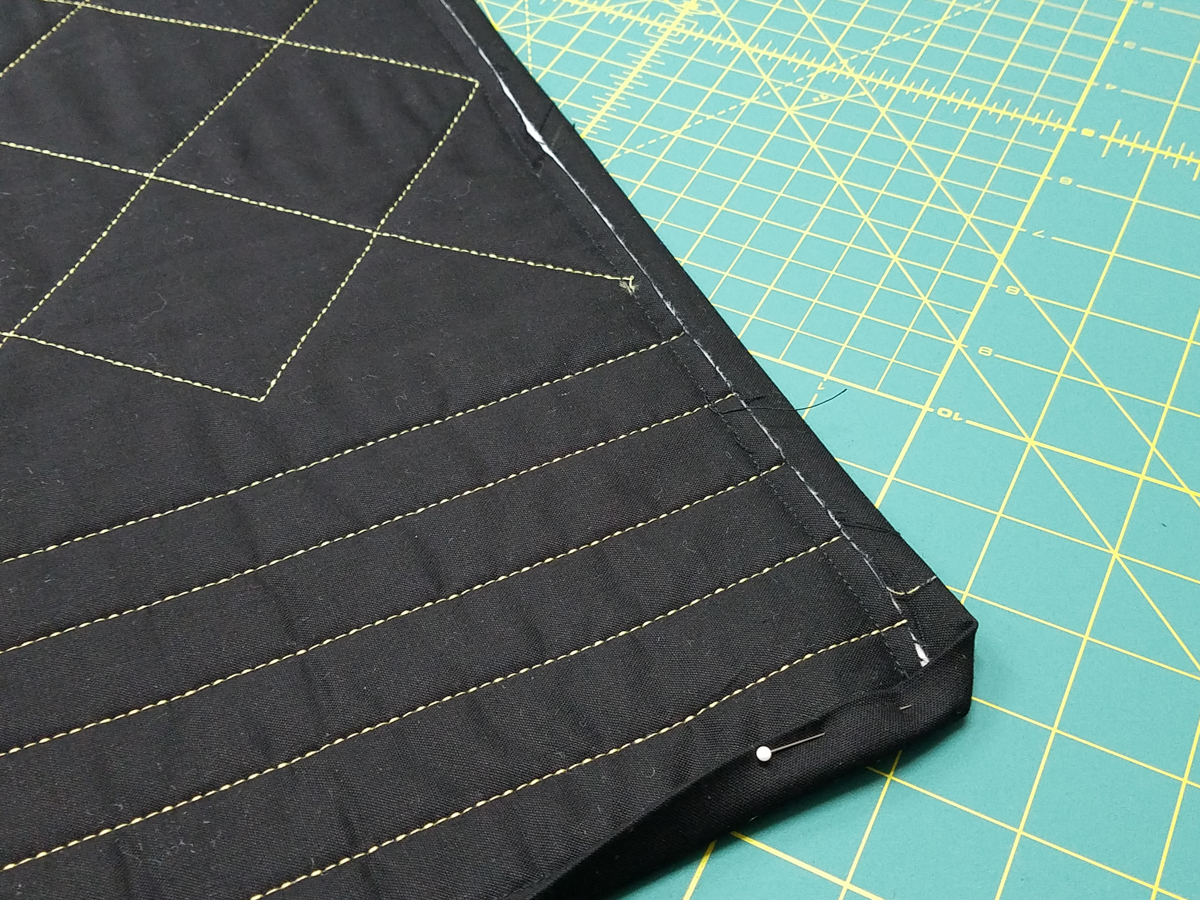
Hand stitch with a blind stitch to the back.
Congratulations! You now have a great set of placemats and have discovered another quilting technique!
Be sure to check back here on the WeAllSew Blog next month. The BERNINA Block Party will continue with another block from Nina McVeigh on June 5 and I will have another project featuring the block and quilting technique on June 19.
Share your project with us on the community section on WeAllSew.
How to Upload a Project to the WeAllSew Community Section
– Register on the WeAllSew blog
– Go to https://weallsew.com/community/create/
– Upload your image; you can upload up to 12 photos to show your creations from all points of view
– Write a short description
And that’s it! We’d love to see what you create!


Can’t wait to try this. Looks so easy-to-use.