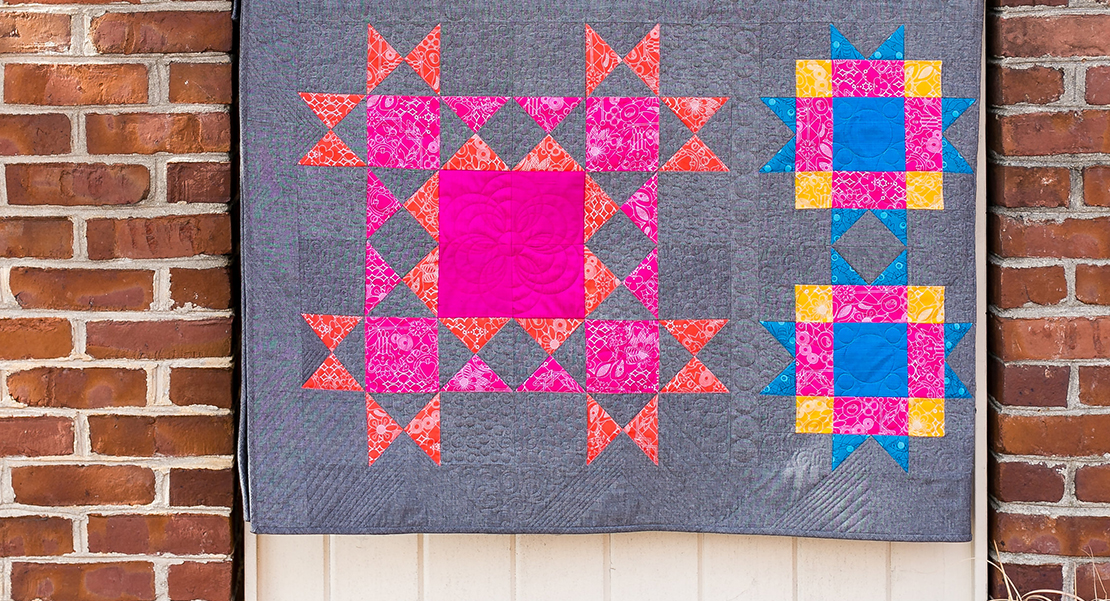
Maple Star Block
Well, here we are, half done with our blocks! Amazing how quickly the months go by. How are you doing with getting yours constructed? Each block was designed to be completed in one sitting. So if you are just start getting started, you should be able to catch up quickly.
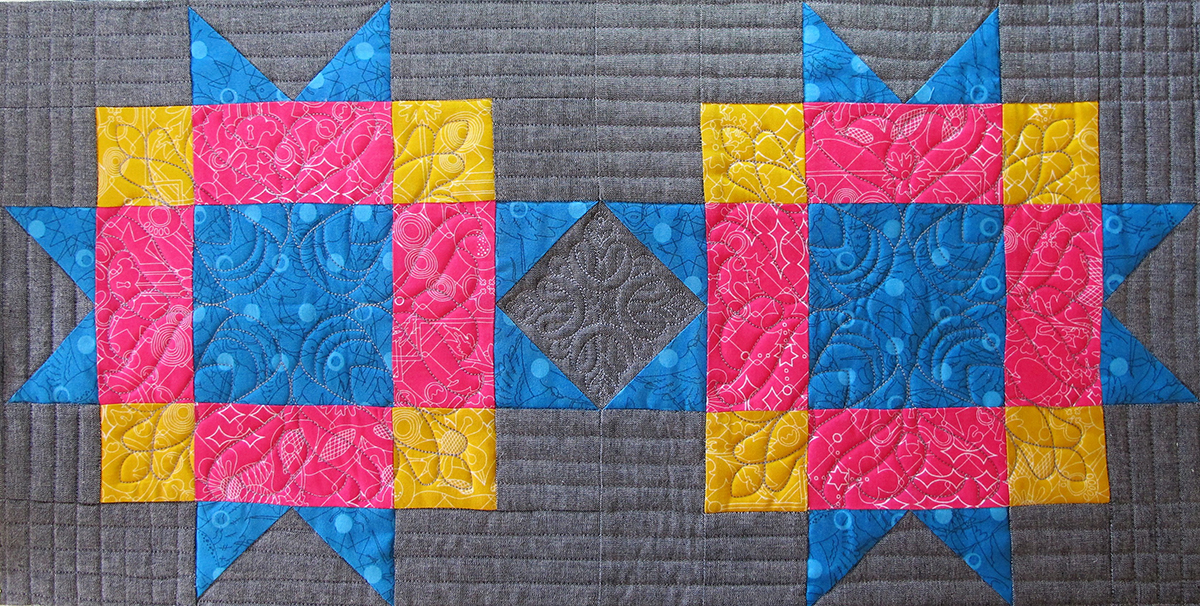
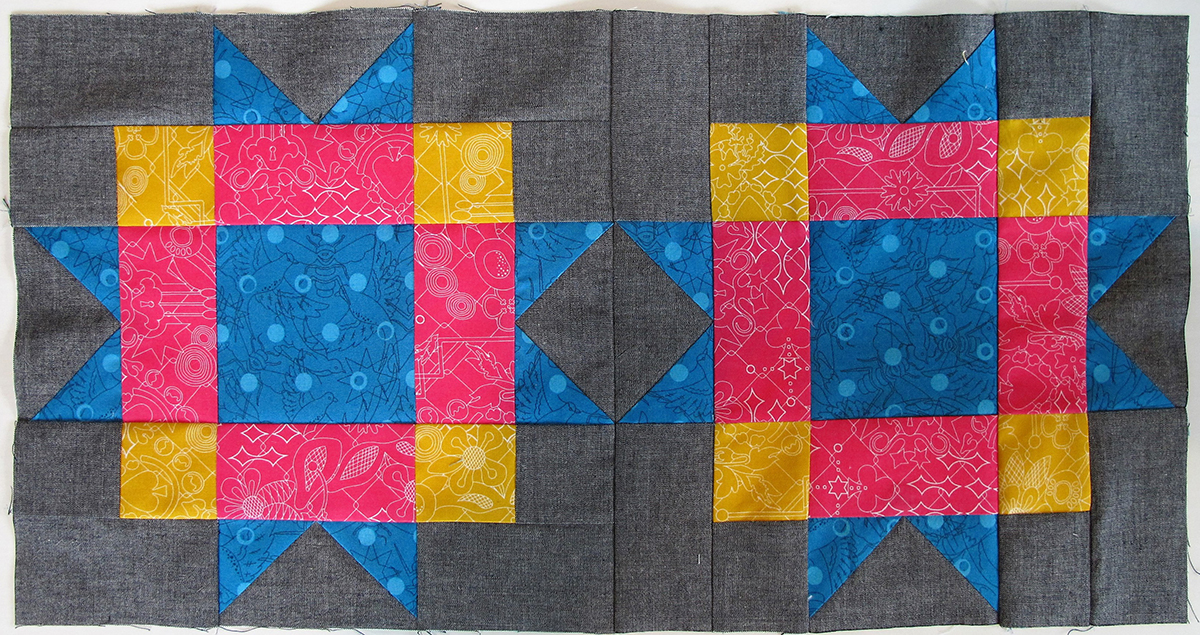
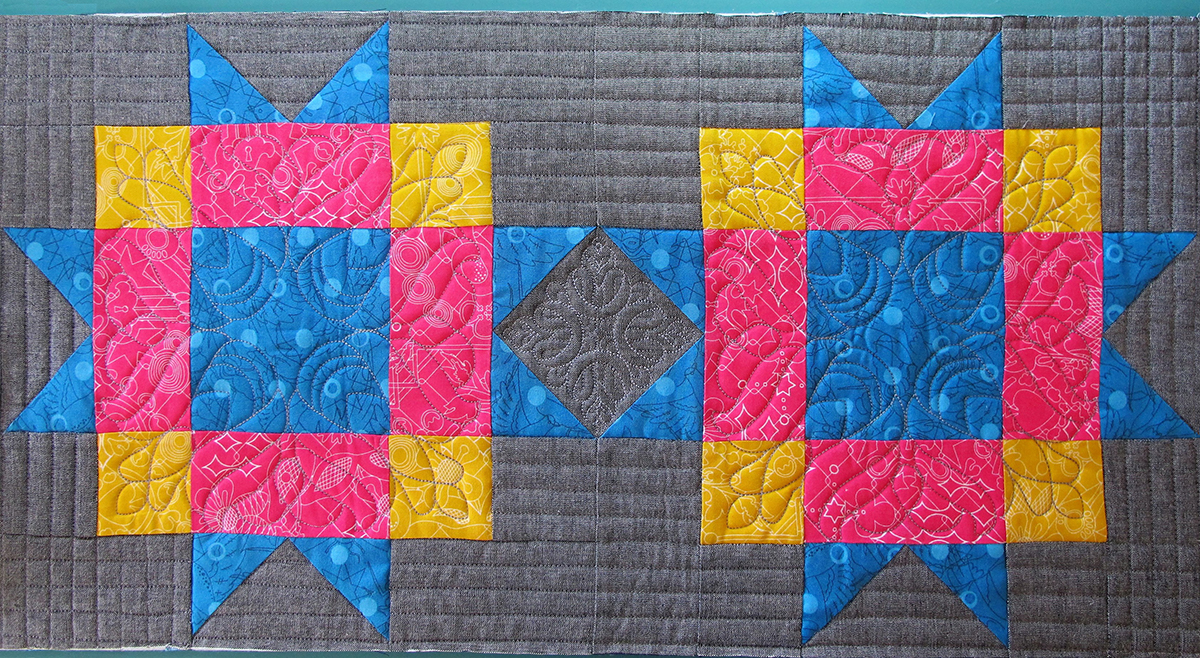
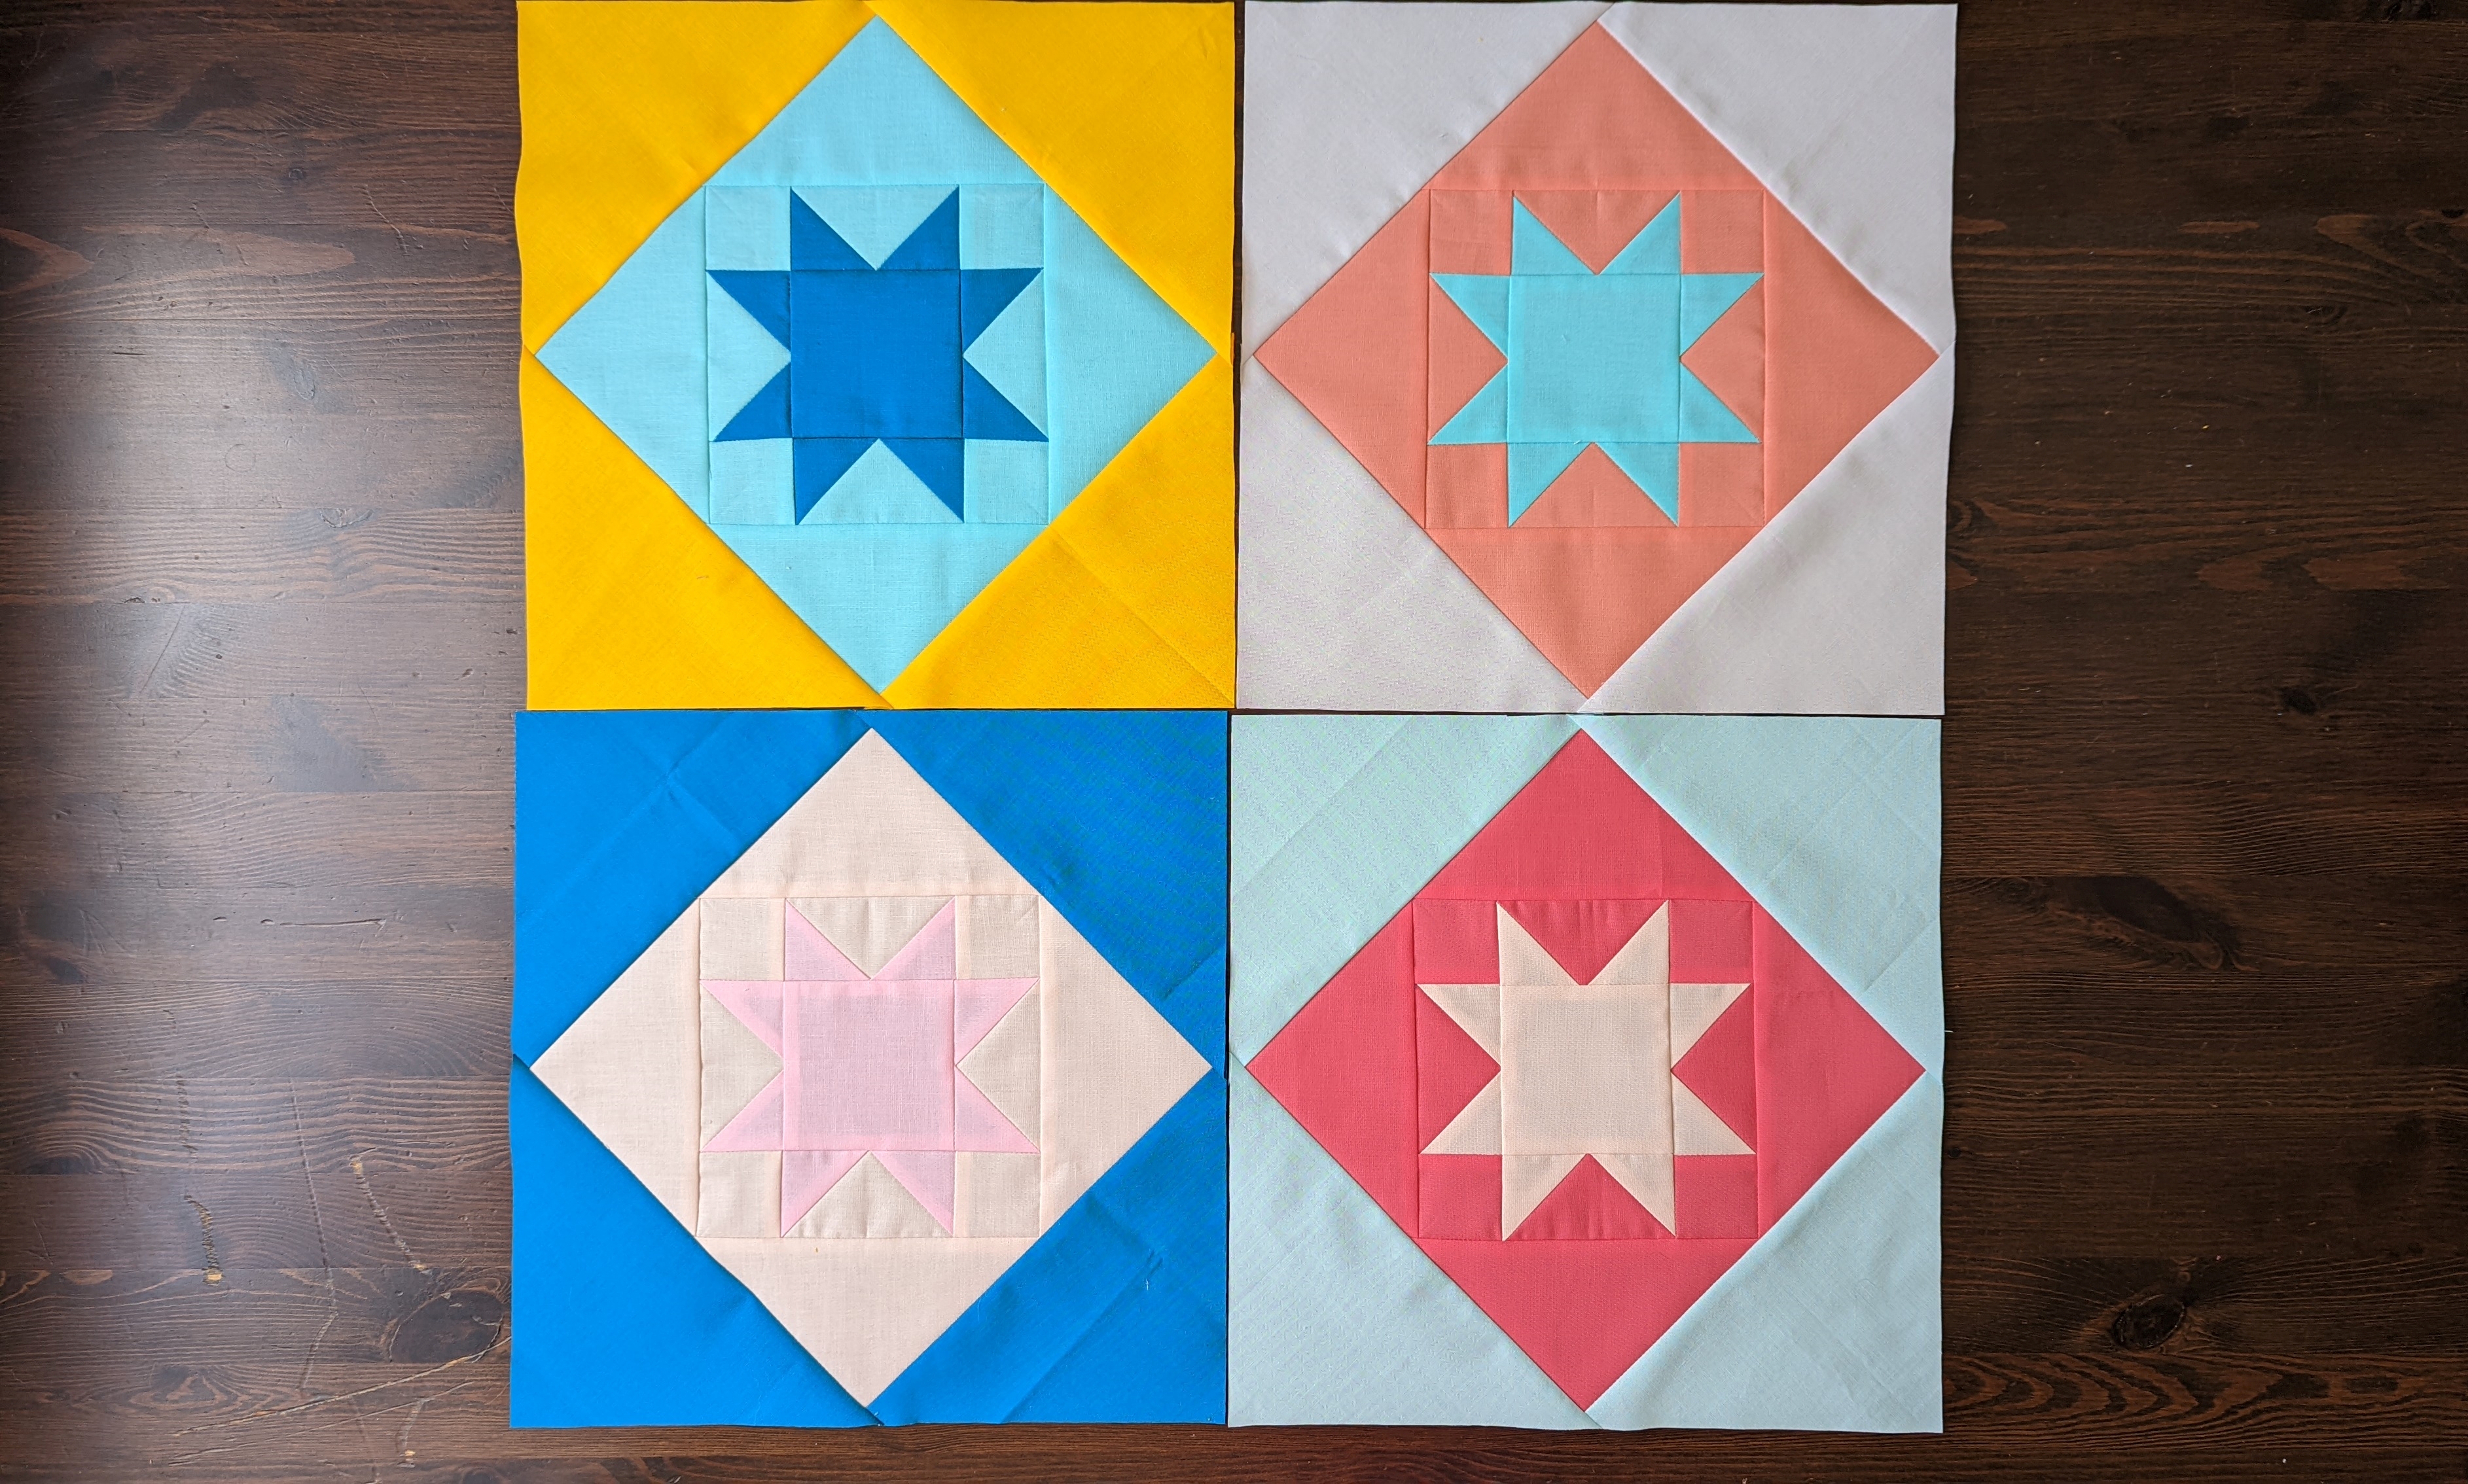
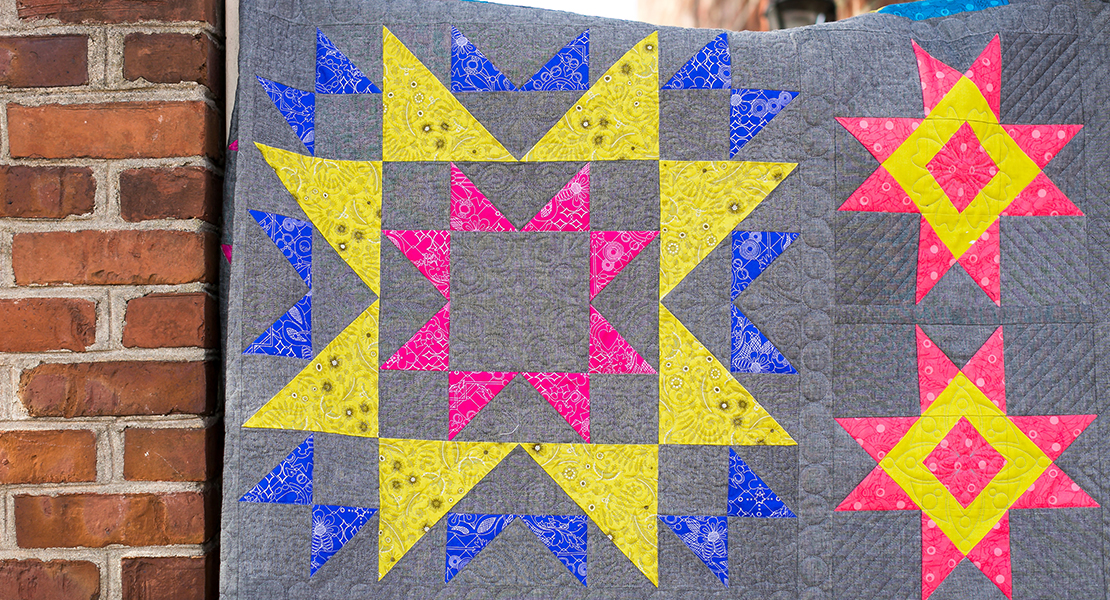
This month’s Maple Star is a very easy block. You will need to make two Maple Star blocks and seam them together for a 12″ X 24″ block.
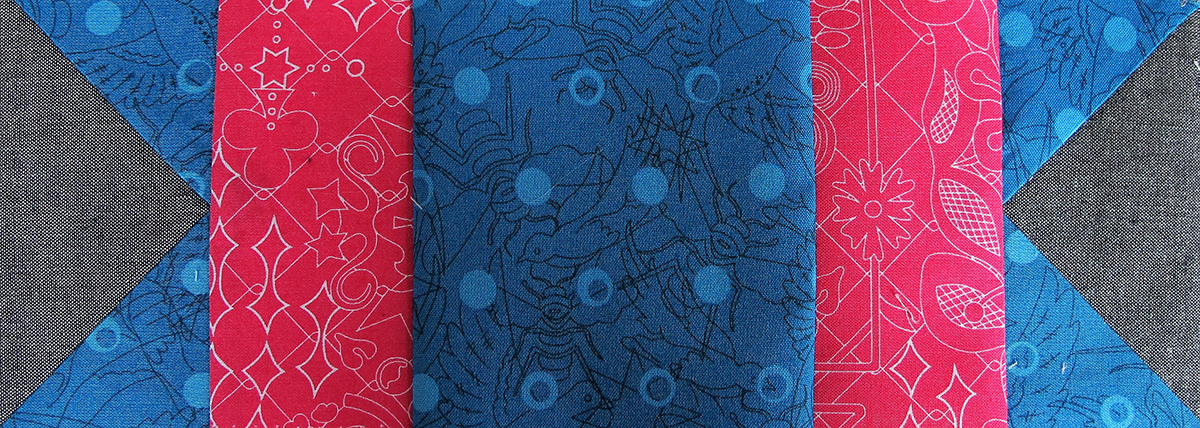
If you are buying fabric for each block on a monthly basis, you will need four fabrics for this block; a teal, a yellow, a pink and the gray background fabric.
Please see more details about fabric requirements here. You will follow the Alternate Cutting Instructions below if you are cutting from a kit.
Please also download the BERNINA Block Party Fabric Chart.
If you are using the Sun Print 2017 Andover fabric line by Alison Glass, the specific colors are listed in bold:
Fabrics
Fabric A Teal A-8484-T 1/4 Yard

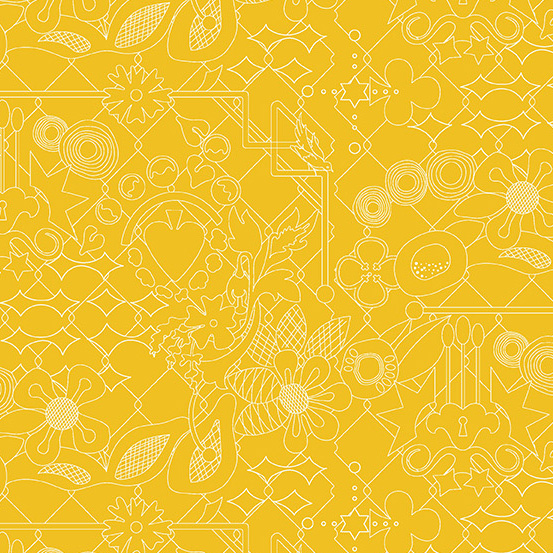
Fabric B Yellow A-8482-Y 1/4 Yard
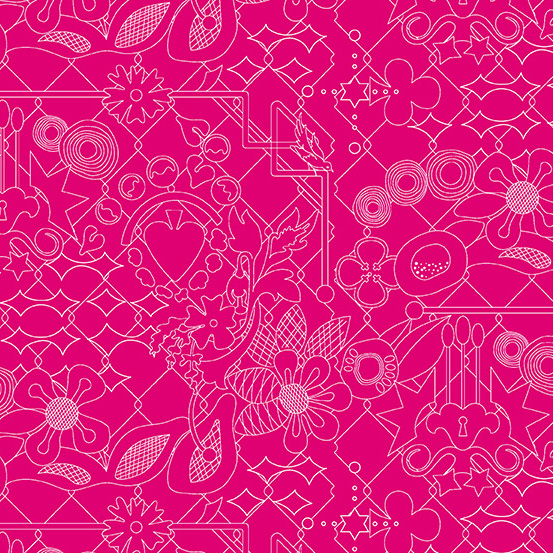
Fabric C Pink A-8482-E 1/4 Yard
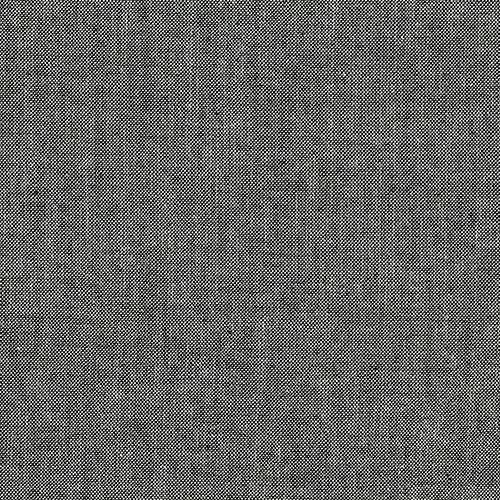
Fabric D Black A-C-Black
Supplies
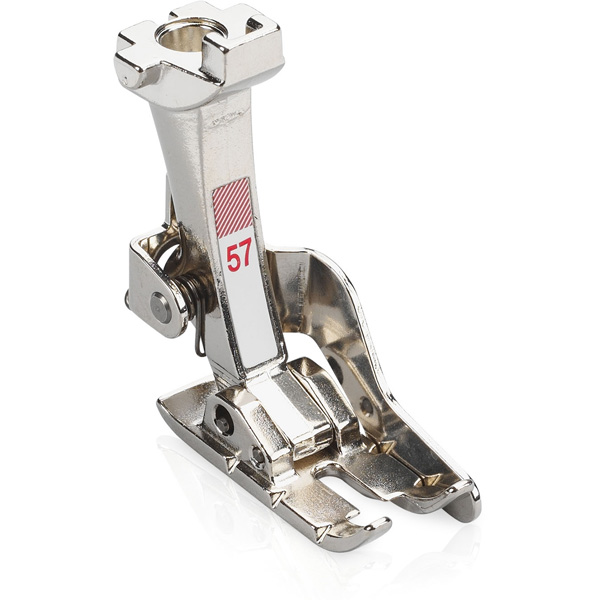
Patchwork Foot #37/37D or #57/57D or #97/97D
Machine with Embroidery Capability
OESD Embroidery Collection #12043 Elegant Line Quilting
Adjustable Ruler Foot #72 if using domestic machines
Ruler Foot #96 if using the Q 20 Sit-Down Machine or the Q 24 Longarm Machine (Note: you will also need the Rulerwork Kit for Frame if using either the Q 24 or Q 20
Longarm Machines on a frame)
BERNINA Straight Quilting Ruler
- Included in BERNINA Ruler Kit for Sit Down Machines (Domestic Machines and Q 20 Sit-down Model) includes Mini Straight Line Tool, Squiggle Template, Nested Mini Ovals, Nested Mini Circles, Mini 4-in-1)
- Included in the BERNINA Ruler Work Kit for Frame
Cutting
Fabric A
Cut 2 Squares 4 1/2″
8 Squares 2 7/8″; cut in half diagonally making a total of 16 triangles
Fabric B
8 Squares 2 1/2″
Fabric C
8 Rectangles 2 1/2″ X 4 1/2″
Fabric D
Cut 8 Squares 2 1/2″
Cut 8 Rectangles 2 1/2″ X 4 1/2″
Cut 2 Squares 5 1/4″; cut in quarters diagonally making 8 triangles
Alternate Cutting Instructions
Fabric A:
Cut a 4 1/2″ strip; cut 2 squares 4 ½″. 34″ of the length will remain.
Cut a 2 7/8″ strip; cut 8 squares. 20″ of the length will remain.
Fabric B:
Cut a 2 1/2″ strip; cut 8 squares 2 ½″. 23″ of this strip will remain.
Fabric C:
Cut a 2 1/2″ strip: cut 8 rectangles 2 ½″ x 4 ½″.
Fabric D:
Cut a 2 1/2″ strip from Fabric D 3 ½″ left over strip from Block 1; cut eight 2 1/2″ squares.
Cut eight 2 ½″ x 4 ½″ rectangles from Fabric D left over from Block 6.
Use the left over fabric from Block 6 to cut eight rectangles 2 1/2″ X 4 1/2″.
Cut a 5 1/4″ strip from fabric D; cut 2 squares. 32” of this strip will remain
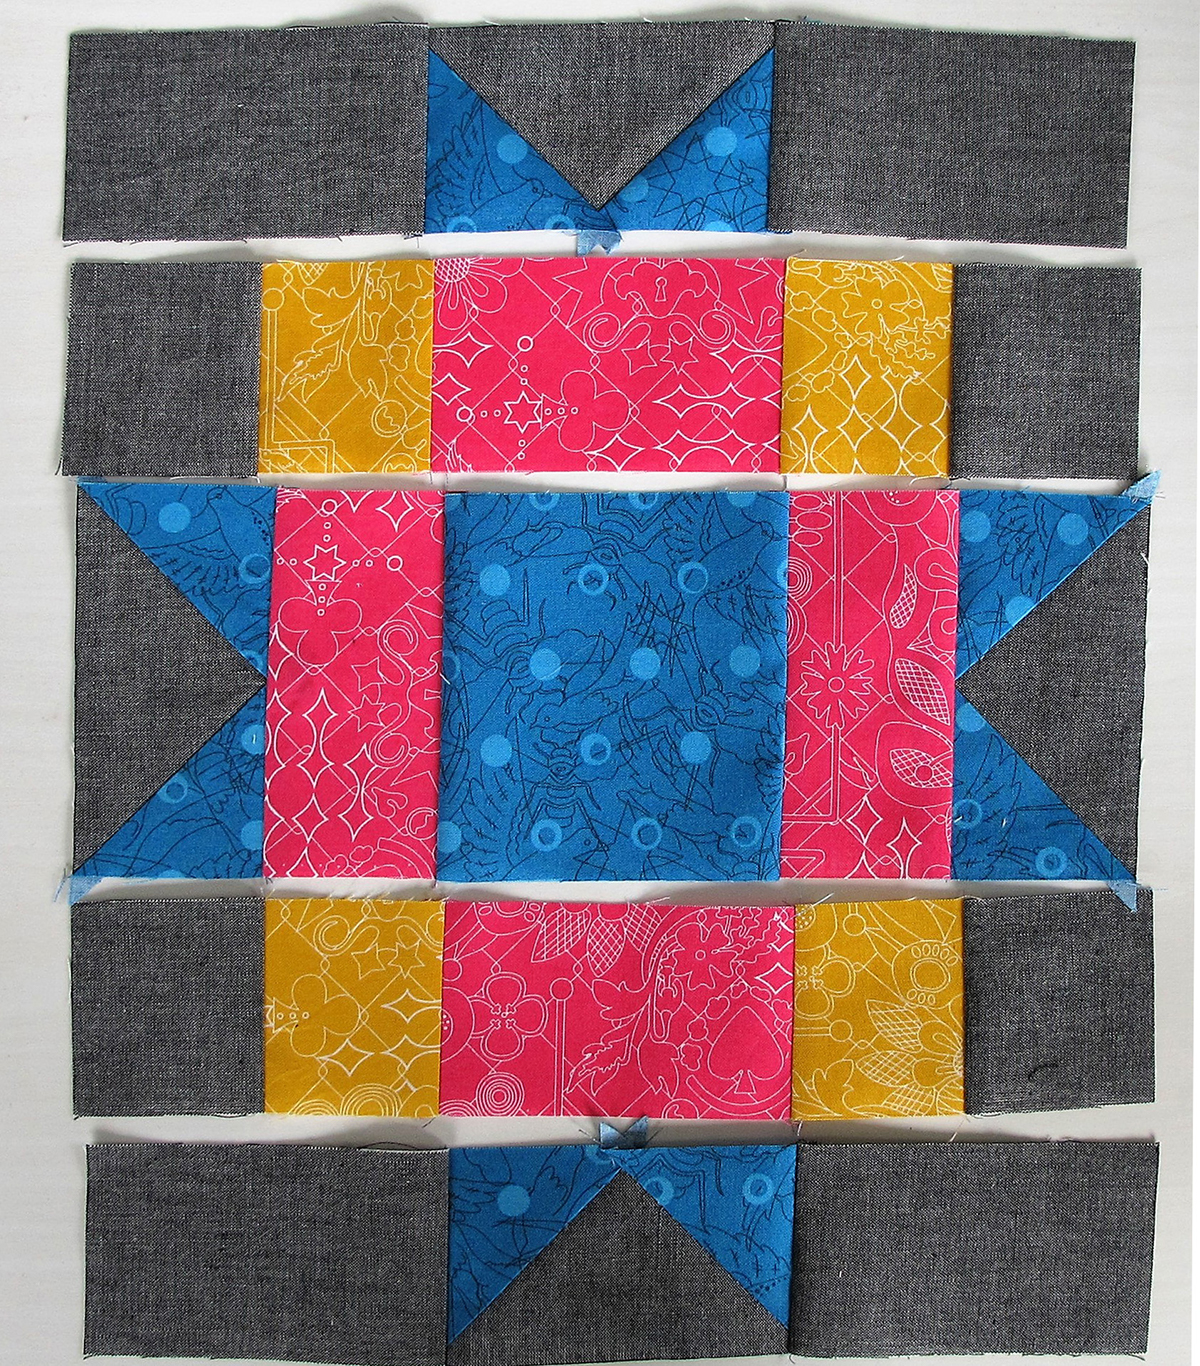
Piecing
Follow the instructions below for each of the two 12 ½″ x 12 ½″ blocks.
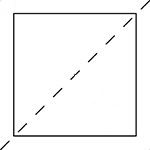
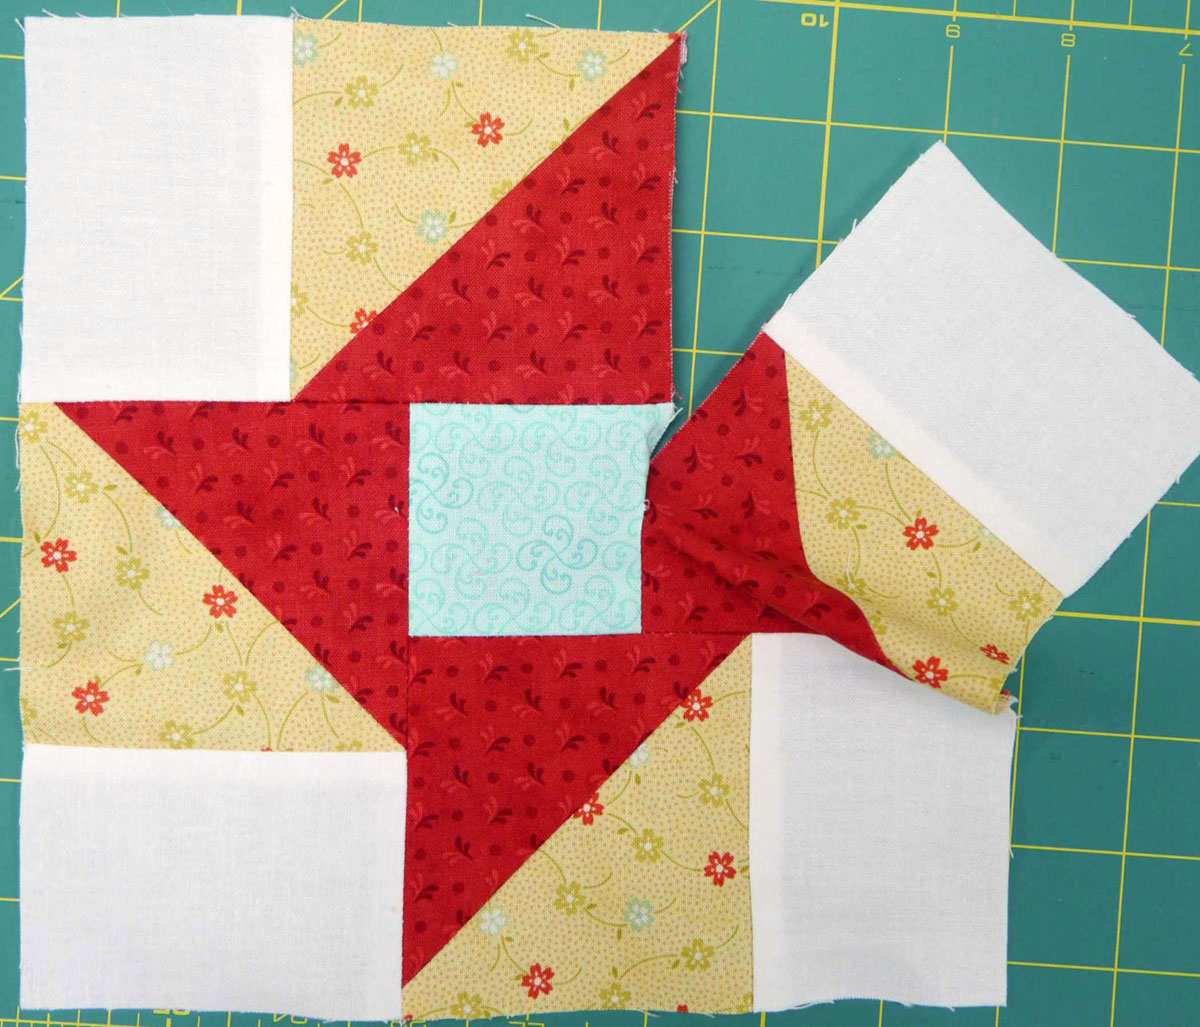
Piece a Fabric D triangle to two Fabric A triangles to create a flying geese unit. Make a total of 4 units for each of the two fabrics (total of 8 units).

Piece a 2 ½″ x 4 ½″ Fabric D rectangle to each end of the flying geese unit. Make 2 units for each of the two blocks (total of 4 units).

Piece a 2 ½″ Fabric D square to a Fabric B 2 1/2″ square. Make 2 units for each of the two blocks (total of 4 units).
Piece one of these units to both sides of a 2 ½″ x 4 ½″ Fabric C rectangle. Make 2 units for each of the two blocks (total of 4 units).

Piece a flying geese unit to a Fabric C rectangle. Make 2 for each of the two blocks (total of 4 units).
Stitch together this unit to each side of a Fabric A 4 1/2” square. Make 1 unit for each of the two blocks.
Create a 12 ½″ x 12 ½″ block by stitching the rows together. Repeat the process to create the second block.
Stitch the 2 blocks together to create the 12 ½″ X 24 ½″ block.
If you are going to make the entire quilt from the Block of the Month Series, set this large block aside for now. The instructions for piecing together all the blocks will come at the end of the series.
Each month, I also give you instructions for a different quilting technique so that you can experiment with different techniques. When it comes time for the final quilting, you will be ready to decide which quilting techniques you like best.
Remember to join Denise Jones this month. She has a creative project using this Maple
Star block that will post on October 16th here on WeAllSew.
Machine Embroidered Quilting and Ruler Work: A Quilting Lesson
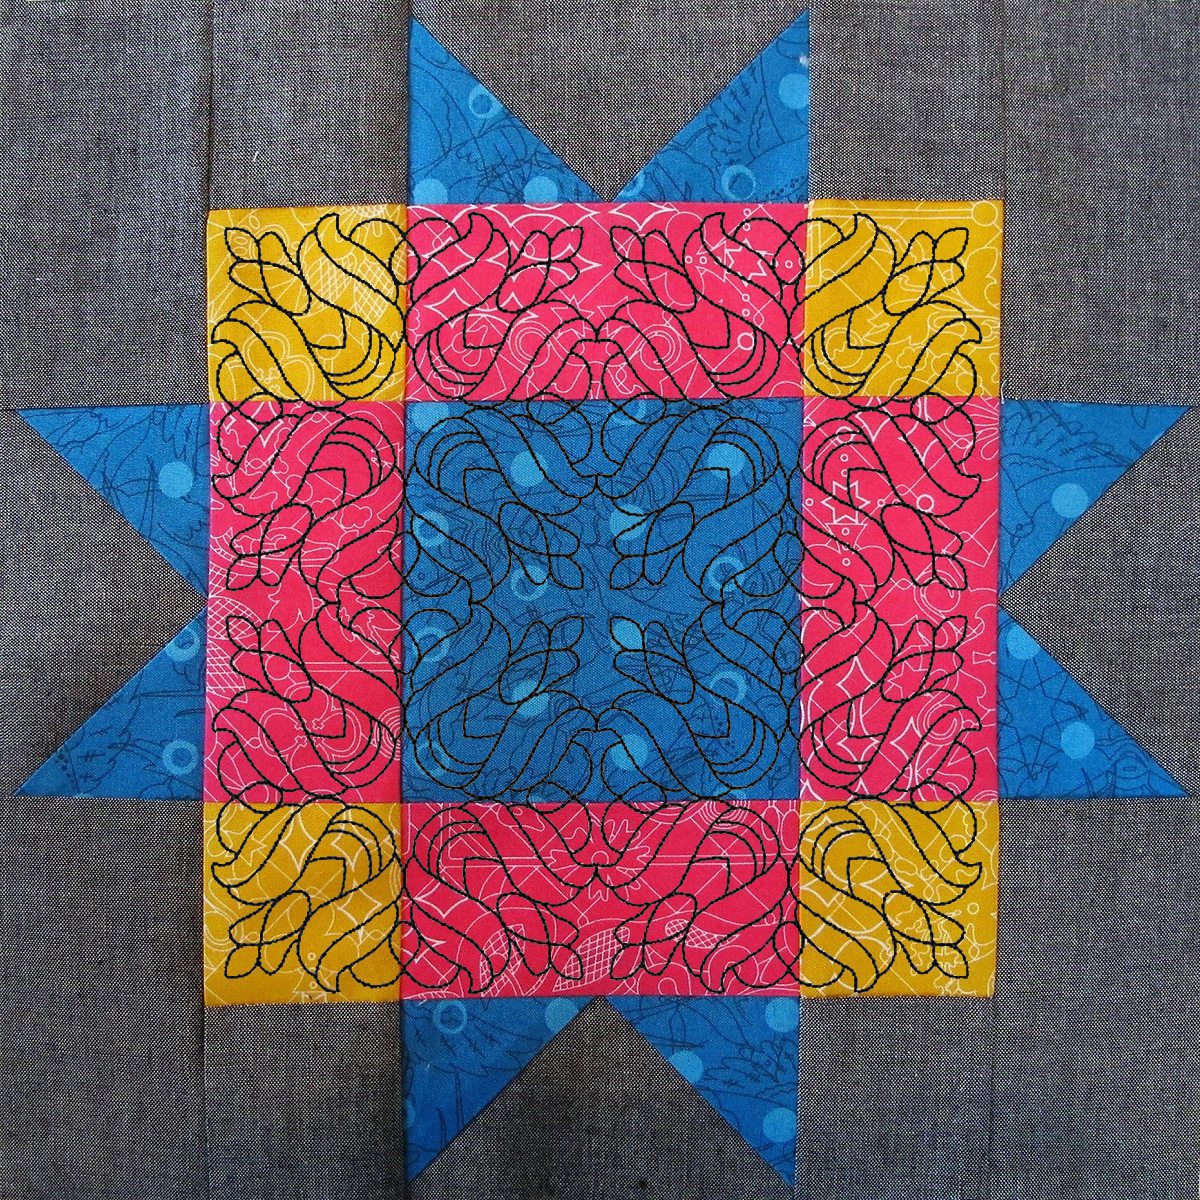
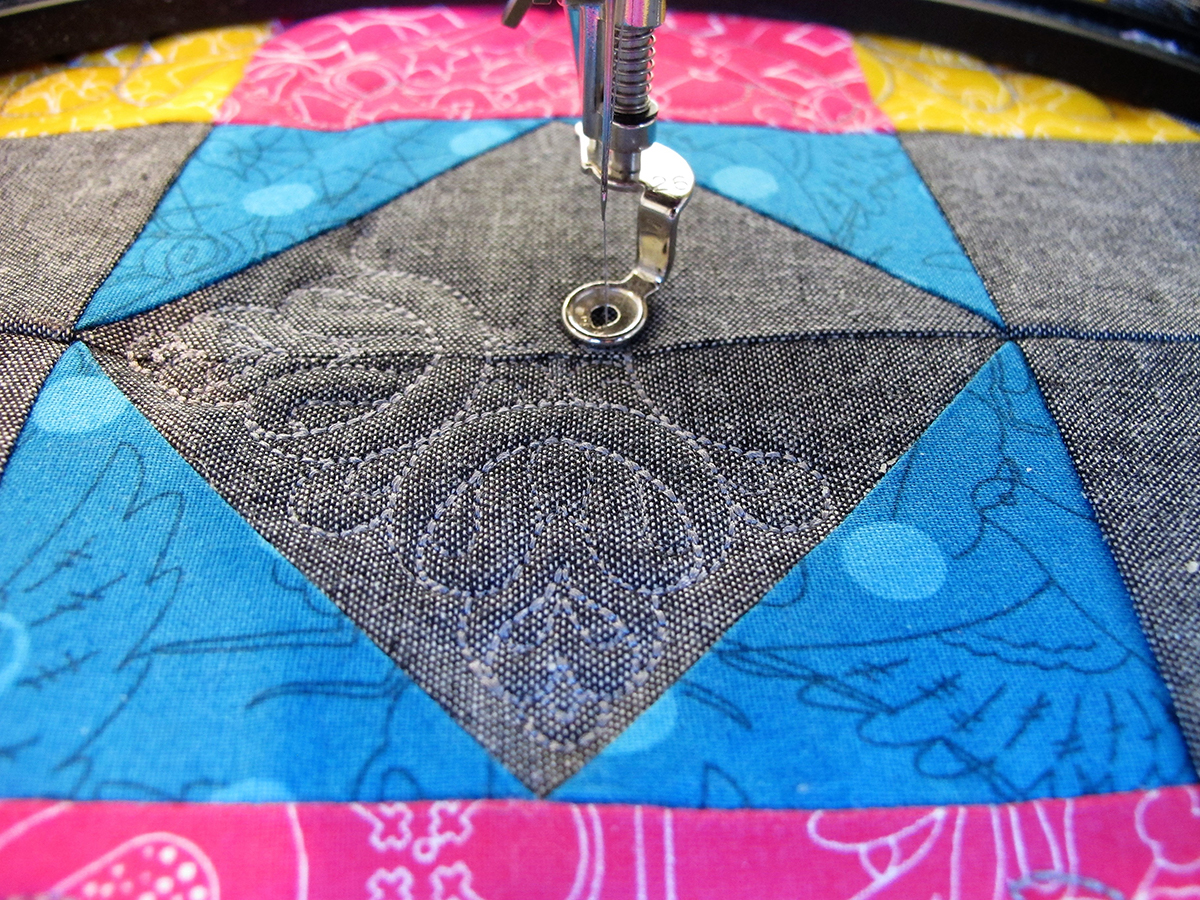
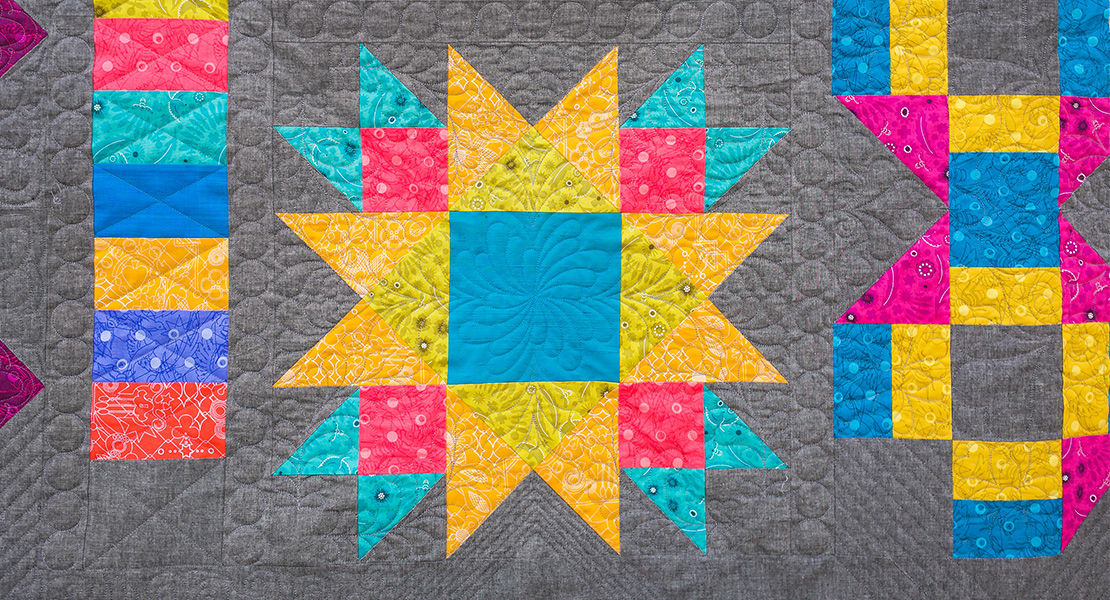
While many quilters don’t see themselves using an embroidery machine, it truly is a great way to quilt a project. This month’s block was quilted with an in-the-hoop embroidery technique, and then finished with straight line quilting using ruler work.
Begin by layering the backing, batting and pieced block. Use the largest hoop available for your machine. I used the BERNINA Jumbo Hoop so I could use a quilting design that covered not just the blue center, but also the pink and yellow squares and rectangles.

If your hoop is not large enough to accommodate a design this big, you might consider reducing the size of the design and embroidering the smaller square four times to fill the area you want to quilt. Adding this many designs will add a lot of stitches, so you may need to evaluate the design to be sure the block does not get too heavy.
If embroidering the single design (#BD300 from the OESD Embroidery Collection #12043 Elegant Line Quilting) to fill the entire center, you will need to enlarge it to 192 mm X 192 mm to fit the block. If embroidering the design 4 times, the total size of all four designs should also equal 192 X 192 mm. Explore the various quilting designs from the Elegant Line Quilting Collection to find one that appeals to you.
Use the hoop’s plastic template to keep the block straight as you hoop the pieced block, batting and backing. A stabilizer is not needed if you hoop the quilt sandwich.
Thread the machine with the same thread in the needle and the bobbin. Thread the bobbin as you would for sewing, as you want balanced tension. Embroider the design.
If using a hoop smaller than the Jumbo Hoop, you will need to re-hoop and align the remaining three designs.
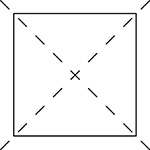
The small center square also has an embroidered quilting design. I choose Design #BD299. You will need to size the design to 68 mm X 68 mm, then rotate 45 degrees.
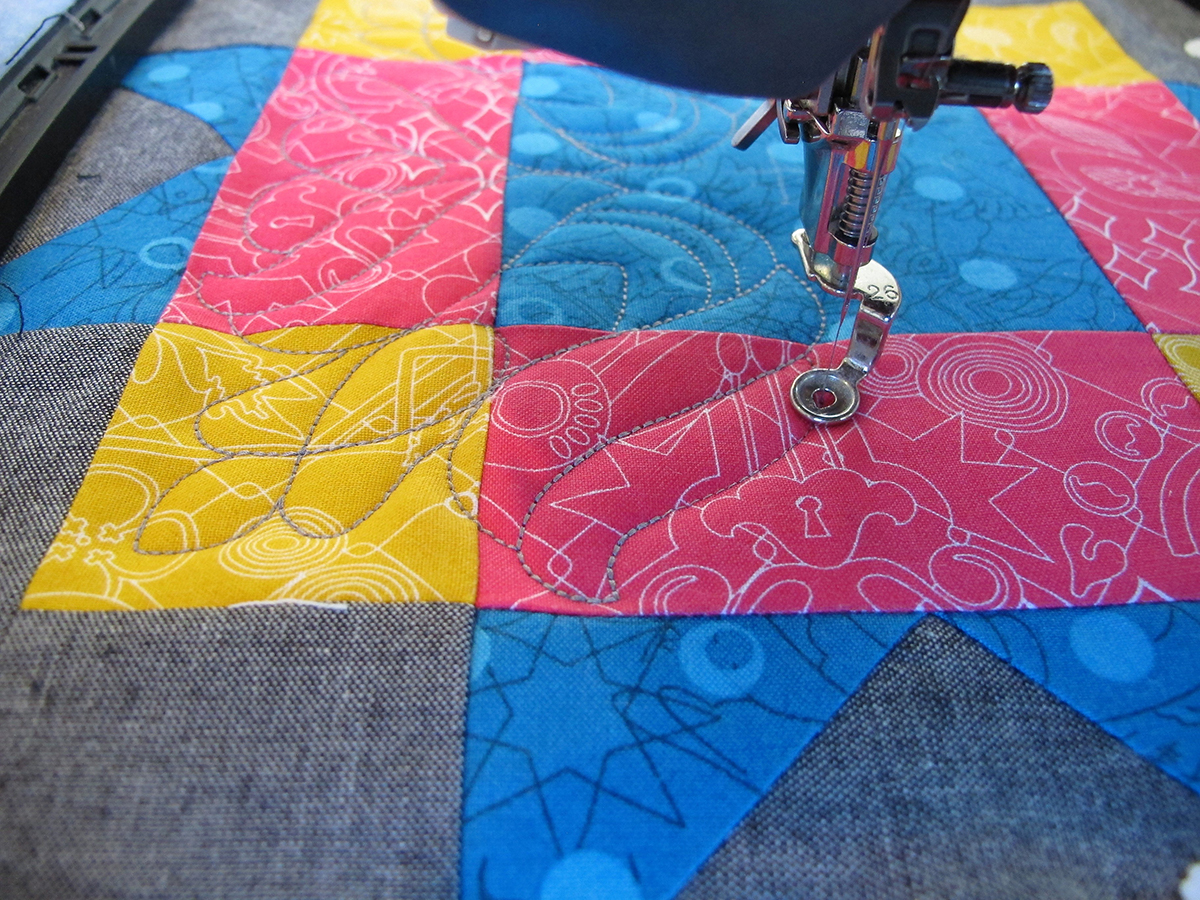
When finished with the embroidery, decide if you want more quilting on the block. I choose to quilt the rest of the block using ruler work with the BERNINA Straight Quilting Ruler.
Stitch horizontally on the long sides and vertically on the short ends, spacing the lines ½” apart. Allow the horizontal and vertical stitching lines to overlap forming a grid in the corners of the block. I love how the simple straight lines compliment the more intricate curves of the machine-embroidered quilting!
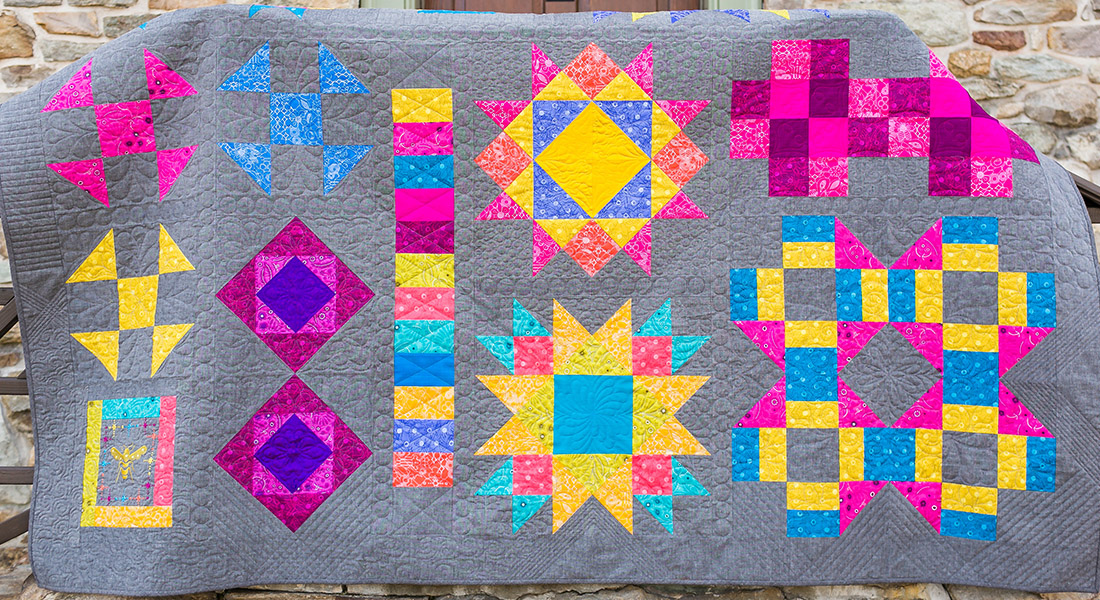
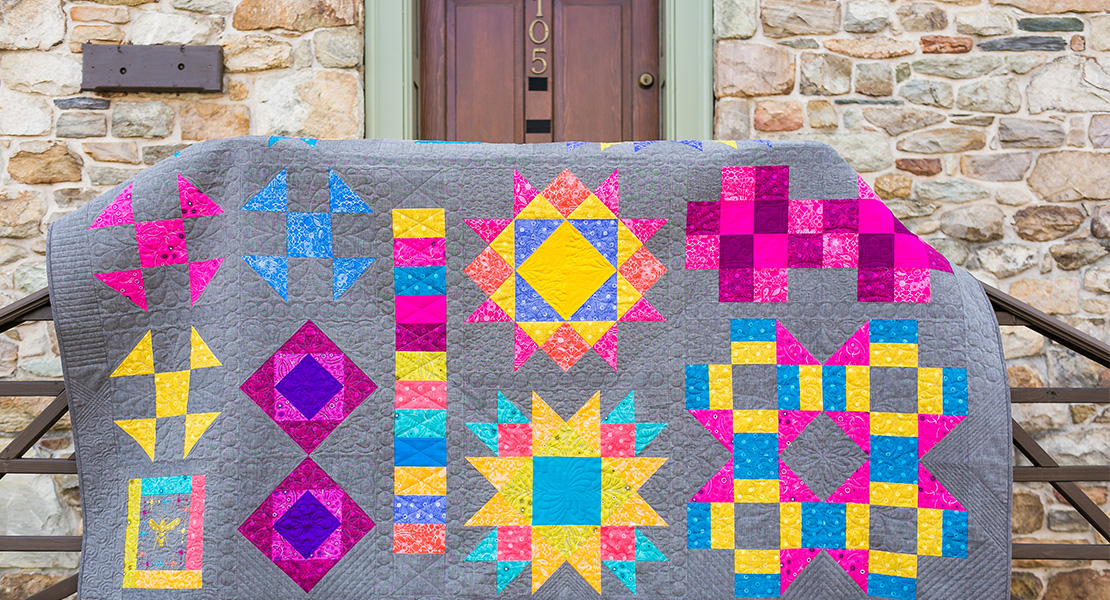
Tutorial List of the BERNINA Block of the Month Series
Block 1: Antique Mosaic Block
Block 2: Shoofly Block
Block 3: Square in a Square Block
Block 4: Magic Circle
Block 5: Card Basket Variation Block
Block 6: Ohio Star Variation Block
Block 7: Maple Star Block
Block 8: Grecian Square Block
Block 9: Union Square Block
Block 10: A Girl’s Favorite
Used Products


What you might also like


3 comments on “Maple Star Block”
-
-
I have been following your directions throughout this process and sometimes, they are downright confusing. For example, I have been trying to do the first step in this block. You go from maple star (the name of the block) to flying geese (which I understand is a part of the block). I have looked up how to construct the flying geese from other writers on this blog. It’s confusing. In addition, the photos don’t help. I am a beginning quilter and I look things up, ask questions, etc. In the future, when you write your directions, have someone read them. This would save a lot frustration. Thanks.
-
I am sorry you are confused. The term “flying geese” is used to describe a particular type of piecing such as a “flying geese unit”. As a beginner quilter I can understand that may be confusing if you have never run across it before. Hopefully your local Bernina Dealer or a more experienced quilter can help you as these are intermediate blocks.
-
Leave a Reply
You must be logged in to post a comment.

Good morning, I went ahead and tried constructing Block 12. Your cutting directions created a 10″ unfinished block. I have since corrected your instructions by adding 2 1/2 inches to your length instructions.