Shoofly Block
Welcome back to the BERNINA Block Party! Are you ready to move on to Block Two, the Shoofly Block? This simple 9 patch block incorporates half-square triangle corners for an easy variation. You will be making three units of this block this month.
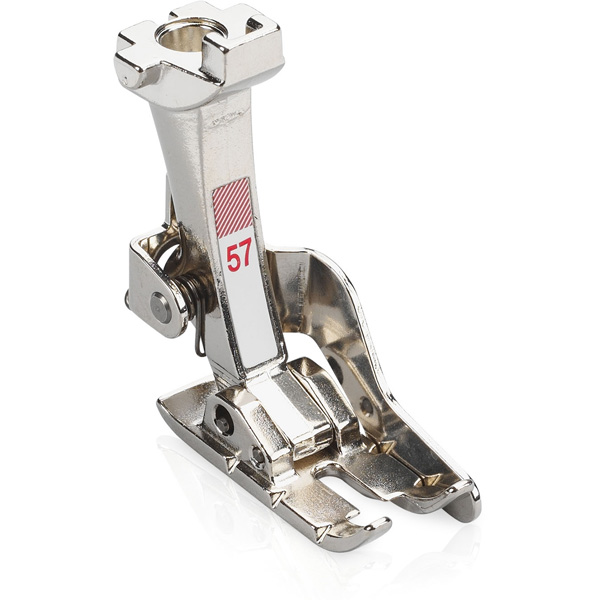
So set up your machine (don’t forget to clean and oil it), gather your fabrics and let’s get started! Take a look back at the Antique Mosaic Block Blog for tips on feet, needles, and thread to use.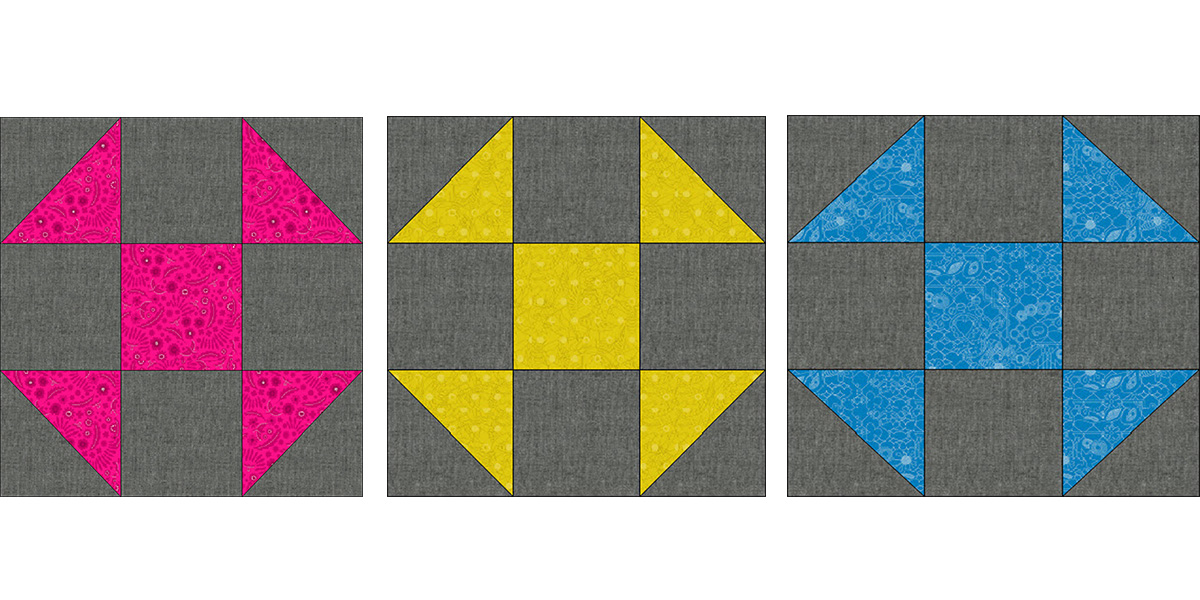
Fabric to Create the Shoofly Block
If you are buying fabric for each block on a monthly basis, you will need four fabrics for this block. Please see more details about fabric requirements here.
Please also download the BERNINA Block Party Fabric Chart.
If you are using the Sun Print 2017 Andover fabric line by Alison Glass, the specific colors are listed in bold:
Fabric A Yellow, A-8484-Y, 1/4 Yard

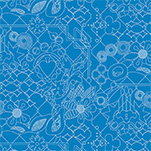
Fabric B Blue, A-8482-T, 1/4 Yard
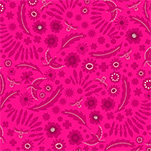
Fabric C Pink, A-8483-E, 1/4 Yard
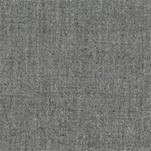
Fabric D Gray, A-C-Black, 1/4 Yard
Cutting Instructions to Create the Three Shoofly Blocks
Fabric A, B, and C:
1 Square 4 1/2″
2 Squares 4 7/8″
Cut each 4 7/8″ square in half diagonally to create four triangles
Fabric D:
12 Squares 4 ½″
6 Squares 4 7/8″
Cut each 4 7/8″ square in half diagonally to create 12 triangles
NOTE: If you have purchased a fabric kit from your local BERNINA store, be sure you get a cutting guide from the store staff. If you have purchased all the fabric for the entire quilt using the fabric amounts listed in the introduction blog post, be sure to follow the Block 2 Kit Cutting Instructions below so that you do not run out of fabric, as the fabrics are most often shared with other blocks.
Block 2 Cutting Instructions if using purchased fabric kit or fabrics from introduction blog post
Fabric A, B and C:
Cut a 4 7/8″ strip from each of these fabrics. After cutting the two 4 7/8″ squares needed, cut the 4 ½″ square from the same strip. You should have 28″ left from each strip for use later.
Fabric D:
Cut one 4 ½″ strip and one 4 7/8″ strip. From the 4 ½″ strip, cut nine 4 ½″ squares. From the 4 7/8″ strip, cut six 4 7/8″ squares and three 4 ½″ squares.
Piecing for Each of the Three Blocks
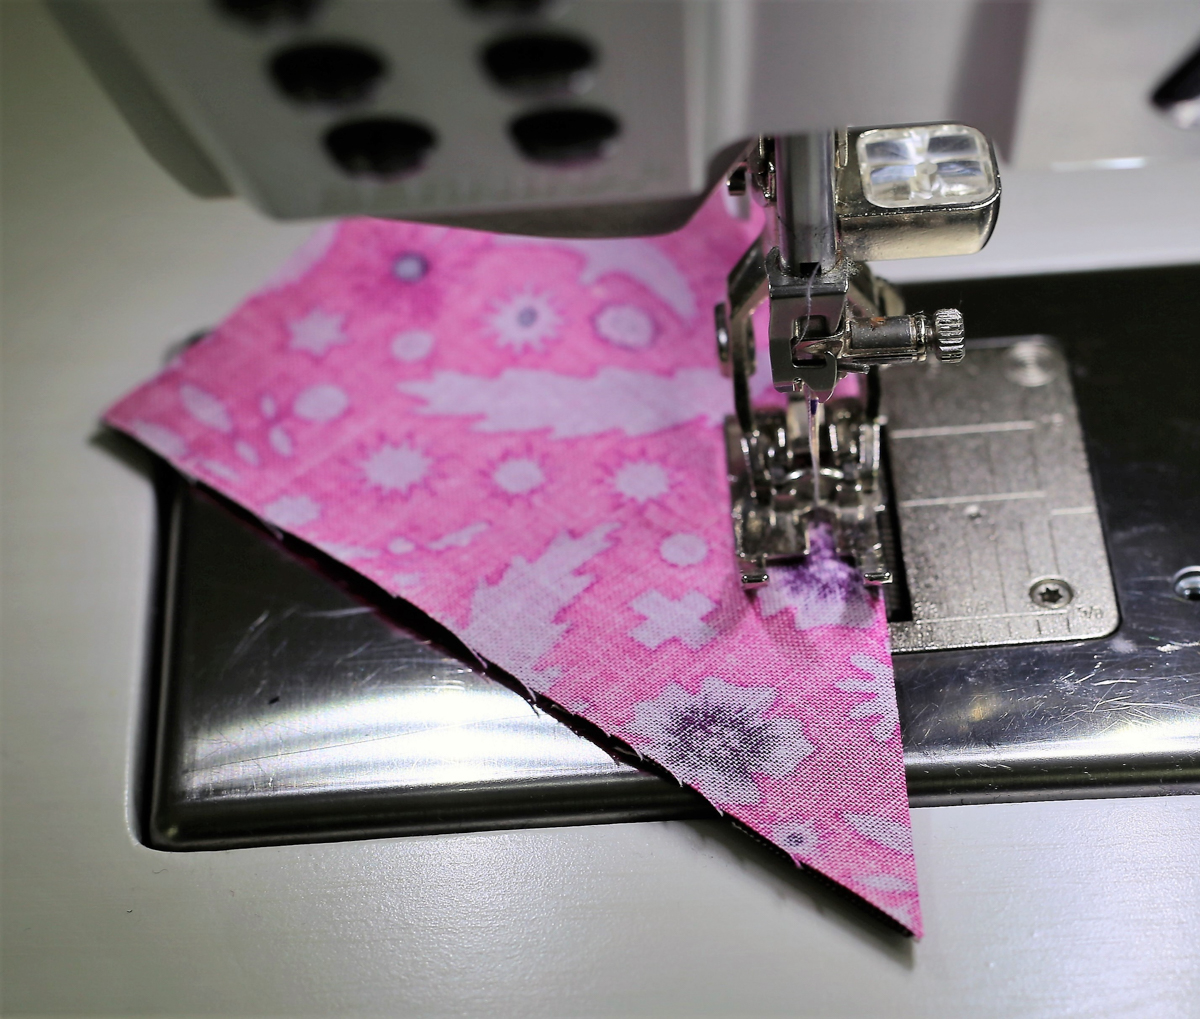
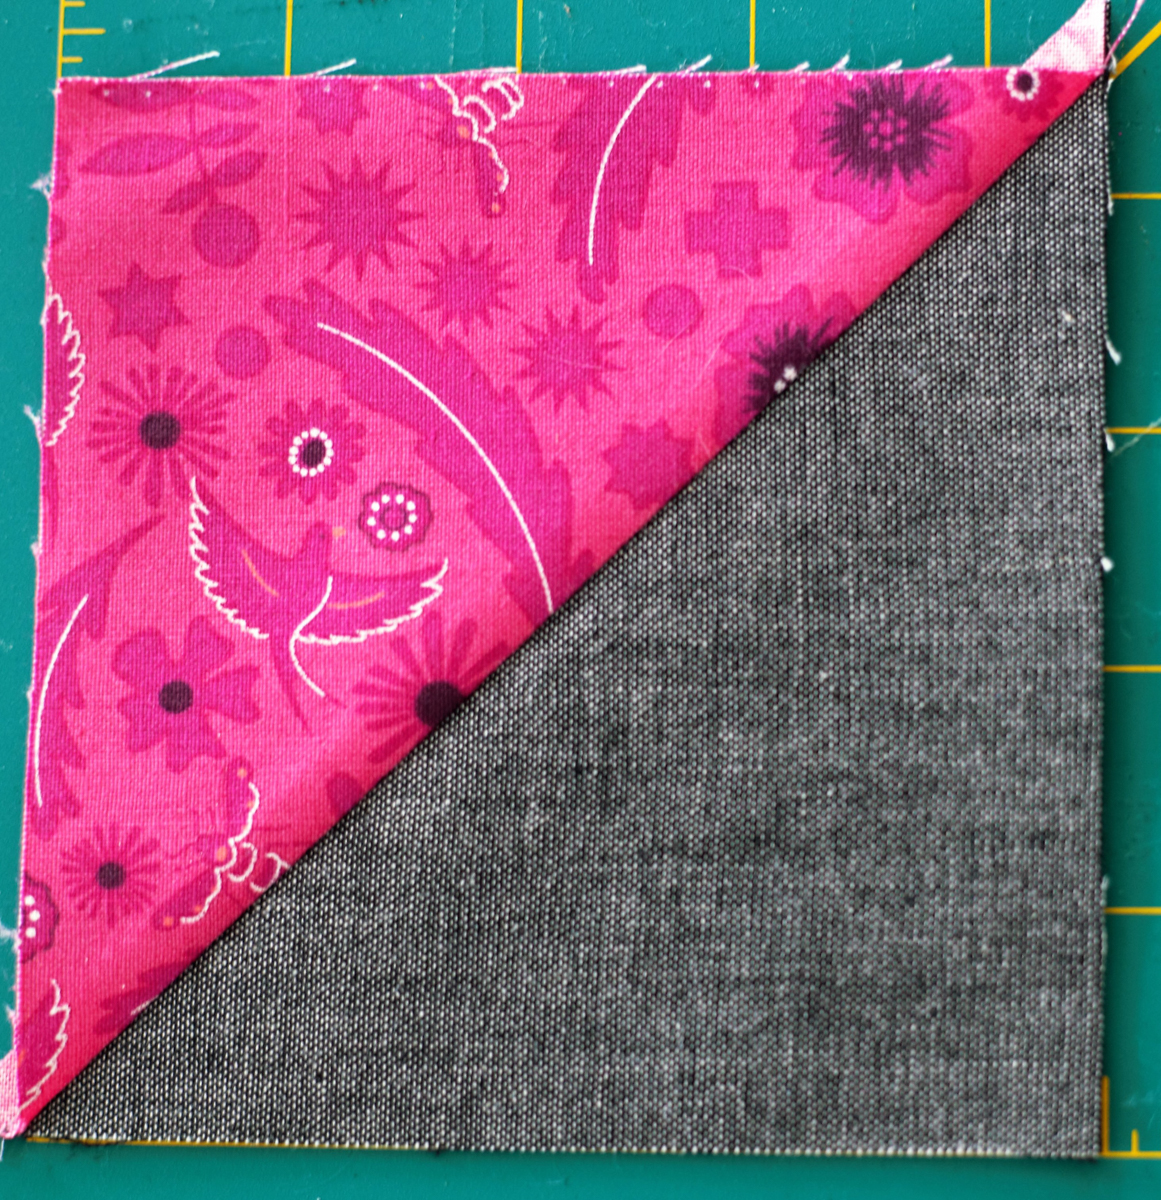
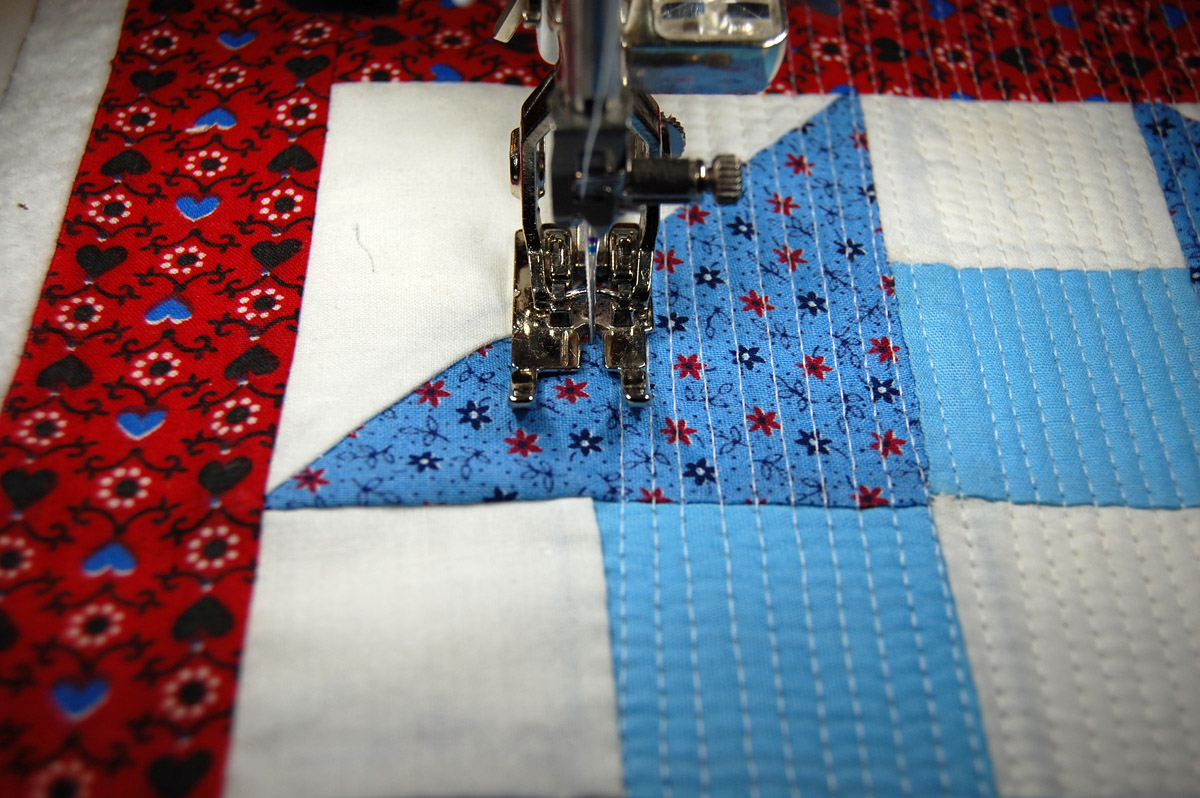
Piece four background triangles to four colored triangles. Make sure you have the straight stitch needle plate on, as it will keep the points of the triangles from slipping into the machine. When piecing multiple triangle sets, chain piecing will save time!
Repeat this process for each color.
Piece a half square triangle block to each side of a background square. Make two of these for each of the three blocks.
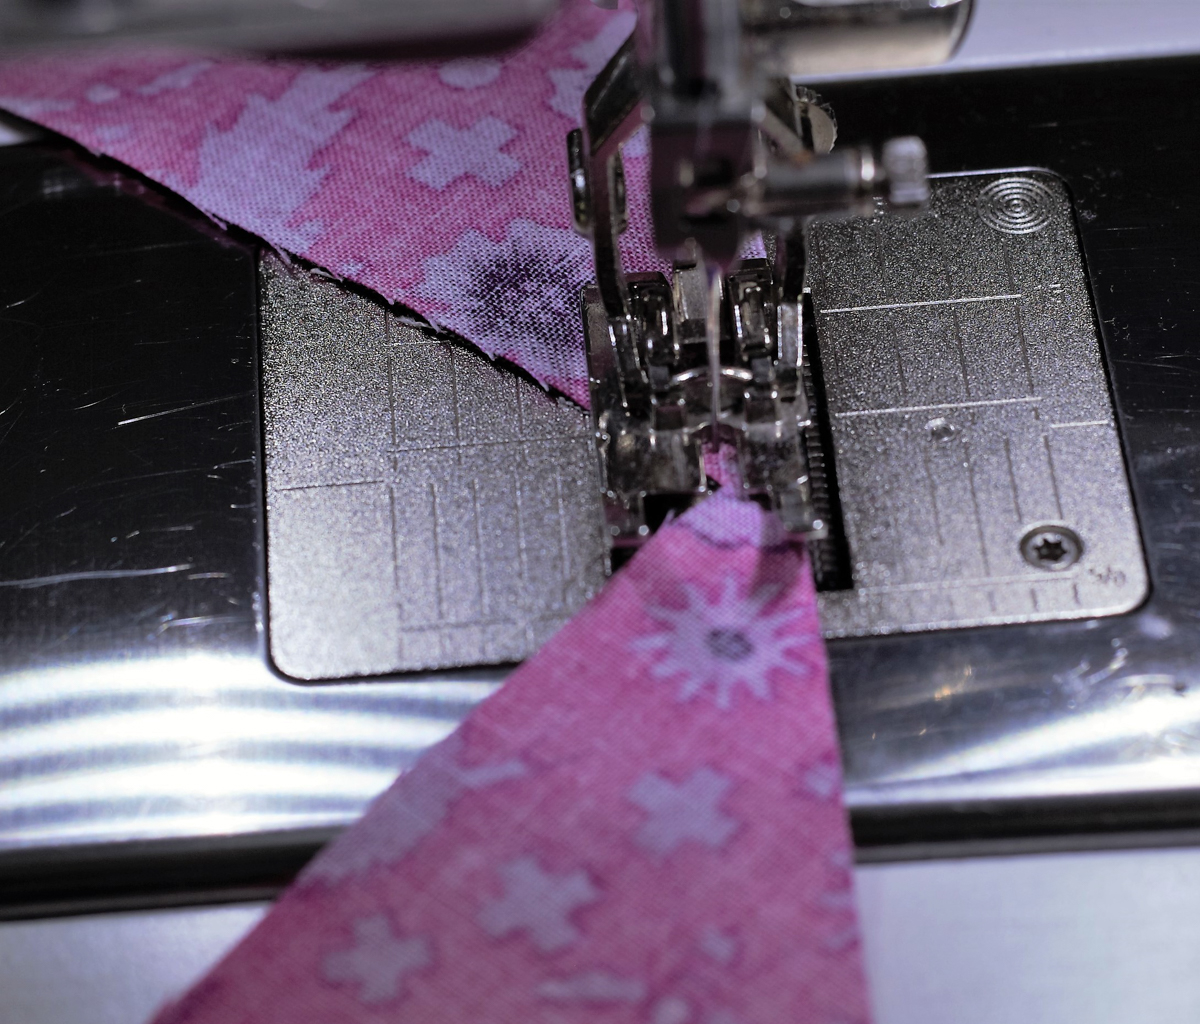
To double check your accuracy, watch when the needle falls into the diagonal seam that the starting edge of the fabric is even with the 1/4″ mark behind the needle.
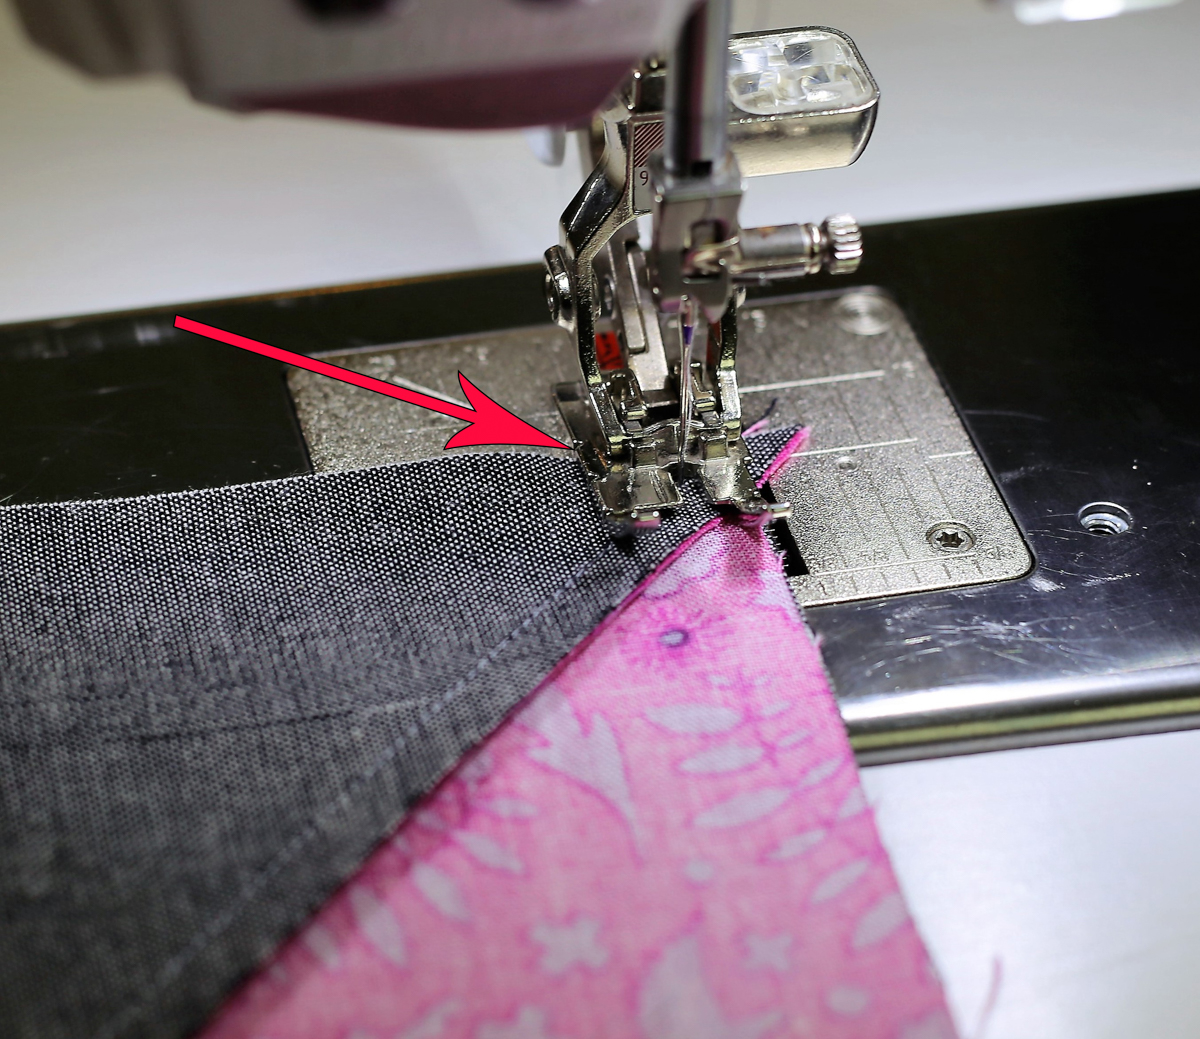
If you have been successful as in the above photo then the area above the tip of the colored triangle as shown below should be exactly 1/4″. This will ensure that you do not lose your points with further piecing.

So far, you will have pieced four half square triangles for each of the three blocks.

You will have also constructed two strips for each of the three blocks.

Now, piece two background squares to each side of a colored square for each of the three blocks.

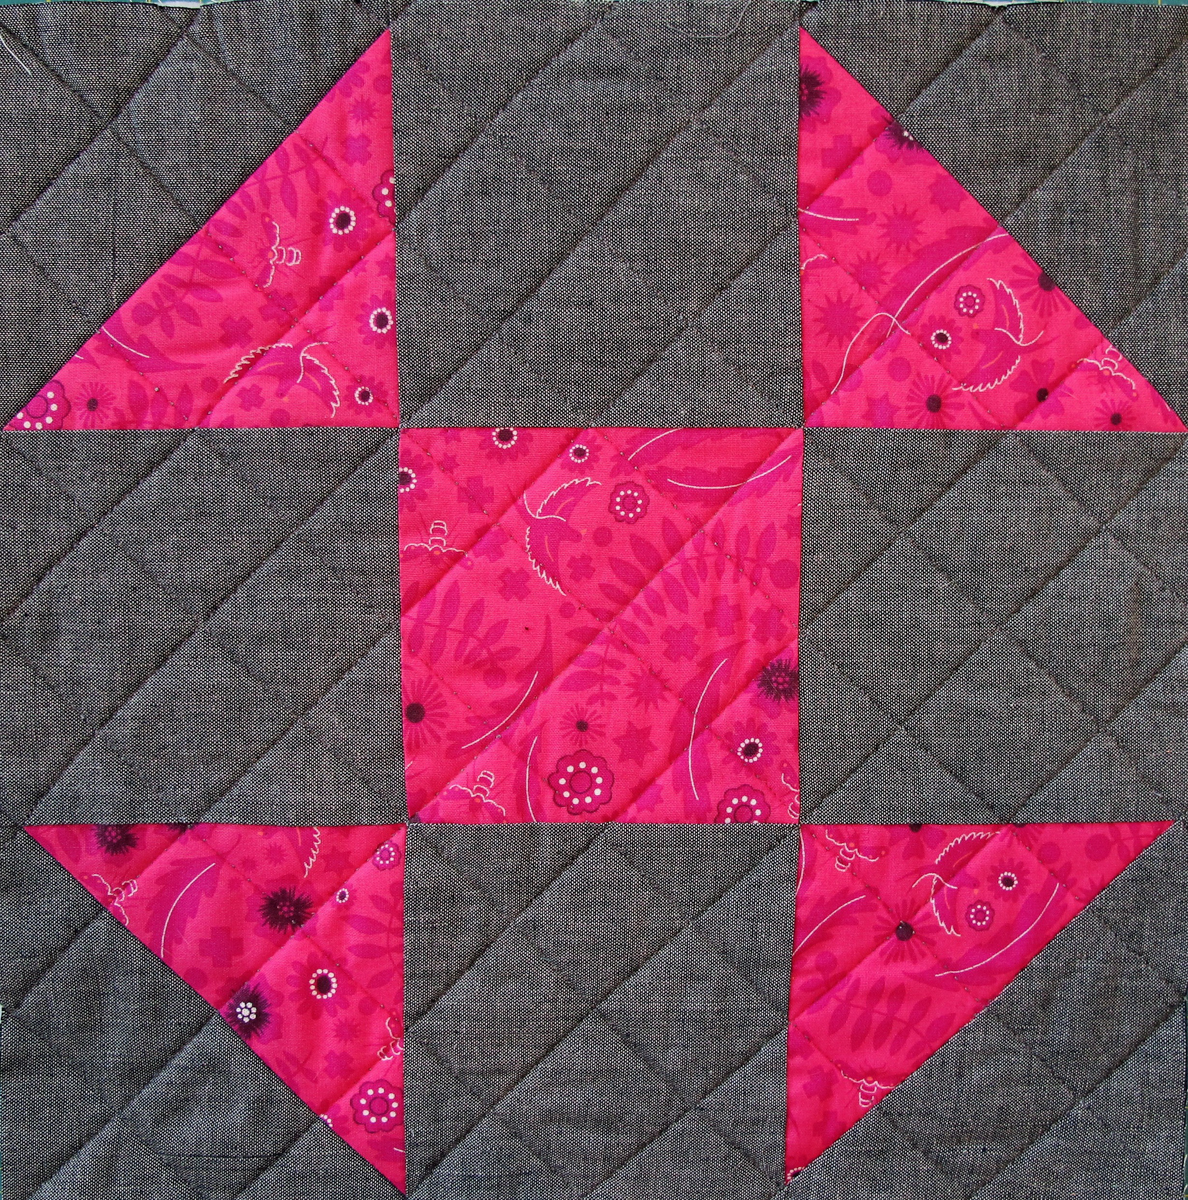
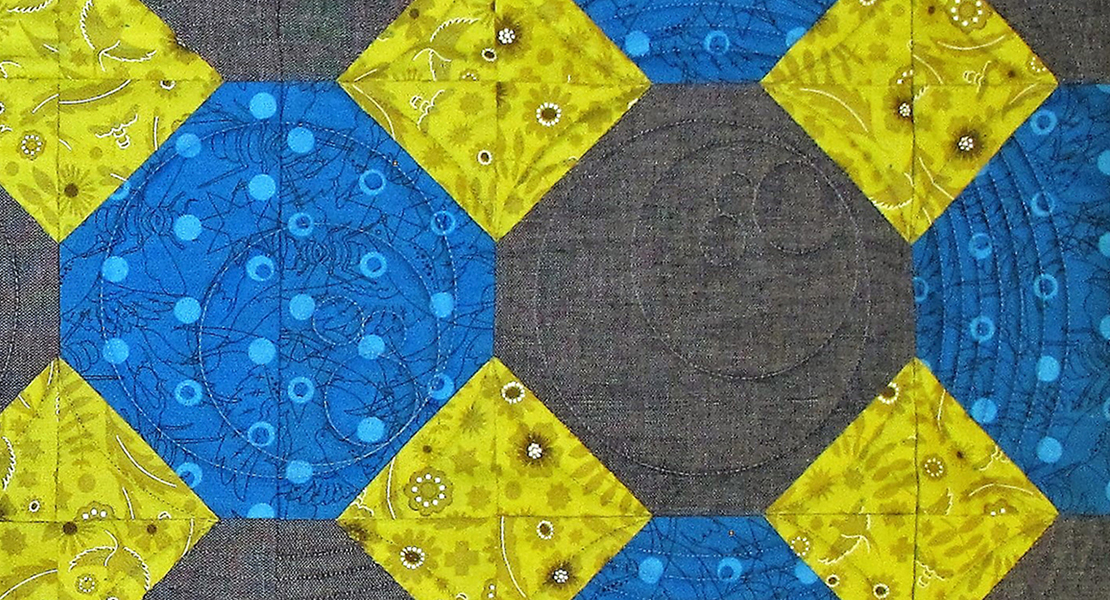
Piece the three rows together to create the three Shoofly Blocks. Each block should finish at 12 ½″ x 12 ½″ at this point.Set the three blocks aside for now if you are going to make the entire quilt. The entire quilt top will be pieced before the final quilting of the layers is done.
As a bonus each month, we will also talk about a different quilting technique. Feel free to experiment with these techniques so you can use your favorites when it comes time to the final quilting.
If you join Denise Jones each month, she will be creating a project using this block and the techniques in the quilting lesson. Her next project will post on May 15 here on WeAllSew.
Grid Quilting with a Twist: A Quilting Lesson
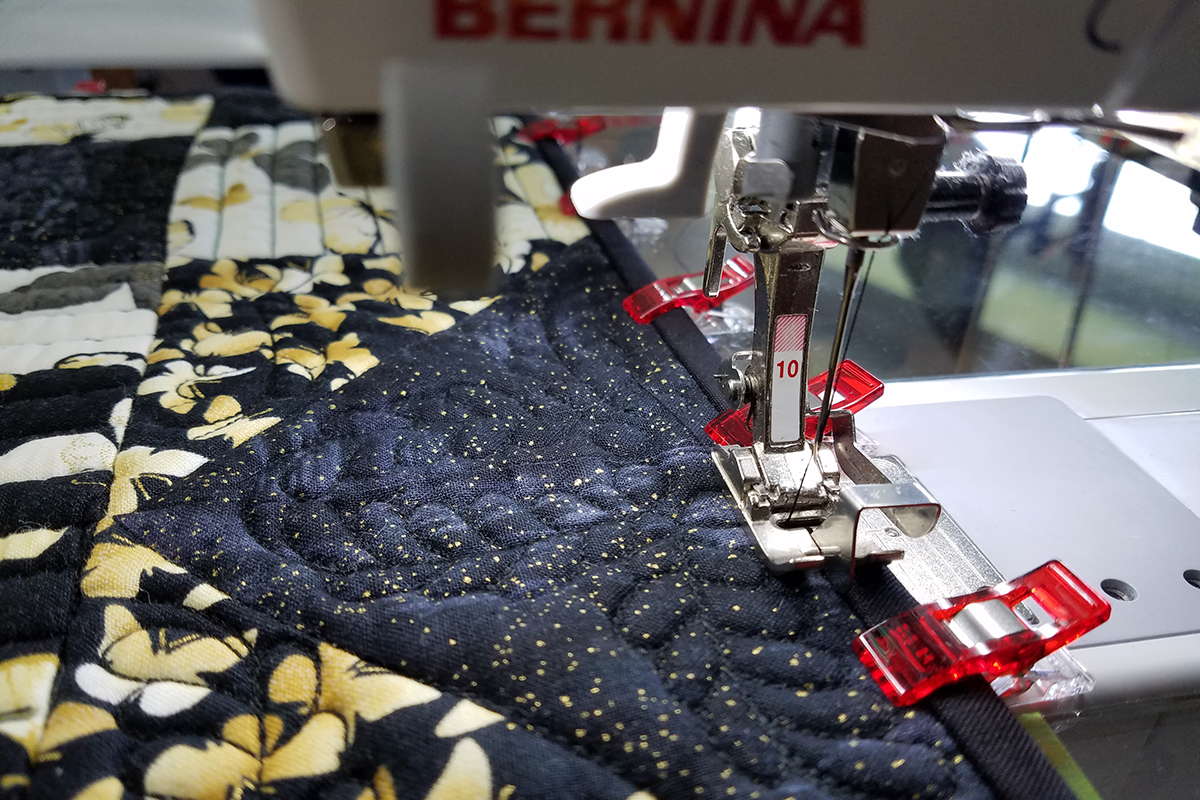
This block is grid quilted, just as in the quilting lesson from last month. However, this month we will grid quilt using one of the Hand-look Quilt Stitches available on many BERNINA Sewing Machines.
Mark a diagonal line on the block in each direction.
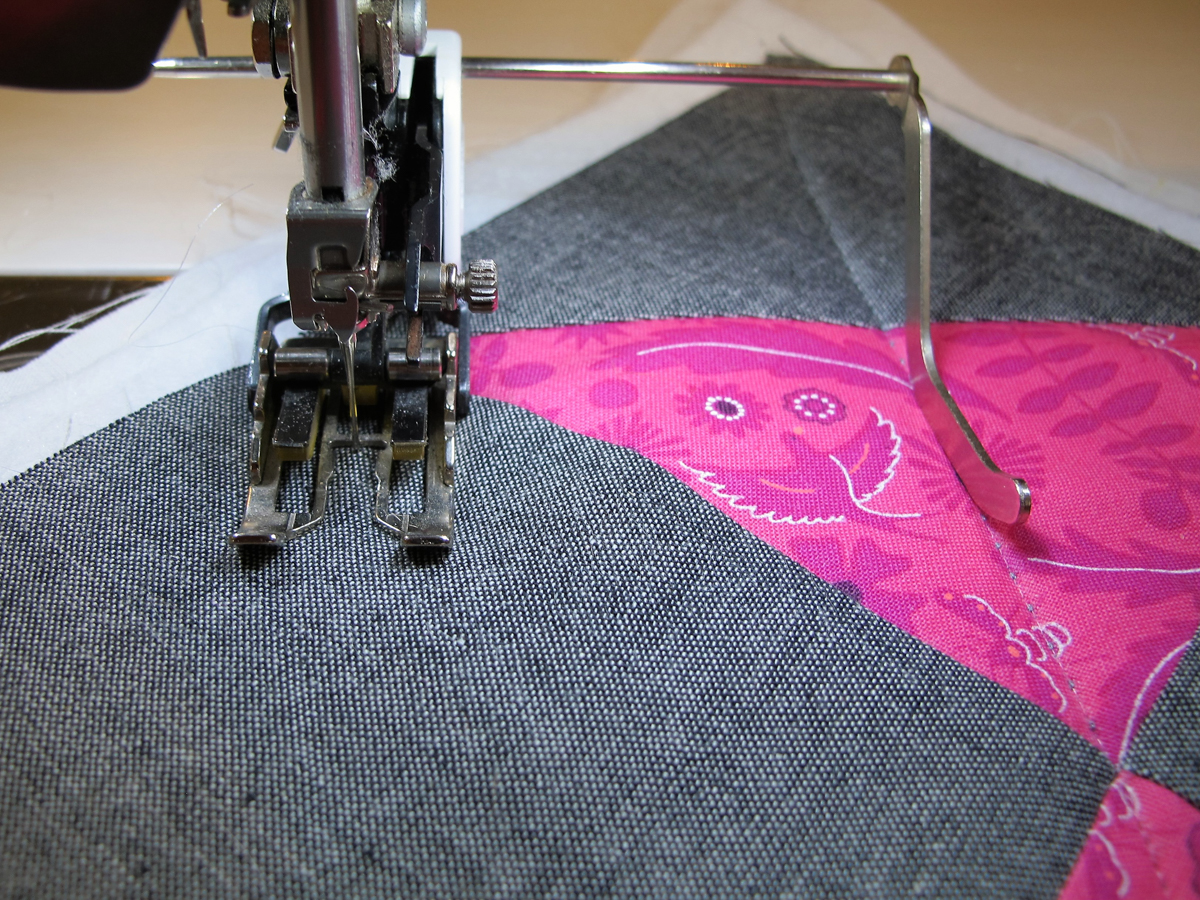
Attach the BERNINA Walking Foot #50.
Select one of the Hand-look Quilt Stitches from the Quilting Stitches menu of your machine. There are several stitches to choose from depending how long you want the stitch to be. You may also choose Stitch #1350 for an irregular look that will more closely emulate a hand stitch.

The success of this stitch is dependent on threading the top of the machine with monofilament thread and the bobbin with a 50wt cotton thread. The bobbin thread should be the color that you would like to see on the surface of your fabric as the quilt stitch.
Play with the different stitches, adjusting stitch length and/or tension until you get the results that you want. Some models of BERNINA machines have automatic tension adjustment as you choose the stitches. On other models, the stitch will be dependent on you tightening the upper tension. Your machine manual is a good reference when setting up this stitch.
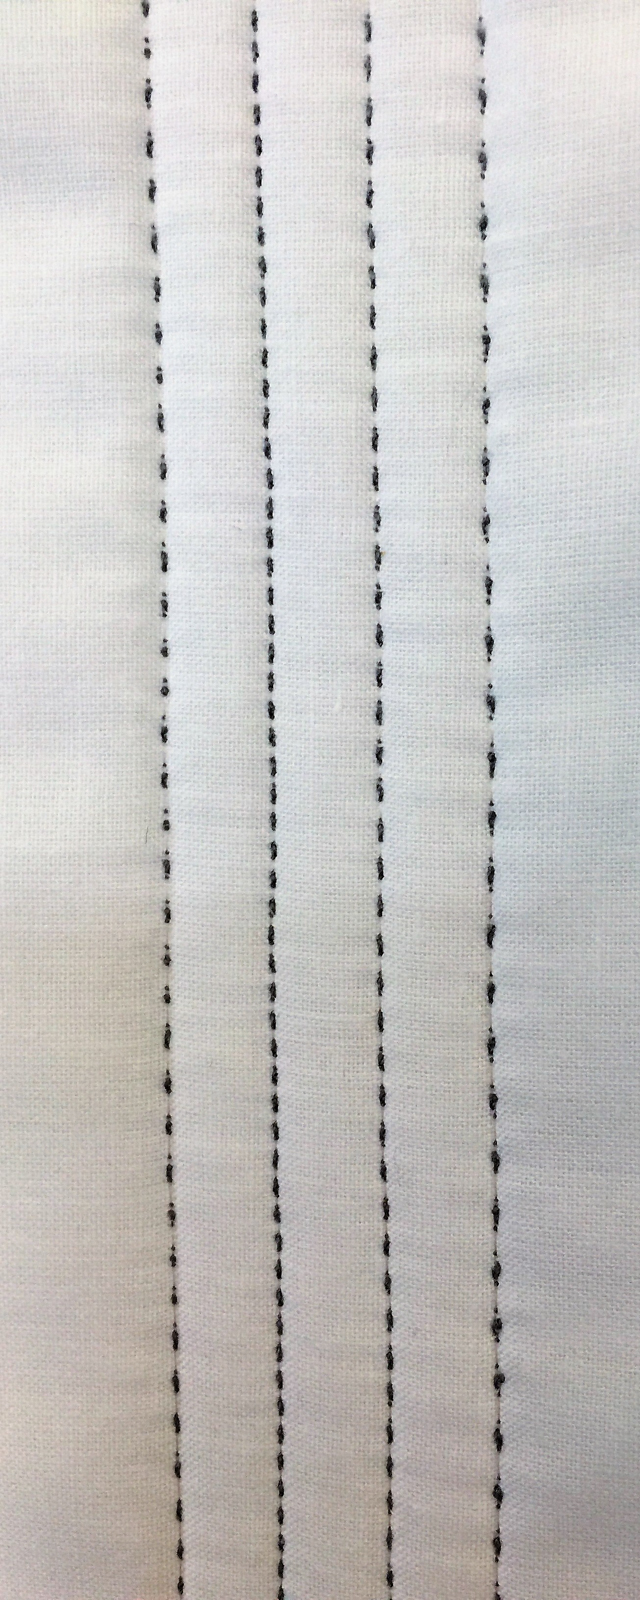
When the stitch is set up, quilt each of the blocks in a grid pattern. Start by stitching the diagonal lines you marked, and then use the seam guide that came with the Walking Foot to stitch perfectly spaced rows. You can stitch as many or as few as you like. The rows on the sample shown here are stitched 1 ½″ inches apart.
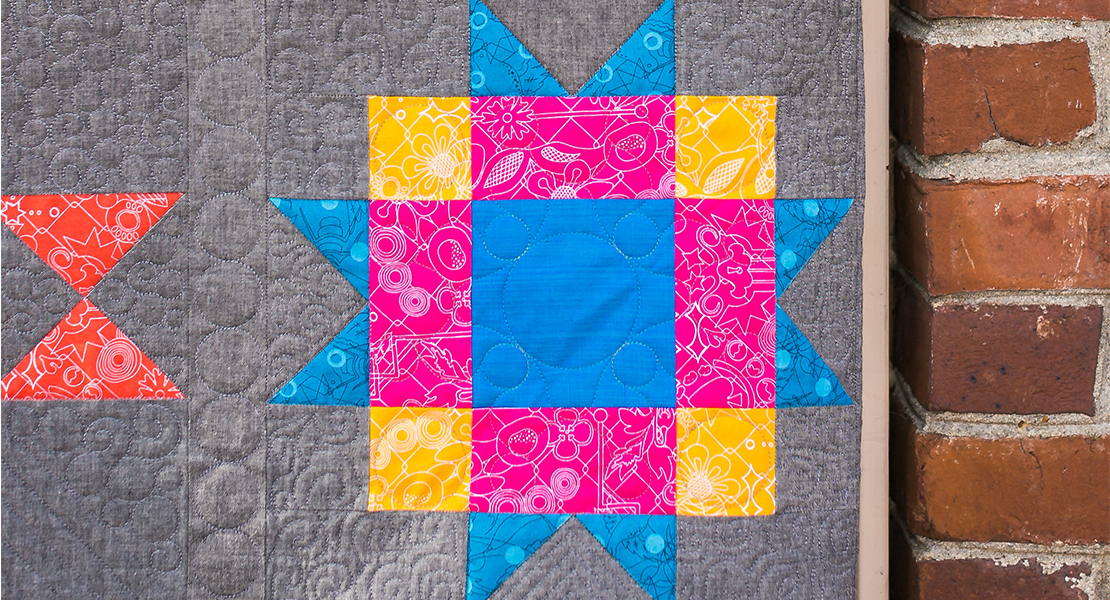
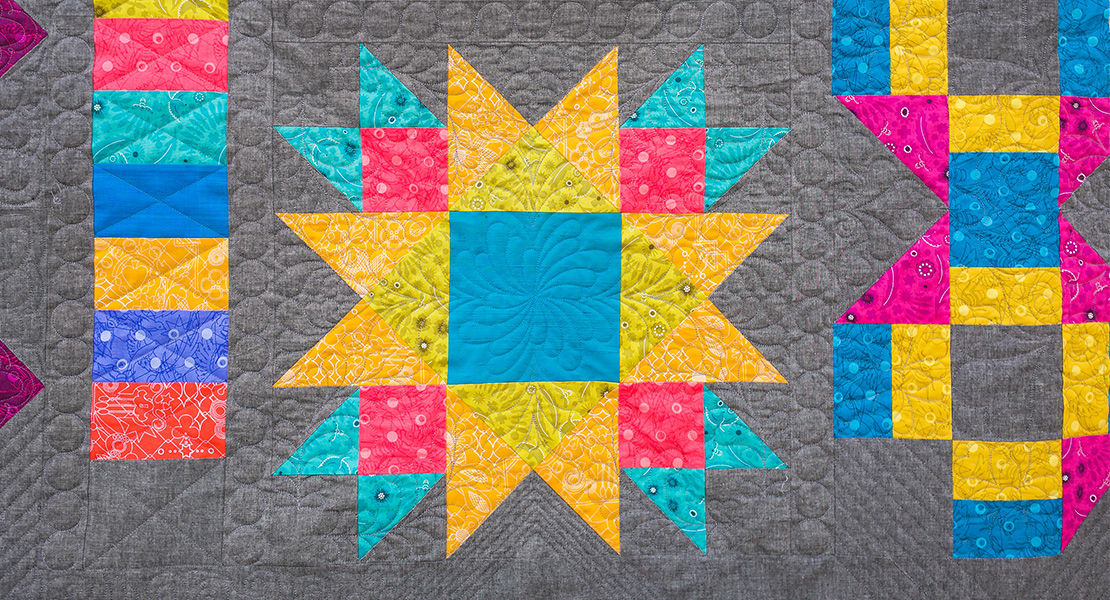
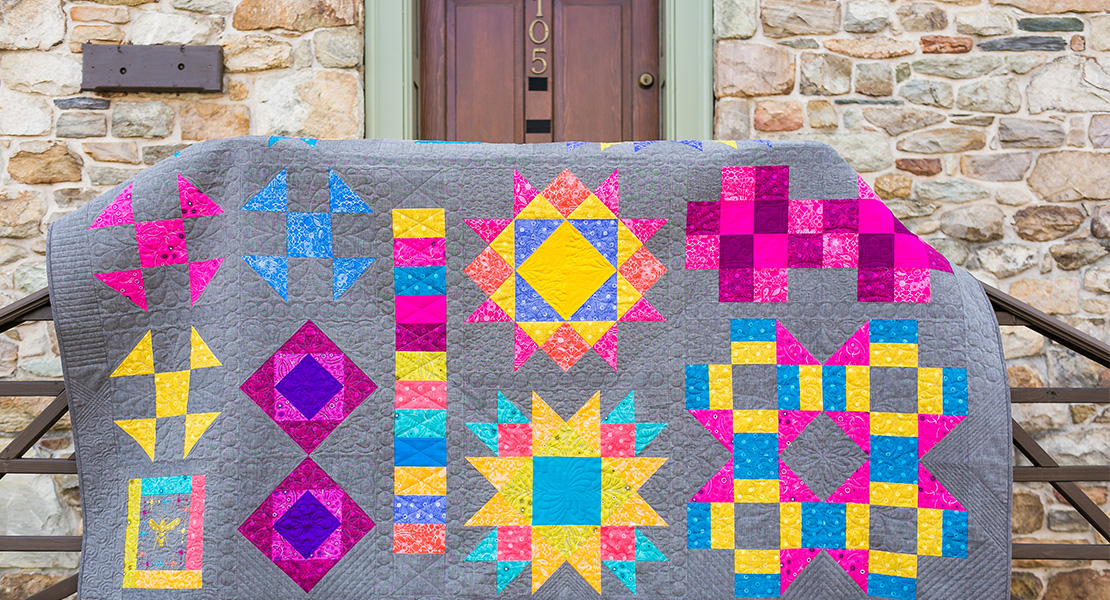
Tutorial List of the BERNINA Block of the Month Series
Block 1: Antique Mosaic Block
Block 2: Shoofly Block
Block 3: Square in a Square Block
Block 4: Magic Circle
Block 5: Card Basket Variation Block
Block 6: Ohio Star Variation Block
Block 7: Maple Star Block
Block 8: Grecian Square Block
Block 9: Union Square Block
Block 10: A Girl’s Favorite


What you might also like


10 comments on “Shoofly Block”
-
-
just go to thesearch section and type in bernina block party, the other blocks will pop up.
-
-
-
Beware – 1/4″ needed to keep point when you put the squares together is not clear in the picture showing the top of the square. [Now piece the two triangle pieces to square illustration]
-
Just type Antique mosaic block in the search box above.
-
Do we finger press this block too when we are constructing it?
-
Totally up to you and how you press any other pieced block.
-
I have been looking for a month to find a store who participates in the 2017 block party. Can any one hook me up? [email protected]
-
-
-
Is there a place where we can post pictures and discuss our progress? Maybe a Facebook group.
-
Absolutely! We welcome all participants in the BERNINA Block Party to share pictures of their progress on our community section here on WeAllSew.
This is how it works:
– Register on the WeAllSew blog
– Go to https://weallsew.com/community/create/
– Upload your image; you can upload up to 12 photos to show your creations from all points of view
– Write a short descriptionAnd that’s it! We’d love to see what you create!
-
Leave a Reply
You must be logged in to post a comment.

Where is block one located?