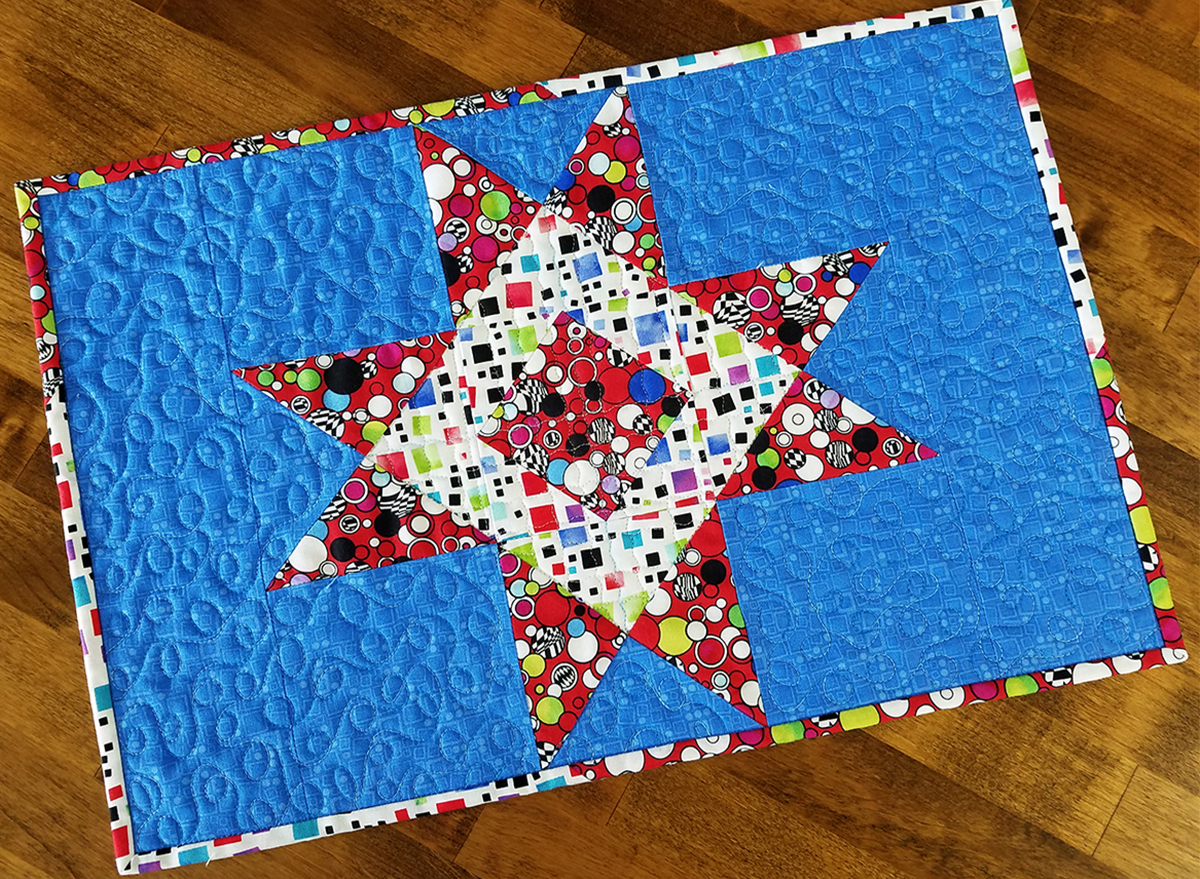
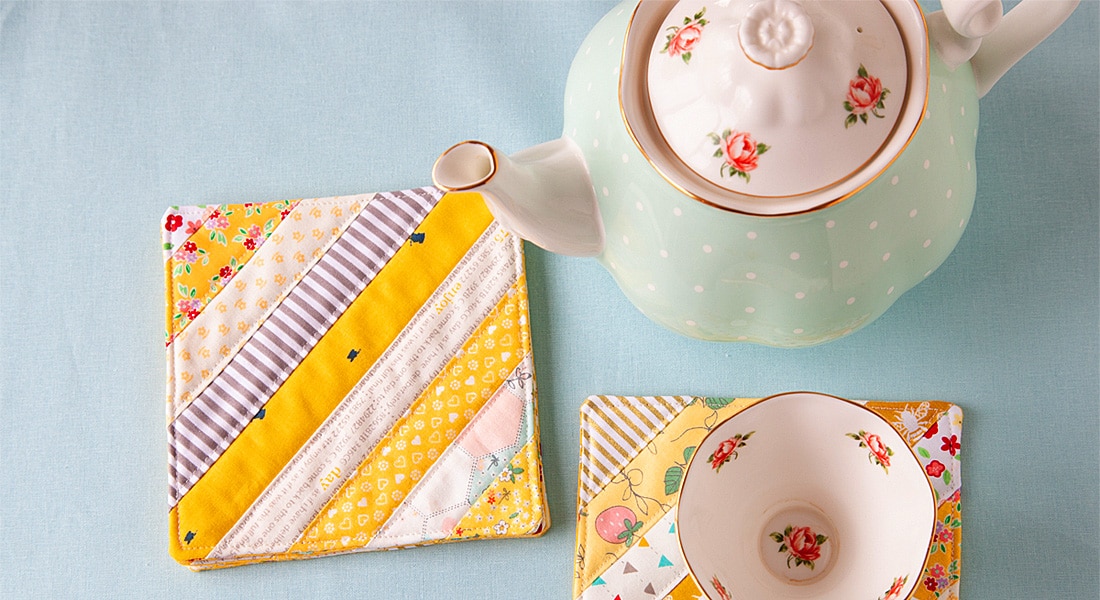
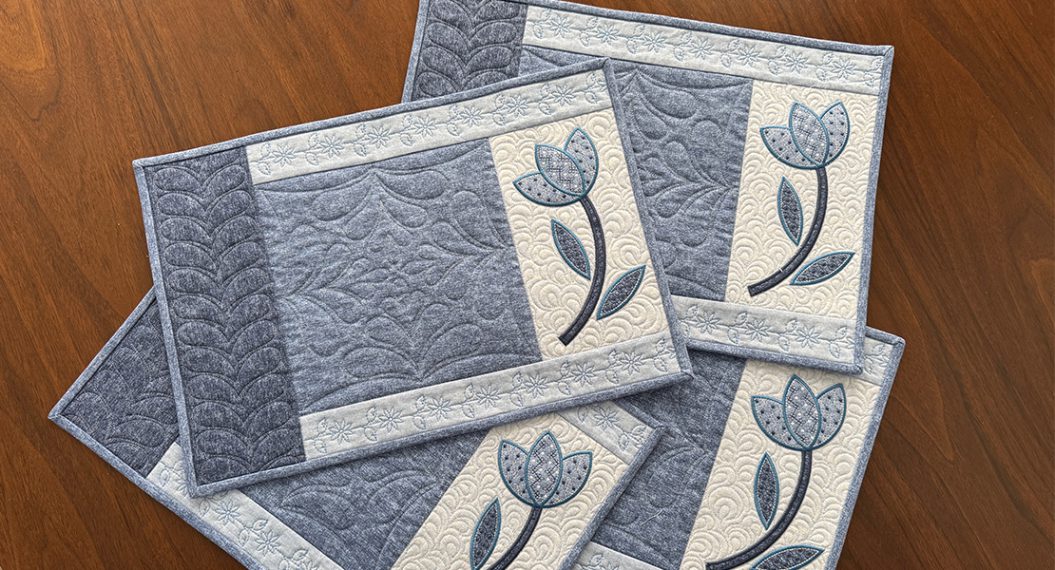
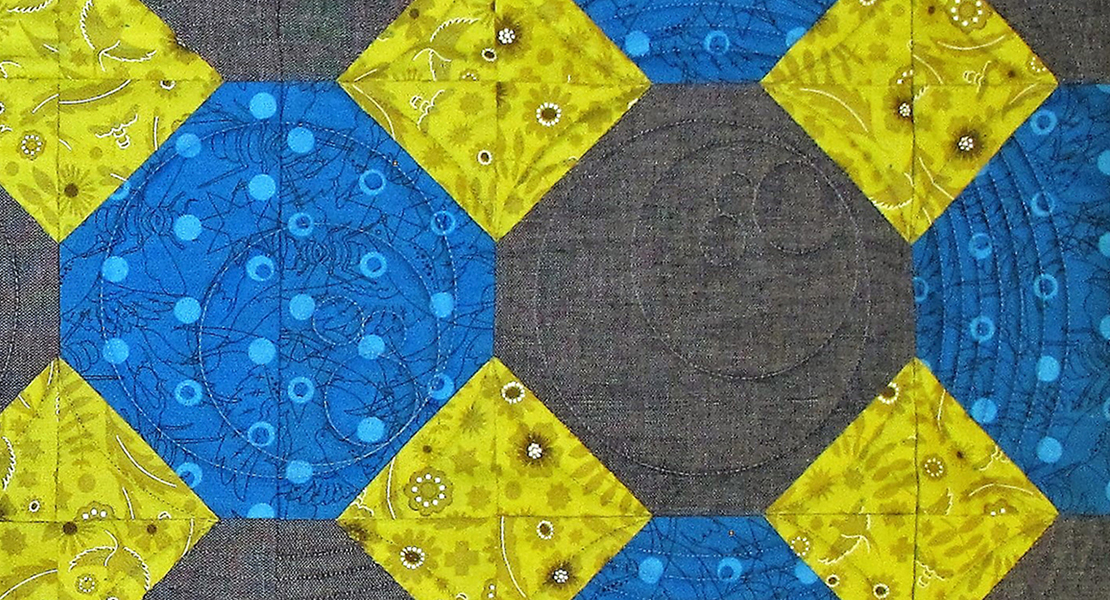
Card Basket Variation Block Placemats
Although we made placemats before using the Shoofly blocks from Block Two in the BERNINA Block Party Series, this particular block really spoke to me as being perfect for placemats! So we will make another set. Let’s create four blocks, but this time add a 3 ½ inch strip on each side. Using two fabrics for the binding makes it even more unique.
Supplies to Create Placemats with the Card Basket Variation Quilt Blocks
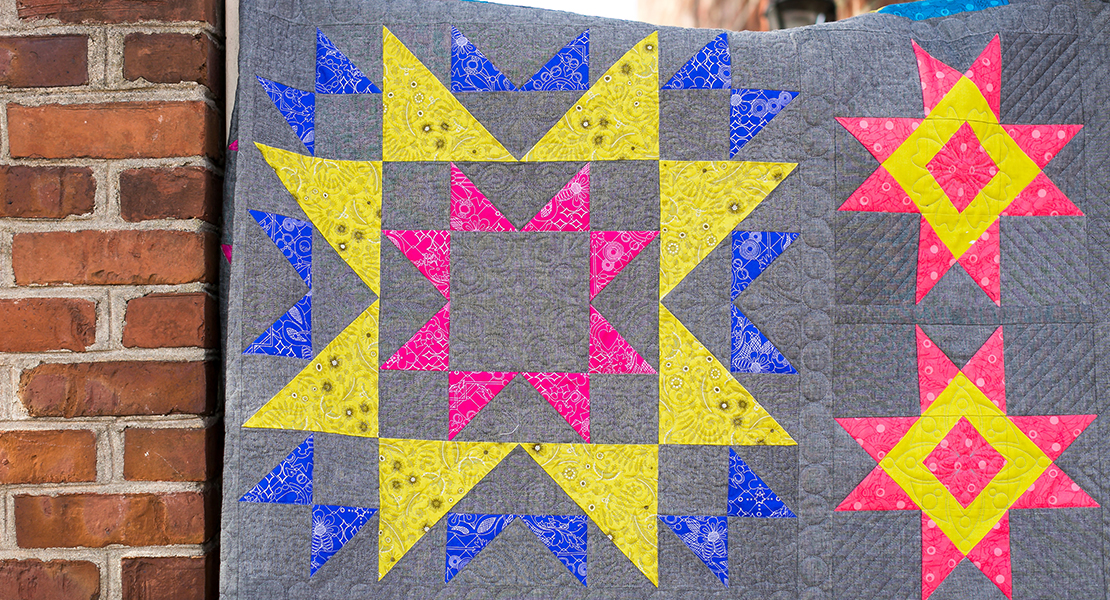
Four Card Basket Variation blocks: 1 fat quarter white print fabric, 1 fat quarter red print fabric, 2 fat quarters blue fabric (I used the Anything Goes fabric collection by Benartex Fabric)
2 fat quarters for strips for sides (same fabric as the blue background fabric used in the block construction)
Cut 8: 3 ½ x 12 ½ inch wide
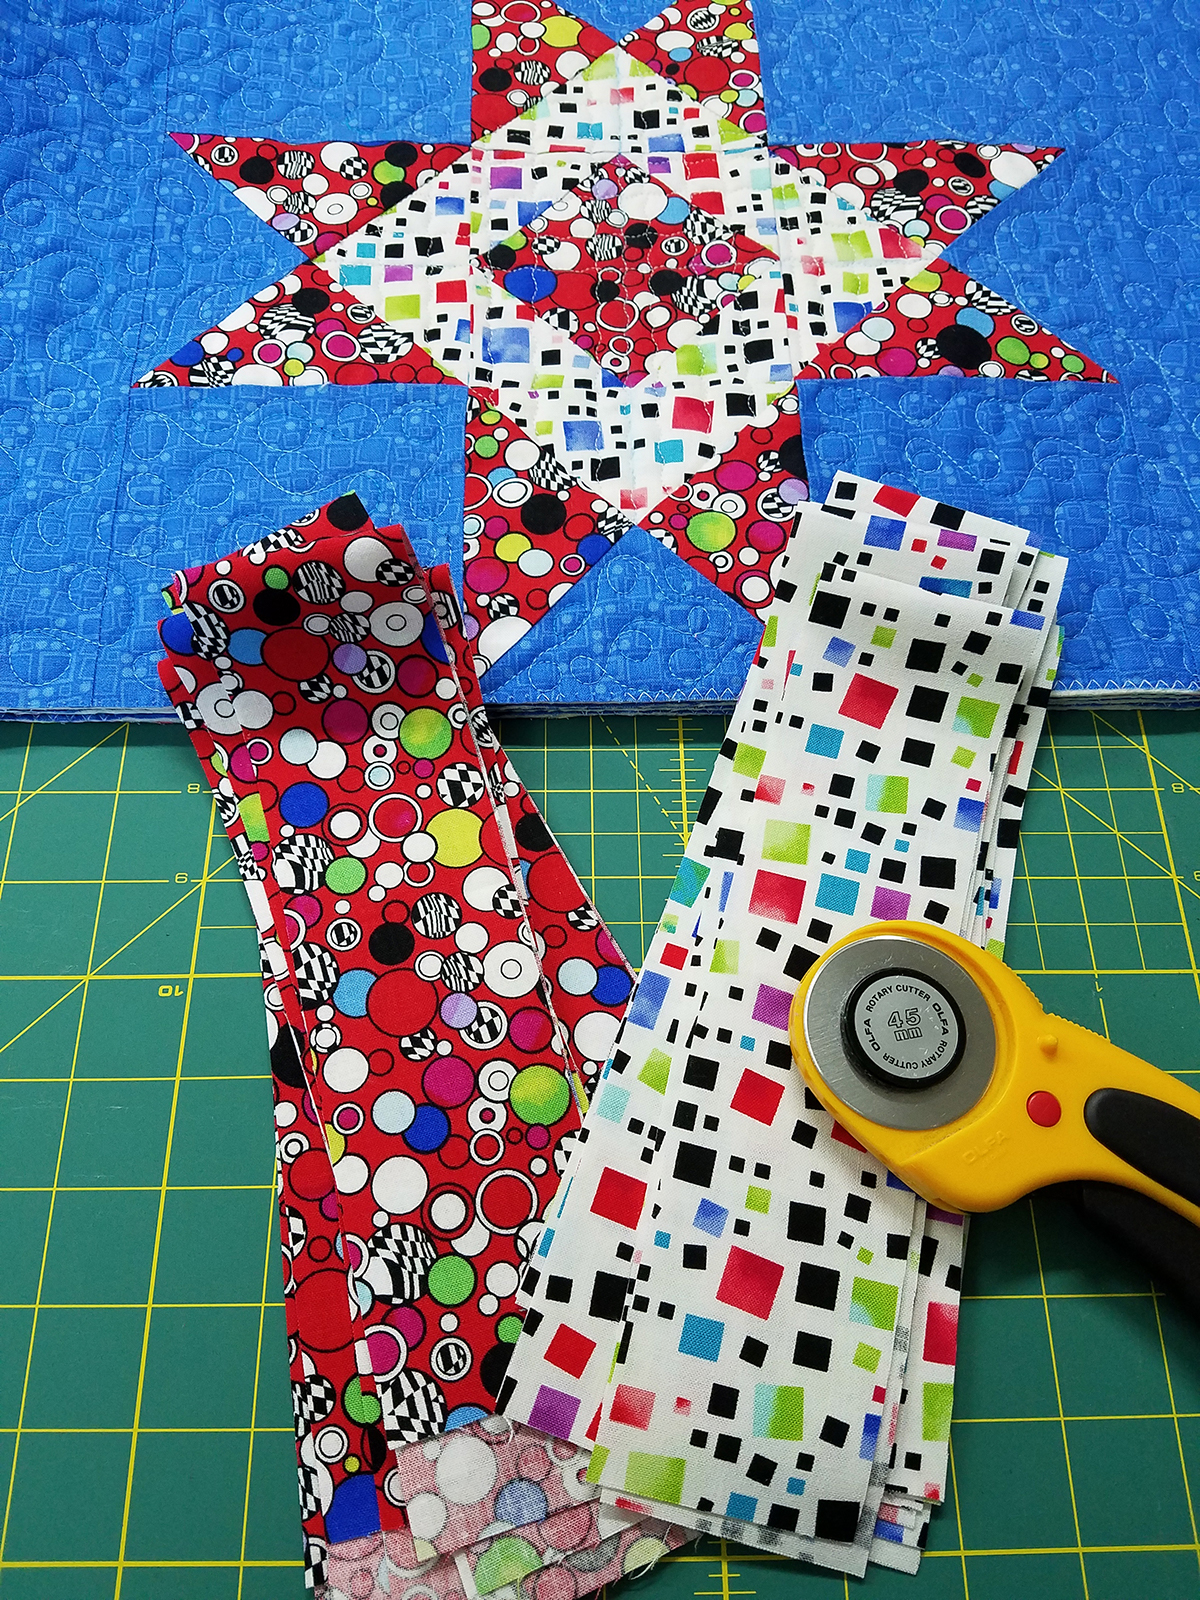
2 different fat quarters for binding
Cut 8 strips from each fabric: 2 ¼ inch by approximately 22 inches
Batting: Cut four 15″ x 21″rectangles
Backing: Cut four 16″ x 22″ rectangles
Your sewing machine. You can use any model sewing machine, such as the BERNINA 350 PE
Instructions to Create Placemats with the Card Basket Variation Quilt Blocks
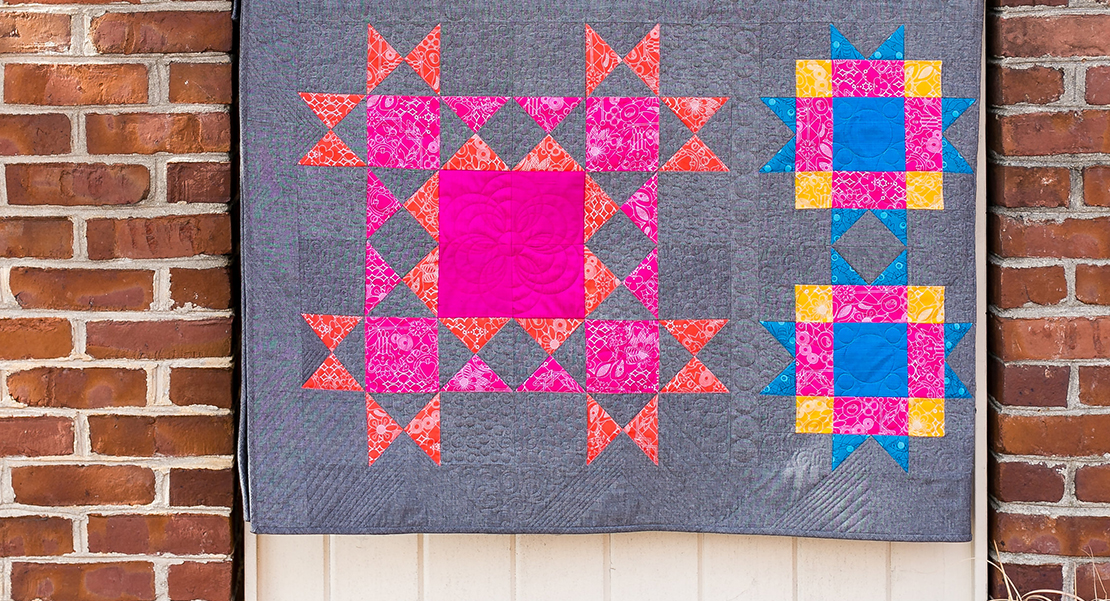
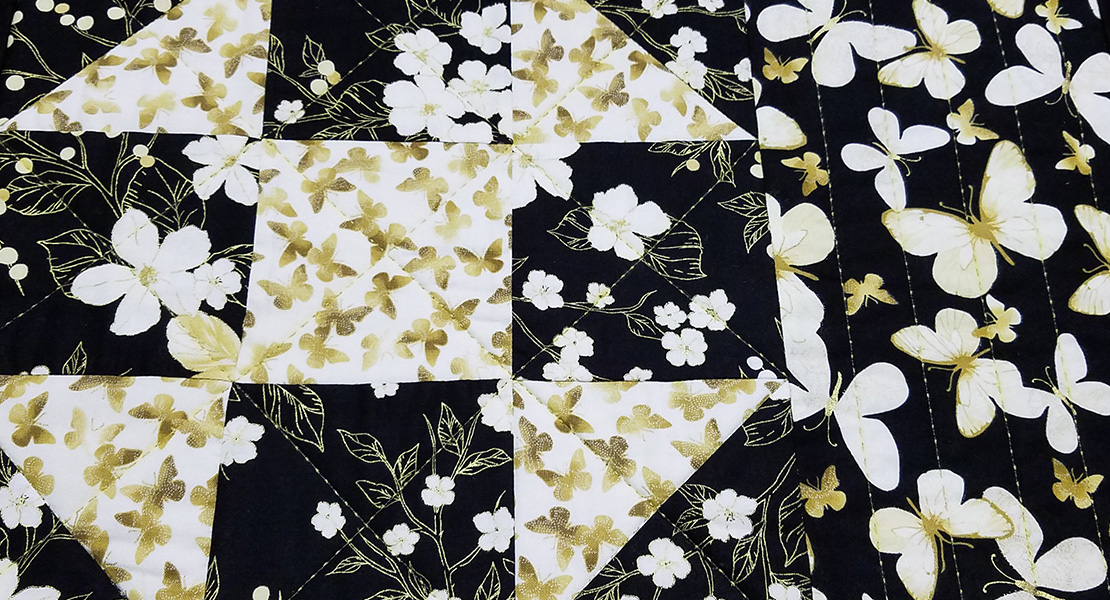
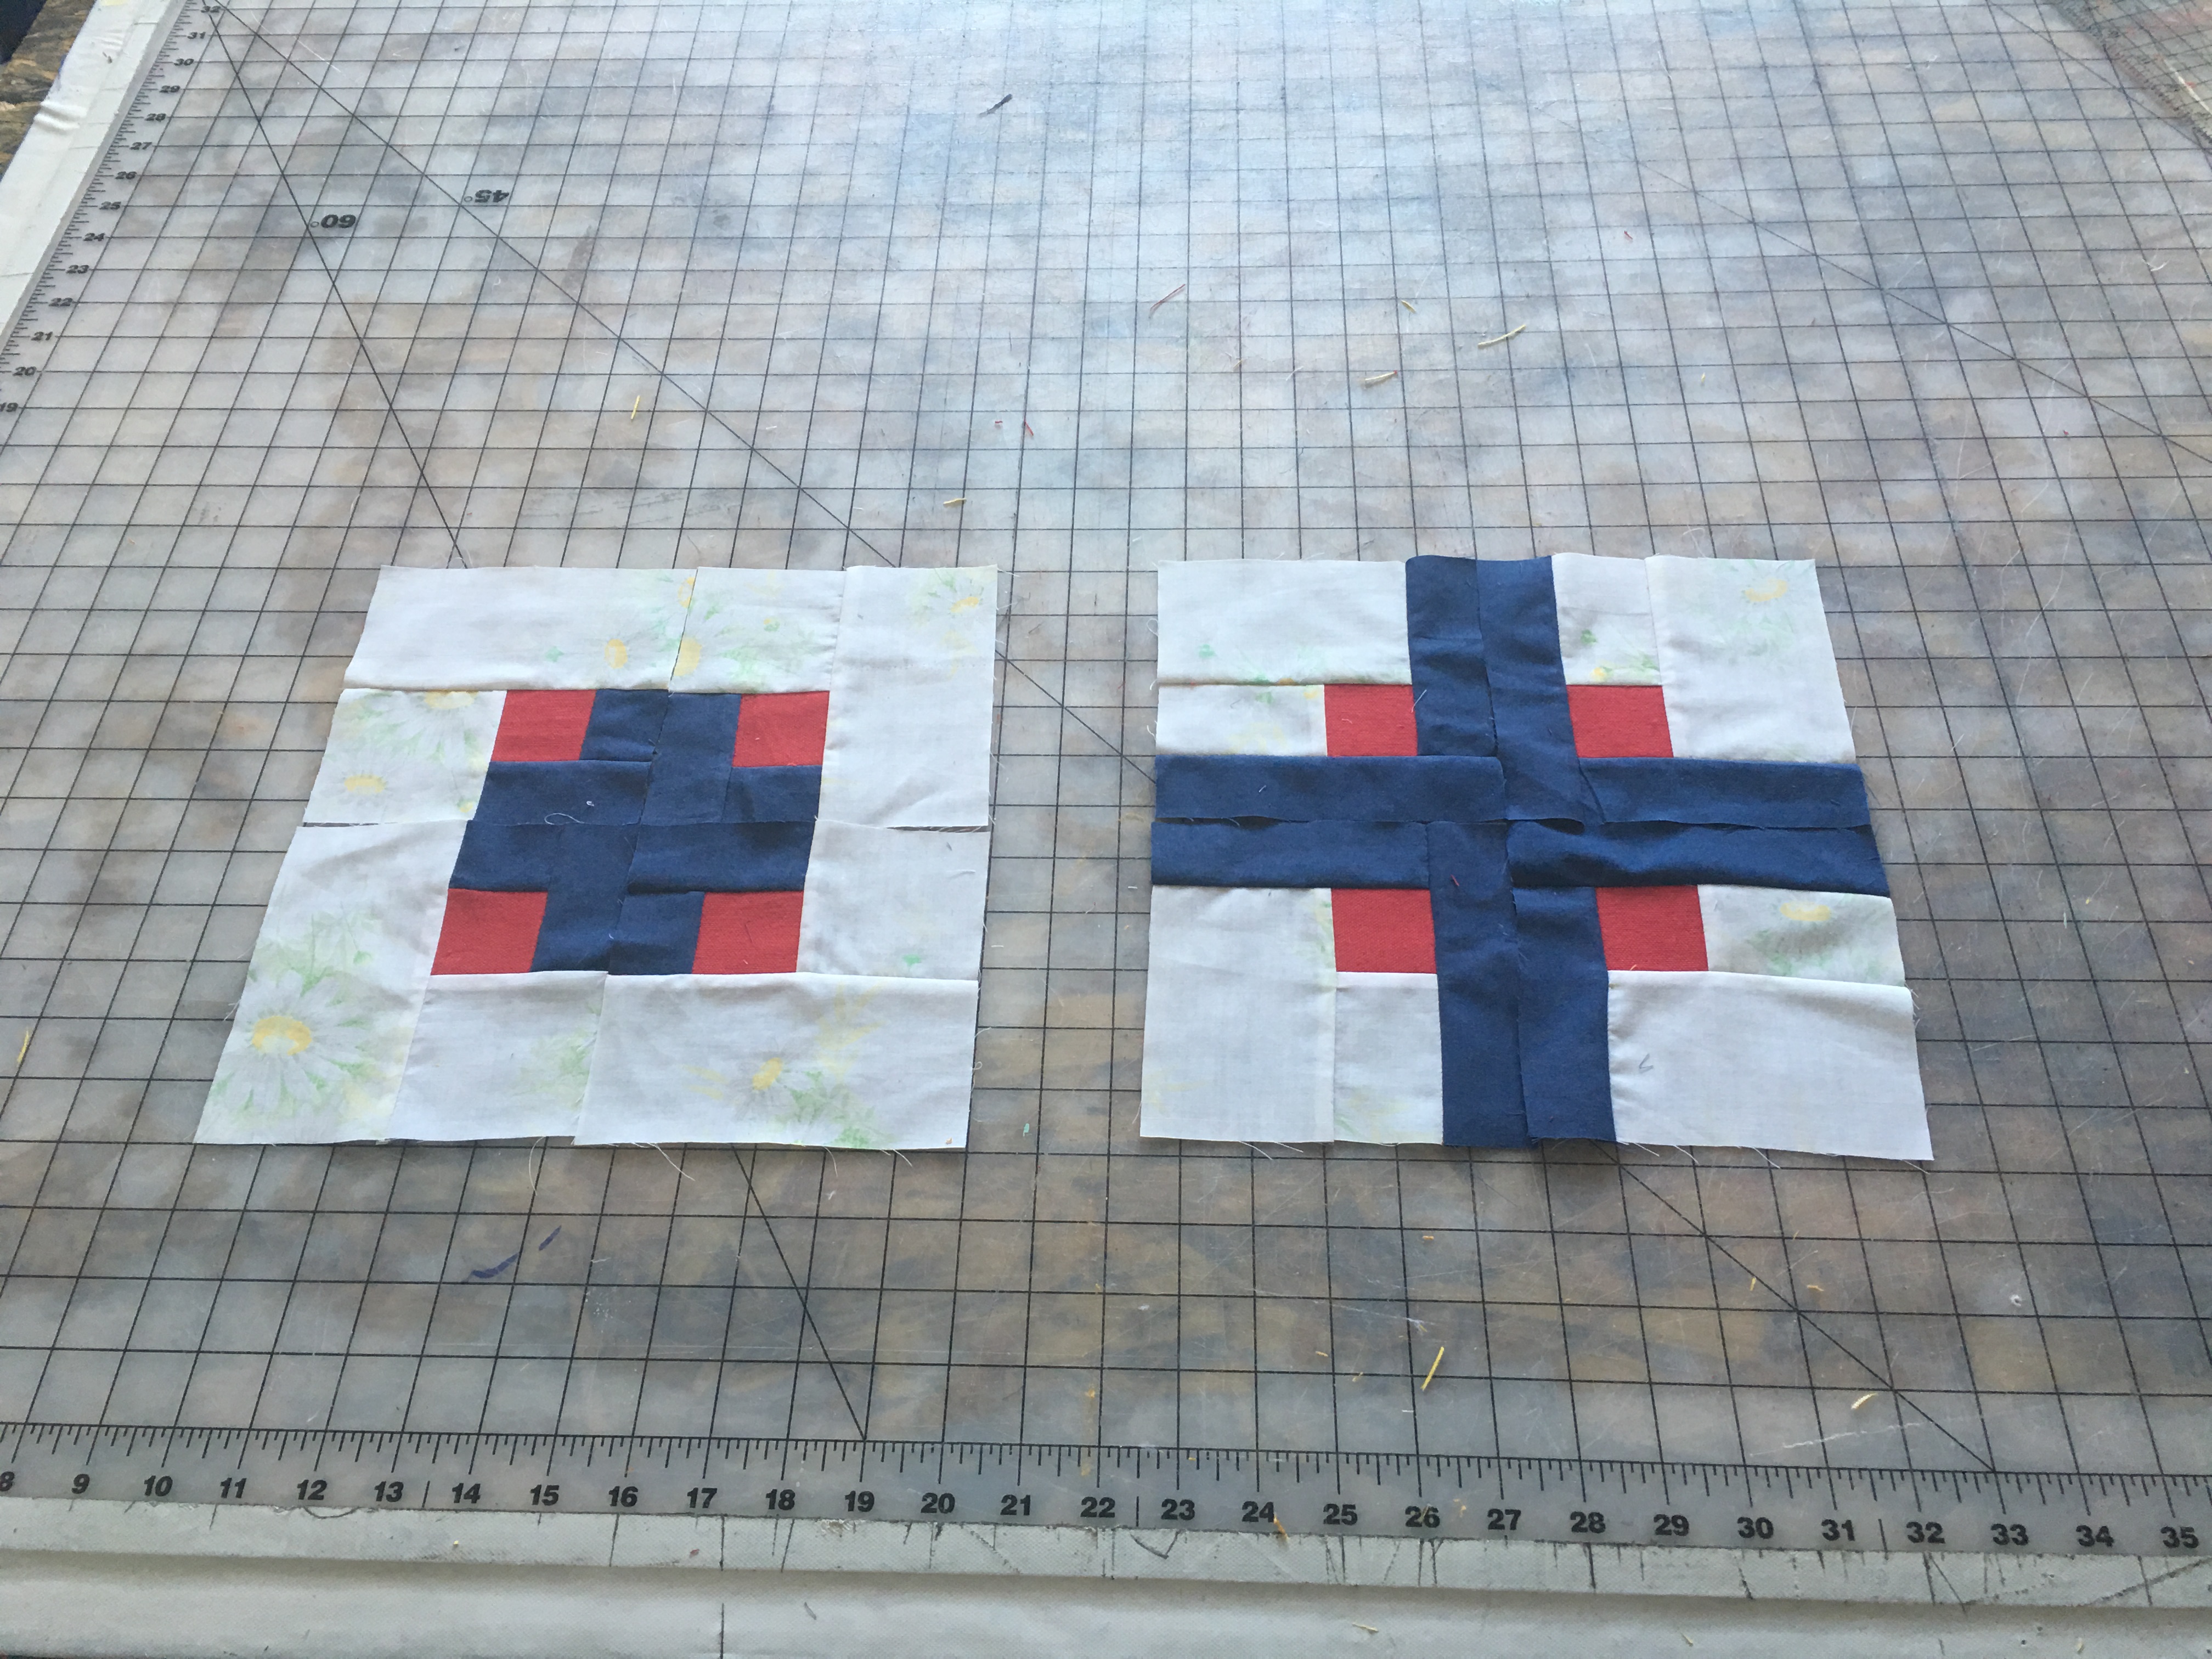
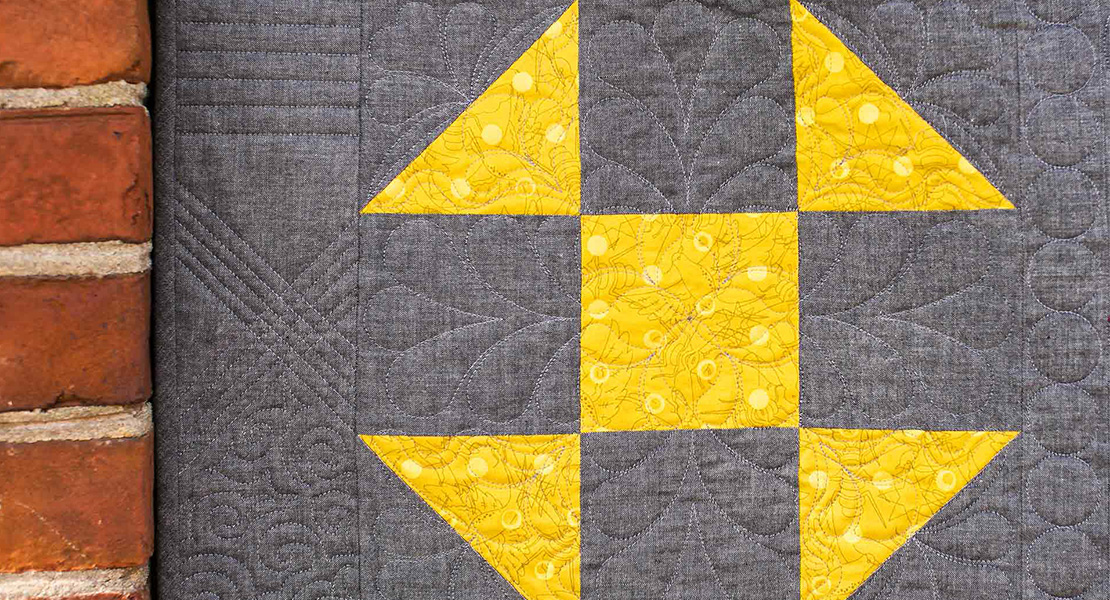
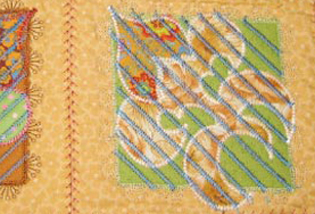
Use the three fat quarters to create four Card Basket blocks following Nina’s Instructions in the Card Basket Variation Block Blog Post.
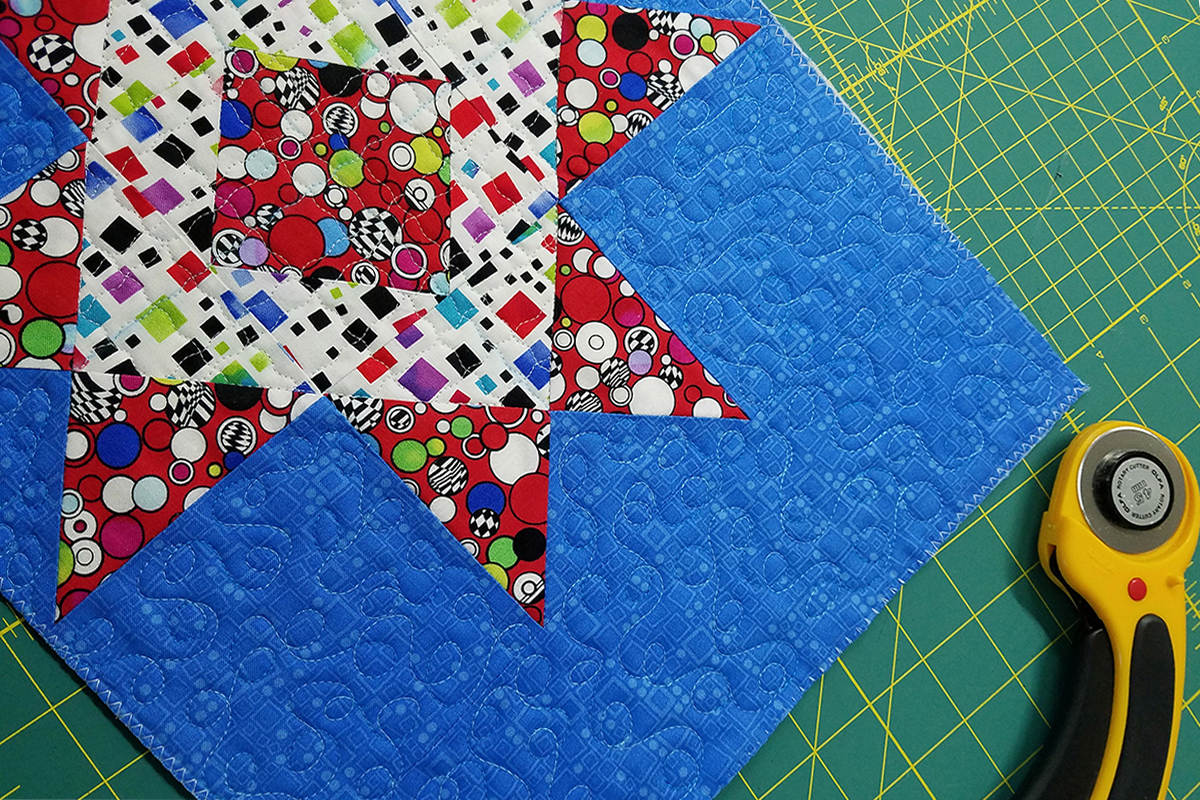
Stitch a 3 ½″ x 12 ½″ strip to each side of each block with a quarter inch seam using Patchwork Foot #37.
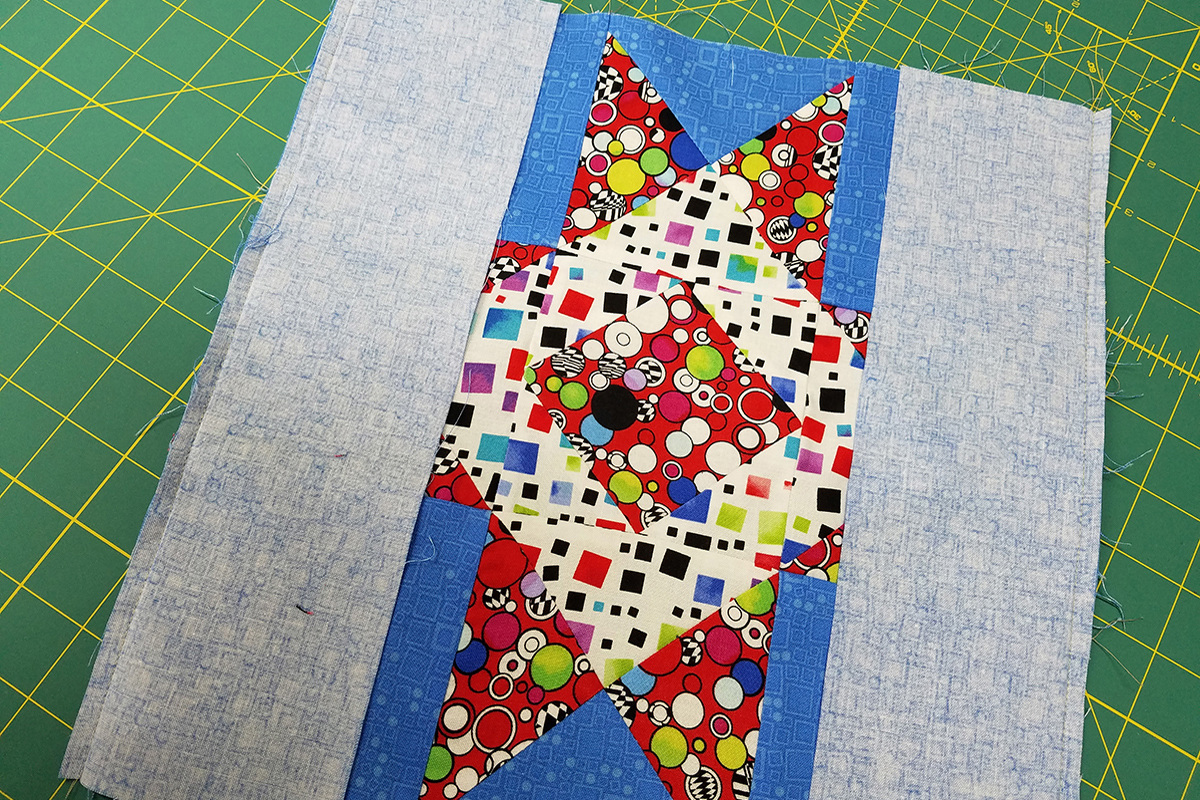
Press the seam allowance toward the strip side.

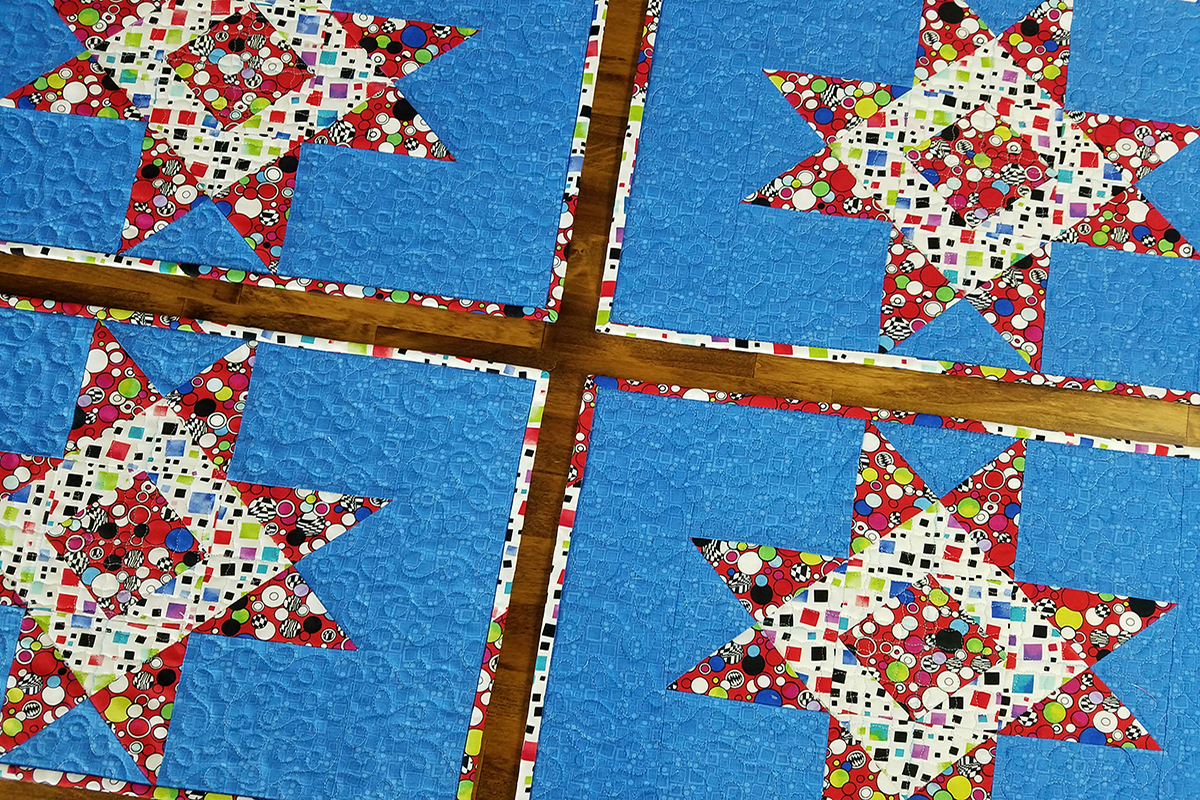
Repeat to create four placemat tops.

Make your quilt sandwich by layering the 16″ x 22″ backing fabric (right side down), 15″ x 21″ batting, and then the block (right side up).
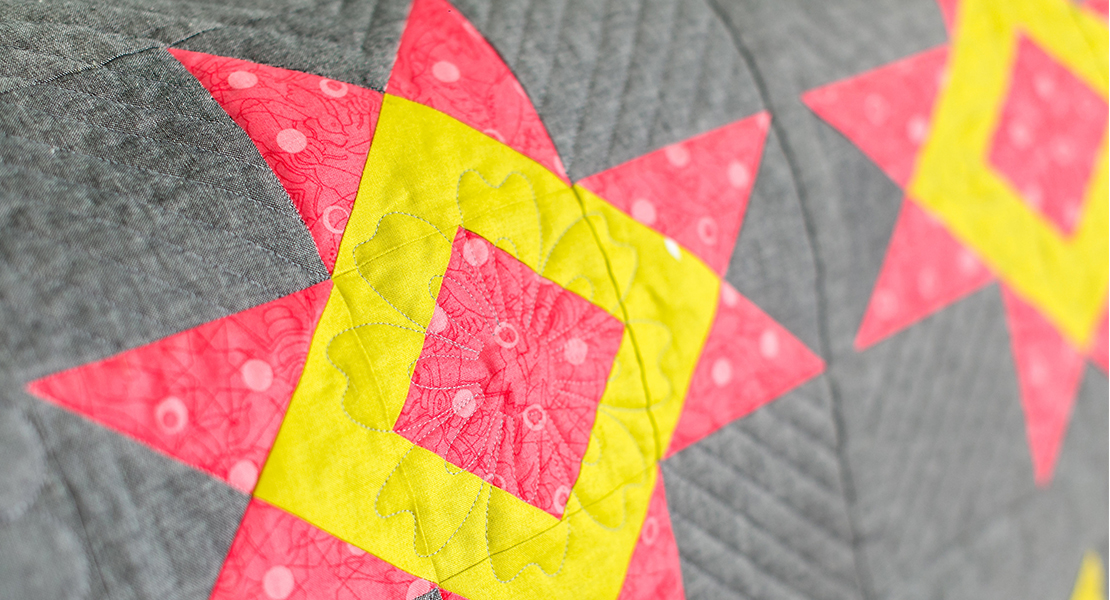
Free-motion quilt the layers together as instructed in the Quilt Lesson of Nina’s Block 5 post. For these placemats, continue the free-motion quilting out into the strips that we added on both sides of the Card Basket Block. Repeat for all four placemats.
Trim up each of the quilted pieces. After trimming the backing and batting away, finish the edges using a zigzag stitch on the machine.
We will finish the placements as we did in the Shoofly Placemats project, but this time we are going to use two different fabrics stitched together in an alternating pattern to make a more interesting binding.
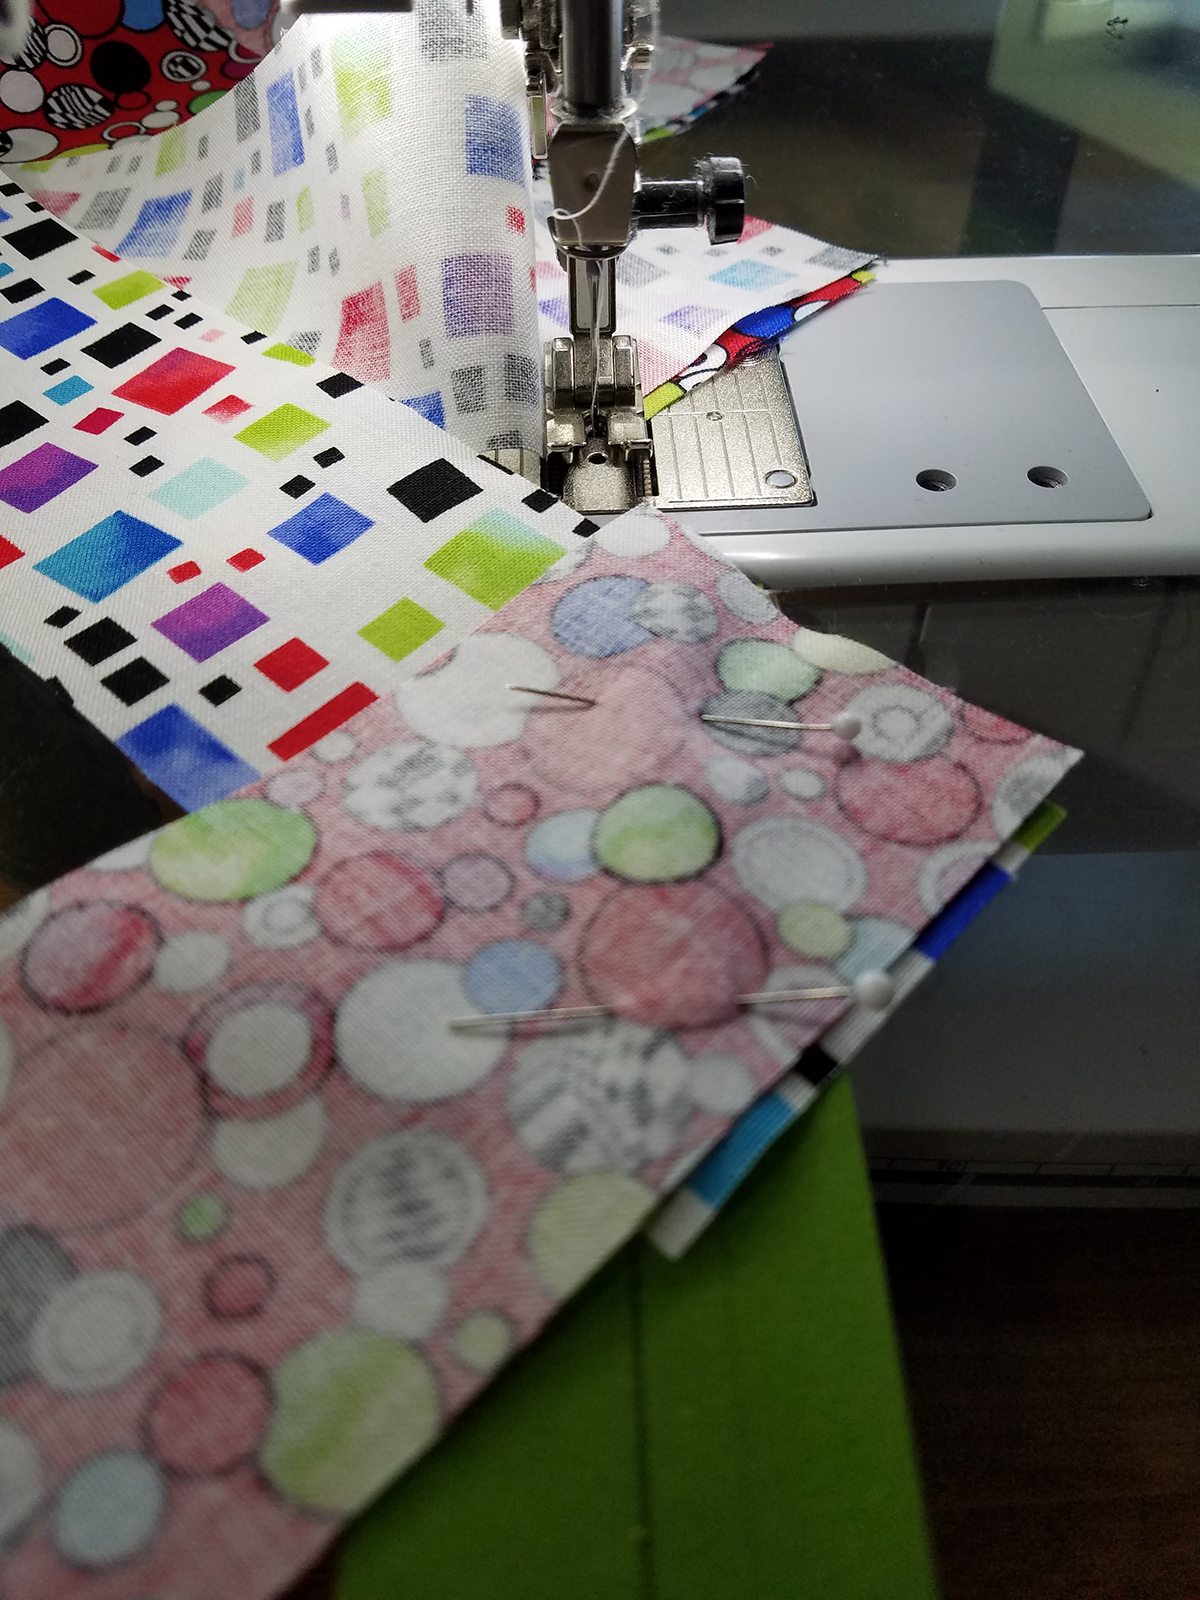
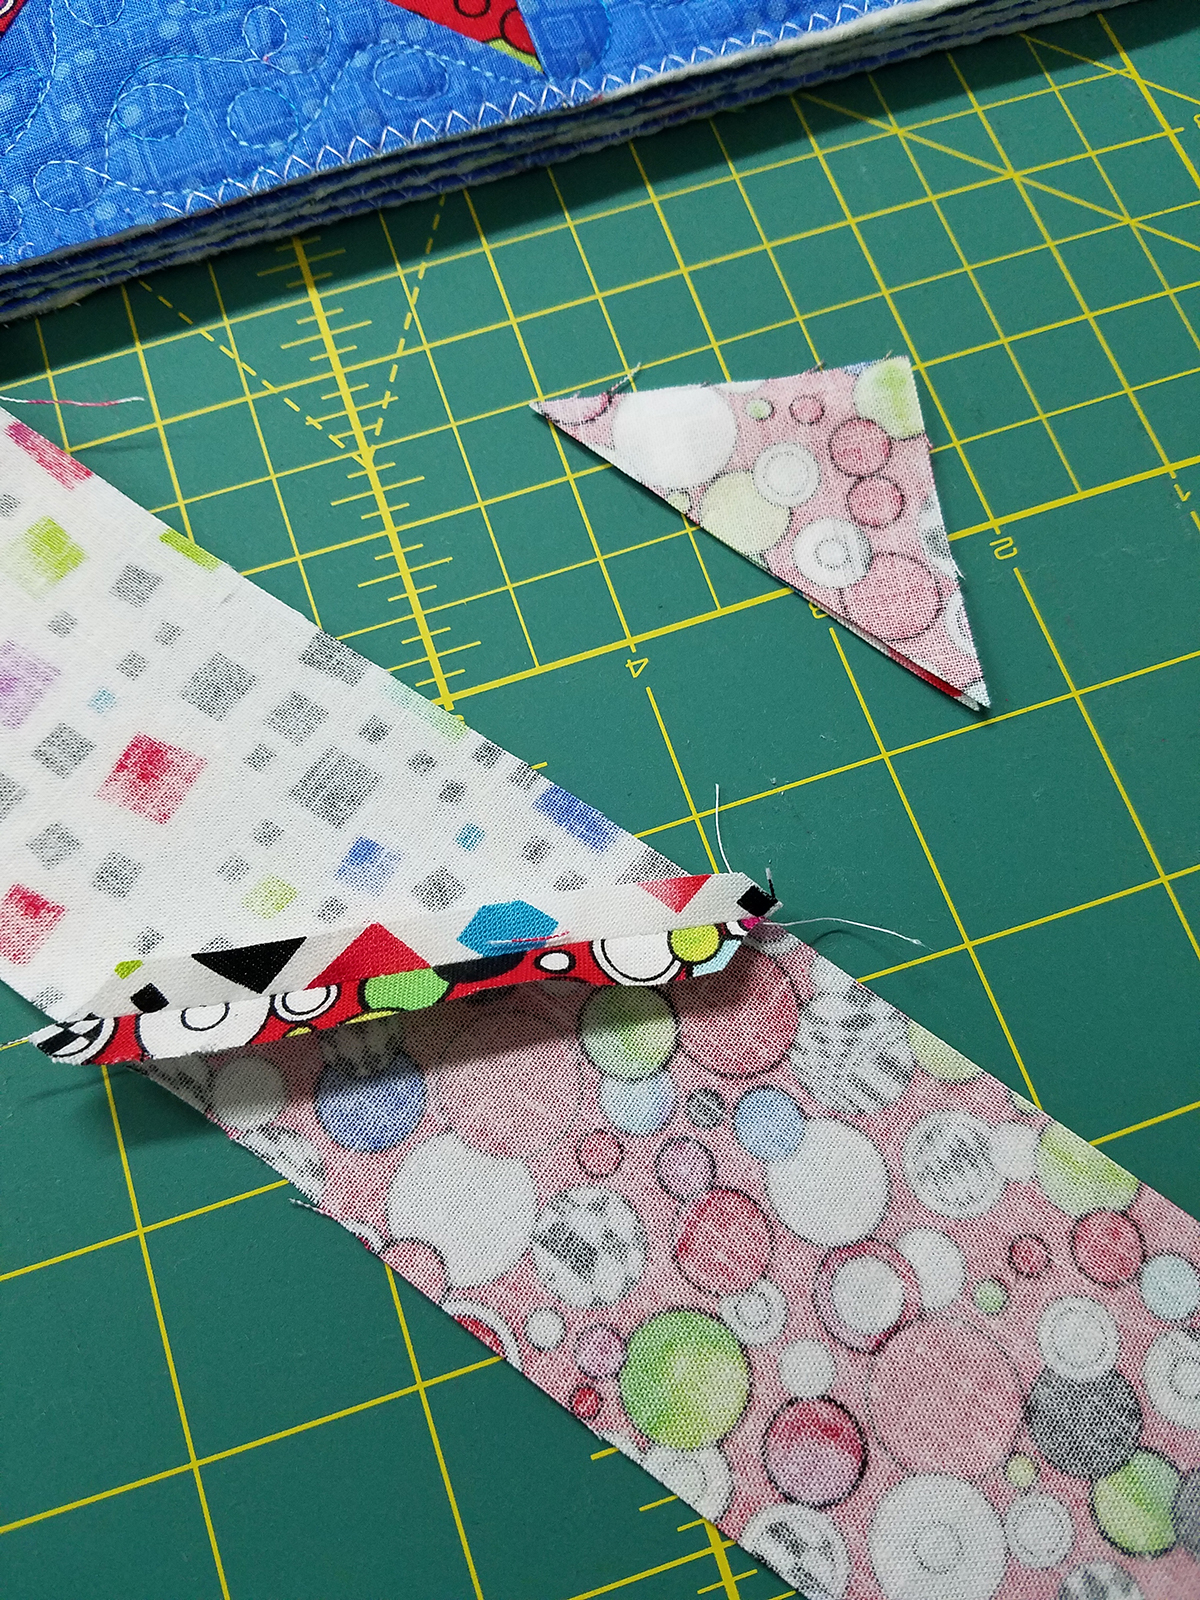
You should have cut eight strips from each of the fabrics that you chose for the binding. Stitch the strips together with a diagonal seam, but alternate between the two fabrics as you stitch them together. Stitch until you have one long strip.
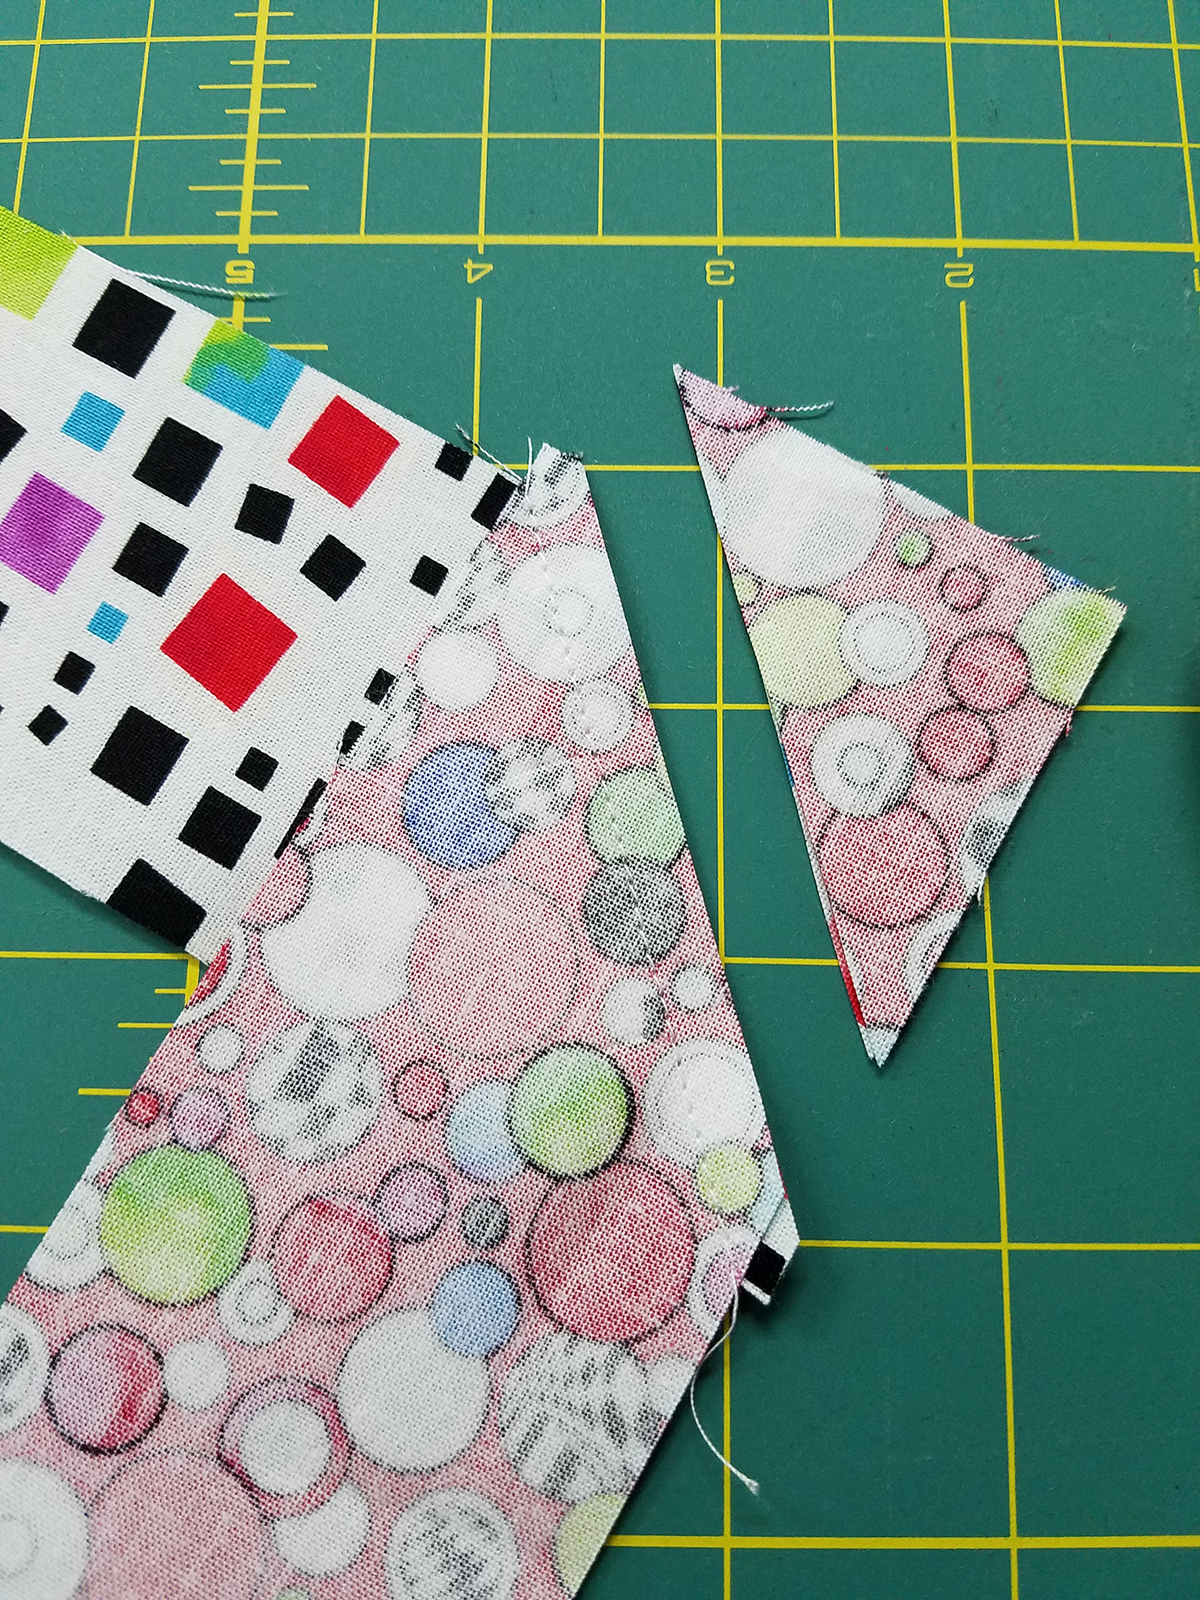
When you have all the strips stitched together, trim all seam allowances to ¼″ and press the seams open.
Press the binding in half lengthwise with wrong sides together.
Refer to the complete instructions from the Shoofly Placemat project and stitch the binding on the front of the placemat all the way around. (Remember to leave that 6″ tail unstitched at the beginning as you start to stitch.)
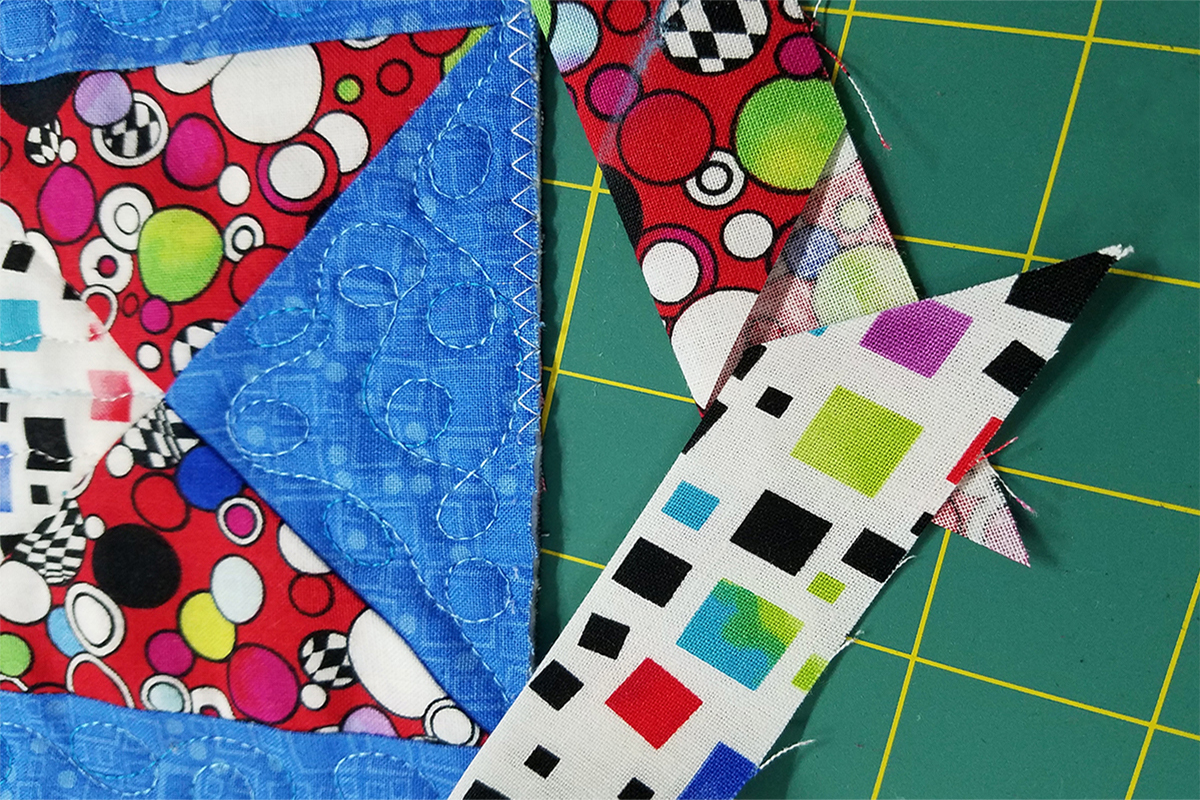
Finish the binding as we did in Block 2 by sliding the ending strip into beginning strip and tracing the 45° angle.
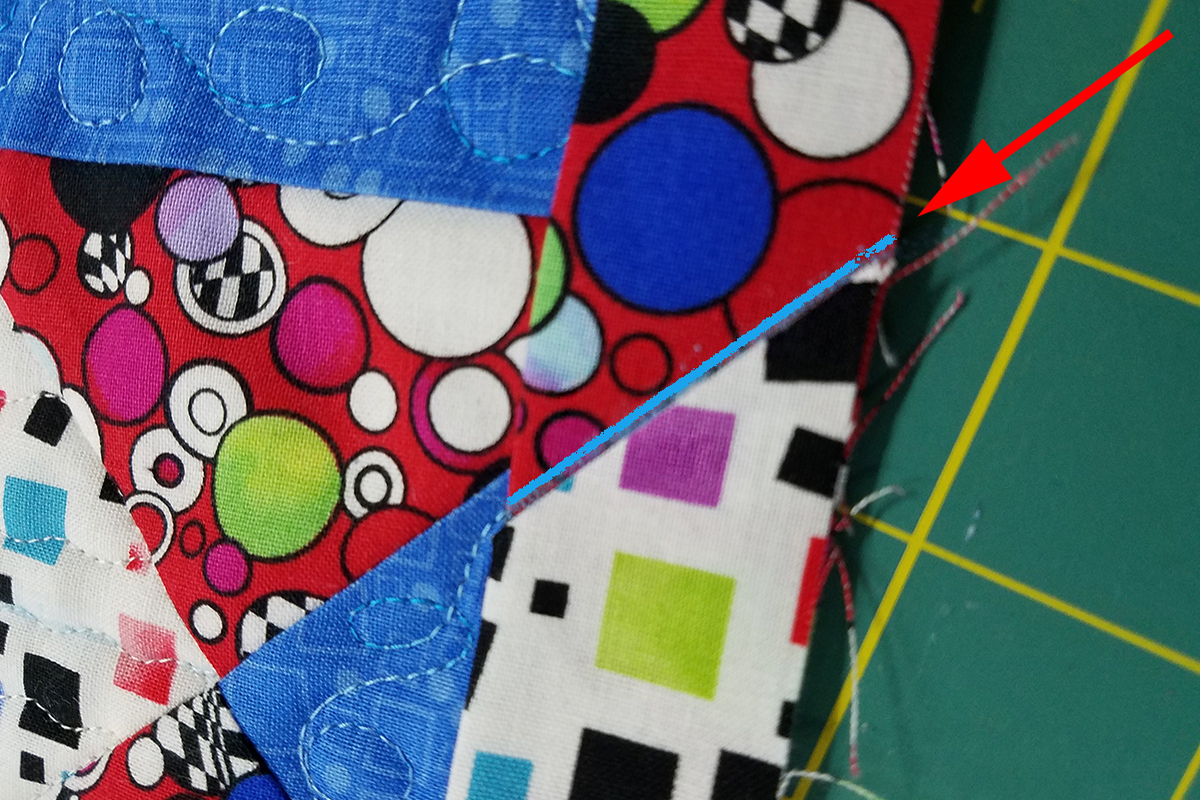
Cut the excess ending tail 1 inch beyond the drawn line.
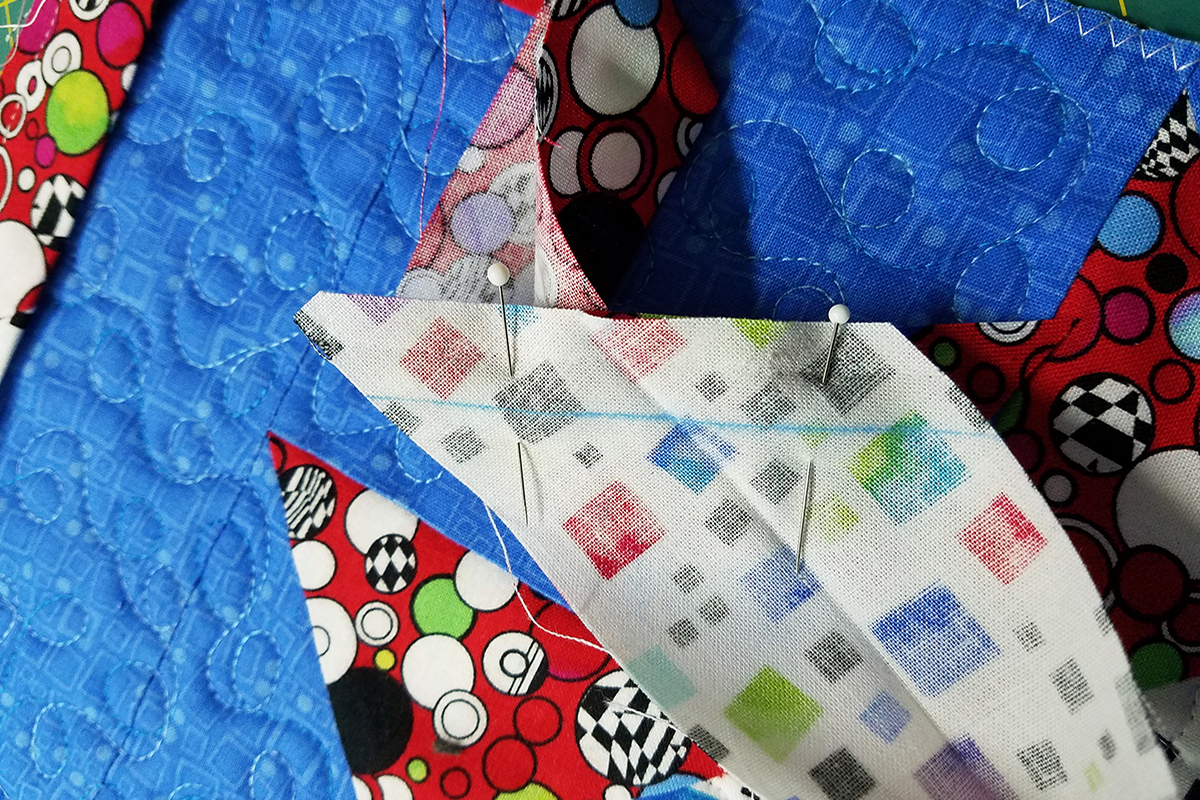
Now draw a line ½ inch away from the cut edges of both ends and pin together.
Stitch the tails together along the marked line and finger press seam open. Then fold the binding in half with wrong sides together.
The binding should lie flat so that you can continue to stitch the remainder of the binding on to the placemat.
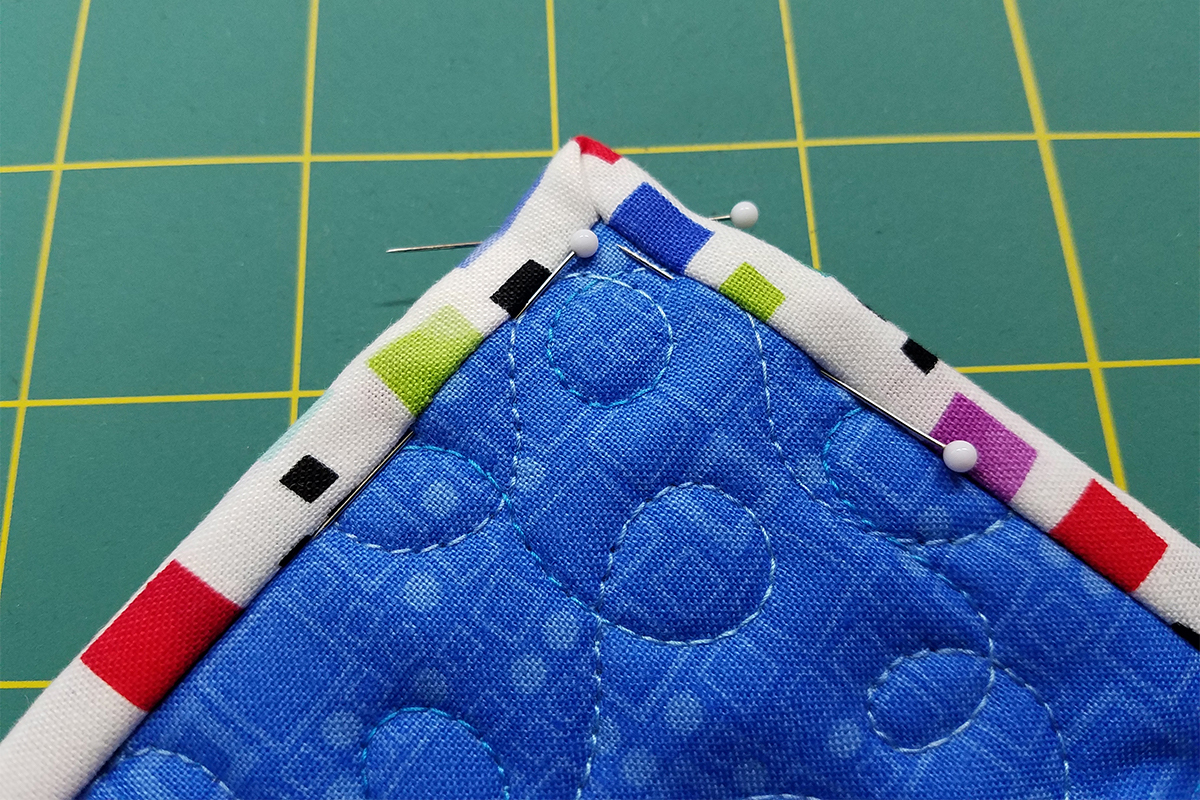
Wrap the binding to the backside. Neatly fold the mitered corners and place pins on the front side of the placemat. Pin the binding from front side around the entire perimeter of the placement.
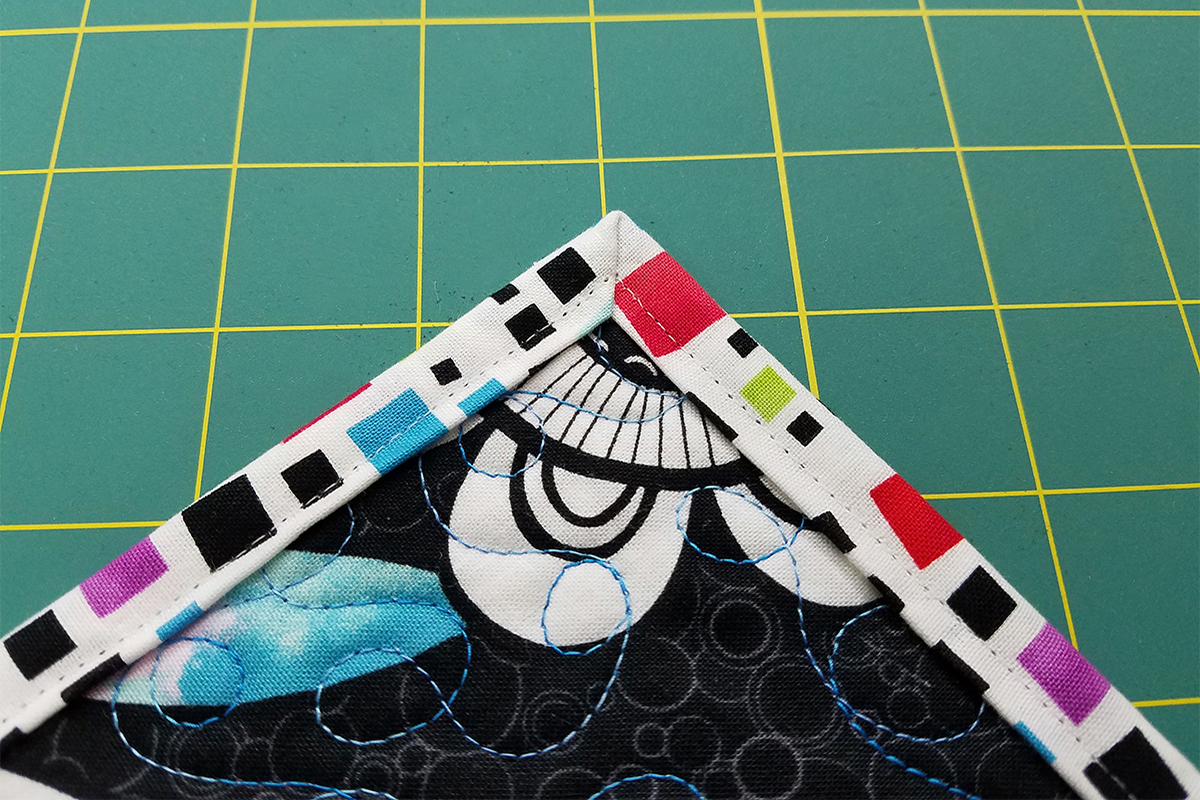
Attach Edgestitch Foot #10/10C/10 to the machine.
Keep the needle in the center position and place the guide on the front of the foot in the “ditch” of the seam. The Edgestitch Foot #10/10C/10D will help you achieve perfect stitching as you stitch in the ditch of the seam. Stitch around all four sides of the placemat.

Using the BERNINA Edgestitch Foot #10/10C/10D helps to make both the front and back look very nice and neat!
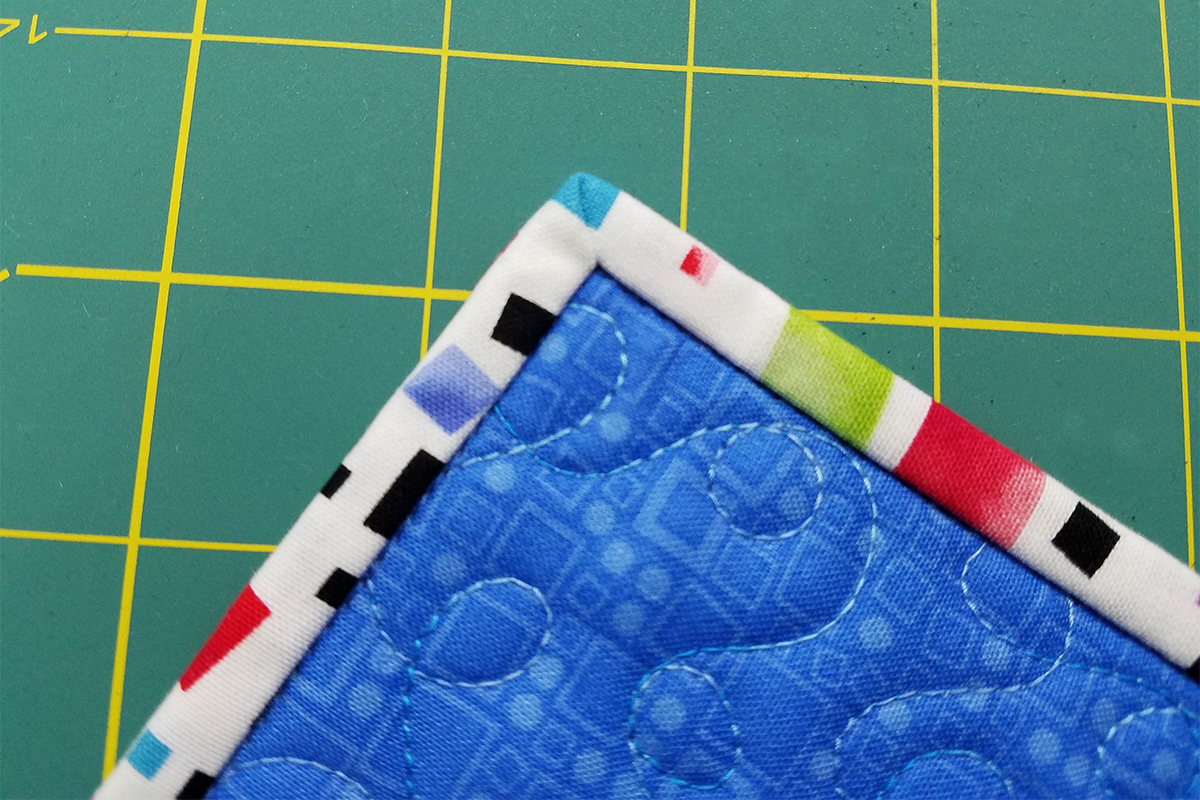
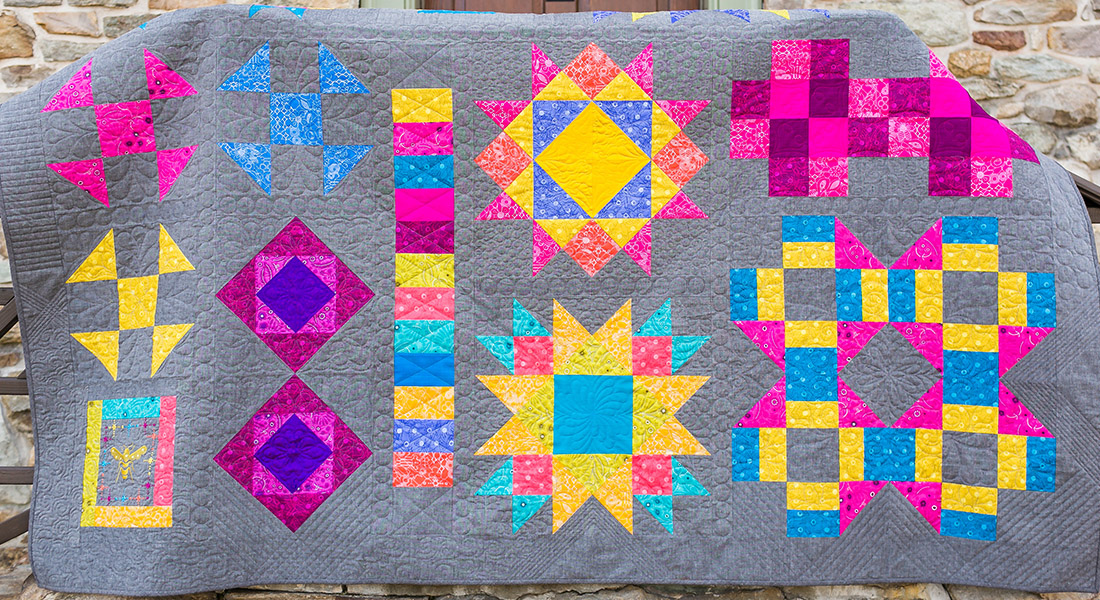
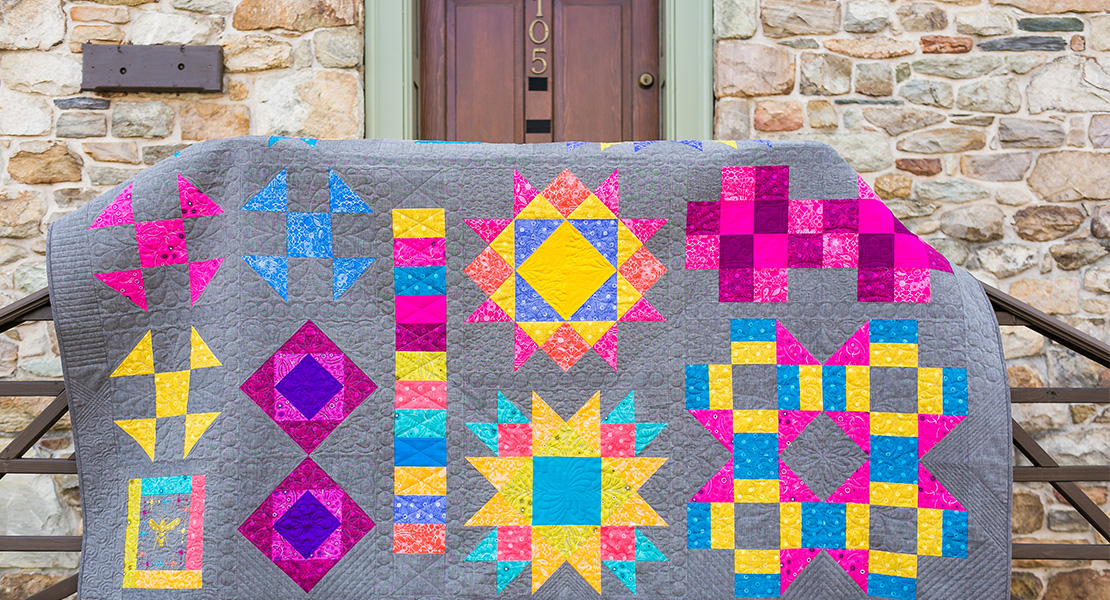
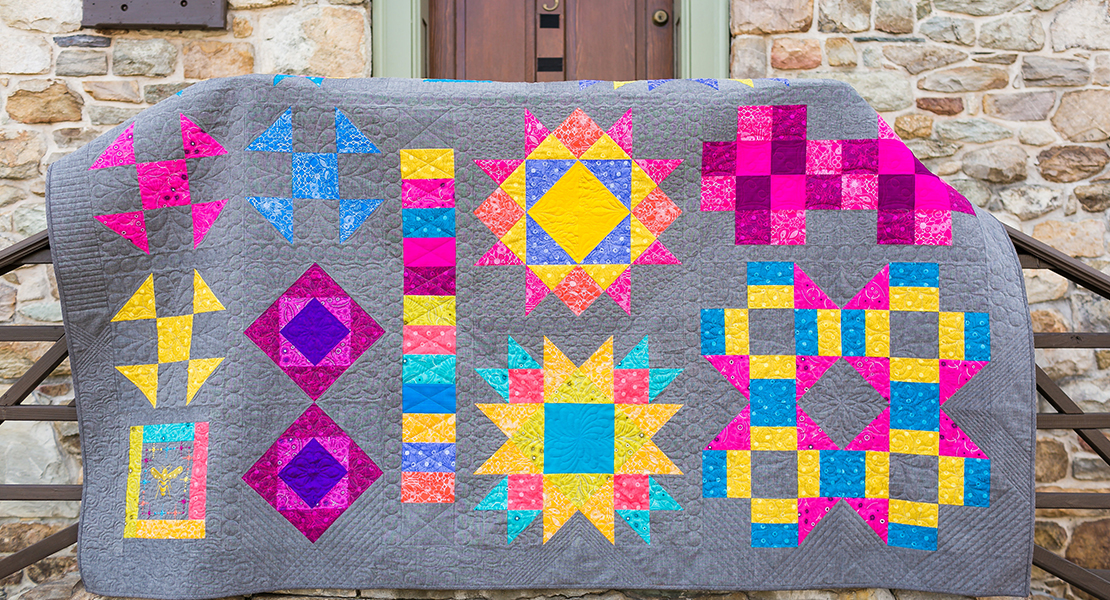
Congratulations! You have finished another great quick project! Plus you have practiced another quilting technique that you may wish to use if you are making the entire quilt from the BERNINA Block of the Month Party!