Piecing the Block of the Month Quilt
I am so excited to be writing these last instructions for you to finally put all your blocks together! I am truly thankful to those who have been with me over the last year and I thank you for your comments and kind remarks! As much as you have enjoyed putting together this quilt, I have enjoyed creating it for you!
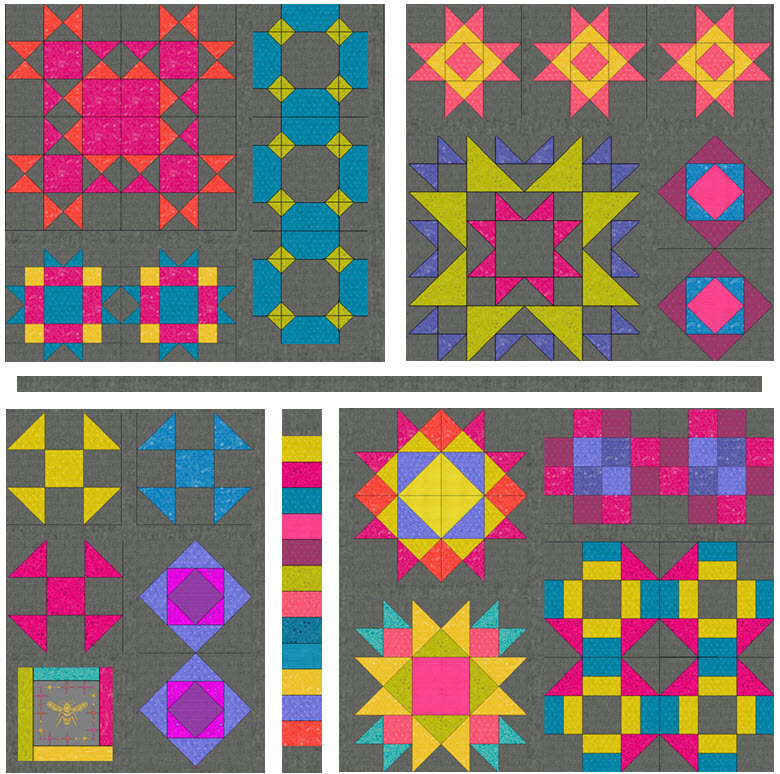
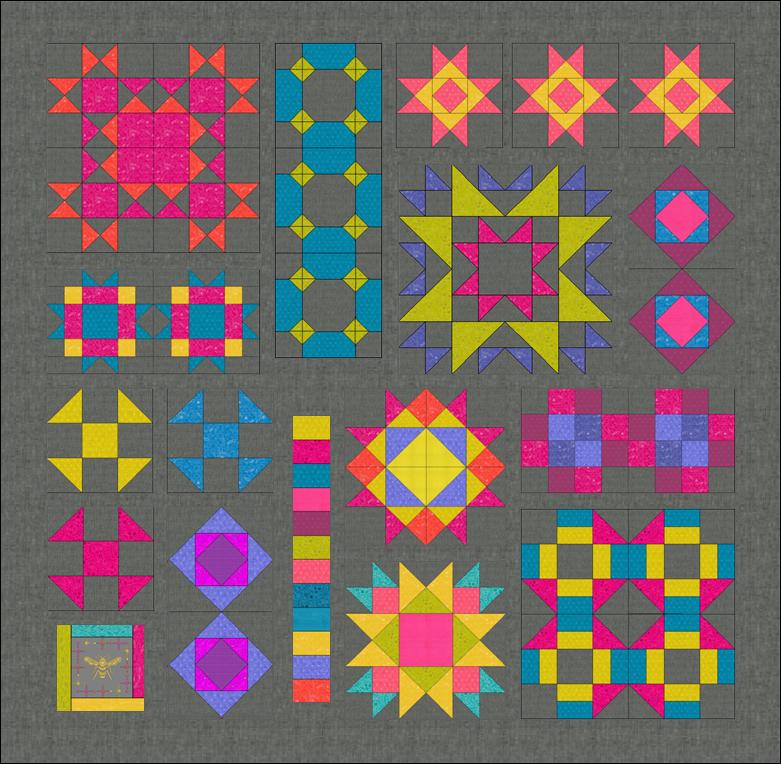
The quilt is pieced together in sections as shown below. All strips are cut from the background fabric (A-C-Black). If you did not want to piece the blocks together for the whole quilt, each of the 4 major sections would make a nice project.
Please keep in mind that I know you have made every effort to piece accurately, but your blocks may still be slightly different in size. Measure all your blocks and square them to the size indicated:
Block 1 12 ½” X 24 ½”
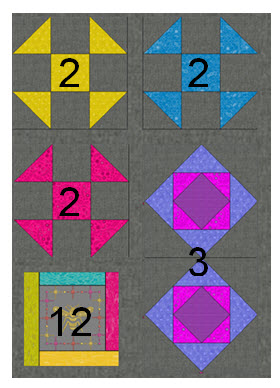
Block 2 12 ½” X 12 ½” each (you have 3)
Block 3 12 ½” X 24 ½” each section (you have 2)
Block 4 12 ½” X 36 ½”
Block 5 12 ½” X 12 ½” each (you have 3)
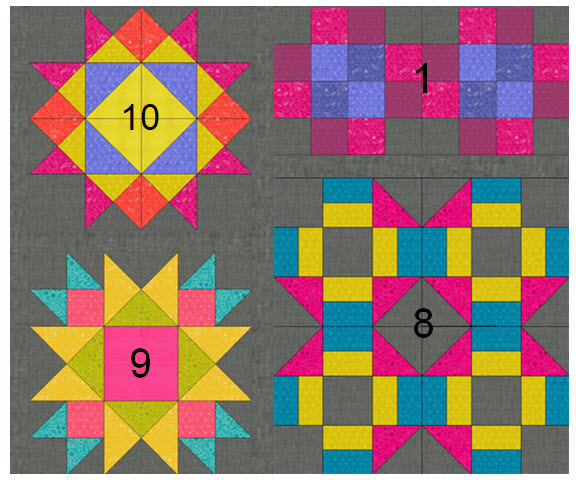
Block 6 24 ½” X 24 ½”
Block 7 12 ½” X 24 ½”
Block 8 24 ½” X 24 ½”
Block 9 18 ½” X 18 ½”
Block 10 18 ½” X 18 ½”
Block 11 24 ½” X 24 ½”
Block 12 12 ½” X 12 ½”
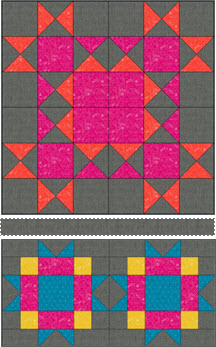
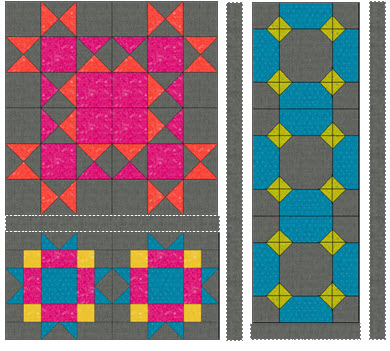
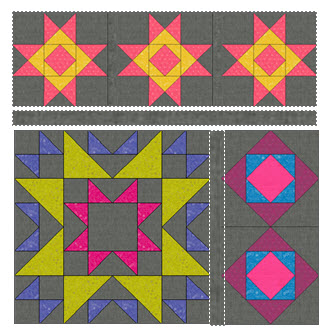
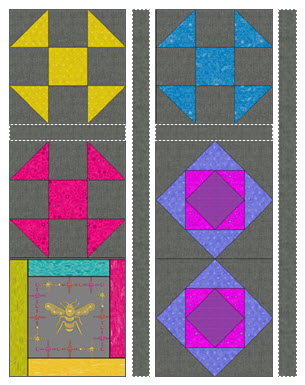
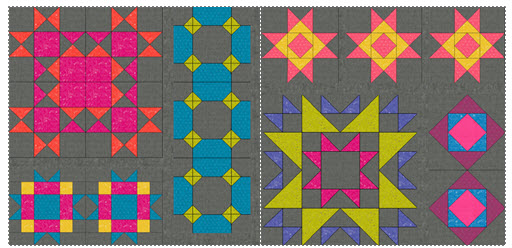
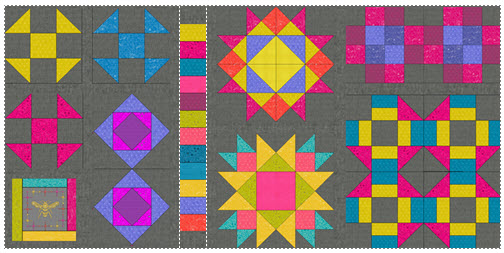
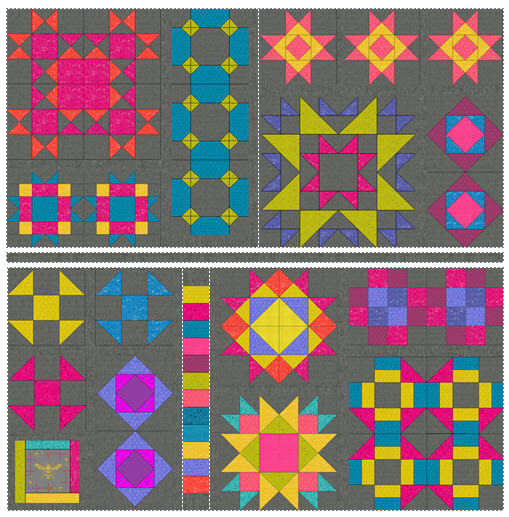
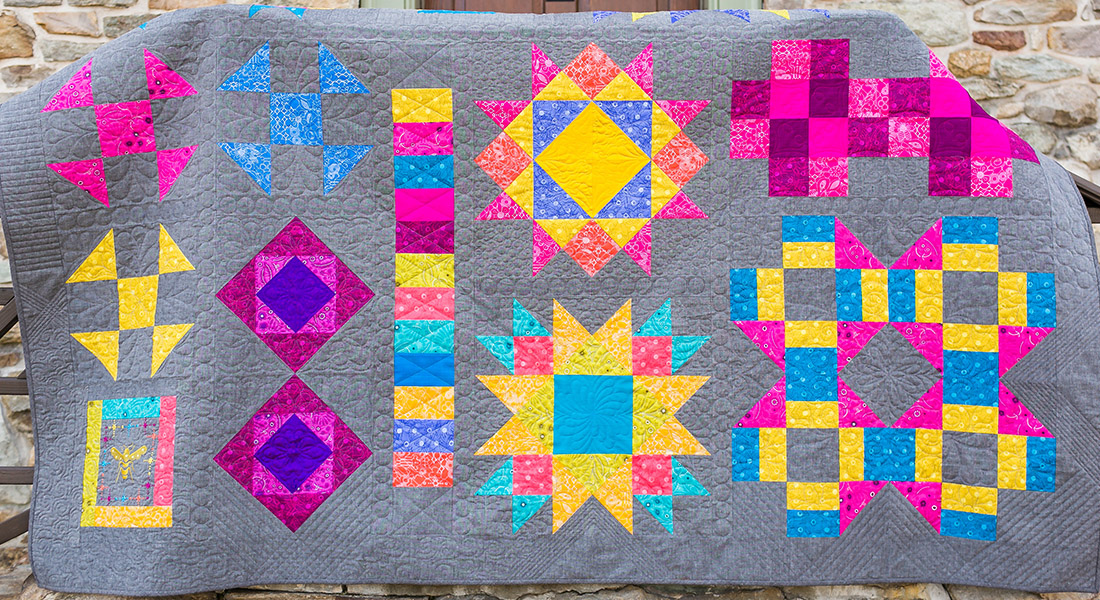
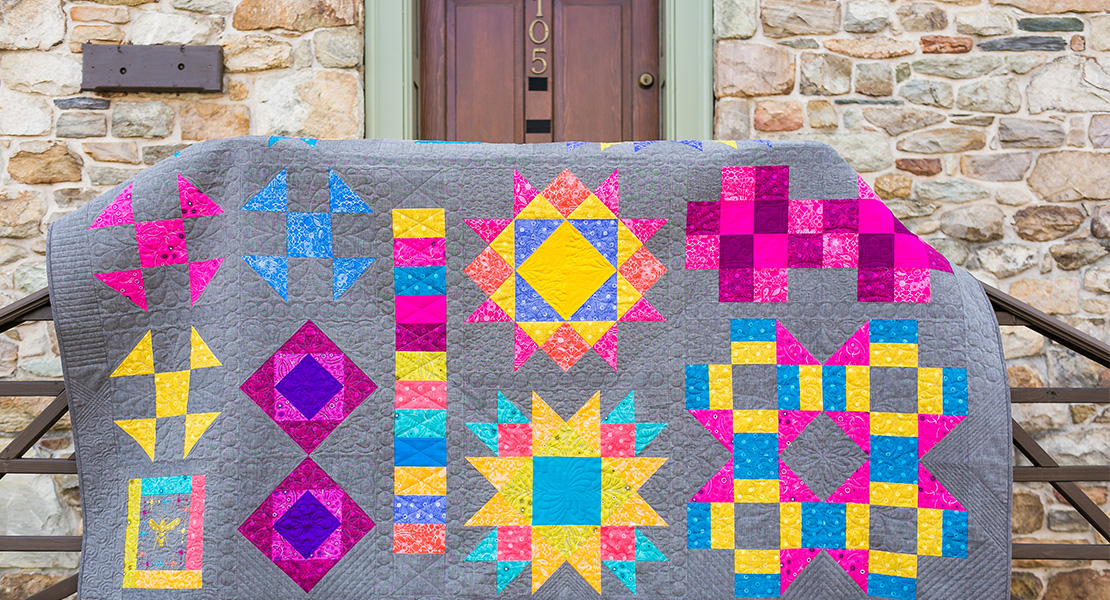
SECTION 1: Blocks 4, 6, and 7
38” X 38”
The numbers indicate which blocks are being pieced together

Cut 3 strips 2” wide by WOF
Cut 2 of these strips 38”
Cut 24 1/2” and 12 1/2” pieces from the other strip
Seam the 2” x 24 1/2” strip between Blocks 6 and 7
Seam the 2” x 12 1/2” strip to the bottom of Block 4
Seam the two large sections to each side of one of the 38” strips.
This will create a 38” X 38” section.
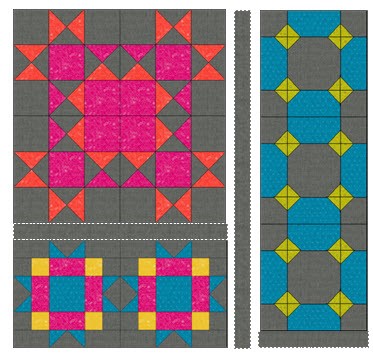
If piecing the entire quilt, continue by seaming the other 2” x 38” strip to the side of the Block 4 section.
This section will now be 39 1/2” x 38”.
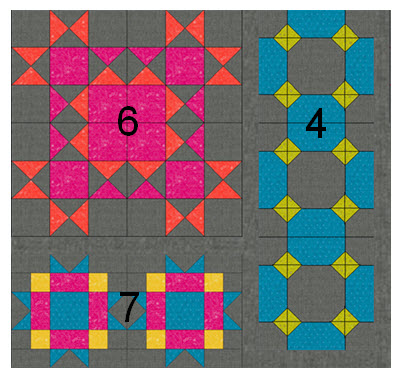
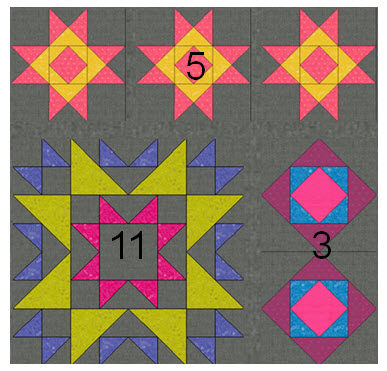
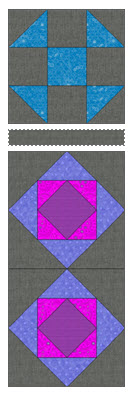
SECTION 2: Blocks 3, 5, and 11
38” X 38”
Cut a strip 1 1/4” wide by WOF
Cut 2 strips 12 1/2” from strip
Cut 2 Strips 2” wide by WOF
Cut 24 1/2” from one strip
Cut 38” from the other strip
Seam the 1 1/4” x 12 ½” strips between the Block 5 blocks.
Seam Block 11 to one side of the 2” x 24 1/2”Strip, and one of the Block 3 blocks to the other side.

Seam the Block 5 section to one side of the 2” x 38” strip and the Blocks 11 and 3 section to the other side of the 38” strip. Section 2 will be 38” x 38”.
SECTION 3: Blocks 2, 3, and 12
26” X 38”
Cut 3 strips 2” X WOF.
Cut 2 strips 12 1/2” from one strip.
Cut 2 38” strips from the other strips.
Seam Block 12 to the bottom of one of the Block 2 pieces.
Seam a 121/2” strip between the Section just sewn and another Block 2 as shown.
Seam the other 12 1/2” strip between the remaining Block 2 and a Block 3 as shown.
Seam a 38” strip between the two block sections just sewn. At this point the piece measures 26” X 38”.
If piecing the entire quilt, continue by adding the second 2” (see note above about the 2”) strip to the other side of the section as shown. Section 3 will now be 27 1/2” x 38”.
SECTION 4: Blocks 1, 8, 9, and 10
38” X 44”
Cut 4 strips 2” by WOF.
Cut a 18 1/2” strip
Cut a 24 1/2” strip
Cut 2 strips 38”
Seam the 18 1/2” strip between Blocks 9 and 10.
Seam the 24 1/2” strip between Blocks 1 and 8.

Seam a 38” strip between the two pieced sections. The piece will now measure
44” x 38”.
If piecing the entire quilt, continue by piecing the other 38” strip to the left side of the section. Section 4 now measures 45 1/2” x 38”.
One of the challenges when putting together a quilt of different size blocks is that they must all fit together.
Because of the different sized blocks it is sometimes necessary to add spacers.
Creating a Spacer

Cut 12 pieces from left over fabrics
3” X 5”
Cut 2 pieces from left over background fabric
4” X 5”
Seam 3” pieces together along the 5” side for a 5” X 30 1/2” strip. Add a 4” background piece to each end of the strip.
Putting it together
Seam Sections 1 and 2 for the top half of the quilt. Sections 1 & 2 now measure 77” x 38”.
Seam sections 3 and 4 with the spacer between them for the bottom half of the quilt.
Sections 3 and 4 now measure 77 x 38”.
Cut 2 strips 2” X WOF
Join together end to end with a mitered seam. Cut seamed strip to 77”.

Seam the top and bottom halves together with the 77” strip. The quilt should now measure 77” X 77”.
Adding Borders
Cut 8 strips 2 1/2” X WOF
Make four border strips by seaming 2 strips end to end with a mitered seam.
Measure the sides of quilt and cut two strips that length. Seam to each side of the quilt.
Measure the width of the quilt and cut the other two strips that length. Seam to the top and bottom of the quilt. The quilt will be approximately 81” X 81”
Backing
You will need 5 yards of backing for your quilt.
I like a little color on the back of my quilts, so feel free to use the left over fabrics to create a strip down one side of the backing. It adds a hit of color and uses up those leftovers! Quilt the quilt as desired using any of the techniques from the previous quilting lessons in my blog posts.
Hope you had as much fun as I did making the BERNINA Block Party Quilt!
Block 1: Antique Mosaic Block
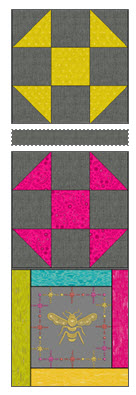
Block 2: Block 2, Shoofly Block
Block 3: Square in a Square Block
Block 4: Magic Circle
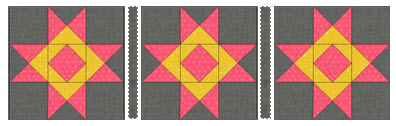
Block 5: Card Basket Variation Block
Block 6: Ohio Star Variation Block
Block 7: Maple Star Block
Block 8: Grecian Square Block
Block 9: Union Square Block
Block 10: A Girl’s Favorite
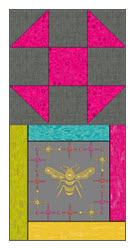
Block 11: Embroidered Block
Used Products

What you might also like


21 comments on “Piecing the Block of the Month Quilt”
-
-
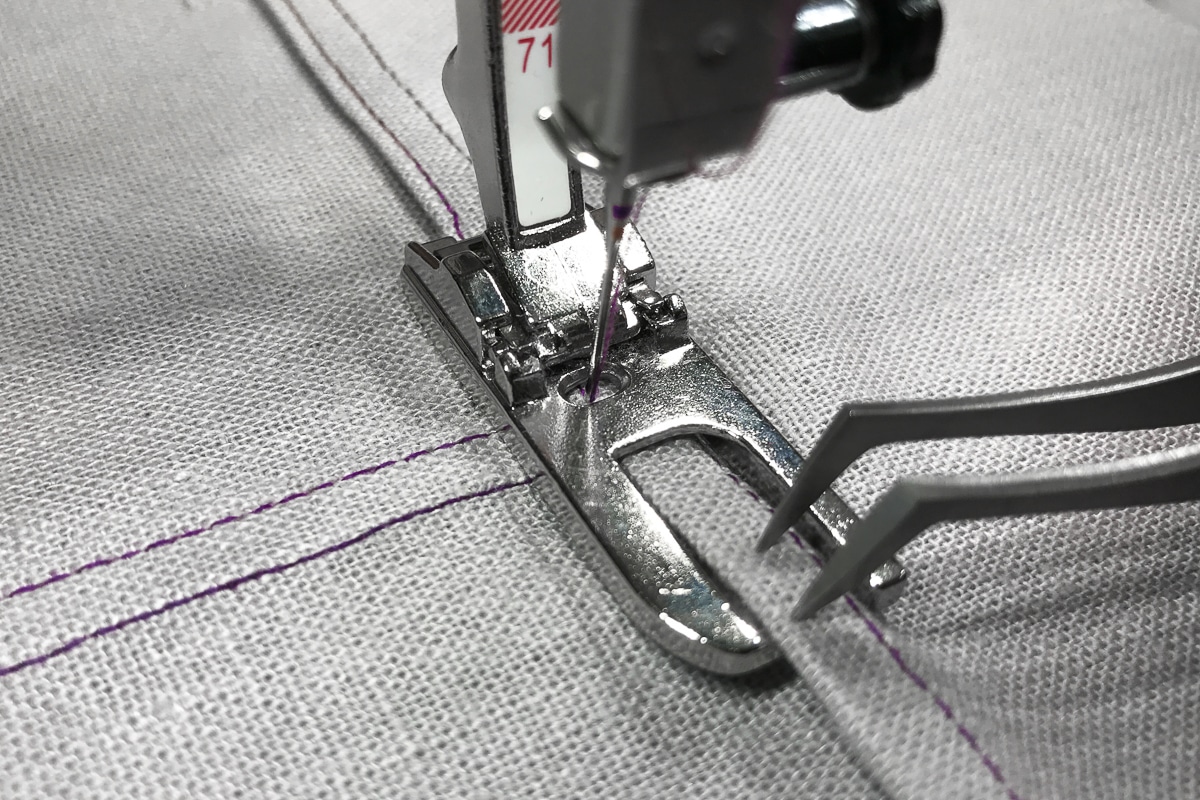
Yes I did. I used a medium gray thread, 50wt Aurifil color #2625. The gray is more like a neutral that just blends into all the colors.
-
-
I am so excited to put It together. I was wondering about thread color also. Nina you are amazing. Are you doing another one?
-
Thank you, you are so kind! See the comment above for thread color. No plans for another quilt but keep checking here to see.
-
-
A minor detail, but you’ve only listed the names of 11 of the 12 blocks at the end of your instructions.
-
You are absolutely right! I forgot the Odd Fellows Chain block which should be #11 and the Embroidered Block #12! Thank you.
-
-
Nina,
Thank you so much for posting these and walking us through each month this year! I have all the months saved as pdf and have my fabrics waiting. Now I get to find the time to actually do the quilt. It will be beautiful and I will be sure and post to show you 🙂
Teresa Wertz
Oklahoma-
Thank you Theresa, I will be anxious to see it and how you quilted it on your Q20!
-
-
With genuine sincerity it was so nice of you to post finishing instructions for several smaller projects. Now I have to decide whether to make one large quilt or several small ones. It is going to be beautiful either way.
Excited to get started !-
Thank you Kathy.
-
I assembled as one large quilt, added borders to fit a queen and it is at my favorite long armer’s to be finished. It is really bright and cheerful. Will post picture when I get it back.
-
-
-
Well done, Nina! Hope you post pictures of some of the finished quilts as they come in!
-
Thank you. I can’t wait to see photos of finished quilts too!
-
-
I don’t recall the block with the bee on it. What monthe was that?
-
Same here
-
This was the embroidered block #12.
-
-
This was the embroidered block #12.
-
As I just posted, this was the embroidered block #12.
-
When did the size of the quilt change from 77 x 77 to 81 x 81?
Will those who bought the original 4 yards of backing fabric be able to do it at 81 x 81?
-
I know I’m late with completing the quilt top but I must say it was enjoyable. I wasn’t able to use Allison fabrics but my batiks worked out well. Now on to the quilting. Super fun!!
-
Our Sewing Bee is using this as a Block of the Month. So great to be able to direct members to your web site to get detailed instructions. Some still need a little more hands on help, but we all pitch in.
Thanks so much for creating this quilt pattern. We are having fun leaning as we go.
Leave a Reply
You must be logged in to post a comment.

Did you use the same color quilting thread for entire quilt with this fabric line?