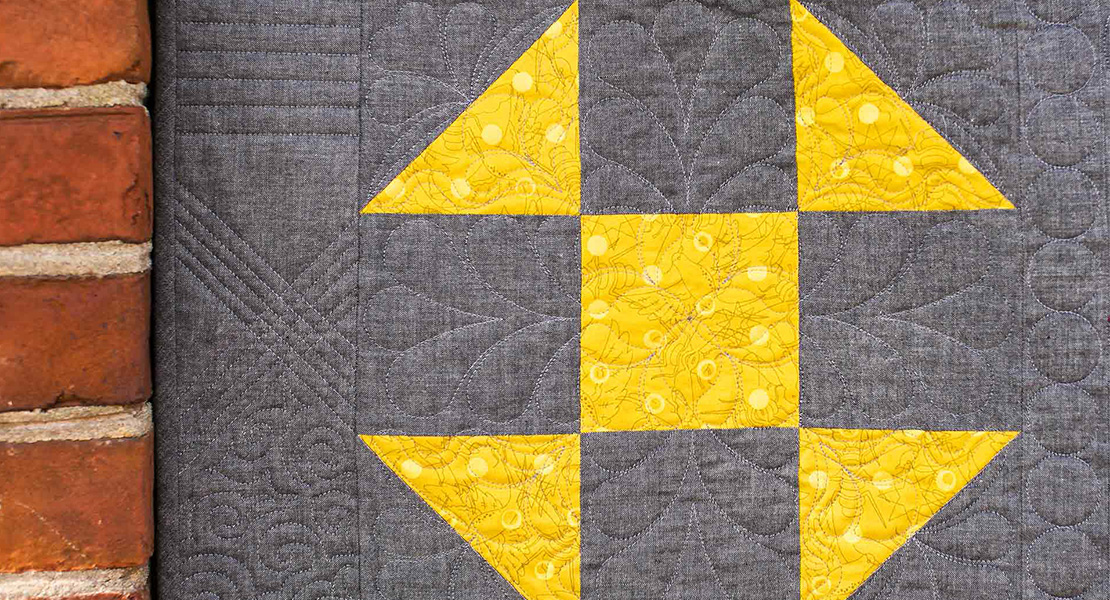
Embroidered Block
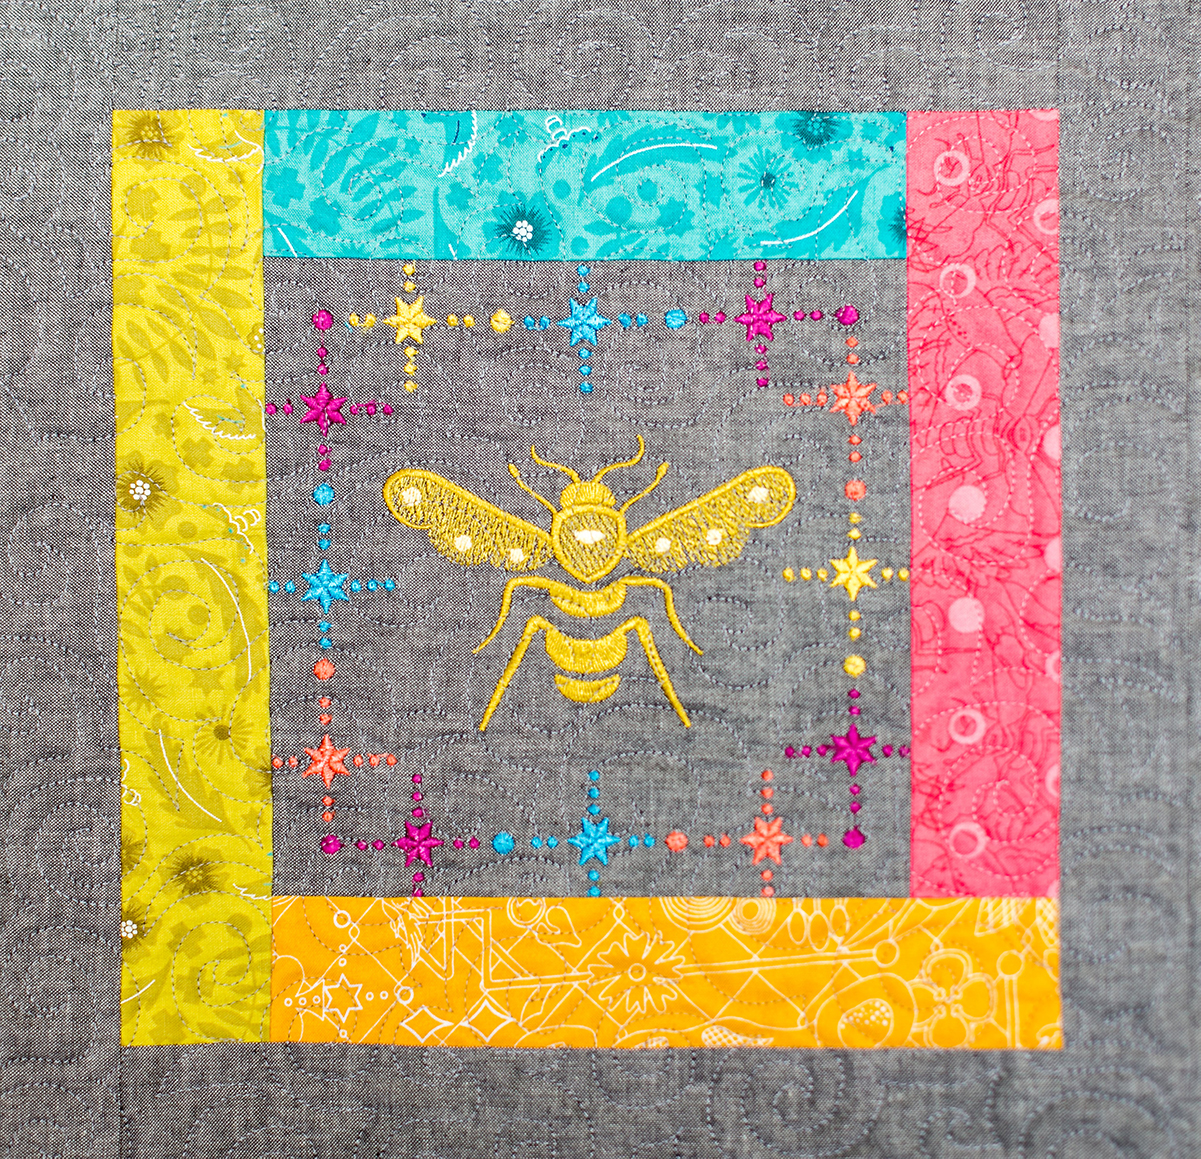
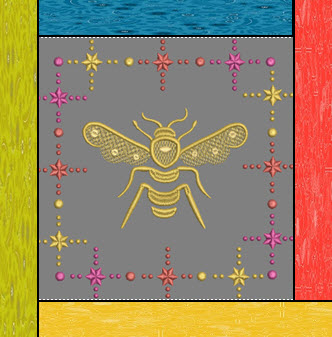
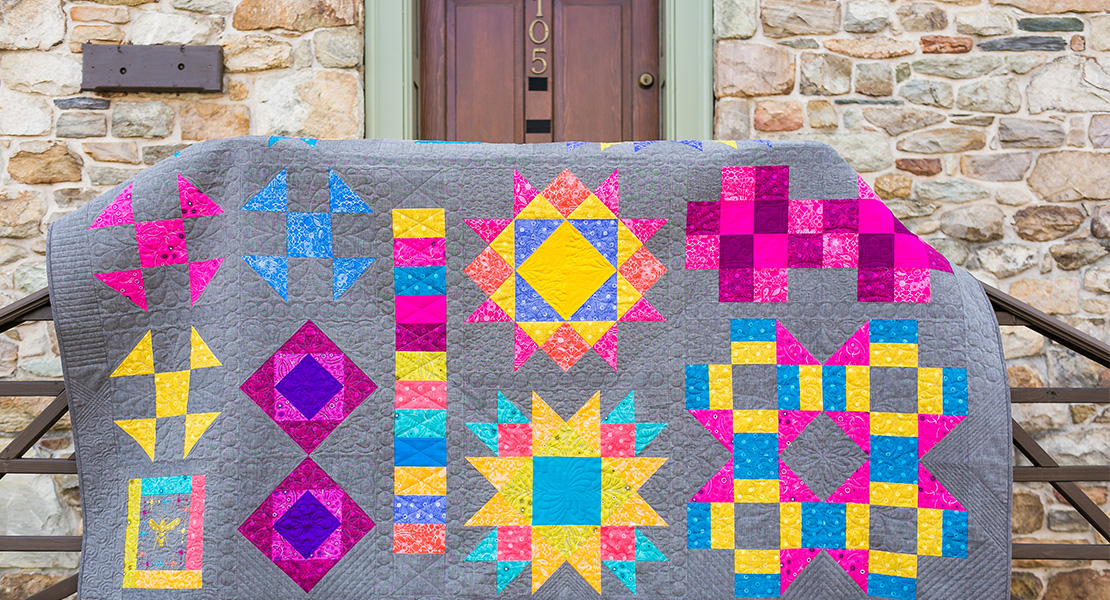
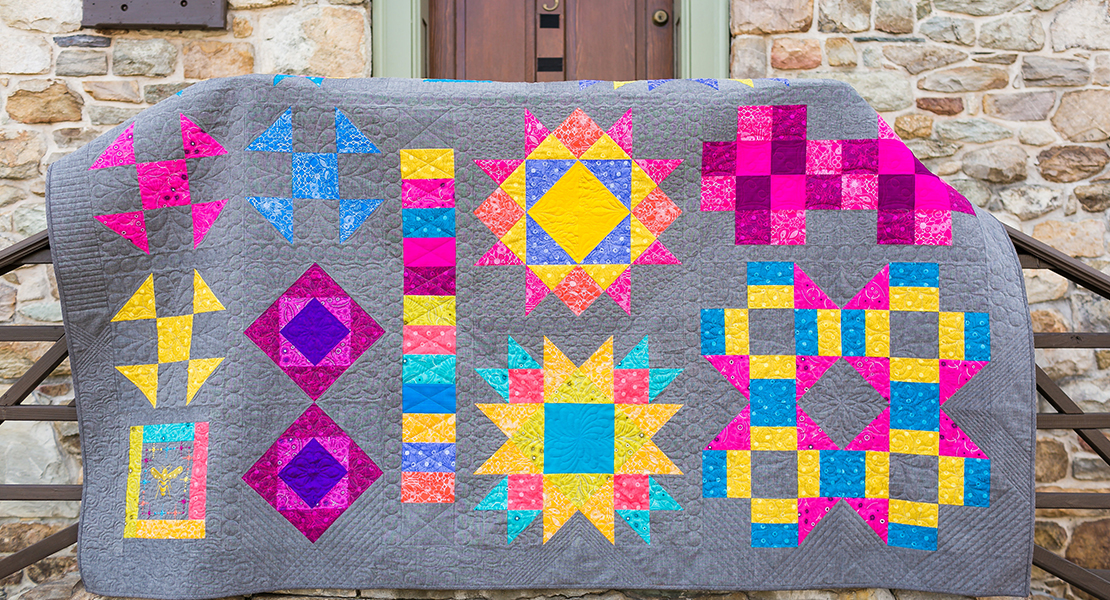
Can you believe we are to block 12?! This last block in my quilt is an embroidered block using designs by Alison Glass.
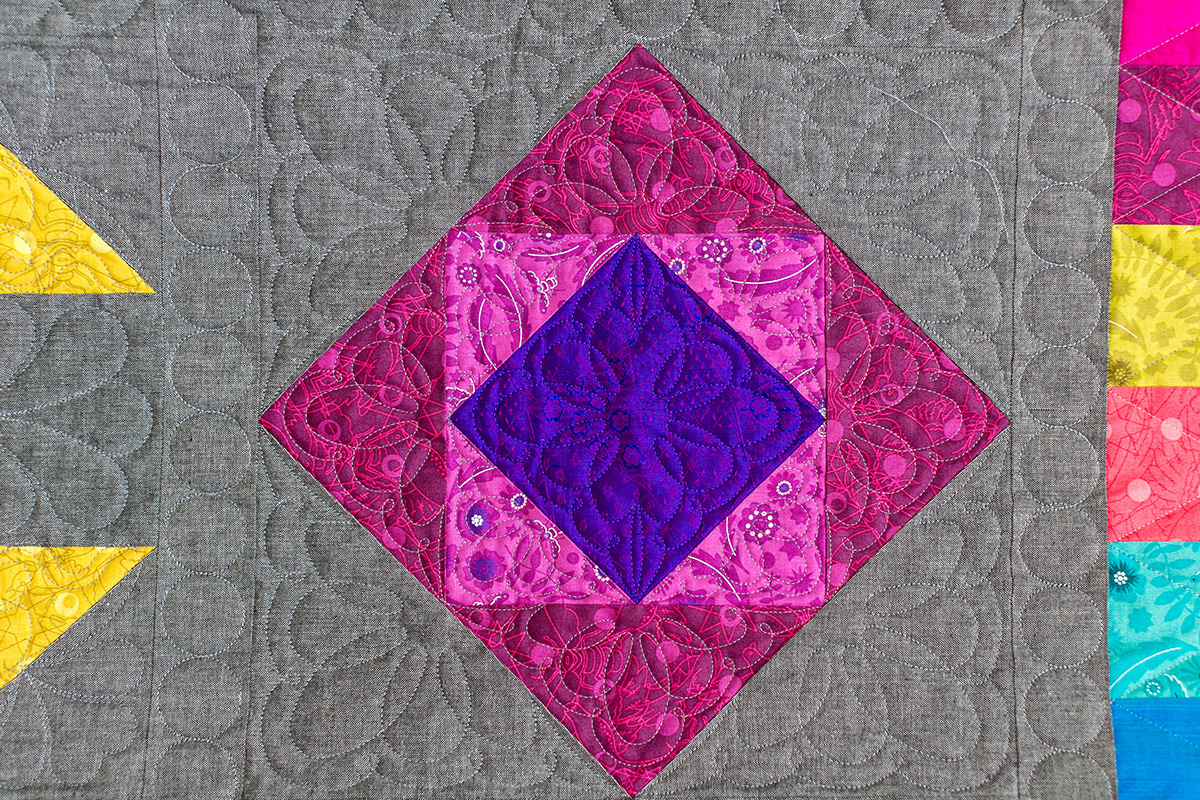
I thought this appropriate since I used Alison Glass Fabric! However if you do not have an embroidery machine or you simply don’t want to do an embroidered block, I might suggest you do one more Block 3 Square in a Square block to place here. The instructions for Block 3 are for two blocks. You will only need one here.
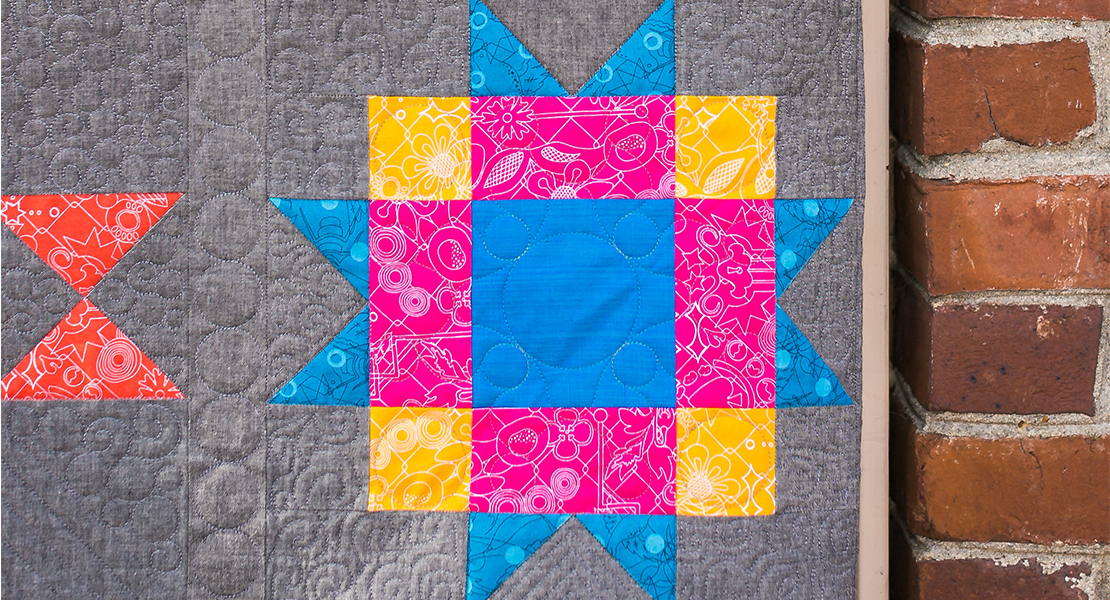
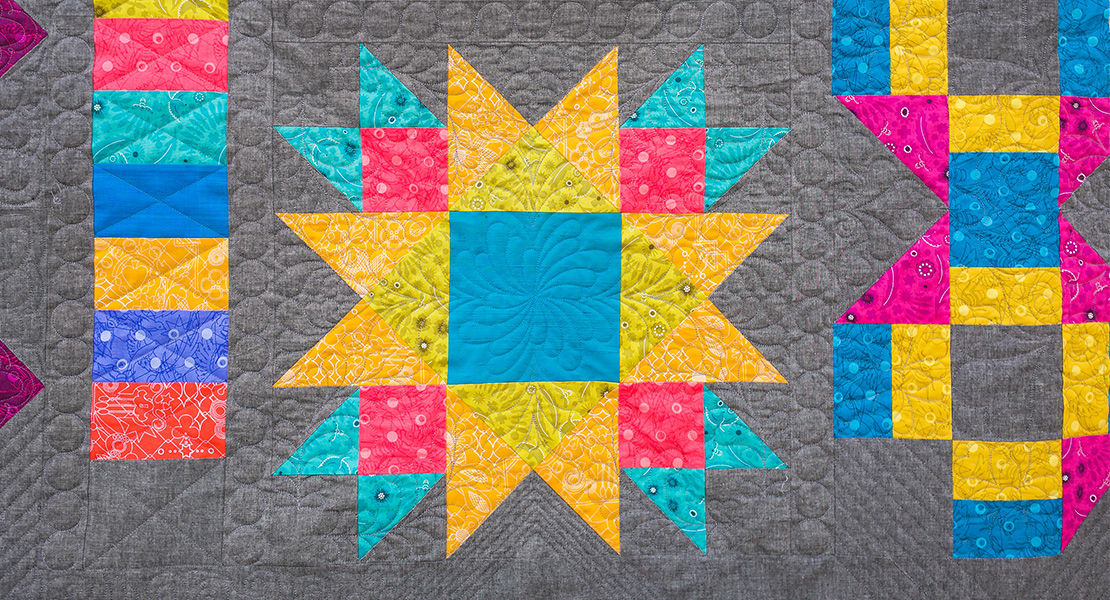
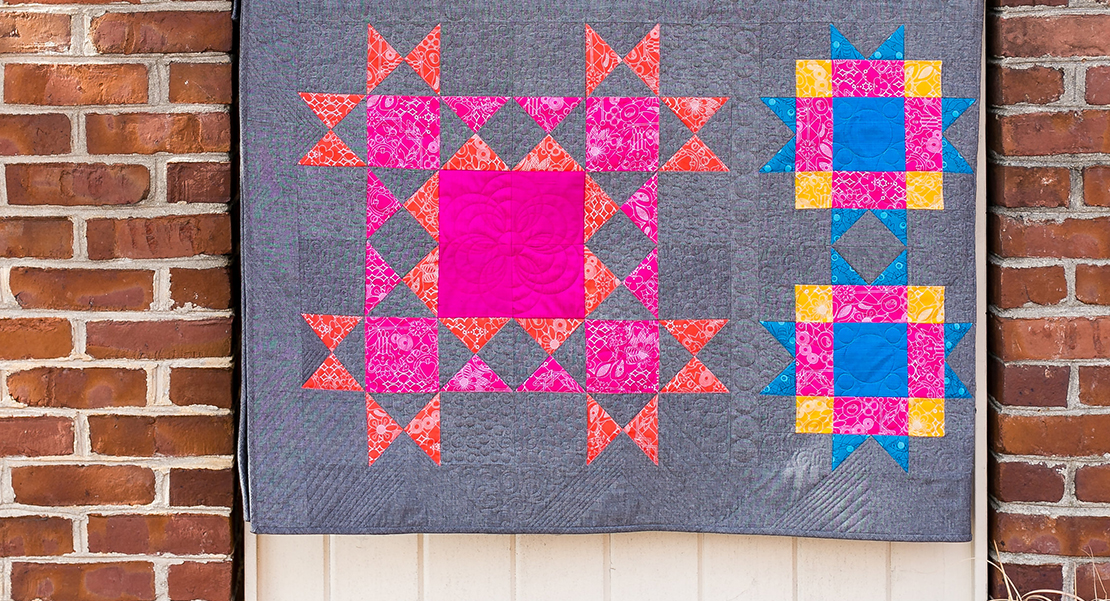
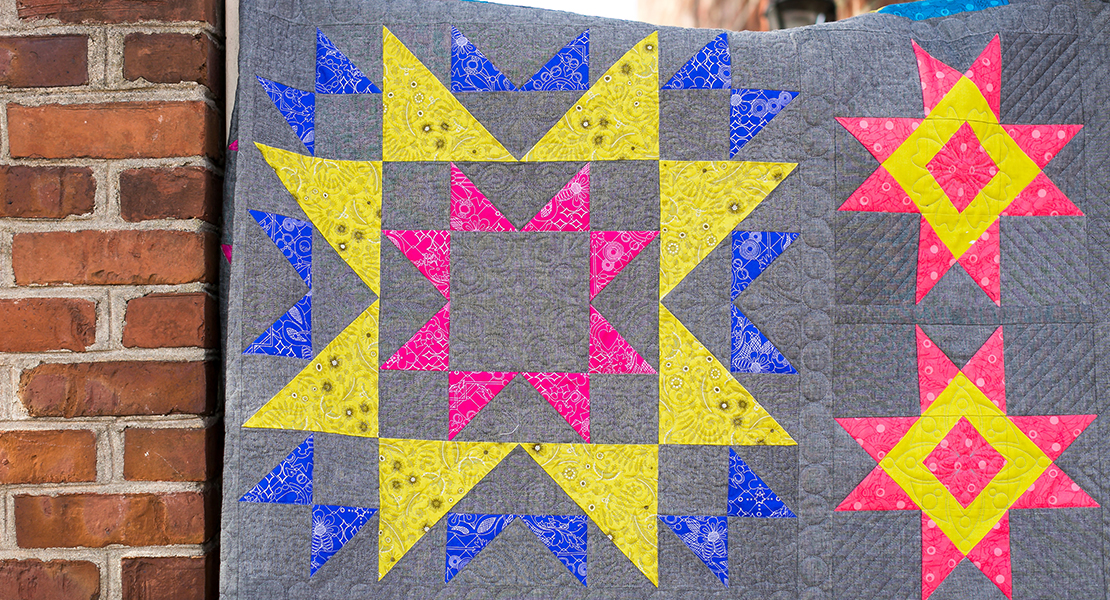
Or if you have a favorite block you want to piece for this space, feel free to add that since this is a sampler quilt. The block you place here just needs to be a finished 12” block.
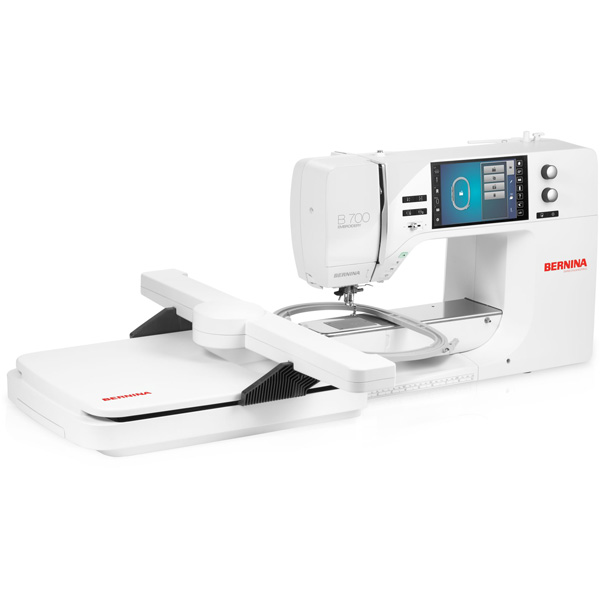
If you are going to do an Embroidered Block, Alison Glass has 2 design Collections available: OESD Collection #80117 Seventy Six and OESD #80080 Ex Libris.
Either collection would have designs that are suitable for an embroidered quilt block.

Two designs from the Seventy Six Collection were combined to create the center of the block. Designs # 17 and #23.

Let me share how these two designs were used to create the block design.
You will need to be able to combine designs in your machine. If you are not able to do that, you will need software. Even if you can combine designs it will be visibly easier to see on your computer screen.
Open design # 17. Duplicate 3 times for a total of four designs.
Rotate, mirror and flip the designs to create a square. Note that only one end of the design has a large embroidered dot. Make sure there is a dot in each corner. This is the reason you need to rotate or flip or mirror the designs. Place the designs so the spacing at the corners is even. Group the design and resize to 95%.
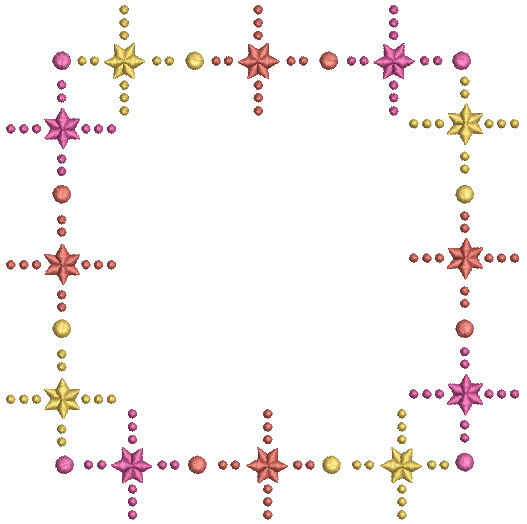
Once you have the square design created add design #23 and center it within the square.

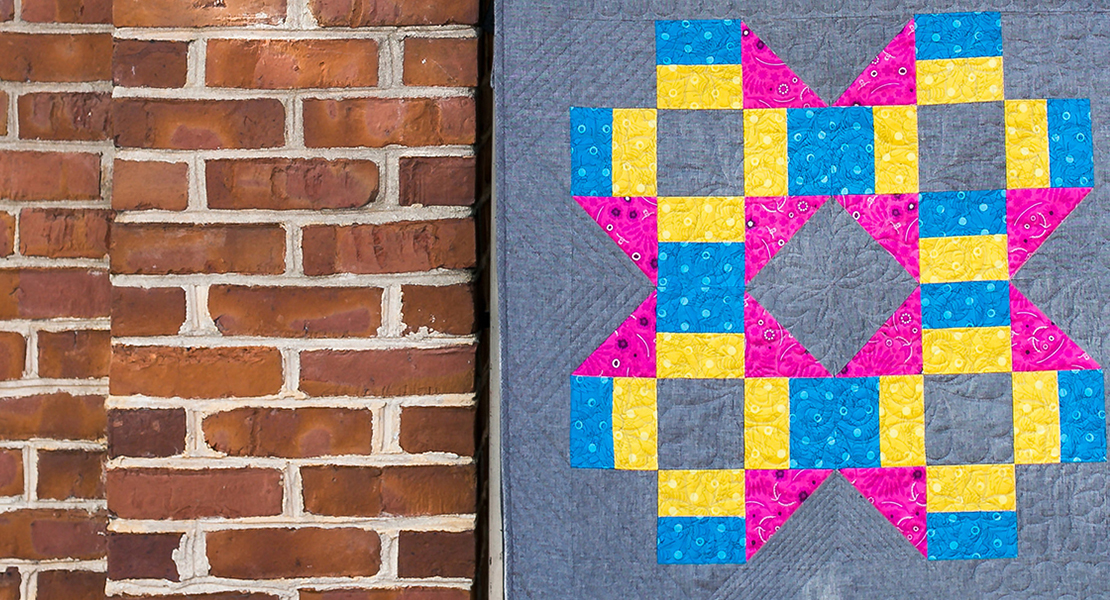
Embroider the design on a fabric of your choice. The background chambray was used for the sample. I fused with a knit interfacing to the back of the square prior to embroidery and then hooped the fabric with a layer of OESD PolyMesh CutAway Stabilizer.
Embroider the design in colors of your choice.
Remove excess stabilizer from the back of the block and trim the block to 7”. You will be trimming close to the embroidery.
Cut four strips of leftover fabrics from any of the fabrics previously used.
2” X 7”
2” X 8 1/2”
2” X 8 1/2”
2” X 10″
Seam them to the embroidered square “log cabin style” beginning with the 7” strip on one side of the center. Turn the block once and attach an 8 ½” strip. Turn again to add the second 8 ½” strip, and finally turn the center one more time to add the 10” strip. You will be catching one of the embroidered dots in the seam.
Cut strips from the background fabrics. Seam them to the square “log cabin style”.
2” X 10”
2” X 11 1/2”
2” X 11 1/2”
2” X 13”
Press and square the block to 12 1/2”.

And that’s it! This is a very quick and easy block to make.
If you are making the entire quilt, set this block aside with the rest of your blocks. Next month I will tell you how it all goes together.
If you are quilting individual blocks, this one can be an all over free motion technique or embroidered with an all over quilting design. The choice is yours. Take a look back at the previous blocks for ideas.
If you quilt this block, Denise will have a great project you can make with it later this month. In fact, you may want to embroider several different designs on fabrics of your choice to make her fun project!
And just a reminder, this month would be a great month to catch up if you haven’t done all your blocks so you are ready for the finishing instructions in April.
Used Products
What you might also like


6 comments on “Embroidered Block”
-
-
The finishing instructions will be posted next month.
-
Thank you I love these blocks and just can’t wait to see it at completion. I am sure that some little girl that I know it’s going to be overjoyed when she sees it. Thank you Nina, for coming up with such creative, adorable quilt.
-
I love this block! I made Block One when it first came out then life sort of got in the way. The past month I’ve done Blocks Two, Three, Four, Five and have Six cut out. Now that I’ve seen this post I can’t wait to do this one and get the others done and be ready to finish! Thanks for a beautiful, colorful, unique project!
-
How big is the square in the middle of this block? I am not going to embroider it, but I would like to do some ruler work. For the life of me, I can’t find where it says how big to cut the square. Thanks. Jane
-
It says 7″.
-
Leave a Reply
You must be logged in to post a comment.

Now that the twelve blocks are done, is there a fonishong pattern for the quilt?