Quick and Easy Christmas Quilt: Block 3
Welcome back! If you are just joining us, check out the Quick and Easy Christmas Quilt tutorial here. It covers a lot of what we’ll be talking about here today.
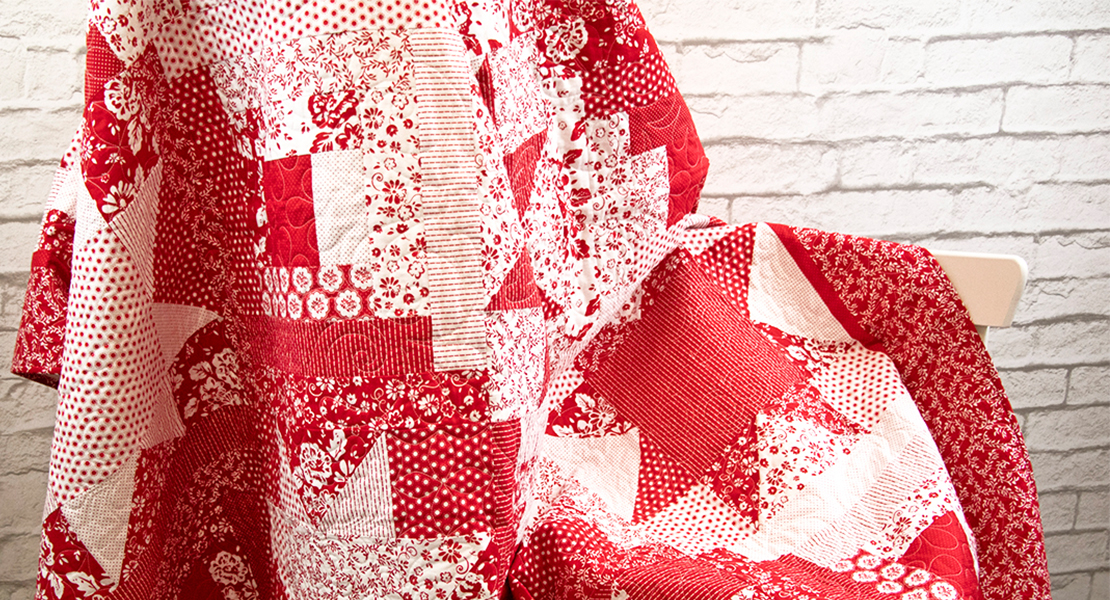
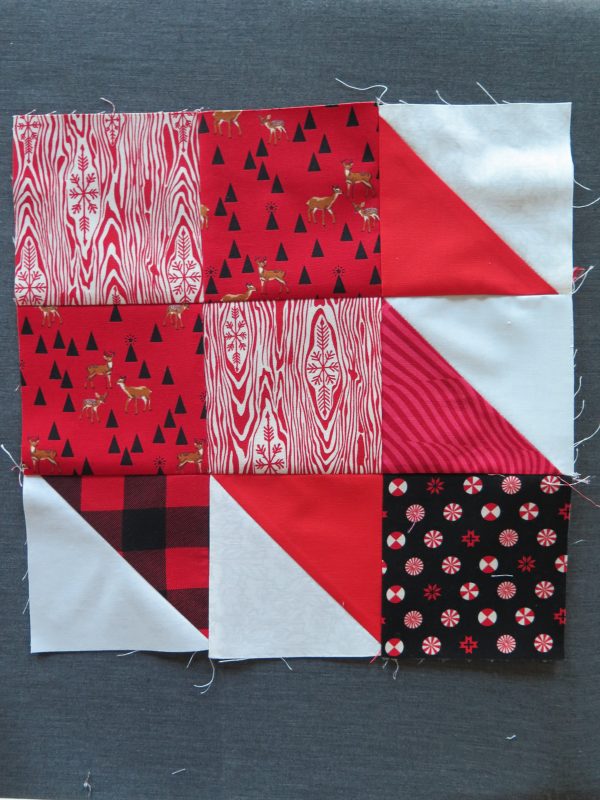
Now onto Block 3! My personal favorite: Bear Paw.
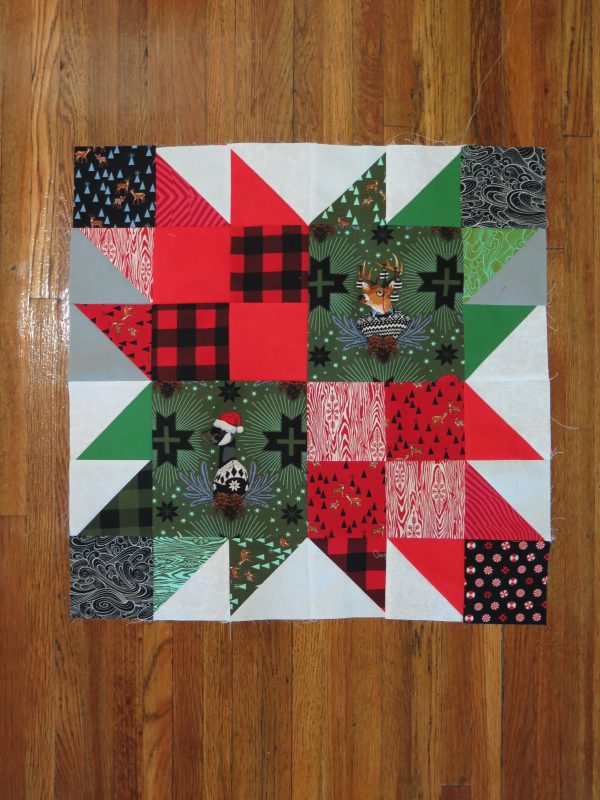
For this block, we will be using the same method for creating HSTs as we did in Block 1.
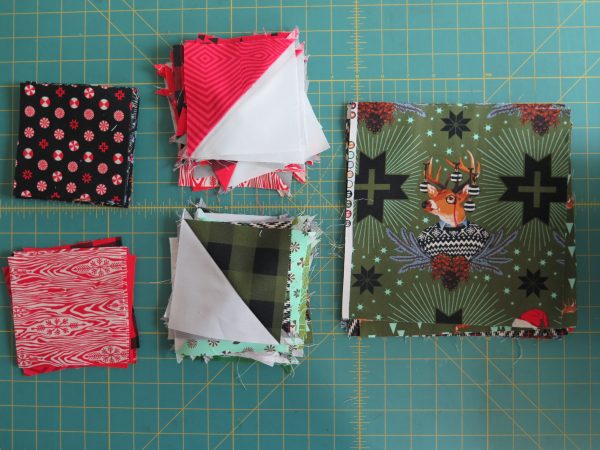
For each of these 24″ blocks, we need 16 HSTs. Each block uses 8 red HSTs and 8 green ones. We need a total of 48. As before, we are going to make 8 at a time and if you’re accurate in your cutting and your piecing, you won’t even need to trim them down.
Once again, to make 8 at a time HSTs, figure out what size FINISHED HSTs you need. For this block, they are 4″ finished. Add 7/8″ to your 4″ measurement. That’s 4 and 7/8″. Multiply your total by two. That equals 9 and 3/4″. So we need to cut 9 and 3/4″ squares to get 8 4 and 1/2″ HSTs (with seam allowance).
Cut 9 and 3/4″ squares as follows:
- Red – 3
- Green – 3
- Background – 6
You’ll also need to cut the following:
- 6 Green Sqaures – 8.5″
- 24 Red Squares – 4.5″
- 12 Black Corner stones – 4.5″
Piece your HSTs as shows in Block 1.
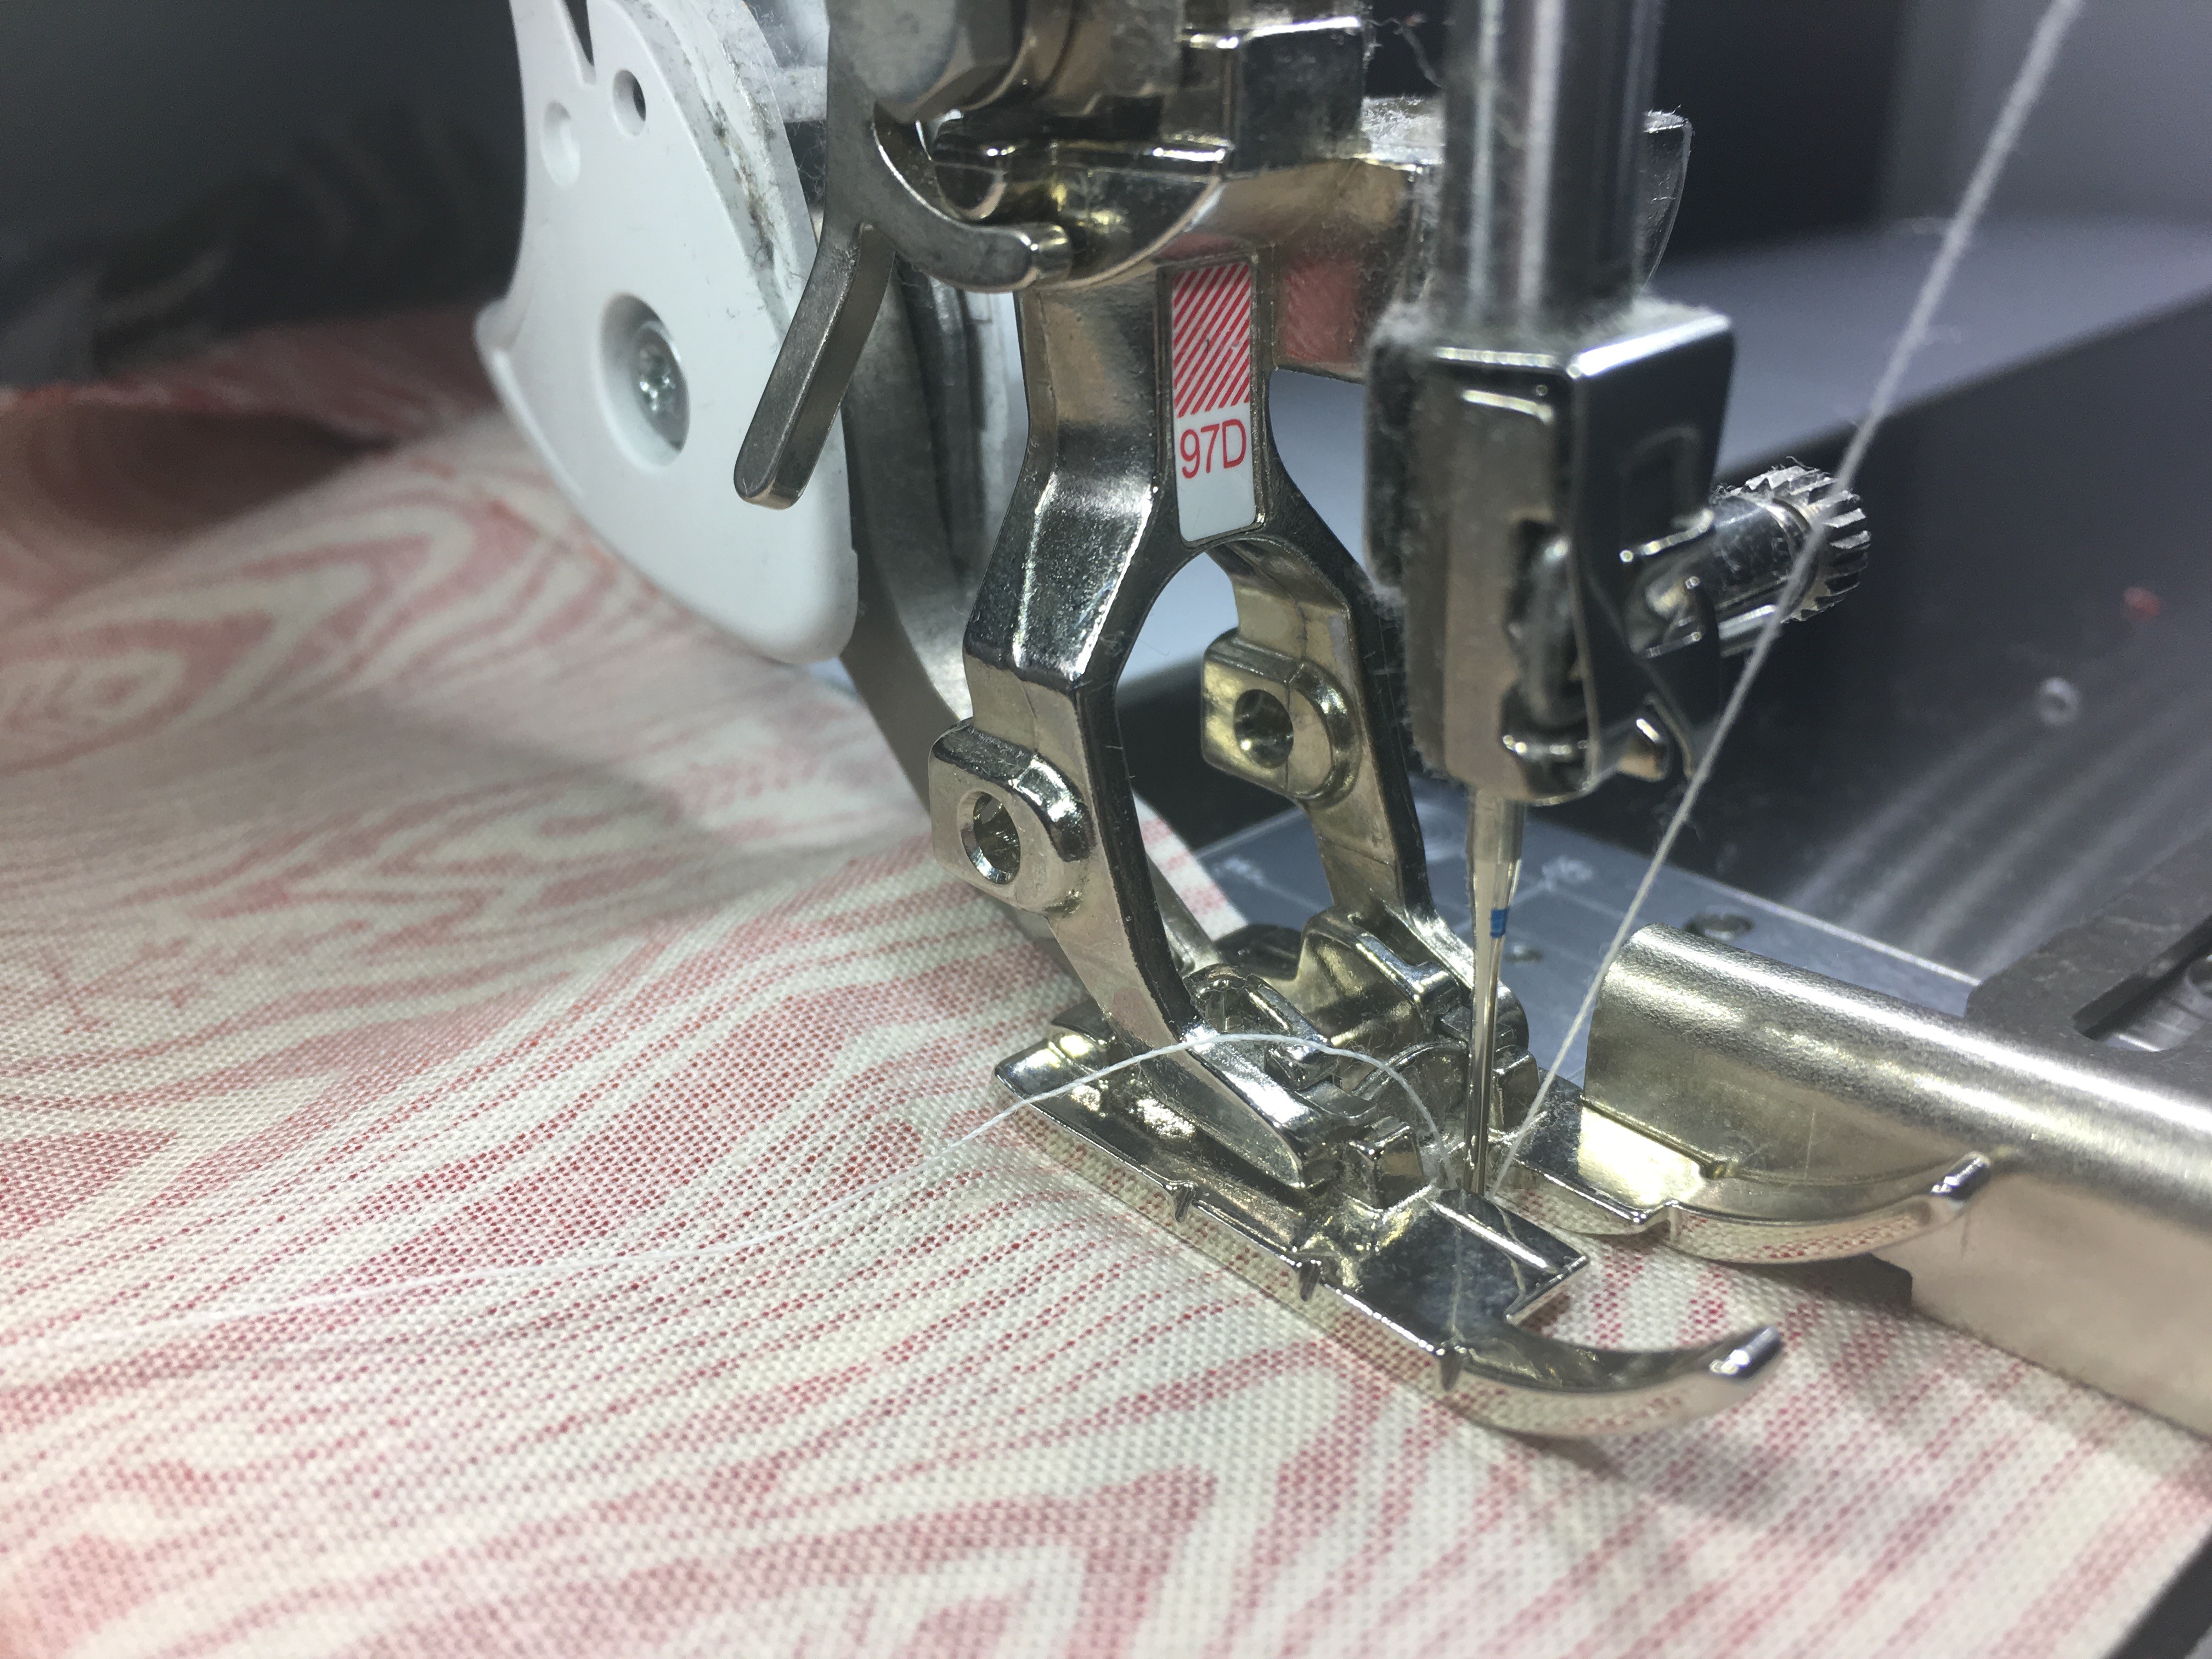
Put on your Patchwork foot #97D with seam guide. Make sure your needle position back to 0.
Lay out your block. You can use the same method of stacking the blocks on one another to chain piece them if you are so inclined (see Block 1).
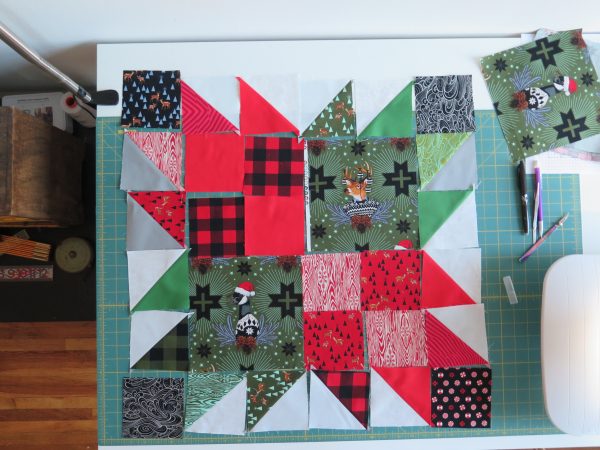
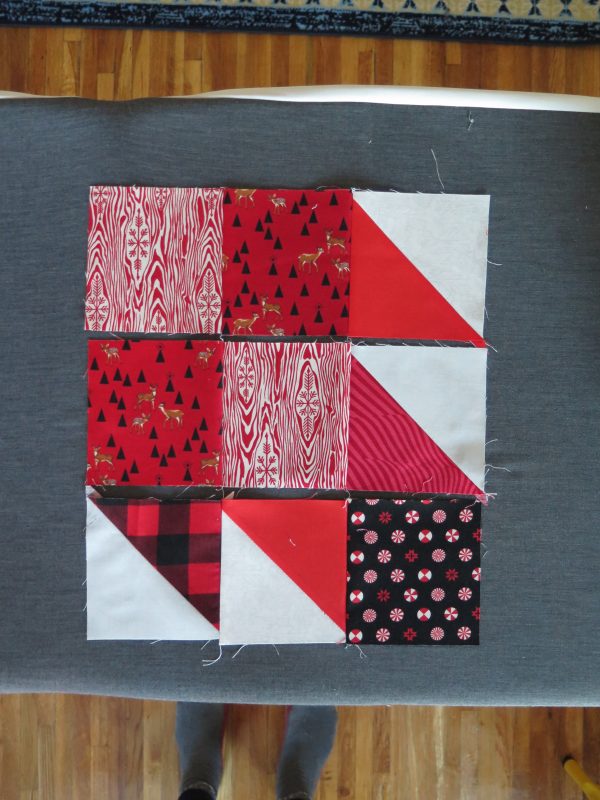
Starting with piecing the red blocks together. Sew each row and press your seams to opposite sides. Again, we will nest these seams.
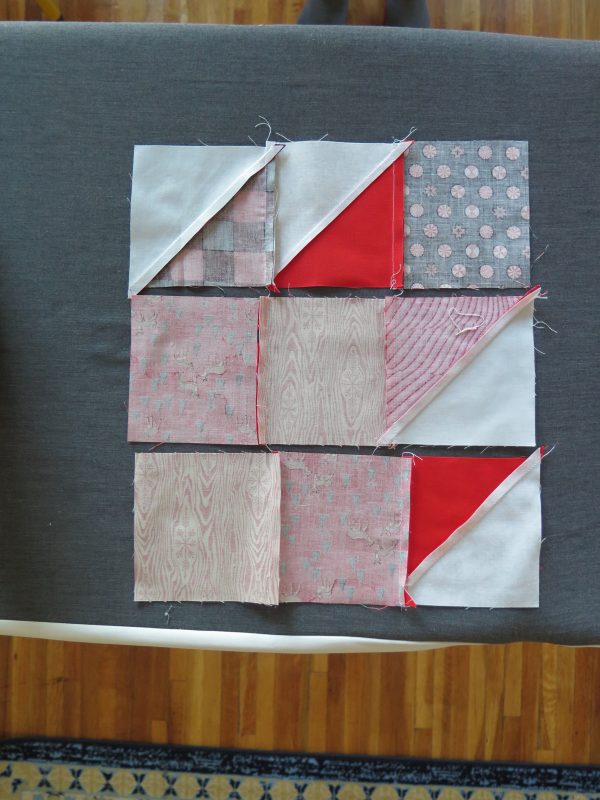
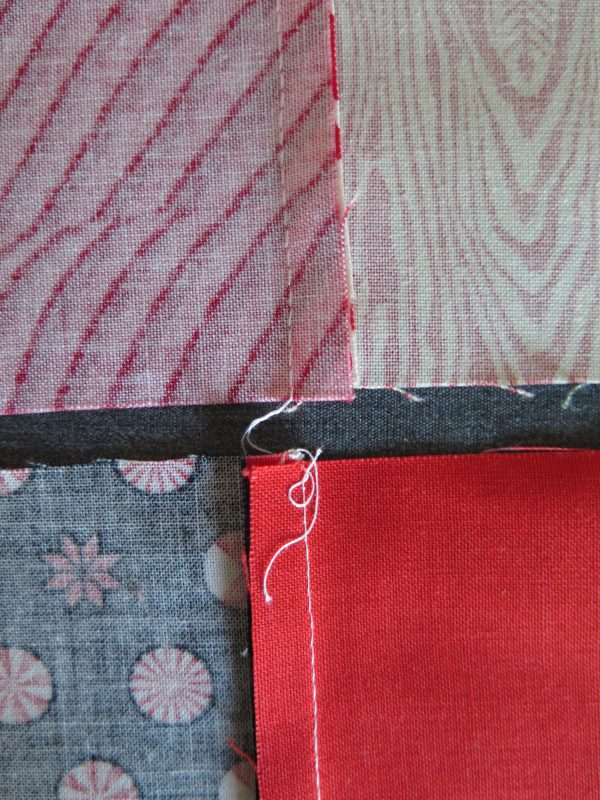
Piece your rows together. No pins, perfect points and corners. Magic!
Now piece your green corners. Piece the top row and the HSTs on the side as follows.
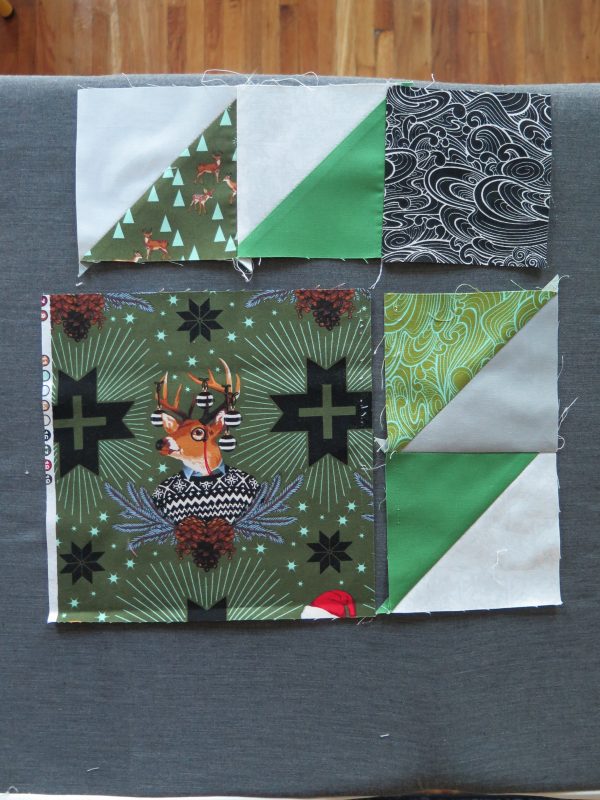
Add the 2 HSTs to the side of the main square.
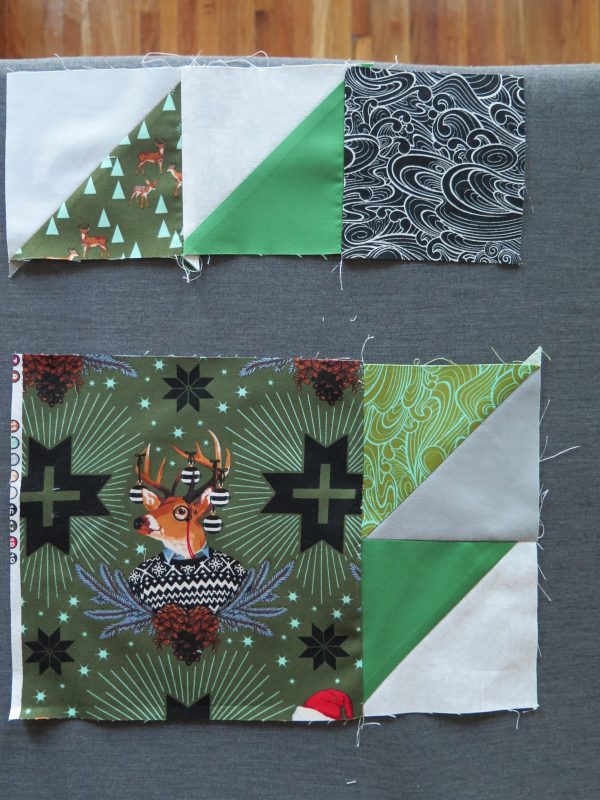
Add the top row to the green block, piece together your red and green blocks.
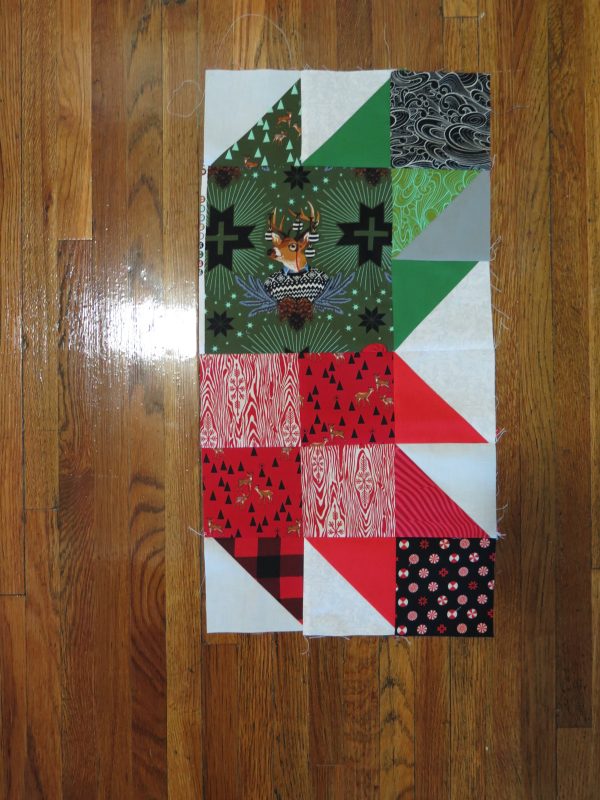
Create the other side of your block and complete the block.
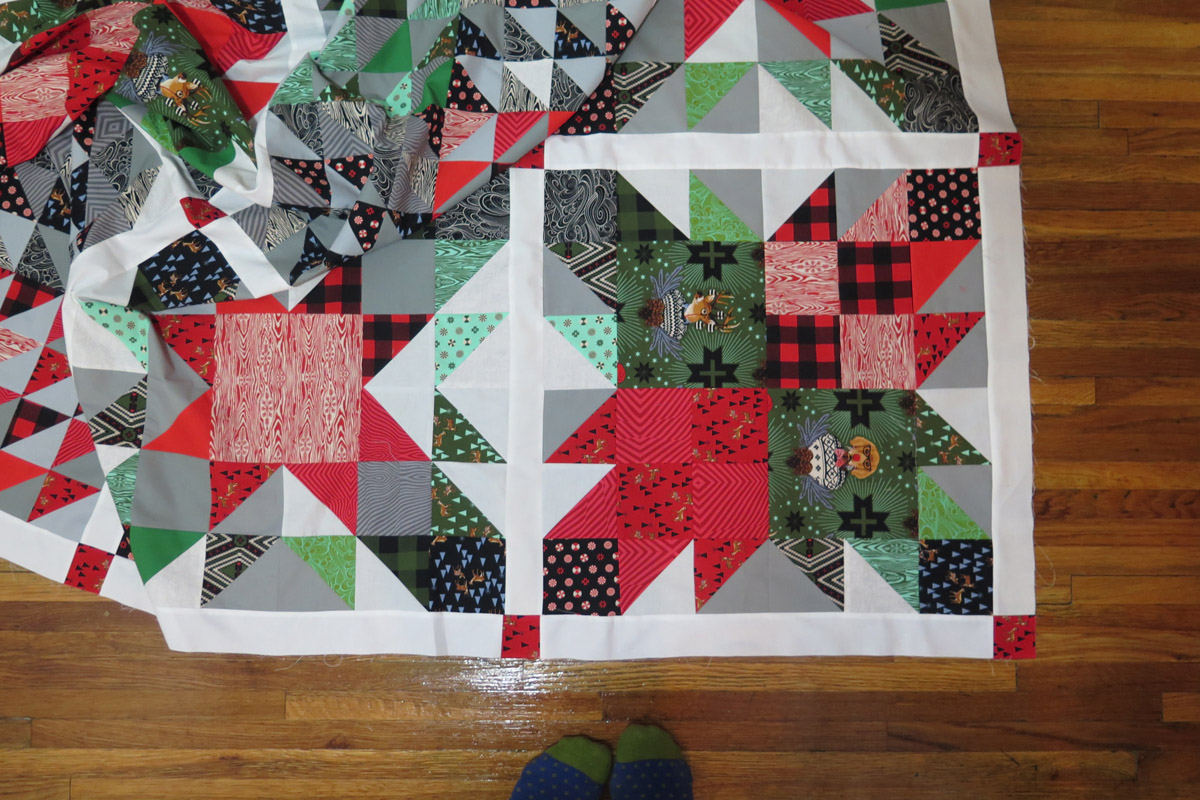
Make all three blocks. The blocks are done!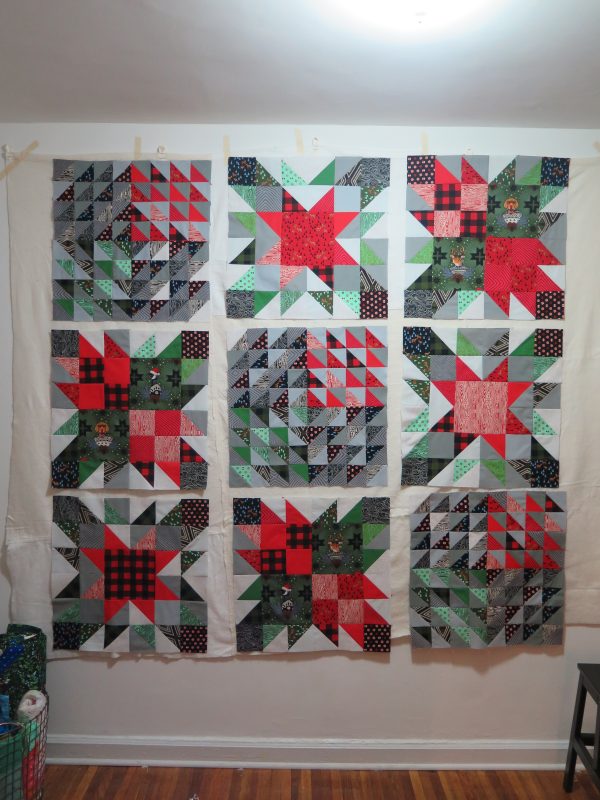
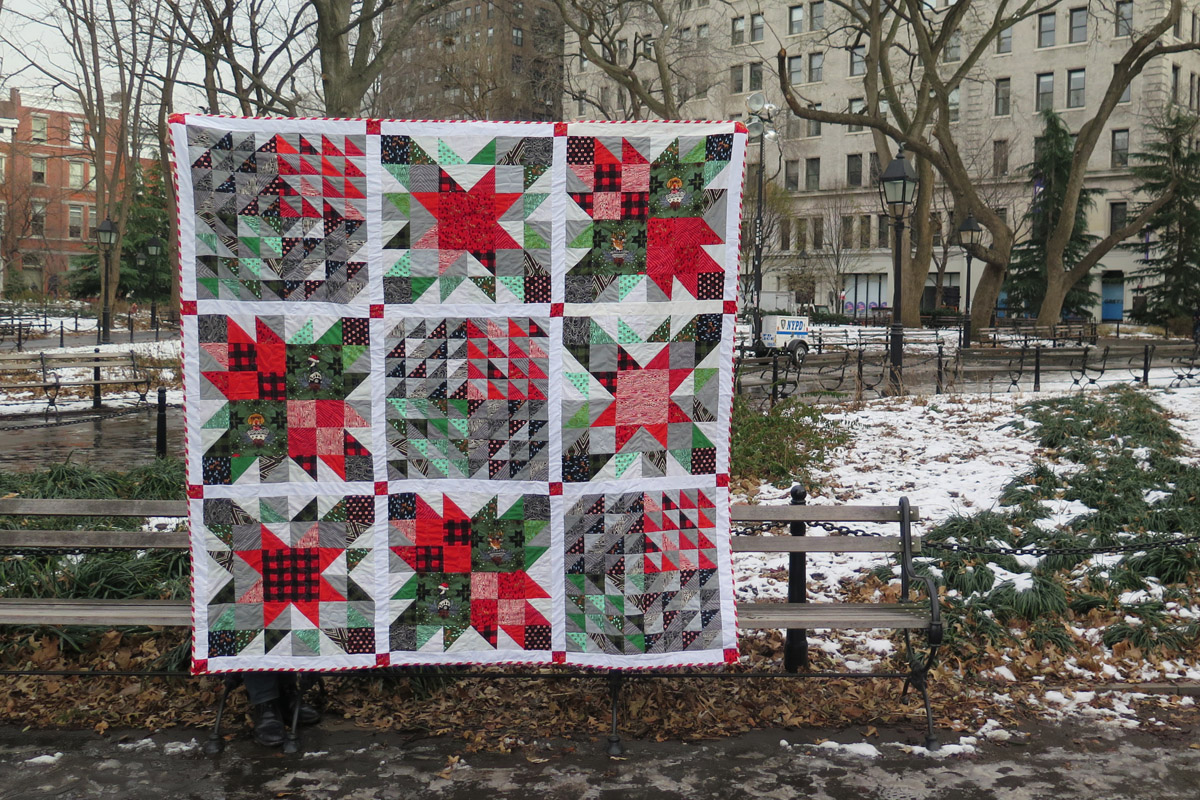
Next up we will turn this into a quilt top.