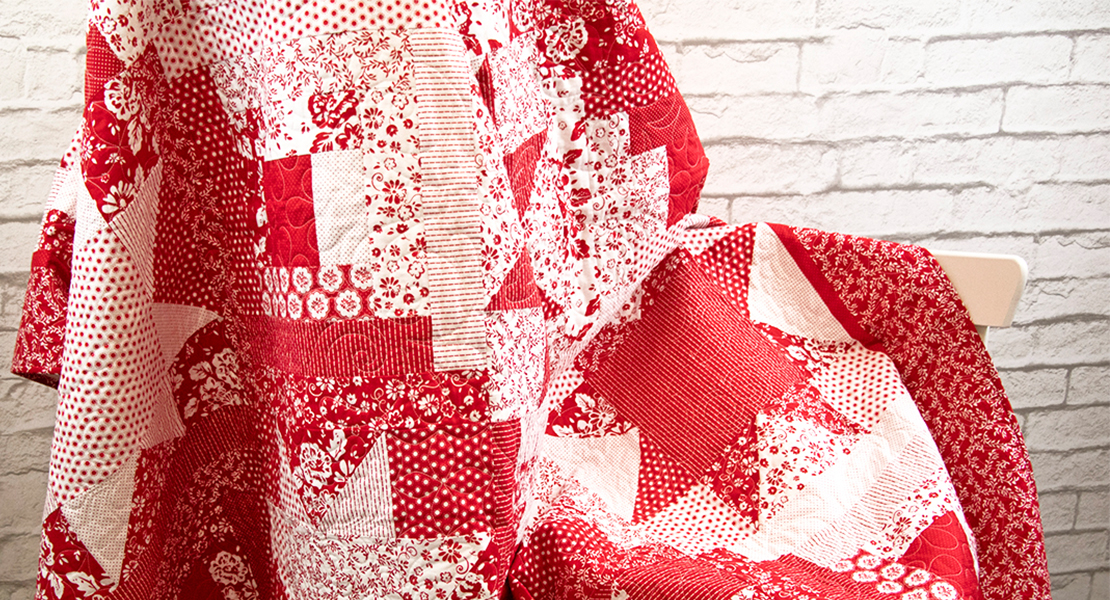
Quick and Easy Christmas Quilt: Block 1
I love Christmas as much as anyone, and I love a good Christmas quilt. But I must admit that making a quilt just for Christmas always seemed like such a hassle. All that work for a quilt that I’ll just be using a couple weeks out of the winter? Didn’t seem worth it.
This year, though, I have been feeling particularly festive. I found myself dying to make a quilt for the holidays. Like so many of us, it was hard for me to find the time to make a quilt at the busiest time of the year. So I got to thinking about quick and easy ways I could put together a Christmas quilt that looked like a million bucks without taking a million years to make.
Then it came to me. Big blocks! I’ll make a bunch of big blocks that look really sharp but won’t take forever to assemble!
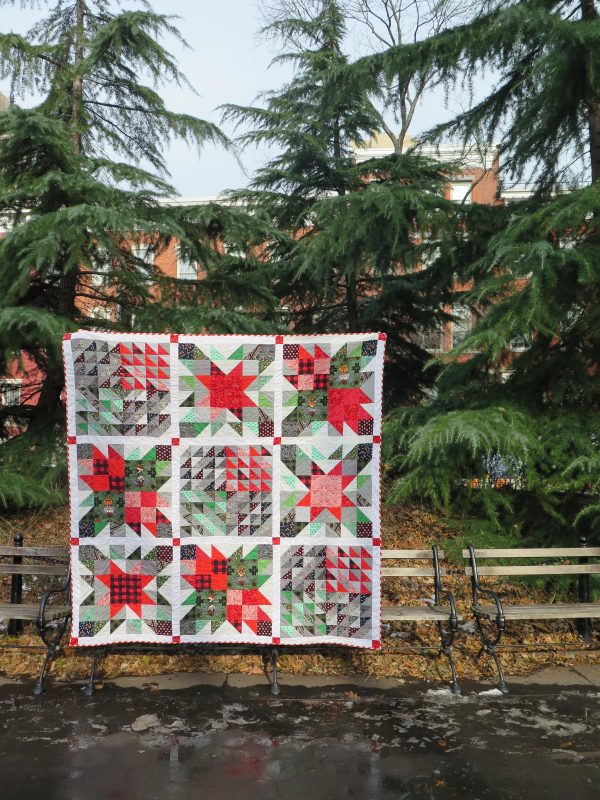
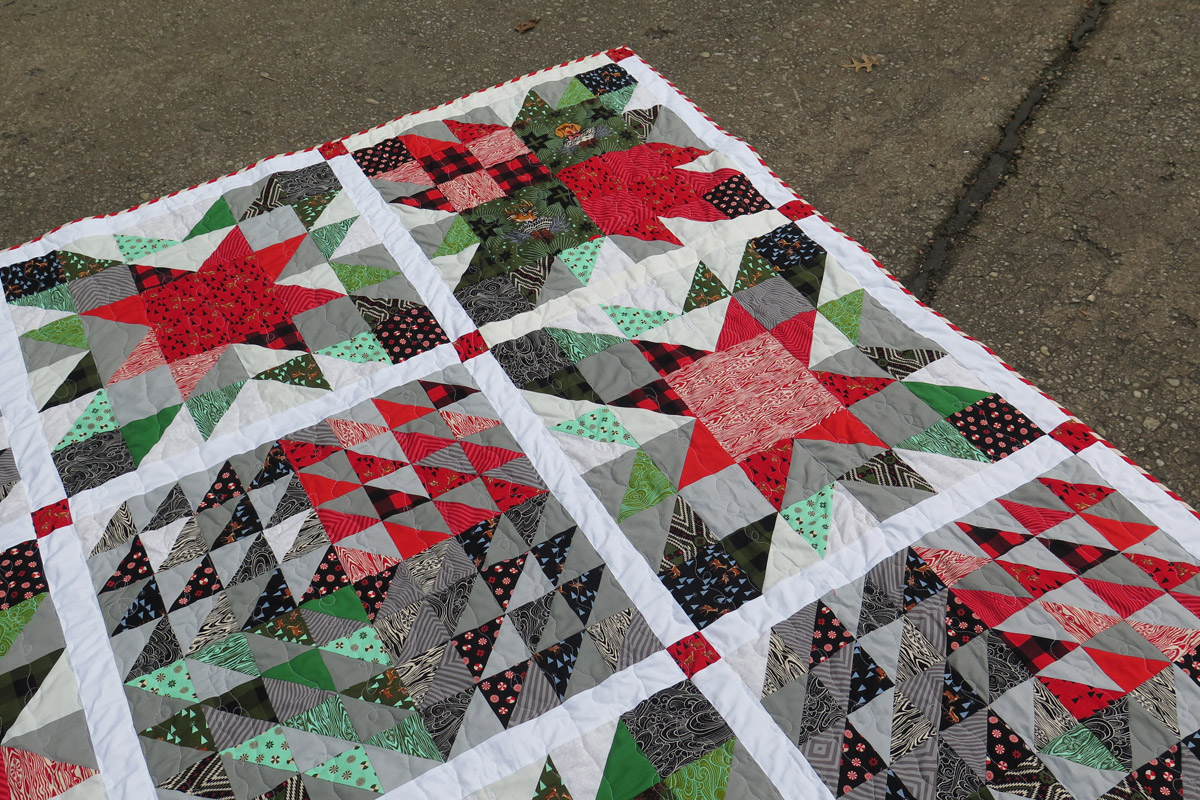
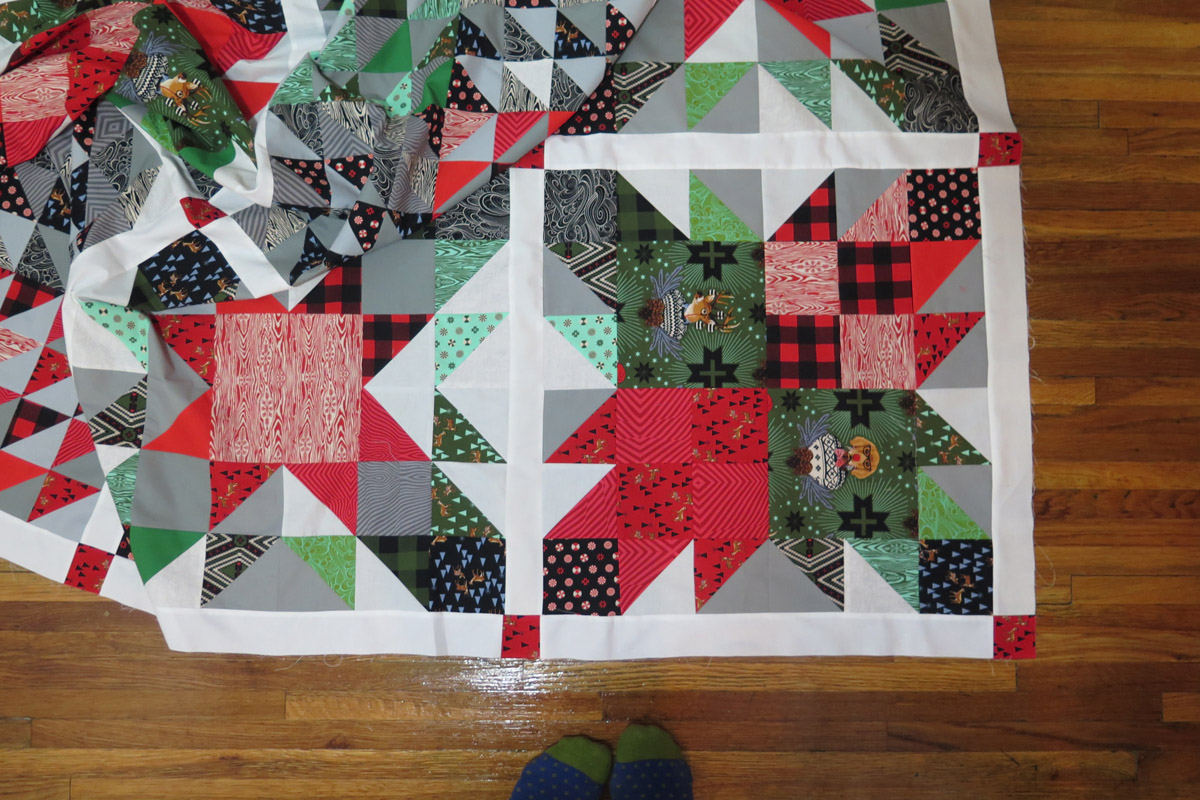
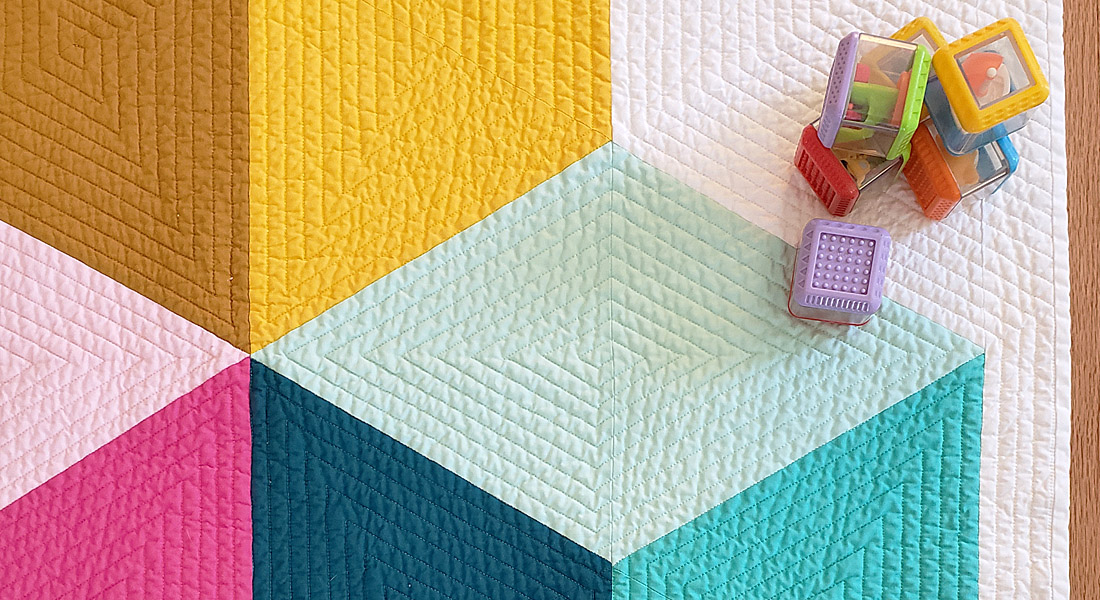
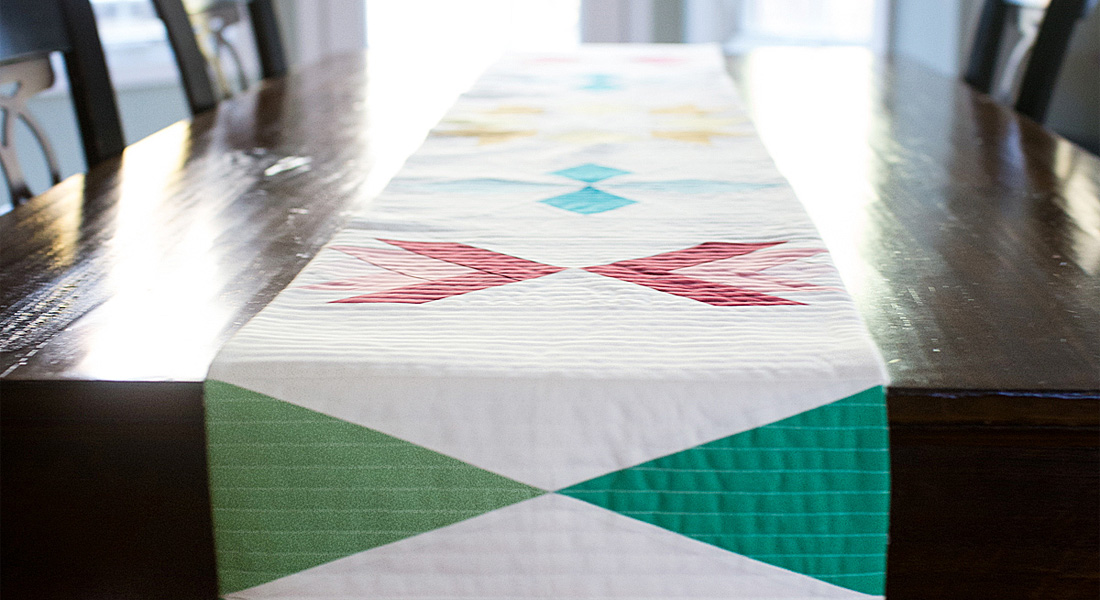
Each of the blocks in this quilt that measures about 80″ square are 24″ x 24″. Nine of them together makes a pretty impressive design! With just squares and half square triangles [HSTs], I was able to create a high impact quilt with little effort.
In this 5-part tutorial we will learn how to make this quilt that is not only good for the holidays, but many occasions. Have a wedding coming up and want to impress the happy couple? Whip up this quilt in a couple of days and give them a gift that they’ll cherish forever. I think this is the perfect project for those occasions where a quilt would make the perfect gift, but time is of the essence.
Here is our schedule:
- Block 1, Radiating HSTs – December 25
- Block 2, HST Star – December 26
- Block 3, Bear Paw – December 27
- Step 4, Assembling Your Quilt Top – December 28
- Step 5, Basting, Quilting, & Binding – December 29
Let’s begin!
Materials to Make a Quick and Easy Christmas Quilt
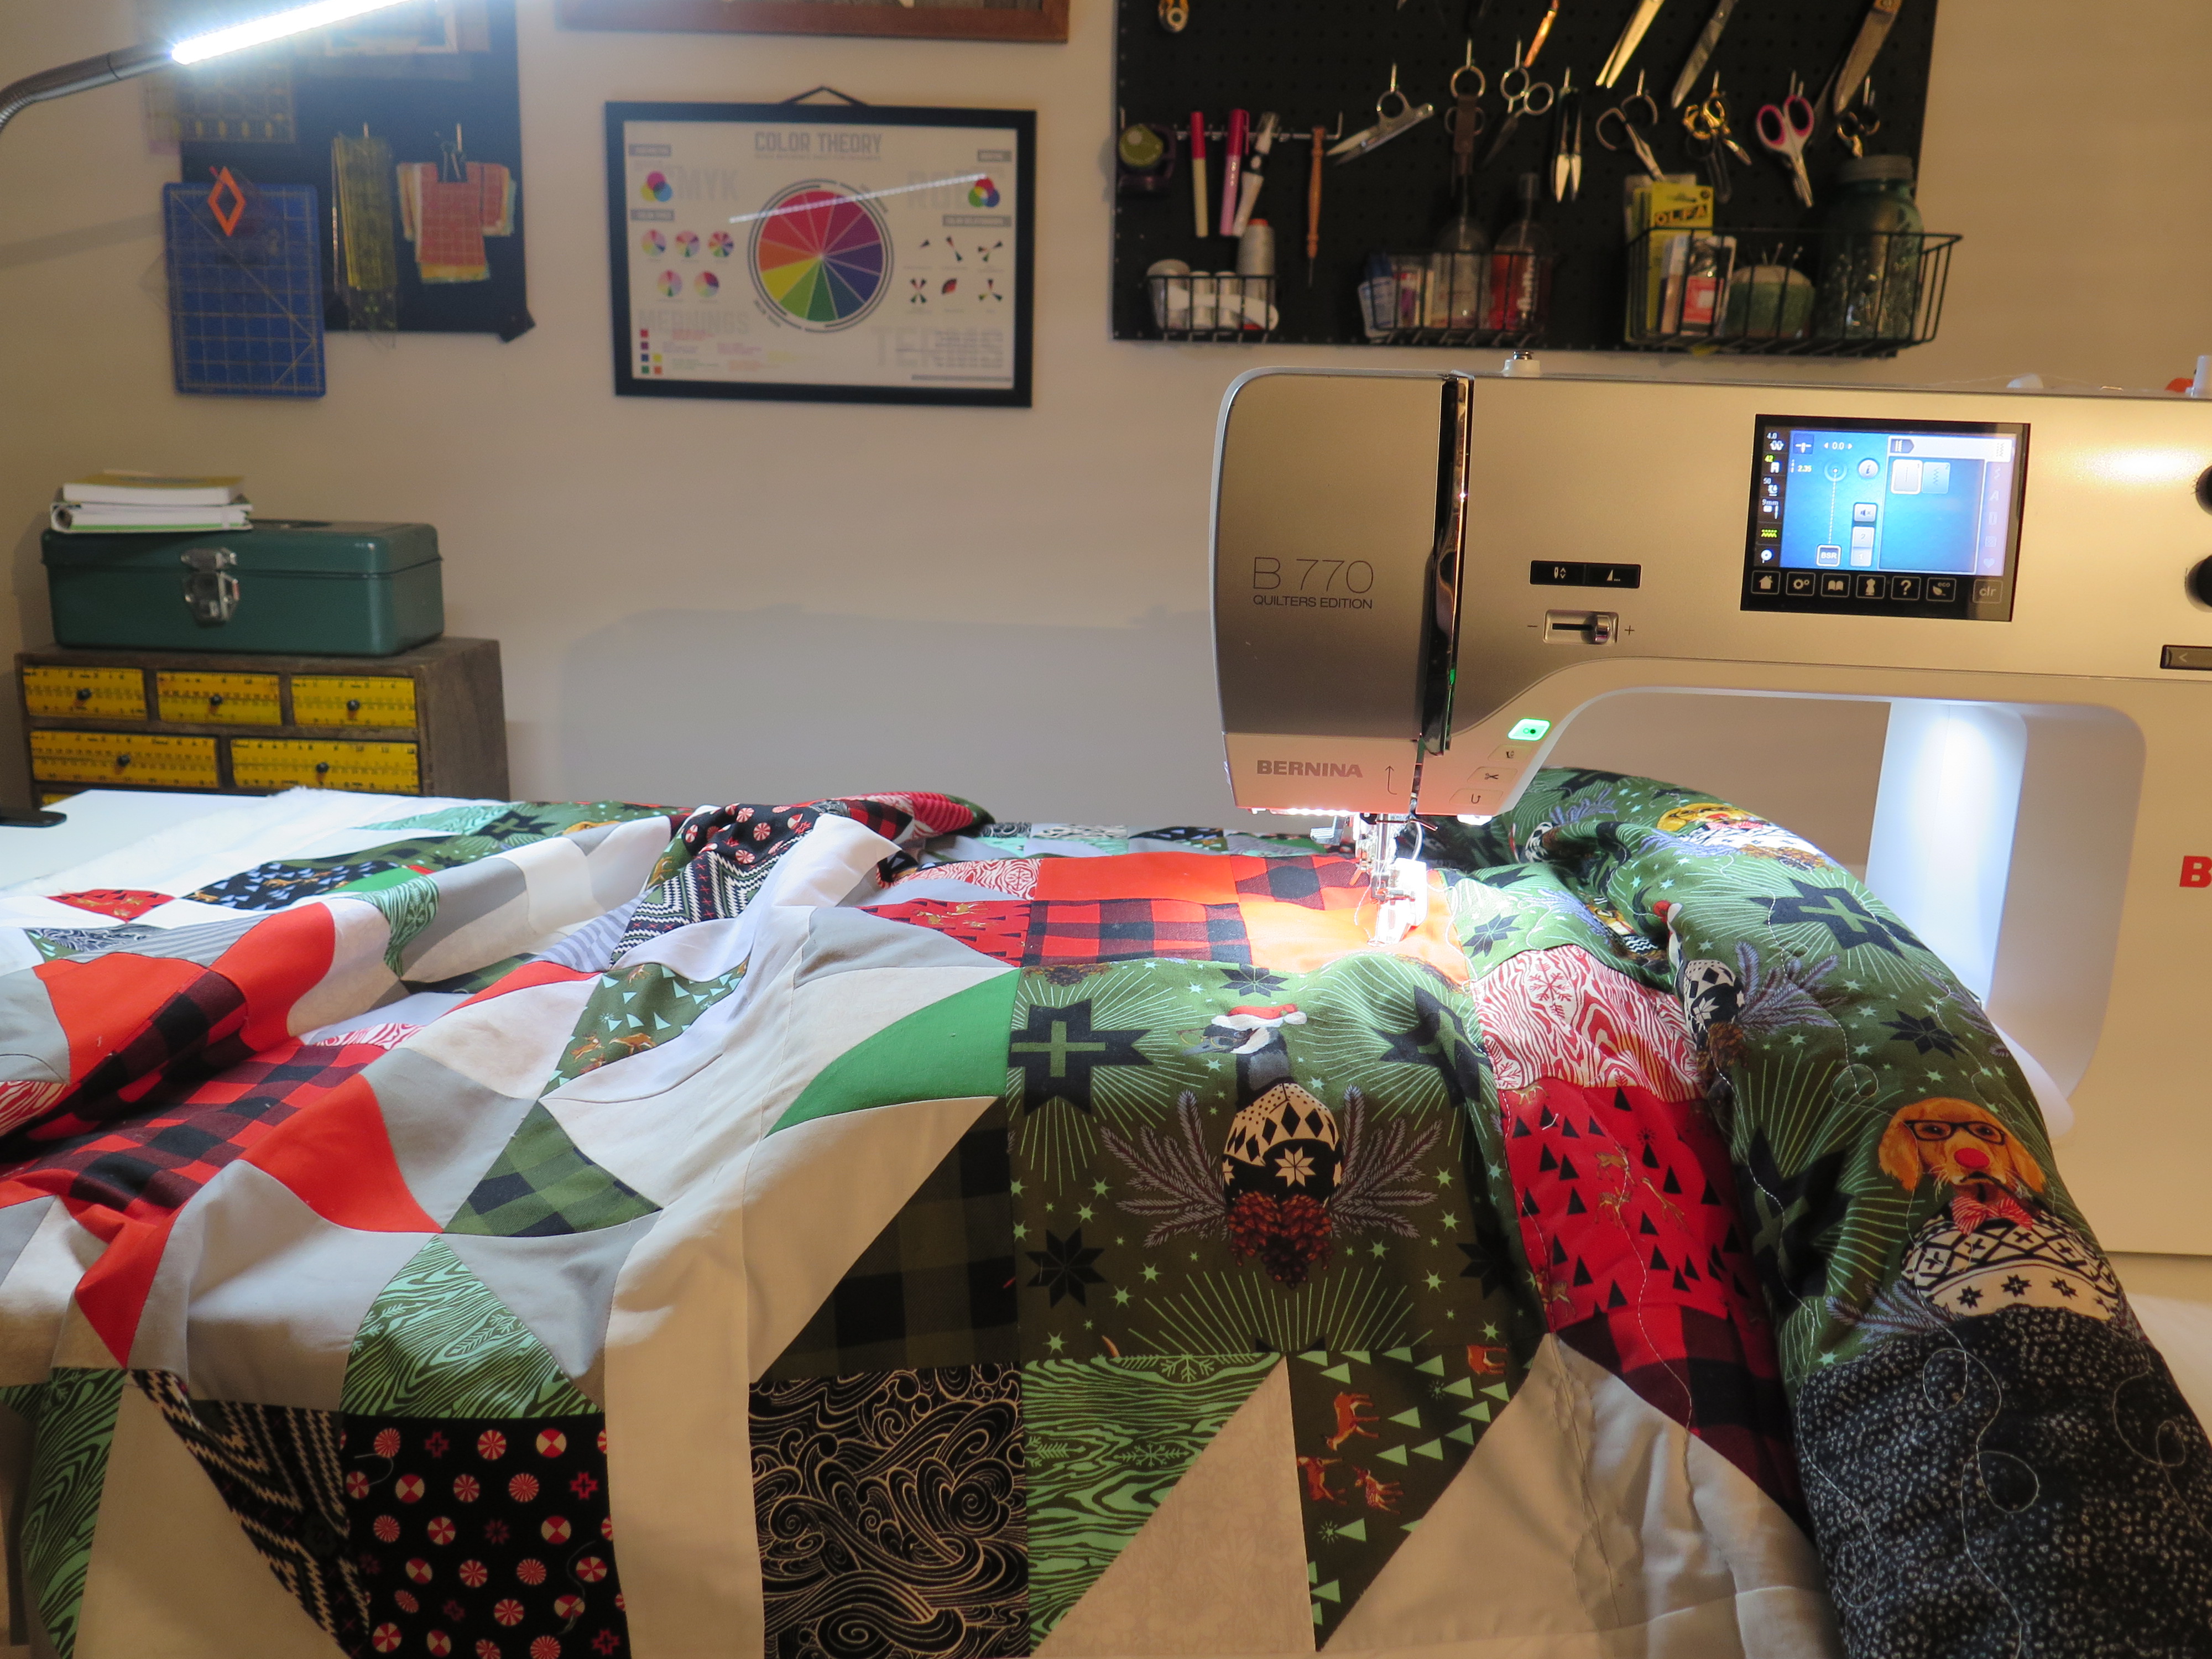
- BERNINA 770QE
- Patchwork foot #97D with seam guide
- BERNINA Stitch Regulator [BSR]
- Assortment of Christmas Fabrics
- 1 yard of fabric for sashing
- Batting
- Thread
- Adhesive Spray (Like 5O5 Spray and Fix Temporary Fabric Adhesive)
- Rotary Cutter
- Ruler
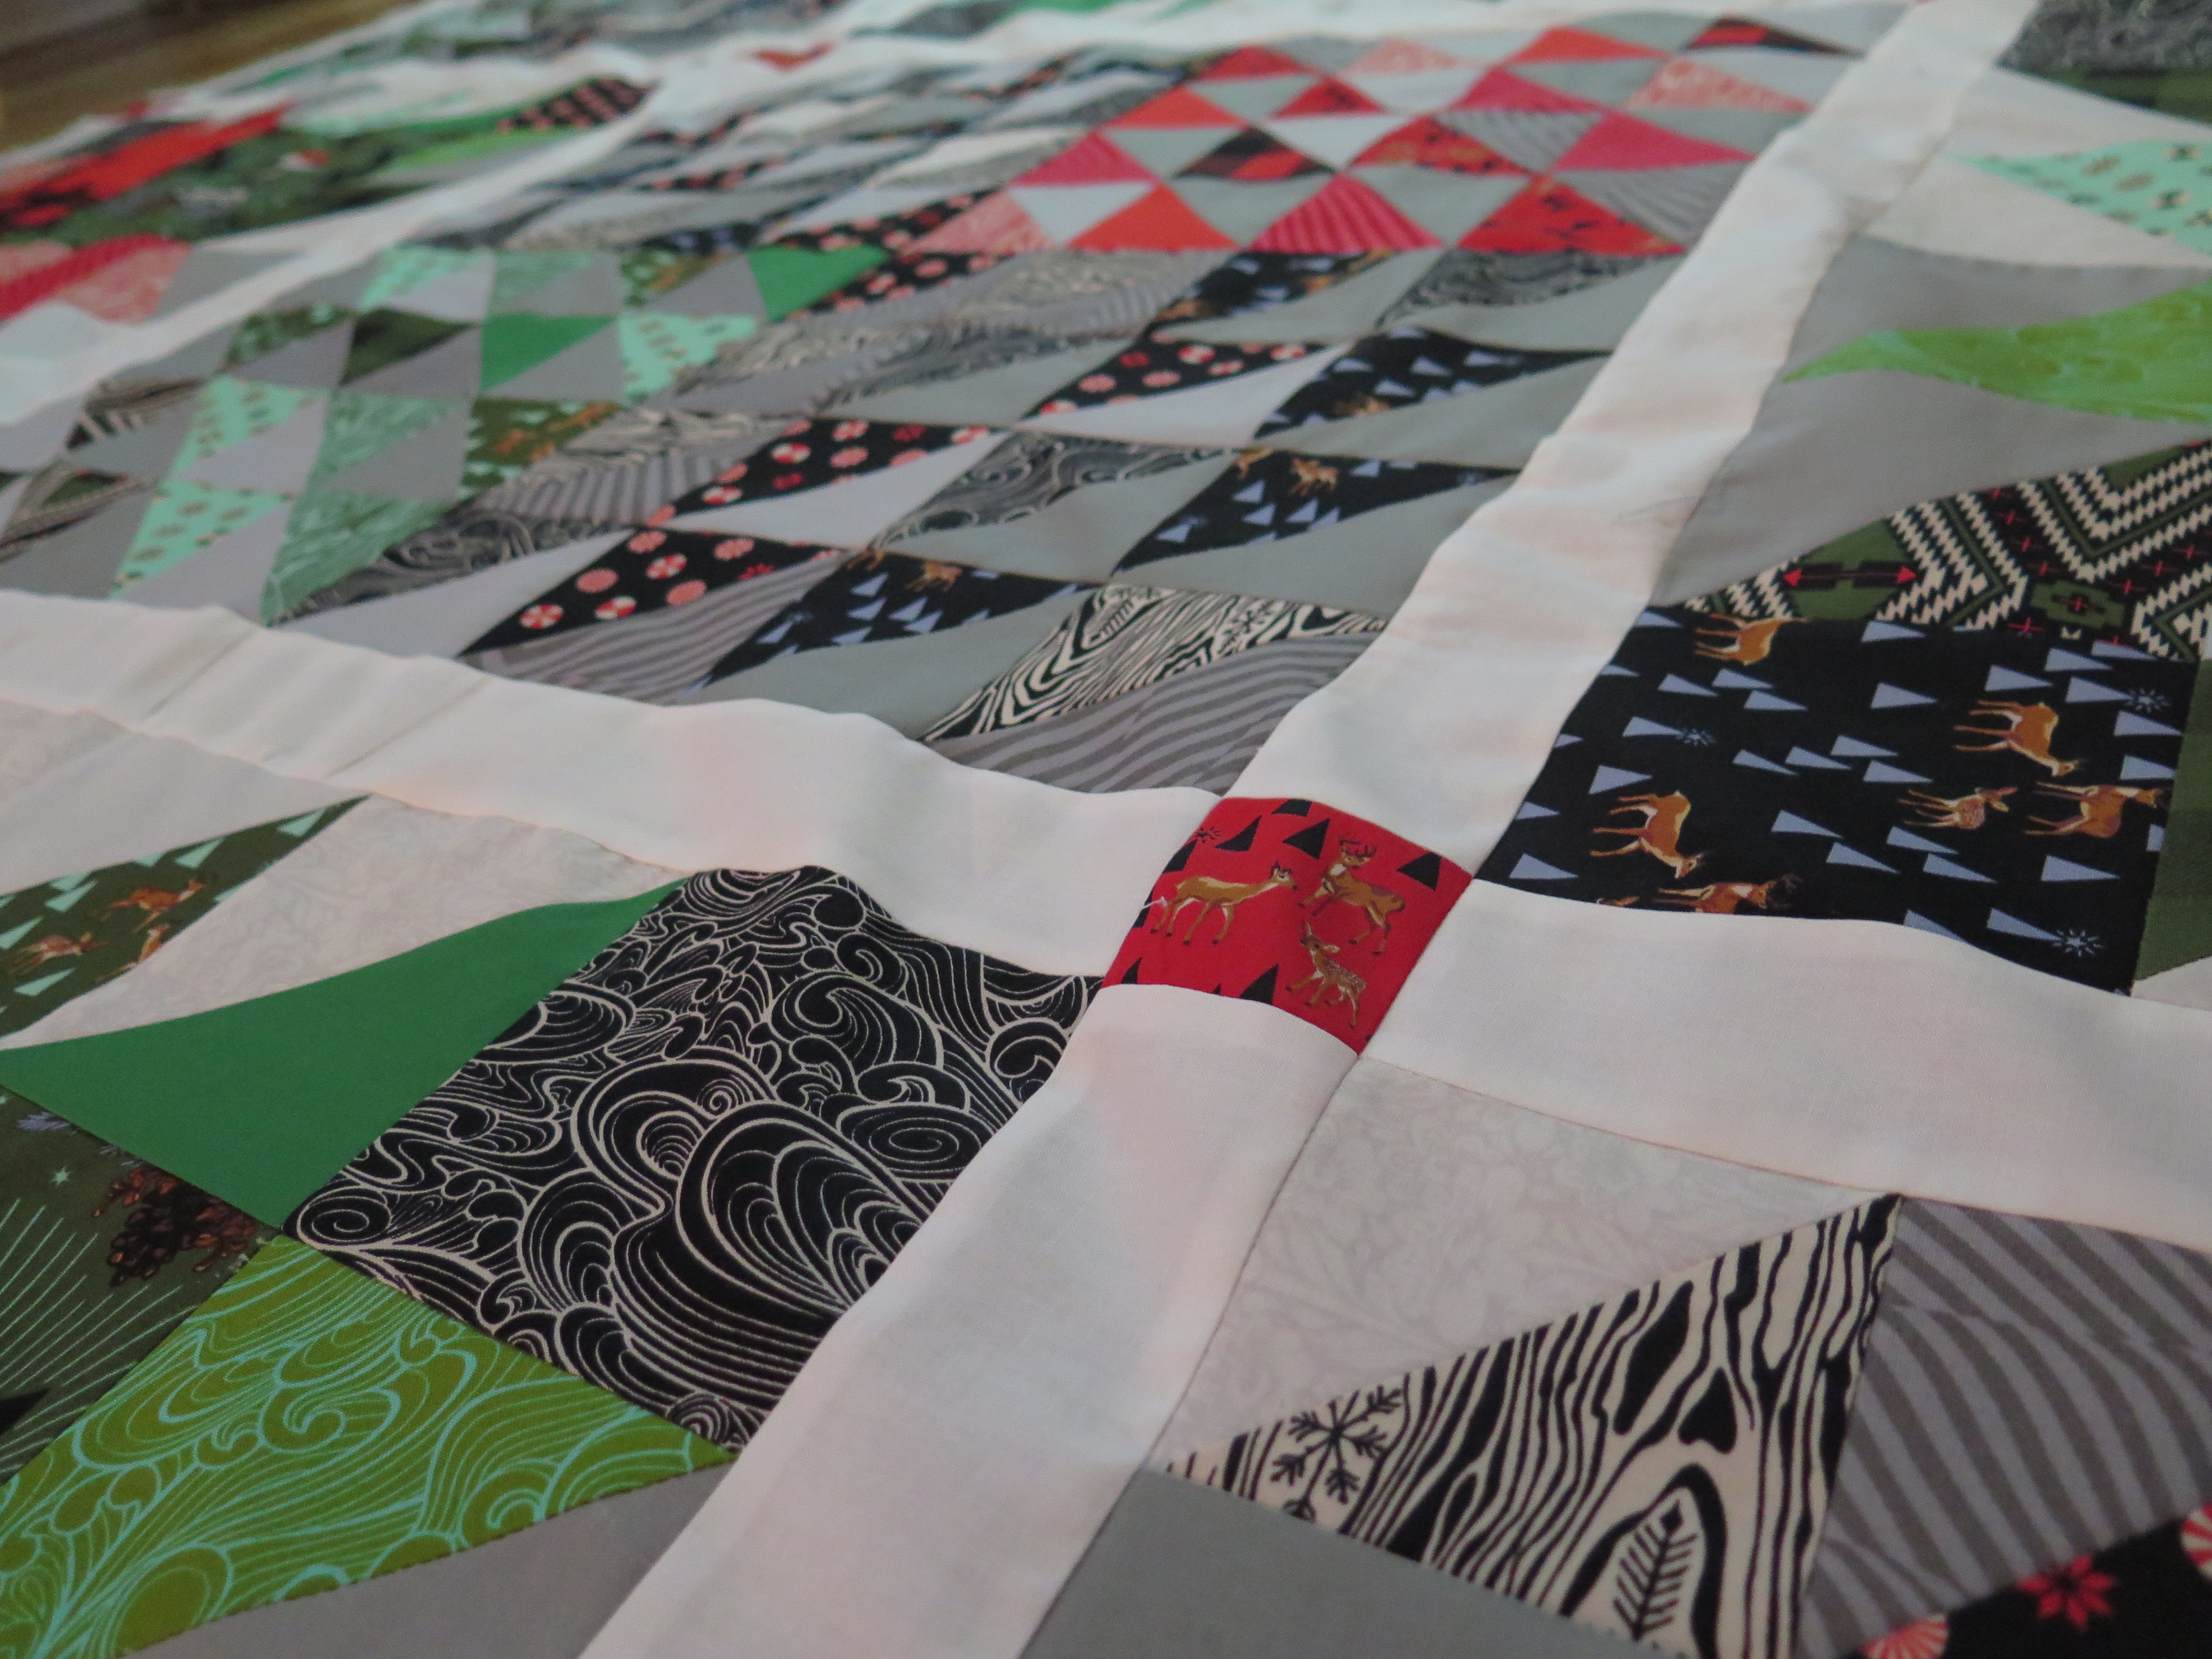
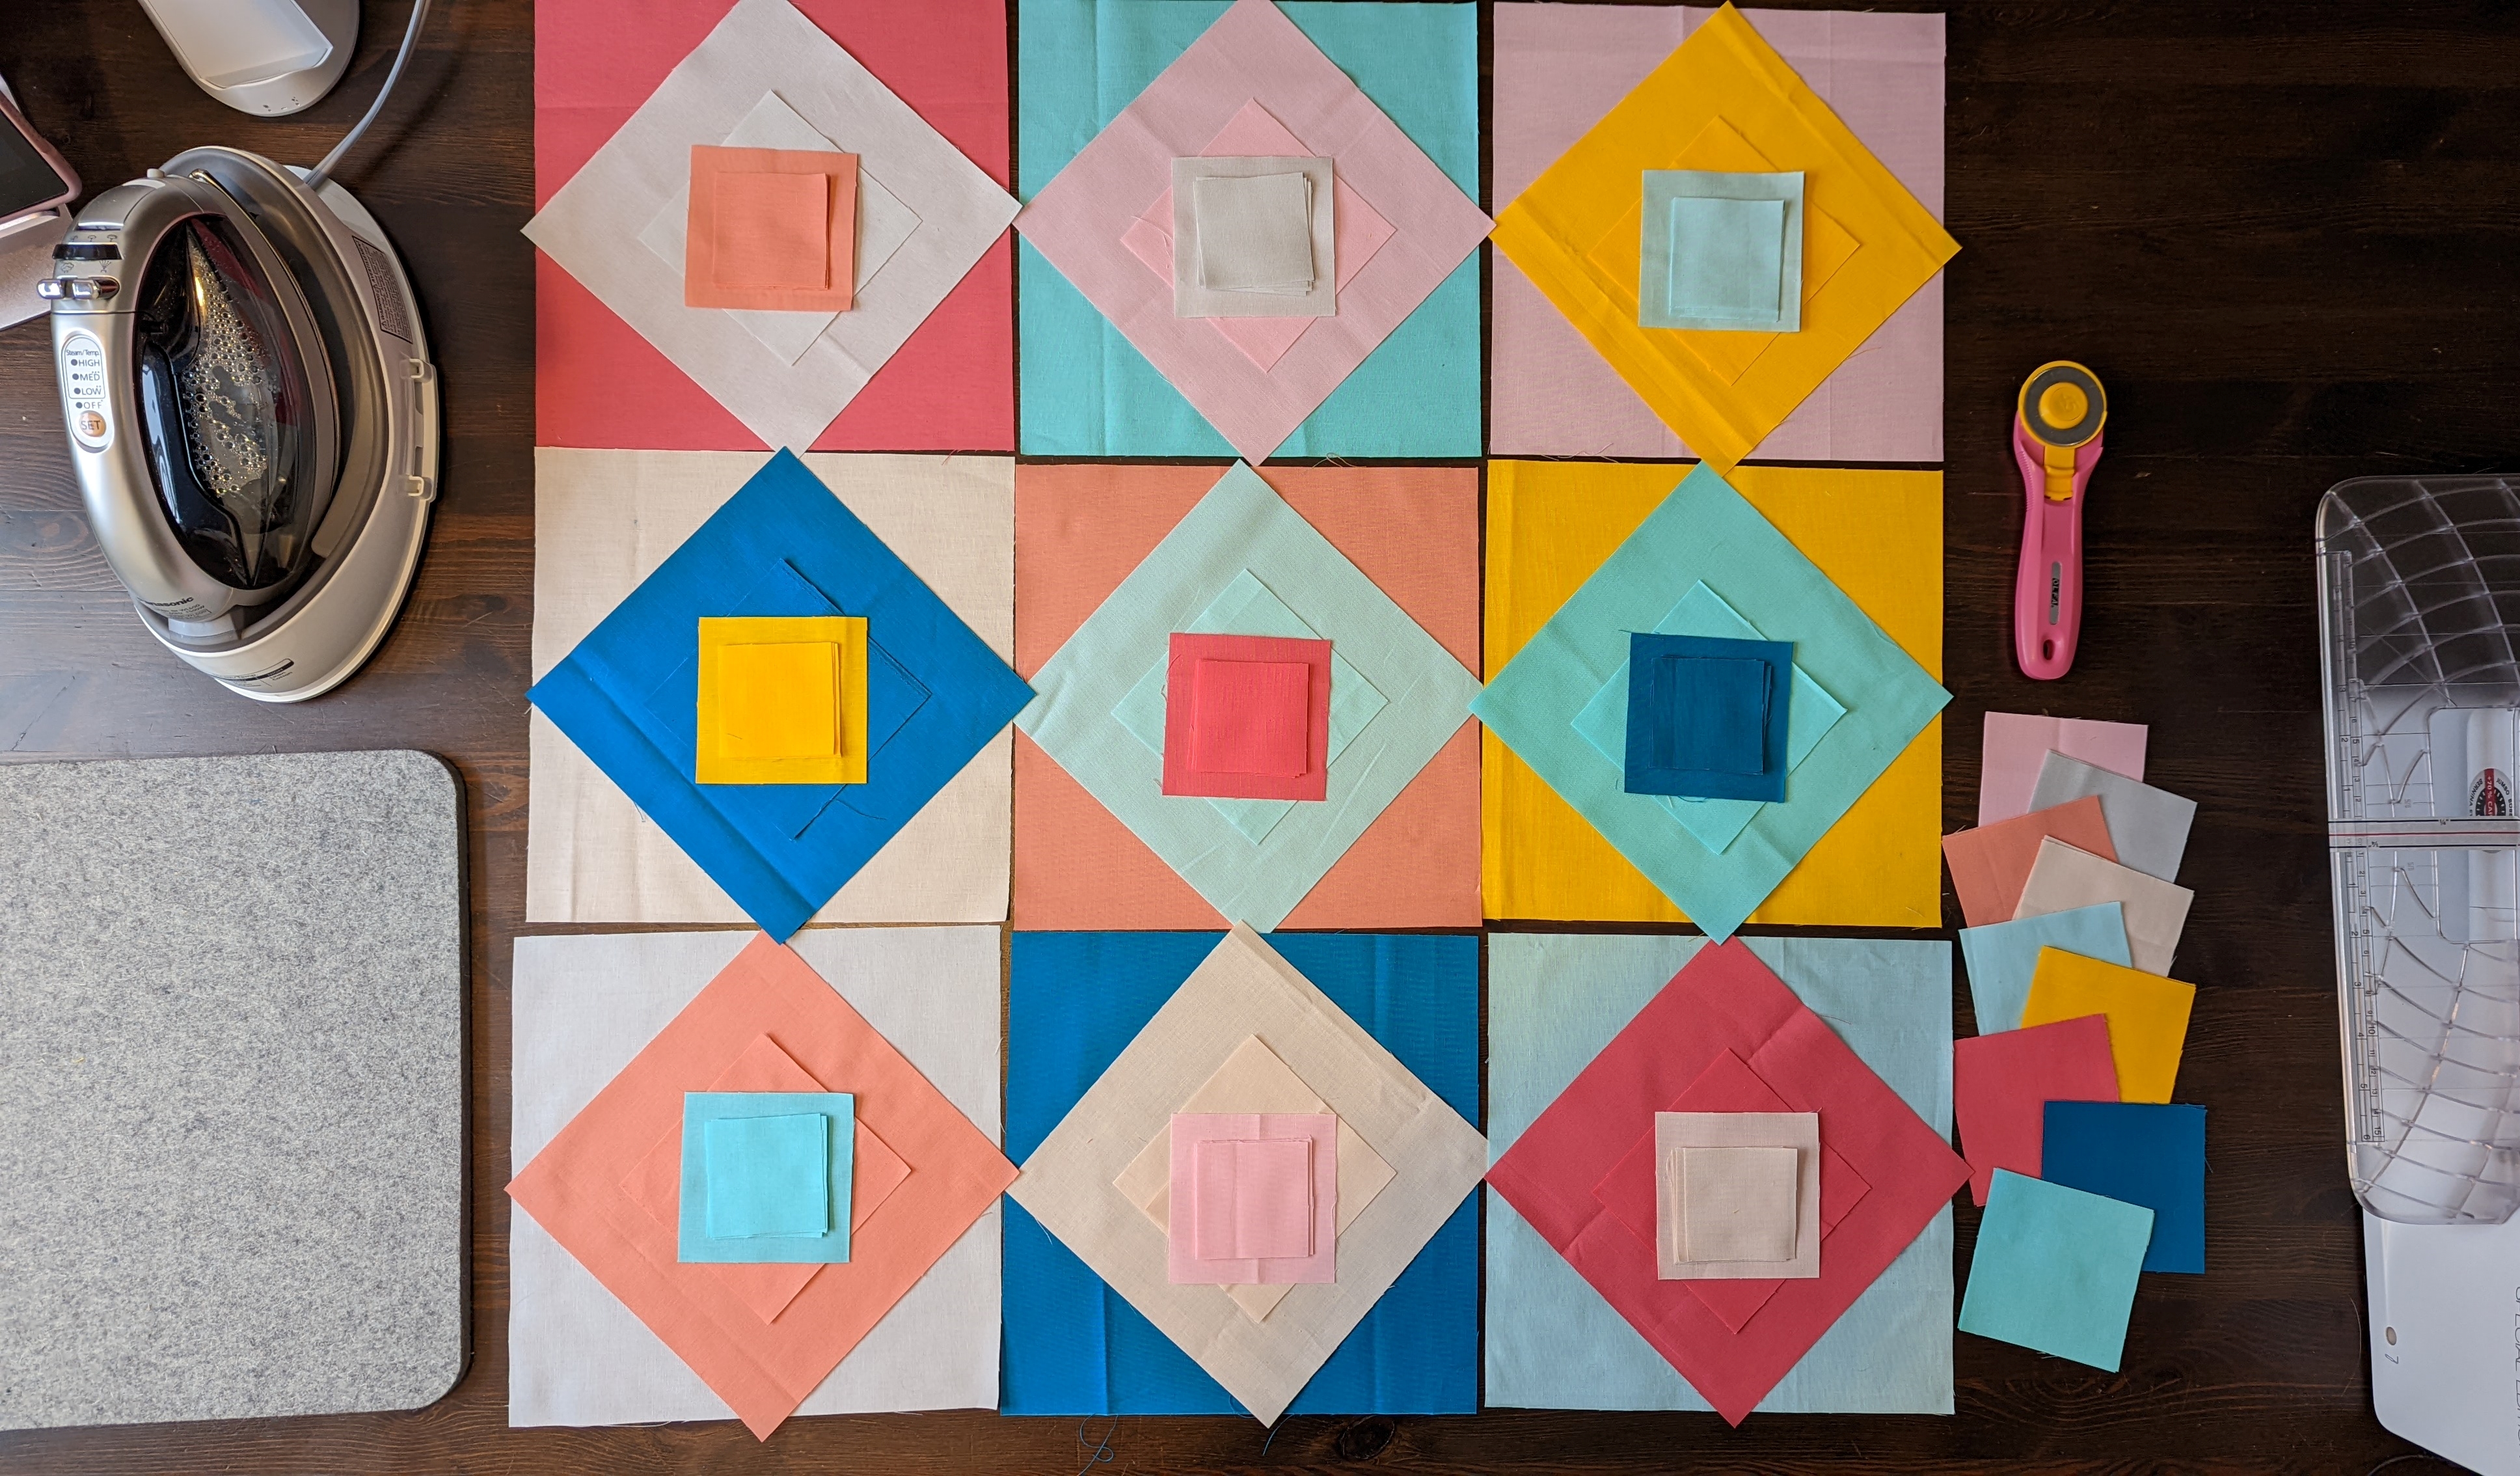
For my version of this quilt, I used Tula Pink’s Holiday Homies Collection for Free Spirit Fabrics and added in some solids and basics from her True Colors collection and Free Spirit solids. In all I used an assortment of about 25 fat quarters. For the main print with the animals in sweaters I used 3/4 of a yard to fussy cut the animals for the big squares. If you weren’t fussy cutting you could get your squares from your FQs.

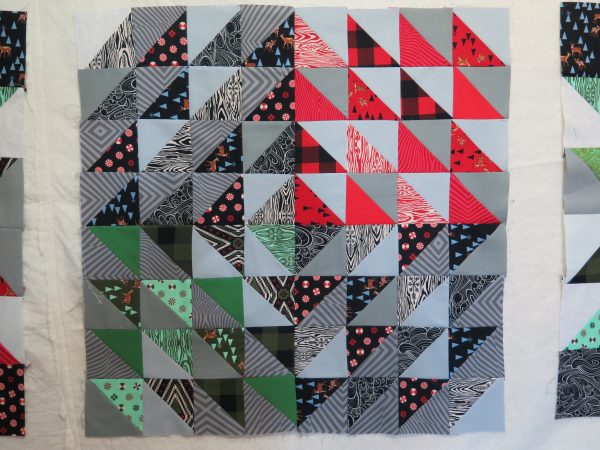
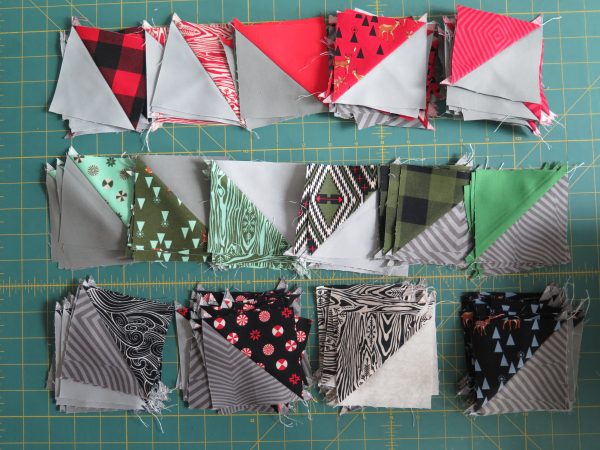
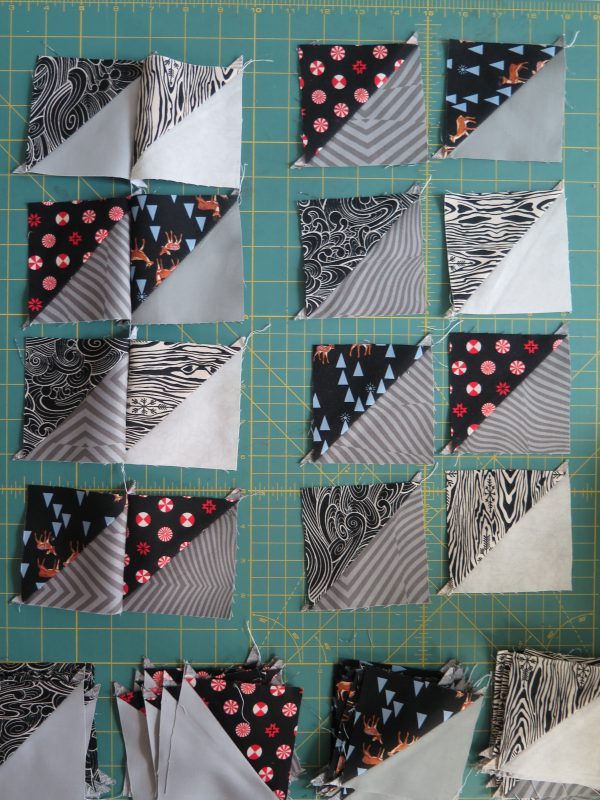
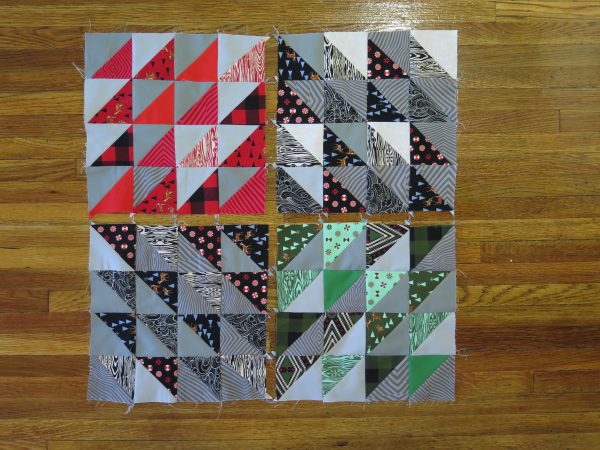
We will be making 3 different blocks, 3 of each. First up is Radiating HSTs. For each of these 24″ blocks, we need 64 HSTs. That means we need a total of 192. Don’t freak out! We are going to make 8 at a time and if you’re accurate in your cutting and your piecing, you won’t even need to trim them down.
The block is broken up into four quadrants, 16 HSTs per quadrant. I chose to do two black quadrants, and one red and green. That means we need twice as many black HSTs as red and green ones.
To make 8 at a time HSTs, figure out what size FINISHED HSTs you need. For this block, they are 3″ finished. Add 7/8″ to your 3″ measurement. That’s 3 and 7/8″. Multiply your total by two. That equals 7 and 3/4″. So we need to cut 7 and 3/4″ squares to get 8 3 and 1/2″ HSTs (with seam allowance).
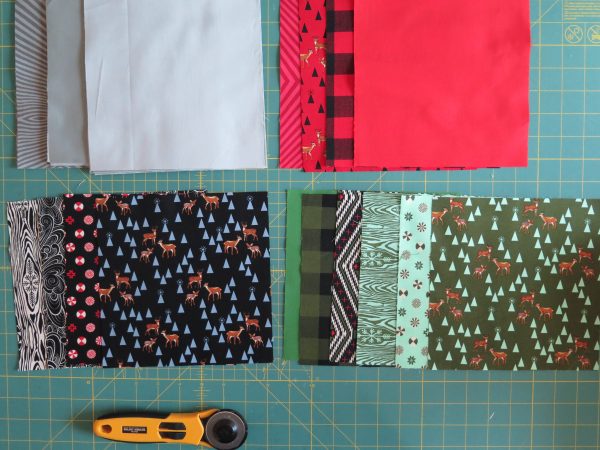
Cut 7 and 3/4″ squares as follows:
- Black – 12
- Red – 6
- Green – 6
- Background – 24
Let’s make some HSTs! Take a foreground and background fabric and place them right sides together.
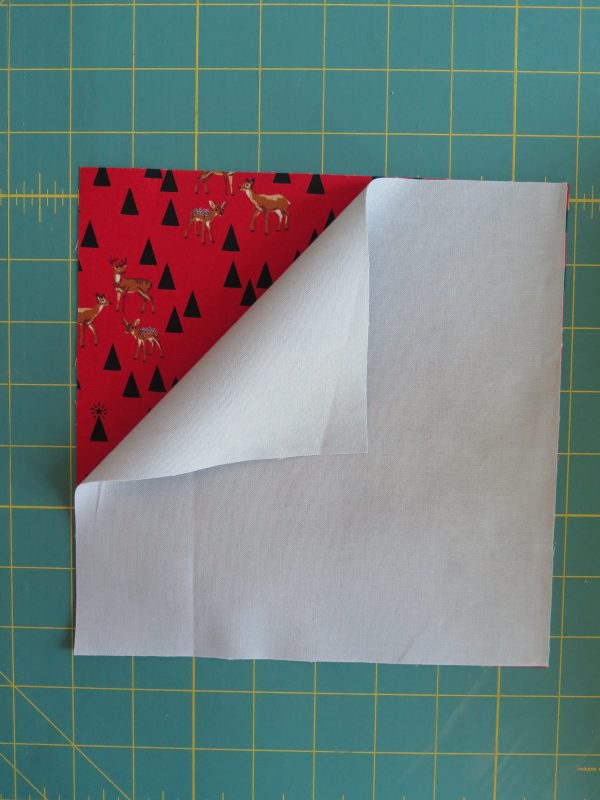
With your background on top, draw an X corner to corner.
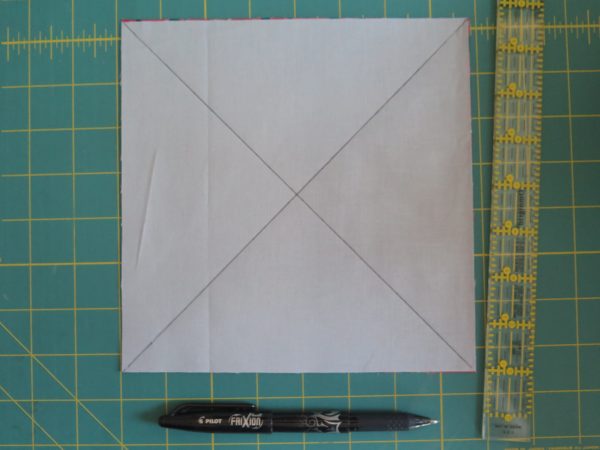
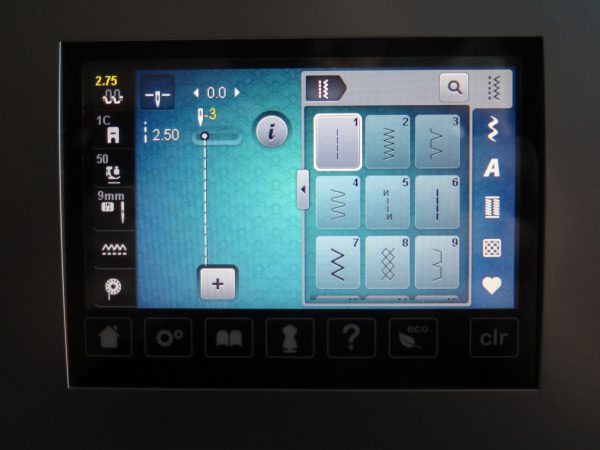
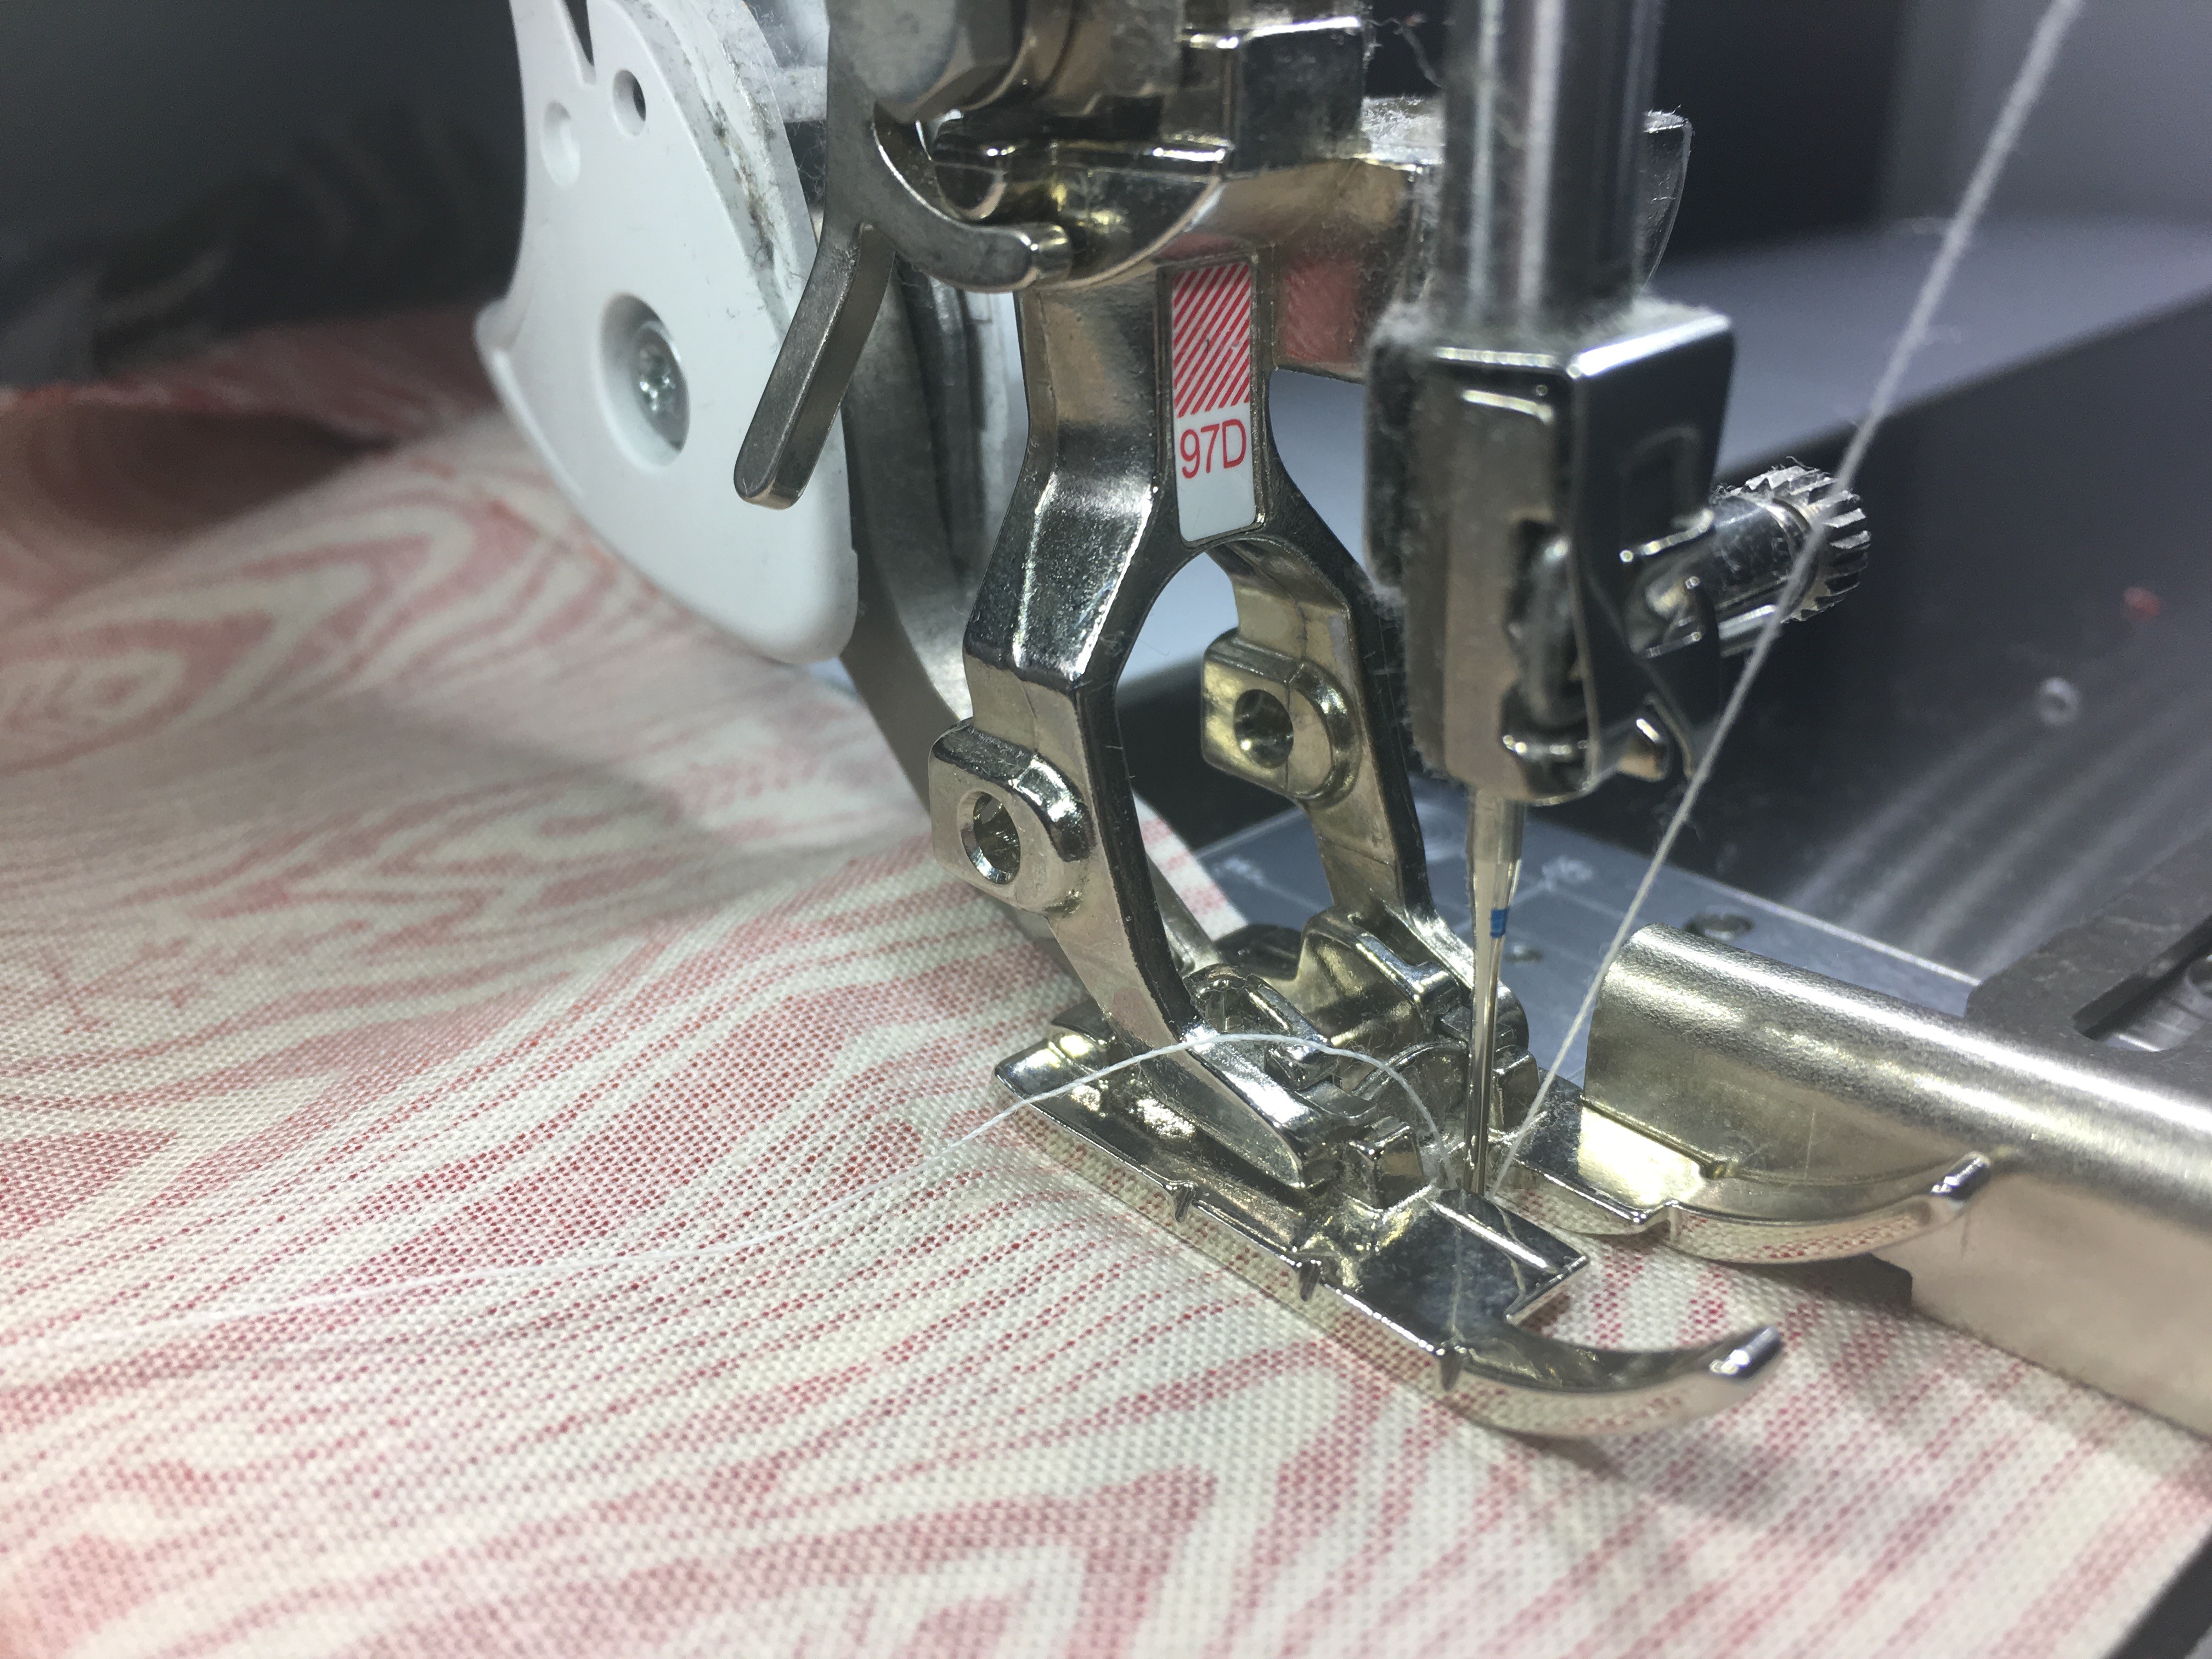
With any standard presser foot on your machine, move your need to the -3 position so you can sew a 1/4″ on either side of the line you have drawn.
Sew a 1/4″ seam on both sides of your drawn line.

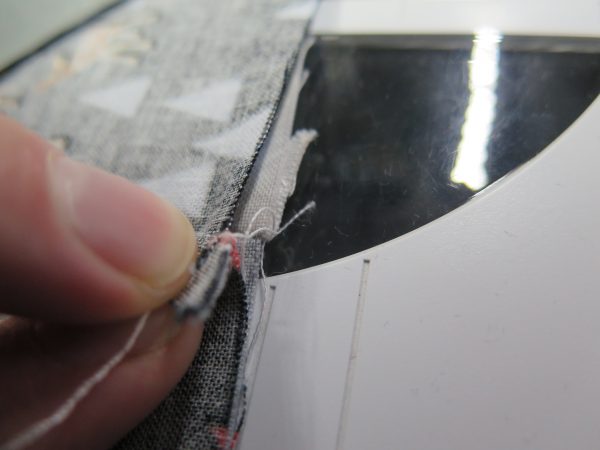
Cut the block as shown below.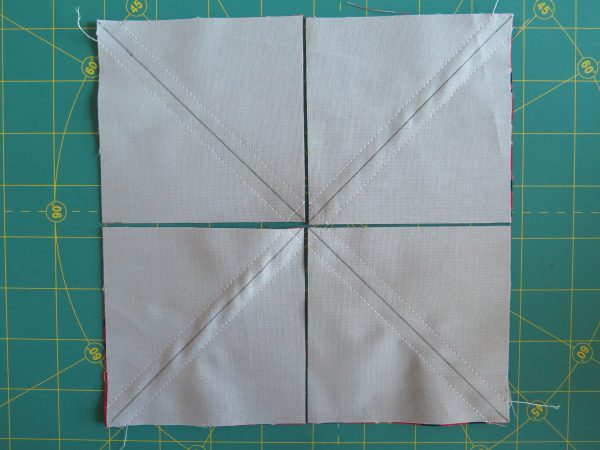
Cut again as shown below.
To the ironing board. Press your HSTs to the DARK side.
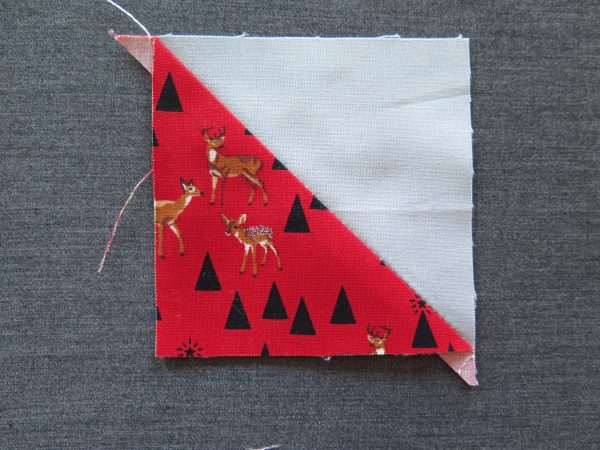
Boom! 8 perfect 3 and 1/2″ HSTs!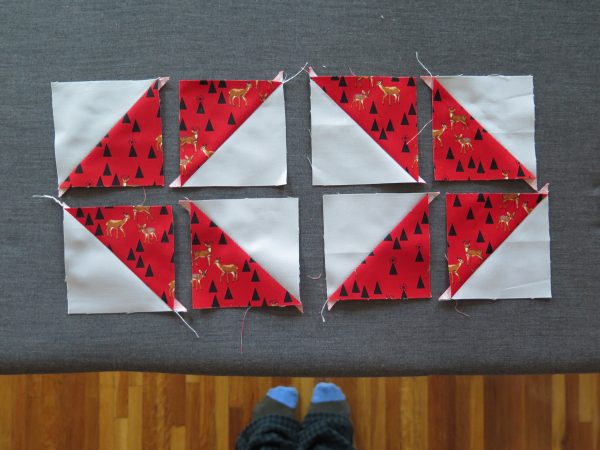
Make the rest of your HSTs.
Now to assemble your blocks. The nice thing about this block is that as long as your HSTs are all facing the same direction, you can put the quadrant in any corner of the block and you will still get the right look.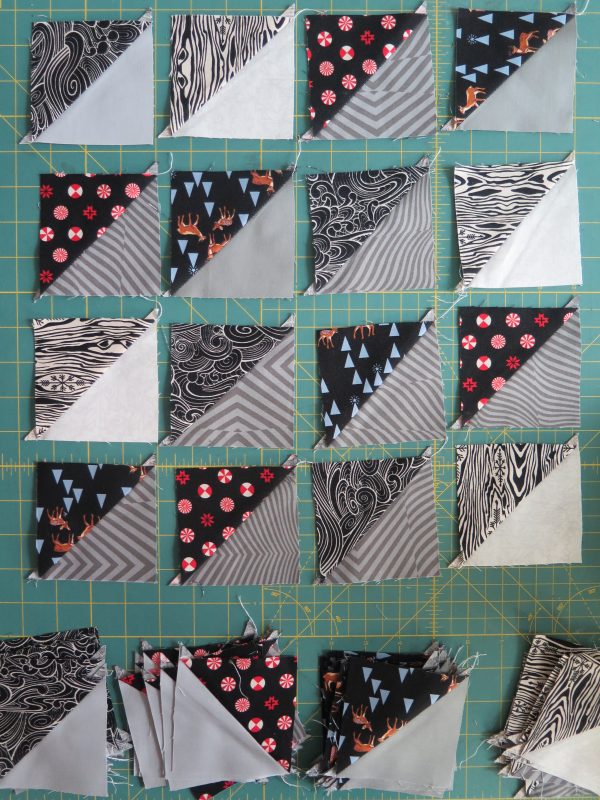
Put on your Patchwork foot #97D with seam guide, needle position back to 0. Perfect seam allowance every time.
From the left, chain piece your first column to the second. Make sure all HSTs are facing the same direction.
Add the rest of the columns all together. 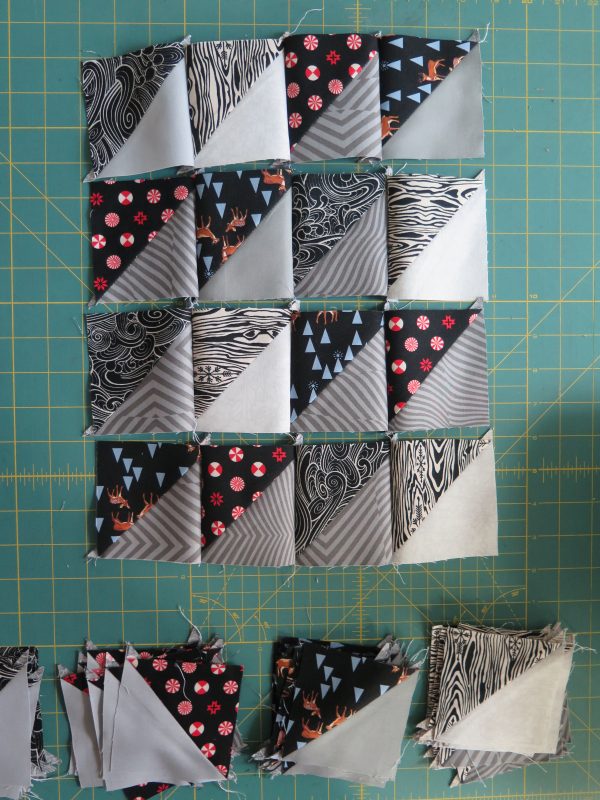
To the ironing board. Lay your blocks face down.
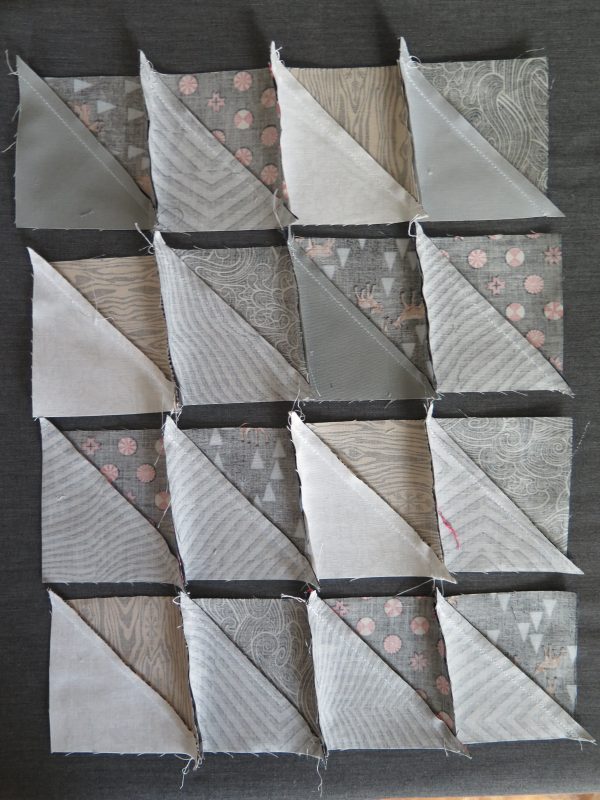
We want to nest our seams as we sew our blocks together so we don’t have to use any pins. Assembly will go super quick that way. Press row 1 to the left, row 2 to the right, row 3 to the left, and row 4 to the right.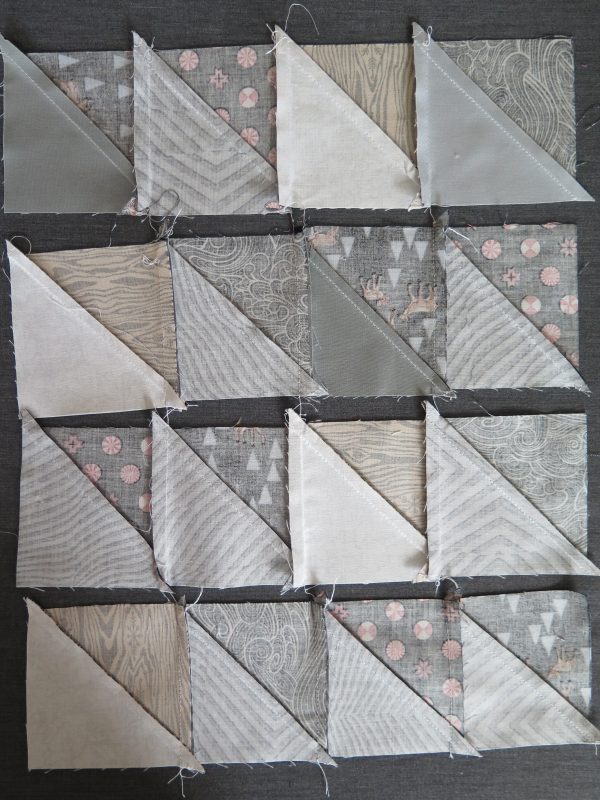
Back to the machine. As you see here, the seams can now nestle into one another.
Sew your 4 rows together and press in one direction.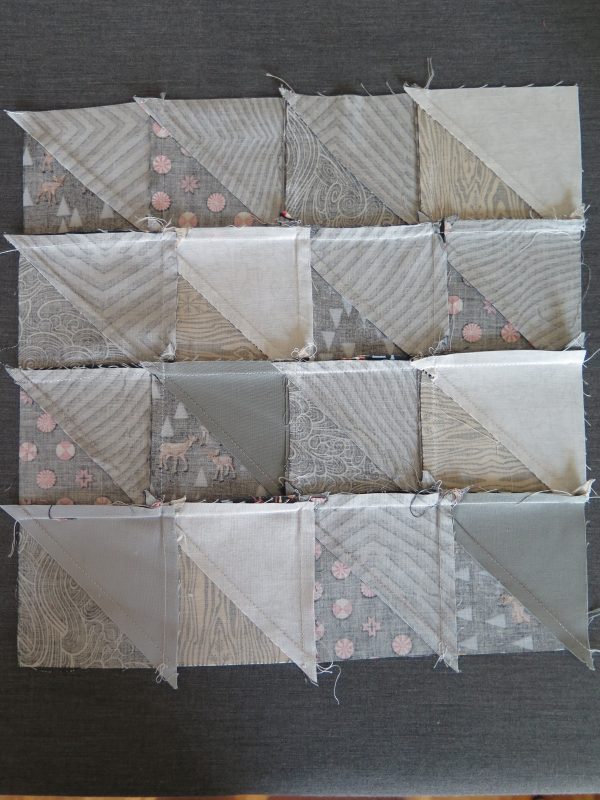
Done!
To effiecntly piece your blocks, lay them all on top of one another all facing the same direction. Here is how I did it. I laid out a black quadrant, then a green, then a red, then black, green, red, and black again. 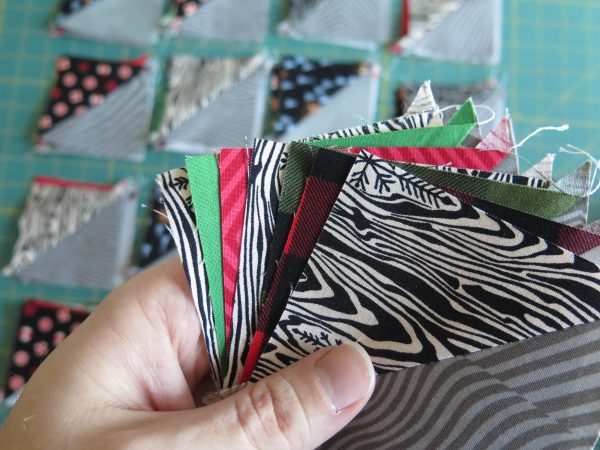
Each quadrant is stacked on top of one another so we can chain piece them together. You’ll sew all of column 1 to column 2, then go back to the top and add column 3, then 4.
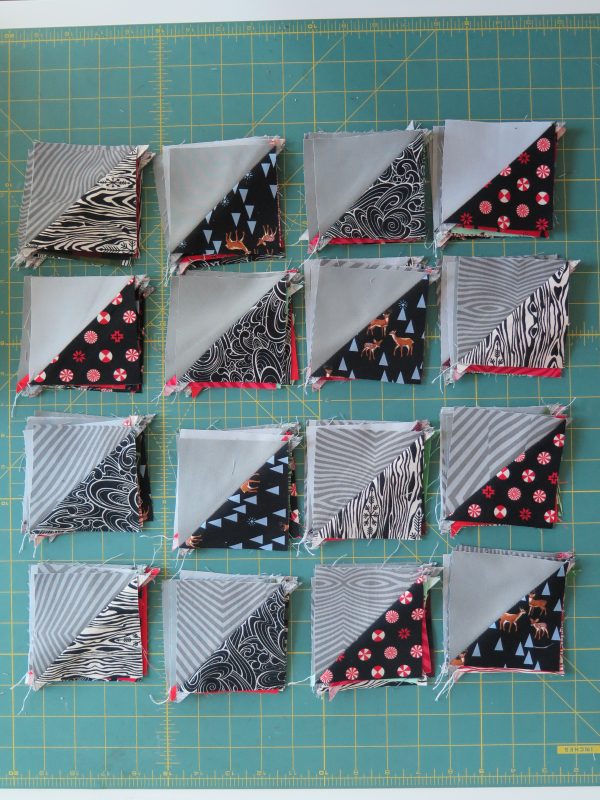
You’ll end up with a long row like this. All of your blocks are strung together. Now each of your blocks are ready to be sewn together.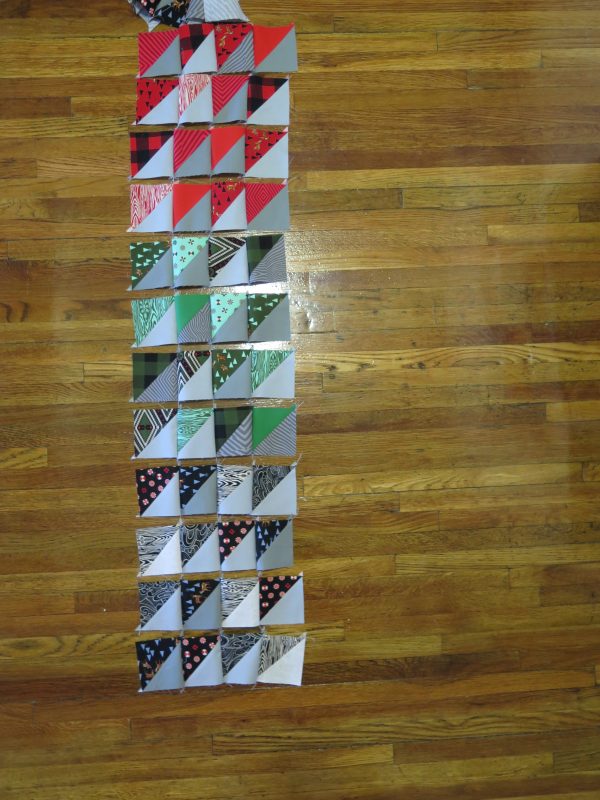
Separate your quadrants and stitch them together like before.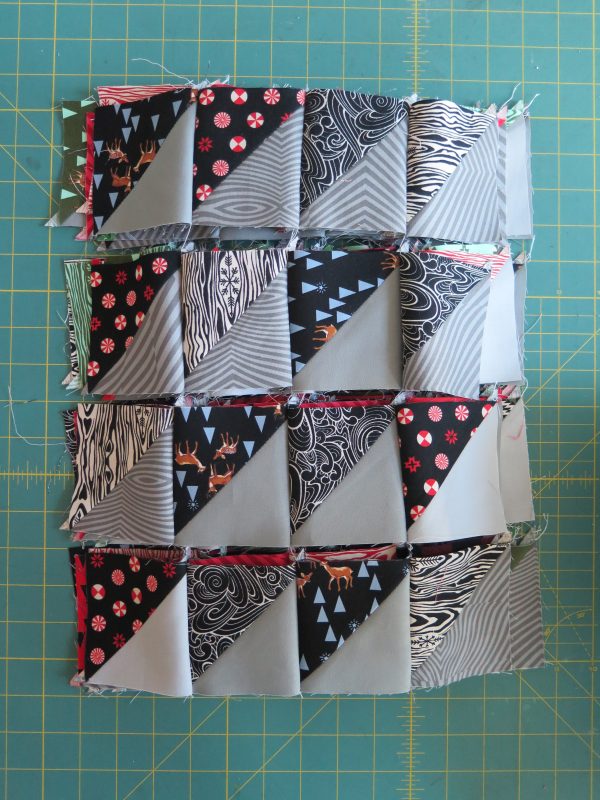
Nest your seams, pressing your rows in opposite direction so they come together as demonstrated earlier.
Piece your right side and left side.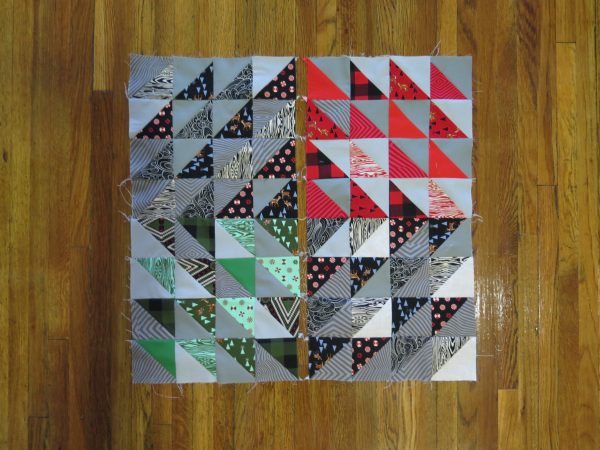
The piece the two together to complete your block.
Make all three blocks. You are already a third of way way done with your blocks!
Used Products


What you might also like


3 comments on “Quick and Easy Christmas Quilt: Block 1”
-
-
I love this!
-
The triangles are classic and Fun! What a great idea for those small scrappy prints in my collection…
Leave a Reply
You must be logged in to post a comment.

absolutely beautiful