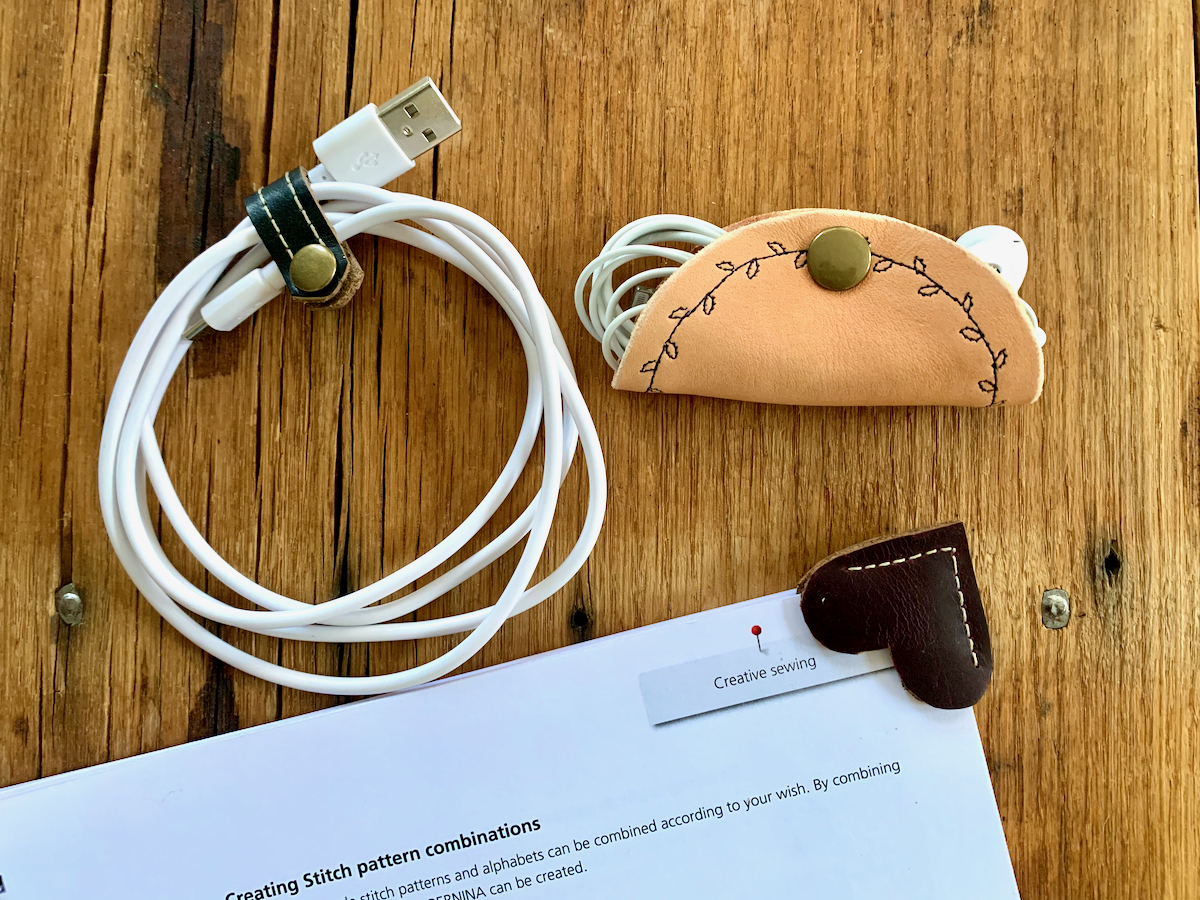
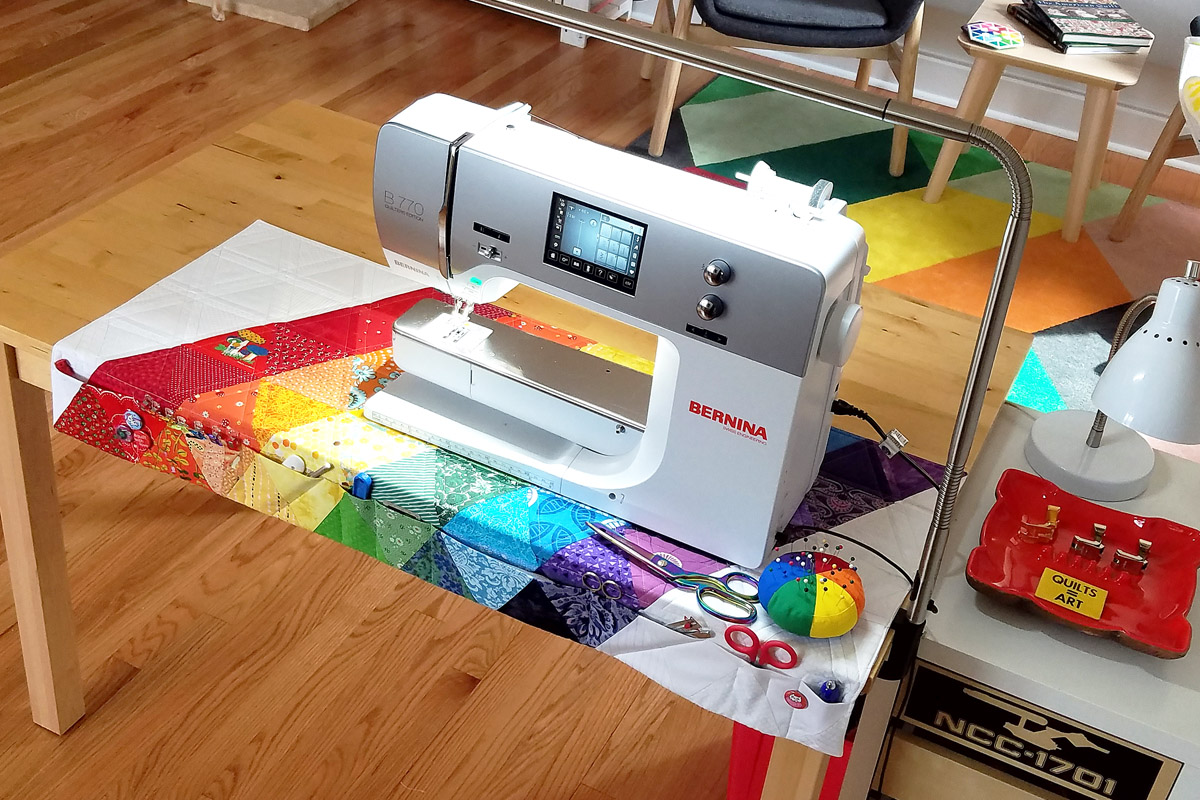
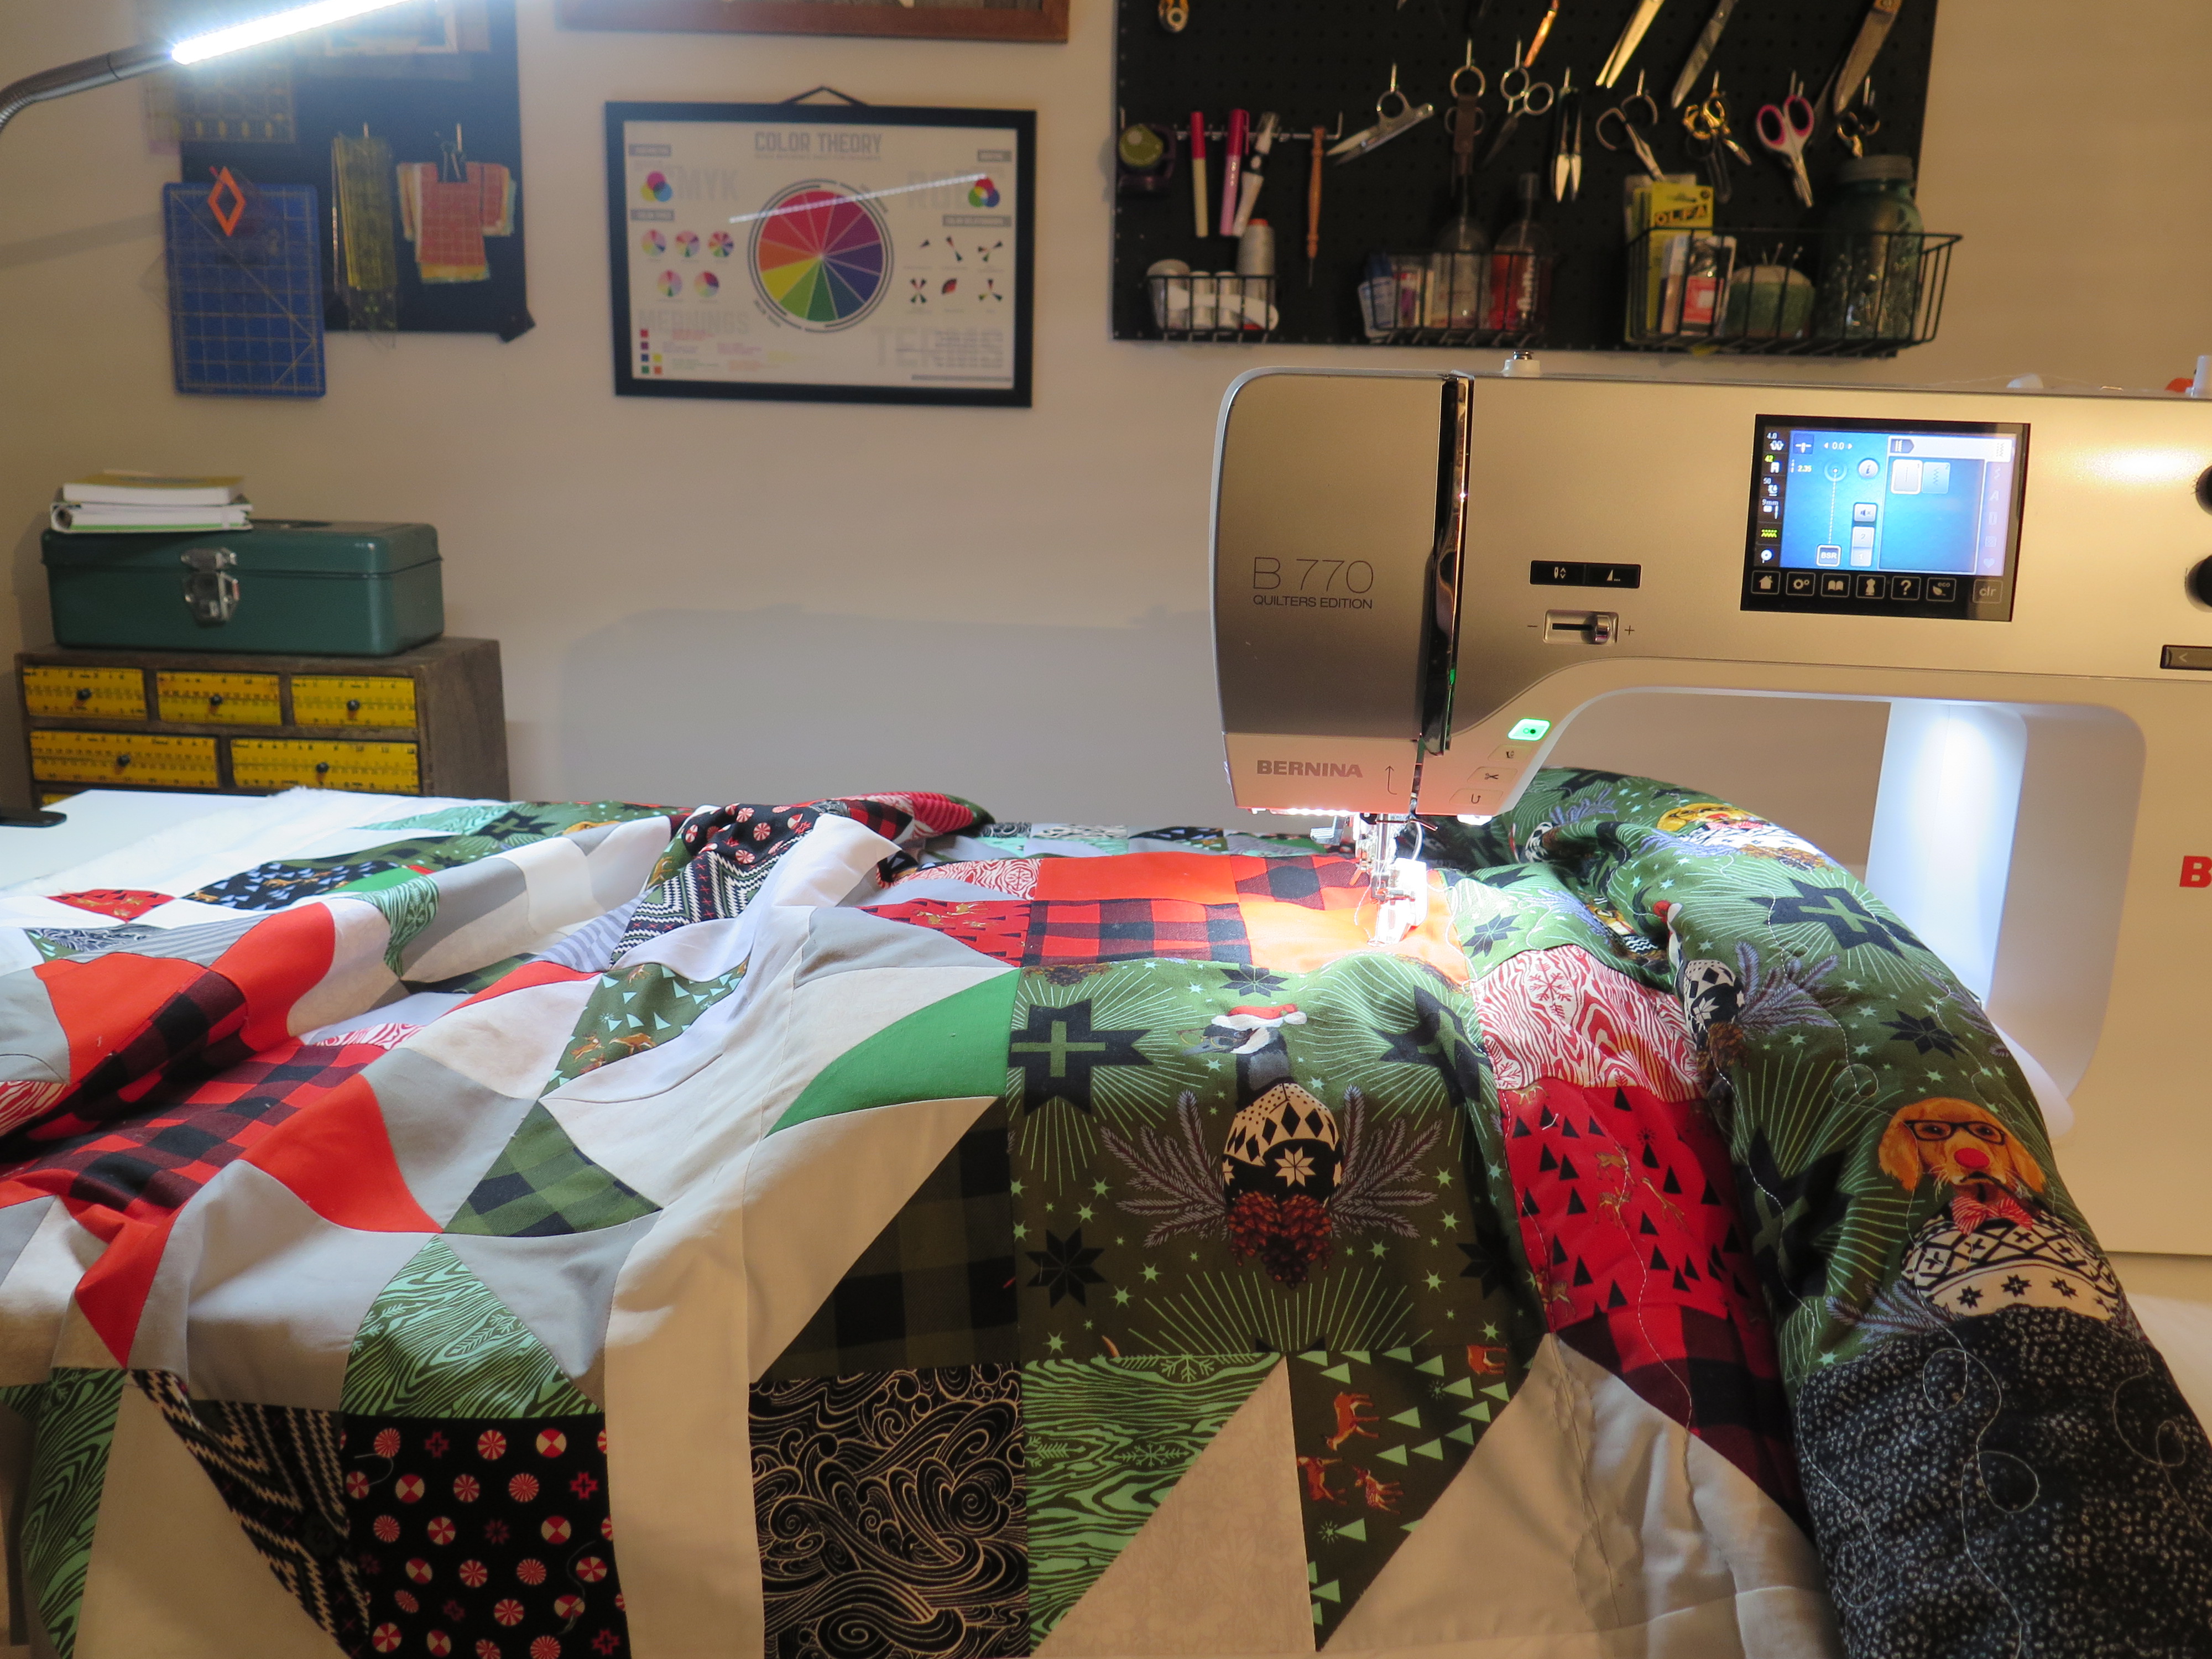
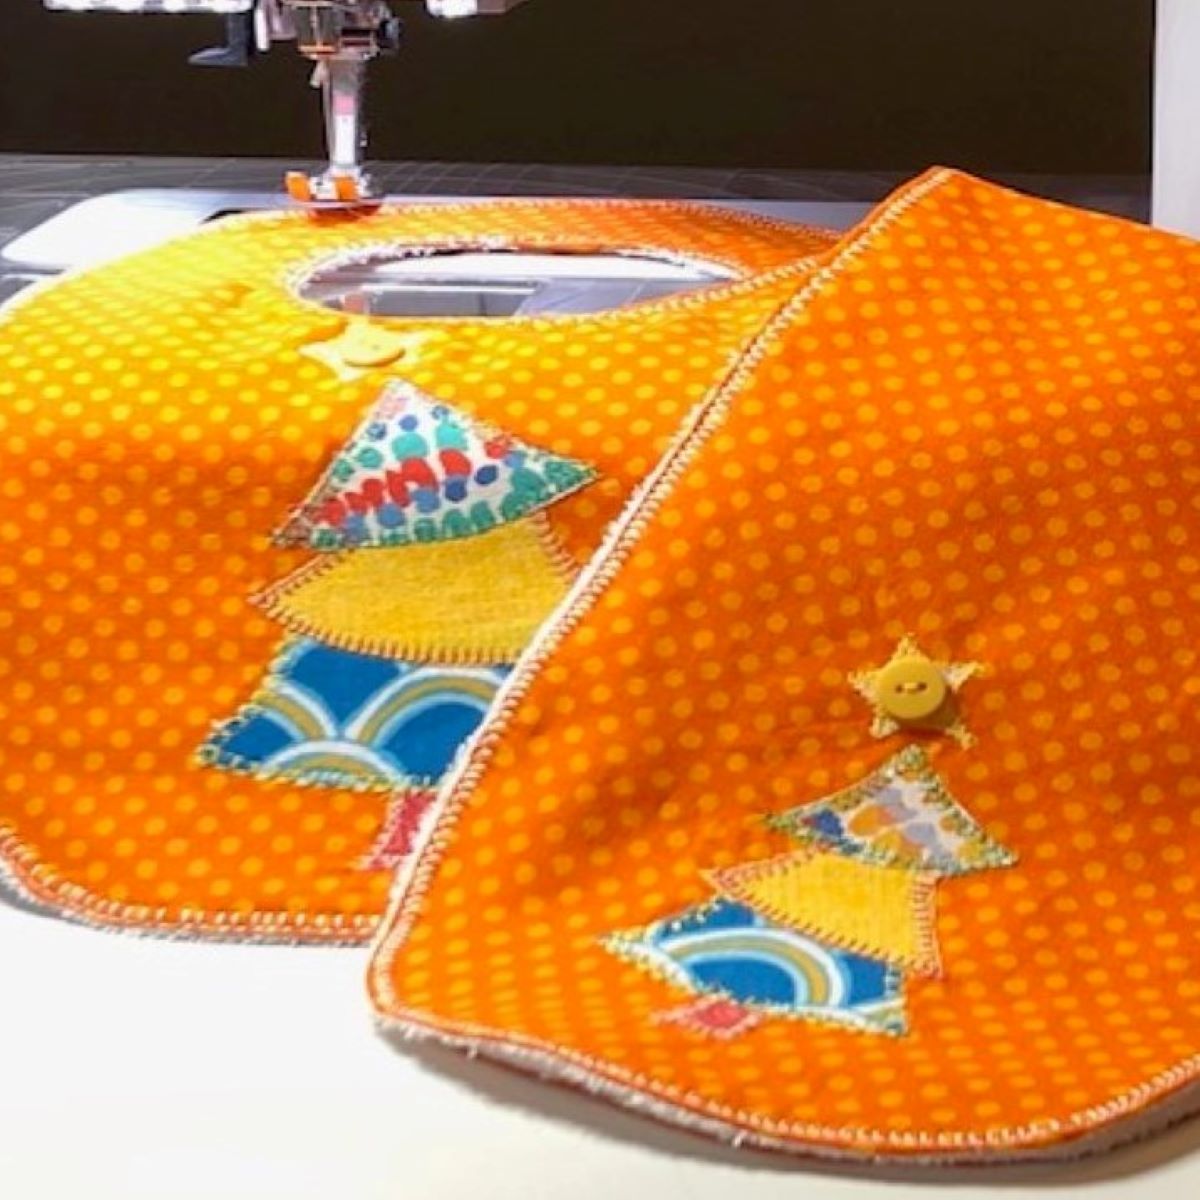
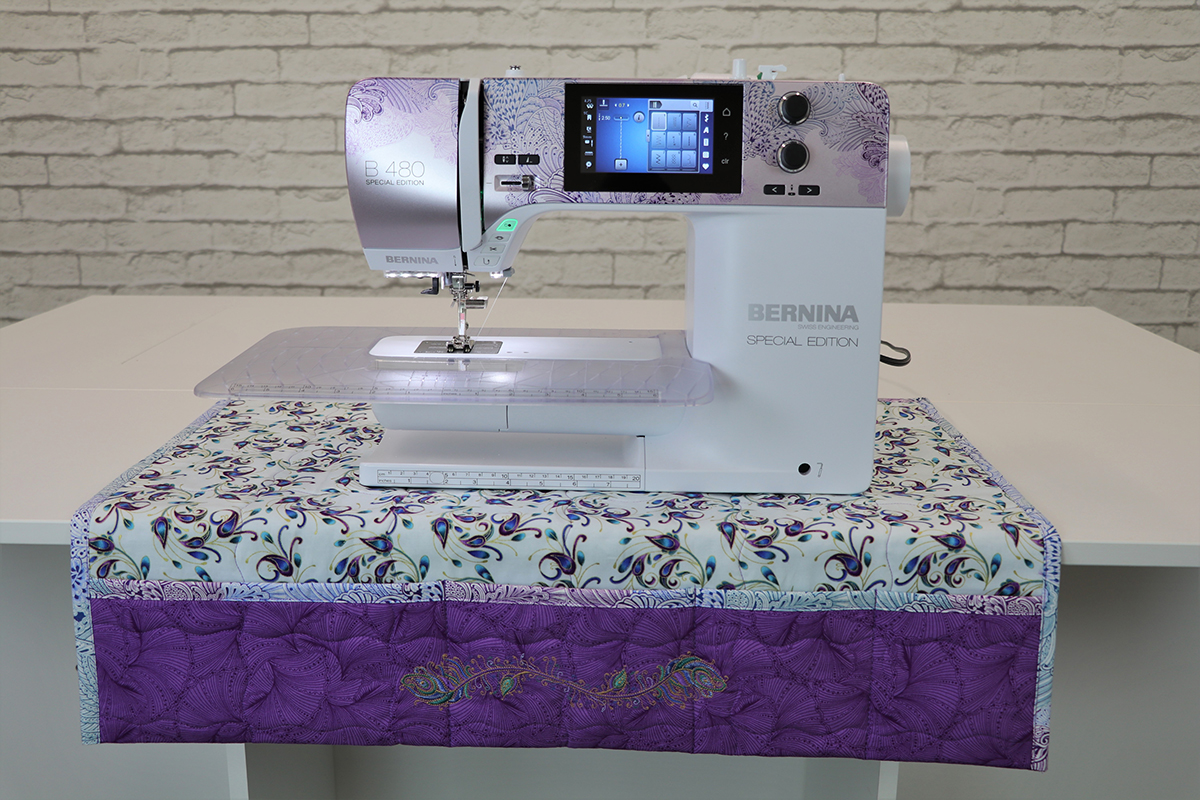
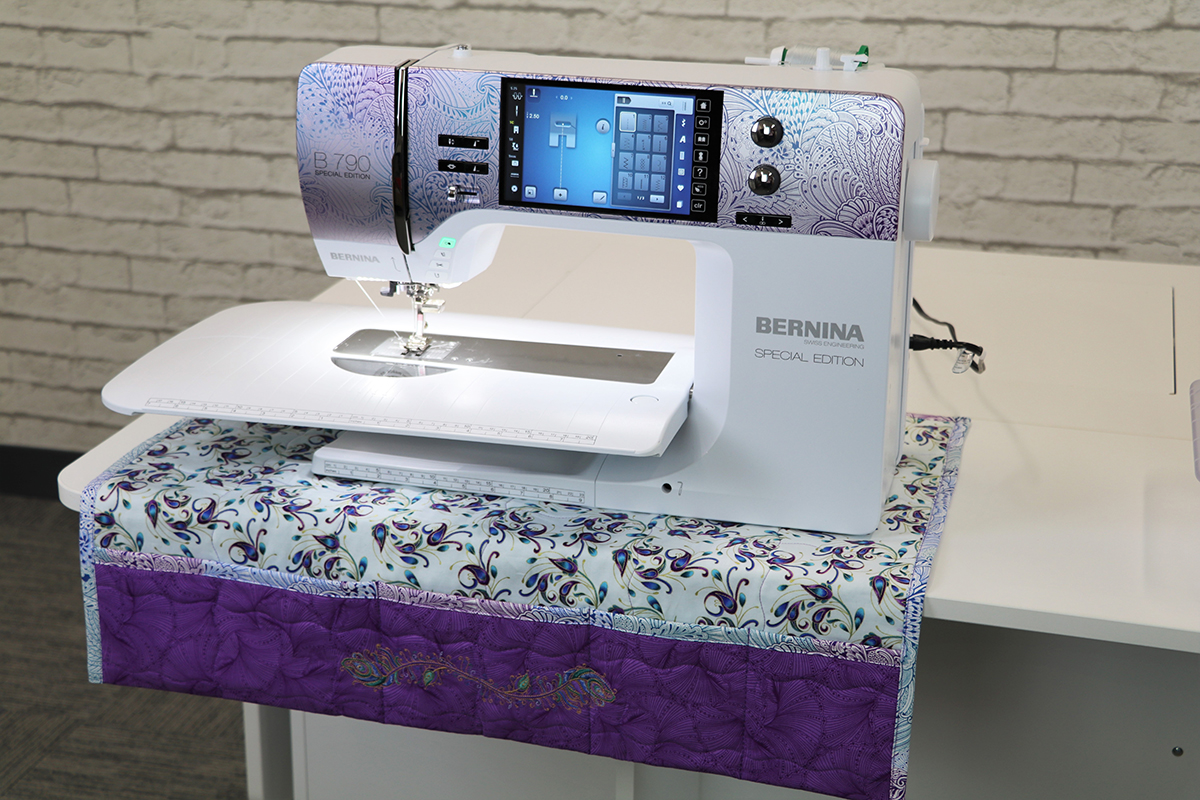
Quick and Easy Sewing Machine Mat
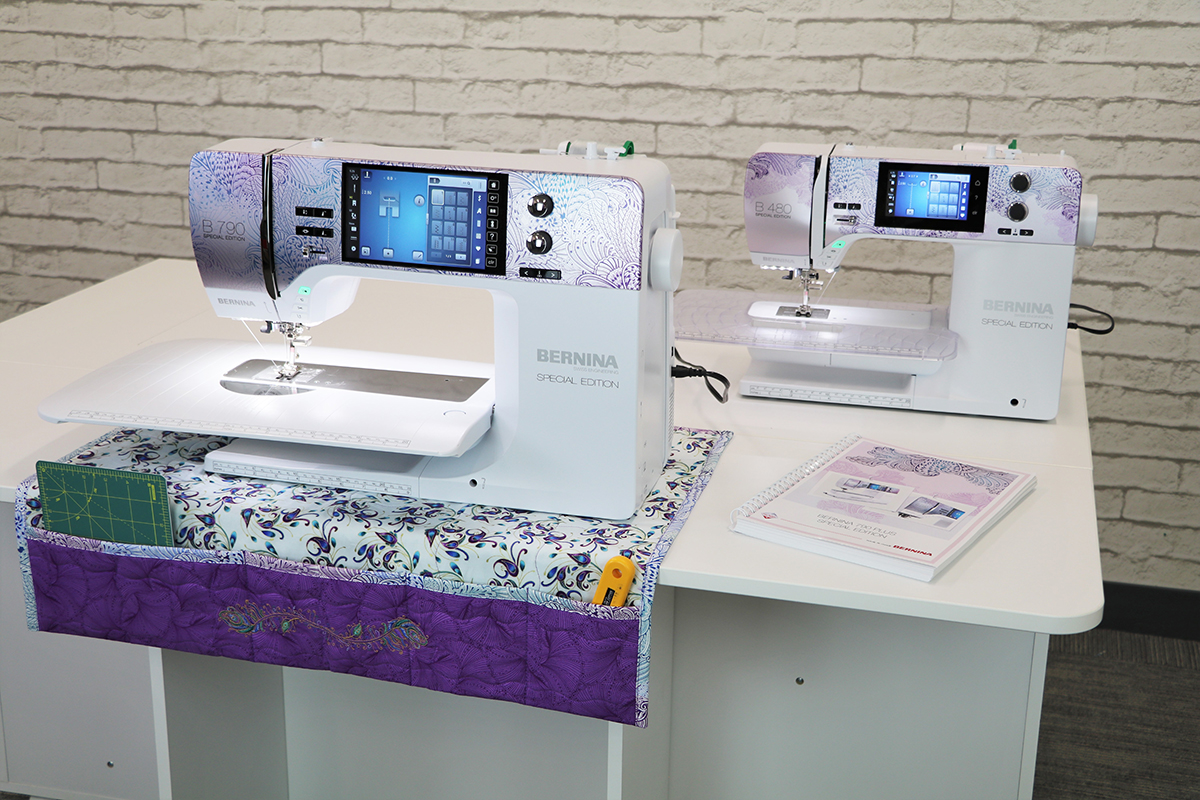
Rich in color and flowing with texture, BERNINA presents two stunning machines, the B 790 PLUS and B 480 Special Edition machines. The exquisite iridescent faceplate design is inspired by Ann Lauer of Grizzly Gulch Gallery fabric collection “Peacock Flourish” for Benartex.
What’s even more exciting is the Special Edition Bundle!
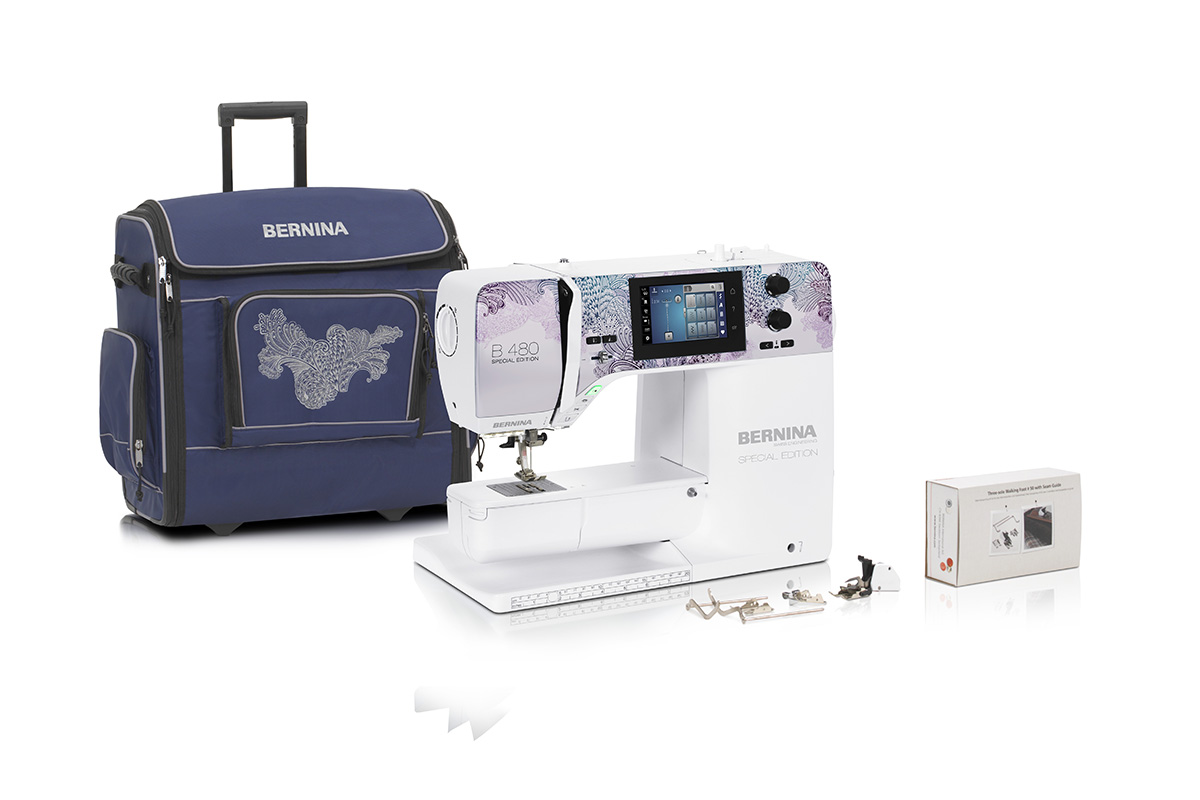
The B 790 PLUS Special Edition comes bundled with a B 480 Special Edition and more. It’s the perfect combination, really what could be better? Invite a friend over for some sew time since you have an extra machine—one of you can stitch embroidery on the B 790 PLUS SE while the other sews on the B 480 SE. The B 480 SE is the perfect size to take to class, and both machines take the BERNINA Jumbo bobbin! As a passionate sewist, you might wish share with someone close to you—one machine to keep and one to share. There are so many ways to enjoy this fabulous bundle package.
With the B 790 PLUS SE bundle, you’ll also receive a travel suitcase for both the machine, an embroidery module for the B 790, plus the B 480 SE machine. The travel suitcases are custom designed to coordinate with these beautiful Special Edition machines and the machine travel suitcases are embroidered with a Peacock Flourish design.
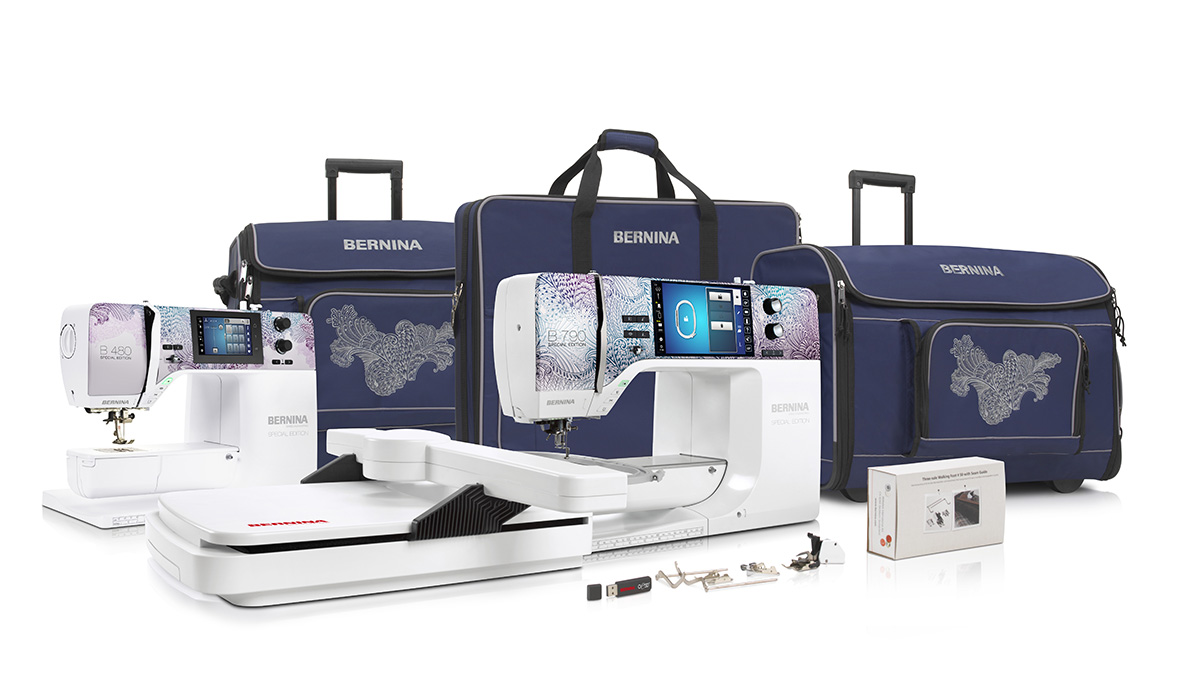
Oh, and did I mention that the BERNINA Walking Foot with Three Soles is included? Yes, it is!
Another plus with the B 790 PLUS SE is embroidery designs.
The bundle comes to you with a USB stick loaded with Ann Lauer Design Collections by OESD and over 200 Additional Embroidery Designs from OESD.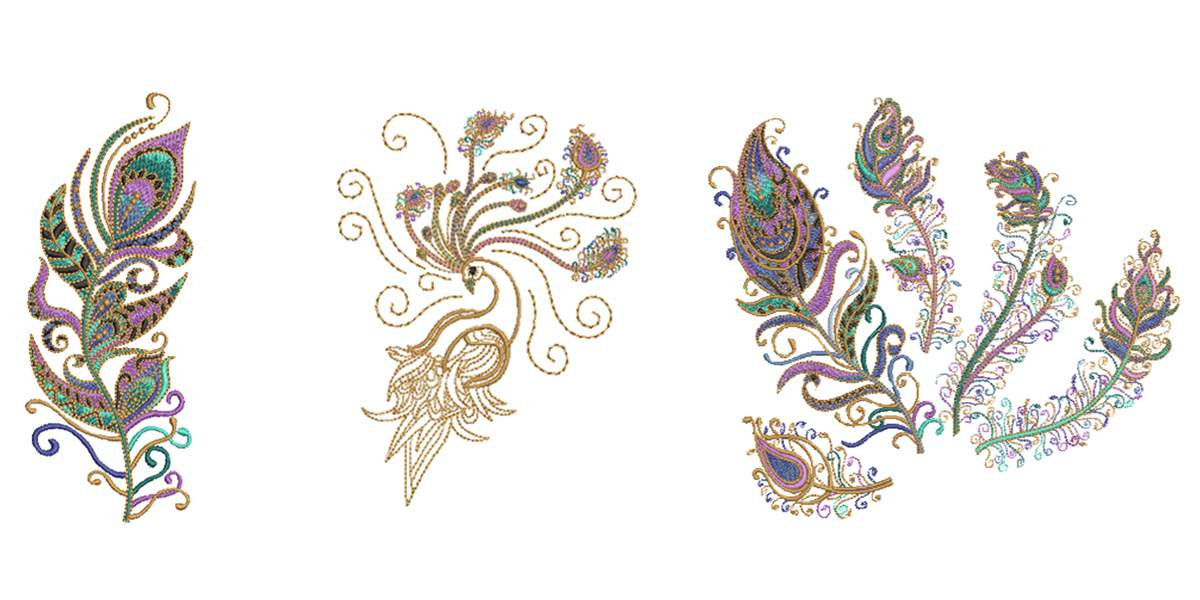 As you can see, this is a fabulous bundle of especially lovely machines, accessories and travel bags.
Maybe you are not quite ready to take the leap to embroidery, or perhaps you need a smaller machine. The B 480 Special Edition is also available in a smaller bundle of its own.
Included in the bundle with the B 480 SE is the embroidered travel suitcase and BERNINA Walking Foot with Three Soles.
If you would like fabric to coordinate with your new B 790 PLUS SE and B 480 SE, the Peacock Flourish Enhanced with Metallic fabric collection from Benartex designed by Ann Lauer is available at many quilt shops.
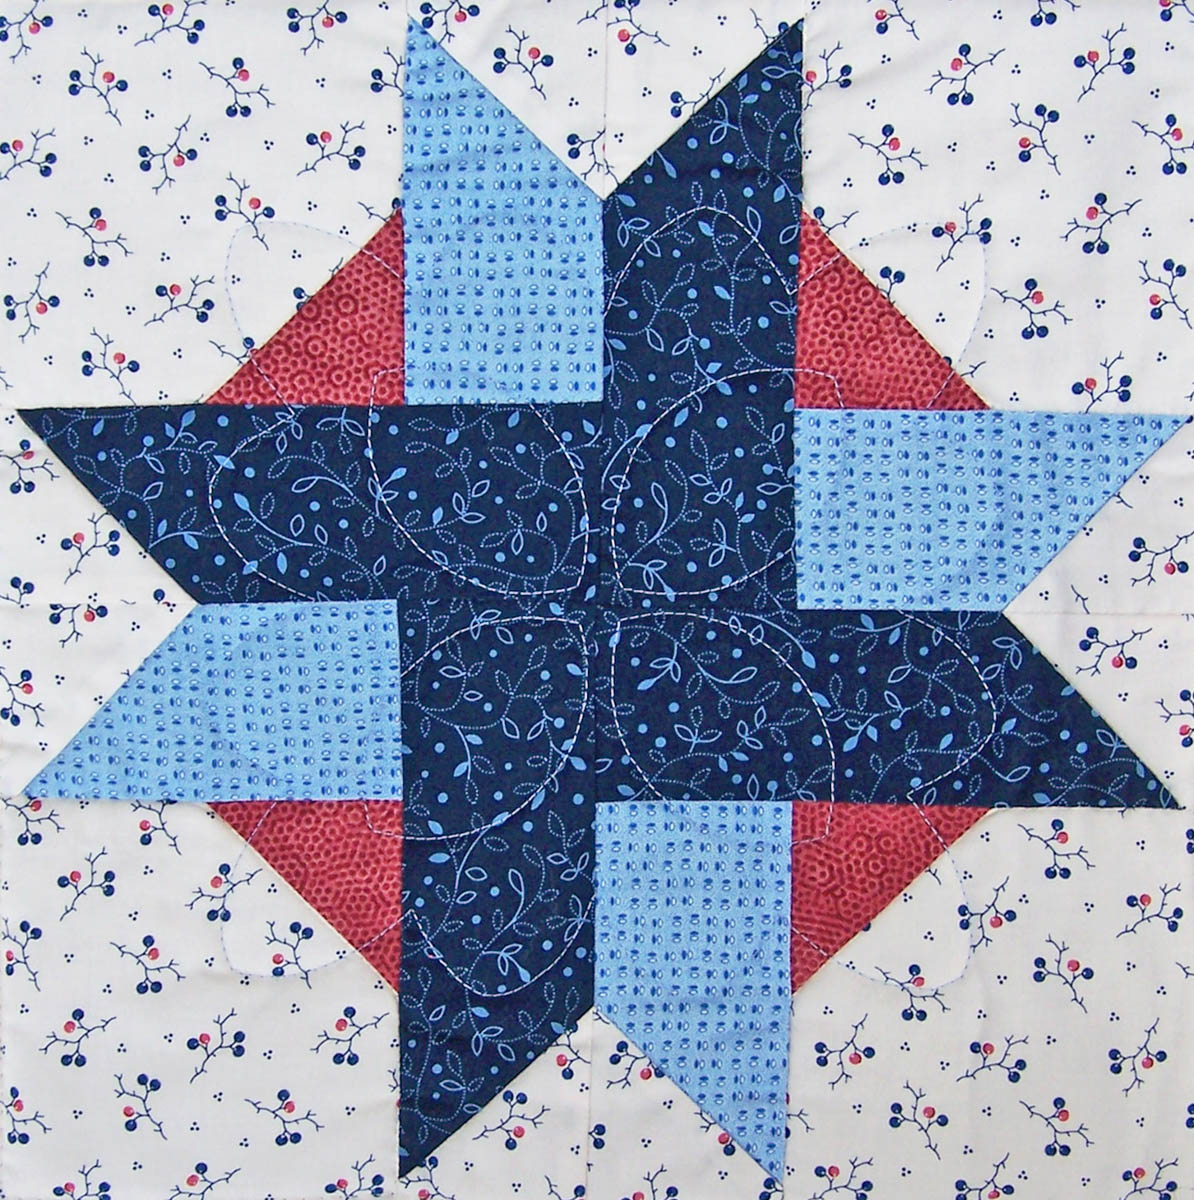
Create a Quick and Easy Sewing Machine Mat for your Special Edition to rest on using your choice of fabrics, and add a new embroidery design from the Peacock Collection #80320 by Ann Lauer from OESD.
Quick & Easy Sewing Machine Mat


SUPPLIES:
1 yard fabric – cut 28” x 28
1 yard of backing fabric – cut 28” x 23 ¼”
1/4 yard coordinating fabric for pocket – cut 5 ¼”” x 28”
1/4 yard binding fabric – 2 1/2″ x 118”
Scrap batting – 28” x 28”
Thread for quilting and sewing: Isacord 40 Embroidery Thread in needle and bobbin
Removable marking pen (Dritz Quilting Heat Erase Pen was used in sample)
Lite Steam-A-Seam 2, 1/4″ double stick fusible web
Scissors
Rotary cutter, ruler and mat
Optional Supplies for Embroidery:
Thread for embroidery: Isacord 40 Embroidery Thread in needle, 60 weight bobbin thread in bobbin
Drop-Shaped Embroidery Foot #26
OESD Ultra Clean and TearAway Stabilizer
OESD Design Collection #80320 Peacock Collection by Anne Lauer (Design #80320-08)
Customize the Size
This sewing machine mat is designed for the size of the B 790 PLUS SE machine. The sewing mat will extend 3 to 4 inches past the machine on each side and 5 inches behind the machine.
This size will also work for the B 490, but will have more fabric extending on each side as you see here.
If you wish to alter the size for a closer fit on another machine, measure your sewing machine to know how wide you need it to be. Add 8-10 inches to that measurement. Measure the depth of your machine, add approximately 20 inches to that figure. This will allow for turning up the front pocket and little extra mat behind the machine.
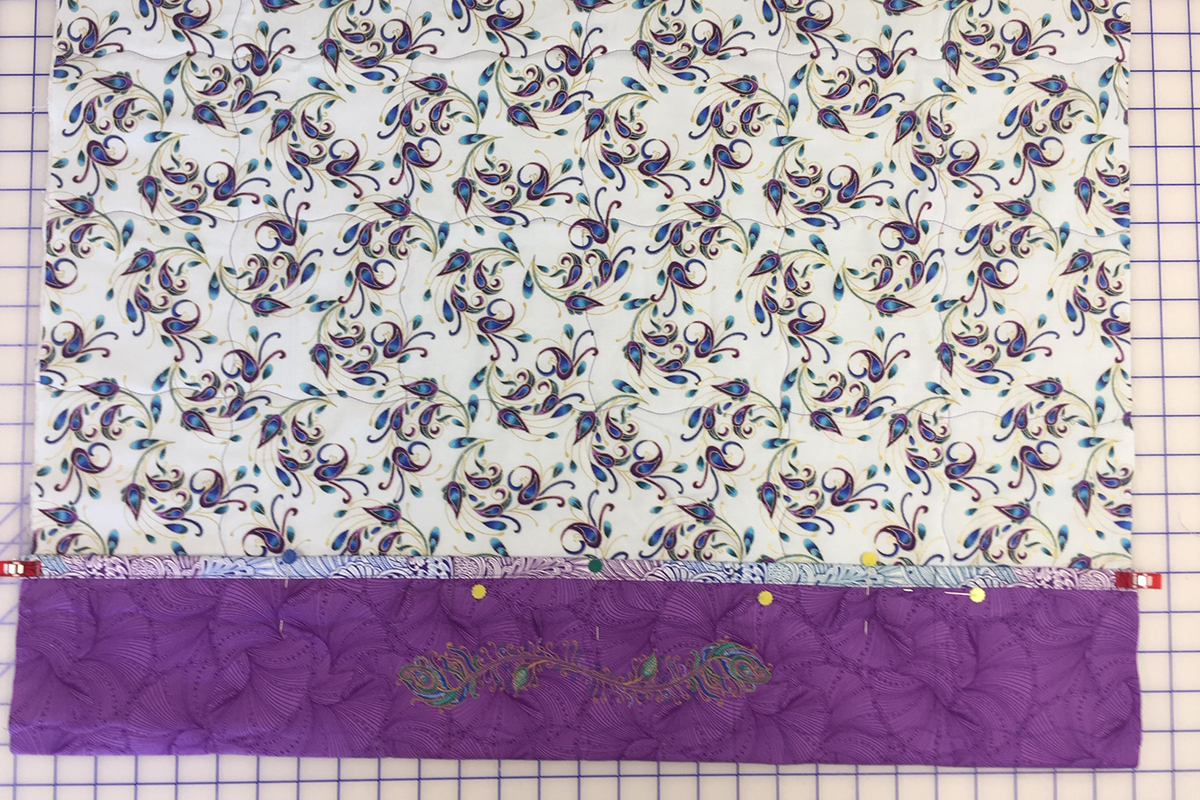
Stitch Pocket to Backing
Stitch the 28” x 5 1/4” coordinating fabric to the 28” x 23 ¼”, creating a piece that is 28” x 28” after the 1/4” seam is taken.
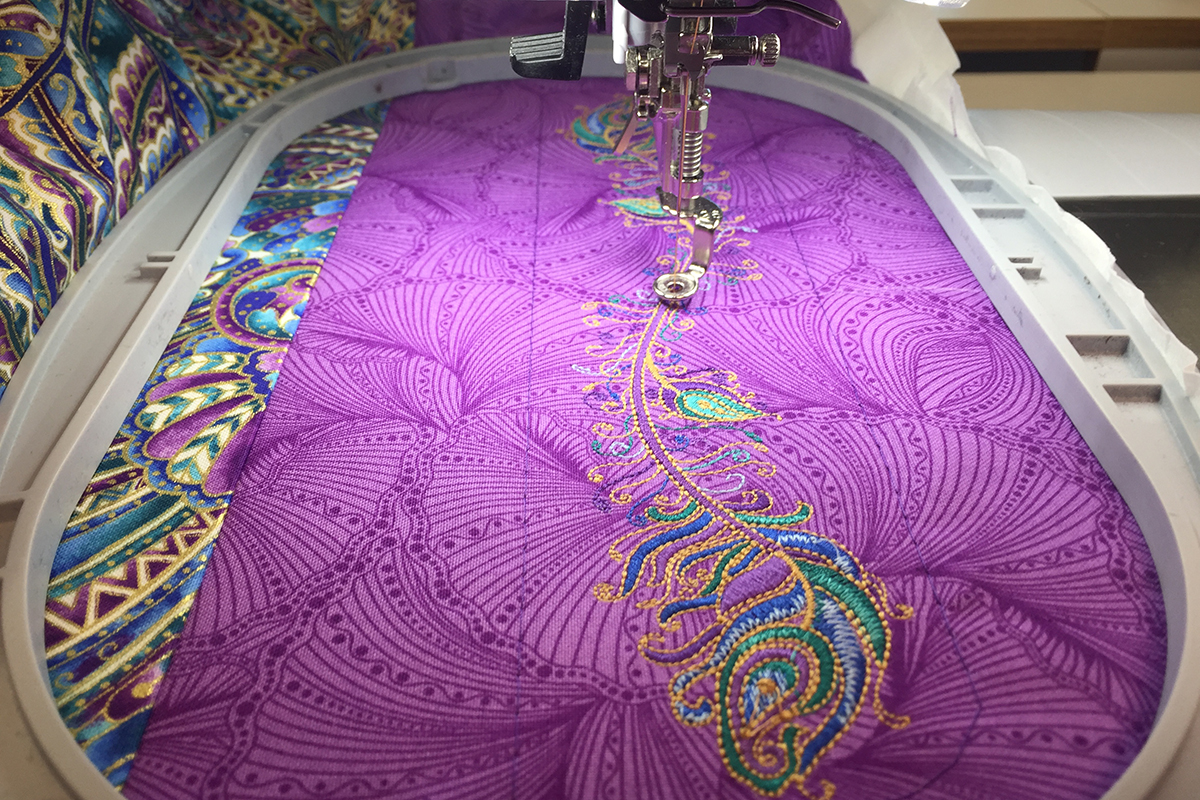
Optional Embellishment
Add some embroidery designs or other decorative stitching on the pocket fabric. This piece will be the front of the pocket when it is folded up. The backing will be folded up 5 inches so that is the space for adding any embellishment desired.
Step 1
Place the backing wrong side up, position batting on top of backing. Lay the top fabric right side up with the coordinating fabric on the batting.
Step 2
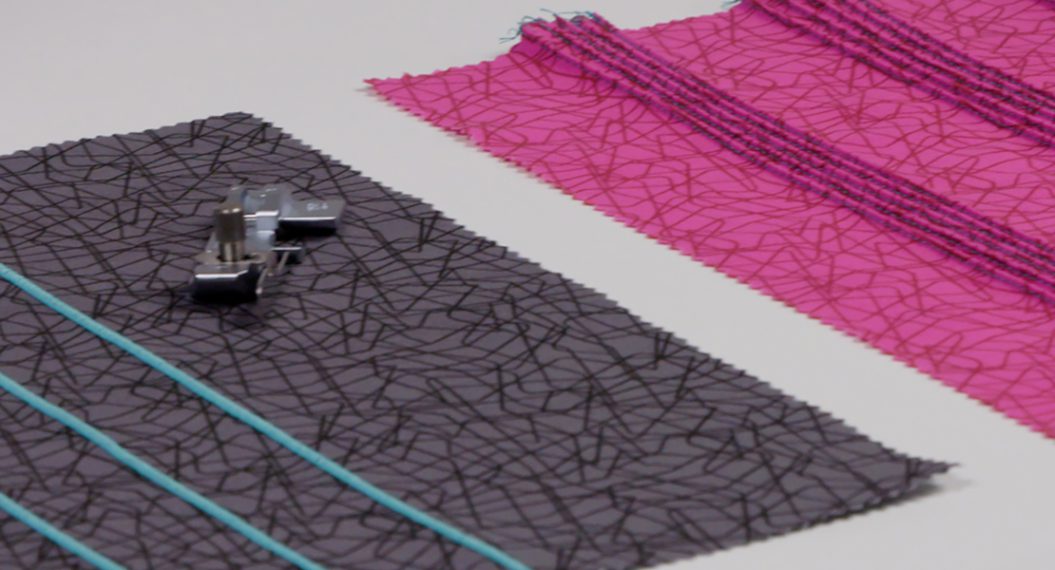
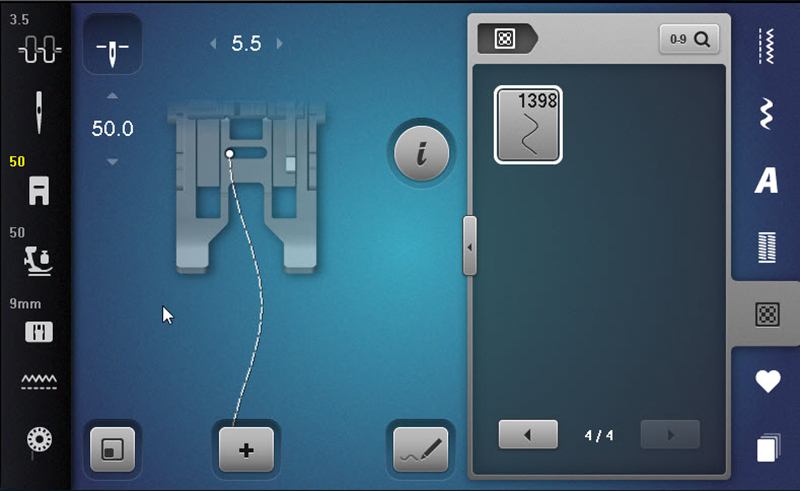
Attach the Walking Foot #50 to the machine.
Select Serpentine Stitch #1398 from the Quilt Stitches folder on the B 790 (Stitch #1319 on the B 480). Grid quilt the layers together, spacing the rows of quilting a generous 4” apart. The quilting is very organic and does not need to be an exact measurement.
Step 3
Trim the edges of the quilted fabric to even the edges and square up the quilted piece.
Step 4
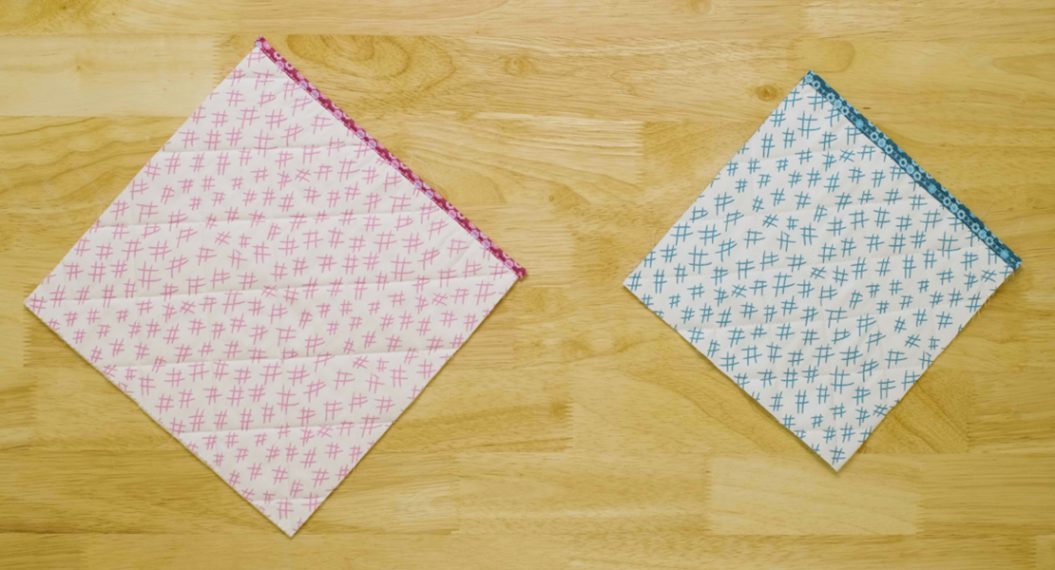
Sew the prepared binding to the top edge of the pocket end (if you embroidered or embellished, this is the edge you will bind now). Stitch using a 1/4″ seam.
Fuse Lite Steam-A-Seam 2 double stick fusible tape to the wrong side of the folded edge of the binding.
Remove the paper and fold binding over the raw edges to cover the stitching line and press.
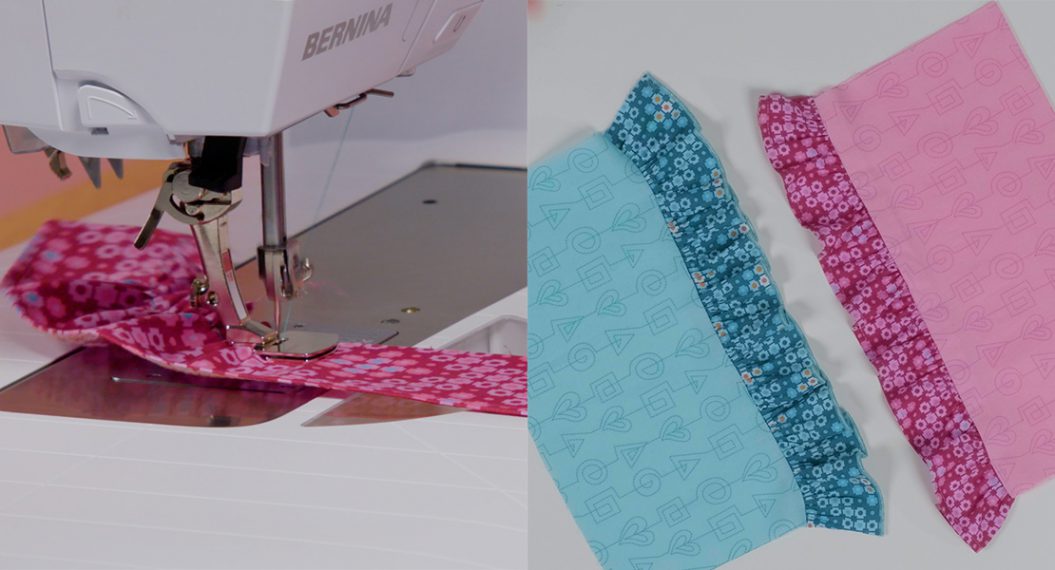
Select Straight Stitch #1. Change the needle position to 2 and use center marking of the presser foot to guide on the folded edge of the binding and machine stitch the edge. (A decorative stitch of your choosing may also be used.)
Step 5
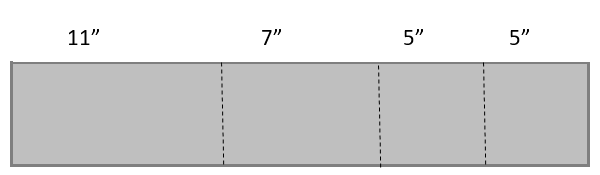
Pocket depth can be customized; think about the tools you want handy and how many pockets you need. The number of pockets is also customizable. I choose to have four pockets.
Fold up the fabric edge with the binding to make the pocket. The depth used for this machine mat was 5”, measure and pin in place.
Measure 5” from the right side of the pocket edge, mark with a line. See diagram below for measuring and marking remaining pocket stitching lines.
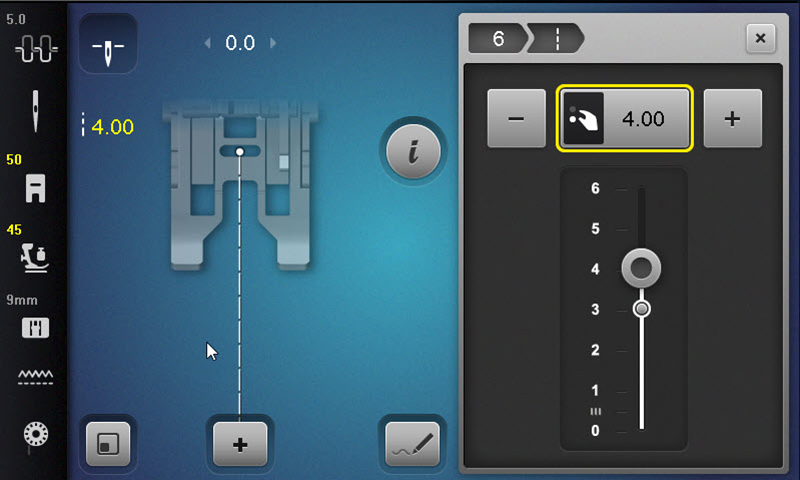
At the machine, select Triple Stitch #6, and change the stitch length to 4.0 and reduce the Presser Foot Pressure to 45.
Stitch from top edge of pocket to the bottom fold, back stitching at the beginning and ending of the stitched lines.
Step 6
Now it’s time to bind the outside edges. You will be sewing binding to the three outside edges using a ¼” seam.
Start at the bottom edge of the pocket, fold up binding’s ends 1/4″ to the wrong side. Stitch all three edges, miter the corners as you go. Finish at opposite pocket edge by cutting off the excess binding 1/4” longer, and fold the end of the binding 1/4″ inside the binding. Complete stitching.
Apply Lite Steam-A-Seam 2 double stick fusible tape by fusing it to the wrong side of the folded edge of the binding edge. Remove paper and fold binding over the edge to cover the stitch line and press.
Select Straight Stitch #1 and change the needle position to 2. Use center marking of the presser foot to guide on the folded edge of the binding and machine stitch the edge. (A decorative stitch of your choosing may also be used)

Quick, easy and the perfect way to keep all your favorite sewing tools handy and accessible!
Get a formal introduction to these two lovelies, the B 790 PLUS SE and B 480 SE, by visiting your local BERNINA dealer for more information on these Special Edition machine!