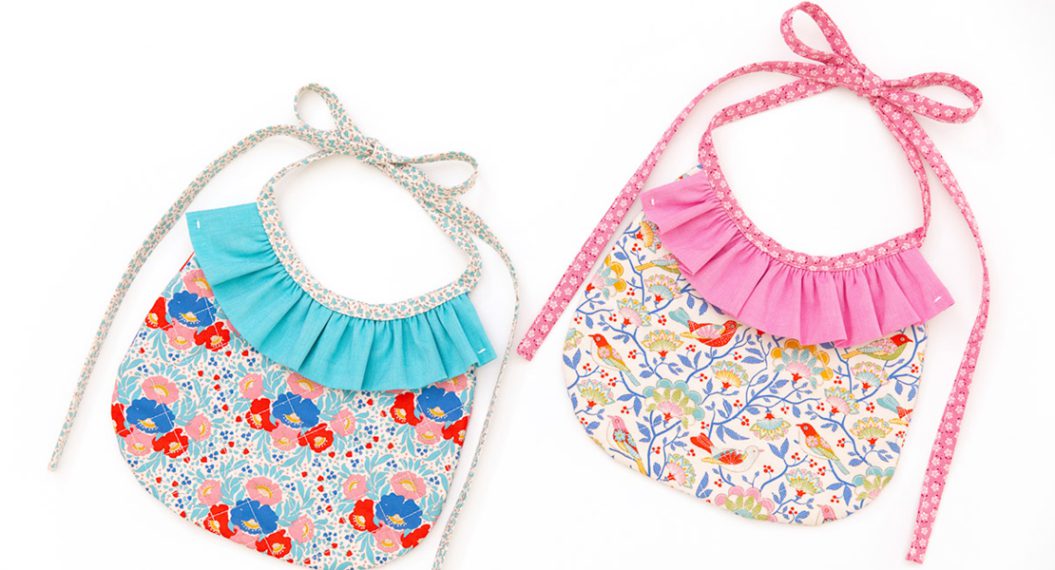
Quick Appliquéd Baby Bib and Matching Burp Cloth Set
The most wonderful time of the year is upon us! I hope you enjoy these instructions for an appliquéd baby bib and matching burp cloth set!
If you’re like me, we have a few things in common:
- A stash of fabric
- A list of family and friends
- A desire to give handcrafted gifts
- More ideas than time
Gotcha with that last one, didn’t I? Well, here’s a sweet gift set for that littlest one on your list. These instructions can be used anytime of the year and with any theme. My bib and burp cloth set has a whimsical holiday theme and I added a little flare to help brighten up even the darkest long winter’s eve.
Supplies to Sew an Appliquéd Baby Bib and Matching Burp Cloth
Materials
- Fabric: 1/2 yard each of two coordinating fabrics OR 1 yard of a single fabric
- Fabric scraps: use small pieces from your scrap bin or choose coordinating remnants to suit your appliqué design
- Preferred type of low-loft/thin batting (if desired): 1/2 yard or scraps to match dimensions of pattern
- Fusible web
- Thread in a variety of colors
- Hook & Loop tape (I like the soft flexible SEW IN type. Avoid the adhesive type as it gums up your needle. yuck!)
- Buttons or other embellishments as desired
Tools
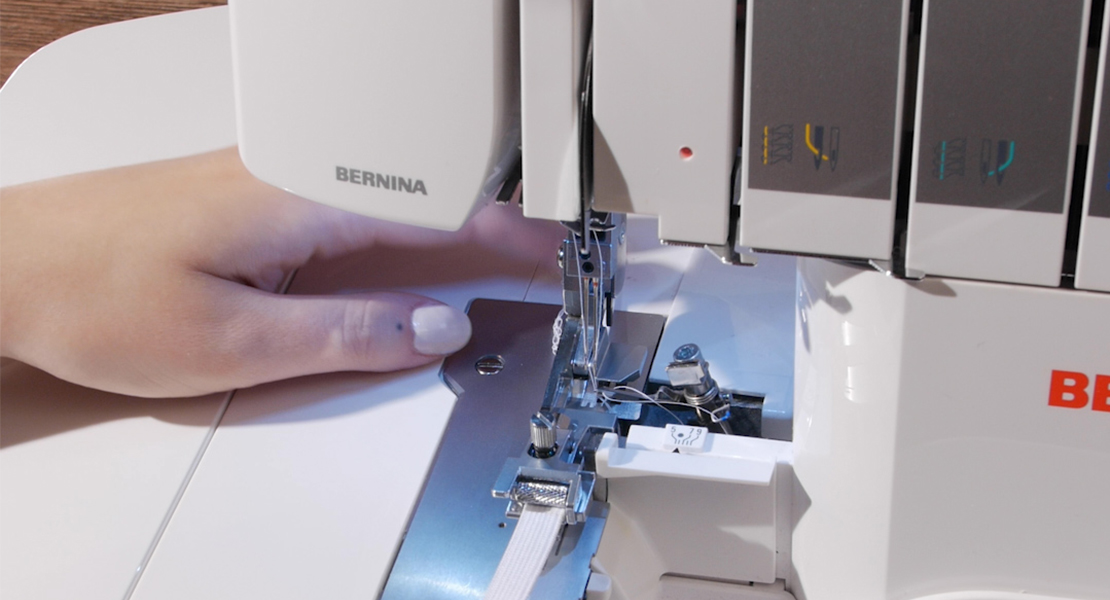
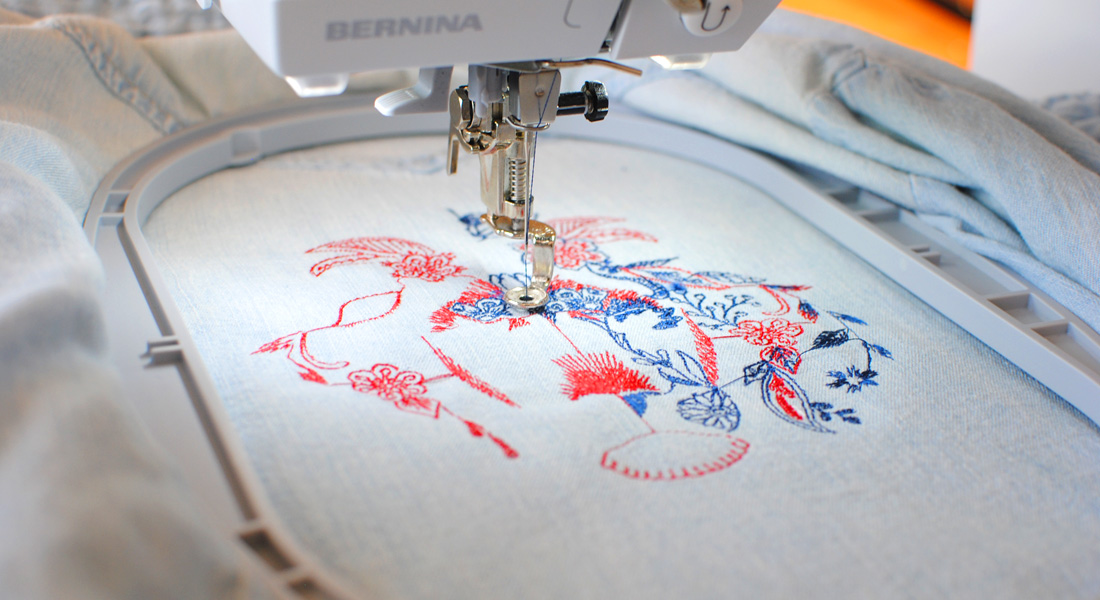
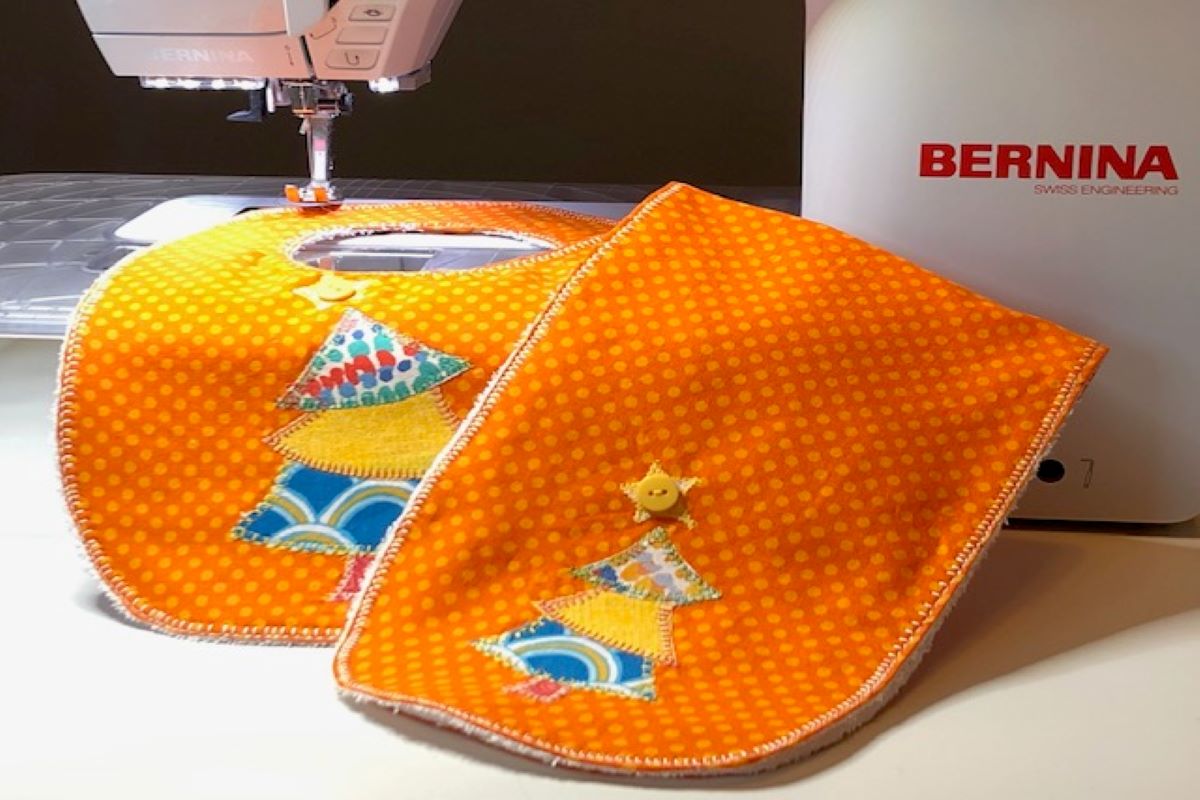
- Sewing Machine – I am using the BERNINA 435
- Fabric scissors
- Straight pins
- Computer clip art (optional)
- Paper and pencil for creating/tracing pattern pieces
- Straight edge/ruler/seam gauge
- Paper cutting scissors (please tell me you don’t use your fabric scissors for paper…)
- Scotch tape
Instructions to Sew an Appliquéd Baby Bib and Matching Burp Cloth Set
Project Tip:
I did each step of the bib and the burp cloth at the same time in order to be more efficient. This way, it minimizes stitch pattern changes and thread color changes, saving you lots of time overall. And couldn’t we all stand to save some time right now? You’re welcome.
Step 1: Plan Project
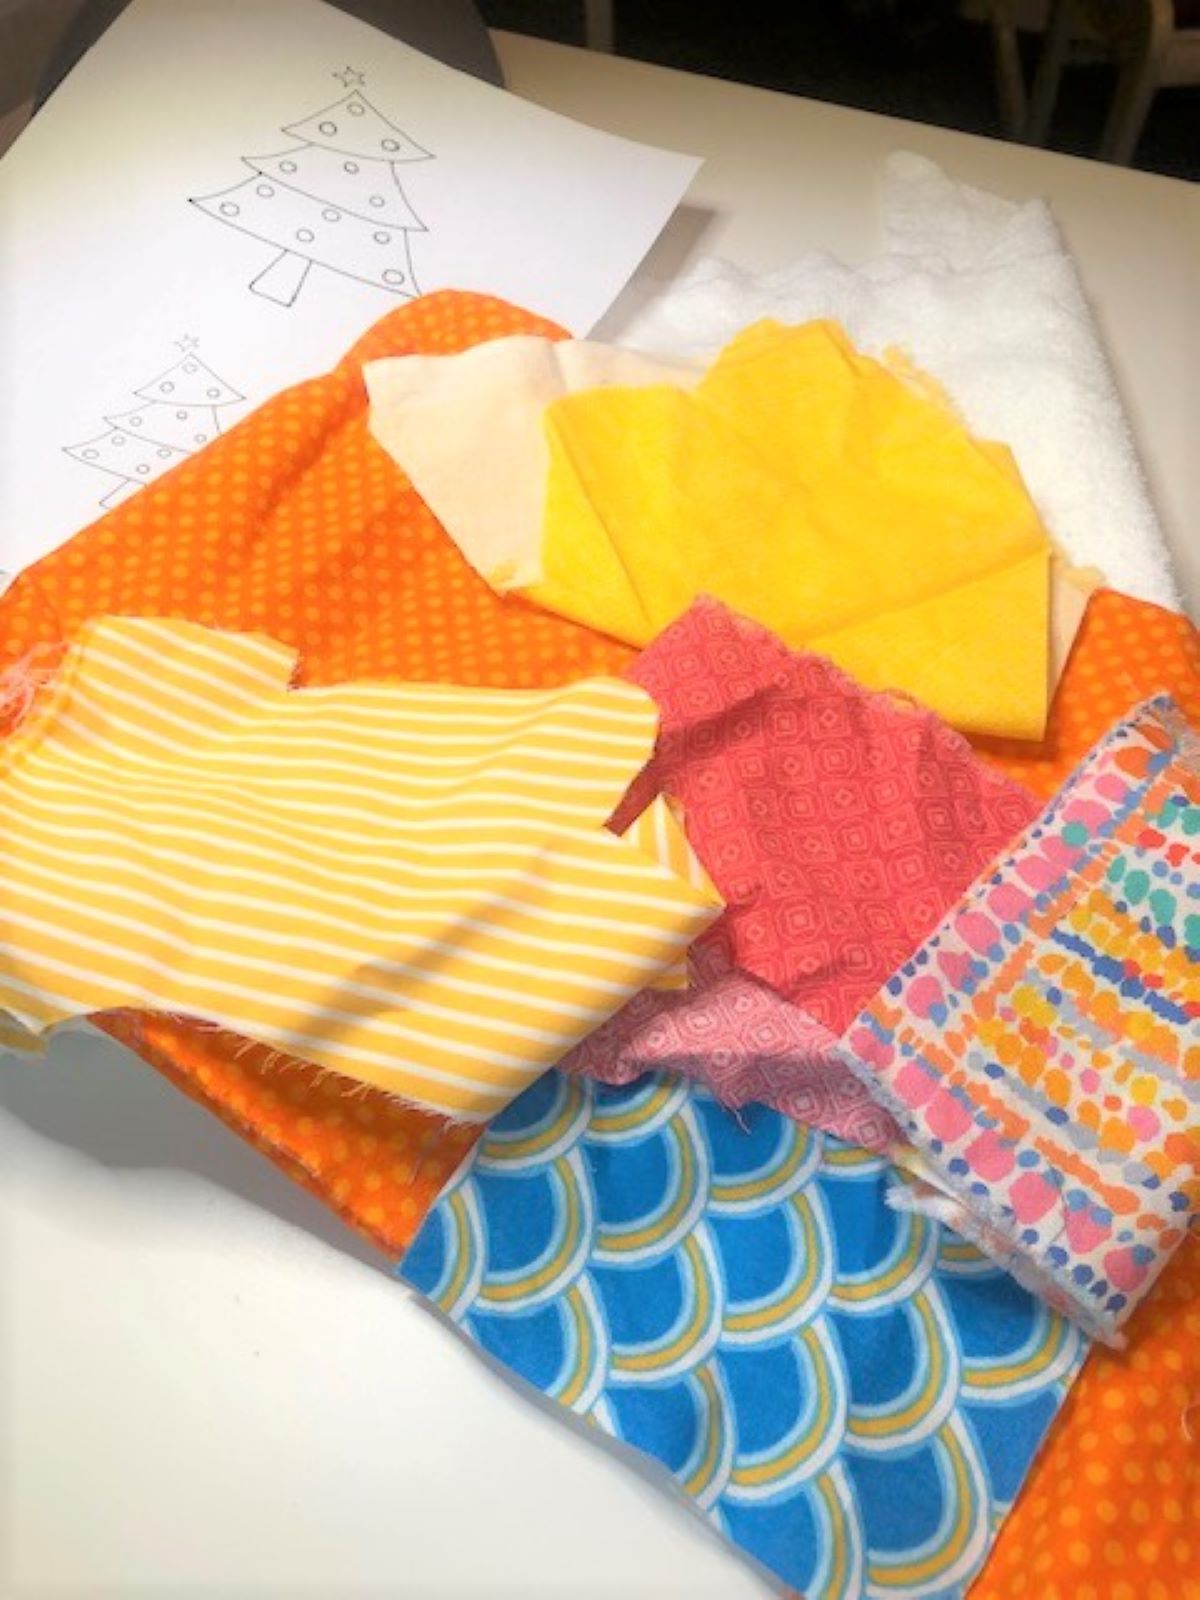
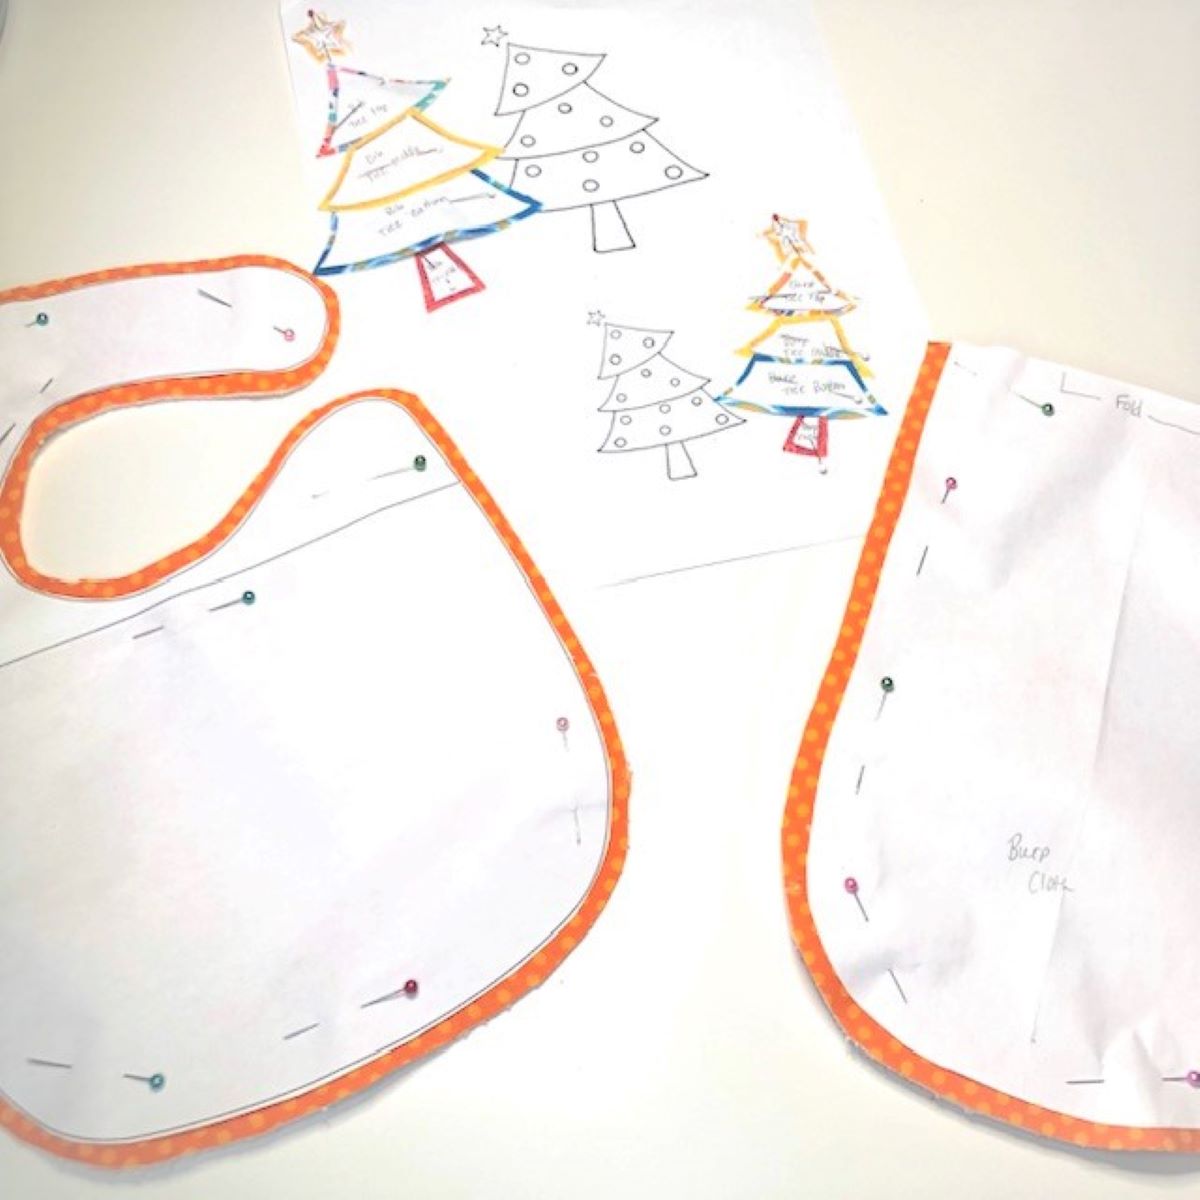
- Bib and Burp Cloth Pattern– draw out your own or find about a bazillion online for FREE! I chose to print out a bib pattern, then used the curve of the bib to design my own burp cloth. Simple!
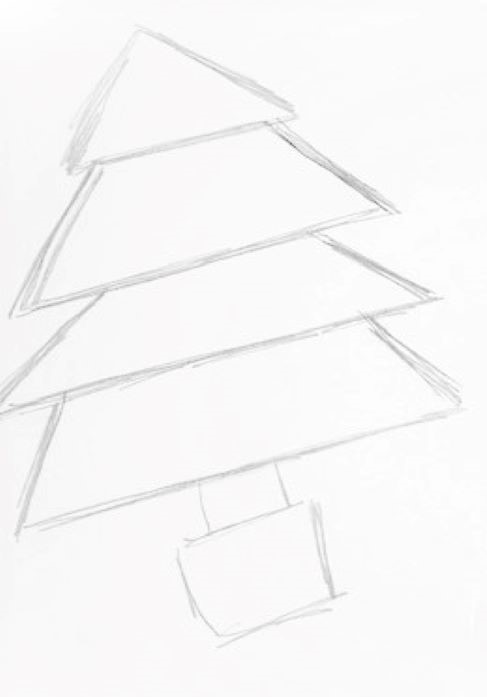
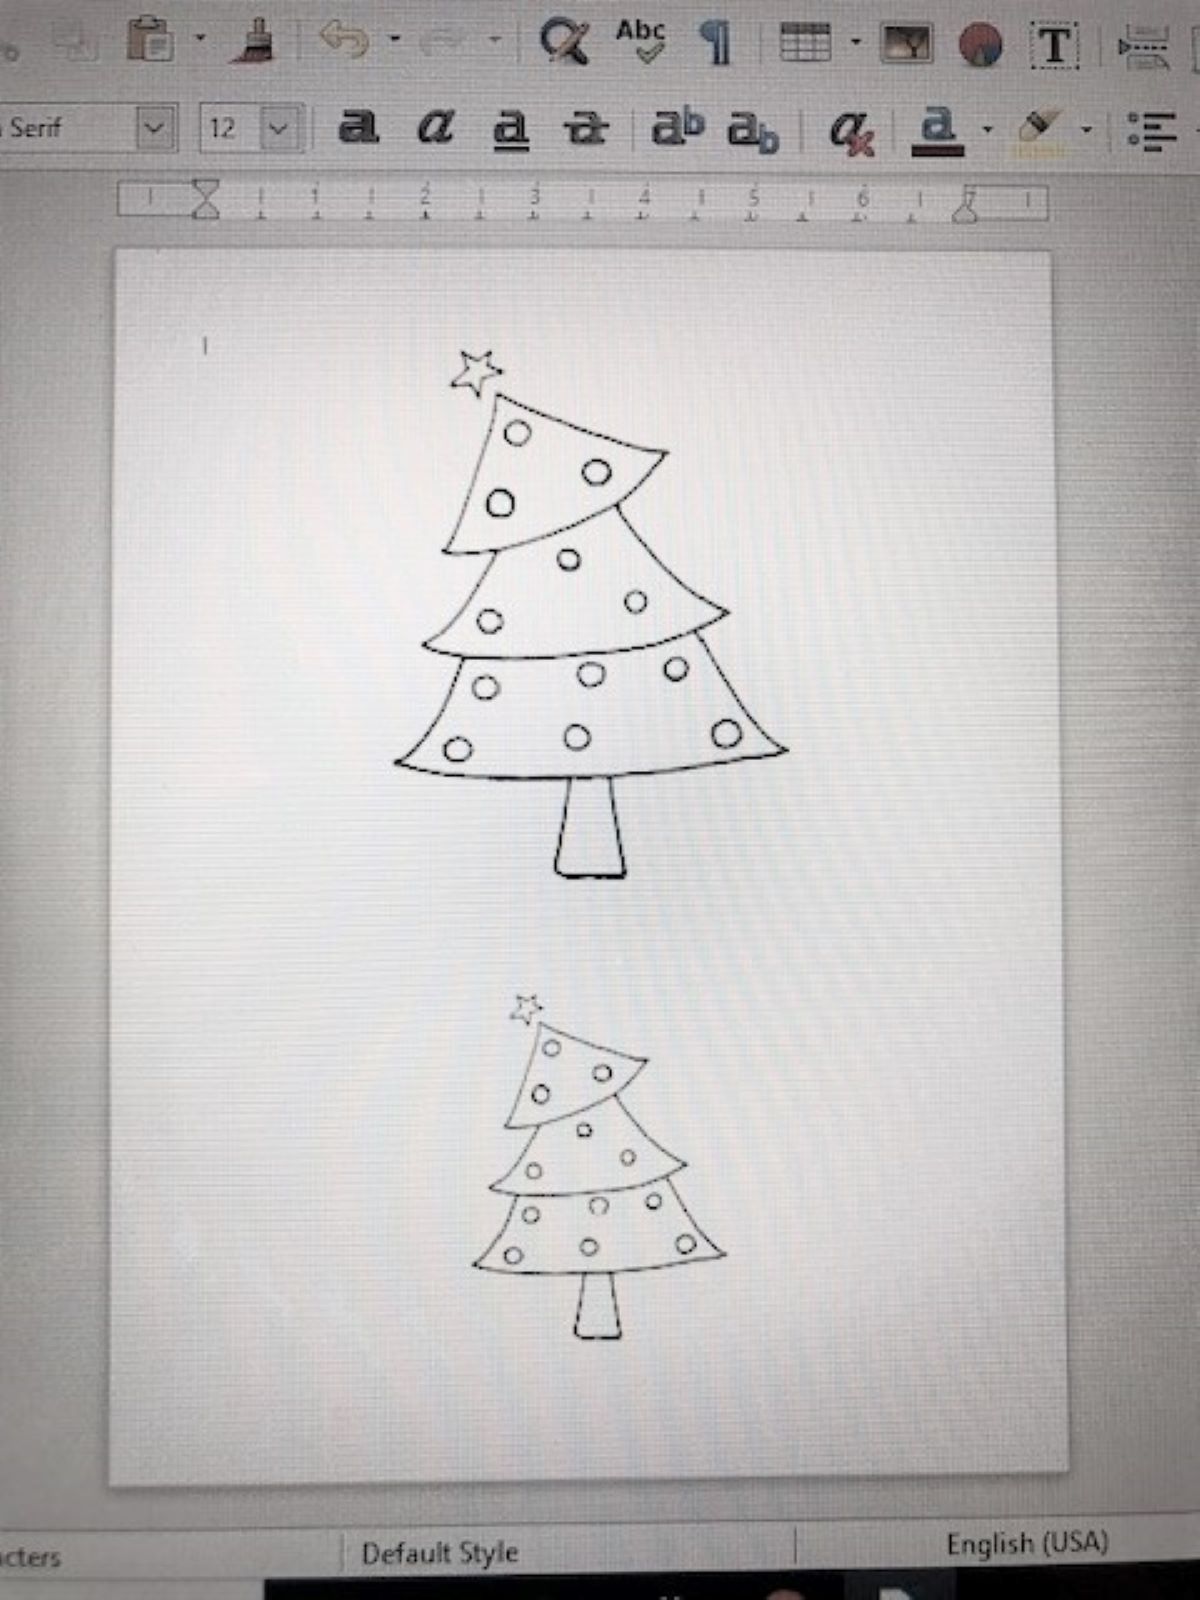
- Design for Appliqué– as you see, I could never claim to be an artist. Google Royalty Free Clip Art for this girl. Once I chose my design, I copied it into a document and re-sized it to fit my project. As you see below, the design for the bib is slightly larger than for the burp cloth. You may choose to keep yours the same size.
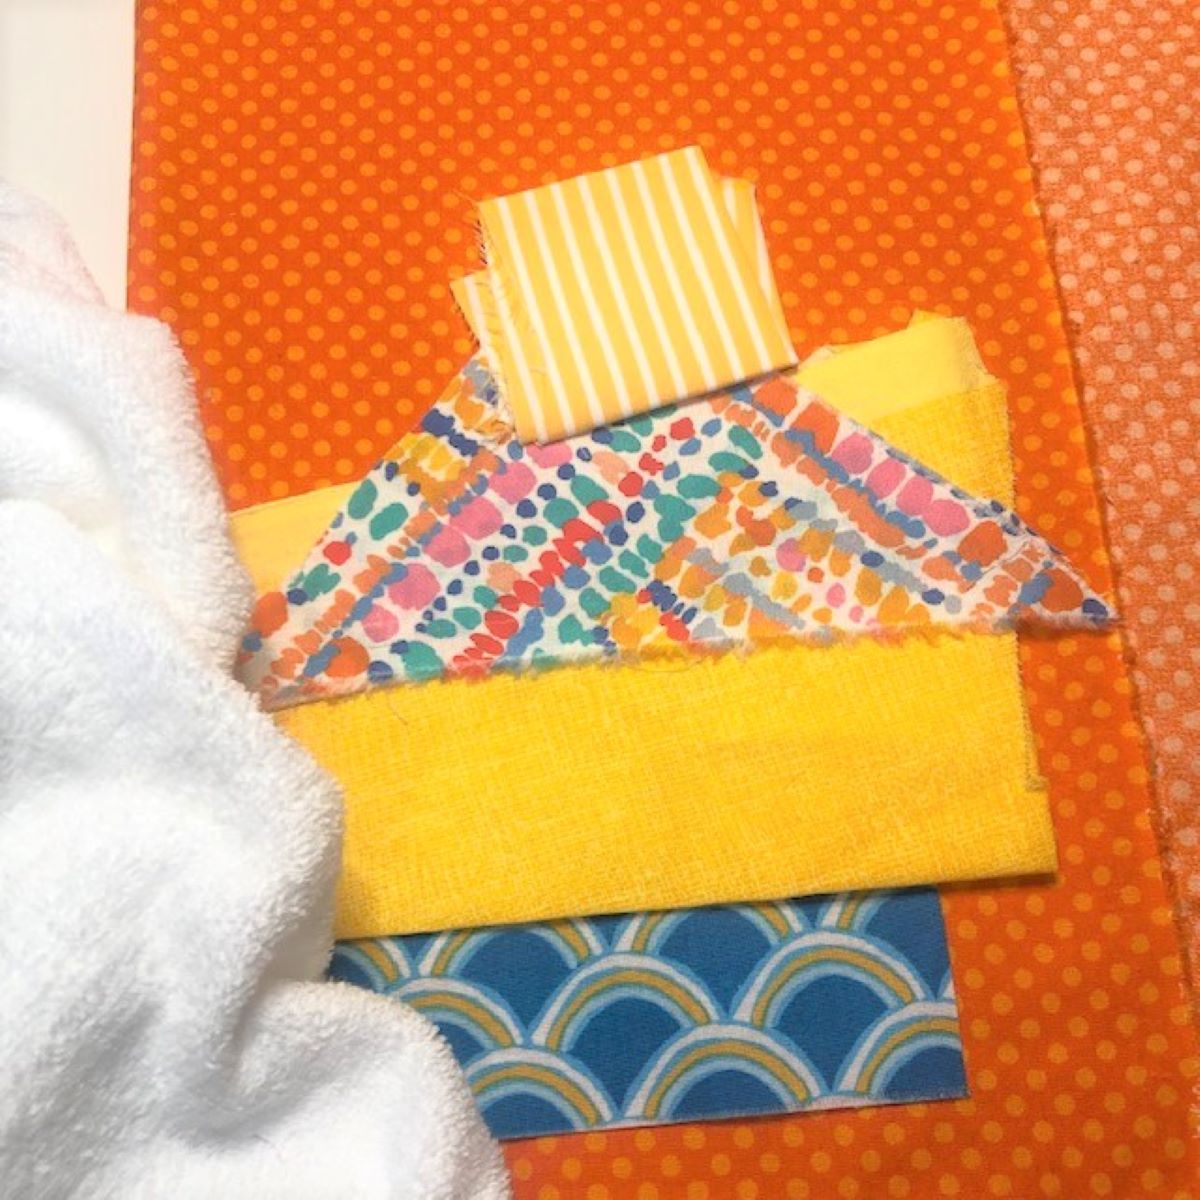
- Fabrics– I went to my trusty fabric stash and easily found fabrics to work for this project. My bag of scraps yielded just the right colors and prints for the whimsical feel I was going for. I like using terrycloth to back bibs and happened to have enough on hand. If you want to use something lighter as your backing, you may want to consider a thin batting between your layers so your bib and burp cloth will do the work they were intended to do, if you catch my drift!
- Embellishments– these are definitely optional. As you decide, consider the age of the child and potential choking hazards…anyone else an Enneagram 6?
Step 2: Prepare Pattern Pieces
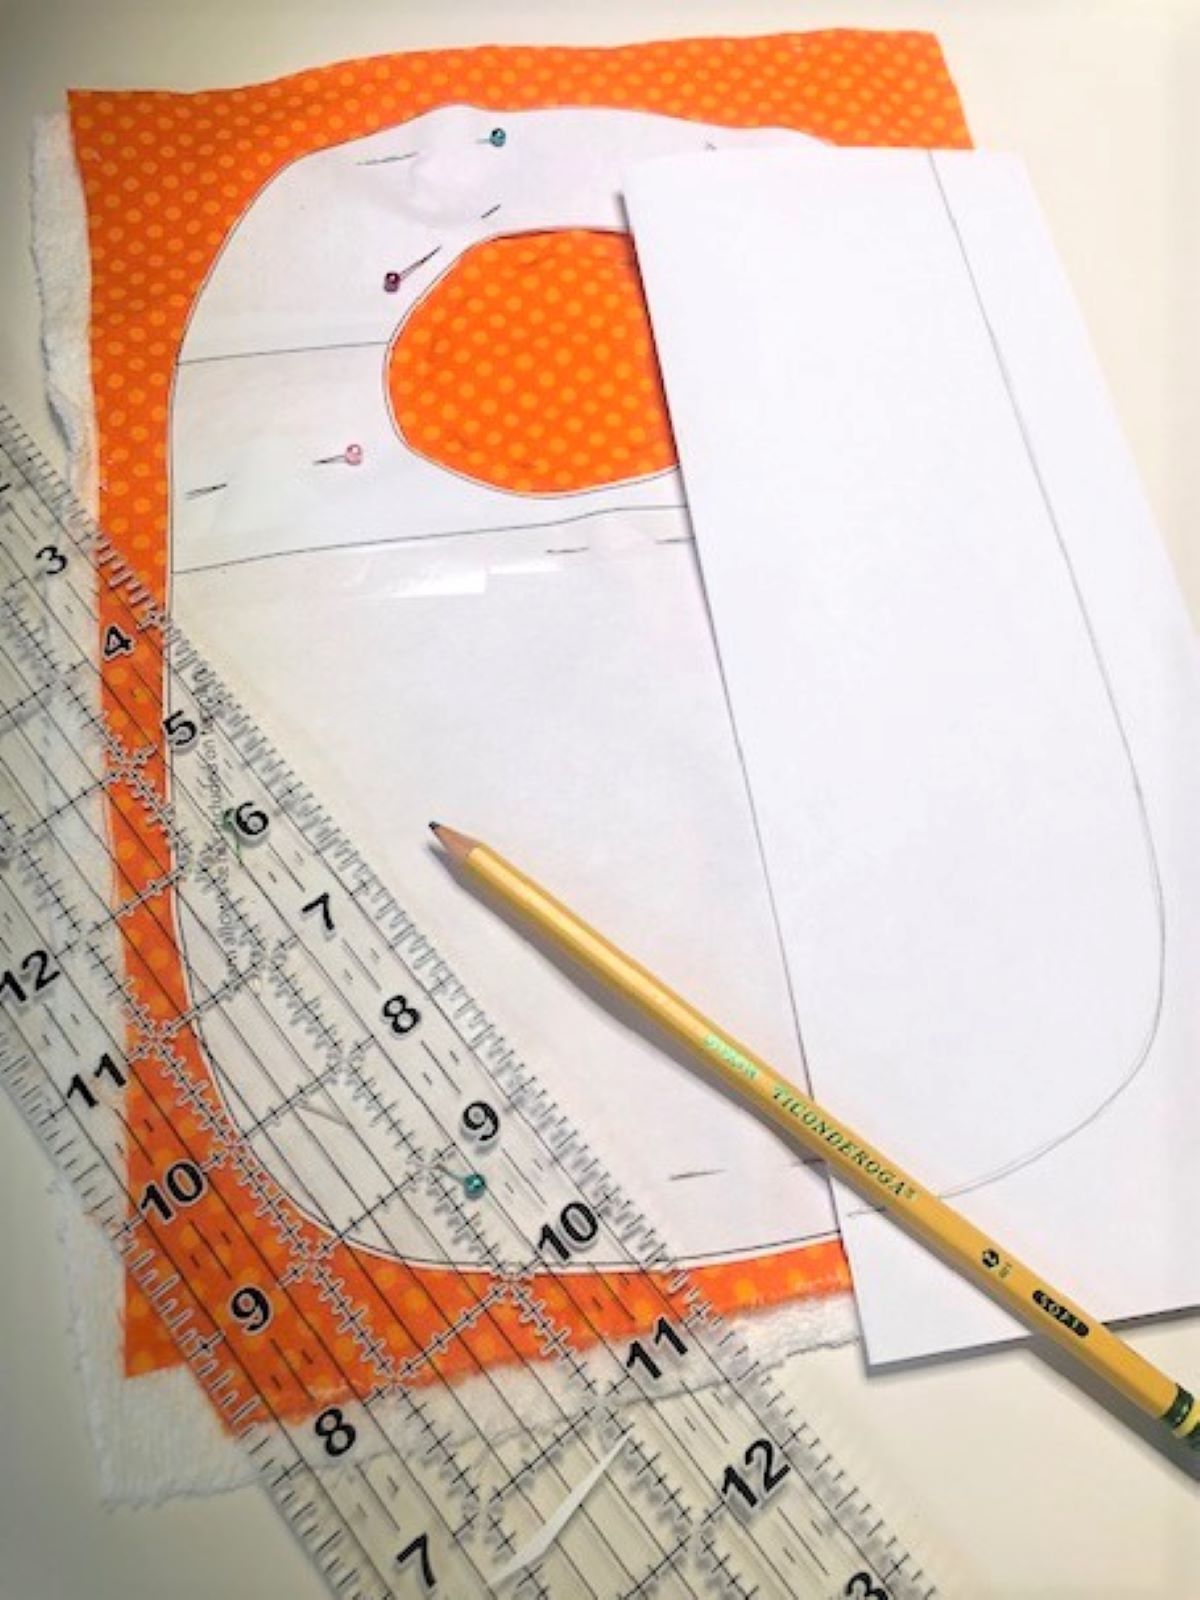
- It is likely that an online pattern will print on more than one page. Simply tape together bib and burp cloth pattern segments as needed. Measure and mark a 1/4 inch seam allowance. Cut out patterns.
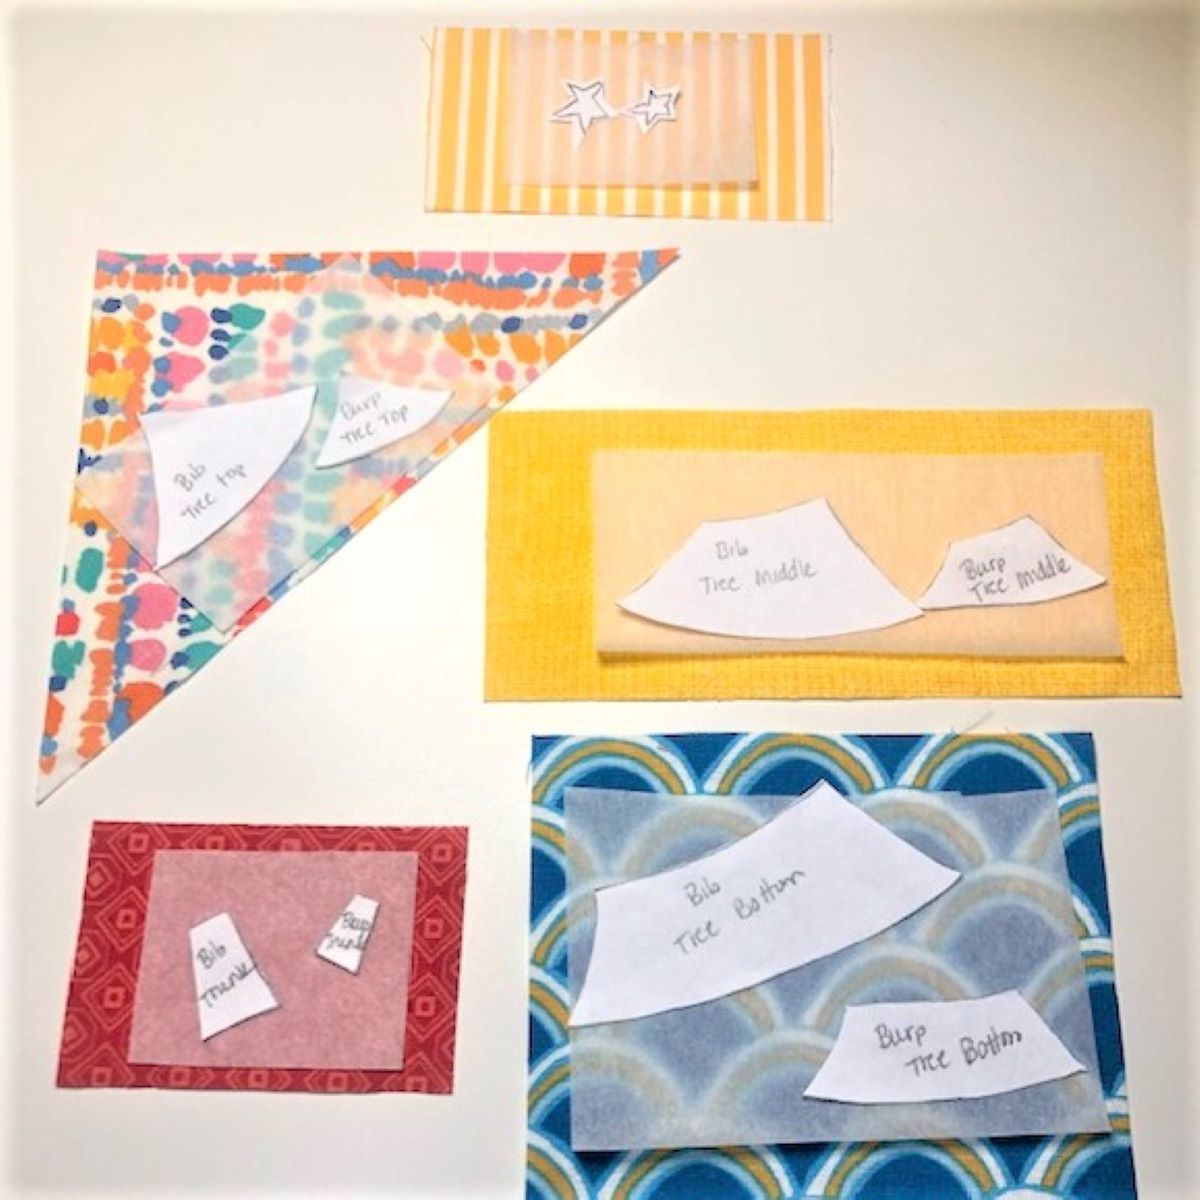
- Trace appliqué pattern into separate segments, adding a 1/8 inch seam allowance. Cut out pieces.
Step 3: Prepare Bib and Burp Cloth Patterns and Cut out Appliqué Pieces
- Bib and Burp Cloth: I chose to layer my two fabrics and cut at the same time. Depending on your materials, you may choose to cut each fabric separately.
- Appliqué: Make sure to leave a generous border around each appliqué pattern segment in order to apply the fusible web as shown below.


Step 4: Prepare Fabric
- Apply fusible web to wrong side of appliqué fabric according to manufacturer’s instructions. Leave paper backing on for now.
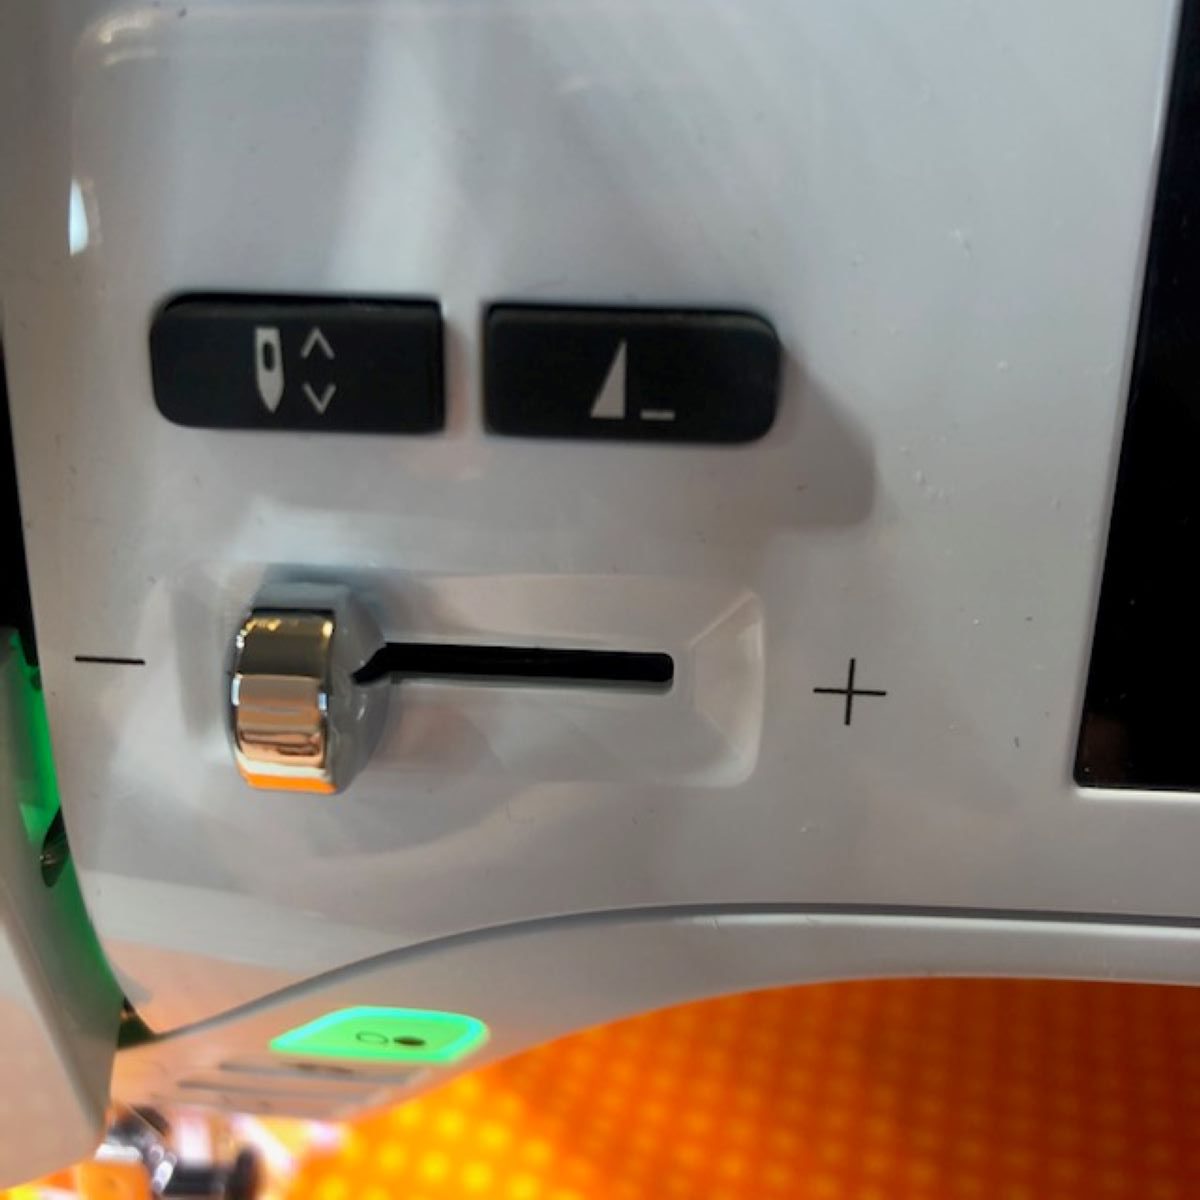
- Depending on your main project fabric(s), you may want to finish the edges. I am using a light terrycloth for the bib and burp cloth backing fabric. Since it sheds like crazy, I chose to do an overlock stitch (#19, 3.5 length, 5.5 width) Adjust as needed for your project.
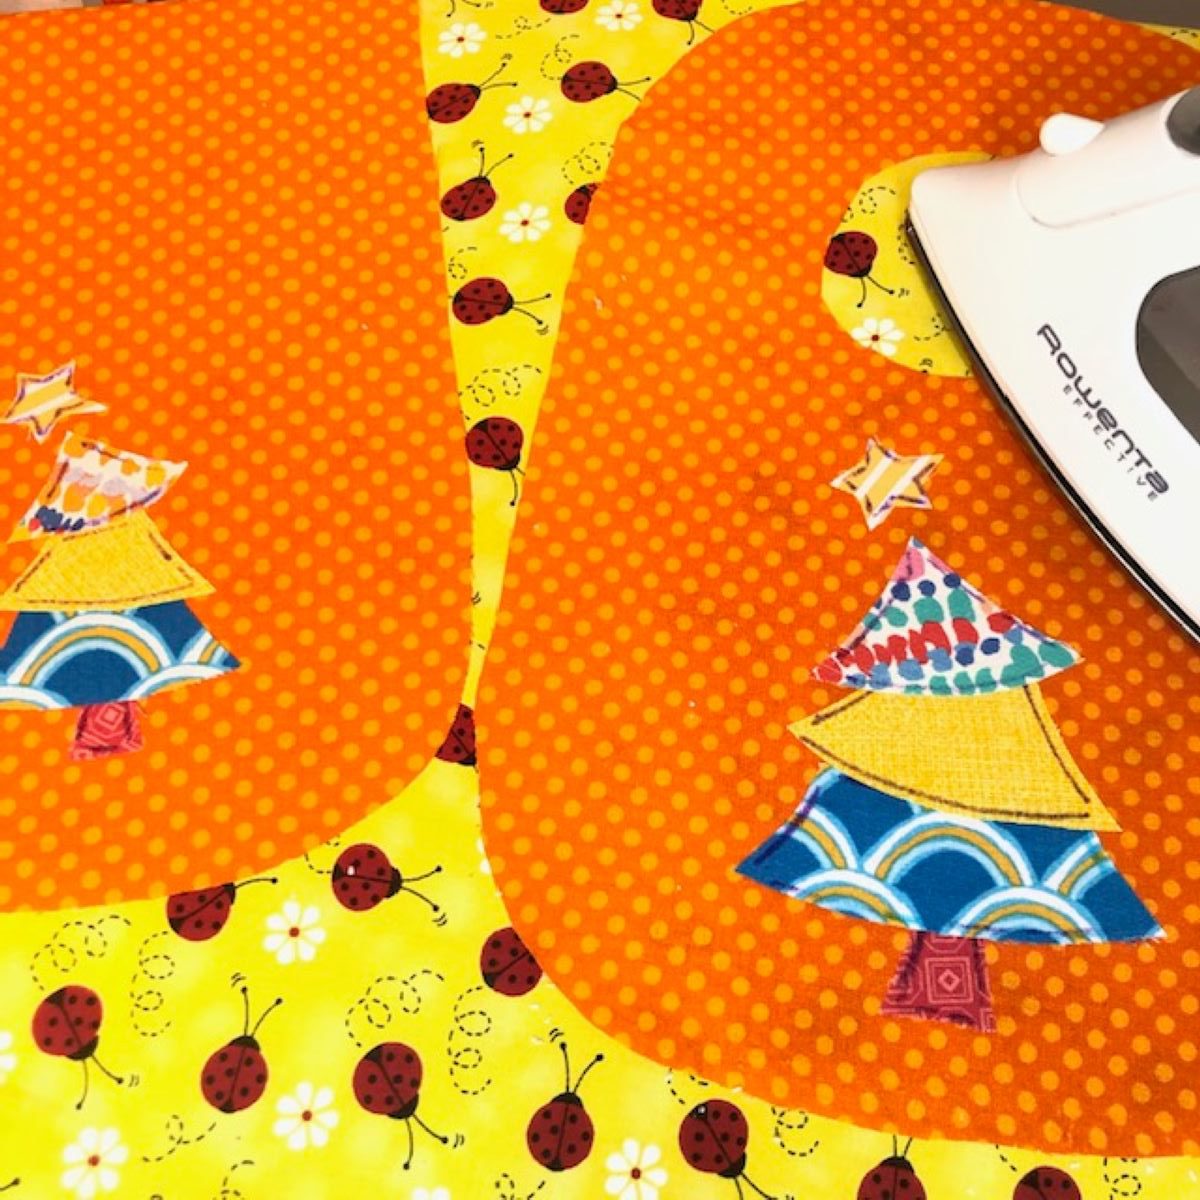
Step 5: Fuse Design in Place
- Preheat iron.
- Transfer project to ironing board for this step so you don’t have to worry about your pieces shifting as you move it.
- Remove paper backing and place pieces on project as desired. Hint: I like using a whimsical design because it doesn’t have to be perfect. Have fun with this and save your time for things you need to be perfect. This isn’t one of them!
- Press in place according to manufacturer’s directions. I chose to do a line of stitching around the pieces, but I’m not sure it was necessary. My pieces held in place just fine and I had to remove some of the visible stitching later.
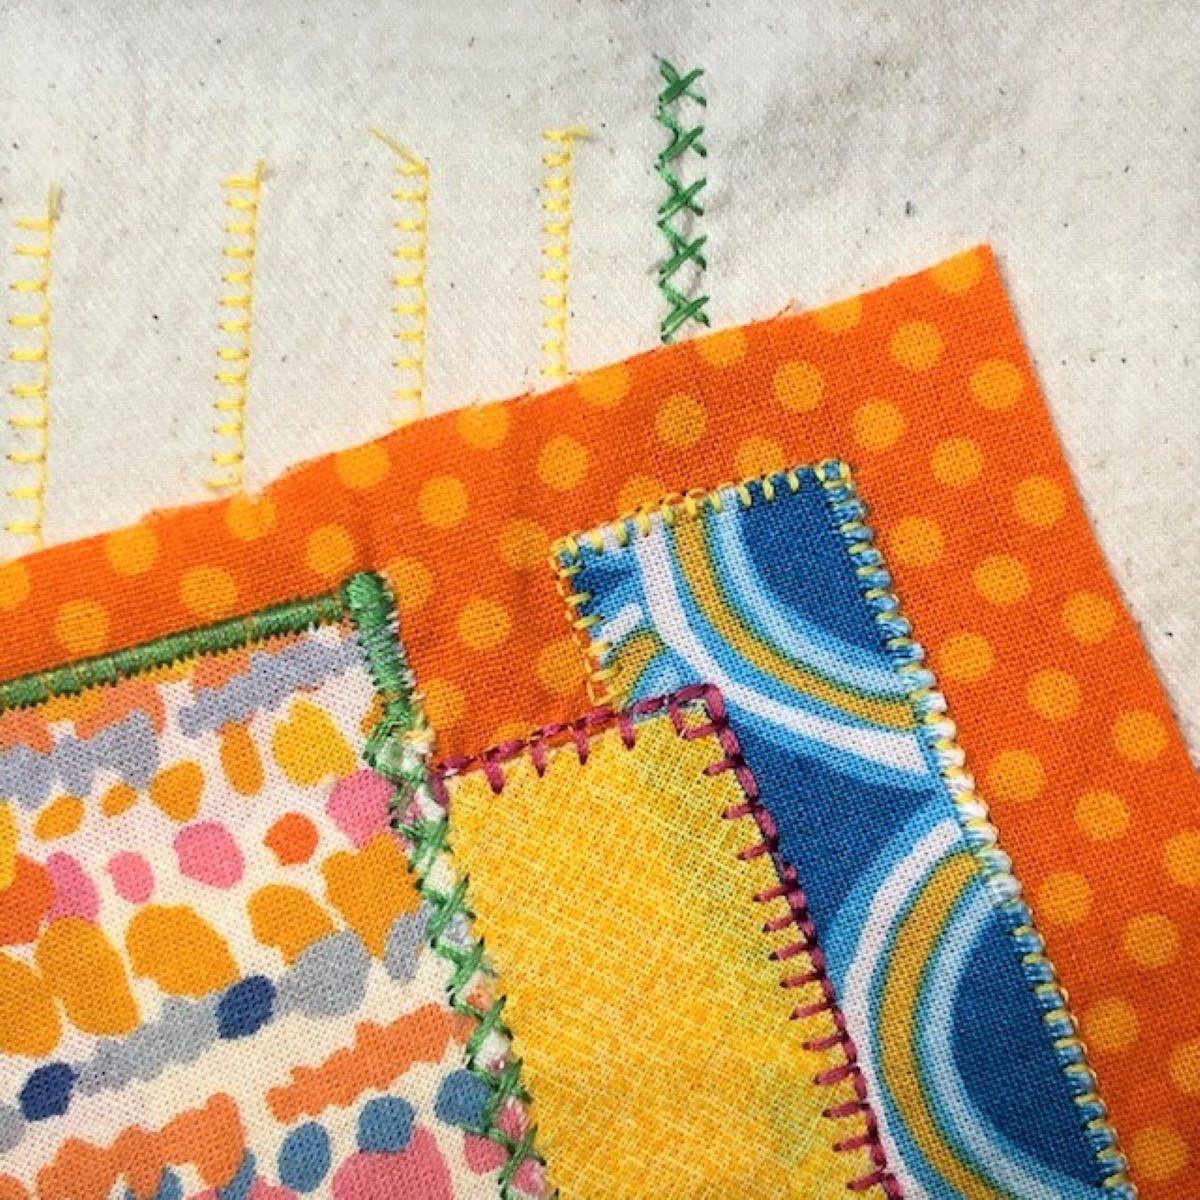
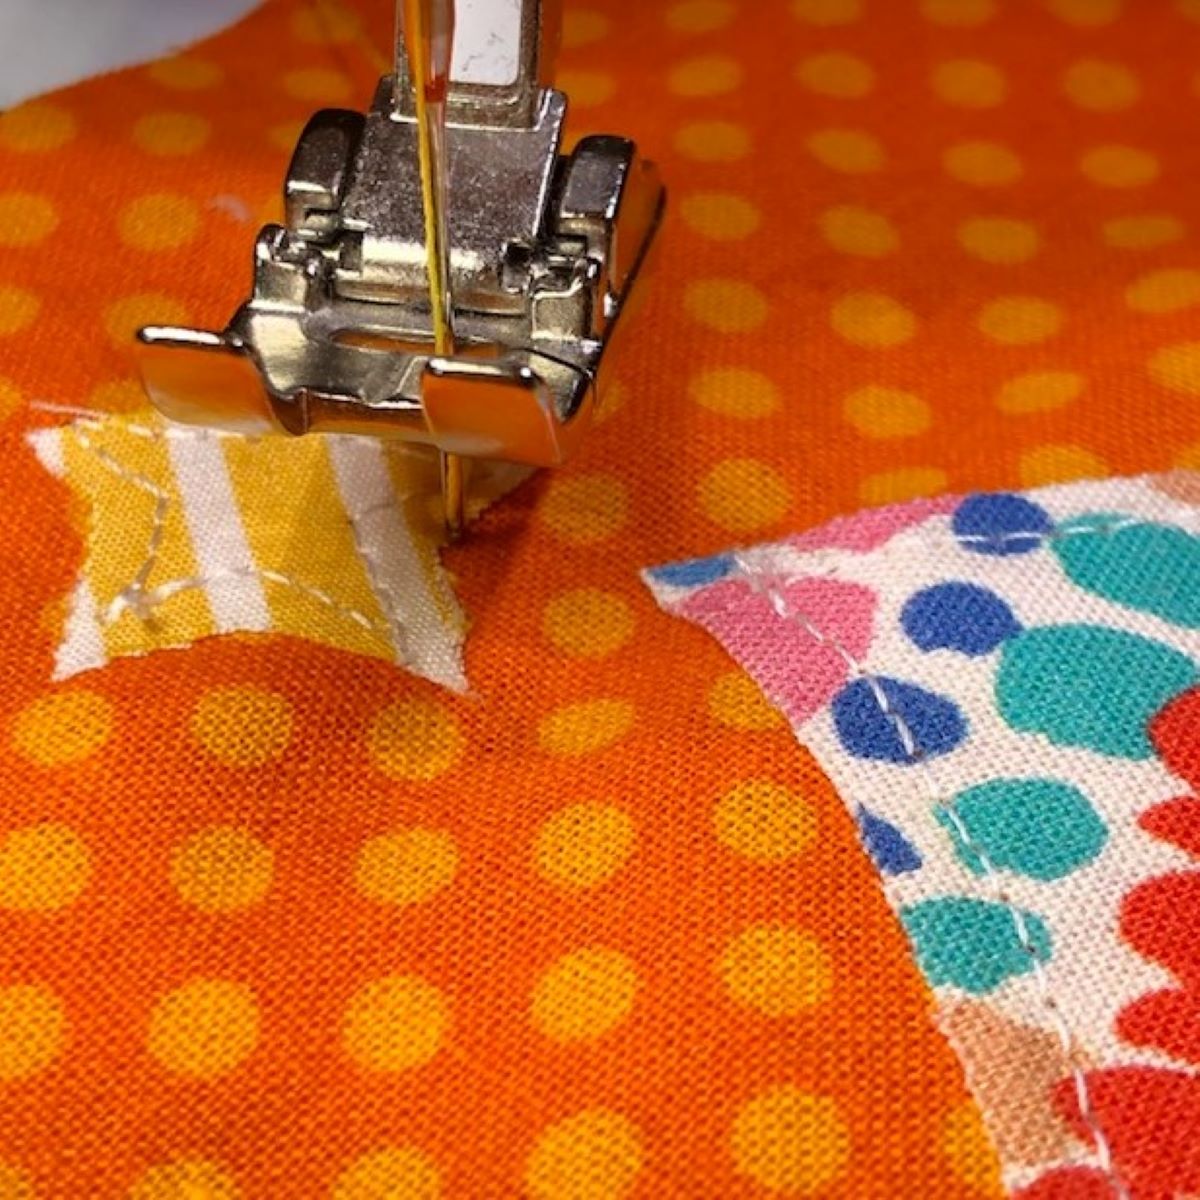
Step 6: Choose Appliqué Stitch(es) (Practice Sample)
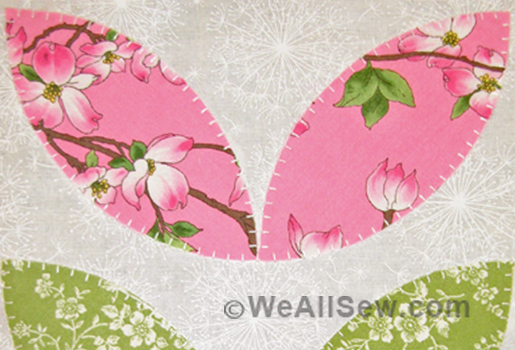
I highly recommend making a small sample using some scraps. It was well-worth the time for me in order to choose my thread colors and stitch patterns. In all transparency, I started this project assuming I’d do a zig-zag satin stitch, because that’s what I’ve always done. It was fun to browse through the stitch options on my BERNINA 435. I just fell in love with the blanket stitches (#1309 and #1310) because they really added to the whimsical look I was hoping for.
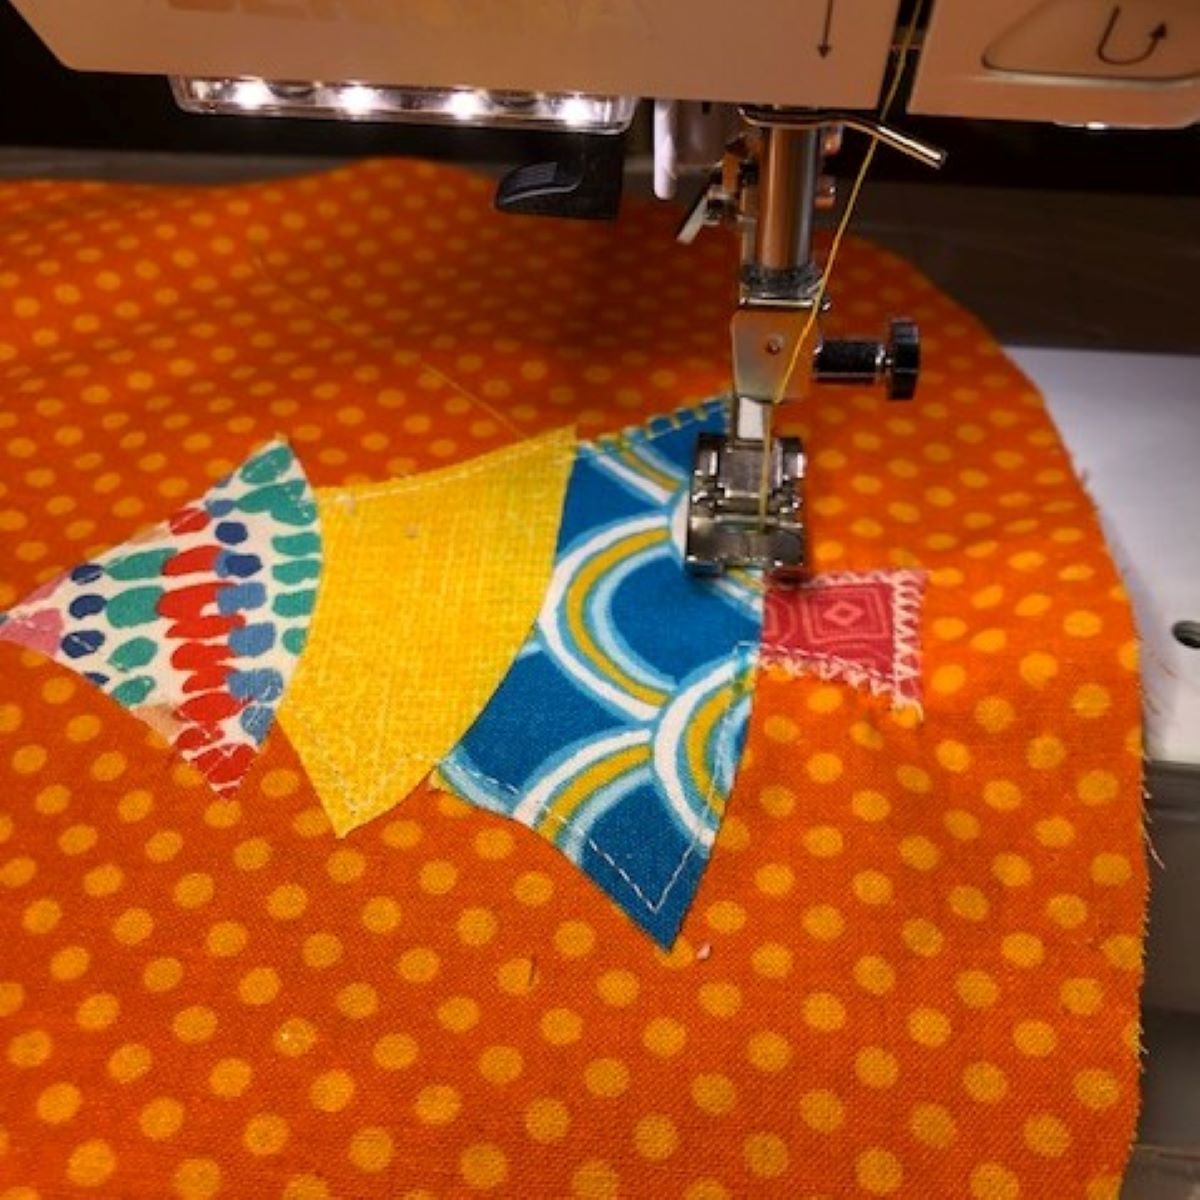
Step 7: Complete Appliqué
I went from bottom to top with my stitching because of the nature of my design. Depending on your design, choose ahead of time which order you will do. Again, do yourself a favor and do the steps on both the bib and burp cloth before moving on.
Best Hint EVER: Go Slowly! This is not a sign of a beginner, it is the sign of one who knows from experience!
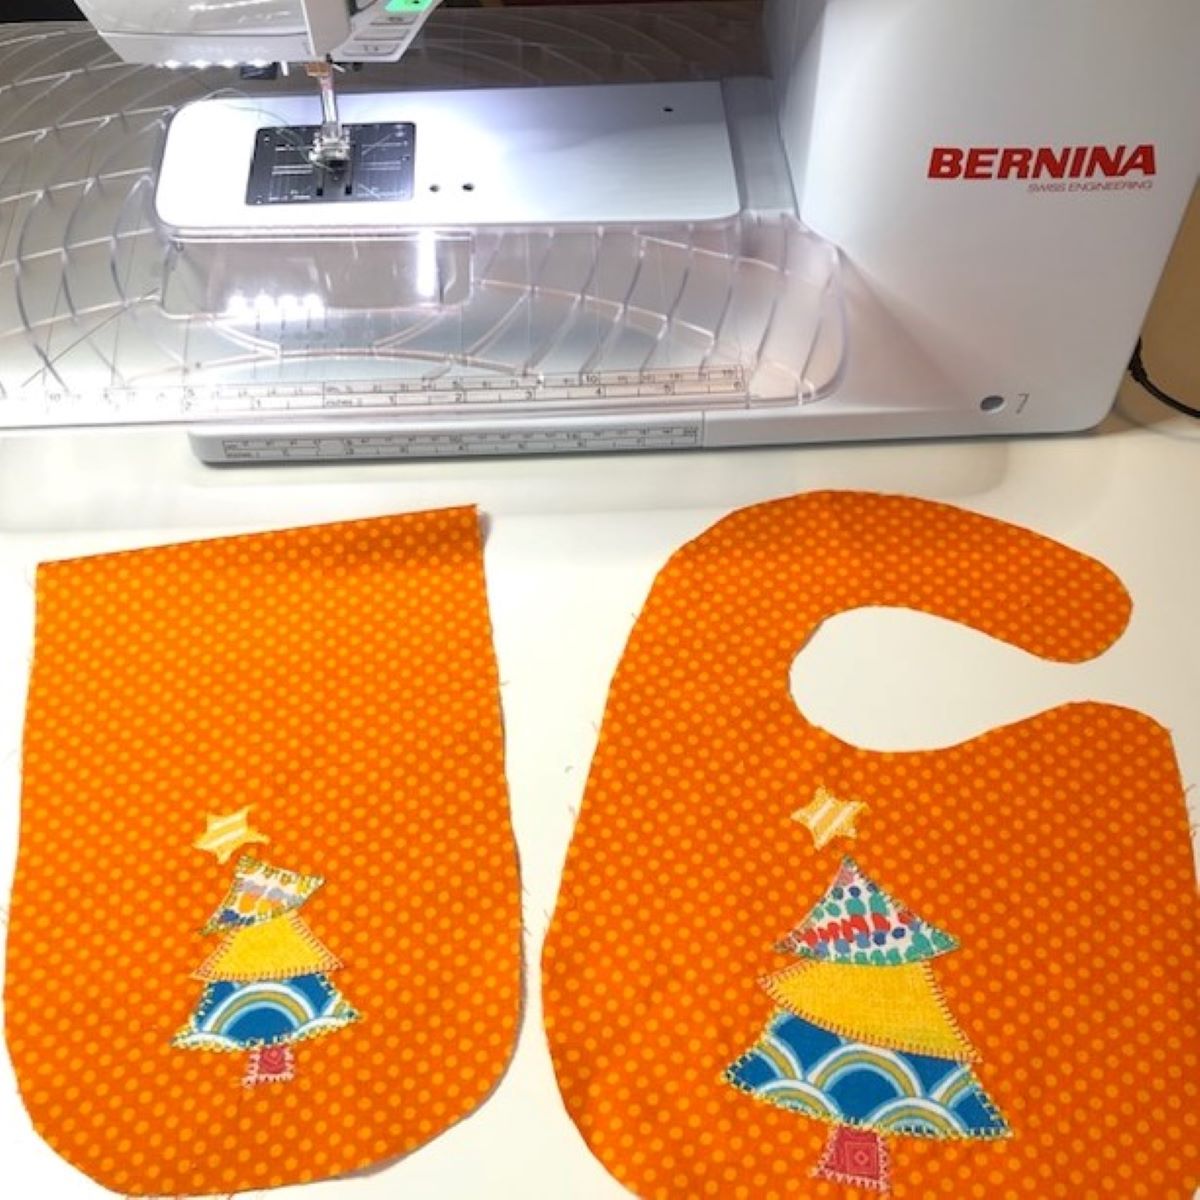
Here is the appliqué stitch info for my design:
-
- Trunk: #302, 3.0 length, 3.5 width
- Bottom: #1310, 3.5 length, 3.5 width
- Middle: #1309, 2.55 length, 3.5 width
- Top: #1309, 2.55 length, 3.5 width
- Star: #1309, 2.05 length, 2.3 width
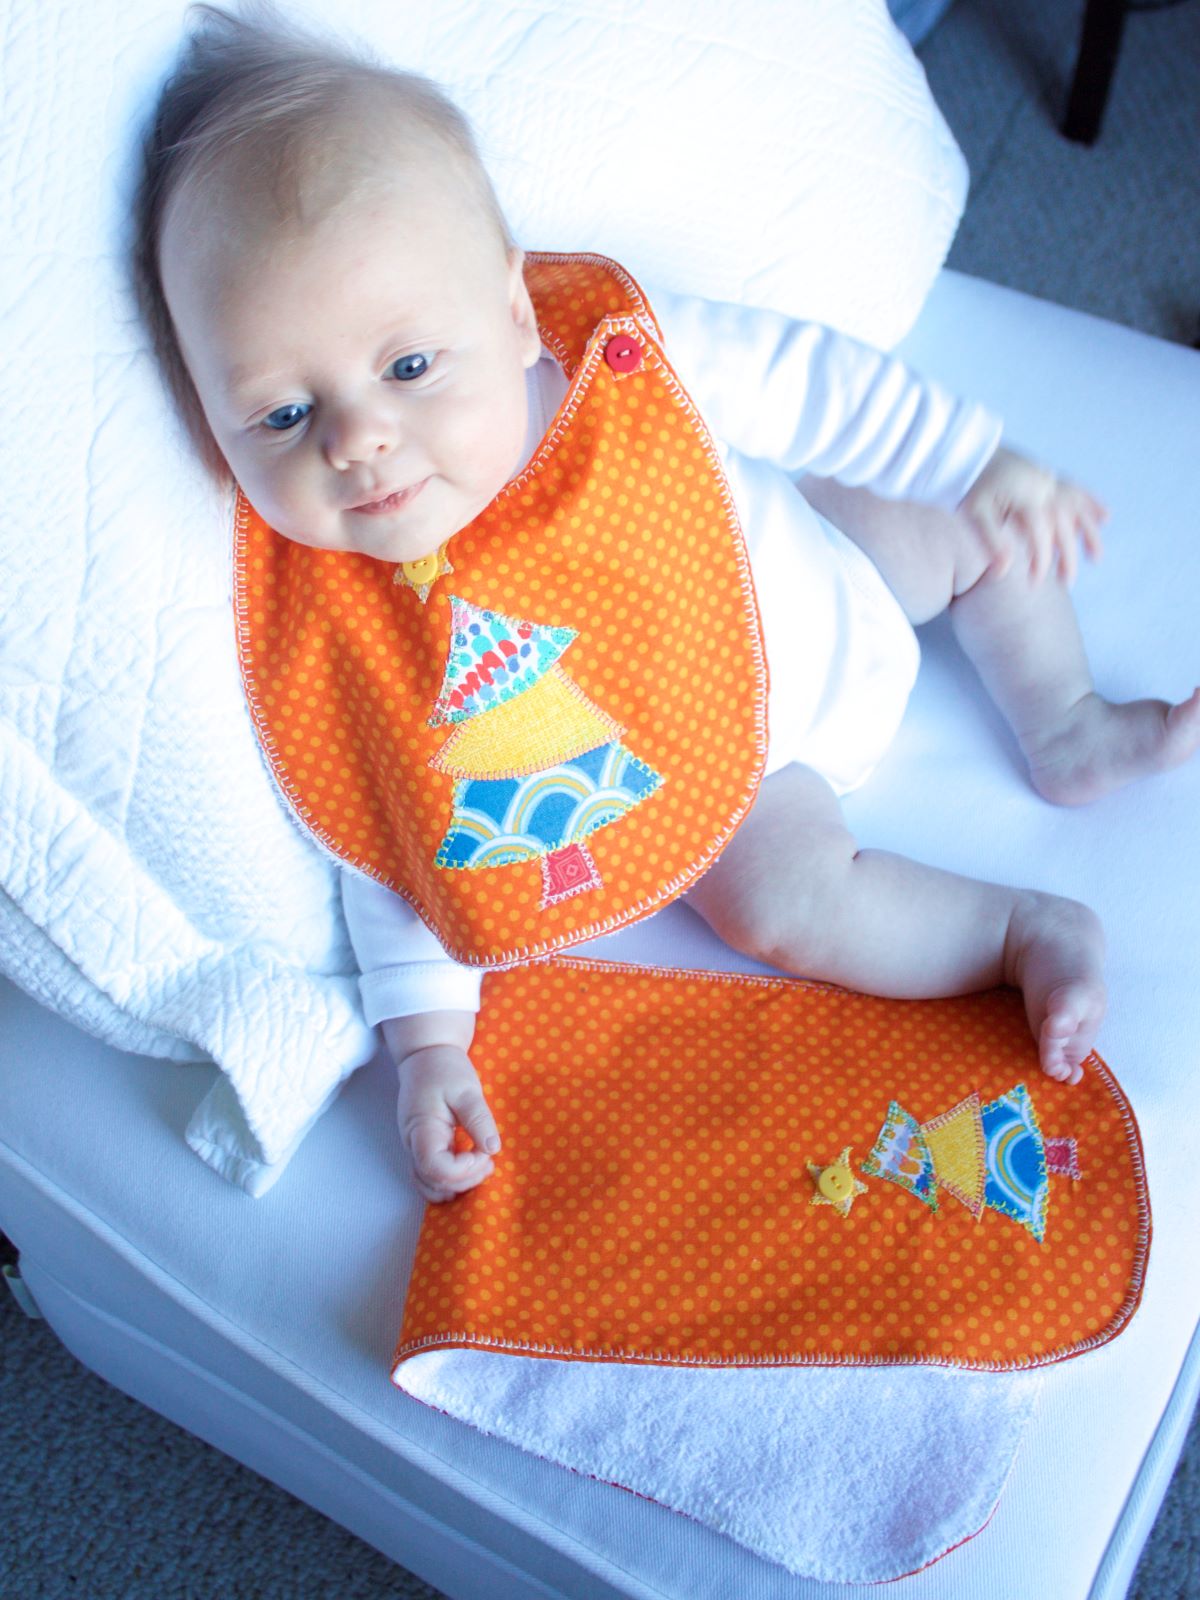
How cute is this?
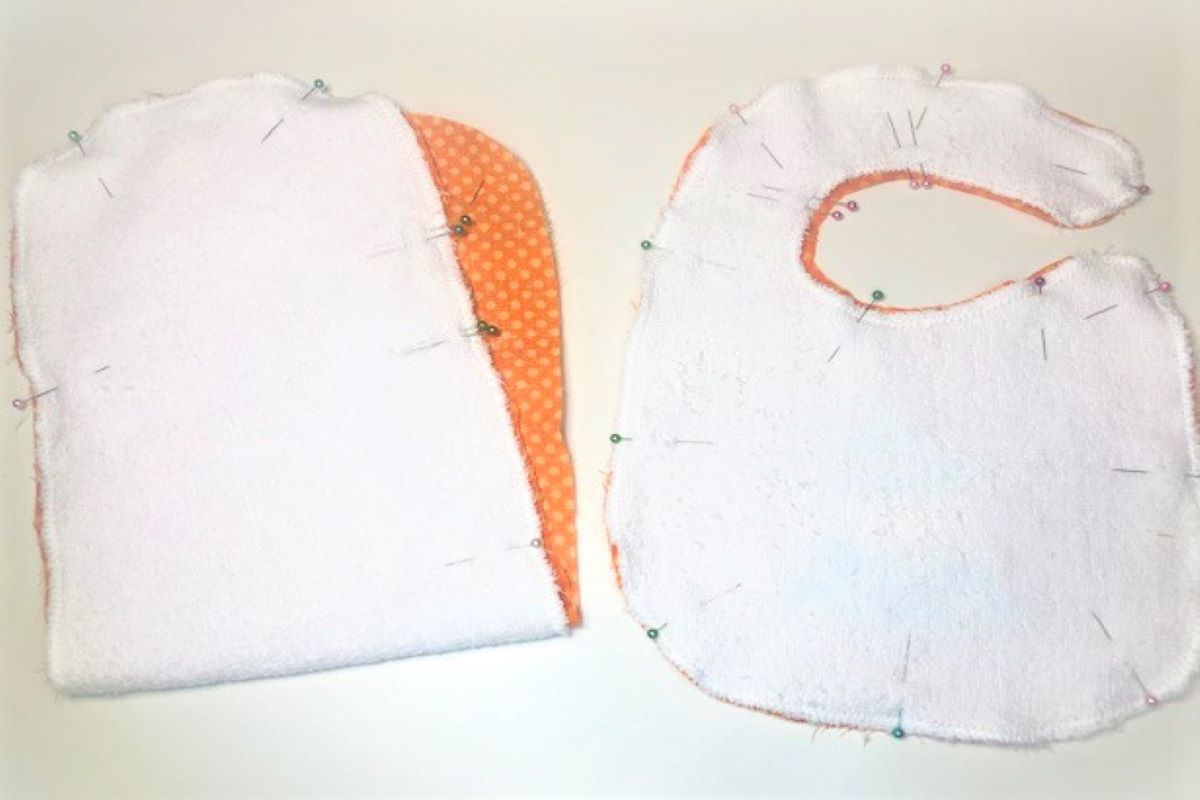
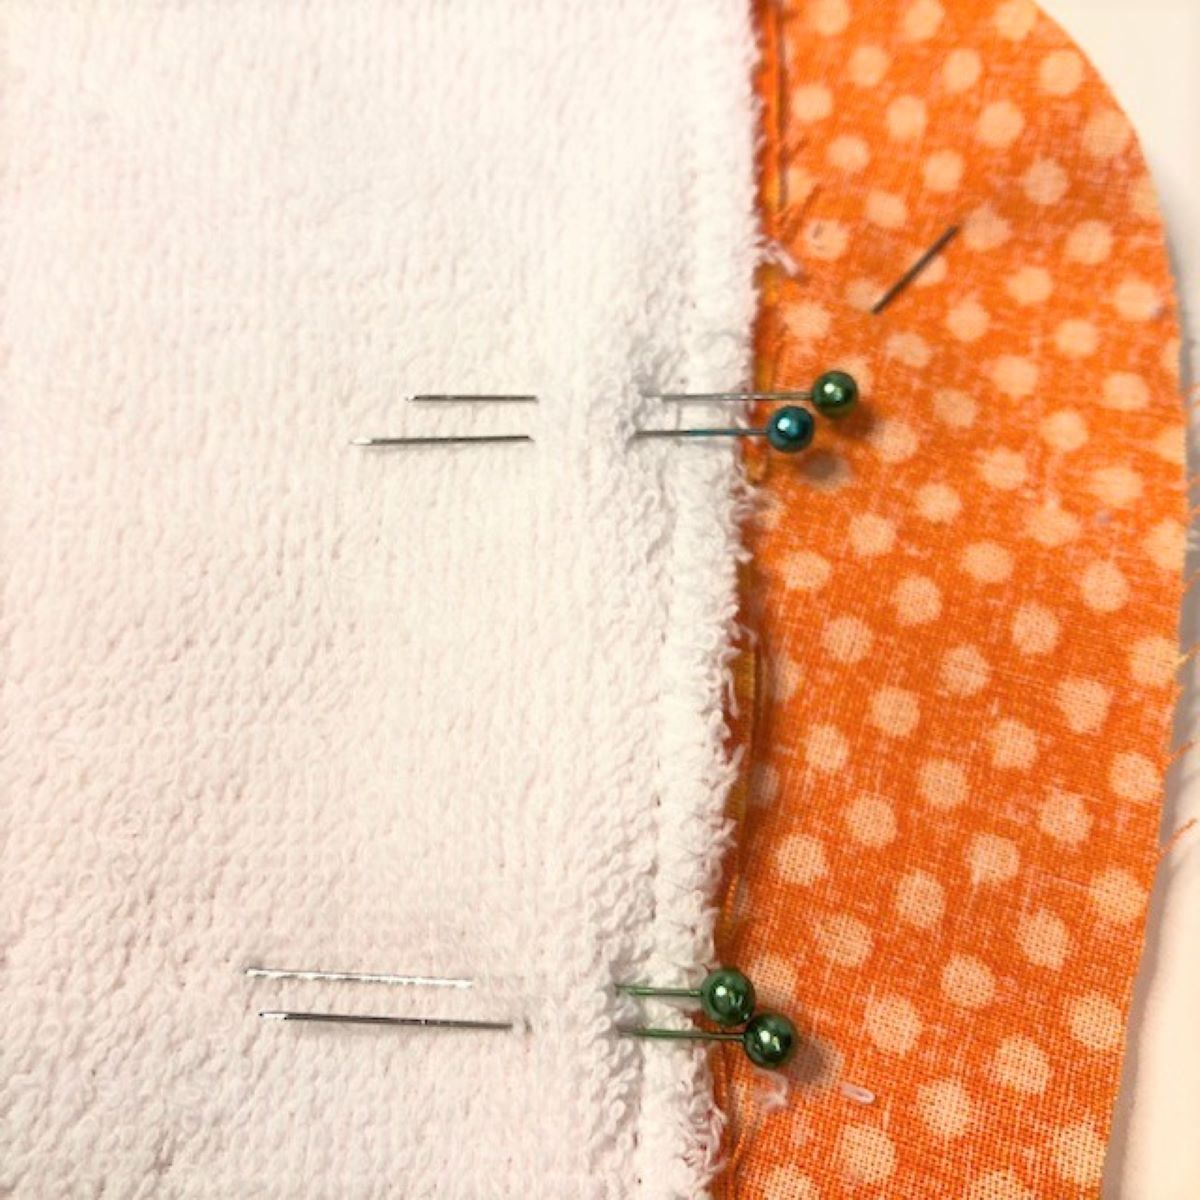
Step 8: Pin, Sew, and Turn Bib and Burp Cloth Fronts and Backs
- Pin fronts to backs, right sides together.
- I try to place my opening (marked by the double pins) in an out of the way place. I chose to have mine terrycloth side up, so I could use the overlock seam as my stitching guide.
- Hint: I use the blunt end of a wooded knitting needle to gently turn project right side out. I run it along the entire perimeter to be sure the seams are completely turned. Press.
Step 7: Close opening and Top-Stitch
Hint: your top stitching will close the opening, but since you have your fusible web handy, just cut a piece to fit your opening and press to secure. Easy!
Here again, I started this project assuming I’d do it like I’ve always done it. Once I saw how much I liked the blanket stitch, I decided to use this instead of a straight stitch. I used stitch #1310 because it is a heavier pattern with a hand-stitched appearance. I used a 4.0 length/4.0 width for the bib and a 3.5 length/3.5 width for the burp cloth). It did take a lot more thread than a straight stitch, so be sure you’re working with a full bobbin. Ask me how I know this.

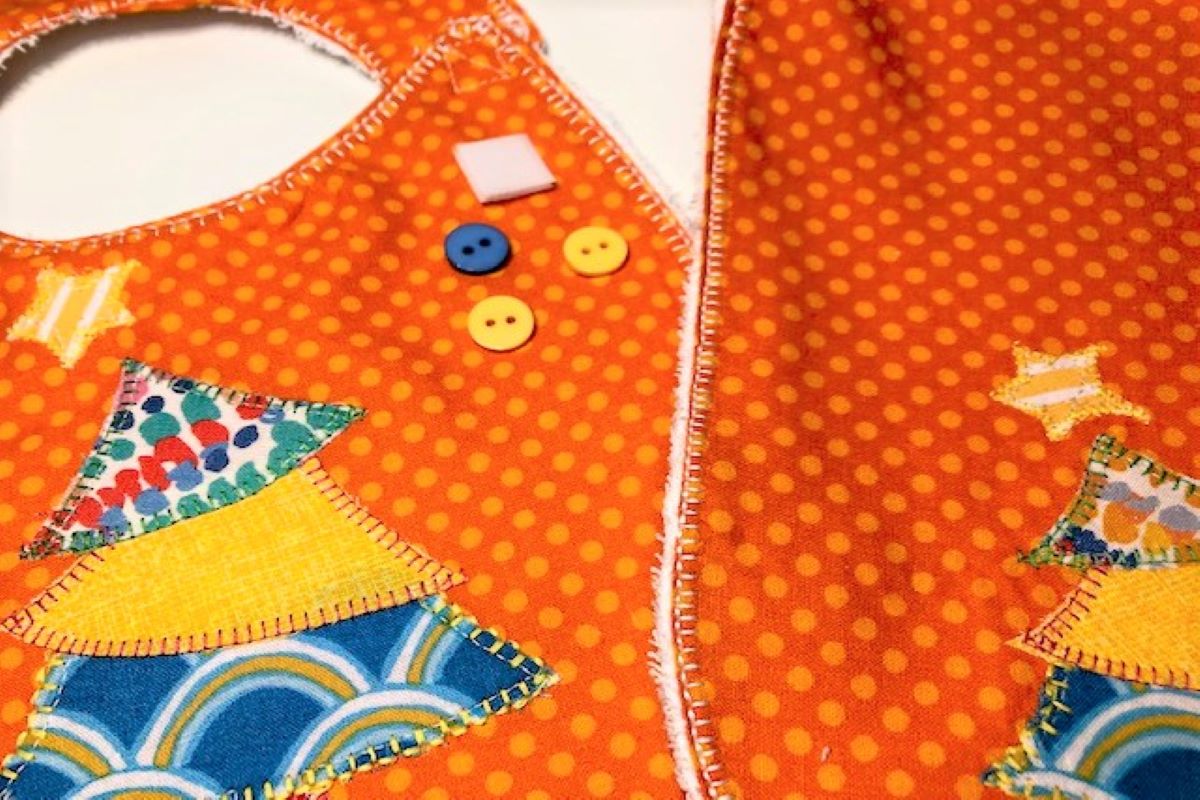
Step 8: Add Bib Fastener, Embellish and Enjoy!
- Choose your preferred bib fastener. Because this is intended to be a quick project, I used hook and loop tape. You can use ribbons, snaps, or if you want to practice your skills, the B435 has a pretty sweet automatic buttonhole stitch. Check out this Buttonhole Video Tutorial if you need help.
- All along, I wasn’t super excited with how the star looked and decided buttons could add the little bit of pizzazz I was looking for. I think it did the trick.
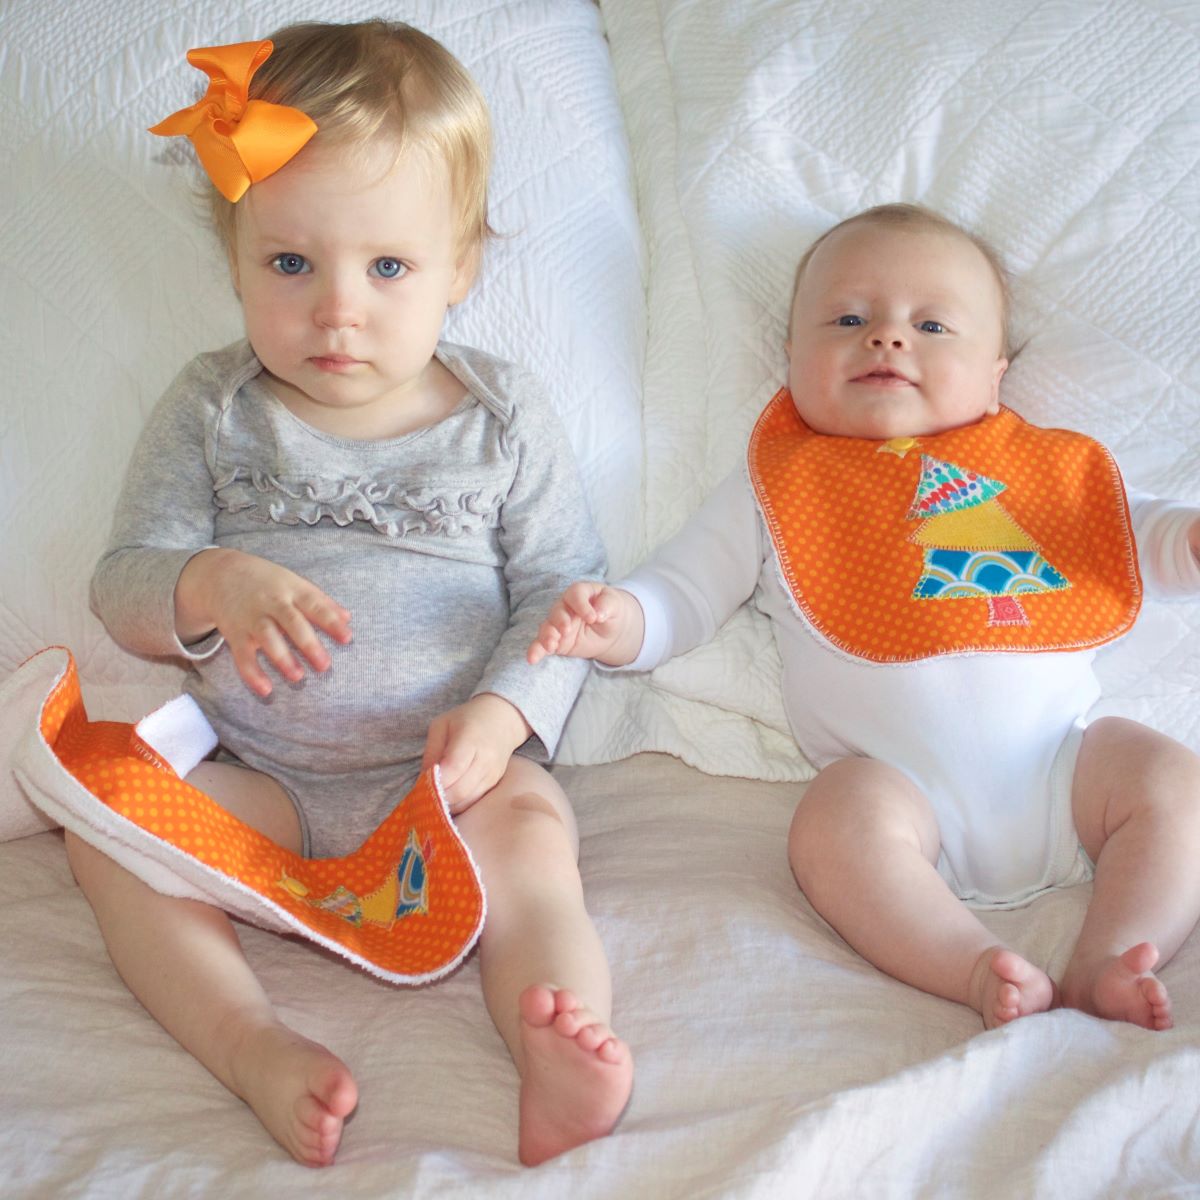
What do you think? I’d love to hear about the creative appliquéd baby bib and matching burp cloth sets you came up with and hope I was able to provide a little encouragement and inspiration. Cheers!