Sew a Baby Burp Cloth
Babies in the family always bring lots of fun! Gifts made personally are always fun to make and greatly appreciated. Baby burp cloths are always the best gift for expecting parents.
Materials used for Baby Burp Cloth:
-
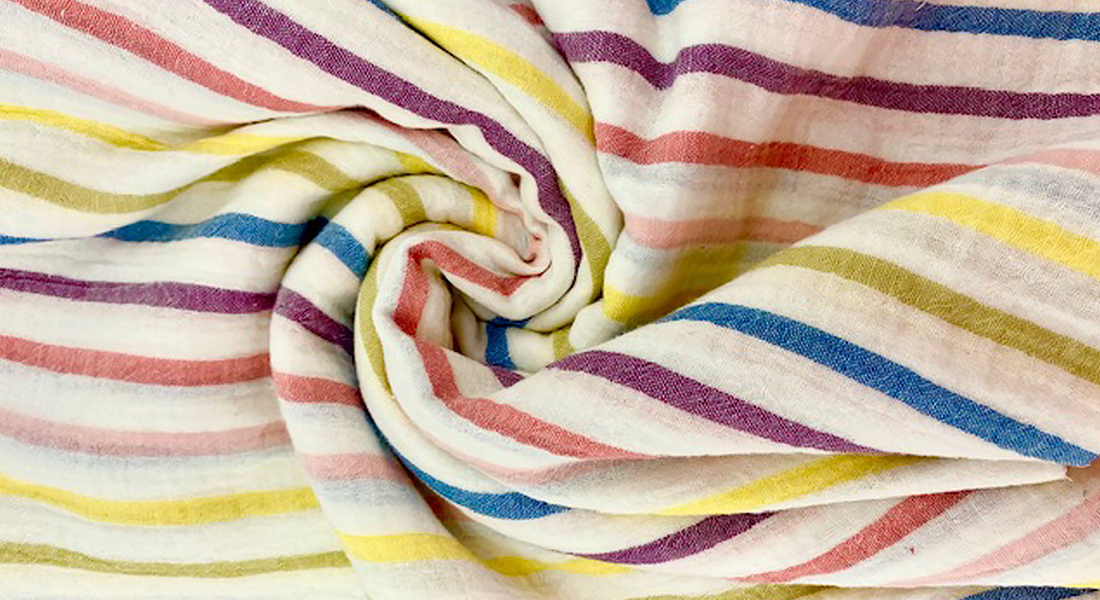
- 2 – 8.5 by 17 inch pieces of flannel
- Cotton thread
- Iron
- embroidery module
- embroidery thread
- Cut away stabilizer
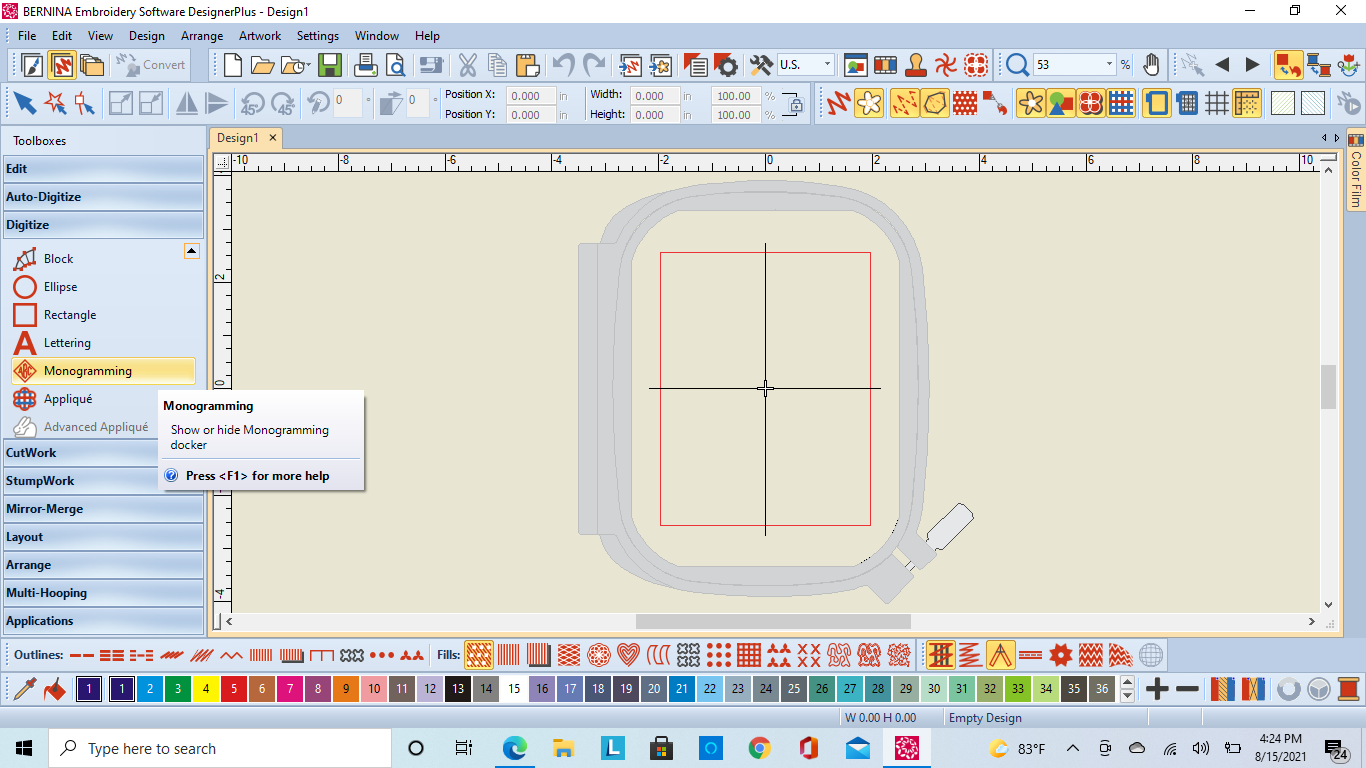
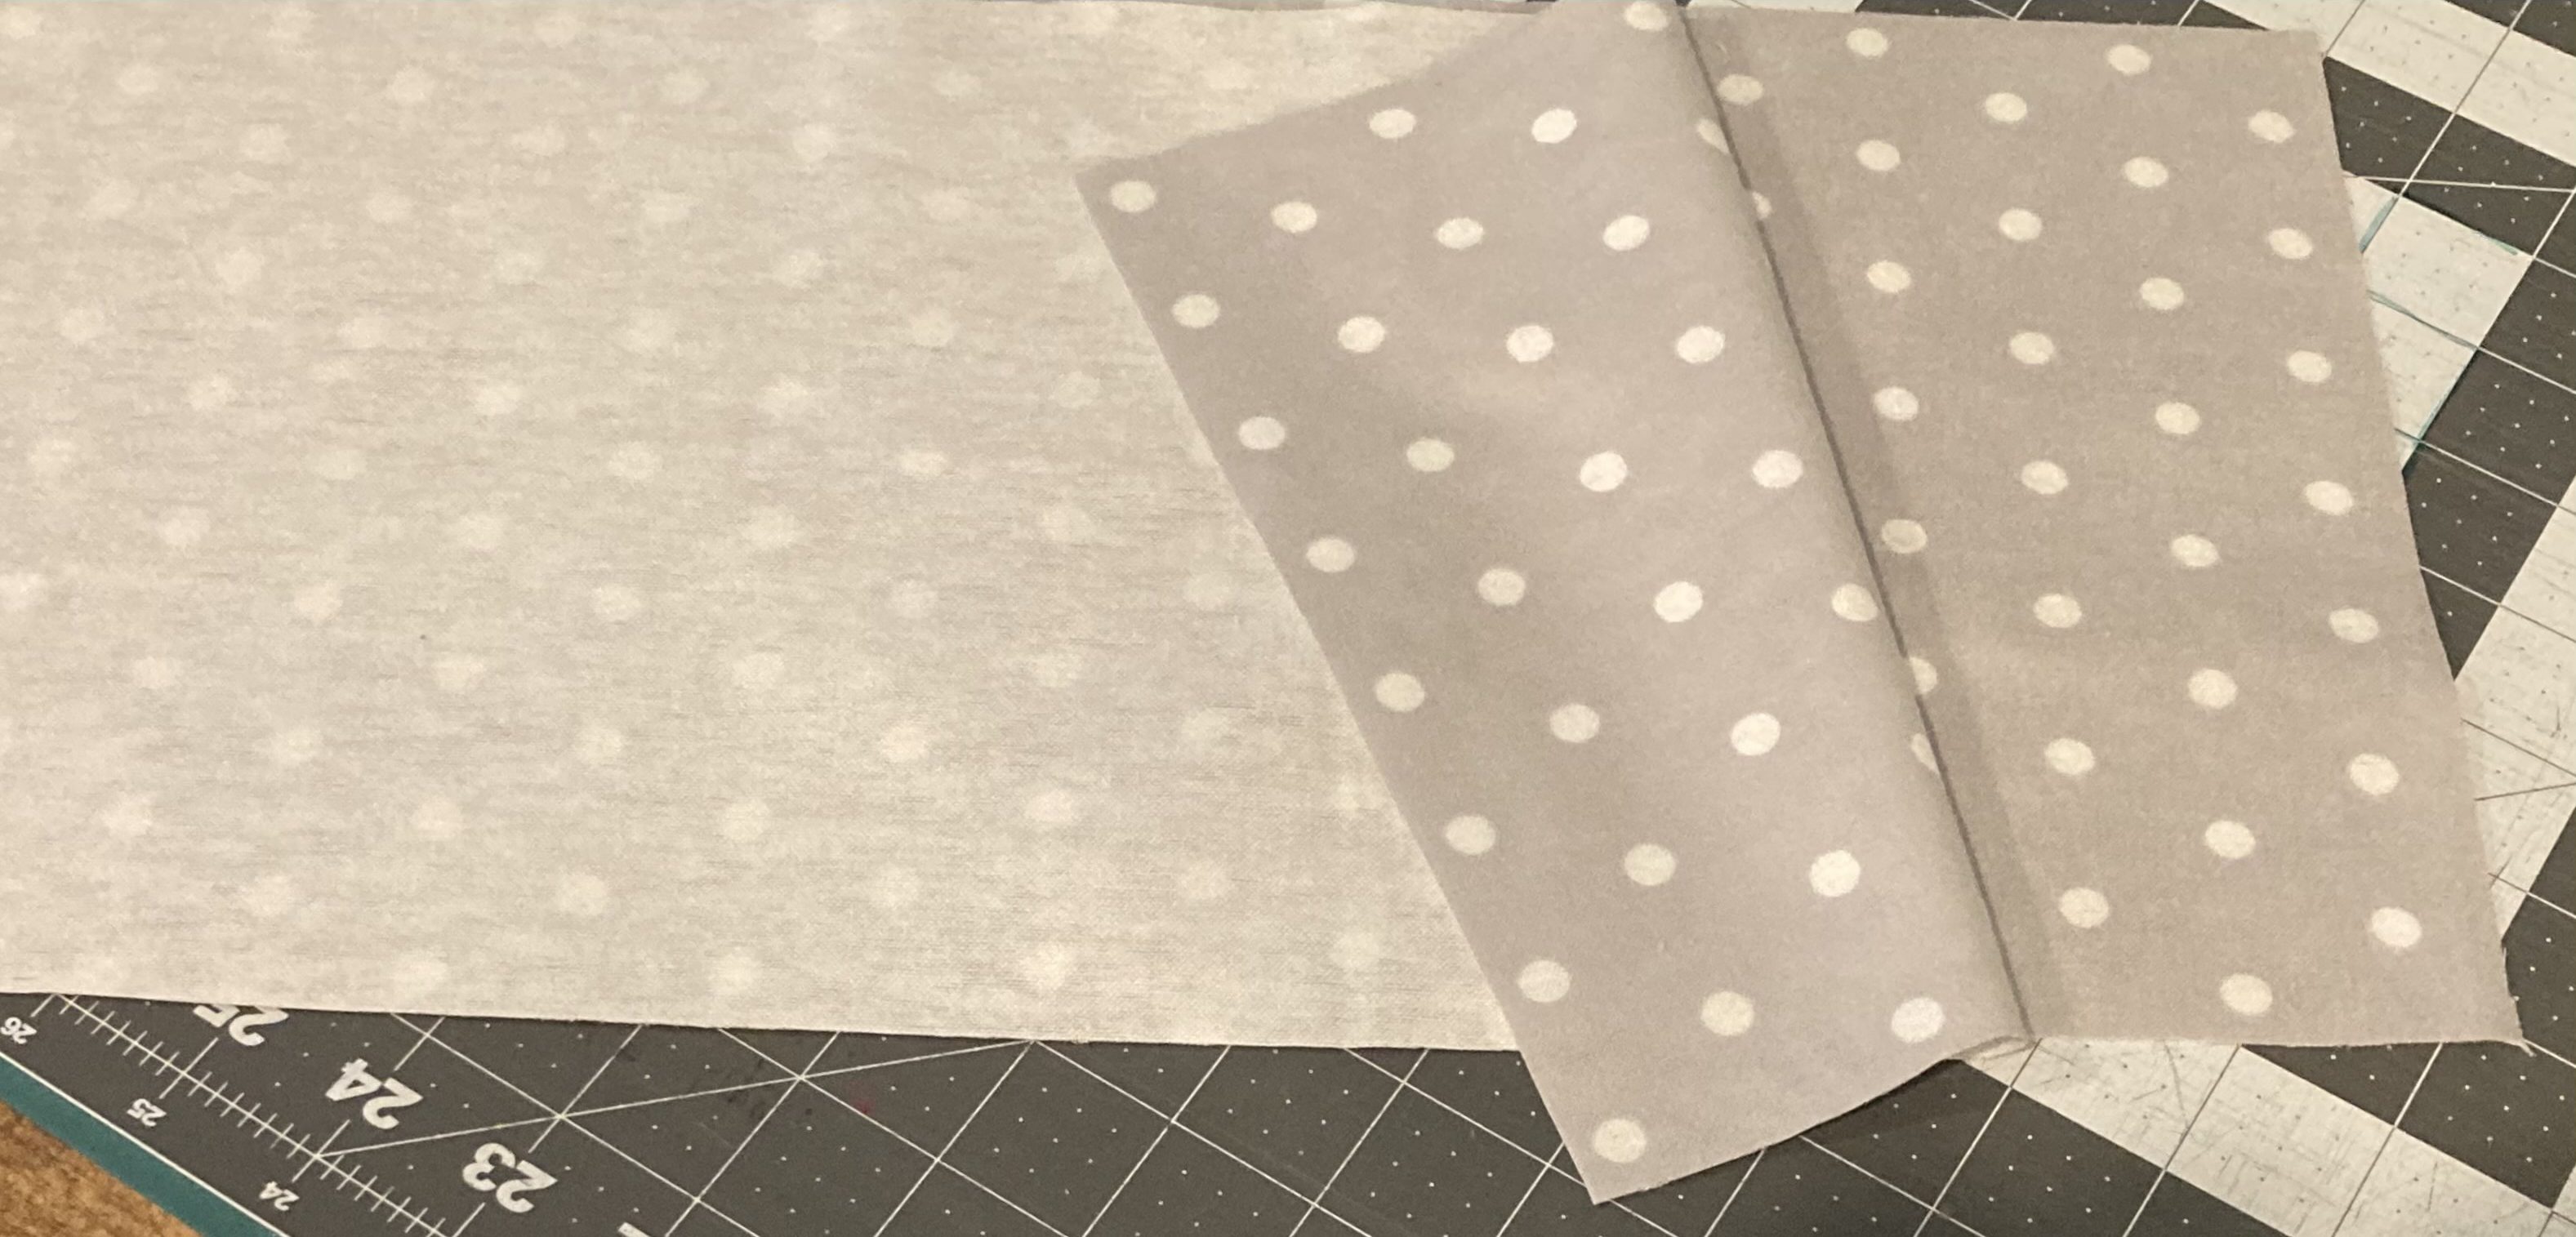
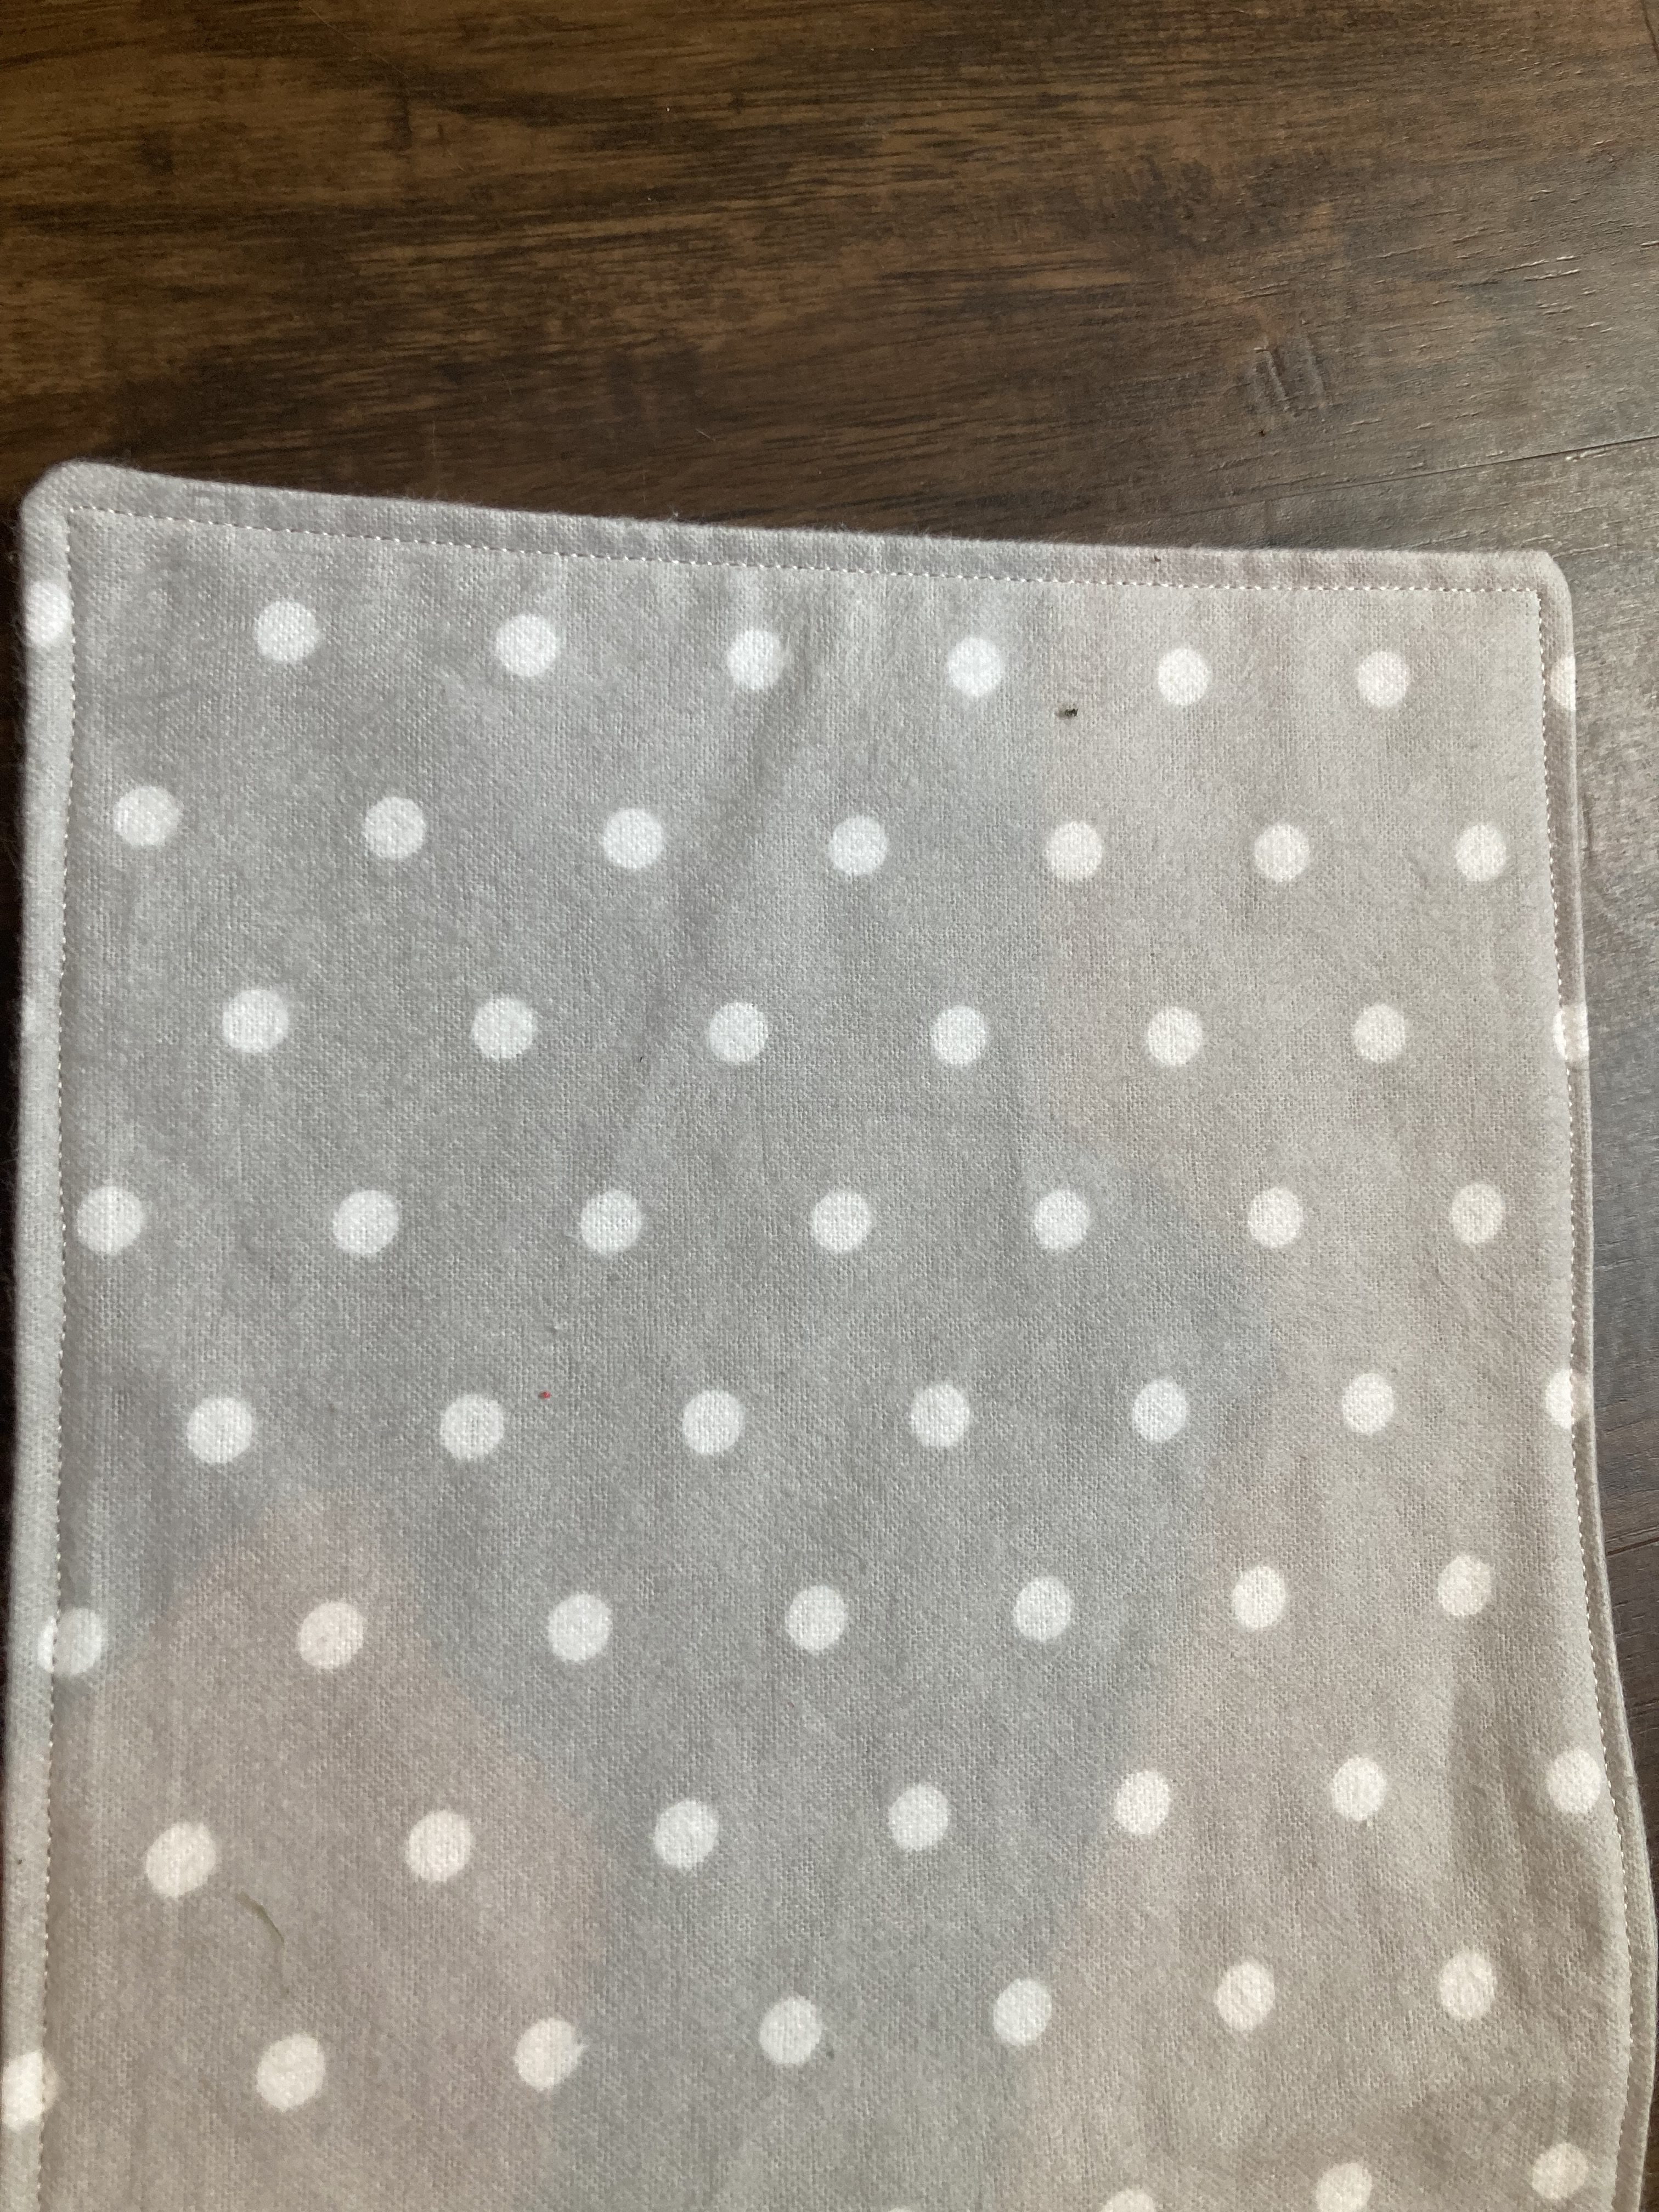
I used the same fabric for both sides, but you could also use 2 different coordinating fabrics. Cut to your desired shape; I made a rectangle. I cut mine 8.5 inches by 17 inches, this size worked great! To get started you will want to make sure that you have your embroidery module ready. To start you will need your software. Open the digitizing toolbar.
Then go to the monogram.
Once monogramming has been opened, go to letters, and then I choose style 5. Scroll down to fonts. I chose Curlz MT. Insert your letters into the provided space. Then go to ornaments, click add from patterns.
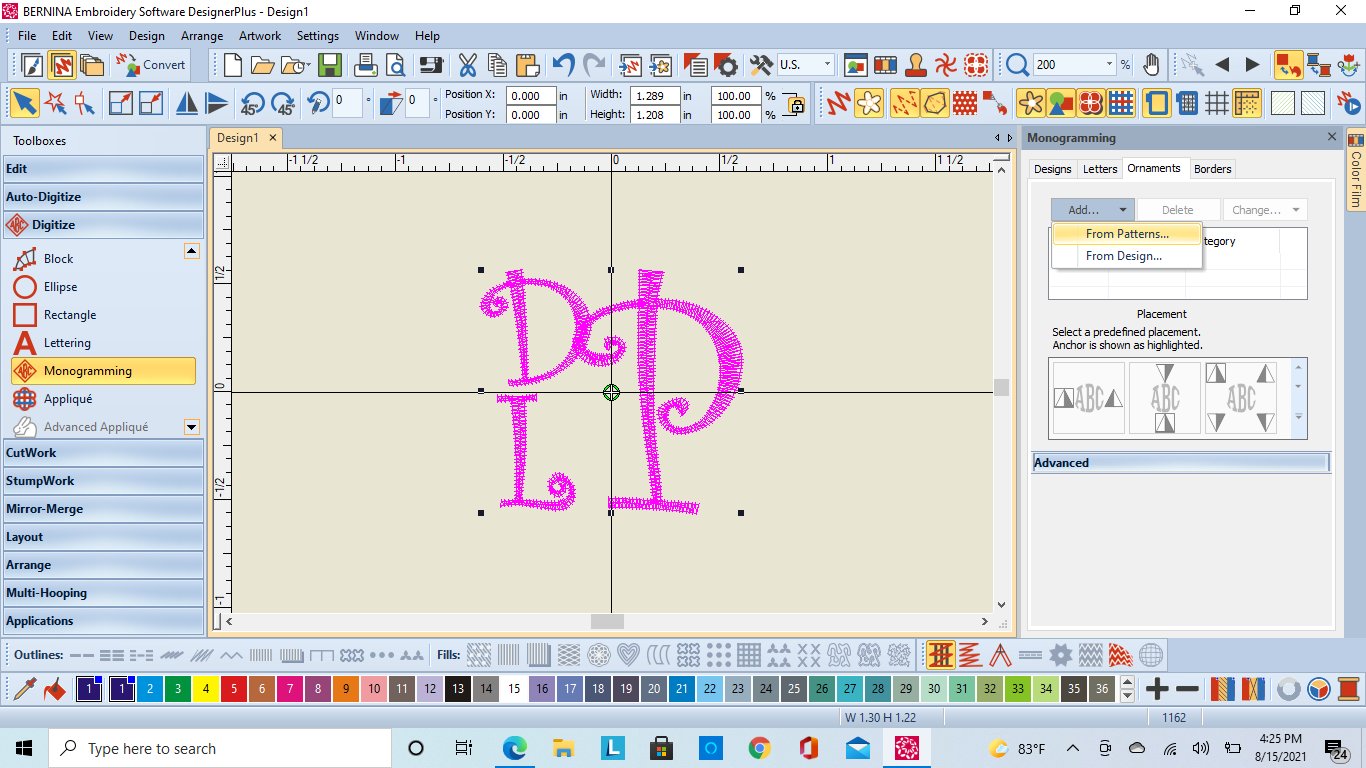
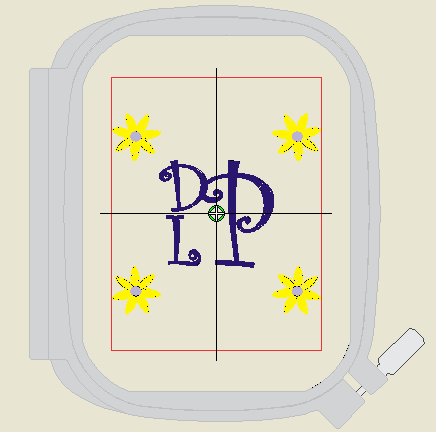
I choose the flowers, MO54a. Once you have chosen your pattern you will want to choose where you want the pattern according to the monogram. This wonderful software gives you three options:
- One starting on the left being the pattern going horizontal with the monogram
- Two being vertical with the monogram
- Three with the pattern being in all four corners around the monogram
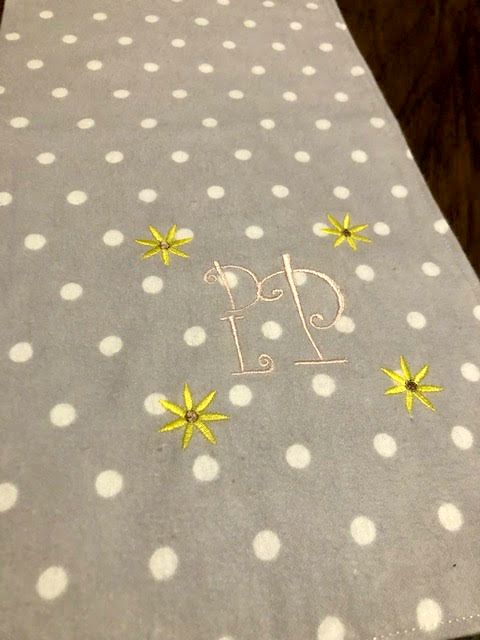
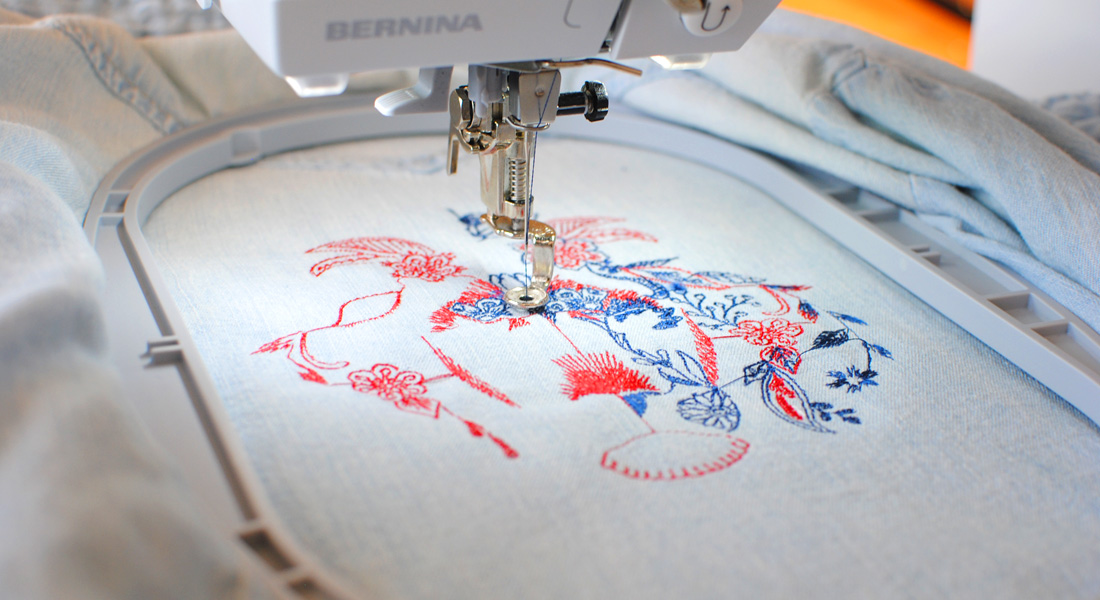
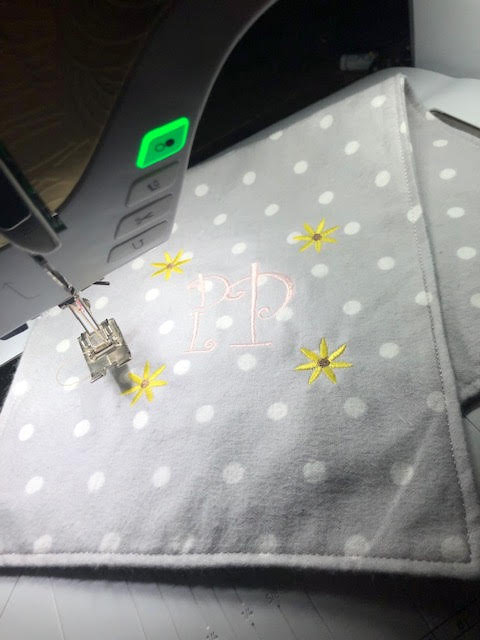
I choose option 3—all four corners patterned with the monogram in the middle. Here is what mine looked like.
Now that you have the pattern around your monogram it is time to embroider your creation. Take your design from your software and transfer it to your machine. I will be using the BERNINA medium hoop with a tearaway stabilizer. I prefer to float my fabrics and not hoop them in for this project. Make sure that you do a placement stitch so you know exactly where the design will be placed.
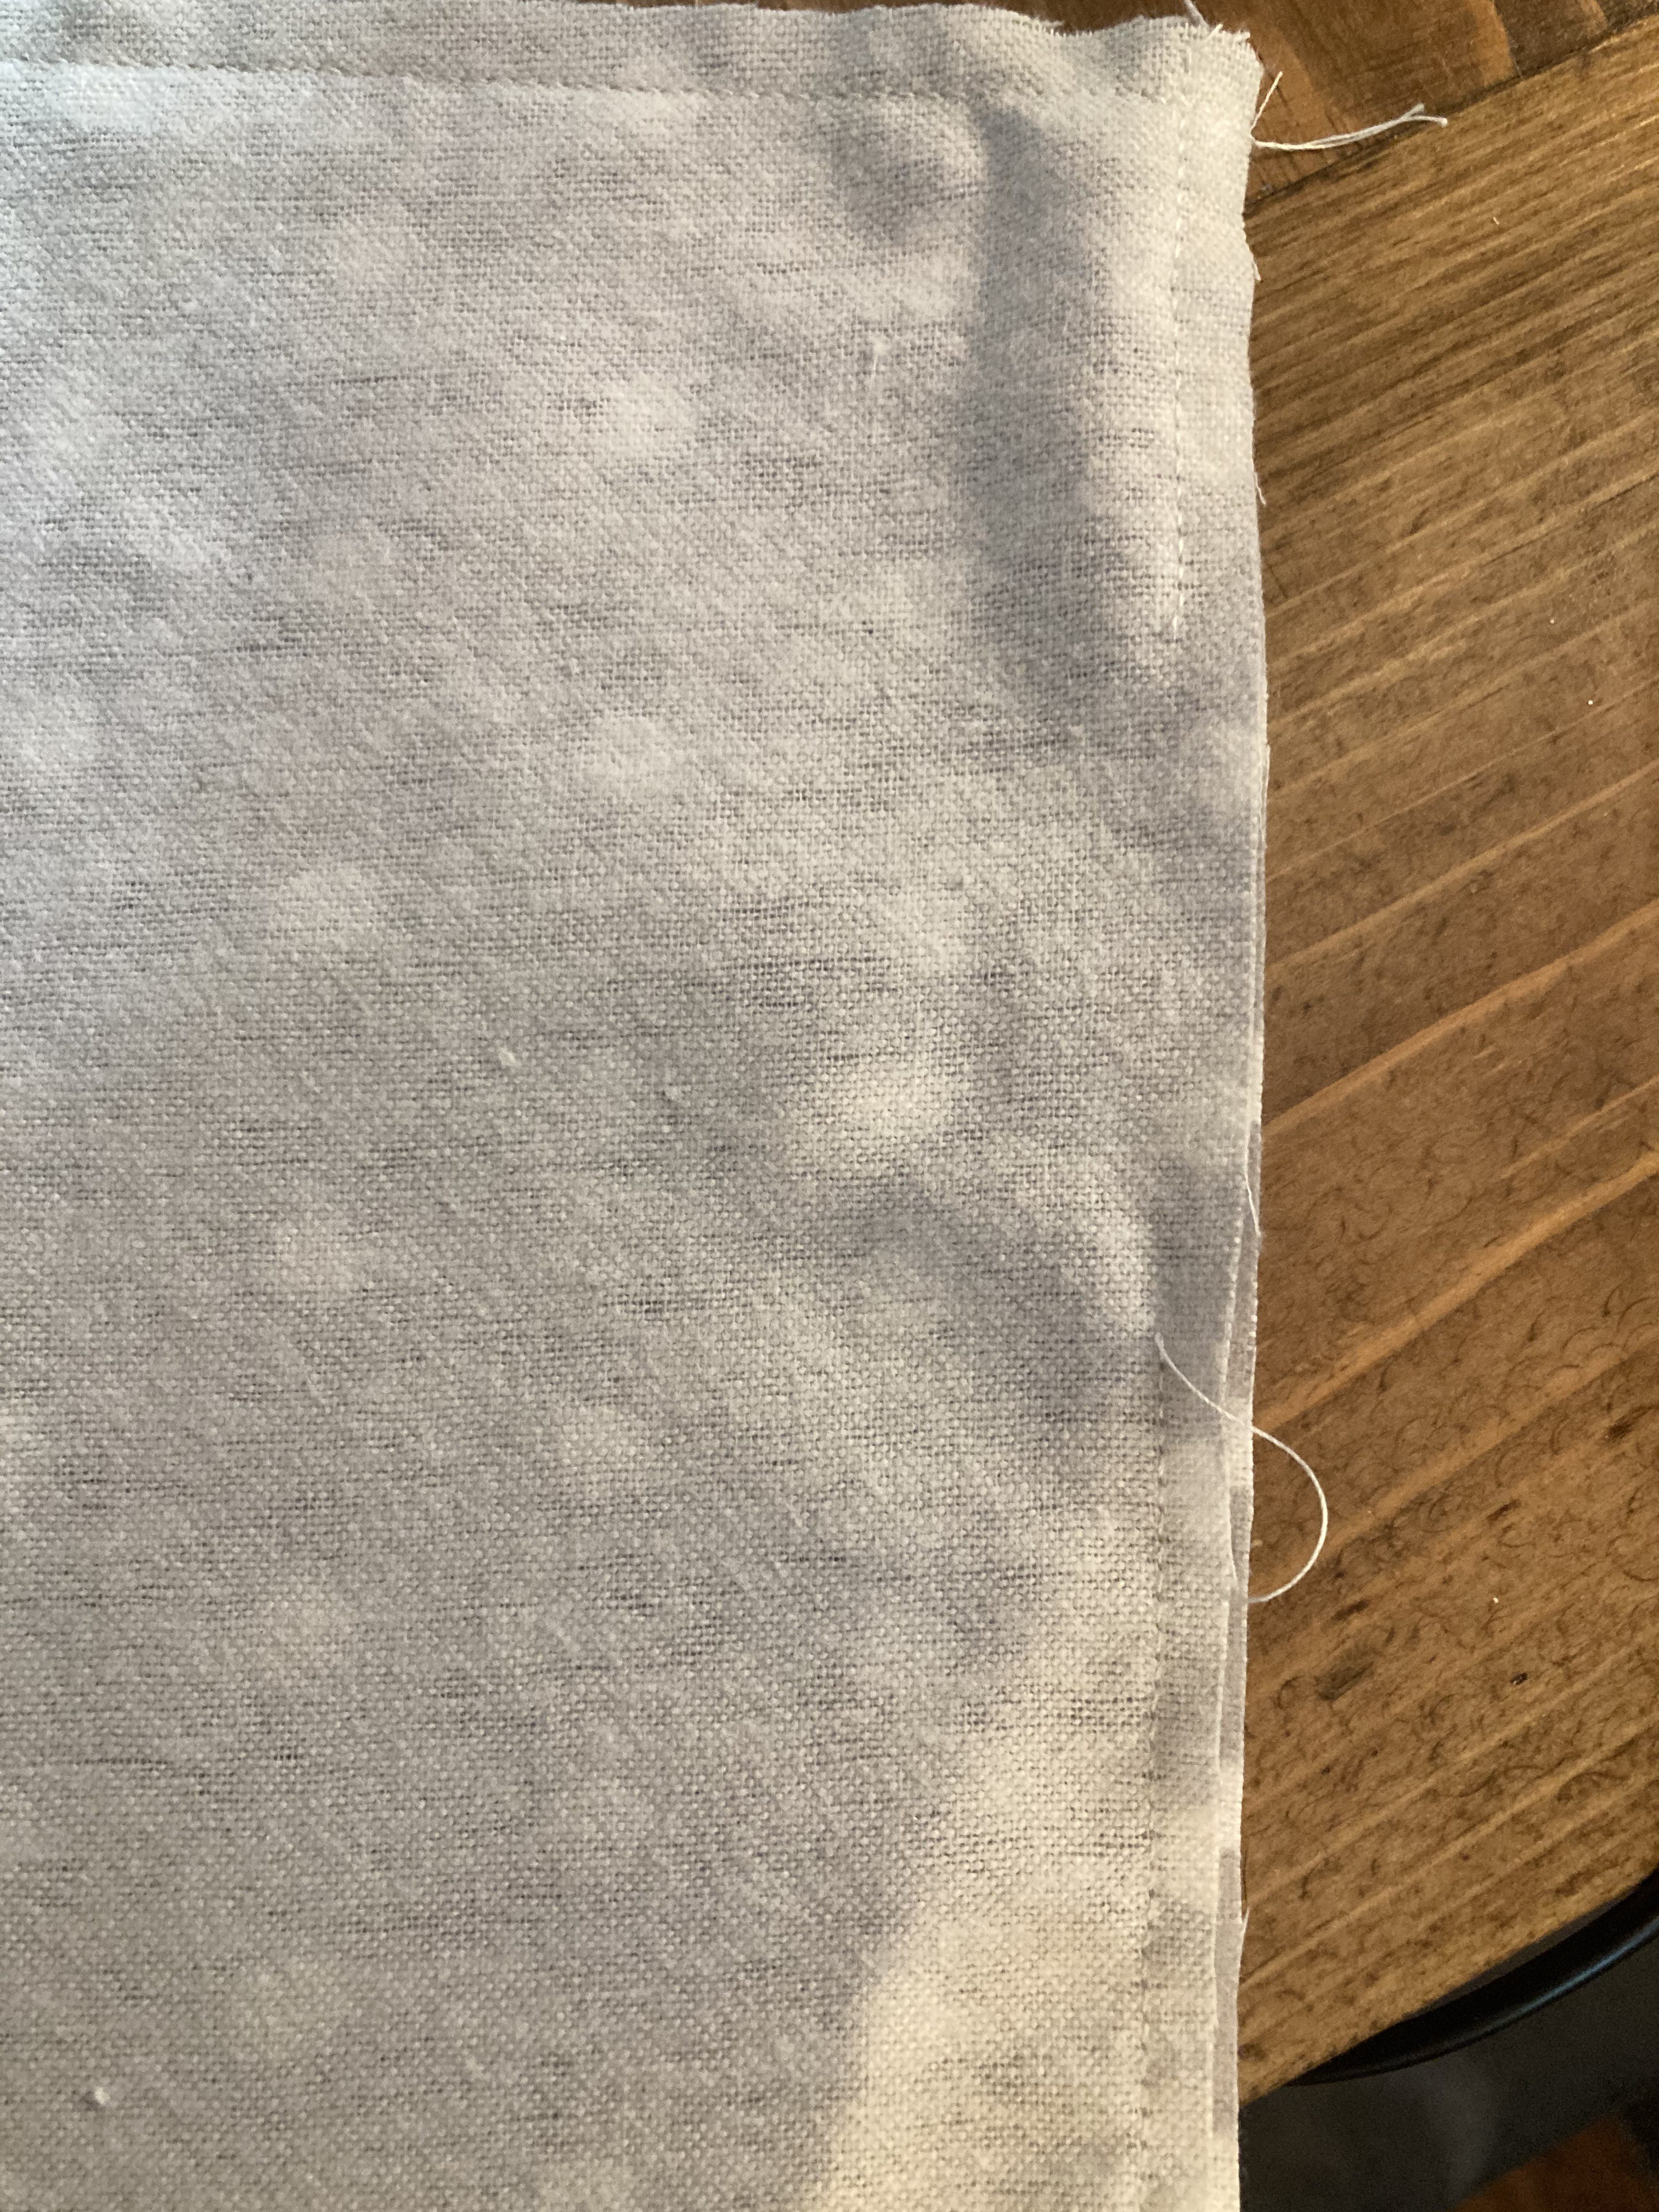
Once you get it embroidered on the top layer of your burp cloth you will be ready to sew your burp cloth together. Start with right sides together like so.
Once you get to your sewing machine sew around 3 of the edges. When you get to the fourth edge you will leave an unsewn spot so that you can flip the fabrics right side out.
Once you get it sewn you will flip it so that it is right side out. Iron around all of the edges folding the hole in the seam inward. Finally, you will sew the hole shut, following the inner part of the presser foot. I like to sew all the way around the inside of the right toe to reinforce the seam. Making a neat corner also plays an important part. So once you reach a corner make sure your needle is down. Lift the presser foot and rotate the fabric so that you are ready for the next side. This keeps your corners nice and neat!
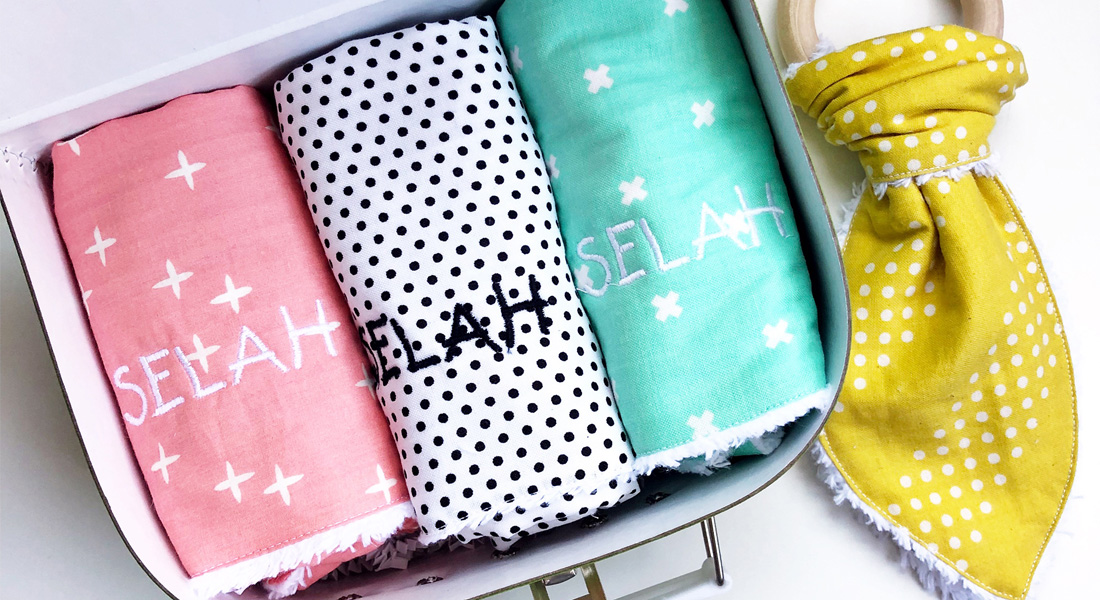
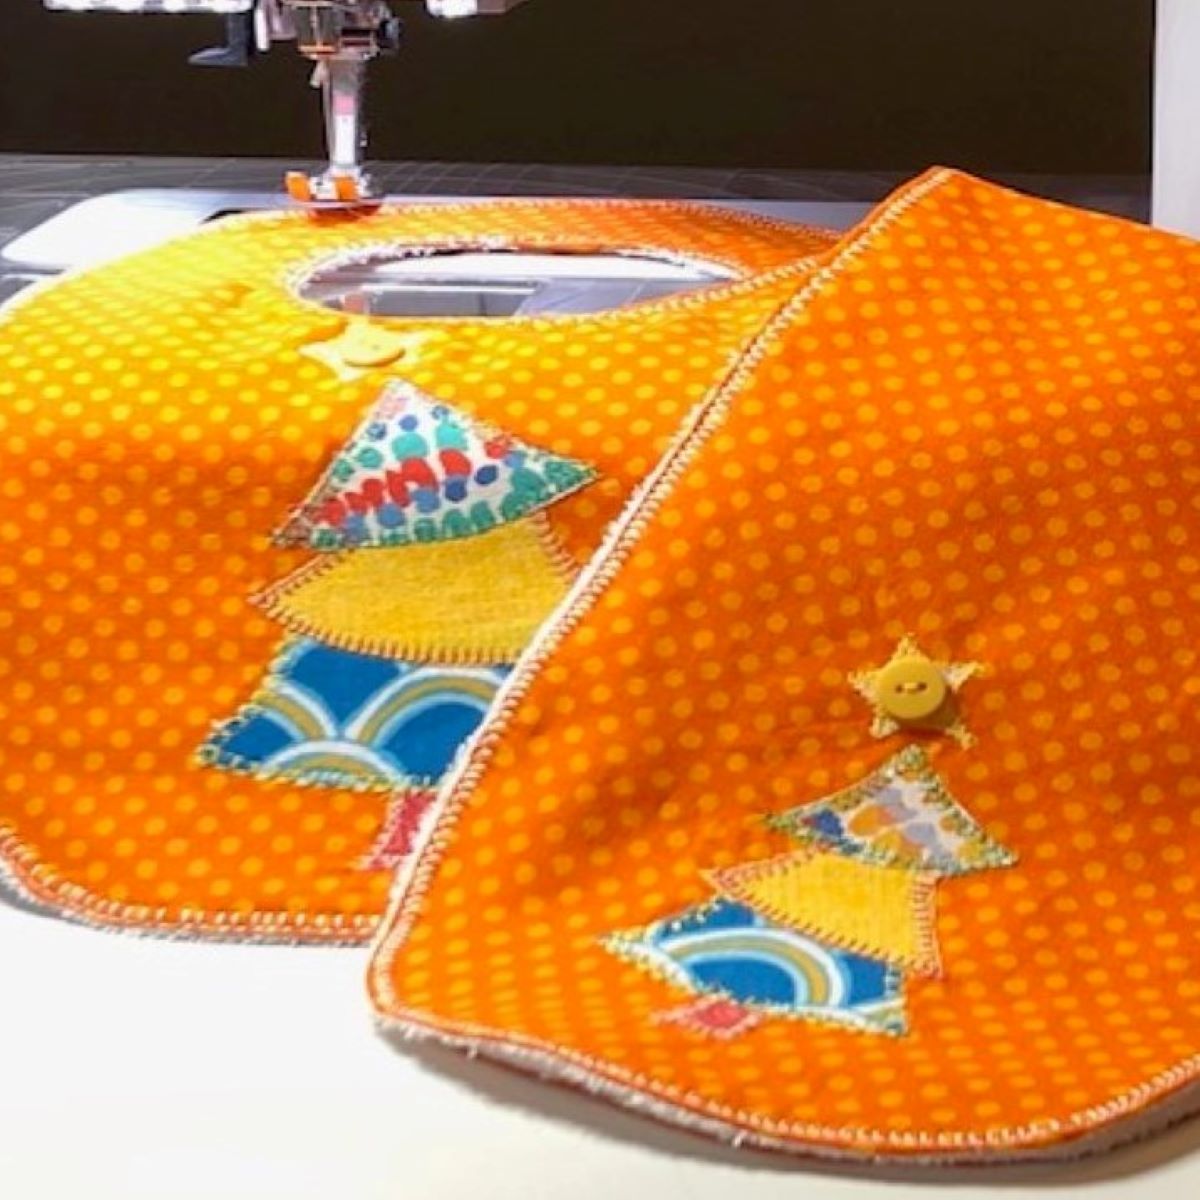
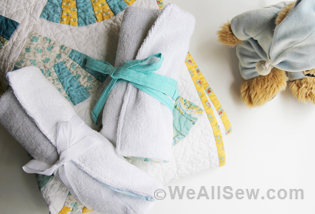
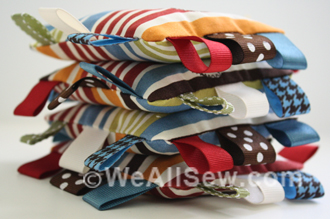
Here is what my cute little burp cloth looked like finished!

Hope you all found these as fun as I did!