Sewing with Terry Cloth: Tips and Tricks
Terry cloth can be fun to make cozy projects from. Understanding how to properly seam together terry cloth will make your projects look professionally finished.
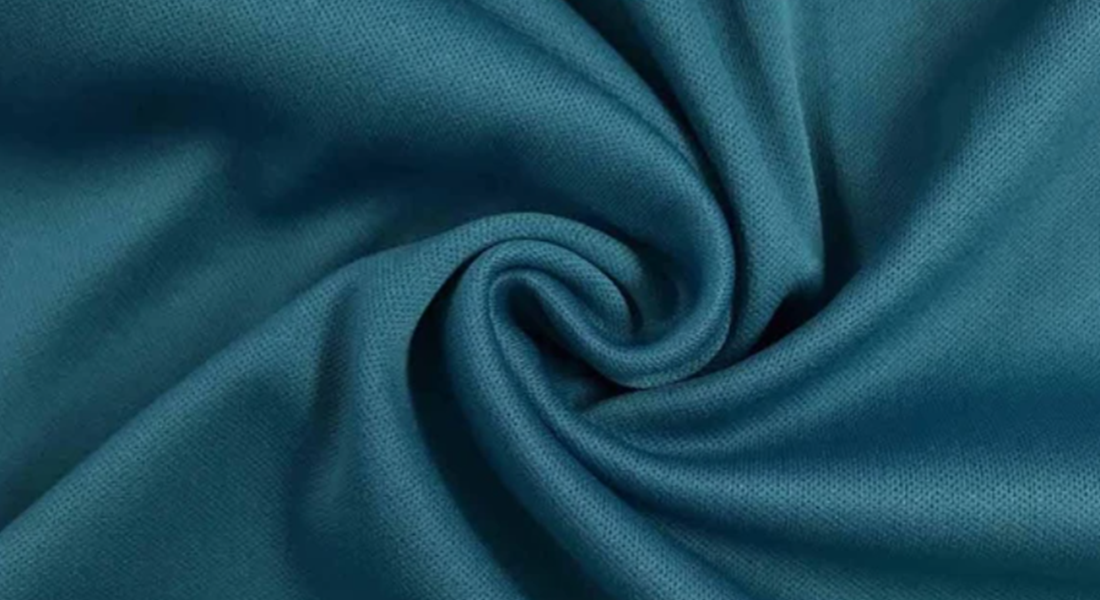
Fabric Characteristics of Terry Cloth
- Terry cloth is known not only for its unmatched strength and long-lasting durability but also for its soft and versatile nature.
- The following are important tips to consider when keeping your terry robes, spa wraps, and towels properly cared for. Before caring for terry, it is important to know more about what it is.
- Terry cloth is a fabric made from 100% cotton threads that is manufactured by weaving or knitting.
- The fabric has a cotton base, and that base is covered in thousands of loops or hooks of cotton thread — these hooks serve to capture and hold water drops. The more loops that a terry cloth item has, and the larger the loops are, the more absorbent this item is.
- Because of its absorbent nature, terry cloth fabric is often utilized for making towels, washcloths, robes, slippers, and more. Terry cloth is ideal for any item where comfort and/or absorbency is the desired factor.
- It should be pre-washed because it will shrink the first time it is washed.
Care and Use of Terry Cloth
Although terry cloth is a strong, durable material, proper care will prolong the life of your terry cloth robes, towels, slippers, and more!
- It is highly recommended to use only non-chlorine bleach on your terry cloth items. This will prevent your terry from becoming damaged, as chlorine bleach is too strong for terry; it tends to weaken the fibers over time, as well.
- Drying terry cloth requires making a few important choices. Using a dryer is the quickest option, but it is not always the best option to prolong the life of your terry. If you do decide to utilize your dryer, using a lower heat setting is better for your terry cloth. If you really want to protect your terry cloth items, line drying is suggested! By allowing items to be dried only by the natural air, their use will be prolonged.
Recommended BERNINA Presser Feet for Sewing Terry Cloth
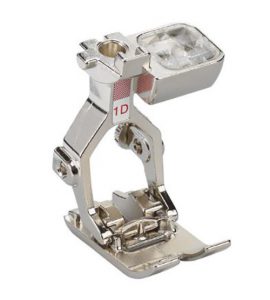
Reverse Pattern Foot #1/1C/1D
Reverse Pattern Foot #1/1C/1D has a smooth, flat sole with a slight indentation in front of the needle in addition to one behind. This allows the stitching of thread patterns that move forward and backward.
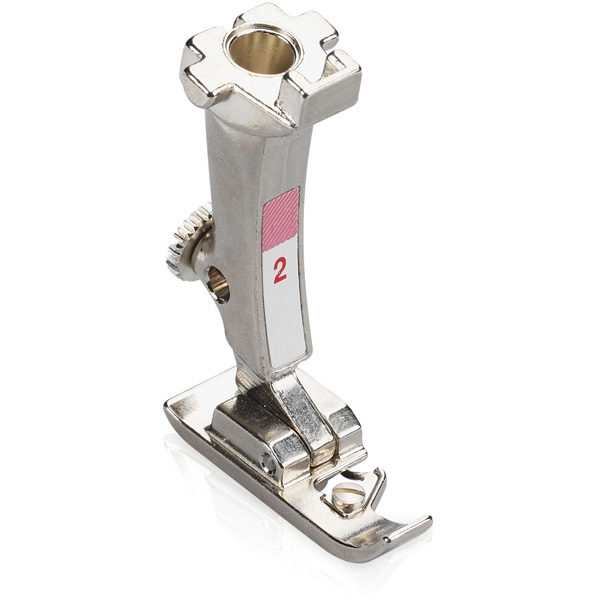
Overlock Foot #2/2A
Overlock Foot #2/2A is designed to be used with stitches that overlock or overcast the edge of the fabric. Using this foot and the overlock stitches of BERNINA sewing machines keeps the fabric edges flat while they are seamed and finished in one operation. Available in two versions, both are designed to be used with a maximum stitch width of 5.5 mm. Foot #2A has a larger sole that fits the wider feed dog of the machines equipped with a maximum stitch width of 9 mm.
![]()
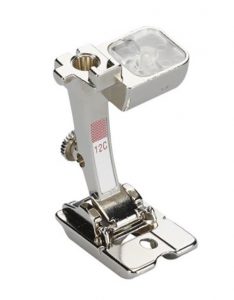
Bulky Overlock Foot #12/12C
Bulky Overlock Foot #12/12C was originally designed for stitching heavy sweater knits. The overcast seam allowances form a thick ridge that does not feed smoothly under a regular presser foot, so Bulky Overlock Foot #12 was designed with a groove in the sole that allows the knit seam allowances to feed easily under the foot as they are stitched. The most common use for this foot today is making custom piping to accent seams and edges of garments, pillows, purses, and other handcrafted projects.
Tips for Sewing on Terry Cloth
To set up my BERNINA 790 PLUS machine for seaming together terry cloth, I used the Creative Consultant feature.
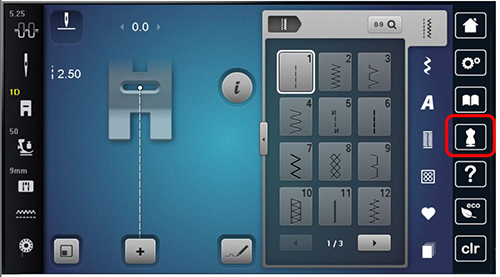
Once the Creative Consultant is open, you land on a page with several different types of fabric icons. I choose the Toweling icon.
![]()
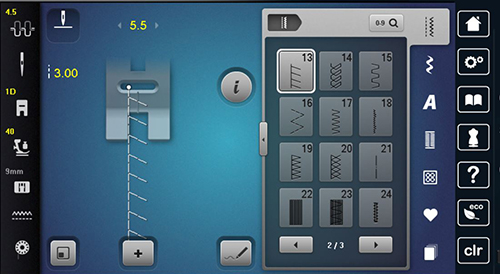
From here I get to choose what type of sewing I want to perform with the terry cloth. If you need help in knowing what the icons stand for, just touch the Help icon (the question mark) and then touch the icon.

This is the part of the Creative Consultant that I love. The machine suggests the proper stitch, needle, thread, and presser foot.
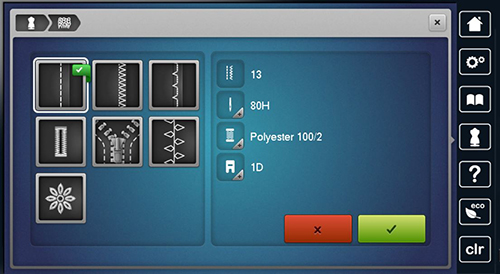
I then just confirm the selection, change the needle, thread and presser foot, and the machine sets up all the proper settings for me. You can see how the machine has adjusted the tension, presser foot, presser foot pressure, stitch width and stitch length. Plus, Creative Consultant has selected the best stitch for seaming together terry cloth.
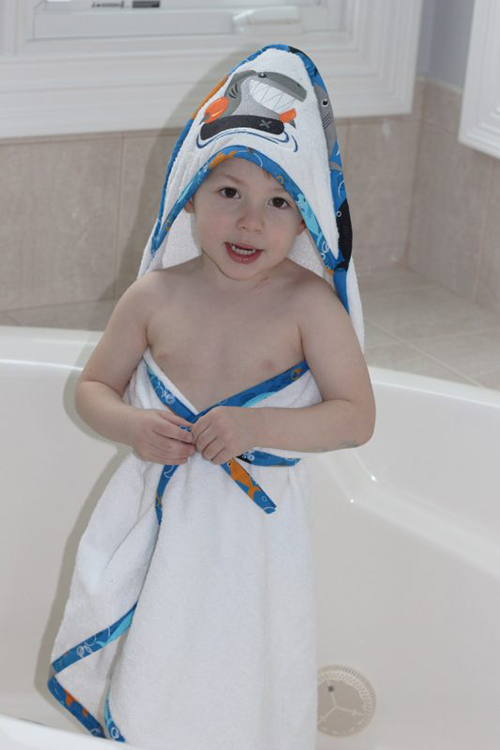
To seam my fabric together, I first need to mark my 5/8 inch seam allowance on both pieces of fabric. For this, I used a Frixion pen.
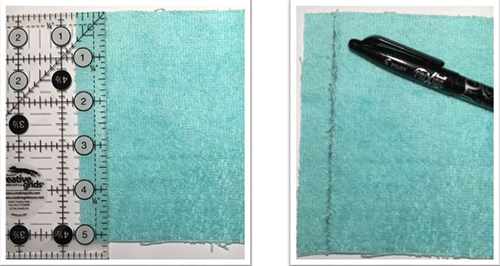
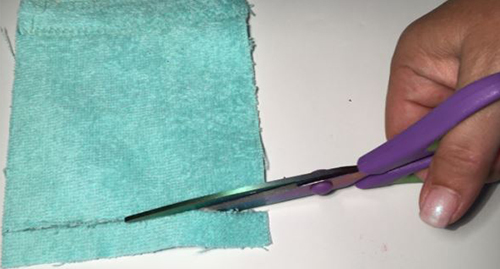
Then trim away the excess seam allowance from one piece of fabric.
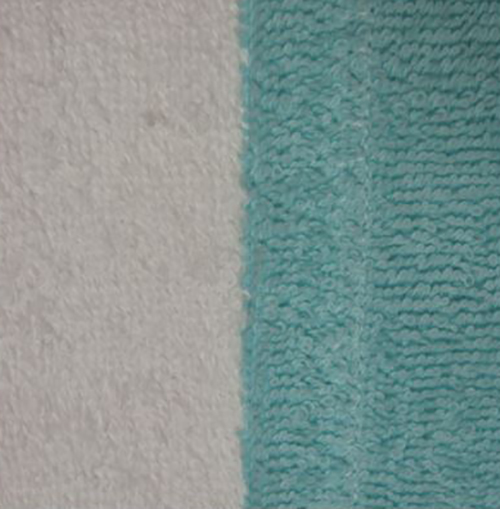
Overlap the fabric edges, right over left. Aligning the raw edge of the newly cut fabric along the drawn line. Wonder Clip these two fabrics together. For the purpose of a visual aid, I am using 2 different colors of terry cloth.
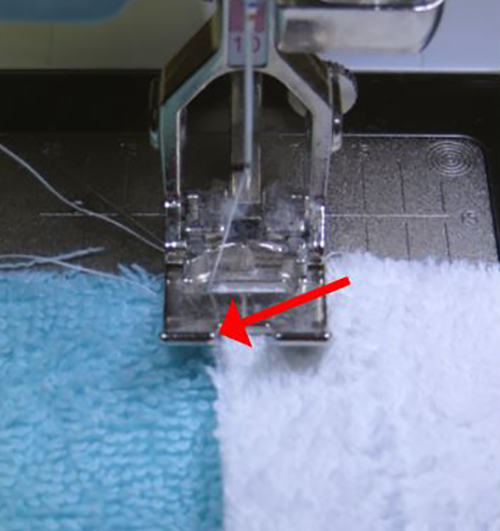
Using the Reverse Pattern Foot #1D, I aligned the cut edge of the fabric with the inner toe of the presser foot. Stitch along the raw edge.
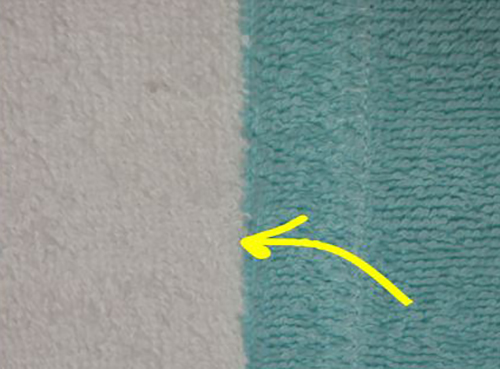
Flip the fabric over and repeat the previous step, stitch along the remaining raw edge on the reverse side.
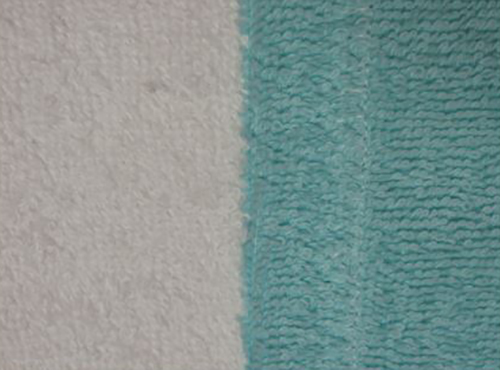
You now have a nice finished seam holding your layers of terry cloth together.
Enjoy exploring the Creative Consultant feature on your machine. It really takes the guesswork out of sewing with tricky fabric or fabrics you may not use often.
Take a look at these other WeAllSew blog posts for more inspiration:
- Terry Cloth Tips by Susan Beck
- Towel Wrap by Stacy Schlyer
- Hooded Baby Towel Tutorial by Stacy Schlyer
Happy Stitching~
Heather
Fear No Fabric!
Used Products


What you might also like


2 comments on “Sewing with Terry Cloth: Tips and Tricks”
-
-
I just happened on your question and thought if you haven’t found the answer to your question you might still like to know.
I found on YouTube: Sewing with Cody and Pete made a video using the “Tailor Tack Foot #7” and a couple of other feet to make a pretty join that looks like it would be pretty on terry. Maybe this is what you were looking for. Just a heads up. 🙂
-
Leave a Reply
You must be logged in to post a comment.

The #7 presser foot paper insert guide suggests embroidery on Terry cloth. I can’t find this use anywhere – help please? Nothing in BB of Feet either.