How to Stitch Faux Leather
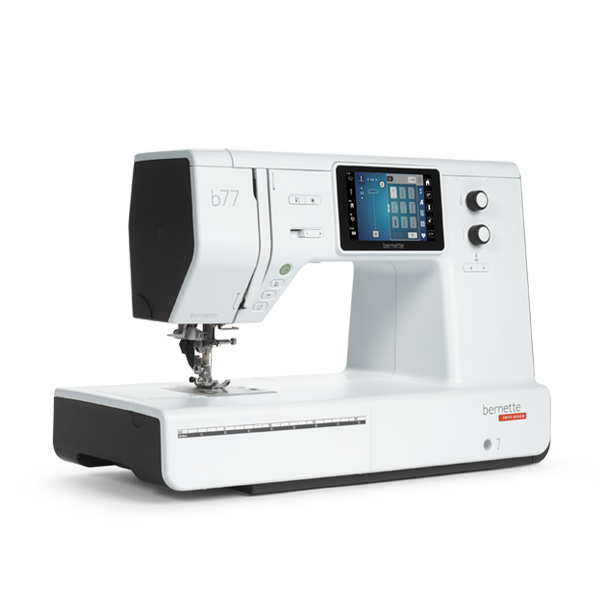
It is officially the time of year for sewing with leather. I could not be more excited to be bringing you some tips and a very easy technique. Faux leather is the alternative to genuine leather. It is quite more simplistic to work with. The bernette 77 makes sewing with faux leather very enjoyable.
In my recent Runway Collection, I featured many pieces made from Faux leather and PVC or patent leather. The technique I will talk about today is what I used to create the pieces seen in the photos found in this post. Once you have mastered this technique you can apply it and adapt it to any situation you find yourself in while creating your own leather pieces. This will help you get started with sewing faux leather.
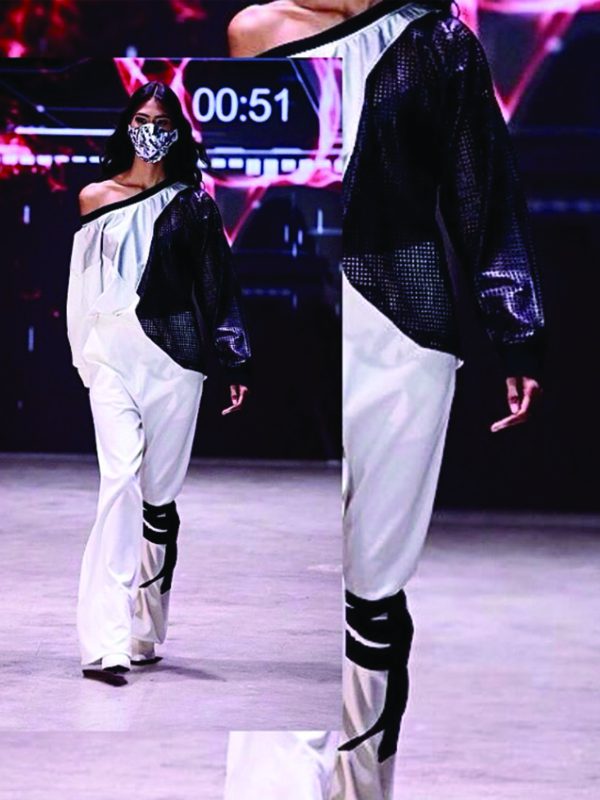
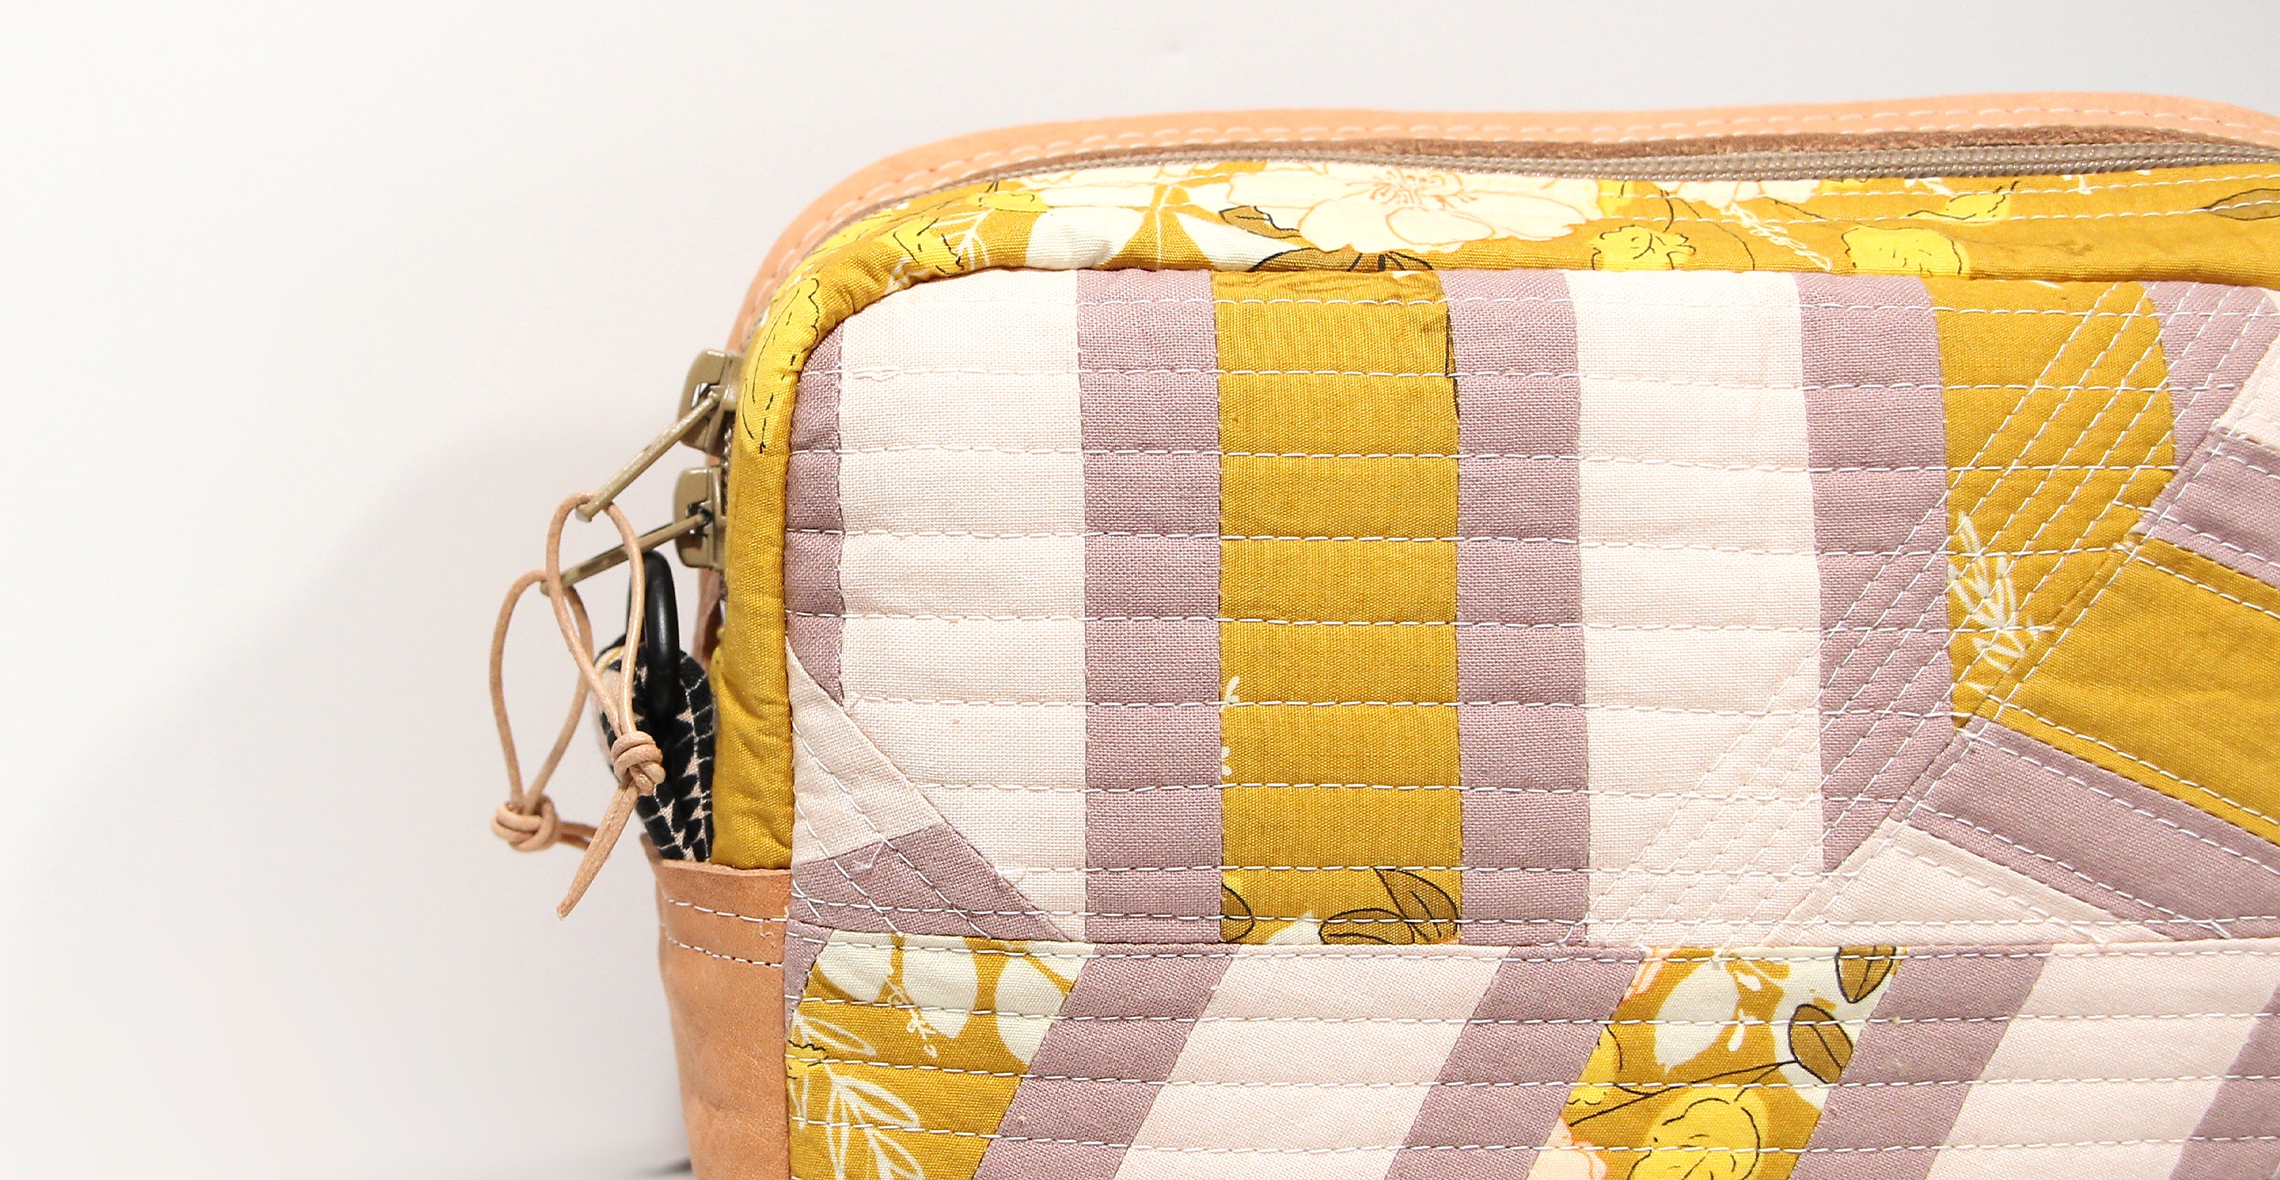
One reason I love working with faux leather is it offers some stretch the way a knit fabric does. In the photograph above, a silver metallic faux leather, combined with the winter white ponte fabric and black laser-cut leather was used to play with texture. The presser foot pressure control, the bernette Dual Feed, as well as the machine’s memory, allowed me to be successful in sewing these fabrics together. I have mentioned these two features before but they really do play star roles in stitching these materials.
Let us go ahead and get into the tutorial.

Supplies to Stitch Faux Leather
- Faux leather/PVC scraps
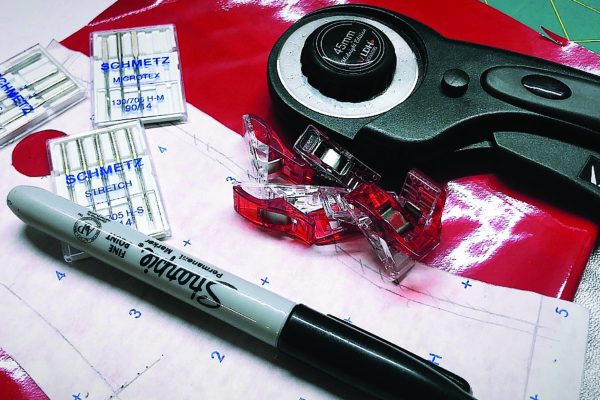
- Rotary cutter and/or fabric shears
- Good quality all-purpose polyester thread
- Masking tape
- Stitch Witchery
- Sharpie, or a chalk roller for marking your leather
- Wonder Clips (no pins)
- Sewing Machine Needles—Microtex, Stretch, and Jeans needles are recommended
- Pattern weights
- Sew pattern pieces
- Press cloth
- Steam iron and ironing surface
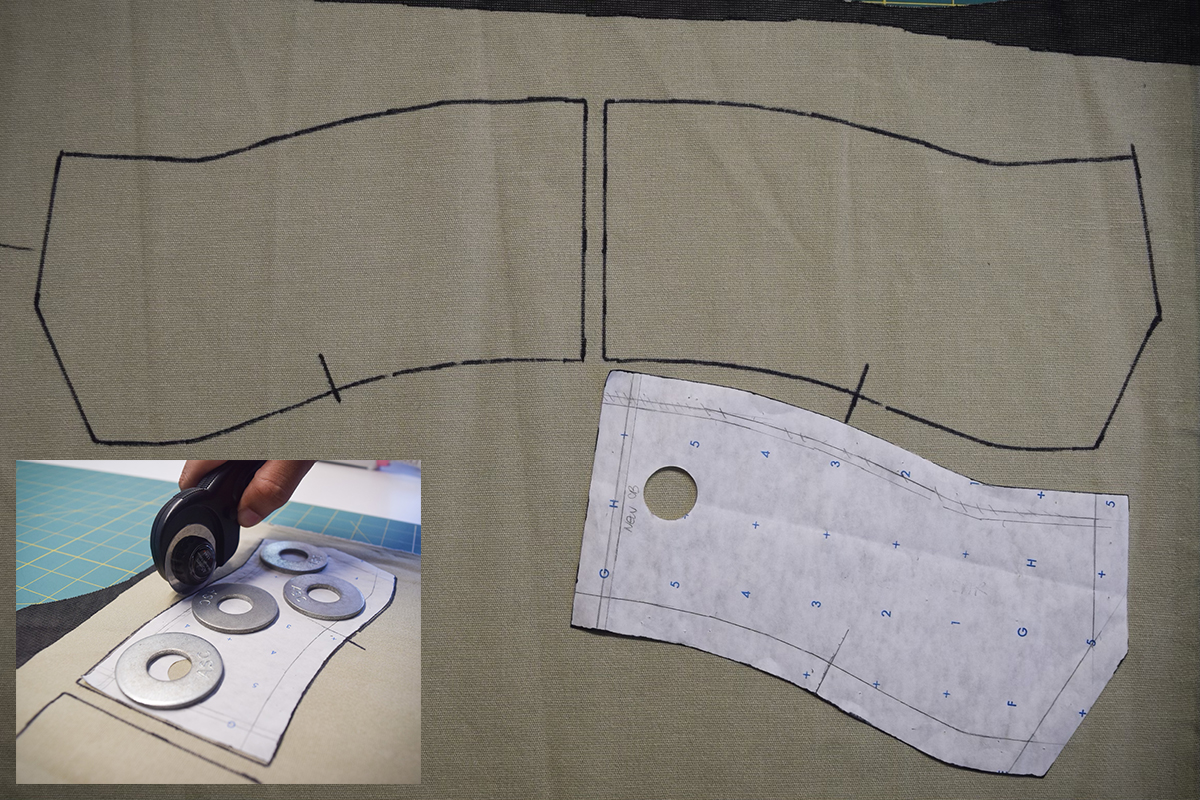
Cutting and Marking Faux Leather
Using a marker or chalk, trace your pattern pieces onto the wrong side of the faux leather. It is also best to cut in a single layer. Doing this also means having to cut both sides of your garment individually. You may also place each pattern piece onto the leather with pattern weights and cut around the pieces.
Once you have cut all of your pattern pieces, if applicable you may fuse any interfacing that may be needed. It is possible to use Interfacing on Faux Leather but not on PVC Leather. Test the fusible on your specificfaux leather. You may also need to block fuse your fabric to avoid any shrinkage.
Preparing to Sew Faux Leather
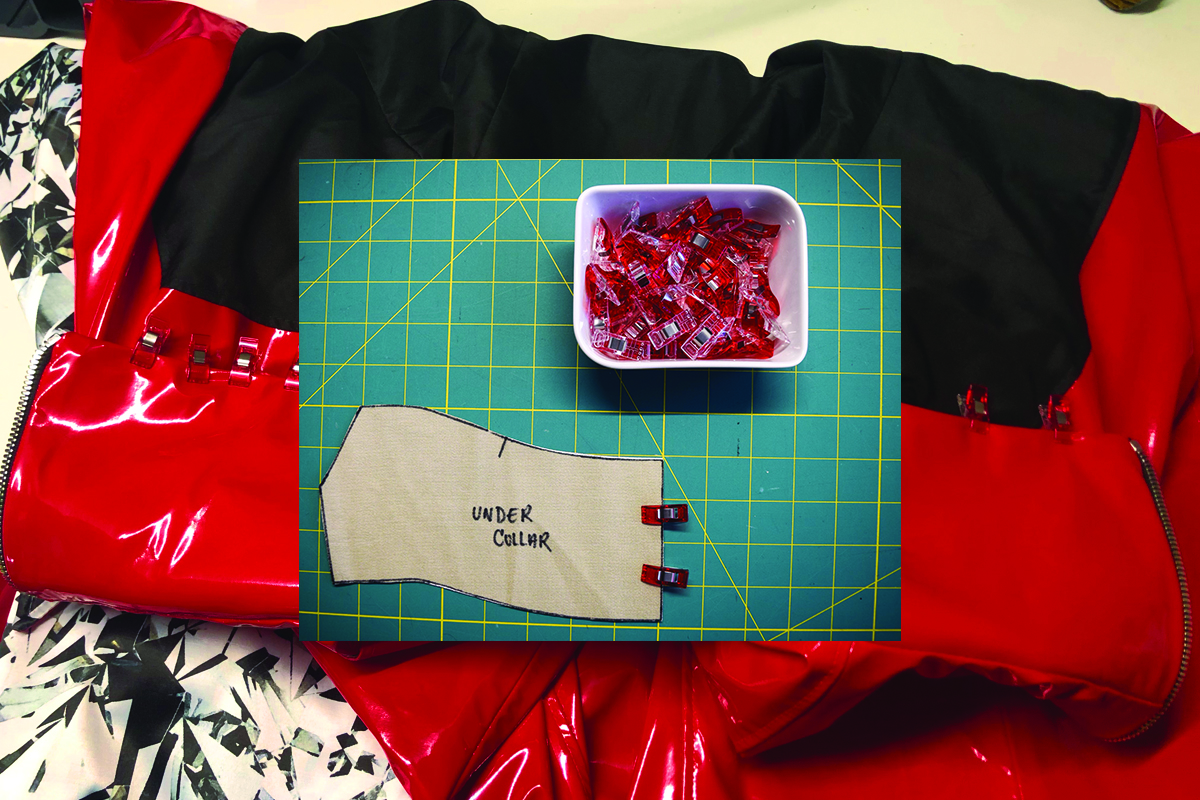
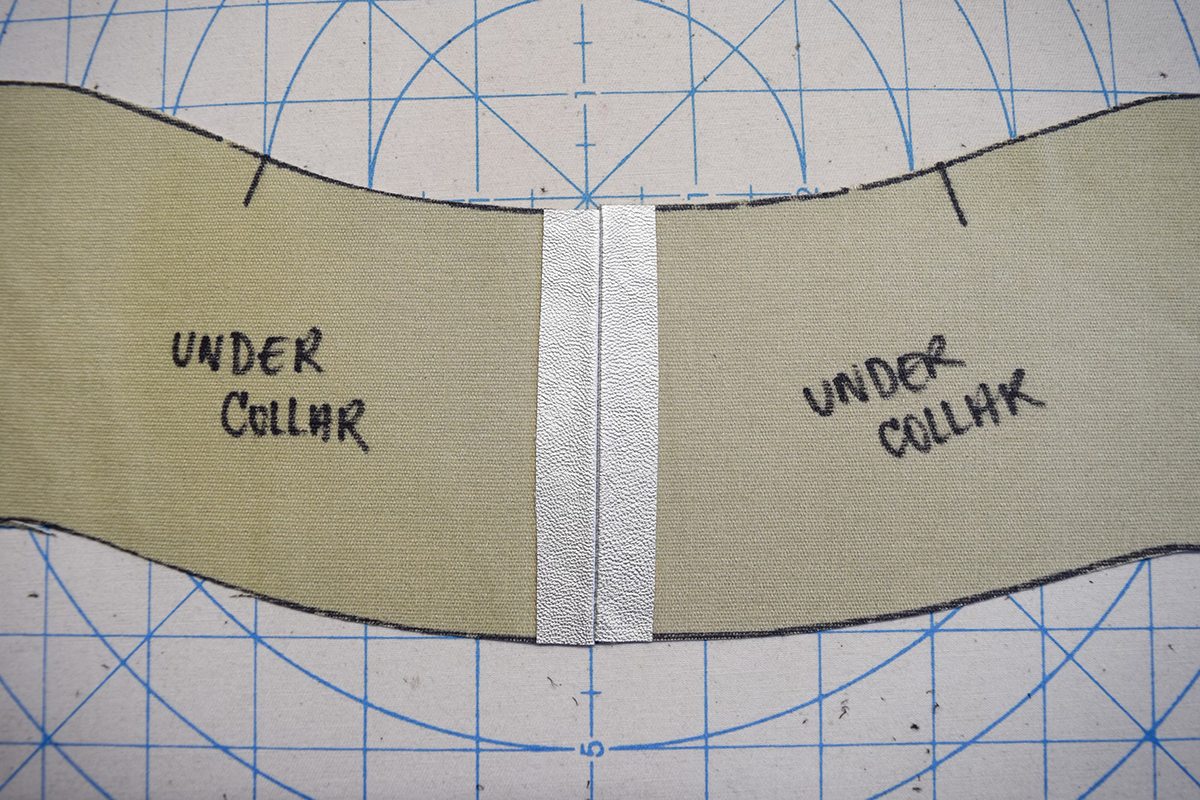
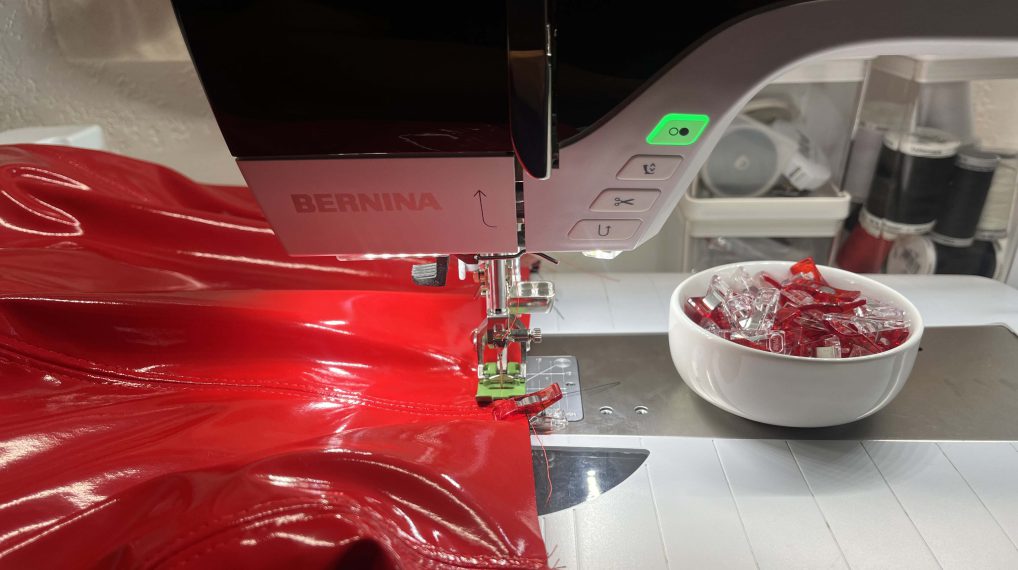
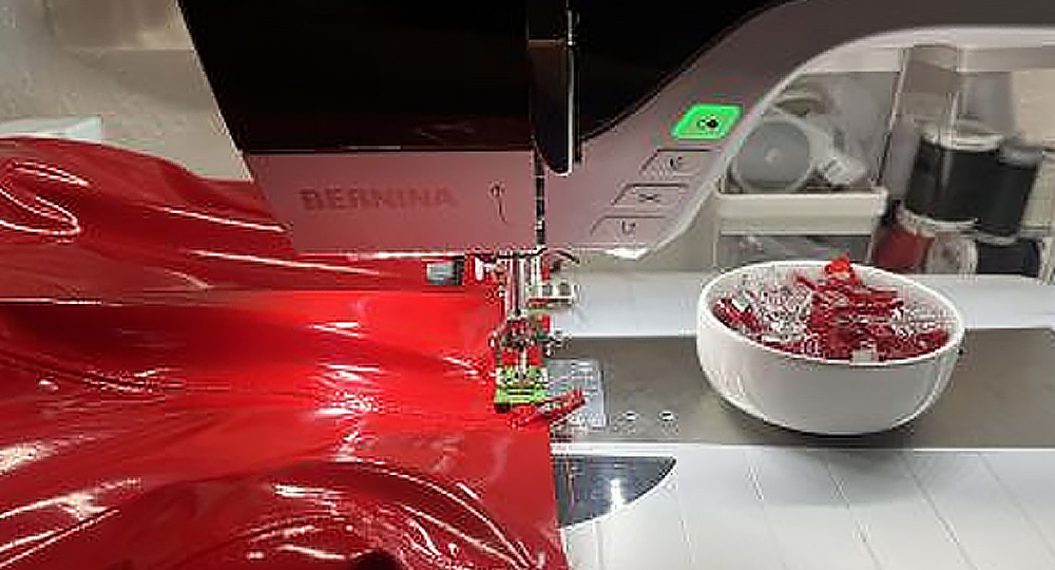
Using Wonder Clips, clip the edges of the pieces together. In this case, I am using the under collar sections of a leather bazer. Using Wonder Clips will keep holes from being put into your leather if pins are used. Wonder Clips are easy to find in your local BERNINA Dealer. If you must use pins, only pin within the seam allowances. This will allow the pinholes to not be visible on the outside of the garment. Wonder Tape can also be used to temporarily hold your pieces together while you stitch.
At the Sewing Machine

Open the presser foot presser control tab on the screen of the bernette 77. Set the number to 19. This decreases the amount of pressure being put onto the fabric while sewing. Doing this will also allow the fabric to move through the machine smoothly. Depending on your specific Faux Leather, you may need to increase this if it is heavier in weight.
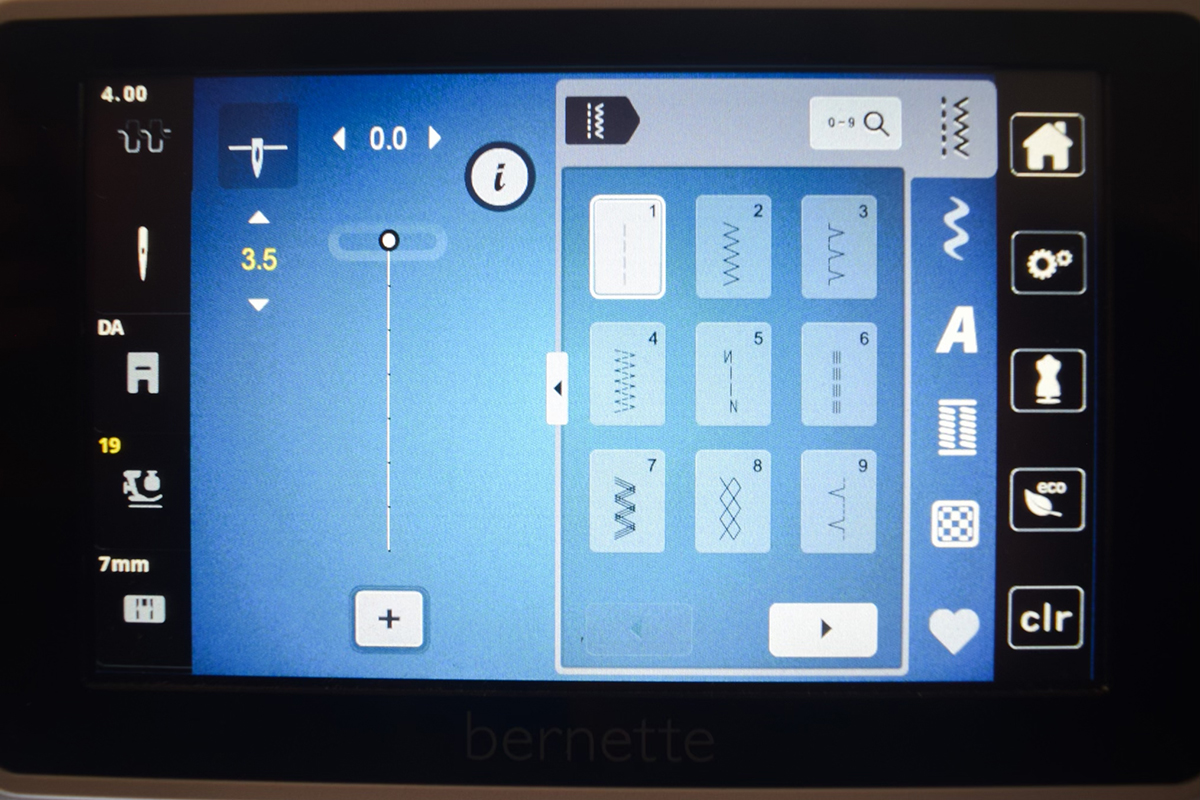
Exit the previous screen. This will take you back to the stitch selection screen. Select a straight stitch at a 3.5 length for construction. It is strongly recommended to try and test your length to ensure it will work well with your Leather.

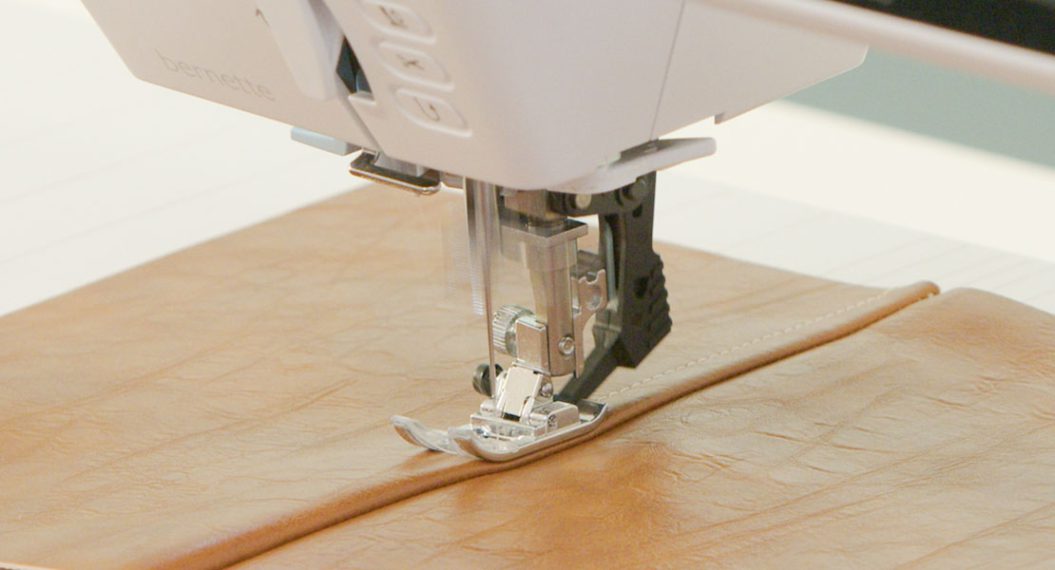
Insert your preferred needle for stitching faux leather. I used a Stretch size 14 needle. Try and test the needles mentioned previously to see which works best for your leather. For PVC leather, I strongly recommend using a size 16 Denim Needle. Thread your machine with a good quality polyester thread, engage the bernette Dual Feed, needle down function and stitch the seam. Having your machine stop in the needle down position will prevent any uneven stitching. You may lightly backstitch at the beginning and end of the seam.
Pressing Fake Leather
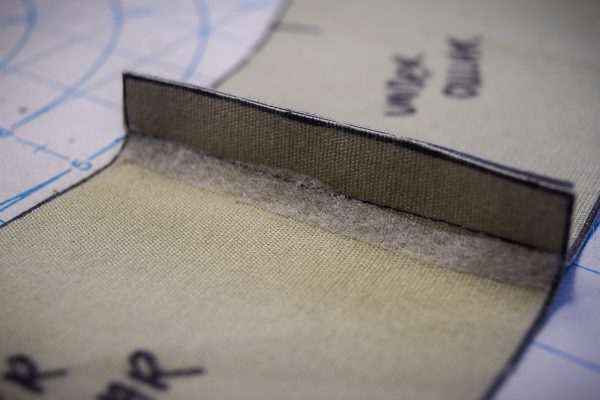
After stitching your seam take it to your pressing table or ironing board. To finish the seam, grab your Stitch Witchery and place a strip under BOTH seam allowances. Depending on the width of your Stitch Witchery and the seam allowance itself, you may need to cut down the middle of the tape so it does not stick out from the seam edges.
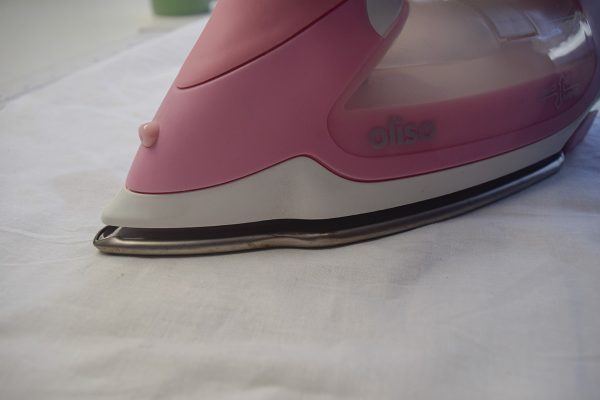
Place the press cloth over the seam and press it open. Hold the iron in one section at a time depending on the length of the seam. Use lots of steam and then let the seam sit for a second before checking to make sure the seam allowances are glued down. Using the press cloth also keeps the adhesive from being transferred onto your iron.
Remove the press cloth and inspect the seam to be sure it is laying flat. If you need to restitch a seam once it is pressed and glued, reapply steam and heat from your iron and lift the seam allowance and remove the adhesive. Remove the stitches. Restitch. Note: It is important that once you stitch, the needle scars stay in the fabric permanently. The faux leather I am using does not show the needle markings so it was possible to seam rip seams and restitch.
This method of finishing a seam is the easiest method and also works on PVC leather. This method also allows you to not have to topstitch your seam from the outside. There will be some instances where you may want to topstitch some areas and have others glued down.
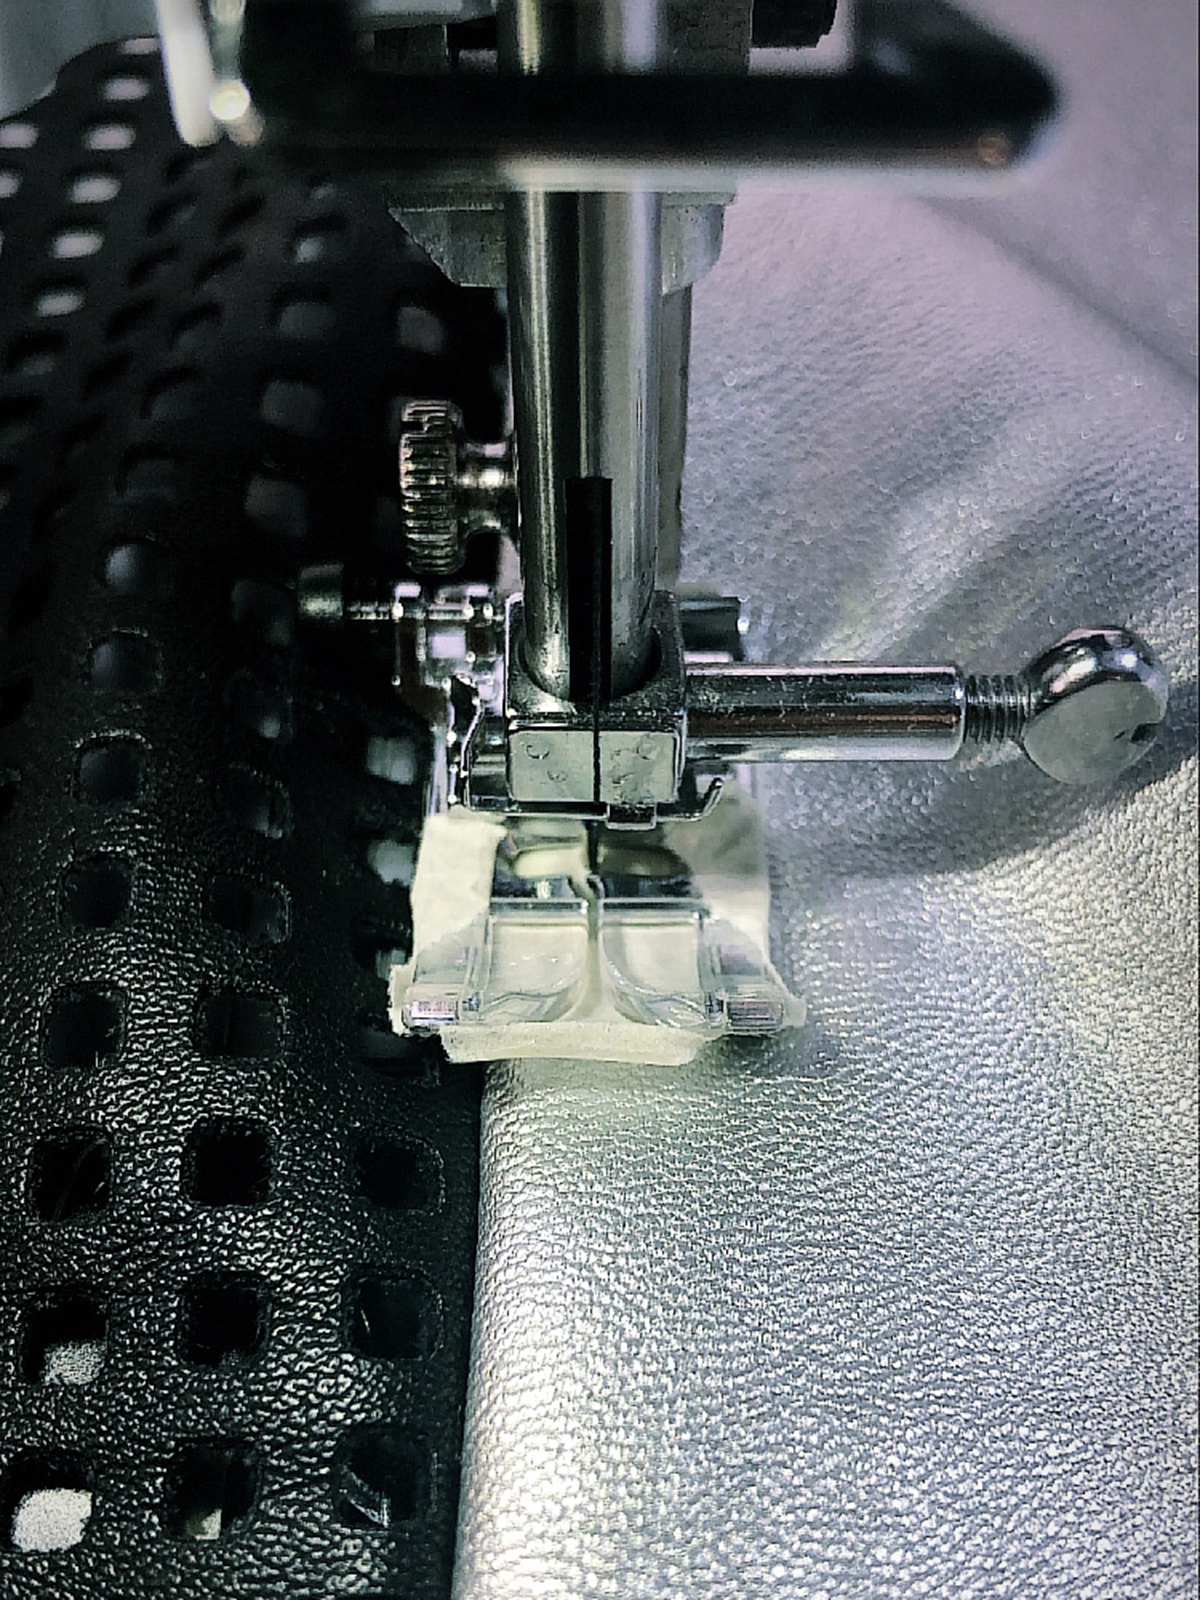
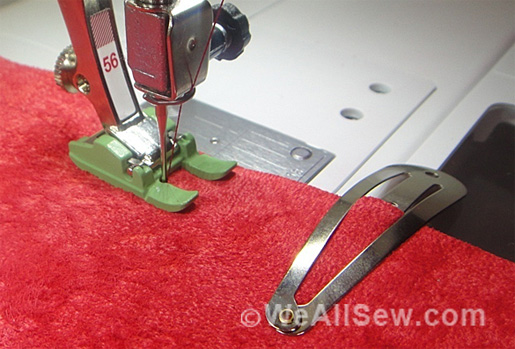
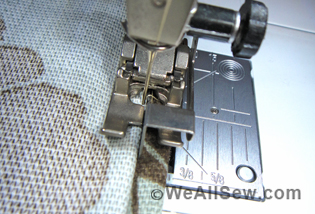
Teflon Presser Foot
Using a Teflon presser foot for any topstitching is crucial for a neat result. Teflon feet allow for the fabric to glide under the needle and not stick to the leather’s right side. If you are in a bind and can’t get one, grab a piece of Masking Tape and place it under the presser foot itself as shown. Be sure to test this out first before stitching on your garment. Since I did not have a Teflon foot for this particular machine, this easy alternative served me well. I must also mention that topstitching is most effective when the seam allowances are pressed to one side. Shoulder and side seams are usually pressed towards the back of the garment. Any princess seams or darts are pressed toward the center.
Once you have completed these steps you can continue constructing your garment. These tips will help you get started but this only scratches the surface for working with leather. The best way to find out what works for you is to cut a simple silhouette and sew. If you would like to know more about stitching techniques with leather or even fitting a leather garment; leave us a comment on this post.
Design Possibilities with Faux Leather and PVC Leather
Now you are probably thinking, what can I create with Faux Leather? Here are a couple of examples from my Debut Runway Collection titled, “The Revenant”. Finding inner strength in tragedy.
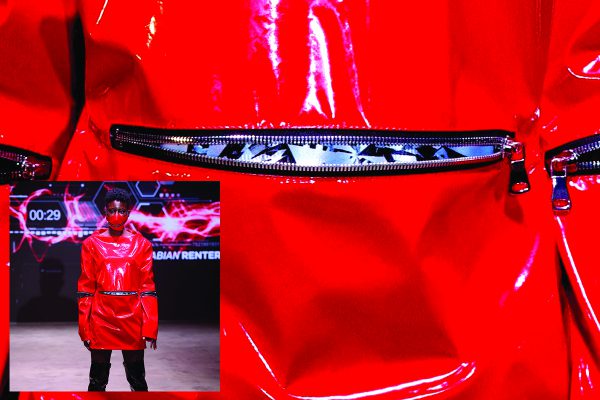
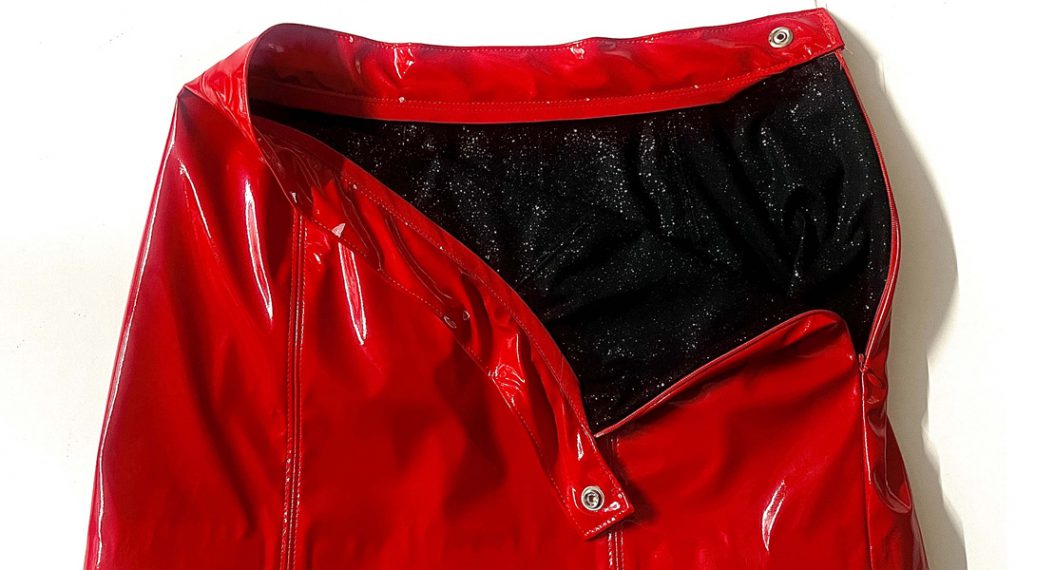
This Red PVC Leather Mini Dress features metal zipper detailing. Creating an extremely striking, edgy, yet futuristic look. This dress also features a full lining. The front zipper section features a functional pocket with the broken glass Satin print peaking out. Wonder Tape played a big part in holding the zippers in place while the final topstitch was done.

My Red PVC Leather Trench Coat was one of my favorite looks. This coat features metal zipper detailing, signature spiked sleeves as well as a detachable hood that doubles as a belt. PVC leather is perfect for your fall/winter jackets and coats.
Get creative with your leather and experiment. You may surprise yourself with what you create. It is important to test your pattern with faux leather. Purchase extra yardage for prototyping your garment to ensure the best results.
I hope this aids you in getting started with working with faux leather. To see more of my leather work, visit me on Instagram.
Used Products
What you might also like


2 comments on “How to Stitch Faux Leather”
-
-
Thank you so much!!
-
Leave a Reply
You must be logged in to post a comment.

This is really cool. I really want to try a “leather” jacket – Thanks for your help.
Your red trench coat is simply marvelous!!