Faux Leather Skirt, Part Three: Finishing Touches
In part three of my Red Leather Skirt tutorial, we go over all of the finishing touches needed to finish your skirt! Being able to execute these techniques will ensure success in future leather garments. When working with genuine or faux leather, it is important to consider how you will finish off key areas. This includes but is not limited to waistbands, facings, hems etc. The method you use can affect the look/quality of the garment.
Waist Finishings for your Red Leather Skirt
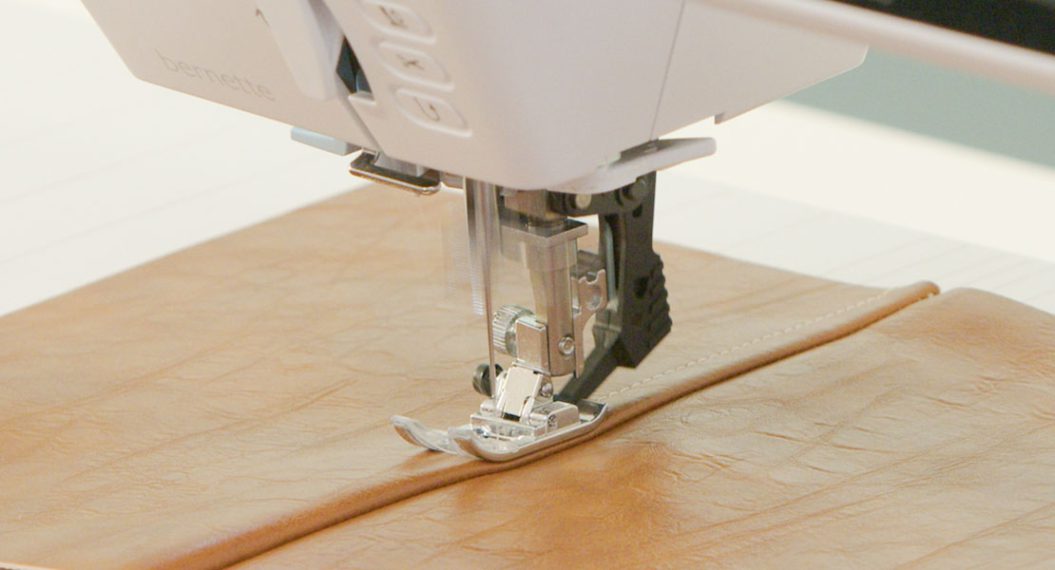
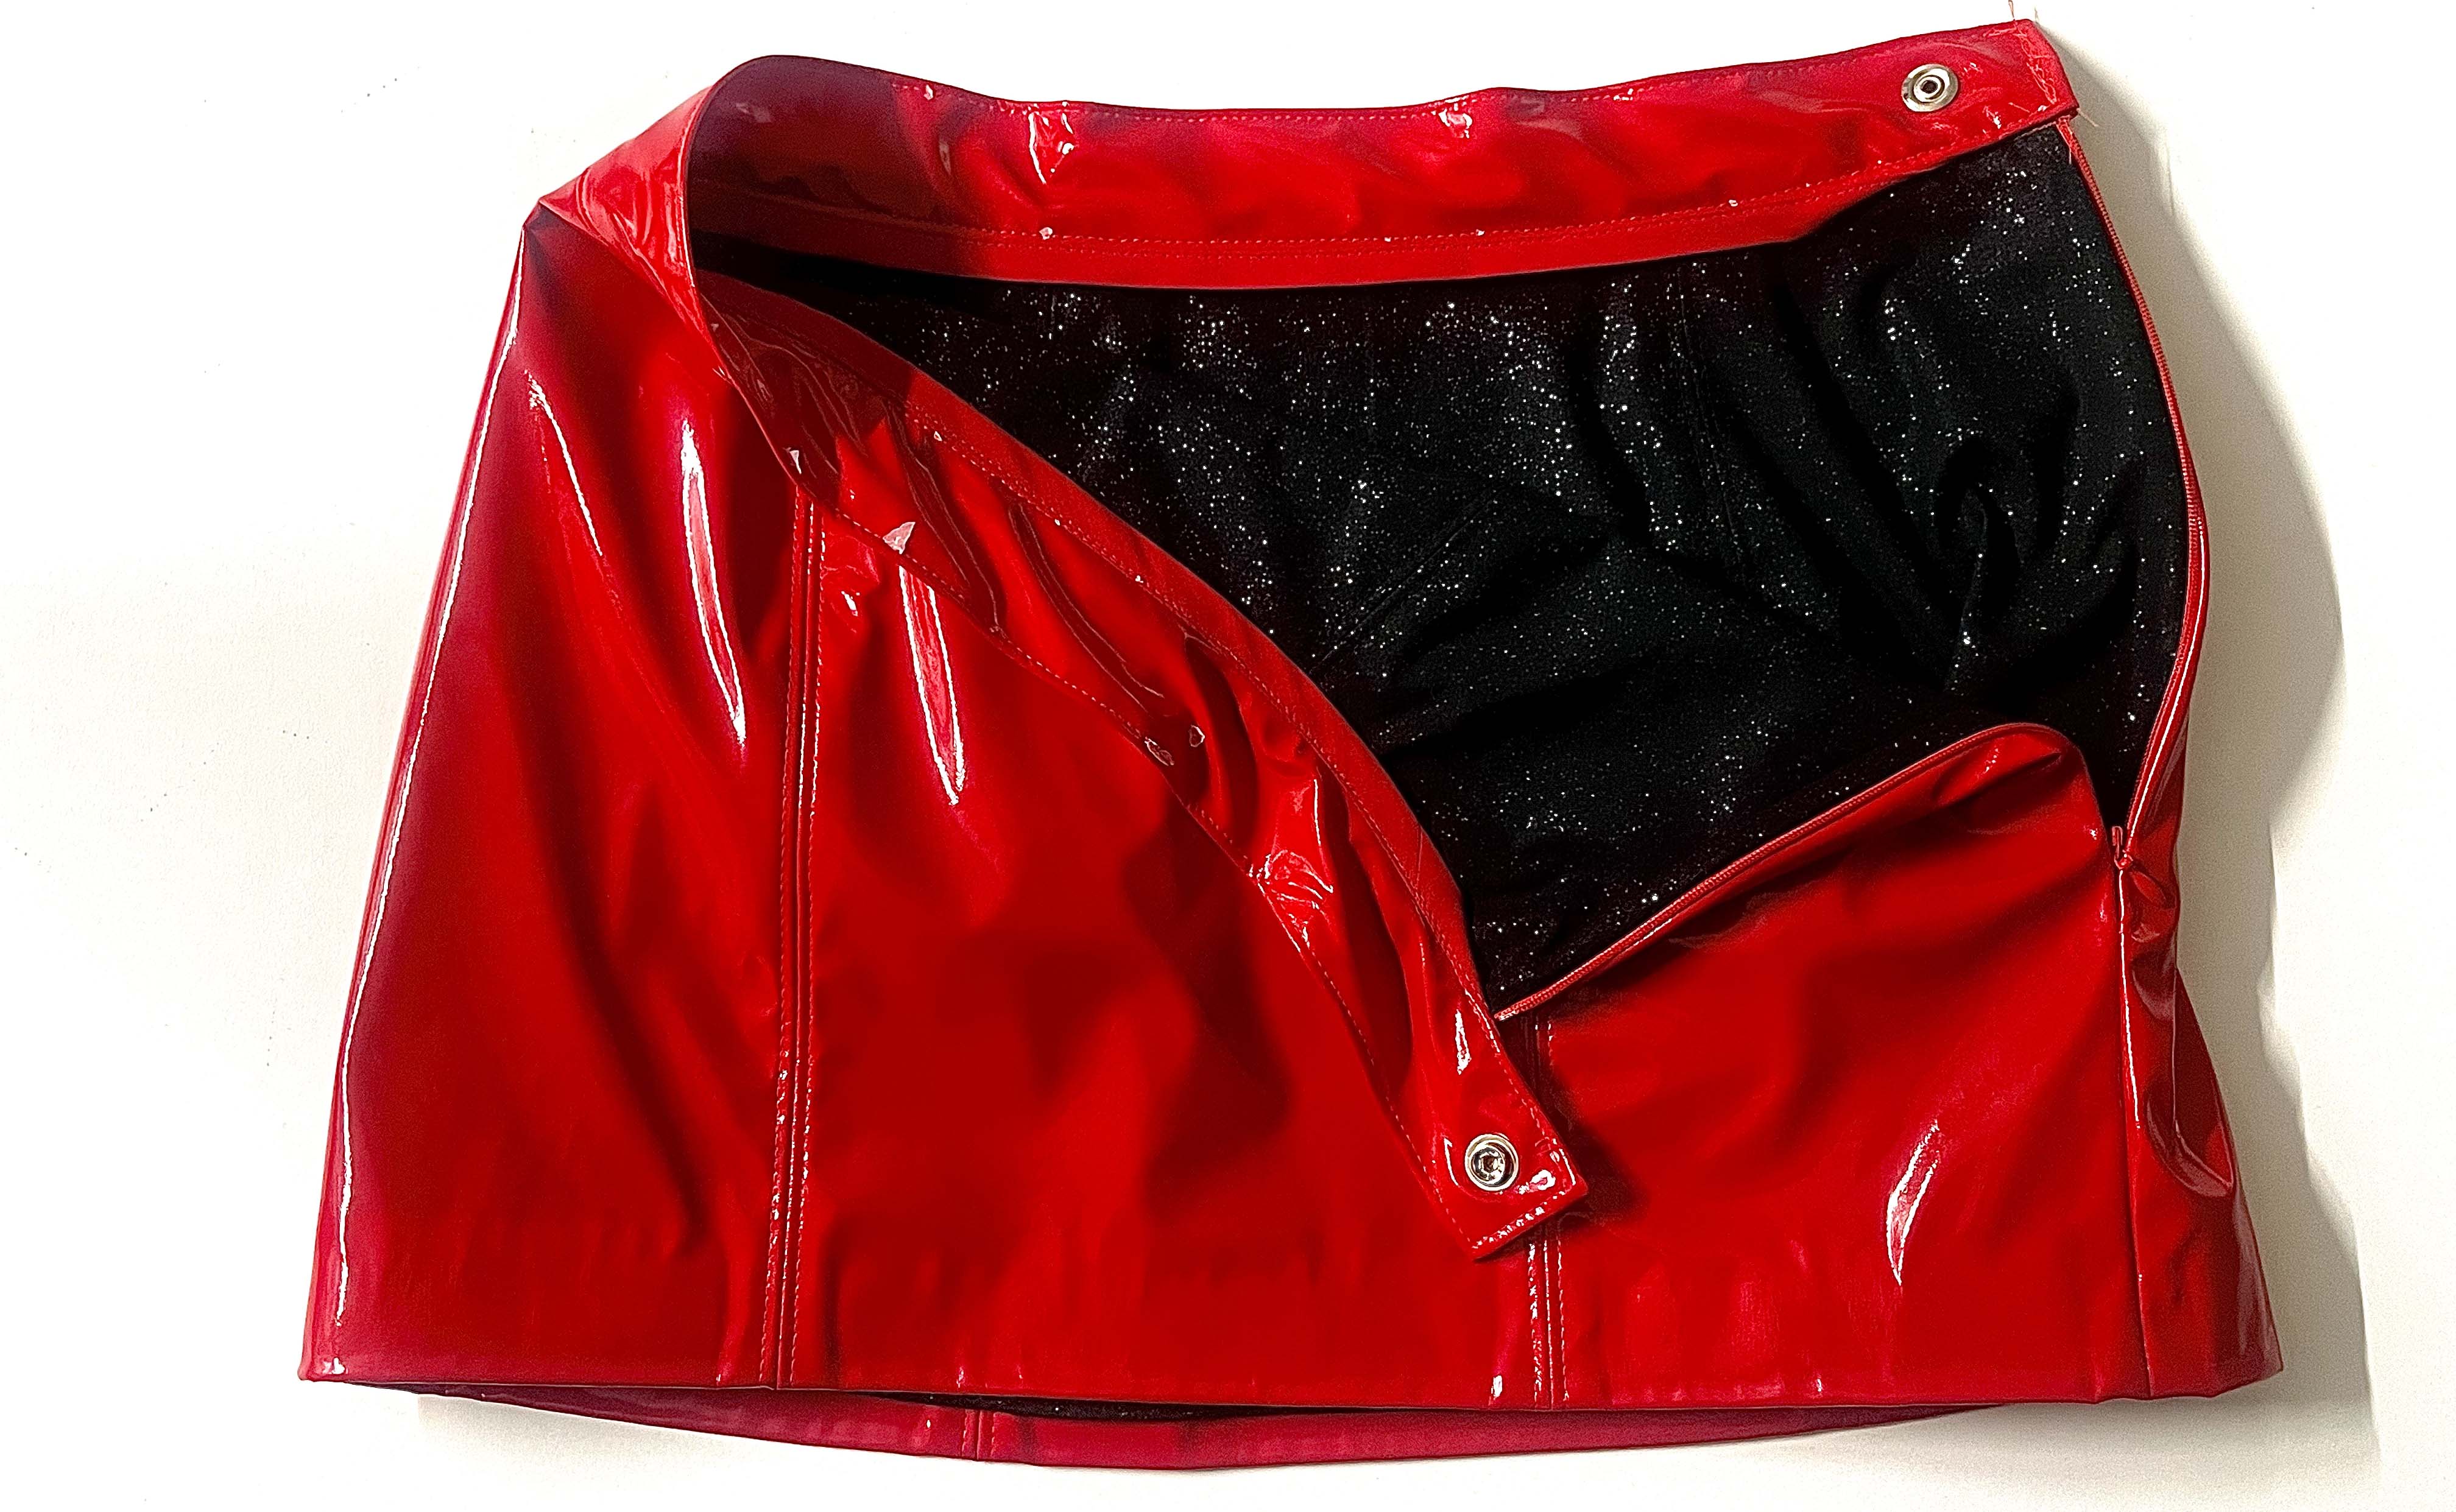
For my skirt, I used double-fold bias tape and top stitch to finish off the bottom edge of my waistband. In my opinion, this is the most simplified technique that leaves your garment looking extremely professional and polished. All you have to do is stitch on the double-fold bias tape onto the lower edge, fold the edge of the bias tape over to encase the raw edge and then edge stitch along the first seam you stitched from the right side. You may also hand-stitch the double fold bias tape down on the wrong side if you prefer.
Proceed with stitching on your waistband and finishing off the ends as instructed in the tutorial. Once the waistband is turned to the inside, tuck under the edges closest to the zipper as shown below. We do not want raw edges exposed on the inside of the skirt. The final step is top stitch your waistband down all the way around to secure it.
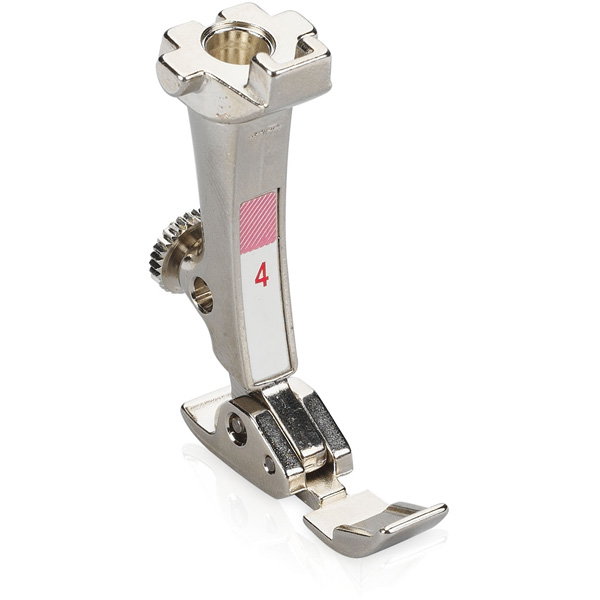
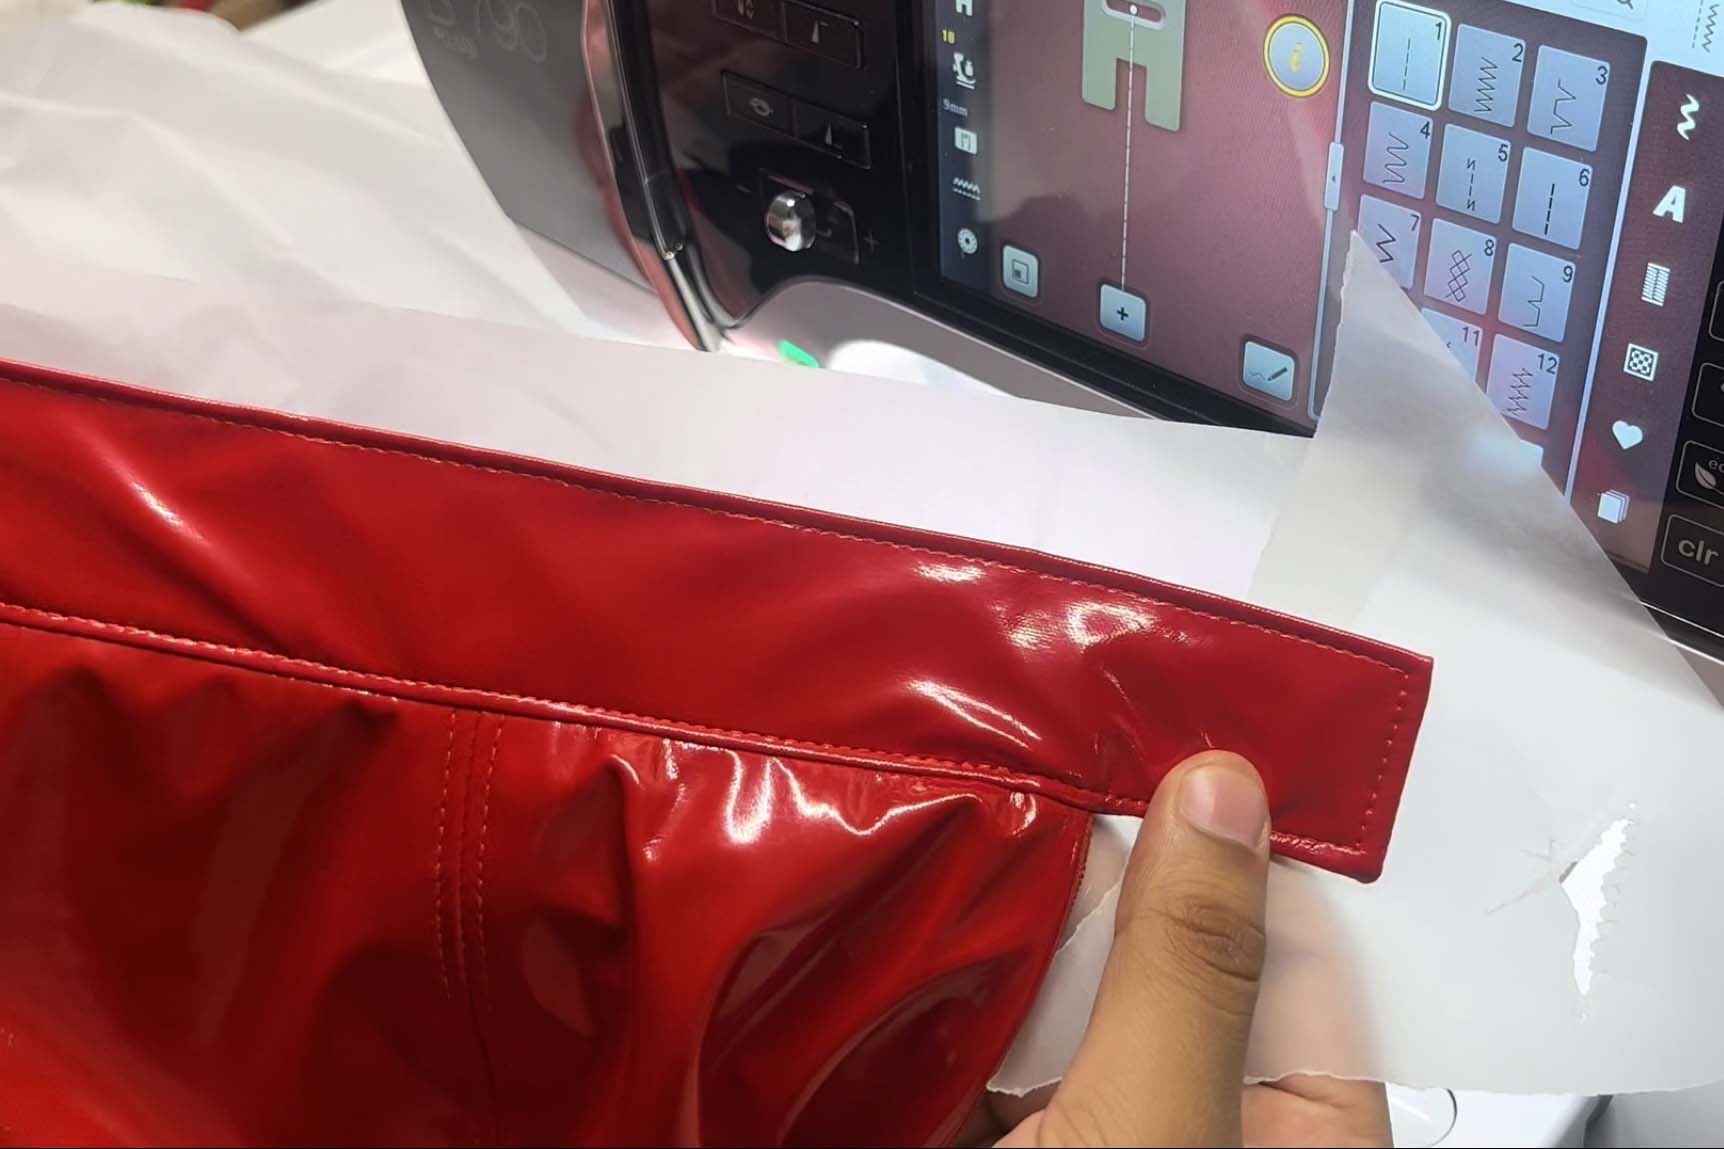
Waistband Top Stitching
Top stitching my waistband is key to achieving a professional finish. Using tracing paper on the underneath side helped my machine to feed the fabric smoothly. My top stitching sits about 1/8 inch from the edges ensuring the waistband will lay flat against the body. I do not recommend topstitching more than 1/8 to 1/4 inch from the edge.
Some faux leathers are stable enough to not have to top stitch. When the leather is stable, you may consider fusing it with fusible interfacing and stitching in the ditch from the right side to secure the waistband down. You may also turn under the seam allowance on the lower edge and hand-stitch the waistband down all the way around.
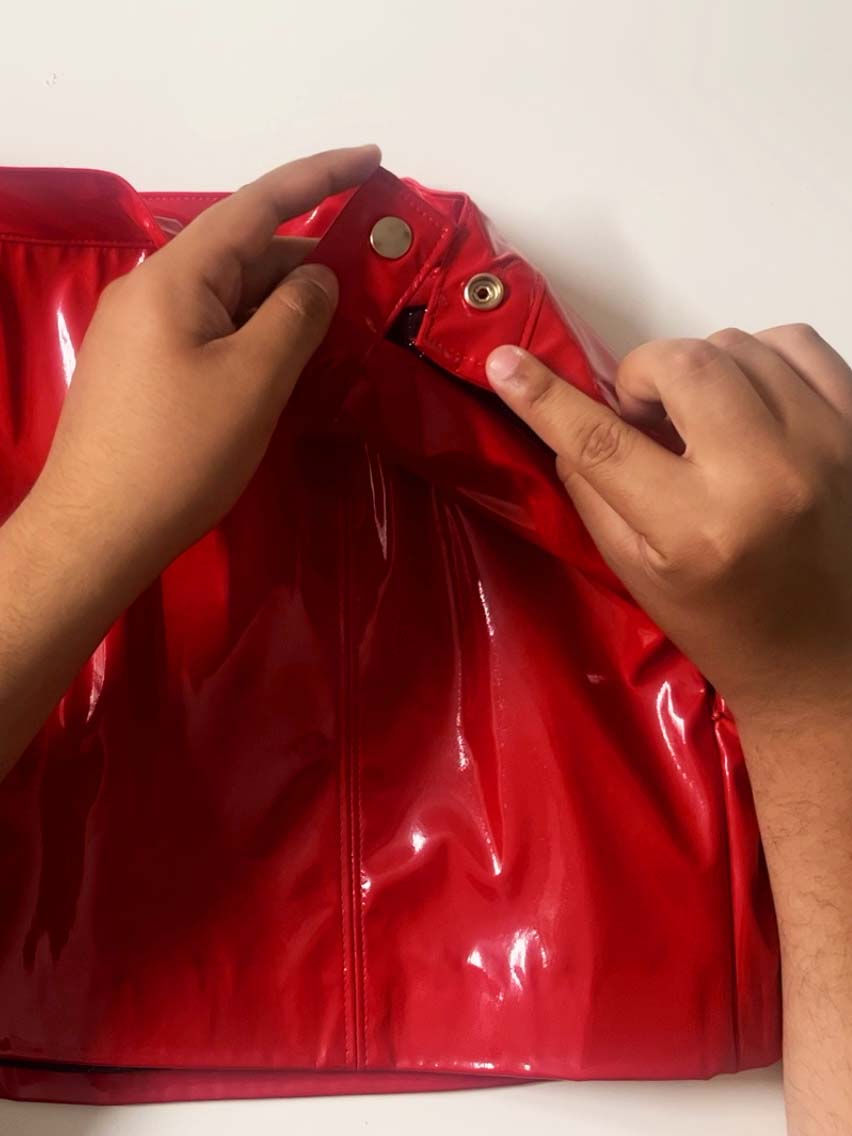
Closures for Your Red Leather Skirt Waistband
Choosing an appropriate closure for your red leather skirt is crucial. In my case, I decided to use a snap closure. it definitely elevates the garment. Be sure to choose something that can with stand the stress and wear that a waistband will receive over time. Installing my snaps was quick and easy and best of all, no hand sewing.
You can also use a hook and bar closure or even a button and buttonhole. Whichever closure you decide to use, make sure to test the installation on a scrap. Do not skip this step! Another option would be to install your zipper to end at the very top of the waistband so that no additional closures are needed. Doing this does change the construction of your waistband with the addition of one more seam along the top edge of the waistband where the fold usually would be. The bias tape method of finishing the bottom edge and top stitching from the right side still applies.
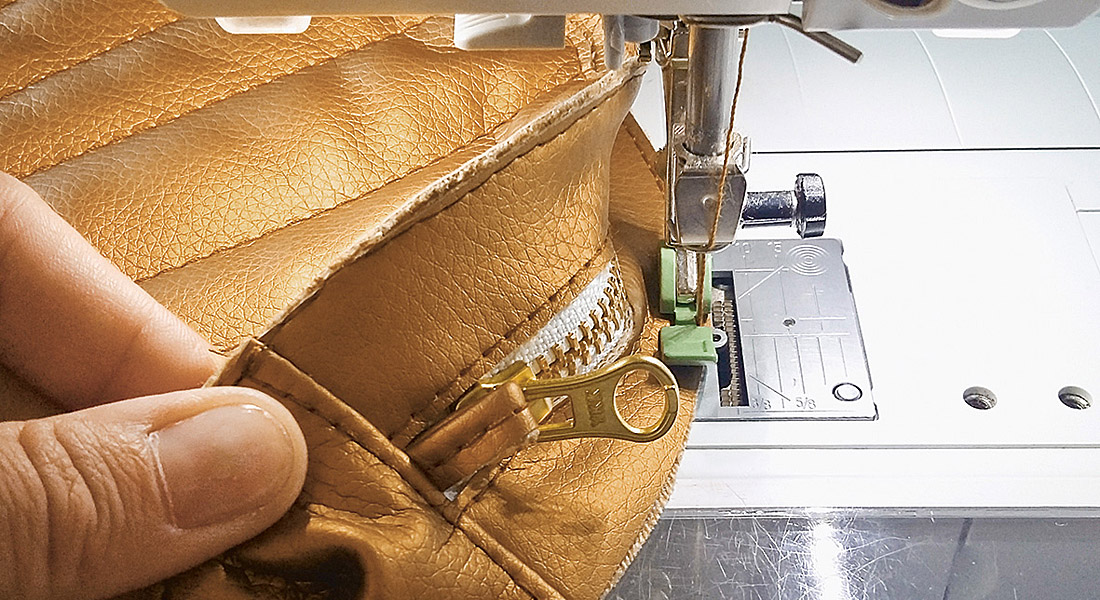
Finishing For Zippers with a Lining
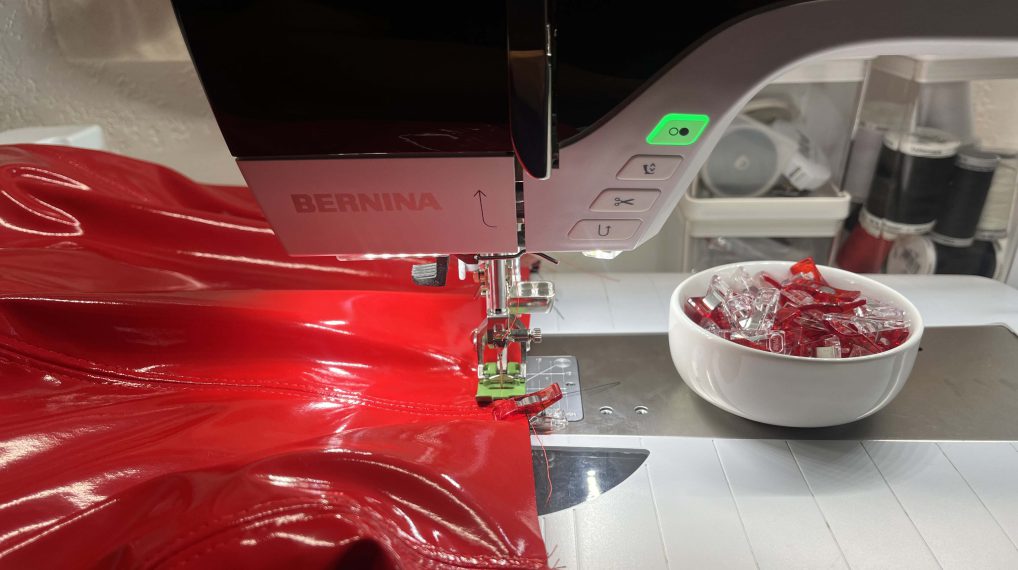
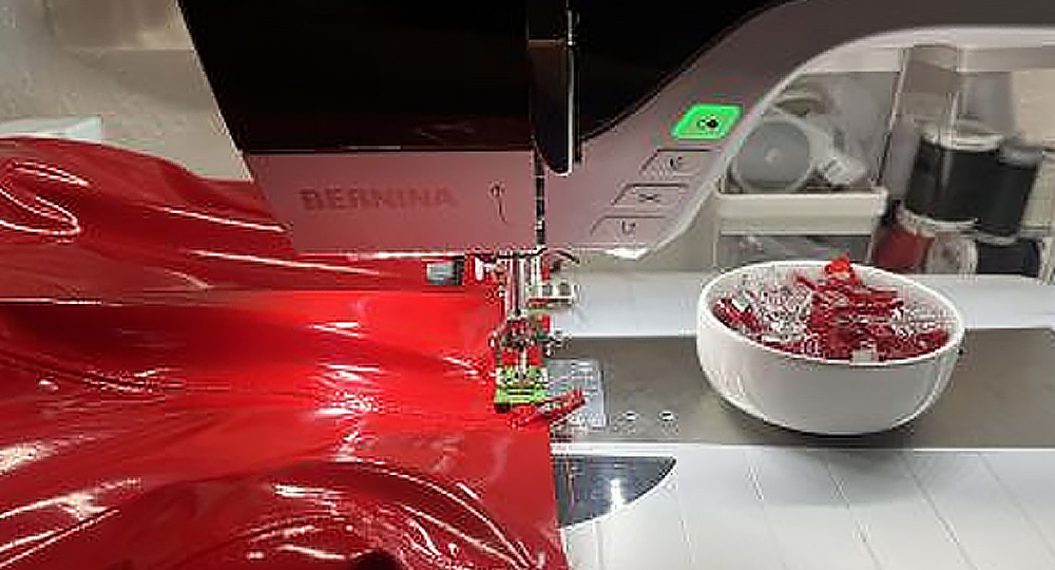
In part 3 of this tutorial, I teach you my method for machine finishing my lining and zipper. This is such a game-changing technique and eliminates the hassle of hand-sewing your lining down to the zipper tape on the inside. The result is beautiful and neat! This method allows for a tiny bit more ease in the lining, which makes it easier to move around in.
If you use a much longer zipper than needed like I did, the lining will conceal the section that was cut off. Securing the zipper tape to the seam allowance at the bottom section of your zipper is key. This is also discussed and demonstrated in the tutorial.

I hope this tutorial has taught you something new and has given you something to try in the future! Leather is such a fun fabric to work with and can be used for so many different pieces. Do not be afraid to get creative! There are so many different options out there for genuine and faux leather. If you would like to see more leather projects like this, be sure to leave a comment and tell us what other leather projects you would like to see!
Happy sewing!!