Color Tile Tree Skirt Part 1
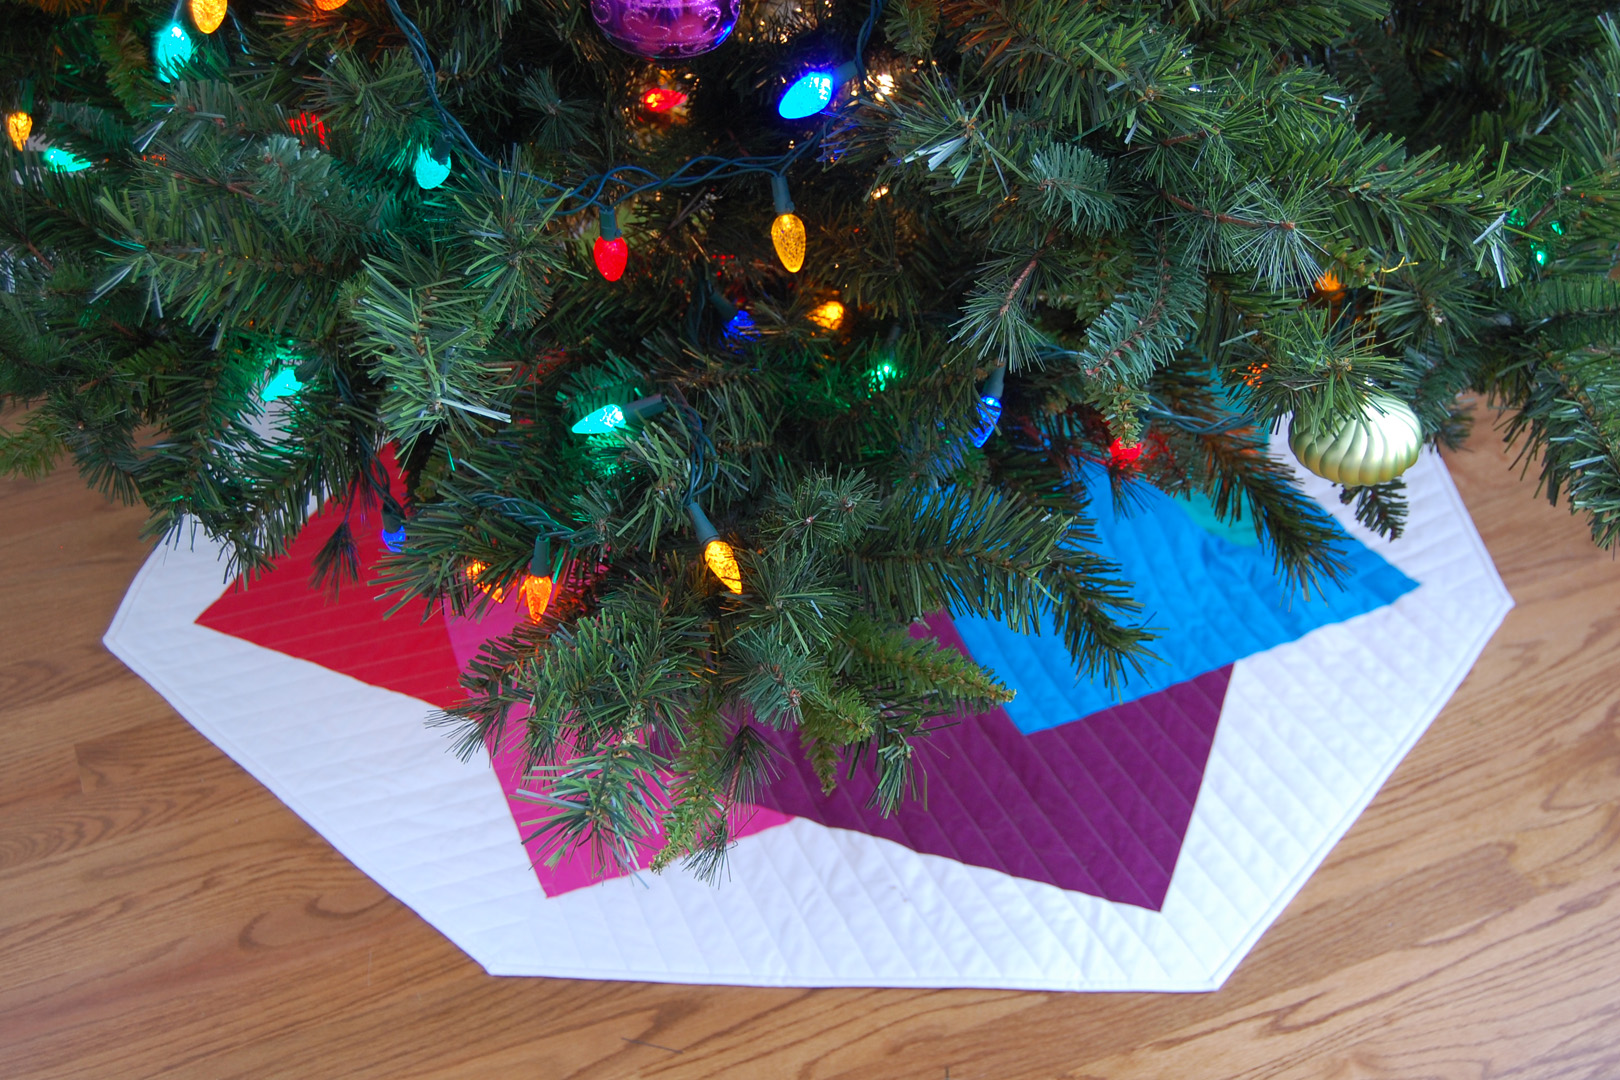
This tree skirt is a supersized version of a “super card trick” quilt block. This block pattern is most often stitched with just a few colors and uses the paper pieced method to make the odd patchwork shapes easier to sew. Instead of using the paper piecing method, I made this big block design with simple squares and half-square triangles so it’s easy to stitch together!
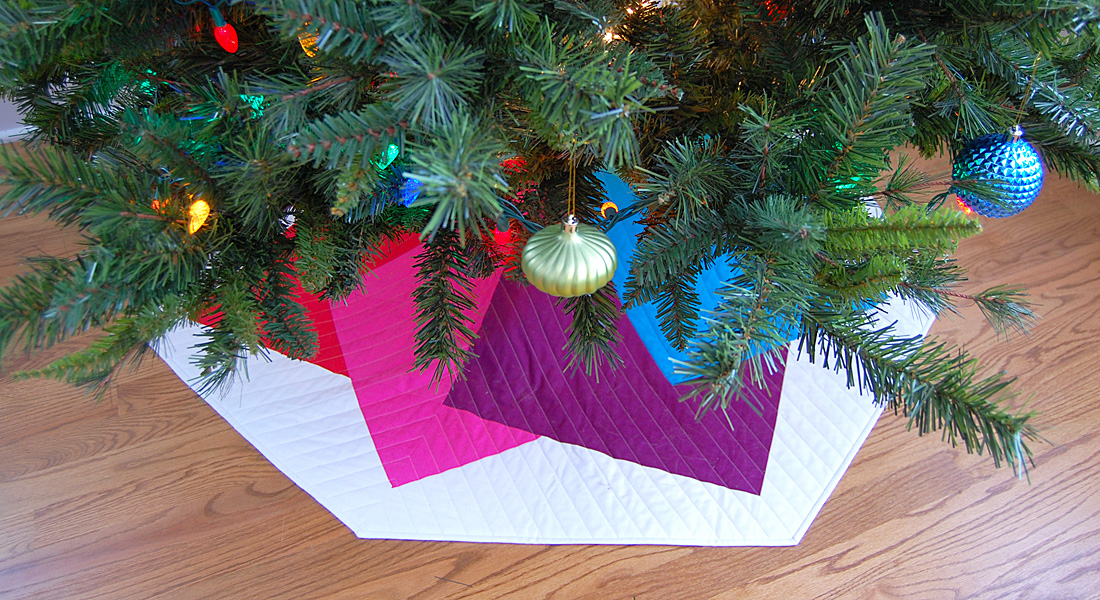
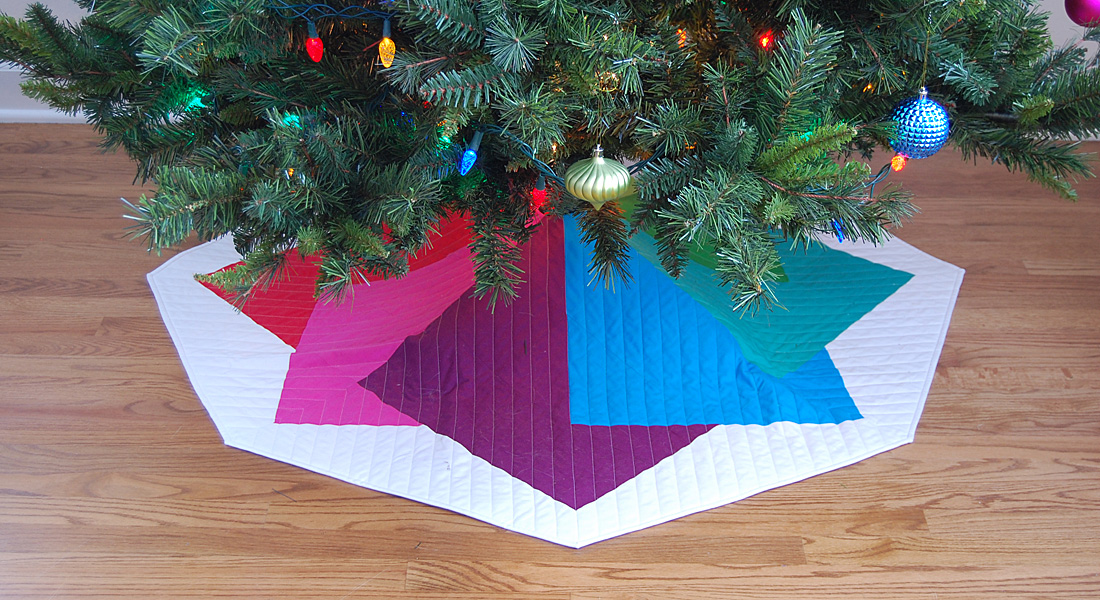
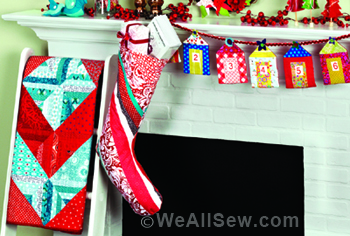
love bright colors and rainbows, so I picked 8 different fully saturated, bright colors to create a tile effect with this pattern. The bright colors totally remind me of the Shiny Brite ornaments that hung on my grandmother’s Christmas tree (we have a few of my grandmother’s Shiny Brite’s on our own tree). I’ve also made this tree skirt specifically to fit artificial trees with a center opening and no side slit. I’ll be showing you exactly how to put the skirt on the stand before assembling your artificial tree in Part 3.
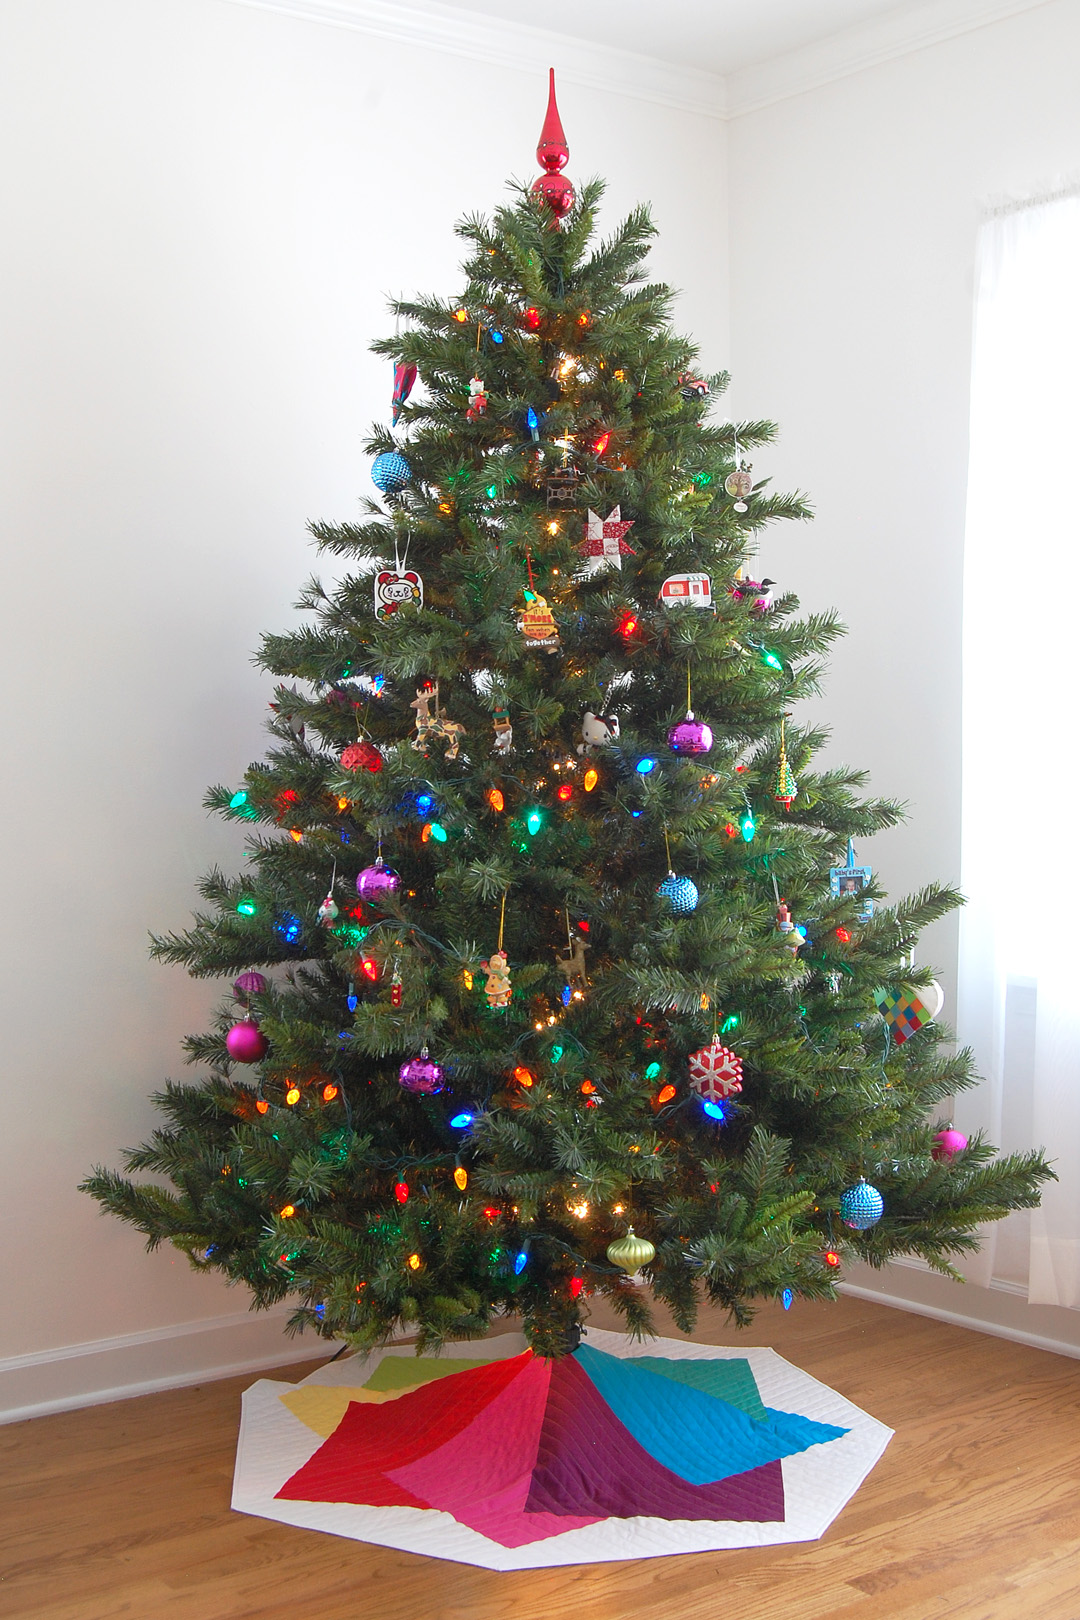
Finished skirt size is approximately 48″ wide. Follow along with me to learn how to create your own version of the Color Tile Tree Skirt!
December 11, Color Tile Tree Skirt Part 1: Materials and Preparation
December 12, Color Tile Tree Skirt Part 2: Patchwork Piecing
December 13, Color Tile Tree Skirt Part 3: Quilting and Finishing
In this post we’ll cover the materials and fabrics you’ll need to gather together to make the tree skirt, and how to prepare the patchwork squares. The tree skirt is pieced from cut squares and half-square triangles to create the pattern. Let’s get started!
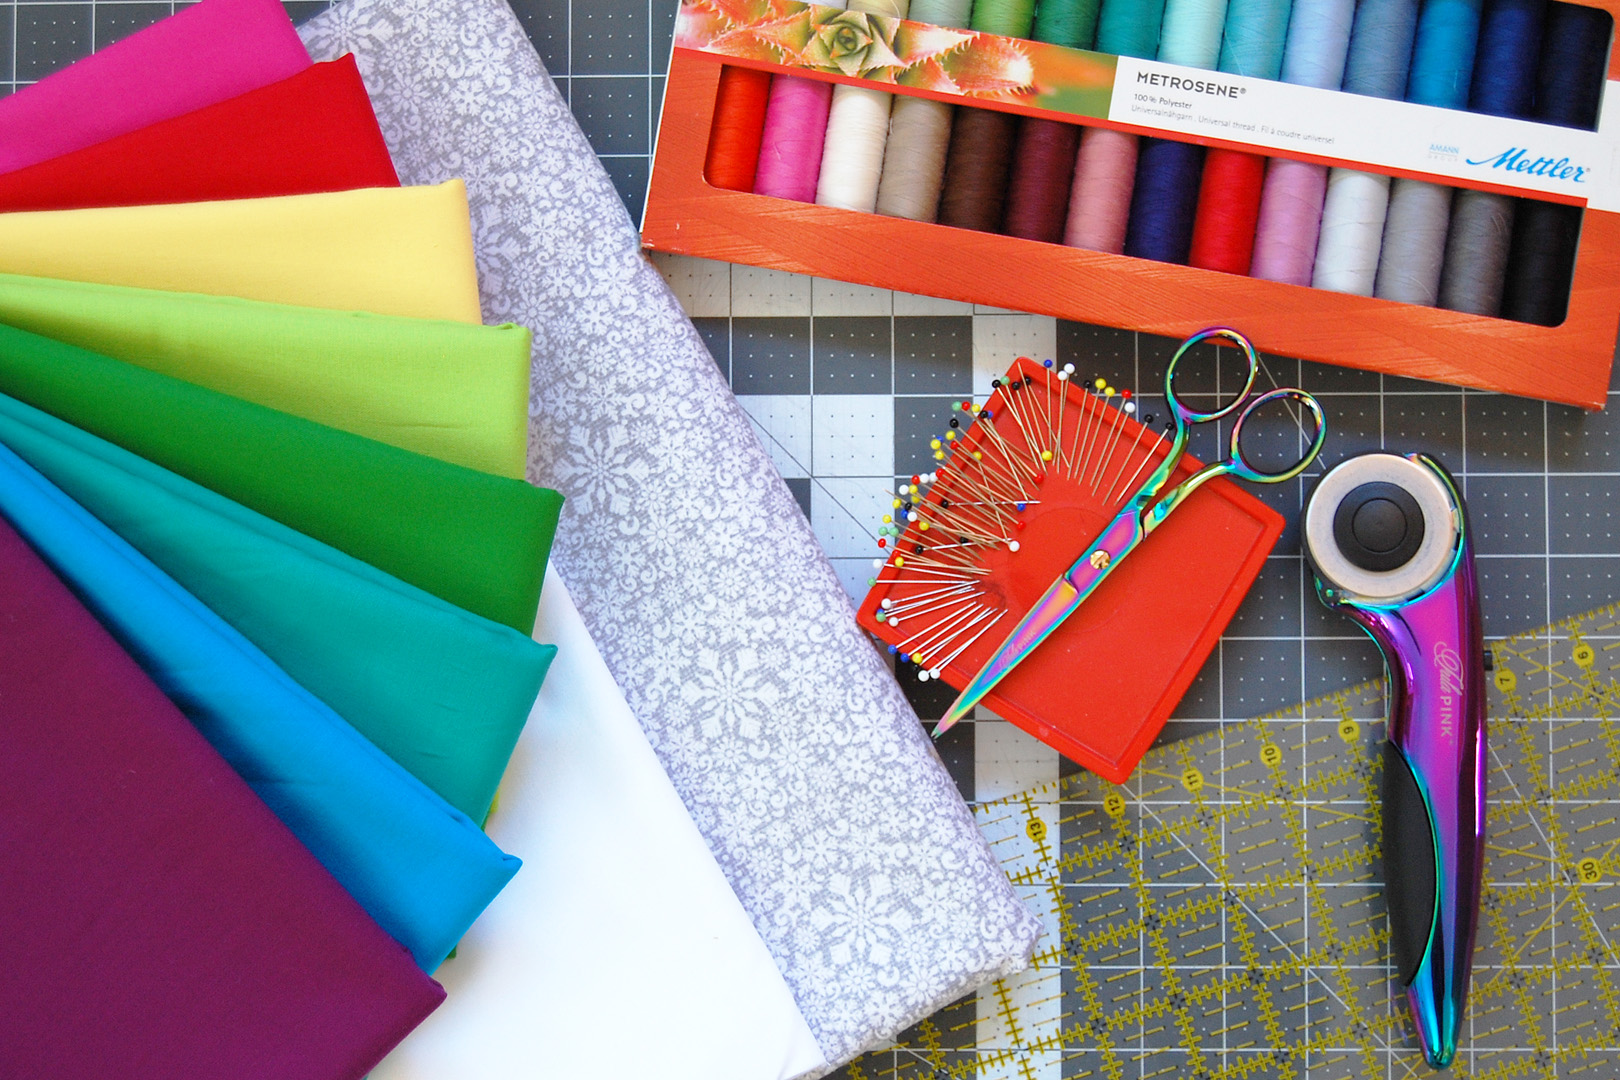
Materials to Make a Color Tile Tree Skirt
- Background and binding fabric: 1 1/2 yards 45″ wide fabric (I used white)
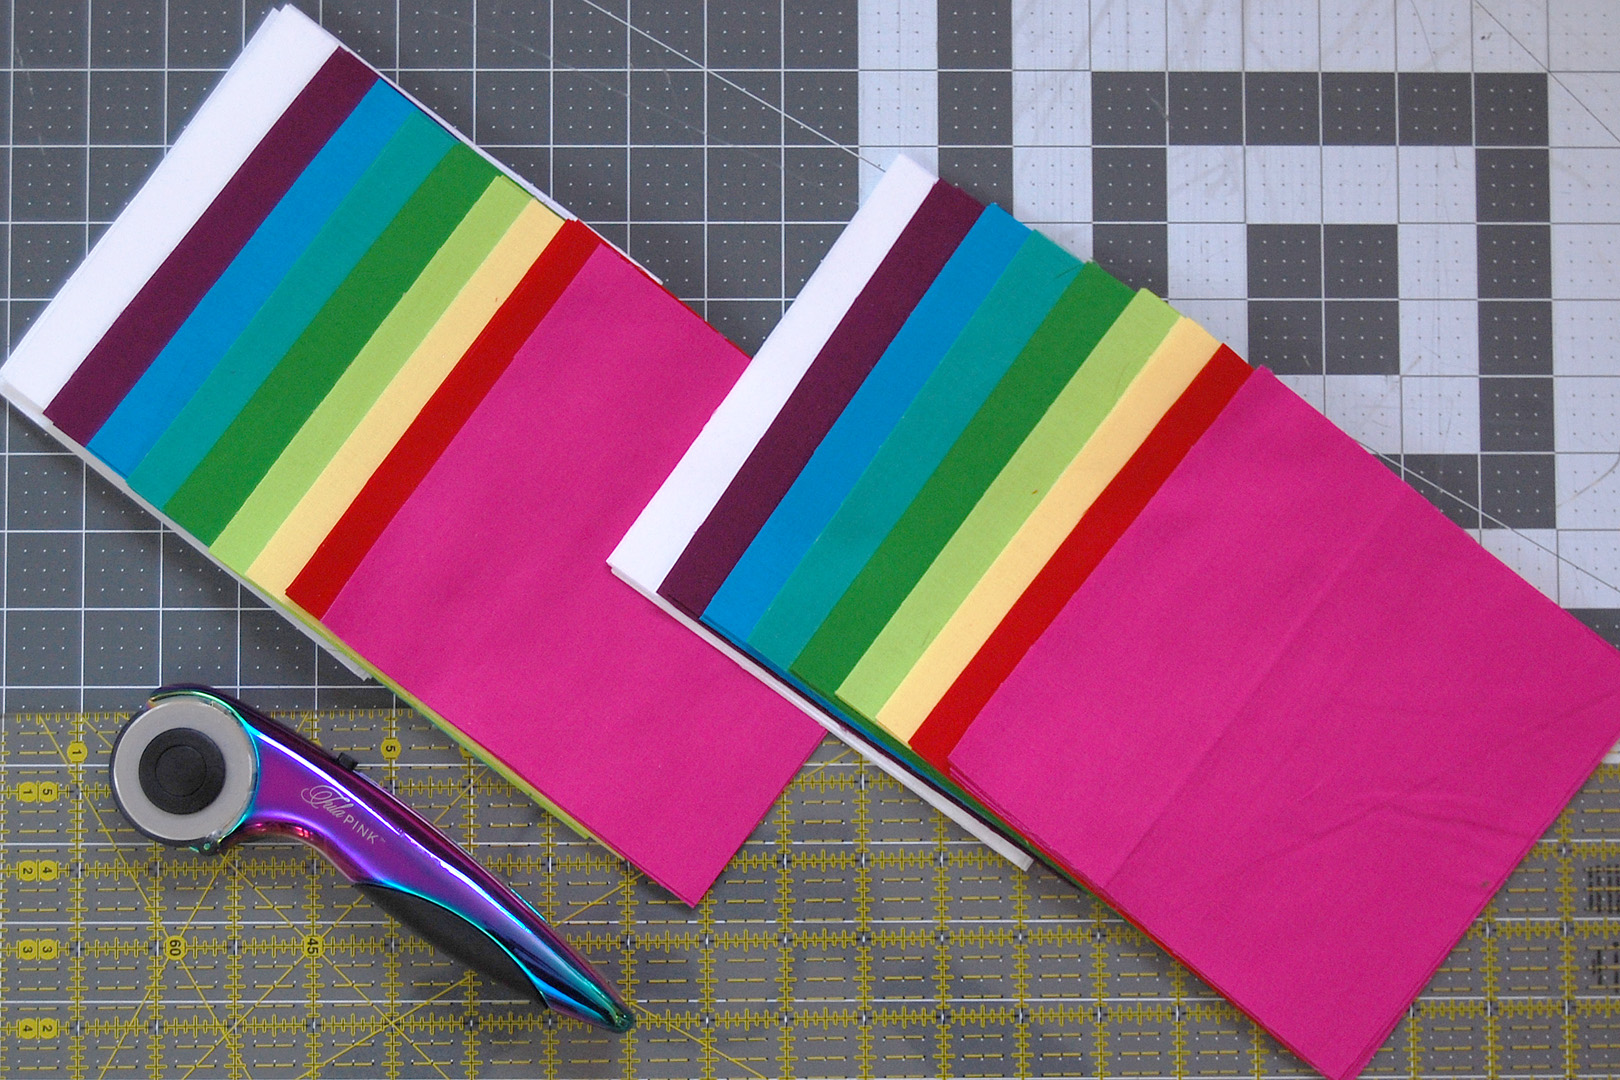
- Colors 1 – 8: minimum 1/3 yard each 45″ wide fabric (I used bright saturated colors in magenta, red, yellow, yellow-green, green, green-blue, blue, and violet. Read more below about color choices.)
- Backing fabric: 1 1/3 yards 108″ wide fabric or 2 1/2 yards 45″ wide fabric (I used a light gray snowflake print)
- Coordinating thread (I use Mettler Metrosene)
- Cutting mat/rotary cutter/6″ x 24″ quilting ruler
- Basic sewing supplies (pins, hand sewing needle, thread snips, scissors)
- Pressing surface and iron
- Sewing machine (I use a B 570 QE)
- Patchwork foot (I use a Patchwork foot #97)
- Walking foot #50 or Dual Feed foot for quilting
Choosing Colors for the Color Tile Tree Skirt
In this photo of the finished skirt you can see how the colors are labeled throughout the entire tutorial series.
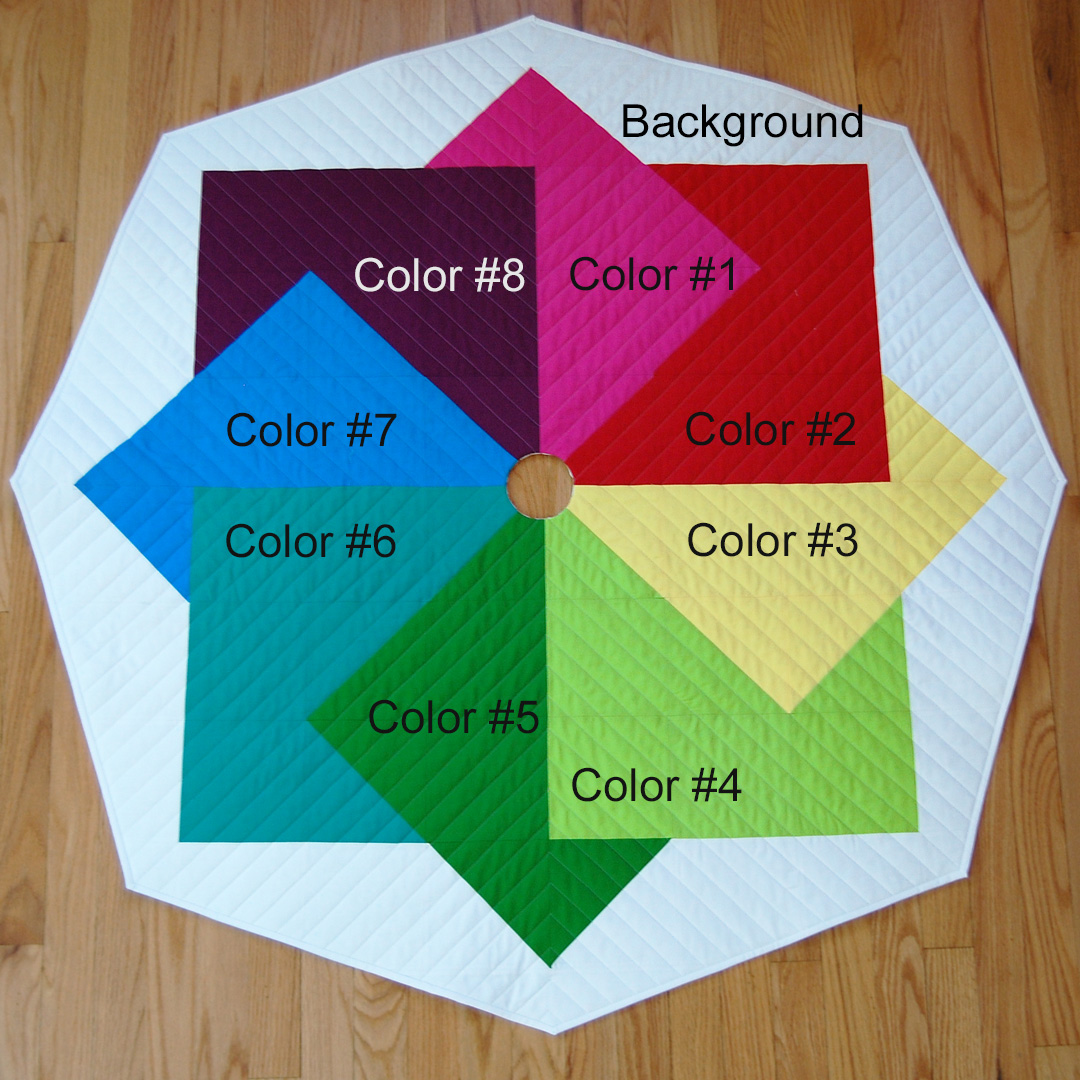
You can choose to use 8 different colors as I have, or you can create a more limited palette of colors. For instance, choosing one color for all even numbered squares and a different color for all odd numbered squares creates a fun overall illusion of two interlocking squares. It’s a really fun pattern to play around with! Once you choose your colors it may help to write down the color numbers along with your choices to follow the tutorial (for instance, color #1 is green, color #2 is red, color #3 is green, etc.).
Cutting Instructions to Make a Color Tile Tree Skirt
Use a cutting mat, rotary cutter and quilting ruler to precisely cut the squares to make the tree skirt. If you are a new quilter I highly recommend checking out Lee Heinrich’s Accurate Piecing Basics: Cutting post here.
Background fabric (I used white), cut the following and set the rest aside for binding and facing:
cut 20 squares 6″ x 6″
cut 4 squares 6.5″ x 6.5″
cut 4 strips 3″ wide by width of fabric
Color #1 (I used bright magenta):
cut 2 squares 6″ x 6″
cut 3 squares 6.5″ x 6.5″
Color #2 (I used bright red):
cut 4 squares 6″ x 6″
cut 2 squares 6.5″ x 6.5″
Color #3 (I used bright yellow):
cut 2 squares 6″ x 6″
cut 3 squares 6.5″ x 6.5″
Color #4 (I used yellow-green):
cut 4 squares 6″ x 6″
cut 2 squares 6.5″ x 6.5″
Color #5 (I used bright green):
cut 2 squares 6″ x 6″
cut 3 squares 6.5″ x 6.5″
Color #6 (I used blue-green):
cut 4 squares 6″ x 6″
cut 2 squares 6.5″ x 6.5″
Color #7 (I used bright blue):
cut 2 squares 6″ x 6″
cut 3 squares 6.5″ x 6.5″
Color #8 (I used purple):
cut 4 squares 6″ x 6″
cut 2 squares 6.5″ x 6.5″
After cutting you will have two similar stacks of fabrics, one will be all 6″ x 6″ square, and one will be all 6 1/2″ x 6 1/2″ square, plus the four long 3″ strips.
Prepare Half-Square Triangles to Make a Color Tile Tree Skirt
You will need to prepare several half-square triangle sets before Part 2 of the tutorial. If you have not made HST’s before (half-square triangles), click through and read all the details about the method I am using to create the HST sets here. This method uses two squares to create one set of two HST’s. First let’s cover this method, then read below about how to create the needed HST sets for the tree skirt top.
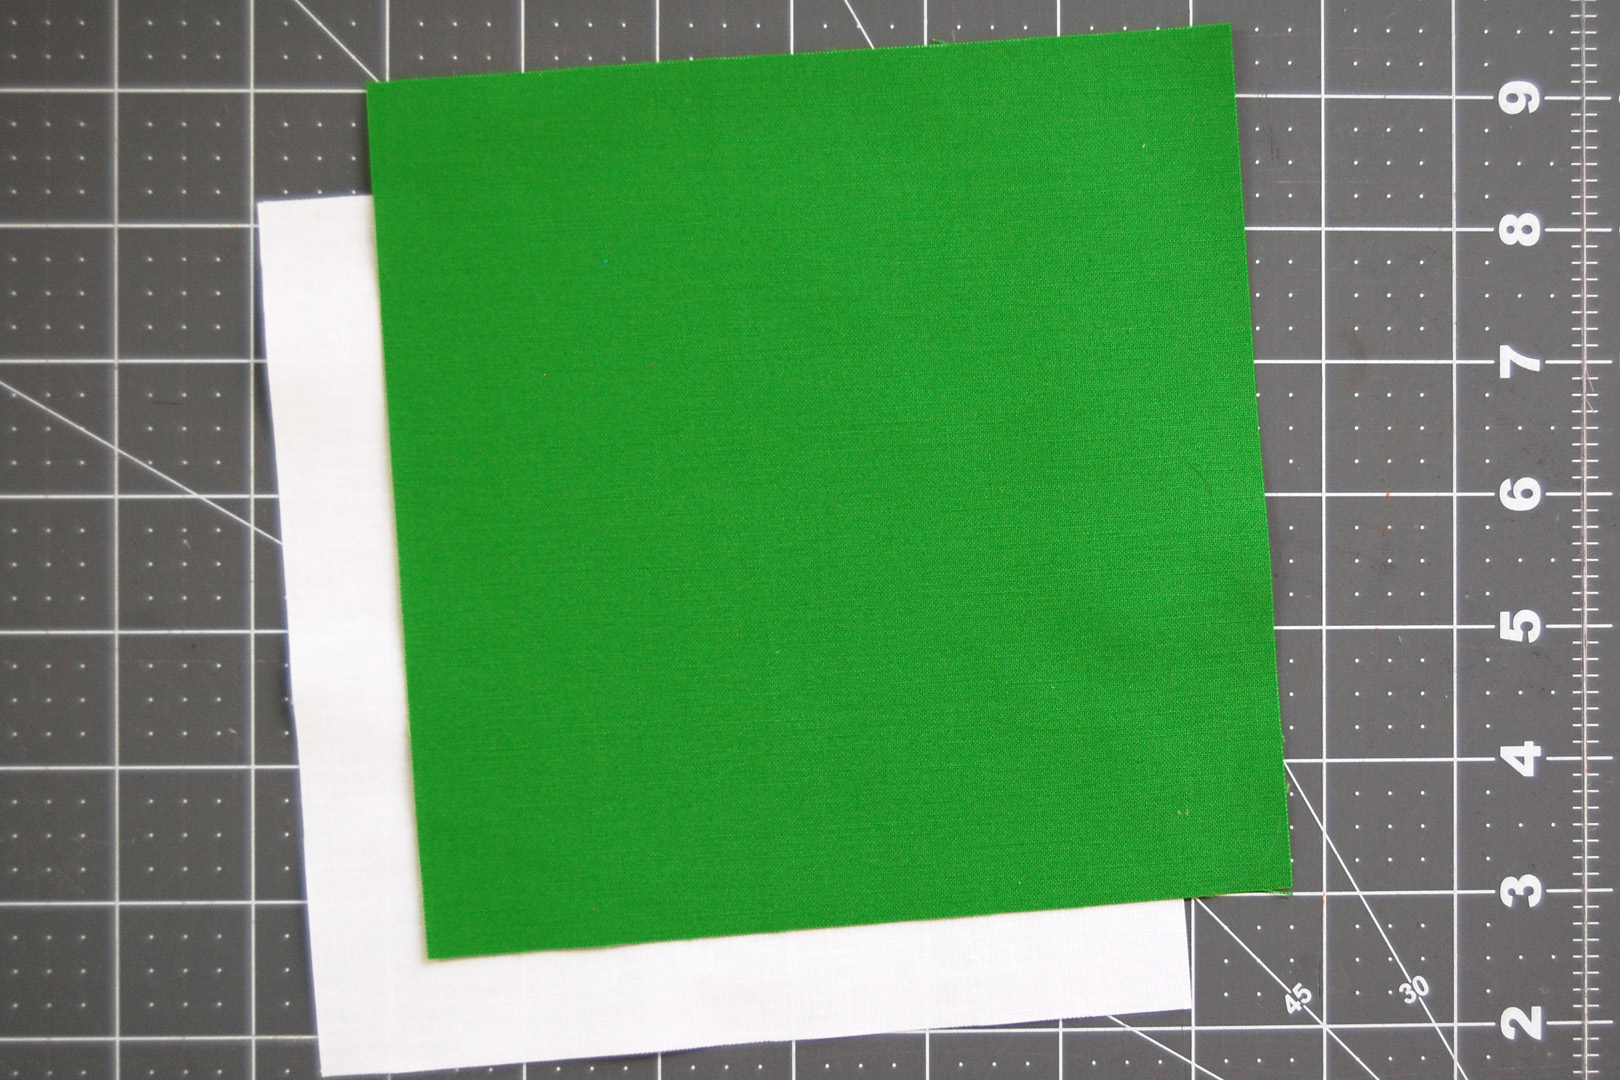
Begin by taking both squares needed to create the HST set, and placing them right sides together.
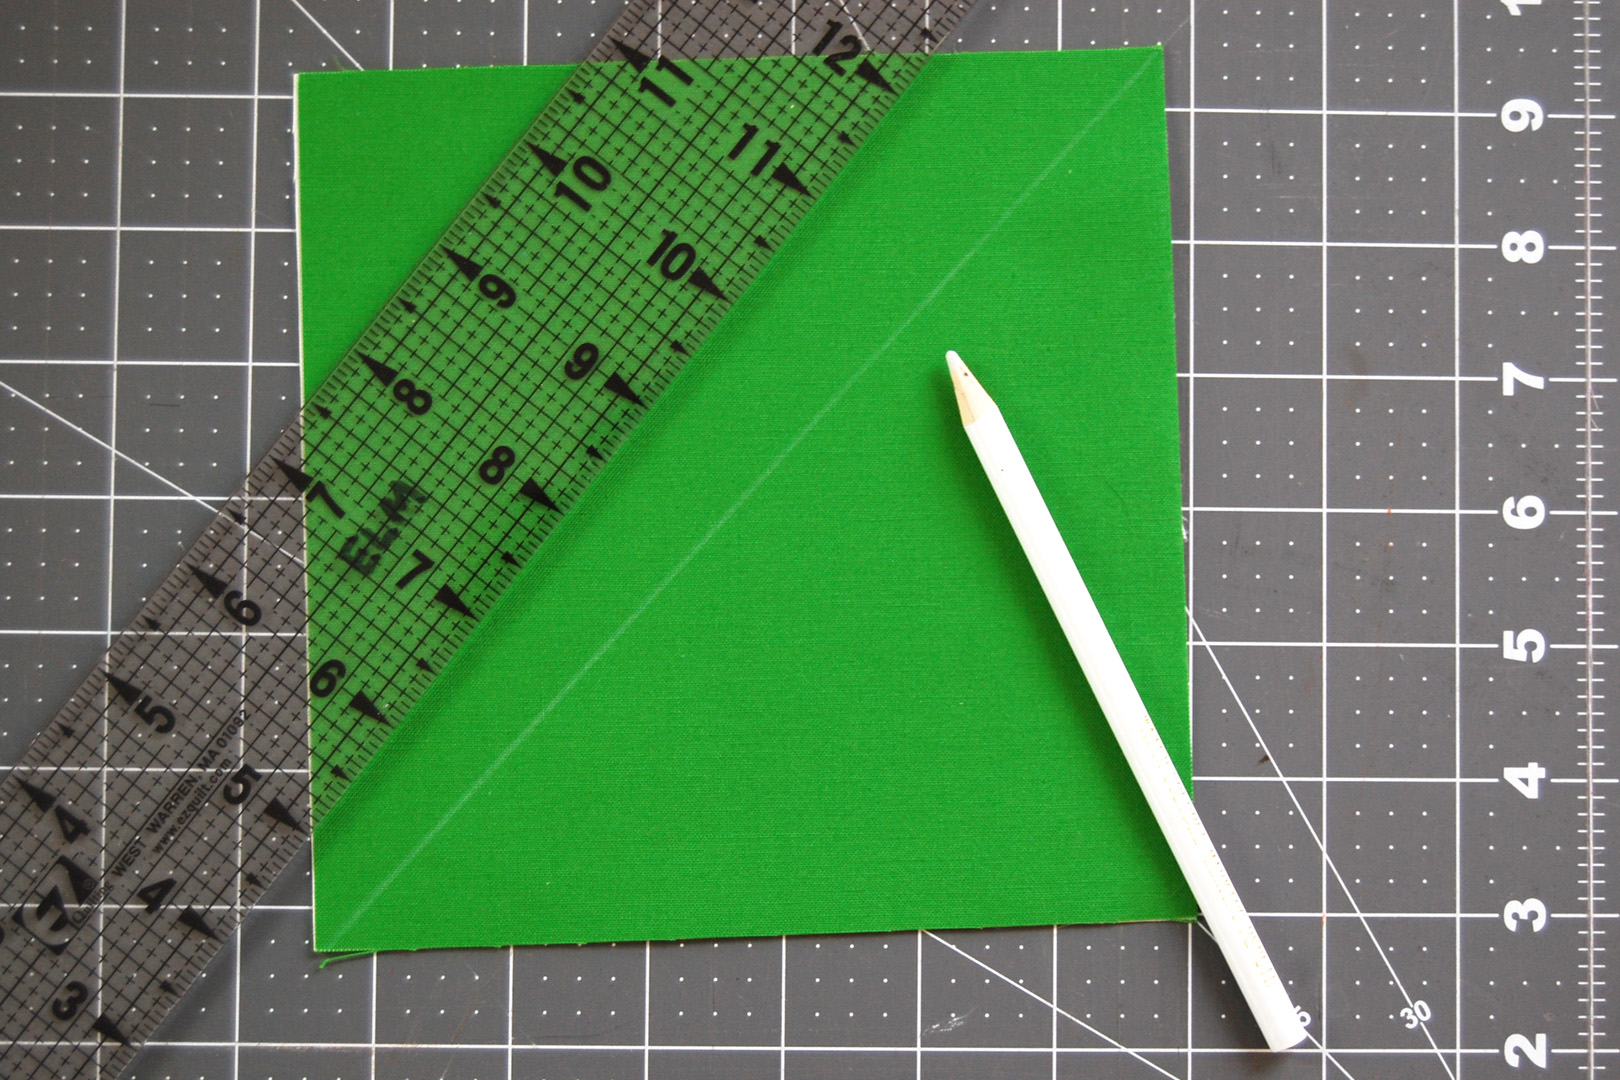
Using a water soluble fabric marking pencil or pen and a ruler, draw a straight line between two opposite corners.

Set up your sewing machine for straight stitch sewing with a quarter-inch patchwork foot.

I use a Patchwork foot #97.
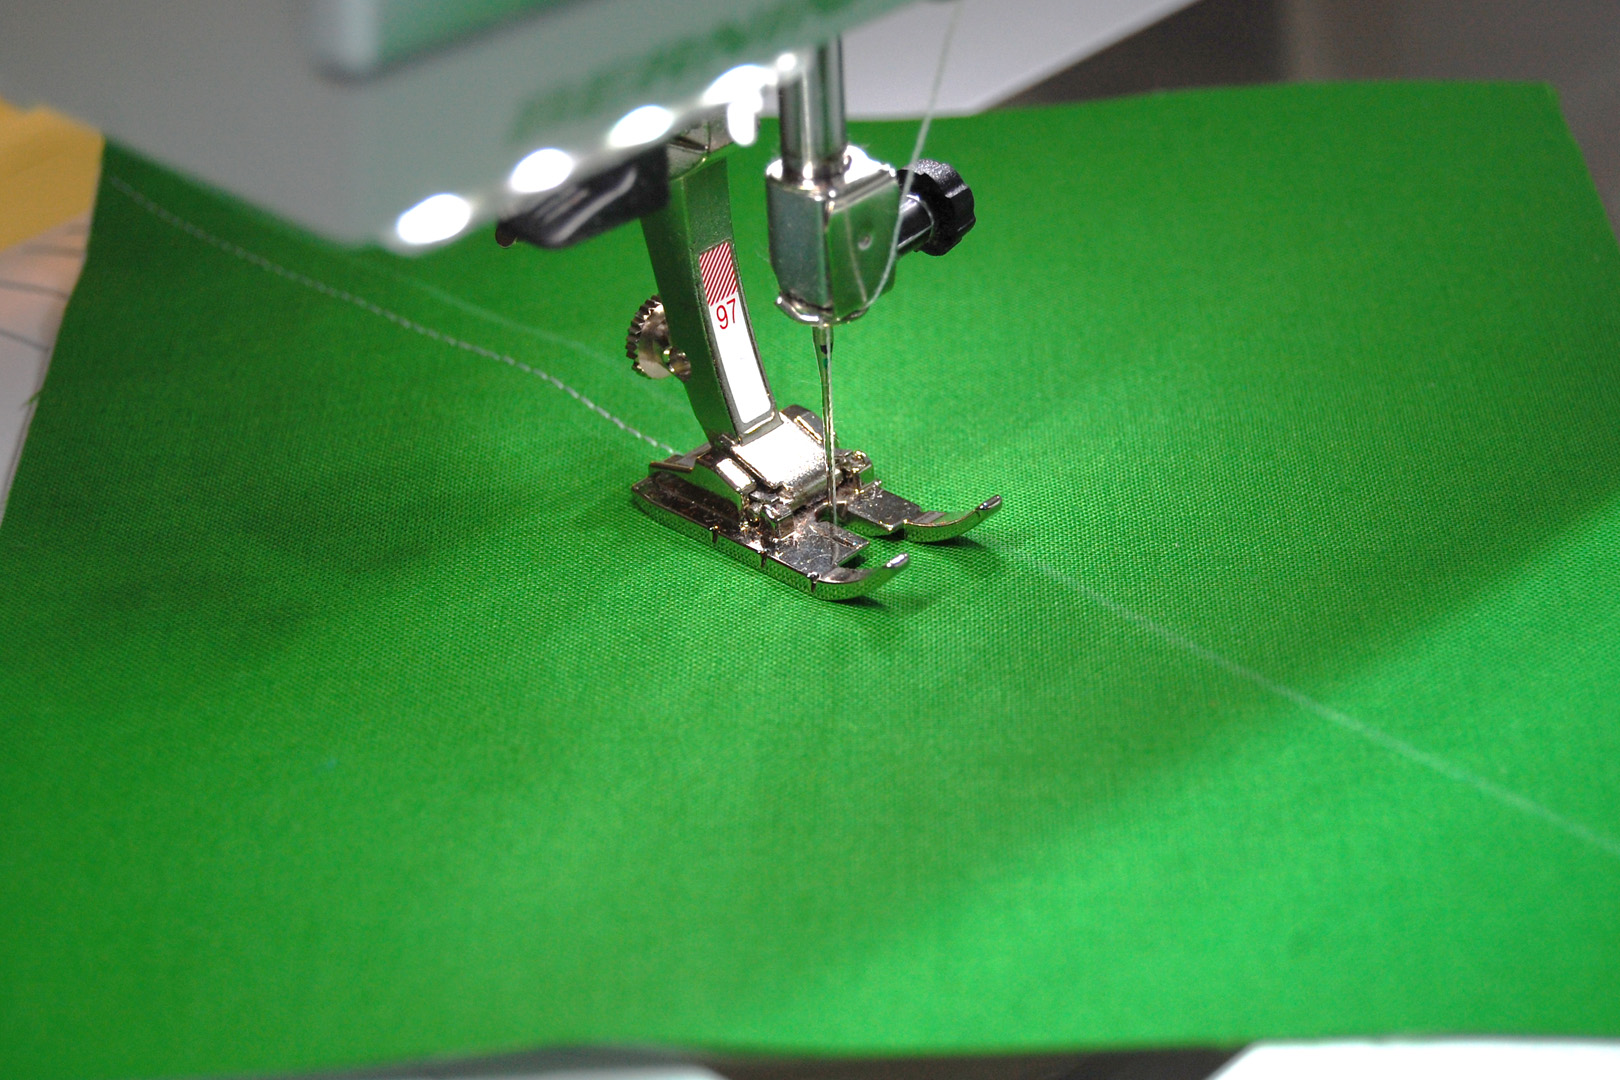
Using the quarter-inch markings on the foot, stitch a seam one quarter-inch away from the guide line you have marked on either side of the line. After stitch both seams, press the seam with your iron to set it.
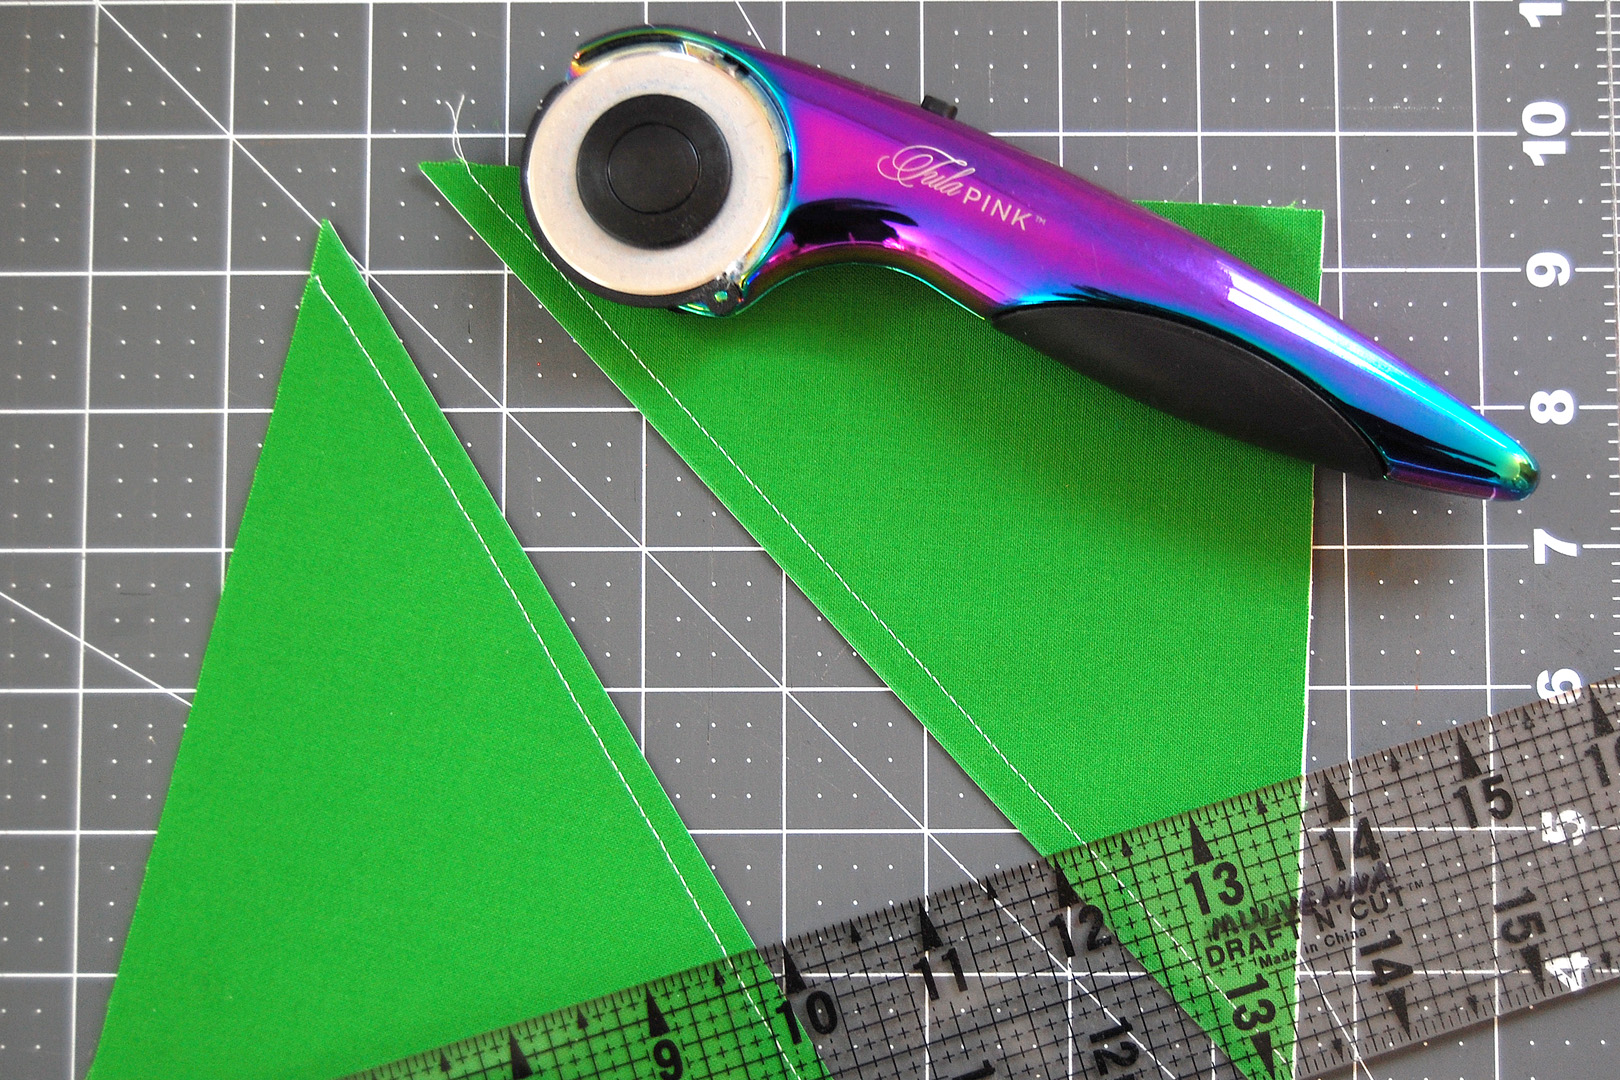
Cut along the guide line you have drawn to separate the two HST’s. Press the seams over to the side with the darkest colored fabric to keep the seam from showing. You now have one set of two HST’s created from the squares of fabric.
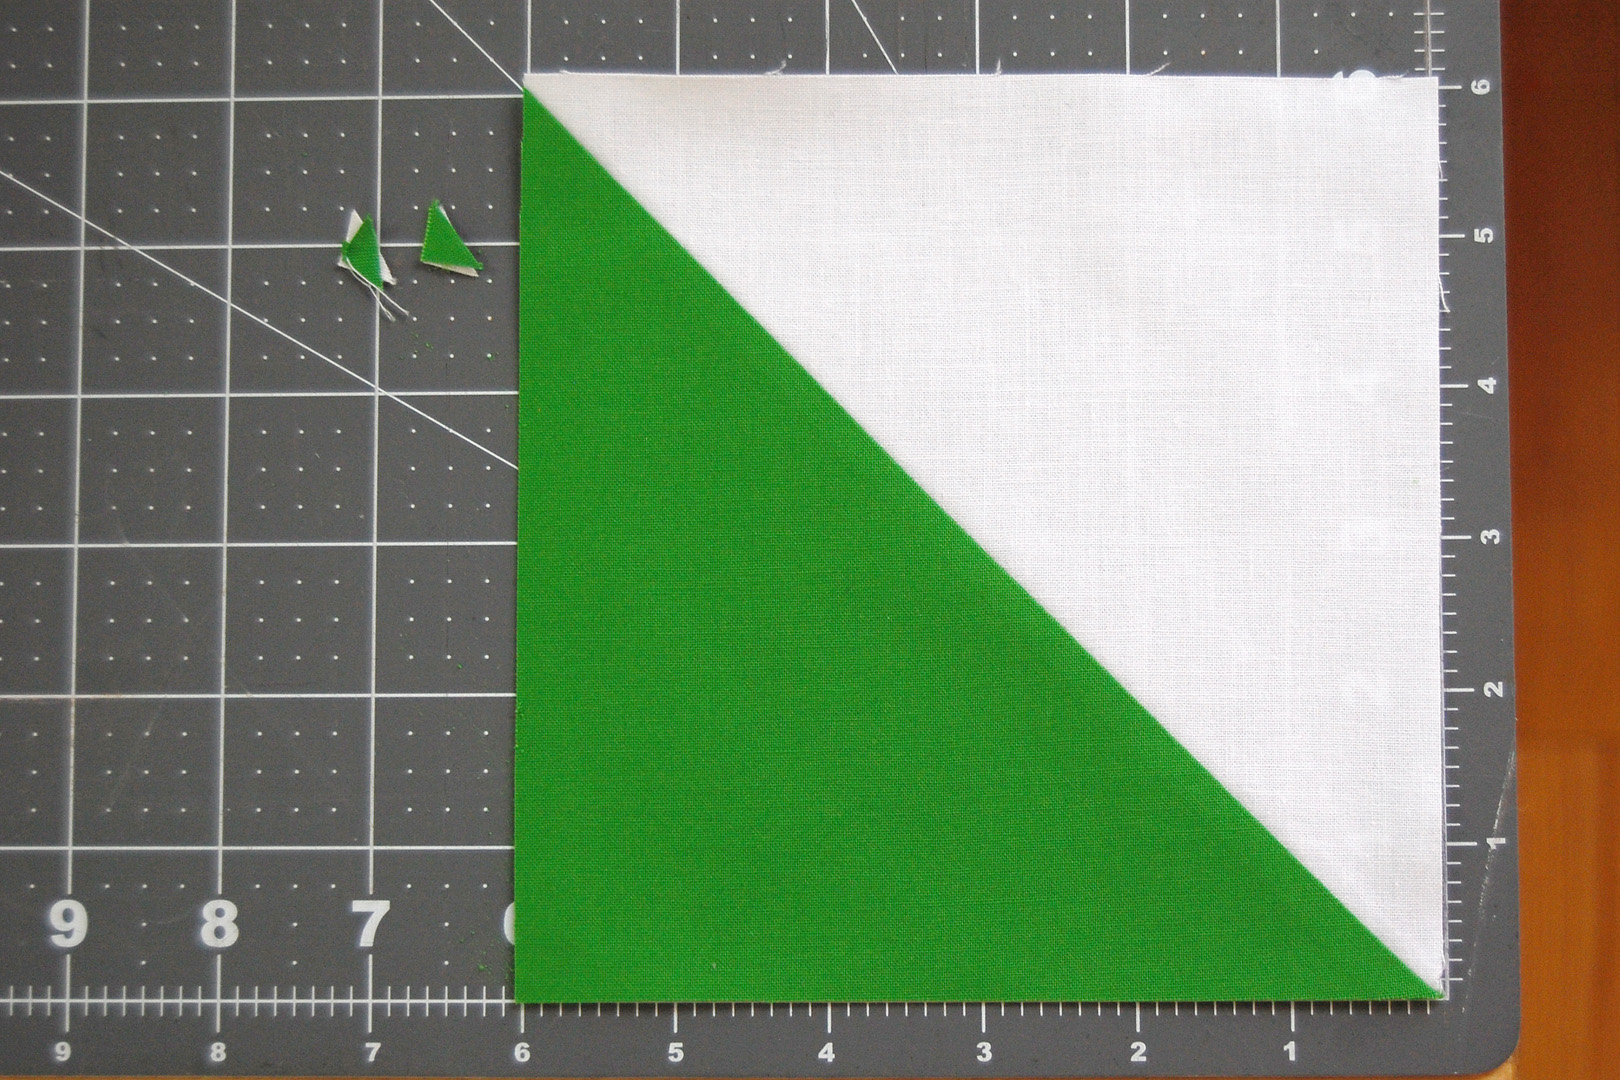
Take your HST’s to your cutting mat to measure, and cut off the dog-ears from the seams.
The finished HST’s should measure 6″ x 6″ square.
- If your HST’s measure larger than 6″ x 6″ it means you have sewn slightly less than a quarter-inch seam. This is okay because you can adjust your seam when sewing the next HST set, or you can continue to sew a scant quarter-inch seam and trim all the HST’s down to 6″ x 6″.
- If your HTS’s measure less than 6″ x 6″ it means you have sewn more than a quarter-inch seam. In order for the patchwork to be sewn together precisely you will need to adjust your seam and try again!
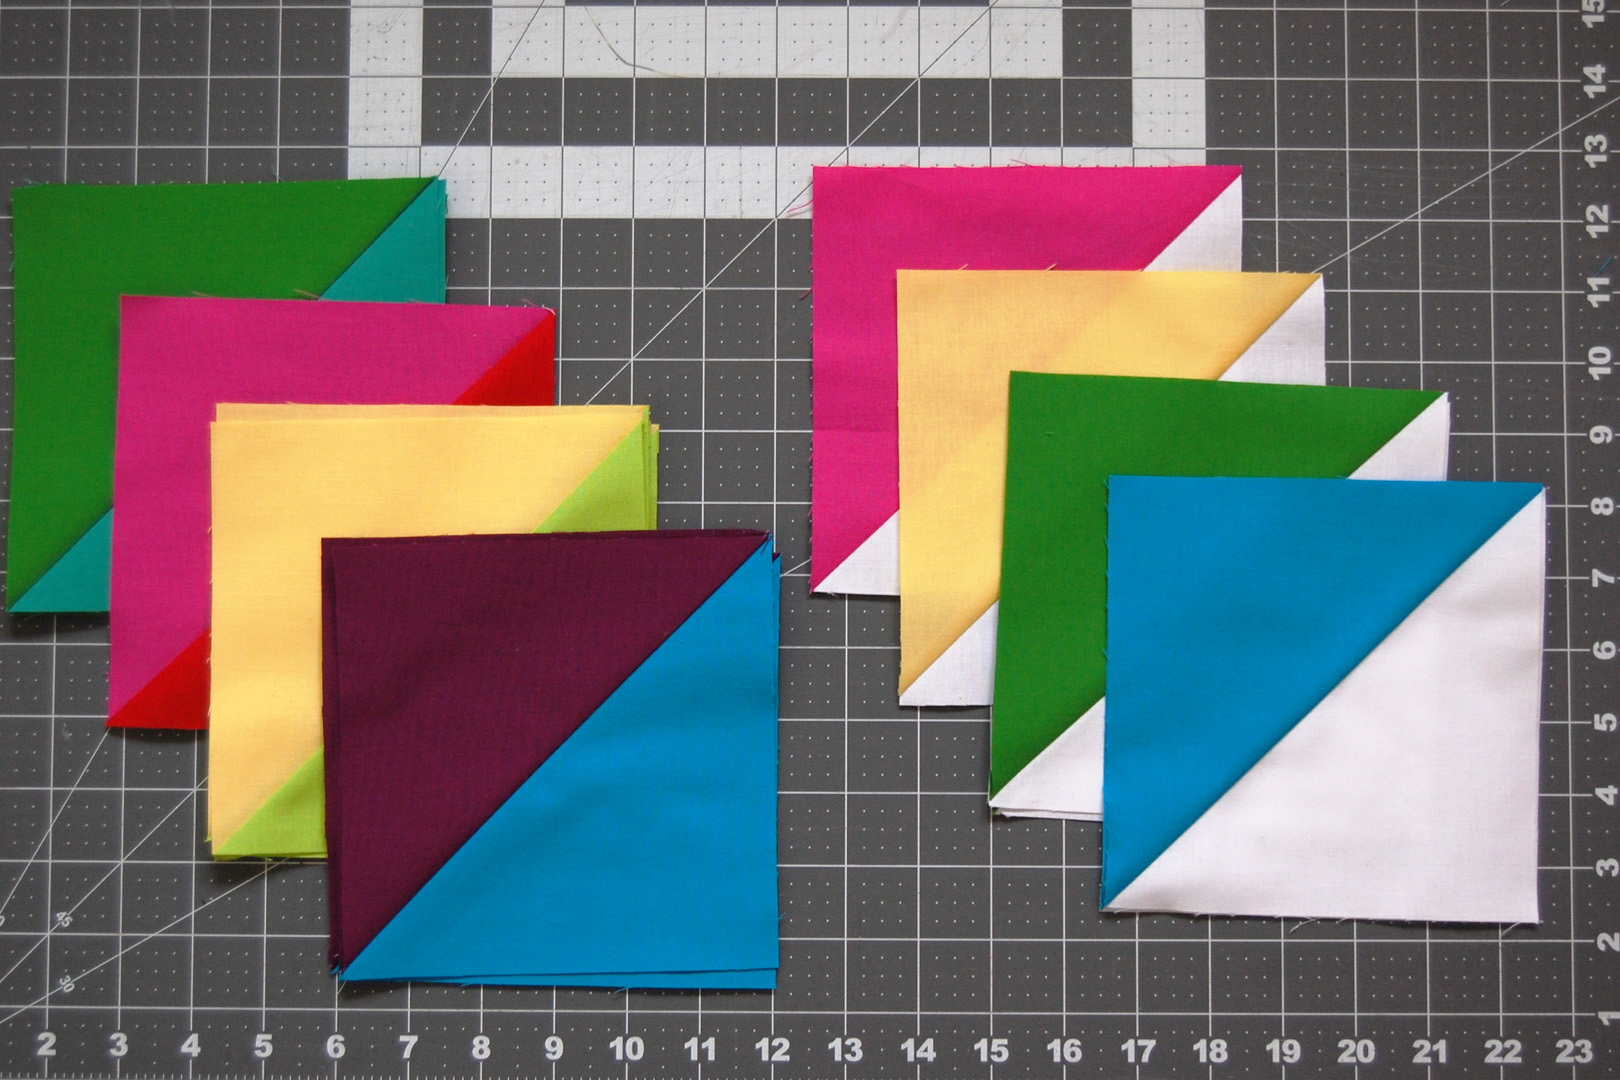
Create the following HST sets from the 6 1/2″ x 6 1/2″ squares of fabrics:
- One HST set using one white square and one color #1 square
- One HST set using one white square and one color #3 square
- One HST set using one white square and one color #5 square
- One HST set using one white square and one color #7 square
- Two HST sets using two color #1 squares and two color #2 squares (sew each color #1 square to one color #2 square)
- Two HST sets using two color #3 squares and color #4 squares (sew each color #3 square to one color #4 square)
- Two HST sets using two color #5 and color #6 squares (sew each color #5 square to one color #6 square)
- Two HST sets using two color #7 and color #8 squares (sew each color #7 square to one color #8 square)
When finished you will have two HST’s each of the background (white) and colored squares, and four HST’s each of the multi colored squares, and you’re now ready to move on to the next step!
Used Products

What you might also like


3 comments on “Color Tile Tree Skirt Part 1”
-
-
Thanks so much Kymona! 🙂
-
-
I love the mid-century mod look. I could see this under an aluminum or even a white tree with colorful ornaments on it. I definitely need to make this.
Leave a Reply
You must be logged in to post a comment.

Erika, this tree skirt is so fantastic. I can’t wait to try this.