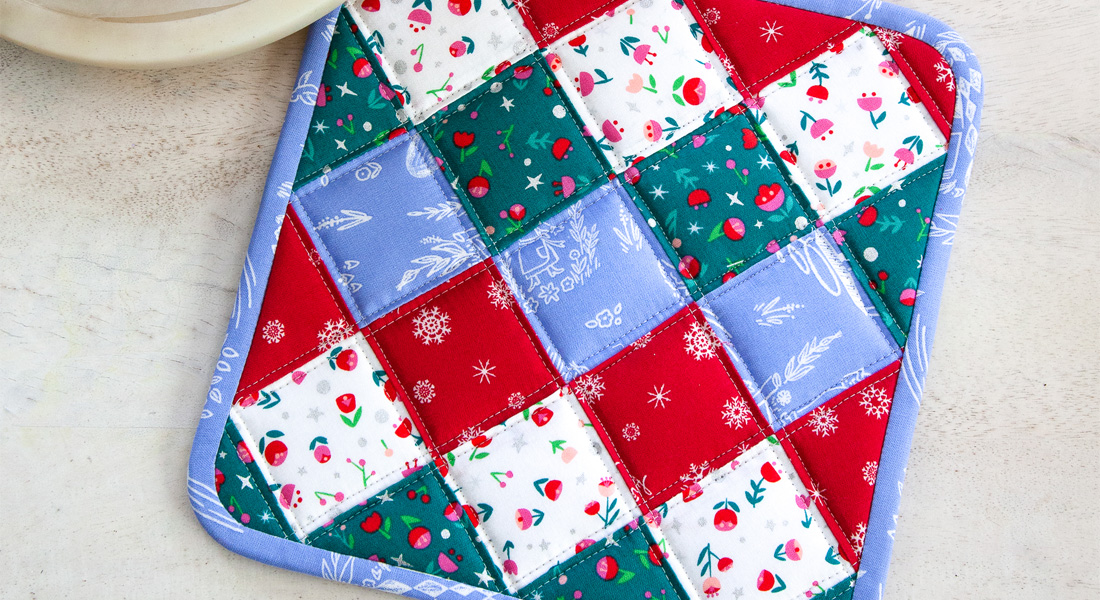
Holiday Potholders Tutorial
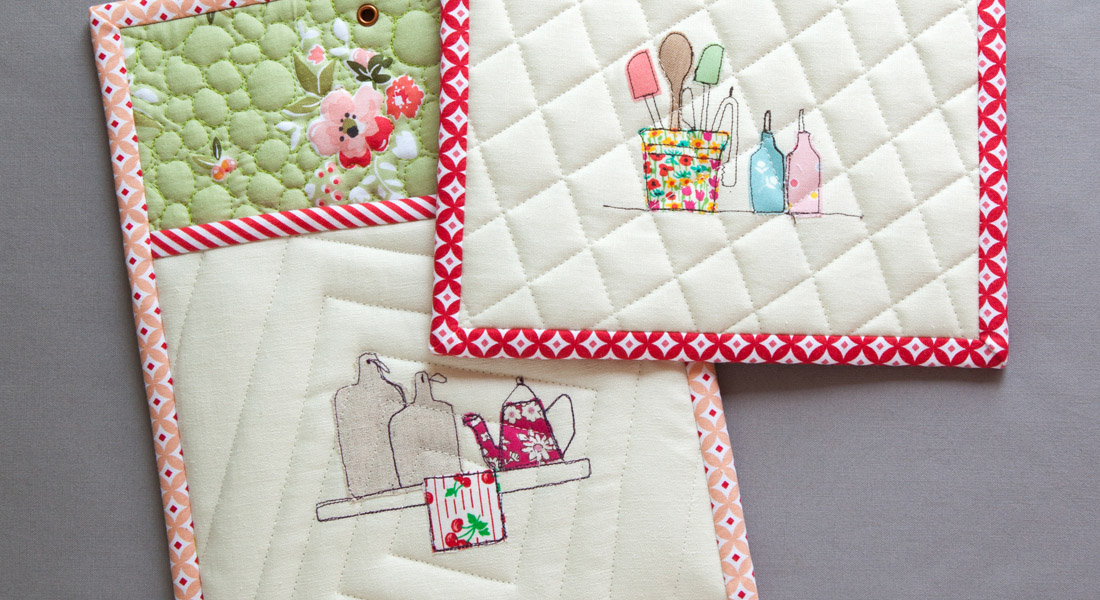
Are you ready for Christmas? How about an easy project perfect as a hostess or teacher gift? Or you may want a few for your kitchen! Hi, it’s Cherry of Cherry Blossoms and I’m so excited to share a tutorial to make three fun holiday potholders.

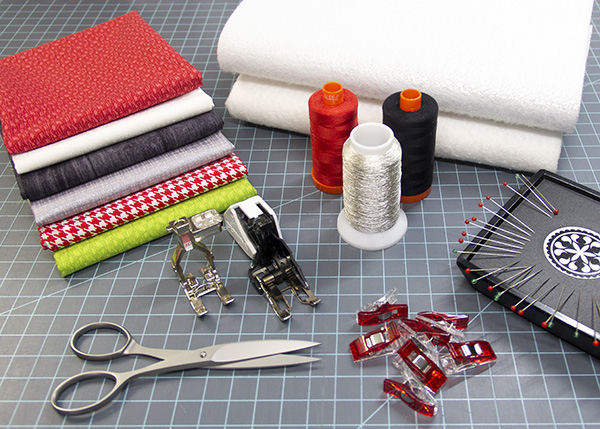
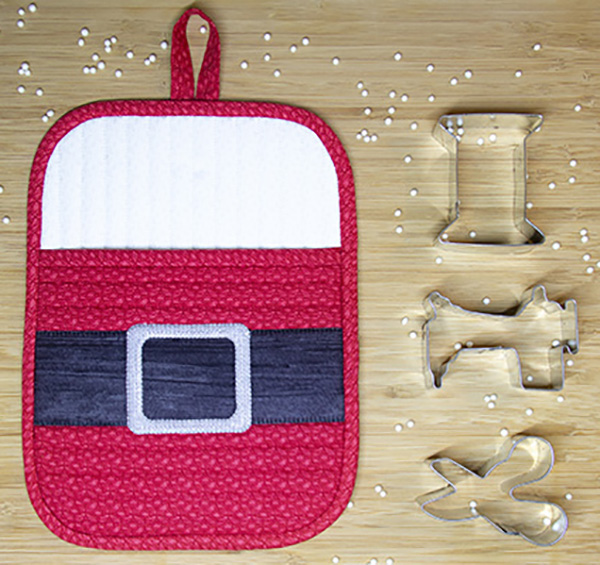
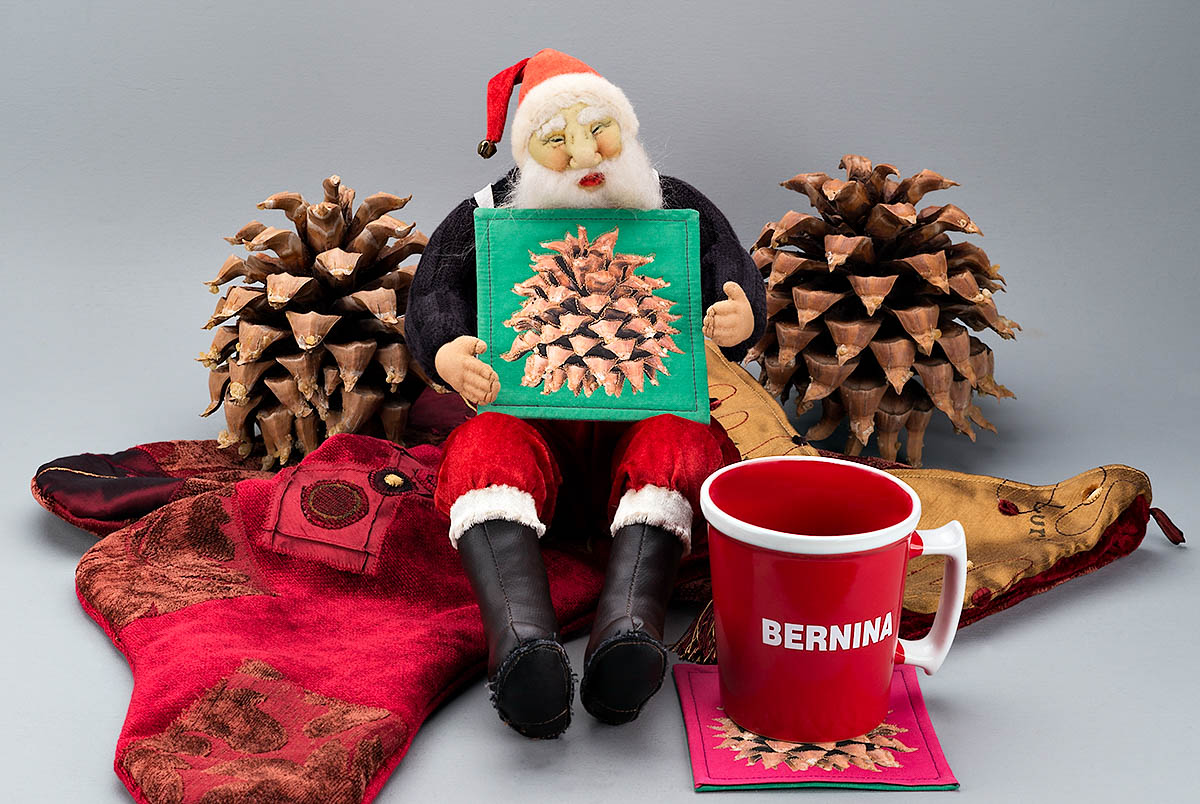
Materials to Make the Santa’s Coat Potholder
- Red fabric: 1 Fat Quarter
- White fabric: (2) 9 1/2″ x 11 1/2″
- Insul-Bright heat-resistant batting: (1) 9″ x 11″ and (1) 9″ x 8″
- Cotton batting: (1) 9″ x 11″ and (1) 9″ x 8″
- Black and silver fabric scraps for belt and buckle
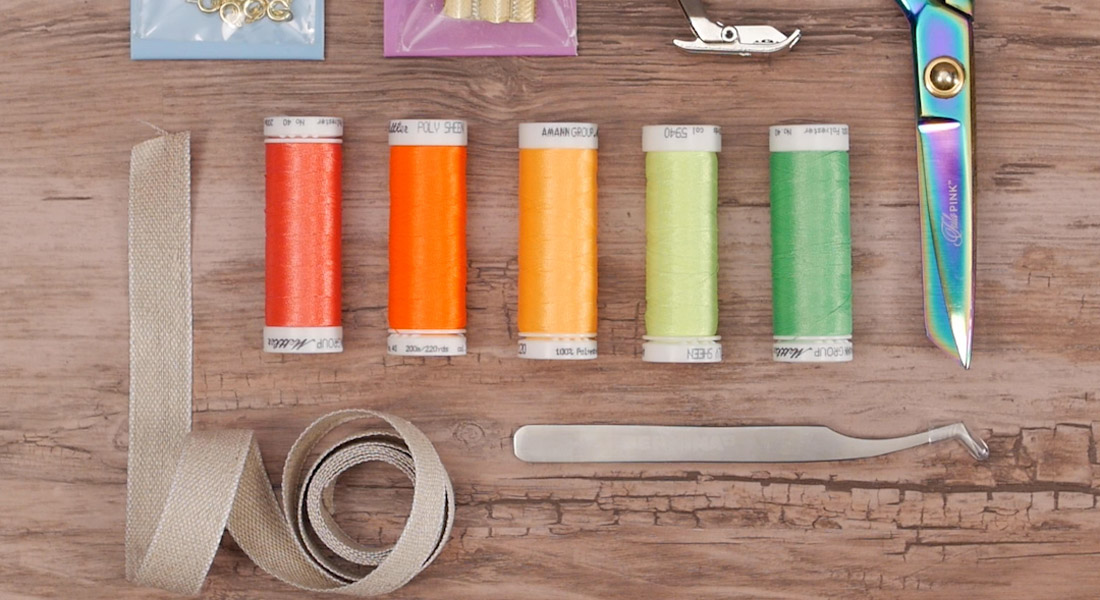
- Piecing, applique and quilting threads to match fabrics
- Water soluble pen or chalk marker (Sewline or Bohin)
- Cutting mat, ruler, rotary cutter
- Fabric scissors
- Fine tip permanent pen
- Light box (optional)
- Piecing and quilting thread
- Temporary spray adhesive or quilting pins
- Paper-backed fusible webbing
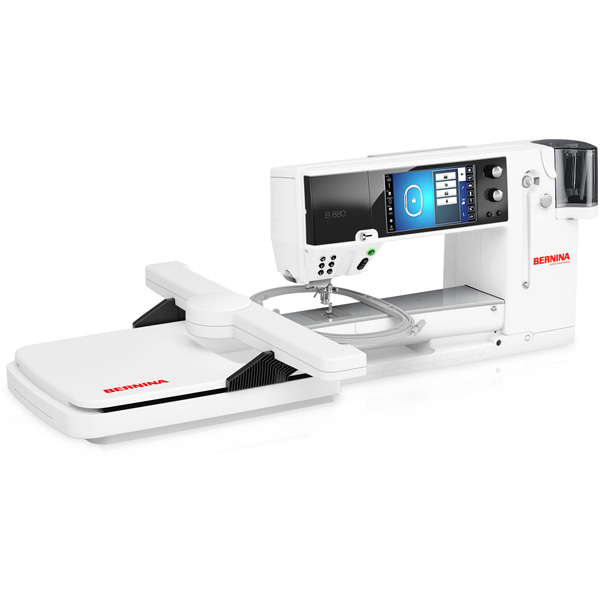
- Sewing machine (I used a BERNINA 880 Plus)
- Open embroidery foot #20D
- Three-sole walking foot #50
- Download and print the Easy Potholders Pattern here
Let’s get started!
All seams are 1/4″ unless otherwise noted.
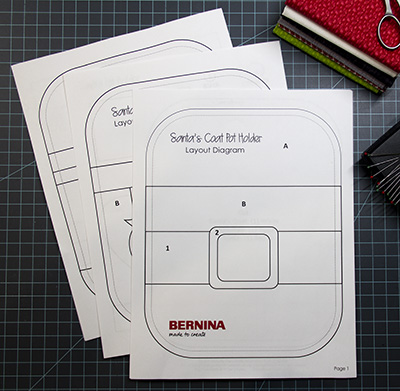
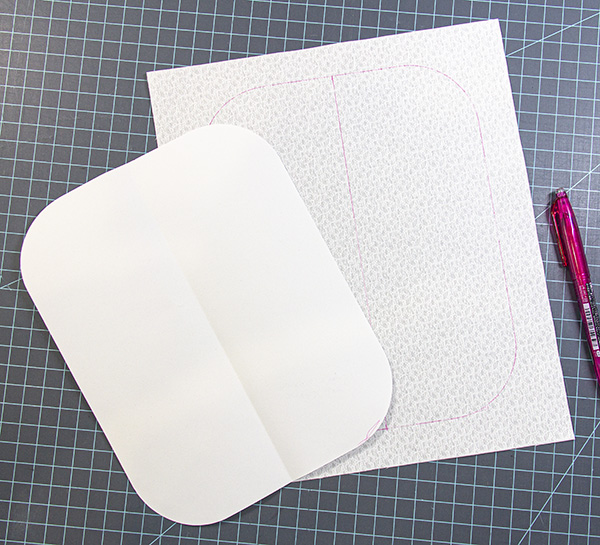
Step 1: Pattern prep
Print the Easy Potholders PDF – check your printer’s settings to make sure you are printing to “actual size”.
Cut out templates A & B.
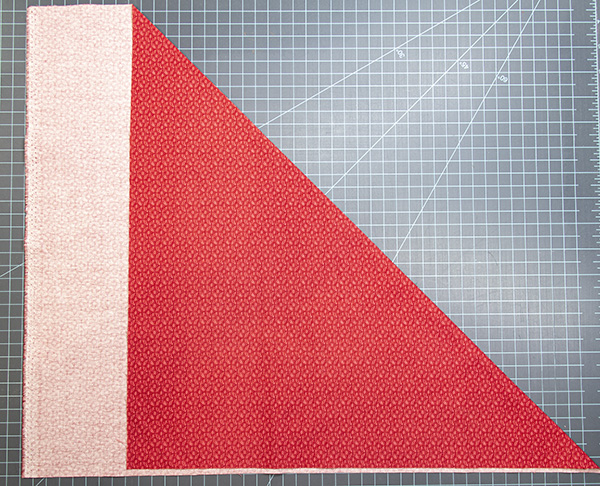
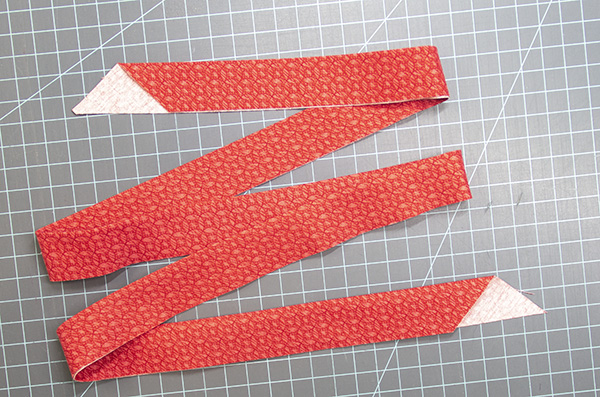
Step 2: Bias Binding
Place the red fabric fat quarter on your cutting mat and fold it diagonally, wrong sides together to get a 45-degree angle. Cut the folded edge with a ruler and rotary cutter.
Carefully, turn the mat around so the cut edge is on the left side. Cut (2) 2 1/4″ wide binding strips.
From the remaining large triangle cut (1) 9 1/2″ x 8 1/2″ pocket backing rectangle and (1) 2″ x 6″ hanging loop.
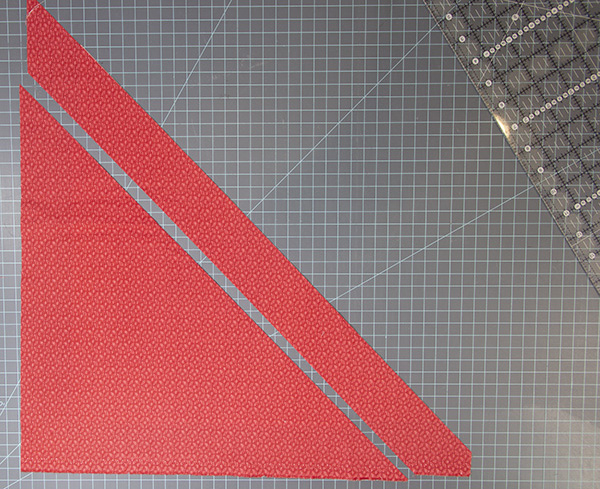
Sew the binding strips end to end and press the wrong sides together; set aside.
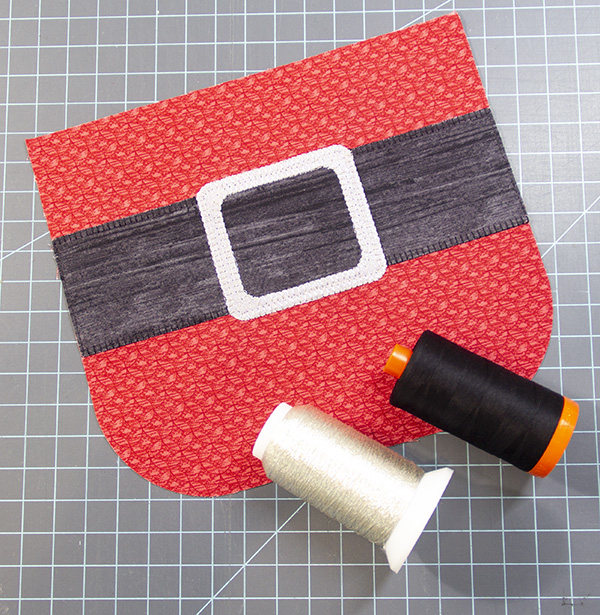
Step 3: Appliqued Pocket
Cut (1) B piece using template B and the remaining red fabric triangle.
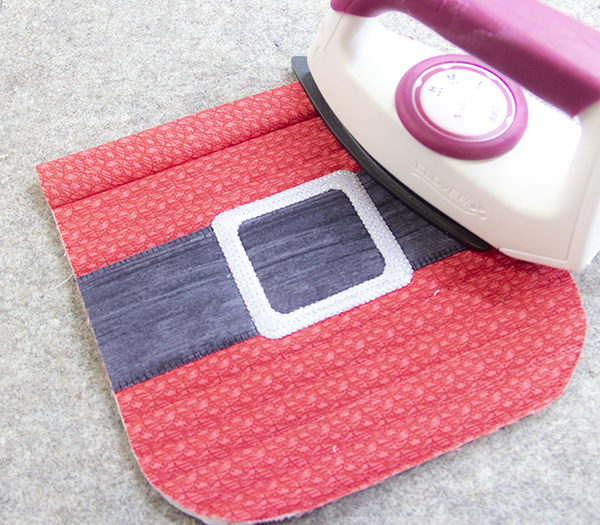
Use the reversed templates to trace, fuse and cut the belt and buckle applique shapes for the pocket (for more information on fusible applique, visit this post).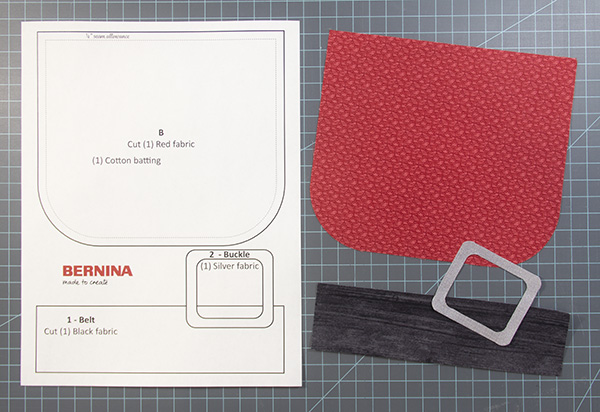
Place the layout diagram over a light source to align the applique shapes; fuse the belt and buckle onto B.

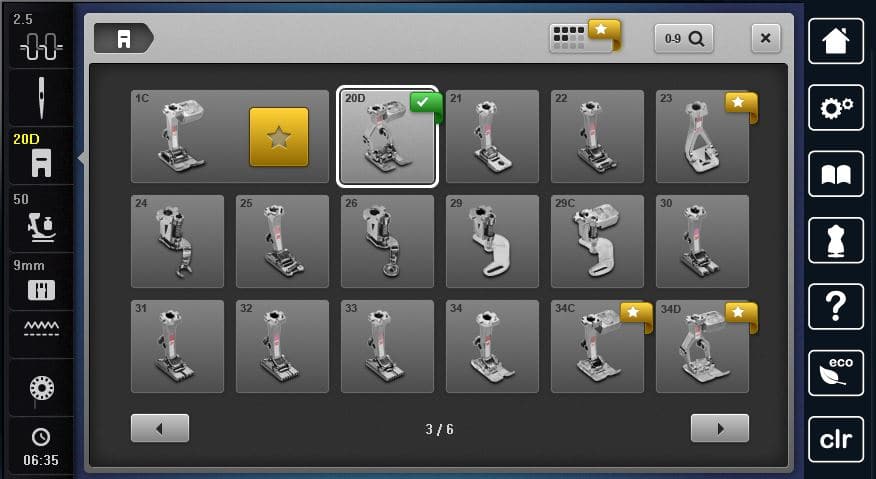
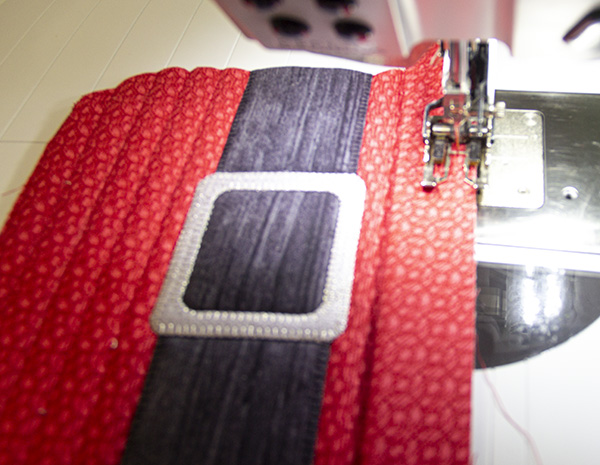
Install an open embroidery foot on your machine, I used foot #20D.
Choose a simple blanket stitch, #1329 on my B880, reduce the stitch length to a 2.00 and the stitch width to a 2.0.
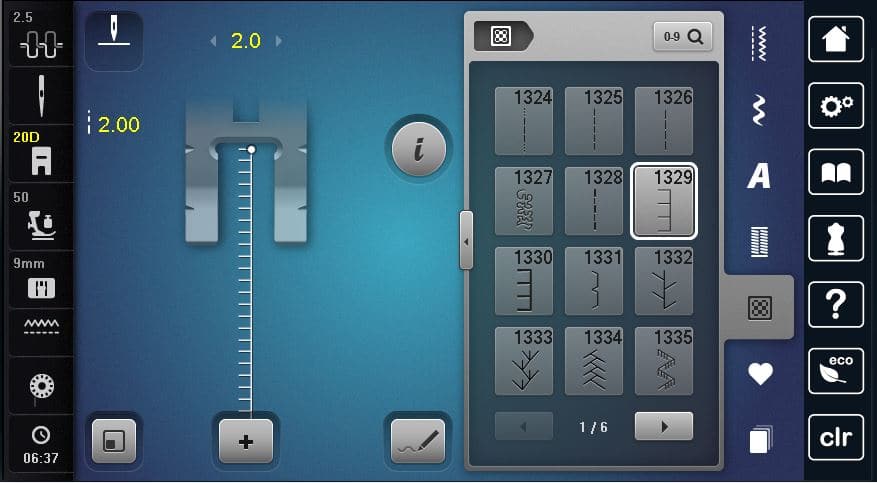
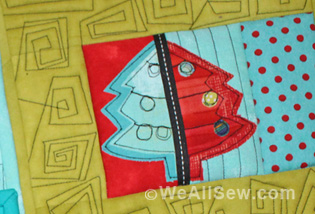
Stitch around the belt and buckle shapes with the blanket stitch and matching threads.
I used a metallic thread to coordinate with the silver buckle fabric.
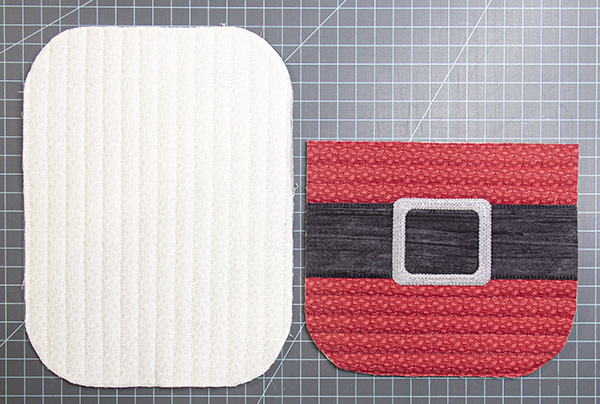
Step 4: Quilting
Using a water soluble pen or chalk marker, transfer template A onto the right side of the white fabric 9 1/2″ x 11 1/2″ rectangle. Mark a vertical line on the center as a guide for quilting.
Make a quilt sandwich for the back of the potholder in the following order:
- 9 1/2″ x 11 1/2″ white fabric, wrong side up
- 9″ x 11″ Insul-Bright, shiny side down
- 9″ x 11″ cotton batting
- Marked white 9 1/2″ x 11 1/2″ white fabric, right side up
Baste the layers together with a temporary spray adhesive or quilting pins.

Make a quilt sandwich for the pocket as follows:
- 9 1/2″ x 8 1/2″ red fabric, wrong side up
- 9″ x 8″ cotton batting
- 9″ x 8″ Insul-Bright, shiny side up
- Appliqued pocket

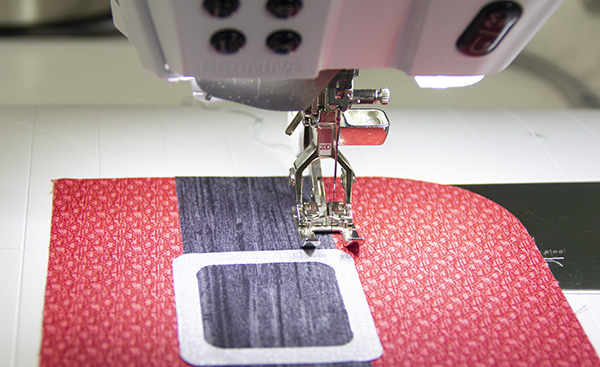
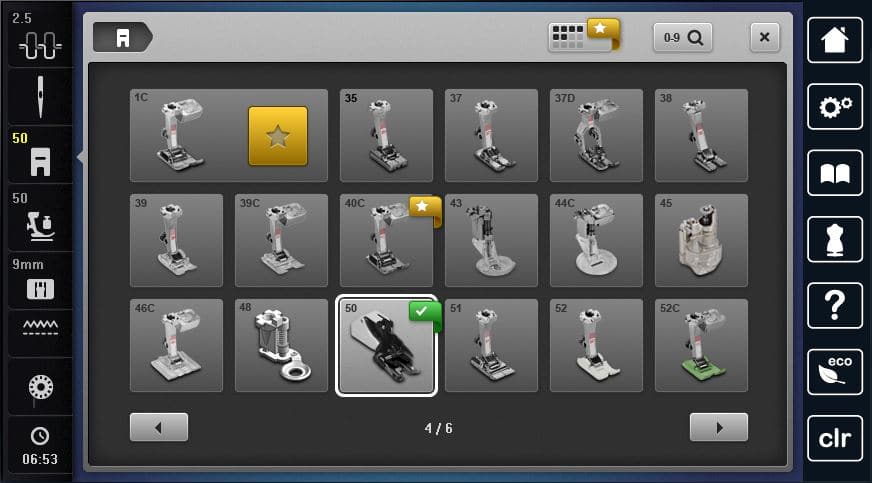
Install walking foot #50 and load a coordinating quilting thread on sewing machine.
Quilt as desired. I quilted the pocket with horizontal lines and the back with vertical lines, all about 1/2″ apart.

Trim the quilted A piece on the marked line and around shape B.
Step 5: Finishing
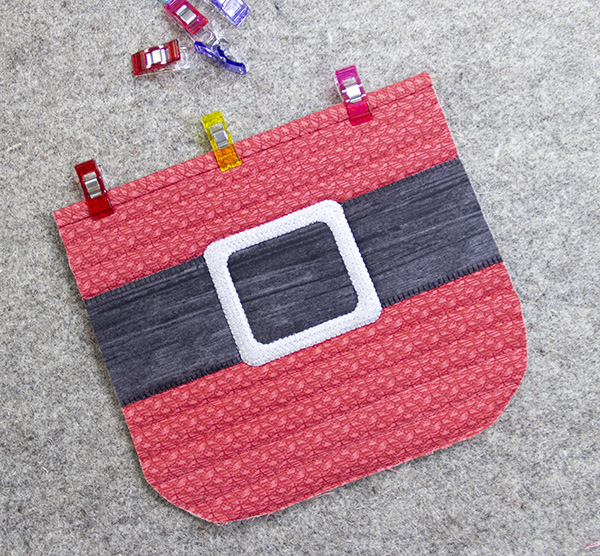
Use the prepared binding strip to bind the top, straight edge of the quilted pocket; use a 1/4″ seam allowance.
Trim the sewn binding and fold up; press.
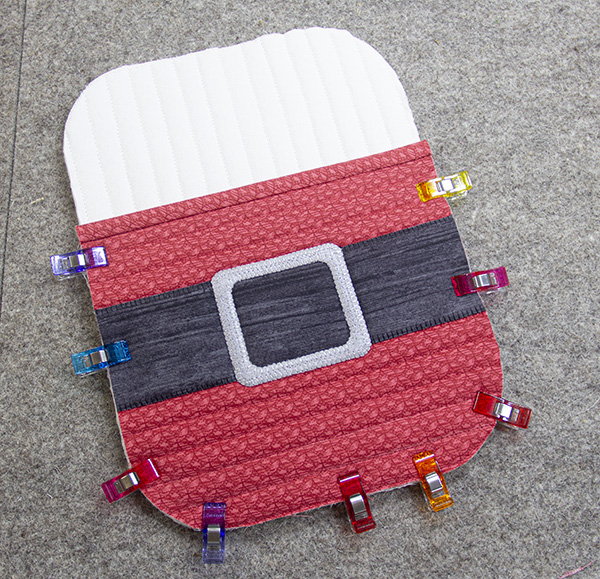
Fold the binding to the back and hold in place with clips or pins.
Stitch the binding in-the-ditch with a matching thread.

Let’s make the hanging loop. Fold the 2″ x 6″ red fabric in half on the long edge and press.
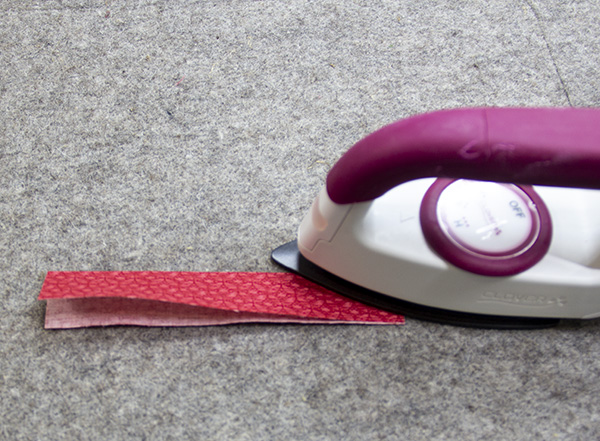
Open the strip and fold the long edges into the center fold; press.
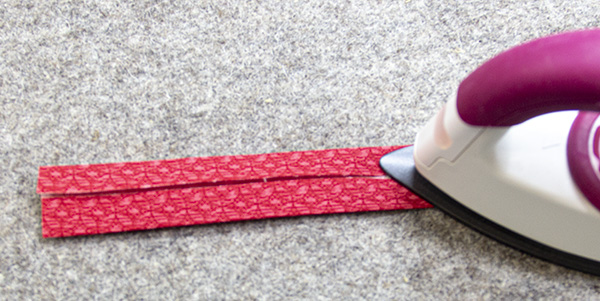
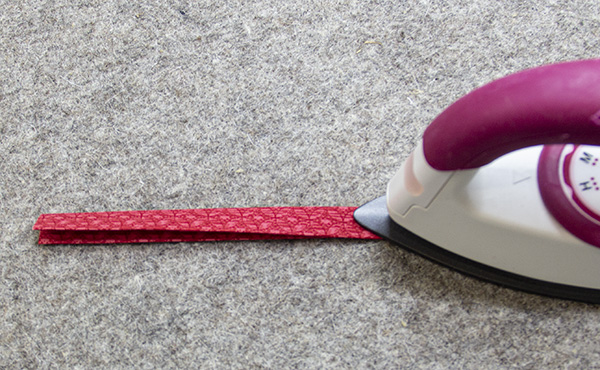
Fold together and stitch down with an 1/8′ seam allowance around all edges.
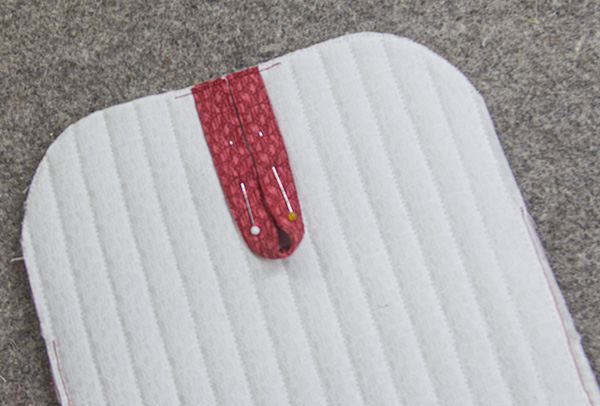
Find the back center of the quilted back and pin the hanging loop in place; tack down with an 1/8″ seam allowance.
Place the quilted pocket on the right side of the quilted back (loop is on top, back) and pin the quilted layers together; baste in place with an 1/8″ seam allowance.
Bind the potholder with the binding strips, then press the binding out…
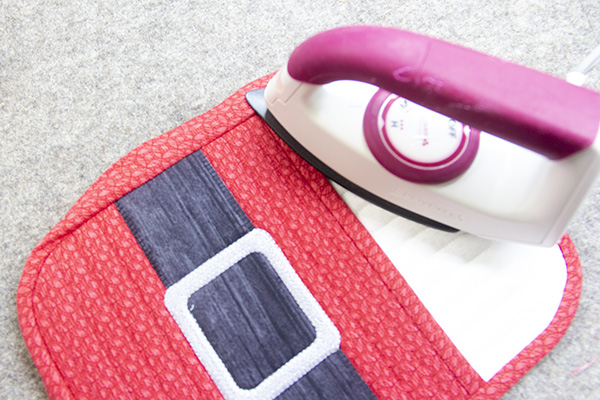
…turn the potholder over and press the binding over. I like to use Roxanne’s Glue Baste-It to hold the binding in place….
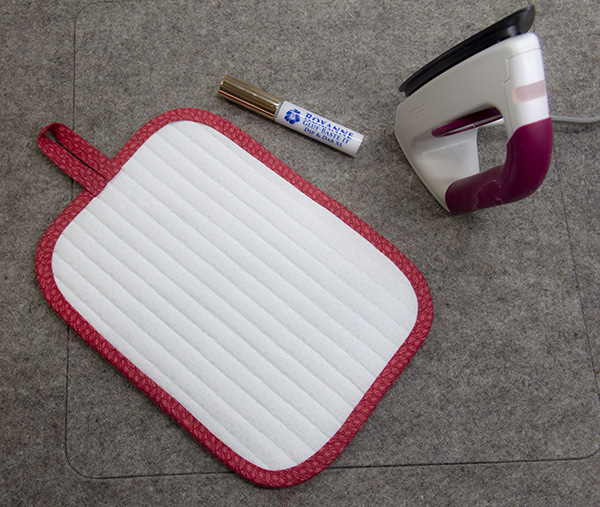
… now stitch the binding in-the-ditch with coordinating thread and you are all done!
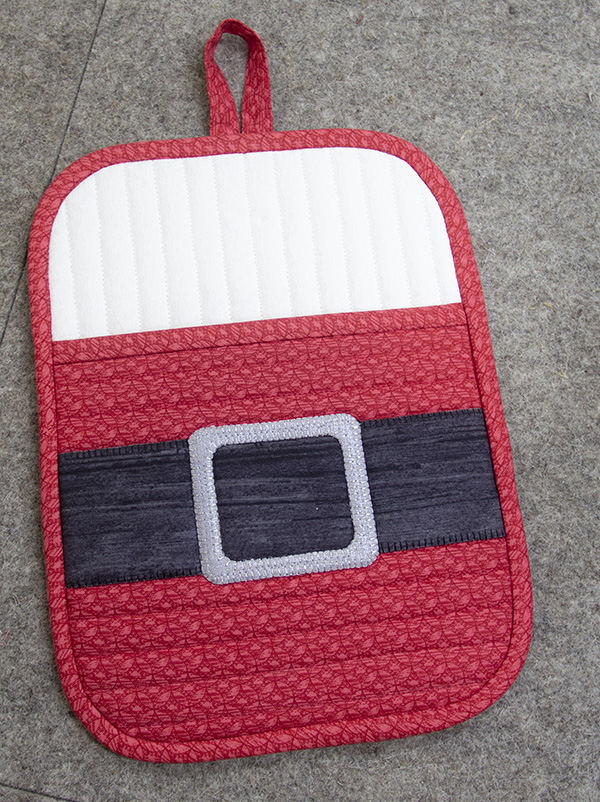
Wasn’t that easy?
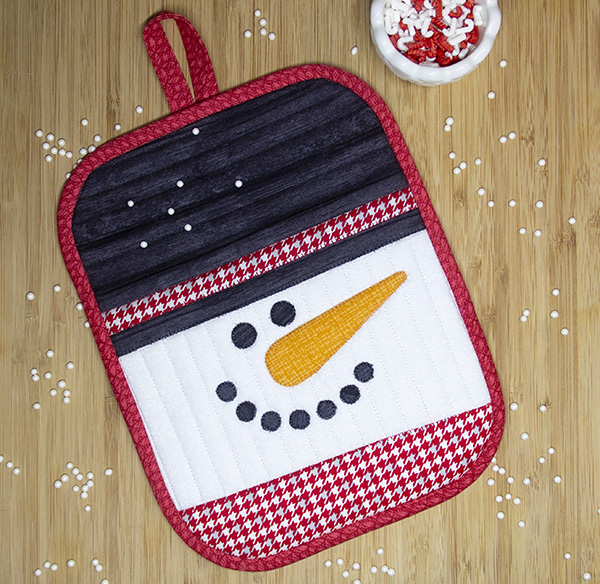
The PDF includes layouts and reversed templates to make the Snowman potholder…
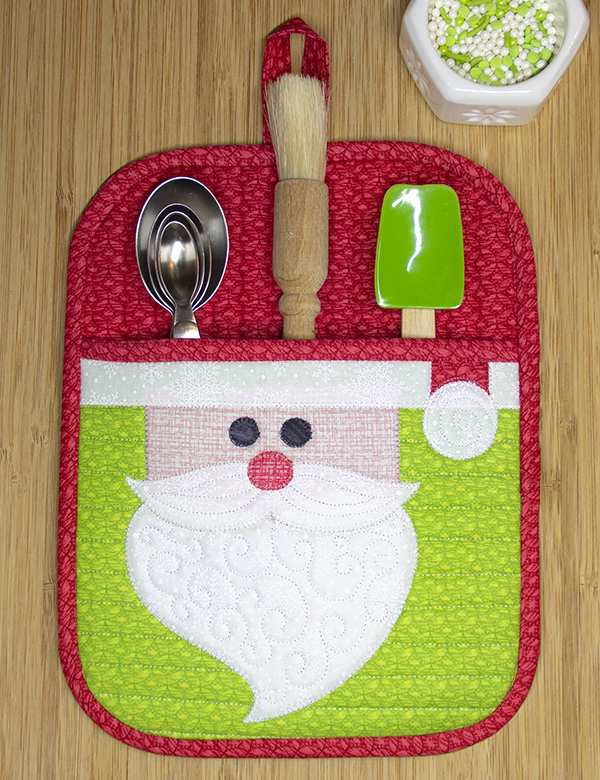
… and the sweet little Santa!
I hope you’ll make a few of these and share in the WeAllSew Community!
Have a wonderful Christmas,
Cherry
Used Products


What you might also like


7 comments on “Holiday Potholders Tutorial”
-
-
Hello mommaayars1, you can print the tutorial to a PDF file on your computer and save it or print it if you wish. Our WeAllSew blog content is posted in an open format. If you wish to print the post, you can easily print your tutorials from the WeAllSew blog. If you attempt to print directly from the screen a pdf will be generated for your convenience. Please give it a try.
-
I love the potholders. They are so cute. I am feeling so goofy now. I have tried clicking on everything and nothing goes to a PDF. Could you send a link to me so I can print. I am so sorry for asking but I just cannot get it to print.
-
Hi 1screech, I searched for that pattern too. It’s at the bottom of the materials list for the Santa’s jacket pot holder. Hope that helps
-
-
-
-
These holiday potholders are so cute! Look forward to making them! Thanks for the patterns and tutorial.
-
This is cute – I think I could make some for other seasons as well. A PDF for this would be great – to have later if needed.
-
These are SO cute! My sisters will be so surprised if I get them done for Christmas and so will I 🙂 Thank you.
Leave a Reply
You must be logged in to post a comment.

This is really cute. I wish there was a print friendly pattern