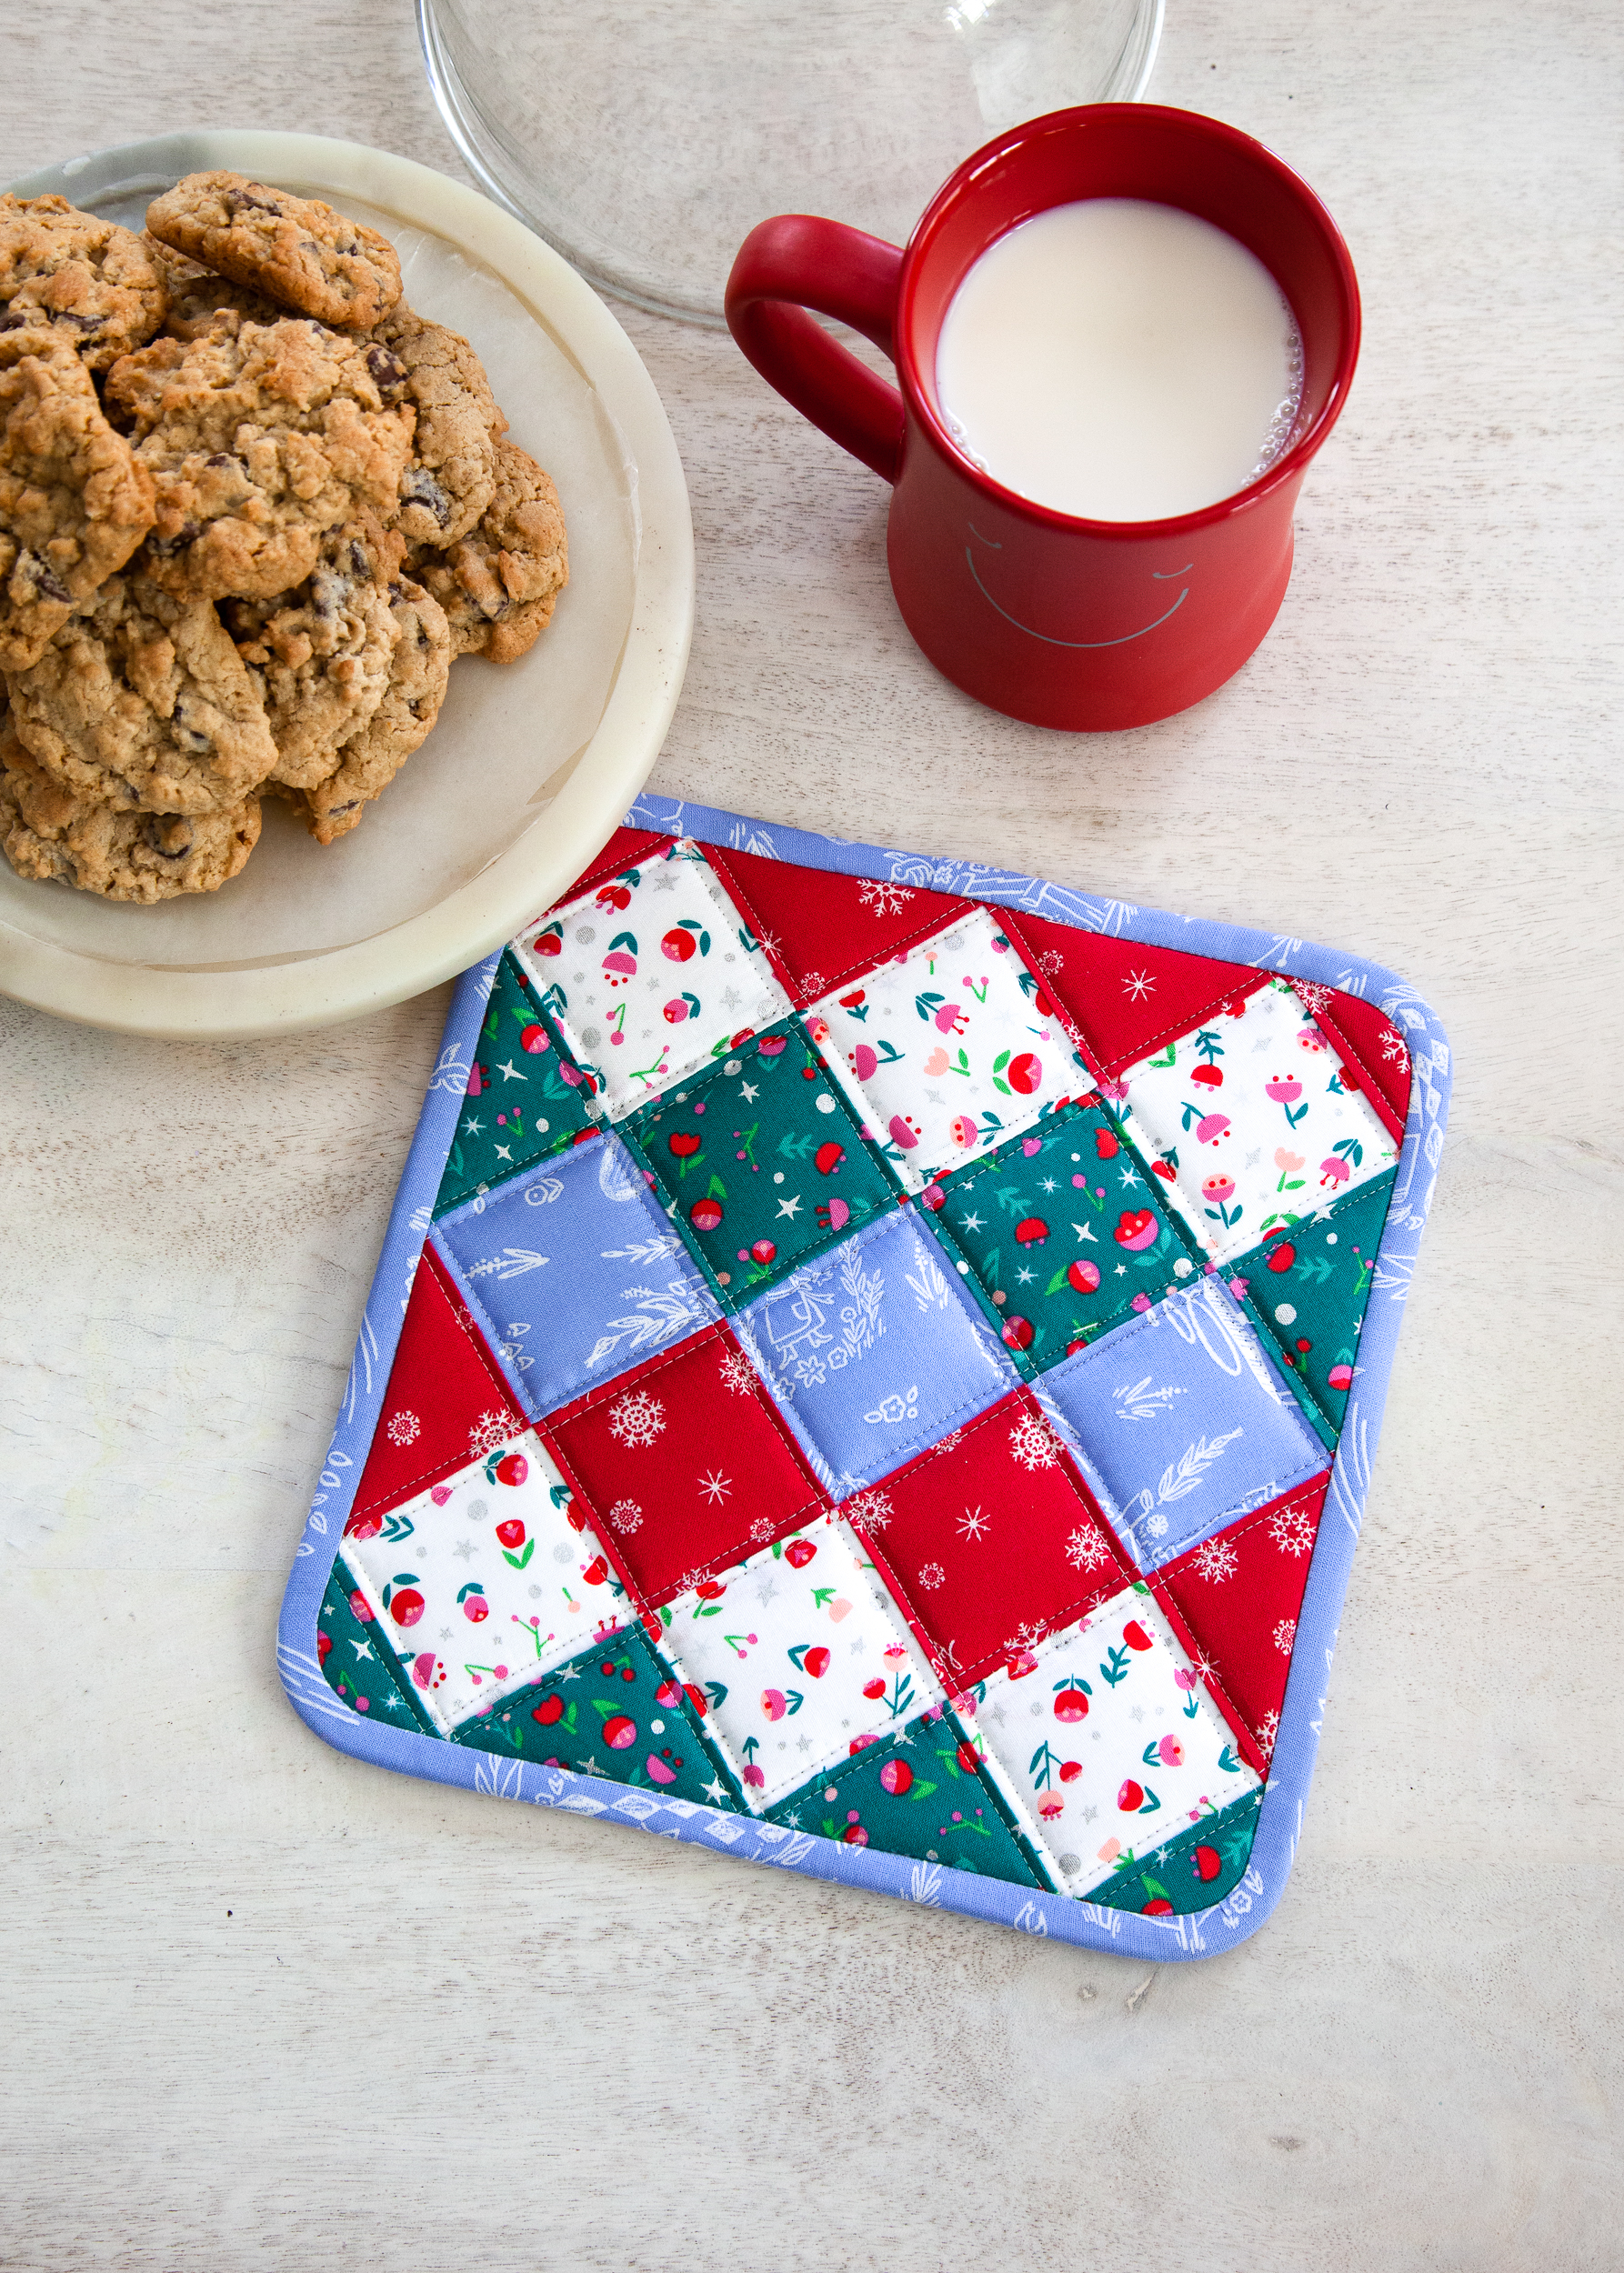
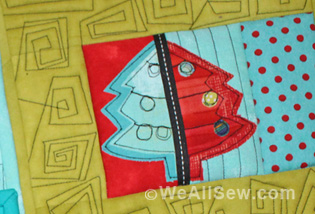
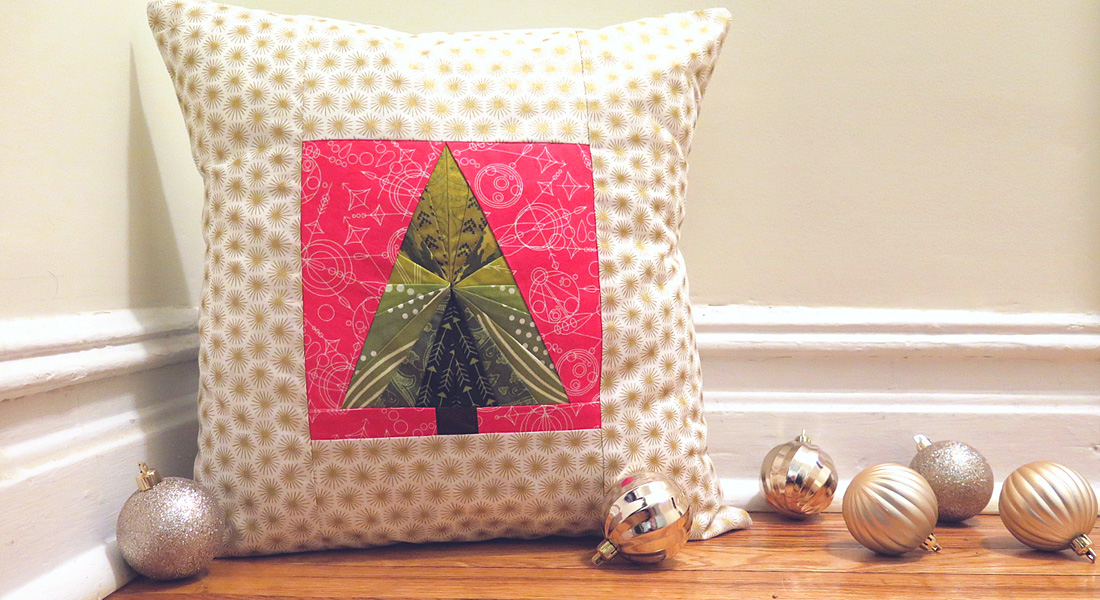
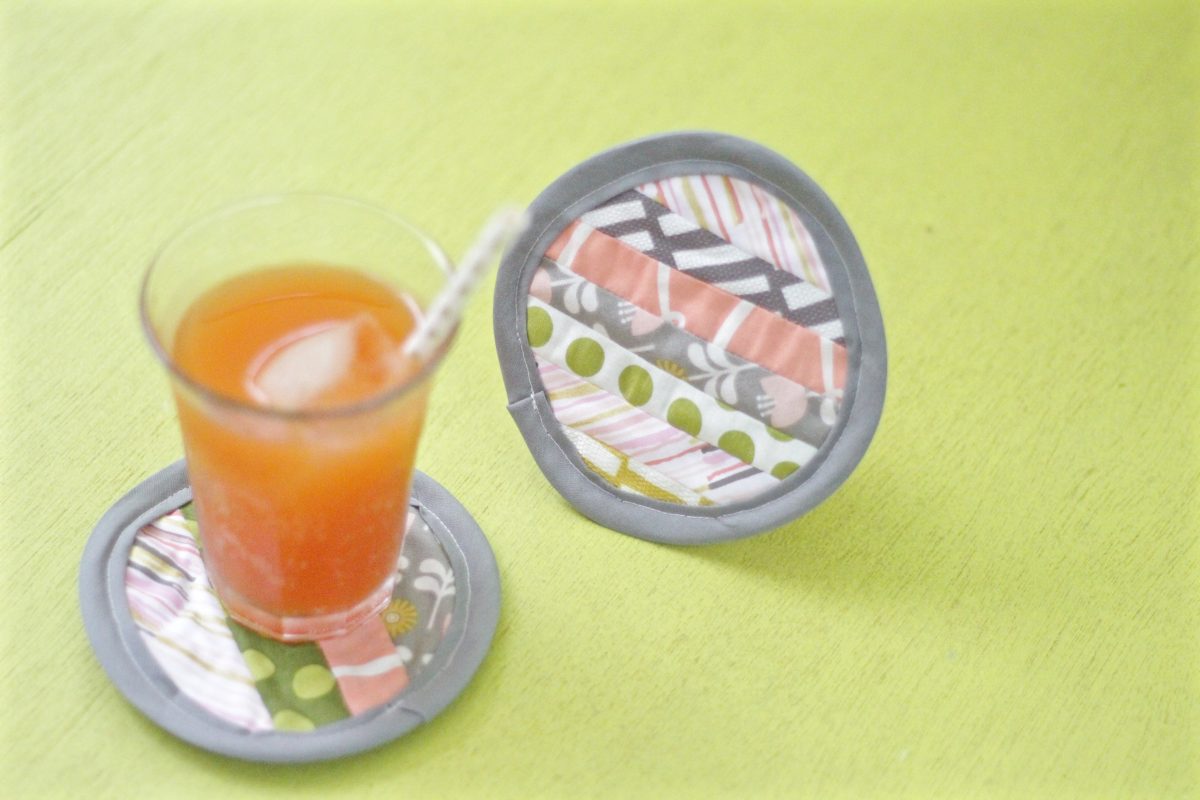
Patchwork Christmas Potholder
Hello WeAllSew readers,
It’s Minki Kim, and you can find me on Instagram @zeriano and MinkiKim.com. I also design fabric for Riley Blake Designs and I have my own line of sewing patterns. I am excited to share this Patchwork Christmas Potholder today.
Materials to Make the Patchwork Christmas Potholder
Finished size: 9″ wide x 9″ height
Assorted fabric scraps:
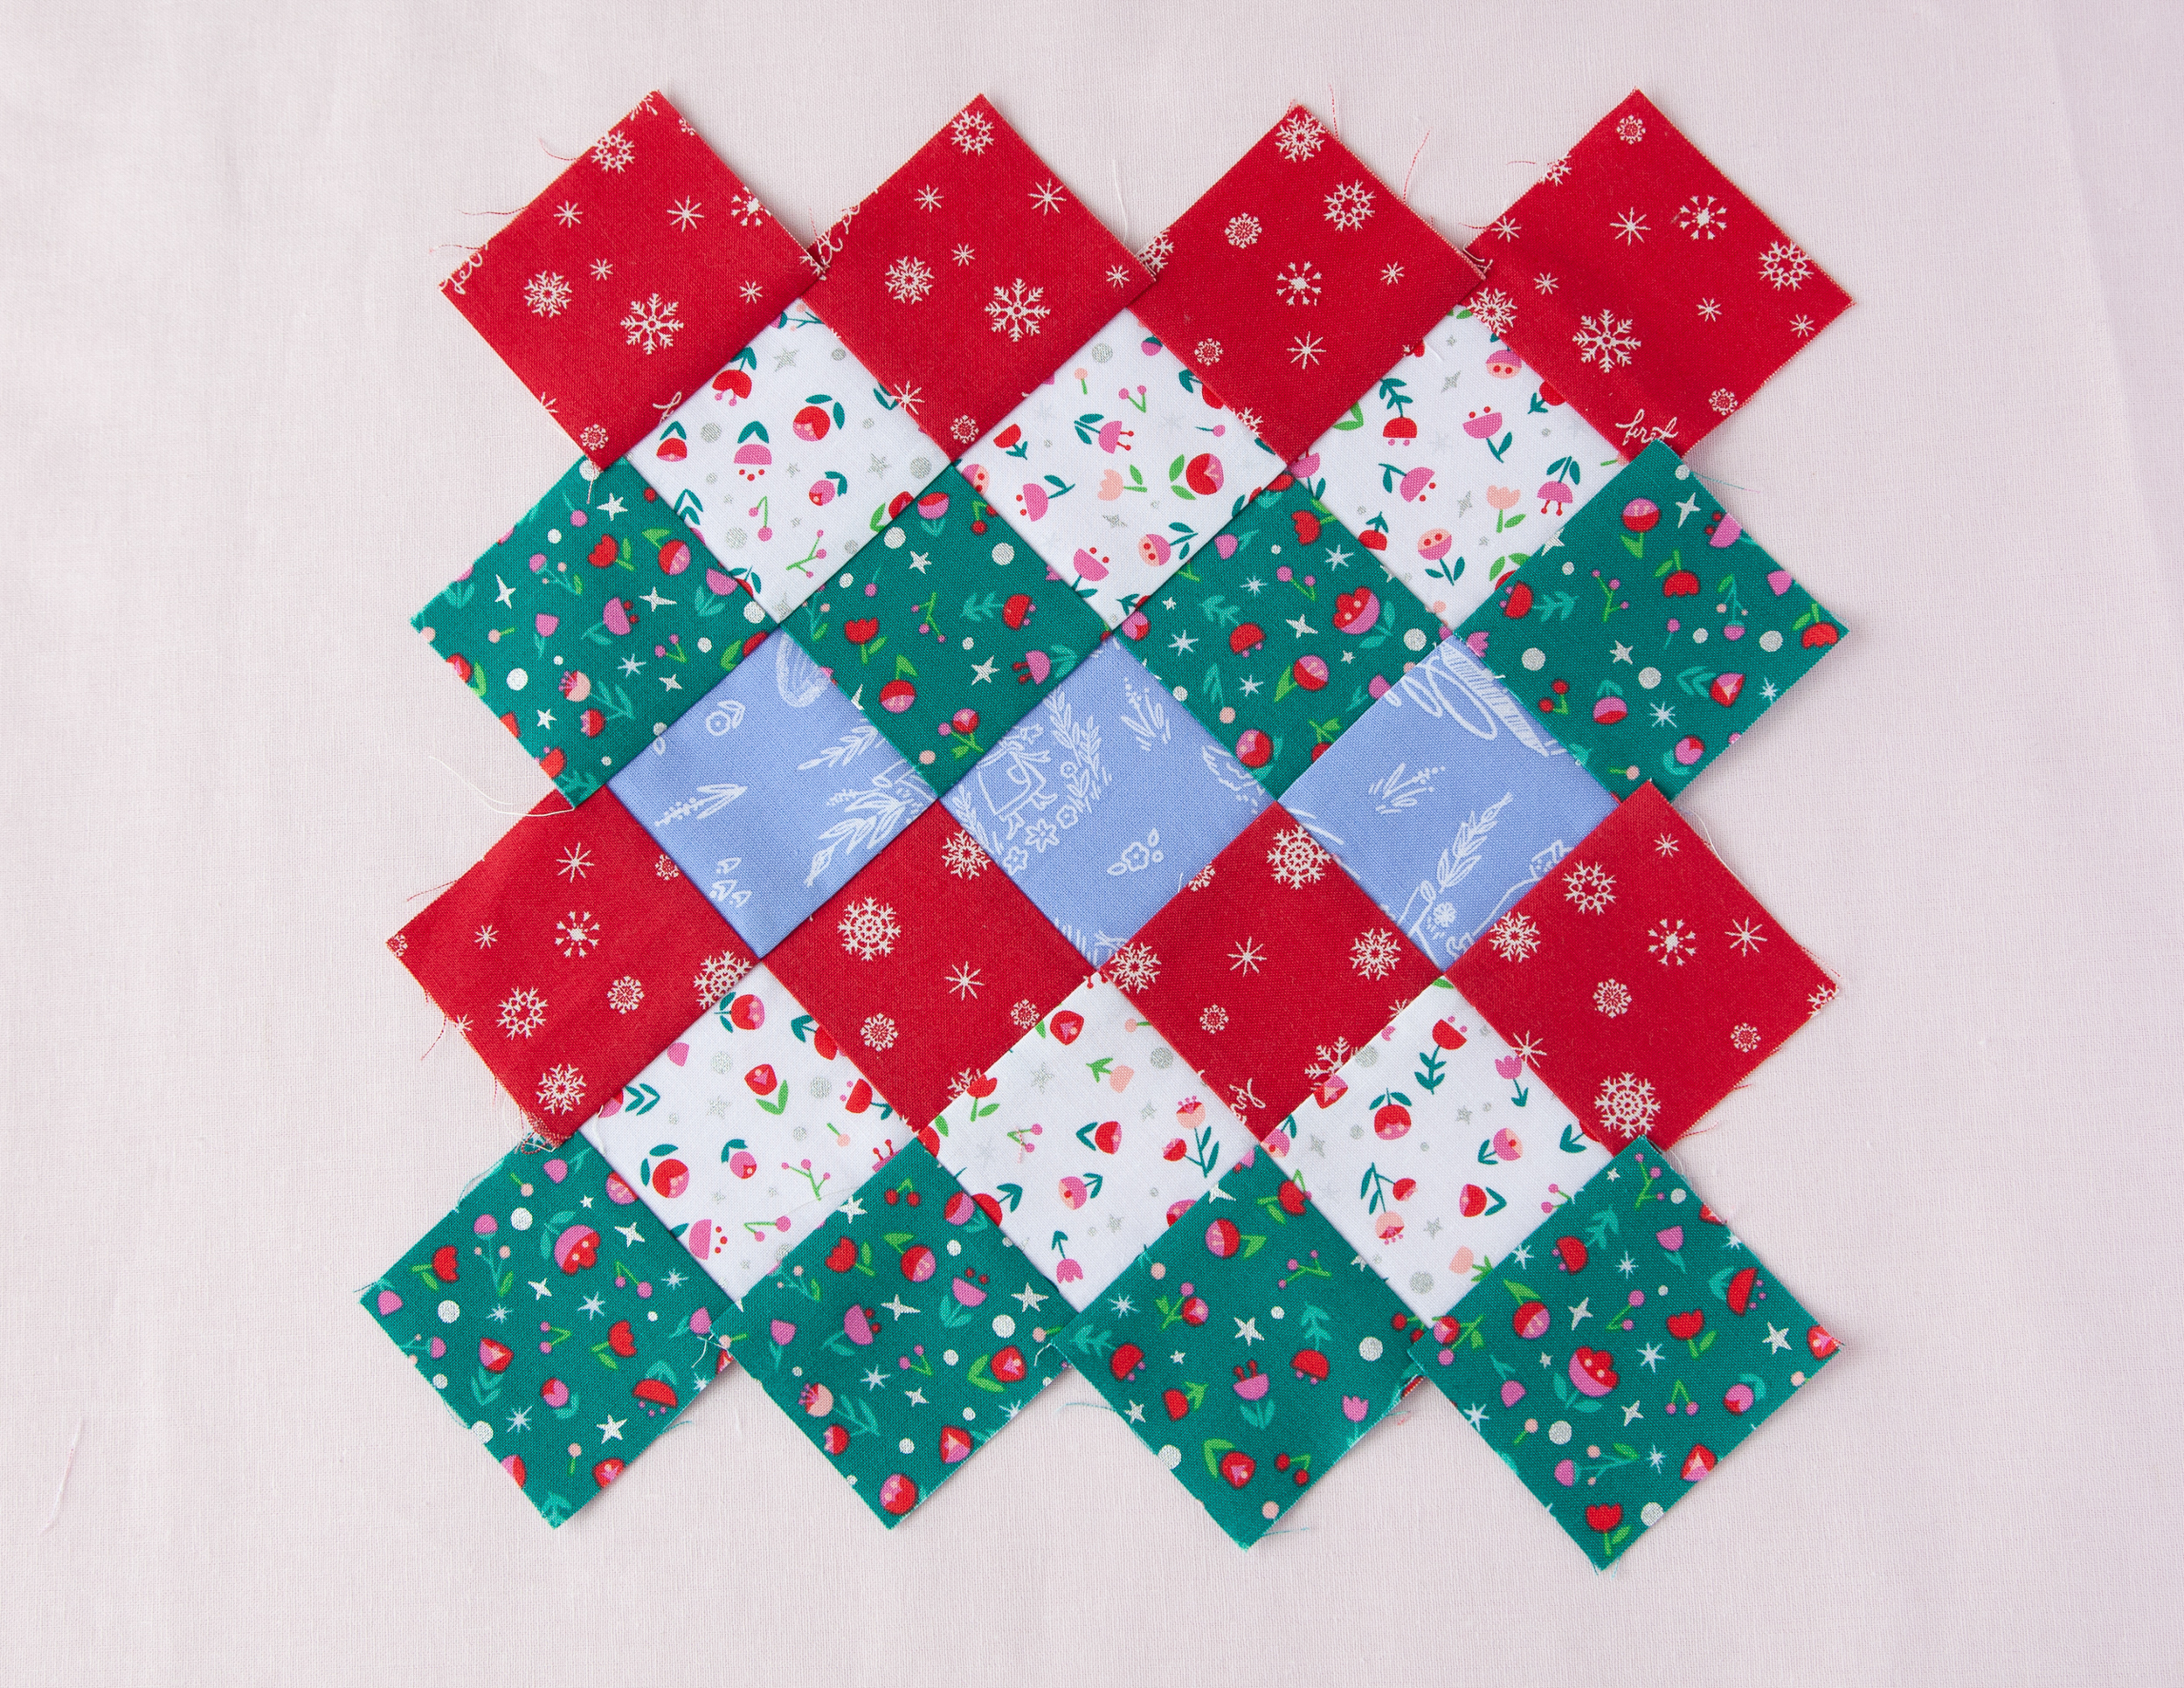
- Red print: eight (8) 2 1/2″ x 2 1/2″
- White print: six (6) 2 1/2″ x 2 1/2″
- Green print: eight (8) 2 1/2″ x 2 1/2″
- Blue print: three (3) 2 1/2″ x 2 1/2″
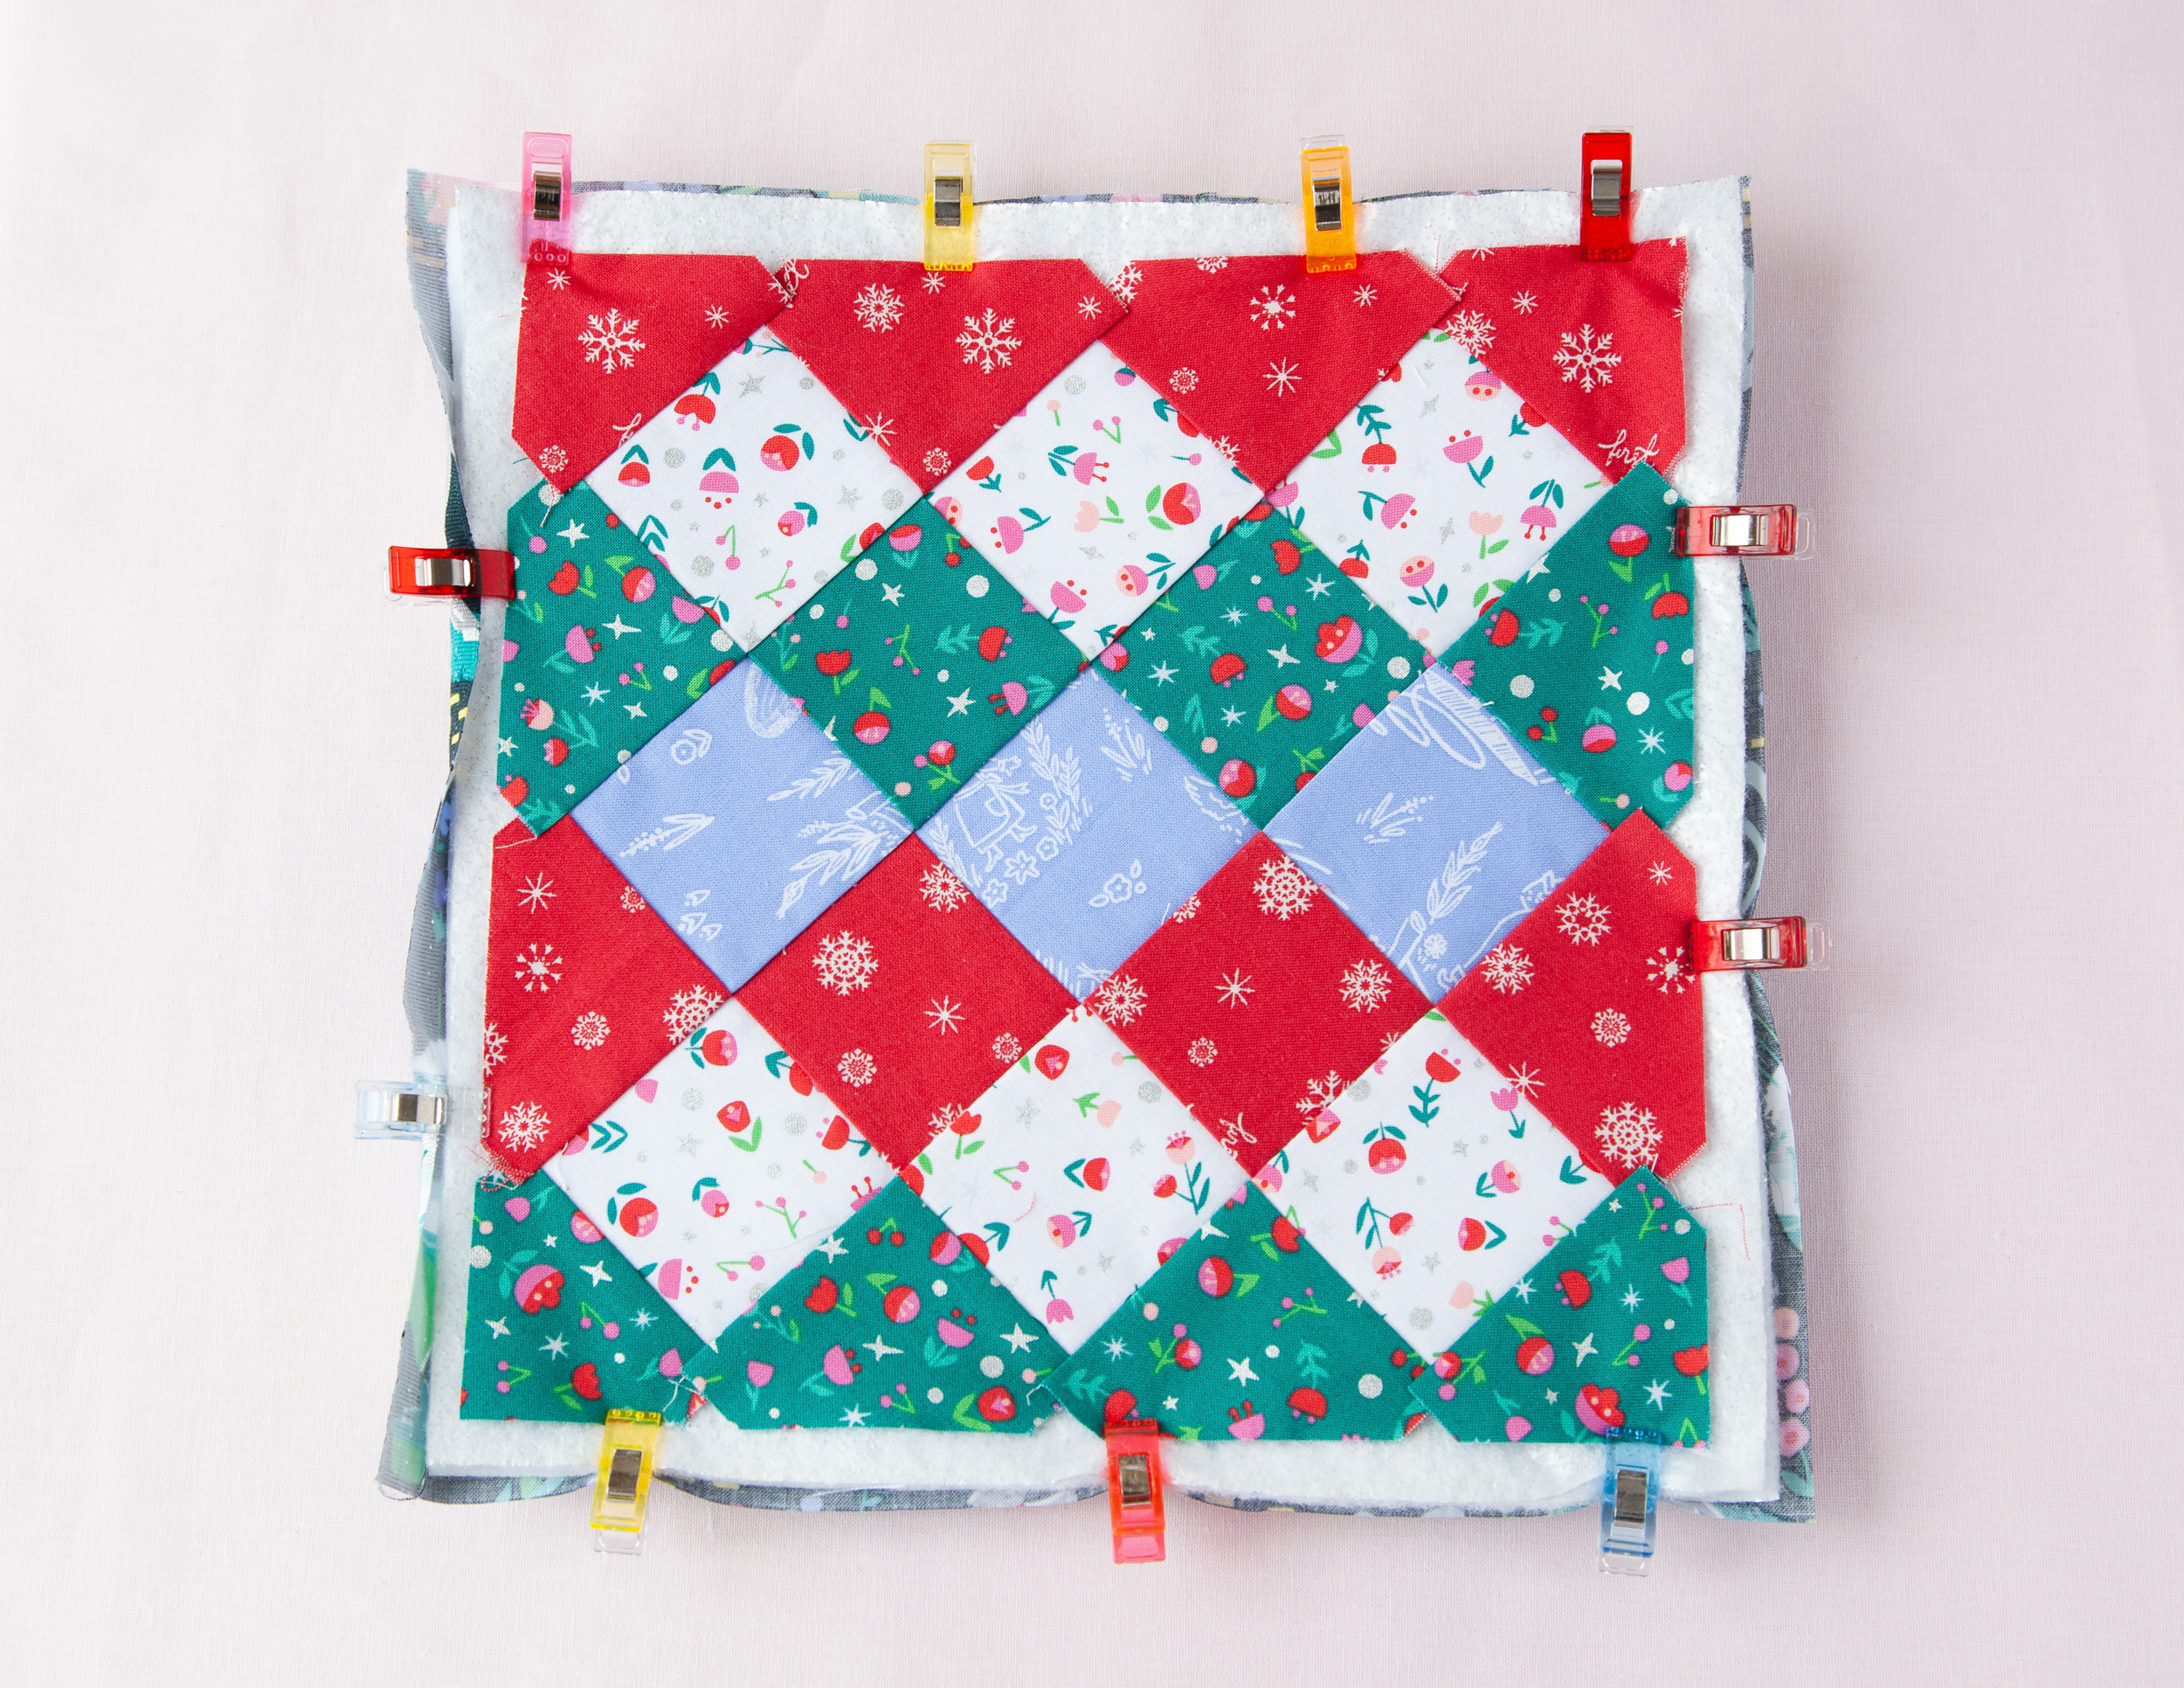
Backing fabric: one (1) 10″ x 10″
Binding fabric: one (1) 1 1/2″ x WOF (width of fabric)
Insulated batting: two (2) 10″ x 10″ such as Insul-Bright
Notes:
Seam allowances are 1/4″ unless otherwise noted.
Instructions to Sew a Patchwork Christmas Potholder
1. Sew squares together as shown. Sew the blocks together in diagonal rows. Press the seam allowances of each row in alternating directions. Join the rows to make the potholder top. Press the seams toward the outside from the center diagonal line.
2. Layer backing fabric wrong side up, with two layers of batting on top. Then layer the patchwork section on top right side up and baste. Quilt as desired.
3. Trim into 9″ x 9″ square.
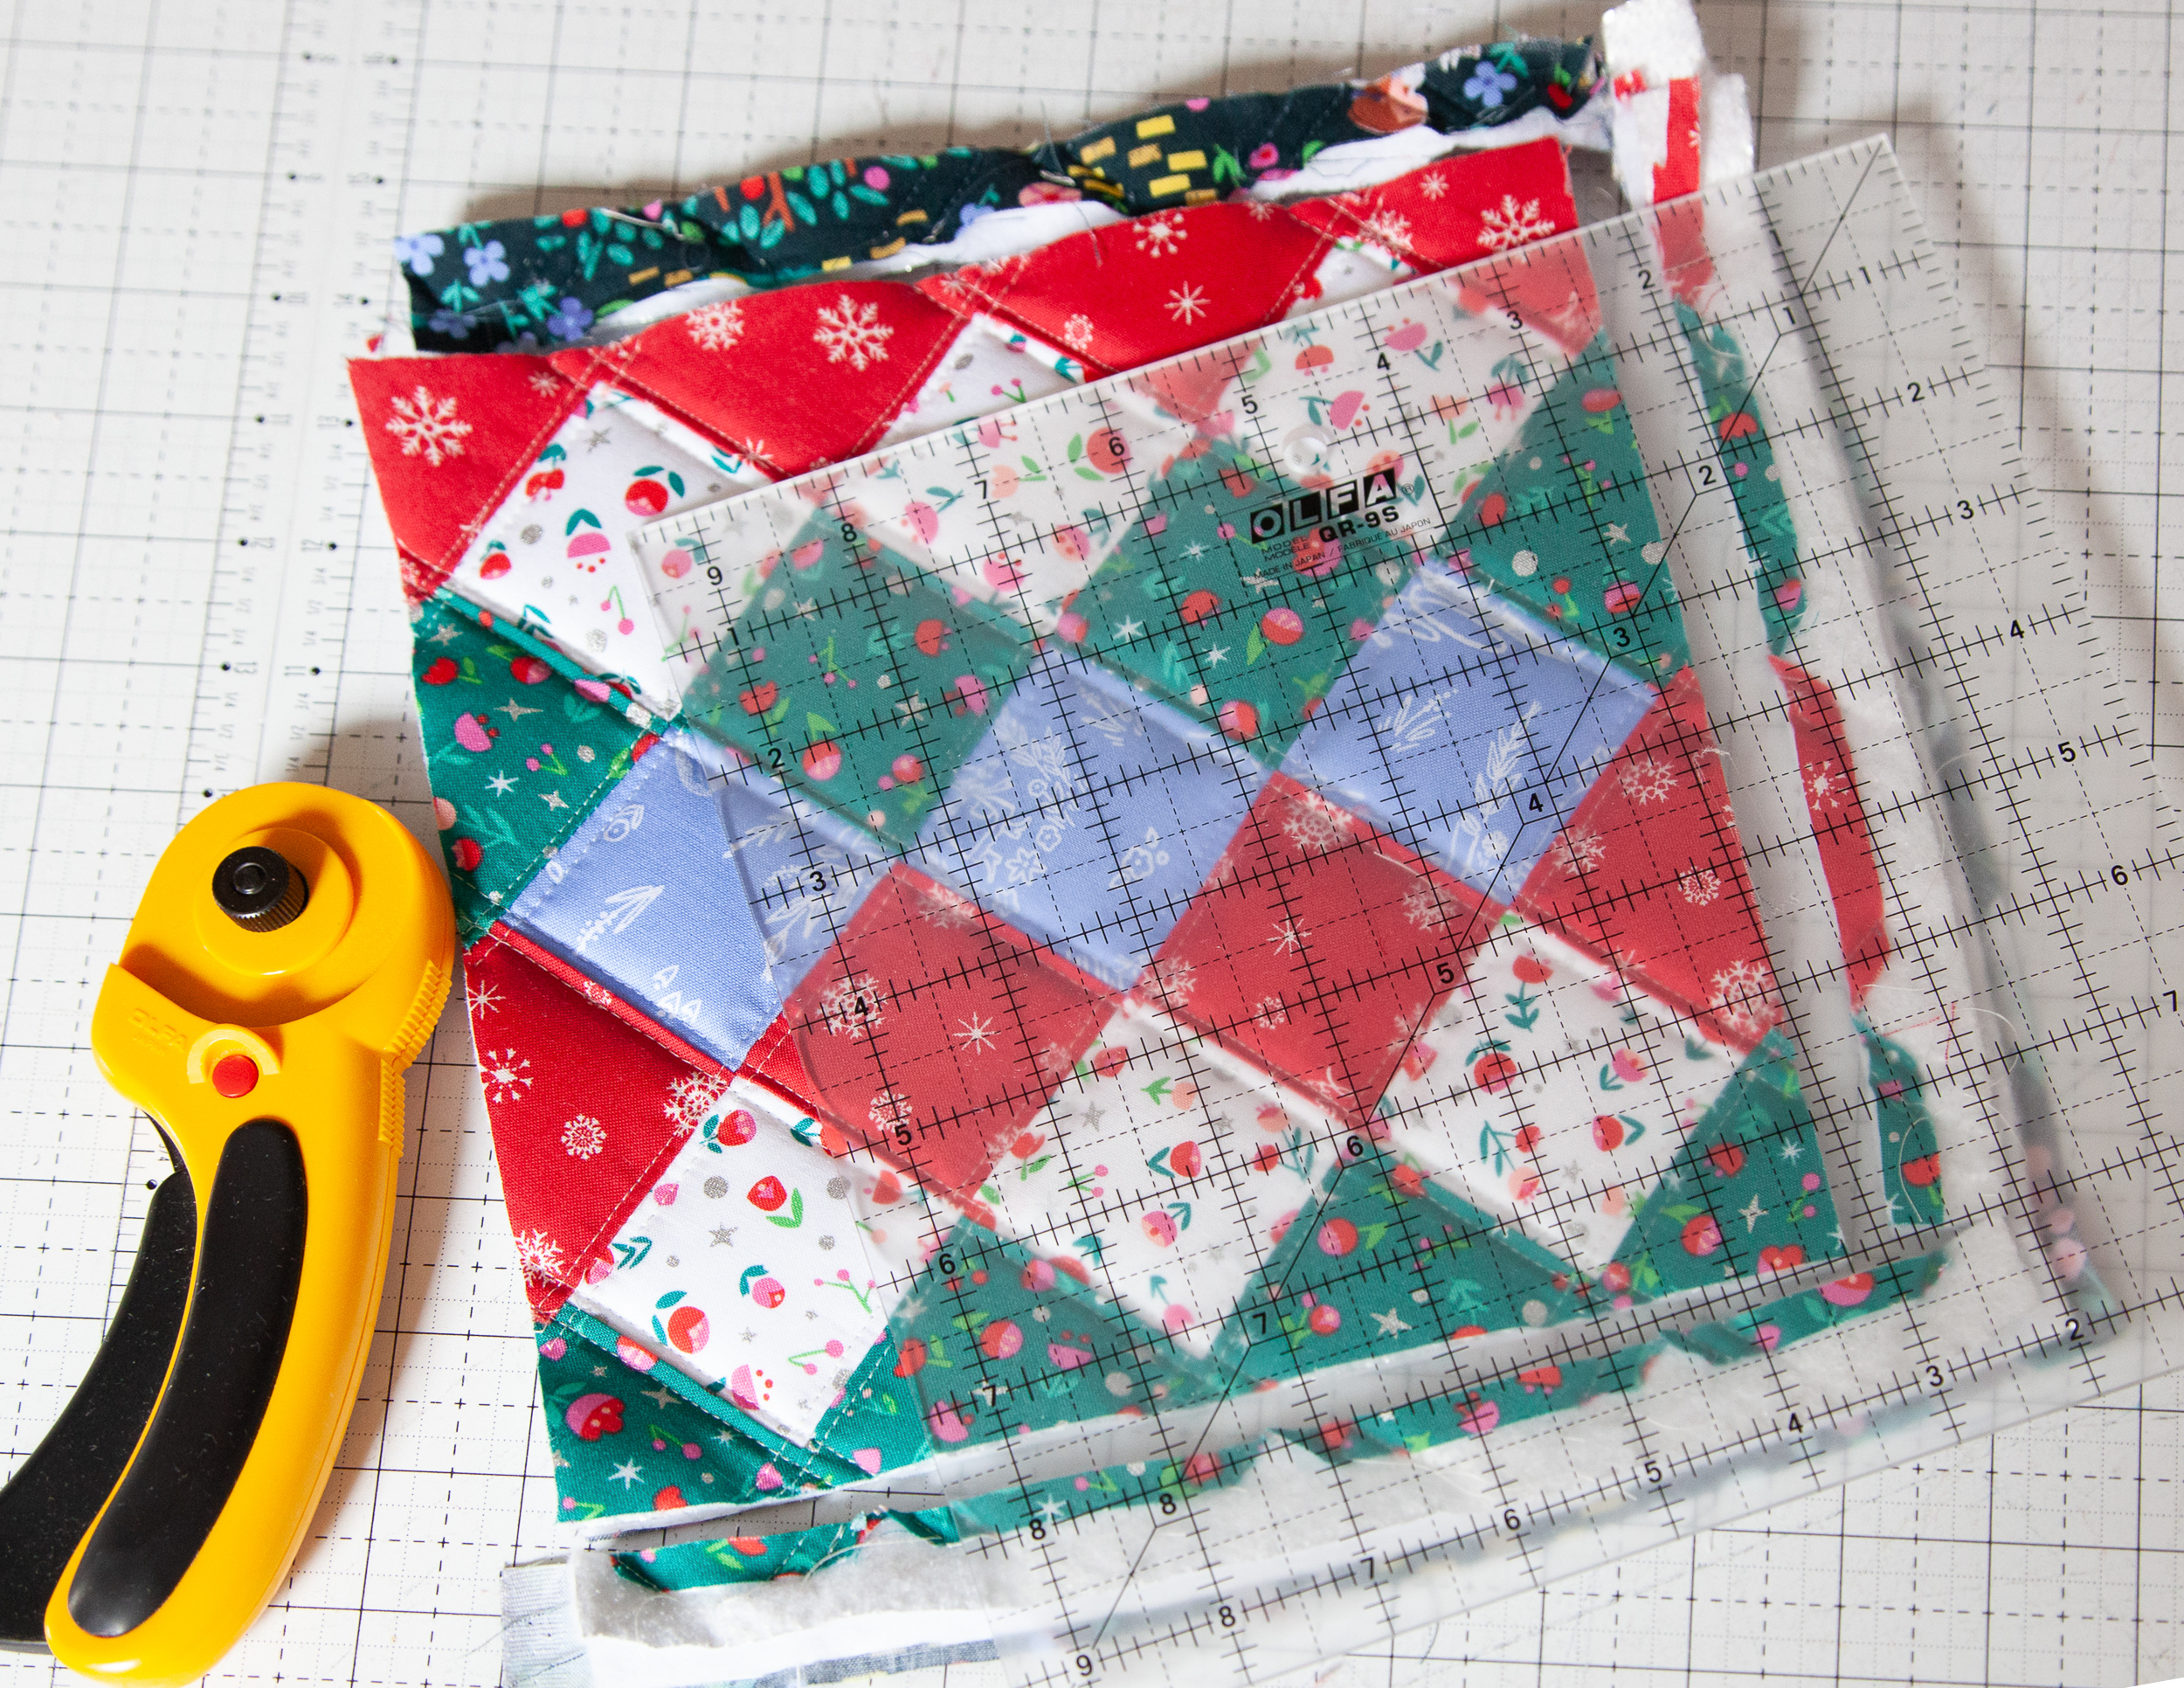
4. Using a spool, round the corner. Trim the excess and sew around with 1/8″ seam.

5. With raw edges together, stitch the binding to the edge of the potholder front. Turn the binding over and stitch the folded edge to the back of the potholder.

6. Machine stitch or hand stitch the binding in place.

I hope you enjoy making this Christmas Potholder for you or your friends!
Used Products

What you might also like


4 comments on “Patchwork Christmas Potholder”
-
-
Hello sewweall, “WOF” refers to width of fabric. This means you cut the instructed size strip from the full width of the fabric. Happy stitching!
-
-
I love the mini scissors holder and needle minder! They sew up quickly and make such nice gifts with a new pair of snips!
-
This is such a great idea to accompany a food item when going to holiday parties! Having never used insulbrite, which way do you position the silver side? Thank you
Leave a Reply
You must be logged in to post a comment.

What is WOF