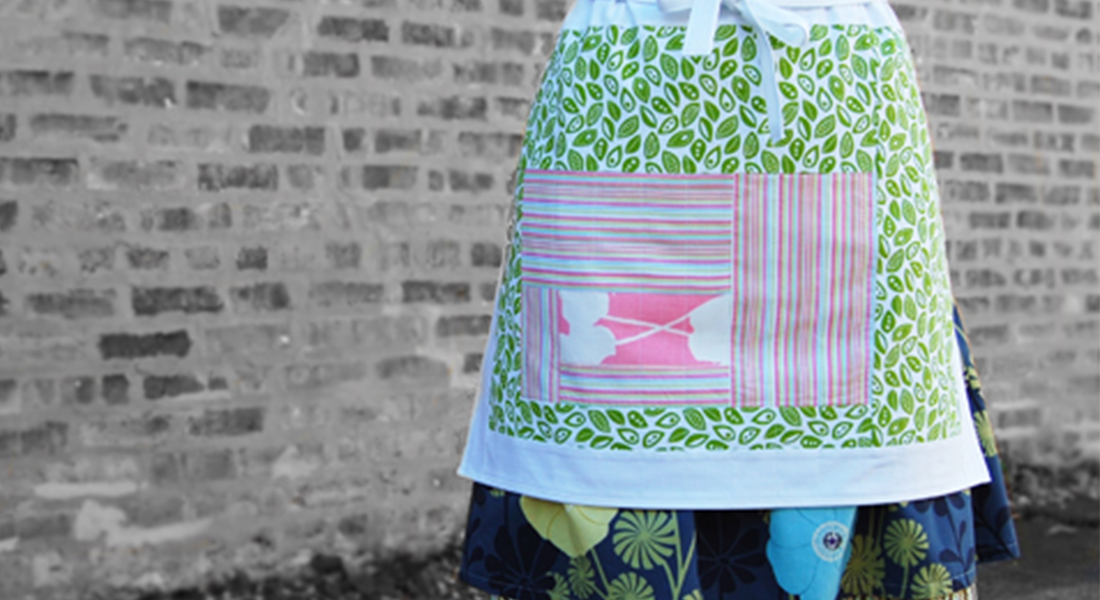
Sew a Reversible Patchwork Christmas Apron
I’m not much of a baker, at least not until the holiday season arrives. Then I’m in the kitchen baking all of my favorite cookies – wearing this cute patchwork Christmas apron of course!
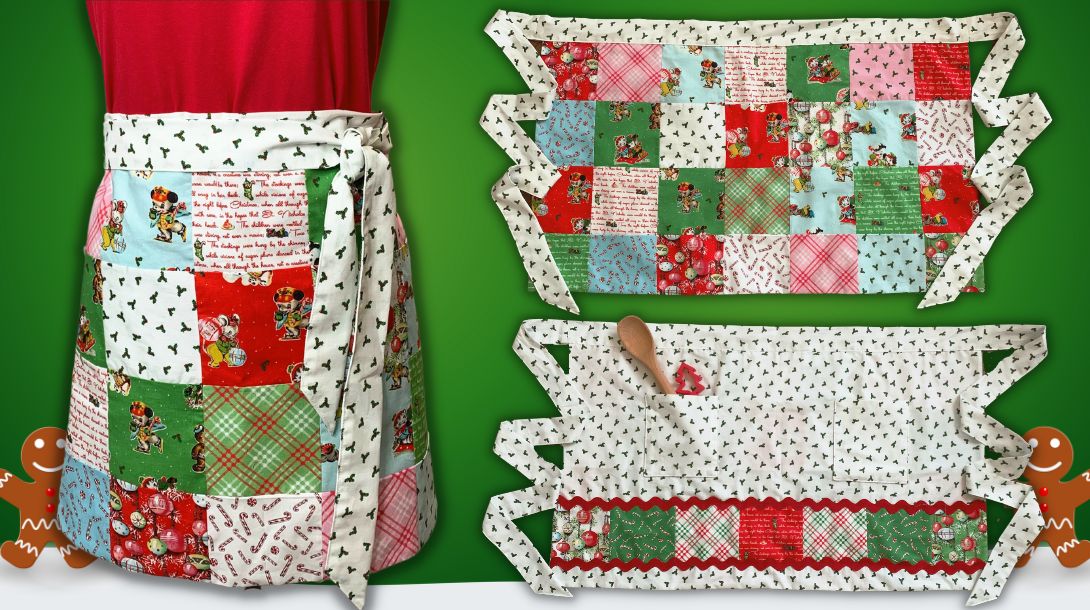
Not only is this apron an easy sewing project, but it’s also reversible! I can be a bit of a messy baker (just ask my family) and I like the idea of flipping the apron over if I need to answer the door (hello neighbor!) while in the midst of a baking marathon.
Hello everyone! It’s Sharon with Sharon Sews, and you can connect with me on YouTube, (Sharon Sews) Instagram (@TheSharonSews) and my blog, (Sharon Sews) where I share sewing tips, projects, reviews, and fashion sewing ideas.
Let’s get started sewing the reversible patchwork Christmas apron!
 Materials needed to sew the Reversible Patchwork Christmas Apron
- Coordinating quilting cottons
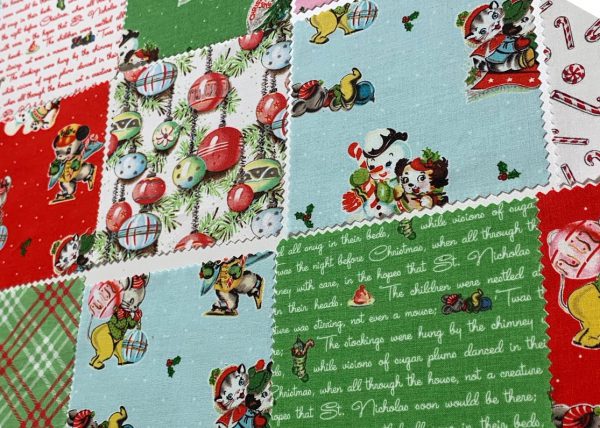
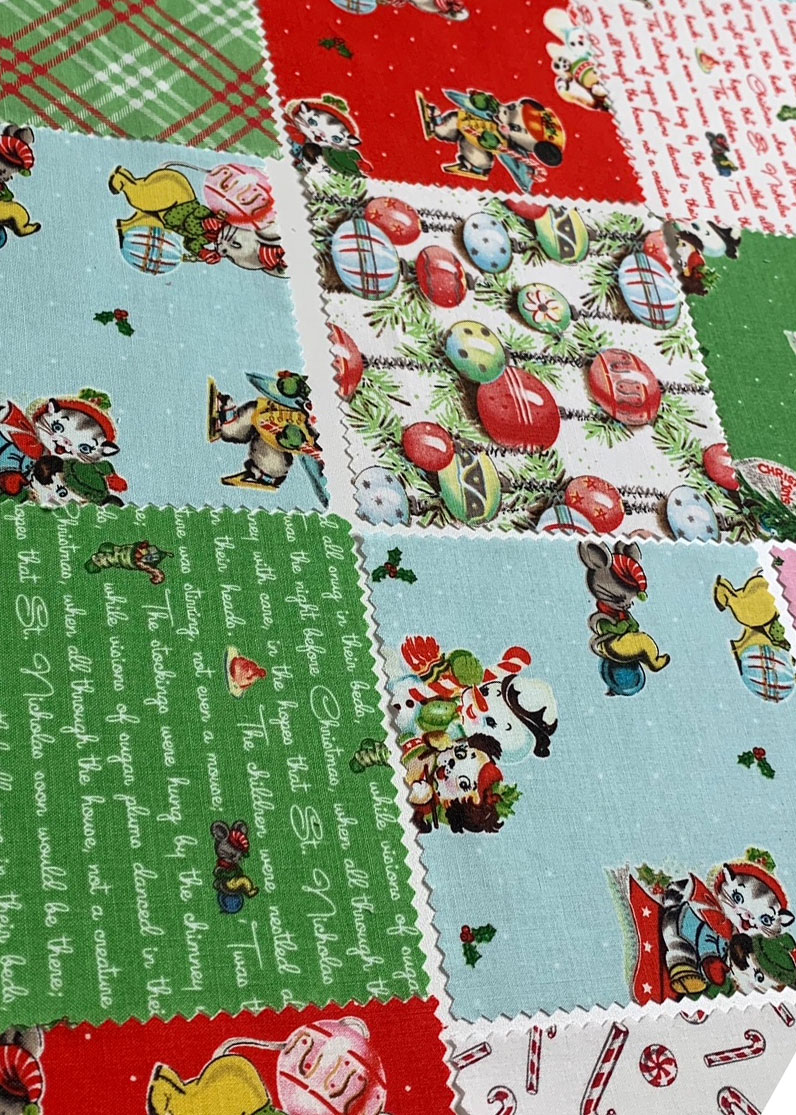
- Assorted 35 precut 5″ squares – I used the Riley Blake Christmas Joys 5″ Stacker
- 1-1/4 yards for the reverse side, pockets, waistband, and tie ends – I used Riley Blake White Christmas Joys Holly
- 2 yards 1″ wide ric-rac
- Coordinating thread – I used Mettler Metrosene
- Pins
- Quilting ruler
- Seam gauge
- Removable marking pen or chalk
- Scissors or rotary cutter and cutting mat
- Sewing machine – I sewed this apron using my BERNINA 770QE Plus.
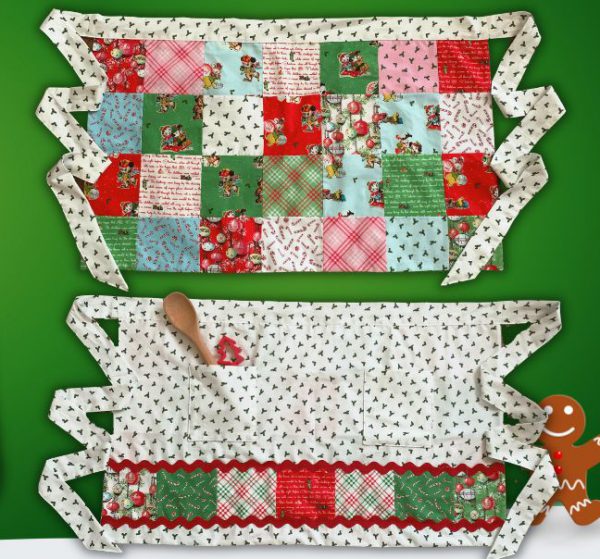
The finished size of the half apron is 31″ wide by 19-1/2″ long. The tie ends are 39″ long.
Tip: To make the apron larger or smaller, simply add or subtract the number of 5″ squares that are sewn together.
Sew the Front of the Patchwork Christmas Apron
Cut Fabrics for the Apron
If not using precut fabric squares, cut 35 pieces of various fabrics, each measuring 5″ x 5″.
From the coordinating fabric:
- Apron Reverse Side (Back): 32-3/4″ (W) x 18-3/4″ (L) – CUT 1
- Waistband: 32-3/4” (W) x 5” (L) – CUT 1
- Tie Ends: 40” (W) x 5” (L) –CUT 2
- Pockets: 6″ (W) x 7″ (L) – Cut 4
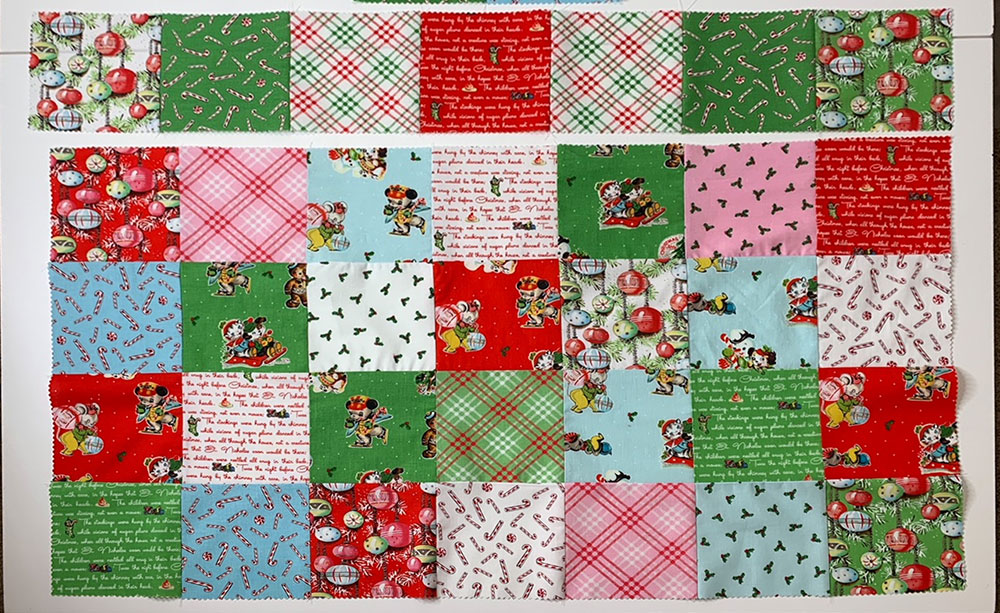
Arrange the Patchwork Squares
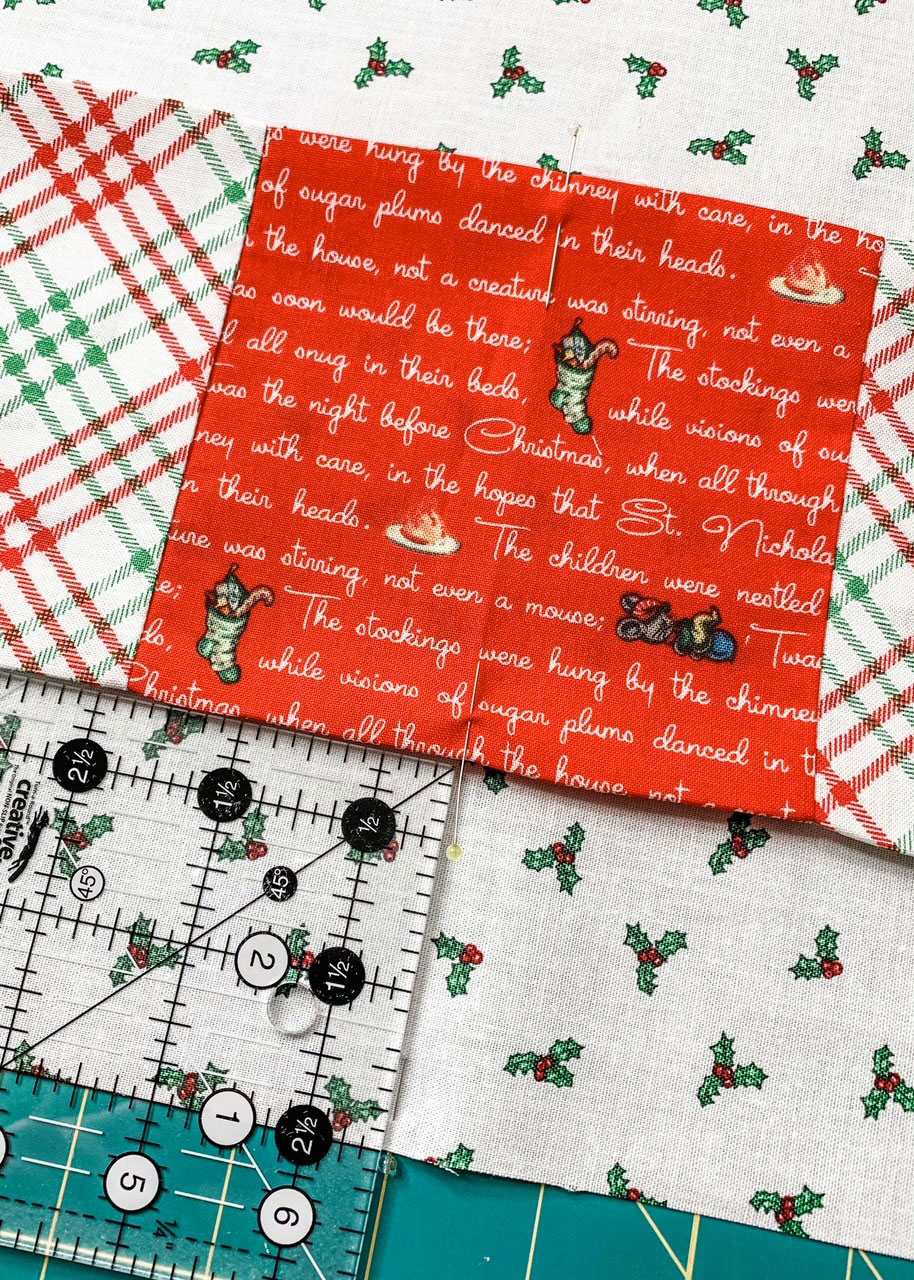
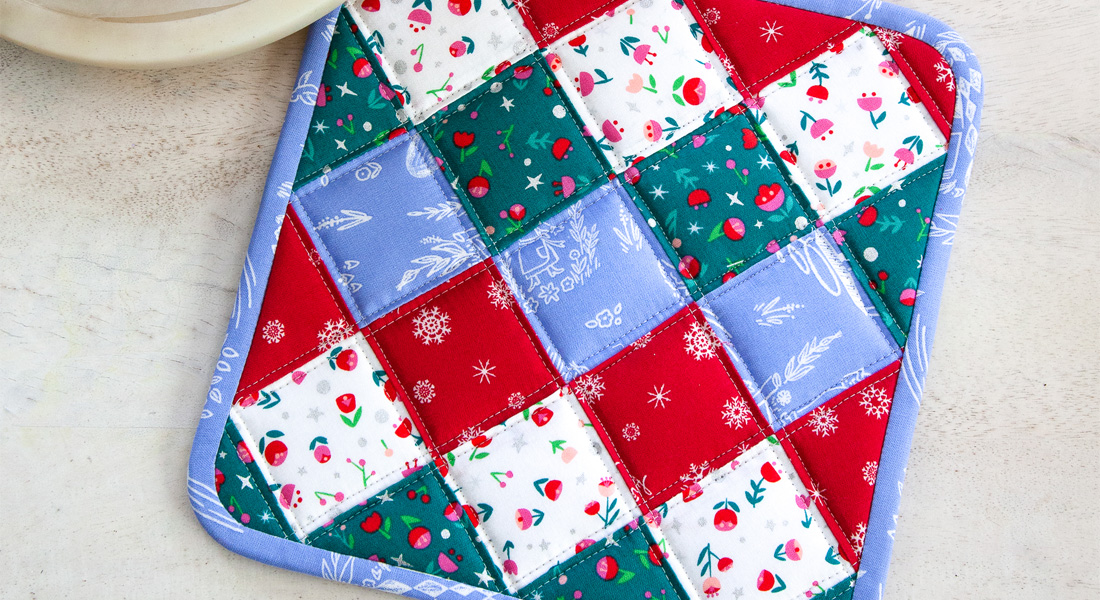
Choose 28 of the 5″ squares for the apron front. This apron has seven squares across and four squares down.
On a flat work surface, arrange four rows with seven squares in each row. Play with the arrangement until you like the look.
Next, choose seven 5″ squares for the decorative strip on the reverse side of the apron, and arrange in a row until you like the look.
Tip: Take a photo of the arrangement to use as a guide when the squares are sewn together.
 Sew the Patchwork Rows
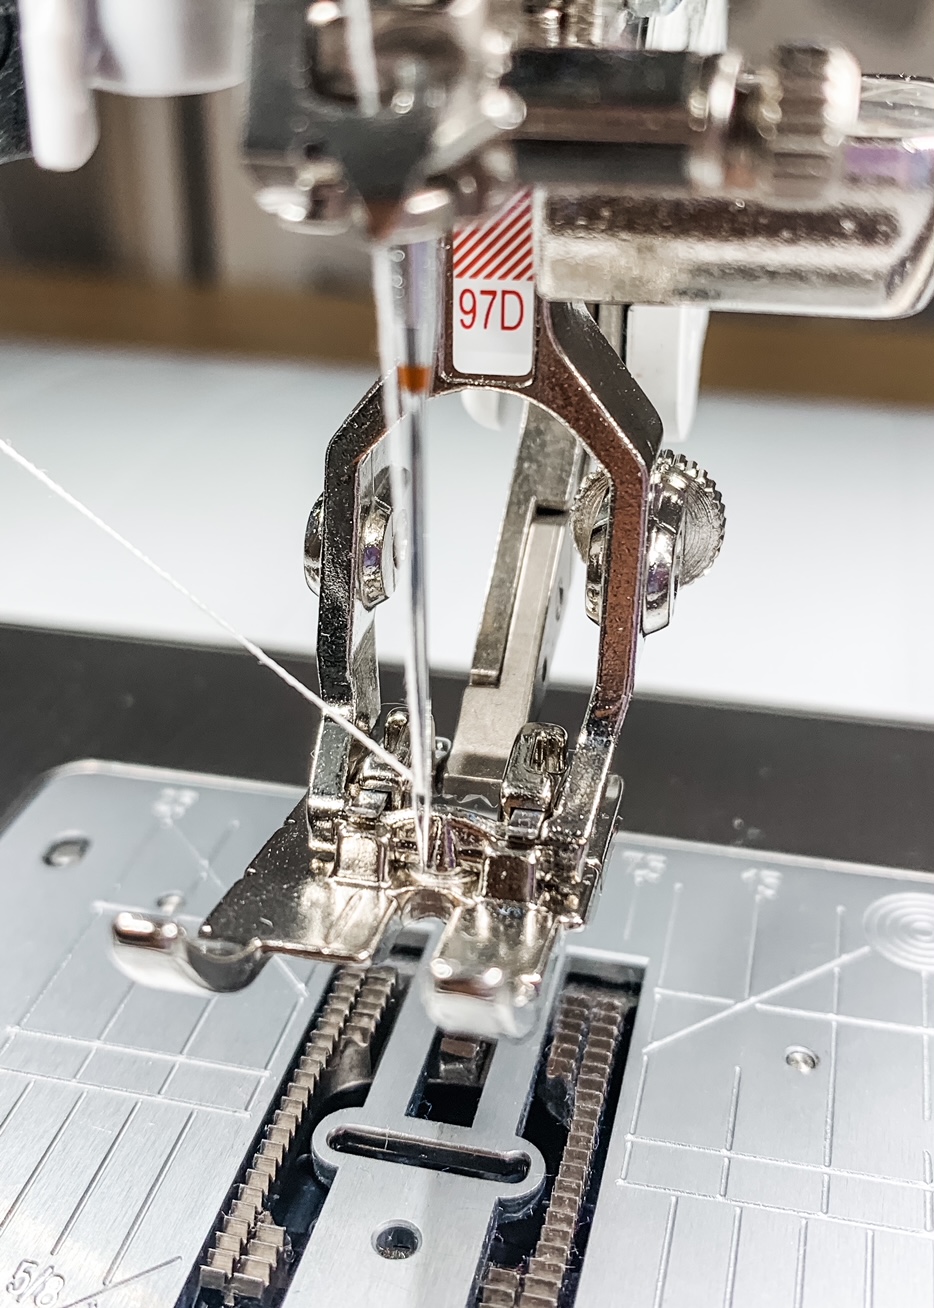
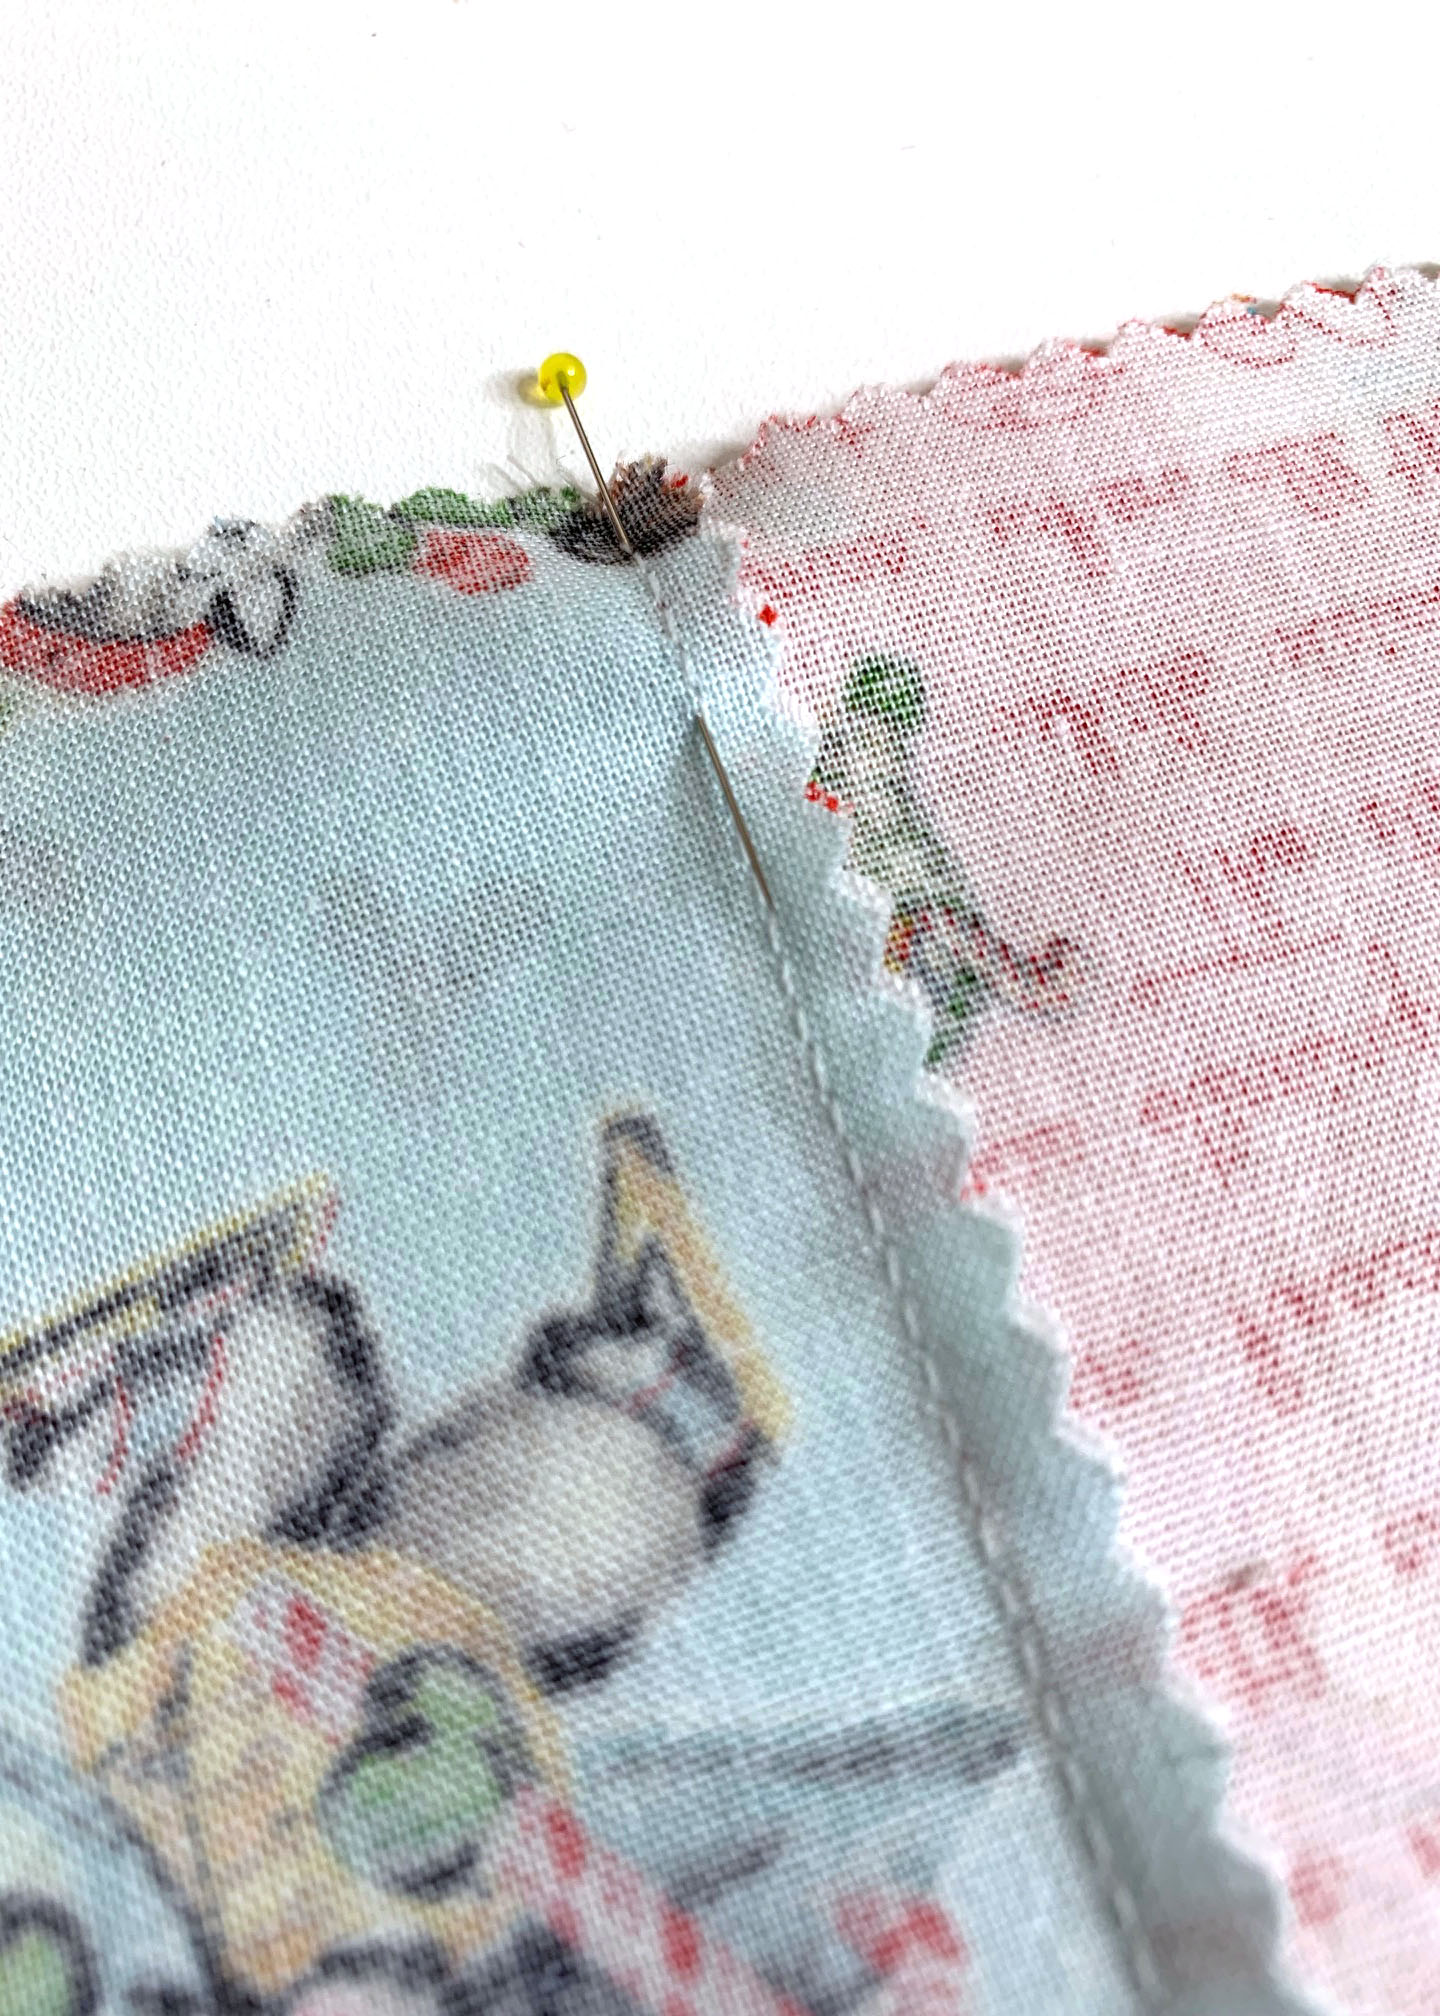
Bring the first row of fabric squares to the sewing machine in the order to be sewn. Place the first two squares right sides together matching one side edge and pin. Sew together using a scant 1/4″ seam.
Tip: If you have a one-way design like I did, make sure the design is facing the correct way before you stitch the seam.
Tip: There is no need to backstitch as the seam ends will be secured when the additional squares are added.
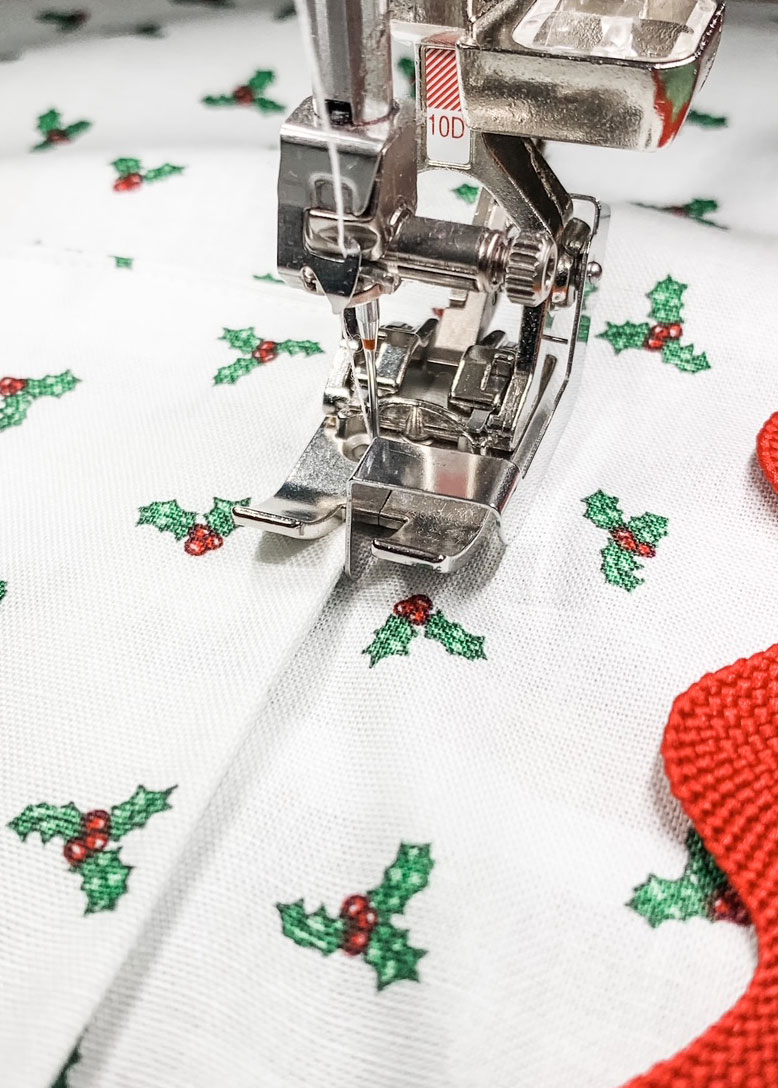
I used the BERNINA Patchwork foot #97D to easily sew accurate seams.
Next, open the piece you sewed. With right sides together pin the next square in place and sew using a scant 1/4″ seam allowance. Continue until all seven squares are sewn together.
Repeat to sew the second and third row of squares as well as the decorative strip that will be sewn on the reverse side of the apron.
 Press the Seams
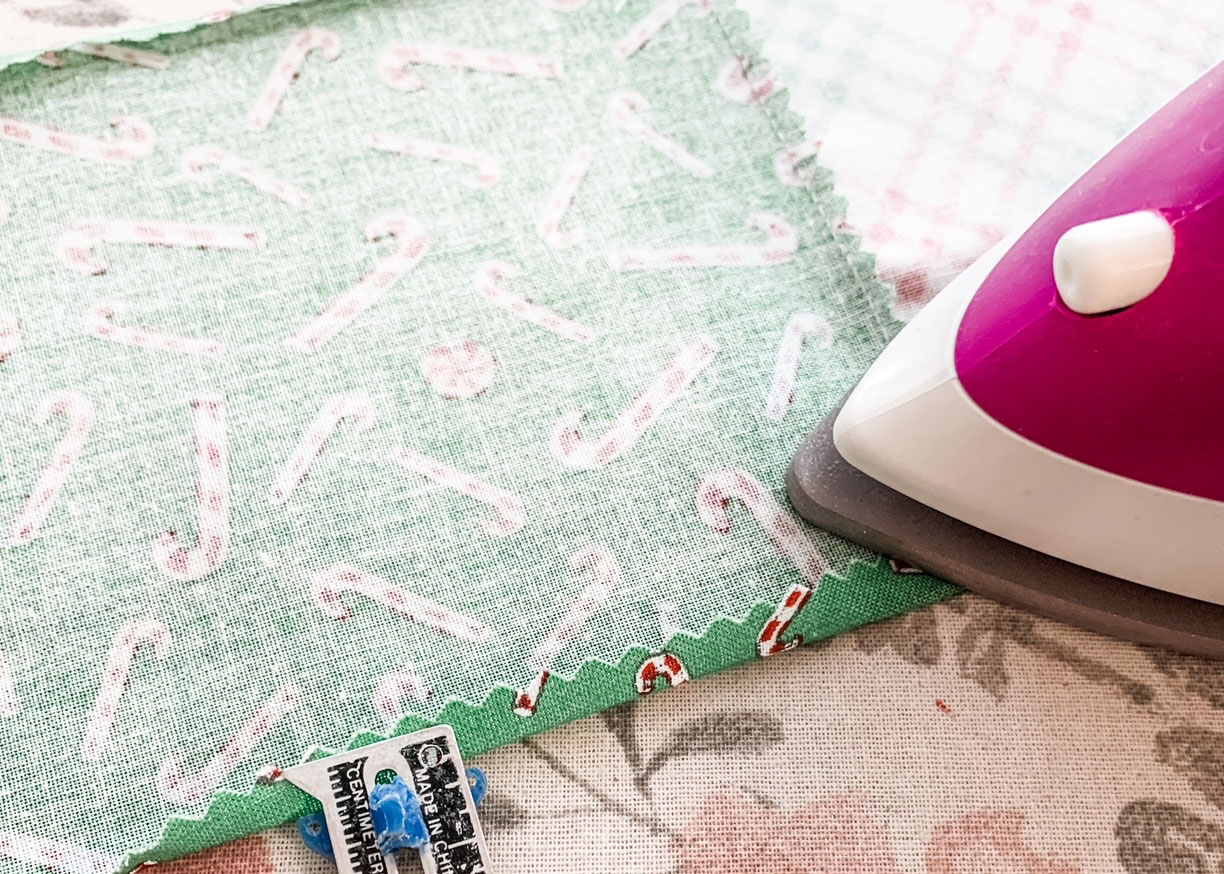
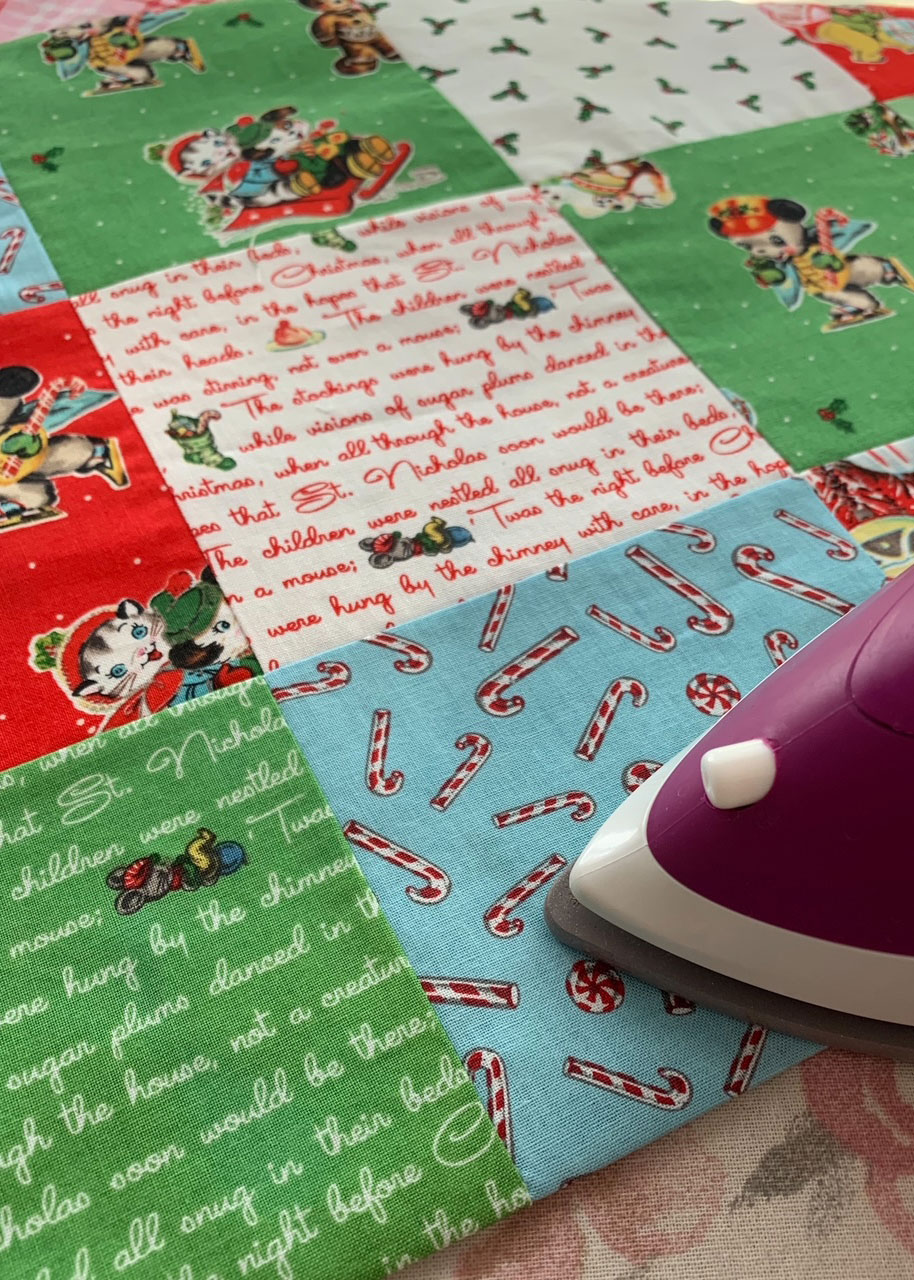
Place the first row on an ironing board with the wrong side up. Press all the seams to the left.
Place the second row wrong side up on the ironing board and press all seams to the right. Press the seams of the third row to the left, and the fourth row to the right.
Pressing the seams in each row in alternating directions will help match the corners when the rows are sewn together.
 Sew the Patchwork Rows Together
Take the first and second row and place them right sides together along the lower edge of the top row. Match the seams and raw edges, pin, and stitch using a scant 1/4″ seam allowance.
 Pin and stitch row three to the bottom of row two, and row four to the bottom of row three. Press all seams toward to the bottom of the apron.
The apron front is done so you can set it aside while you work on the reverse side.
Sew the Patchwork Christmas Apron Reverse Side
Note: The reverse side of the apron will be referred to as the apron back.
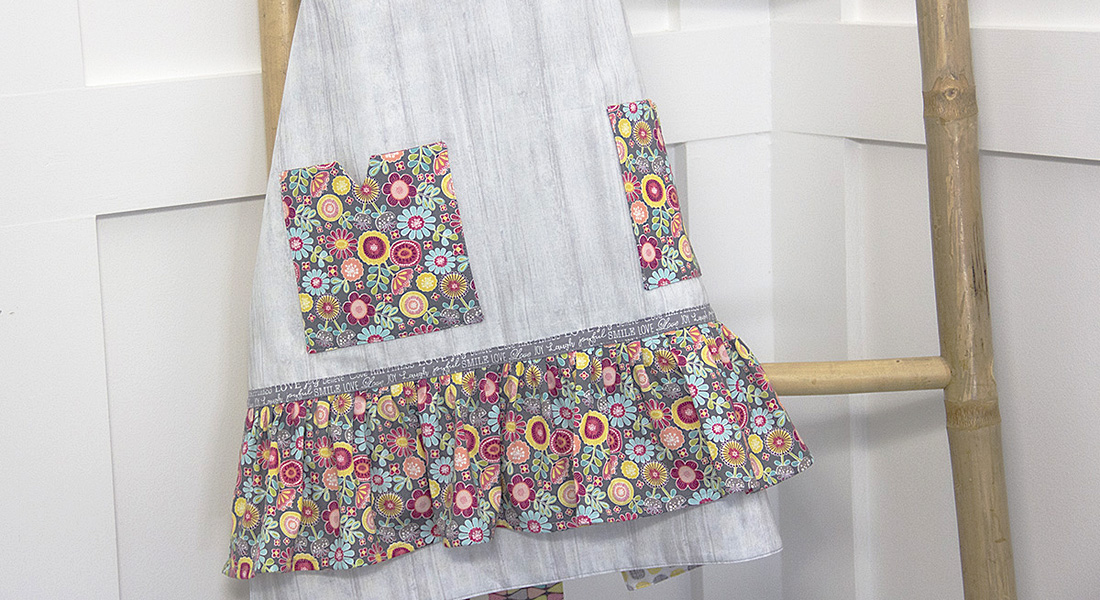
Add the Decorative Patchwork Strip
The remaining patchwork strip will be sewn to the apron back as a decorative strip.
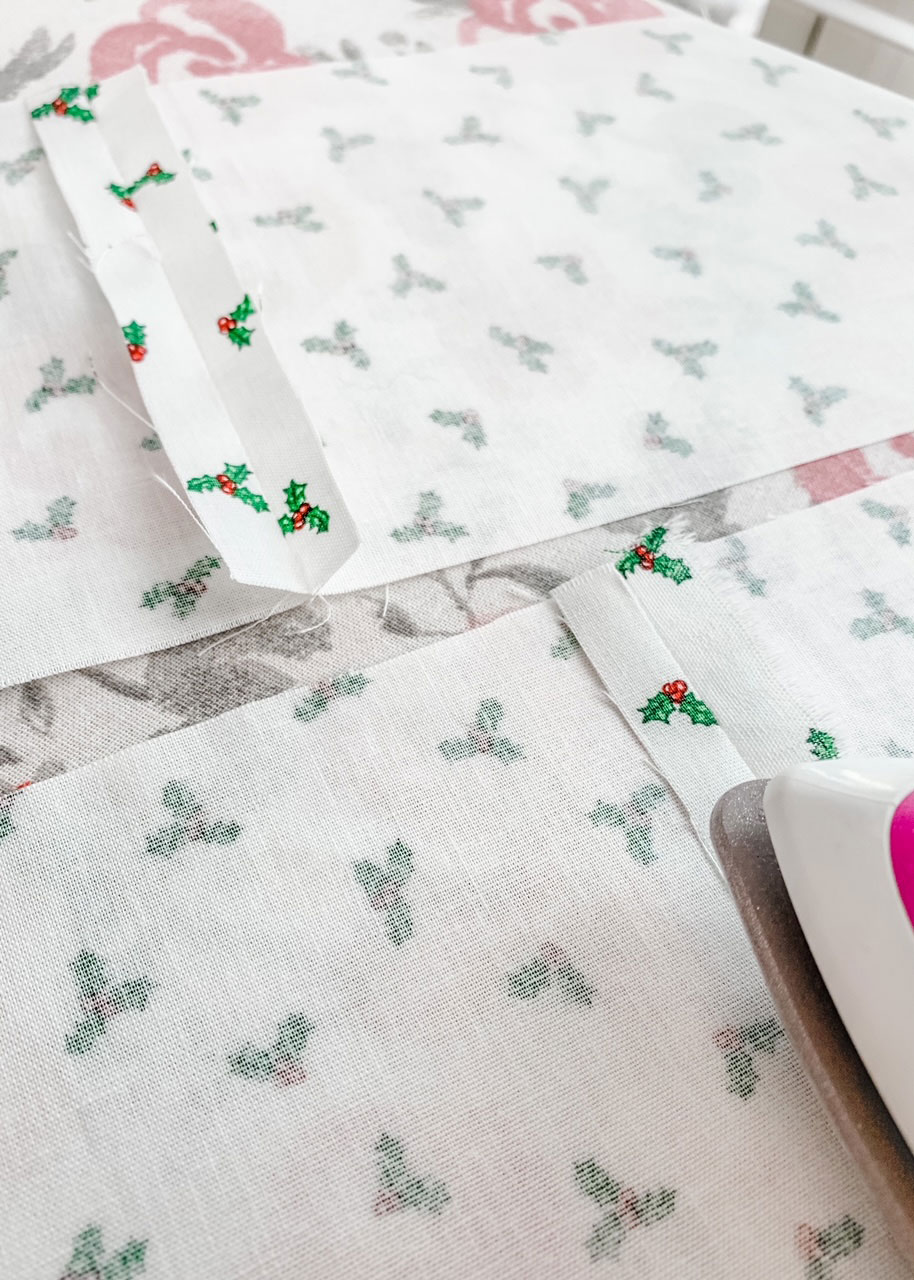
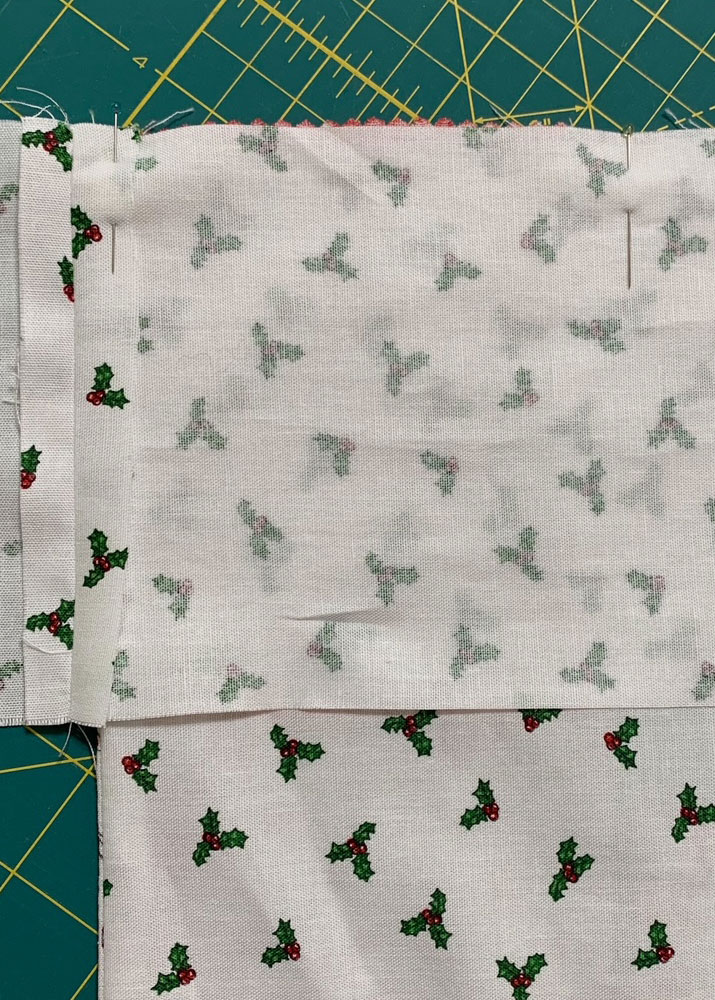
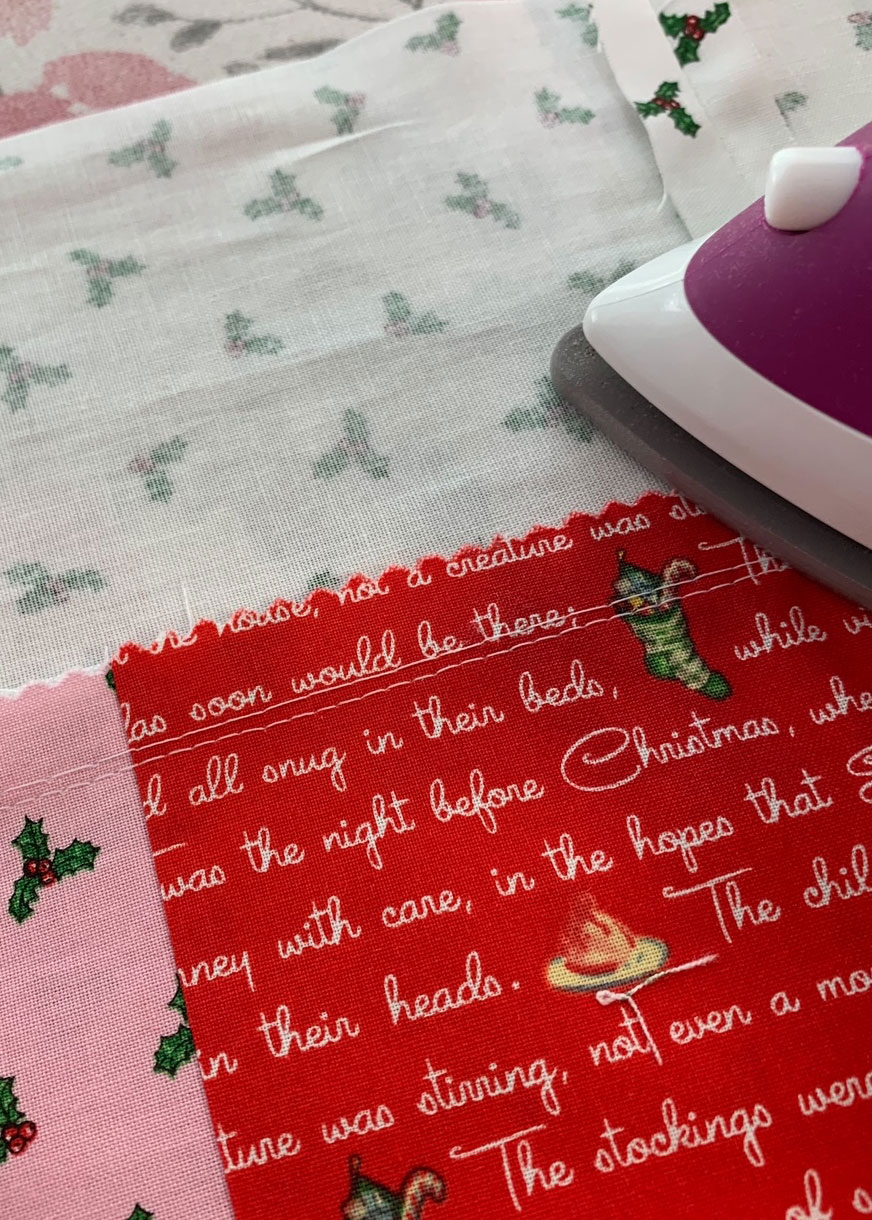
Place the strip on the ironing board wrong side facing up and press all seams to the right. Next, turn and press 1/4″ to the wrong side on both long edges of the patchwork strip.
 Fold the apron back in half matching side edges, mark the center and unfold.
Fold the patchwork strip in half matching side edges, mark the center and unfold.
On a flat work surface, position the apron back with the right side facing up.
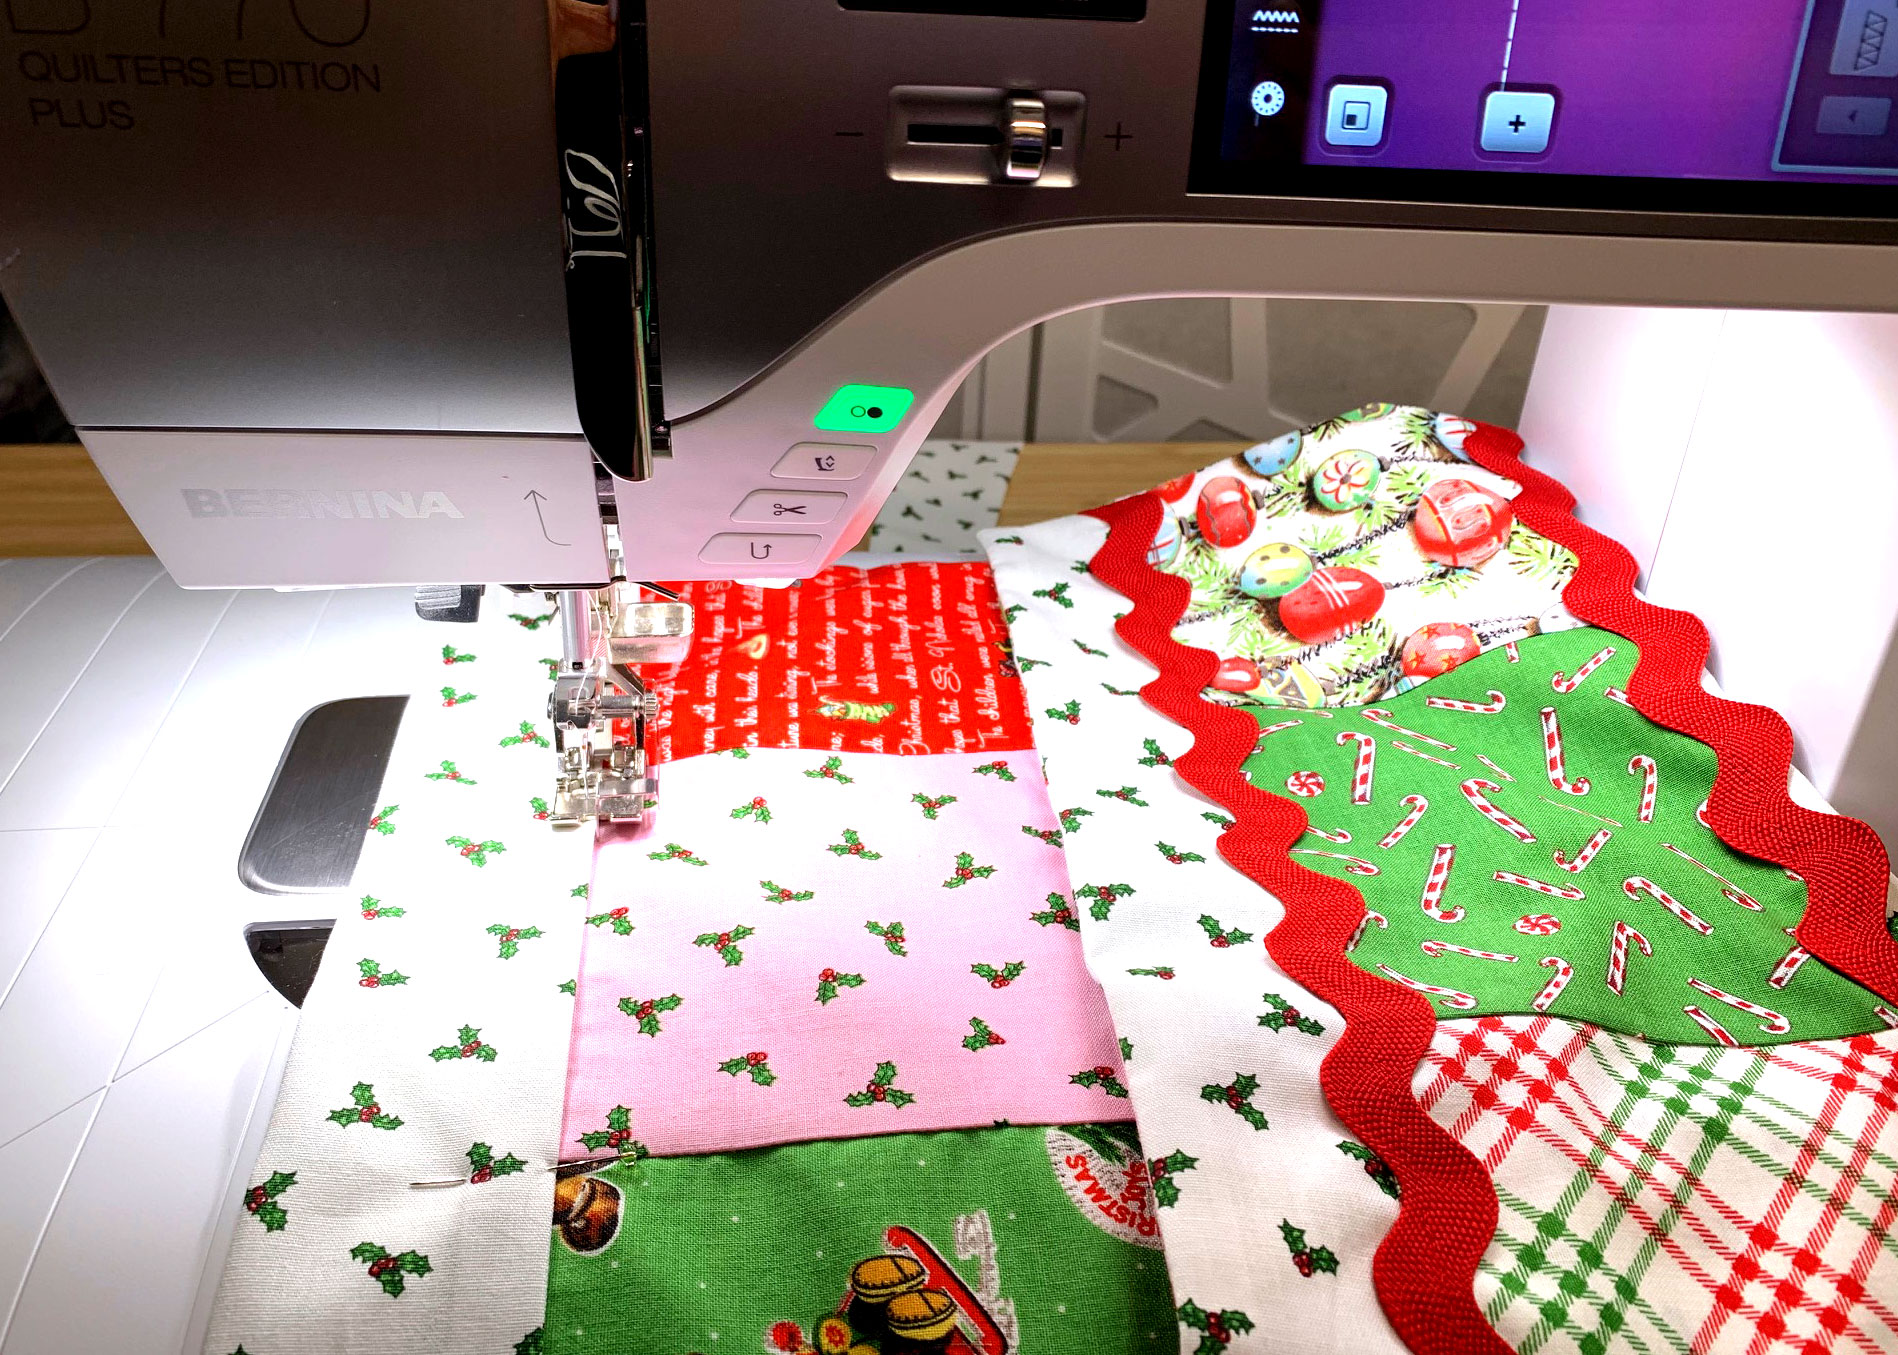
Place the lower edge of the patchwork strip 2-1/2″ from the bottom edge of the apron back matching centers. Pin the top and bottom edges in place, then secure to the apron back using a long basting stitch on the sewing machine.
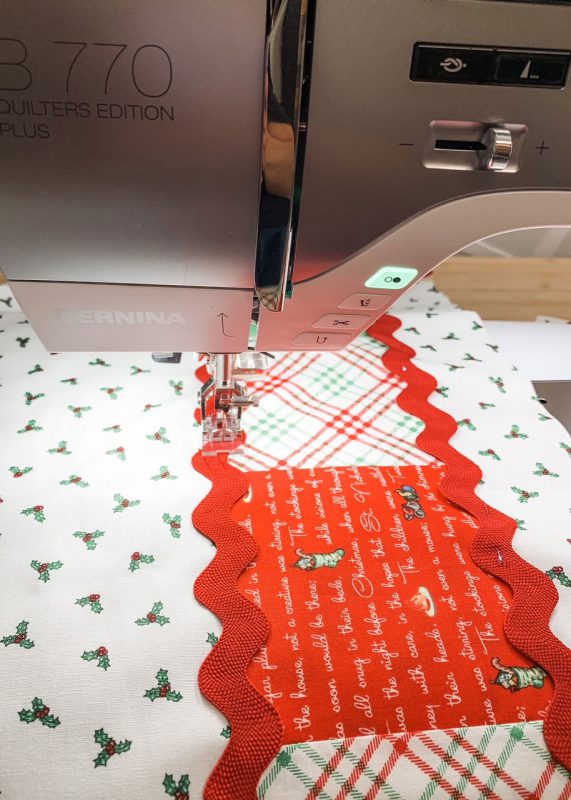
 Place ric-rac trim over the top and bottom edges of the patchwork strip, pin, and stitch in place.
Tip: Instead of ric-rac, use a contrasting thread and one of the decorative stitches on your machine to stitch the patchwork strip in place.
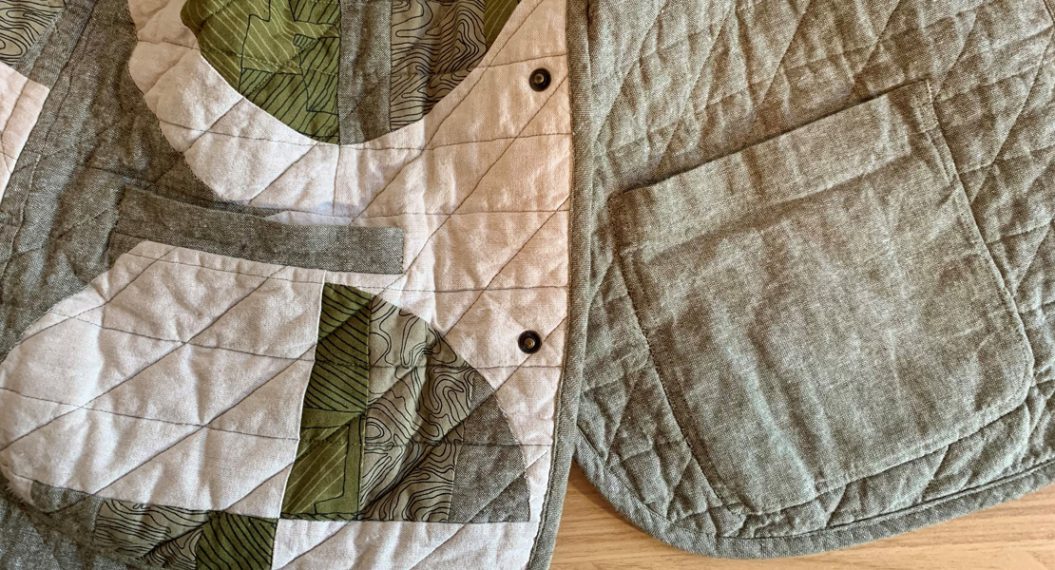
 Sew the Pockets

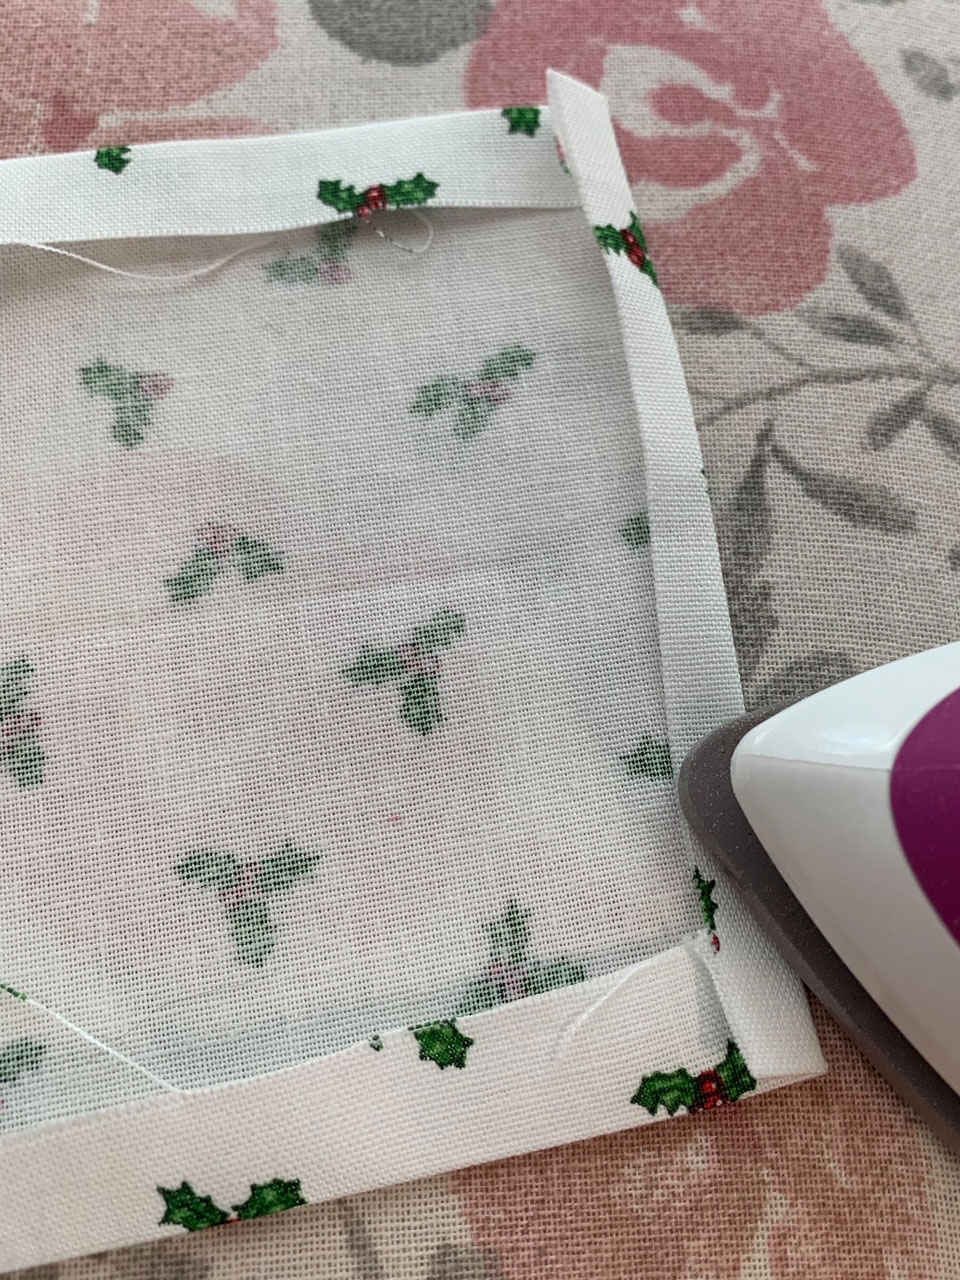
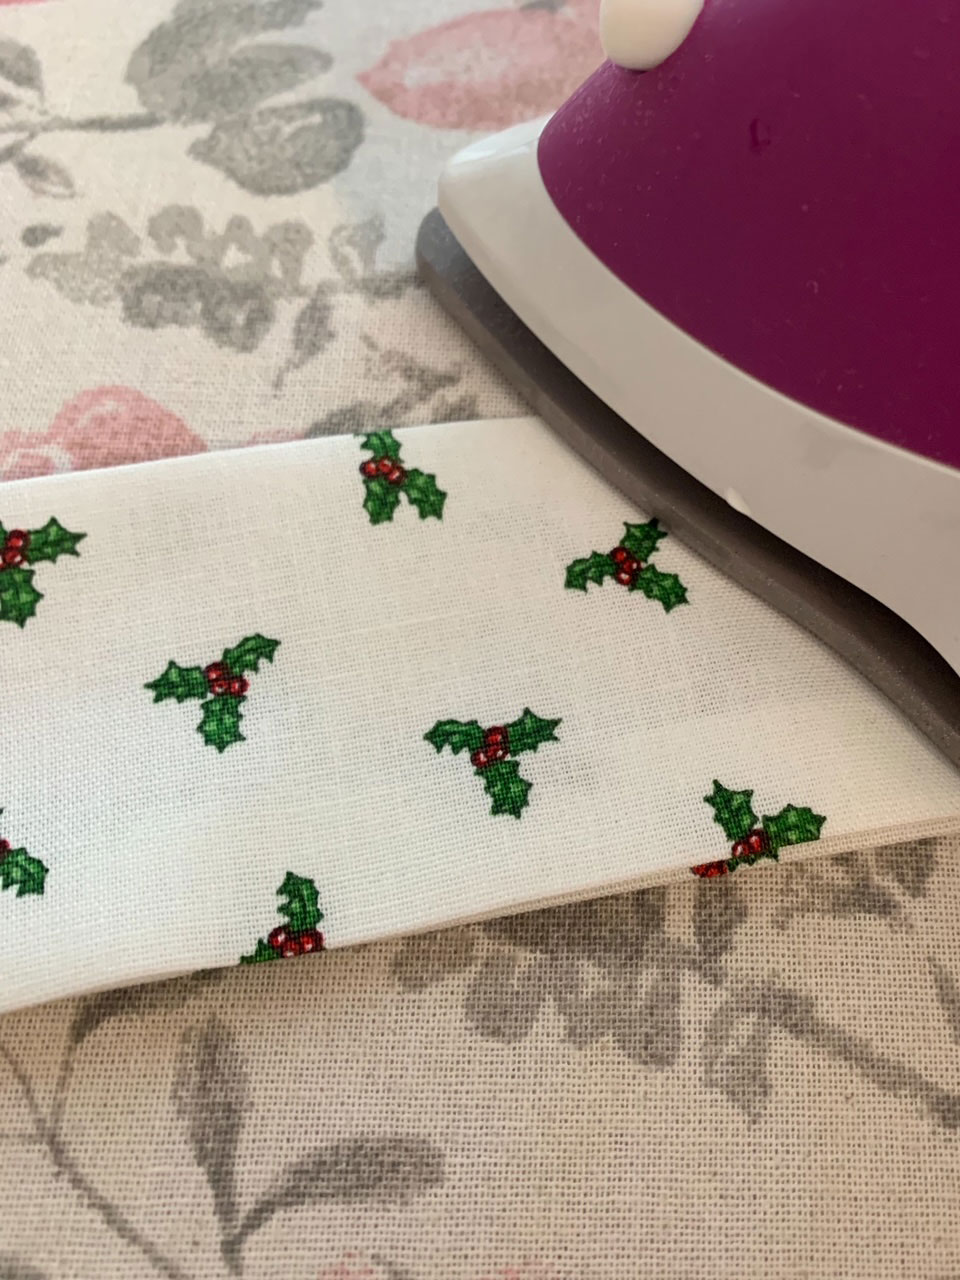
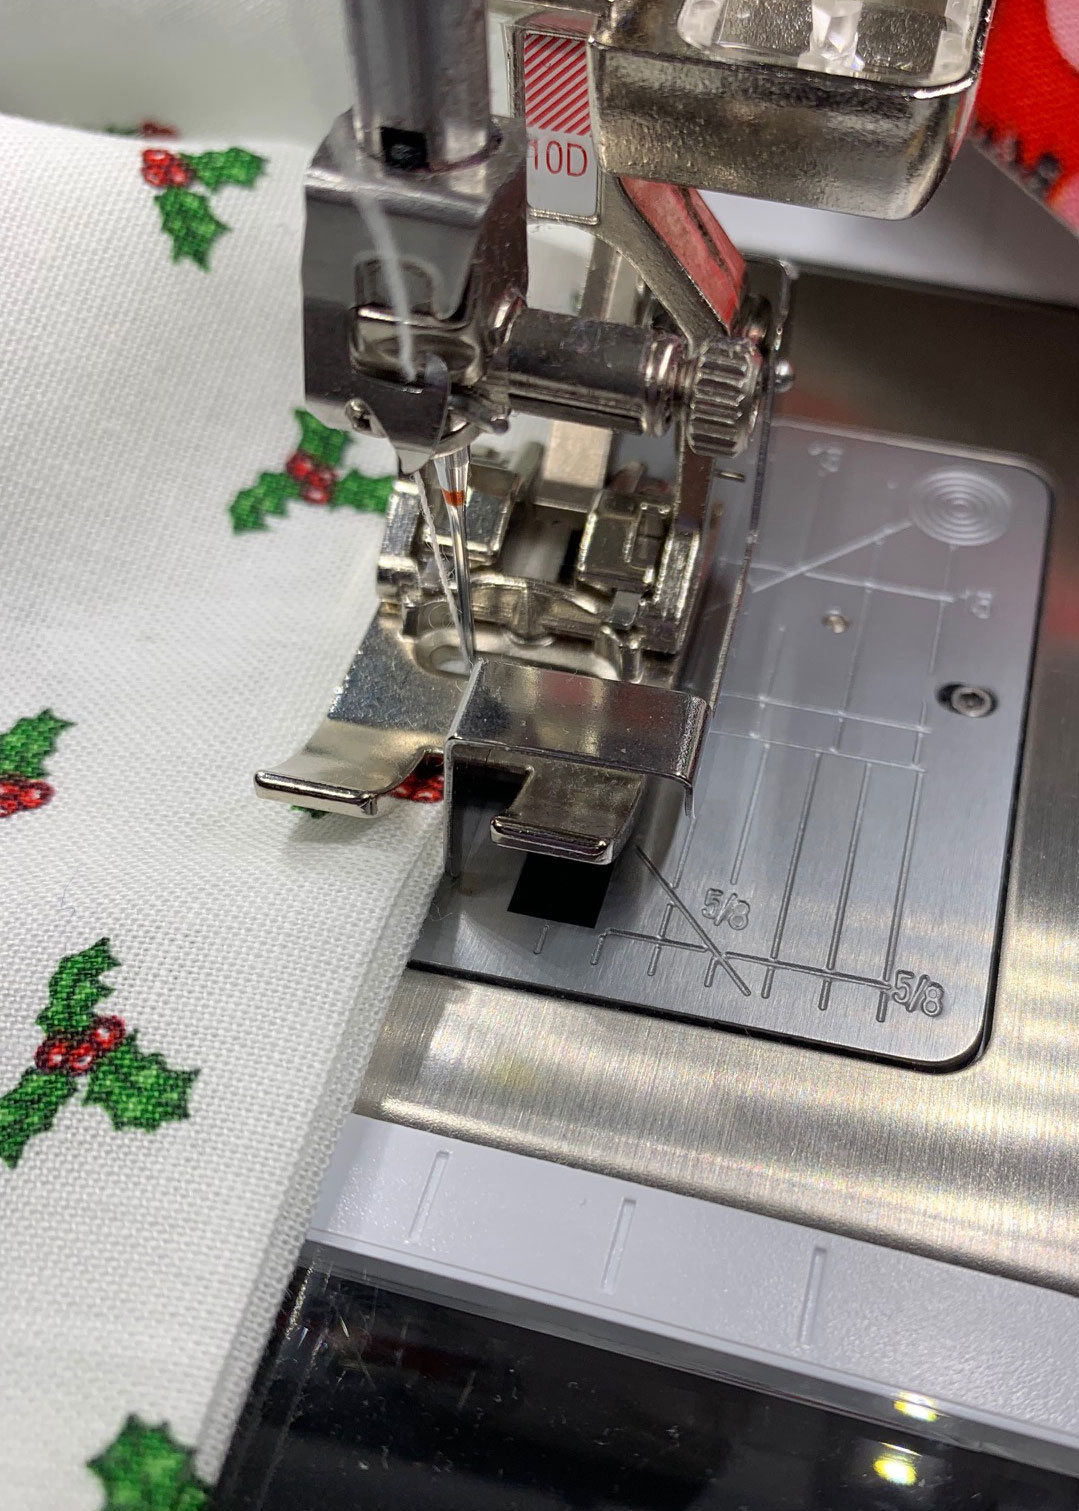
Place two pocket pieces right sides together. Pin leaving a 3″ opening at the bottom. Using a 1/2″ seam allowance, stitch around all edges, leaving 3″ open for turning. Repeat for the other two pocket pieces.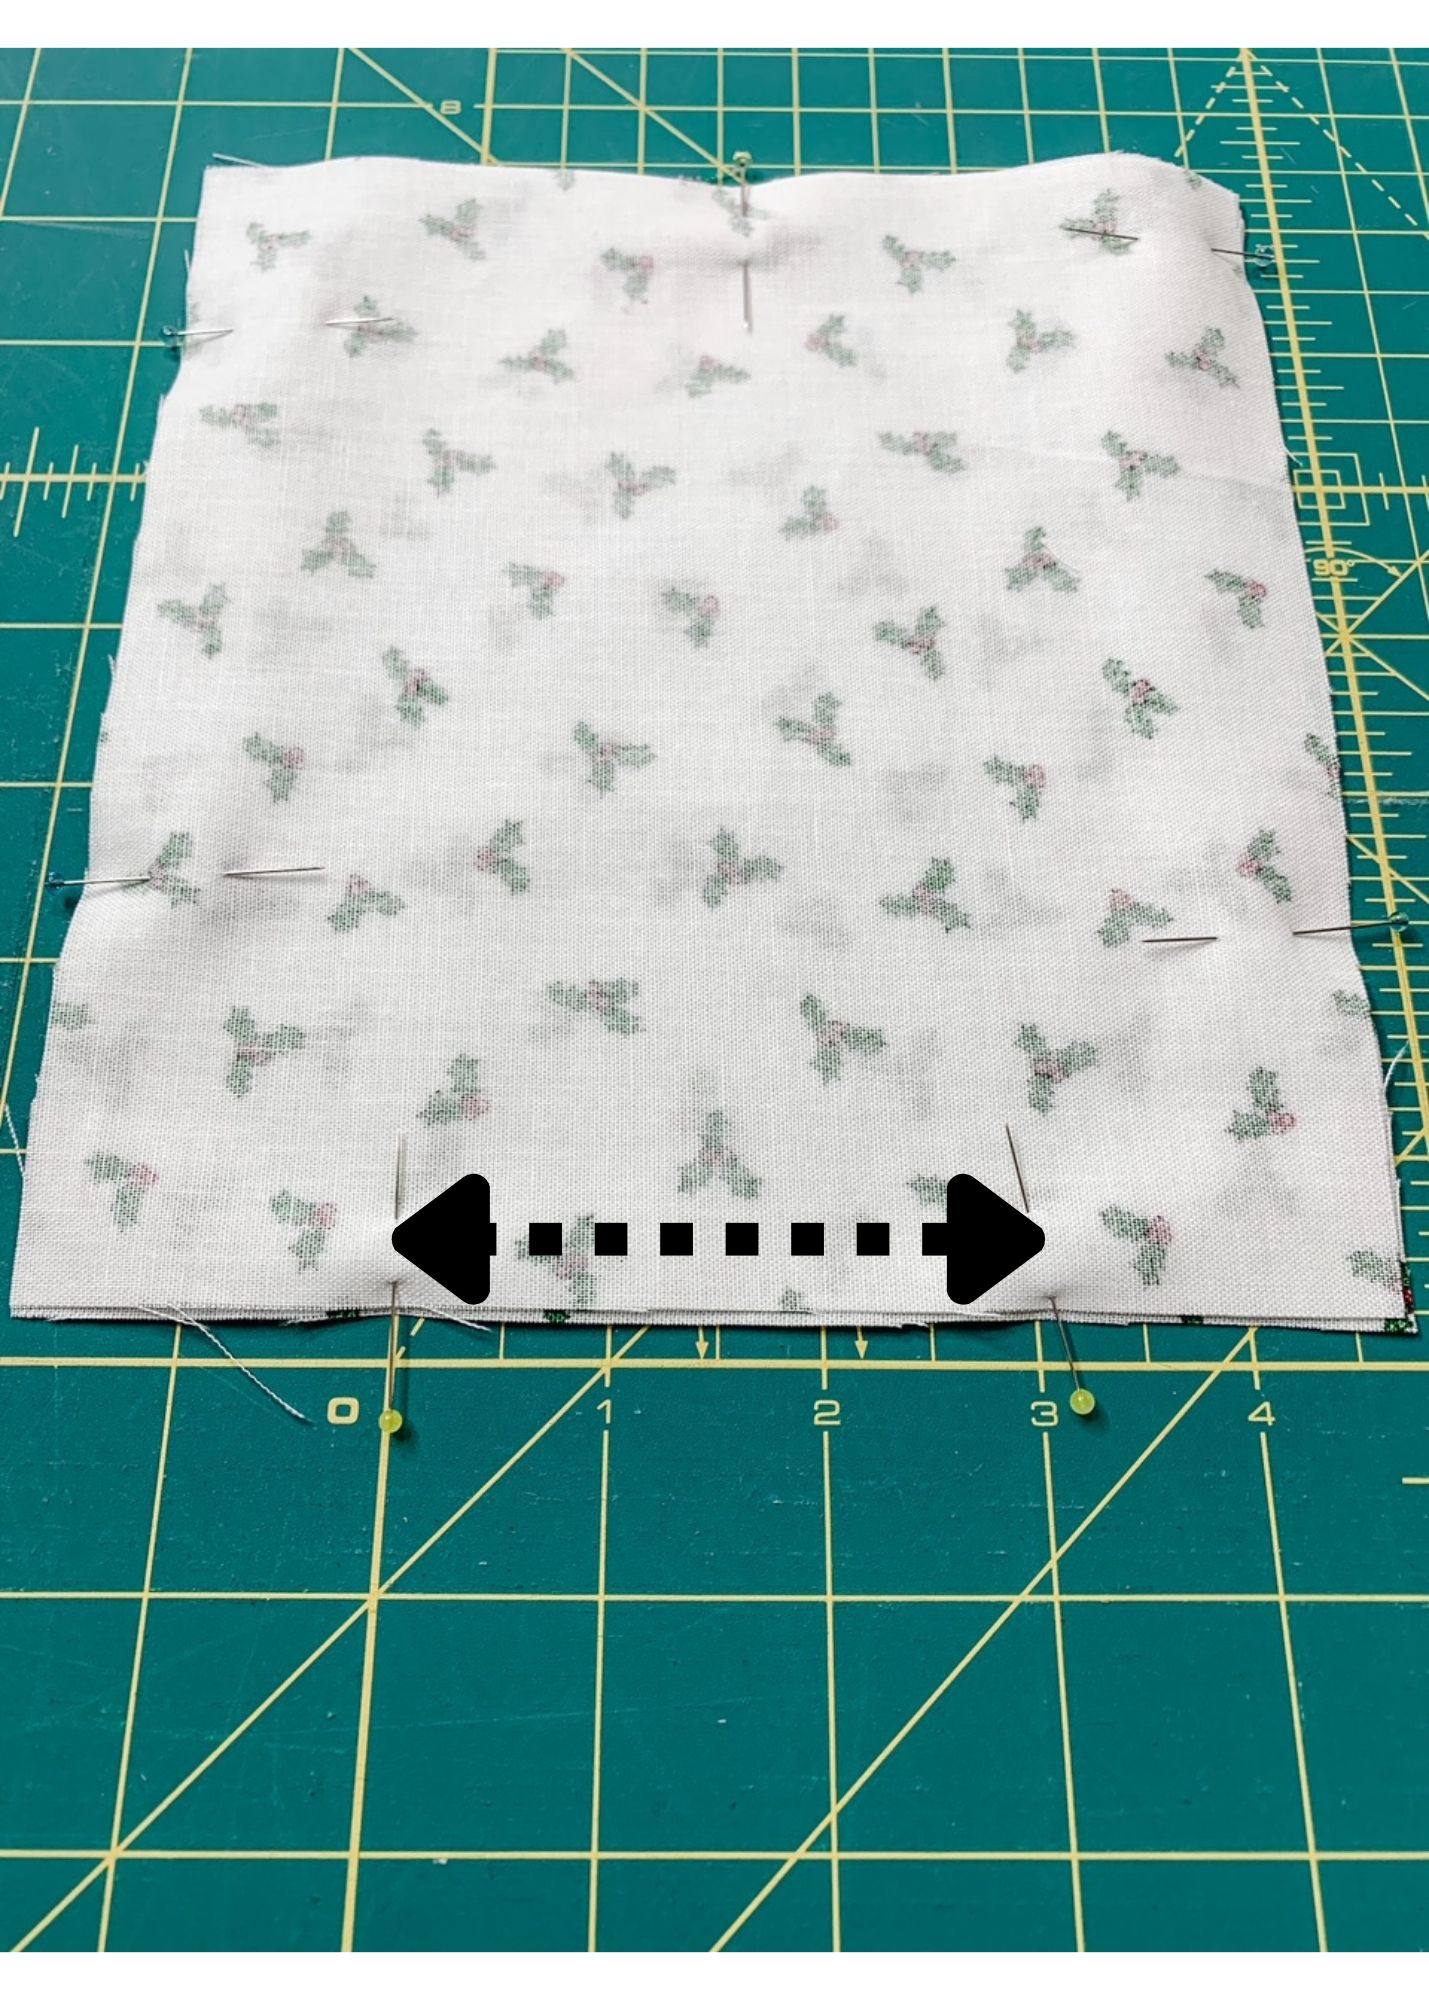 Trim the seam allowance if desired and snip off a small triangle piece at each corner. Turn the pocket right side out. Press, turning in the seam allowance of the opening. Repeat for the other pocket.
Position the apron back right side up on a flat work surface.
Place one pocket 4″ from the upper edge and 5-1/2″ from one side edge; pin in place. Repeat for the other pocket. Make sure the 3″ opening is at the bottom as that will be stitched closed in the next step.

Stitch the pockets to the apron back along three edges, keeping the upper pocket edge open. I used my BERNINA Edgestitch foot #10D for accurate stitching.
The apron back is now complete.
Sew the Apron Front and Back Together
Position the apron front on a flat work surface right side facing up. Place the apron back on top of the apron front with right sides facing, matching the bottom edge and side edges; pin in place. Using a 1/2″ seam allowance, stitch along the side and bottom edges leaving the upper edge open.
Trim the seam allowance if desired and snip off a small triangle piece at each corner. Turn the apron right side out and press. Baste the upper edge opening of the apron closed.
 Sew the Waistband and Ties to the Patchwork Christmas Apron
With right sides together, align one tie short edge with one waistband short edge, pin, and stitch using a 1/2” seam allowance.
Repeat to attach the remaining tie to the opposite waistband short edge. Press both seams open.
Designate one waistband edge as the upper edge. Fold the waistband/tie in half matching the side edges. Mark the center with a pin and unfold. Fold the apron body in half matching the side edges. Mark the center with a pin and unfold.
Position the apron body on a flat work surface with the reverse (back) side facing up. Place the waistband over the apron with the right side facing the reverse (back) side of the apron, matching the upper edges. Align the center of the apron with the center of the waistband, and the side seams of the waistband with the side edges of the apron and pin.
Stitch using a 1/2″ seam allowance. Be sure to backstitch at the beginning and end of the seam. Press the seam toward the waistband.
Press the remaining waistband/tie raw long edges 1/2” toward the wrong side, then press the short edges of the tie ends 1/4” toward the wrong side.
Fold the tie end in half at the end of the tie and press lightly to mark the center.
Unfold the tie end, then fold both corners in and press. 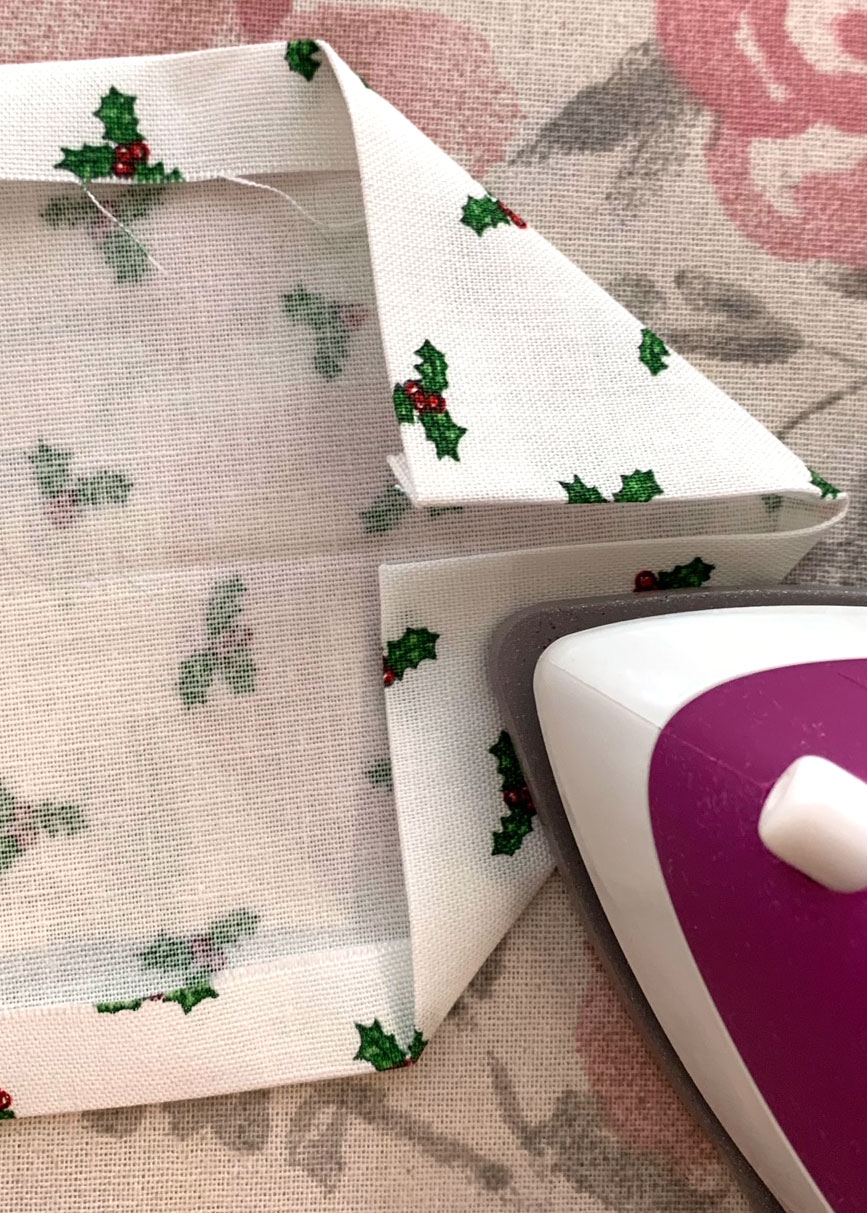
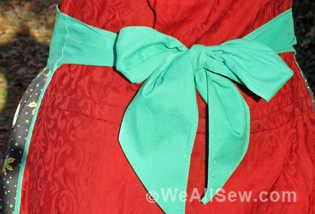
With wrong sides together, fold the waistband and tie ends in half lengthwise, enclosing the raw edges. The folded edge of the waistband will line up with the stitch line on the apron front. Pin, press lightly, and edgestitch the waistband/ties long and short ends.
I really like how much space my BERNINA 770QE Plus provides on the right of the needle. Ten inches! It comes in handy no matter what project I’m sewing.
The apron is complete! Let me know in the comments which side is your favorite and if you plan to sew one yourself. I hope you enjoy sewing this Patchwork Christmas Apron.
Happy Sewing! Sharon
Used Products


What you might also like


2 comments on “Sew a Reversible Patchwork Christmas Apron”
-
-
Please share if you do!
-
Leave a Reply
You must be logged in to post a comment.

Thanks for a great tutorial-will definitely try it❣️