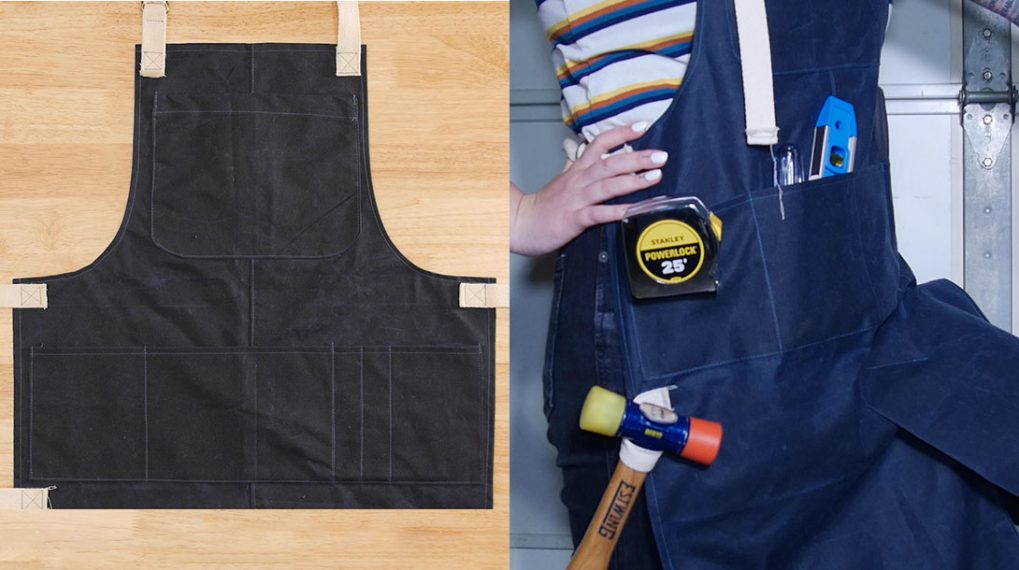
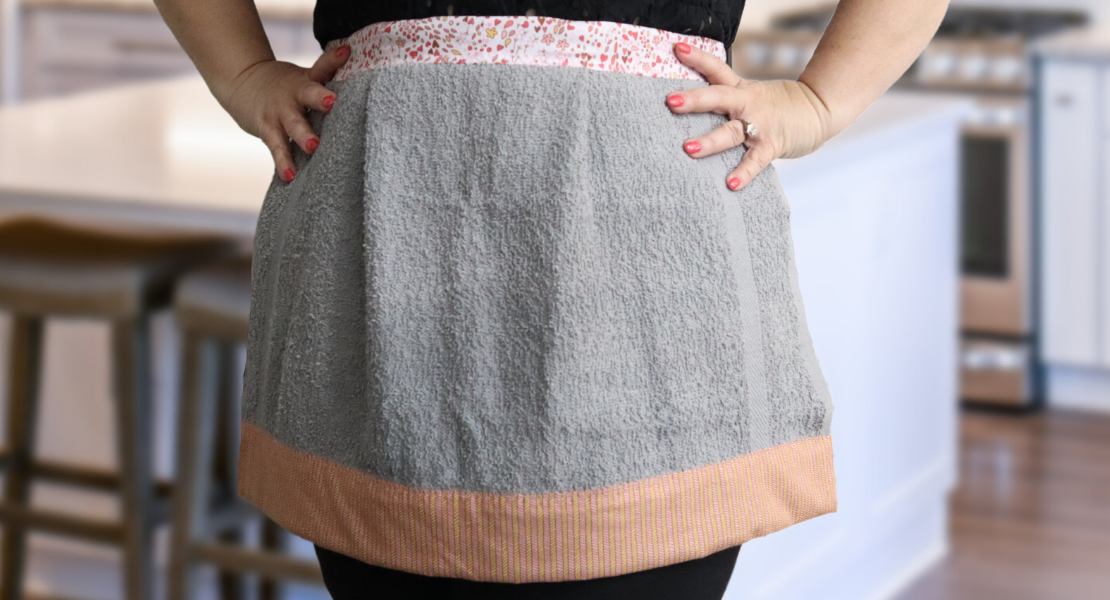
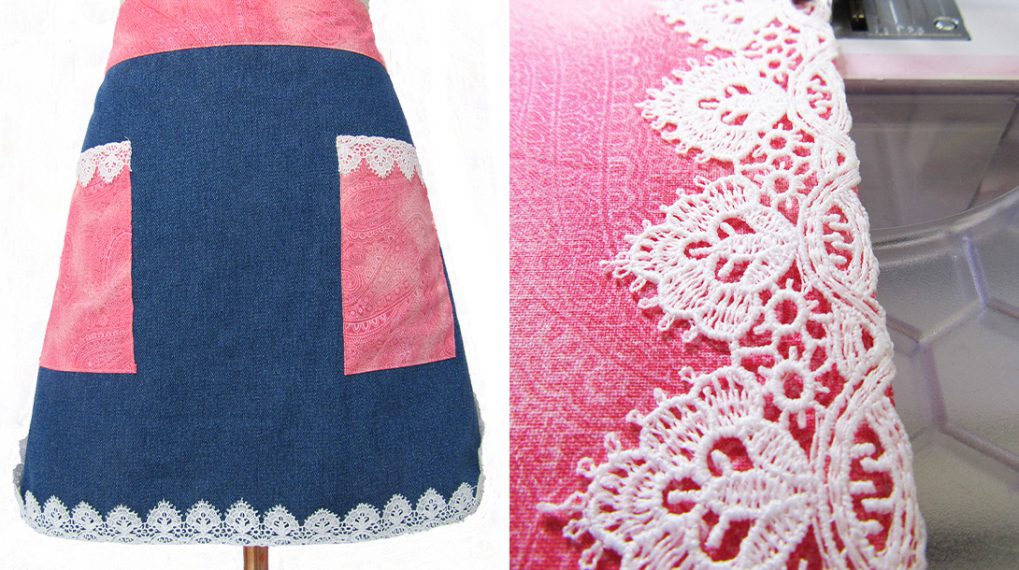
All-Purpose Apron

I wear aprons a lot, because I make lots of messes. I do a lot of surface design on fabric before I stitch it into art quilts, I dabble in other sloppy crafts, and I dig in the dirt (garden). I designed this apron to cover most of my clothing, but still be comfortable and utilitarian. It’s easy to customize it to meet your needs, and make you look fabulous!
Materials to Make the All-Purpose Apron
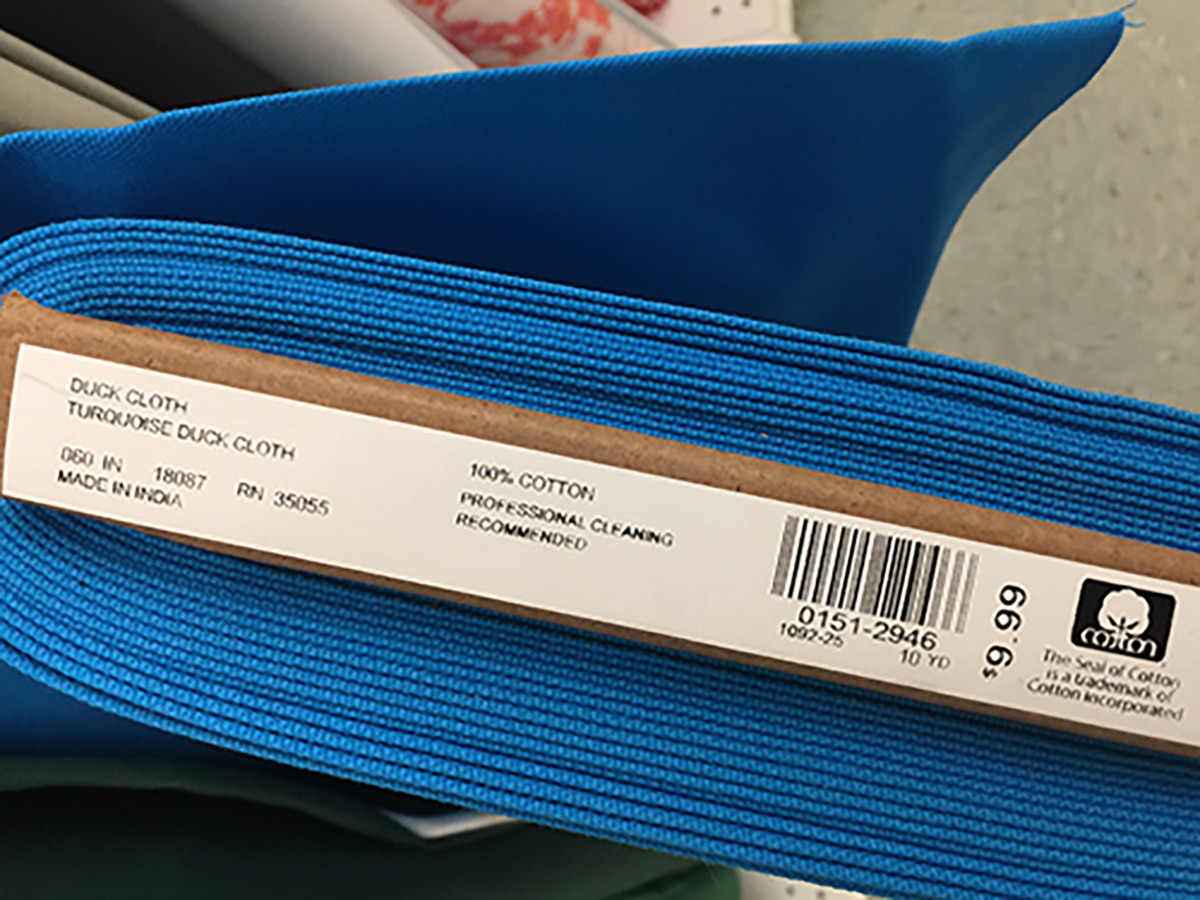
- 1 yd. 60″ wide medium-weight cotton duck or denim
- 30-weight cotton thread in color to match fabric, plus a variegated spool for embellishment
- long, straight quilting pins
- chalk marker (I use a mechanical chalk pencil by Sewline or Bowin)
- Cutting mat and rotary cutter
- Fabric scissors
- 6″ x 24″ ruler
- Sewing machine (I use a BERNINA 770 QE)
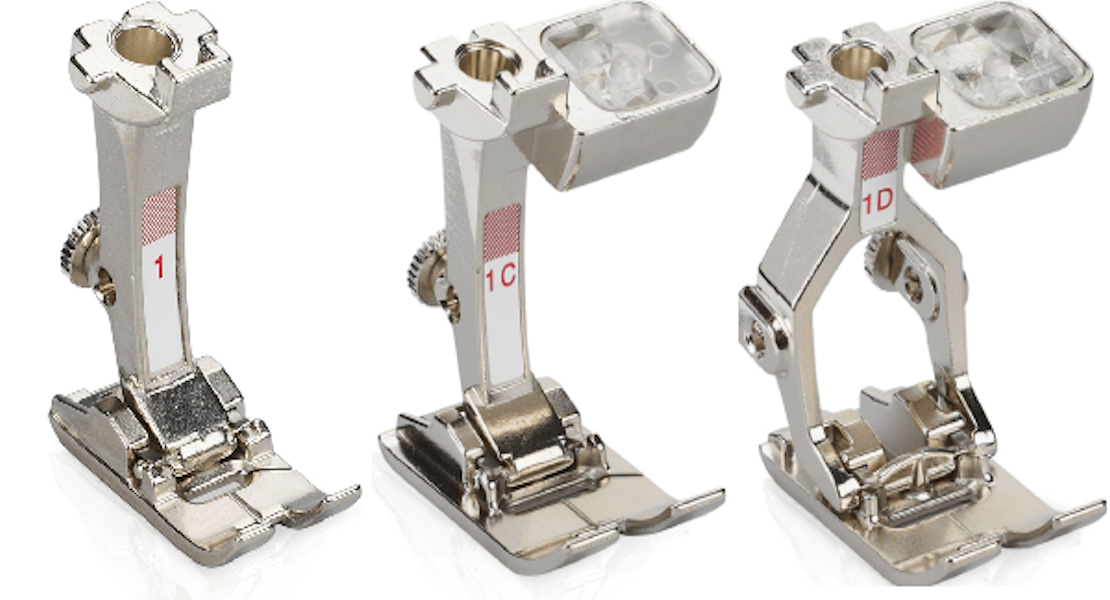
- Reverse pattern foot #1D and Patchwork foot #97D
- Regular stitch plate and straight/cutwork stitch plate
Note: When choosing fabrics for your apron, take care that they are not too thick. The folded layers will be too thick to sew through easily.
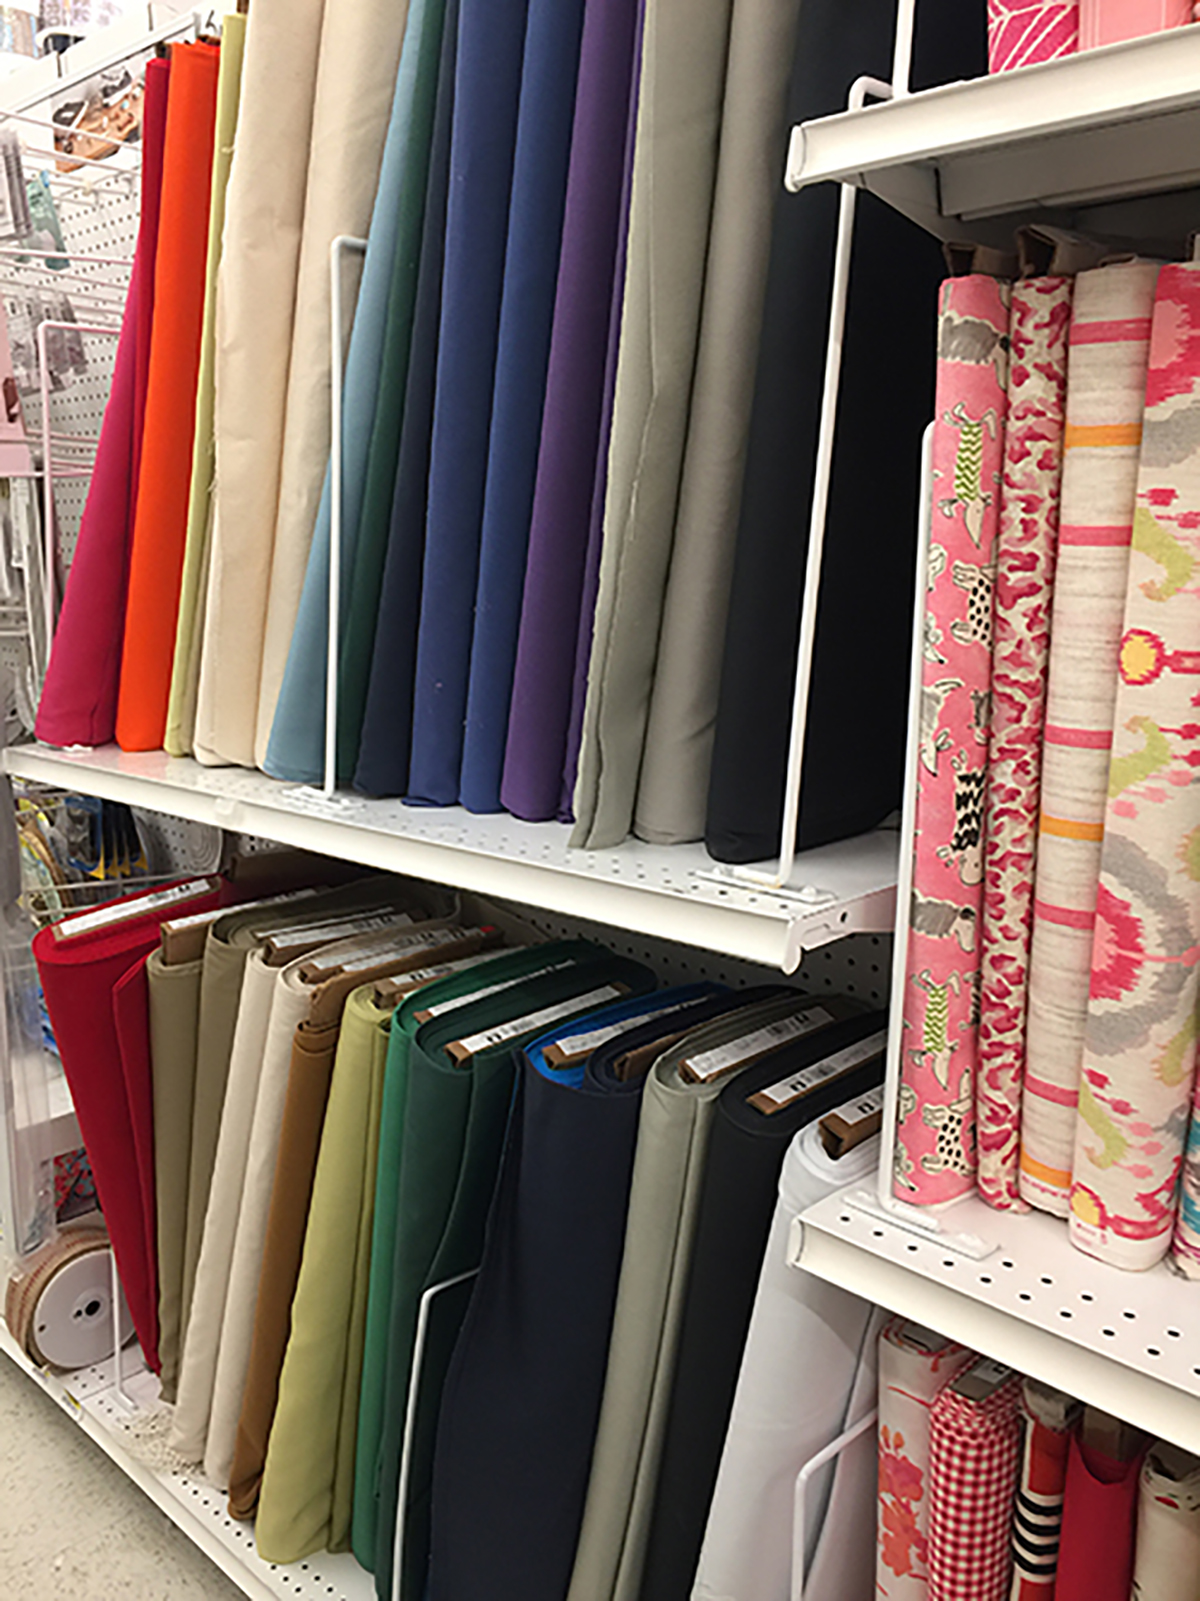
I found suitable fabric in the home decor section of my local fabric and craft stores.
Cutting Instructions
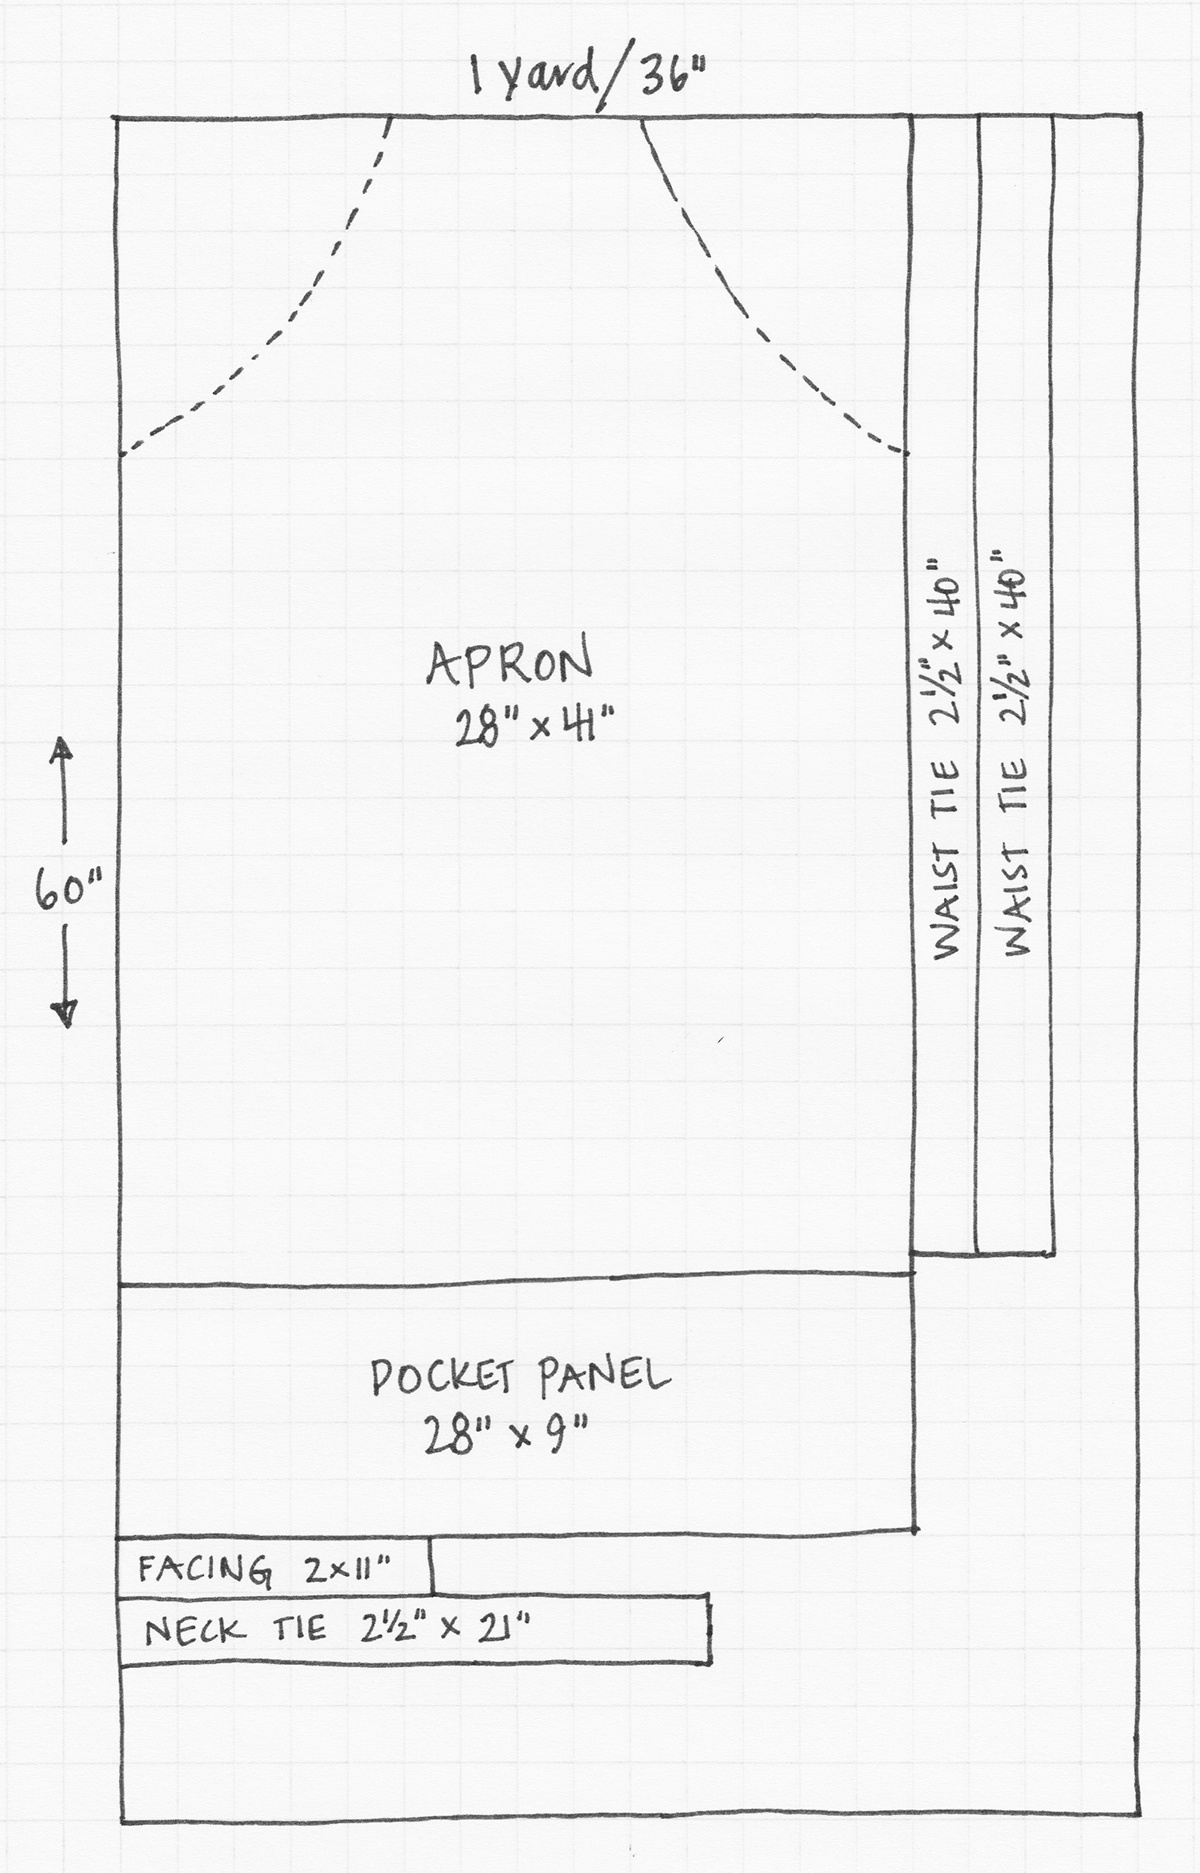
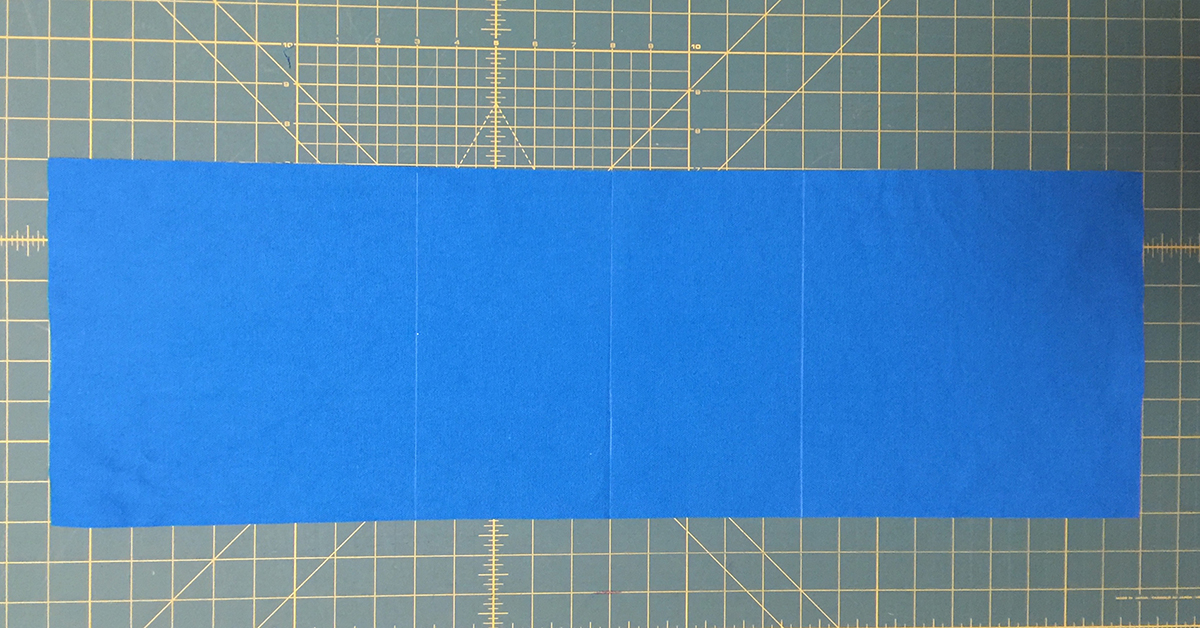
The diagram below shows how I used my one yard of 60″-wide fabric to cut the following pieces:
- 28″ x 41″ for apron
- Two 2-1/2″ x 41″ for waist ties (Depending on your size, you may want to make your ties longer or shorter than mine.)
- 2-1/2″ x 20″ for neck tie
- 28″ x 9″ for pocket panel
- 2″ x 11″ for bib facing
Sewing Instructions
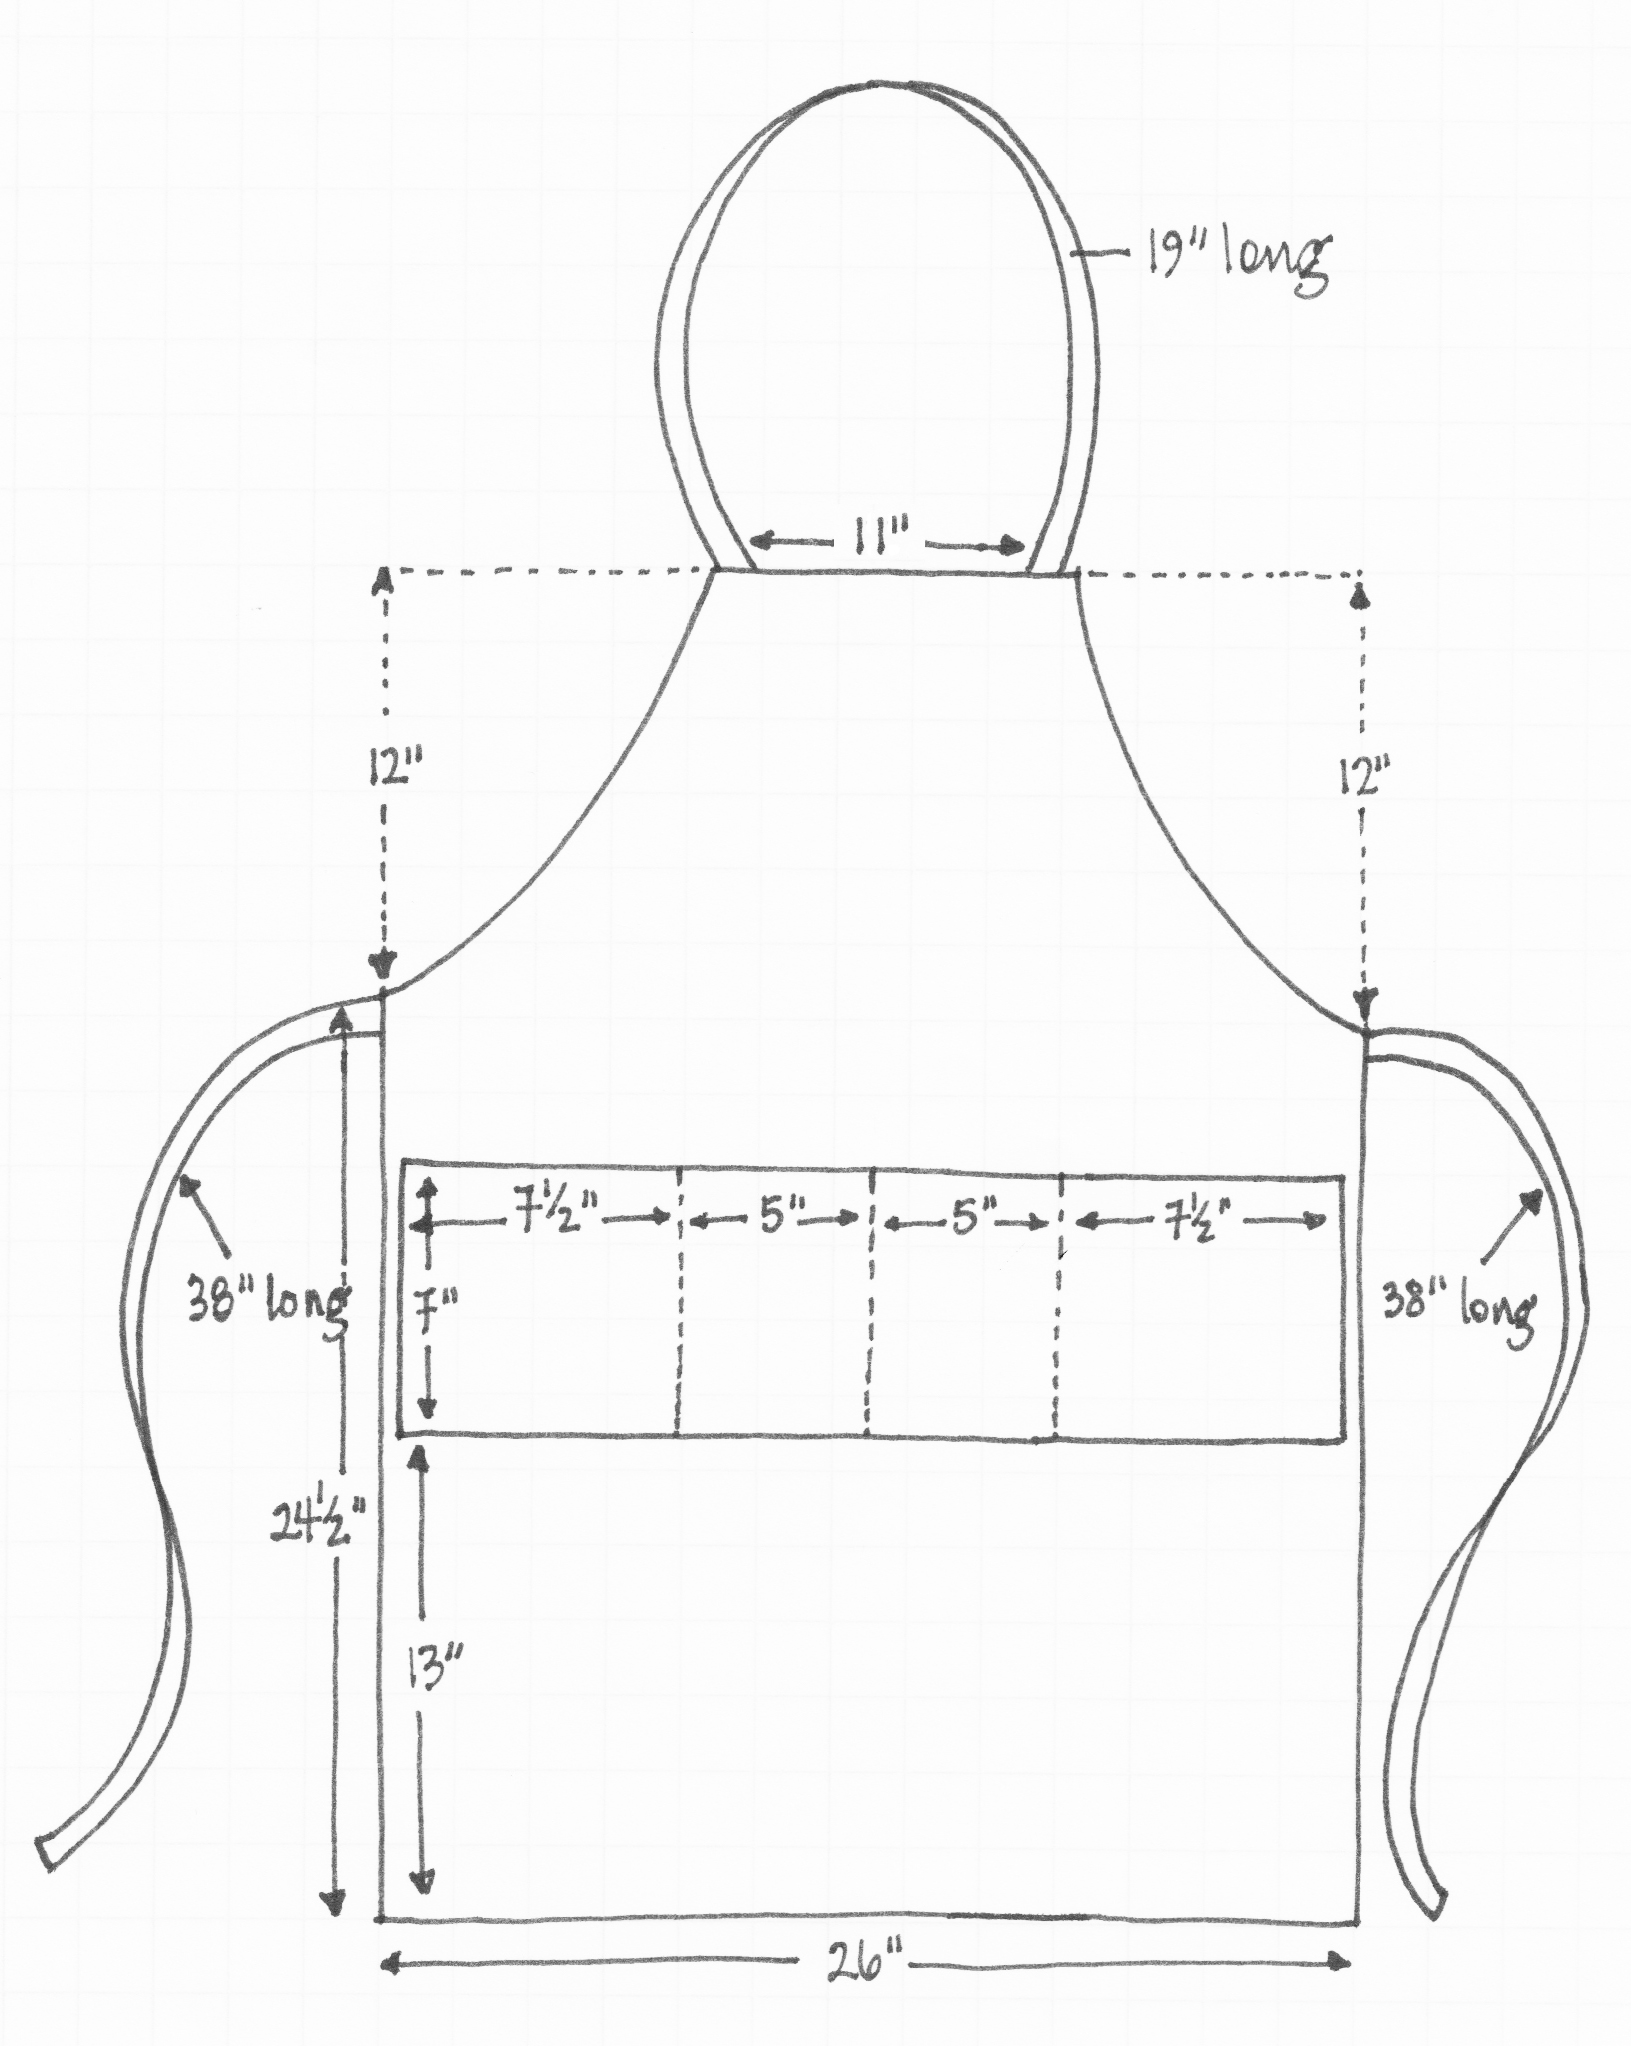
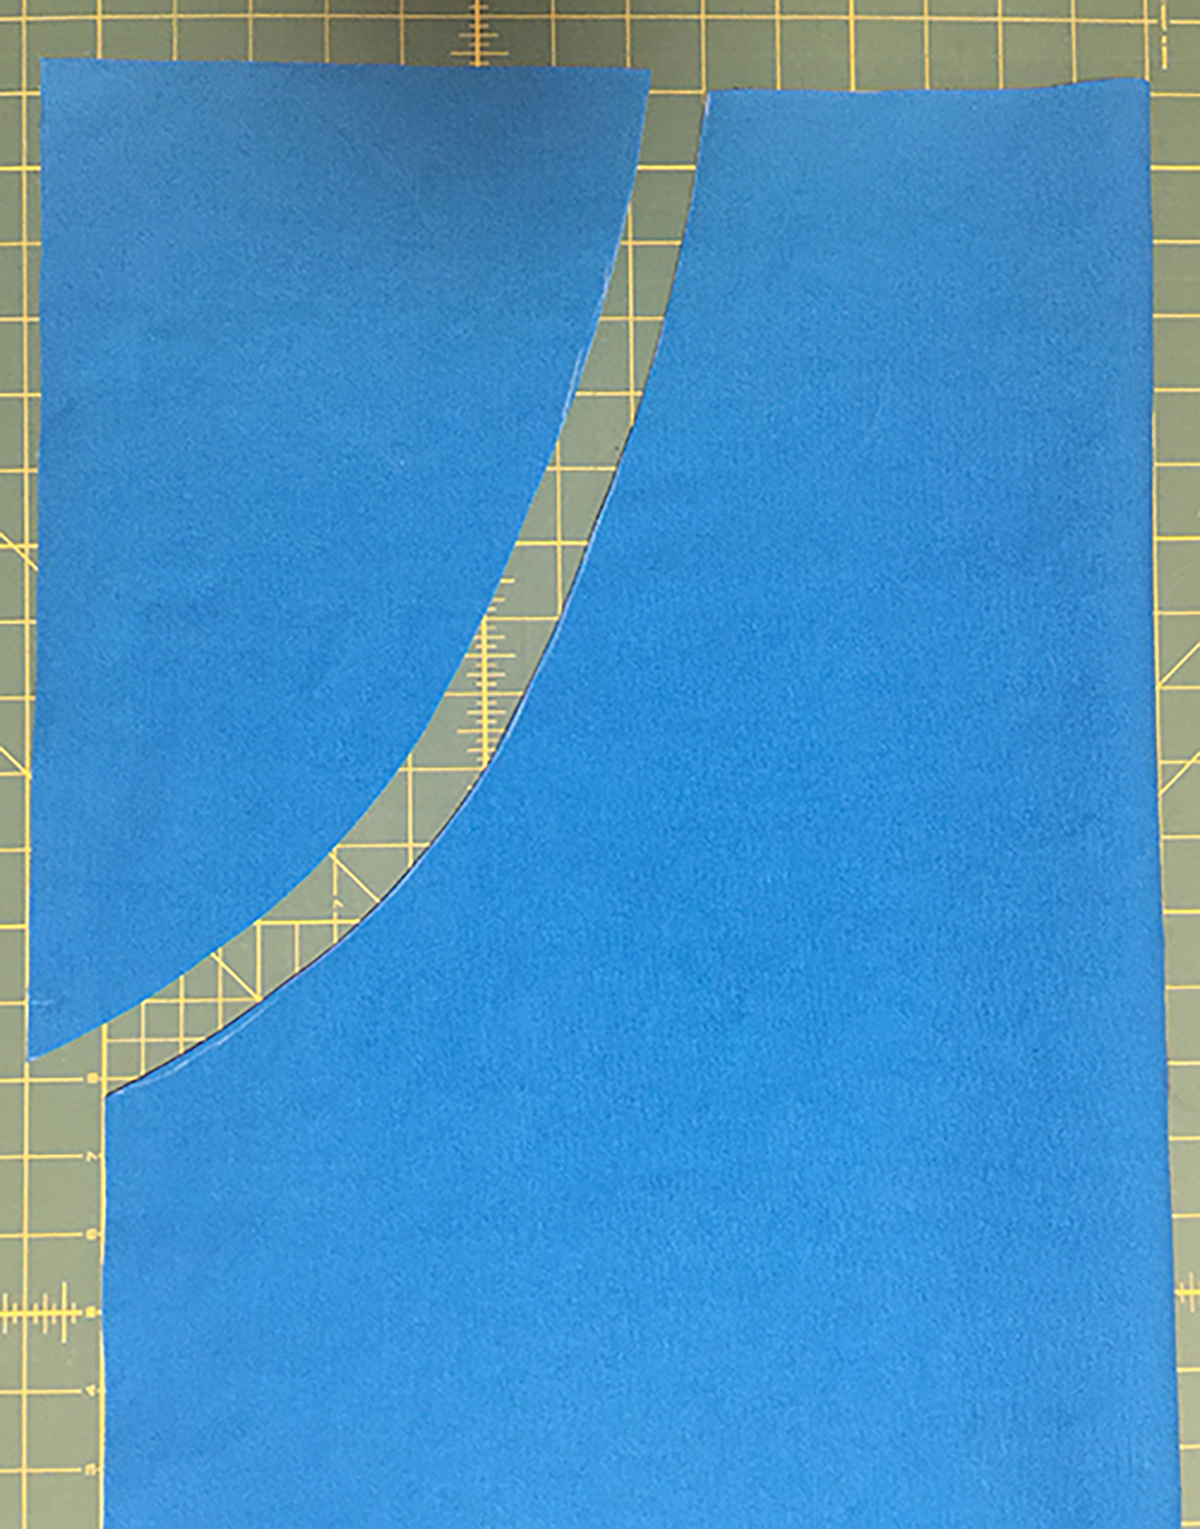
To create the curved bib at the top of the apron, fold the 28″ x 41″ piece lengthwise so that it is 14″ x 41″. Measure down 13″ from the top along the 41″ side, and make a mark. Along the top edge, make a mark 6″ from the center fold.
Making sure that you are drawing along the side with the two raw edges (and not the fold), use the chalk marker to draw a line with a gentle curve from the mark on the top and the one on the side, to form the bib.
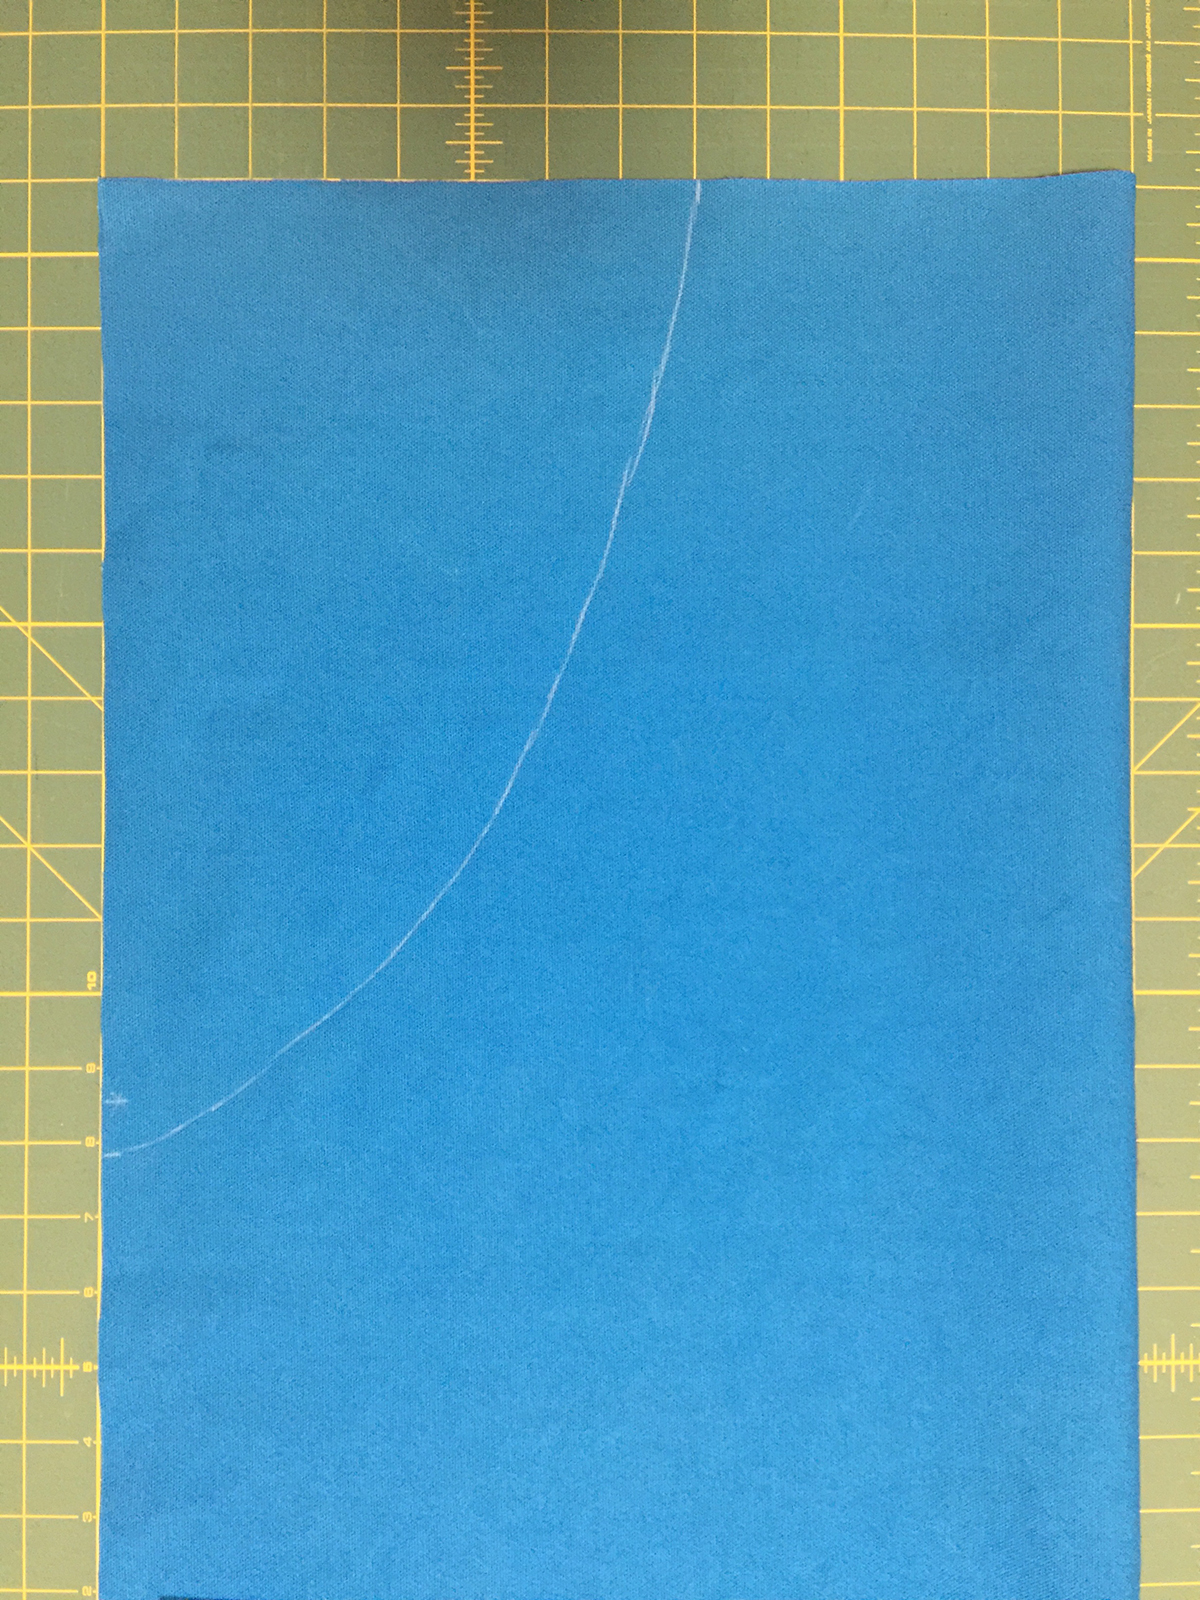
Cut with scissors or rotary cutter on this line, through both layers.

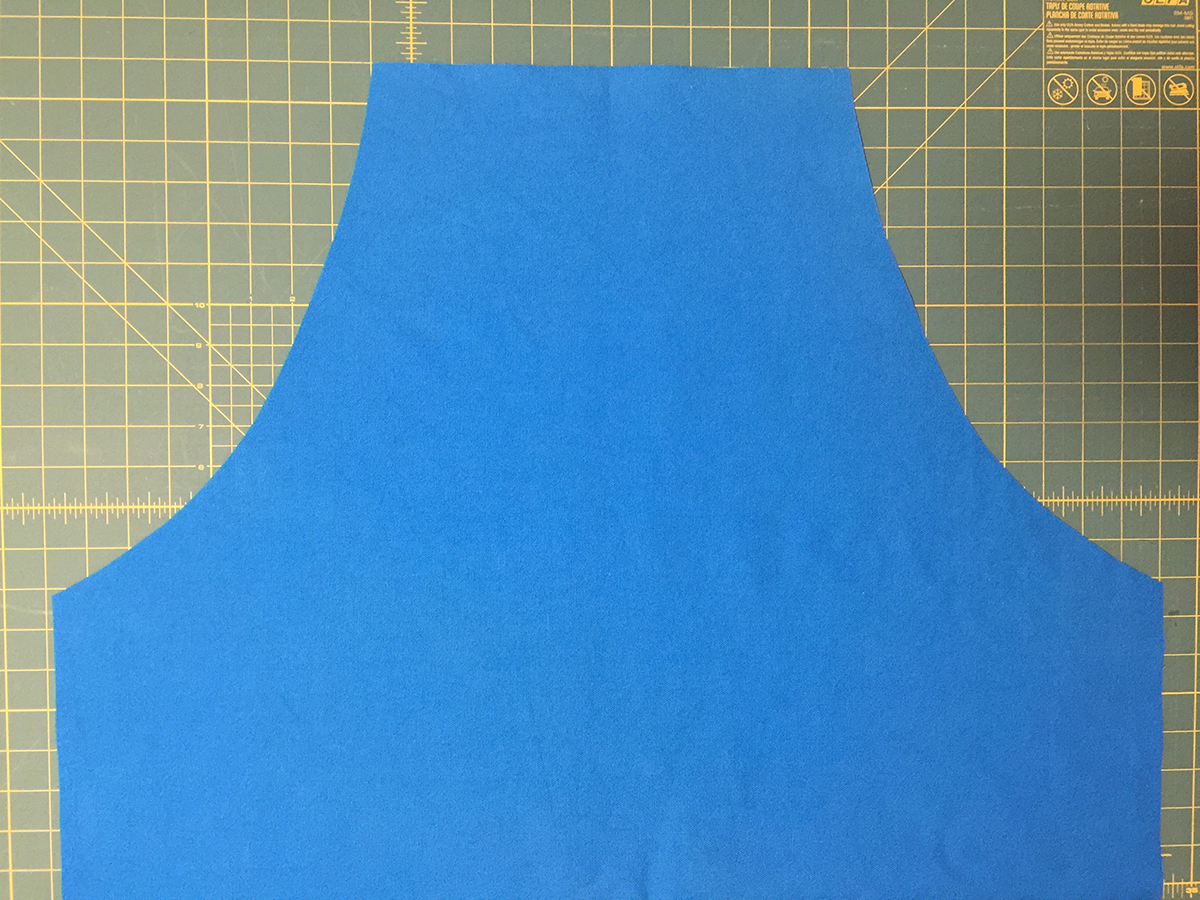
It should look like this when you unfold it and open it out:
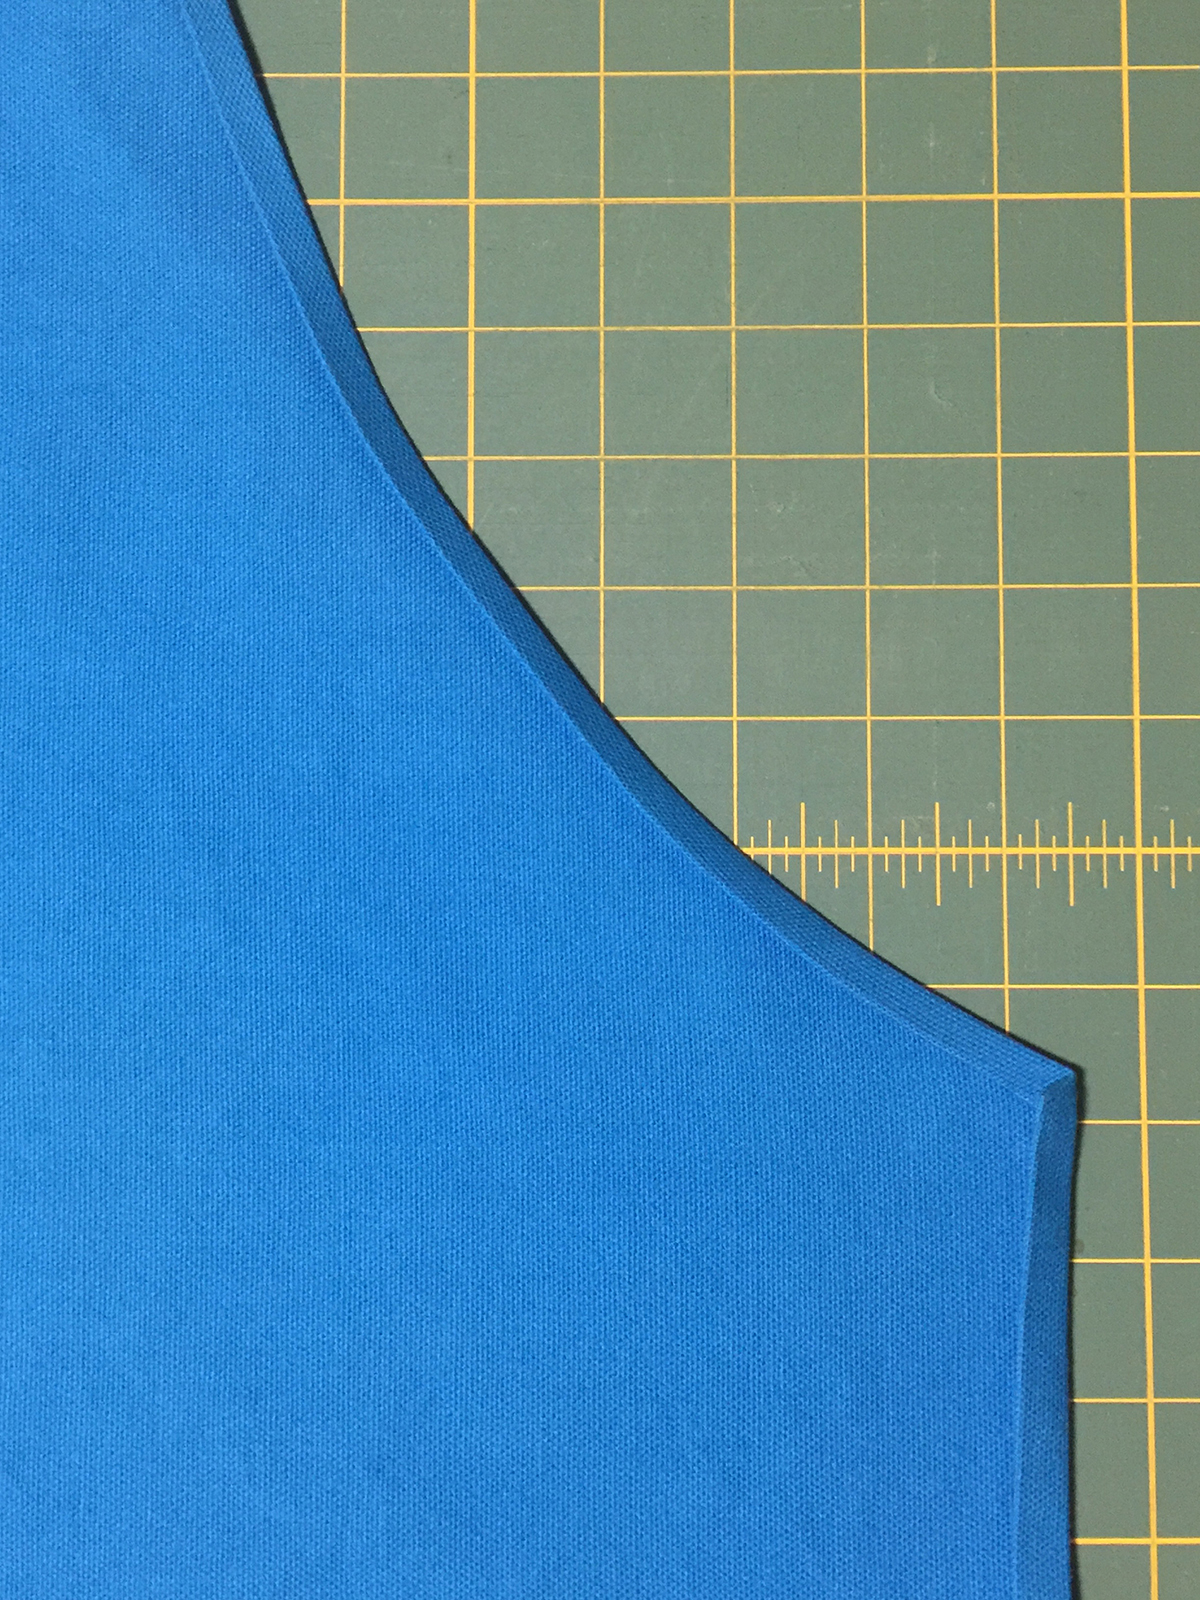
Along all the edges, press under about 1/4″ (to wrong side, if your fabric has one).


TIP: When pressing cotton canvas, steam helps! But make sure not to stretch the fabric off grain.
Along all edges except the top of the bib, press under another 1/4″ so that the raw edges are hidden.
Make the bib facing
On the 2″ x 11″ piece, press under about 1/4″ (toward the wrong side) on the long edges. This piece will be sewn to the wrong/back side of the top of the bib, and acts to hide the ends of the neck tie, and give some stability to the top of the apron, so it won’t sag when you wear it.

Take this piece and position it, right side up, on the wrong side of the apron, at the very top of the bib. Align the top folded edge of this piece with the fold at the top of the bib. It should be a bit longer on the sides than needed. Trim off excess at an angle so that it fits just inside the place where the apron side edges are folded over, and so that the raw edges will be completely covered by the fold. Pin in place.
Make the pocket panel
Fold the 9″ x 27-1/2″ piece in half widthwise to find the center. Mark it, then measure out 5″ on either side of this center mark. Using a chalk marker, draw lines for the pockets. You’ll stitch on these later to make four individual pockets.
TIP: If you plan to use the pockets for specific tools, you may wish to customize your pockets and will need to use different measurements than mine. Make sure to leave a little extra width to accommodate thickness of the tools.
Press under 1/2″ along long all four sides. On the long edges, press under 1/2″ again to hide raw edges.
Place the pocket (right side up) on the skirt of the apron (also right side up) to see if you need to adjust the width. If so, trim and re-press. I sized mine so that it would fit just inside the folded fabric edges of the apron base, to avoid having to sew through too many layers of heavy fabric. Don’t worry about the pocket position yet.
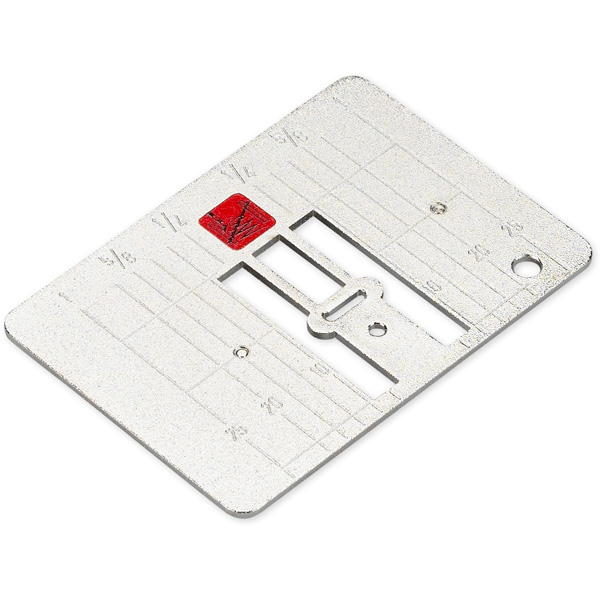
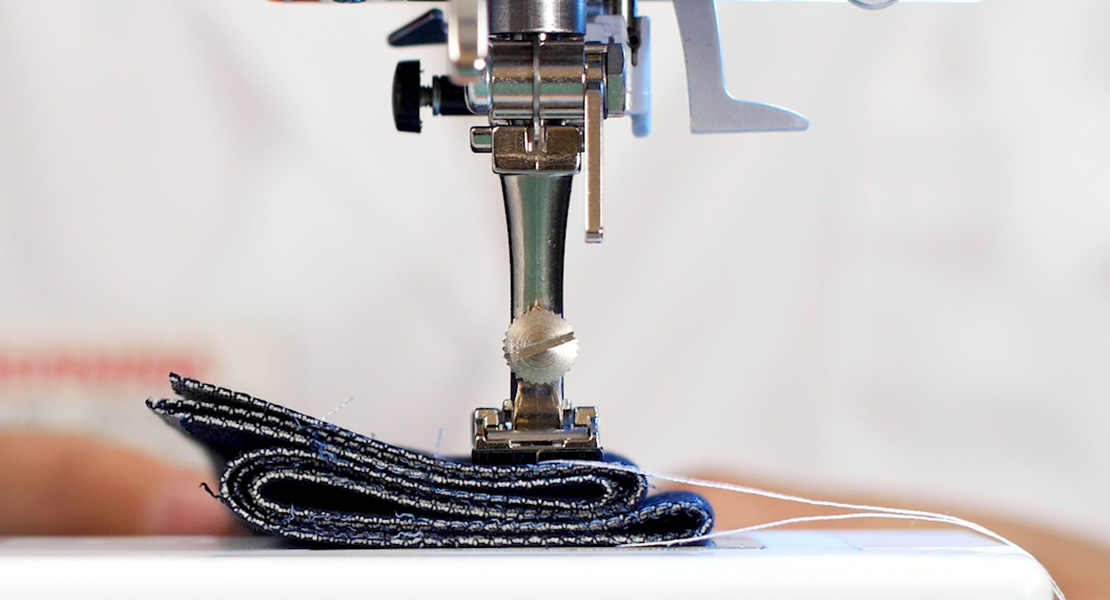
The next step is to add the decorative stitching at the top of the pocket. I used the Reverse pattern foot #1D with Dual Feed on my BERNINA 770 QE, and made sure to install the regular stitch plate, which has a wide opening that accommodates the needle taking wide sweeps to the left and right.
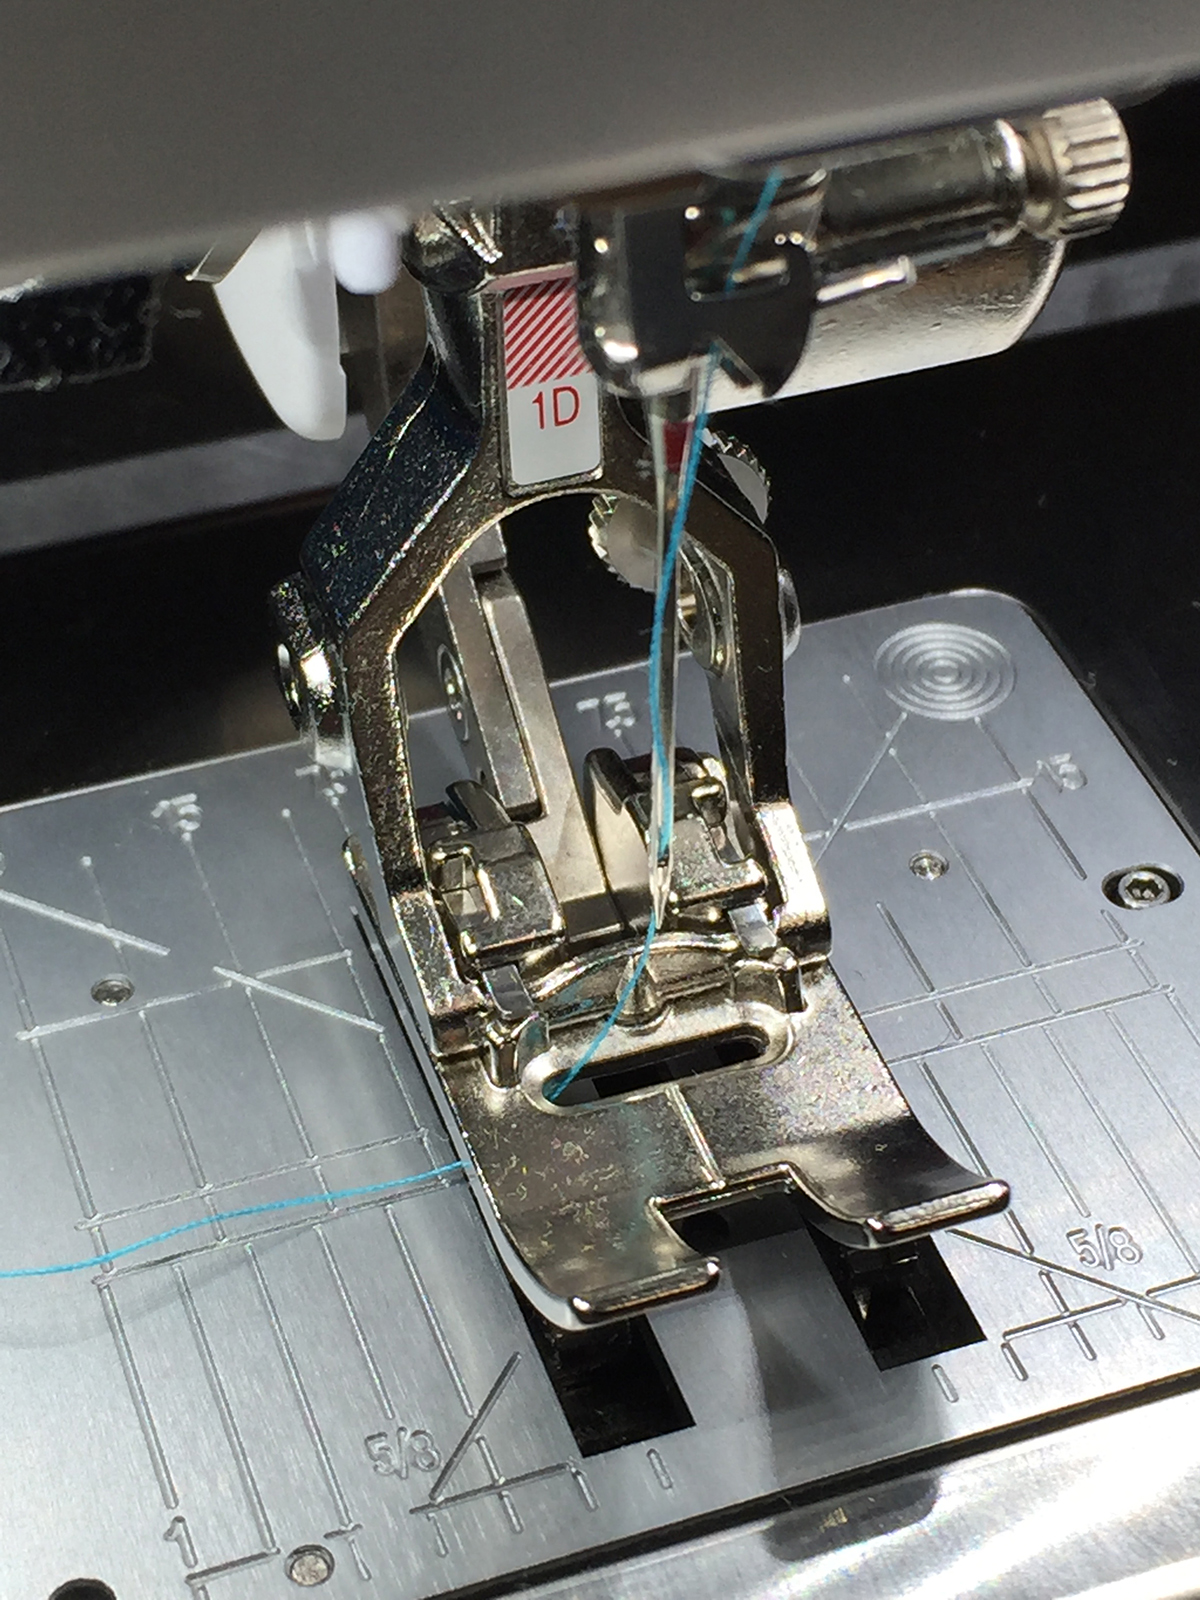
I do a lot of free-motion stitching, so I usually have the straight/cutwork stitch plate installed, as it results in nicer stitch formation on straight stitching. The photo below shows the regular stitch plate (left) and the straight/cutwork stitch plate (right). The orange mark on the straight/cutwork stitch plate is a warning to change plates before doing wide decorative stitches; you are sure to break a needle if you don’t!

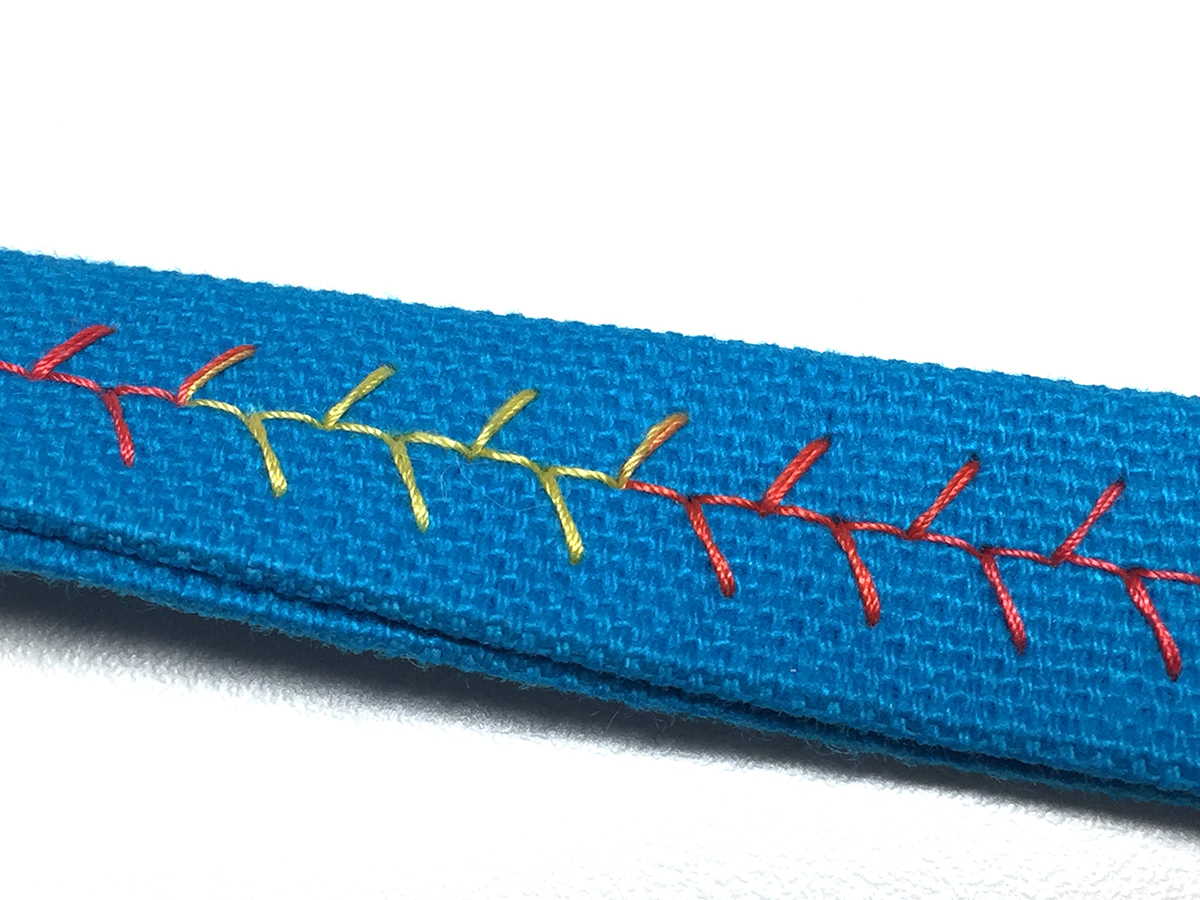
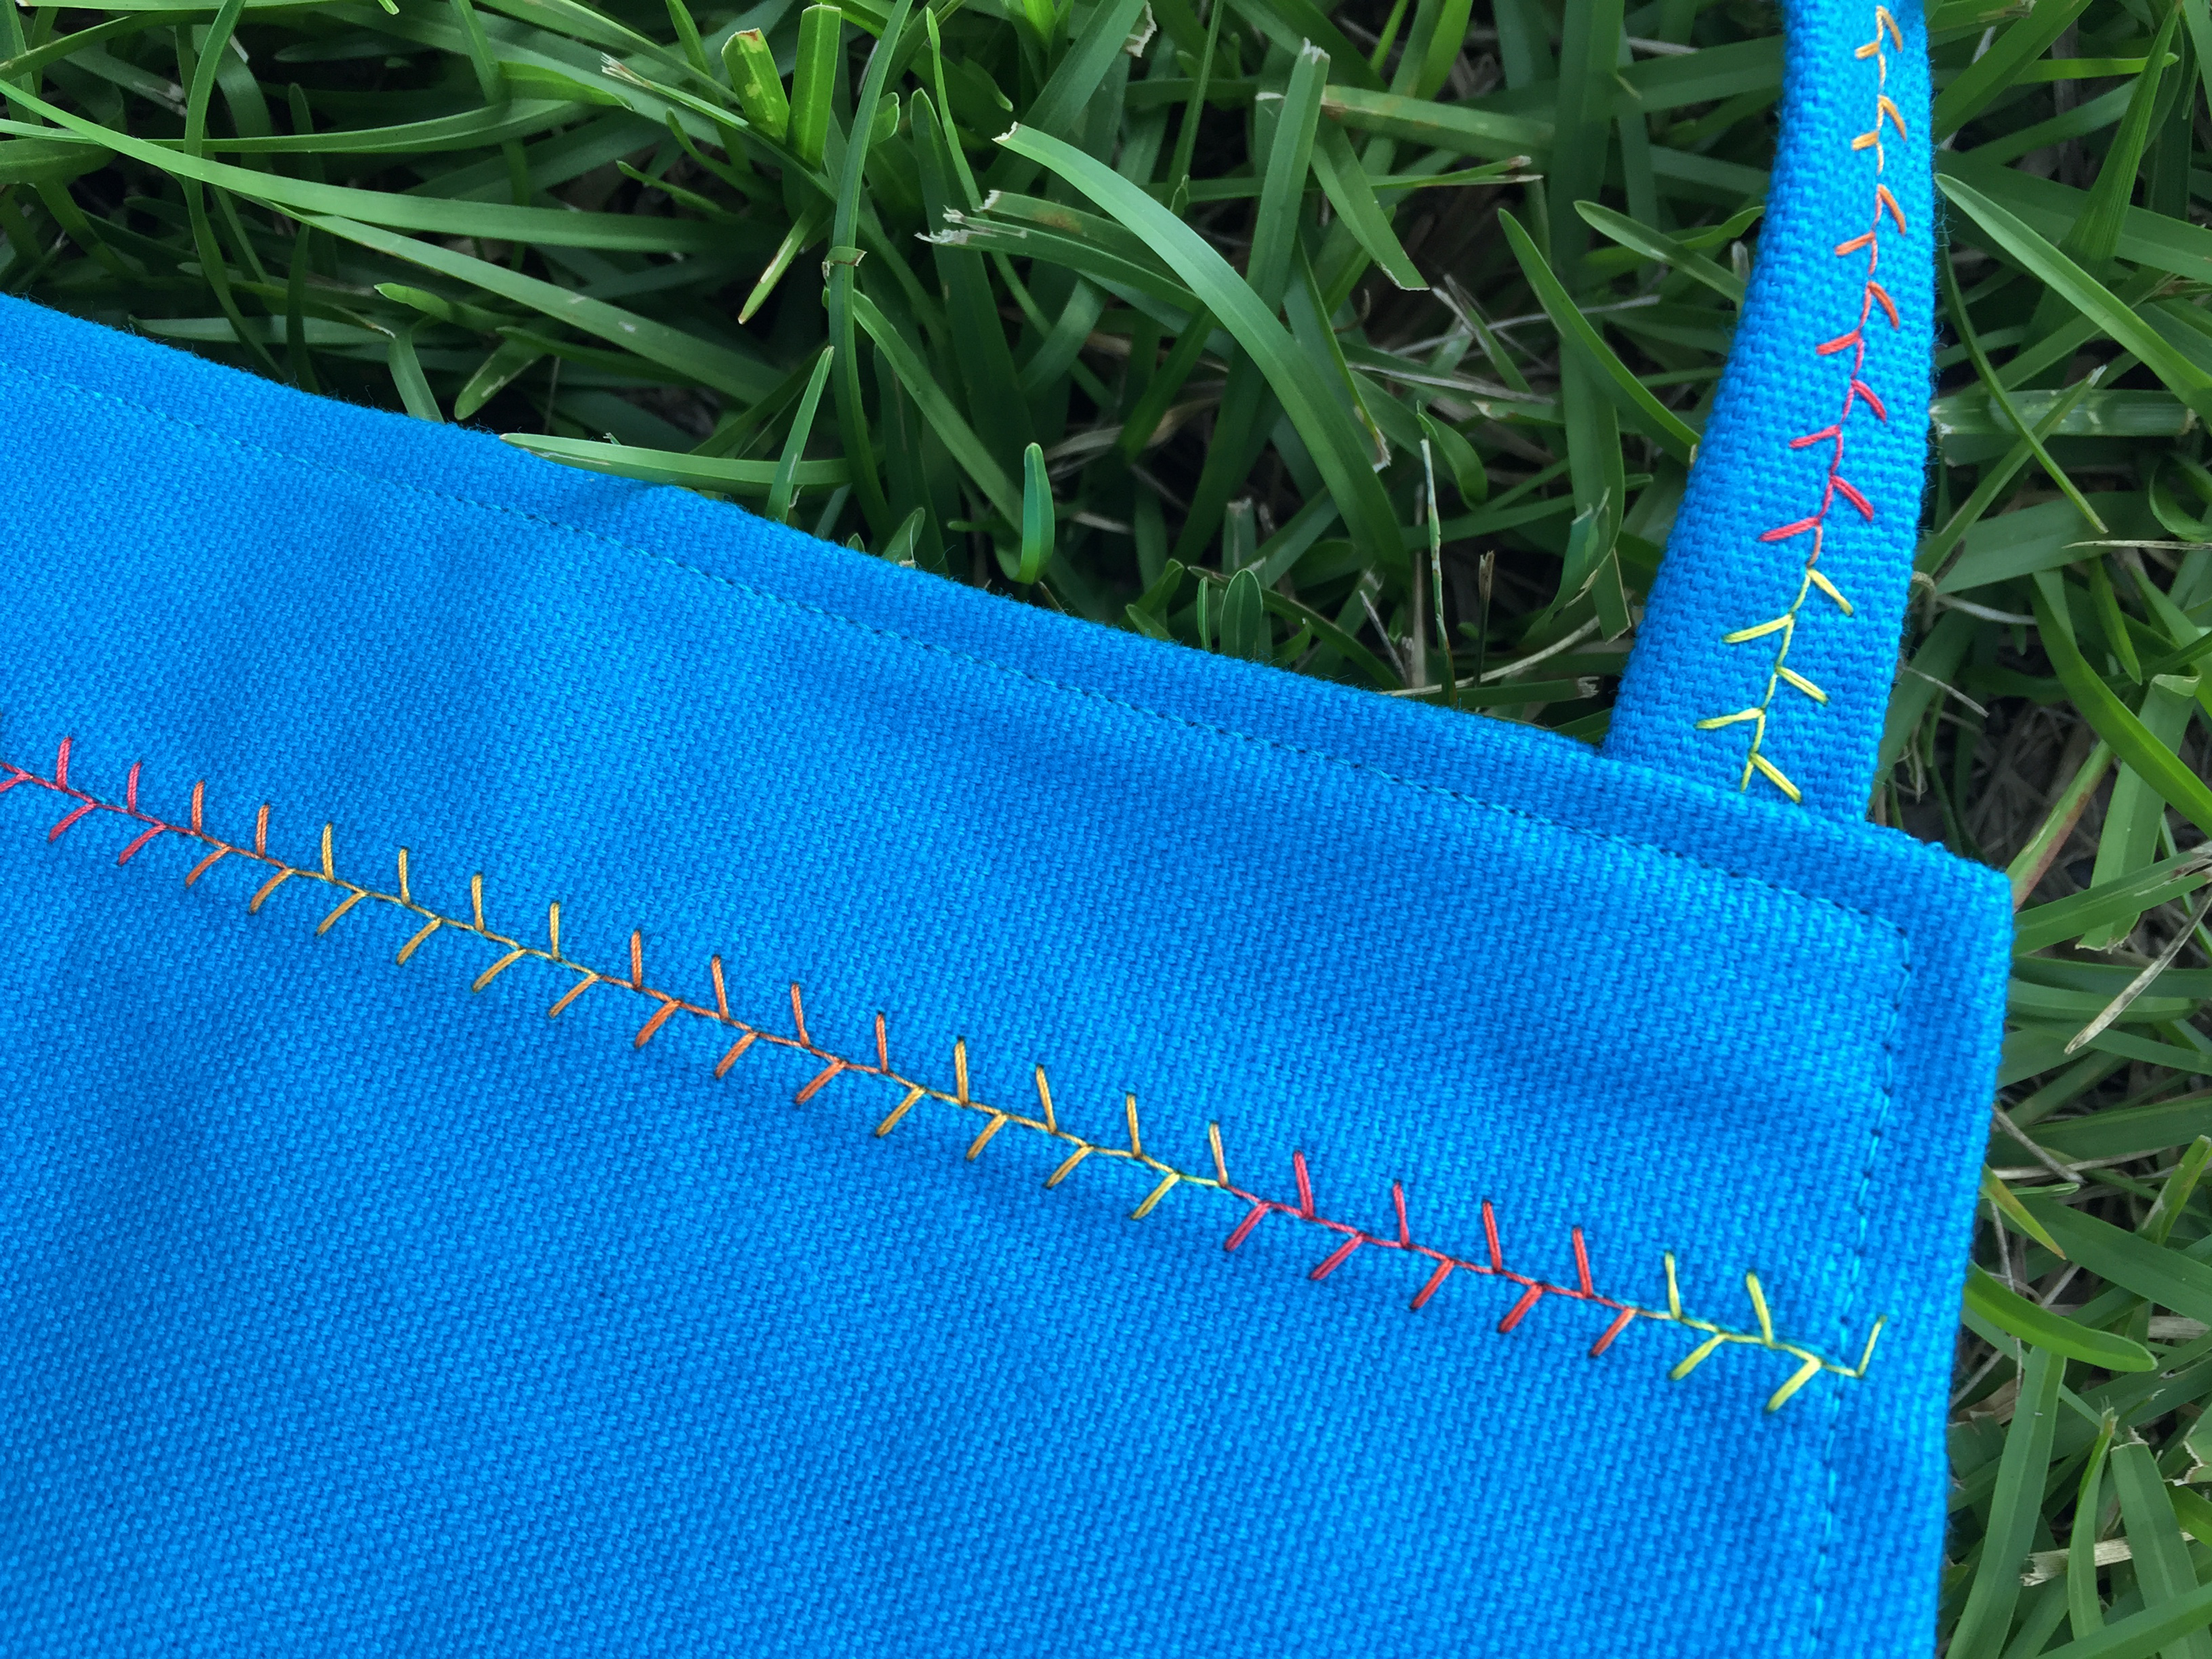
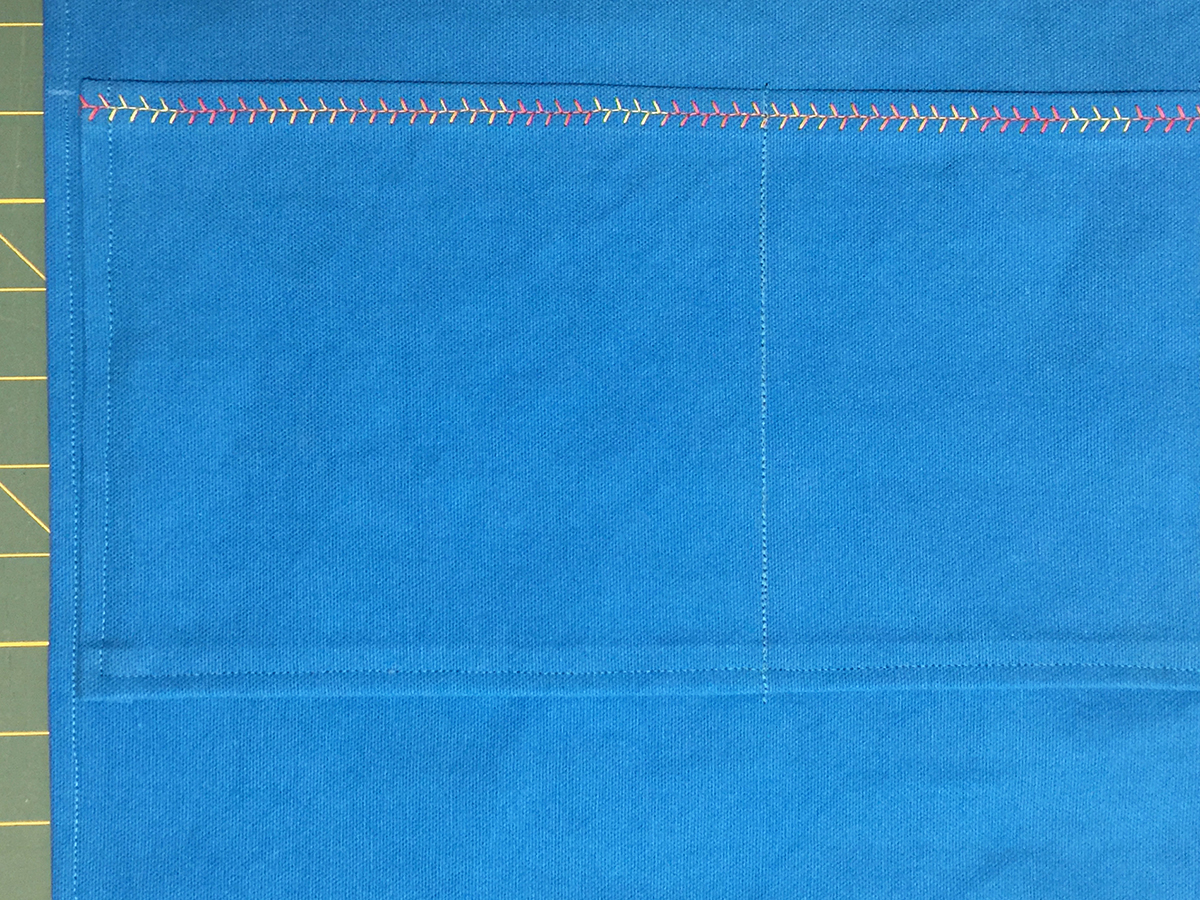
Open out folds on the side edges of the pocket panel, and sew a wide decorative stitch across the top edge, centering it in the area where the fabric is folded over, to tack it down. I used a varigated 30-weight cotton thread and a feather stitch (#1332).
TIP: Don’t be tempted to use a lighter-weight thread when sewing through cotton duck; it’s not strong enough to sew through thick layers without breaking.

Set the pocket panel aside for now.
Make the ties
Press both 2-1/2″ x 40″ waist ties in half lengthwise. Then press each half in to the center and press in half again, so that the raw edges are concealed inside.
Open out at one end, and fold the end under about 1/2″. Then fold the tie back in place, so that there are no raw edges at the end of the ties.
Sew a wide decorative stitch (I used a feather stitch, #1332) down the center of the tie, using the same varigated thread you used on the bib. Make sure to use the securing function at the folded end so that the decorative stitching won’t unravel. (There’s no need to do this at the other end, because it will be tucked into a seam.)
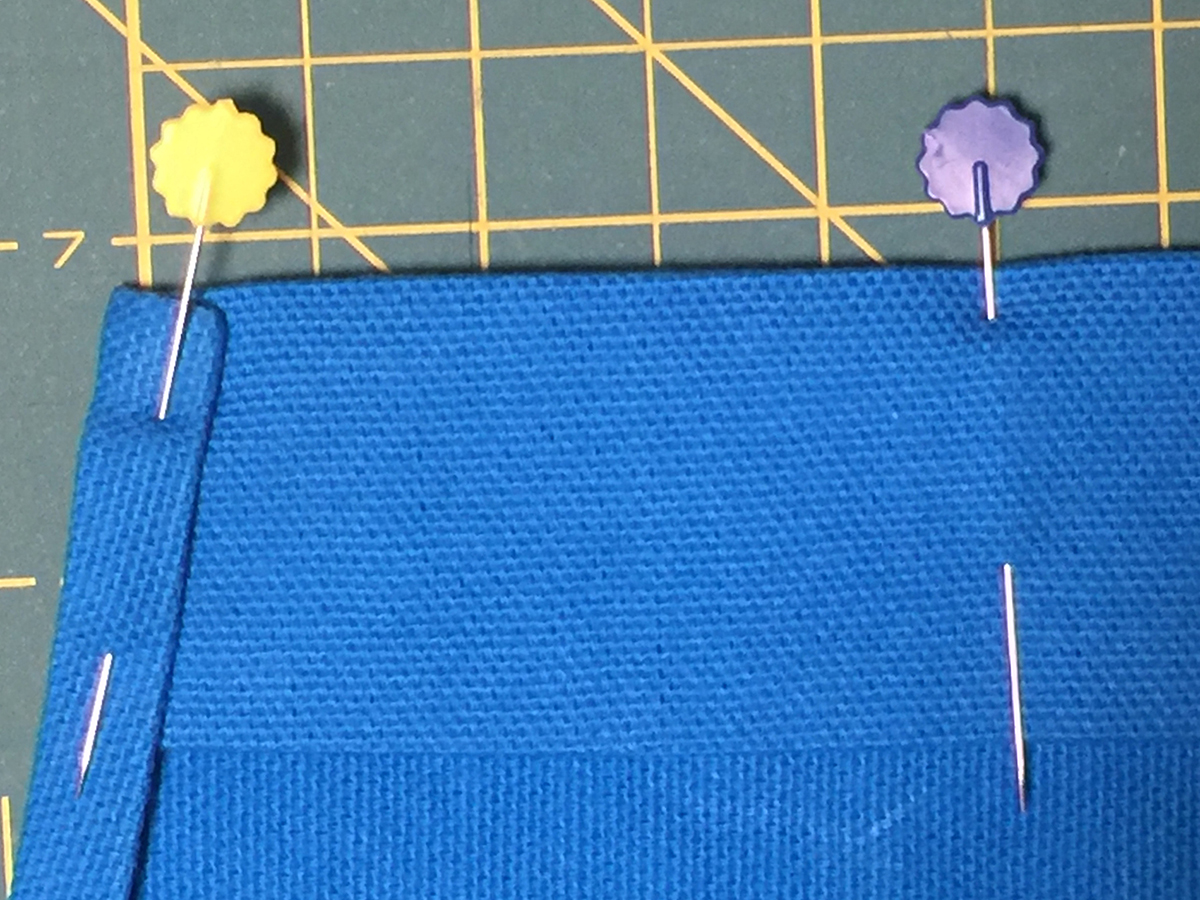
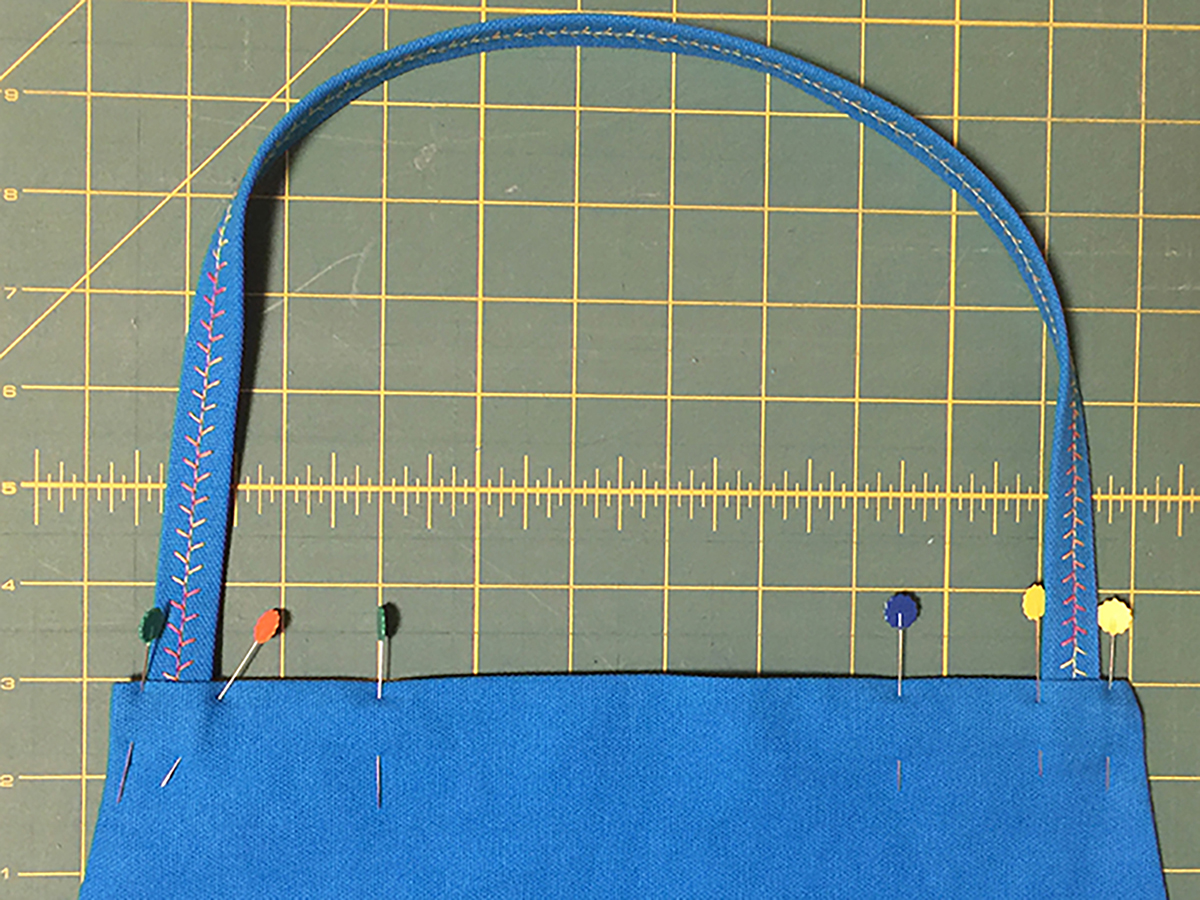
Position the raw edge of the waist ties just below the curved sides of the bib, along the straight edges of the skirt, inside the folded edge. If you used a solid thread in the bobbin when making your decorative stitching, make sure the pretty decorative stitching will be facing out.
Pin the waist ties inside the folded edges.

For the neck tie, take the 2-1/2″ x 21″ piece, and use the same technique used for the waist ties. (You don’t need to use the securing function at either end on this piece, as both will be hidden in a seam.)
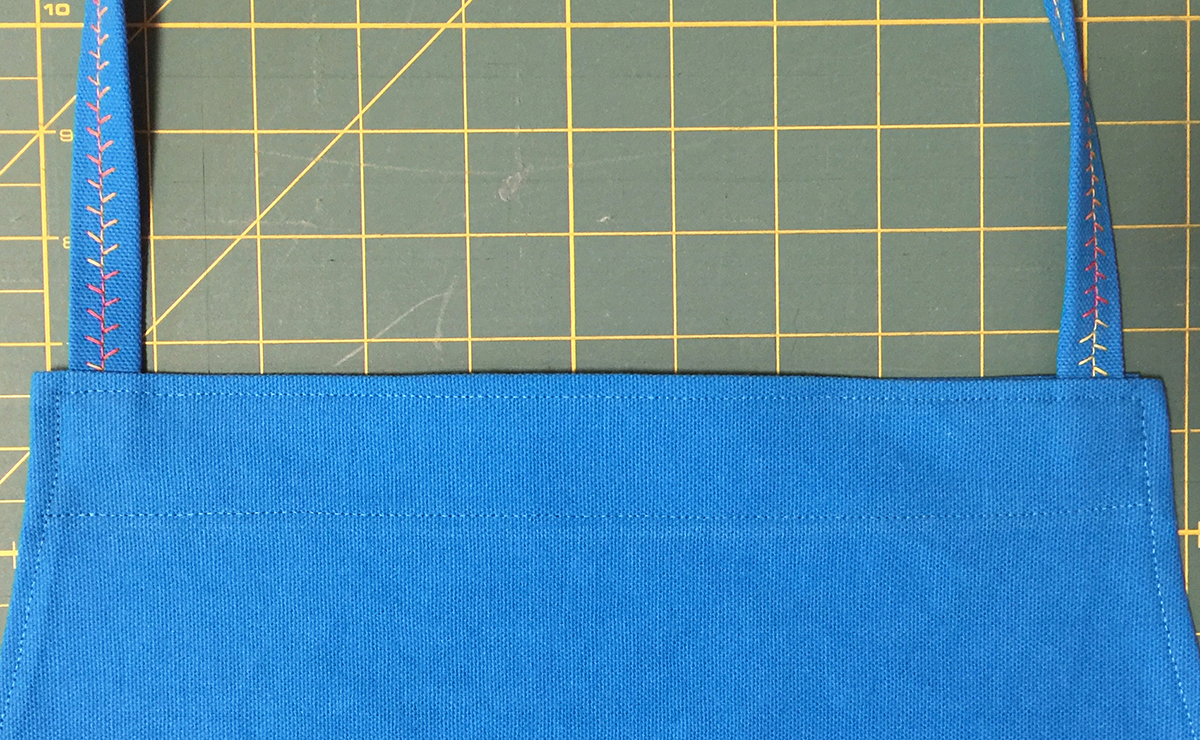
Pin the neck tie to the top of the bib, one end at each side, just inside the folded edges and between the apron and the facing. This way, the raw edges are concealed. Make sure the decorative stitching is facing out, and that there are no extra twists in the neck tie before pinning. (I had originally pinned the facing from the back, but when I positioned the neck tie, I moved the pins to the front, to make them easier to see and remove when I topstitched around the apron.)
Put it all together
Install Patchwork foot #97D and engage the Dual Feed. I installed the straight/cutwork stitch plate (shown below), as it results in nicer stitch formation on straight stitching.

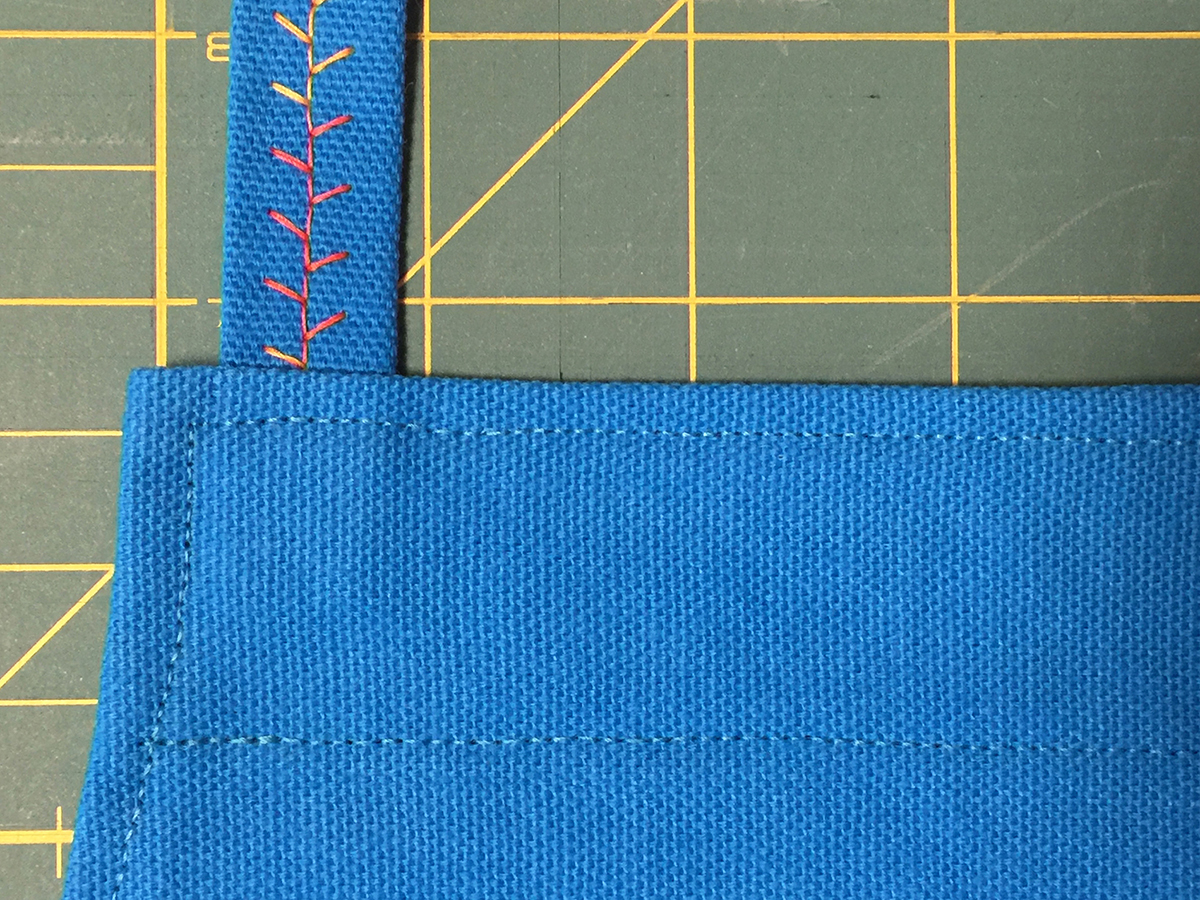
Topstitch around the perimeter of the apron, stitching in about ¼” from the edge, using thread that matches the fabric. Stitch extra slowly when you are sewing through areas where there are many layers of fabric. Take special care at the corners, making sure that everything is tucked under before you sew. Back stitch at the beginning and end. Then stitch the bottom edge of the facing, also backstitching at the beginning and end.
Position the pocket on the skirt of the apron, 6″ below the curve for the bib, and pin in place. Try on the apron, and make sure you are happy with the placement. (If the pocket panel is too high, it’s difficult to reach into the pockets.) Reposition if needed, and pin again.
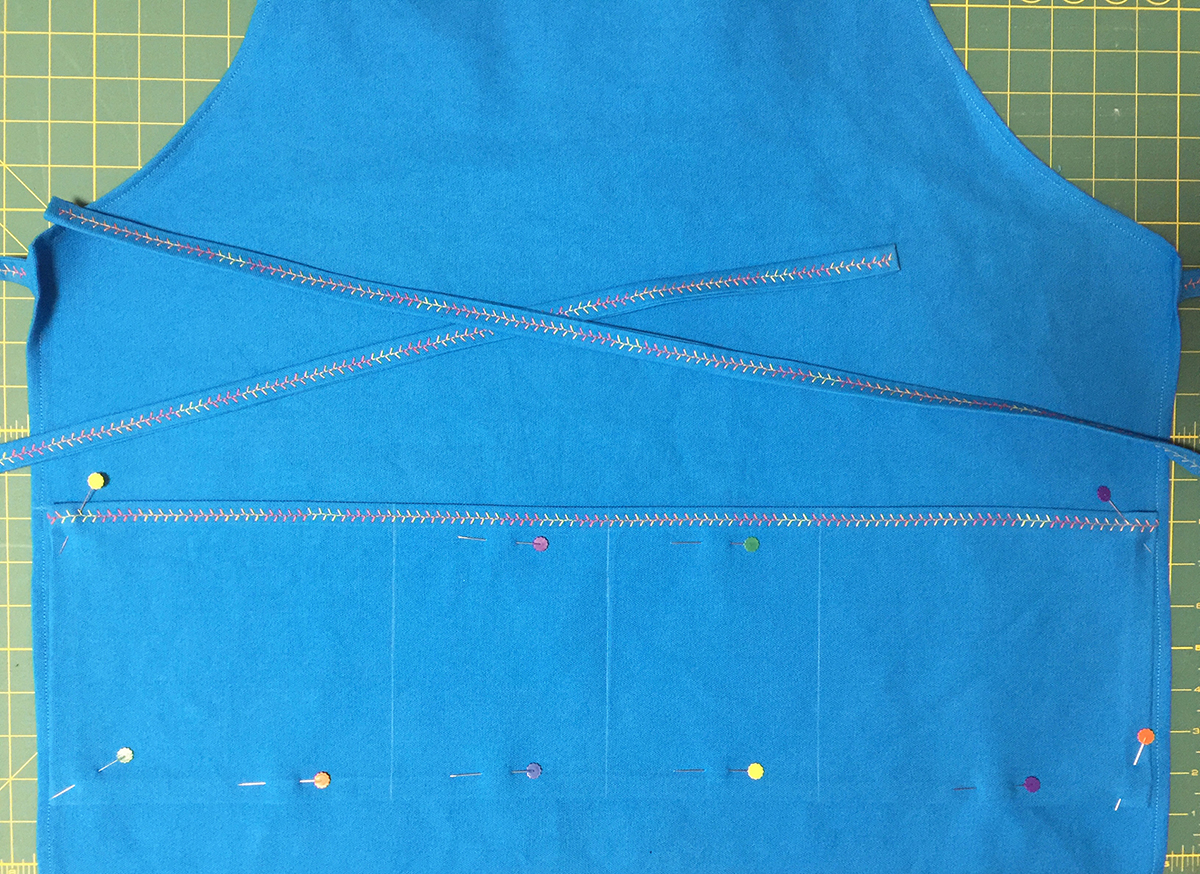
With thread matching the fabric, topsitch the pocket panel to the apron, about ¼” from the edge. Starting on one side, sew down one side of the pocket panel, backstitching as you start. When you backstitch, make sure to go a few stitches beyond the top of the pocket panel; this will act as reinforcement at a place that will be more stressed when you use the pockets. Stitch to the bottom, pivot and stitch along the bottom, and then pivot and stitch up the first chalk line for the pocket, going a few stitches beyond the top of the pocket panel for reinforcement. Pivot fabric and stitch back down to the bottom. Go a few stitches beyond the bottom of the pocket panel, then reverse stitch back up, pivot, and continue along the bottom.
Stitch up and down all of the chalk lines in a similar manner until the pocket panel is completely sewn down along the bottom and sides, and up and down each pocket line.

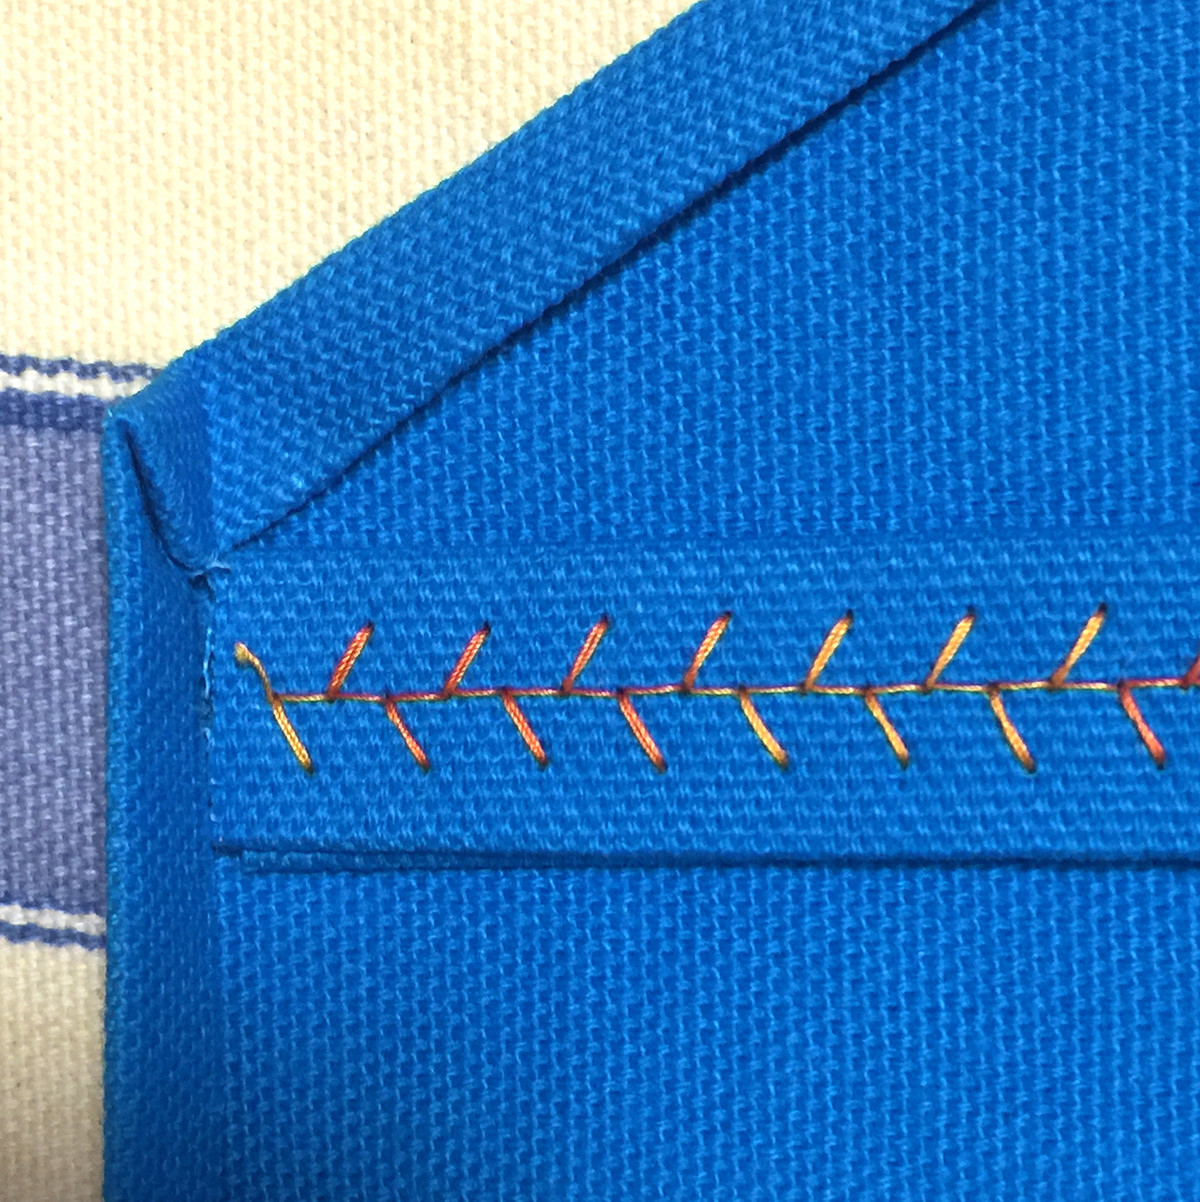
Switch back to the regular stitch plate, foot 1D, and then add decorative stitching with your variegated thread to sew down the bib facing at the top of the bib. Don’t forget to use a securing stitch to lock in the stitches at the beginning and end.
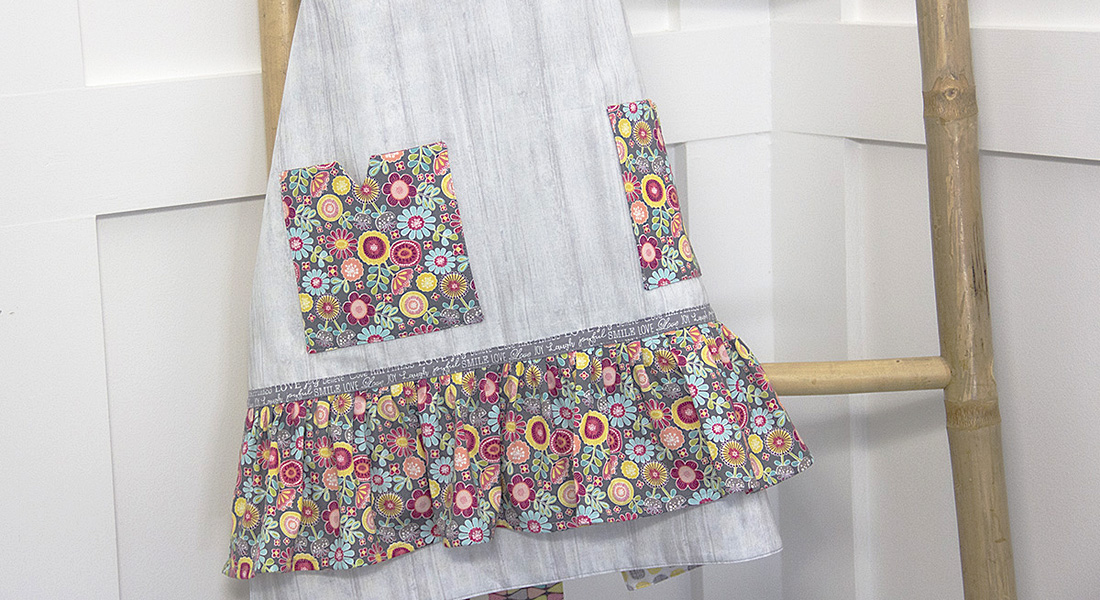
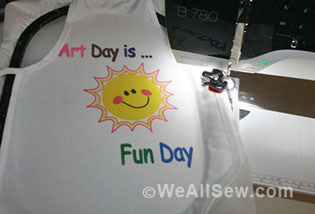
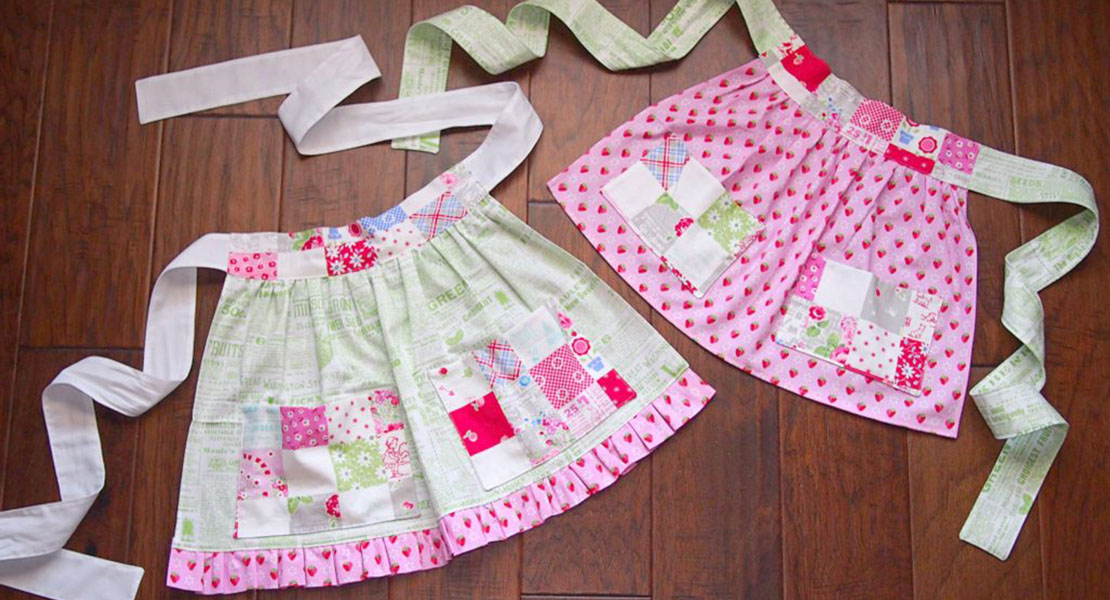
Using this same basic pattern, I made the apron below to wear when I teach art quilting classes, and when we are doing messy techniques on “Quilting Arts TV.” If it gets a little paint on it, it just adds character and memories!
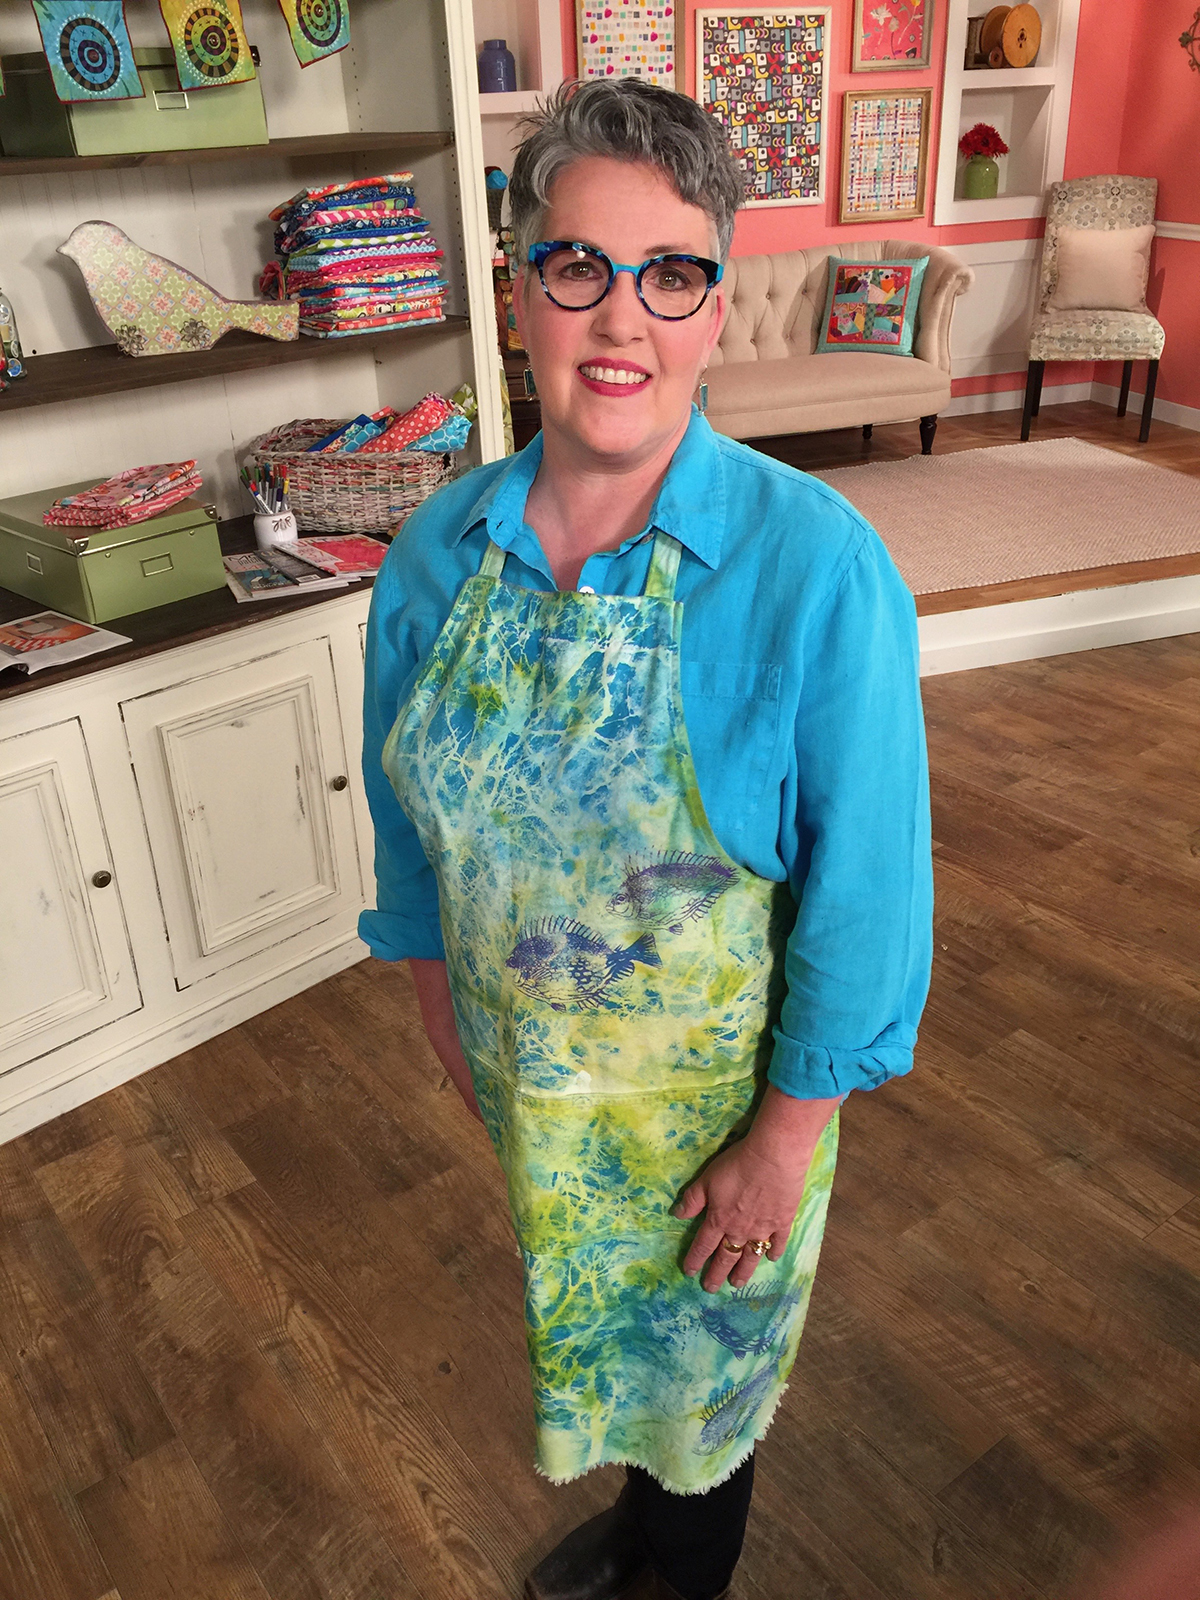
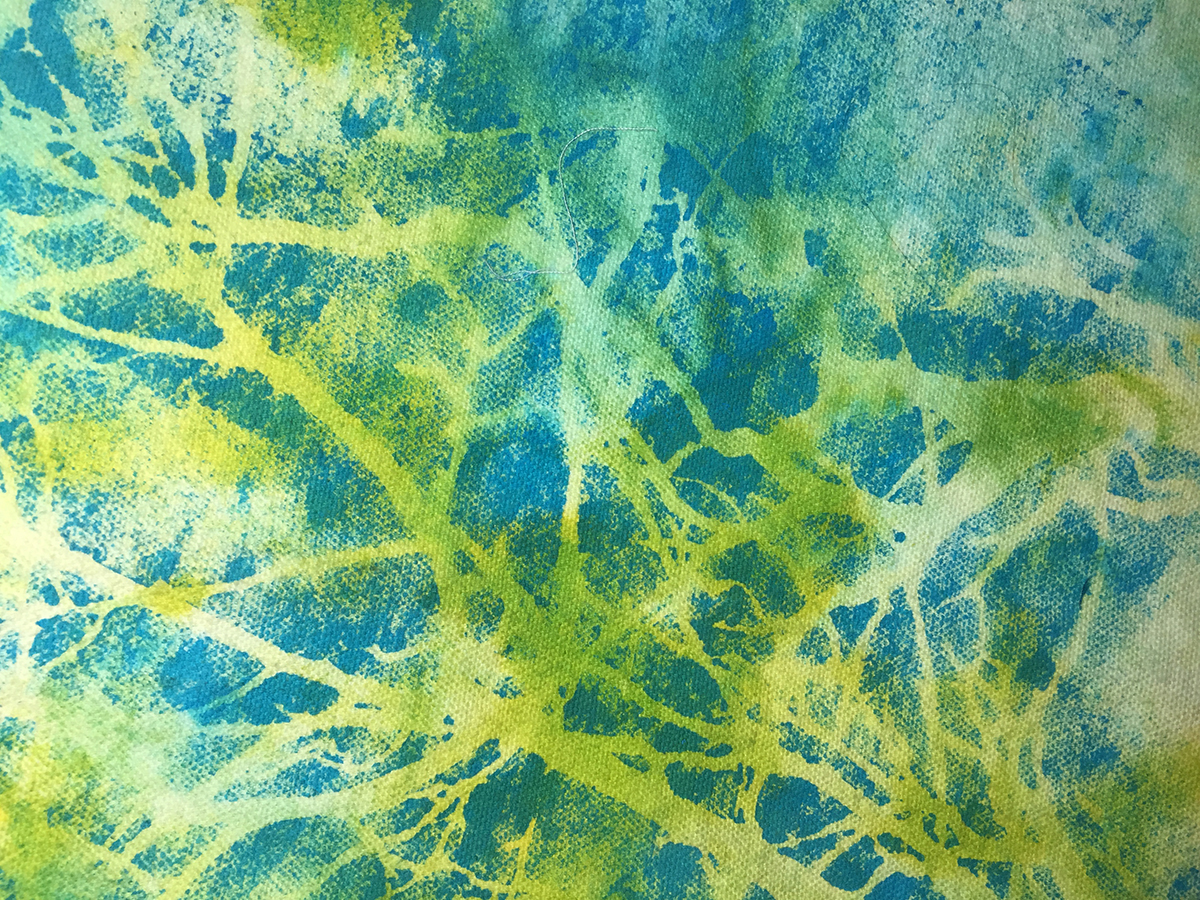
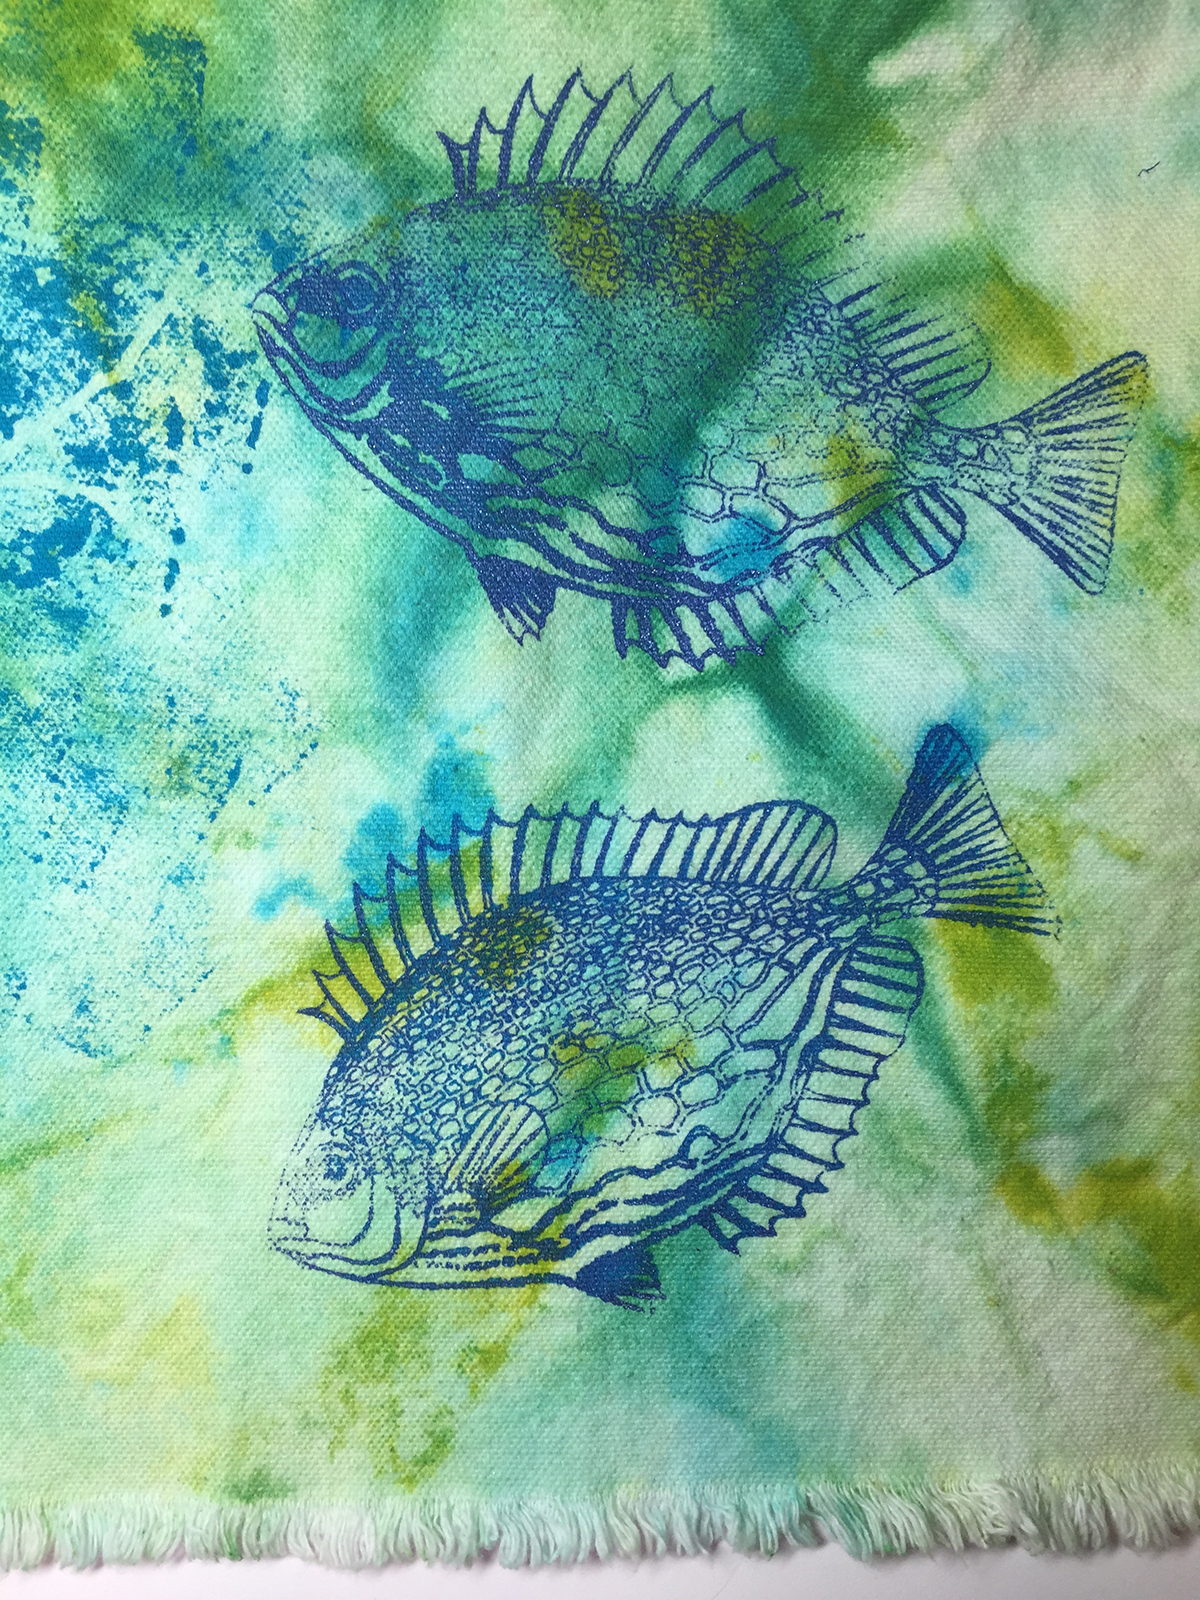
I made this apron from white cotton duck, paint-dyed and stenciled it with acrylic fabric paint, then used a Thermofax screen-printing process to add my drawing of a fish.
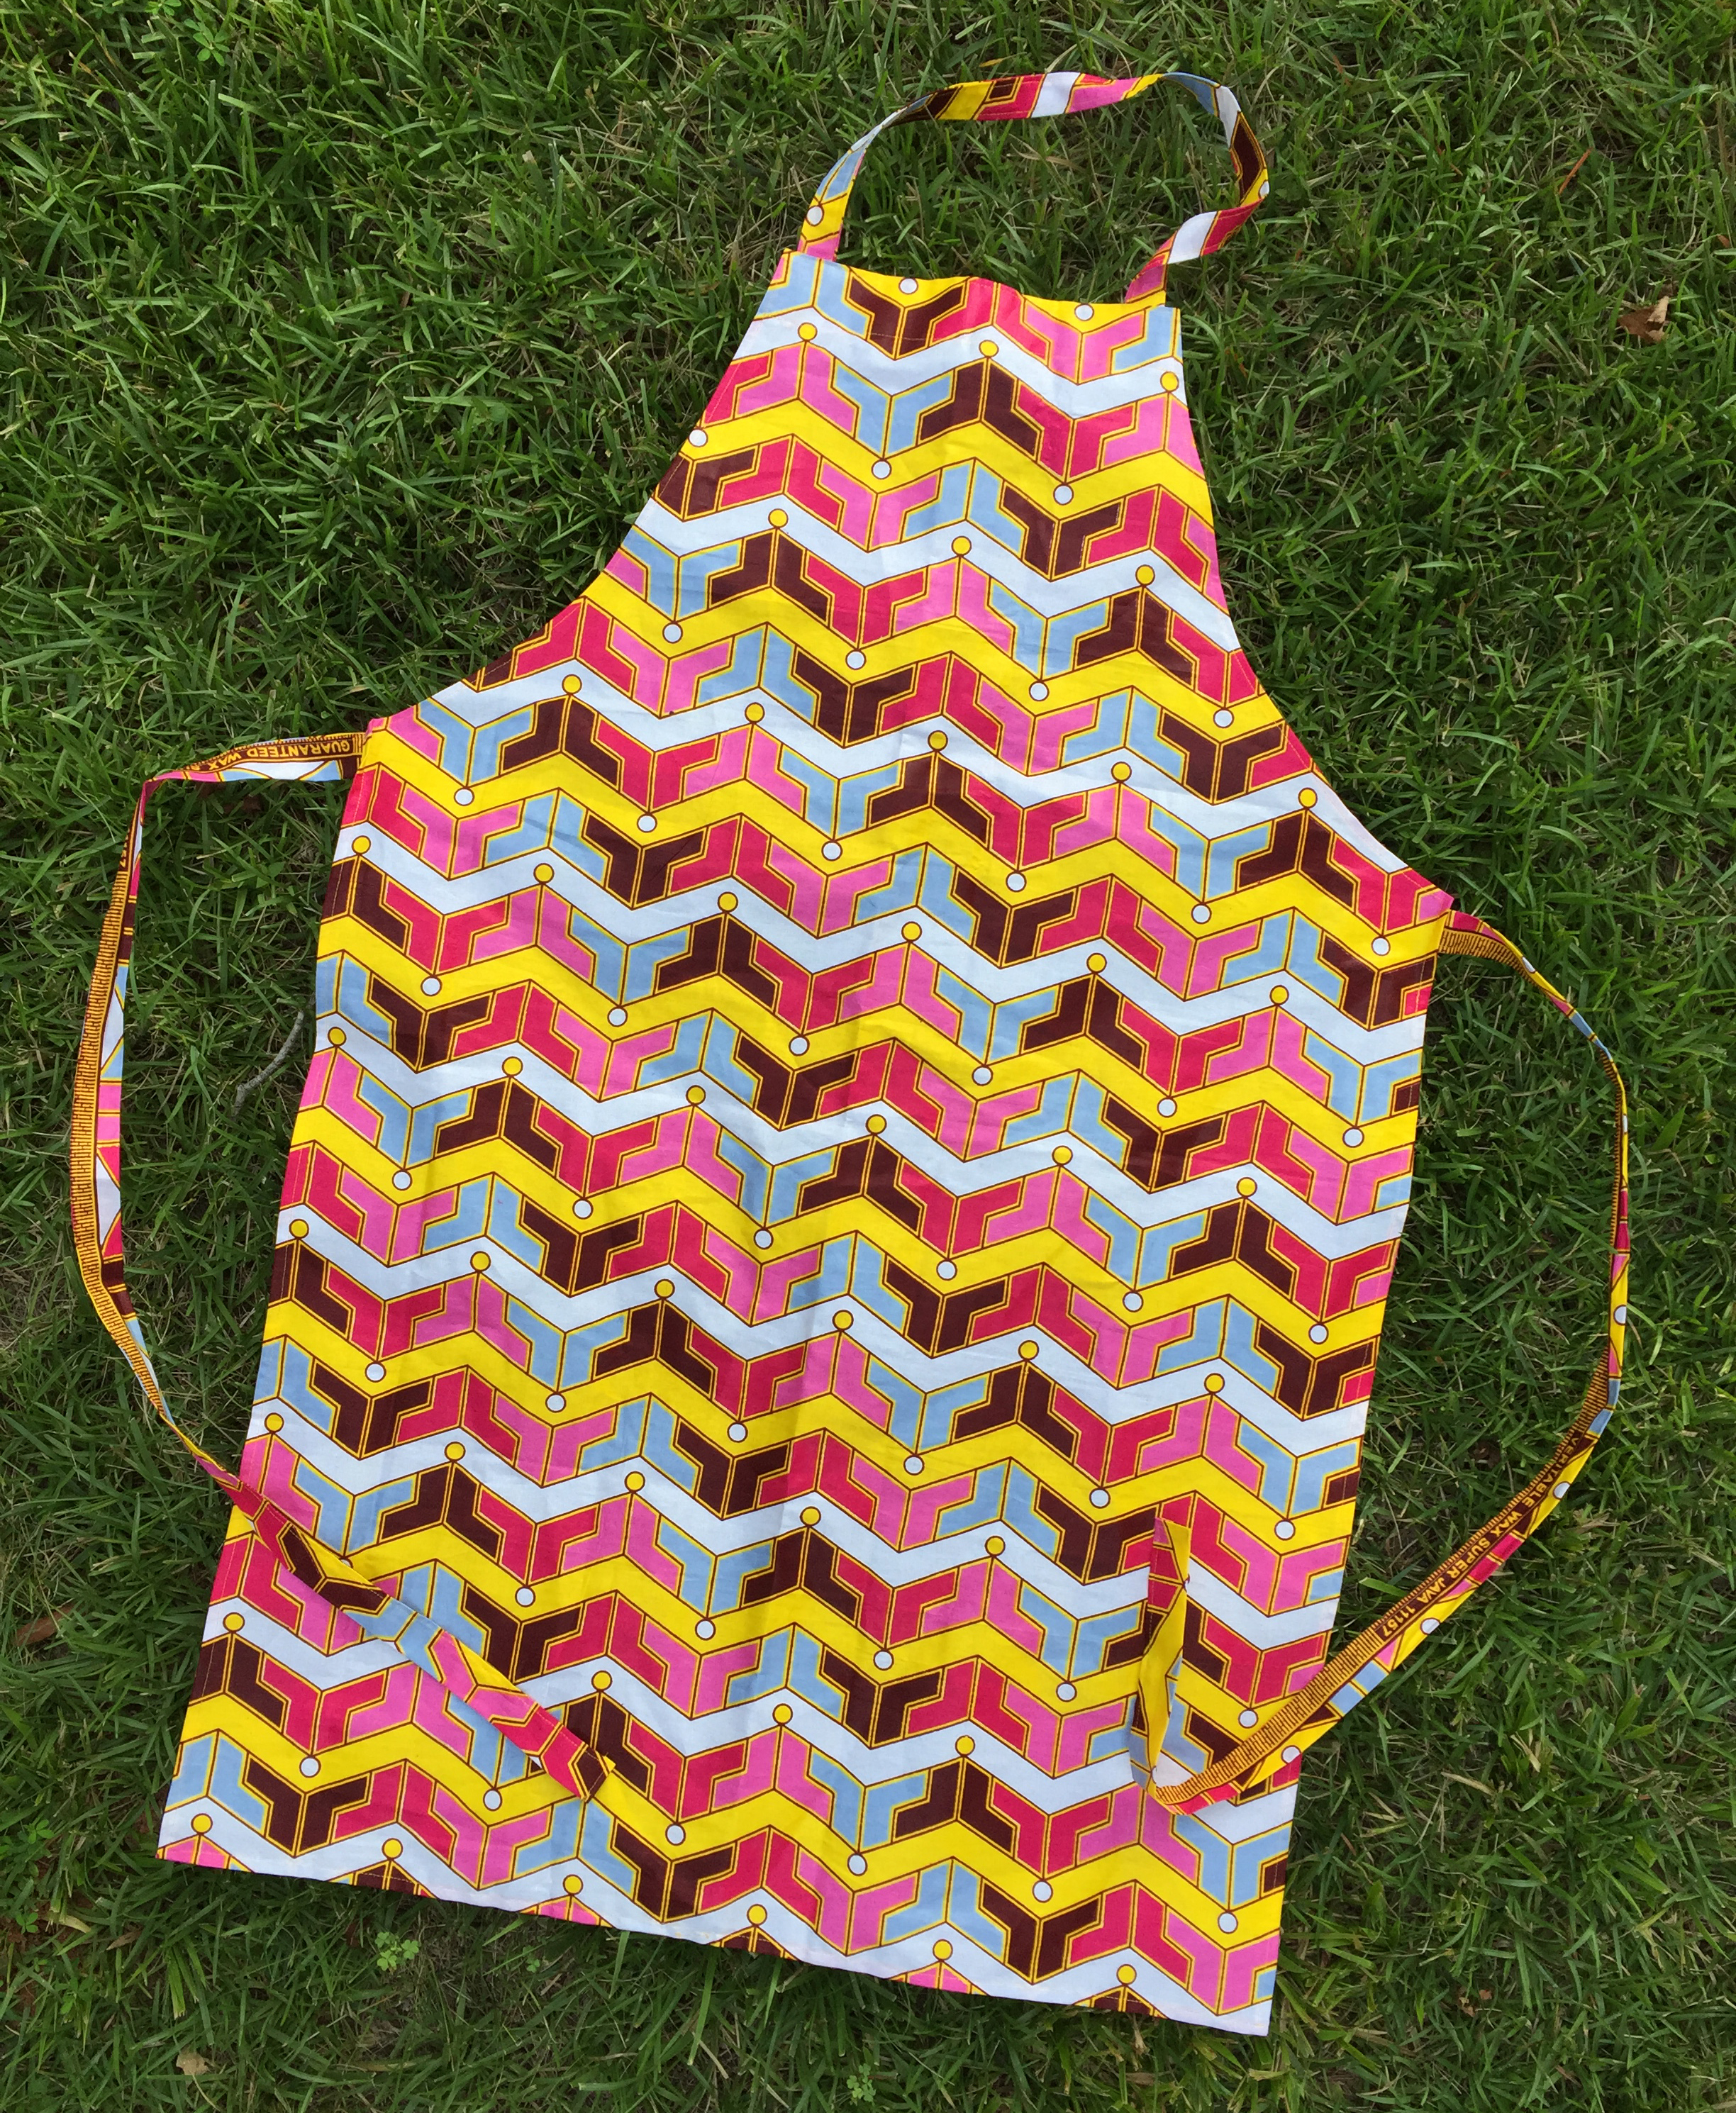
The version below is made from waxed cotton fabric from Ghana that was too special to cut into small pieces for a quilt. Here, the fabric takes center stage.


