How to Sew Rick Rack Trim
I always thought rick rack trim was for crafty projects or children’s clothes. Over the last year or so, rick rack has gotten a very glam makeover. I’ve been seeing it used on a lot of high-end designer clothes, and also on accessories such as handbags and shoes.
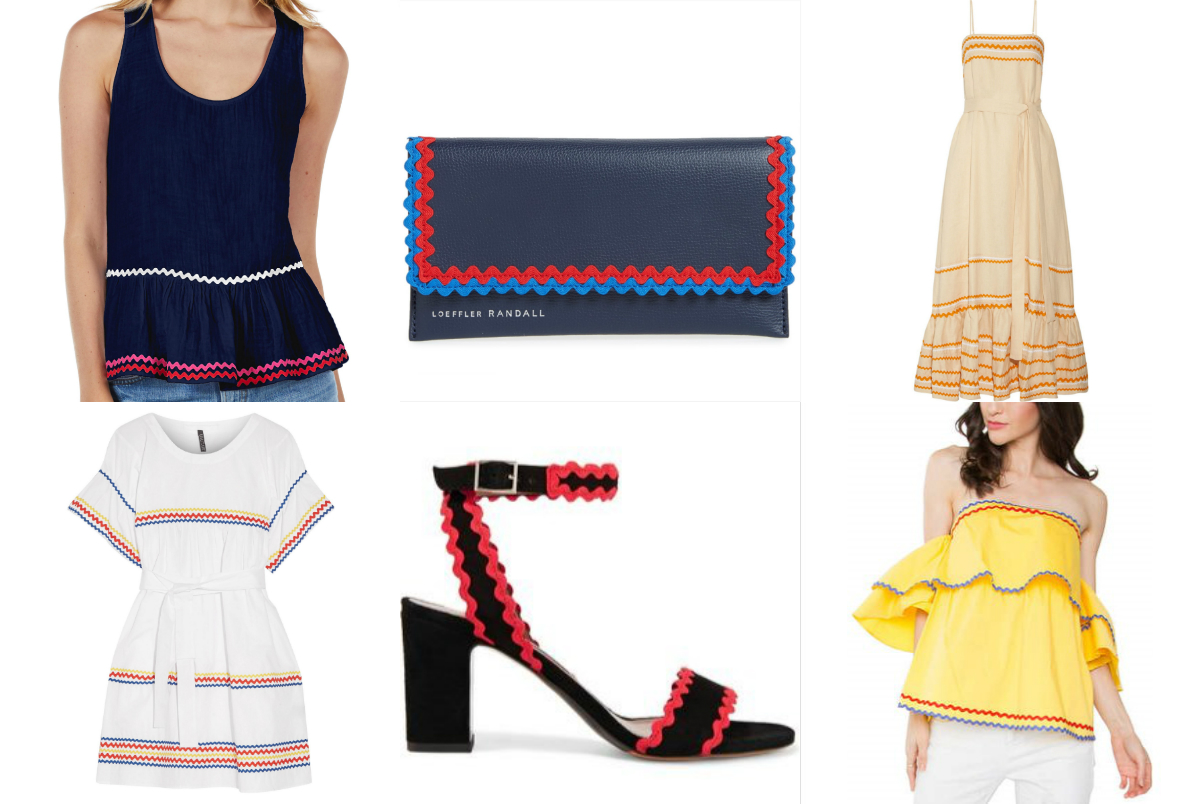
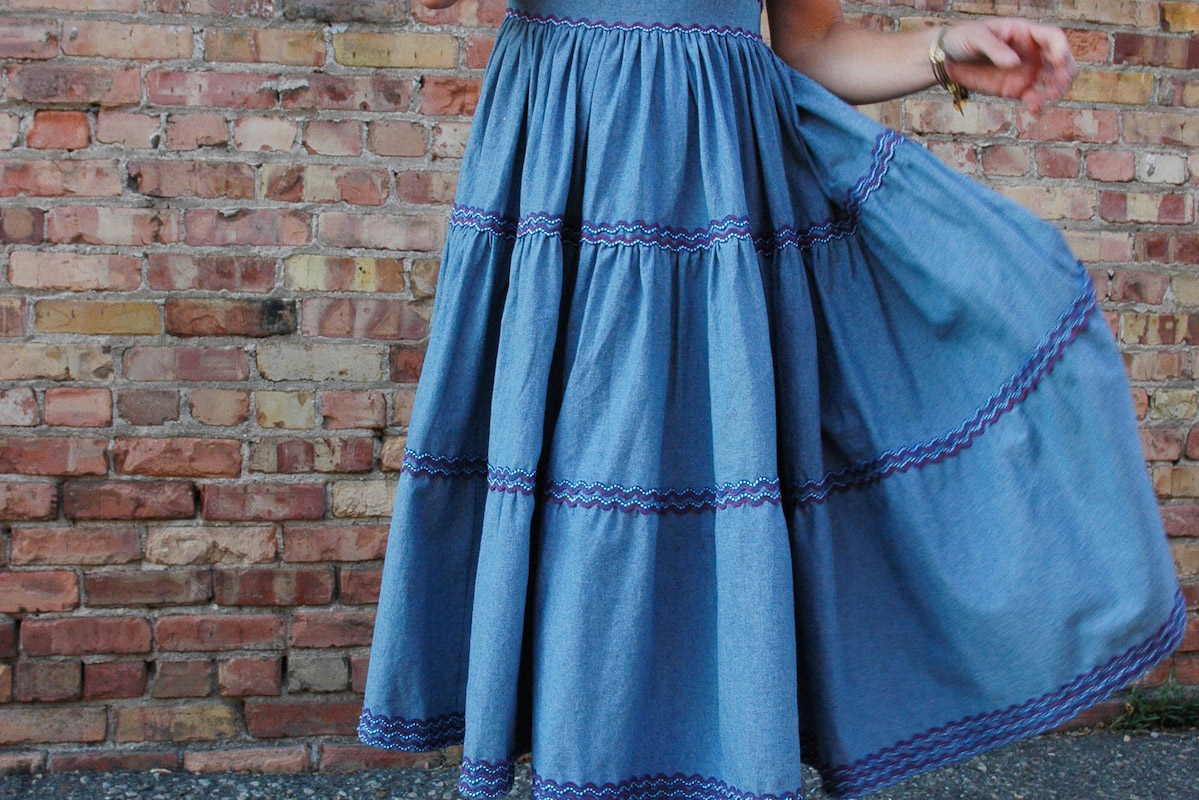
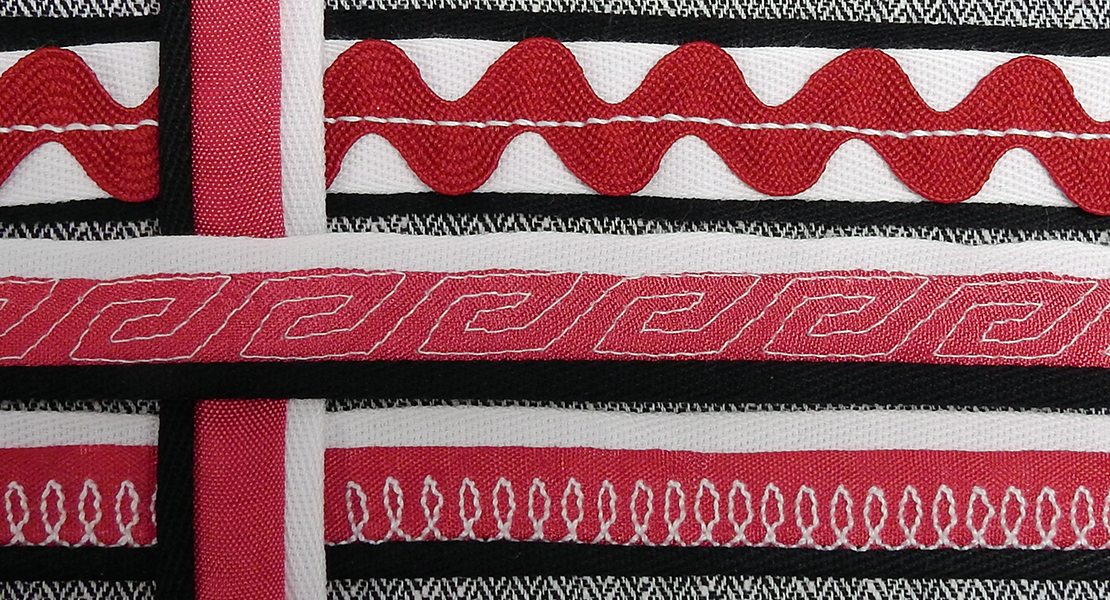
Rick rack comes in a variety of colors and widths from baby, medium (regular), jumbo to an extra wide width.

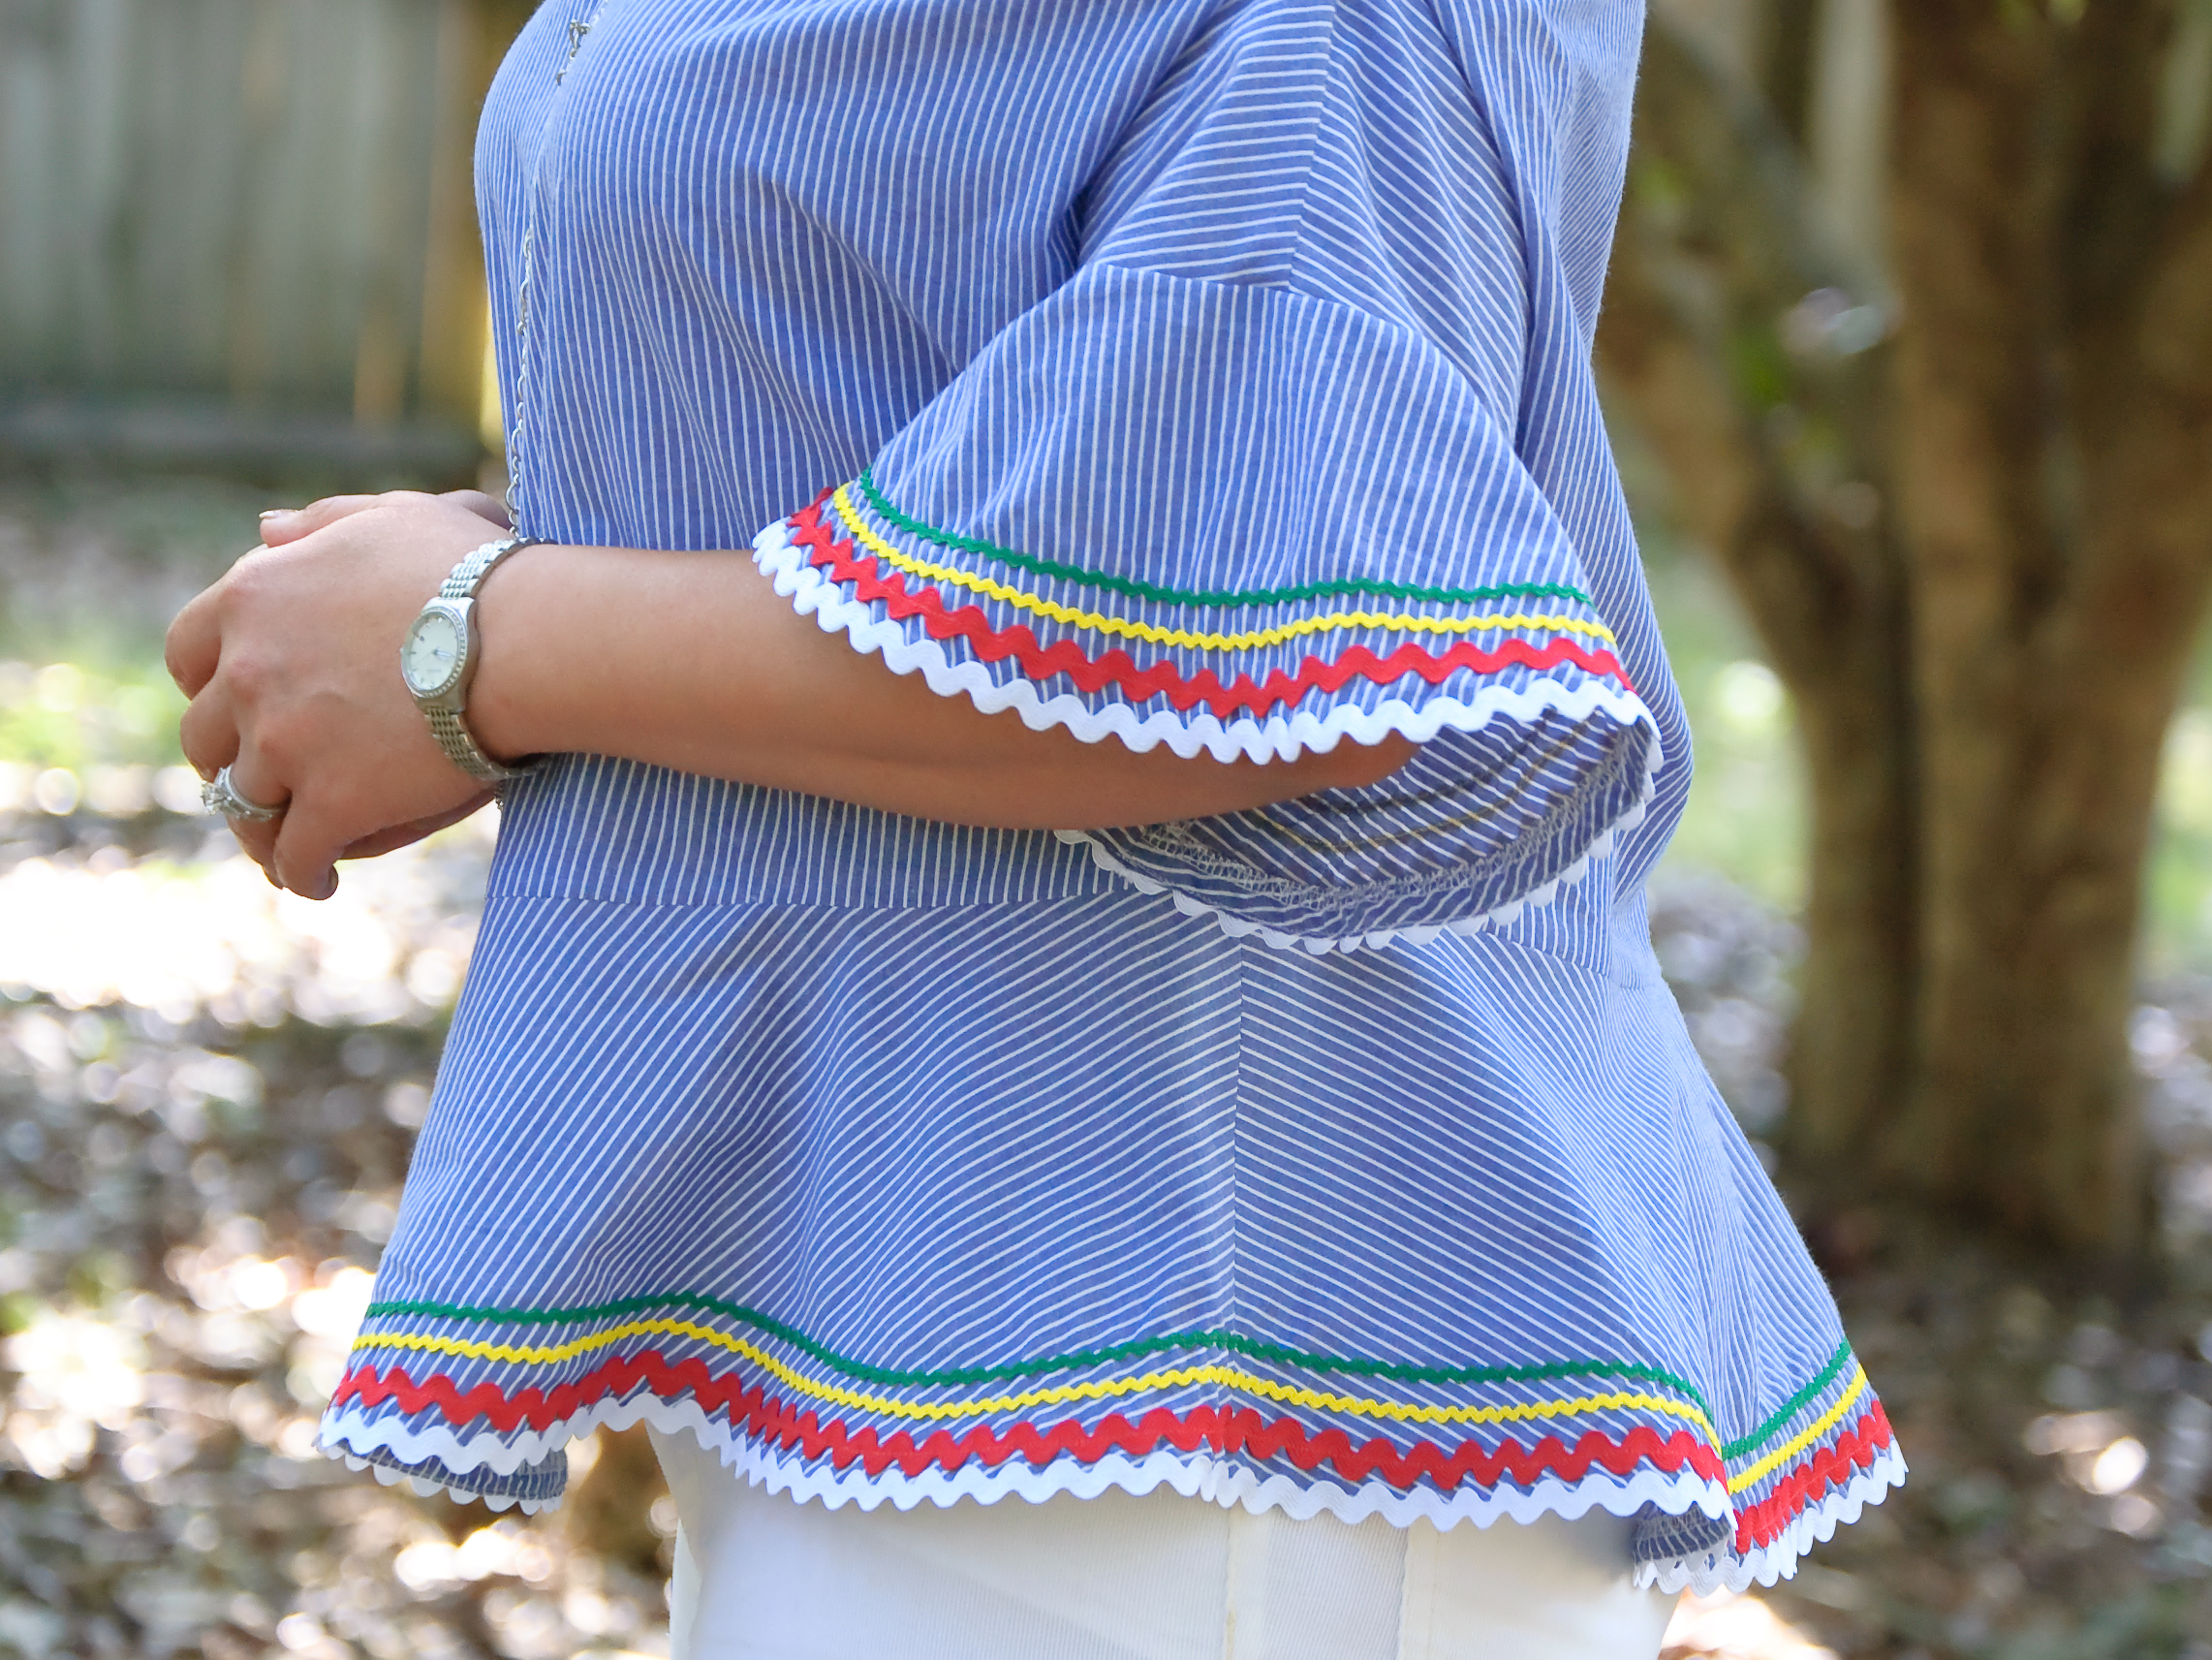
For this project, I will be showing you how I used rick rack to trim my top, it’s McCall Patterns 7780. I trimmed this top two ways: I used inseam rick rack and the more common way of simply sewing on top of the fabric.
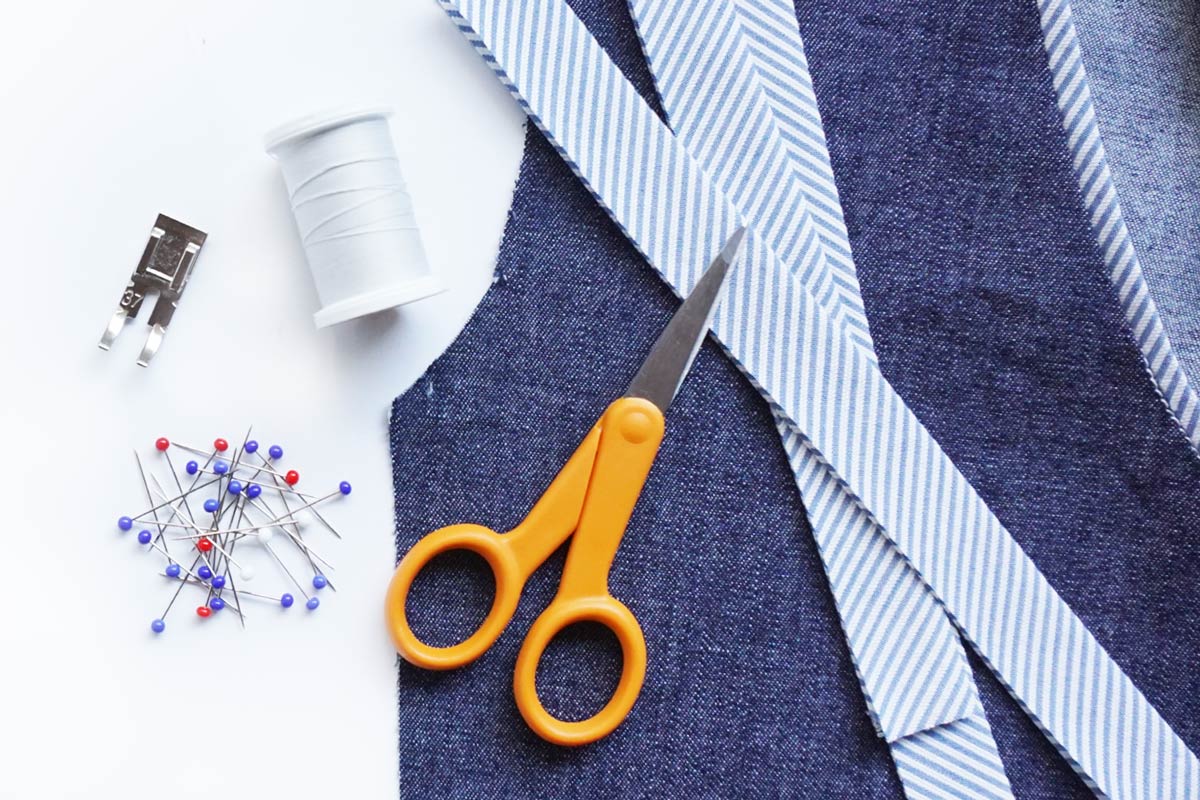
Materials Needed to Sew Rick Rack Trim
- Rick rack
- Marking tool (i.e. pen, pencil, chalk, etc…)
- Thread
- Sewing Machine (I used a BERNINA 350 PE)
- BERNINA #20 Open Embroidery Foot
How to Sew Inseam Rick Rack Trim
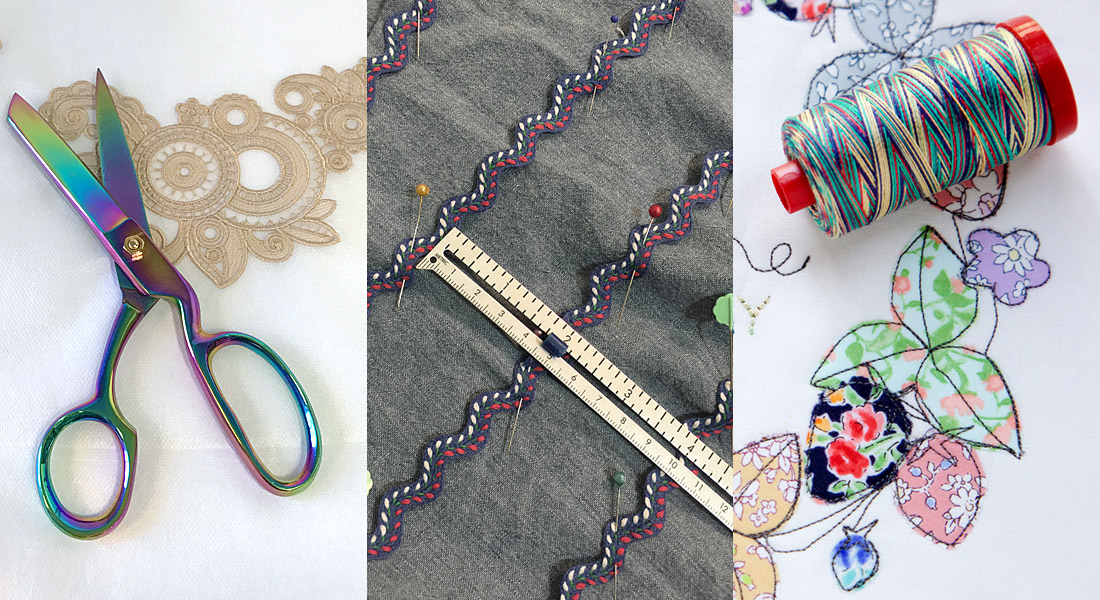
Step 1
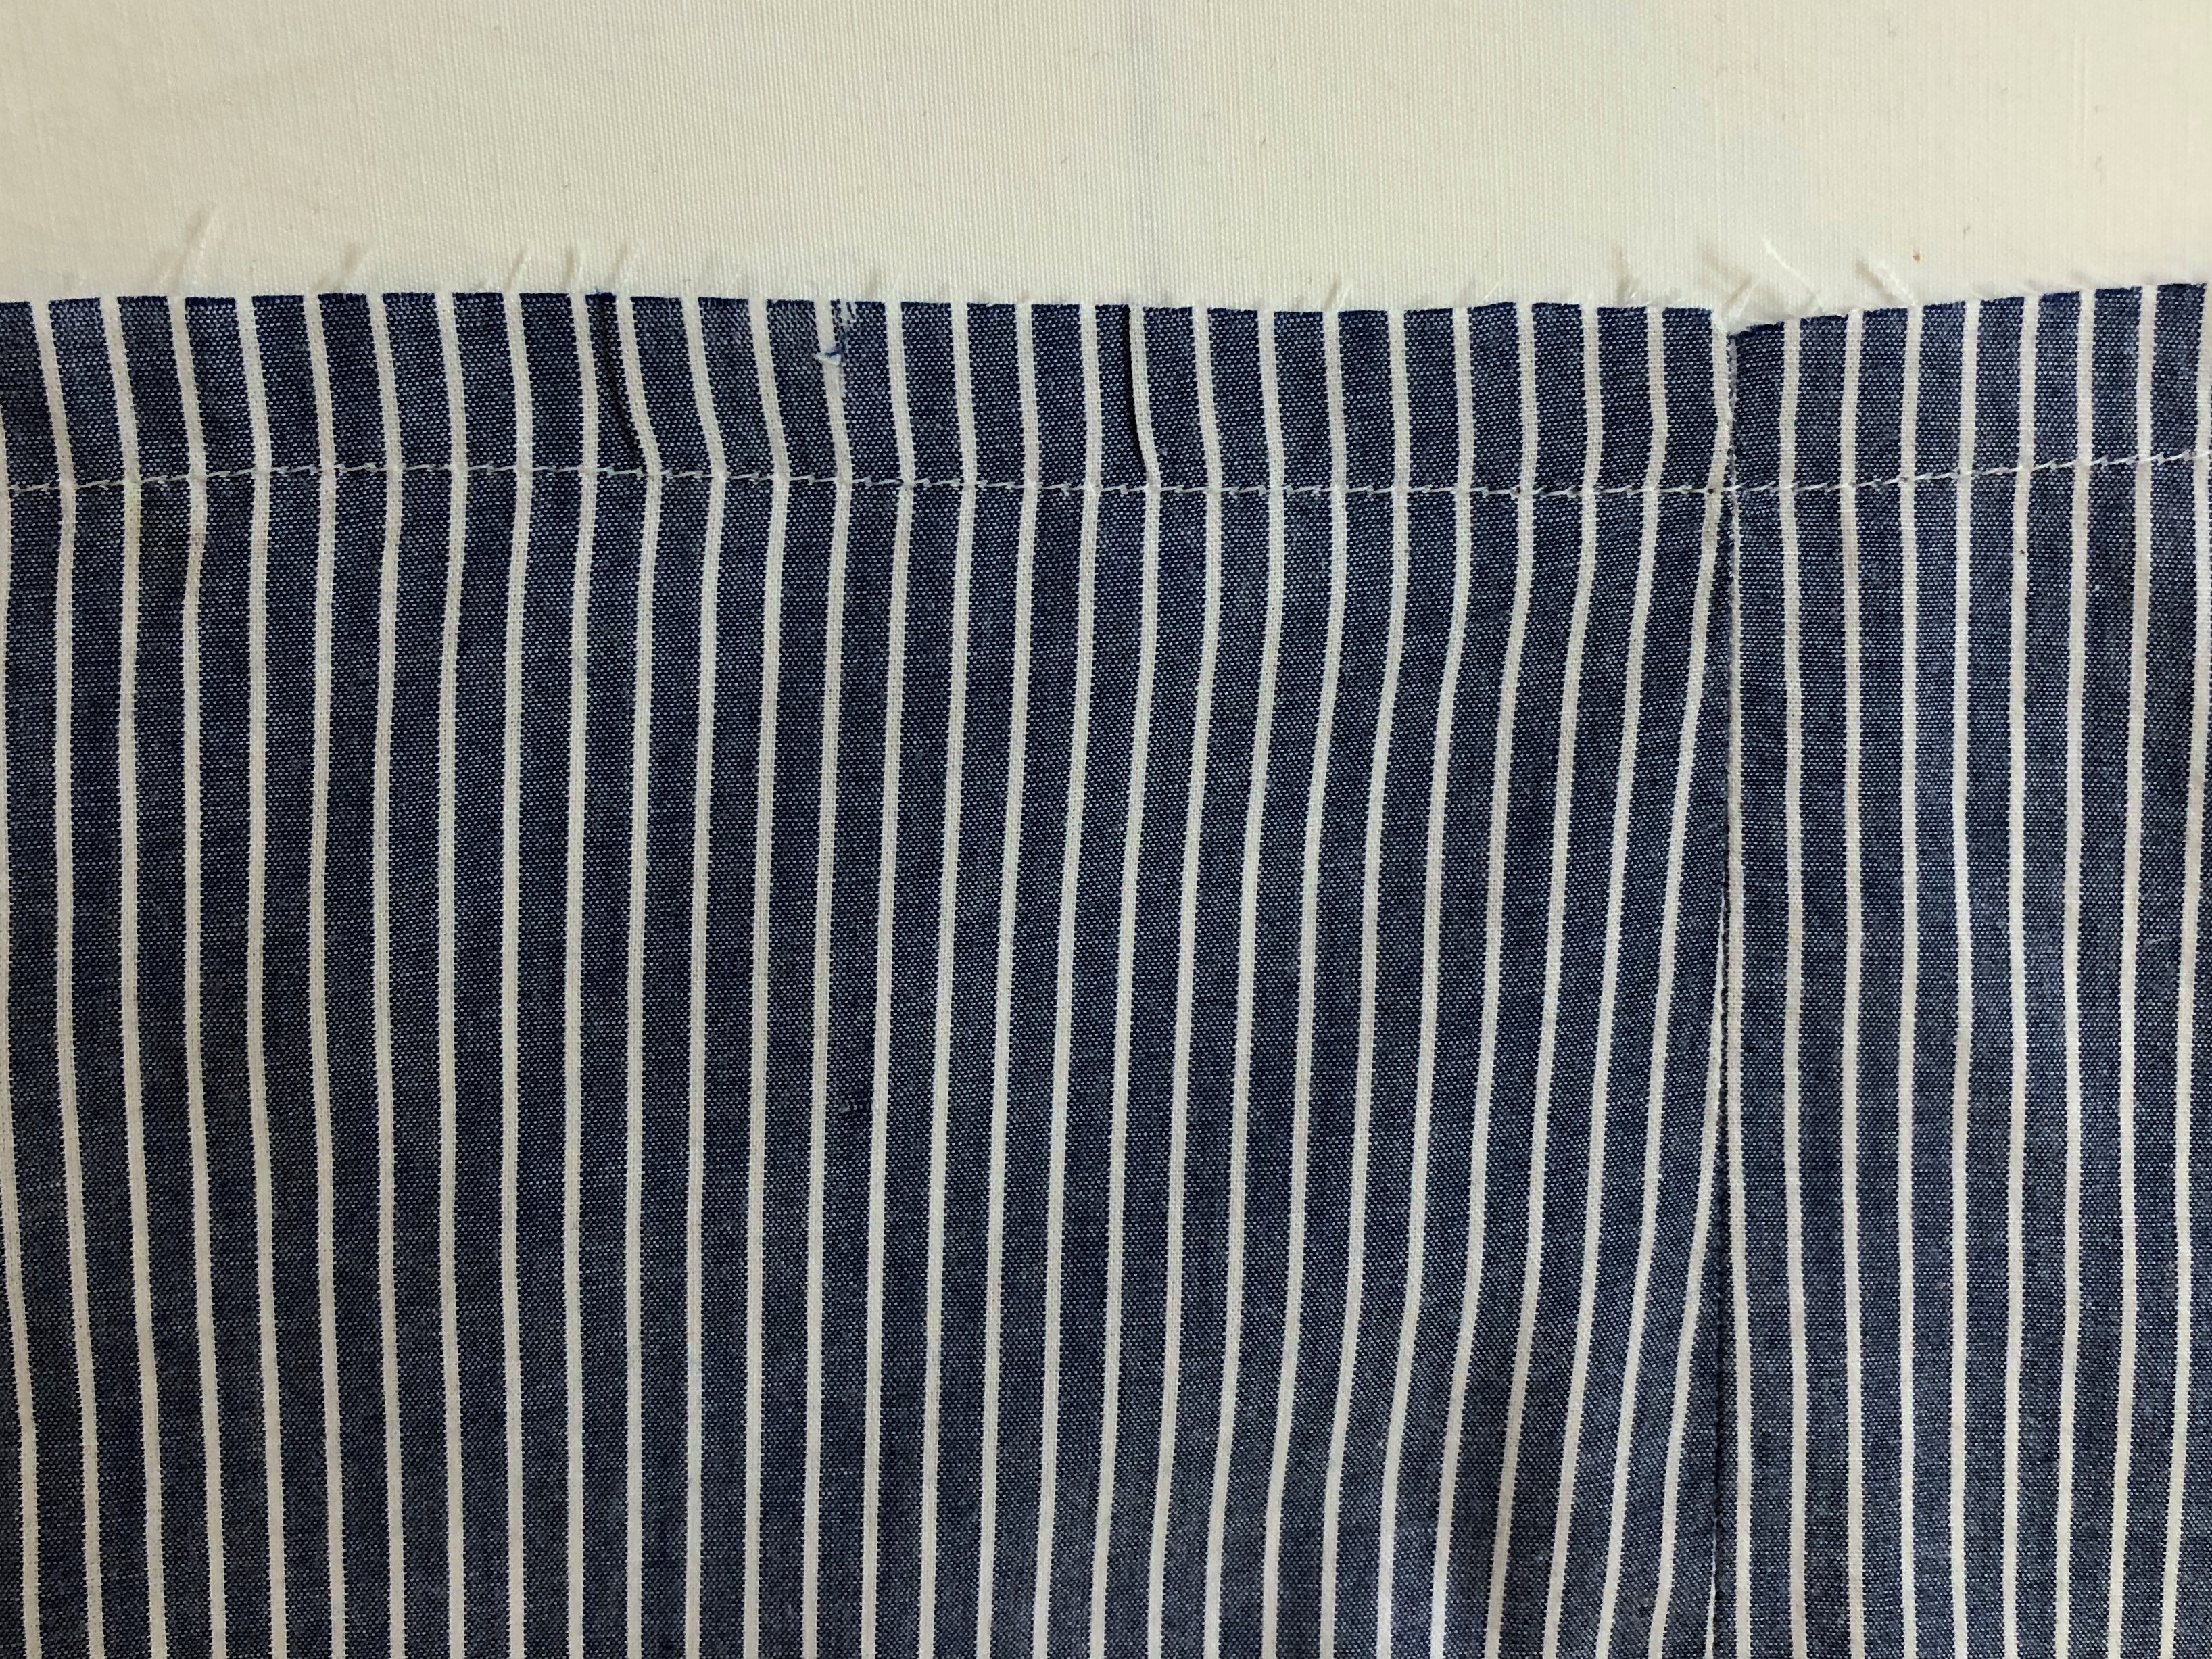
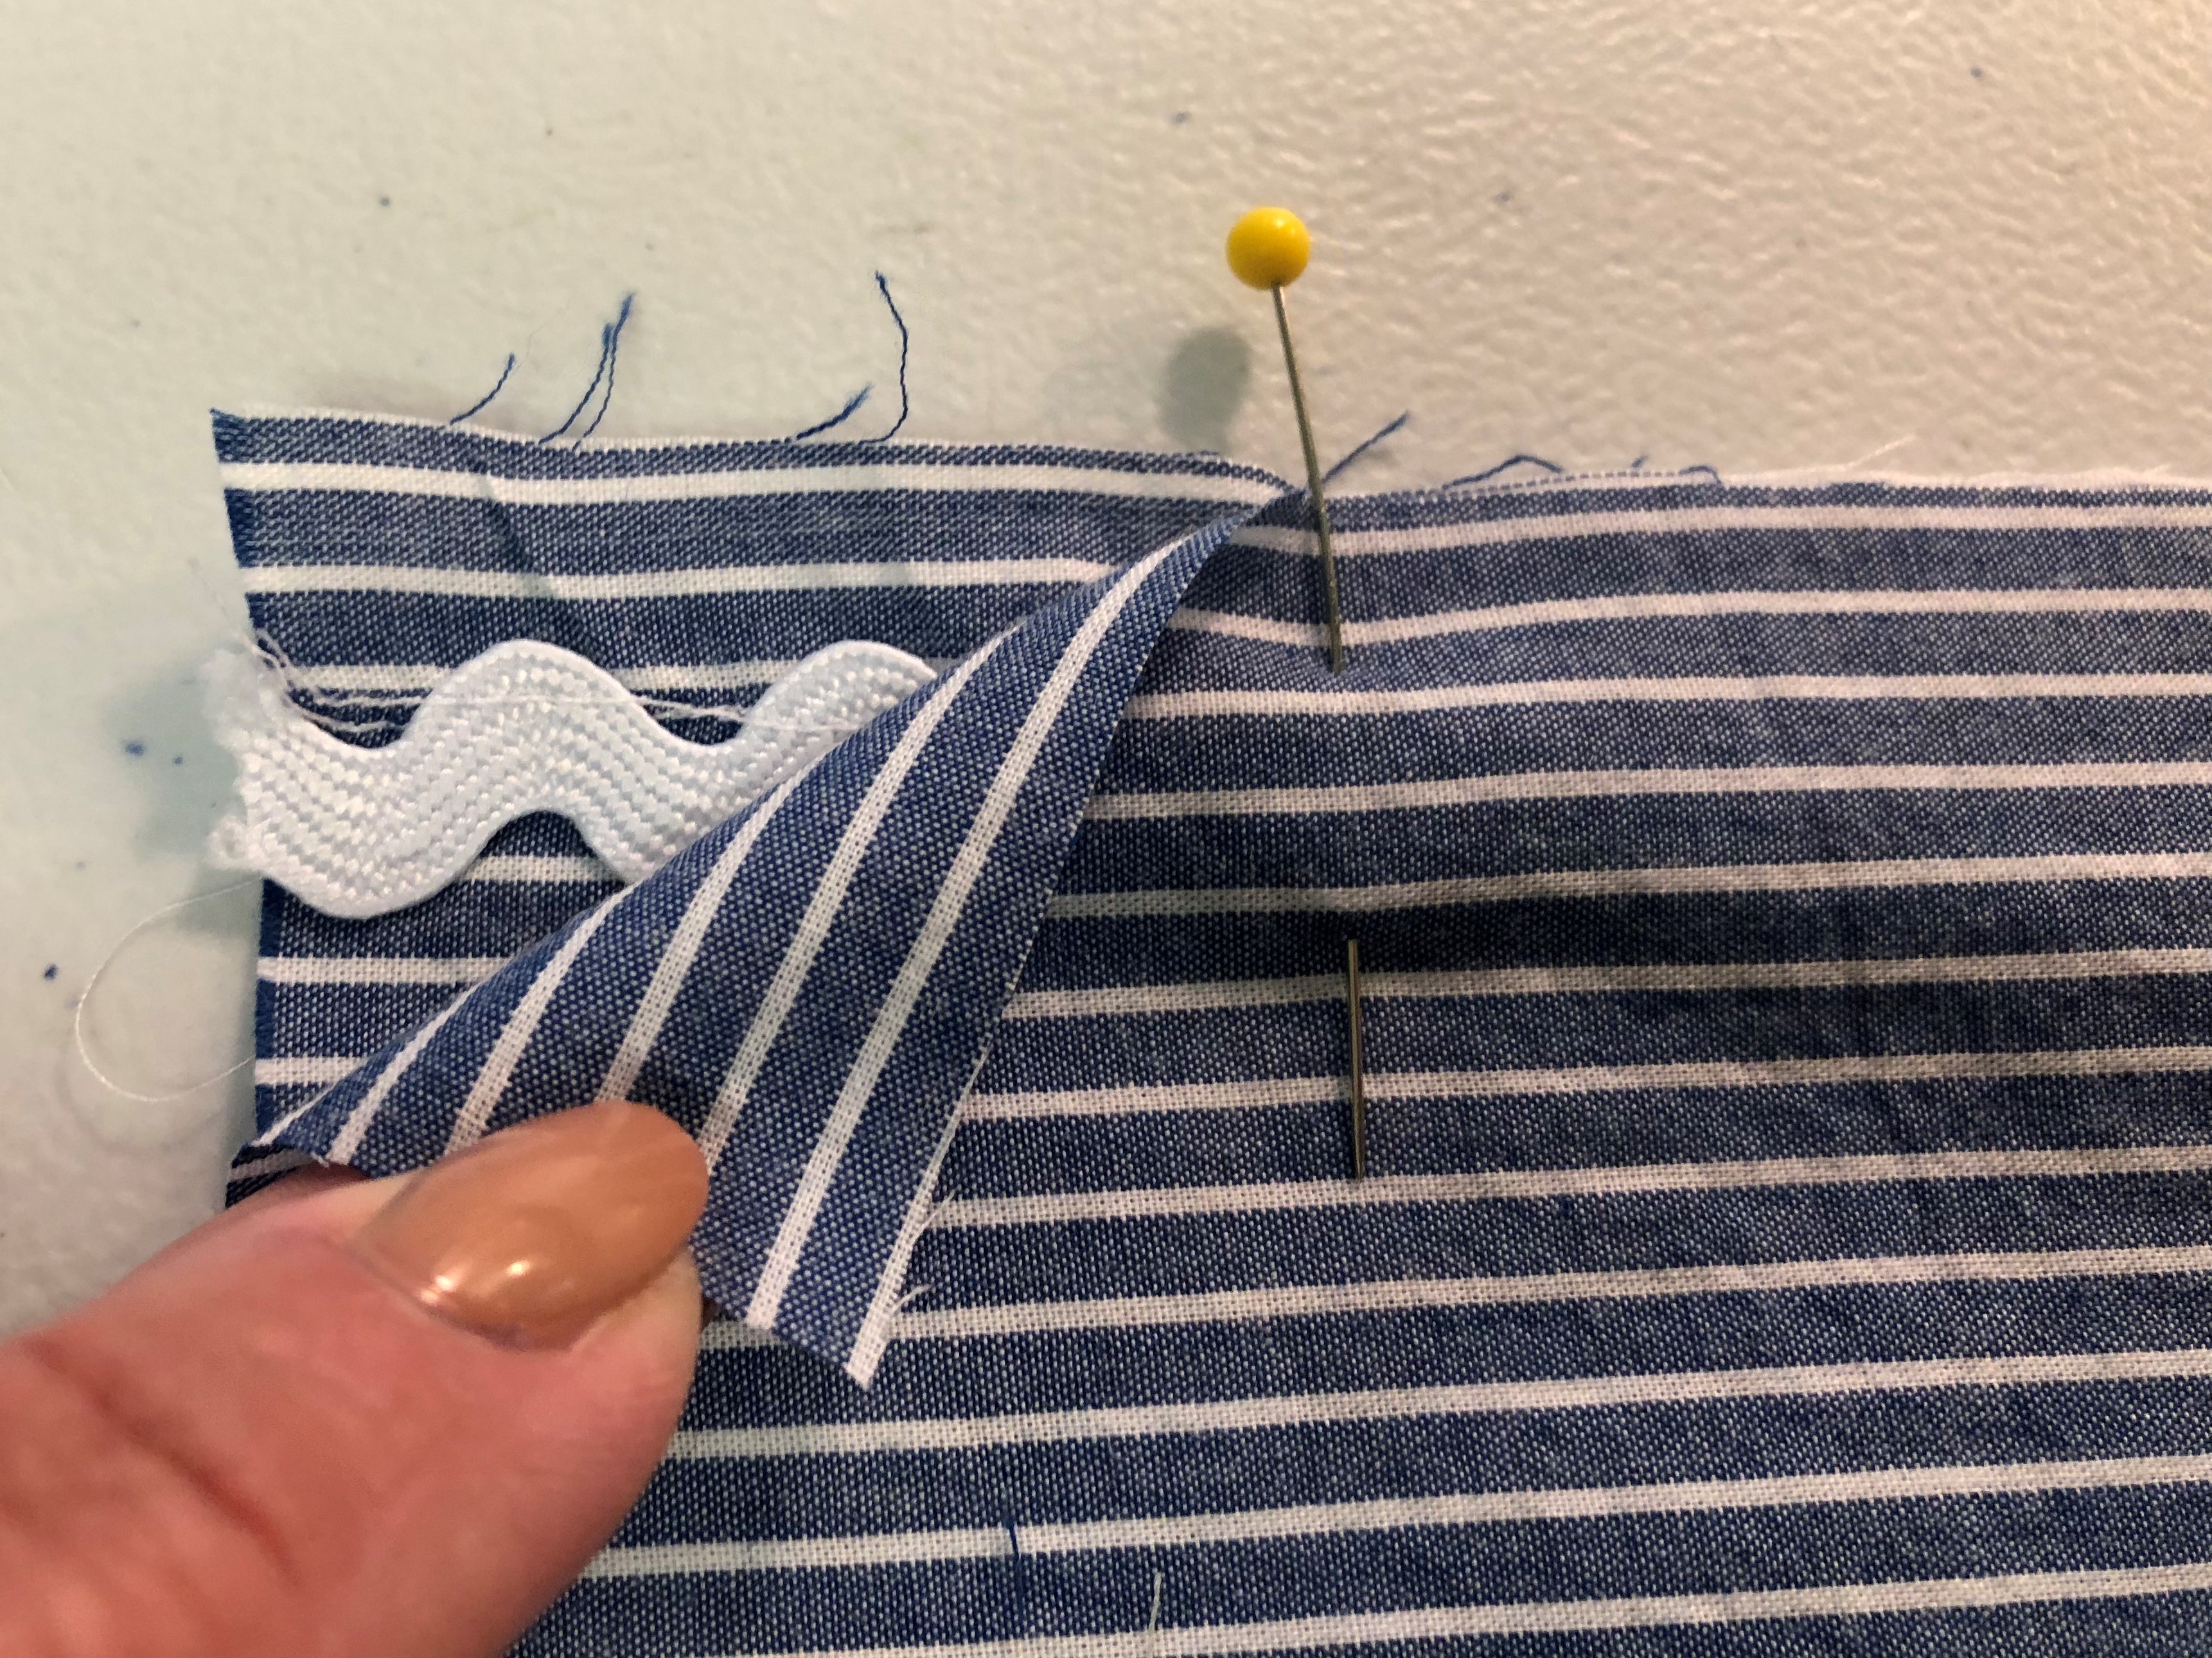
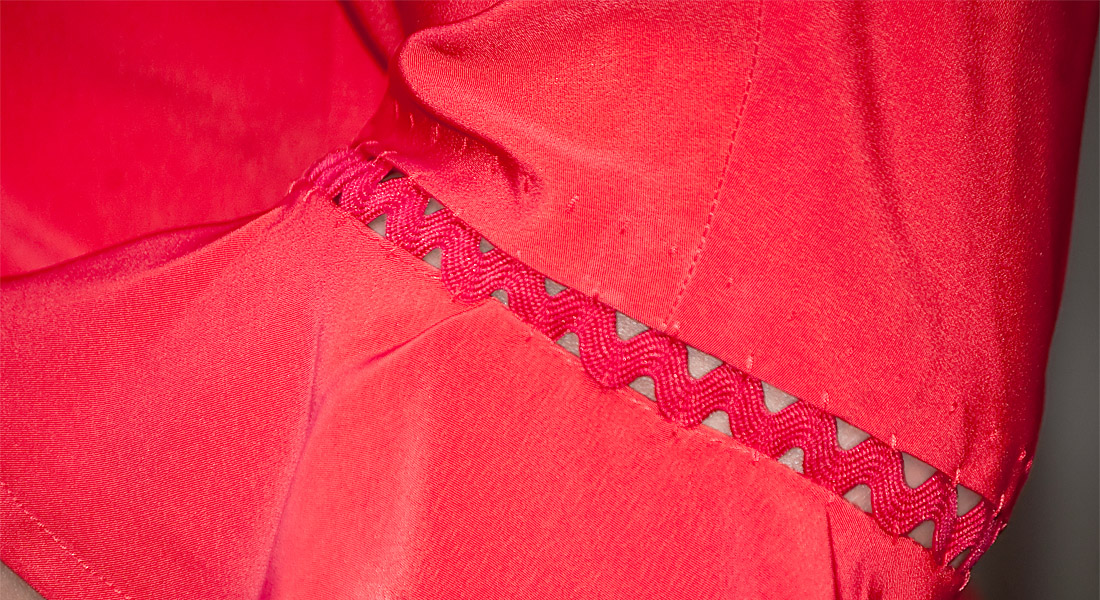
When sewing rick rack, my advice is to give yourself a guide line. You can either mark a line directly onto the fabric, or use a straight stitch from your machine. Whichever one you like best. To sew rick rack trim inseam, working on the right side of the fabric — mark your guide line 1/8″ inside the seam allowance. I’m using a standard 5/8″ seam allowance, so my guide line is 1/2″ from the fabric edge.
Step 2

Rick rack trim has valleys and mountains, at least that’s what I’m going to call them. You want to align your valleys right below your guide line. You can use a pin to hold in place.
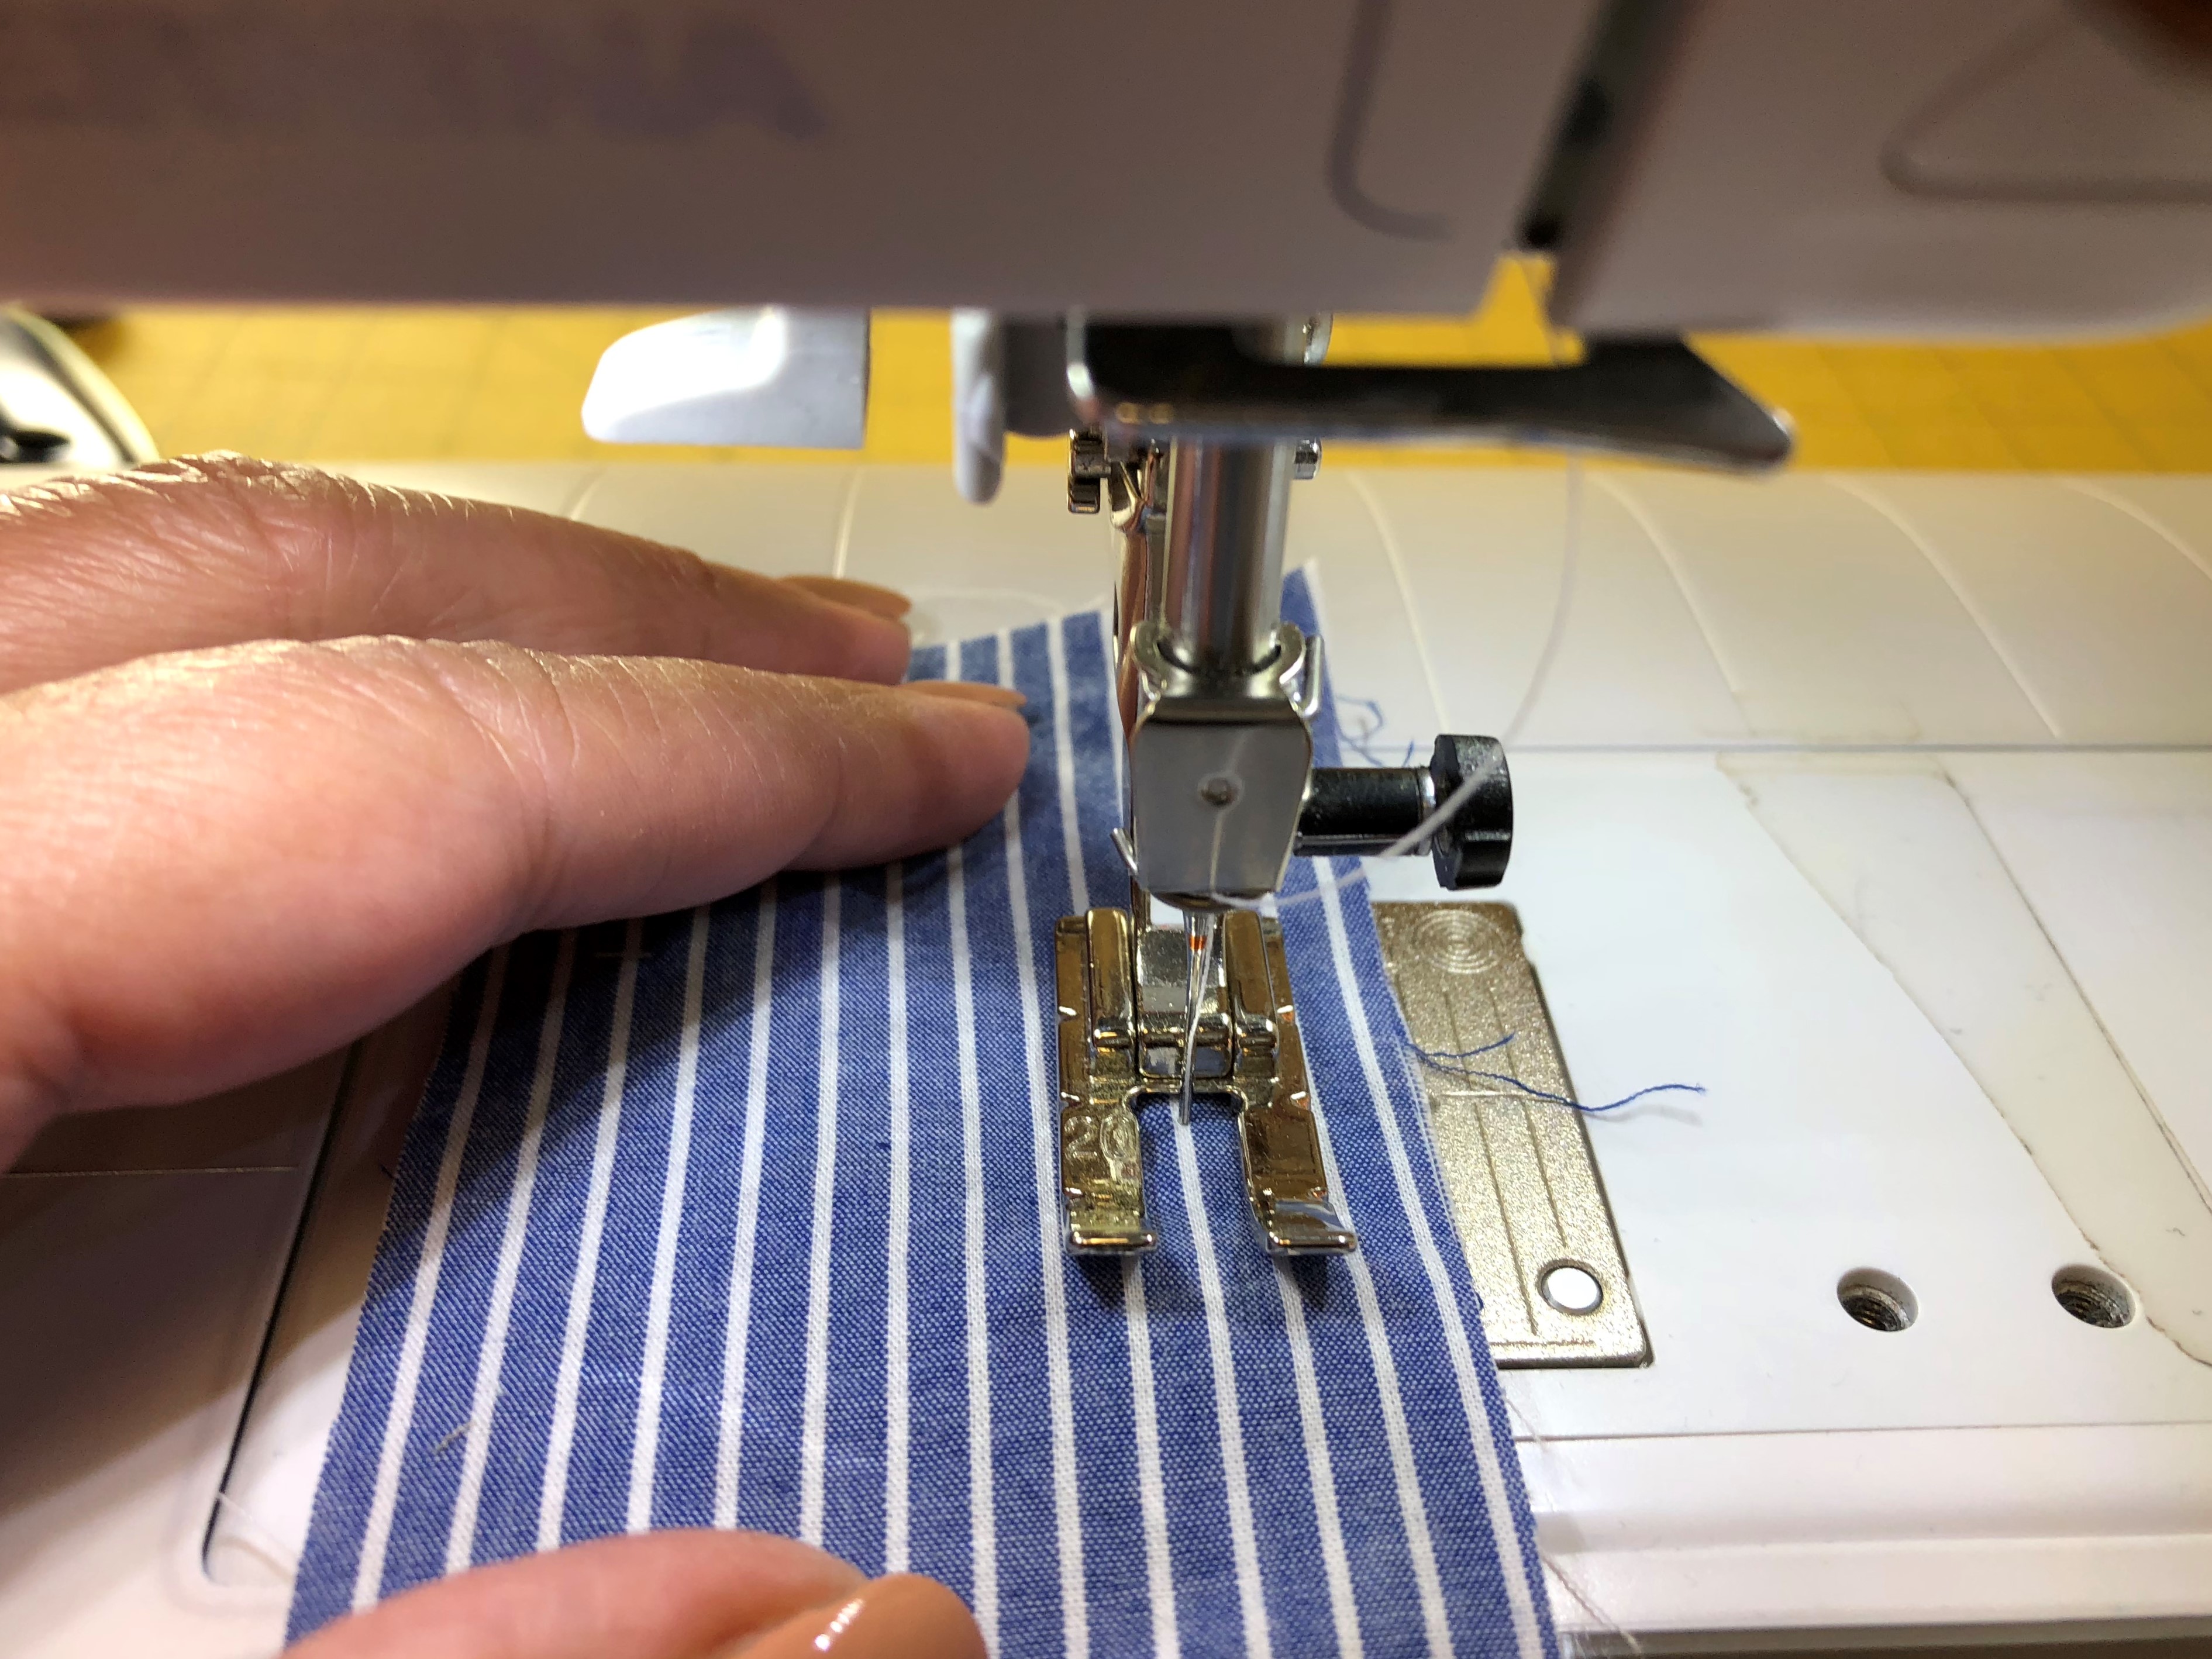
Step 3
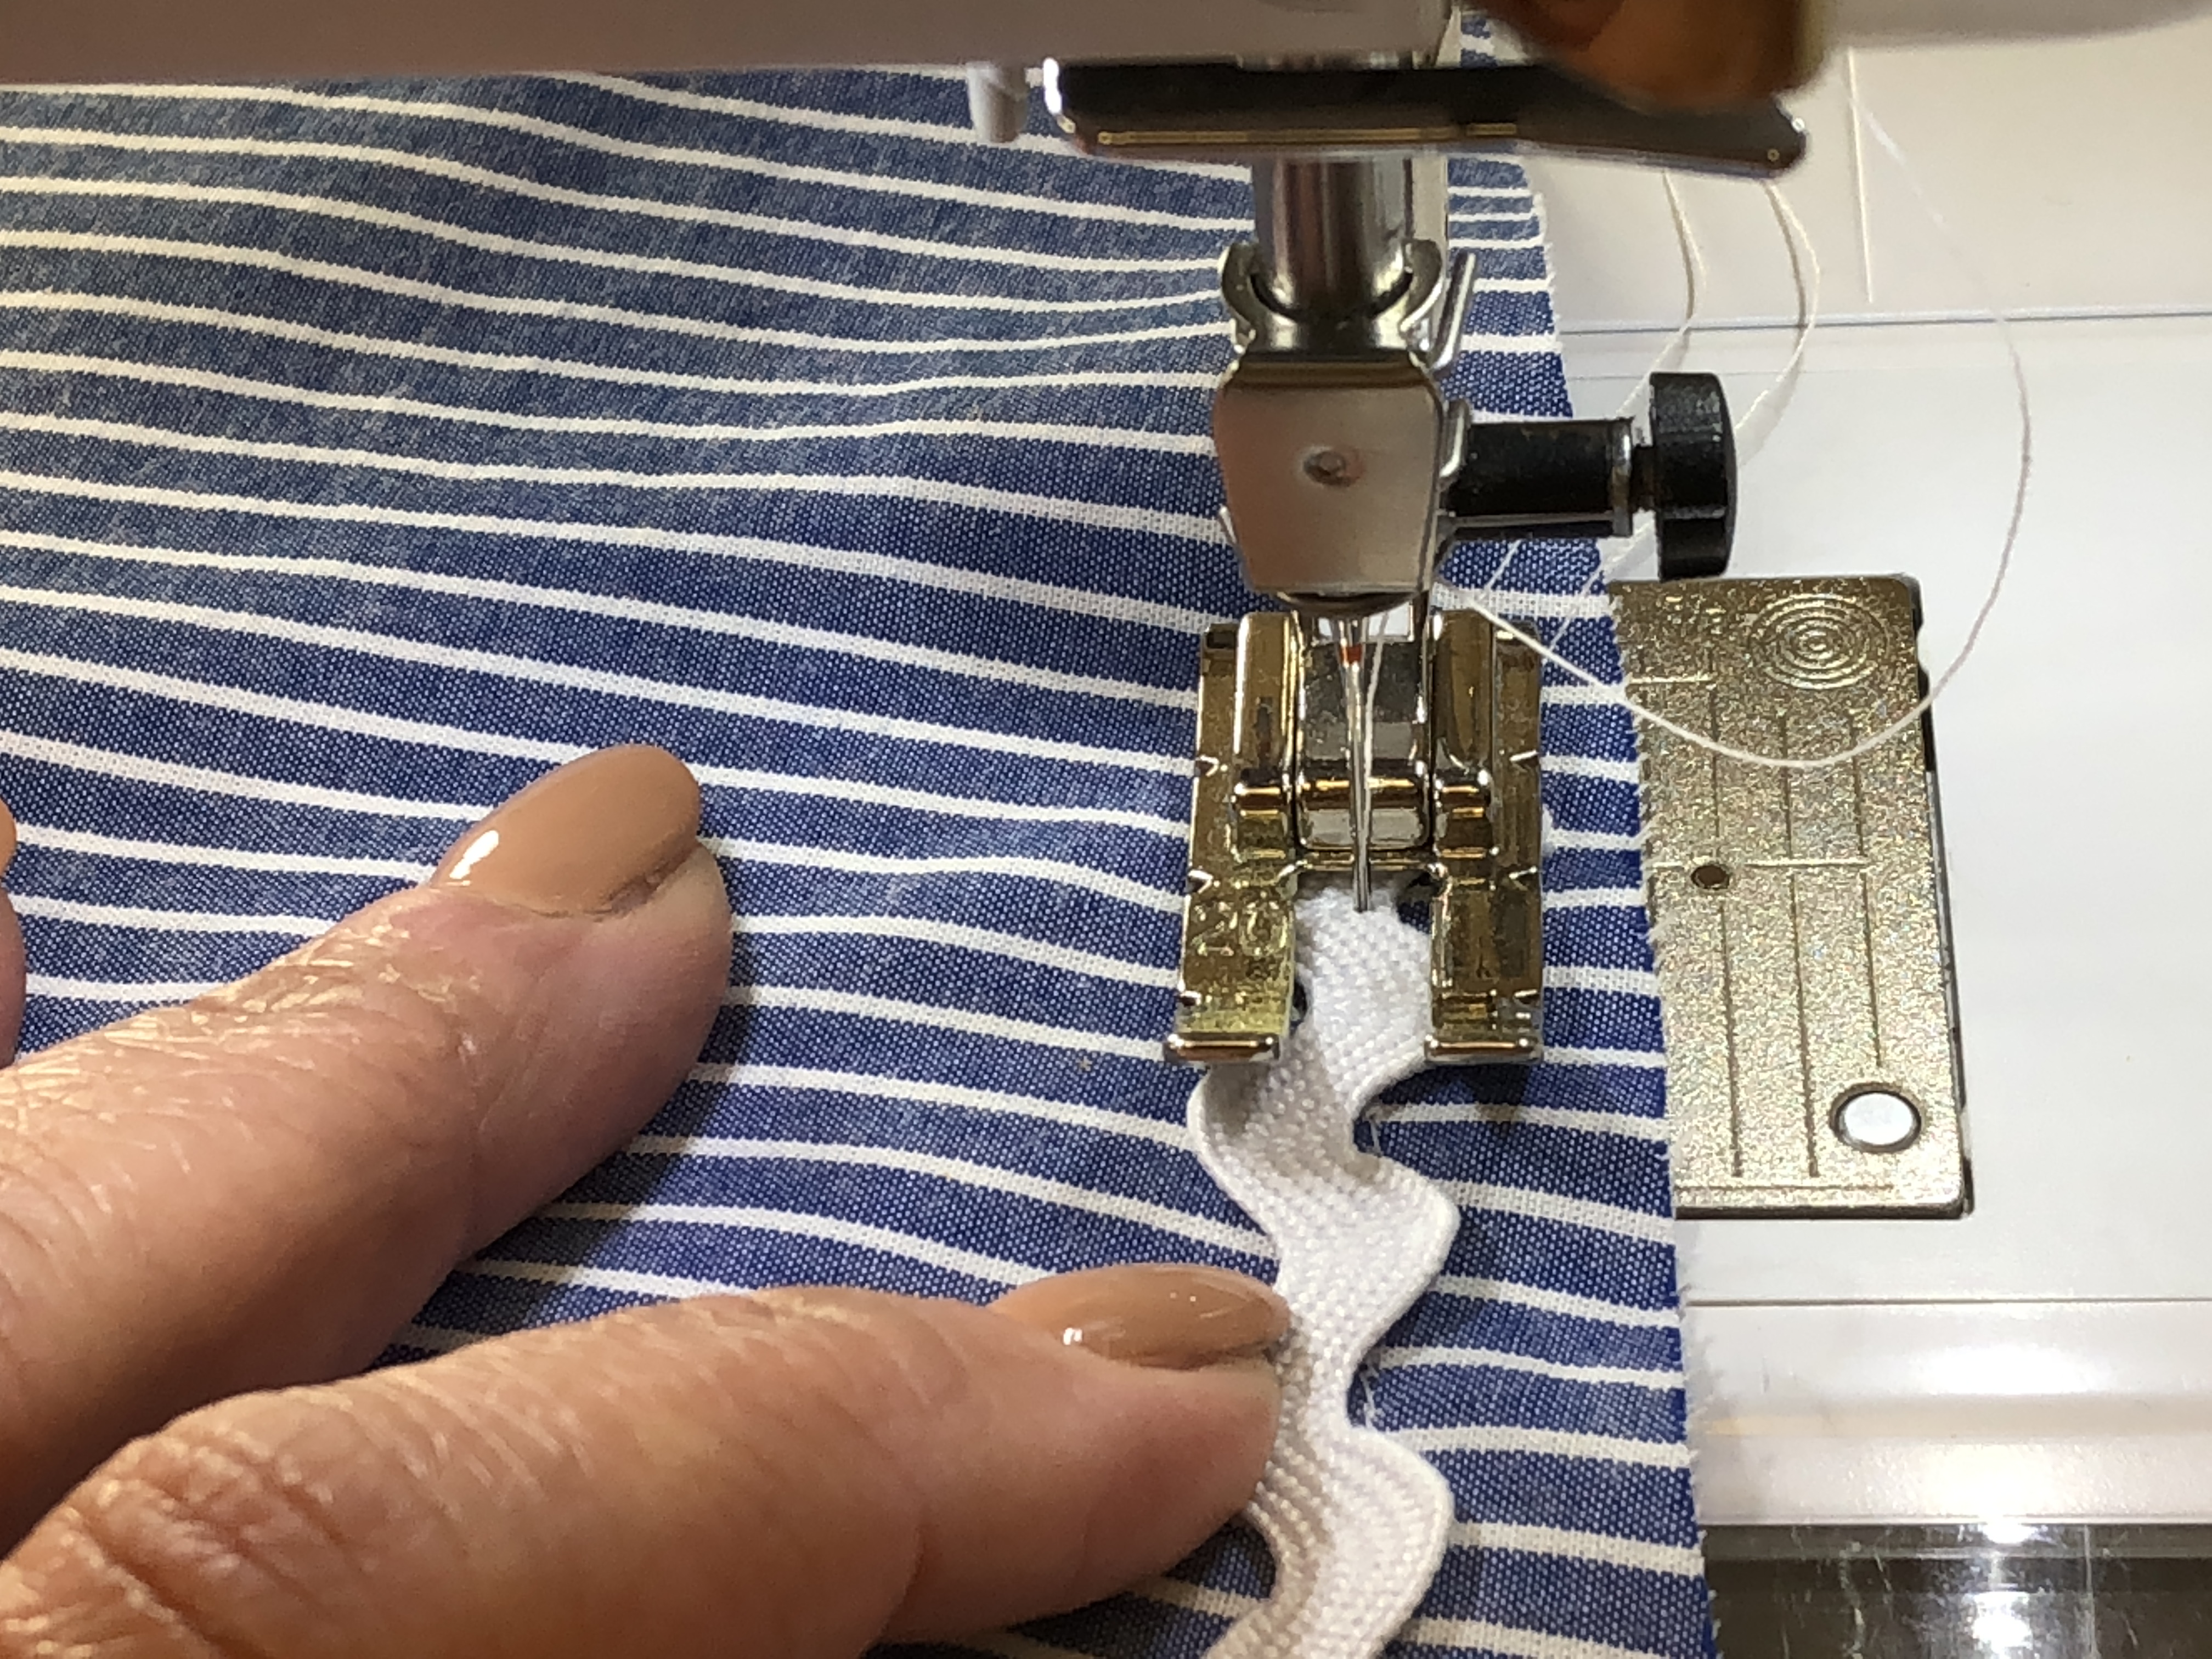
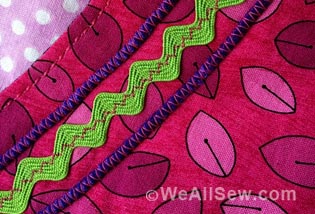
Using the BERNINA #20 Open Embroidery Foot, sew the rickrack trim by following the guide line.
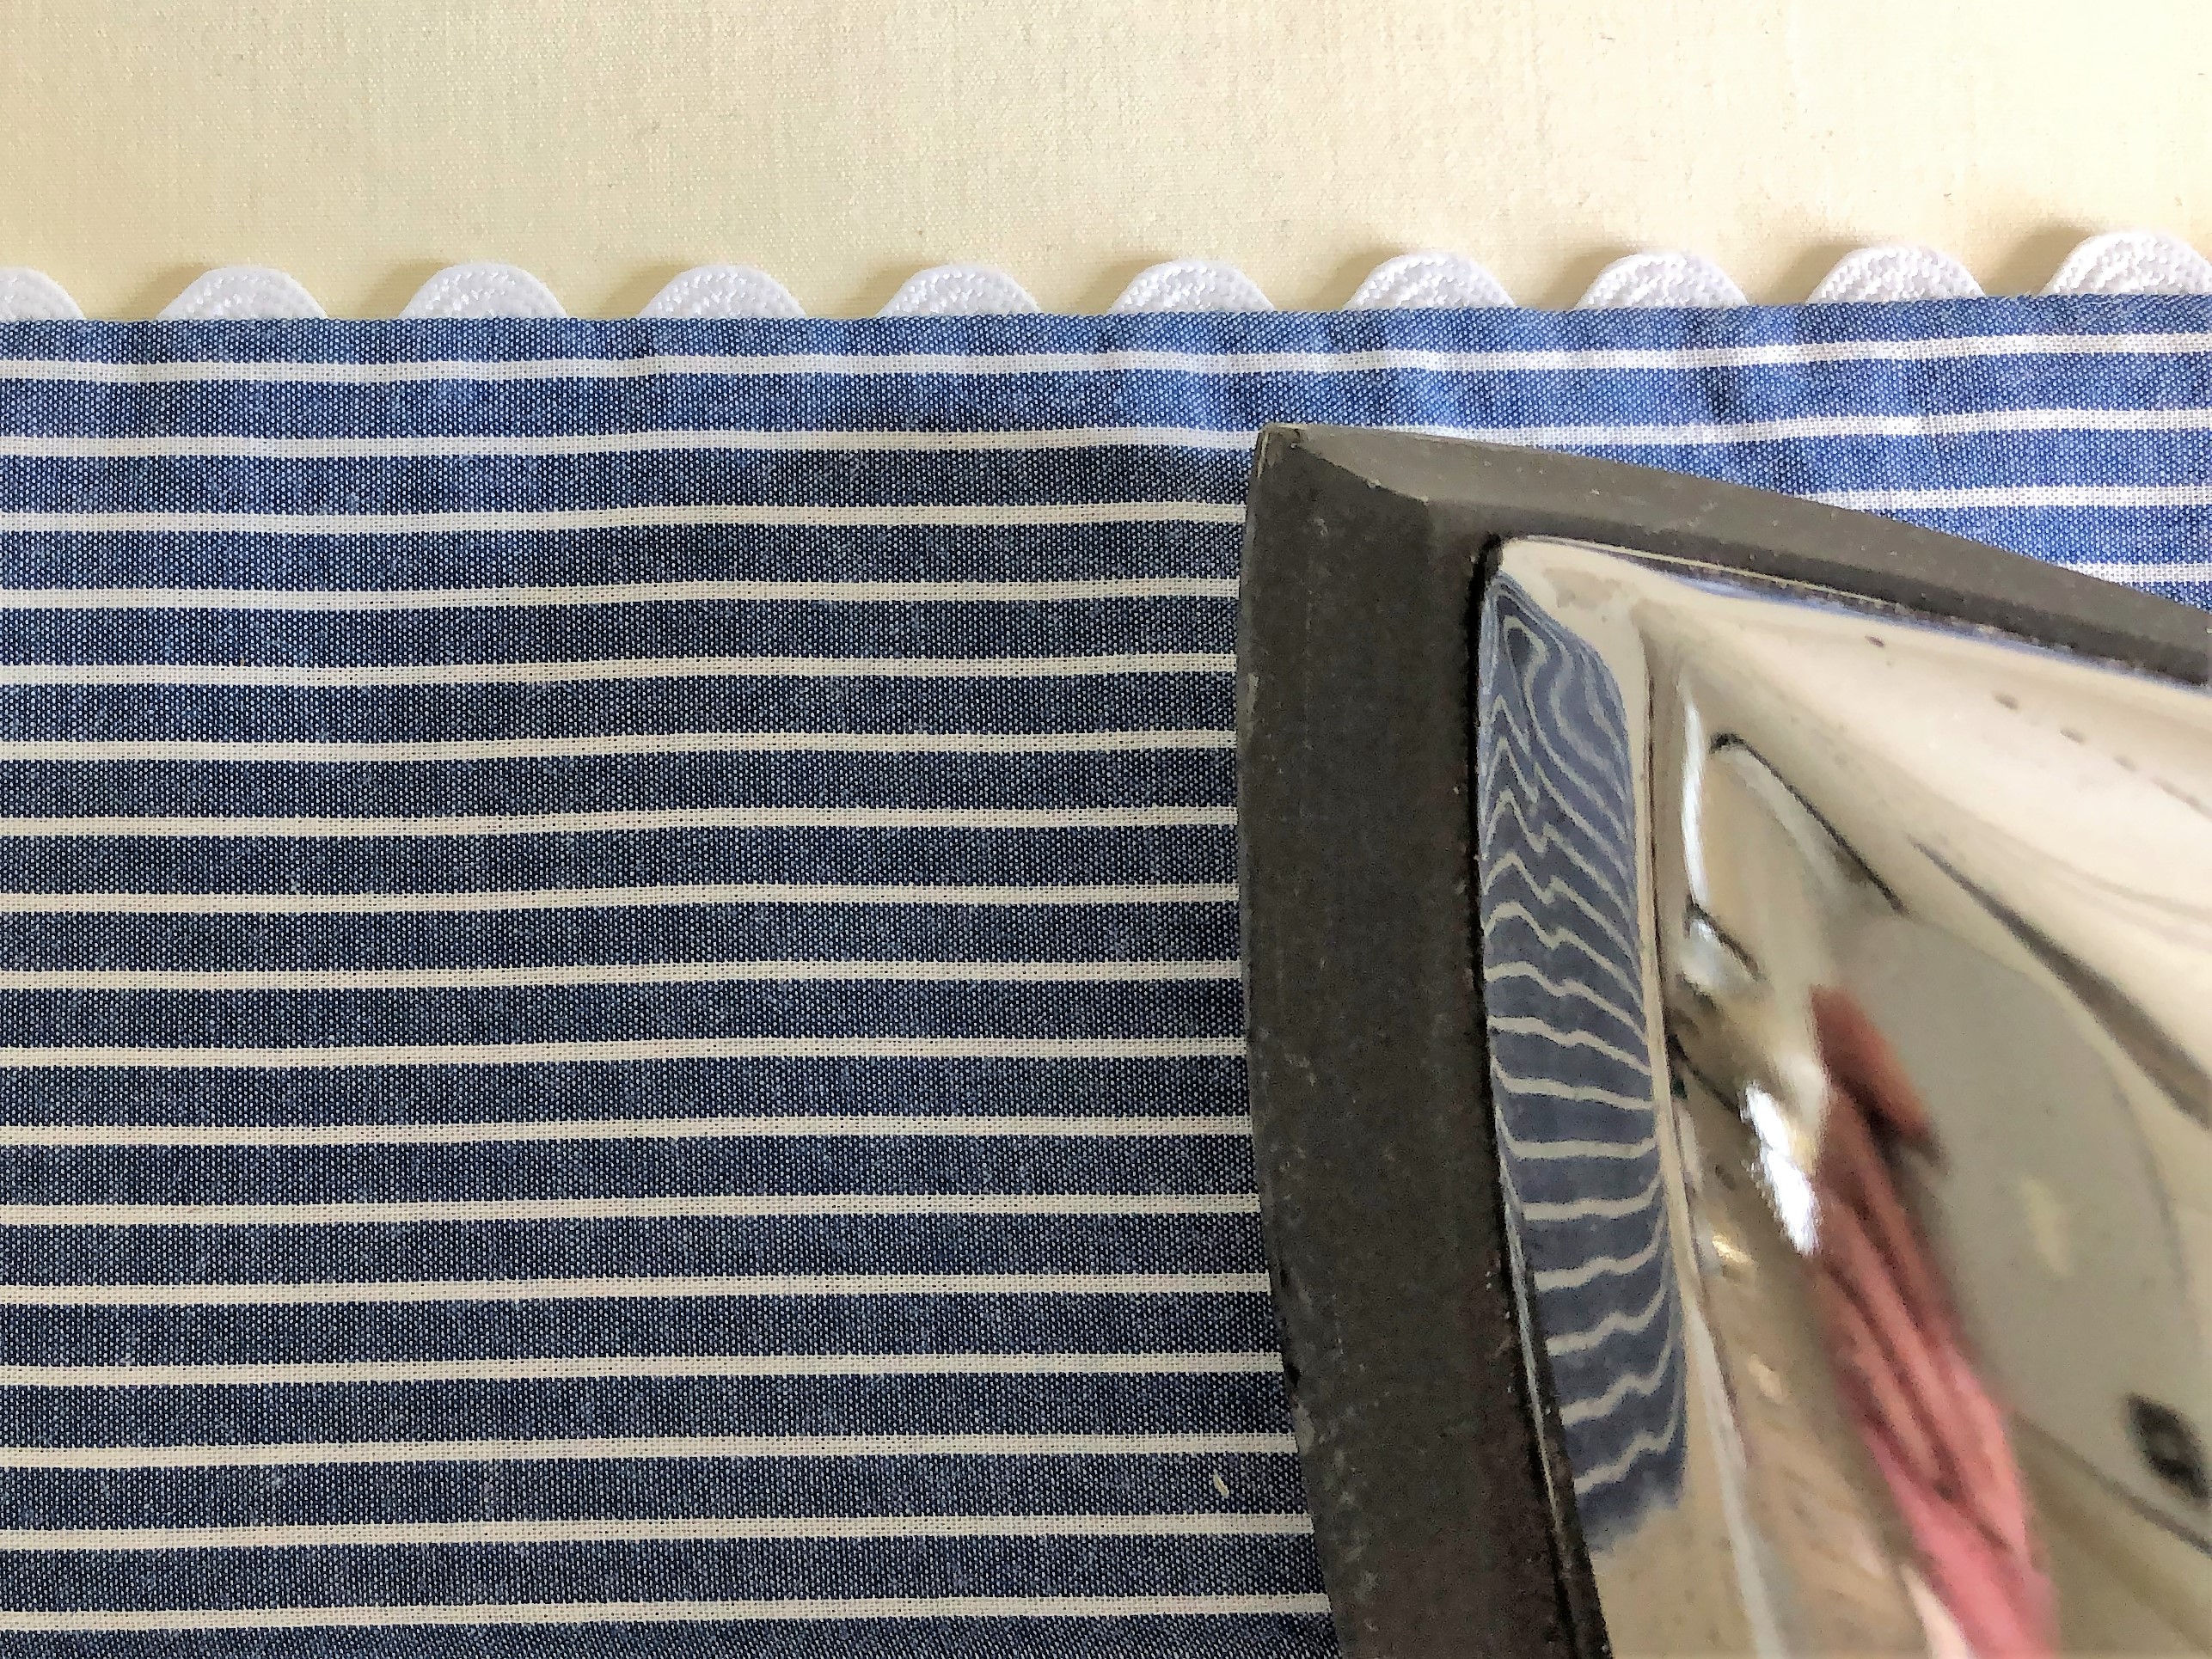
Step 4
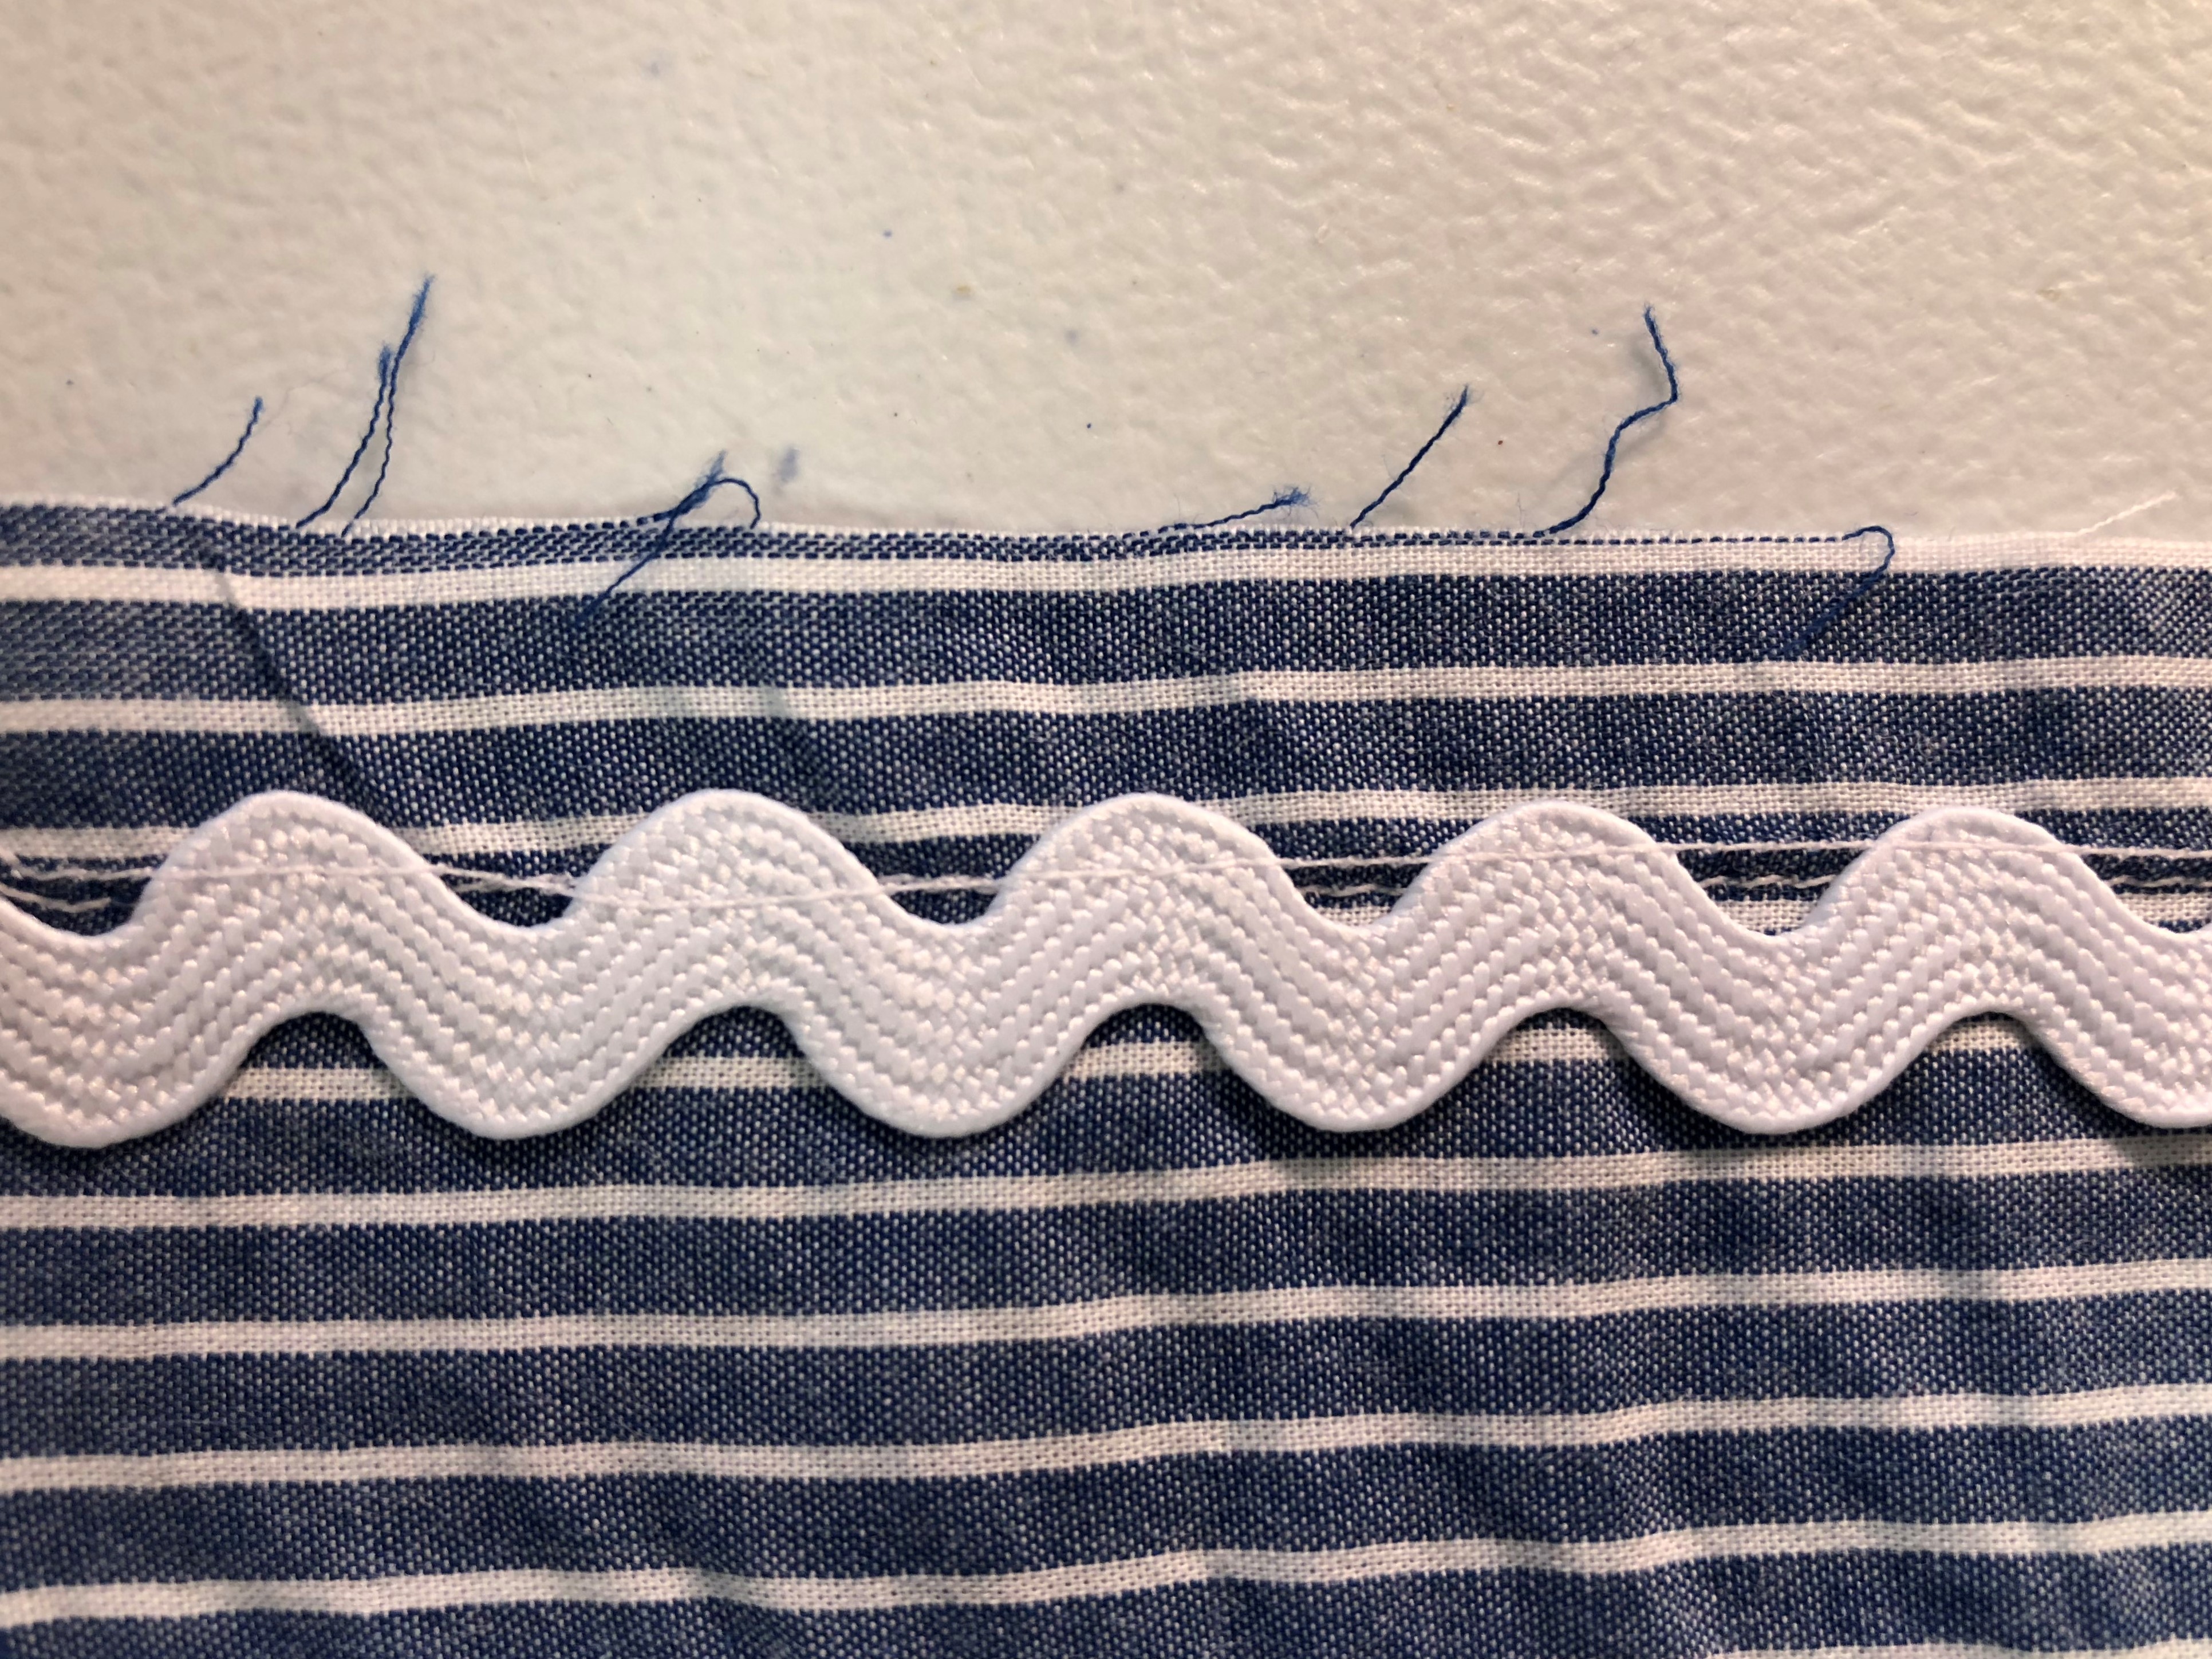
This is how it looks.
Step 5
With right sides together, get ready to stitch your seam. Use a pin to secure in place if necessary.
Step 6
Stitch using a 5/8″ seam allowance.
Step 7
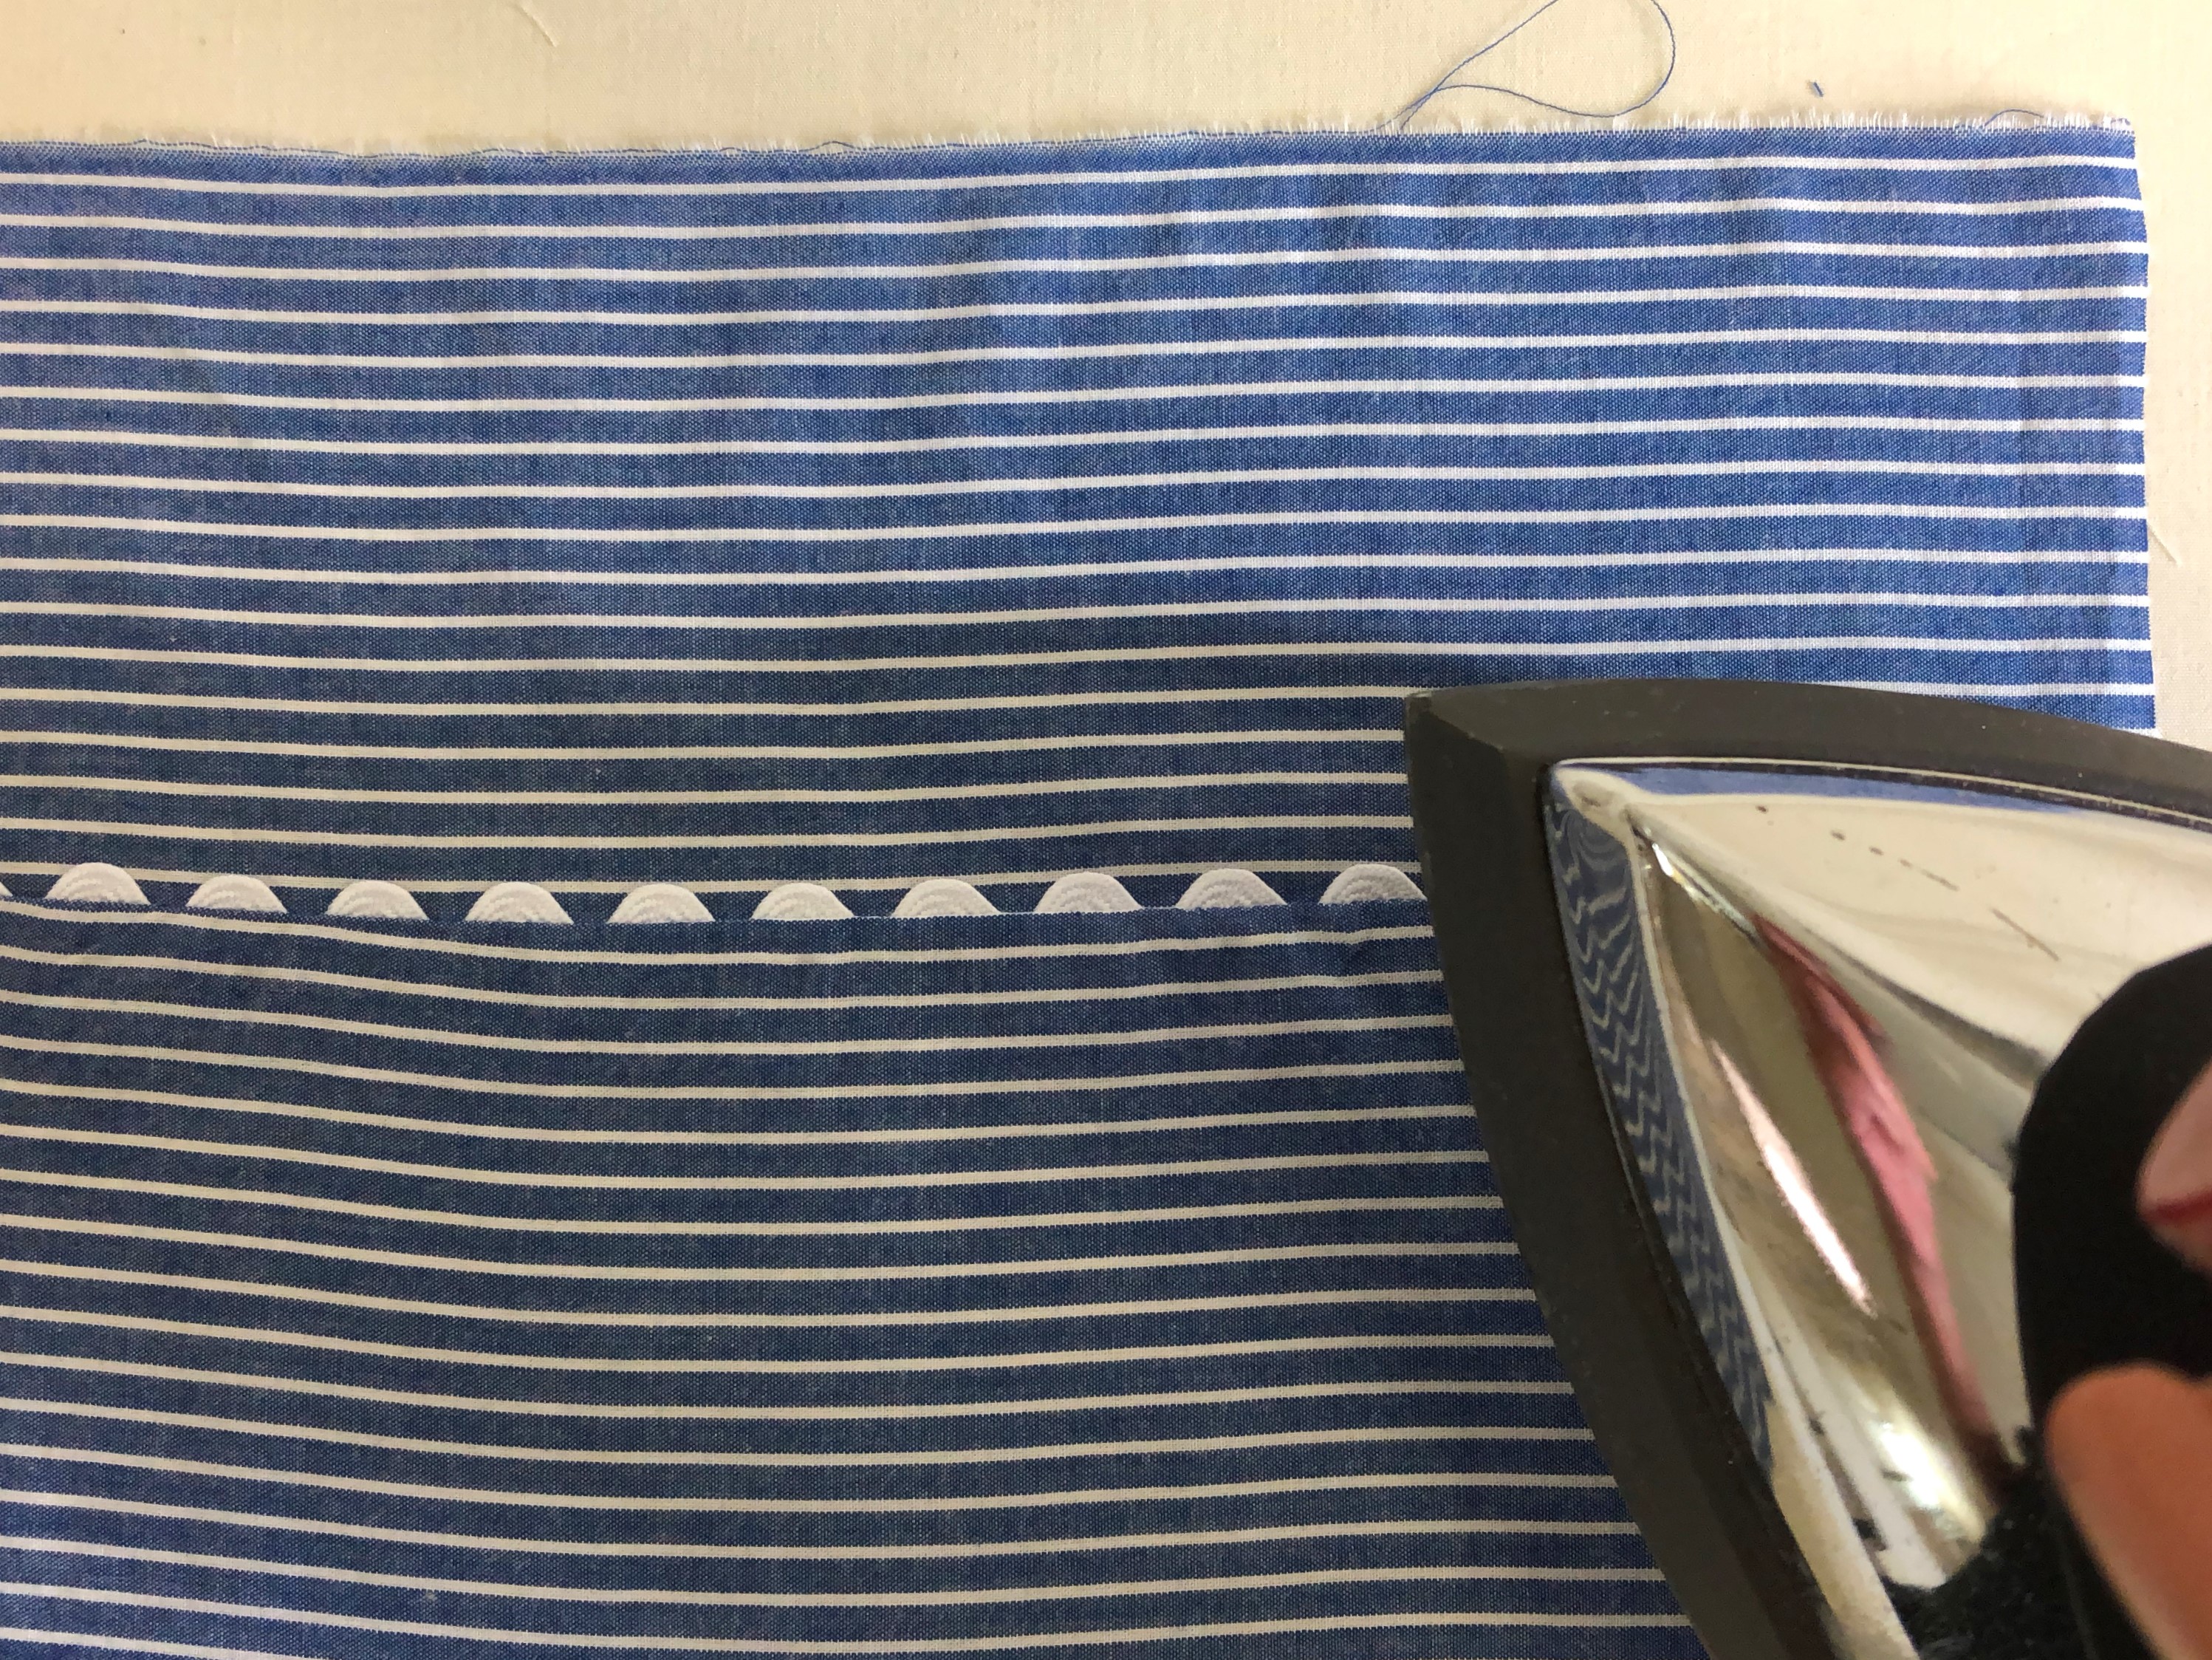
Open out the fabric and press.
Step 8
Then fold fabric back, wrong sides together and press.
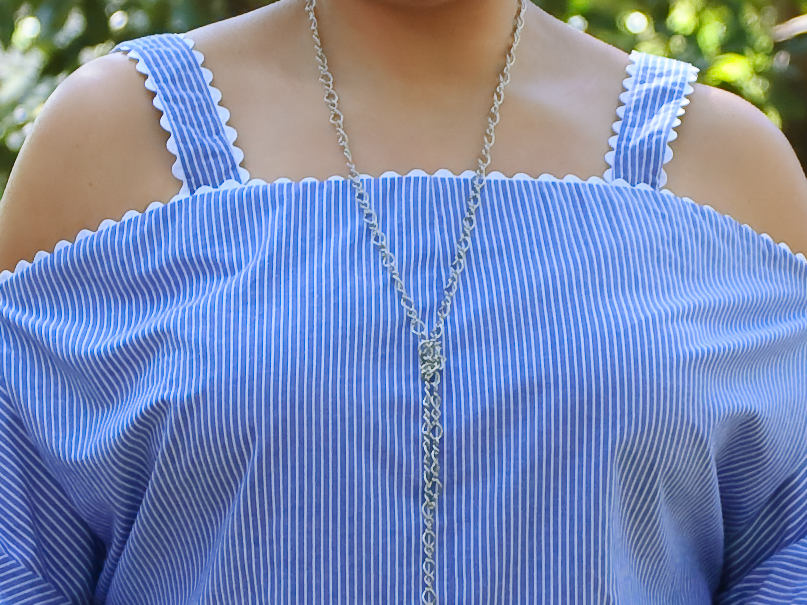
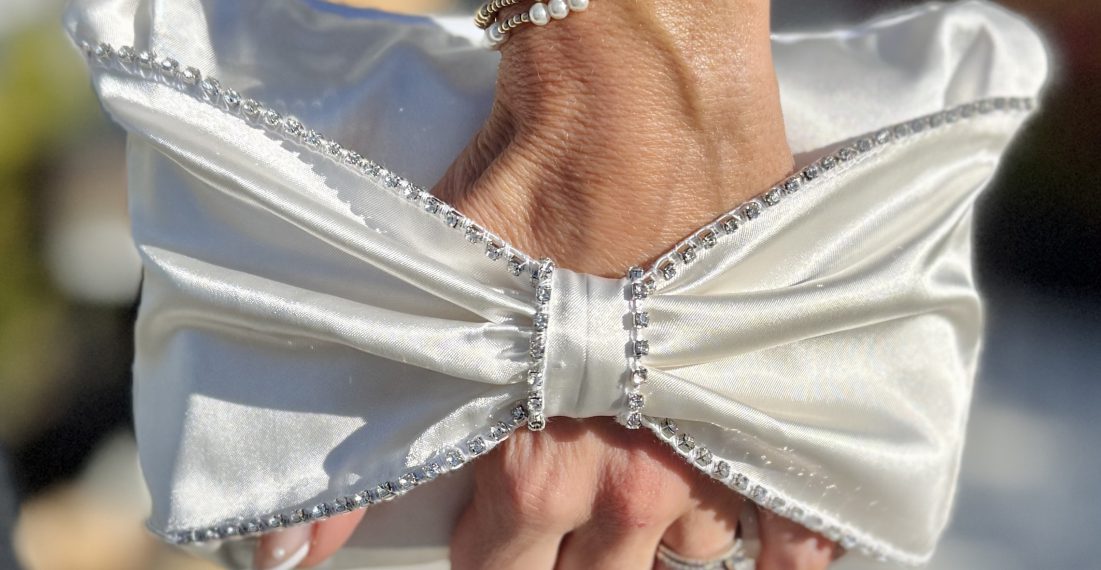
I used this technique for edging trim on the shoulder straps and around the neckline.

I also added rick rack trim around the hems of the sleeves and the top.
Step 1
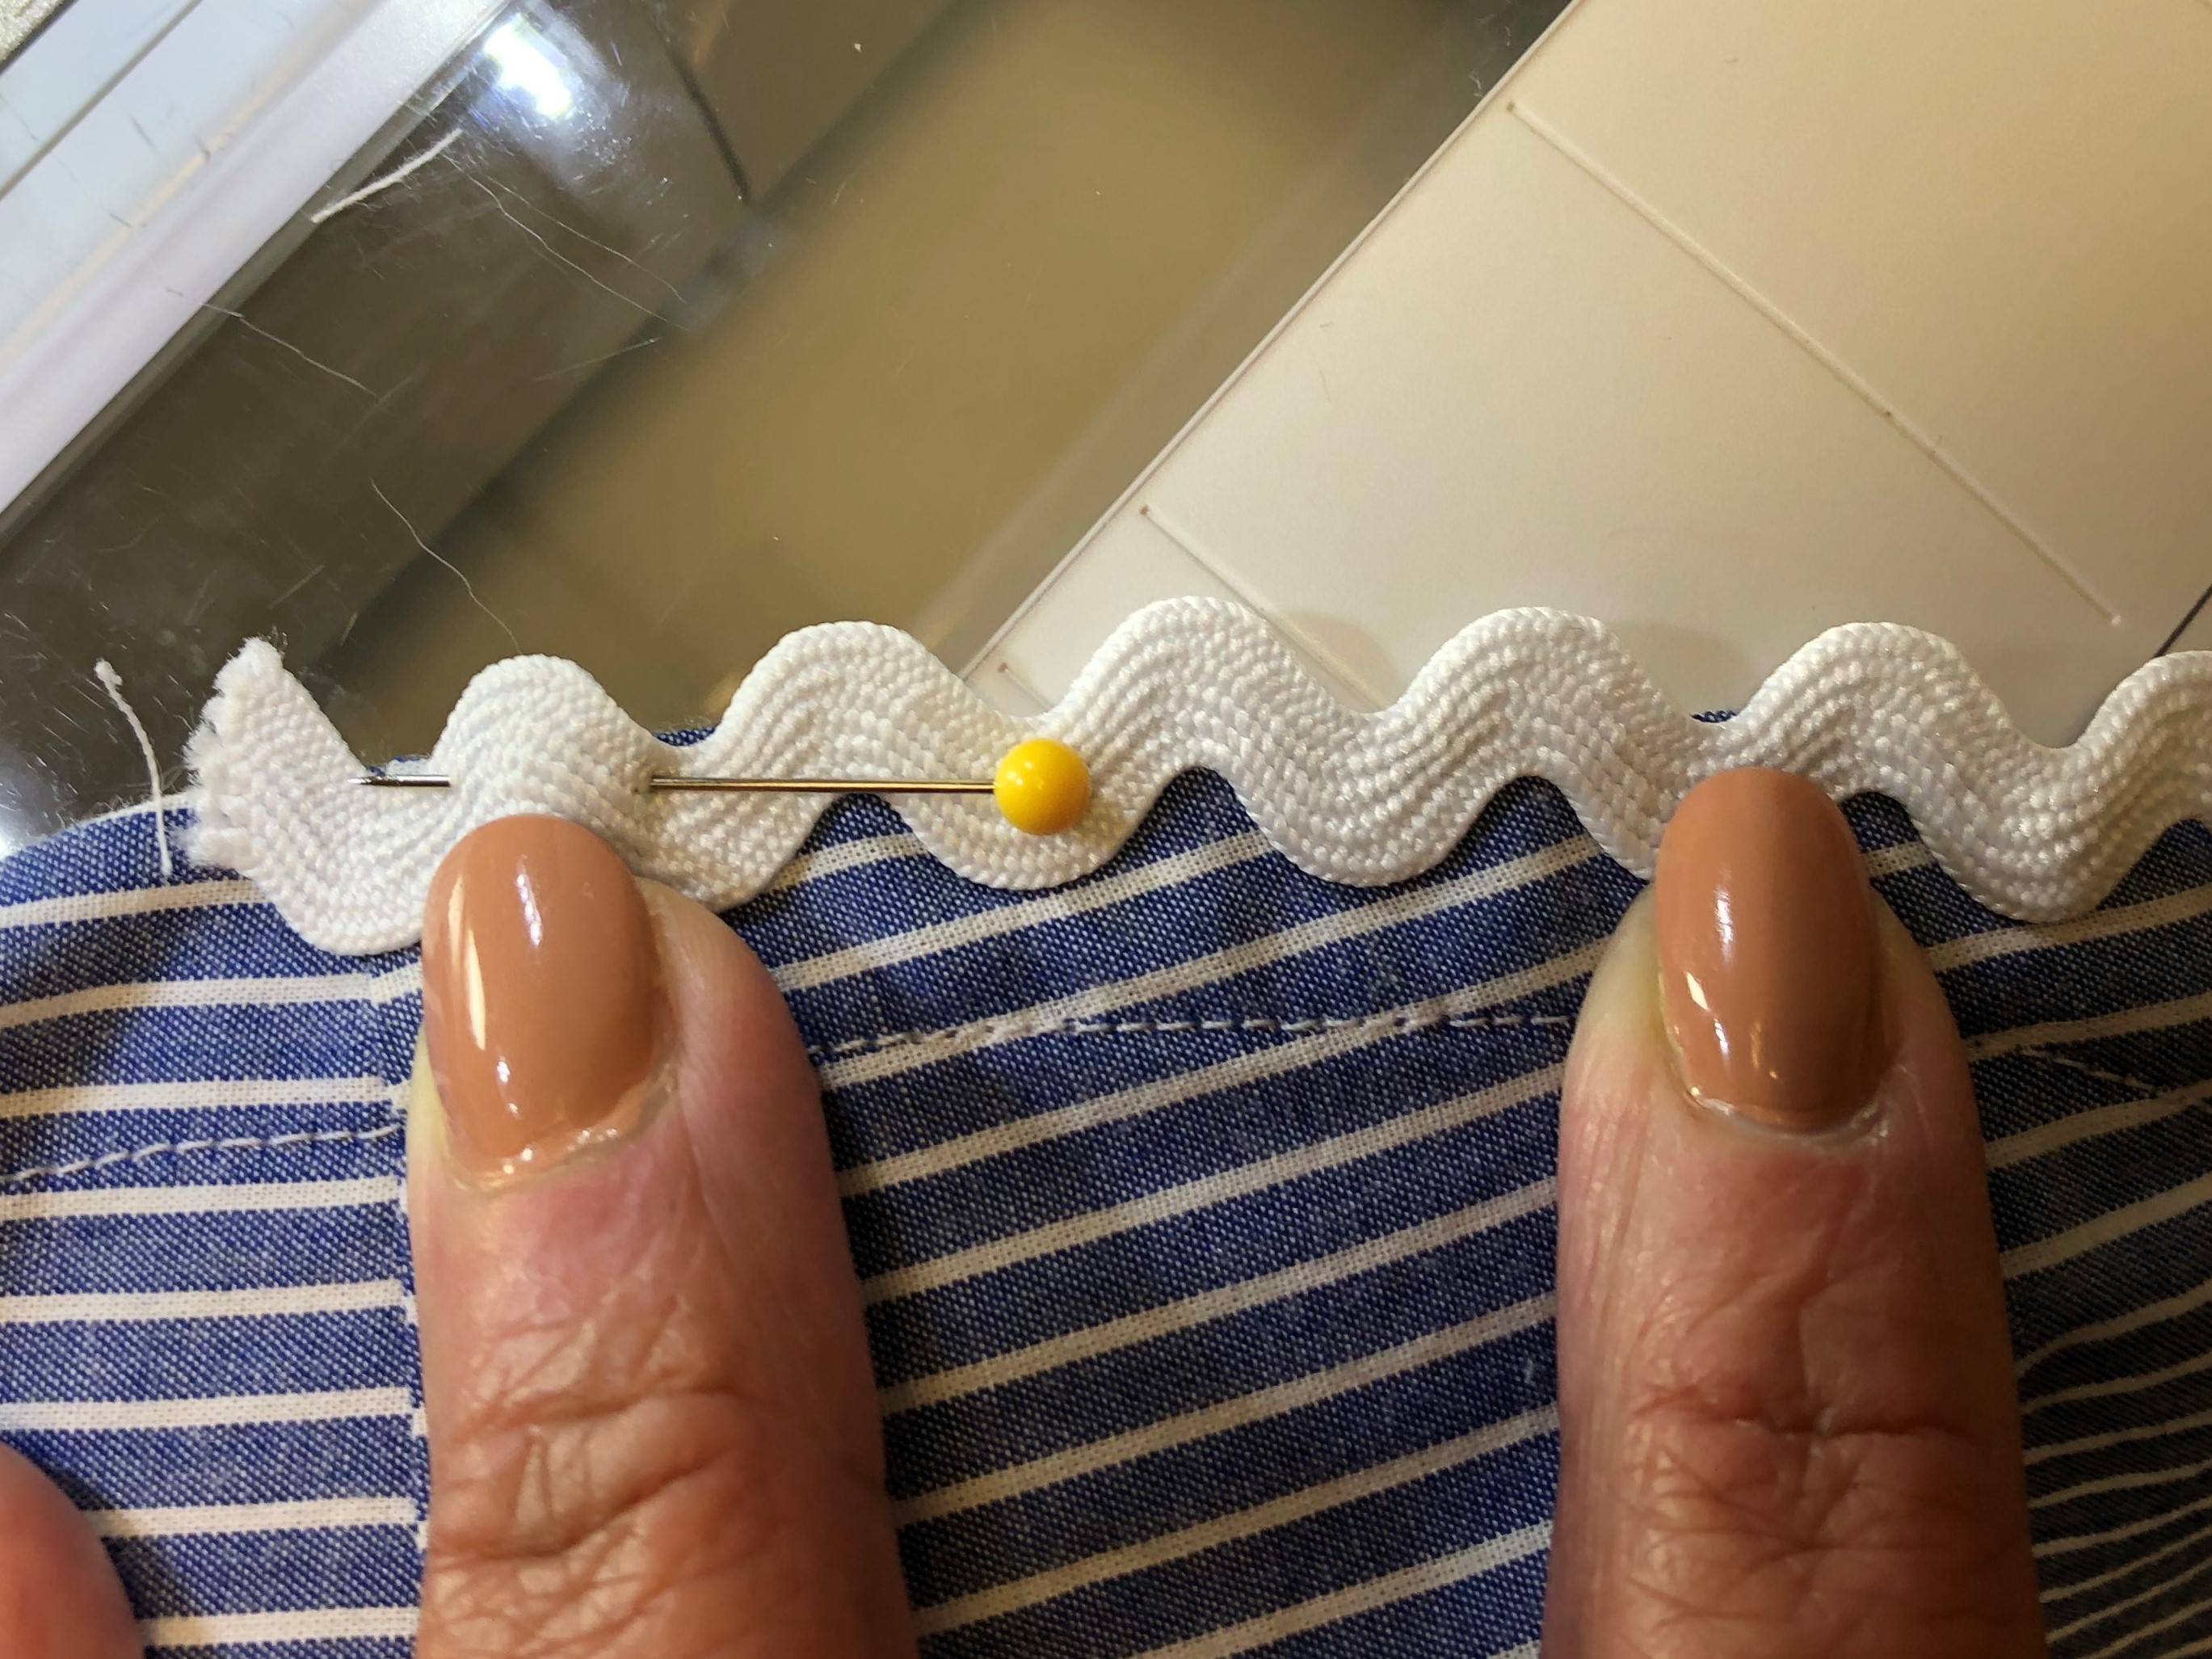
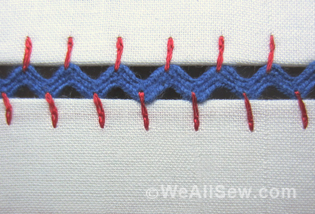
After you’ve sewn your hem in place, place the rick rack trim on the edge. Using the edge of the hem as your guide, place the rick rack valleys level with the edge. Pin in place.
Step 2
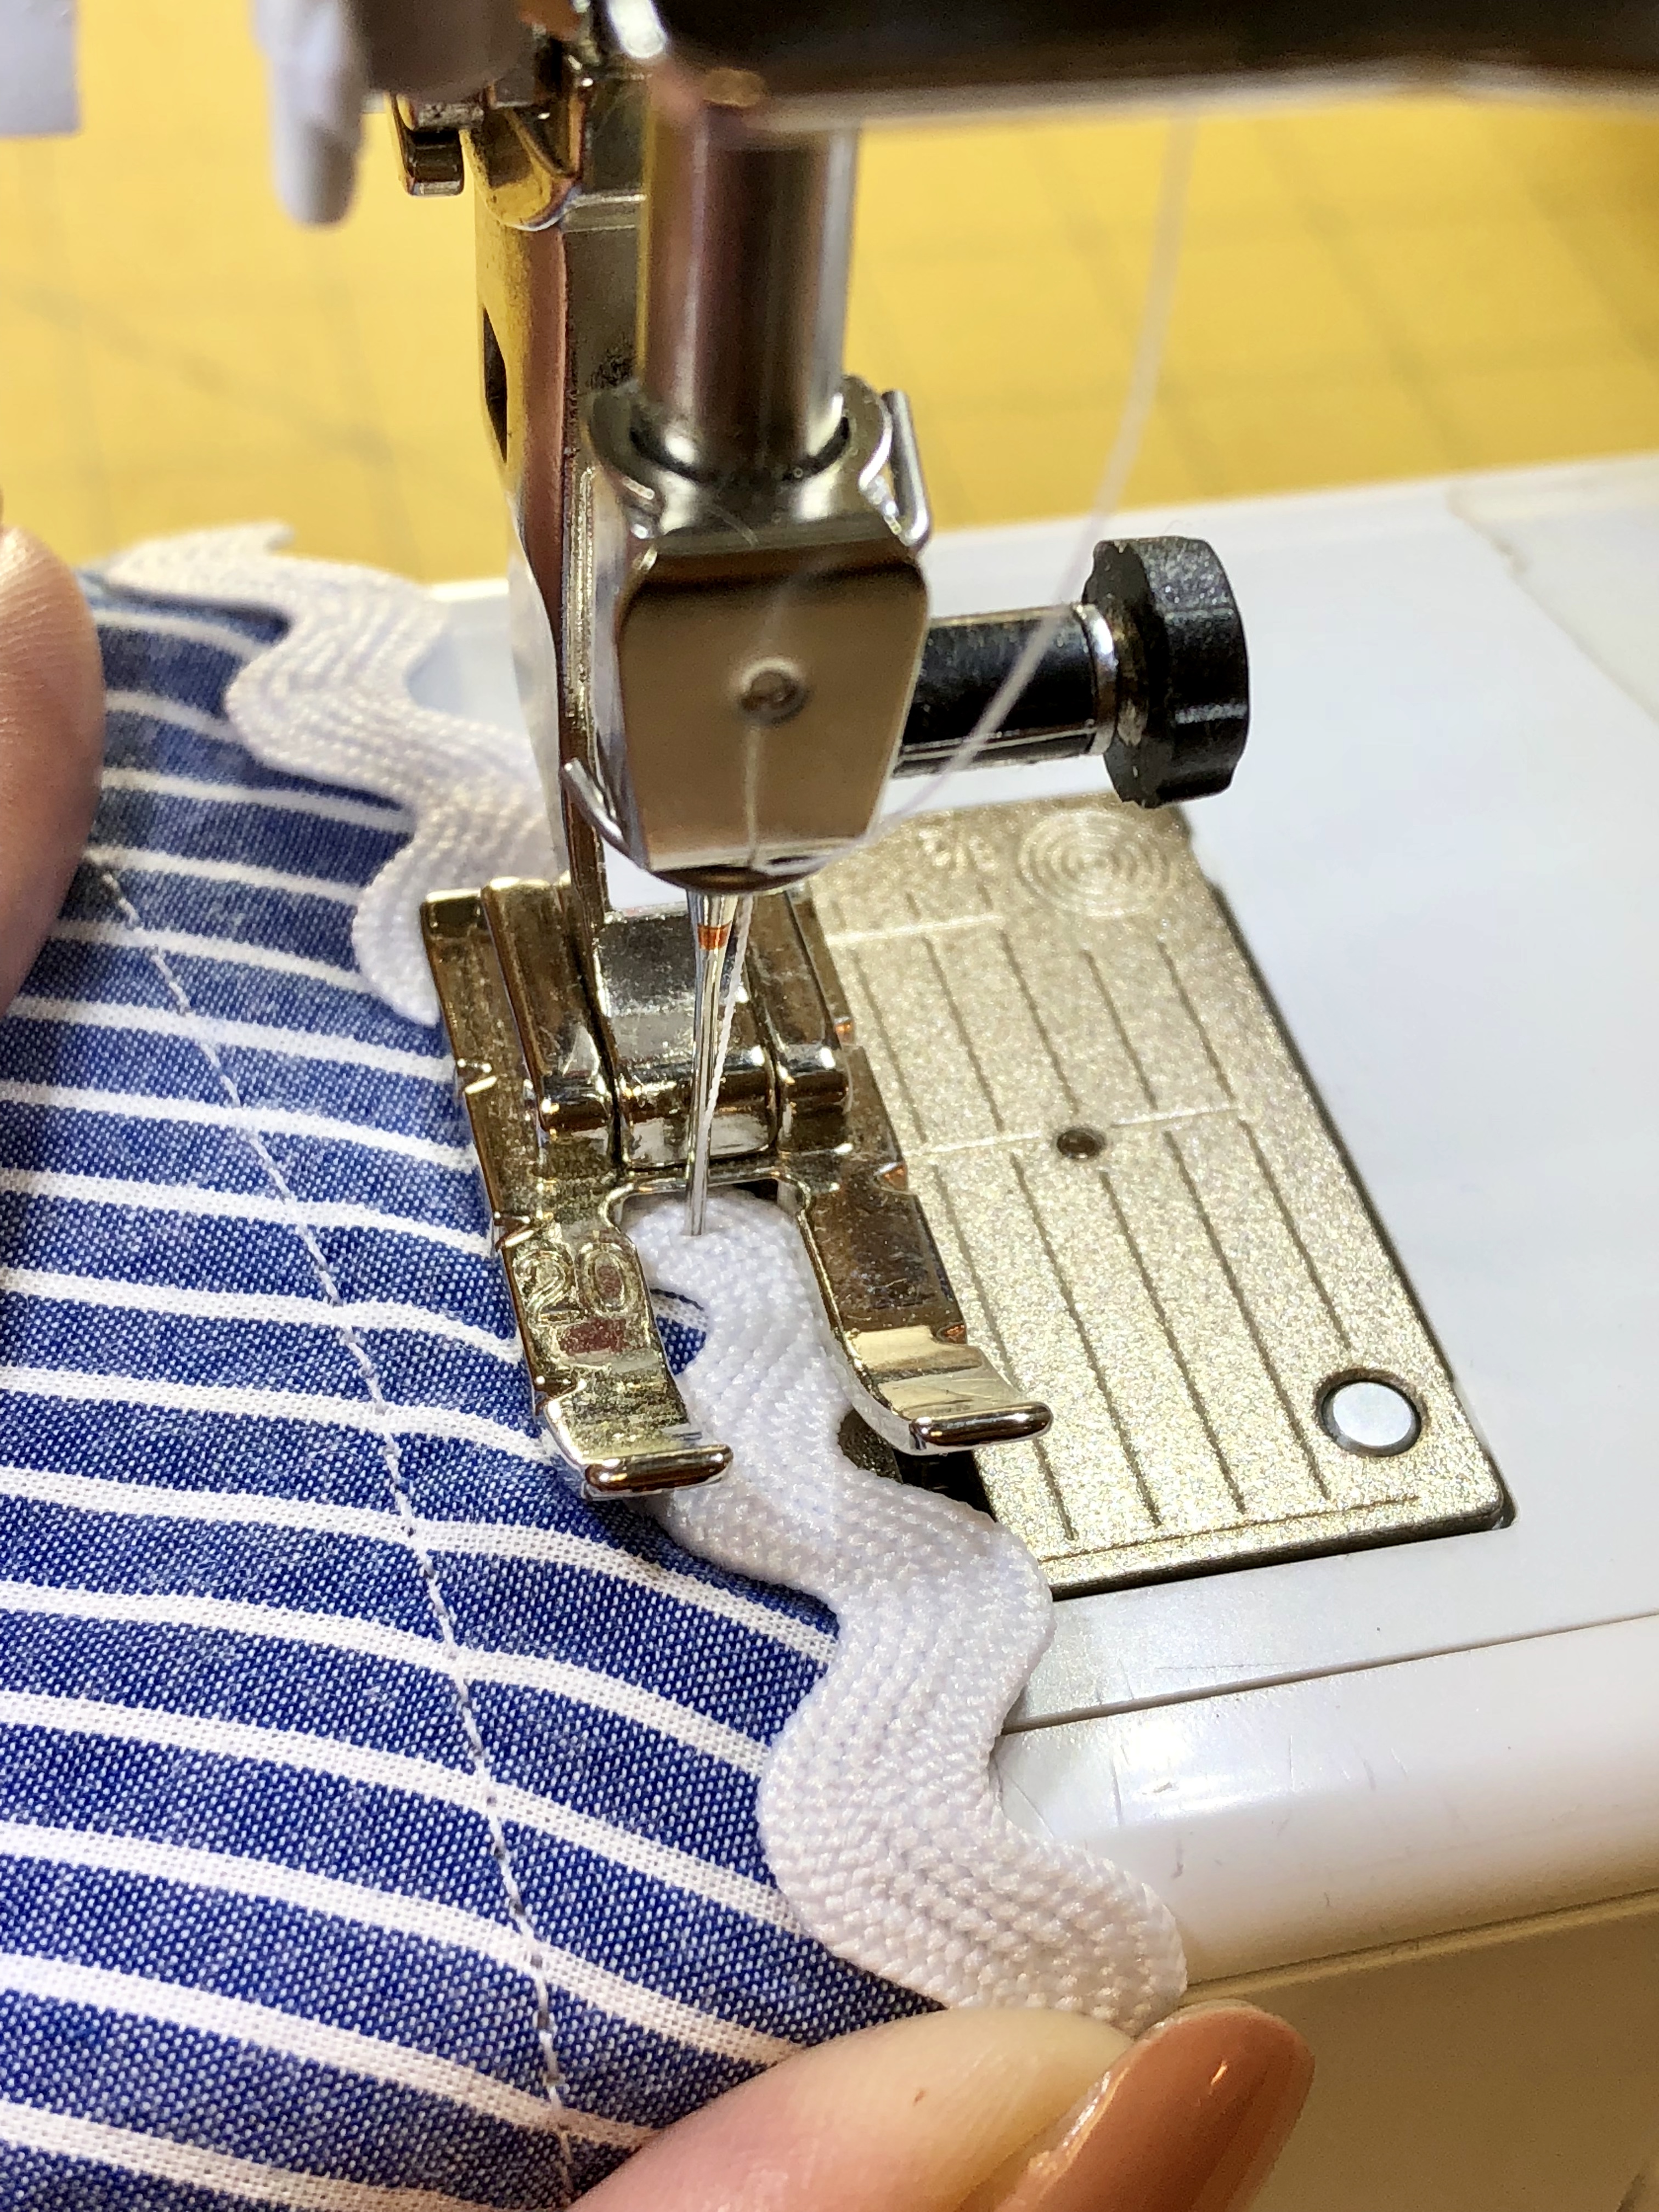
Using the BERNINA #20 Open Embroidery Foot and thread that matches the color of your rick rack, so straight down the middle of the rick rack.
Step 3
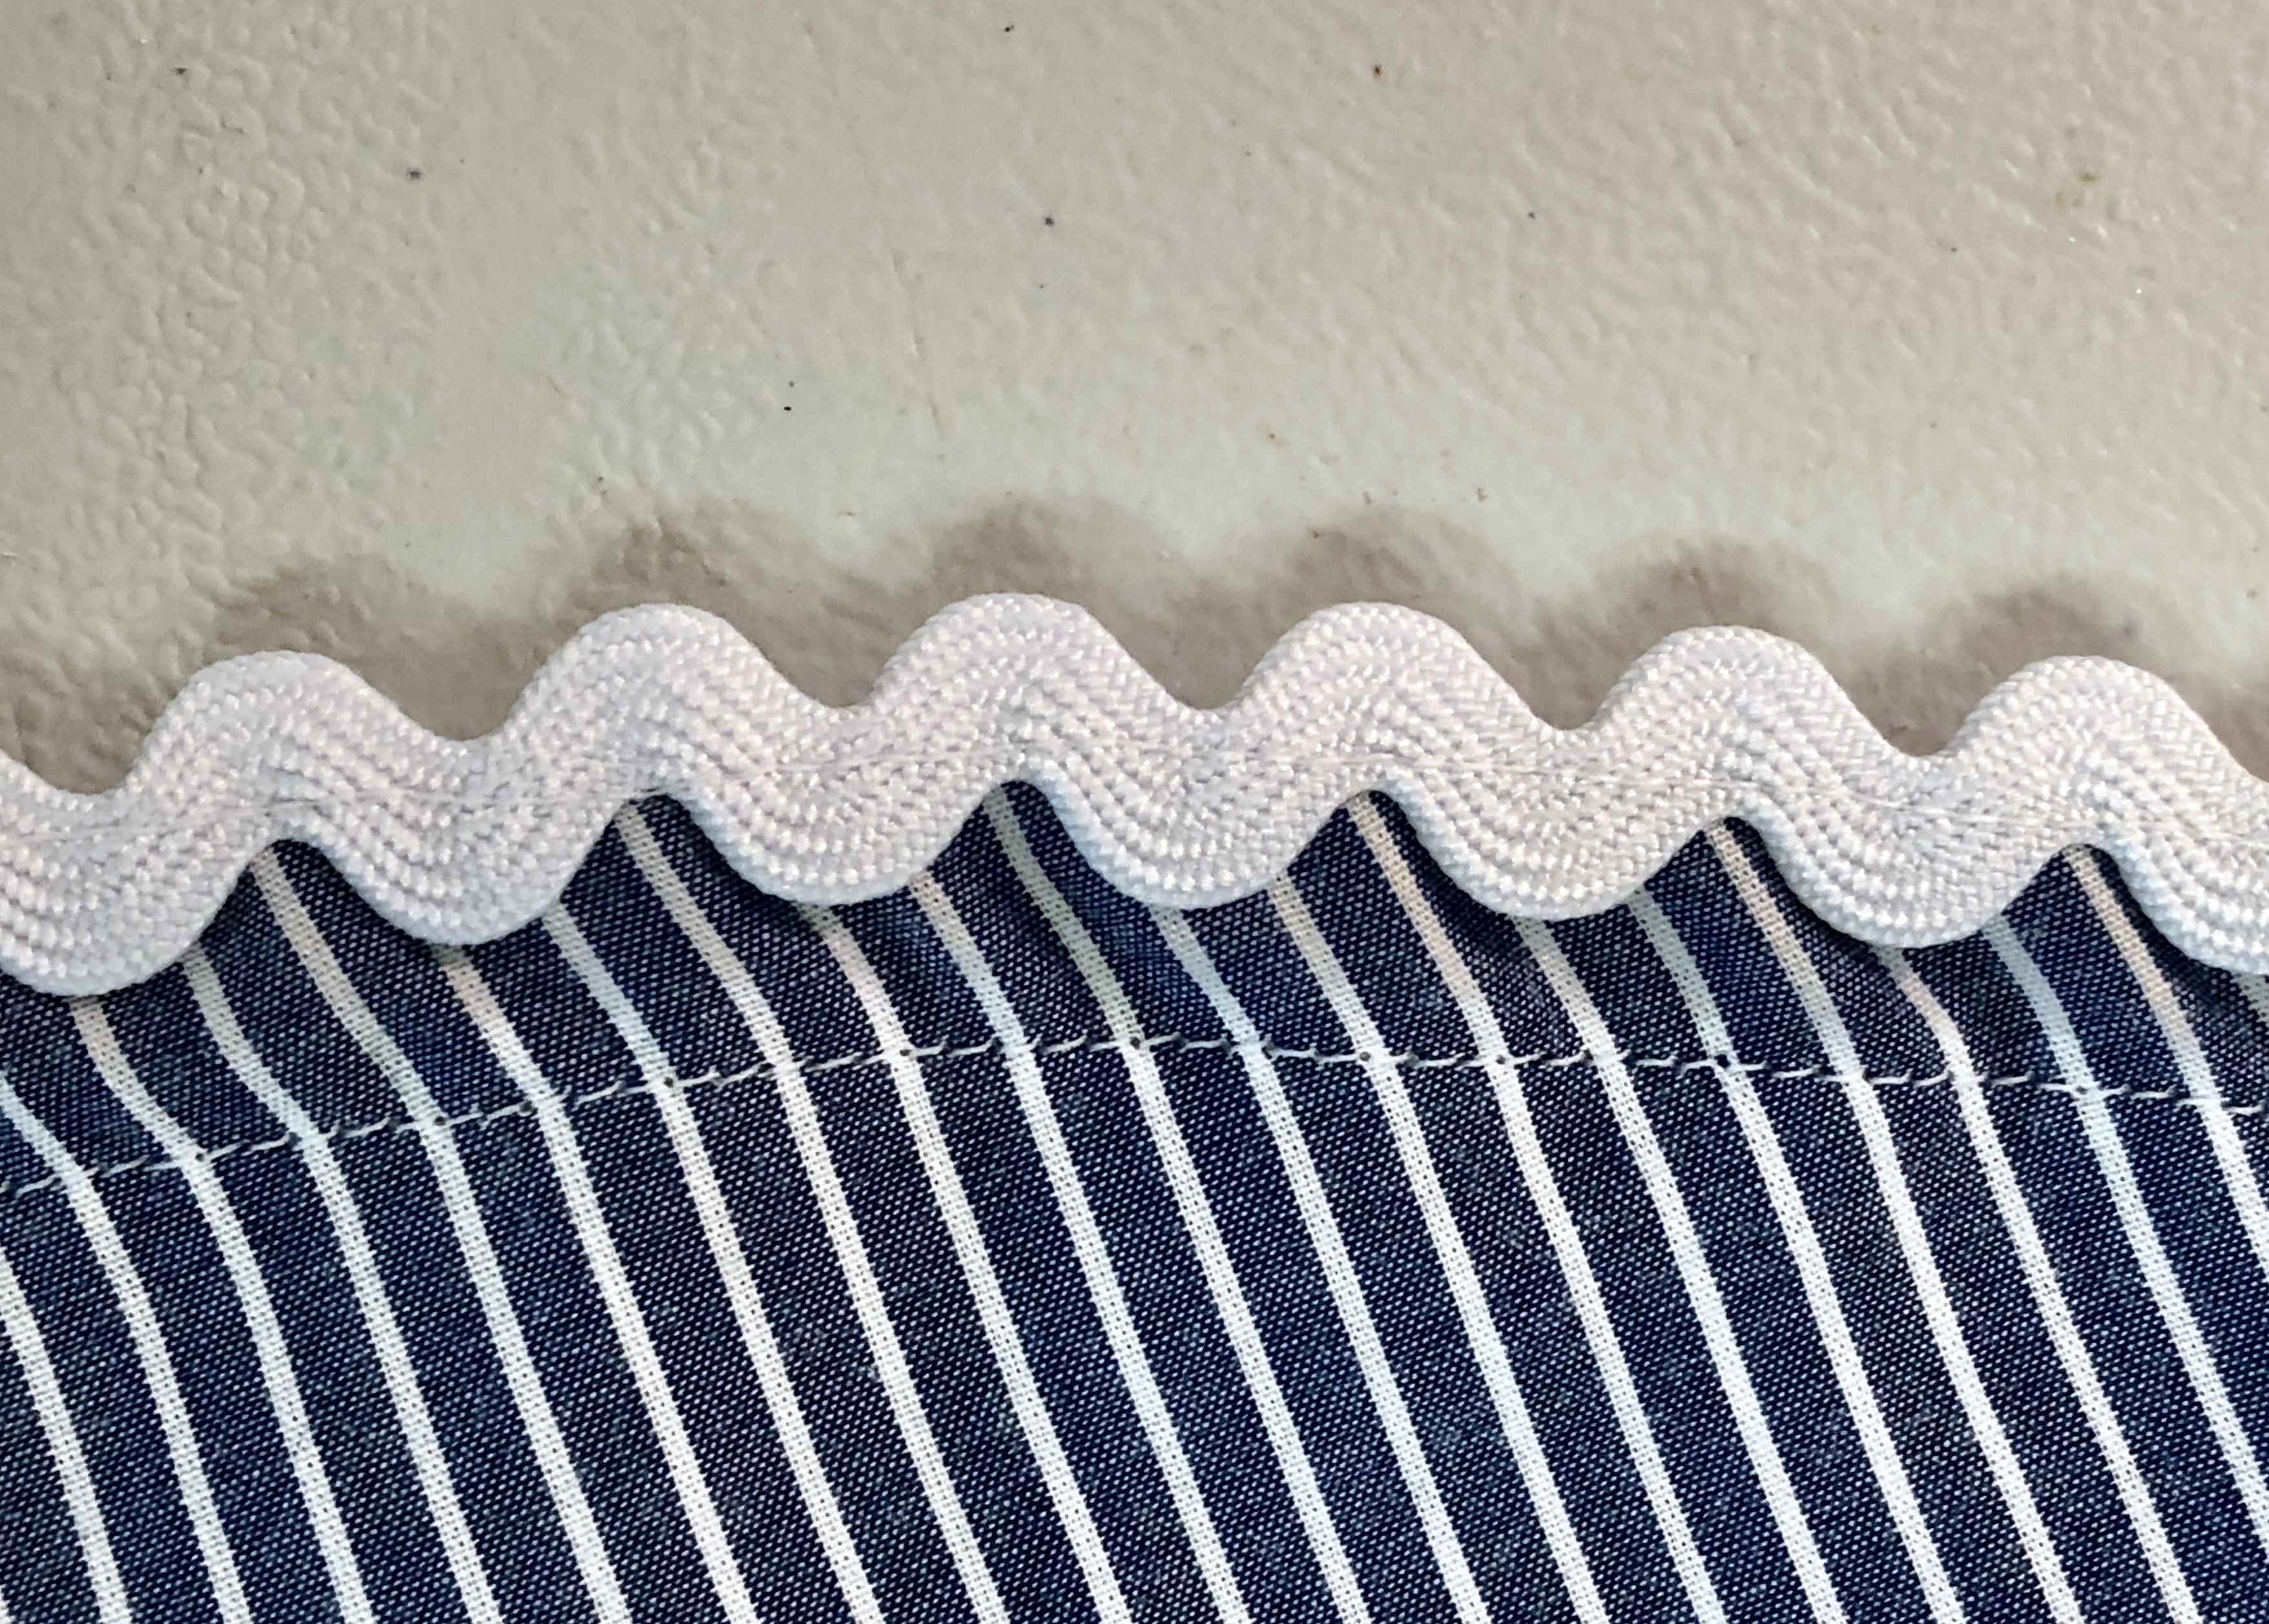
This is how it looks and the thread is basically invisible.
Step 4

I repeated with various colors and sizes of rickrack trim using coordinating thread.
Here are some tips: In case you fear the colors may run during the wash cycle, use a laundry color catcher.

Also, the do to its nature, the rick rack trim will curl up after it’s washed and dried. Simply give it a good pressing!
Used Products


What you might also like


6 comments on “How to Sew Rick Rack Trim”
-
-
Thank you! So glad you like it!
-
-
Very cute blouse pattern. Thanks for sharing pattern # + ric-rac tips.
-
Thank you so much!
-
-
Wow. I too have been seeing it in sewing and even as an embellishment on quilts. Taks me back to my childhood and to when I was sewing for my girls.
-
And now it’s in fashion!
-
Leave a Reply
You must be logged in to post a comment.

That shirt looks so cute with the adornment. Nicely done! And thanks for the tips.