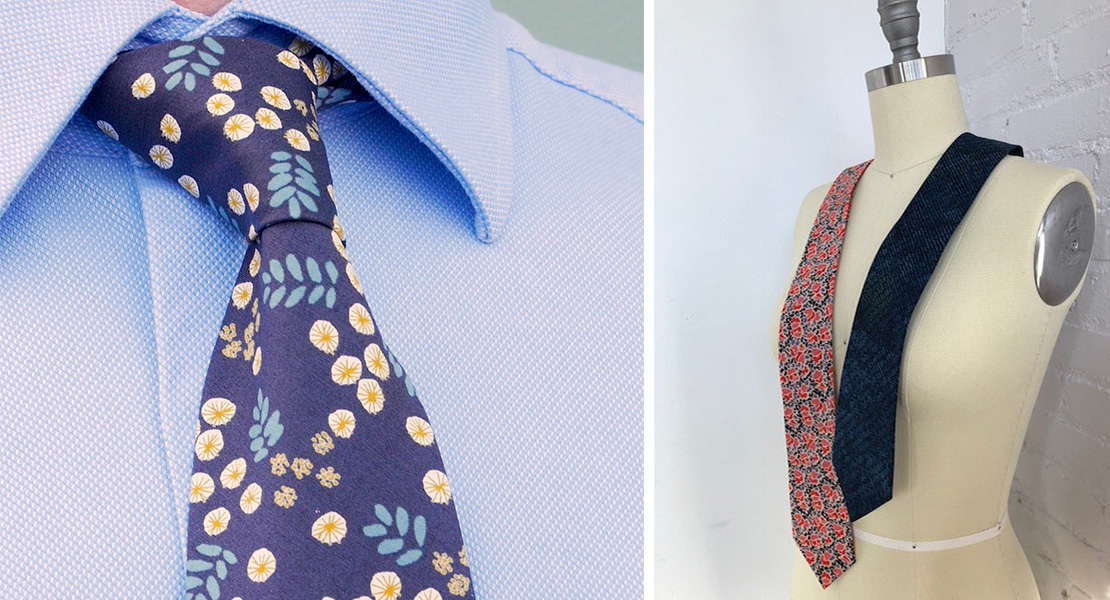
How to Sew a Bow Tie

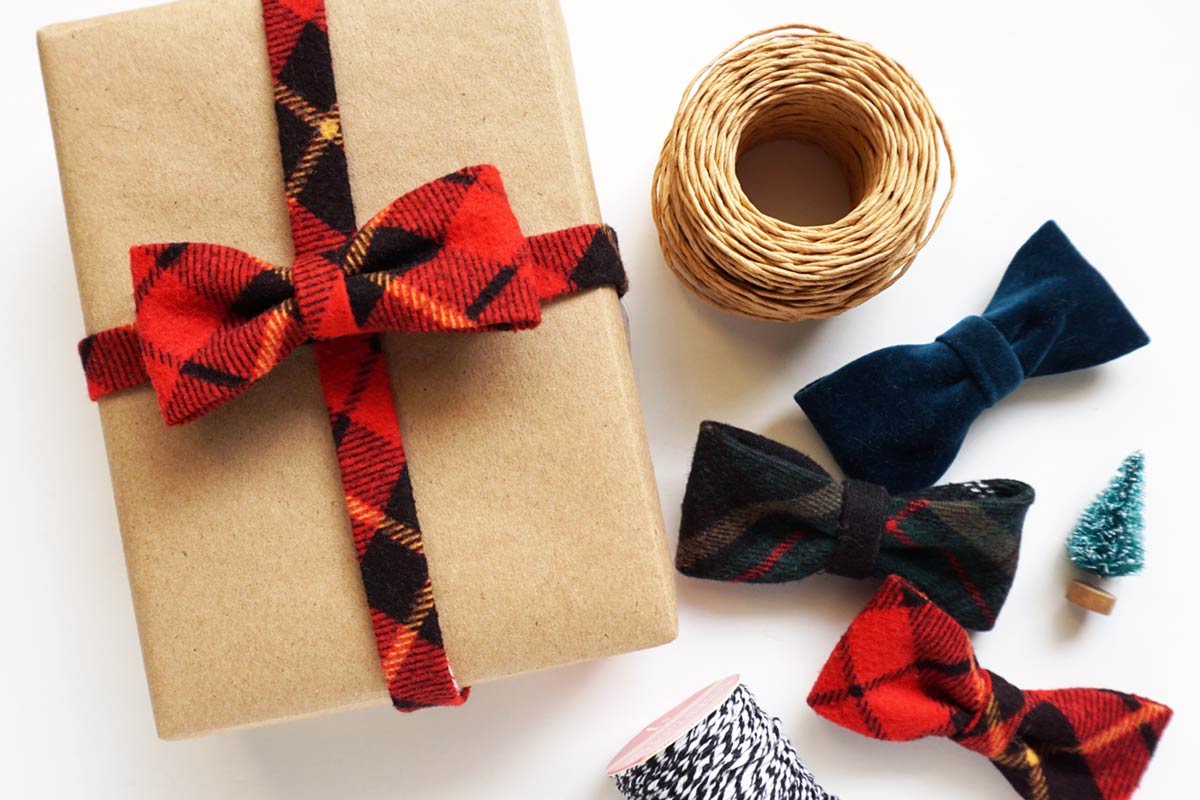
Bow ties have always been a favorite in menswear and have recently been getting a lot of love as a popular option for weddings. With just one pattern piece and a few basic supplies, you can sew up some bow ties for the entire wedding party in no time. Making them is simple—tying them takes practice.
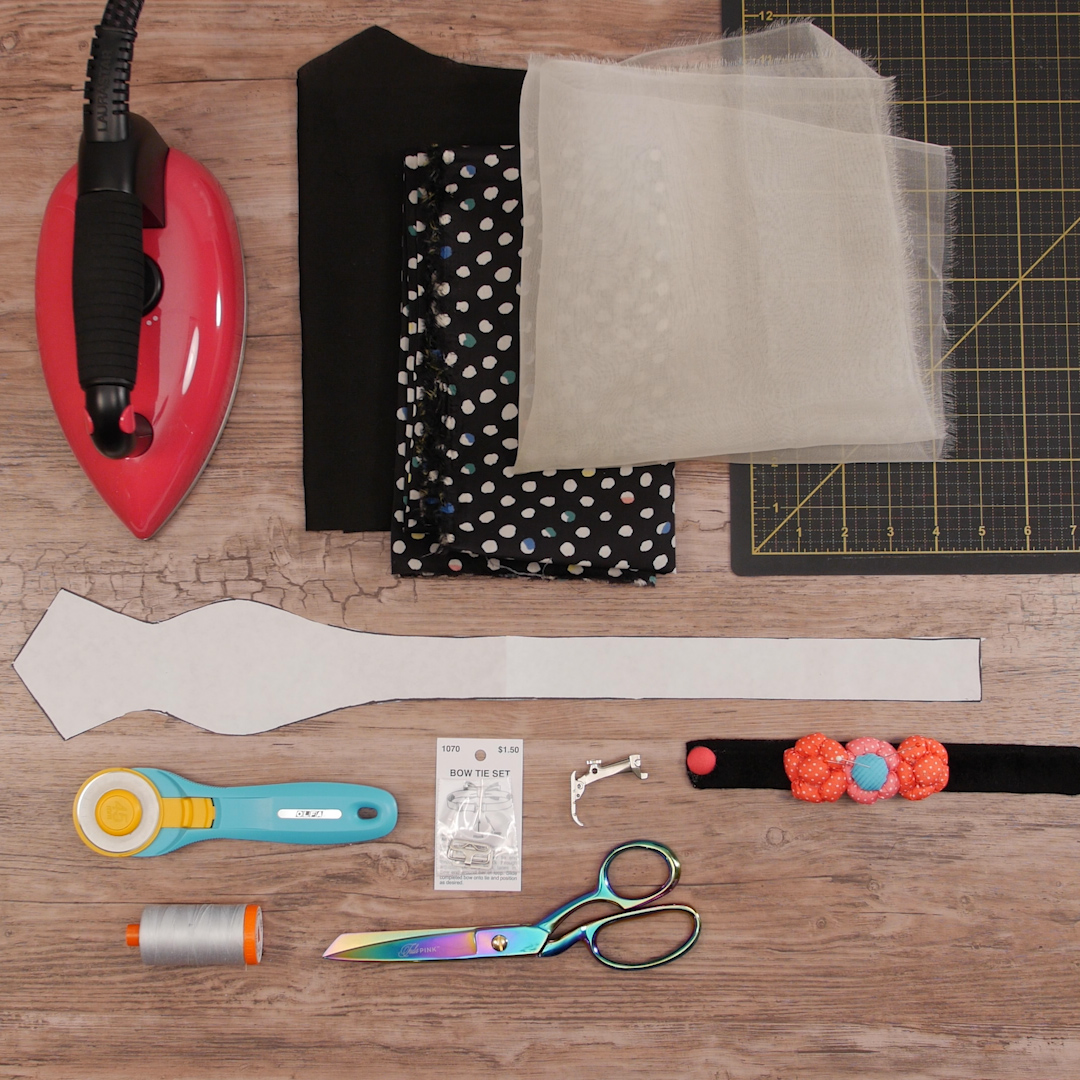
Materials for Sewing Dapper Bow Tie
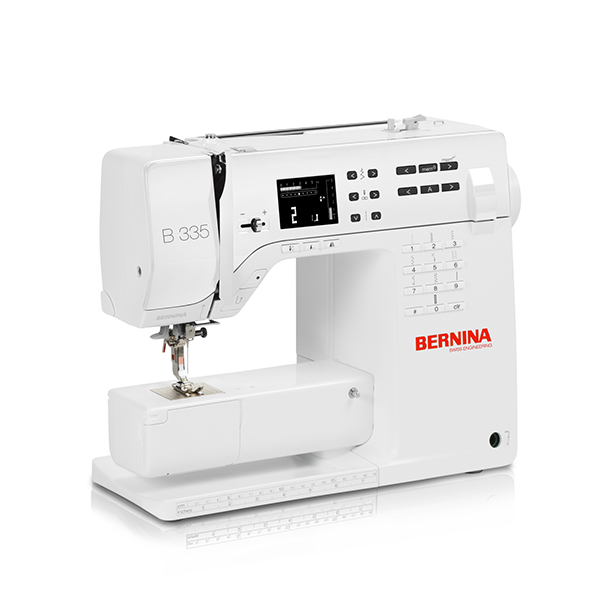
- BERNINA B 335
- Patchwork foot #37
- Pattern download the Dapper Bow Tie Pattern here
- Fabric (for one Bow tie):
- Main Fabric: 1/4 yard
- Interfacing Fabric: 1/4 yard
- Bow Tie Set (Hardware Kit)
- Bodkin
- Pressing Cloth (silk organza)
- Rotary cutter
- Cutting mat
- Laurastar Iron System
- Magic Pressing Mat
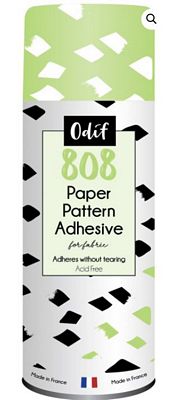
- Freezer Paper or Odif 808 Paper Pattern Adhesive
- Thread
- 80/12 Microtex needle
- Scissors
- Sharp Pins
Steps to Sew a Bow Tie
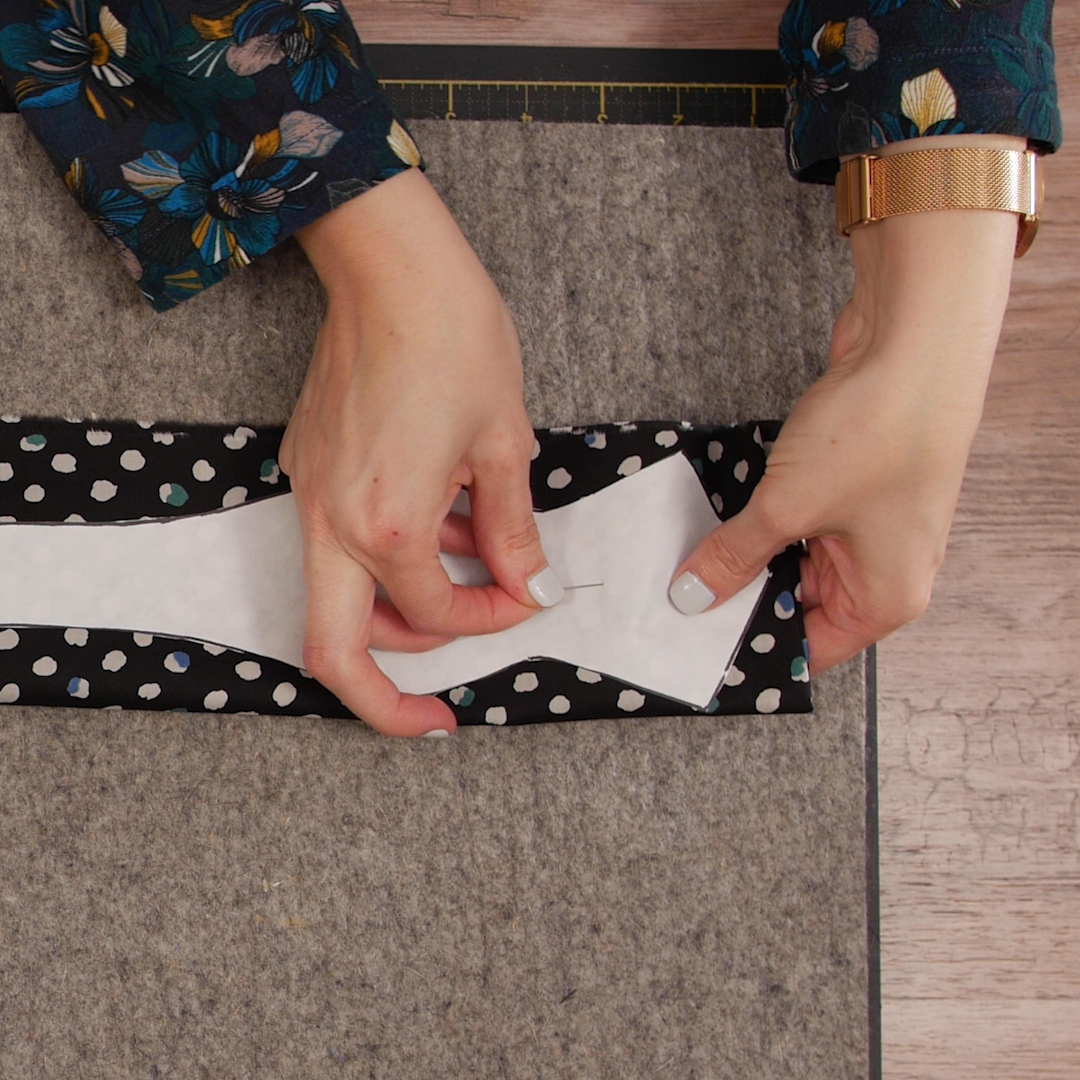
Step 1. Make Pattern & Cut Fabric
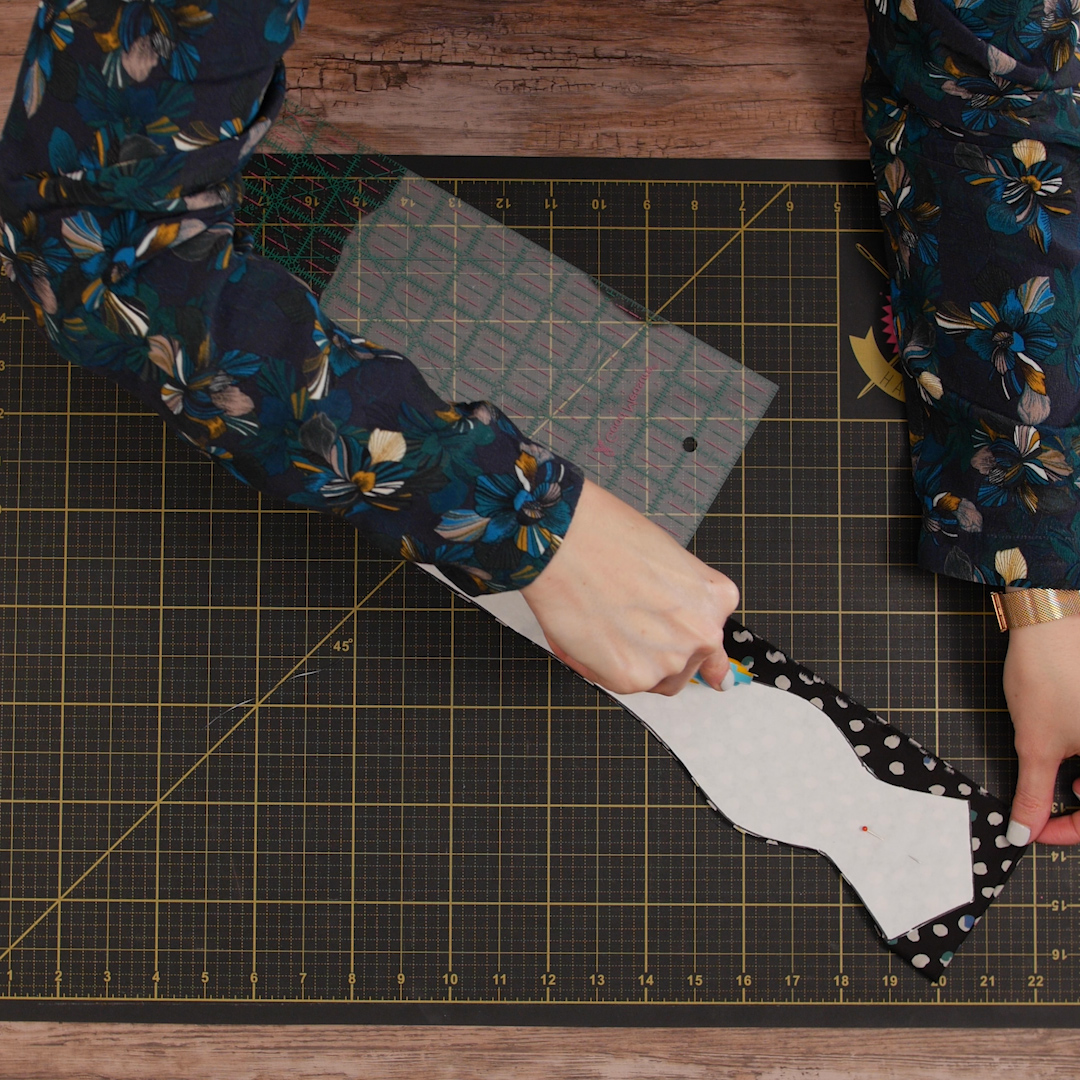
Begin by printing off the downloadable Bow Tie Template, making sure that the pattern prints to scale. I prefer to trace this template onto freezer paper. This allows me to iron the pattern piece directly onto the fabric and cut it out. I recently learned about a product, 808 Paper Pattern Adhesive, that essentially works like freezer paper. It is an aerosol spray that creates a temporary fusible layer on the paper that is activated by the iron. You can turn all your pattern pieces into a “freezer paper” like material—how wonderful!

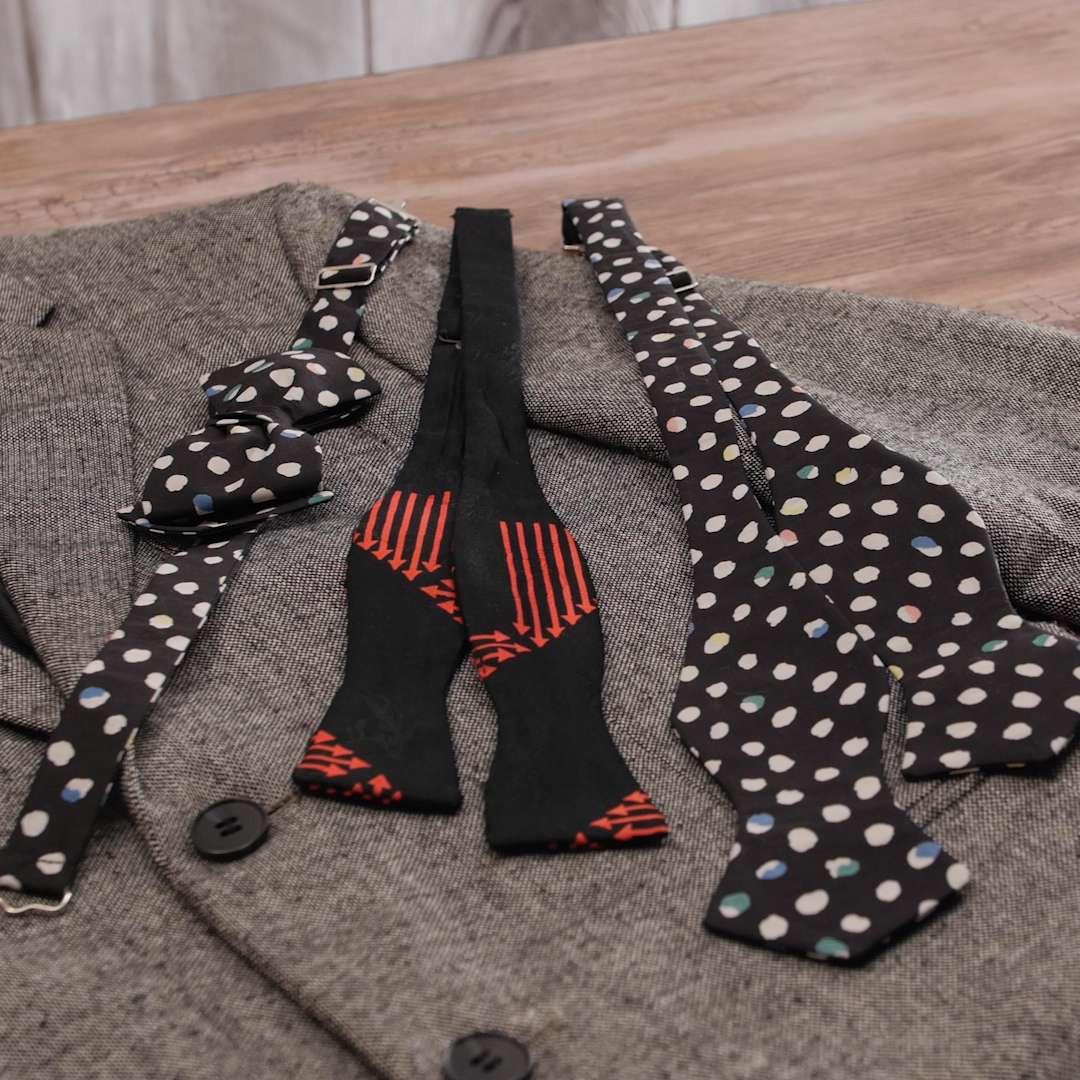
Once the pattern is prepared, cut 4 bow tie pieces from the fabric. Carefully fold the fabric and pin through all layers and you can cut all four pieces at once. I prefer to use a rotary cutter to cut out my fabric, but scissors work just as well. The fabric that I used for this bow tie was a beautiful Japanese cotton lawn fabric. It has a lovely smooth texture and was easy to sew.
Step 2. Add Fusible Interfacing
When I first began making Bow ties, I would interface the entire piece of fabric. Then I learned (from my husband’s experience with tying them) that I really only needed to interface the portion where the “bow” shape will be. Since I use interfacing all the time, I have a tendency to be stingy with it, so now I only interface the bottom portion of the tie. Choose whichever way you prefer.
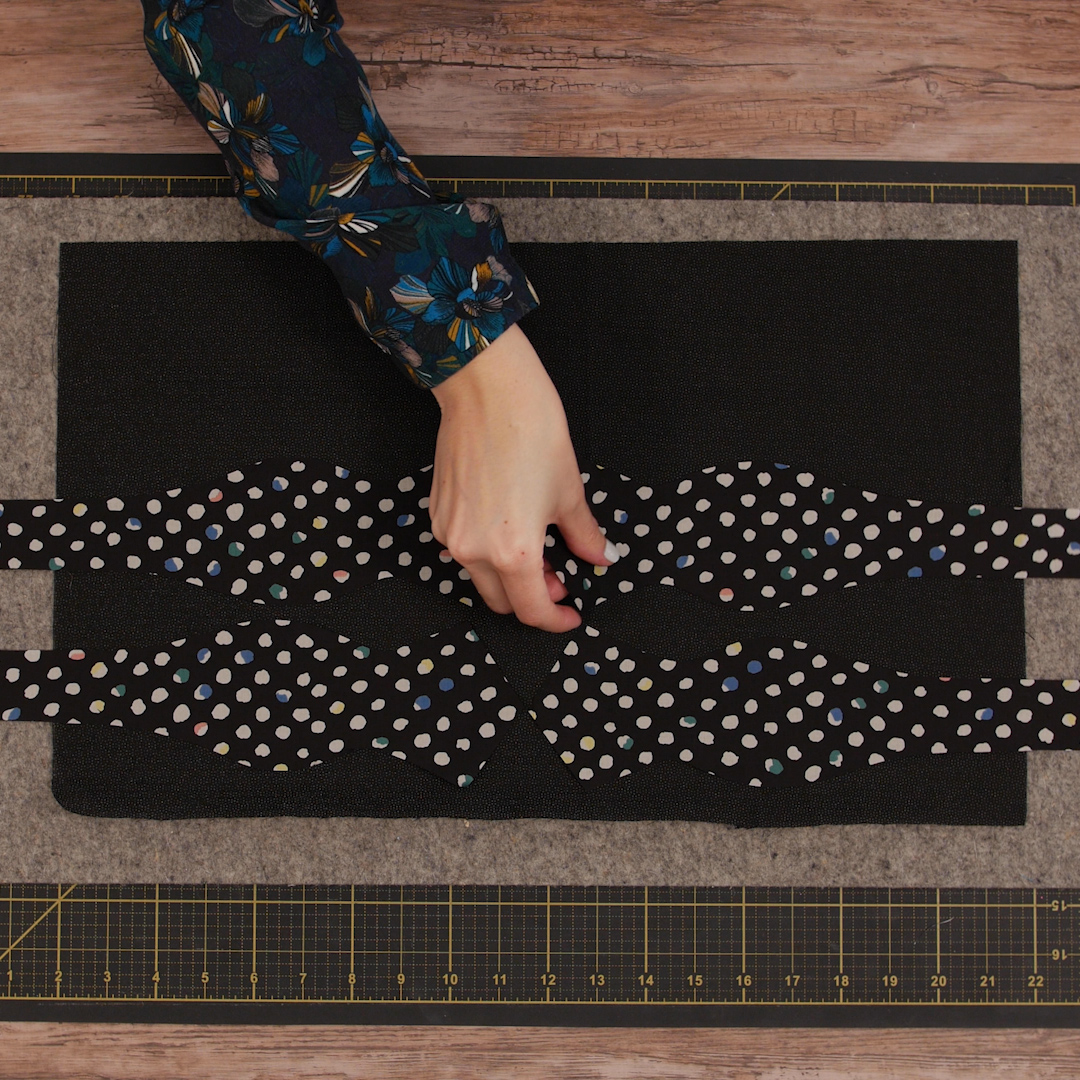
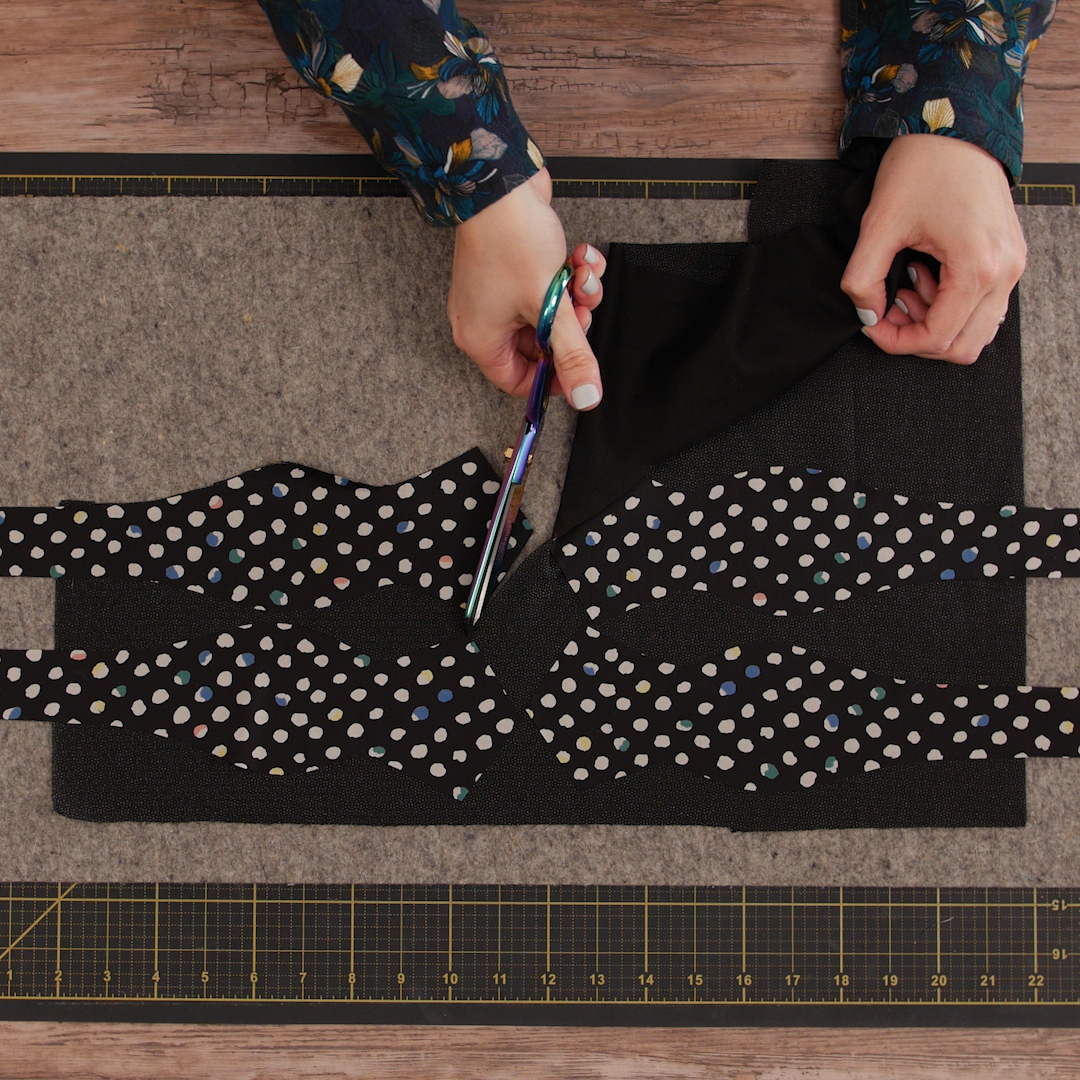
For most woven fabrics, Pellon SF101 interfacing works well. Because I was using a black fabric, I chose to use the black interfacing. Rather than cutting the interfacing out from the pattern, I like to add the interfacing to my fabric and trim to the piece. I can fuse all four pieces at one time. With the adhesive side of the interfacing facing up, lay the bow tie end of the fabric pieces with right sides facing up (wrong side of tie will be adhered to the wrong side of the interfacing), cover with a pressing cloth and use a hot iron to press in place. The press cloth will keep the interfacing adhesive from getting on the bottom of your iron. Now you can trim the interfacing to the shape of your bow tie.
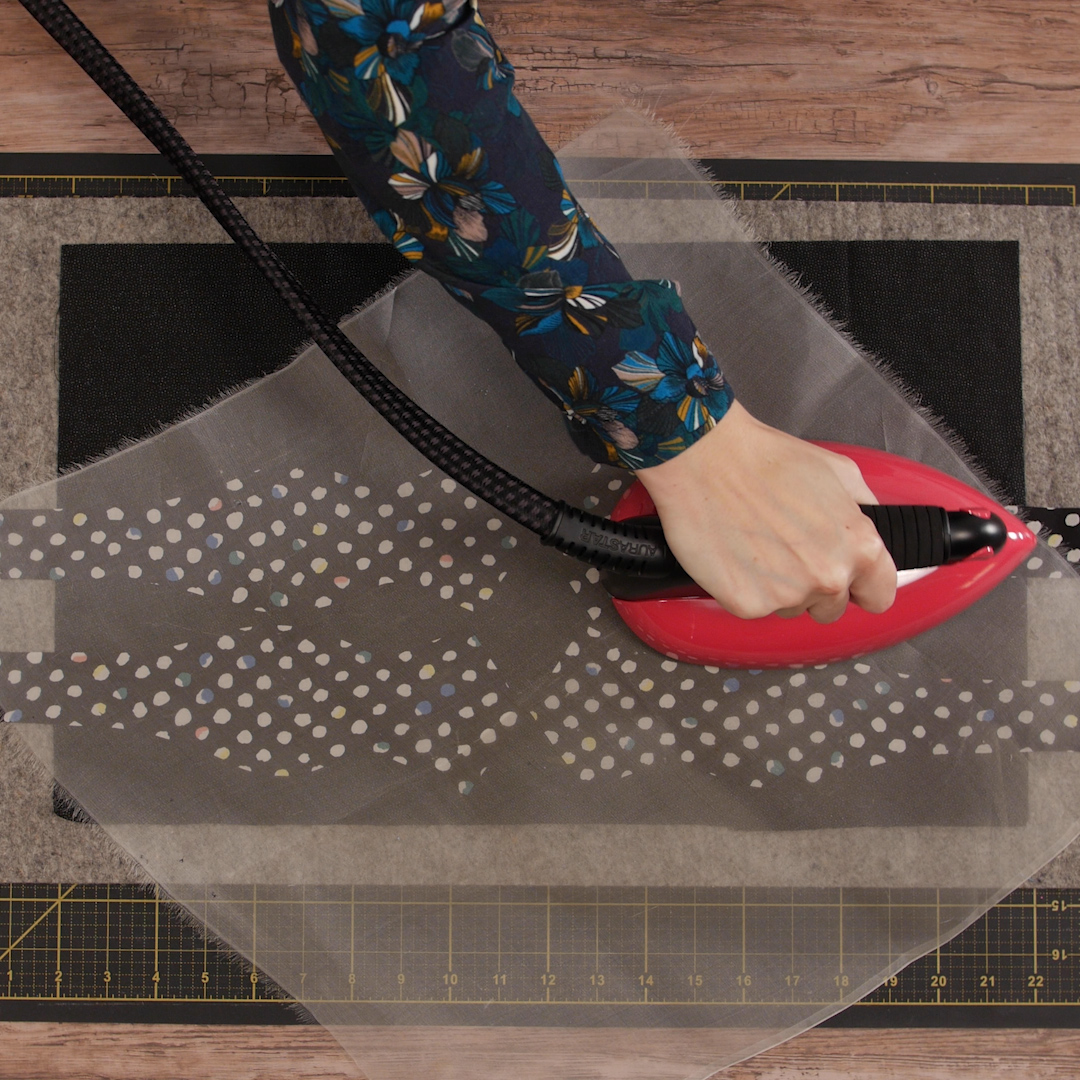
Tip: Use a pressing cloth to keep interfacing adhesive off the sole of your iron.
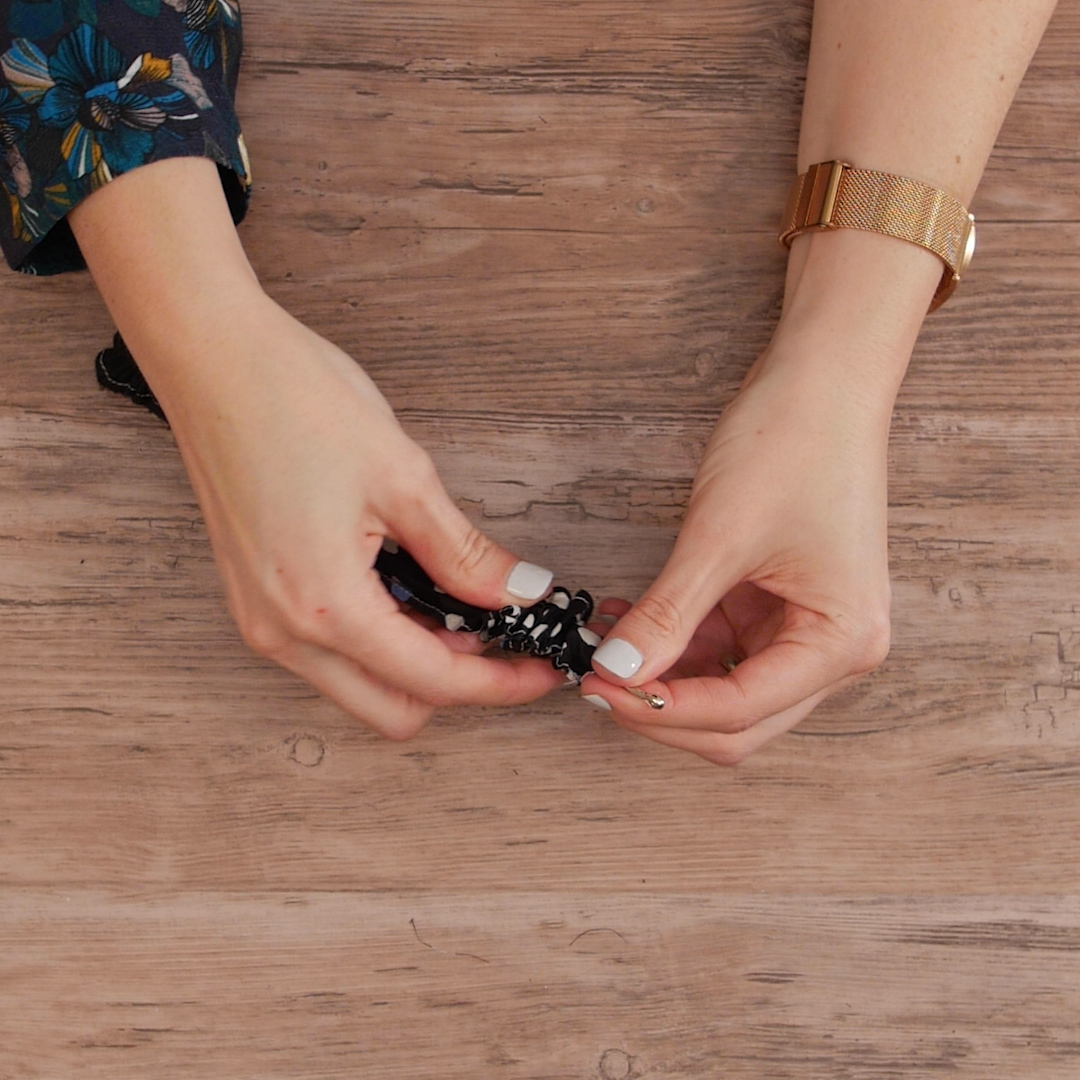
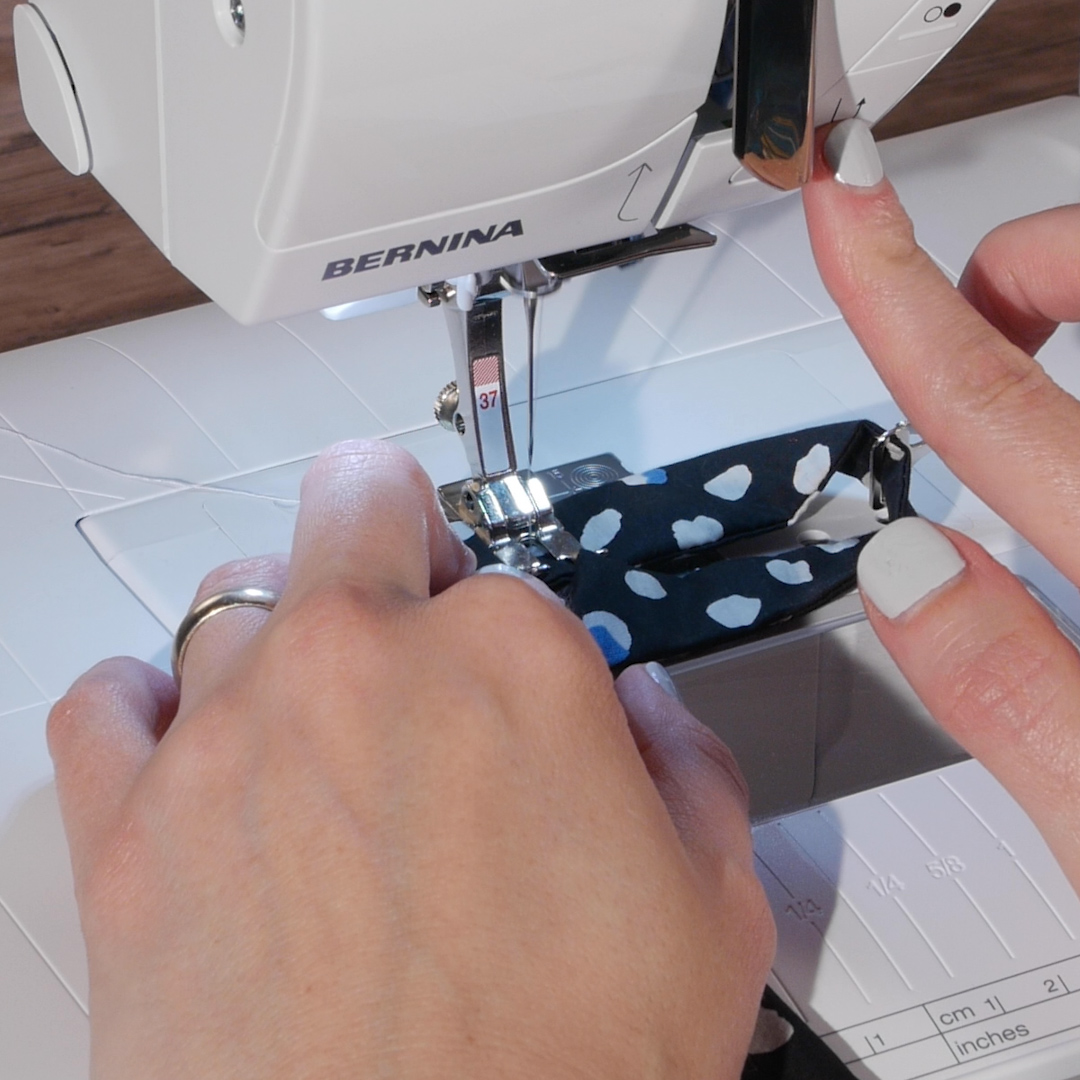
Step 3. Sew Bow tie Together
Create two sides for your bow tie by placing two pieces right sides together and sewing along the perimeter with a 1/4” seam allowance. Use pins to hold them right sides together and align with the side of the Patchwork foot #37 to create a perfect 1/4” seam. Backstitch at the beginning and end of the Bow tie opening (short end). Repeat this for the other side, using the remaining two pieces of fabric.
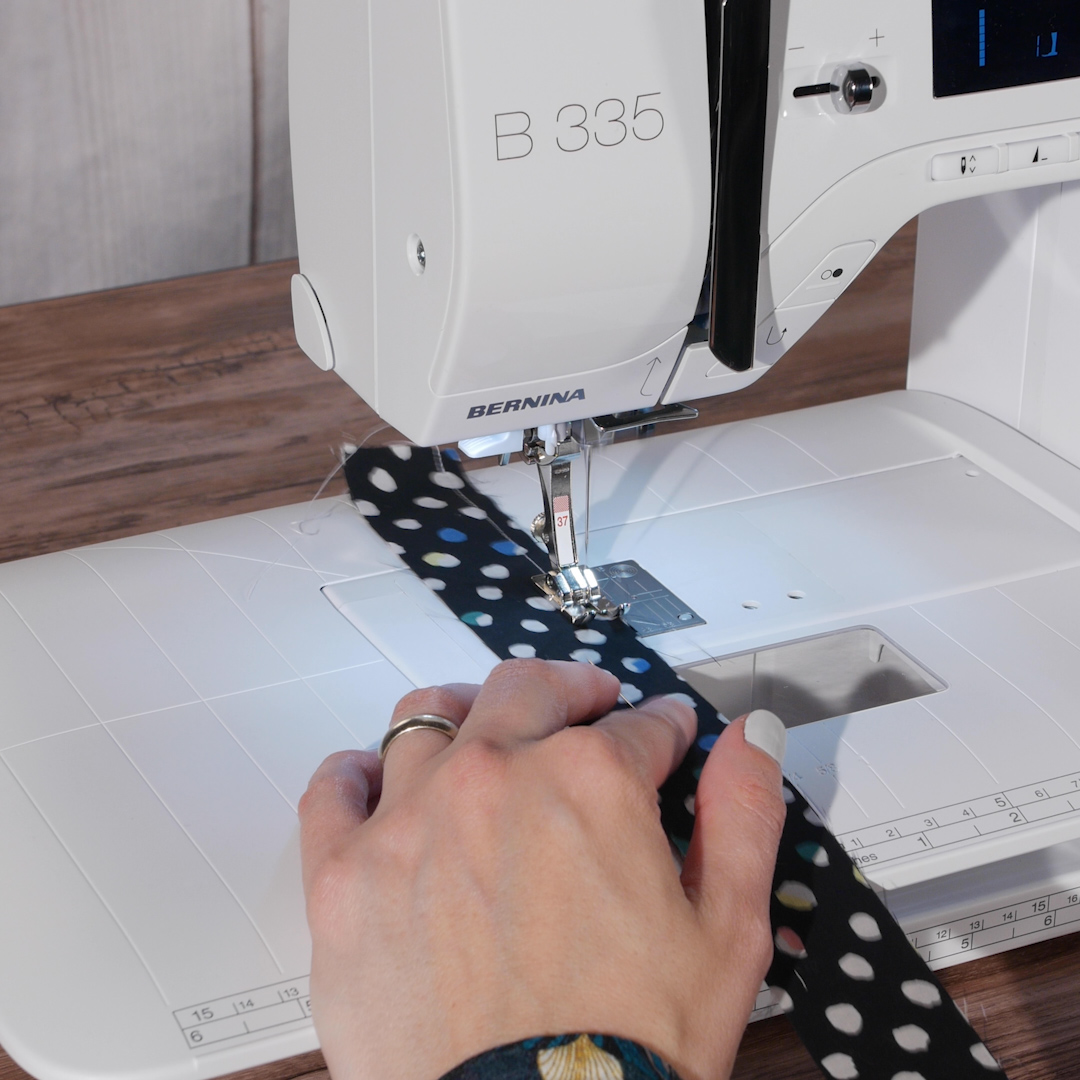
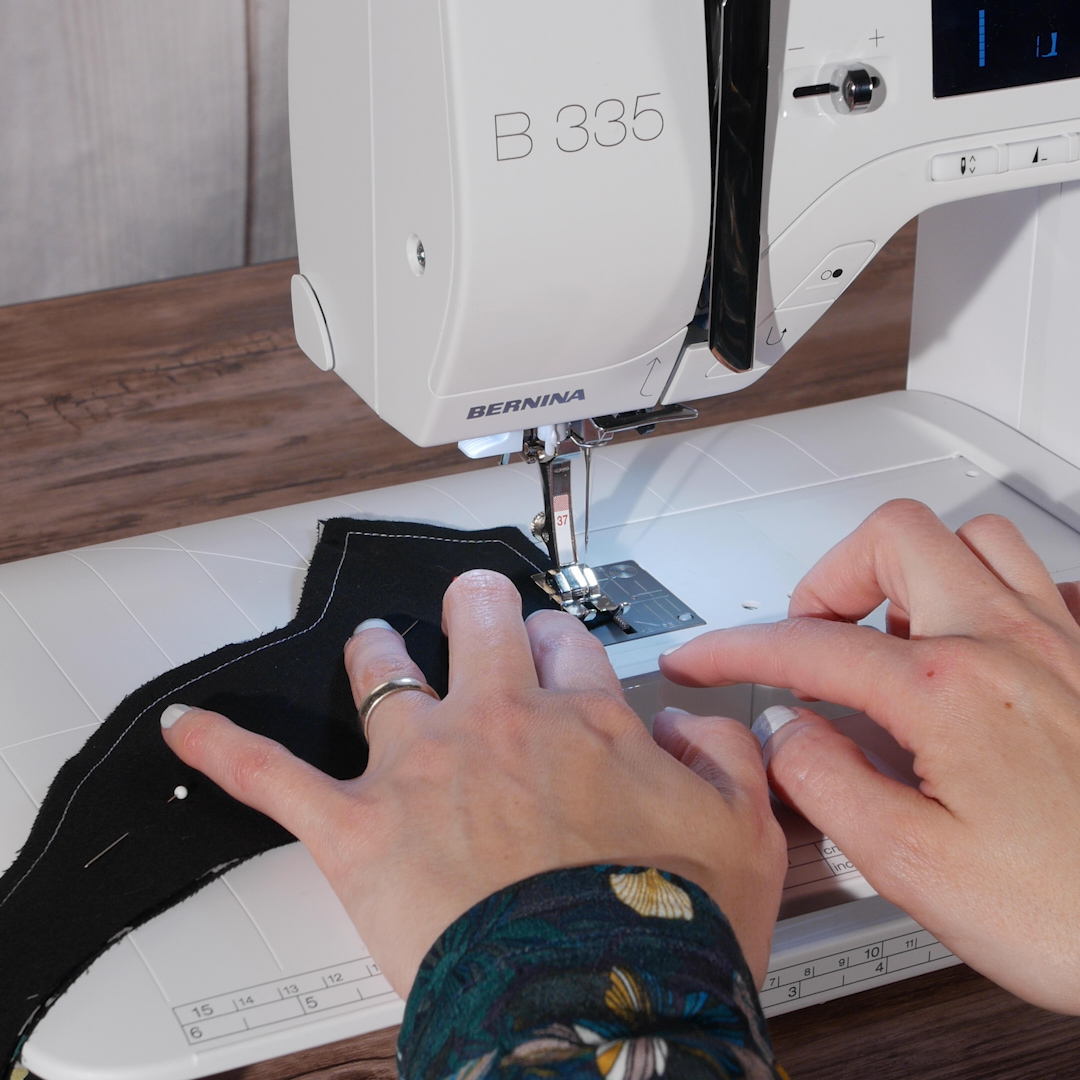
Tip: Use the BERNINA Free Hand System and Needle Stop Down to pivot and turn the corners along the point of the Bow tie.
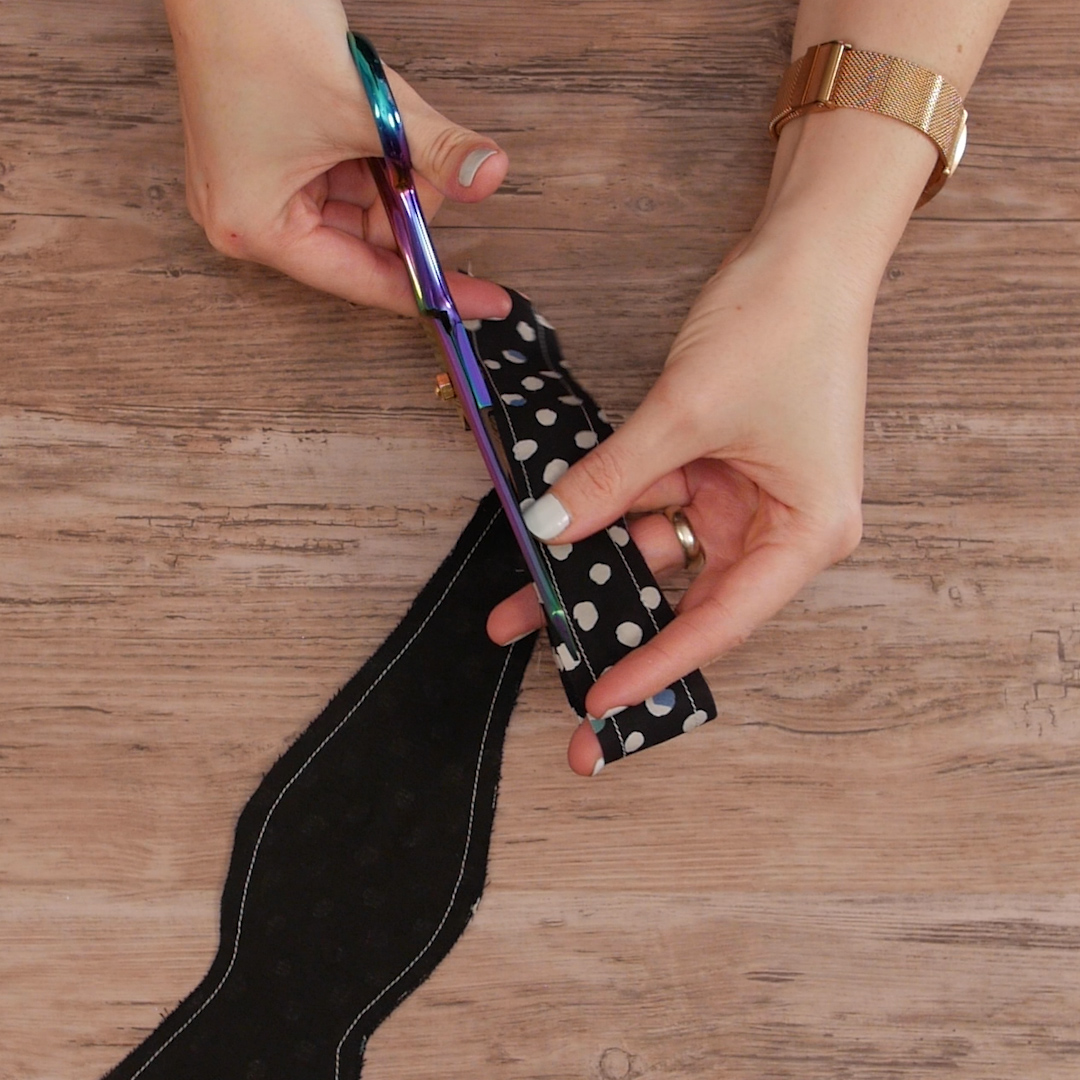
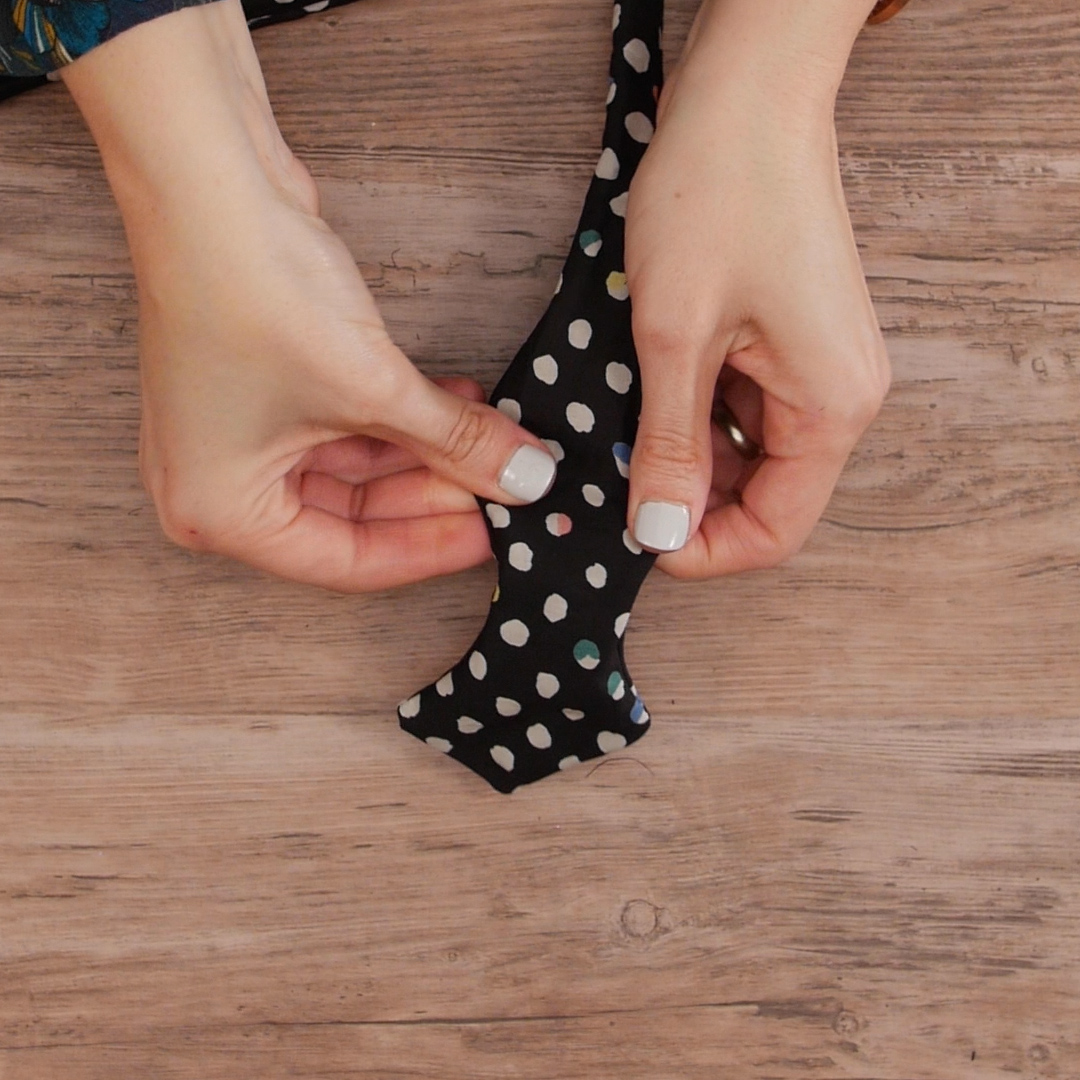
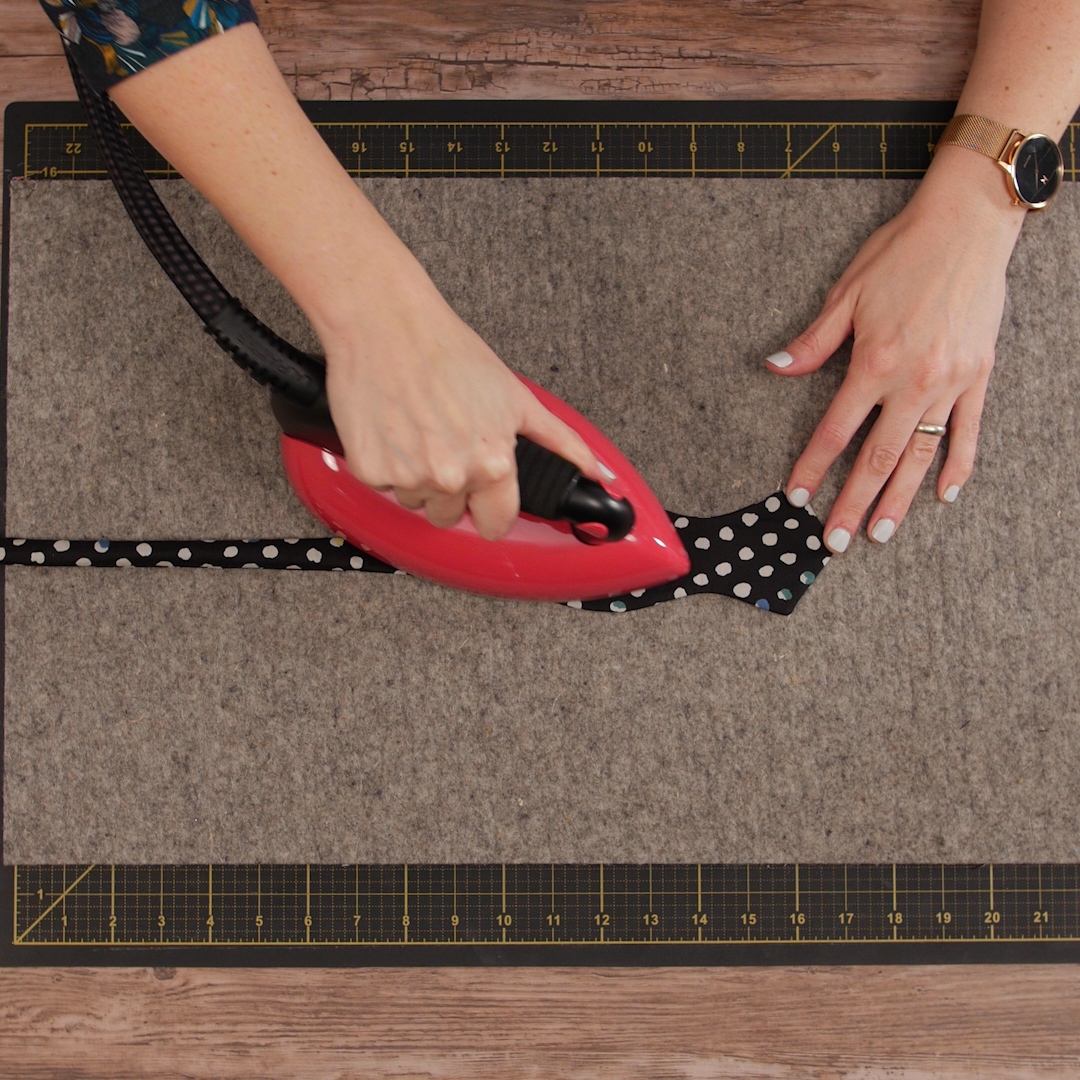
Press the stitches to set the seam in place and trim the seam allowance slightly to approximately 1/8”.
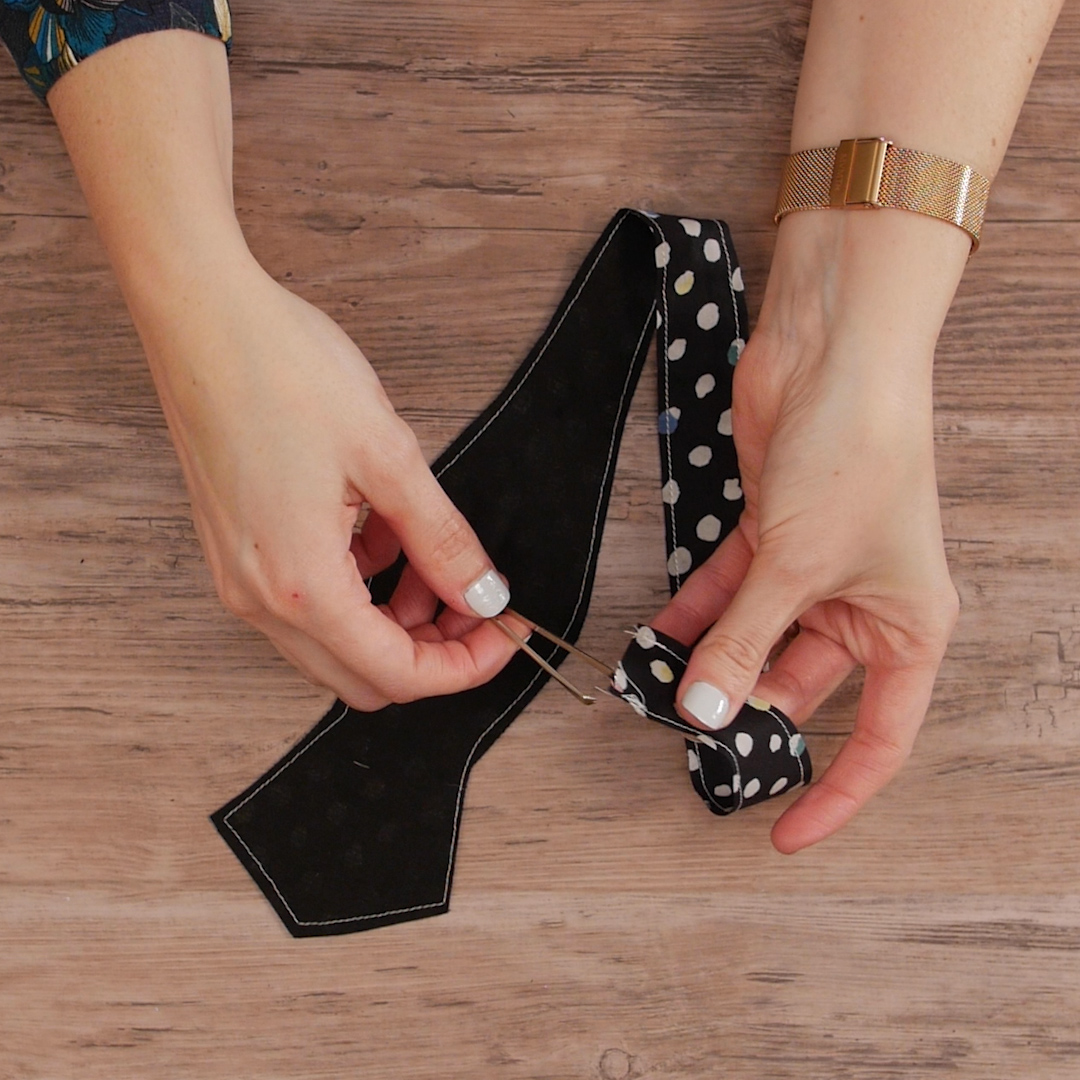
Use a bodkin to turn the Bow tie right side out and carefully give it a good press, making sure that the bow shape is defined.
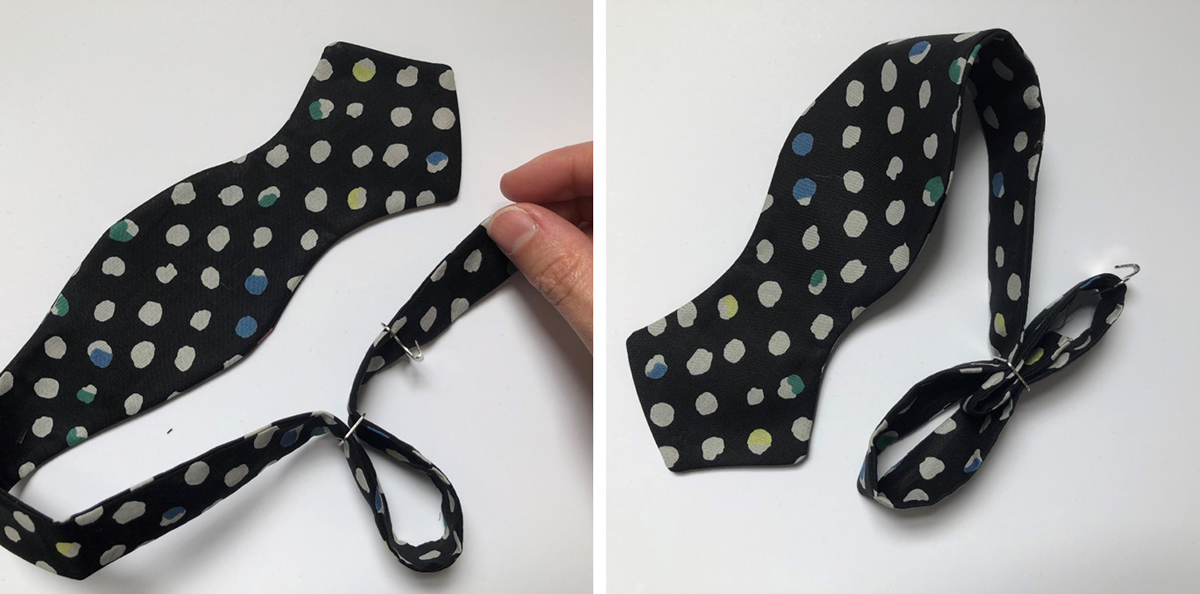
Step 4. Add the Hardware
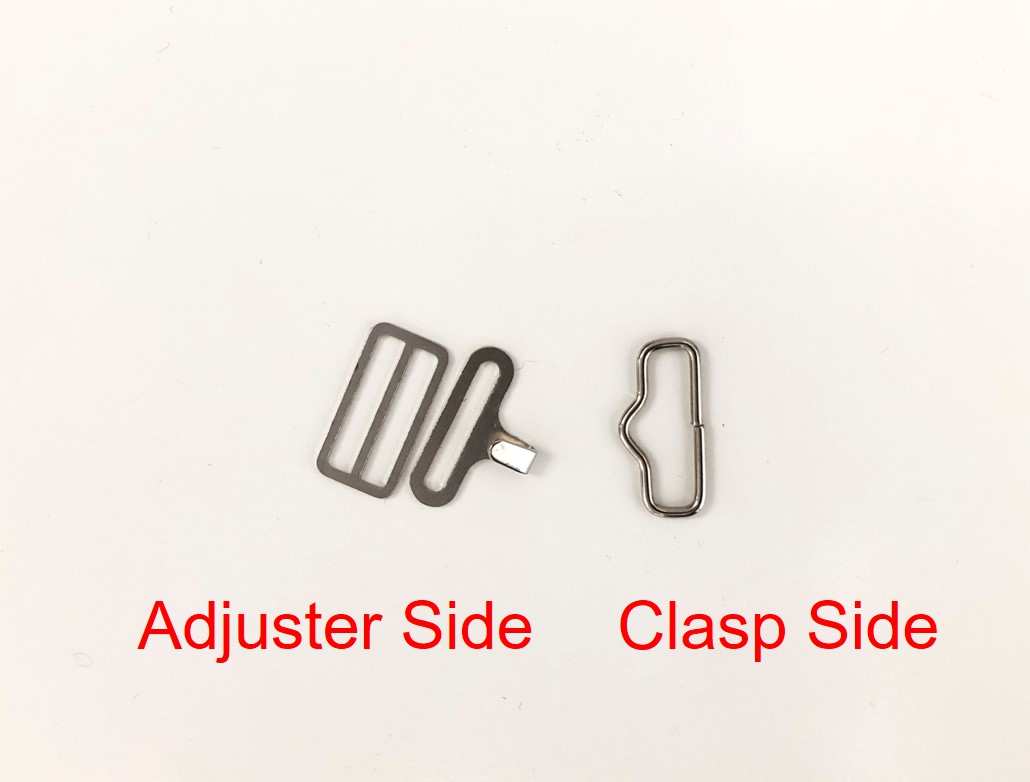
There are two sides to create for the hardware. One side with have the clasp and the other side with have the adjuster. For the side that will get just the clasp, trim about 1-2” from the tie end, depending on the neck thickness of the recipient. Loop the bow tie tail through the clasp and using a double fold, fold under the fabric approximately ½” and stitch in place using a straight stitch and backstitching the entire length.
For the adjustable side, you will need to create an adjustable loop. First lace the bow tie end into the adjuster ring from one side then into the other side. Then add the opposite clasp end and then take the Bow tie tail into the adjuster end from one side to the next again. You may need to give yourself some slack in the fabric to make this work. Double check that the adjuster will in fact move and then double fold over the end of the fabric and stitch to secure as before. This time you will be stitching inside a loop.
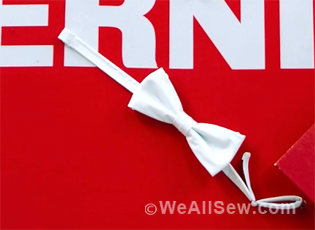
Adjust the bow tie ends together and press if needed. That’s all there is to it! You can make one or many…even try out some different shaped bows if you like. Now all that remains—is learning to tie it!