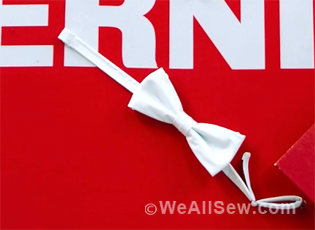
DIY Dapper Tie
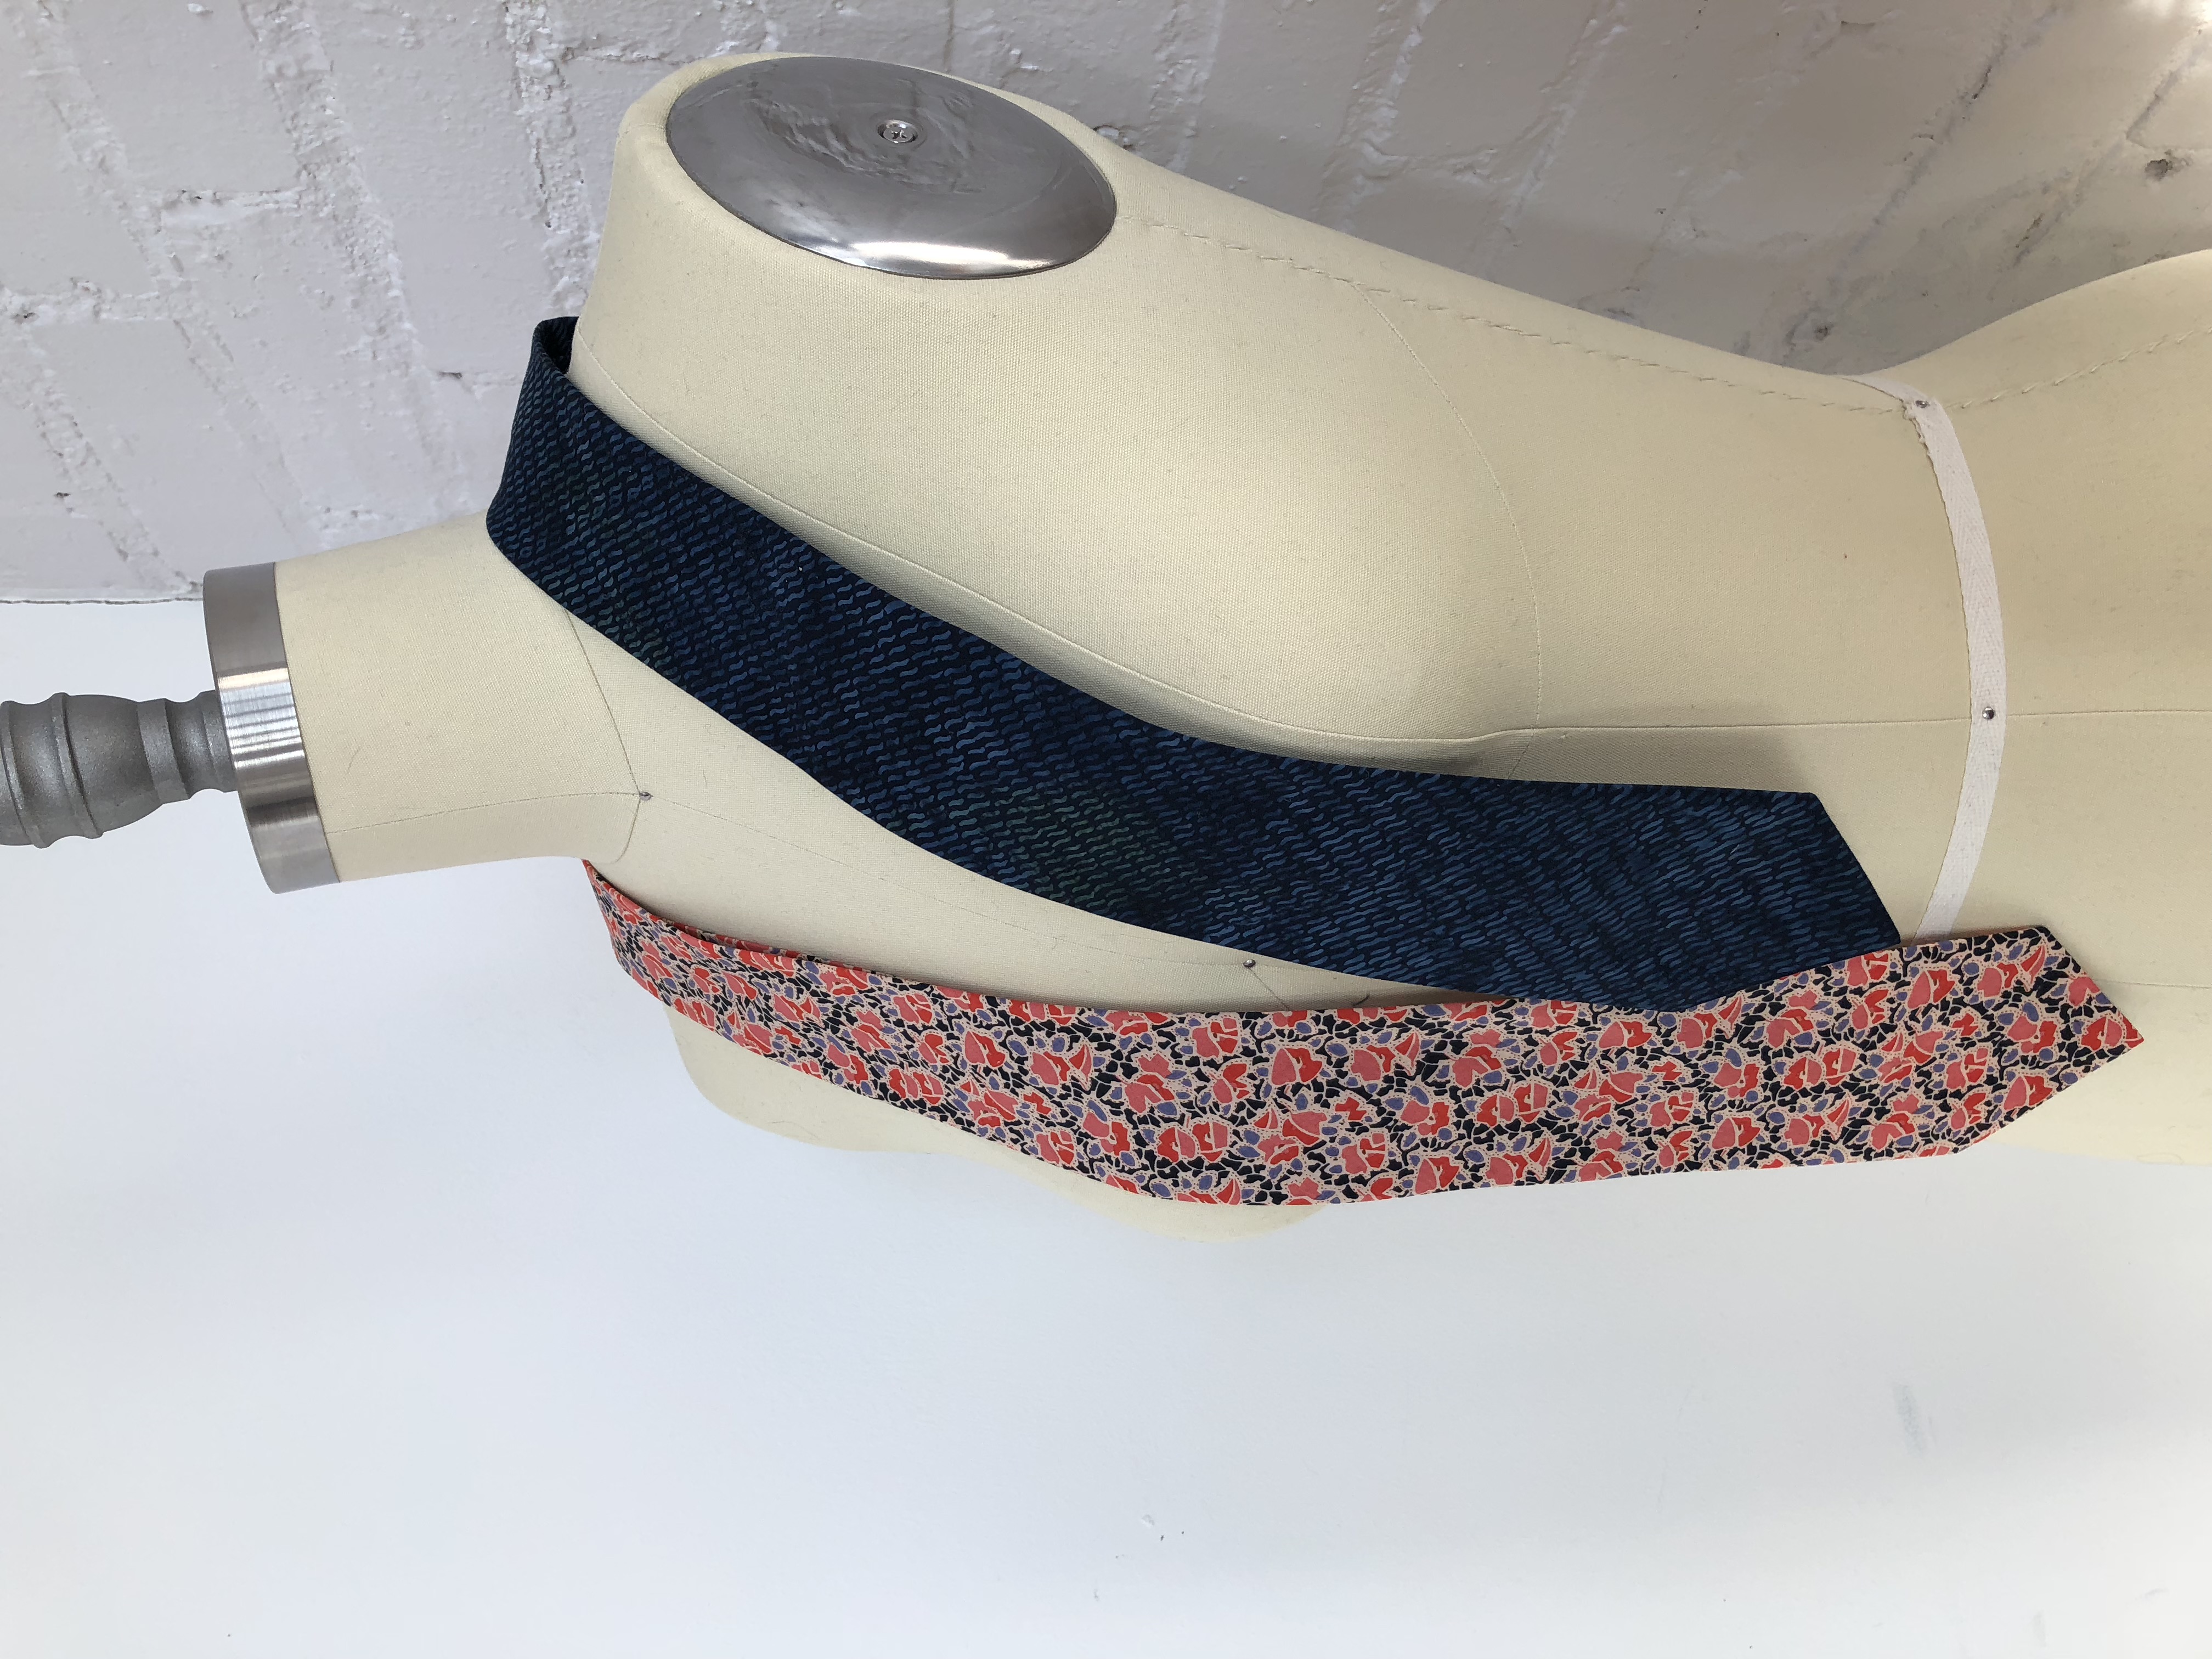
Creating a fresh new look when sewing menswear can be as simple as making a new tie. With a dash of fun fabric and a couple hours, you can make a dapper tie for the guy you know. The key to a good necktie is a soft fabric, cut on the bias, and some good structure for support.
This project makes a great gift any time of year, but I always make sure that my husband has a couple new ties in his stocking each Christmas.
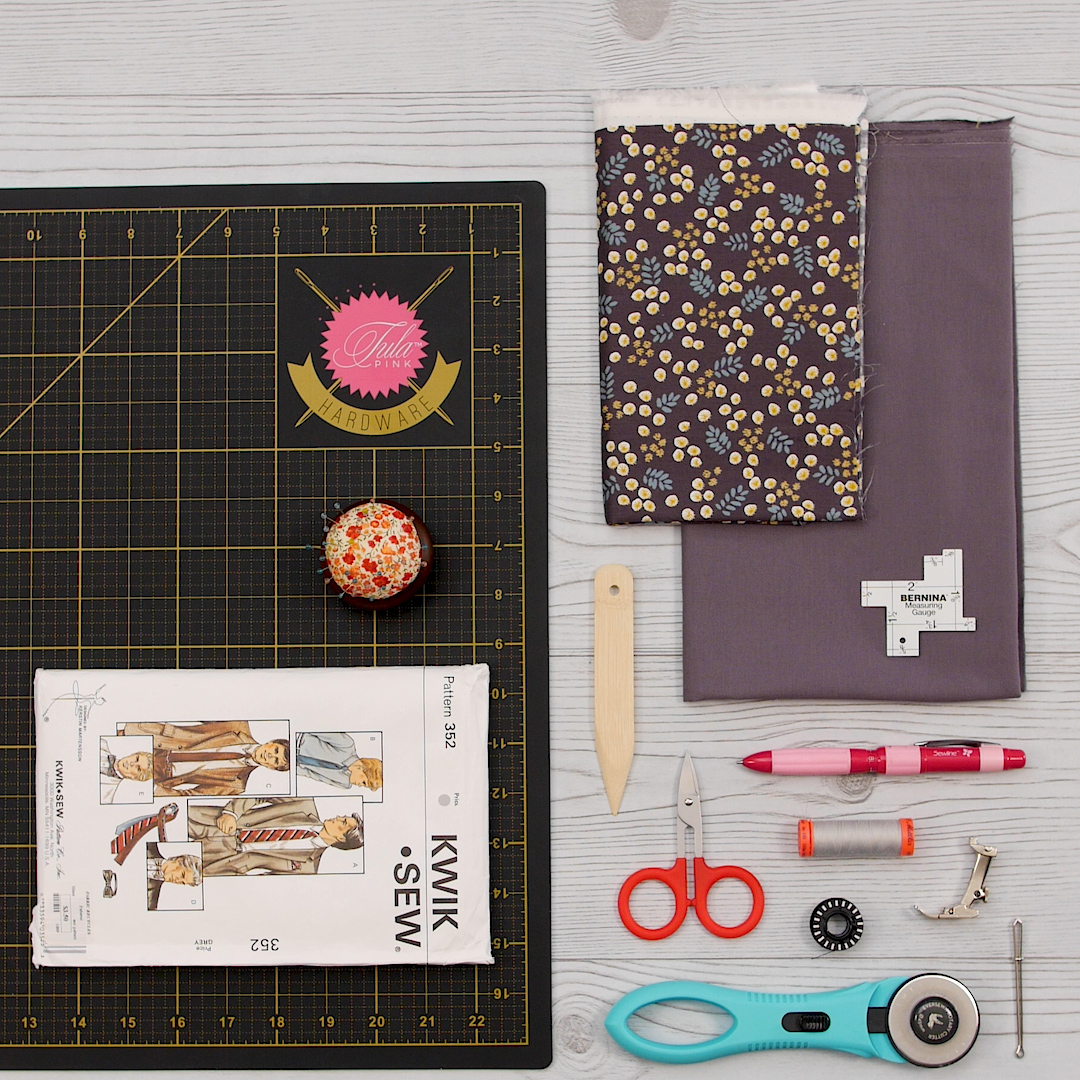
Materials to Sew a Dapper Tie
- BERNINA B 330
- Reverse-pattern Foot #1
- Pattern: Vintage Kwik Sew 352
- Fabric:
- Main Fabric: 1 yard
- Interfacing Fabric: 1 yard
- Fabric Marking Pencil
- Bodkin
- Point Turner
- Measuring Gauge
- Rotary cutter
- Cutting mat
- 6×24 ruler
- Iron
- Metrosene all-purpose thread
- 80/12 Microtex needle
- Snips
- Sharp Pins
Steps to Sew a Dapper Tie
Step 1. Prepare materials
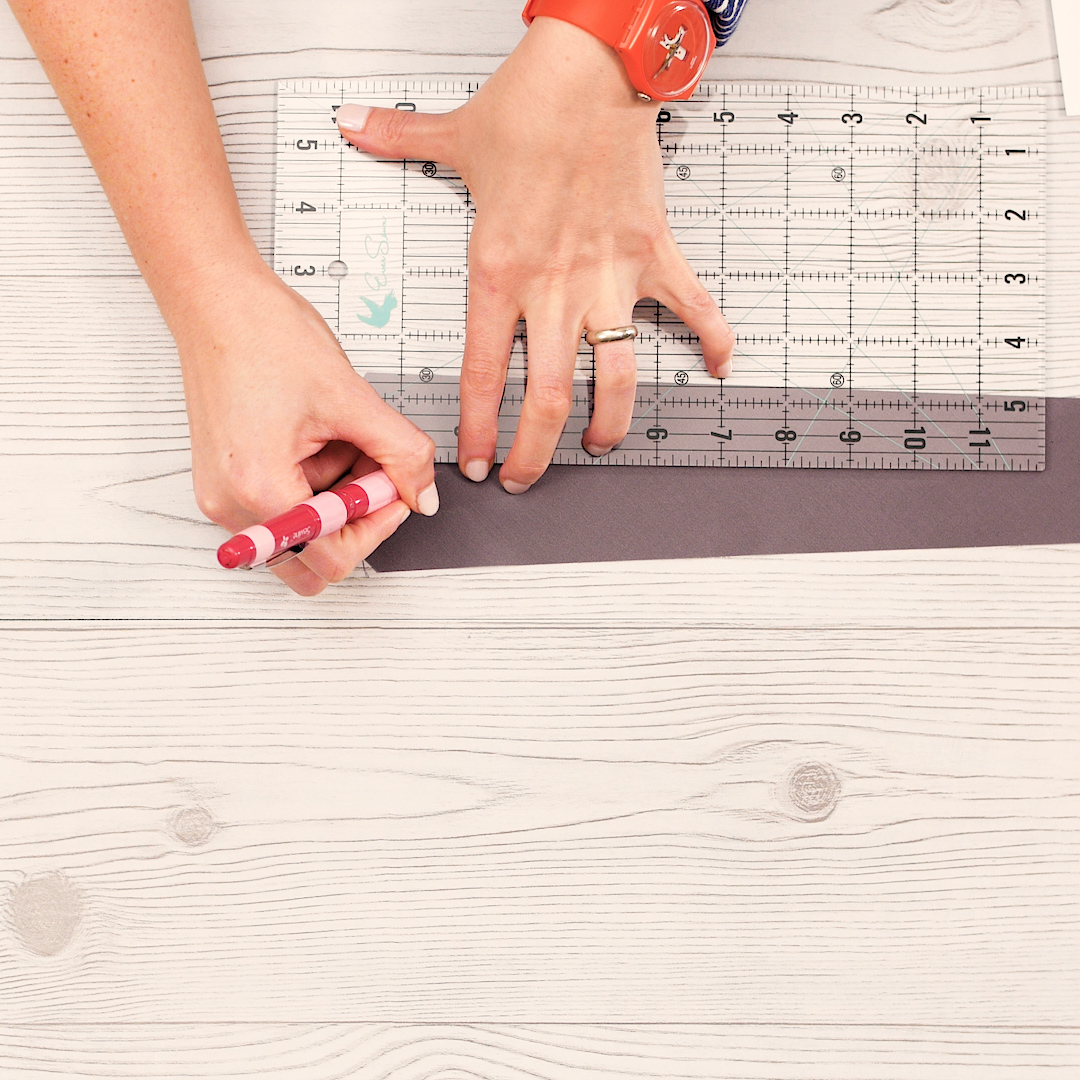
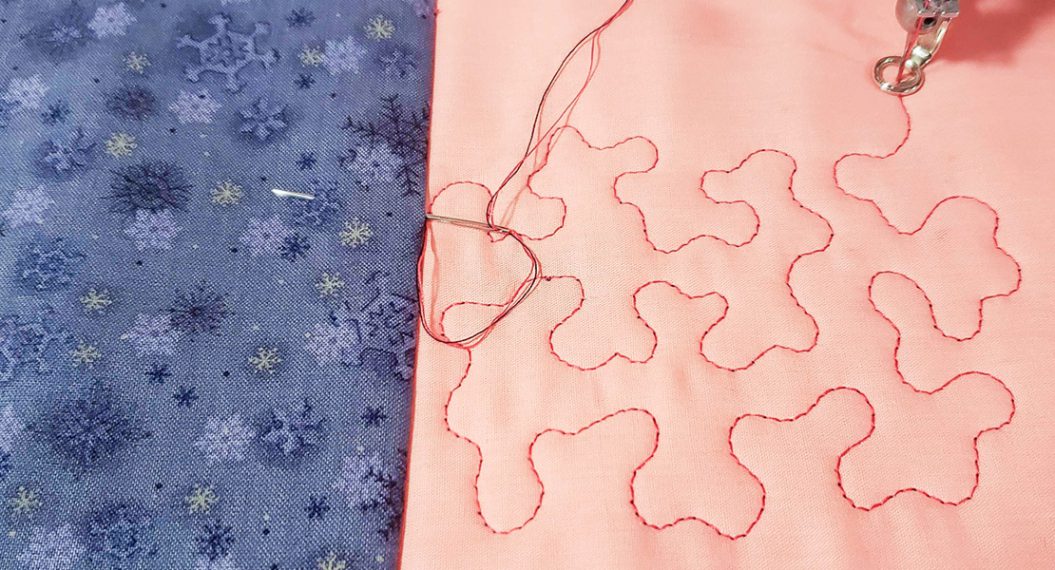
If you have ever deconstructed or inspected a store-bought necktie, you will notice that the fabric is cut on the bias (45 degrees to the selvedge edge). Not only does this give the necktie an interesting look and drape, it also allows for some stretch in the material. This is necessary because when a necktie is tied, it gets pulled and moved into place to create the knot.
Additionally, you may notice that the inside of the necktie has a course structured interlining the gives body to the tie. Without this additional structure, the tie would be pretty floppy and not create the crisp knot at the top. Selecting good fabrics for this project will ultimately lead to the overall success of the tie. I have been satisfied with making most of my neckties from cotton lawn or voile and using a firm cotton for the interlining. This isn’t exactly the necktie that you might buy at Neiman Marcus, but I think it provides a nice handmade option that looks great too.
Tip: Cutting on the bias requires a large amount of fabric to create a tie, but several can be cut from one fabric. I can typically get 2-3 ties from 1 1/4 yard of fabric. The remaining of the fabric can then be cut into bias binding for quilts or other garment sewing to be used later.
Step2. Sew the outer tie
First you will join both ends of the necktie along the bias edge for the main fabric and interfacing fabric pieces. Press the seam allowance open and trim any notches or thread tails as you go.
With this pattern, the facing for the pointed ends of the tie is included in the pattern piece. This makes for an easy sewing machine project, without hand sewing a seam.
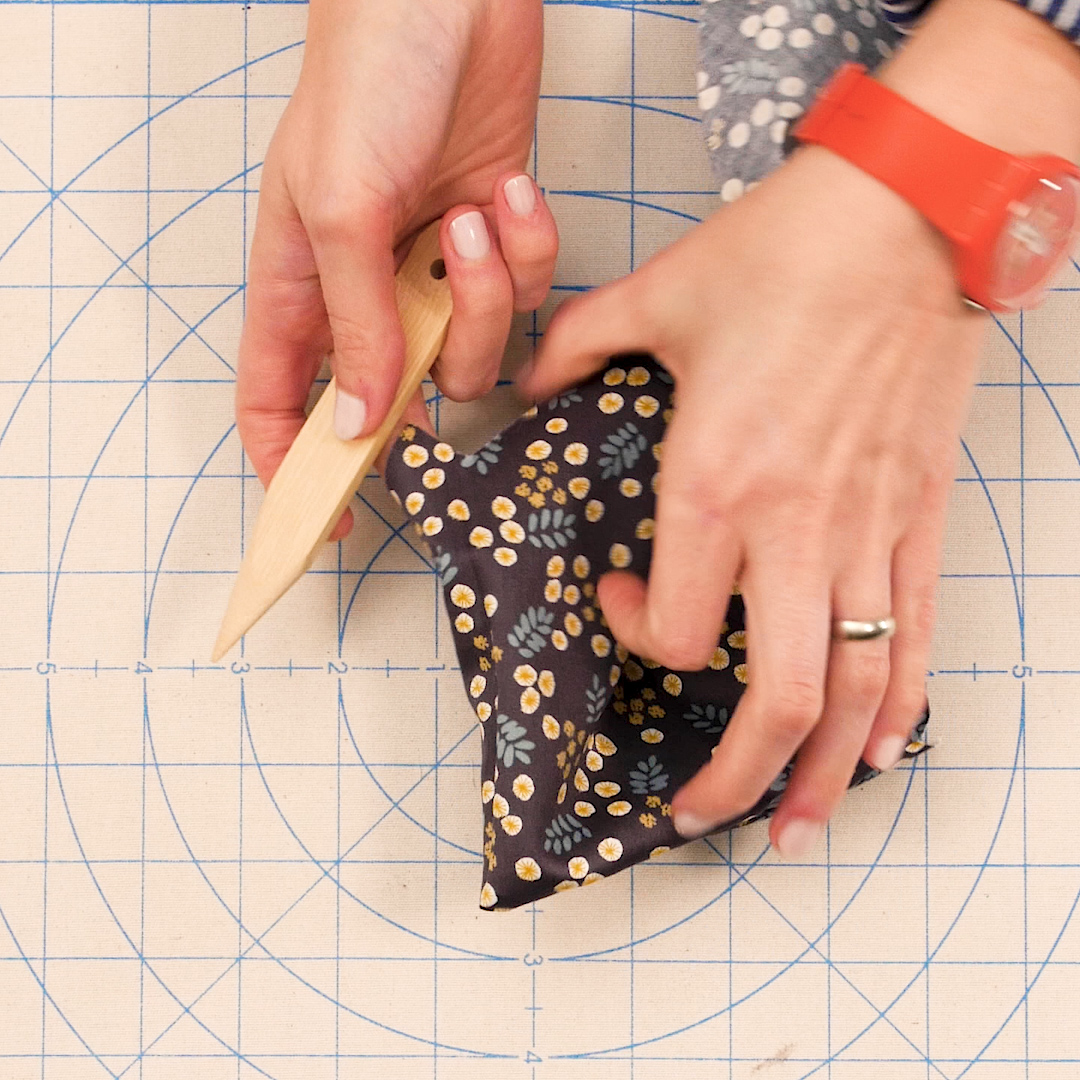
Once the facing is sewn, trim the seam allowance and press. Use a point turner tool to turn the facing out and press a crisp point in the tie ends. This nifty tool is a great addition to your sewing notions. Not only does it help create precise points, it can be used to finger press a seam. I find myself using it more often than I thought I would.
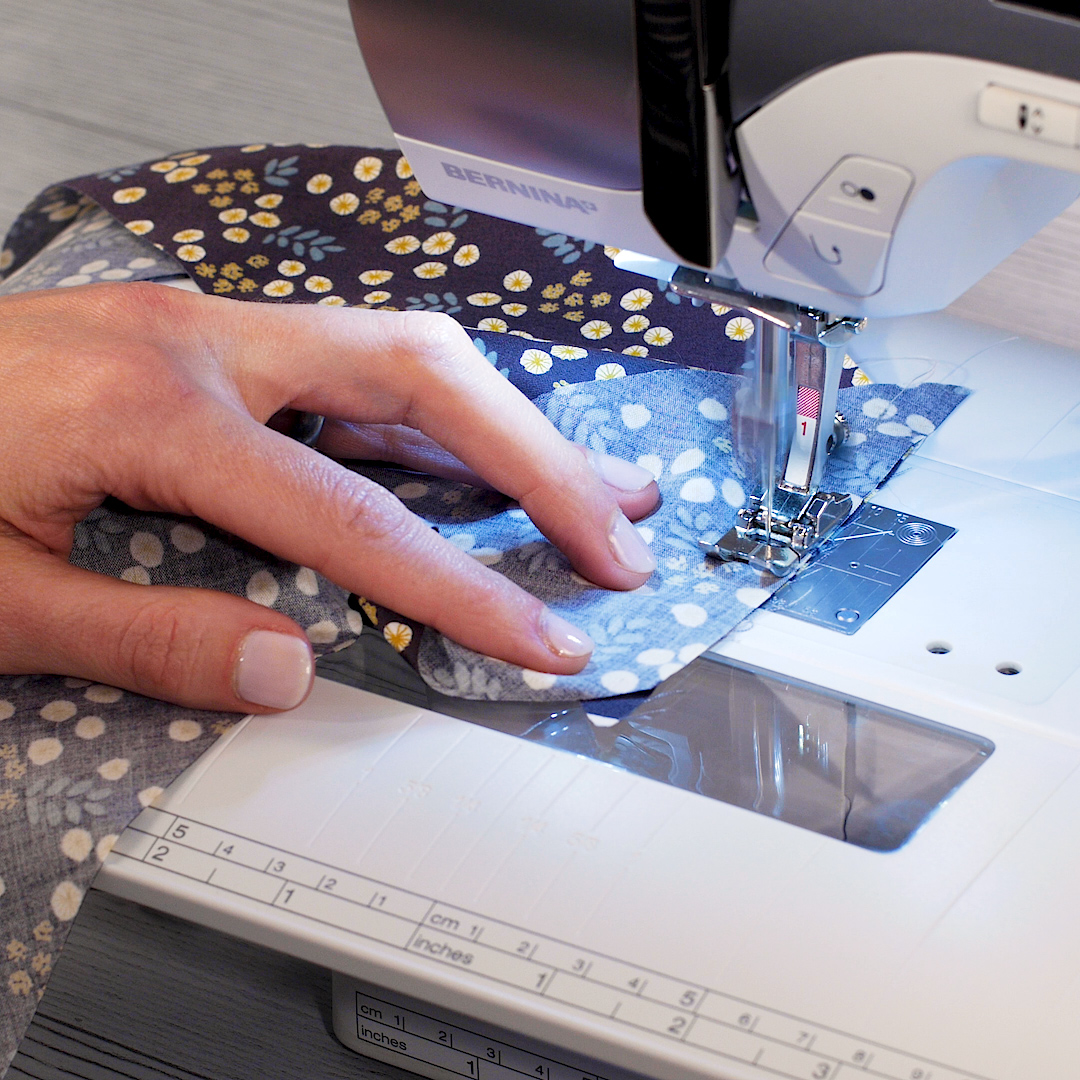
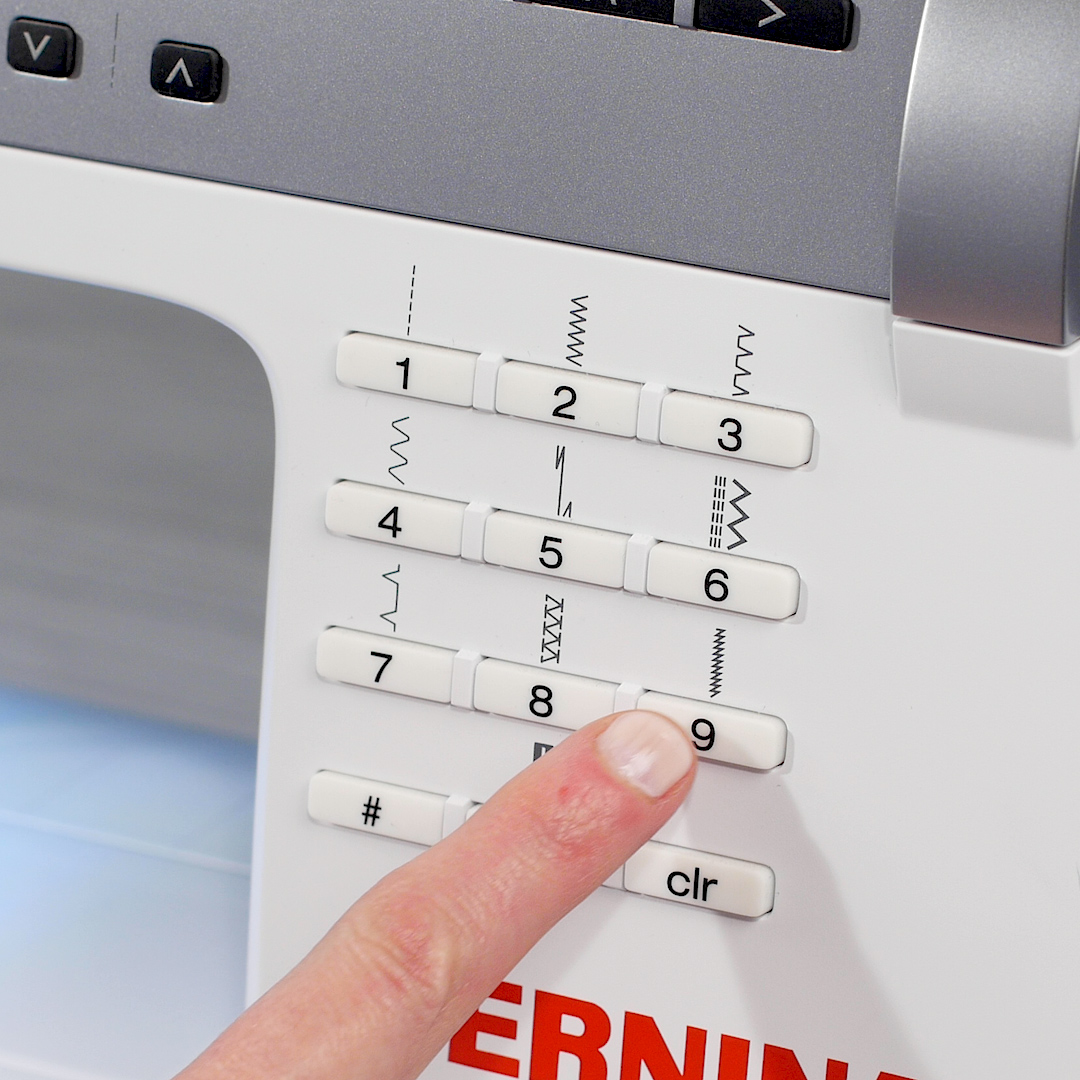
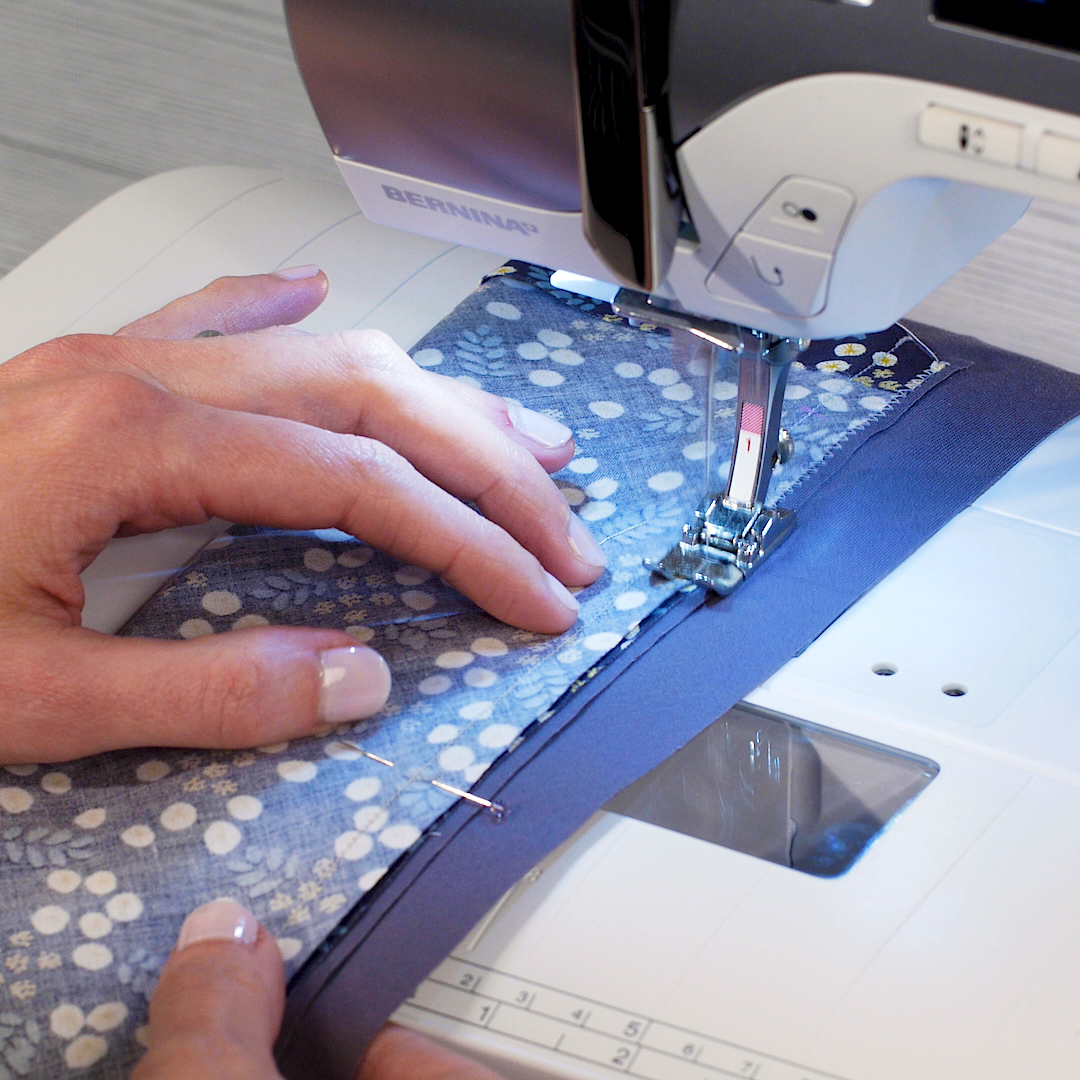
Now you are ready to create the main seam. Fold the necktie in half along the long edge with rights sides together. Use sharp pins to hold the seam together while you sew it. Sew the seam with a super stretch stitch, stitch #9 on the B 330. The super stretch stitch looks and sews in the shape of a lightning bolt, so there is a slight backward movement in the stitch, creating an inherent stretch to the seam. This stitch allows the bias edge to give when the fabric is pulled. If this was sewn with a standard straight stitch, the stitches would likely pop when the necktie is tied.
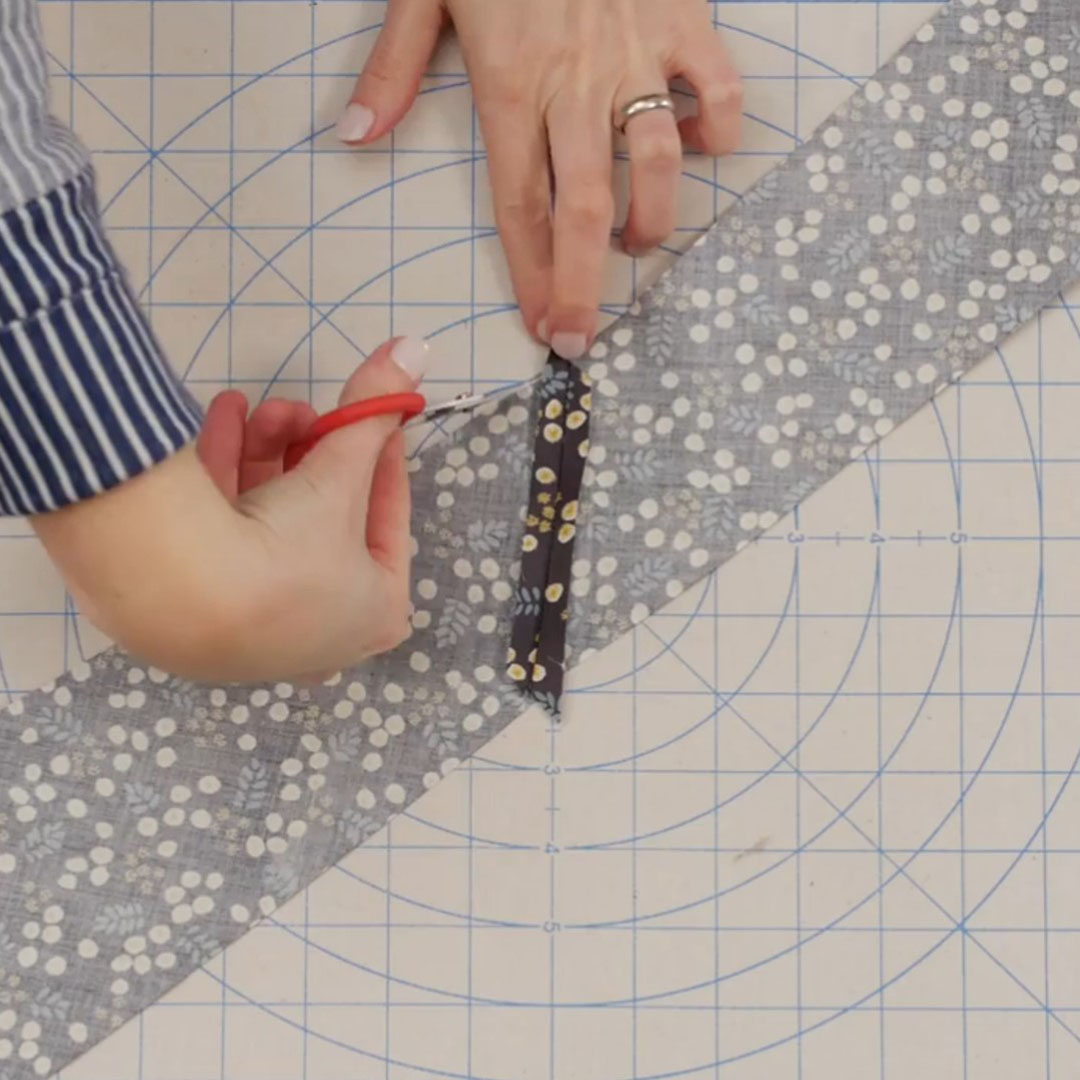
Step 3. Create the inner structure
The inner structure for this pattern is a bit odd and tricky to understand at first, but after making your first tie you will understand better how it all comes together. There is an inner piece cut to the exact size and shape of the finished necktie. Then, an additional strip of fabric is basted to this piece down the center, between the two notches. Marking a center line with a fabric pencil is a necessary step in lining these two pieces up. The sewline chalk pencil has three different colors of lead to choose from, making it perfect for any color of fabric.

Now you will baste the two fabrics together along the marked line. The basting line of stitching down the center will become a good visual marker for attaching the exterior of the tie when they are joined together in the next step.
Step 4. Put it all together

Now you are ready to join the inner structure to the outer fabric. Match the seam of the outer main fabric, still folded in half, to the inner structure and pin in place. Select a zigzag stitch on your machine, stitch #2 on the B 330, to sew the two layers together. Like the super stretch stitch, the zigzag stitch has some give and it will also serve to finish the raw edges of fabric.

Use the measuring gauge and begin sewing the zigzag stitch at 1 ½” above the center point marked on the pattern and transferred to the inside structure. This allows the tie to be turned out with enough room for the point of the center structure to be tucked into the sewn facing. If you sew all the way to the end, the inside structure cannot be tucked inside the tie.
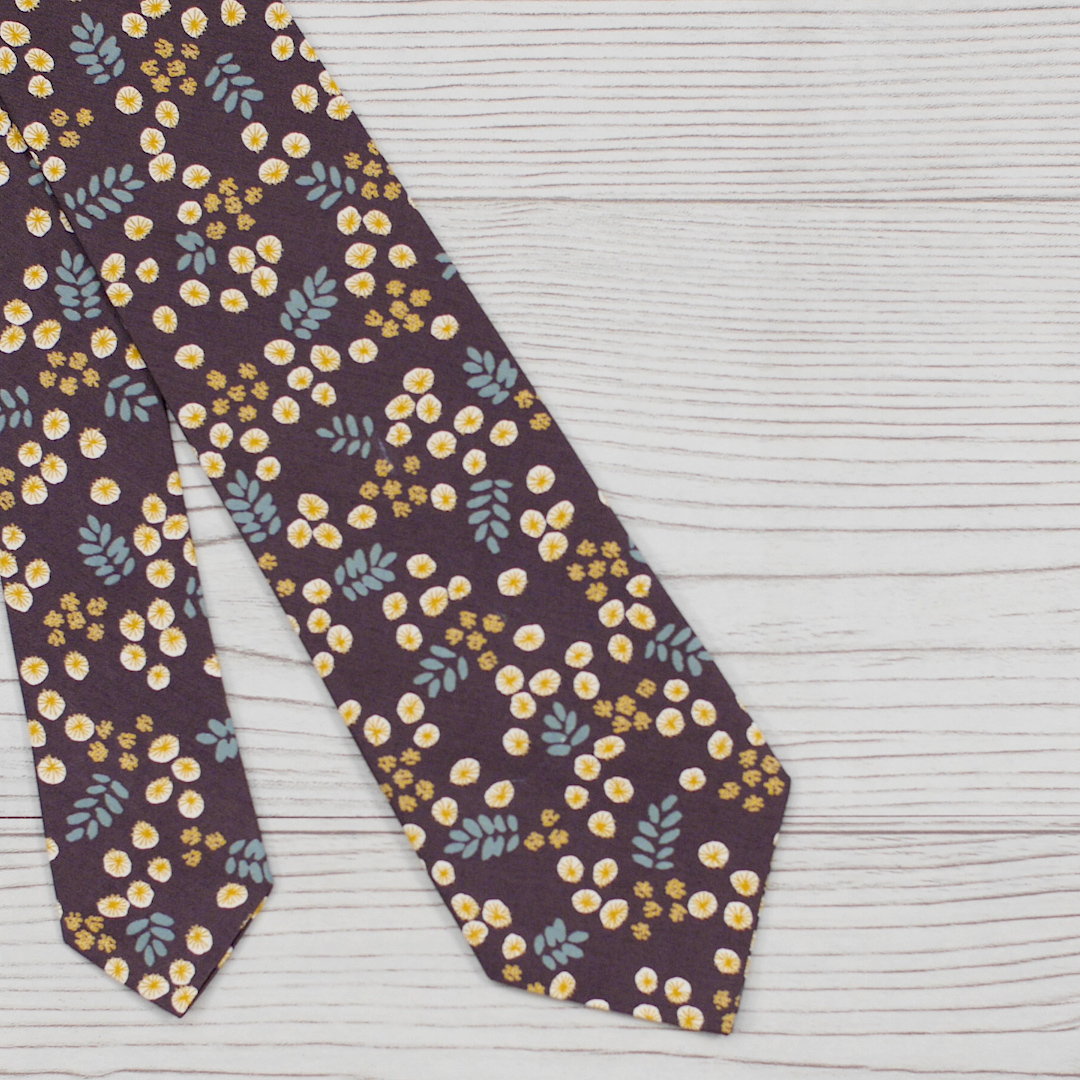
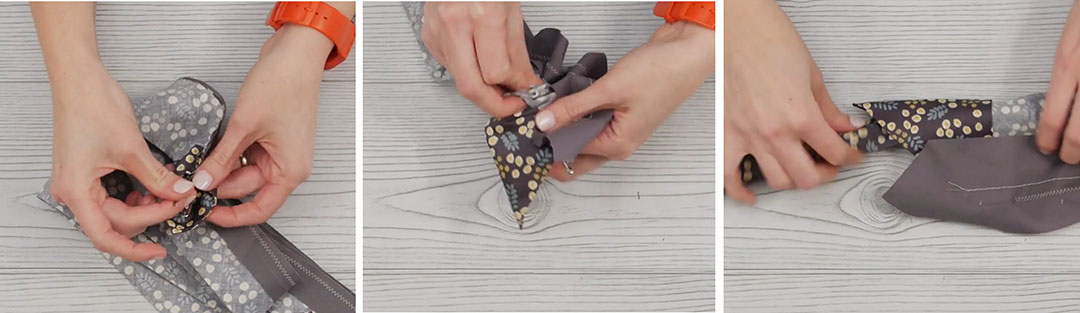
Using a bodkin makes easy work of turning out a long tube like this. Clamp the end of the bodkin to the point of the tie and begin to pull the fabric through the tube. You will notice that the structure is now inside the outer fabric. The fabric will naturally hug this shape making it easy to press into the perfect necktie shape. Tuck the pointed ends of the structure into the facing.
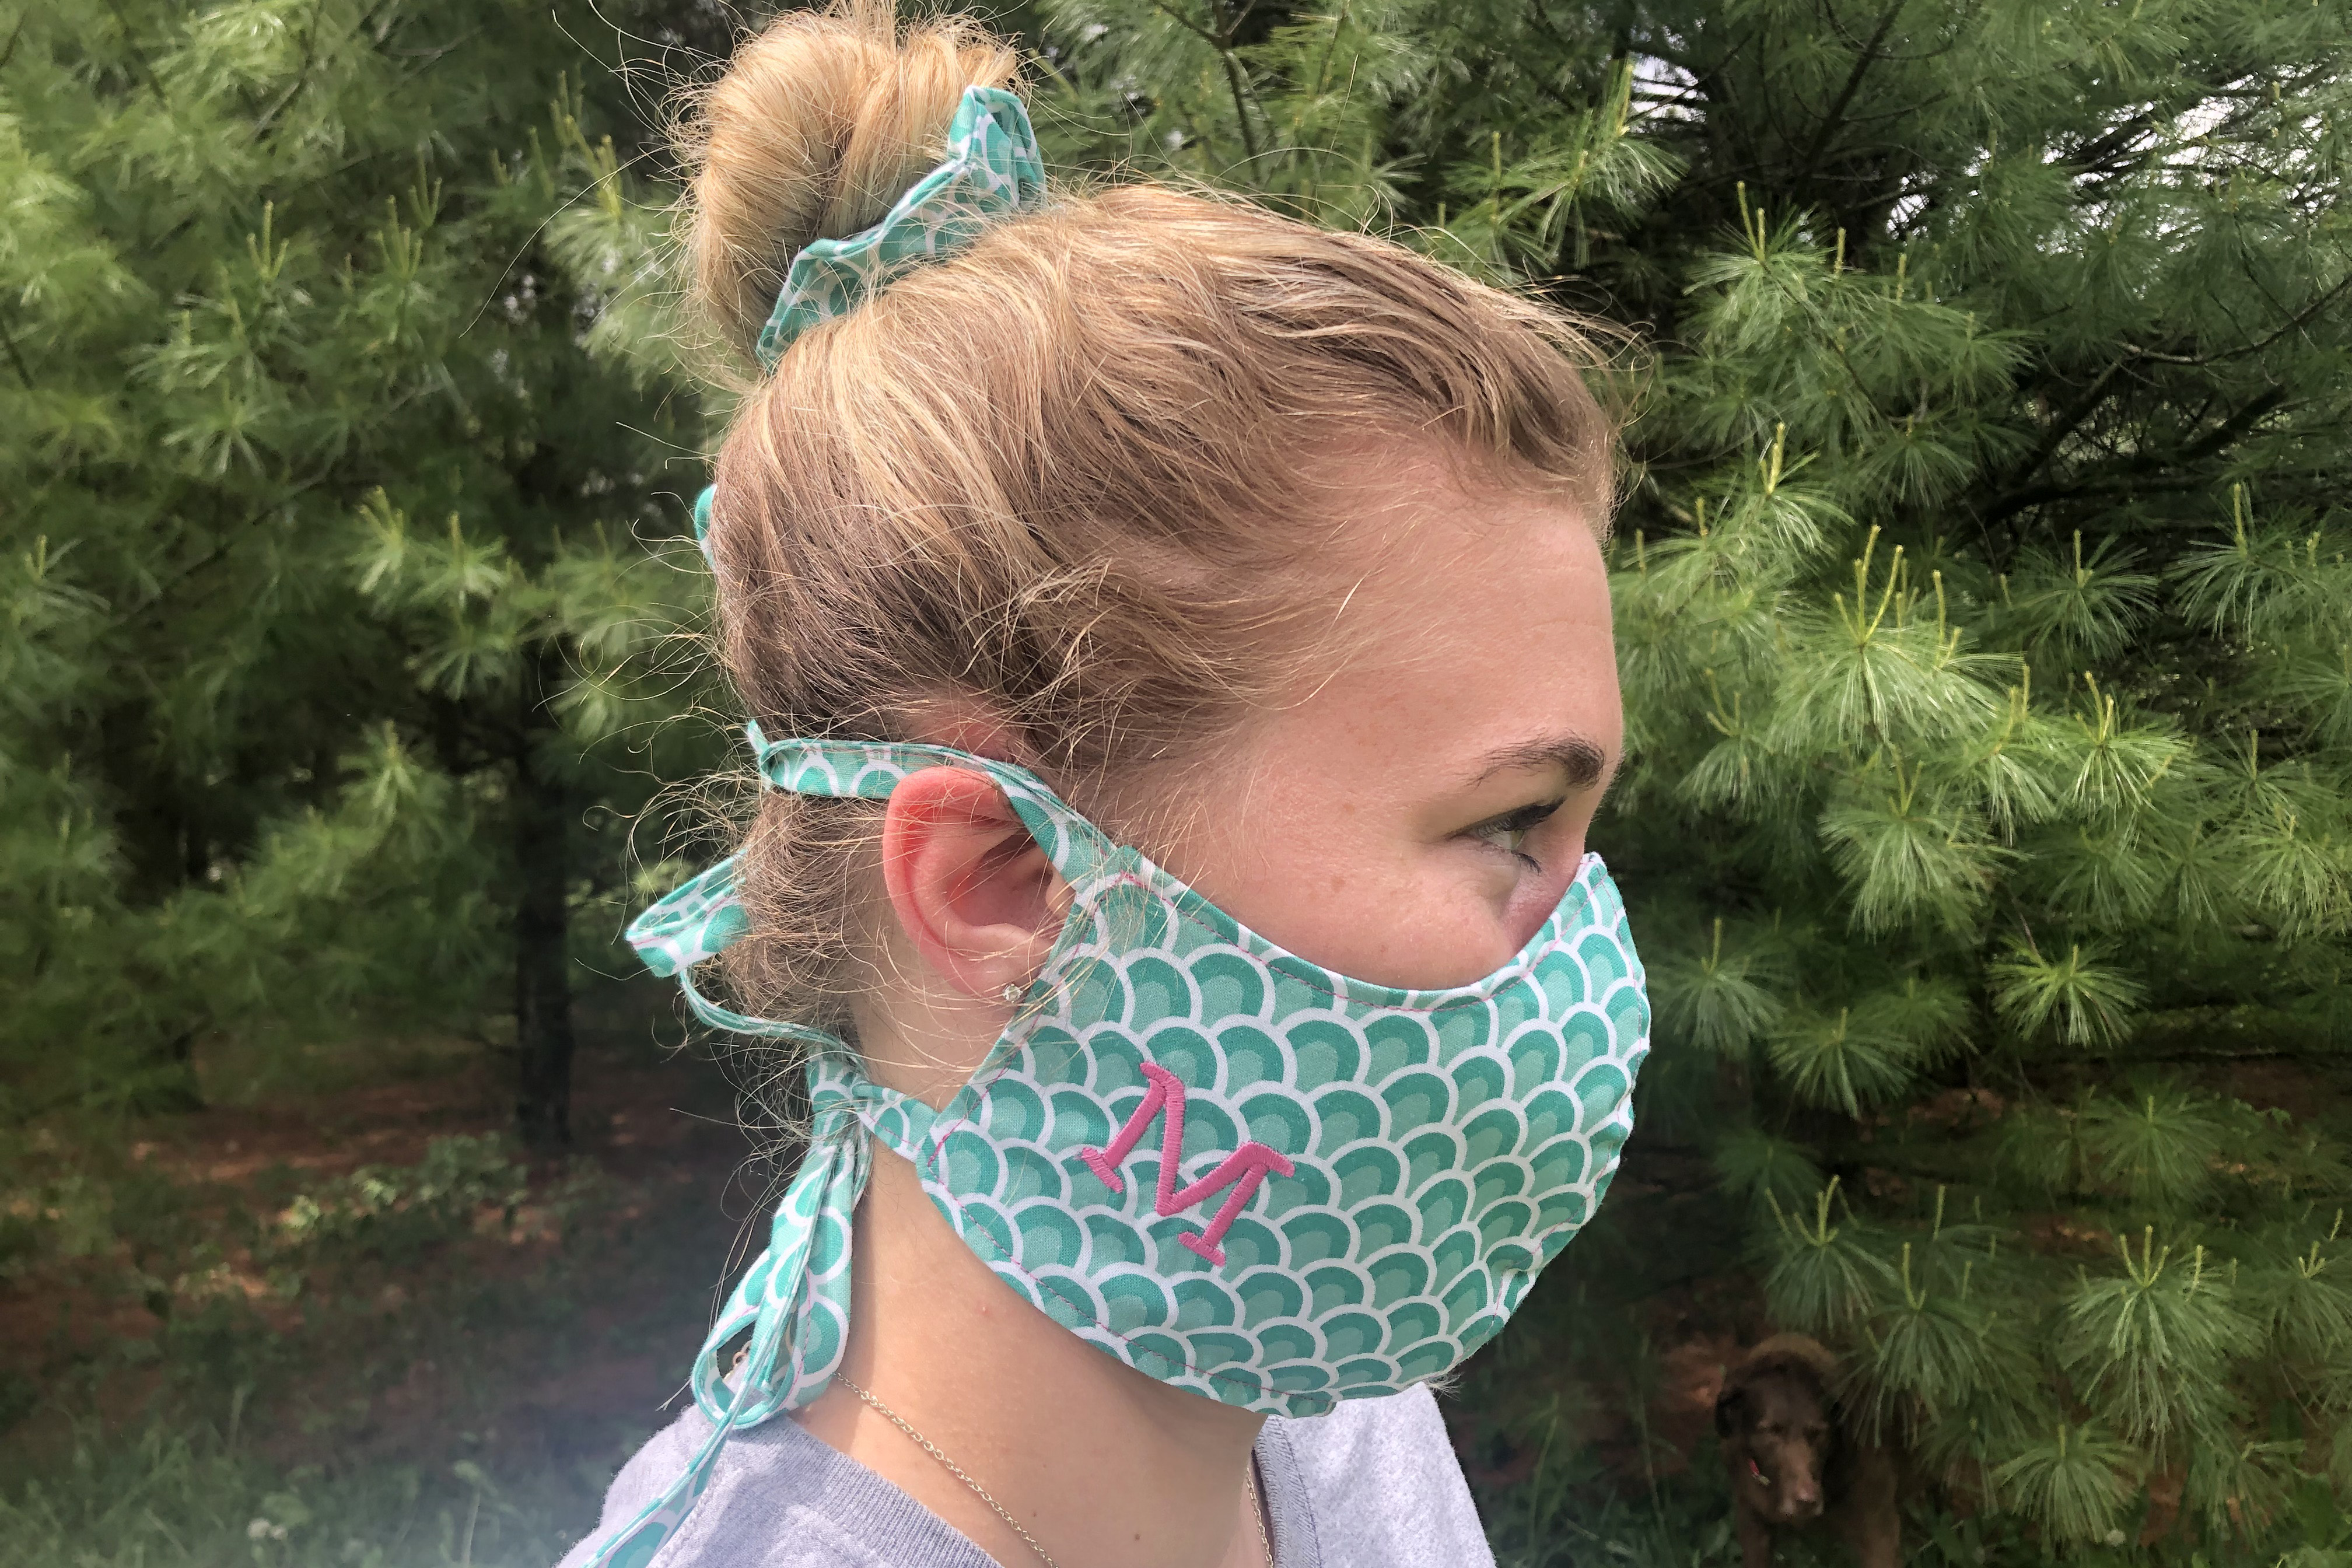
Now you are ready to tie it up in style!

Used Products


What you might also like


6 comments on “DIY Dapper Tie”
-
-
It is a vintage pattern, but one that I love. I would recommend searching some etsy shops or just a quick google search. Kwik Sew 352
-
-
do you use quilting cotton fabric or some other?
-
I usually use a really nice cotton lawn or voile, but I have also used quilting cotton too. The ties tend to need to be ironed more than one purchased, but my husband doesn’t seem to mind.
-
-
Looking forward to making some holiday ties!
-
hooray! They make a great gift and are pretty quick to make.
-
Leave a Reply
You must be logged in to post a comment.

Where is the tie pattern available?