Blindstitch Binding the BERNINA Way
Did you know there are many options to bind your quilt by machine? Sometimes the quilt will determine which option you choose. If it’s a baby blanket, you might decide on a ruffled binding to add texture. If it’s for a child, you might choose decorative stitch binding to add another color. But what if you want the binding to look hand stitched? Today I’ll show you blindstitch binding. This machine binding technique is simple and the stitches are nearly invisible. You’ll be amazed and wonder why you didn’t know about this sooner!
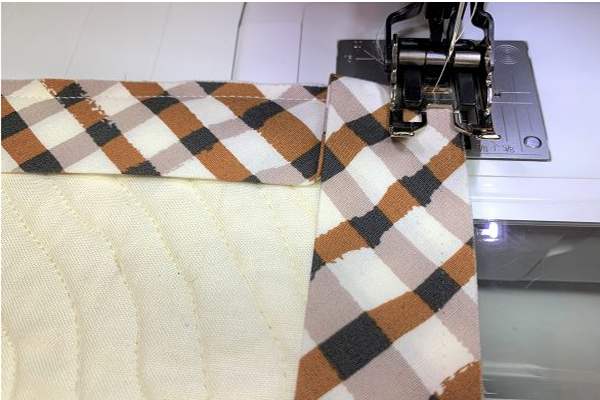
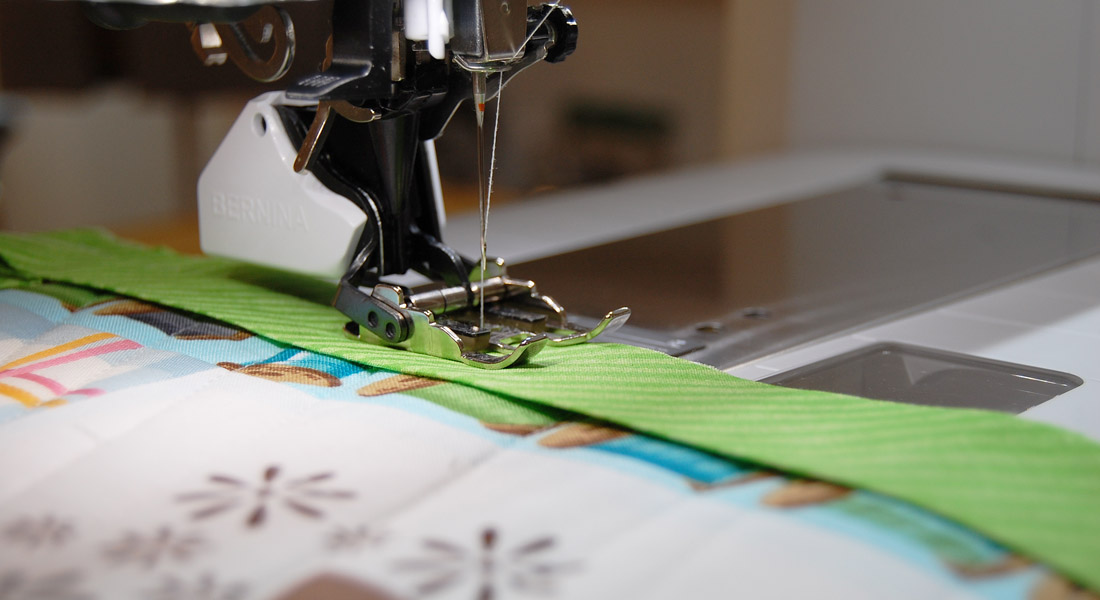
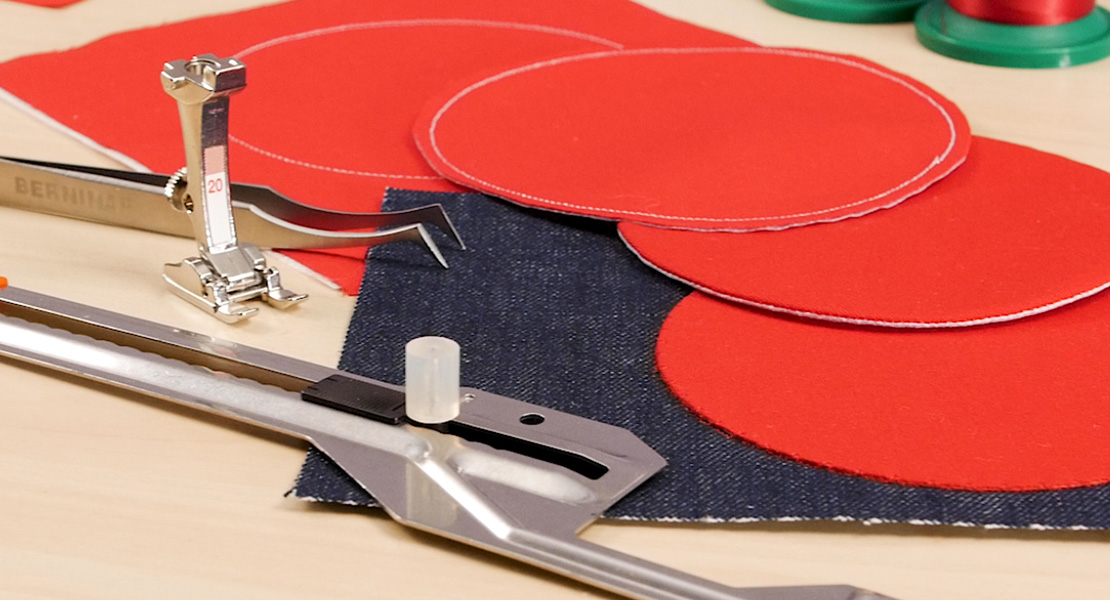
To start, you need enough binding to go all the way around your quilt plus an extra 20”. Stitch all short ends together and press your fabric strip in half, wrong sides together. Then, sew all raw edges to the back of your quilt with BERNINA Walking Foot #50. Do you remember how to miter the corners? If you need a refresher, follow this link on WeAllSew – How to Sew Mitered Corners.
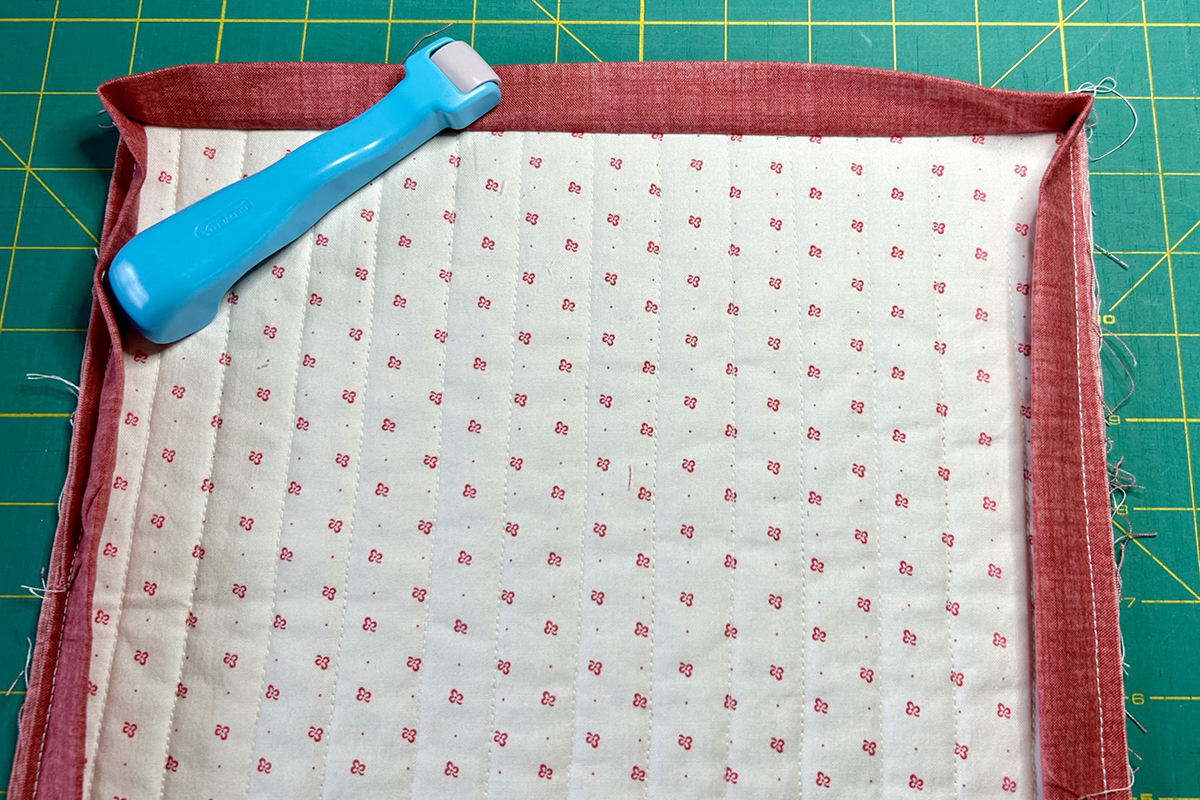
After the binding is sewn on the back side, I press the binding towards the outside with a Clover Roll & Press or small iron. I find this helps with wrapping the binding to the front.
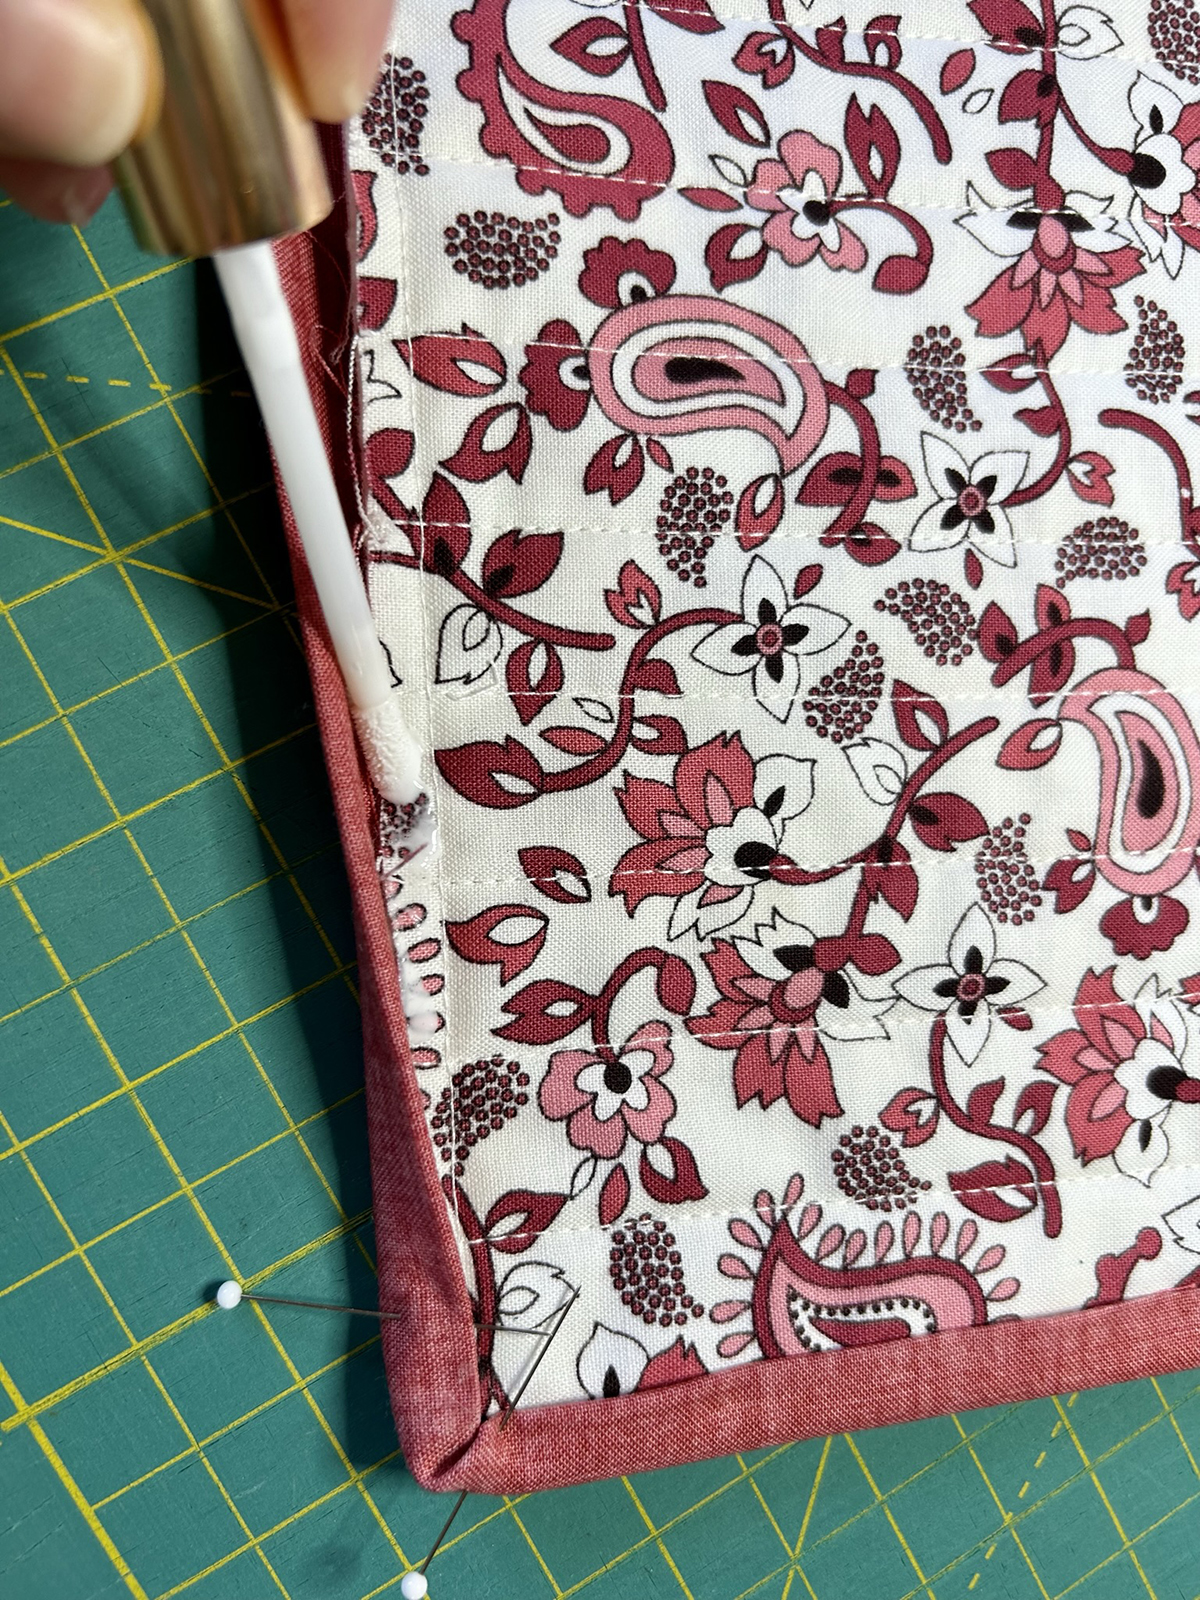
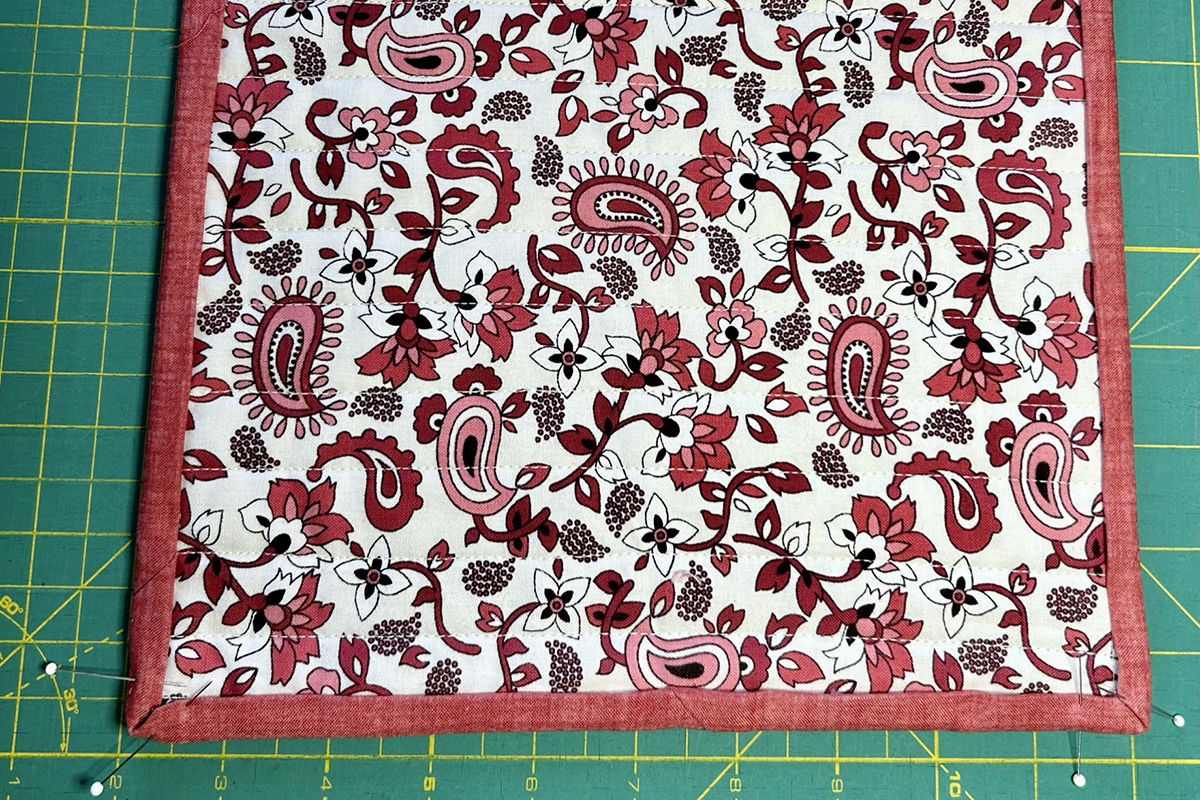
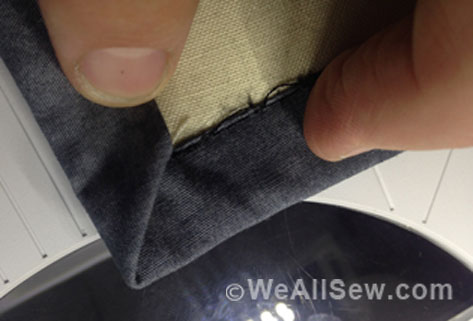
Next, place the quilt front side up and create a nice, crisp mitered corner. Pin in place. I dab a little Roxanne’s Temporary Glue to help keep the corners in place.

I dab a little Roxanne’s Temporary Glue to help keep the corners in place
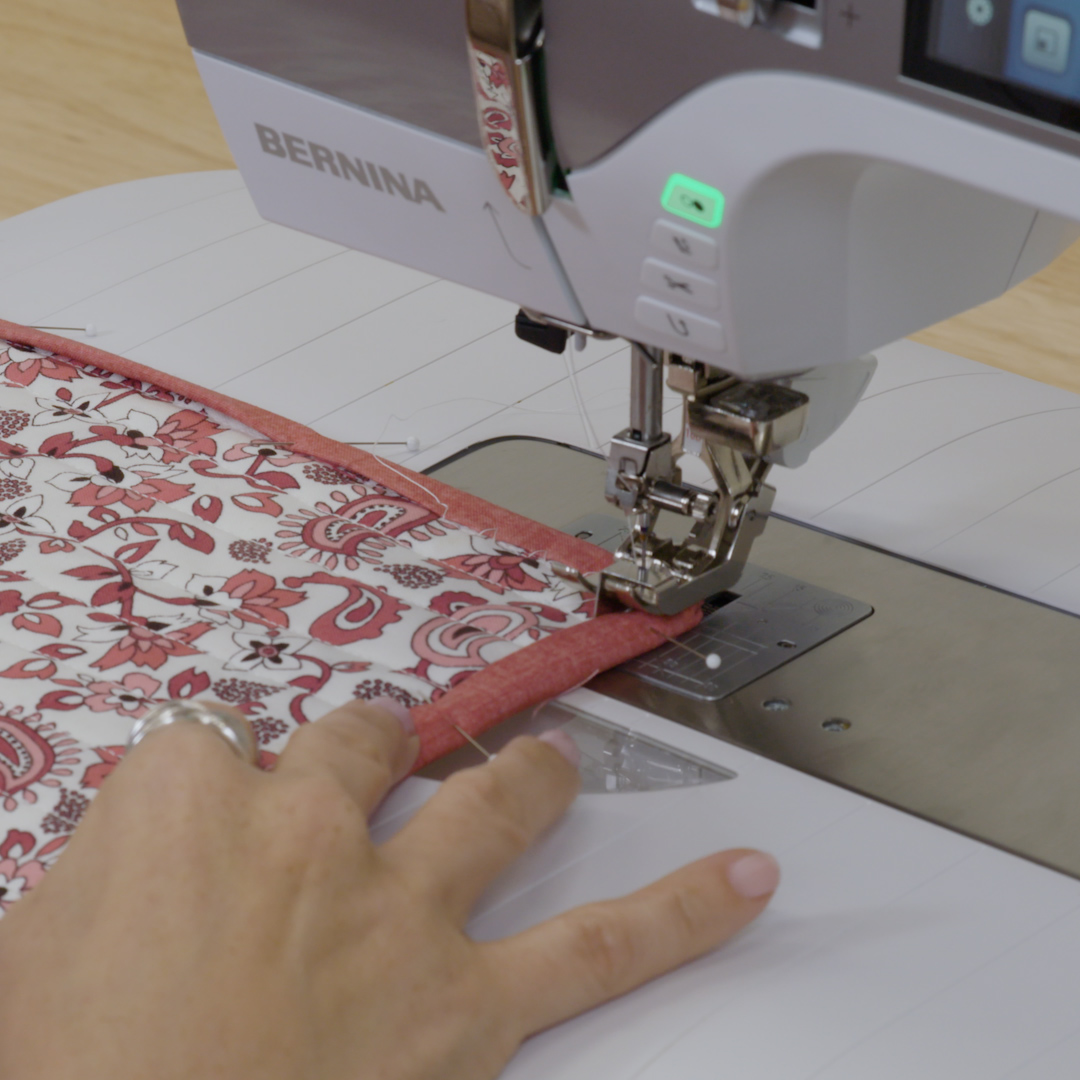
Do the same for all 4 corners. Then pin along the sides. Remember that you should not sew over the pins when we get to the stitching part!
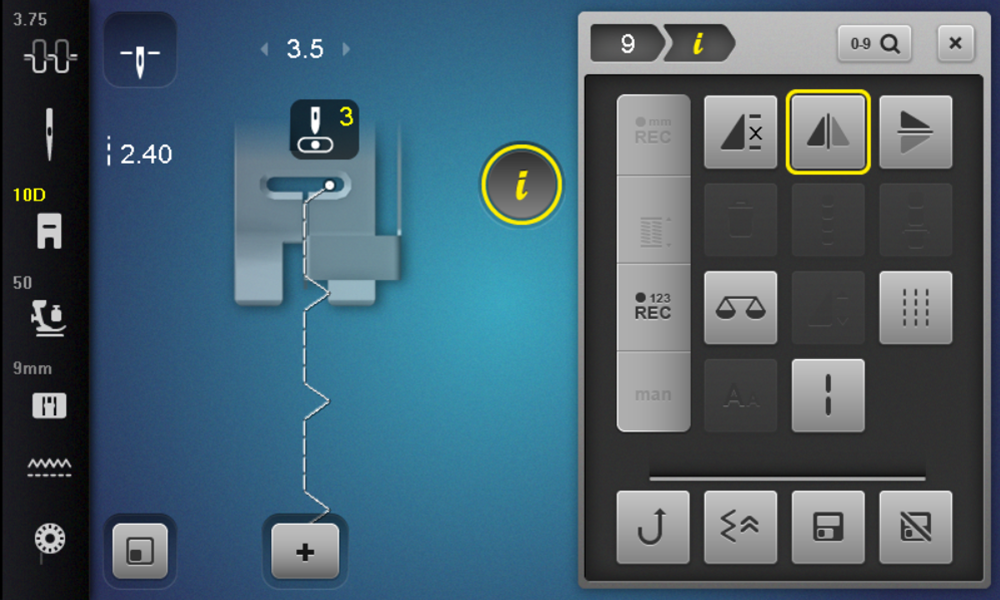
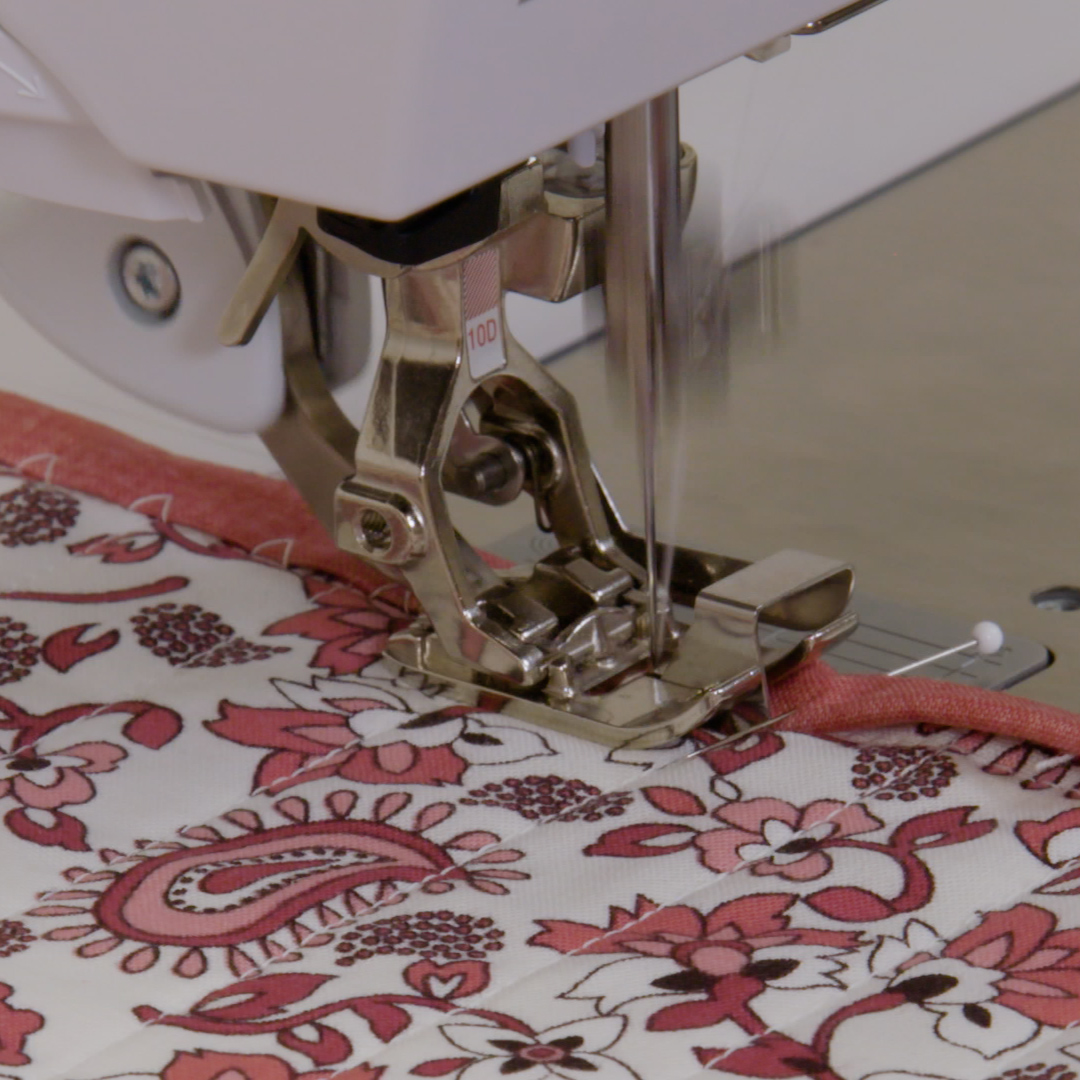
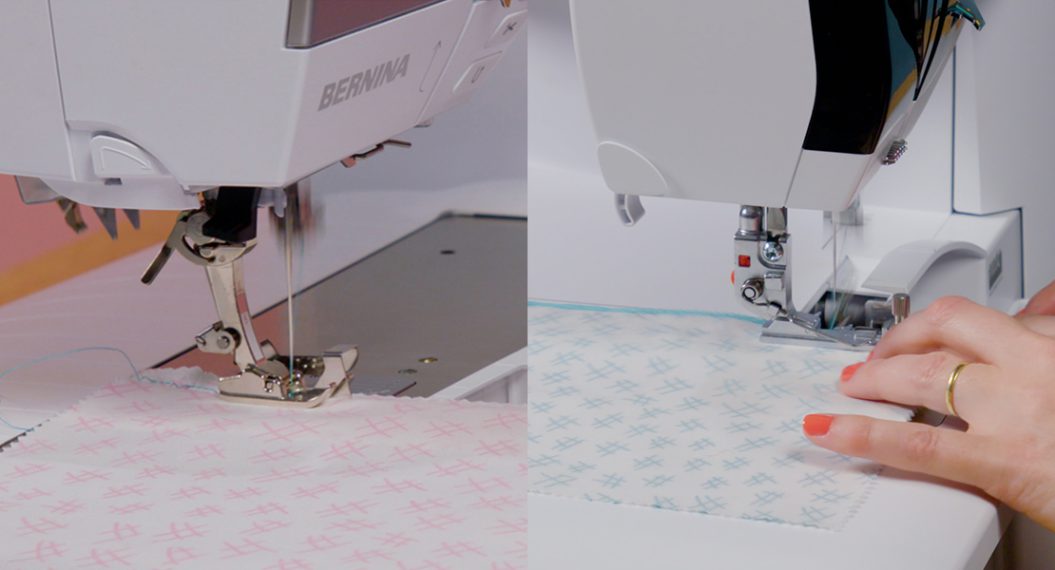
I am working on my BERNINA 790 PLUS. At the machine, attach Edgestitch Foot #10D and engage Dual Feed. Select Blindstitch #9. Go into the Information Menu and touch Mirror Image Left/Right. Move Needle Position to 3. Touch Needle Up/Down icon so it’s in the down position.
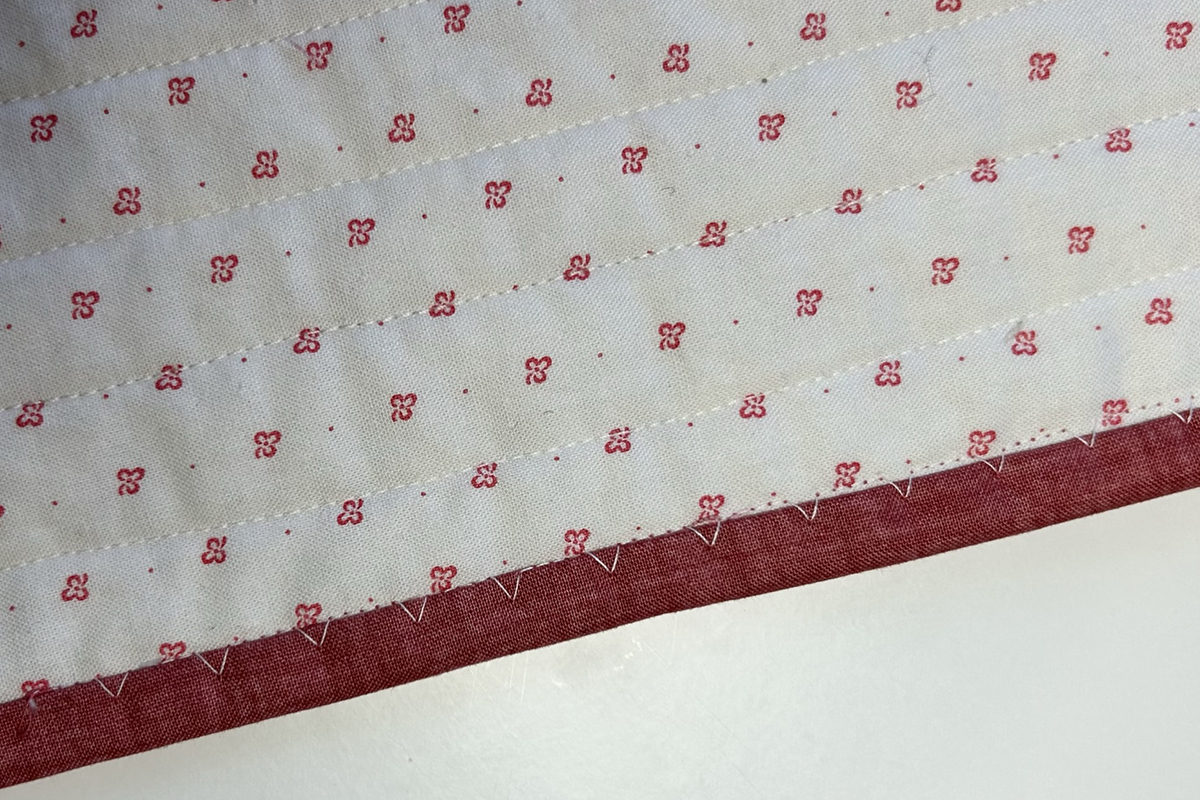
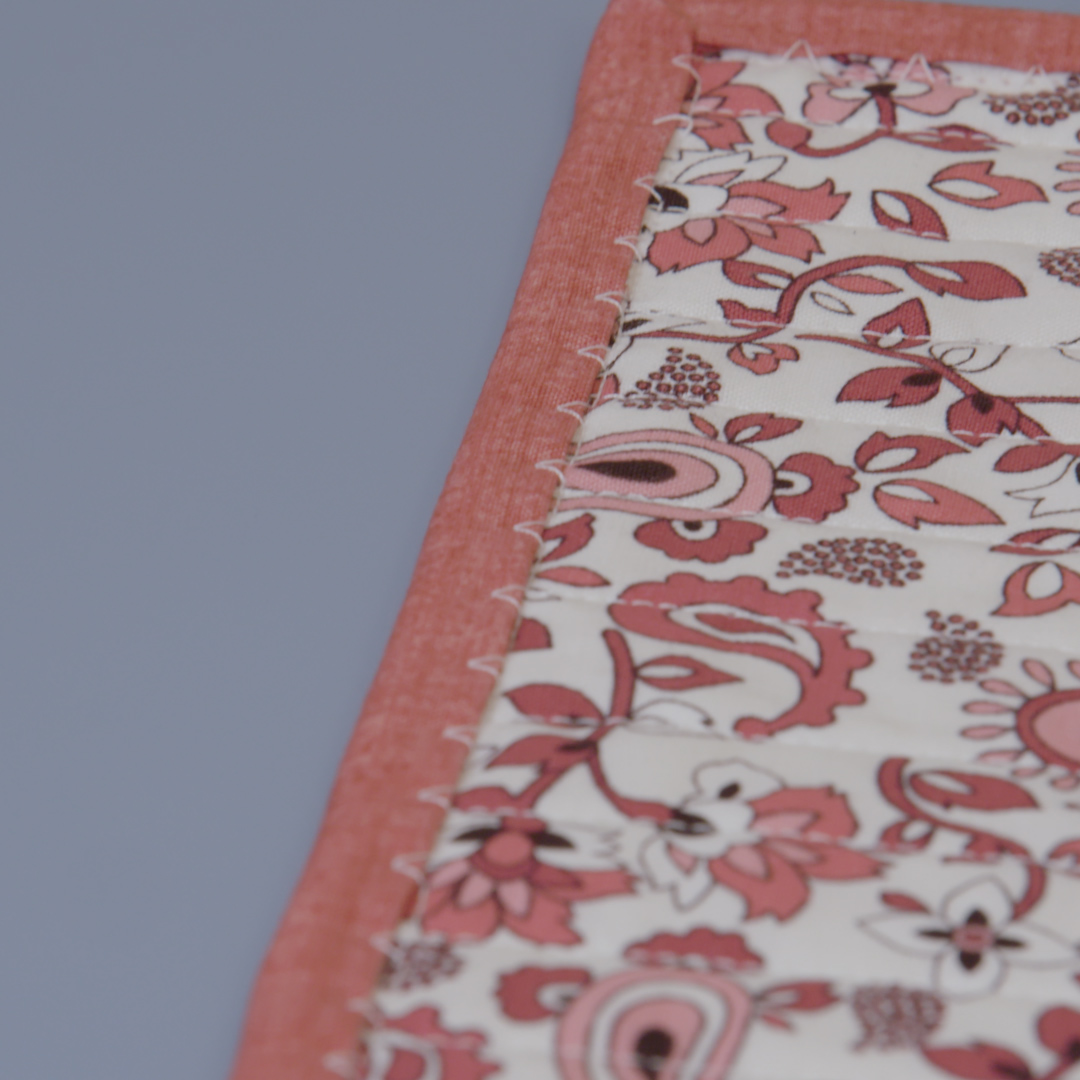
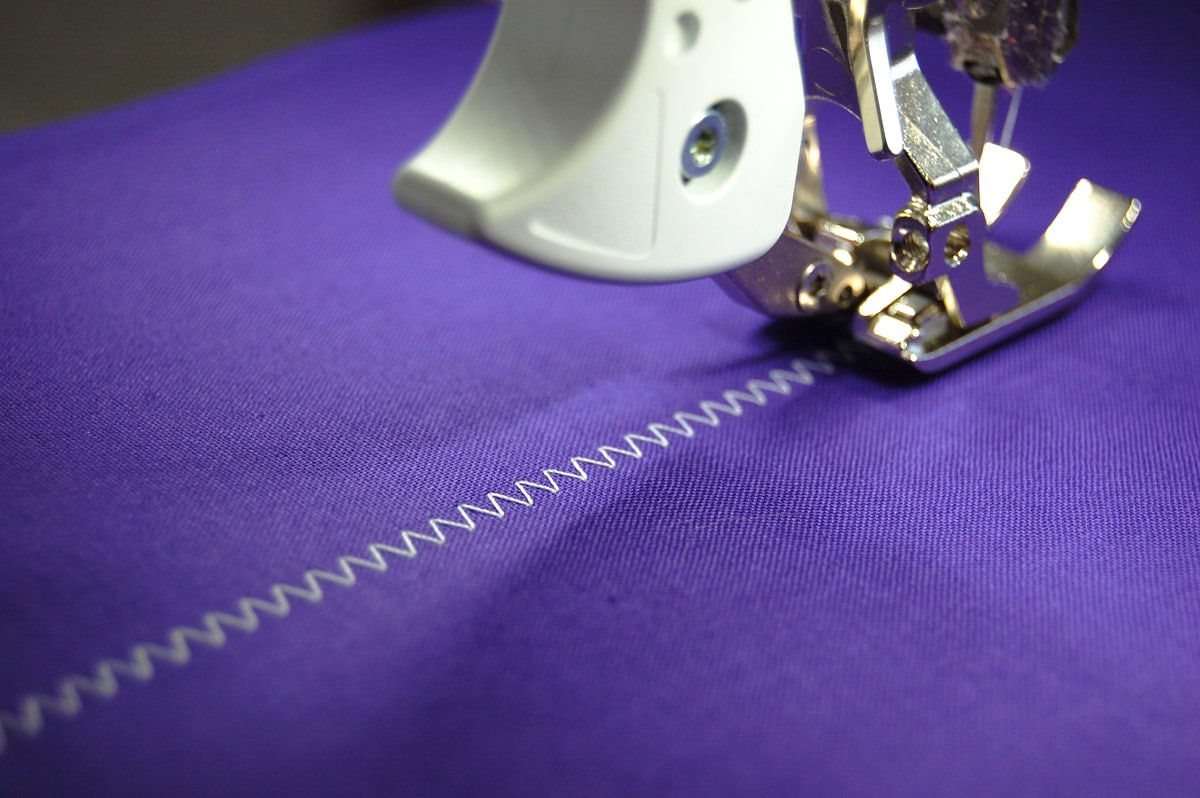
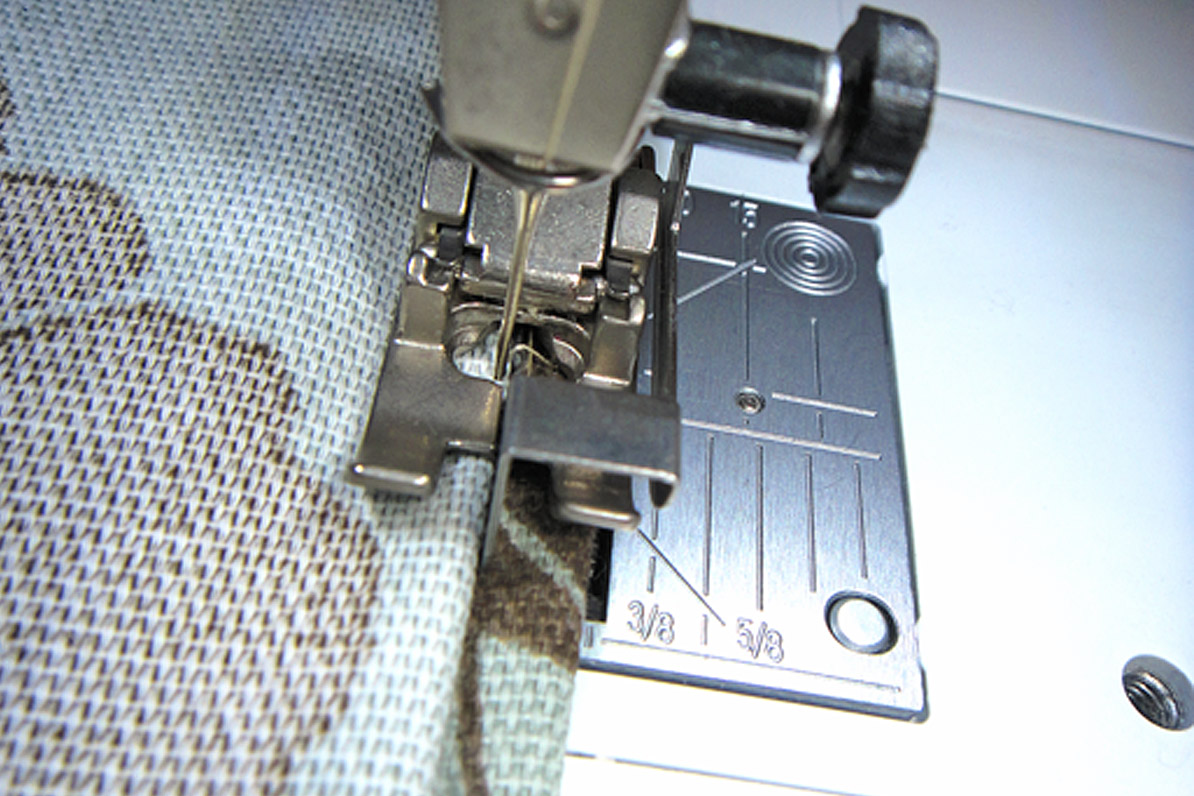
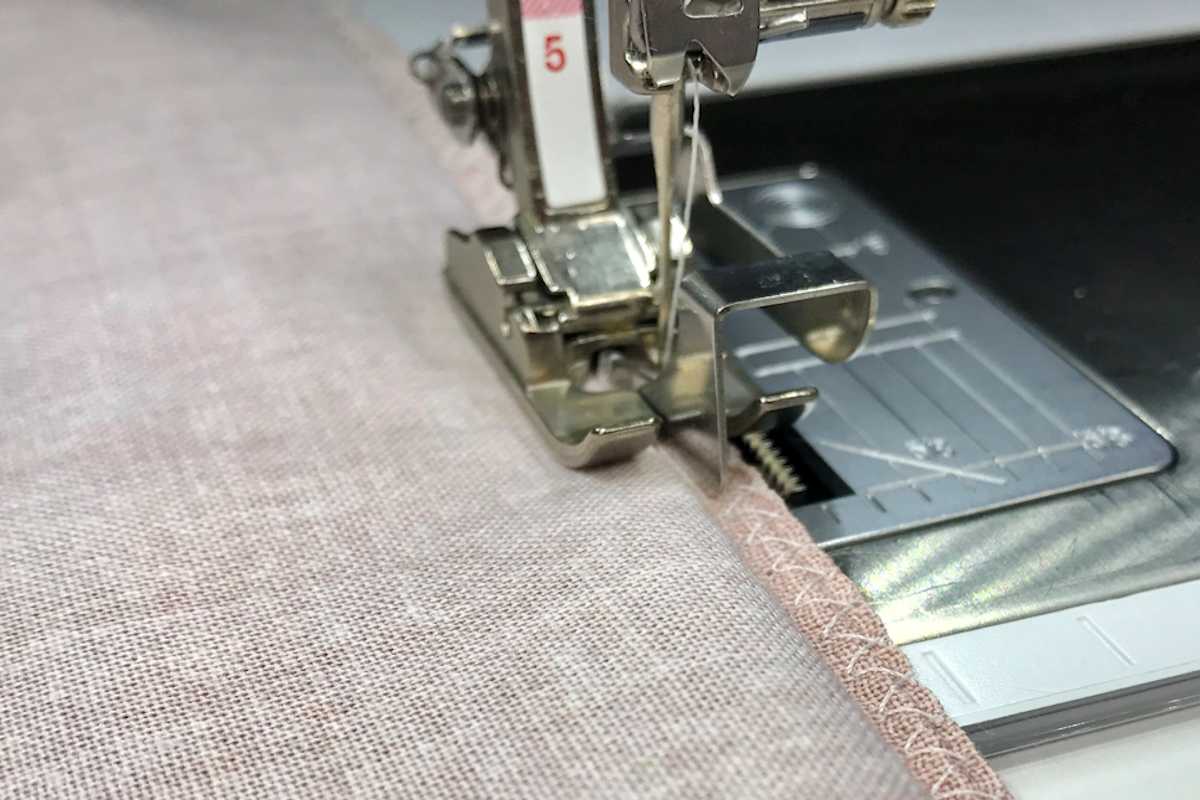
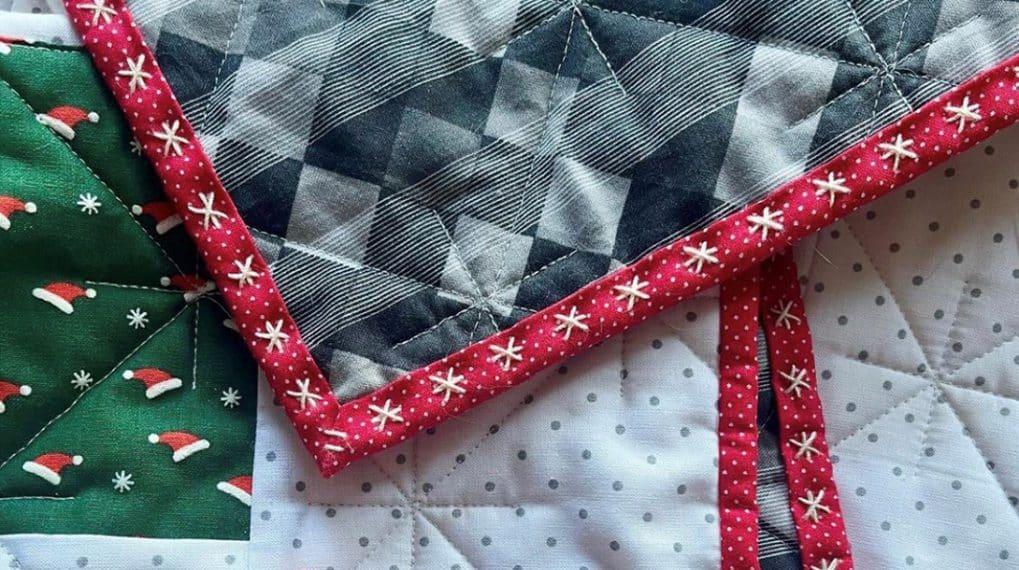
With the blindstitch binding technique, there are 2 goals. (1) The straight part of the blindstitch should land in the quilt next to the binding, not in the binding. (2) The zig zag part of the blindstitch should land in the binding. In the picture below, I used white thread so you can see each part of the stitch and where it lands in the quilt. Normally I would match my thread color to the binding color.
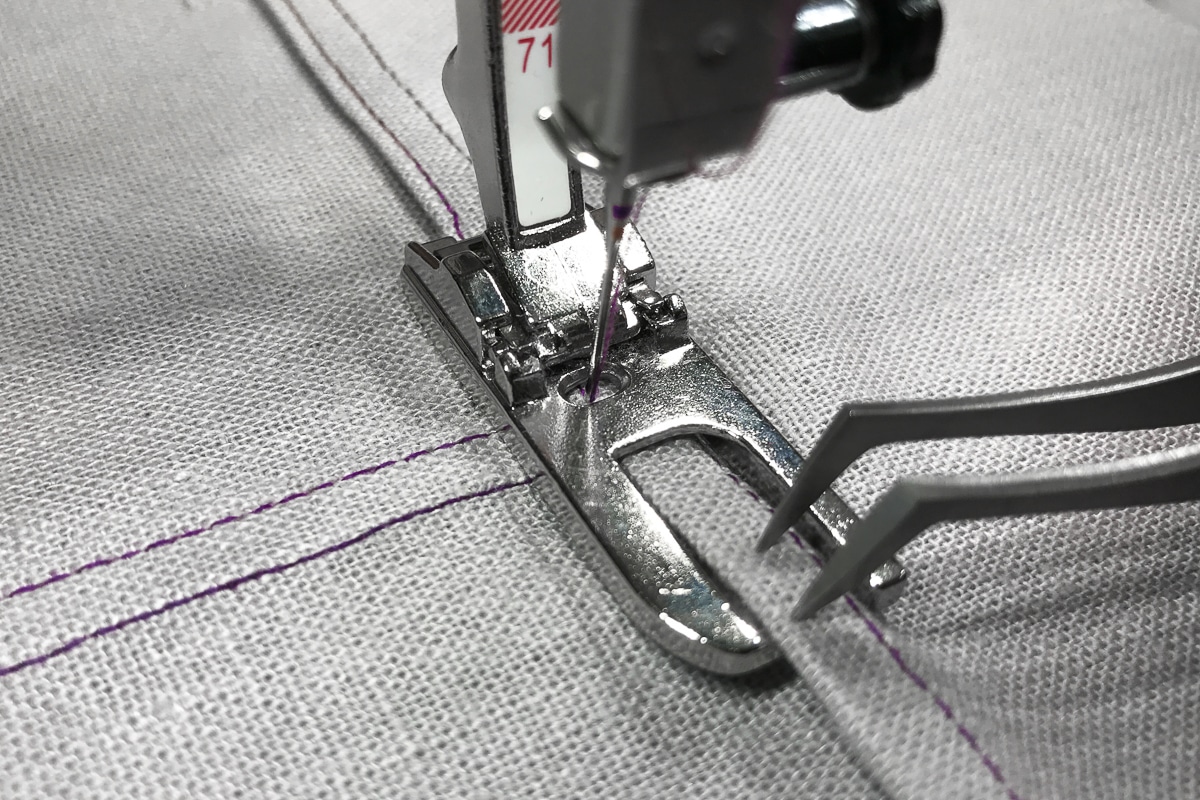
To start, place the center blade of Edgestitch Foot #10D up against the binding.
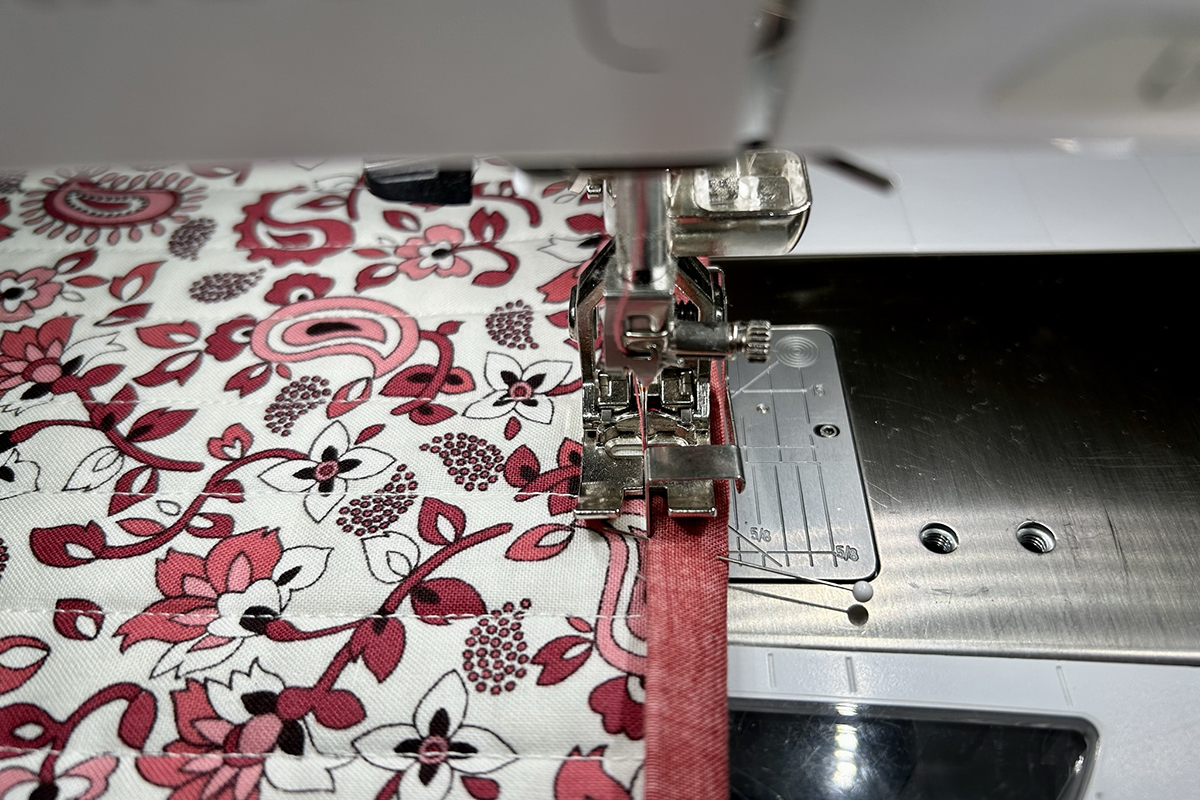
Start stitching the blindstitch. This is not speed sewing. You should check the stitches every few inches to make sure they are lining up correctly. The needle will land behind the center blade of the foot during the straight part of the stitch. This is why that center blade is butted up against the binding. Then the needle will land in the binding fabric during the zig zag part of the stitch.
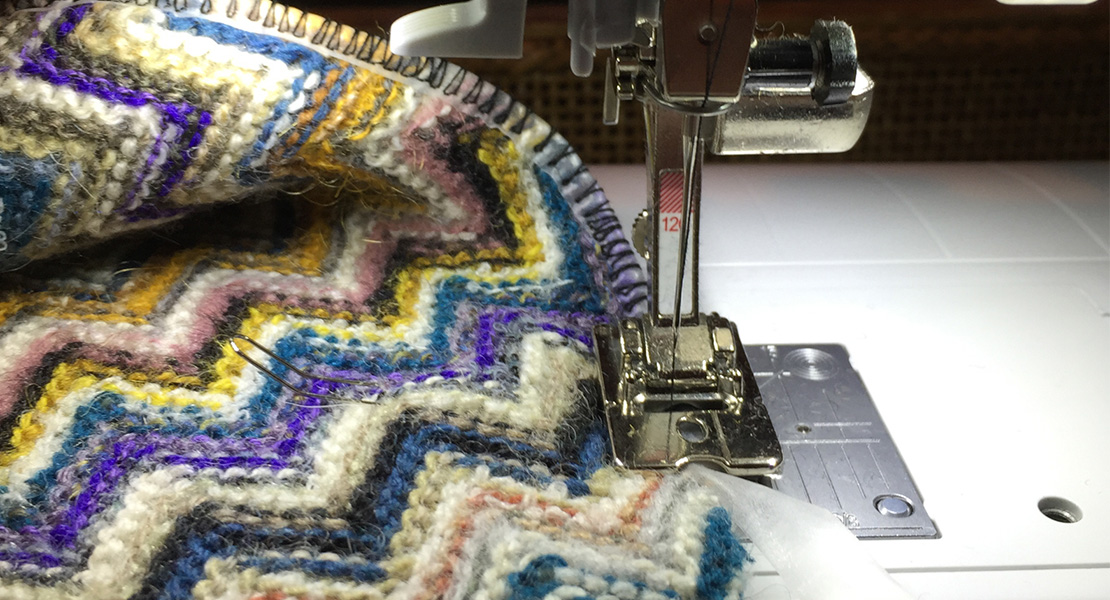
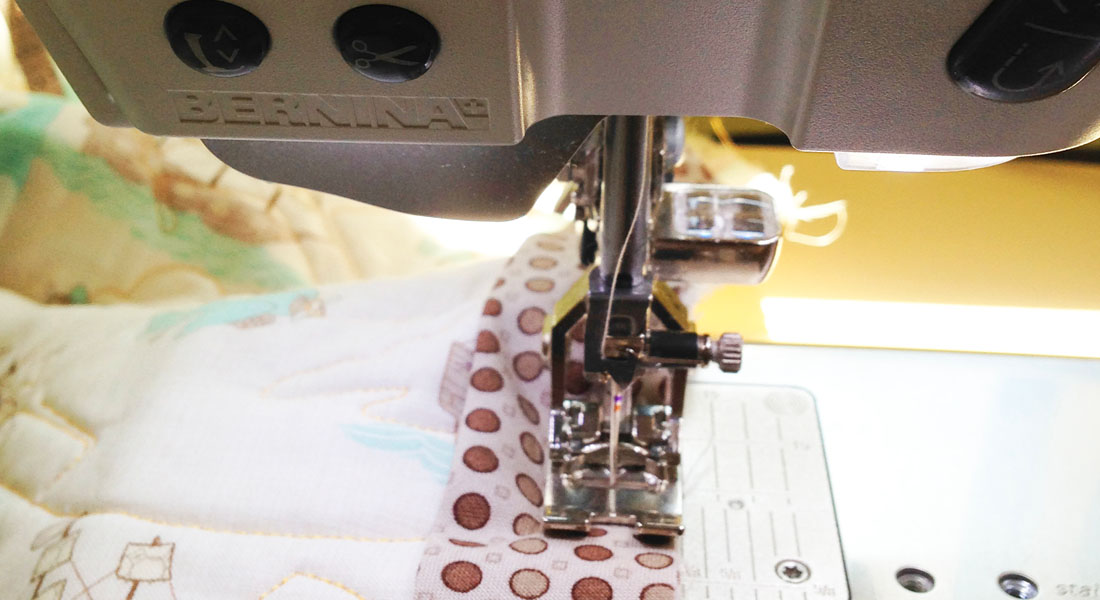
Here is a closer view of the stitch. Can you see where the stitch is forming?
What about the corners? Remember this is a nearly invisible stitch; we don’t need to count the stitch pattern as we approach a corner but we do need to slow down and keep an eye on needle placement. Your goal is to have the needle land directly in the corner. Here, your Freehand System will make this step easy! If you need to fudge a little by increasing or decreasing the stitch length, go ahead. That’s why we have Total Stitch Control! Once the needle is in the corner, pivot the quilt to sew down the next side.
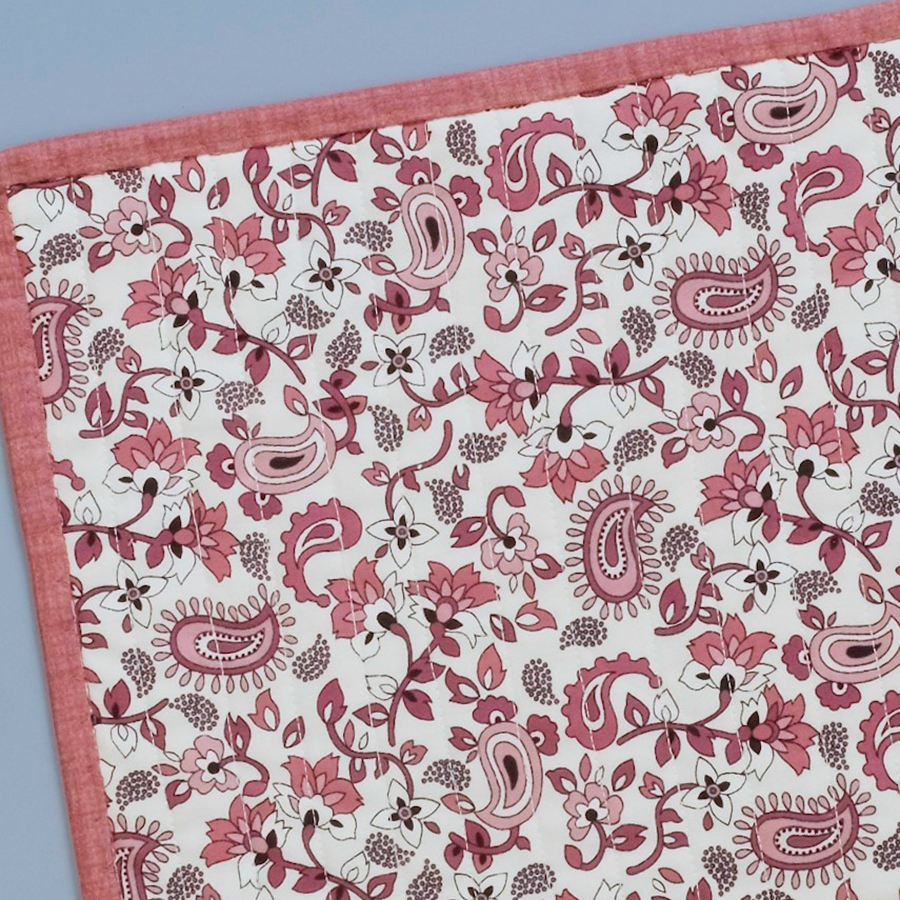
If you use a thread that matches the color of your binding fabric, you will have a nearly invisible stitch. Everyone will think you spent a lot of time hand stitching the binding, but I won’t tell! I hope you enjoyed learning about another great machine binding technique. It just might be the perfect option for your next quilt!
Used Products


What you might also like


10 comments on “Blindstitch Binding the BERNINA Way”
-
-
You are welcome!
-
-
The stich looks very nice. What holds the binding down in between the zigzag?
-
Nothing. The stitch catches the binding close enough that the binding lays flat.
-
-
What does the other side of the binding look like?
-
We didn’t get an image of the other side but it looks good too.
-
-
What was the cut width of your binding?
-
In this tutorial it’s 2 1/2″ but I do 2 1/4″ mostly. The technique is the same for any binding width.
-
-
All of your clever ideas for machine binding are great alternatives. Thank you.
-
You are so welcome!
-
Leave a Reply
You must be logged in to post a comment.

Excellent tutorial. I have been wanting to use the blind stitch but did not have a blind stitch foot. Nice to see I could use a different foot. This binding would also work great on my potholders. Thanks for writing articles that teach us how to use this machine. Love the seam roller also.