Clever Ways to Use the Bulky Overlock Foot
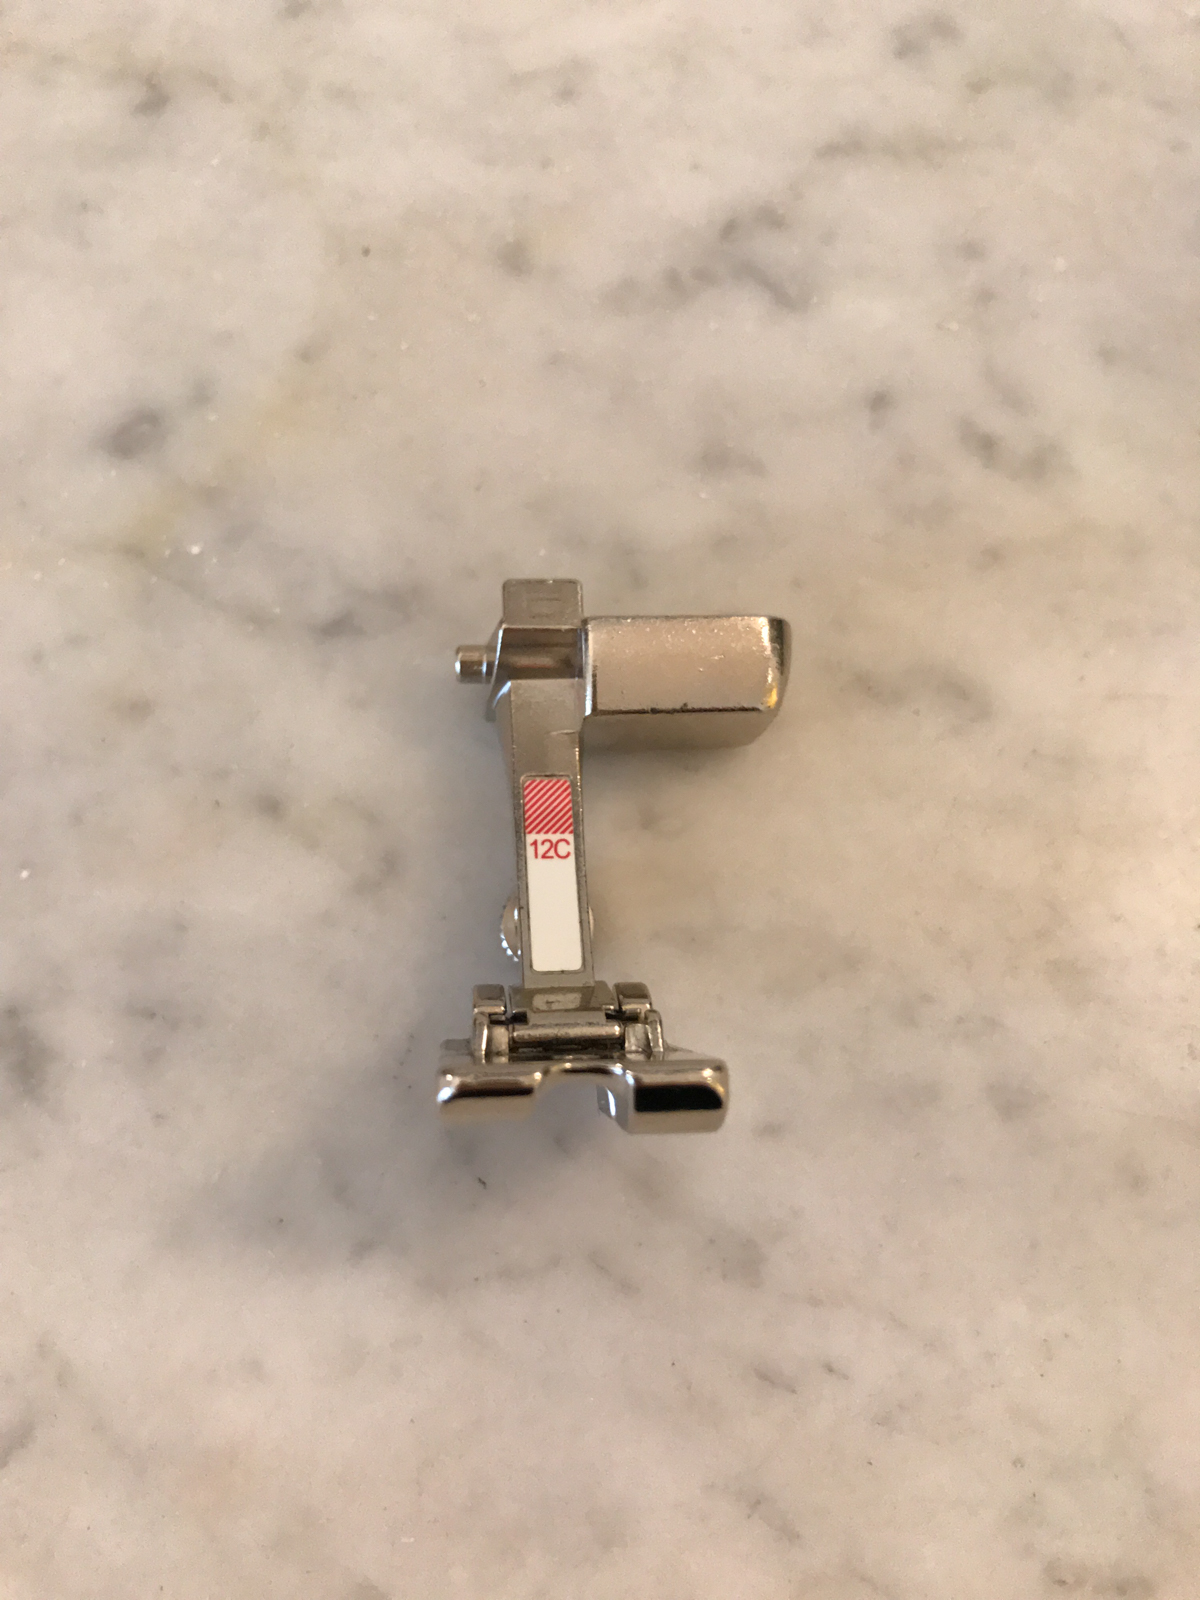
My Favorite Foot: The Versatile BERNINA Bulky Overlock Foot #12/#12C
Hey everyone, Julie Eilber here to spill the beans about my all-time favorite presser foot, BERNINA Bulky Overlock Foot #12/#12C. If you read my blog, then you’re well acquainted with my BERNINA 560, AKA Karl. He’s quite a character, and as a matter of fact, he’s tapping that presser foot of his right now. I think he’s trying to do that big dance number from La La Land!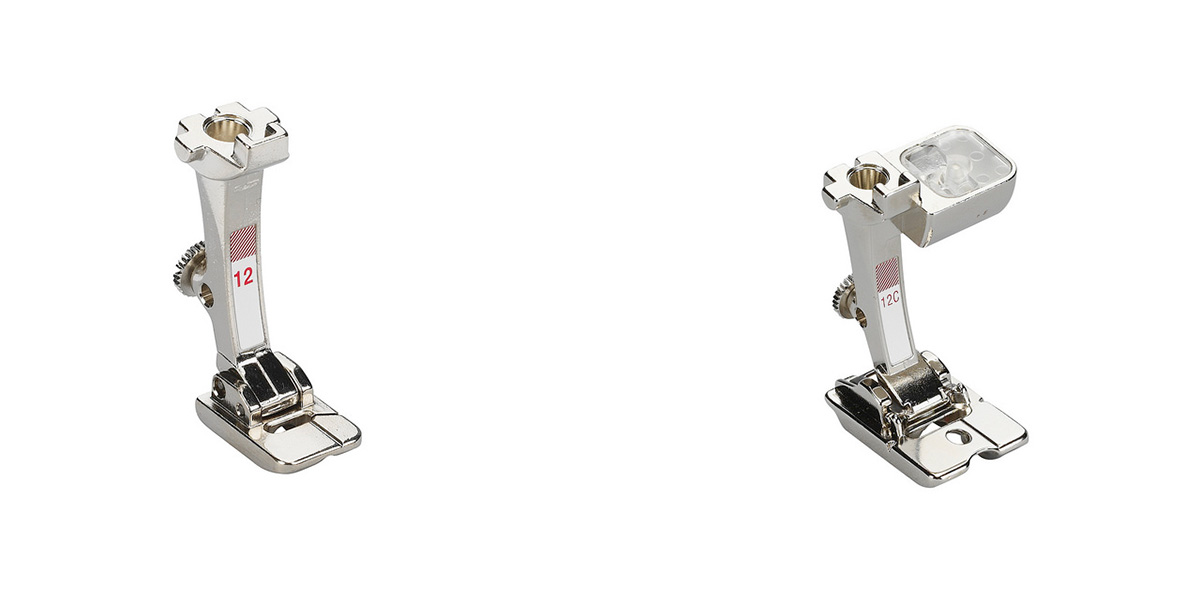
I’m a big fan of presser foot #12/#12C because it’s saved my bacon on a number of tricky projects.
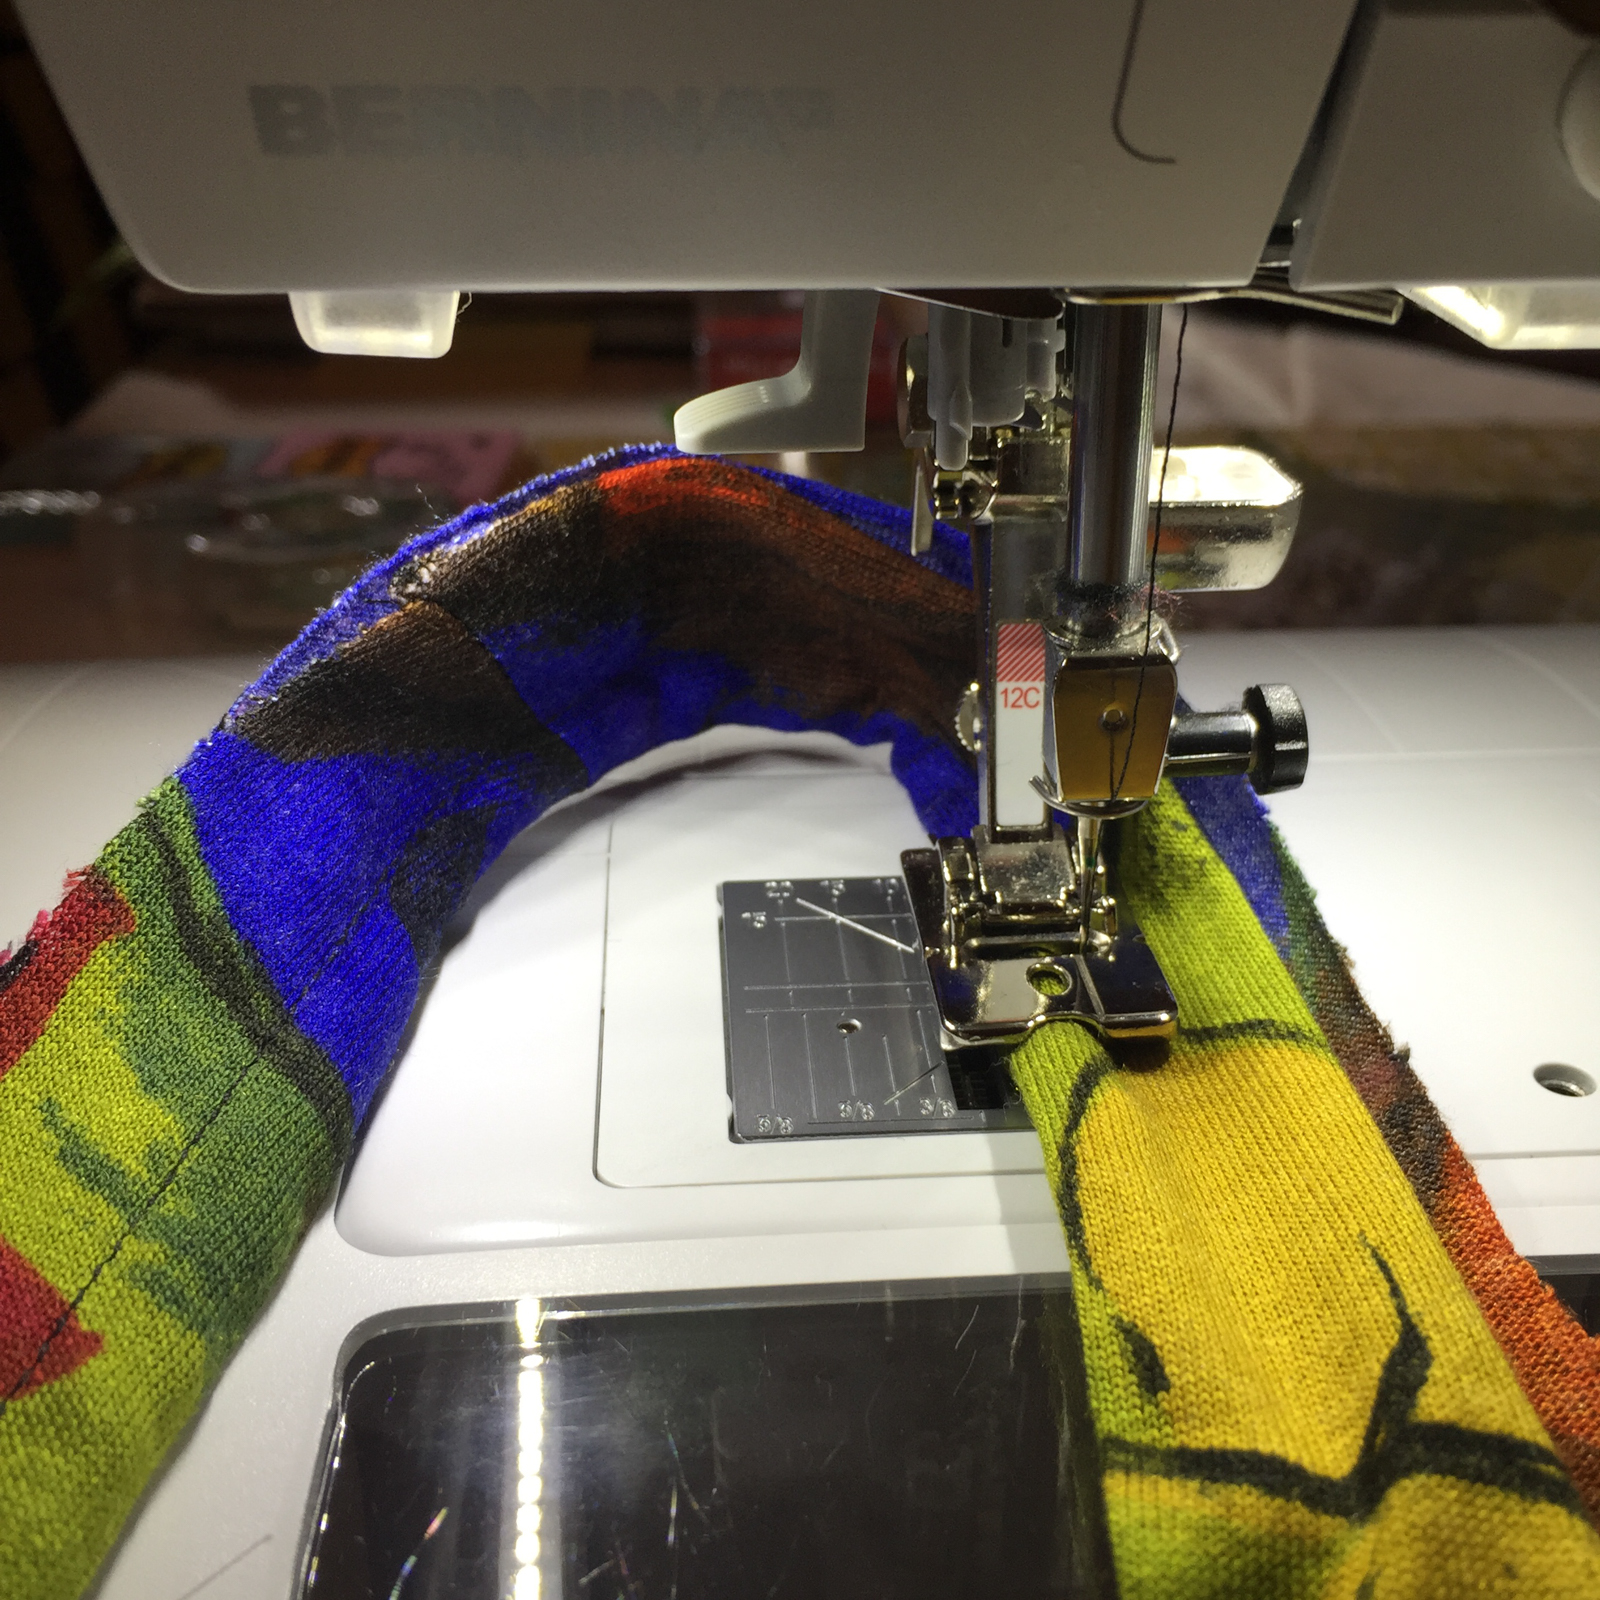
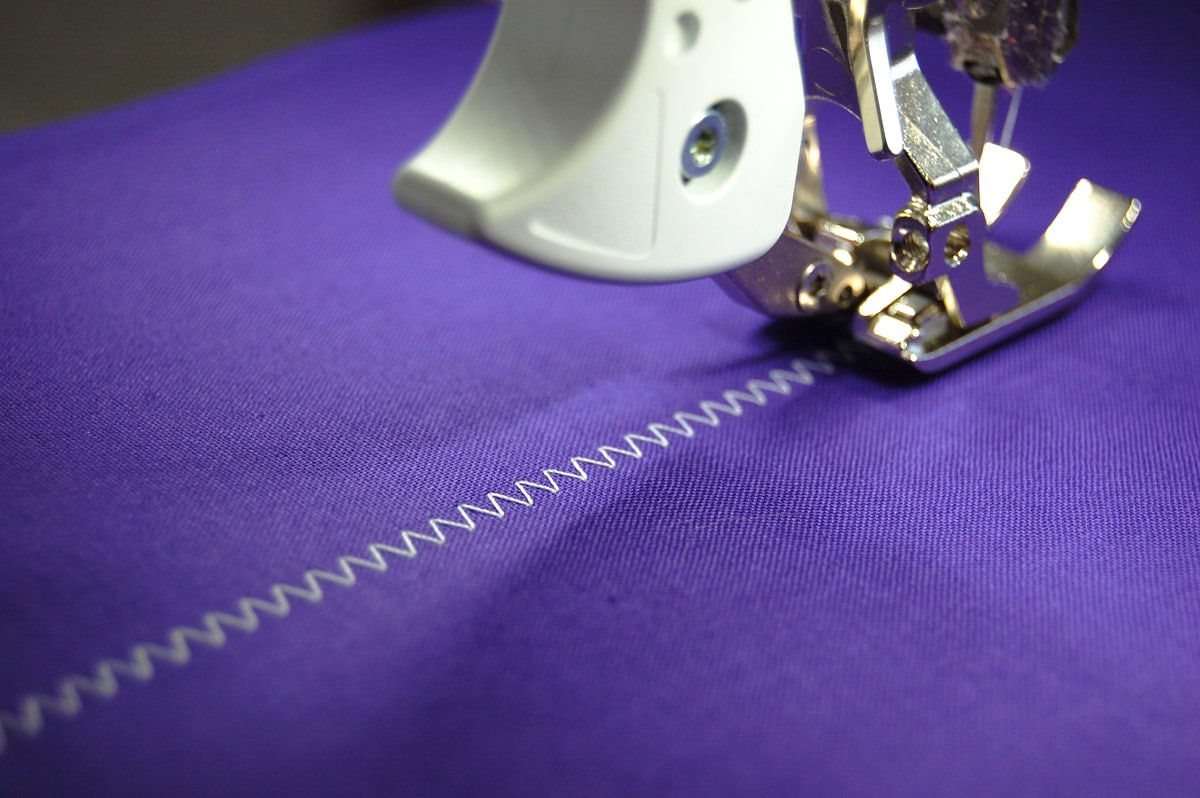
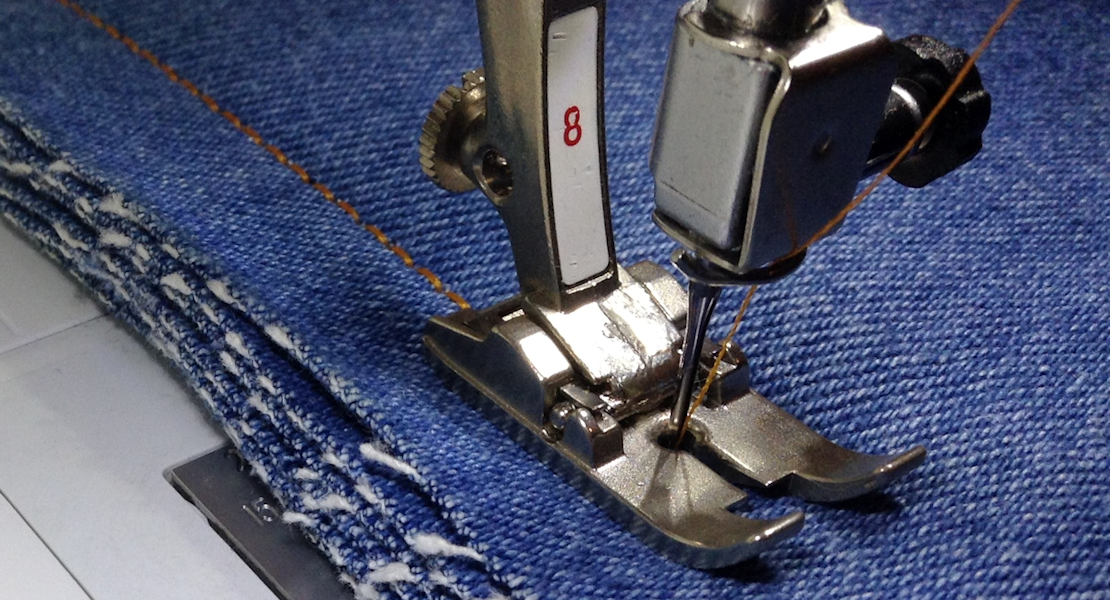
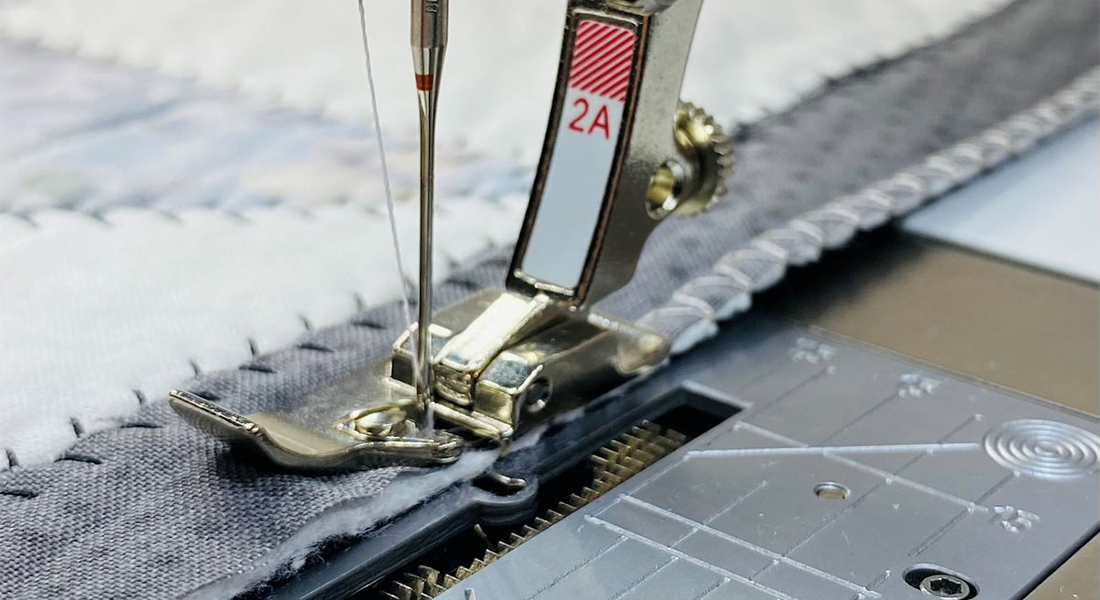
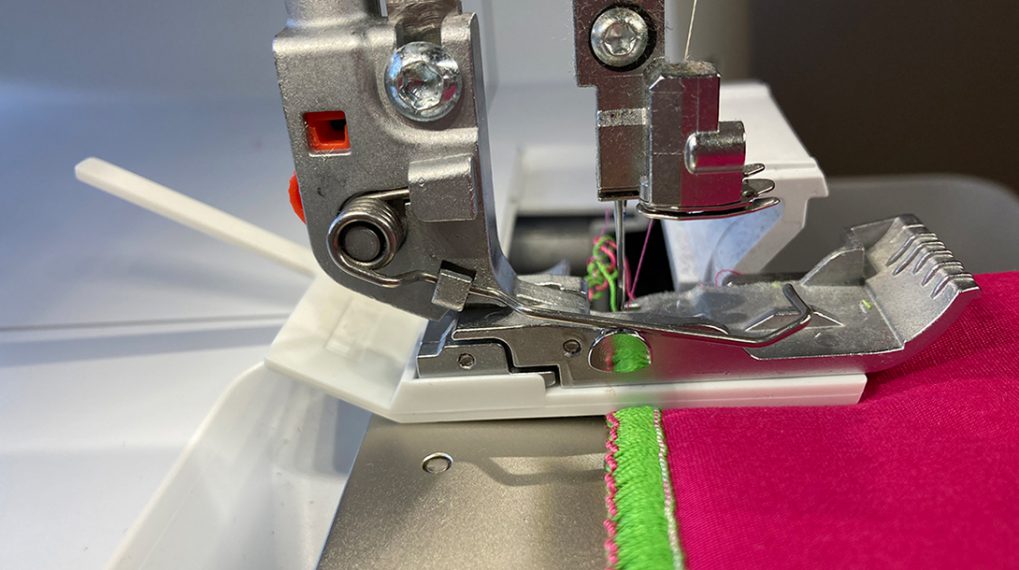
If you look at the bottom of the foot, the left side is higher than the right, and it has a wide groove through the middle: So if you’re overlocking the edges of bulky knit fabric, for example, it holds the fabric over to the left while the stretch overlock stitch perfectly binds the right edge:
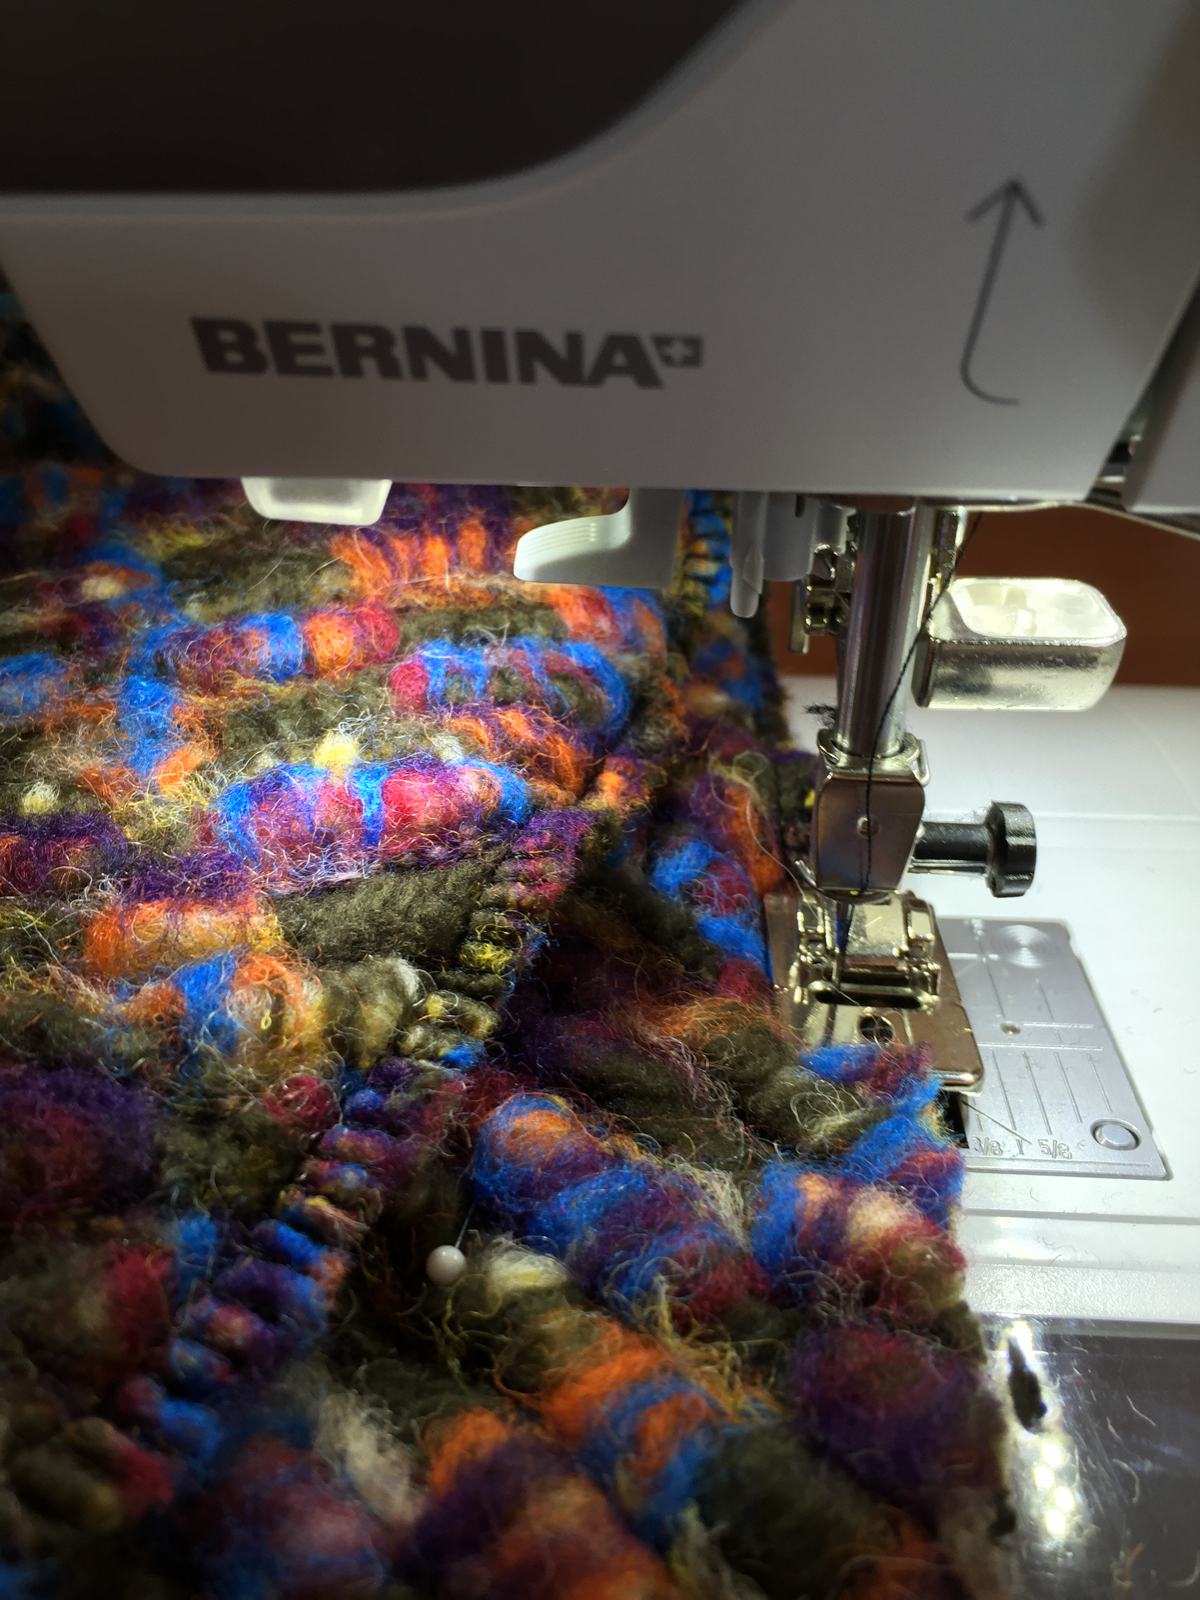
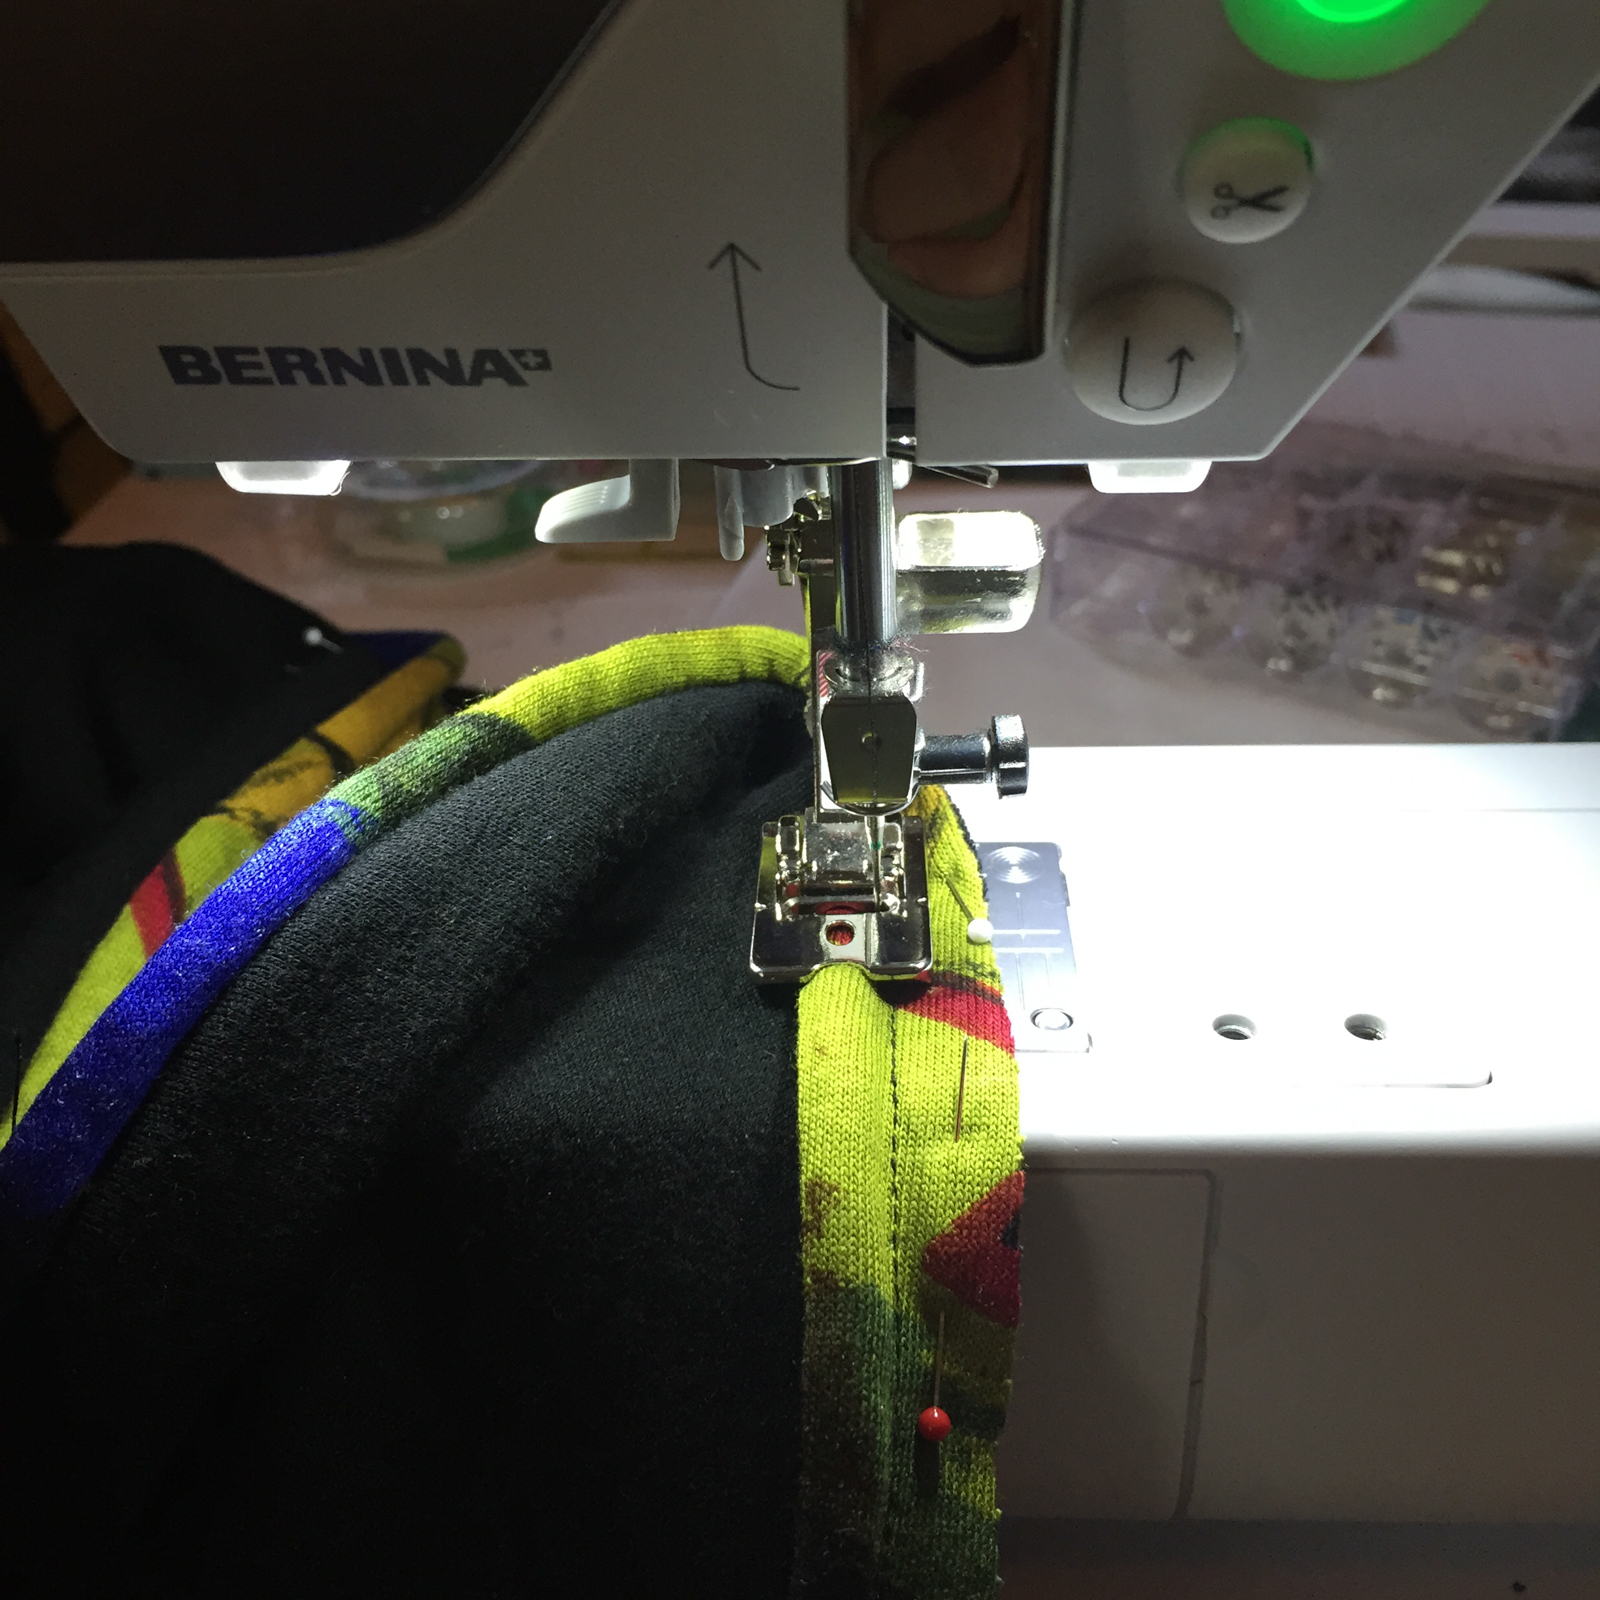
You can also run a cord or length of yarn through the hole on the top of the foot as you overlock to keep the seam from getting overstretched. Sometimes, I hold clear elastic along the edge as I sew, to make the seam stable but stretchy:
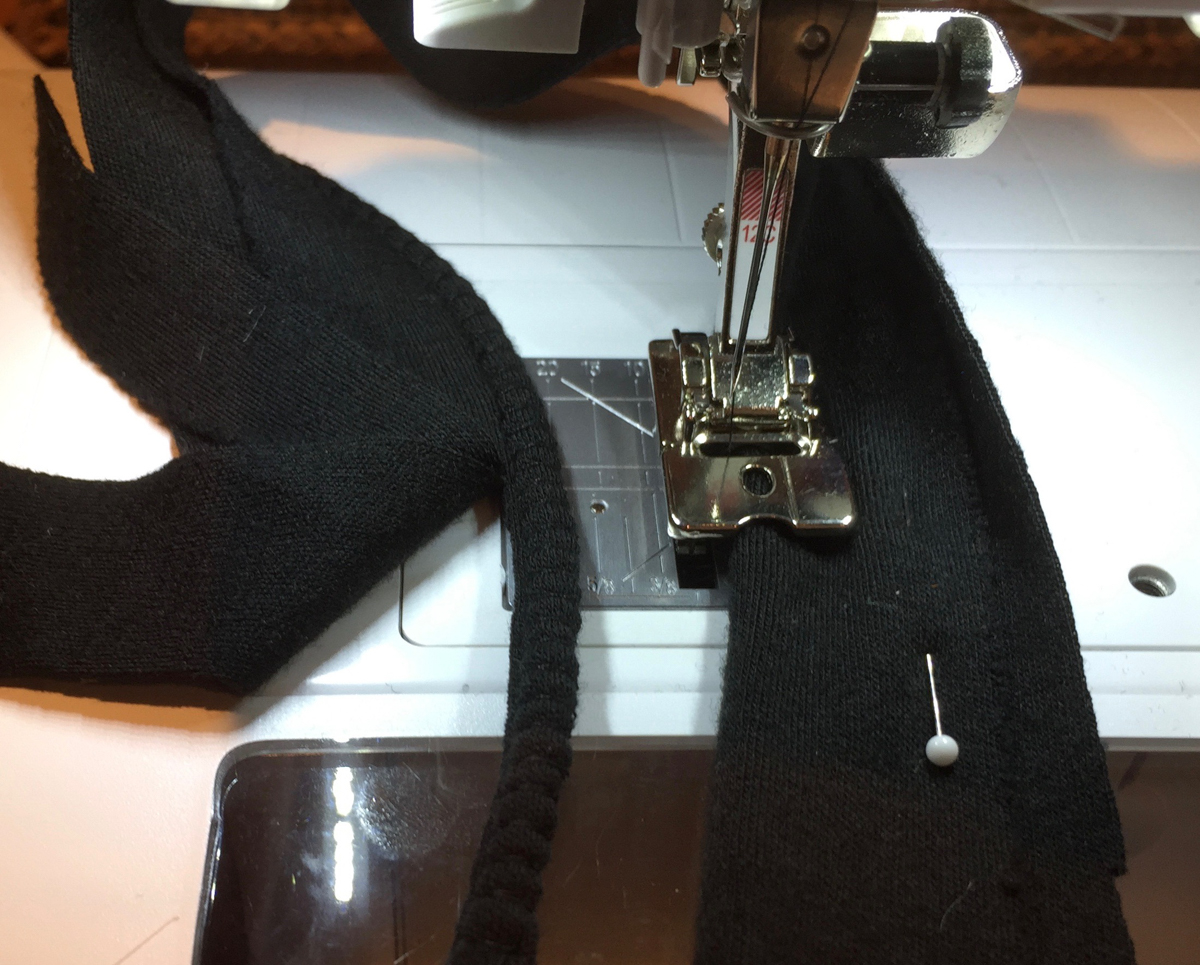
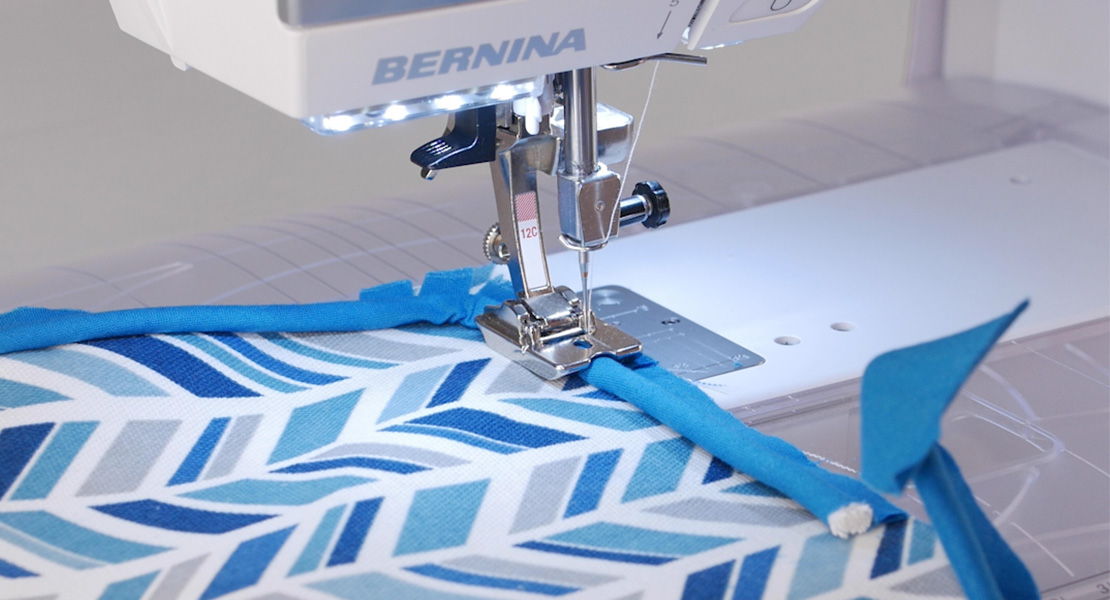
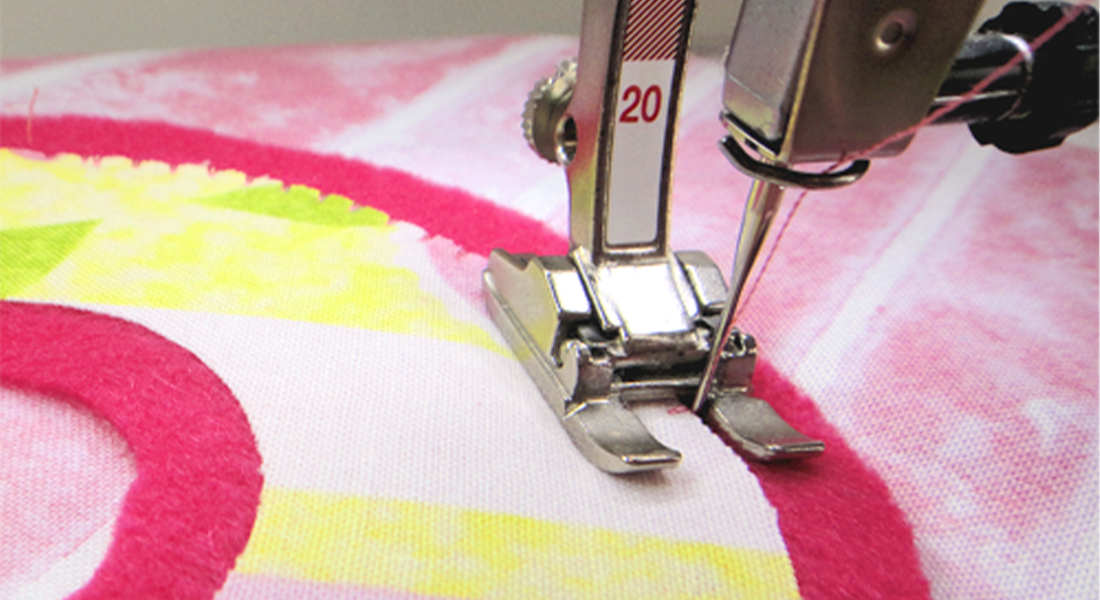
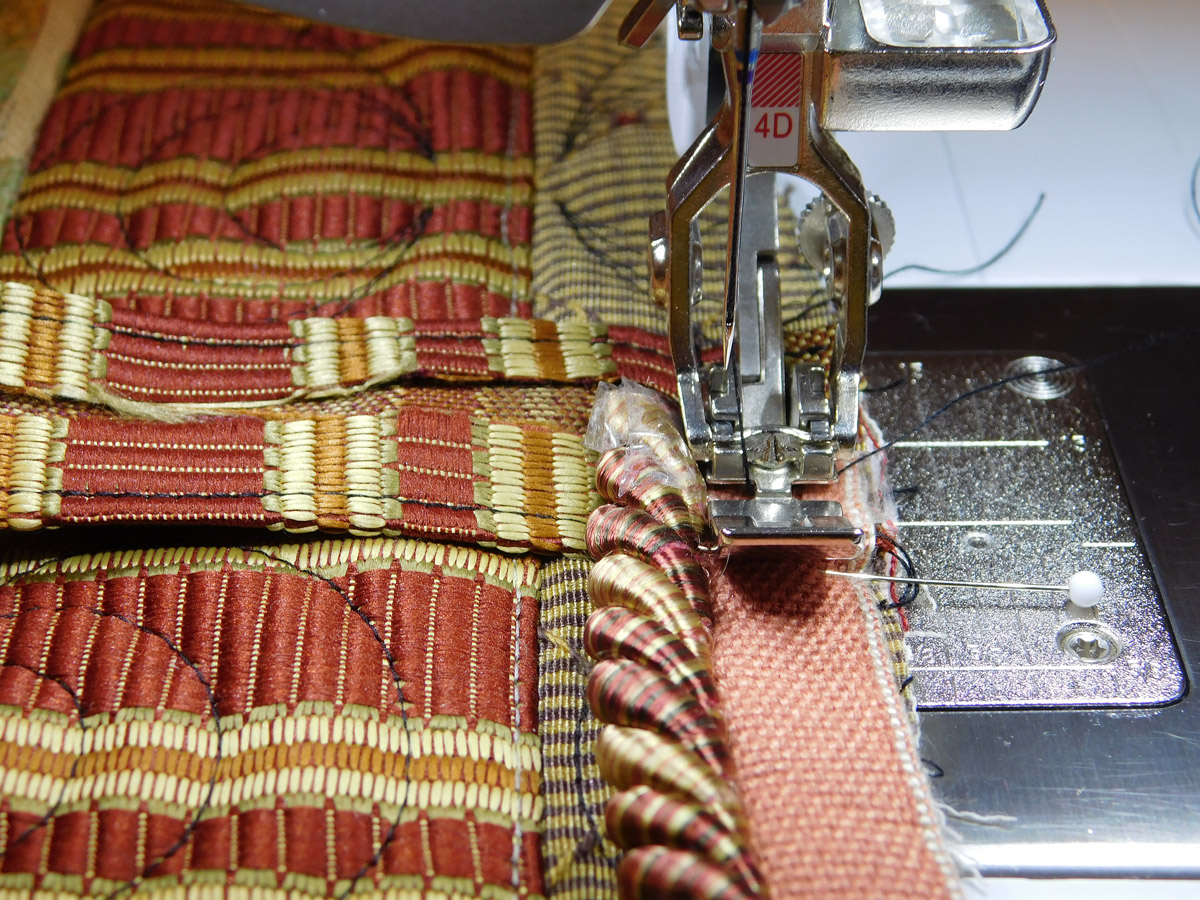
Did you know that #12/#12C makes great piping, too? You put the piping cord inside a strip of fabric, and the groove in the foot holds both the fabric and cord perfectly steady as you stitch:
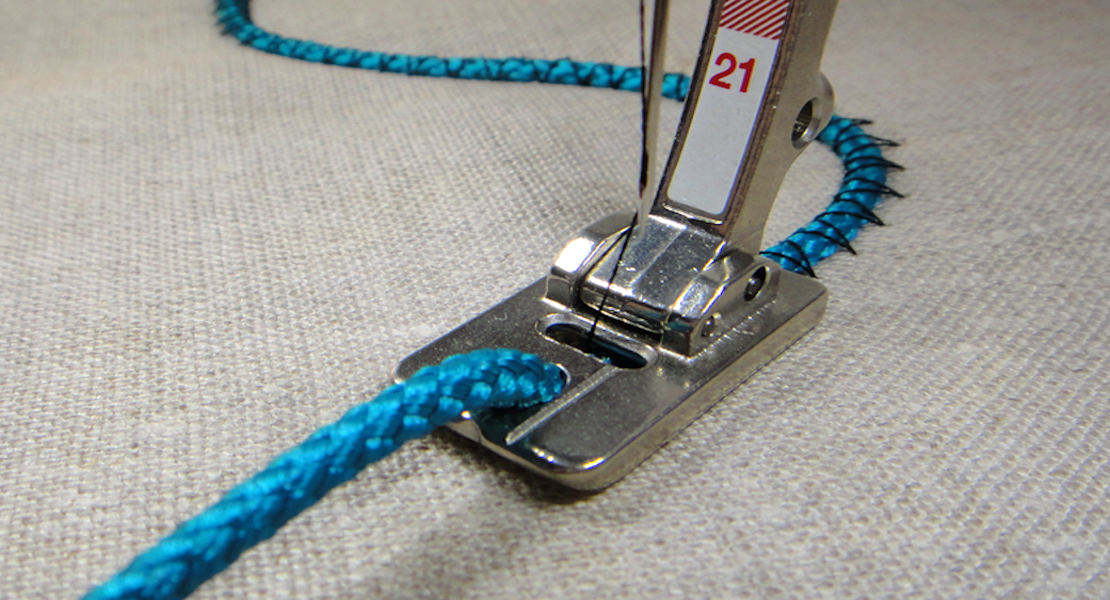
The trick is to put the needle position all the way over to the right (a little away from the cord) as you first make the piping.
Then move the needle position slightly toward to the left, a little closer to the cord, when you attach the piping to your project, to keep it nice and smooth.
For more information about this technique, check out this WeAllSew tutorial on how to use piping as an edging.
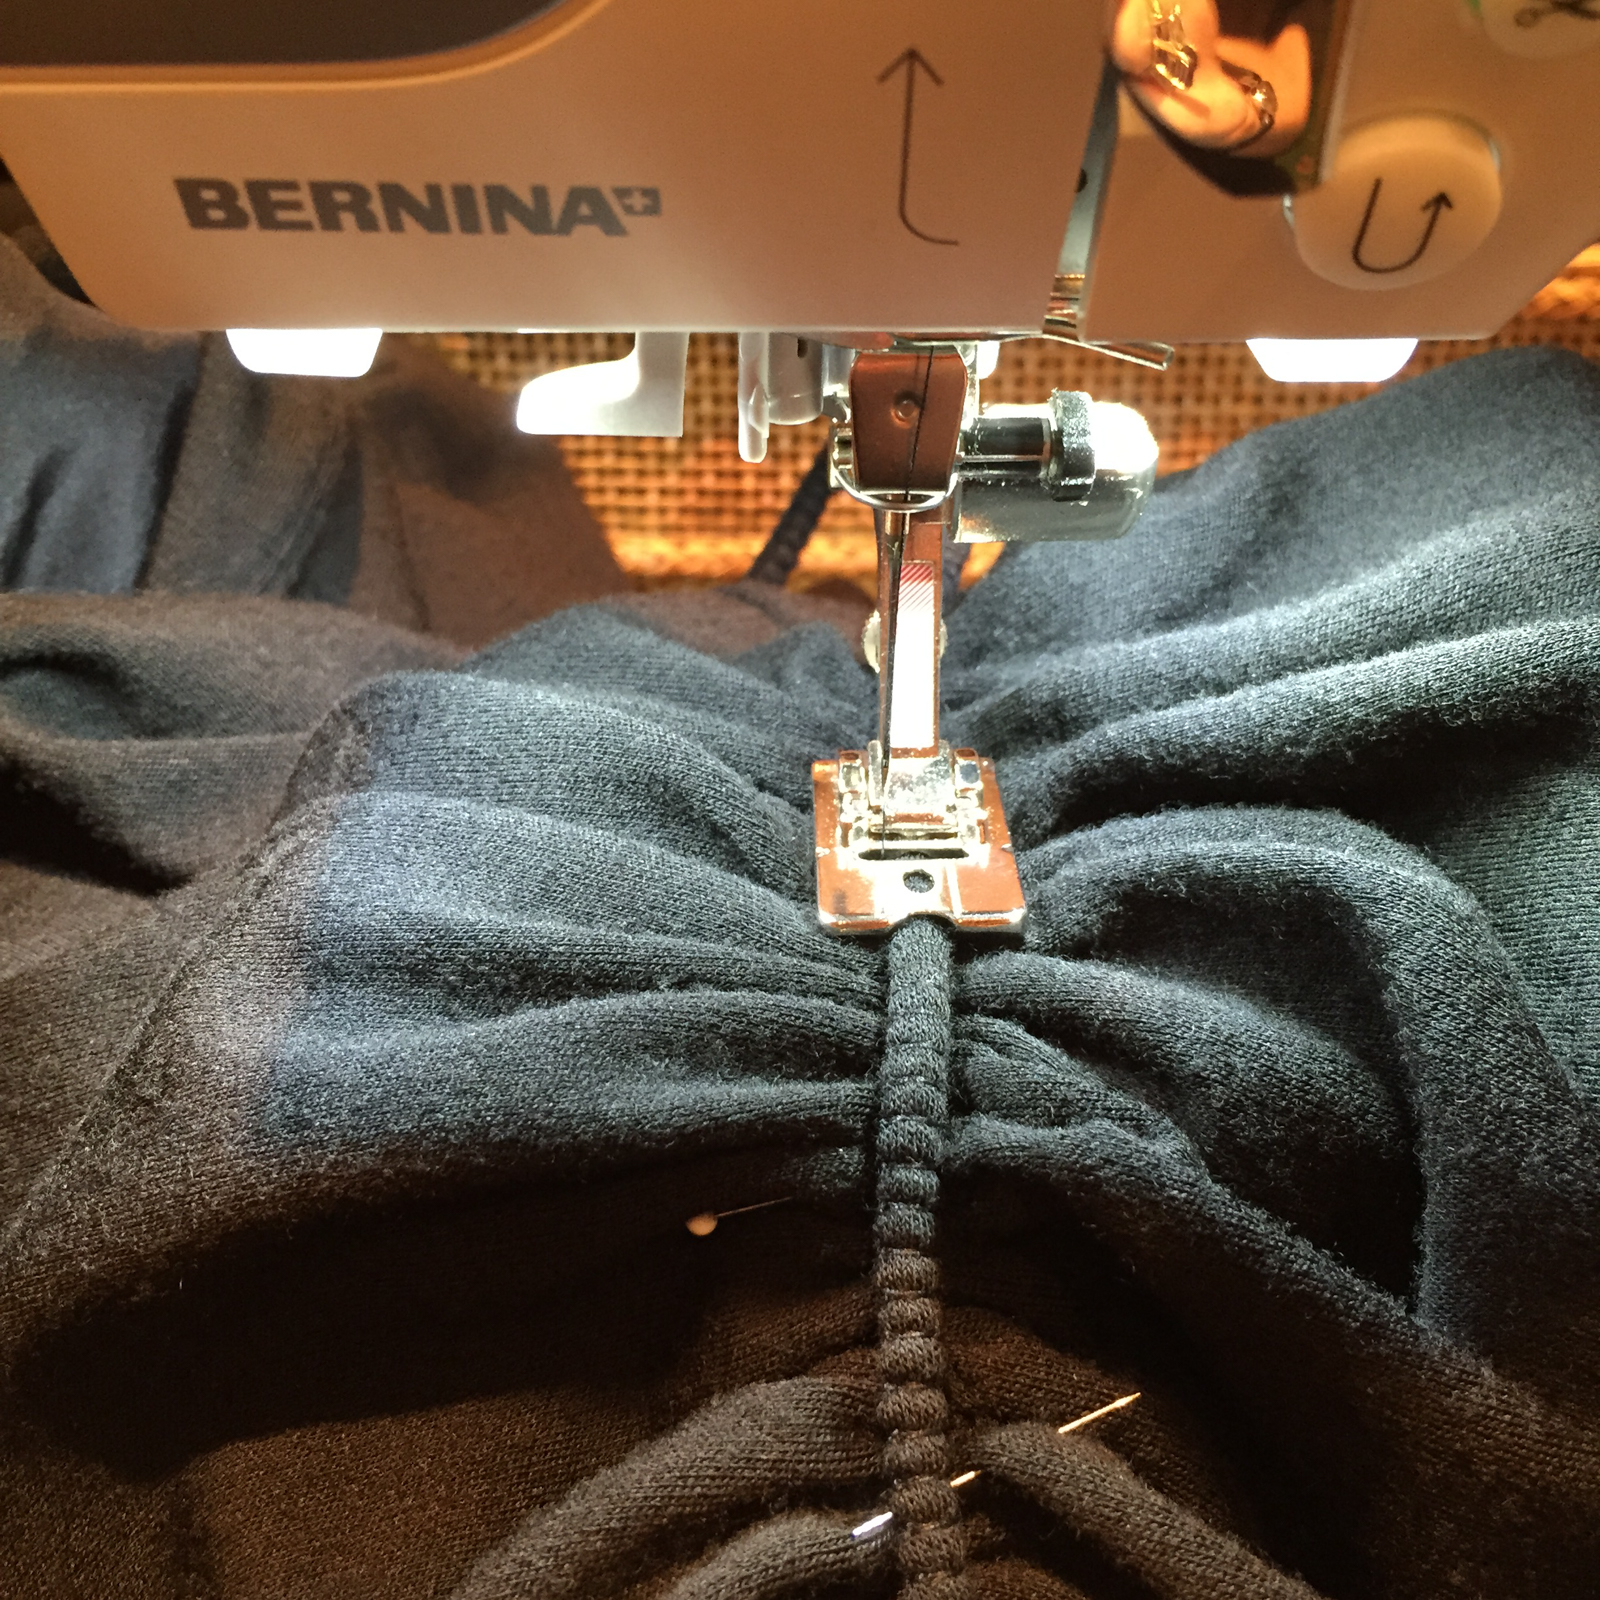
I’ve used a similar method when making retro “spaghetti strings” to use as a narrow sash to cinch the waist of a 50s dress. I put the cord inside some stable double knit fabric, and overlocked over the top of the cord to hold it. Then I trimmed the excess fabric to make the long strings.
After that, I used the foot to overlock the strings to the front of the highly-gathered knit dress:
My sister looked so cute in this classic 50s Claire McCardell design!

Here’s the original version of the dress in the Metropolitan Museum of Art’s Costume Institute:
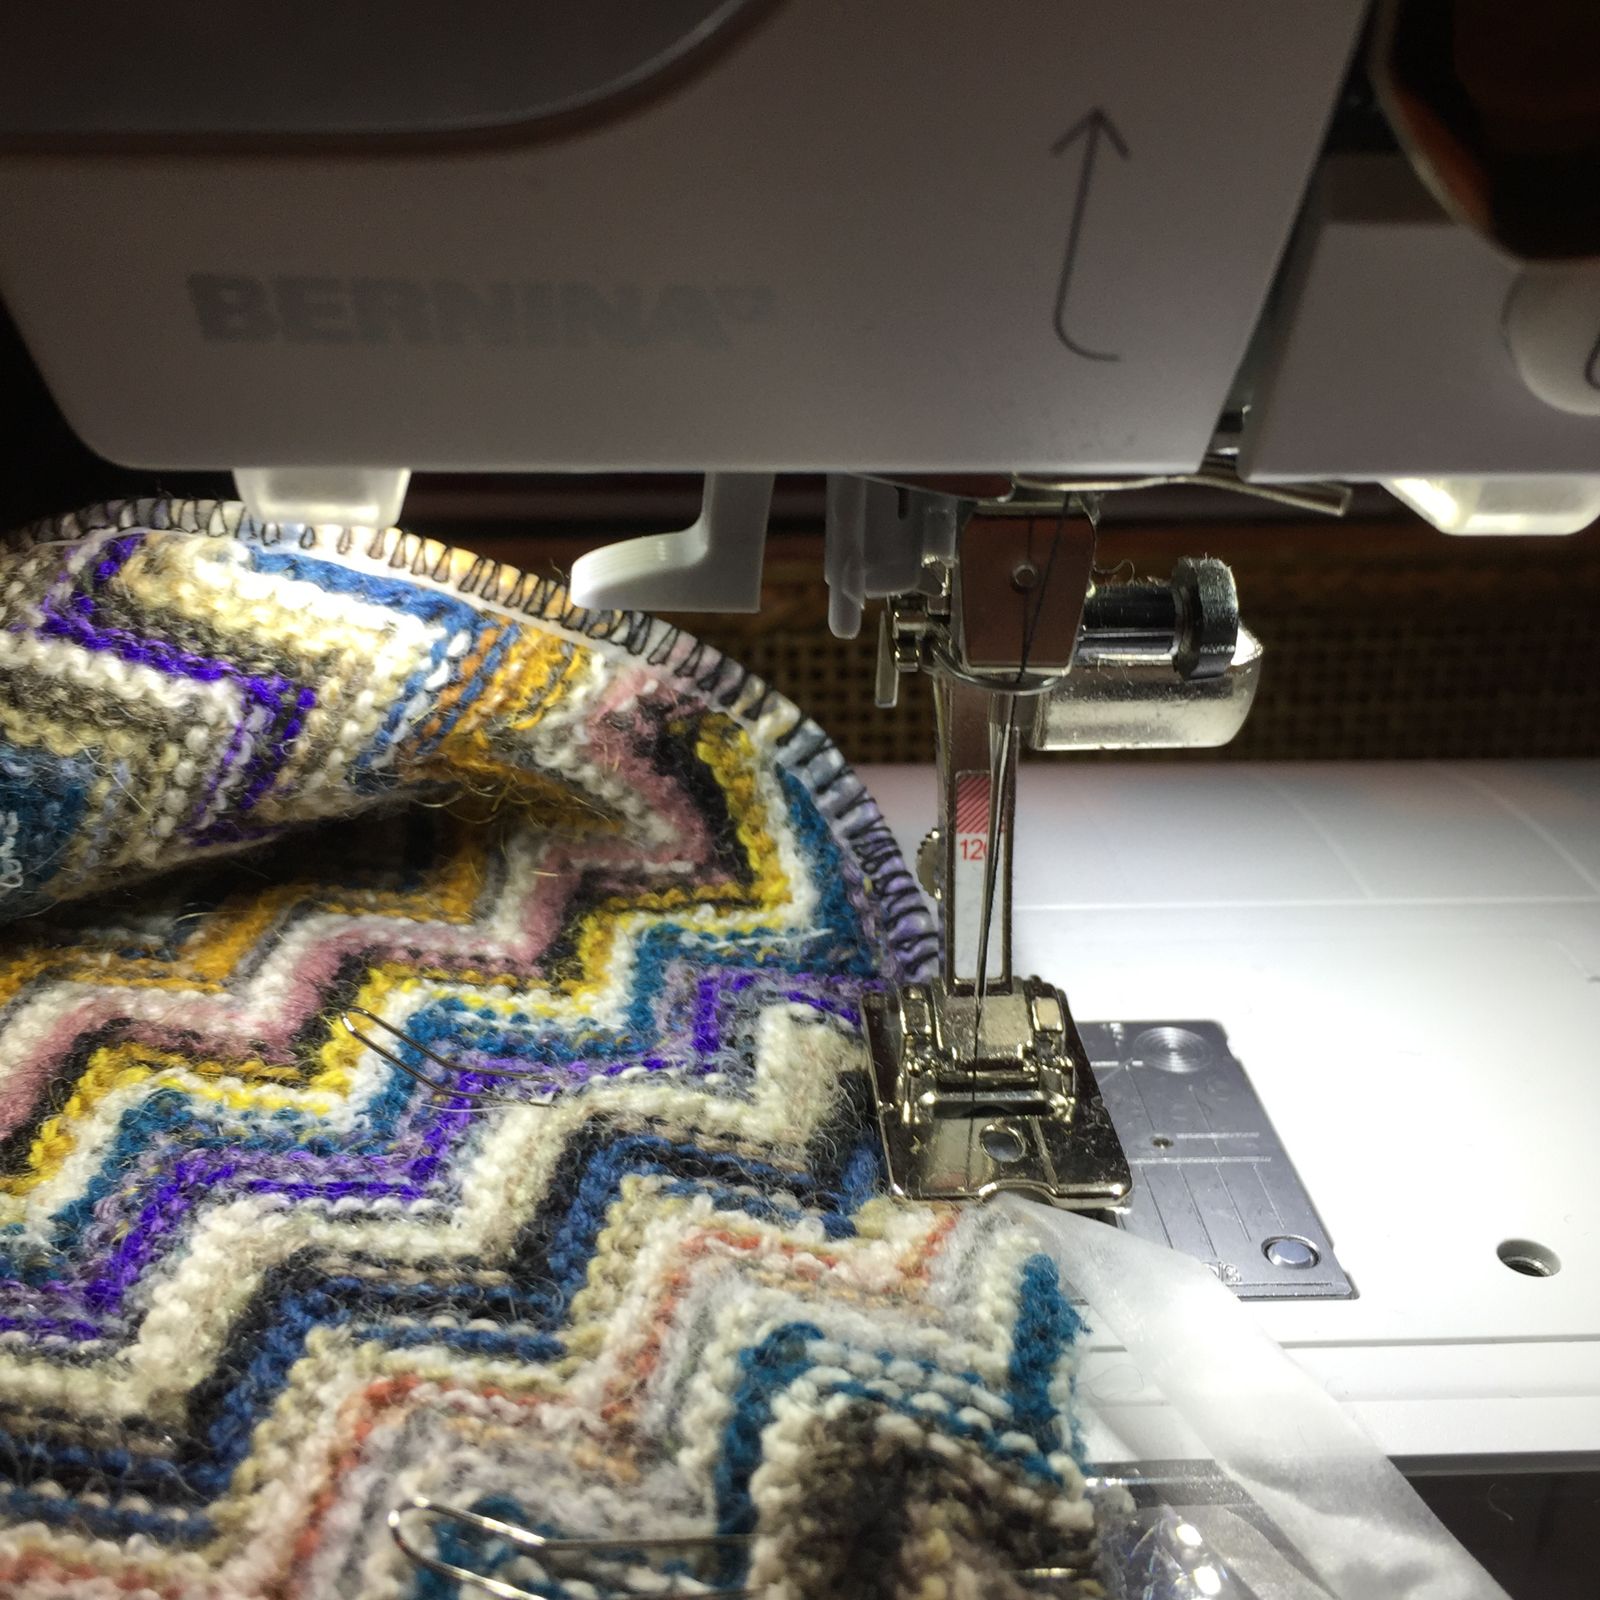
The other day I was working on a cape that needed a lot of topstitching around curves, and Karl and I were getting really stressed about how to do it without having the fabric edge get wobbly or distorted. So I clipped and trimmed the thick woven wool fabric seam allowance to 3/8″ and gave it a good press. Wouldn’t you know that by using the Bulky Overlock foot with some shiny embroidery thread and a 3.00 straight stitch, the topstitching sewed like a dream? It was perfectly even with no wrinkles along the edge.

And here’s a trick I learned by checking out the handy BERNINA tutorials on YouTube: You can even use Presser foot #12/#12C with a zigzag stitch for couching strings of pearls or beads onto fabric. I’m going to give this technique a try next time I’m making something dressy.
I have to admit, of all the specialty feet in my “Barbie Case,” the Bulky Overlock foot gets the biggest workout from Karl!


What you might also like


3 comments on “Clever Ways to Use the Bulky Overlock Foot”
-
-
I’m so glad you posted this. I read this with interest as I usually do anything Bernina. Never thought before to use this foot when sewing on belt loops on blue jeans. Worked wonders. I always struggle with this. Hard to hold with pins and just a small turn of fabric to hold. Now didn’t do any pinning, the little turn of fabric was held down perfect with the raised underside of foot and the foot glided level as I bar tacked the loops down. No more frustration. Thanks.
-
-
What kind of “clear elastic” are you sewing along the edge in the third photo?
Leave a Reply
You must be logged in to post a comment.

Omigosh, I have had that foot sitting in my drawer and grousing about overcasting bulky edges!! Thank you for this little tut!