How to Use the Height Compensation Tool
I’m sure as you have unpacked your BERNINA sewing machine you’ve wondered what that little rectangular plastic tool is. You know the tool that has three sections and folds out? In the picture above it’s the white rectangle right above the scissors. It’s called the Height Compensation tool, also known as a hump jumper. Read below to learn how to use the hump jumper tool!
What is this tool, and why do you need it? It’s the perfect little tool to help you when you are sewing through bulky fabric, like denim. For this tutorial, I am hemming a pair of jeans, but you can use this tool when you are sewing any bulky fabric such as canvas, curtains, home decorator fabric, any fabric that is thick and tricky to sew through. This tool helps you have even stitches and no skipped stitches when sewing through bulky projects!
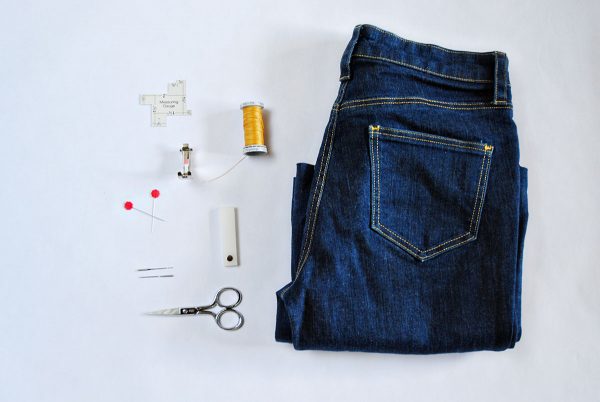
Materials to Hem Jeans With the Height Compensation Tool
- sewing machine (I used the BERNINA 350 PE)
- hump jumper (also known as the Height Compensation tool)
- scissors
- thread (I’m using jeans thread for my hem)
- thick fabric
- appropriate needle (thick fabric requires different needles, I am using a jeans needle)
- measuring gauge
How to Use the Height Compensation Tool
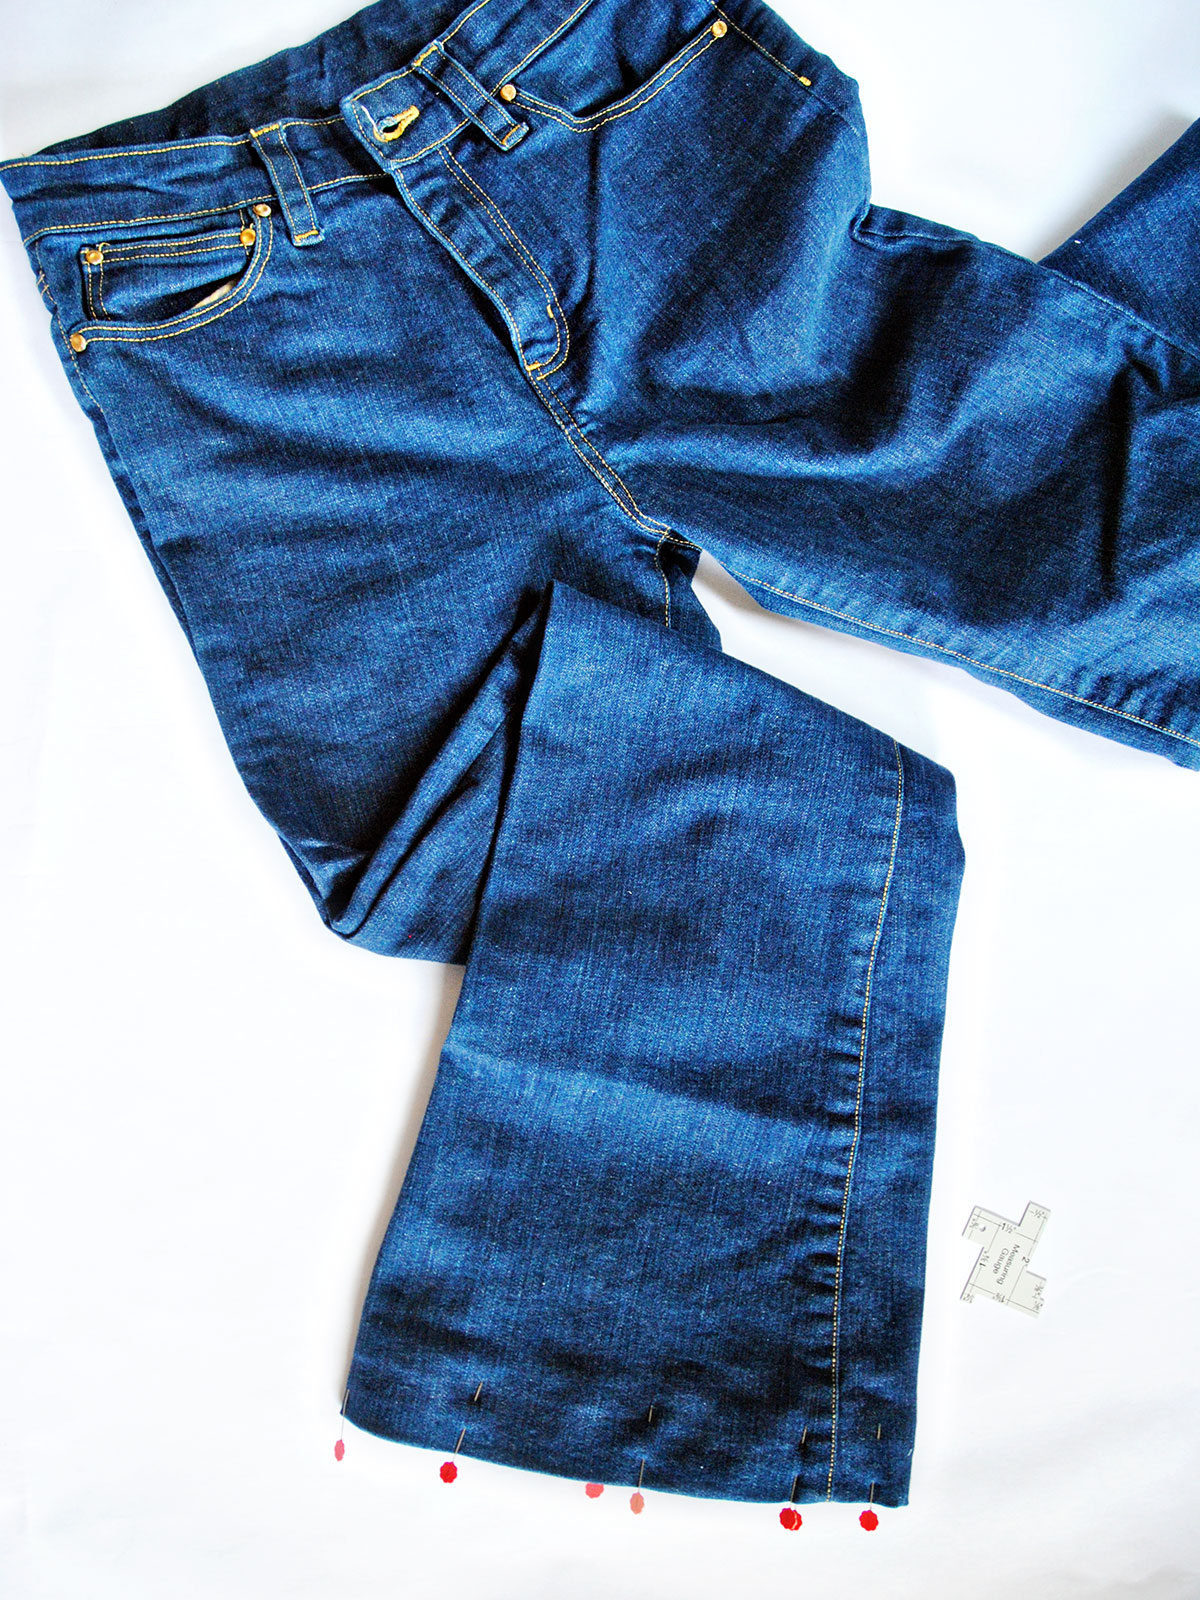
For this project, I will walk you through the steps of hemming jeans. You can use this on any bulky fabric project. Measure the hem you would like on your jeans and pin in place. I use a measuring gauge to get an accurate hem all the way around.
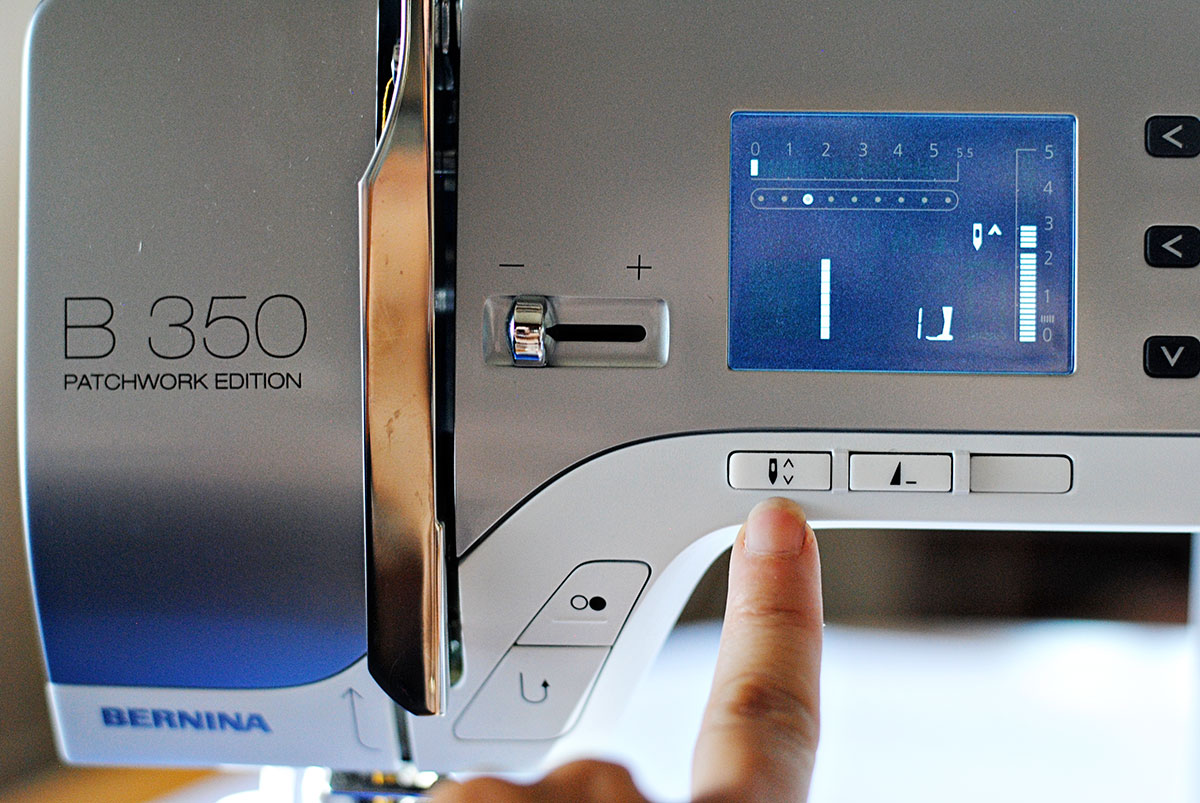
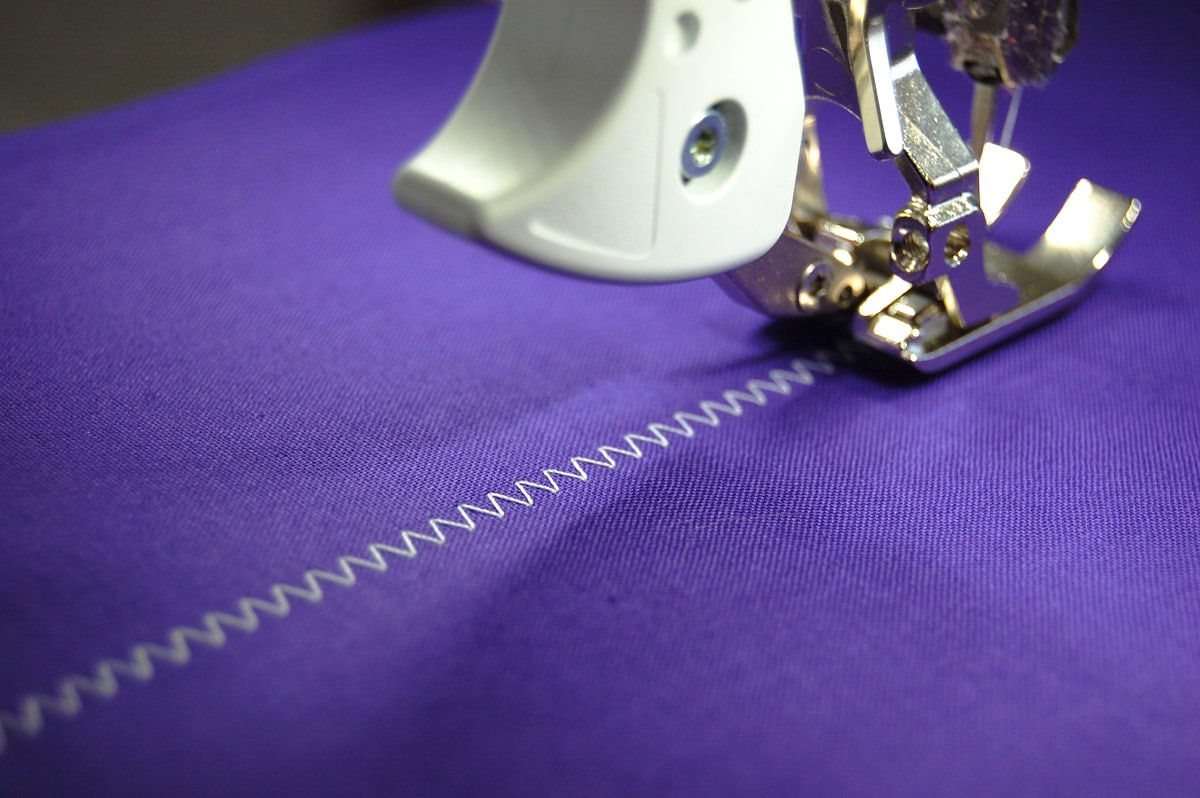
Press the needle down position on your machine so that when you use the hump jumper your needle is down. I also lengthen my stitch for the hem.
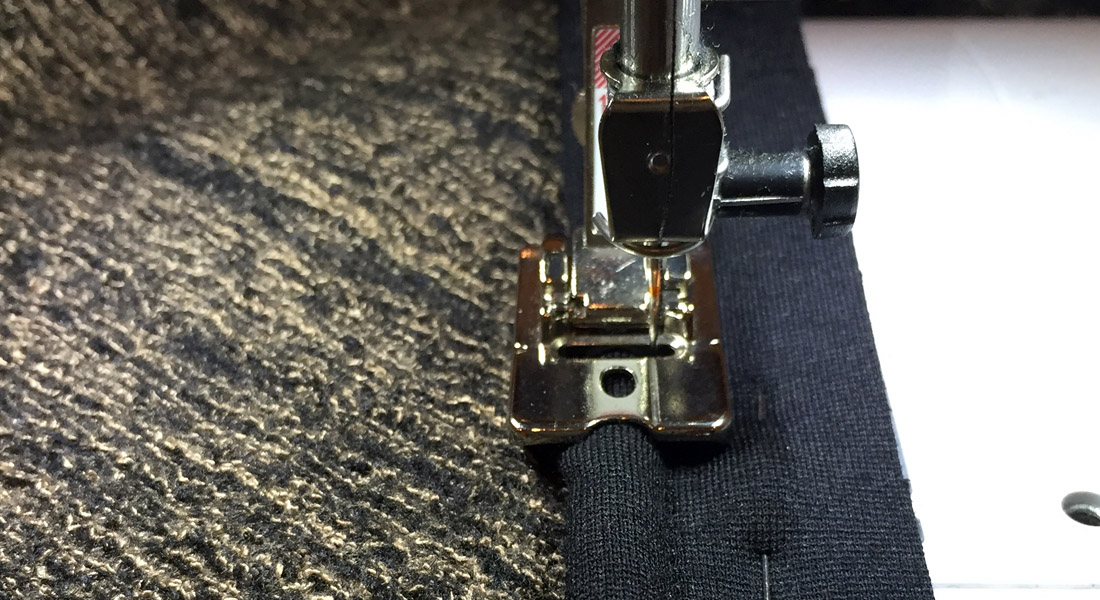
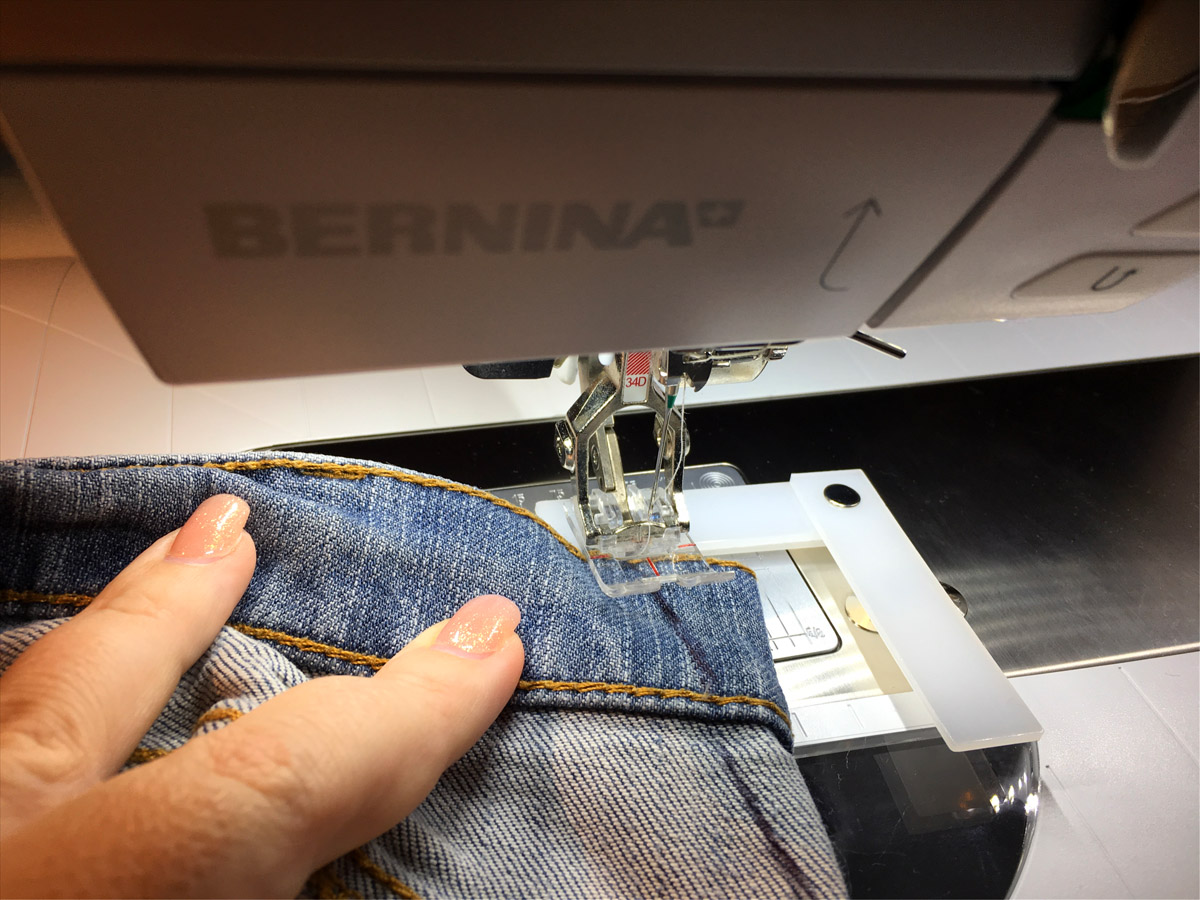
I start my hem on the inside seam of the leg. When you start your hem, you’ll notice that the presser foot is sitting at an angle.
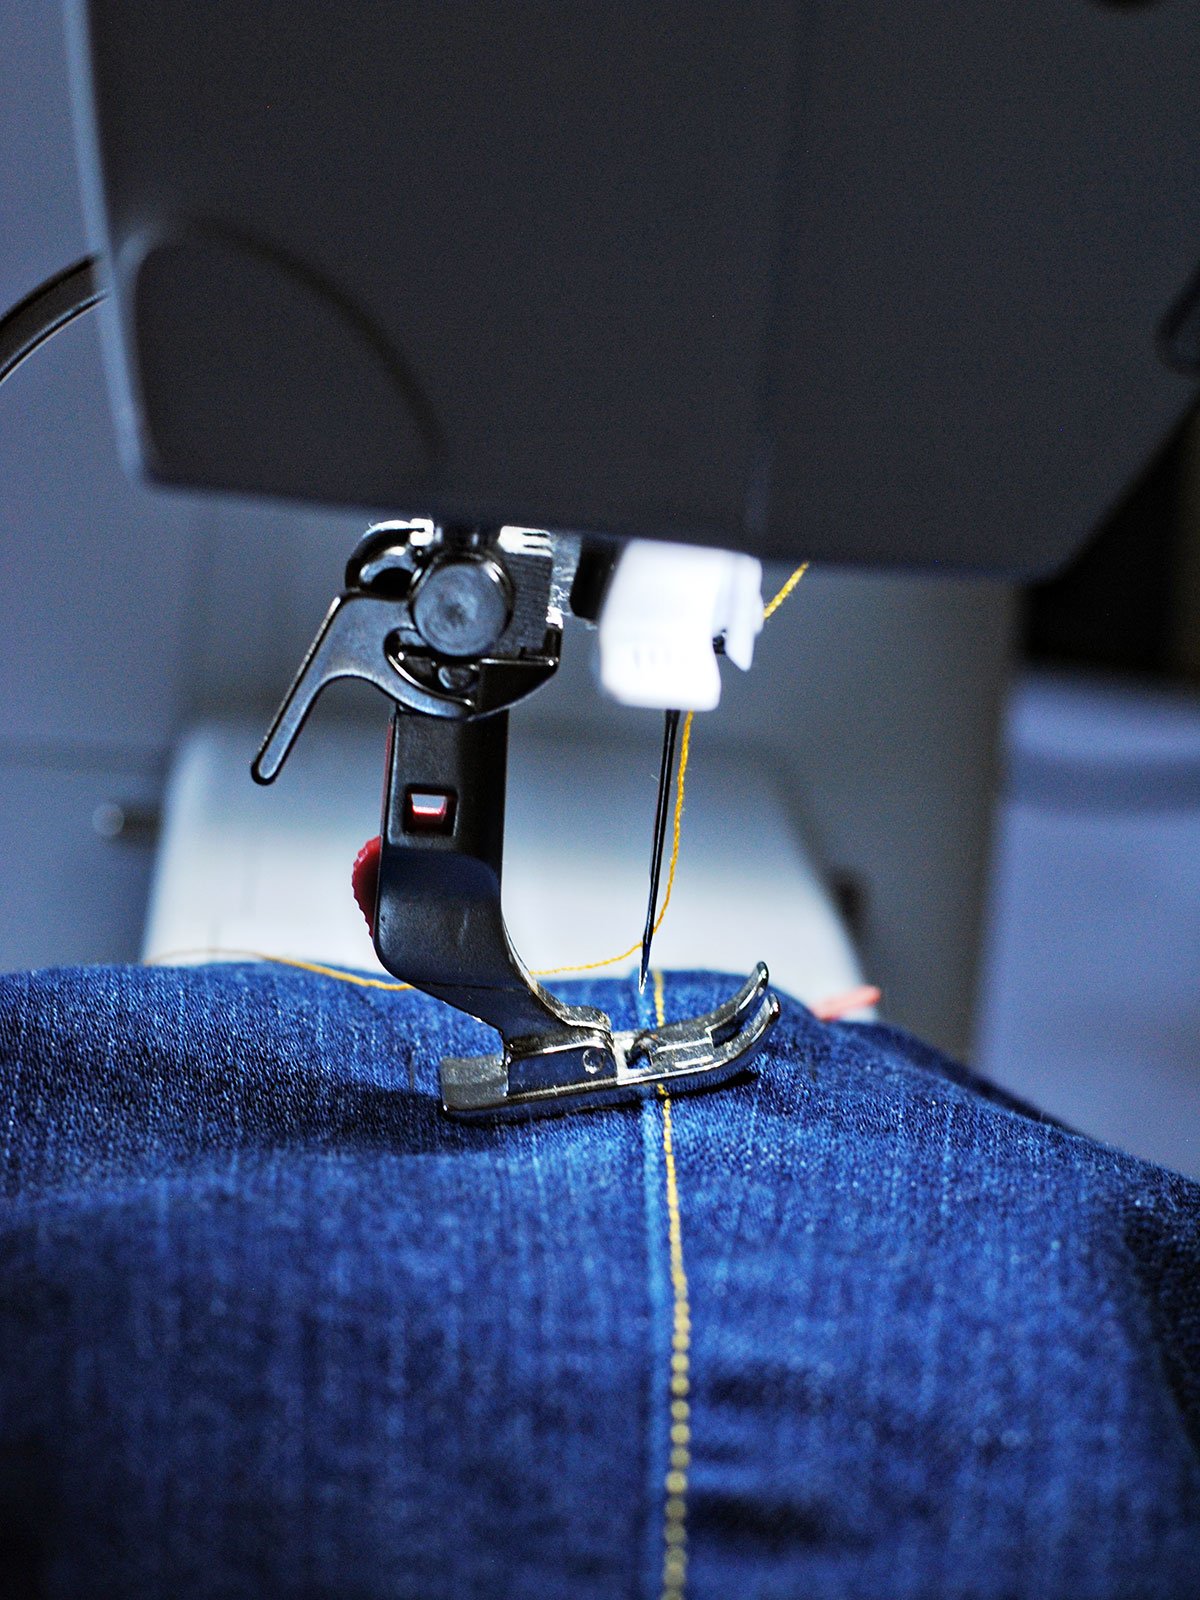
This is because there is so much bulk of all the fabric folded up into the hem. And this is where the hump jumper is perfect for you to use. Without the hump jumper, your stitches will be uneven, and you will have to help move your fabric, increasing the risk of breaking a needle.
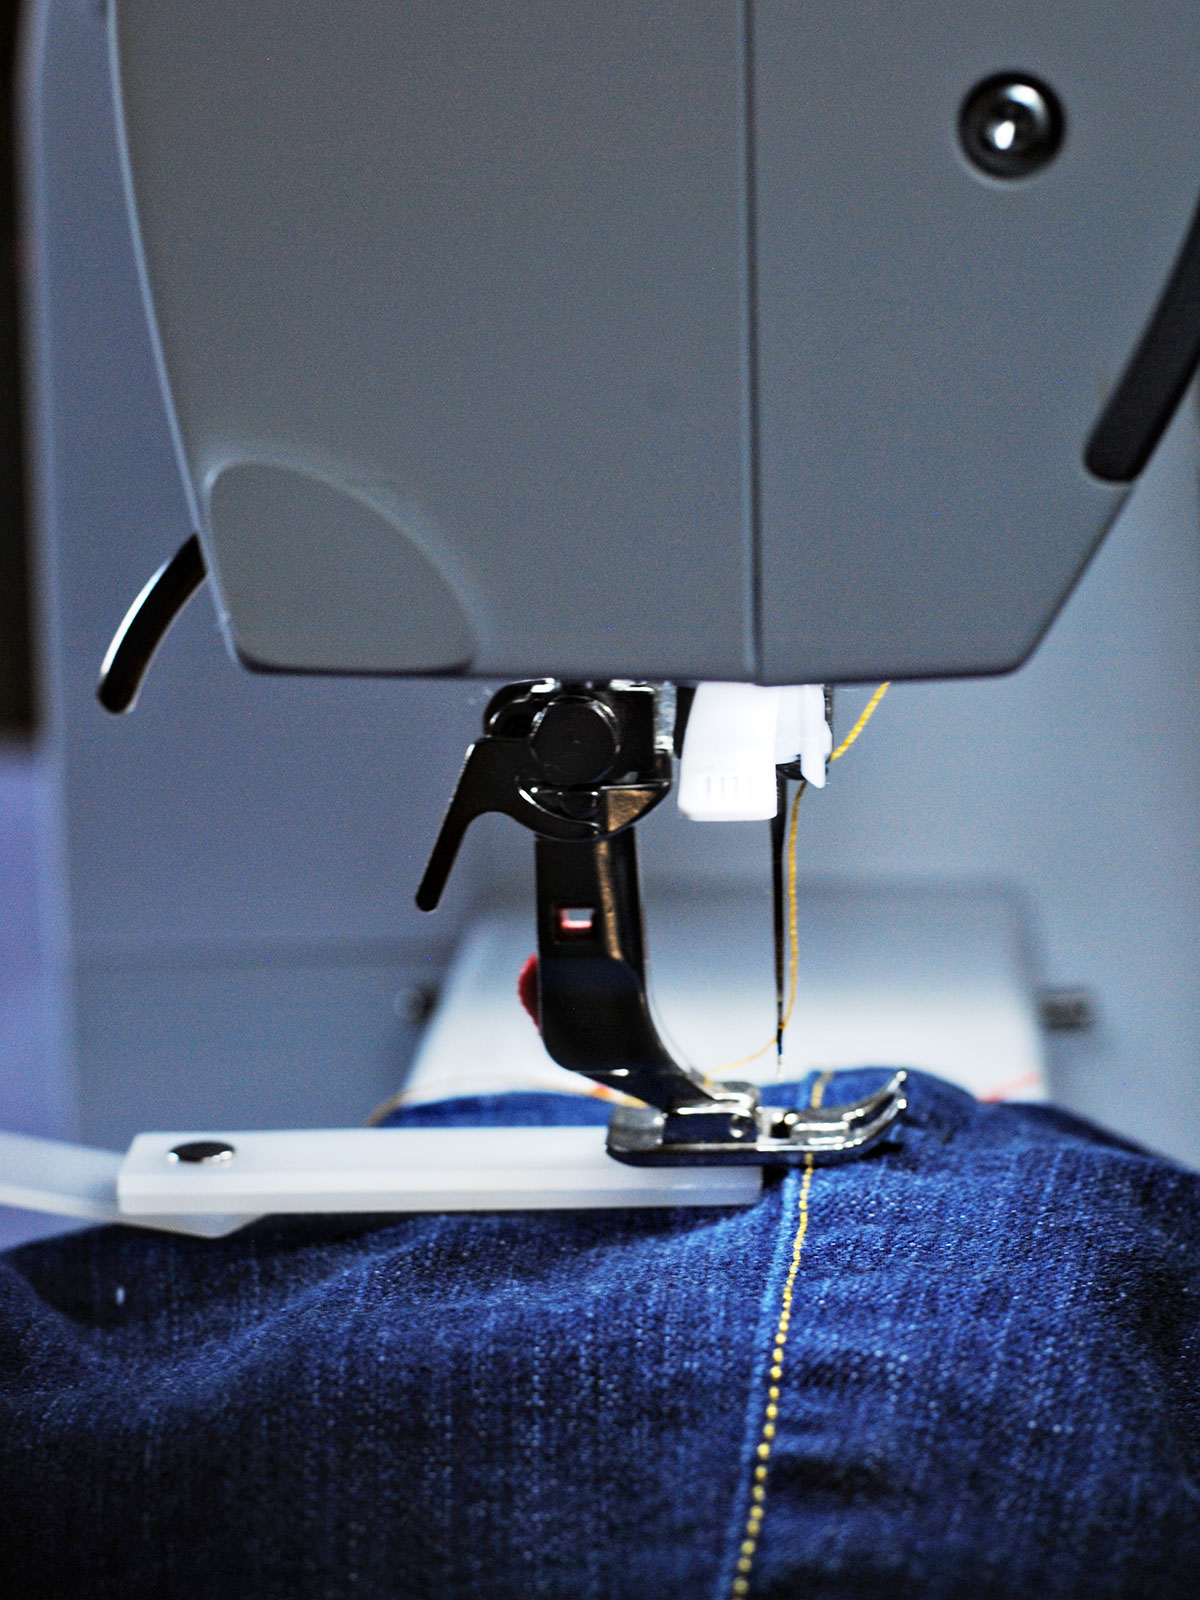
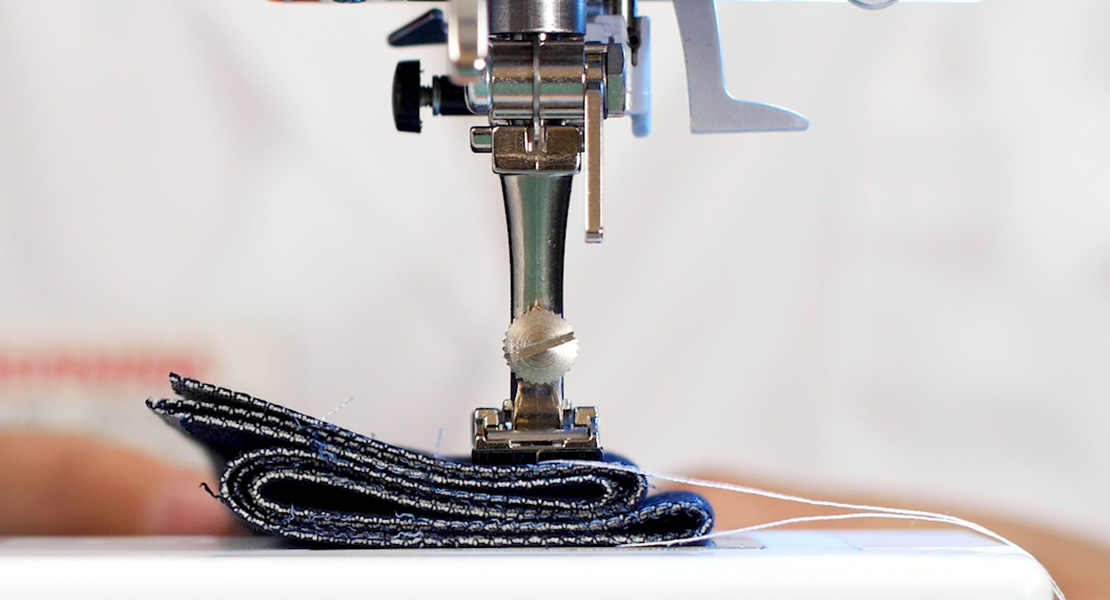
Lift the presser foot and slide the hump jumper behind the needle, butting up right against where the needle will begin stitching. Lower the presser foot. As you can see in the picture above, the hump jumper has now made your presser foot sit level. You are ready to begin stitching.
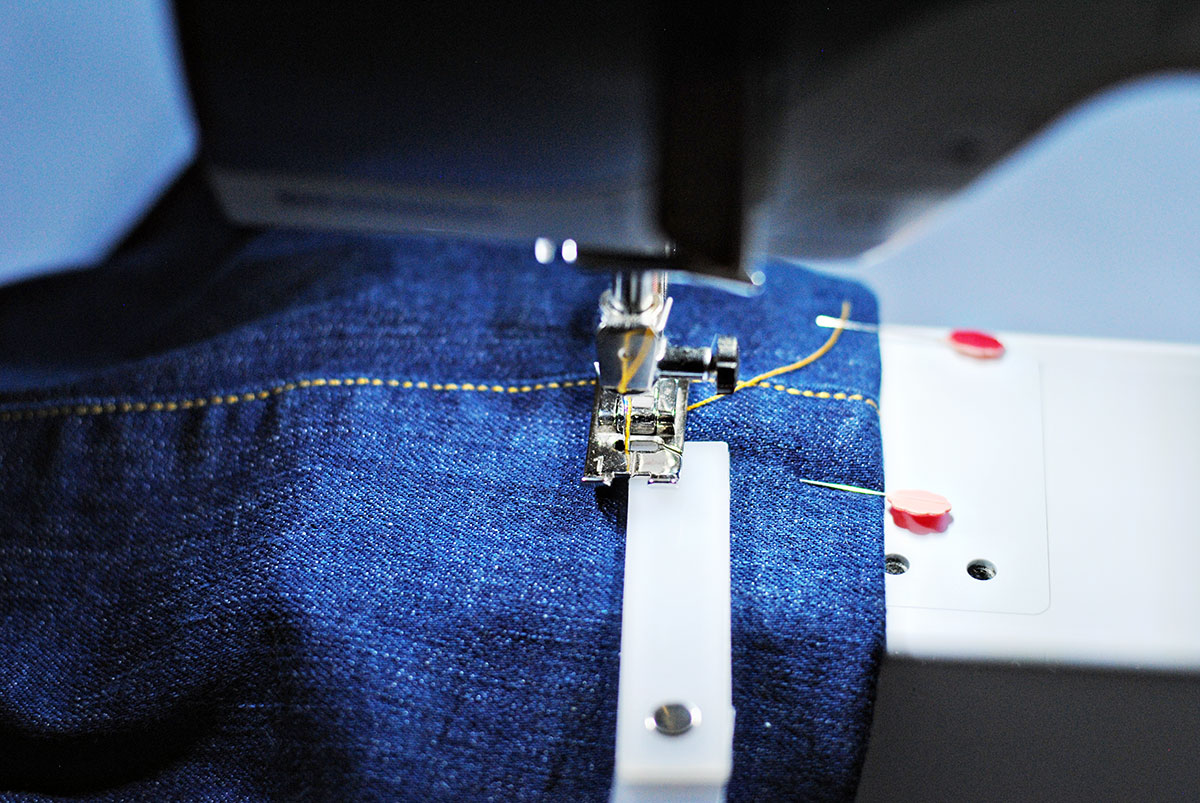
Start your hem. Once you stitch a few stitches, you’ll notice that the presser foot is no longer level. You need to move the hump jumper to the front of the presser foot. Stop your stitching. The needle will be down. Lift the presser foot, and slide the hump jumper to the side of the needle. Lower the presser foot and stitch until you are to an even area of sewing. Continue sewing your hem around the pants leg, without the hump jumper. You will need the hump jumper again when you get to the outside seam of your jeans.

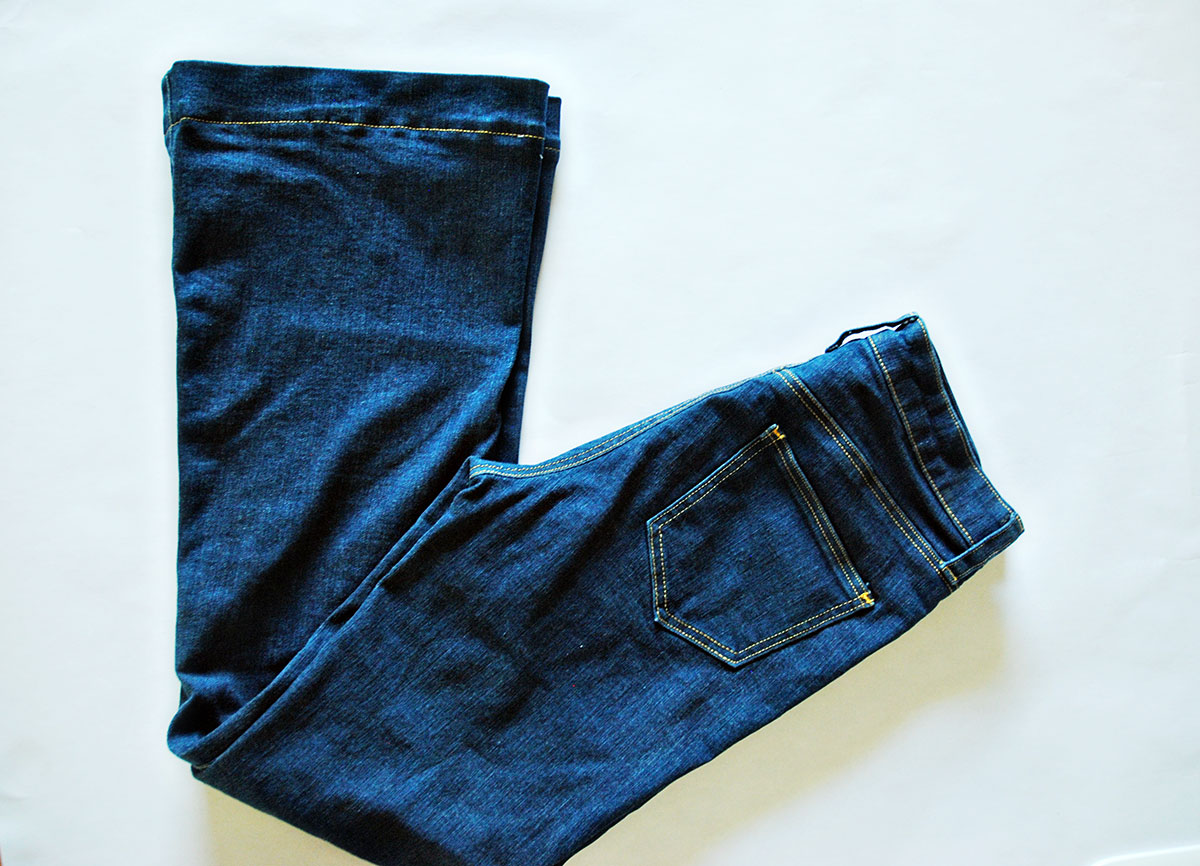
Now it’s time to admire your perfect stitching! And have fun wearing your newly hemmed jeans!
Used Products

What you might also like


3 comments on “How to Use the Height Compensation Tool”
-
-
Great timing! I have a new pair of jeans that were on sale (by a bunch) but are much too long. Thanks for the tip.
-
I have had my two Berninas for many, many years. This is a new tool that I have not seen before. The Height Compensation Tool was not included with them, of course. Would most Bernina dealers carry them? Or where would I get one? I do not live close to a dealer.
Leave a Reply
You must be logged in to post a comment.

I also use the #8 Jeans Foot. I had to hem a pair of “Carharts” and most of us know that is some heavy duty fabric. I wasn’t sure I could do it but remembered I had my #8 foot and had watched a video on exactly the hows and why this foot is perfect for this application. So in addition to using the height compensation tool I would also recommend the #8 Jeans foot, IMHO