Tips & Tricks for Bag Making
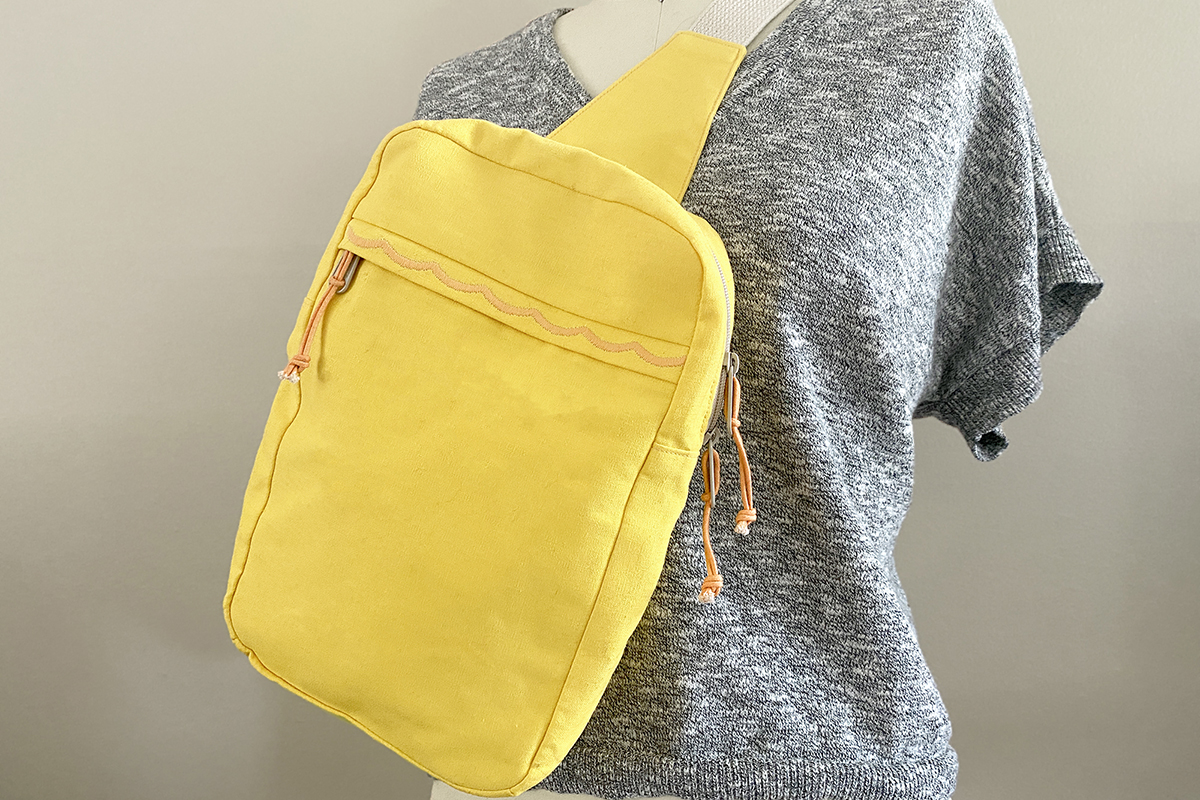
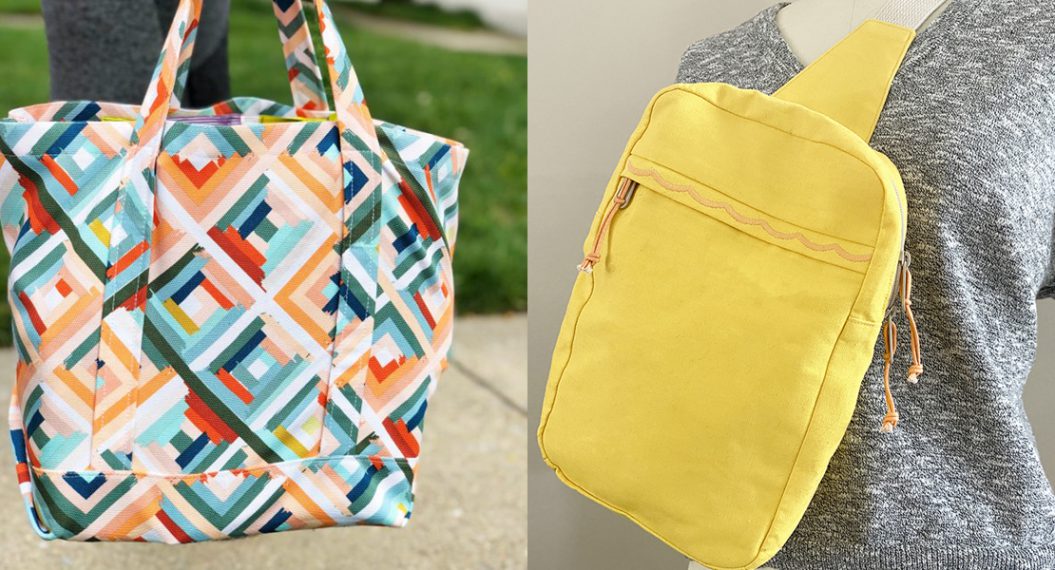
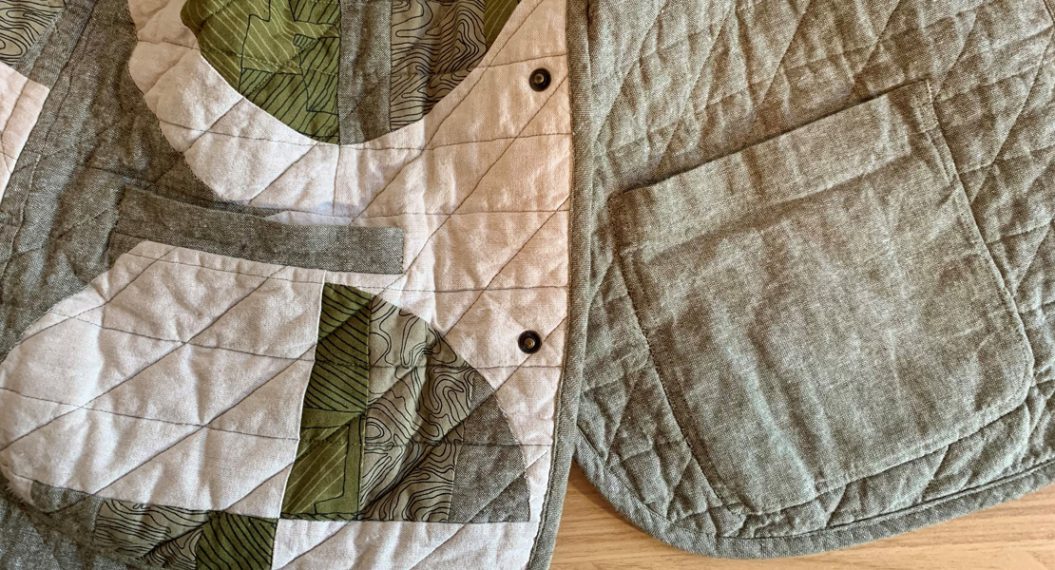
Sewing bags presents new challenges for many sewists—sewing through bulky seams, inserting zippers, and working with elastic or heavier fabrics are just a few. Learn some helpful tips on these topics to create and embellish the simple, functional Sandhill Sling bag designed by Noodlehead Patterns.
Bags are some of my favorite projects to make—they’re fairly quick to construct, usually taking a day or less, they don’t require any fitting, but they still have some fun construction challenges, and you can always find an excuse to make one because they make great gifts!

Supplies:
- Sandhill Sling bag pattern (fabric and notion requirements listed on pattern)
- All-purpose polyester sewing thread, such as Mettler Metrosene
- Topstitching thread, such as Aurifil 28wt cotton
- Jeans needle size 90 or 100
- OESD Ultra Clean & Tear Stabilizer
- Fabric marking pen
- Ruler
- Wonder Clips
- Iron
- Height Compensation Tool
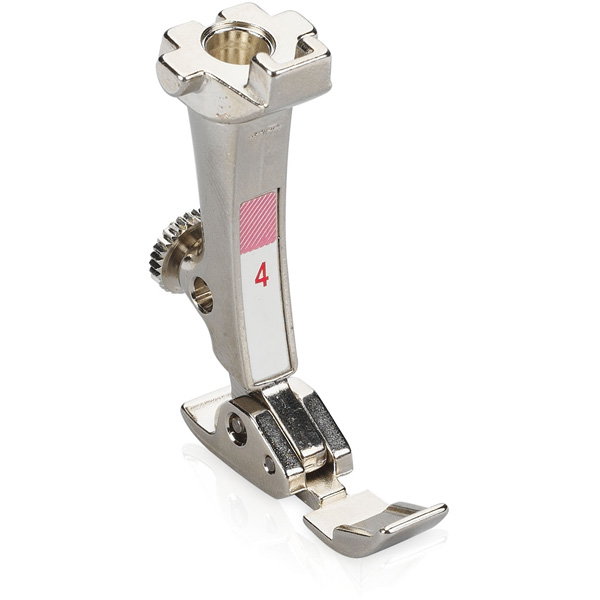
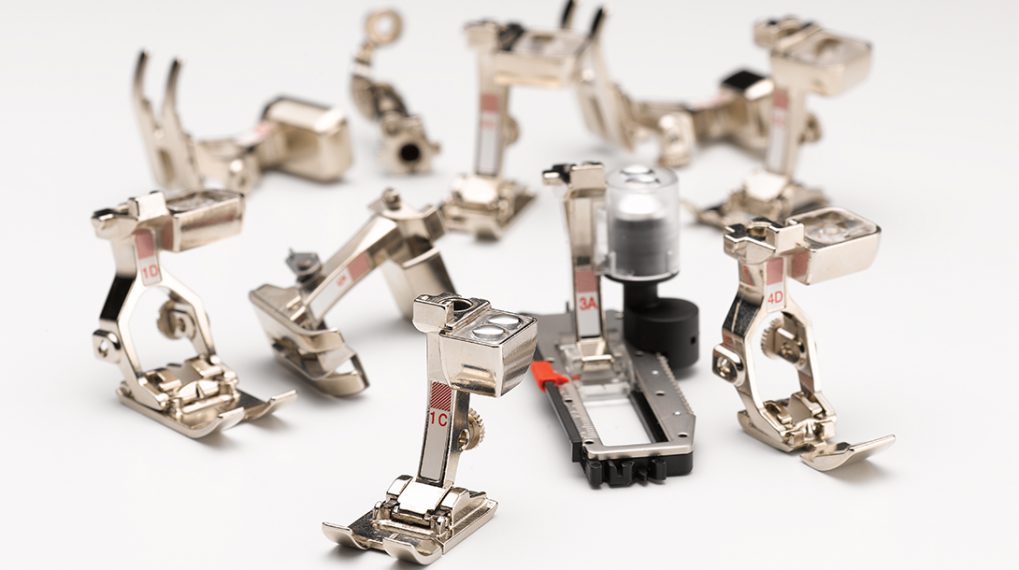
- Zipper Foot #4/4D
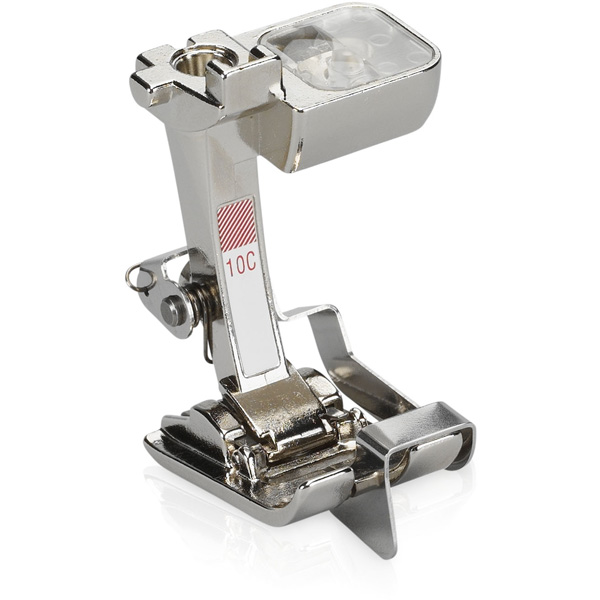
- Edgestitch Foot #10/10C/10D
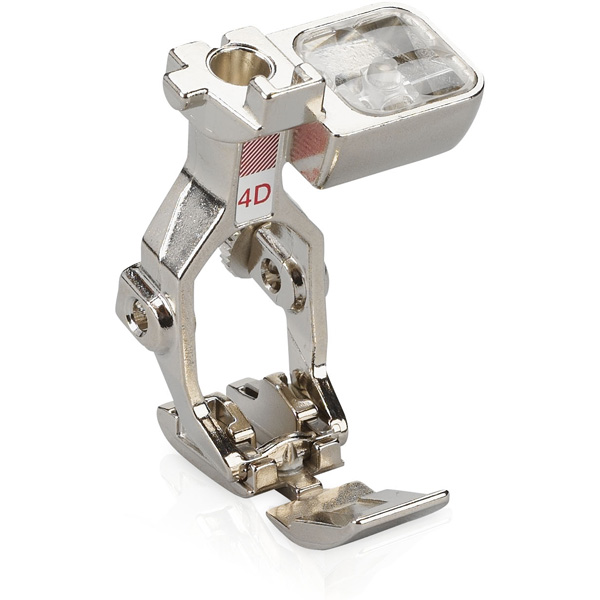
- Open Embroidery Foot #20/20C/20D
- Three-sole Walking Foot with Seam Guide #50
Machines:
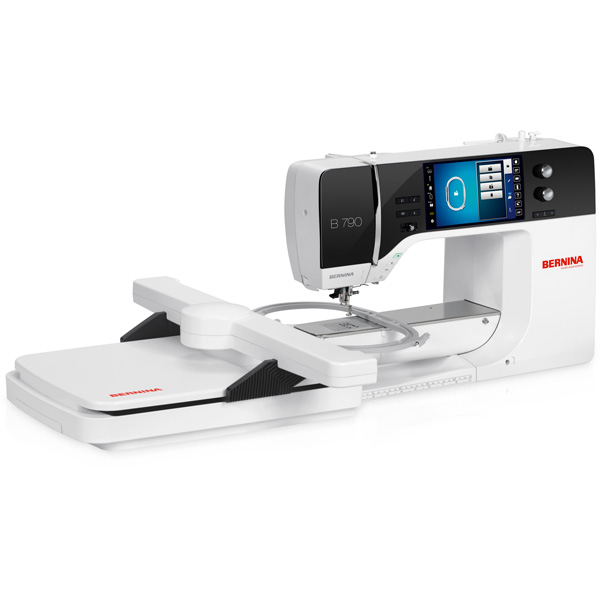
I used my BERNINA 790 for this project but you can use other machines as well.
All BERNINA sewing machines are compatible with this project, but it is recommended to use 9 mm machines, particularly those with Dual Feed. This includes: BERNINA 880 PLUS, B 790 PLUS, B 770 QE, B 740, B 590, B 570 QE, B 480
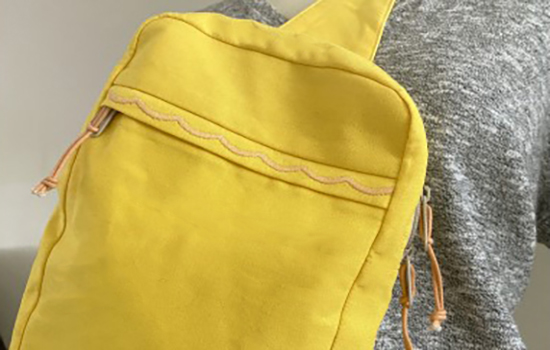
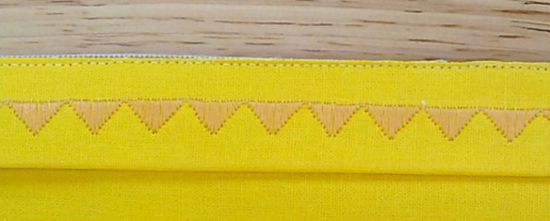
Decorative Stitching on Zipper Cover
The lapped zipper on the front of the bag is a perfect spot to add decorative stitching for a fun, personal detail on your bag, you could embroider this as well. I choose a decorative stitch that is about 1” or 1/2″, 25.5mm or 12.7mm. These will repeat in an even increment to fill our working space without cutting off the pattern at either end in a seam allowance. For example, stitch #464 on the BERNINA 790 PLUS measures 26.6mm.
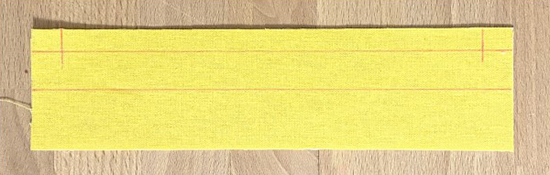
Use a ruler and fabric marker to outline the portion of the zipper cover that will be visible on the finished bag. Draw one line halfway through the zipper cover lengthwise (1” from either raw edge), one line for the top seam allowance 3/8” from the raw edge, and then a line at each end for the side seam allowances, 1/2” from the ends.
Place the zipper cover on one or two layers of Ultra Clean & Tear stabilizer.
Thread your machine with topstitching thread through the needle and all-purpose (or bobbin weight) polyester in the bobbin. Select a decorative stitch, such as #464 on the BERNINA 790 PLUS and attach Open Embroidery Foot #20/20C/20D.
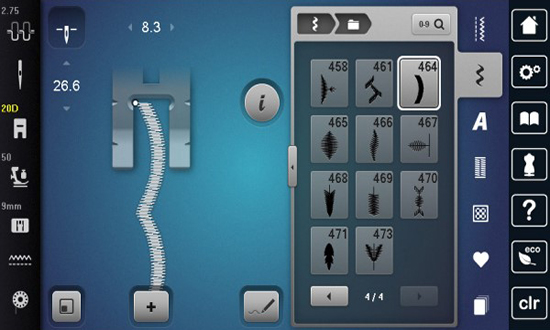
This decorative stitch, as designed, is 26.6 mm long. To get this to stitch out a whole number of repeats, without being cut off in the seam allowance at either end, it needs to be resized down to about 25.4 mm, or about 1”.
This change can’t be made by simply shortening the stitch length. For this, we need to use Pattern Elongation. Select the Information menu and select Pattern Elongation.

The Pattern Elongation tool has two functions: scaling the decorative stitch and adjusting stitch density. The scaling function allows you to extend or reduce the stitch pattern by single percentages and will automatically adjust the stitch density appropriately. You can also adjust the stitch density independent of scaling the design. This is particularly useful when stitching with especially thick or thin decorative threads to have full creative control of your design.
Reduce the stitch pattern to 95%, resulting in a pattern length of about 25.2 mm and stitch out this design on a scrap piece of fabric and measure with a ruler.
If the result is not precisely 1”, adjust the stitch pattern as needed to achieve the desired size.
NOTE: With a satin stitch like stitch #464, the top thread should be pulled slightly to the wrong side of the fabric by the bobbin thread. If this is not the case, or the bobbin thread is visible from the right side of the fabric, try using the yellow High Thread Tension Bobbin Case.
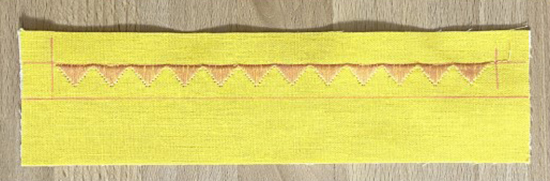
Return to the Information menu, Select Pattern Repeat and set the pattern to stitch seven times.
Place the zipper cover underneath the Open Embroidery Foot #20/20C/20D. Align the marked seam allowance line just to the inside of the left toe of the presser foot.
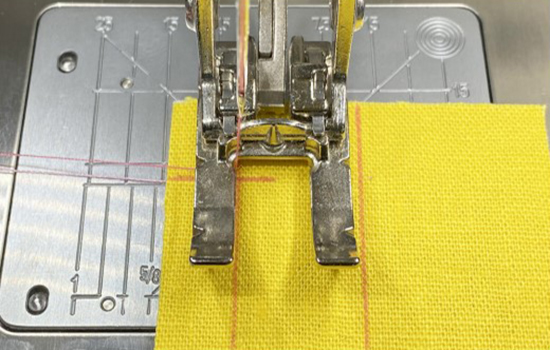
Reduce the speed of the machine using the Slide Speed Control to about 1/3 to 1/2. Press and hold the Start/Stop button to begin stitching. Gently hold the fabric to guide it under the foot, making sure that the stitch falls straight along the marked line.
Using Pattern Repeat, the machine should stop stitching at the end of the seventh stitch pattern. Cut your threads and remove from the machine. Remove stabilizer and press the zipper cover in half lengthwise. Remove markings on the fabric.
TIP: For BERNINA 790 PLUS and 880 PLUS users, this is a great opportunity to use Stitch Designer and create a truly one-of-a-kind decorative stitch to customize your bag!
Creating the Lapped Zipper
Lapped zippers are an easy way to add a professional touch to your projects. A concealed zipper creates a more clean and polished finish.
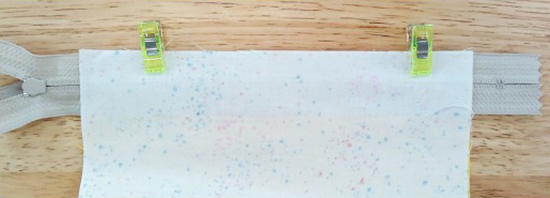
Determine which direction you want your zipper pocket to open– left to right or right to left. Place the exterior zipper pocket bottom right side up. Lay your closed pocket zipper right side down, with the zipper pull at the appropriate side, aligning the zipper tape with the raw edge of the fabric. Place the zipper pocket bottom lining right side down, again aligning the raw edge with the zipper tape and exterior piece. Use Wonder Clips to hold the three layers together
Thread the needle of your machine with the all-purpose polyester thread and attach Zipper Foot #4/4D. Move the needle all the way to the left, to position -5. Place the zipper tape underneath the presser foot, with the start of the fabric just in front of the needle. The raw edge of the fabric should be aligned with the right side of the presser foot. Sew down the length of the zipper.
Press the lining and exterior fabric pieces away from the zipper, being careful not to melt nylon zipper teeth.
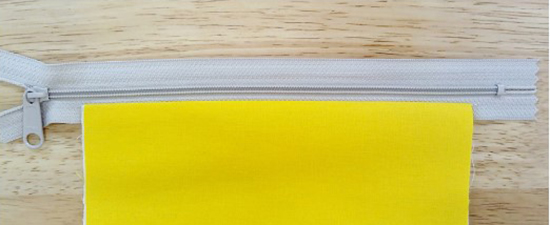
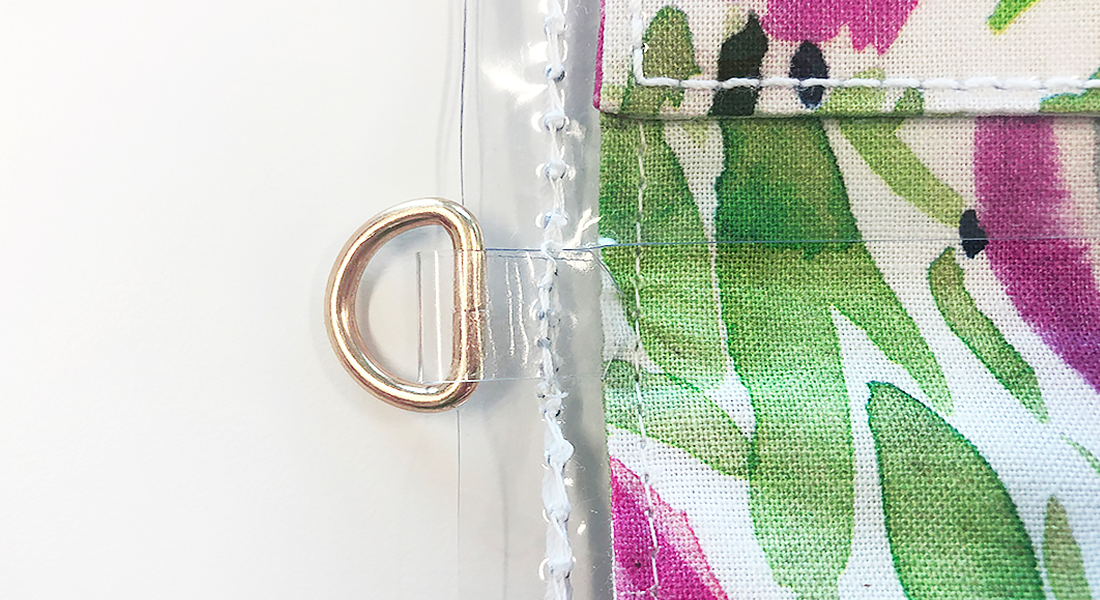
Align the pressed zipper cover with the other side of the zipper tape, with the raw edge meeting the edge of the tape and the left and right sides with the zipper pocket bottom. Move the needle to the right, to position 3. Place the zipper cover underneath the presser foot, aligning the raw edge with the right side of the presser foot. Sew down the length of the zipper. The seam should be very close (about 1/8”) to the raw edge, just catching all three layers to baste in place.
Place the zipper pocket top right side down, aligning raw edges with the zipper cover. Use Wonder Clips to hold the layers together. Move the needle back all the way to the left, to position -5. Sew down the length of the zipper. Press the zipper pocket top away from the zipper cover.
Using Edgestitch Foot #10/10C/10D, topstitch the seams at the zipper pocket bottom and zipper pocket top.
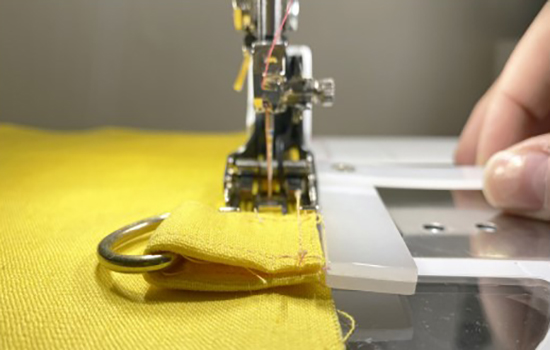
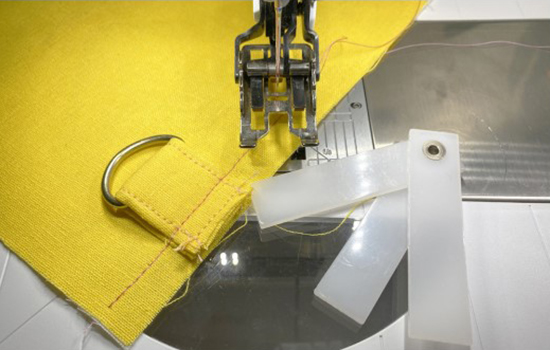
Jumping Between Layers of Bulk
A common challenge in bag construction is jumping from thin, single layers of fabric to extremely bulky seams with sometimes up to eight or ten layers of fabric. Moving up and over these seams without sacrificing stitch strength or quality can seem tricky but is quite simple with the right tools.
Attach Walking Foot #50 to your machine. This foot is engineered to be our best presser foot for managing thick, bulky seams or seams that stitch through many layers. Set your machine to stop with the needle down in the fabric.
Begin stitching the seam at the thinnest area of fabric. As you sew and approach the jump up to a bulky seam, stop stitching when the front edge of the presser foot butts up with bulk.

Reach for your Height Compensation Tool. Determine how many pieces of this tool equate to the same height as your bulky seam.
Slide the necessary pieces of the Height Compensation Tool underneath one side of the presser foot, parallel to the seam. Be sure to keep this tool clear of the needle area.
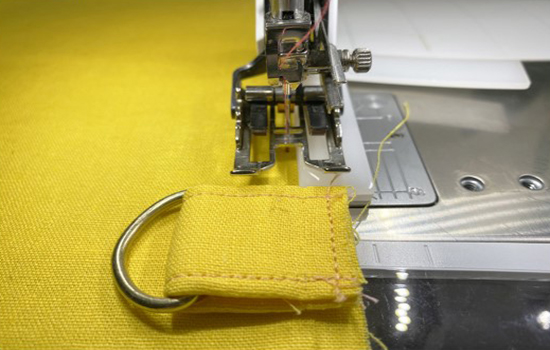
Continue sewing slowly to begin stitching into the bulky area. When the needle makes its first stitch into the bulk, you can remove the Height Compensation Tool.
TIP: All BERNINA machines have a feature called Hammer Mode engineered specifically to power through tough spots. This engages when the needle faces high resistance in piercing down through the fabric and the machine will make a pulsing mechanical sound. Do not let this scare you! Continue to stitch very slowly. If the machine determines any seam is simply too thick or tough to stitch through, you will see an error message on the touch screen.
When you reach the end of your bulkiest area and are faced with stepping down again to a much thinner section, we will employ the Height Compensation Tool again. Stop stitching with your needle down at the last stitch in the bulky area. Raise the presser foot and place the Height Compensation Tool underneath one side of the foot parallel to the seam, staying clear of the needle area.
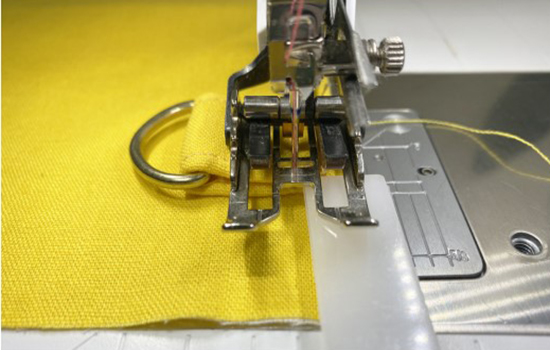
Continue sewing the seam with the Height Compensation Tool underneath the presser foot until the bulky area is completely clear of the back side of the presser foot.
Carry these tips and tricks with you on future bag making projects!