Tips for Making Quilted Garments
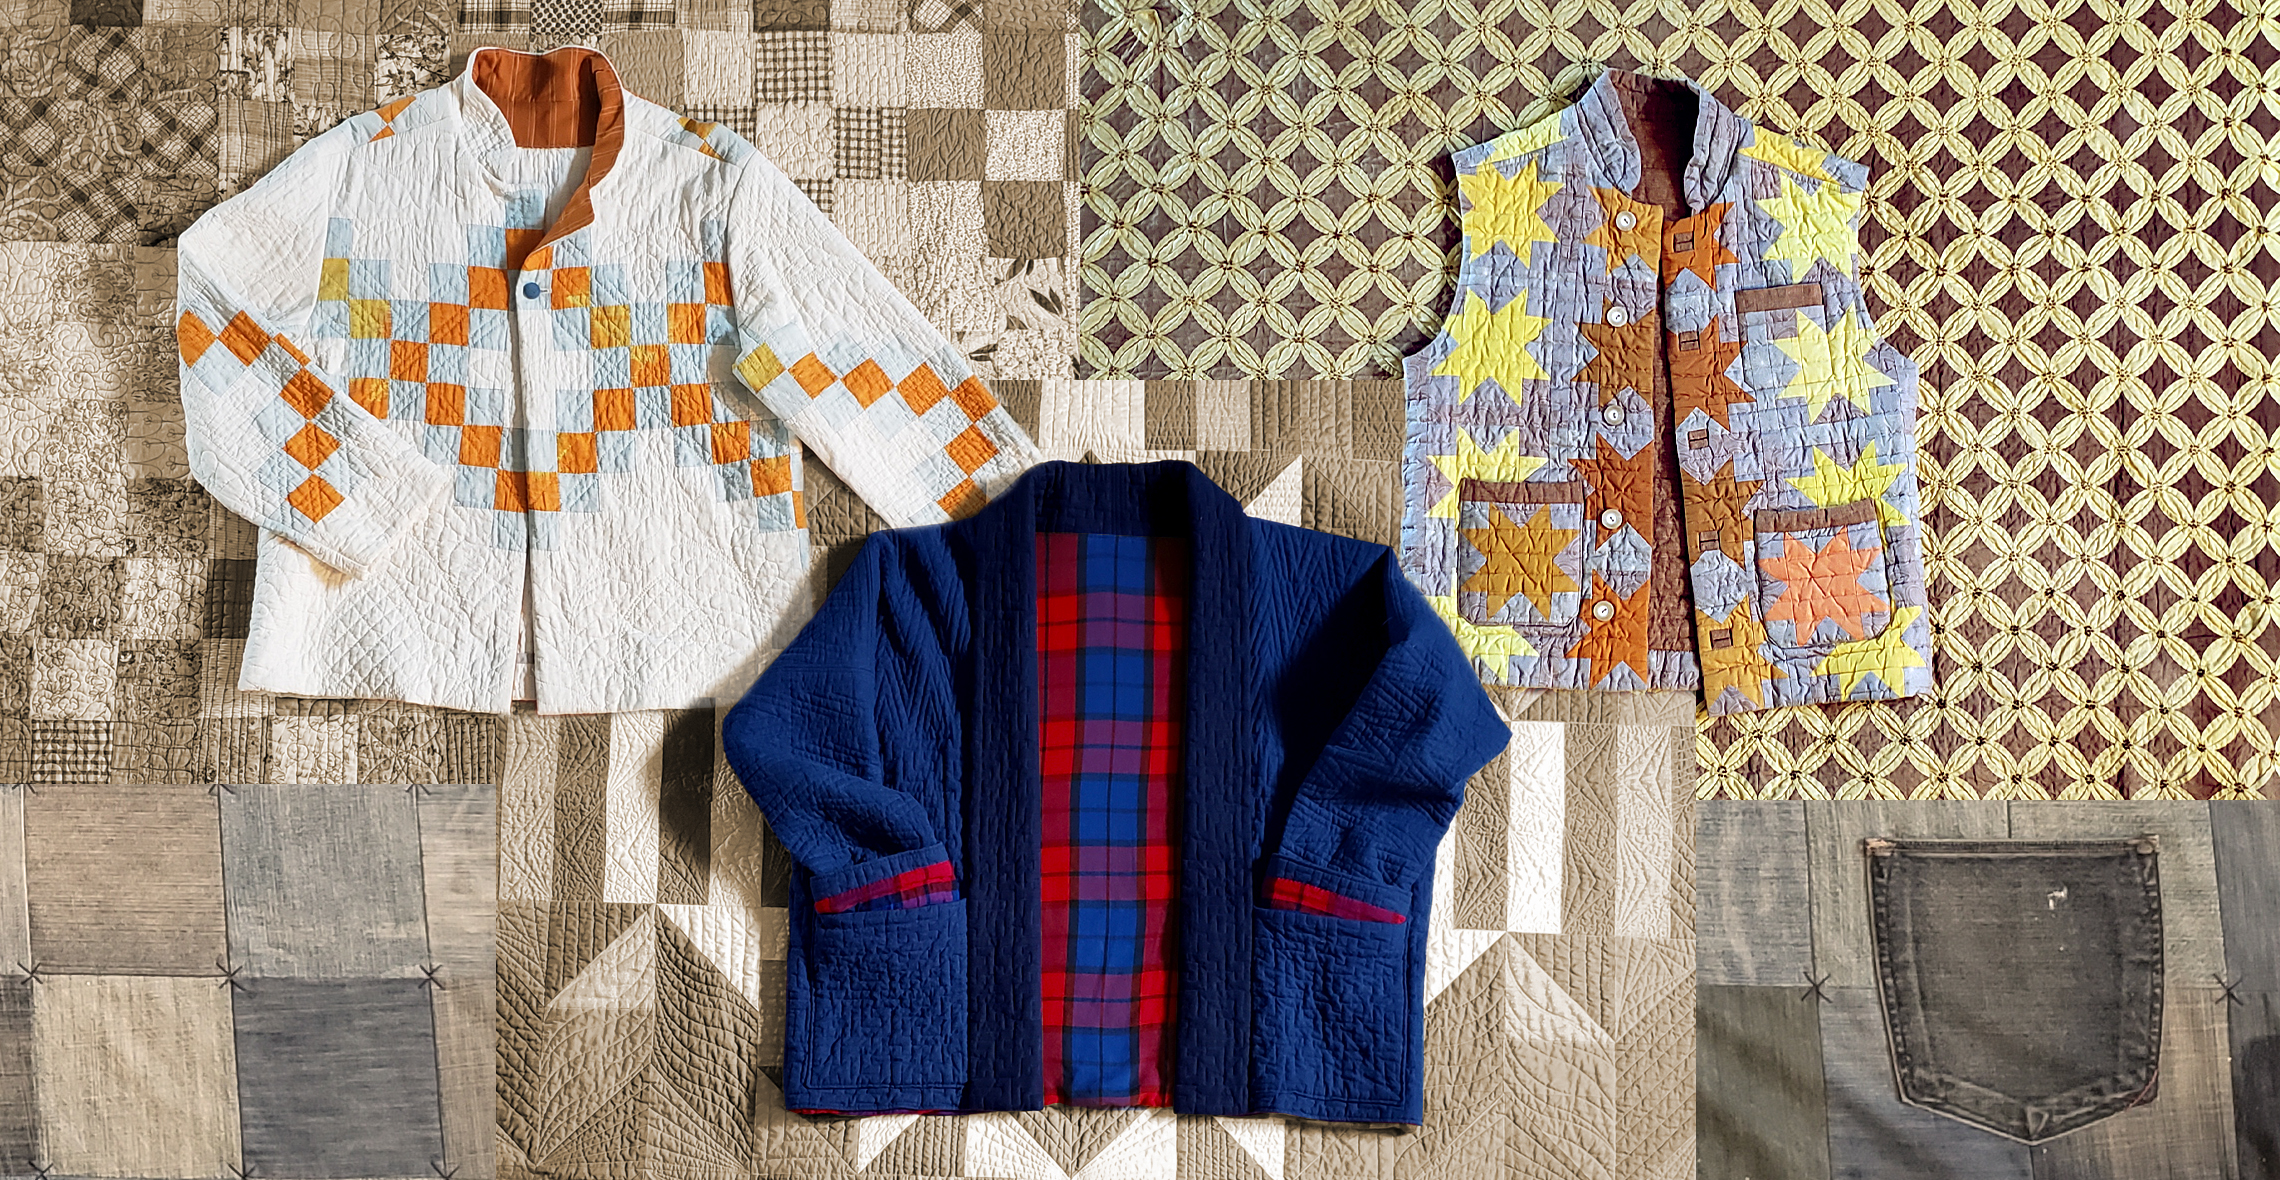
Quilted garments have been around as long as there’s been cold weather. Recently the quilted jacket has really taken off; even making its way to the famed MET Gala where A$AP Rocky, a rapper and music producer, wore a vintage puff quilt over his shoulders. I don’t see the trend ending any time soon. Why? Because who doesn’t want to walk around wrapped up in a quilt all day? They can be bohemian calico work jackets, preppy diamond-stitched vests or chic puffy coats. I have made a few of these jackets myself and I thought I’d share some of the things I have learned in the process. And for those of you who have longarm quilting machines, I’ve included some special tips for you at the end.
What Kind of Pattern Should I Use?
There are so many patterns that work well out there. Because of the drape of quilted fabric, boxier shapes work best. Jackets that are over-sized or robe-like can be both cozy and chic. Here are some of my favorites and ones that I have used:
- The Liner Jacket from Daisy Chain
- The Nova coat from Papercut
- The Ottoline from Merchant and Mills
- The Turkish Coat from Folkwear
What Kind of Fabric Should I Use?
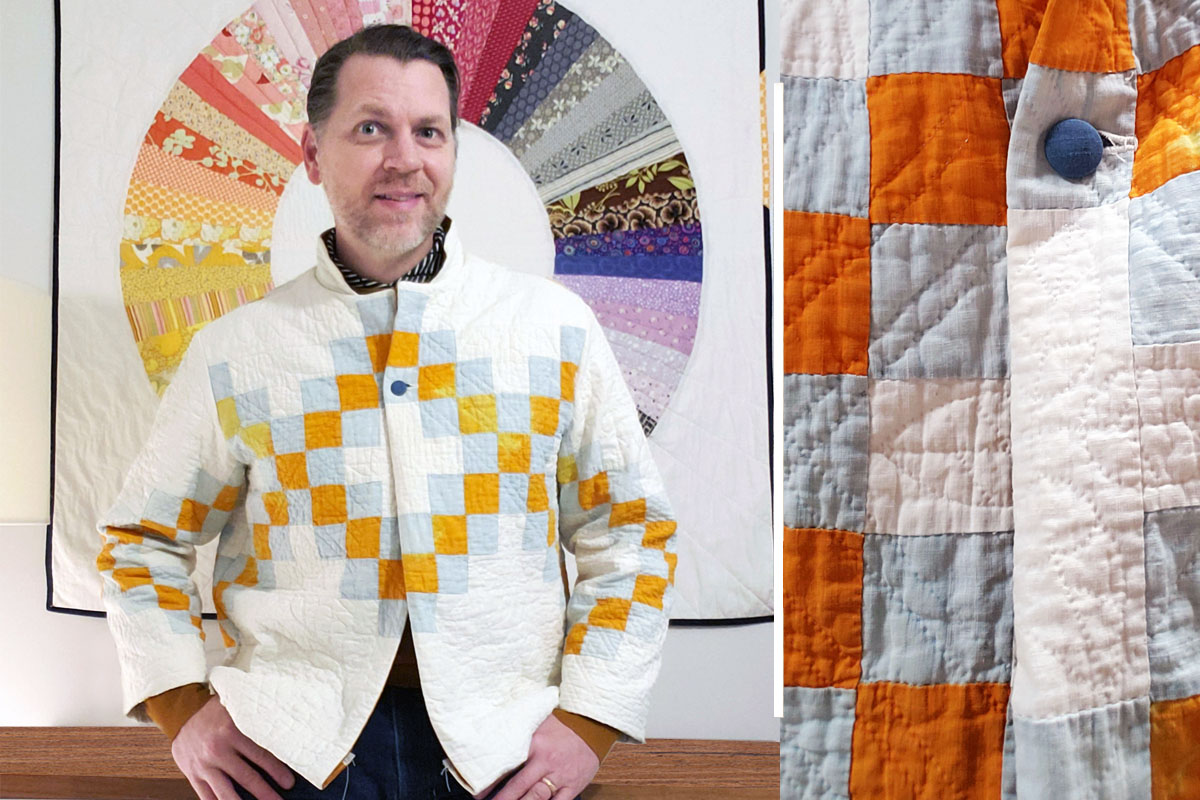
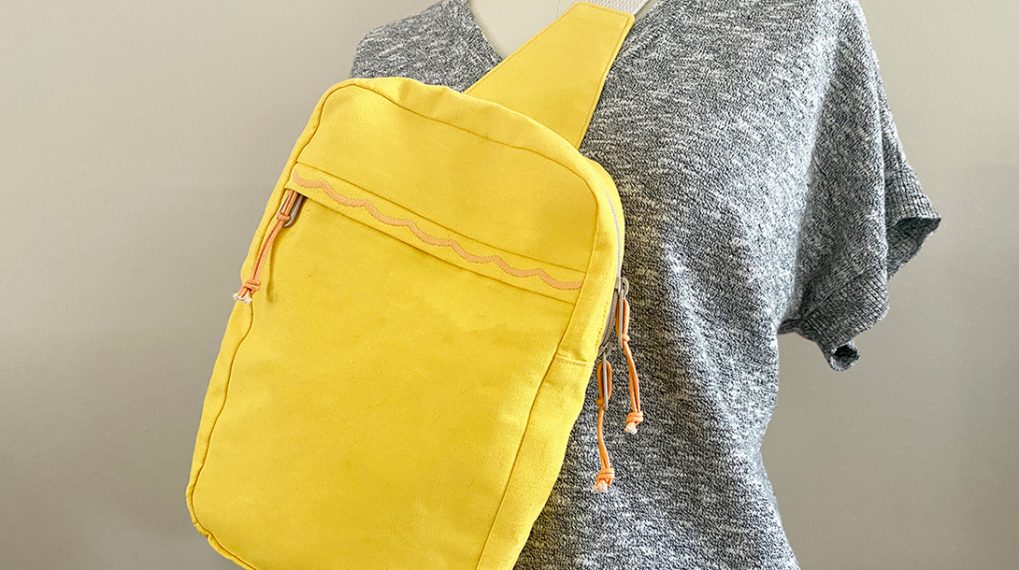
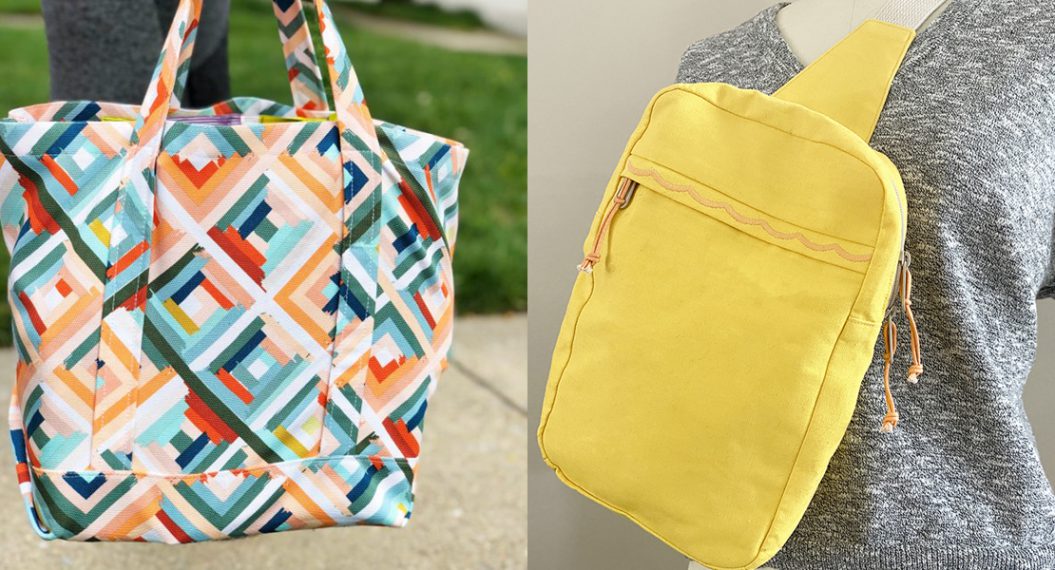
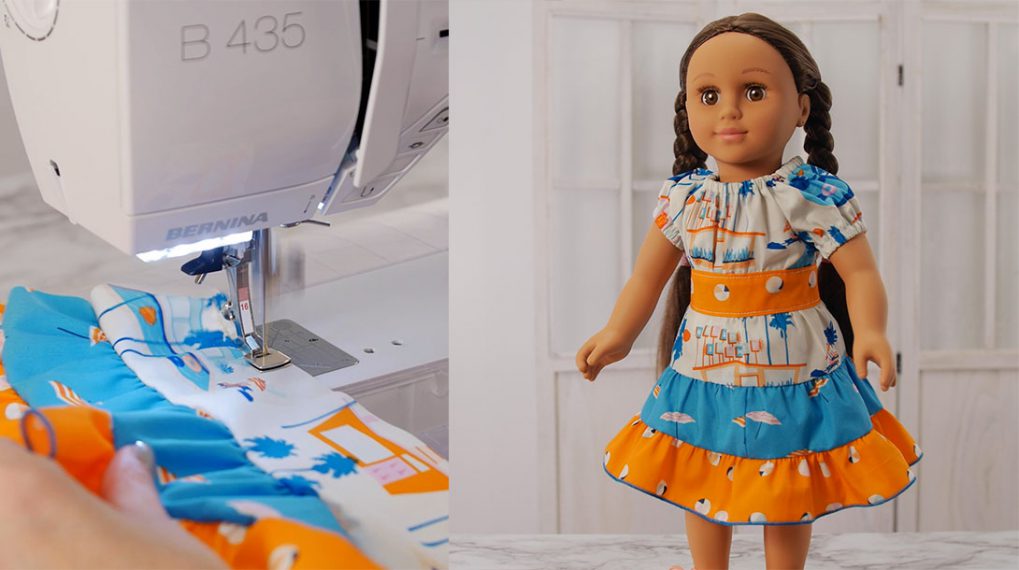
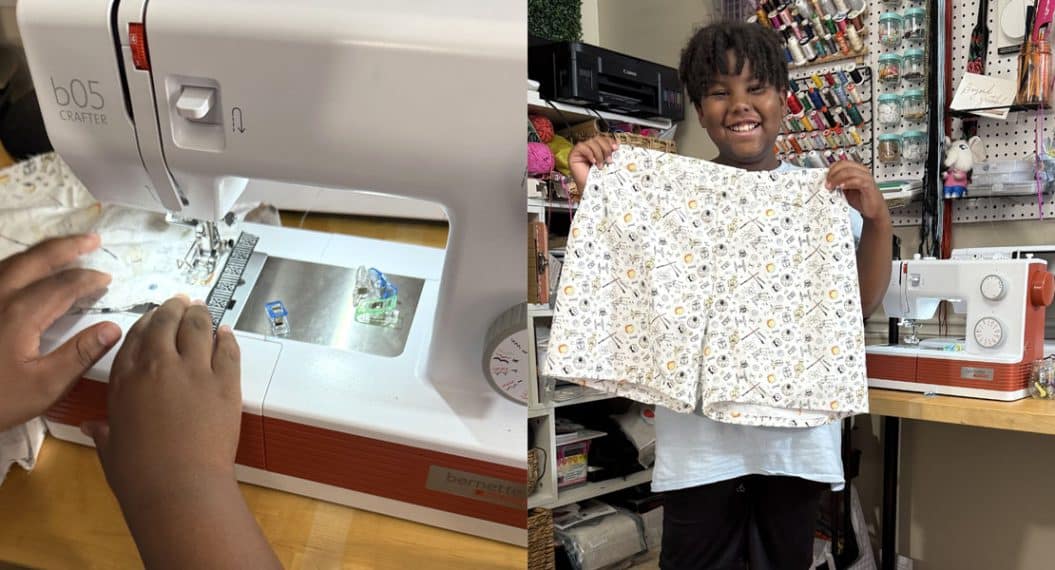
The simplest answer is to get some pre-quilted fabric. This can be from the fabric store or a manufactured bed cover found at the second-hand store. I often use these pre-quilted fabrics as a way to test out the fit of a pattern. The Pullover shirt pictured below was a quick 2-hour project because the fabric was already quilted. It left me time to make a twinner shirt for Ken.

You can also use a vintage quilt (see caveats below) or make the quilted fabric yourself. When creating quilted fabric yourself, using lighter weight fabrics like lawns, shot cottons or shirtings will drape and mold better to your body than stiff quilting cotton. Even simply using lawn for the backing alone will reduce some of the bulk. Vintage quilts have softness built-in by way of time and repeated washing. Some designers, like Ruby Star and Nani Iro, have started printing their fun designs on a softer substrate than others. These work great for quilted garments. When possible, hold the fabric in your hand and ask yourself, “Does this feel like a blouse or does this feel like a potholder?” If it’s the latter your jacket will be more structured and that can affect which pattern you choose.
Should I Use a Vintage Quilt?
Using a vintage quilt adds a lot of charm. nostalgia and history to your new garment. Be mindful before you chop up that old quilt. Here are some reasons NOT to cut up a vintage quilt:
- If a quilt has sentimental value to you or anyone in your immediate family, don’t chop it.
- If you think a quilt might have historical value or significant provenance, do some research before deciding to make it into a jacket.
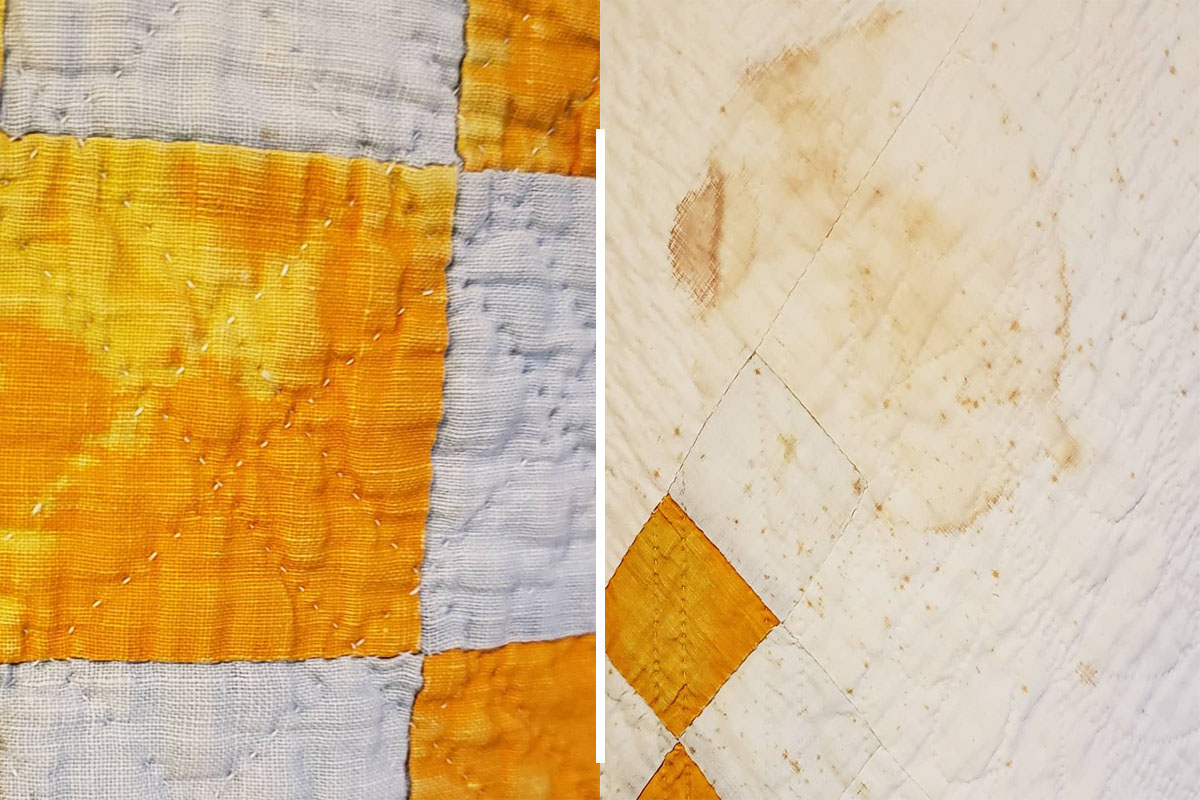
- Some vintage quilts are really fragile and will not hold up to the wear of being a garment. The jacket pictured below (with all of its amazing hand-stitching) was falling apart as a quilt and must be worn gently.
When should you use a vintage quilt? When you are inspired to. Sometimes the colors, patterns and prints work so much better as an item in your wardrobe than hanging out on a bed. And, sometimes a vintage quilt has too much damage to use as a bed covering but you can give it a second life as a garment (some extra quilting may be necessary to reinforce the fabric.)
Should I Quilt the Fabric Myself?
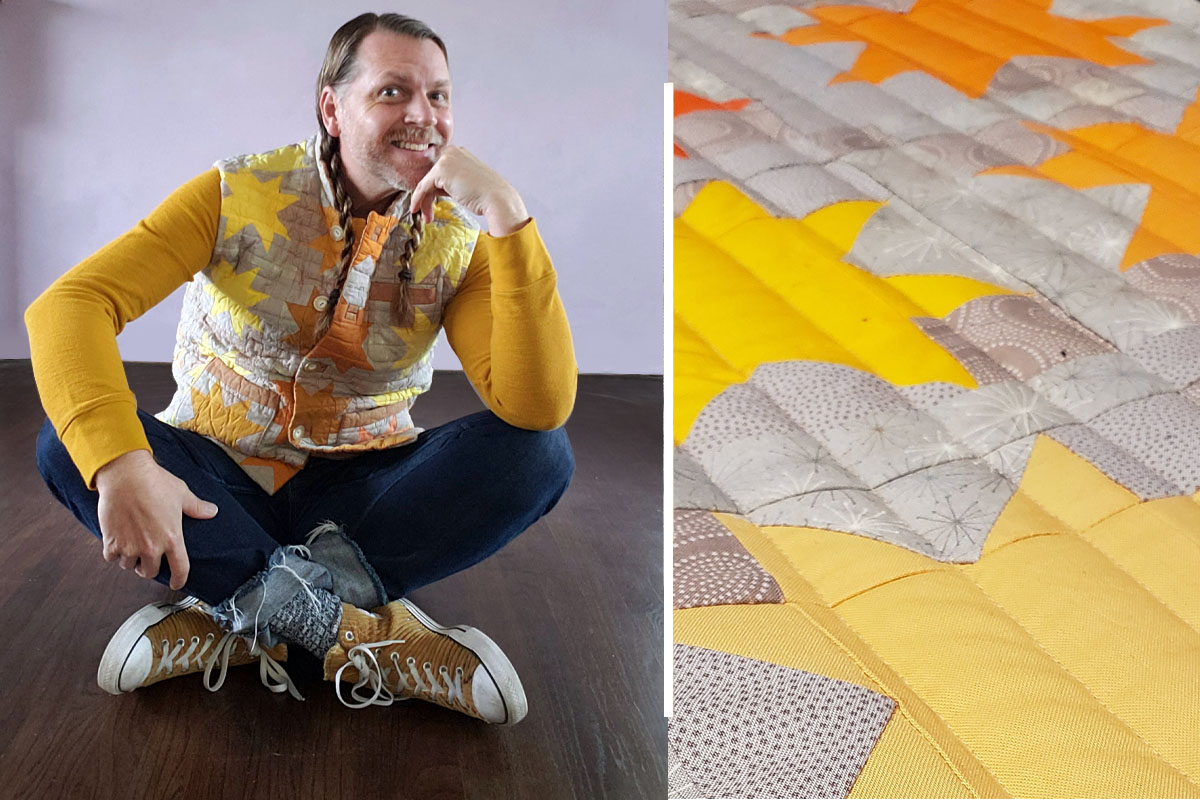
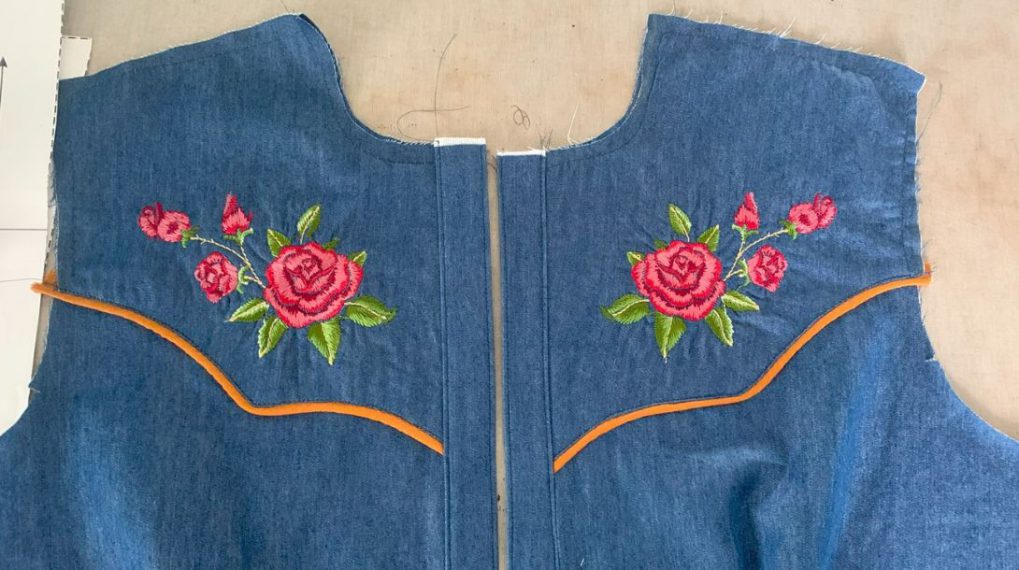
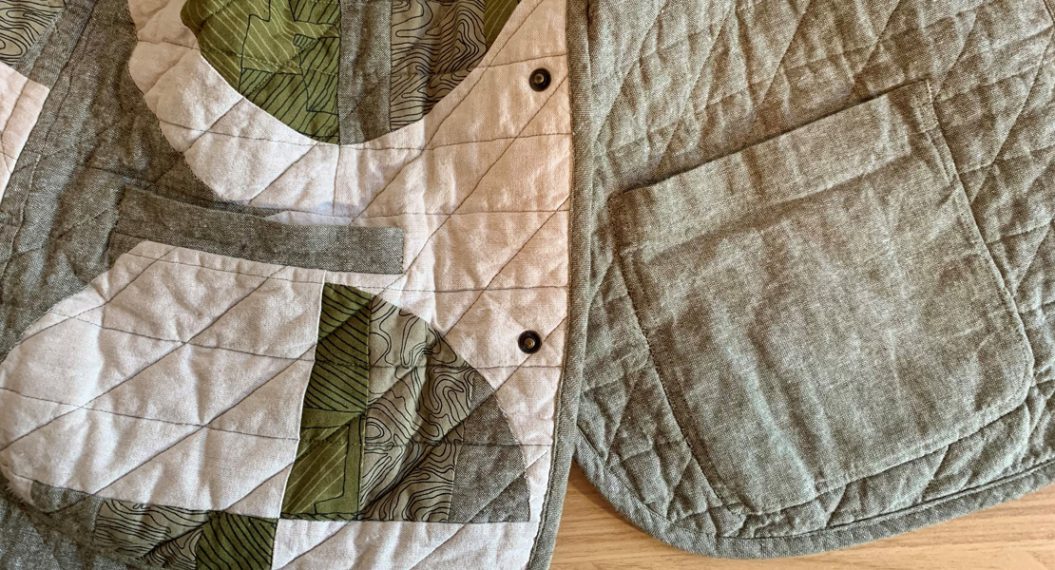
The real fun is when you decide to make the quilted fabric yourself because you can decide exactly how the fabric piecing and quilting fall directly on the garment. And, you can choose the colors and shapes that flatter you. The vest pictured below was a quilt top that I never got around to quilting because I did some lousy border stitching that I couldn’t bring myself to undo. But, it is a cheery vest that always brightens my mood when I wear it.
What Size Should I Make?
There are a couple of factors to take into consideration when figuring out your garment size. Garment makers often propose to wash fabric before constructing the garment to get the shrinkage over with before sewing. Quilters often recommend leaving the fabric unwashed to use the manufacturer’s starches to their advantage when cutting all of the blocks. So, what should I do when making a quilt that is a garment?
- See if your pattern gives measurements for the finished garment or how much ease is added.
- Wash the fabric first. Press and starch if necessary to cut for piecing.
- Quilt more densely. Even if the fabrics were pre-washed. The batting will likely shrink on its first time through the laundry. Denser quilting will anchor that batting to the fabric in more places and prohibit further shrinking.
- Make one size larger. You can always trim down but making a garment larger is more challenging.
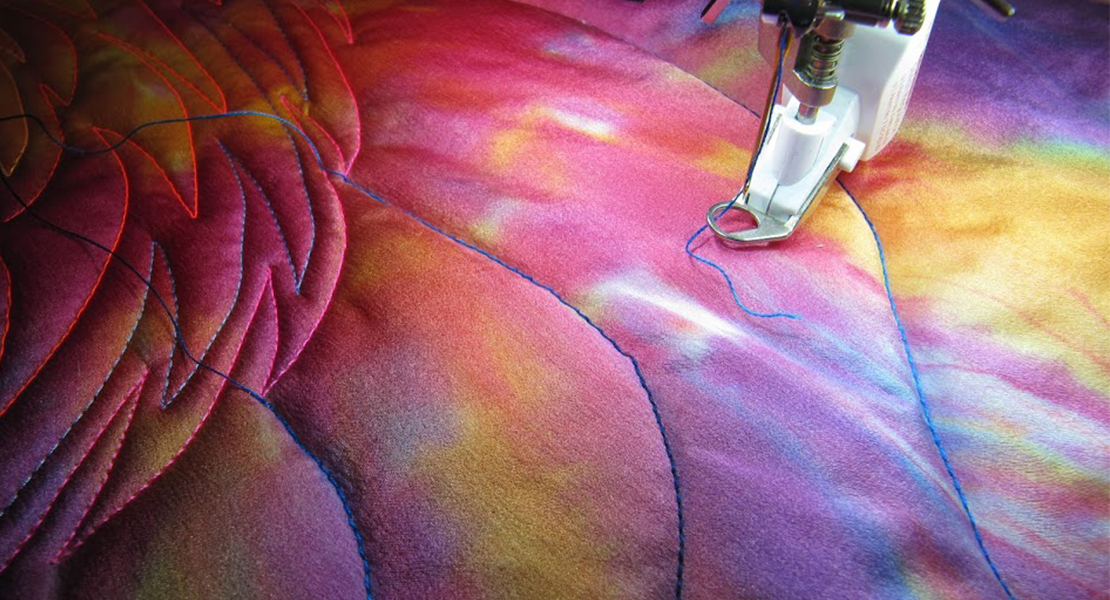
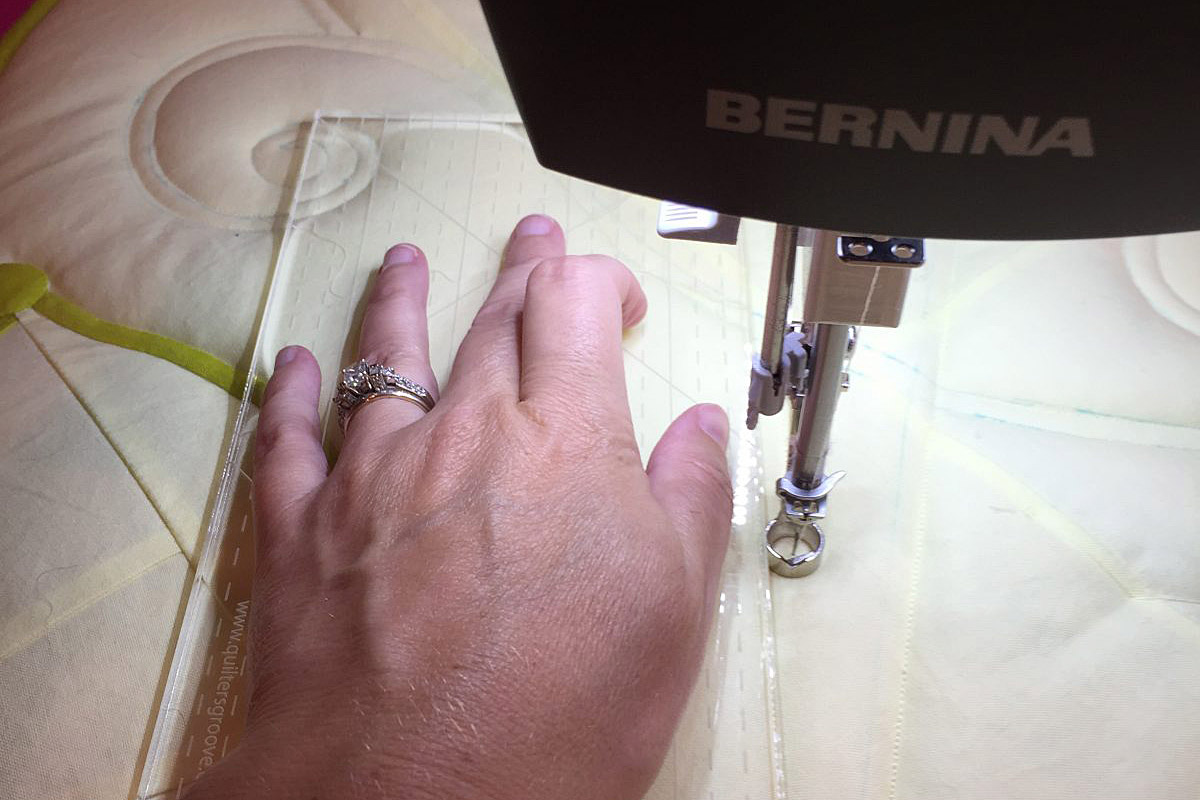
Do I Need Special Equipment? Using a walking foot (BERNINA Walking Foot #50) or dual feed, if your machine has it, will help all of the layers stay aligned as they pass under the presser foot. This works best for grid-based quilting, match-stick quilting, or stitch-in-the-ditch quilting. You can even do some gentle curves with these items. There is a wonderful book called WALK: Master Your Machine Quilting with Your Walking Foot by Jacquie Gering which has loads of inspiration for how to create dynamic quilted designs using your BERNINA Walking Foot #50. You can also check out this video tutorial on YouTube.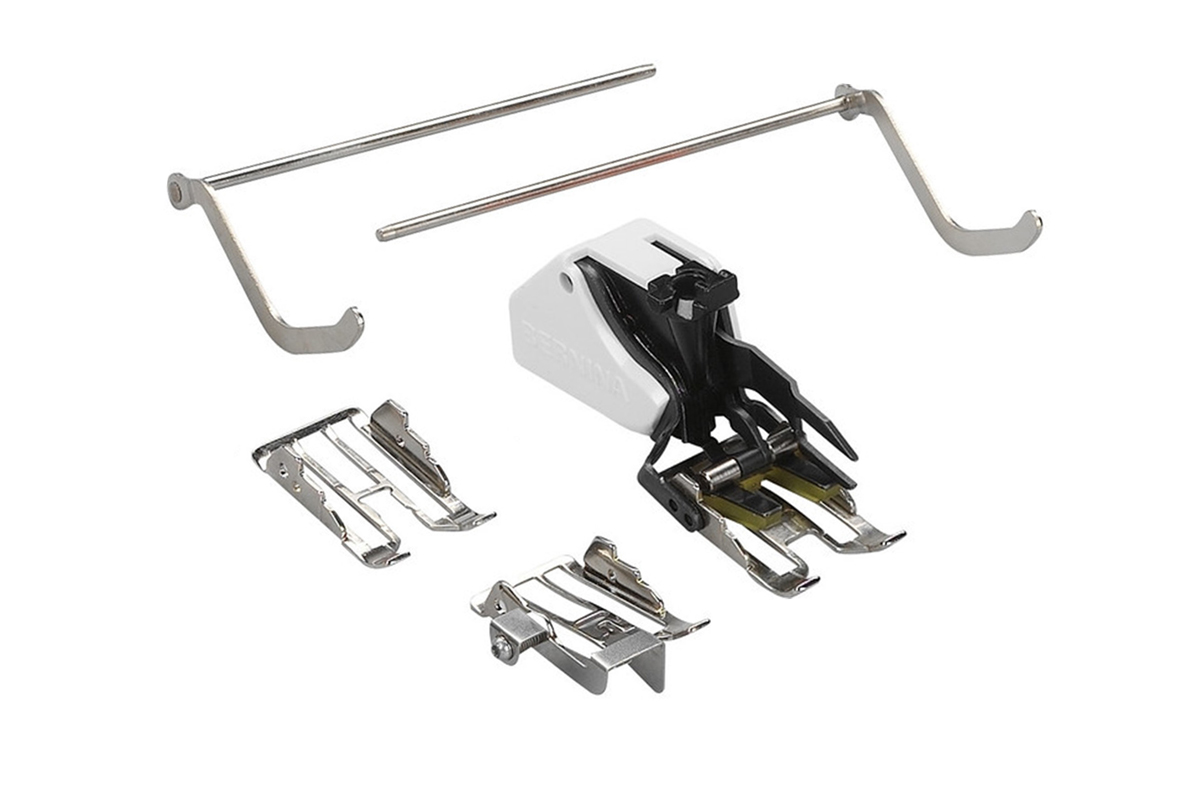
If your machine has a stitch regulator like the BERNINA Stitch Regulator (BSR), then you can lower the feed dogs and add rich quilting patterns to your garment. The BSR allows you to move the fabric around at your own pace without worrying about how much you are pressing the foot pedal. It speeds and slows the motor to match the action of your hands!

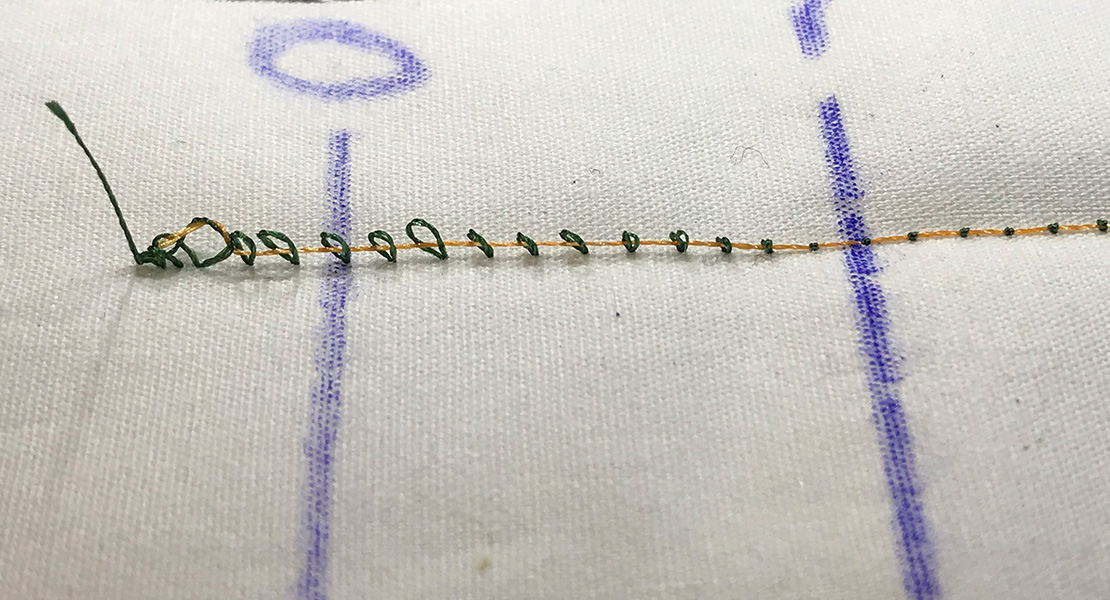
Whole-cloth versus piecing tips: If I’m using a whole cloth method for my garment, where the standout is going to be the quilting. I use tailor’s chalk to outline pattern pieces on the top fabric. Remember to make a Left and Right piece if you need that. The cutting layout in the pattern is a good reference for fitting all of the pieces onto your fabric. Layer your backing, batting and quilt top together. Then, baste along the chalked lines to hold all of the pieces in place before stitching your designs. If machine quilting on a domestic machine, it may be easier to cut apart the individual pattern pieces outside the basting line before quilting.

If piecing the top for your garment, don’t bother to make a whole quilt top. Just make enough to fit each pattern piece. Improv piecing is fun for this but quilt blocks can also be used to get the design placed exactly where you want it to land on the body. Place the focul blocks on the pattern then add background strips or shapes to get to the pattern margin rather than cutting into a whole block that could be used elsewhere.
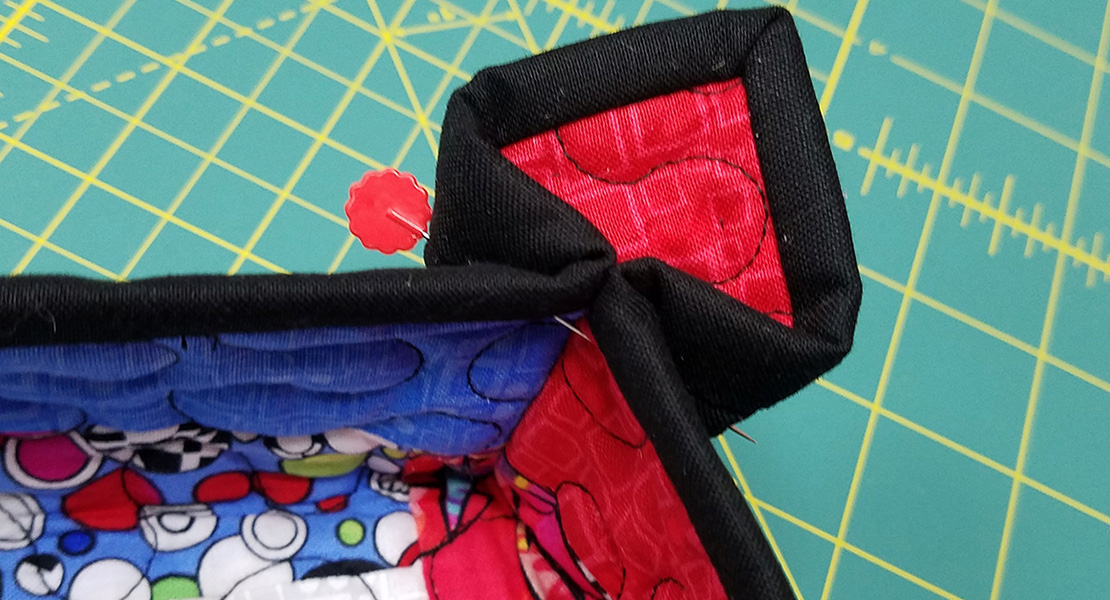
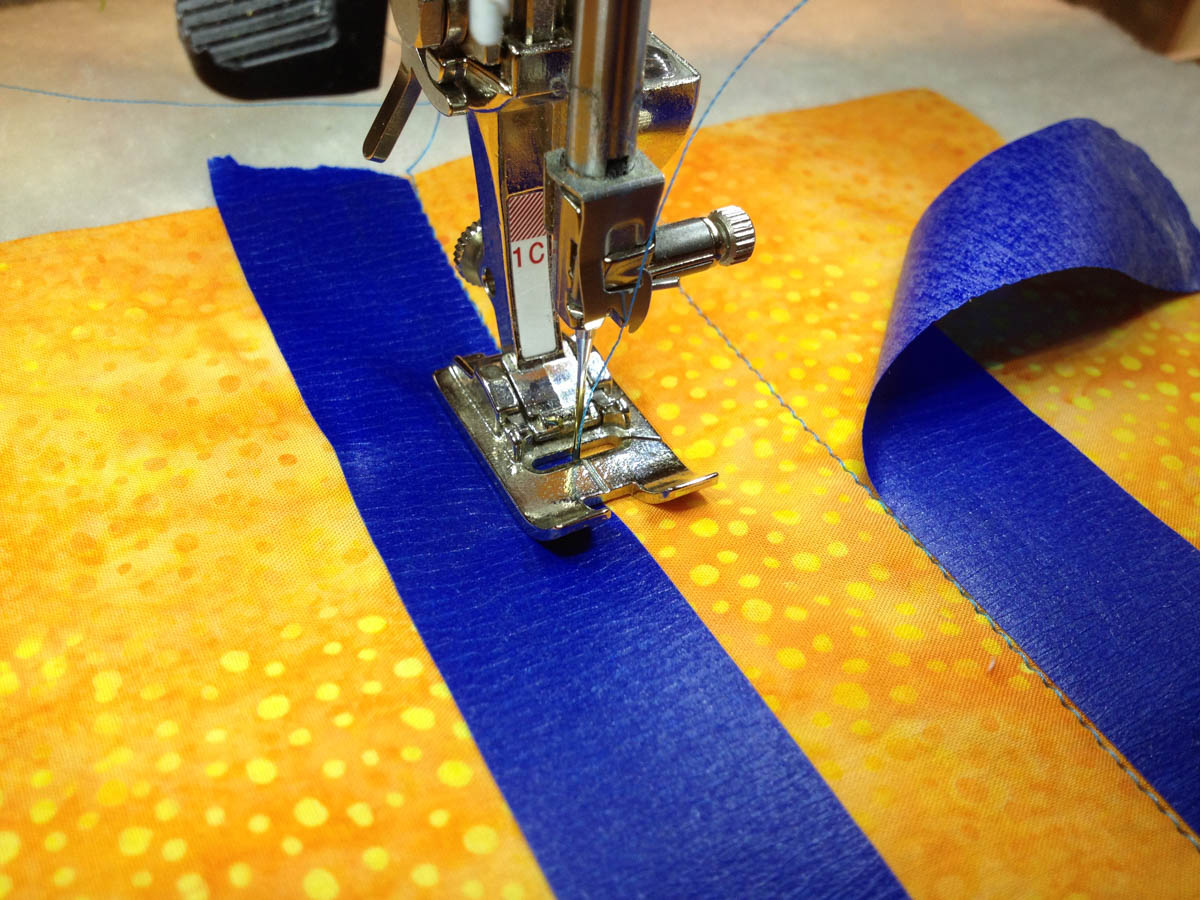
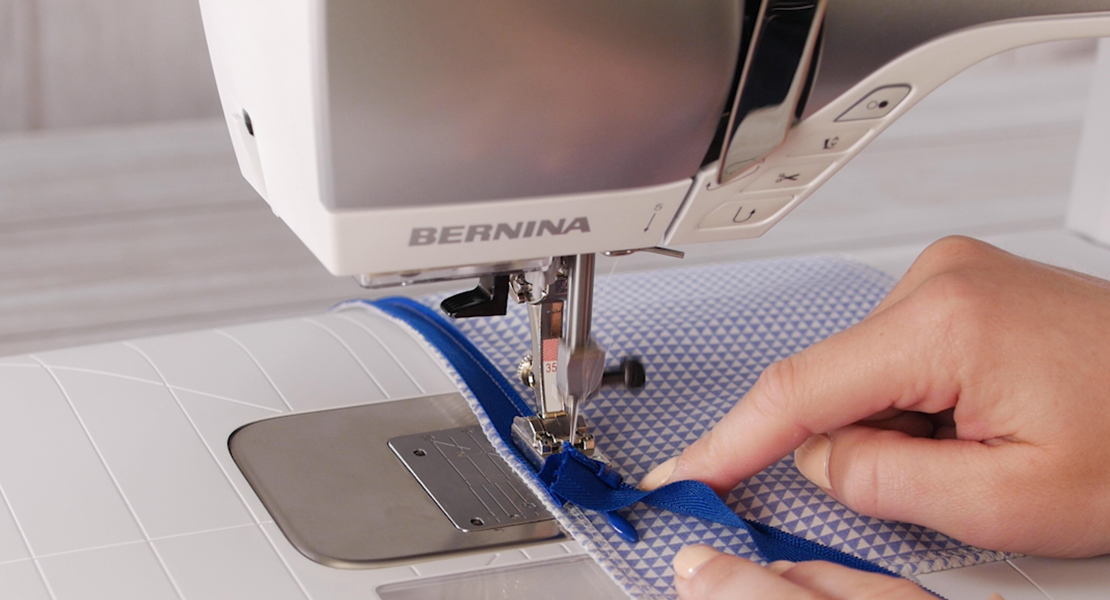
Binding: Hands down, my favorite way to do binding on a quilt jacket or even just a regular quilt is to use the BERNINA #71 Flat Felled Seam Foot. This foot is intended, as the name suggests for flat felling seams in a garment. However, I have learned that it makes such tidy, edge-stitched binding that it doesn’t even cross my mind to do binding any other way. There is a very helpful tutorial for using this foot right here on the WeAllSew blog. The tutorial calls for cutting 2” strips to fold into binding but my preferred measurement is 2 ⅛” to give me a little more flexibility in getting around the bulk of two quilted seam allowances.
Bias Vs. On-Grain Binding. If your garment mostly has straight edges, then use on-grain binding. It won’t bend around curves but it creates a strong and stable edge to your garment. If your garment has a lot of curves, then bias binding will mold around those curves without bunching or puckering. If the binding fabric print is of no consequence then I use both methods in the same garment. This technique uses less fabric gobbling bias cuts but molds them beautifully where they are needed.
Can I Make Quilted Garments on a Longarm?
Yes! Here are a few tips for using the BERNINA Q 24 (or Q 20 and Q 16) mounted on a frame. When free-motion quilting on the longarm, I mark out the pattern pieces on the “quilt top” to help visualize where the quilted design will land on the body once wearing it. I like to use Frixion markers to give loose direction to how I want to quilt the garment. The heat of an iron will remove the ink and washing the finished garment will further remove any residue.
Because quilting on the frame has the fabric pulled more taught than other forms of quilting, you can draw the pattern pieces closer together to eliminate waste. Only quilt what you need to quilt. Why spend time quilting more than you need? The unquilted portions can be re-used elsewhere more readily as loose fabric and batting than they can as quilted scrap. They can even be used for matching binding.
If you have BERNIN Q-matic, Longarm Quilting Automation System, I like to use The Pin Tool and The Masking Tool to mark out where the pattern pieces are on the screen so that I can Edge-to-Edge only where I need to.

Phew! That’s a lot of info. I hope there are good tips to help you make your next quilted project. Be fearless and explore all of the fun ways that you can wrap yourself and others in a cozy quilted garment!


What you might also like


4 comments on “Tips for Making Quilted Garments”
-
-
Thank you! Yes to Grainline’s Tamarack. I haven’t made that one yet but I know lots of people who have and it would be great as a quilted jacket.
-
-
If you are going to make your own quilted fabric, I have made several using this technique. Piece together your design using 100% cotton quilting fabrics. For a simple jacket you can make a piece generously big enough to cut out the two fronts, one big enough for the back, and two matching ones for the arms. Before cutting out the pattern from these pieces quilt them to 100% cotton flannel. Your choice to use a backing or not depending upon whether or not your want a smooth lining or a quilted lining. Here is the crucial step for making those pieced fabrics look like they came from an old quilt: launder and dry them a minimum of three times. They will shrink and pucker and look just like an old quilt. Then cut out your garment pieces from the “old quilt” and sew them together. Now that I have a Bernina 890 my next jacket or vest will be constructed using overlocking. Those nice trimmed seams will mean I won’t have to construct a lining for the jacket and adding some decorative work with special threads could jazz it up even more.
-
Oh, these are great ideas! I like the idea of using flannel instead of batting for a lighter weight jacket. And the washing tip is great too. Thanks.
-
Leave a Reply
You must be logged in to post a comment.

Nice tips! Your quilted jackets are lovely. I really like Grainline Studio’s Tamarack Jacket for making a quilted coat, the pattern fits nicely and is easily customizable.