Taping Tips for Quilters
Laura Wasilowski shares three of her taping tips for quilters and how painter’s tape can be a helpful tool when creating your next quilt.
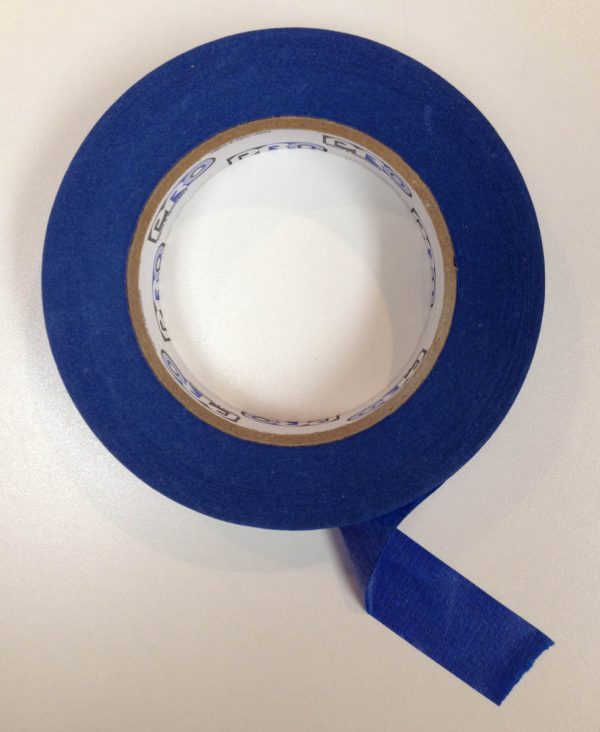
The hardware store is a favorite destination of mine. Tools suitable for the quilt maker abound including the ever useful 1” painter’s tape.
Painter’s tape is a low tack tape used by painters to seal off areas from dripping paint. It temporarily tacks in place and then easily lifts off of surfaces (like fabric) without leaving a sticky residue. Here’s how I use painter’s tape in my sewing studio.
Marking Wide Stitch Lines
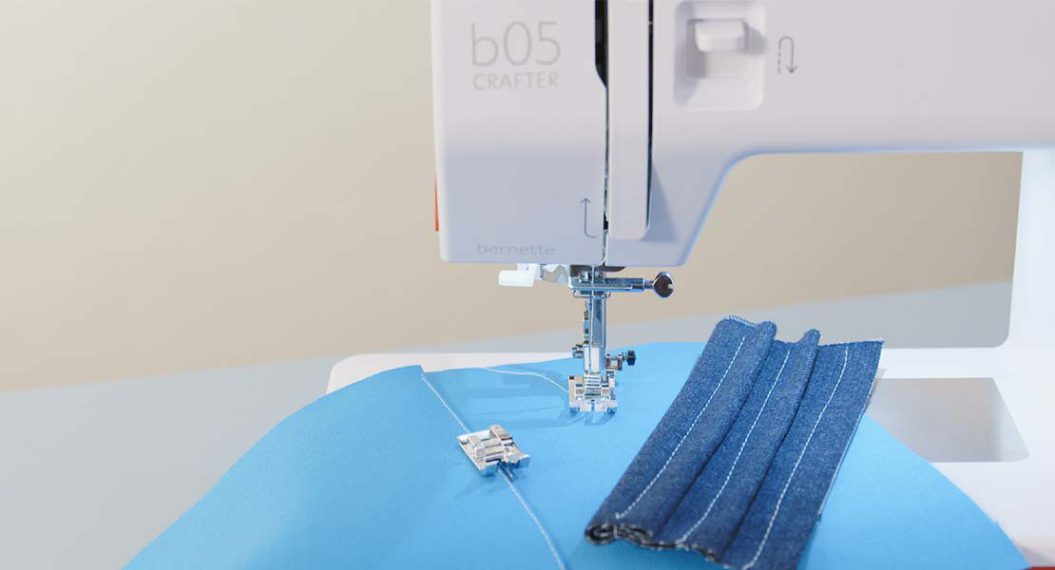
This method of marking accurate stitch lines on your quilt sandwich uses 1″ painter’s tape. It is for stitch lines spaced at 1″ or more apart on the quilt top. (There are narrower tapes available for closer spacing of stitch lines.)
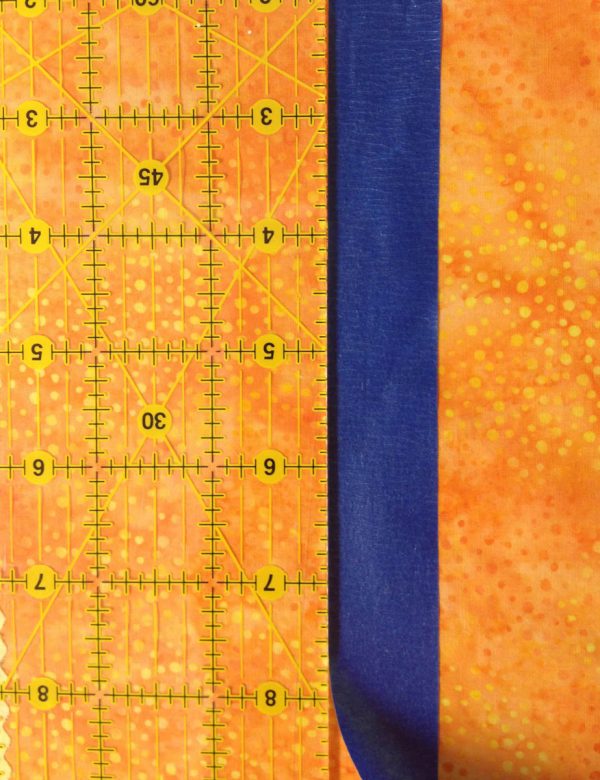
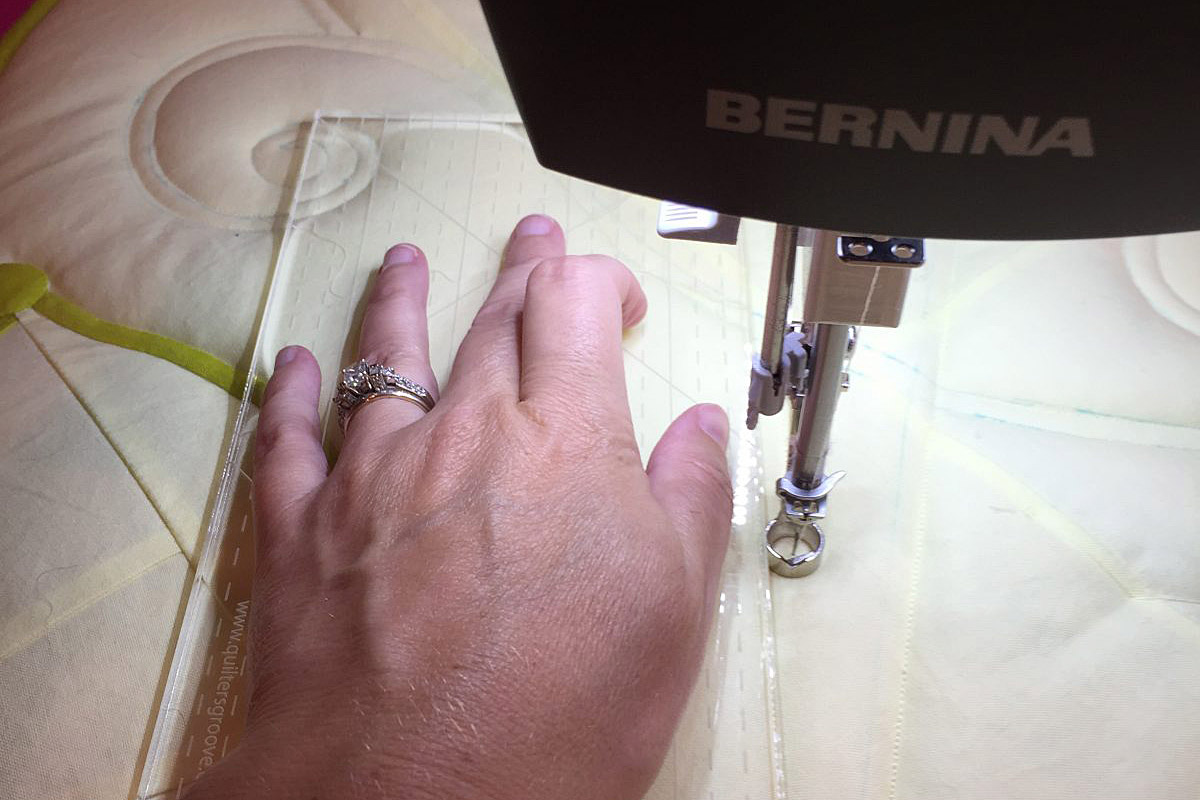
Place the right side of your ruler on the quilt top at the point where your first line of stitches will be made.
Place a length of tape along the right side of the ruler’s edge and stick the tape in place.
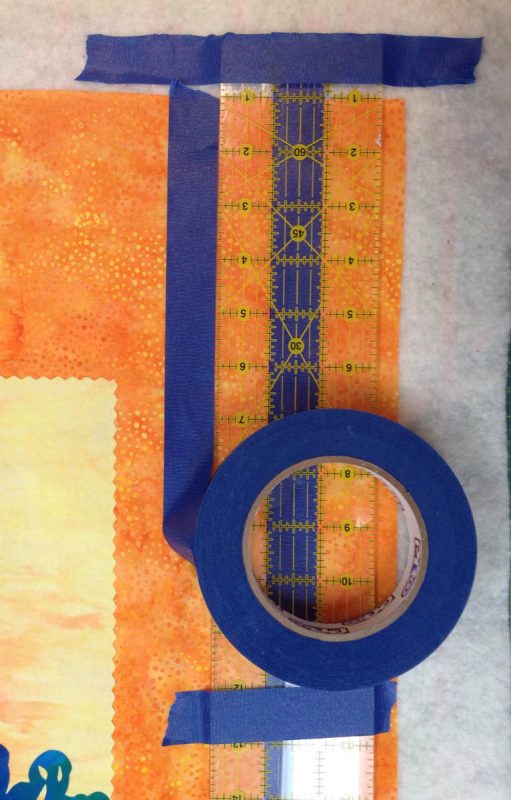
Use the edge of the tape as a guide and measure the distance to your next stitch line with the ruler.
Tape the ends of the ruler to the fabric to hold it into place. Add another length of tape along the edge of the ruler to mark this stitch line.
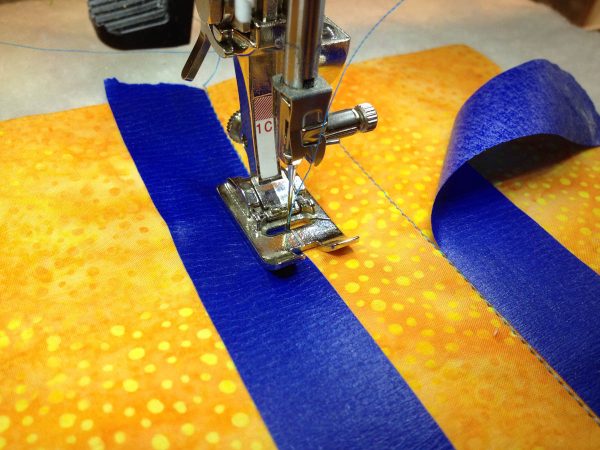
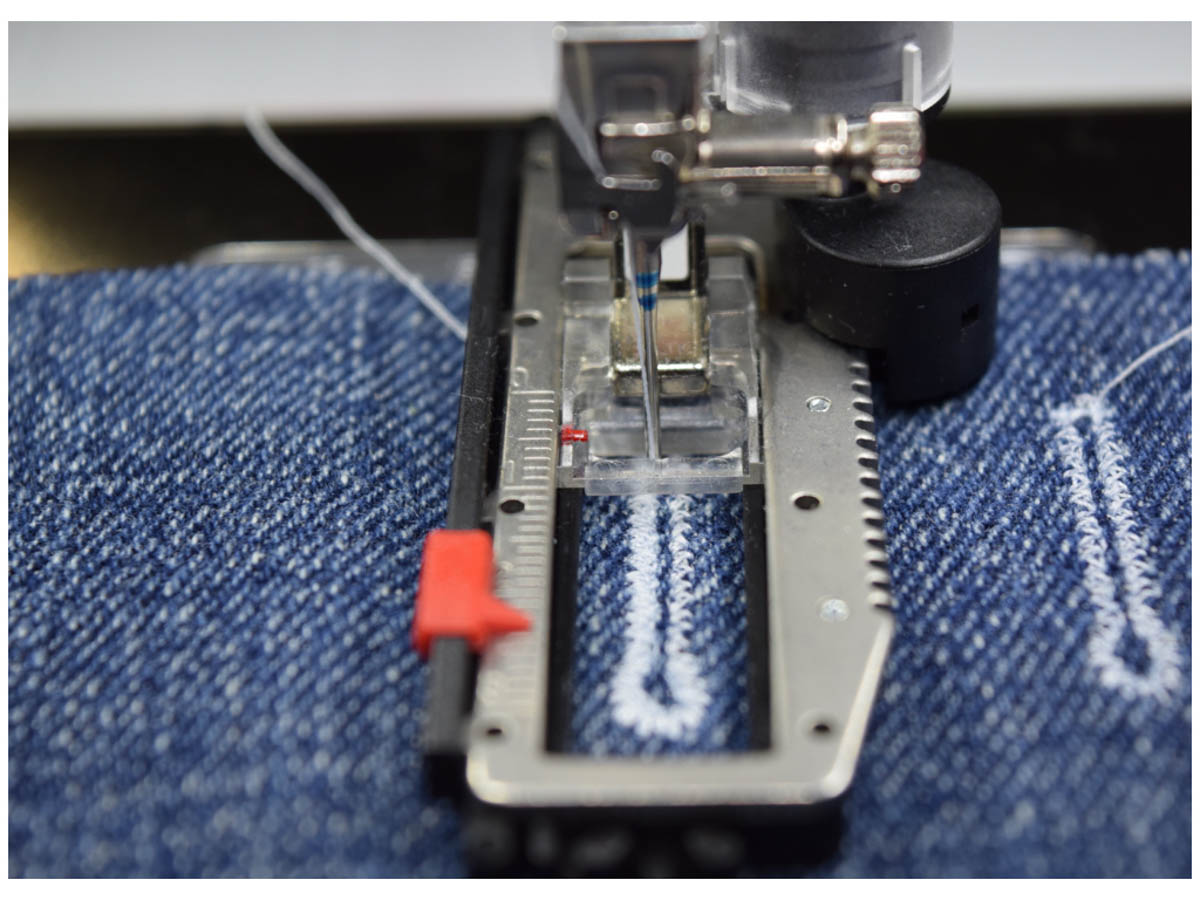
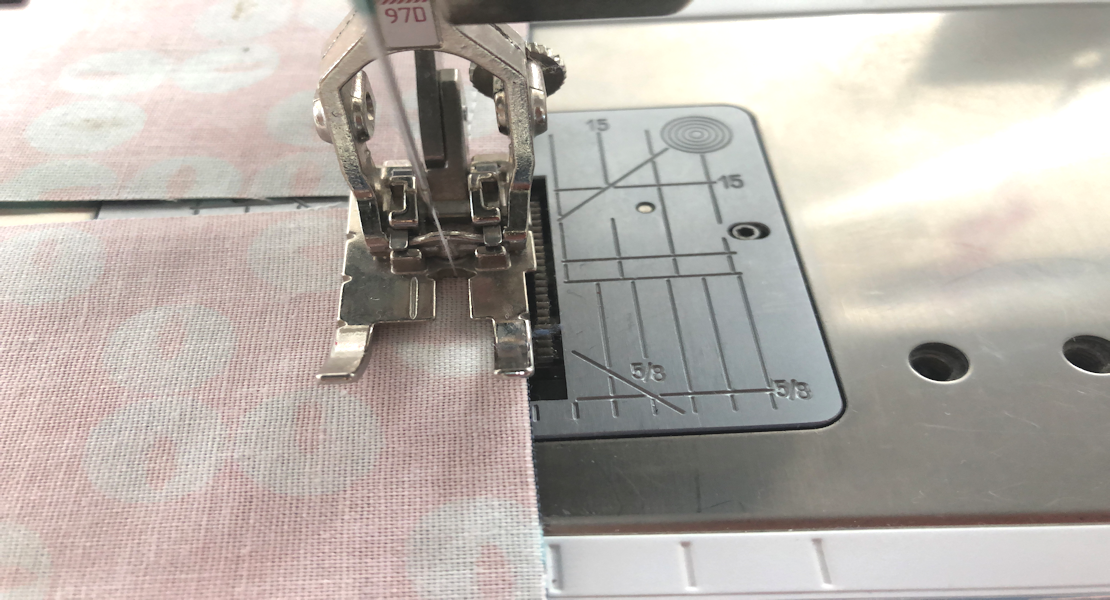
Using a straight stitch on your machine, sew right next to the left side of the first length of tape.
After you have completed the first stitch line, sew right next to the right side of the second length of tape.
Remove the tape when the stitching is complete.
Begin the process of marking stitch lines on the quilt top again using the tape and ruler and previous stitch lines as a guide.
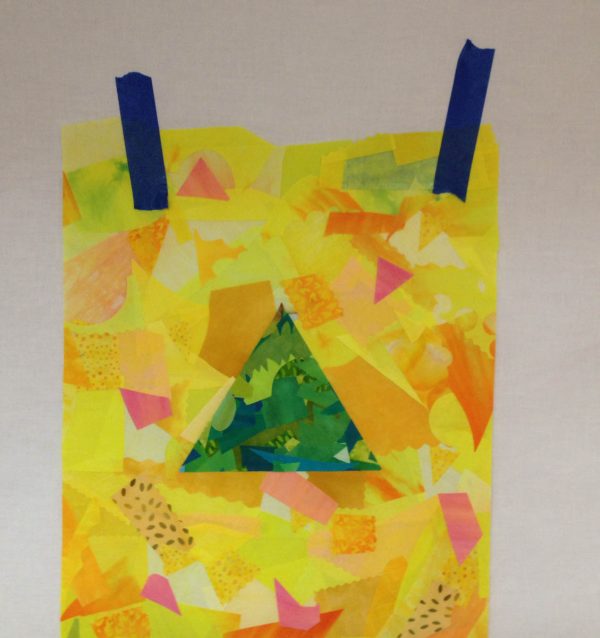
Holding Art Work to a Design Wall
Don’t have a pin up board in your studio? Painter’s tape can temporarily secure your quilt to a wall as you design. Or, if you are in a workshop without design walls, use painter’s tape to tack up a flannel sheet or other white fabric. It will not harm the surface of the walls and is a lightweight addition to your supply list.
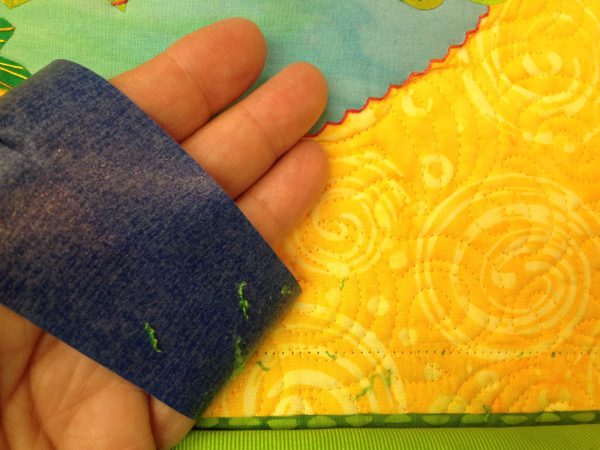
Removing Stray Threads
This seldom happens, but if you have to rip out machine stitches, keep a roll of painter’s tape handy. Make a loop of tape with the sticky side out to wrap around your palm. Then press the sticky side to the fuzzy threads you’ve ripped out. The tape pulls the stray threads out and cleans the quilt top at the same time.


One comment on “Taping Tips for Quilters”