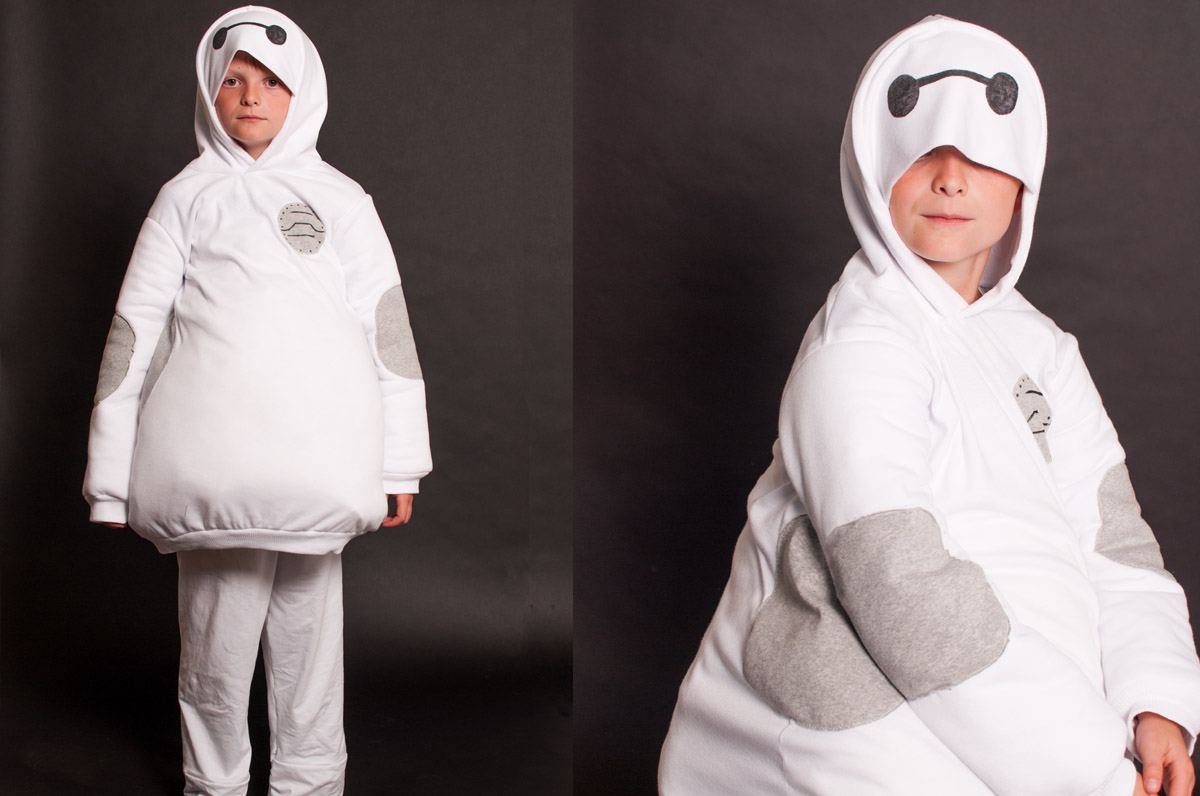
DIY Baymax Costume
Make your super hero fan happy this year with a Baymax-inspired costume for Halloween. Take an existing sweatshirt pattern and make a few simple alterations to make the perfect Baymax sweatshirt.
Materials to sew the Baymax Costume:
- White knit fabric (I used around 1.5 yards for a size 8)
- Scraps of gray knit fabric
- Hooded sweatshirt pattern (you could use this free pattern)
- Black fabric marker
- Freezer paper
- Quilt batting scraps
- 2 small pillows (optional as stuffing for belly)
- BERNINA zigzag sewing foot #0
- Sewing Machine, I sew on a BERNINA 380
Altering a basic pattern:
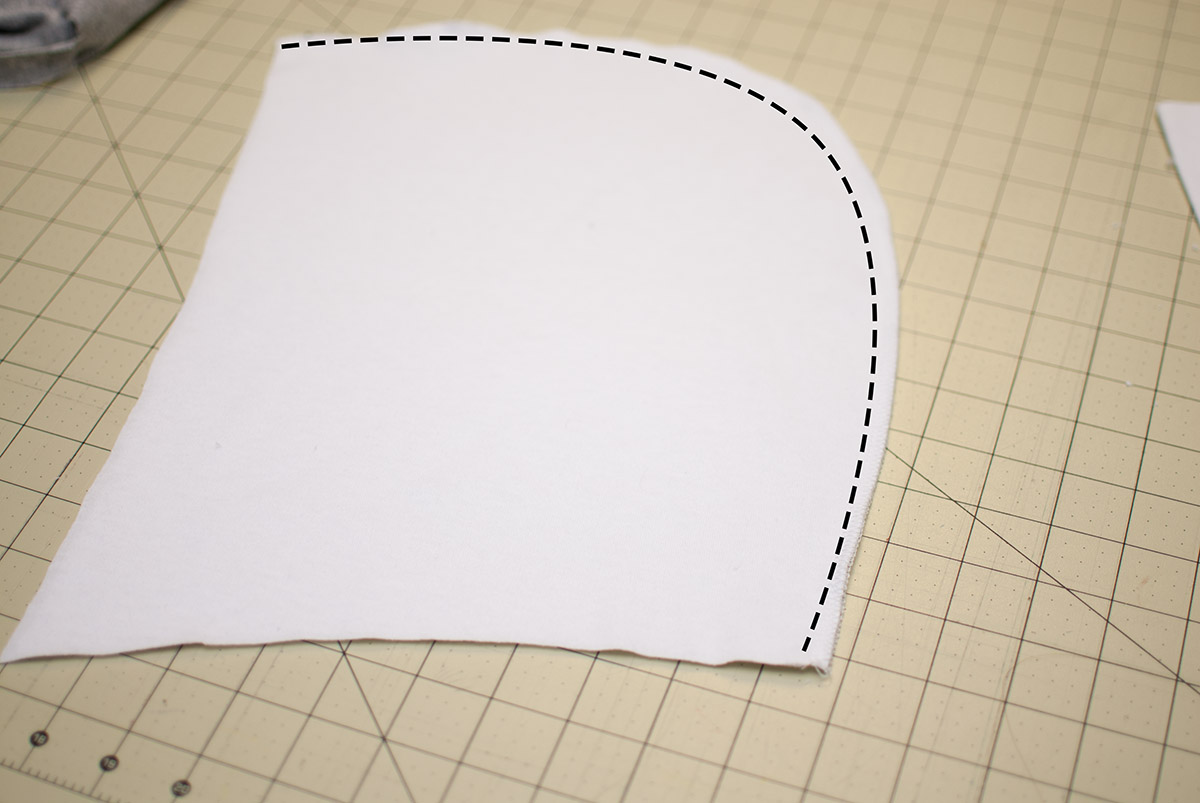
To make the Baymax costume you will need to use a basic sweatshirt pattern as your base, and most of the instructions will be making a regular sweatshirt, with a few alterations. To make those alterations you will need to cut the sweatshirt front and back in an A-line shape and make it longer. Then cut the hood, cuff and sleeve pieces as normal.
Sewing the Baymax Costume:
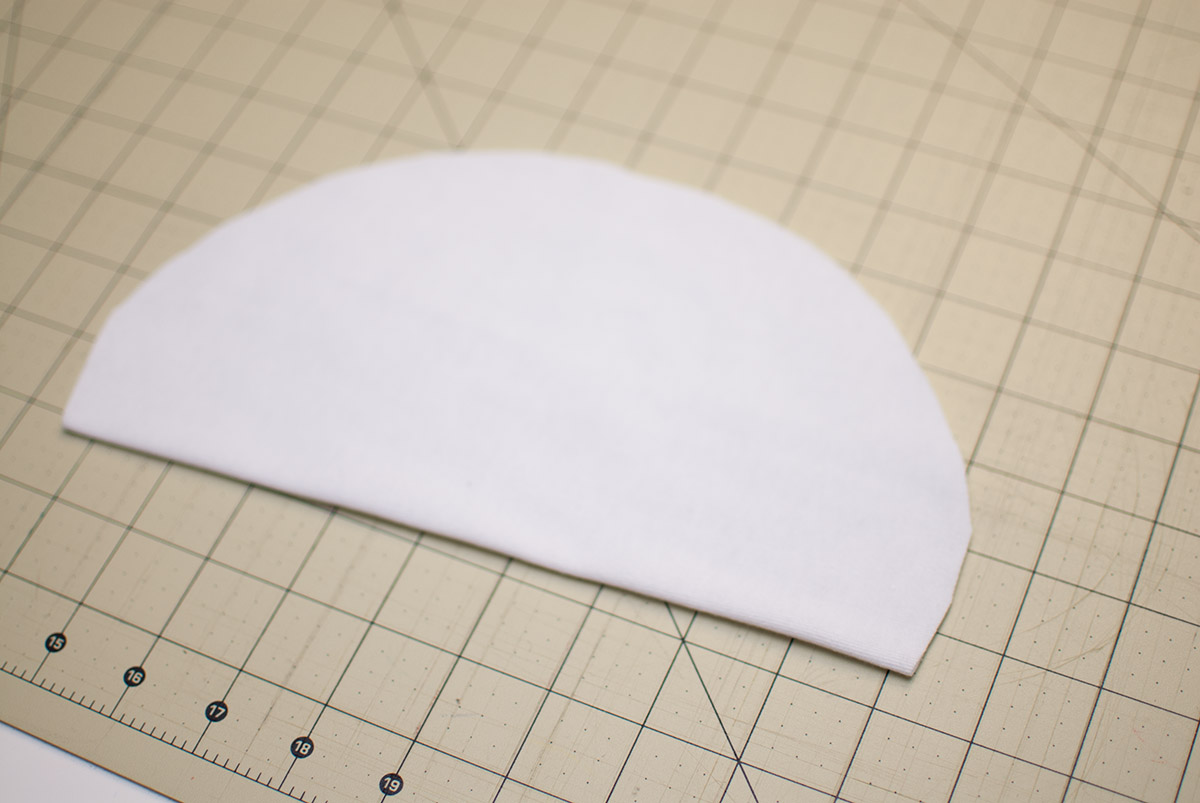
Step 1: Making the hood.
The alterations made to the hood is the addition of the face detail. Cut out a oval about the size of the child’s face. Then fold it in half. This will act as a mask but you don’t want it to cover the child’s face.
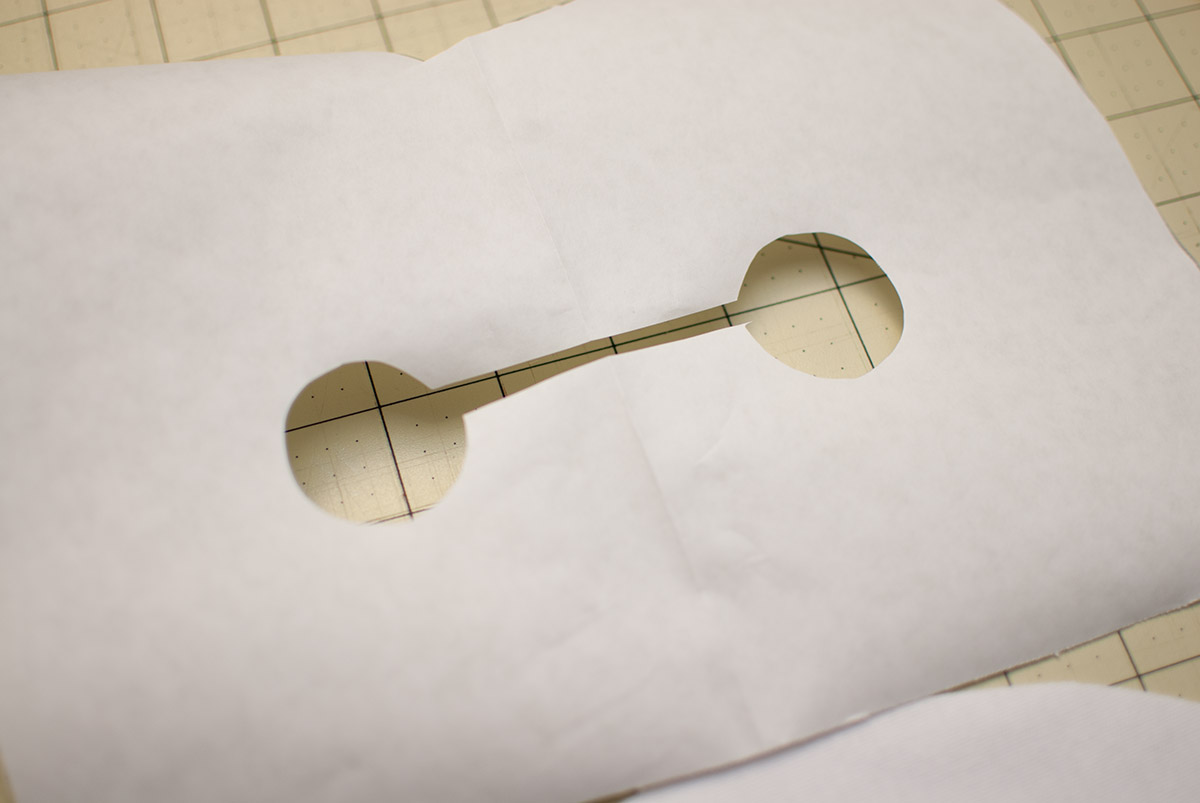
Then using freezer paper, cut out two circles with a straight line between them. This will be the eyes on the mask.

Iron the freezer paper shiny side down to the front of the mask piece. Then color it in with black fabric marker (or paint).
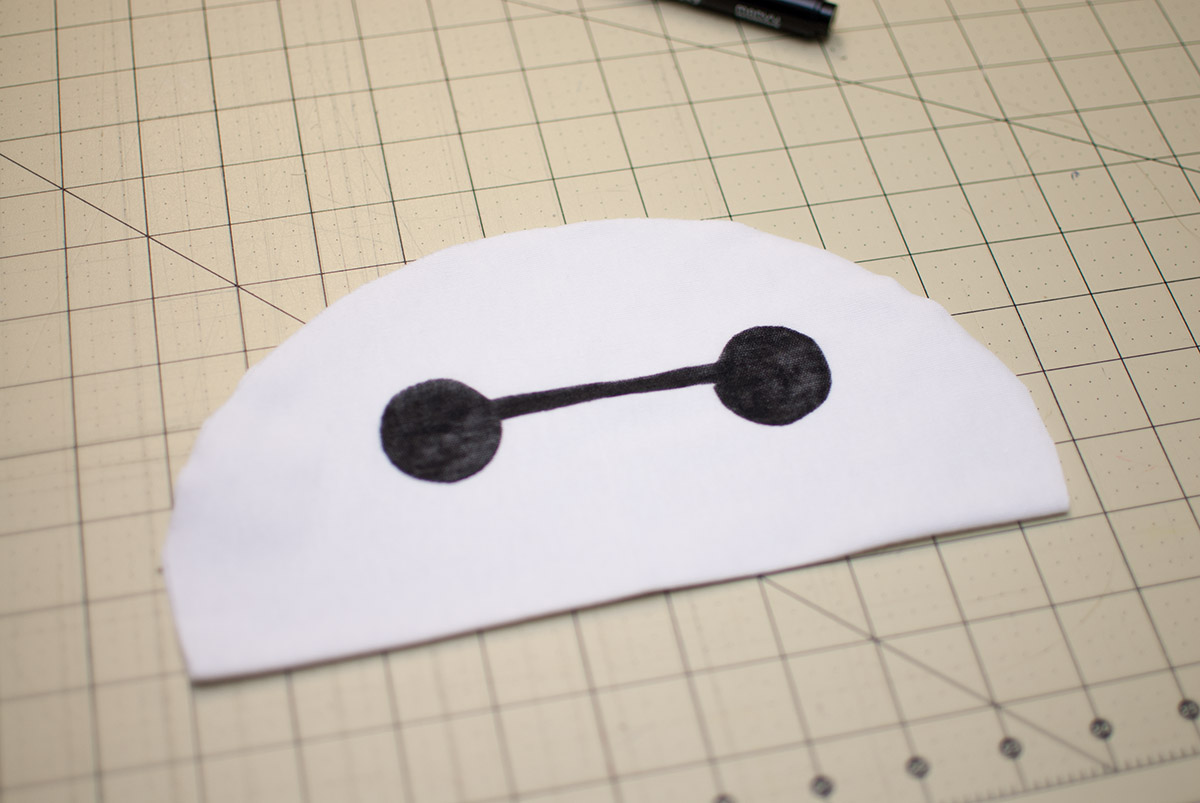
Then peel away the freezer paper.
Sew two (2) hood pieces together just like you would normally with the pattern (repeat with lining).
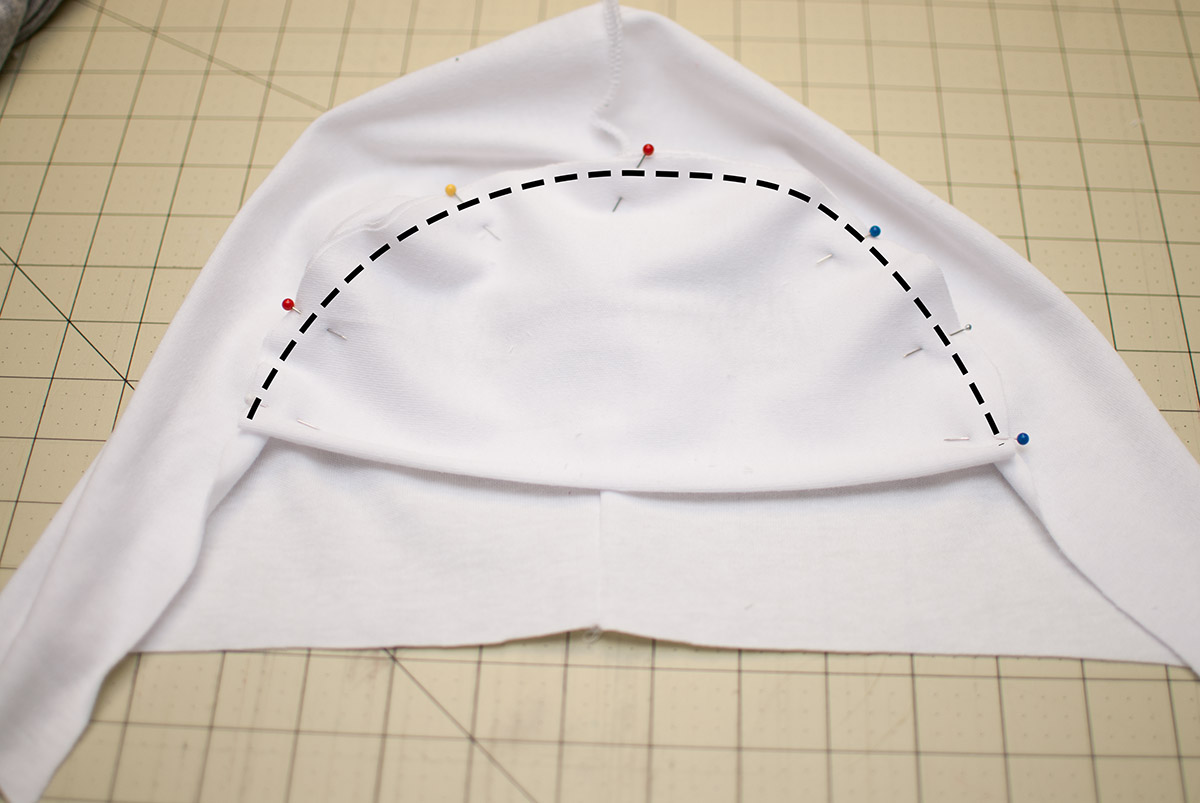
Then with right sides together, sew the face piece to the hood along the top part. Match the center top of the face piece with the center seam of the hood.
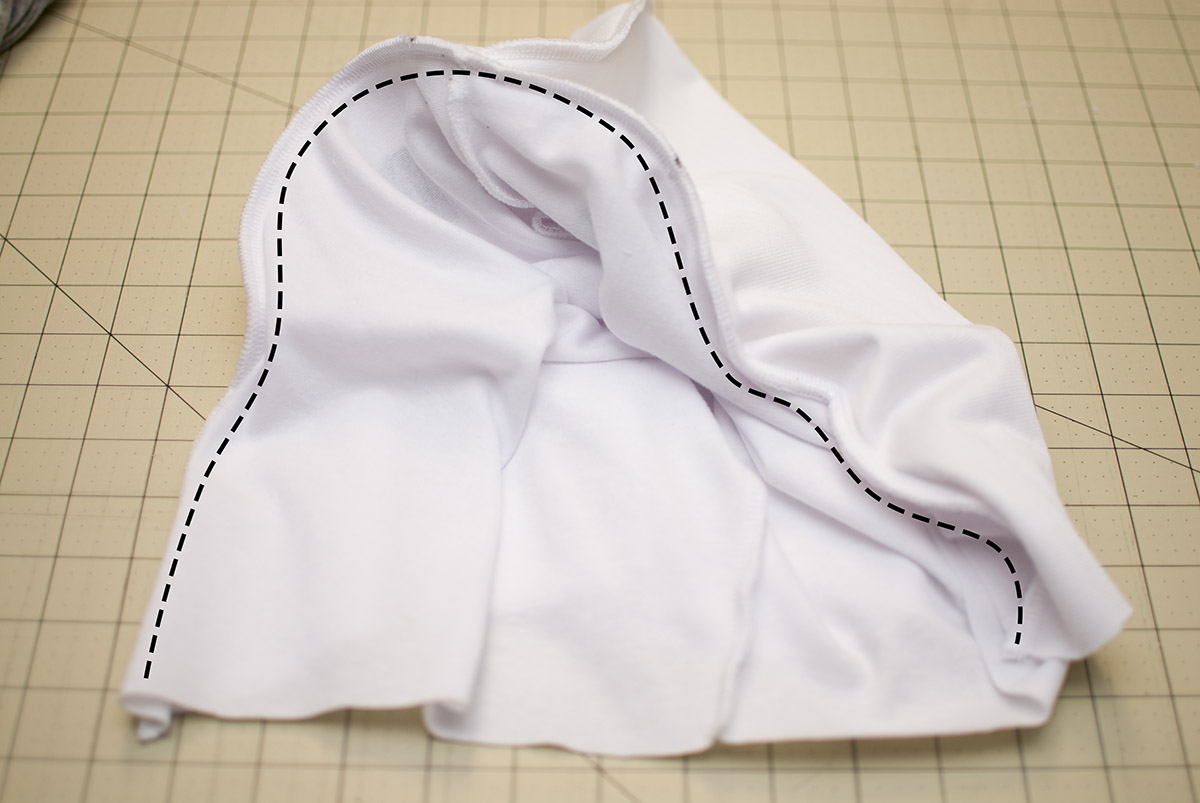
Then sew the hood lining to the hood with right sides together. The face piece will be sandwiched in the middle at this point.
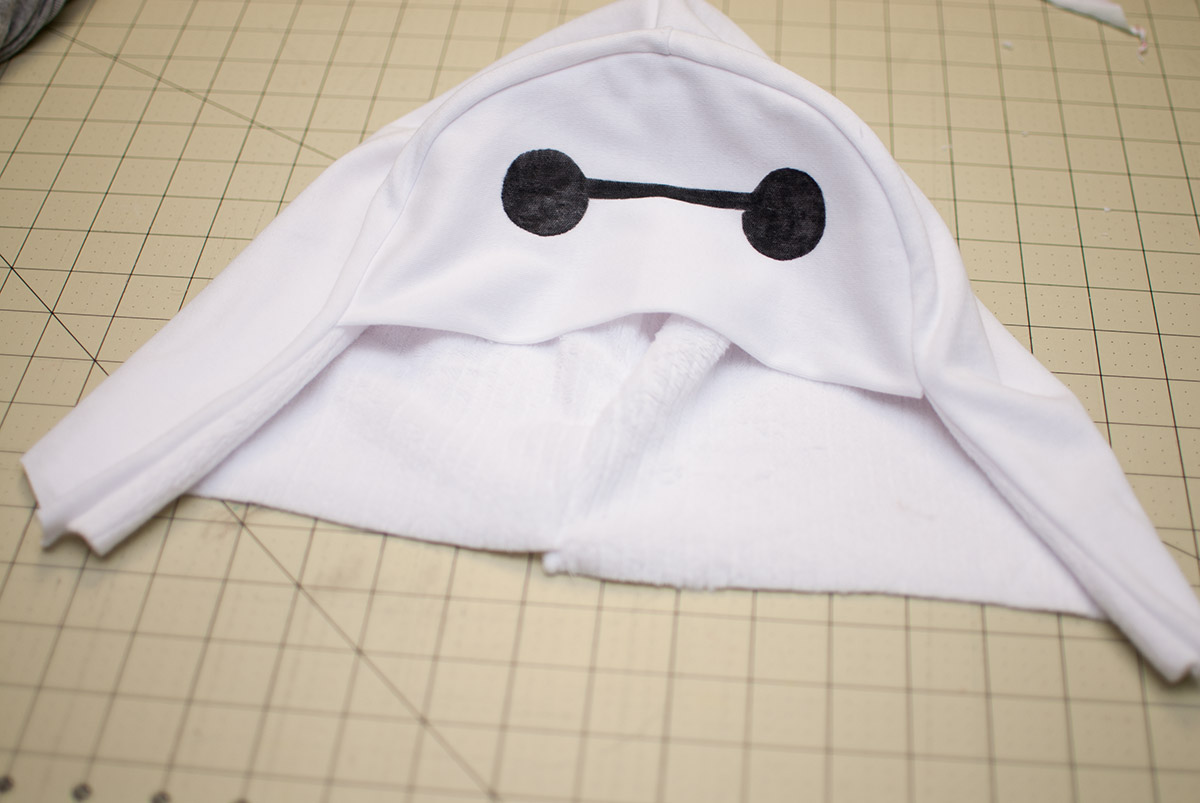
Turn the hood right side out. Now you should have a hood with a face piece along the top. Sew the hood to the neckline of the sweatshirt as normal.
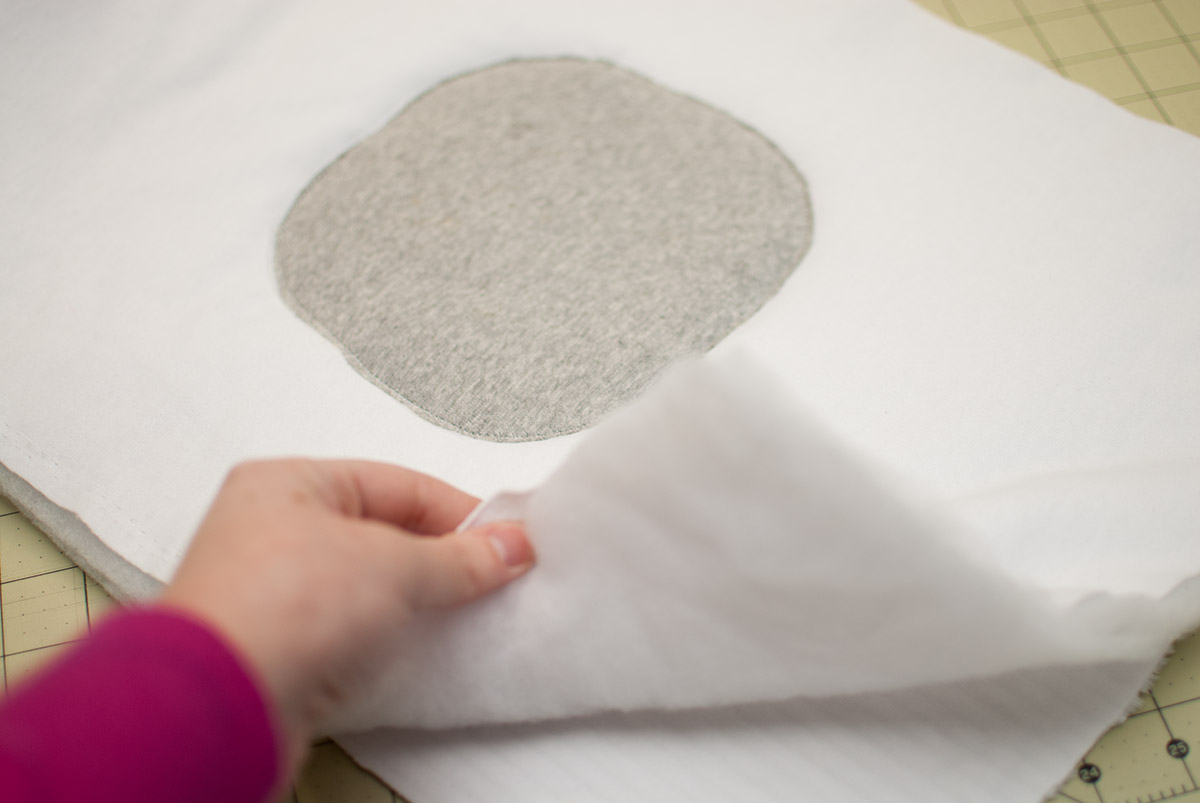
Step 2: Altering the sleeves.
For the sleeves, you will be cutting out three (3), cut two (2) from knit and one (1) from quilting batting. Then layer all the sleeve pieces together. Cut out a circle from the gray knit. Using the BERNINA zigzag foot #0 sew a zigzag stitch around the circle quilting it in place to the sleeve layers. Then sew the sleeve to the sweatshirt as normal.

Step 3: Add circle to side.
Cut out two (2) circles from the gray knit. Then using the zigzag stitch sew a circle centered on the side seam of both sides of the sweatshirt.
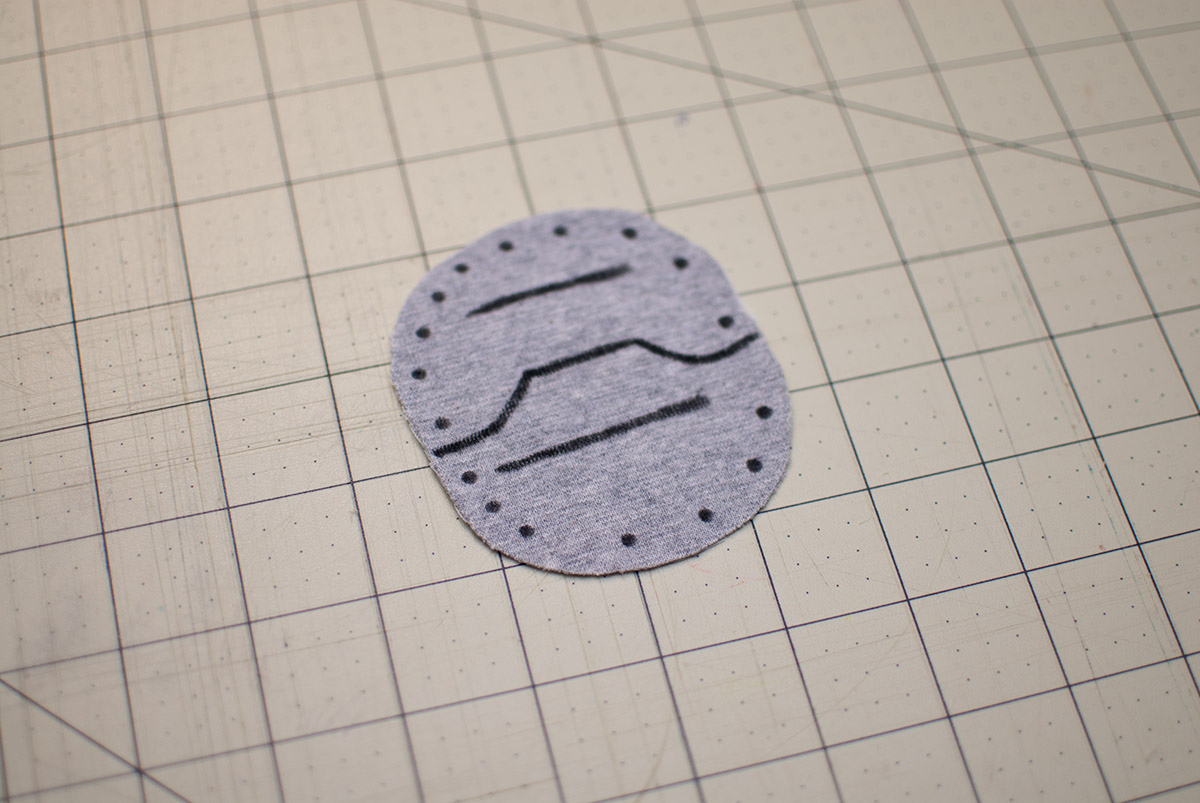
Step 4: Add front panel.
Again using the gray knit cut out a small circle. Use the black fabric marker to draw on some details to the panel.
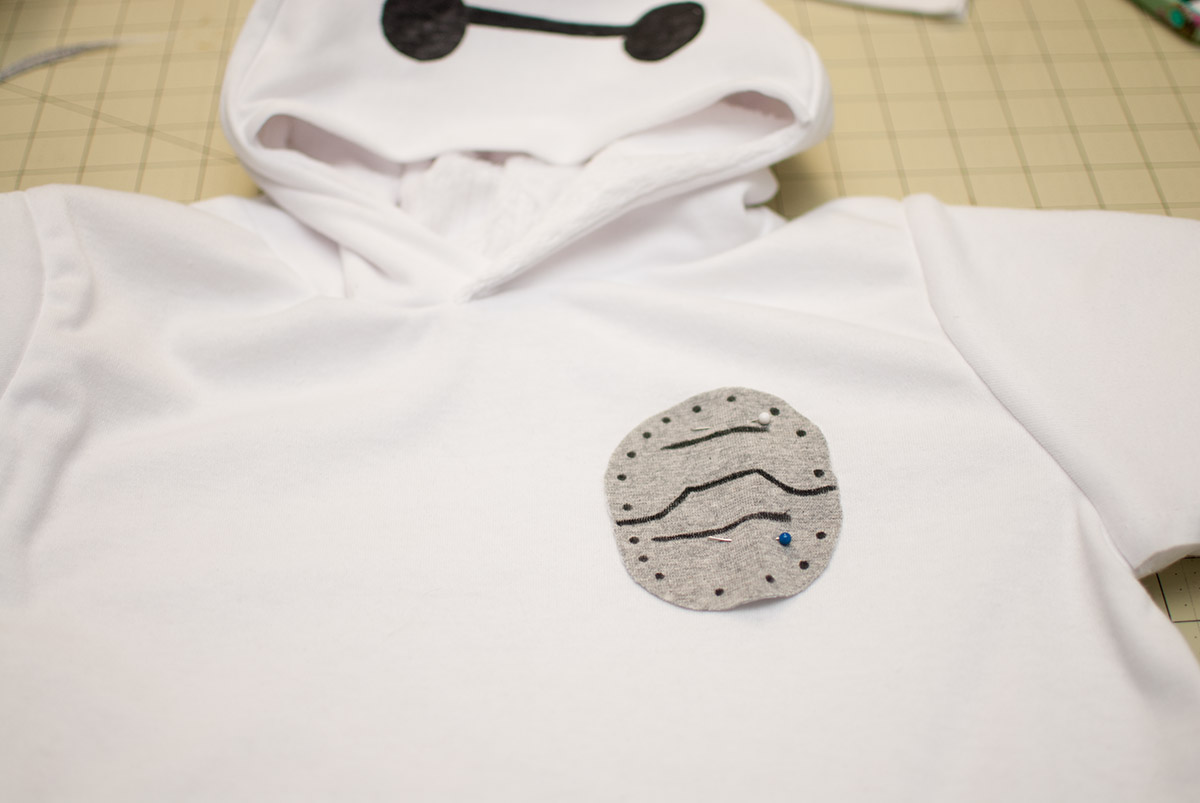
Then sew the panel to the front of the sweatshirt.
At this point you should have finished sewing the sweatshirt as normal. I also made some basic white knit pajama pants to be worn with the sweatshirt. I also stuffed two small pillows under the sweatshirt to give him that lovable puffy look.
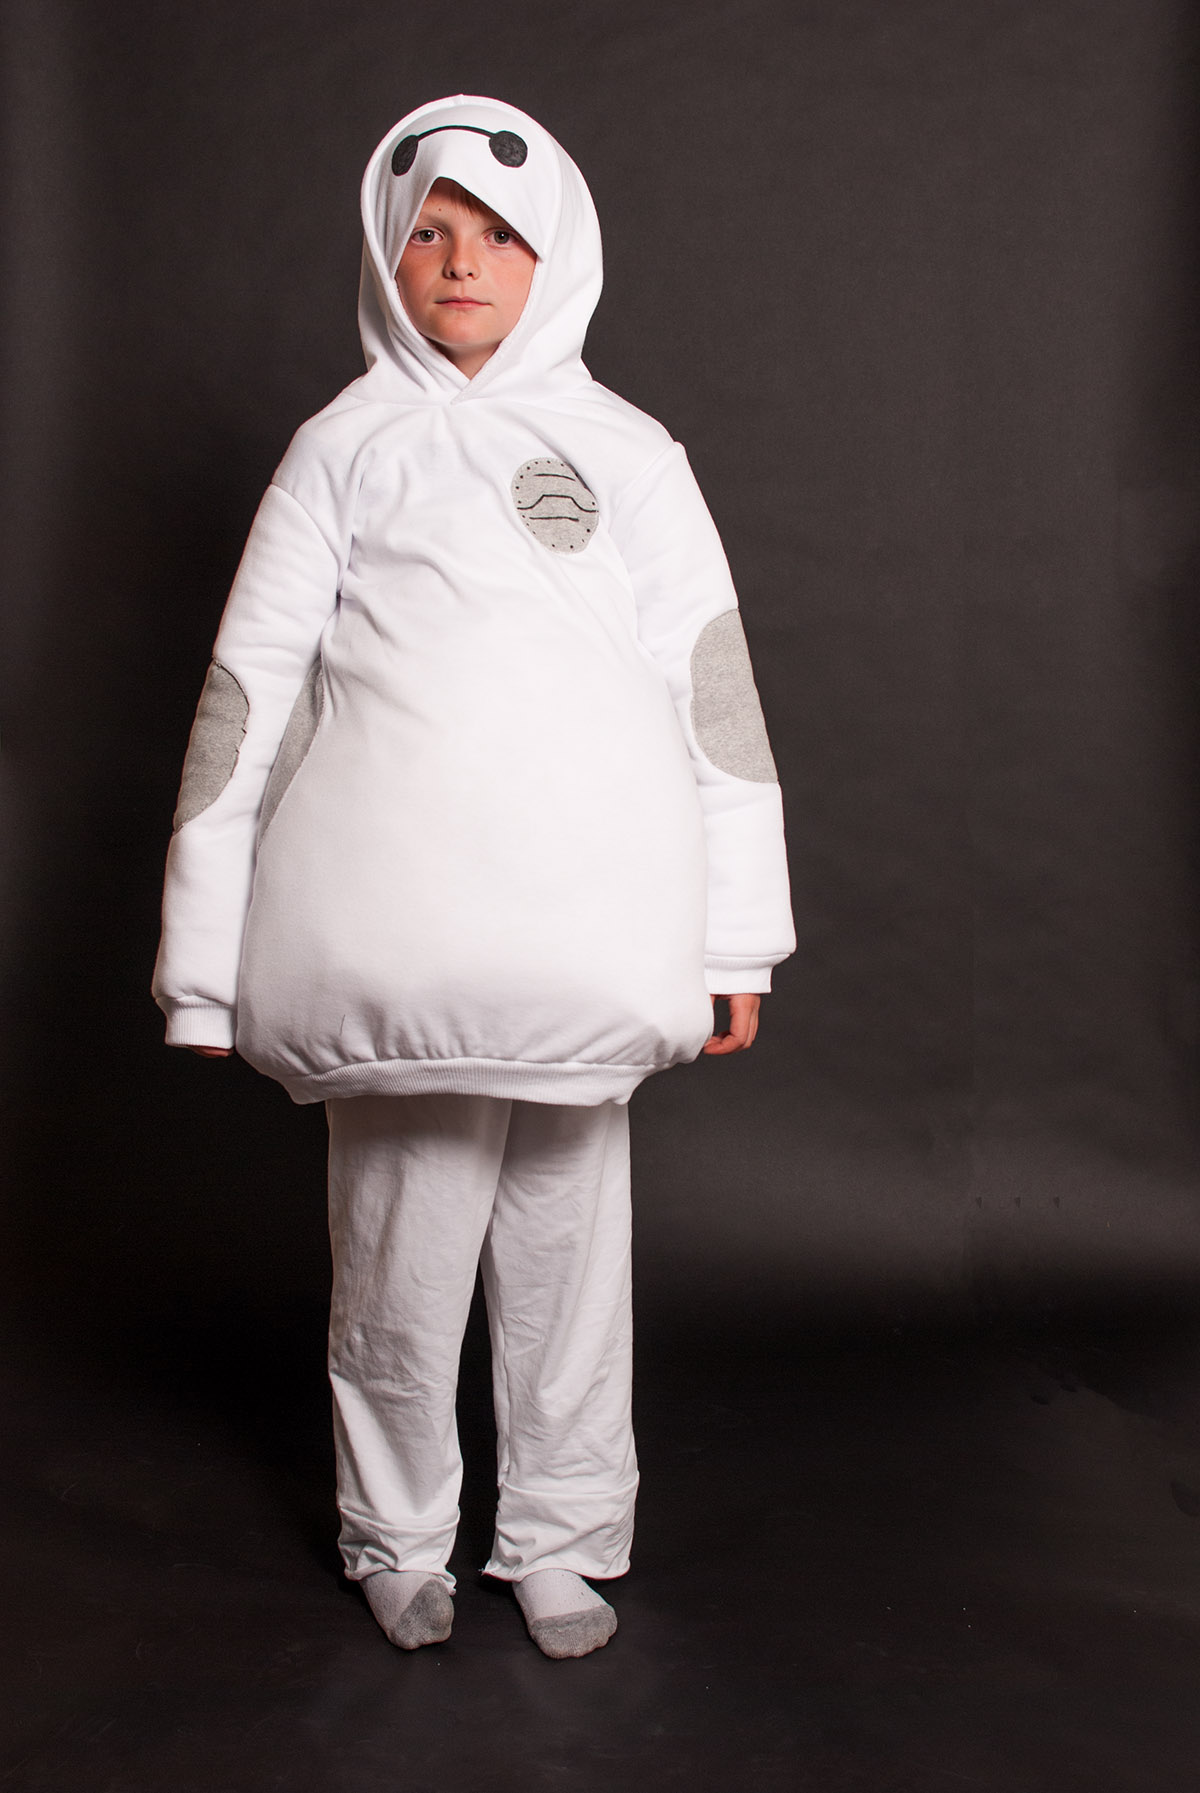
Then you are done with your cuddly and lovable super hero.