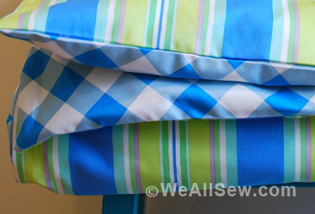
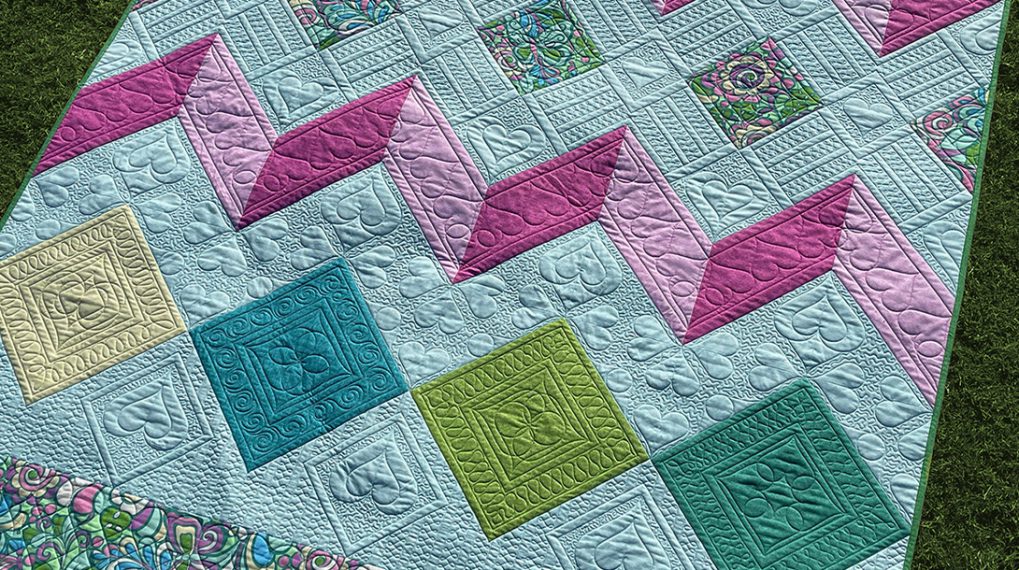
DIY Crib Sheet
Overlockers are amazing machines for a laundry list of reasons but a few highlights are: 1) they sew fast, durable seams, 2) they can cut your fabric and sew at the same time, and 3) they bring an extra polished, professional finish to your seams. These three things all factor in to making one of my favorite handmade gifts—a crib sheet.

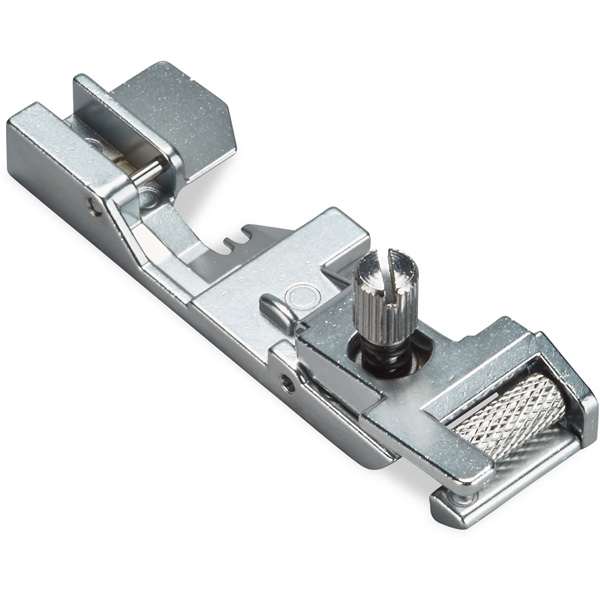
This crib sheet can be sewn up in about 30 minutes with the use of your handy overlocker. We love a quick finish project! With the help of the Elasticator Foot on the overlocker, you can construct the sheet and add elastic around the fitted edge in no time.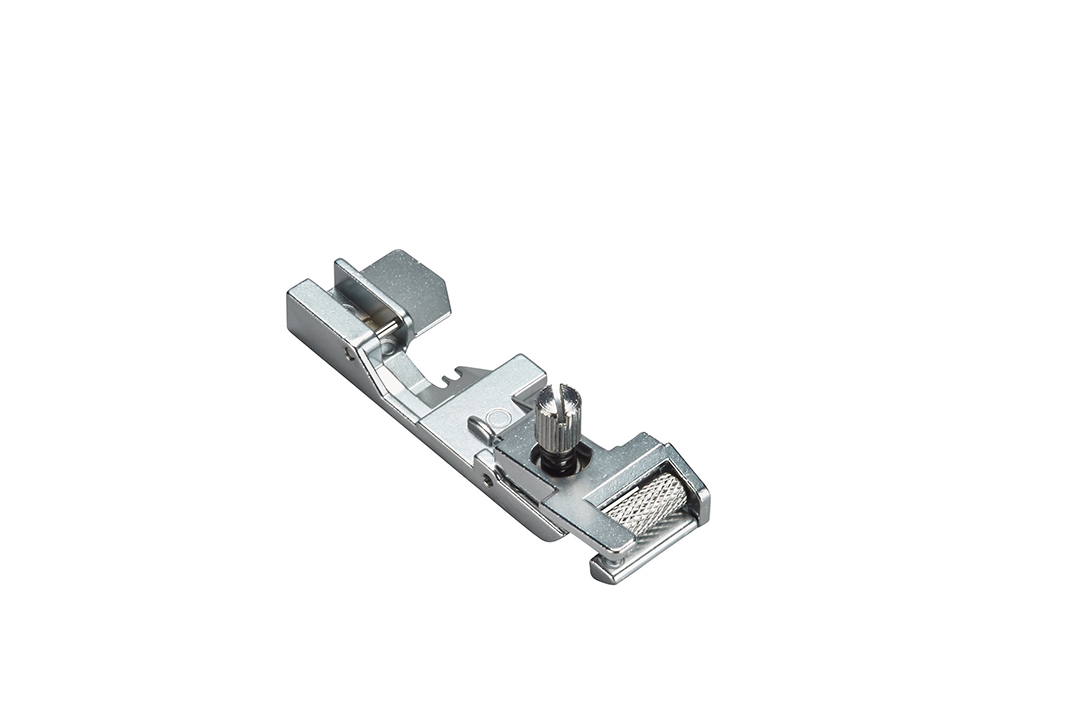 You truly can’t underestimate the value of having easy, thoughtful, handmade projects for baby gifts in your repertoire. Plus, when it comes to things like sheets, burp clothes, and bibs (things that will see lots of wash and wear), new parents can never have too many.
Materials to Create a Crib Sheet with an Overlocker
- 2 yards of fabric
- Trim to 69” x 45”
- 2 1/2 yards of elastic
- “Lil Hookey” Serger Seam Hook
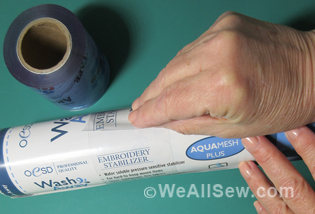
- Fabric marker
- Tula Pink Hardware 8 ½” square unicorn ruler
- Fray Check
- Tula Pink Large Ring Micro Tip Scissors
- Pins
- Mettler Seracor serger thread
- 4 spools
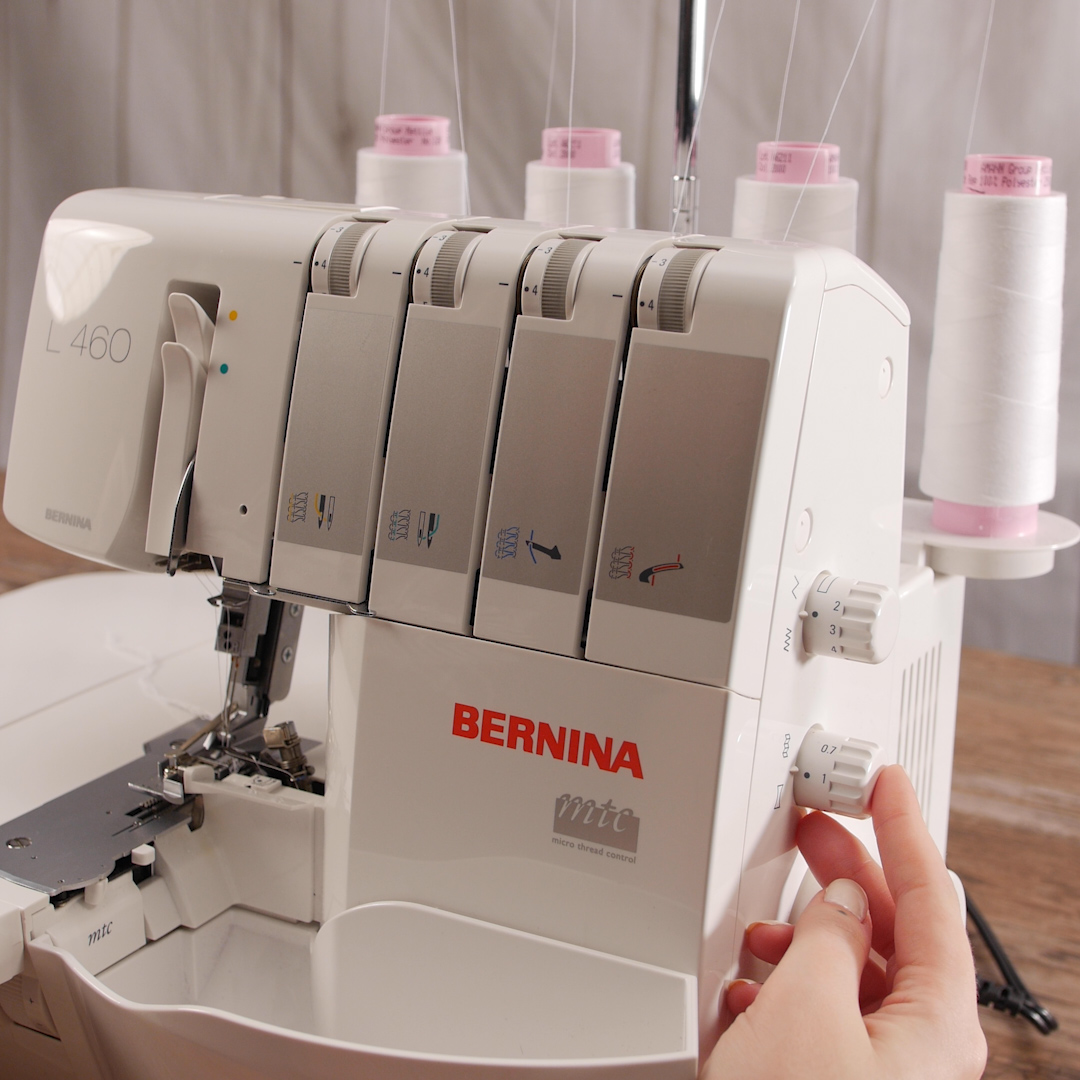
- BERNINA L 460
- Elasticator Foot
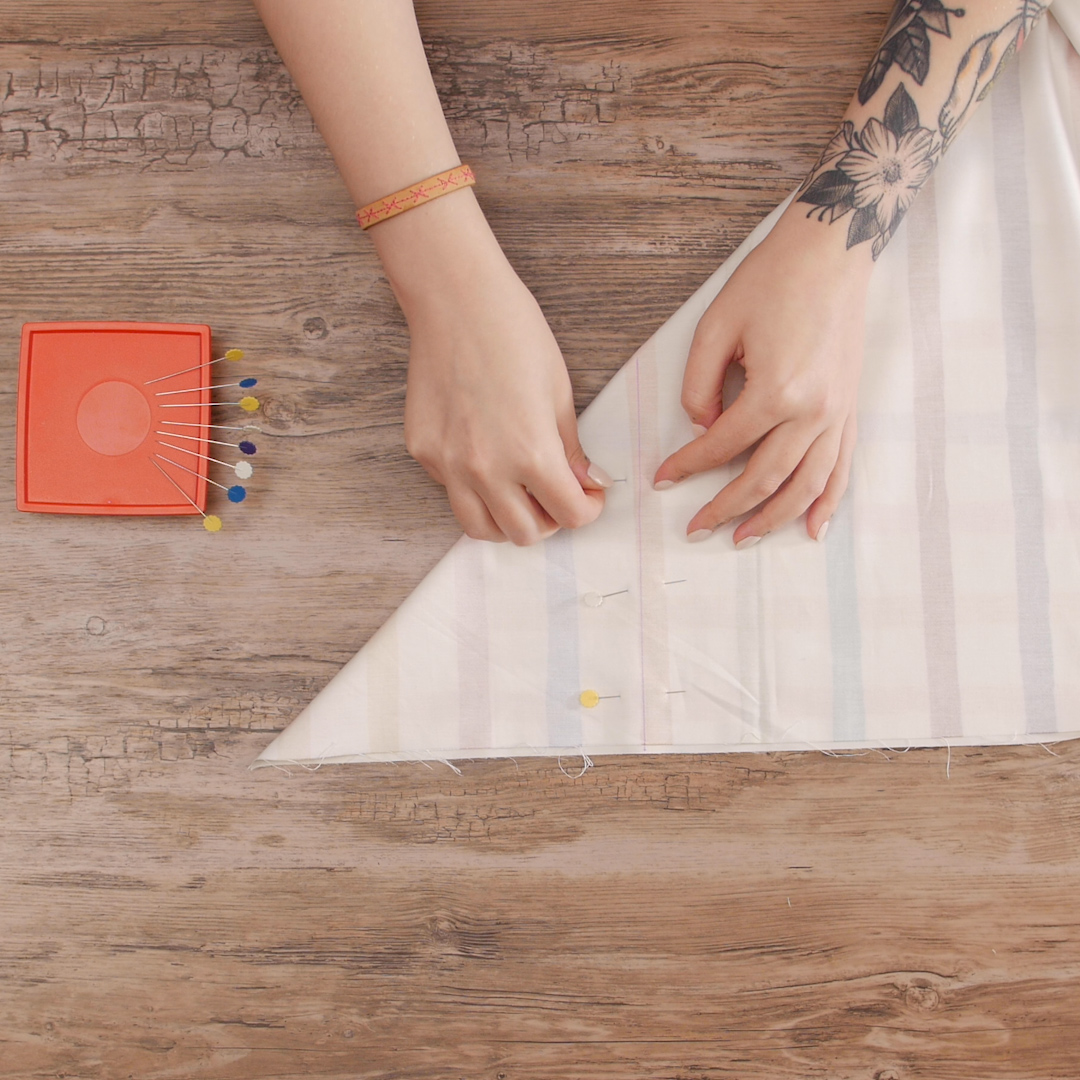
Step 1. Mark to miter corners
Fold one corner of your rectangle at a 45 degree angle with right sides together. Measure 8” in from the corner and mark a line with your fabric marker at a 90 degree angle from the raw edge. This line should measure 8” from the raw edge to the fold.

Pin the two layers together. Repeat the remaining three corners.
Step 2. Sew corners
Thread the L 460 for a 4-thread overlock. Use the standard tension, differential feed, and stitch length settings. Set the cutting width to 7 mm.
Place the sheet under the presser foot and stitch directly on the marked line. Be careful not to sew over pins!
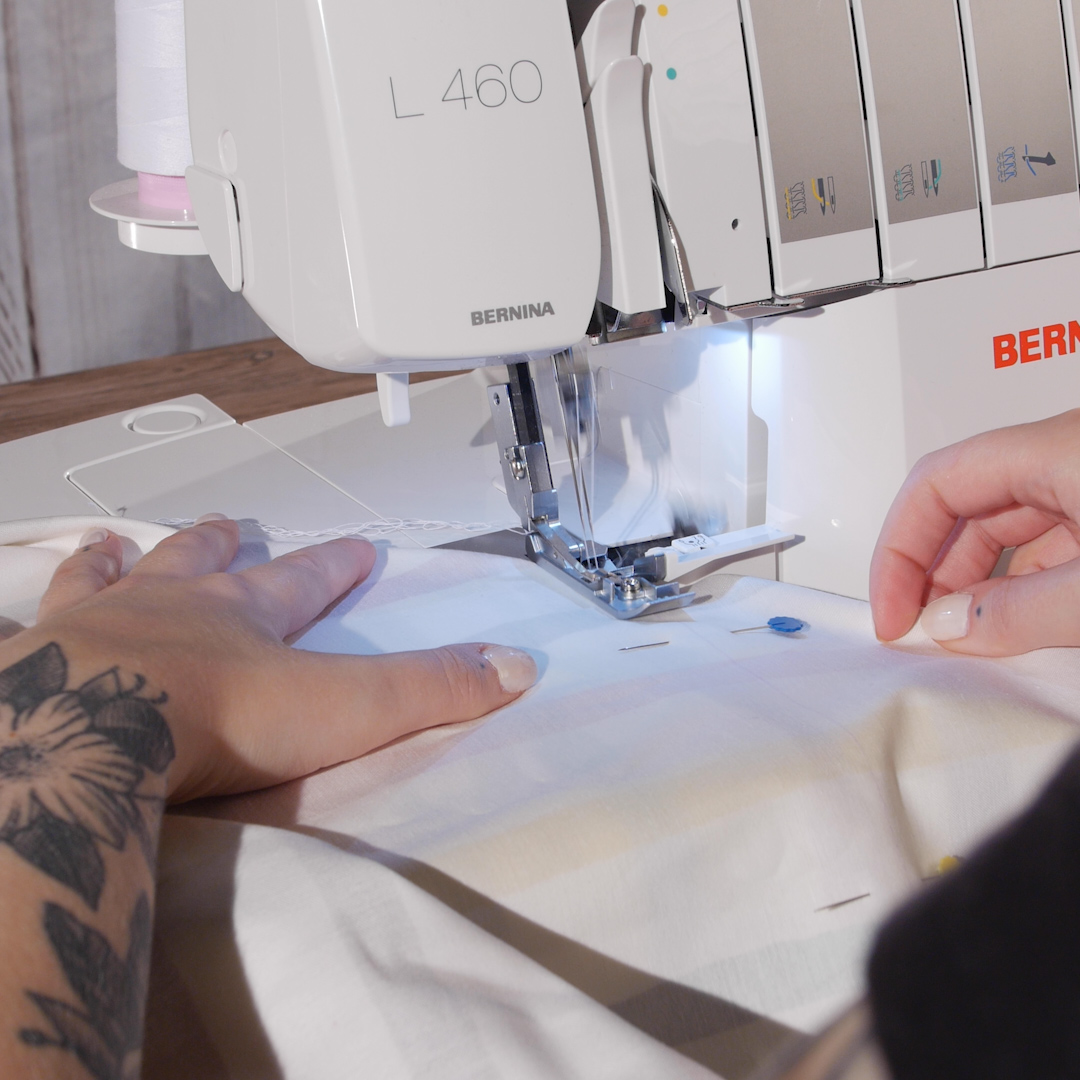
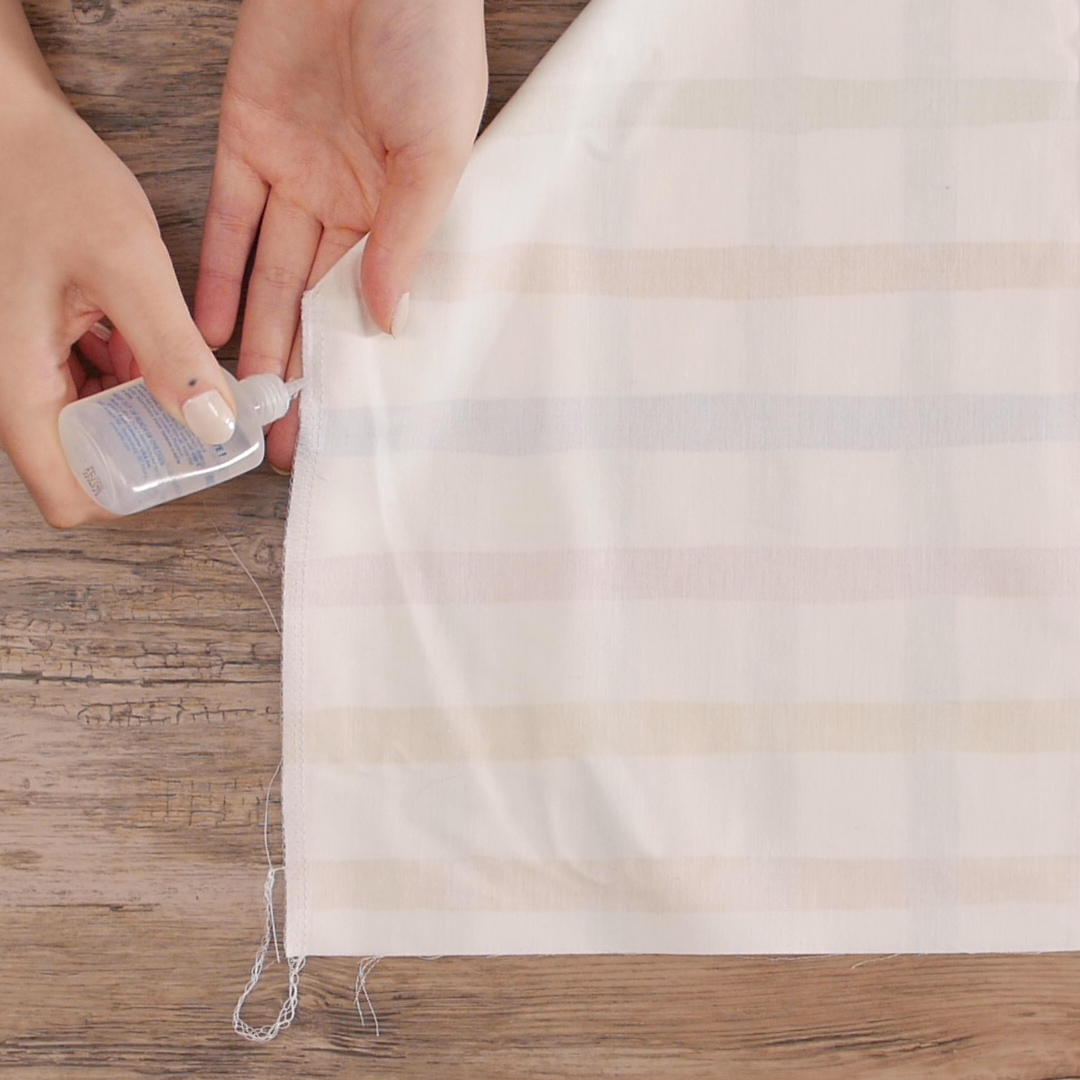
Repeat on remaining three corners. Bury thread chains and secure with Fray Check.
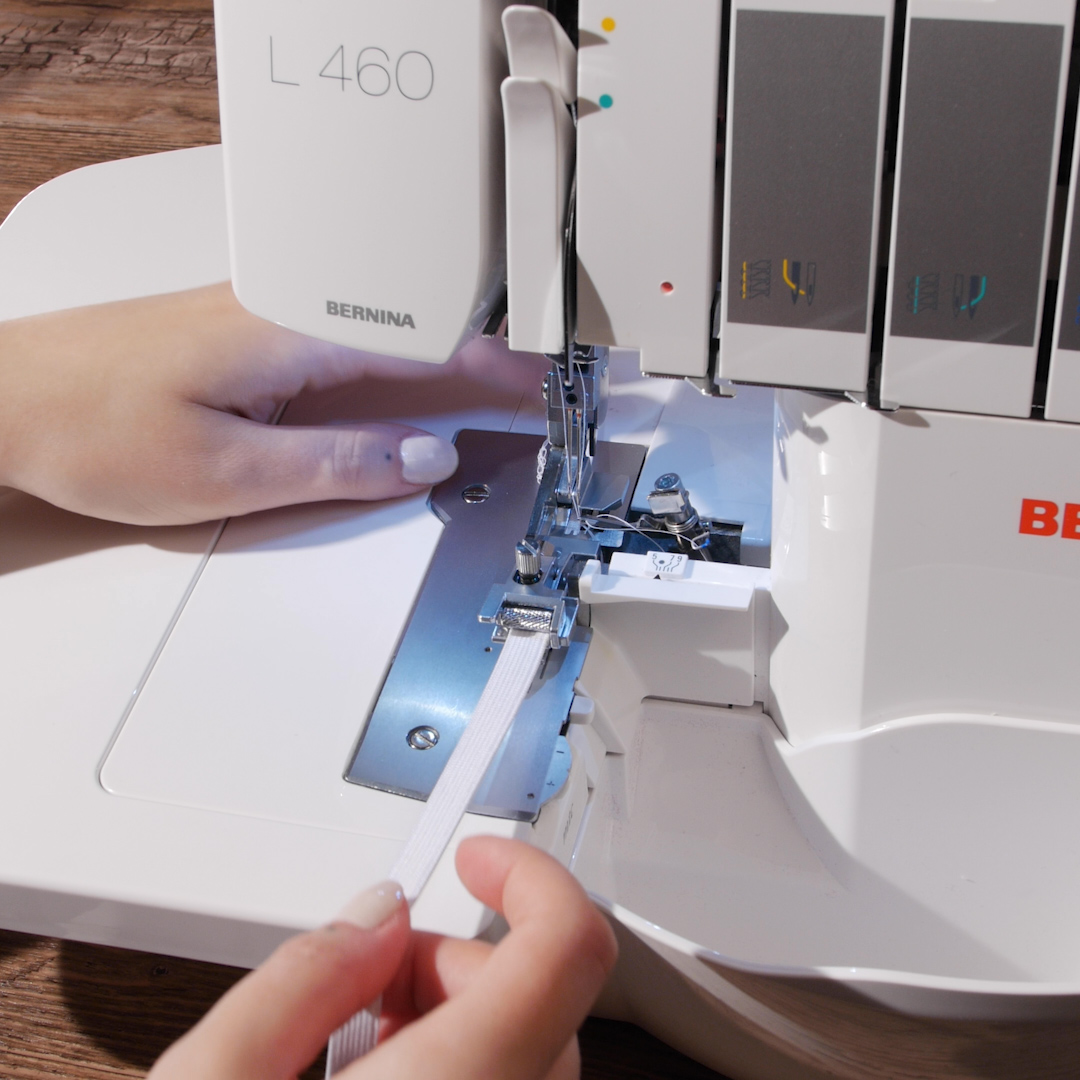
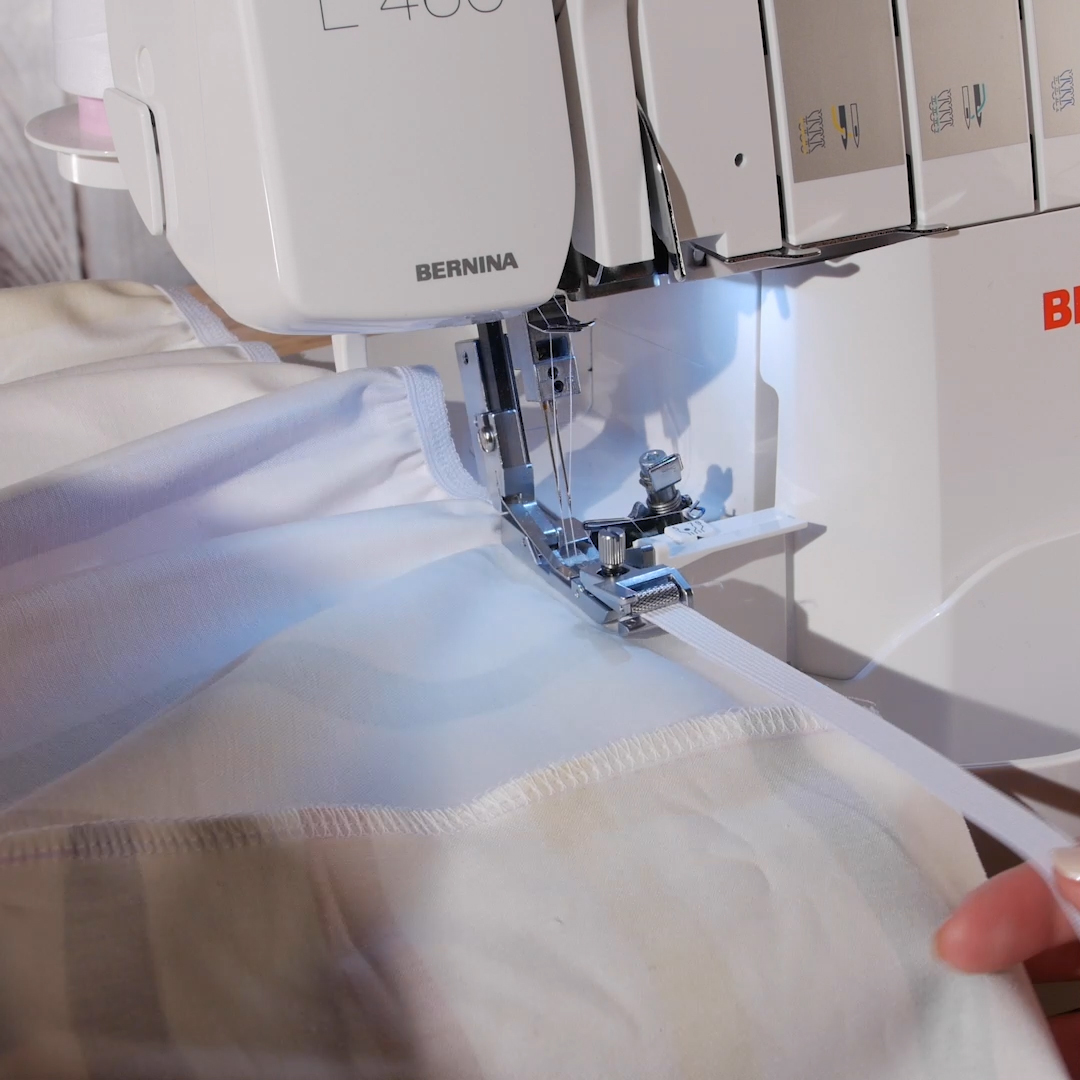
Step 3. Add elastic
The final touch is the elastic. Begin by removing the standard presser foot from the L 460 and attaching the Elasticator Foot. Increase the stitch length to about 4.

Loosen the tension screw on the top of the presser foot. Feed elastic under the roller then turn the screw a few rotations to tighten. Pull the length of elastic in front of the presser foot to test the pressure. The roller should put enough pressure on the elastic to create resistance—this resistance will stretch the elastic as you sew, giving the edge the desired gathered elastic finish.
Sew several inches on scrap fabric with different degrees of pressure to find the appropriate amount of stretch.
To begin setting the elastic around the perimeter of the crib sheet, begin by using fabric scissors to trim away the seam allowance along a 1-2” section. Place this section under the presser foot with the right side down. Pull the elastic so it runs all the way under the presser foot, extending slightly behind.
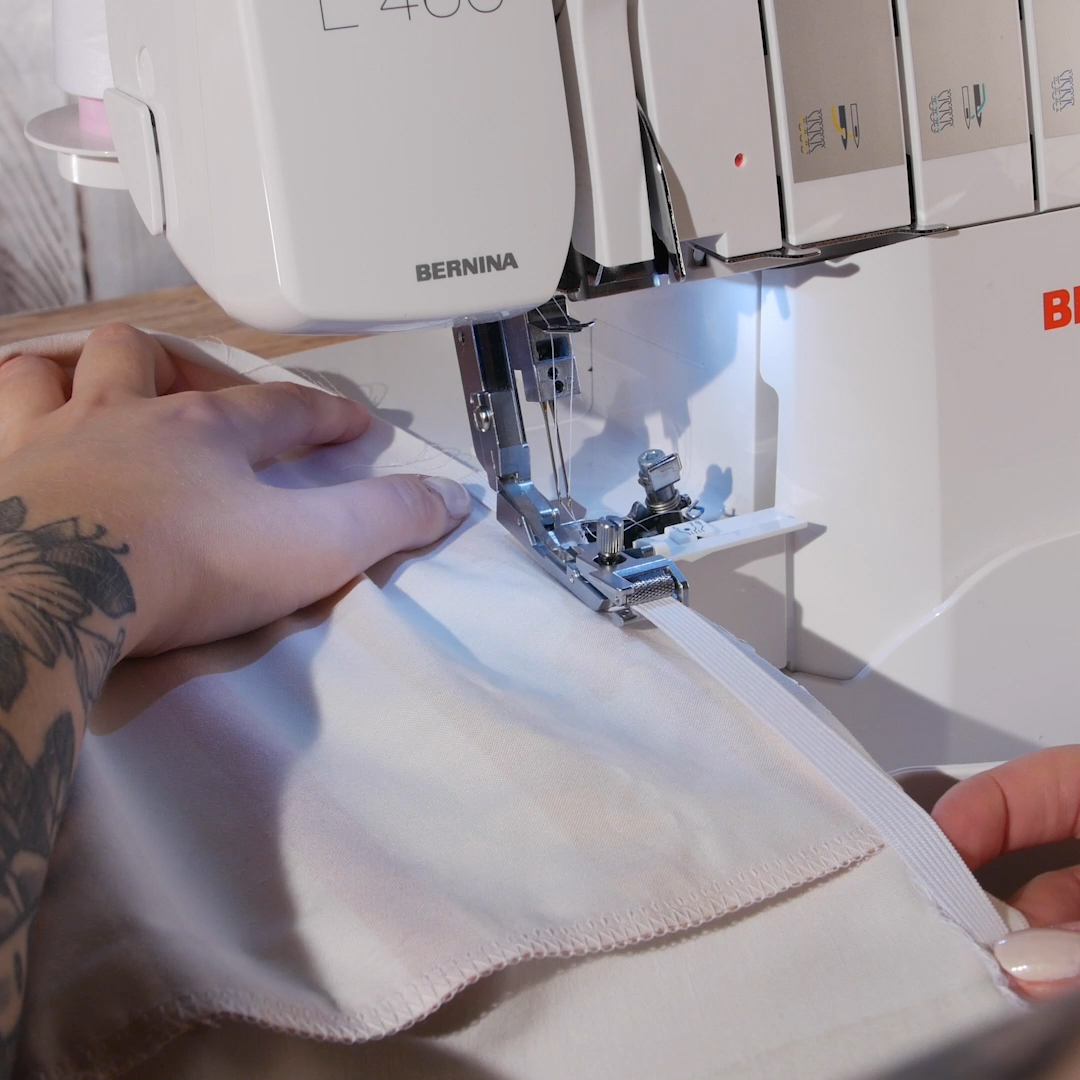
Sew all the way around the crib sheet, being sure to hold the length of the elastic straight and steady in front of the presser foot.
When you approach your starting point, stitch until you are about 1” from the tail of elastic at the beginning of the seam. Trim the running length of elastic (in front of the presser foot) so that it will overlap with the beginning by about 1”. Carefully stitch the remainder of the elastic.
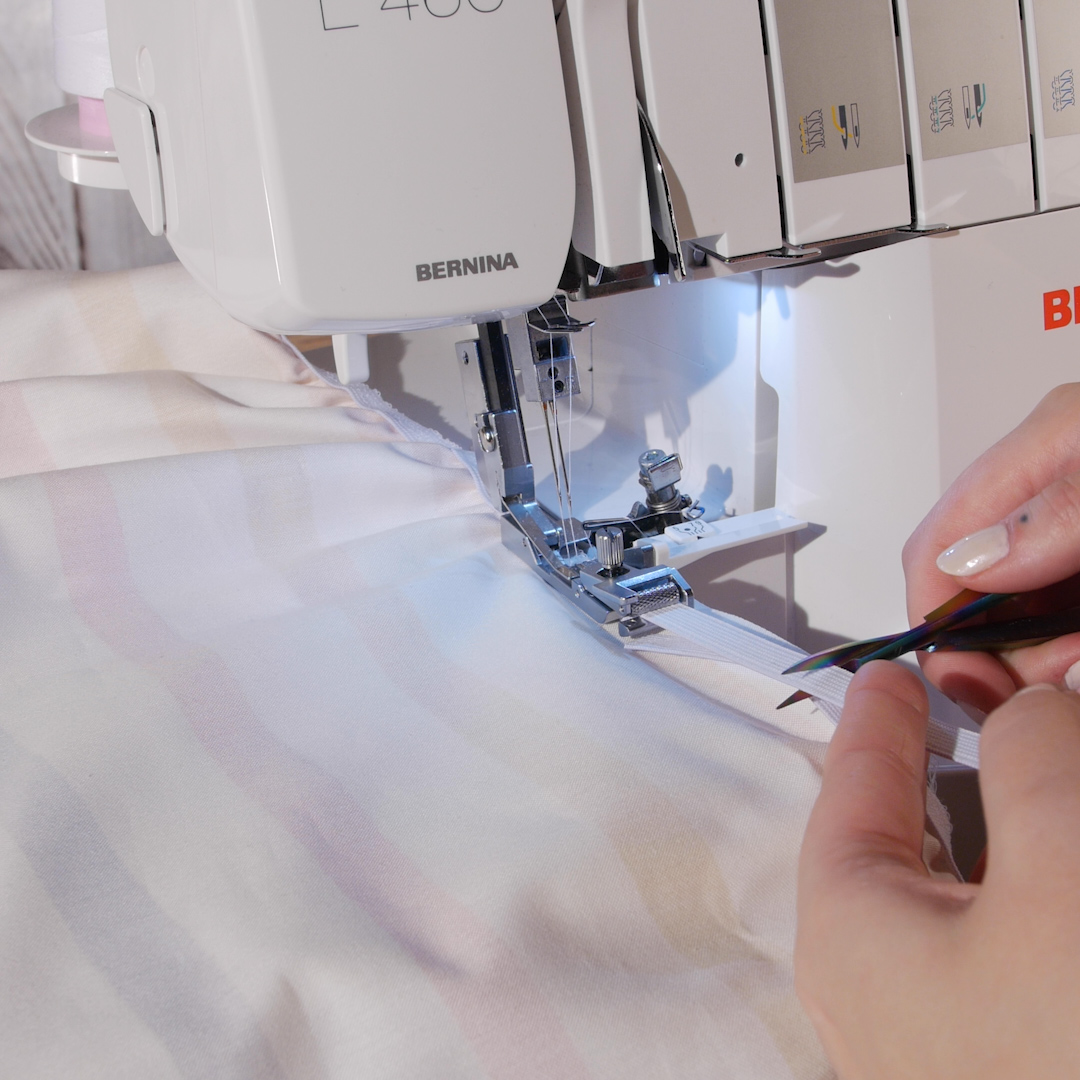
Again, weave in the thread chains and secure with Fray Check. Then, all you need to do is give it a wash and it’s ready for use!