Halloween Scary Book Tutorial
Hello everyone! Kymona here again with a “spooky” fun Halloween Scary Book project for all of you to try. Halloween is a great decorating holiday here in the US, and people go all out. Today’s project adds to that home decor fun.
This project isn’t about perfection as much as it’s about trying out the different stitches that come with your BERNINA. I’m using the new BERNINA 570QE. You can create the book any way you want. This book is a sample for you to draw your creativity from.

Finished book size open: 18 inches x 18 inches
Finished book size closed: 9 inches x 18 inches
Materials to Create a Halloween Scary Book
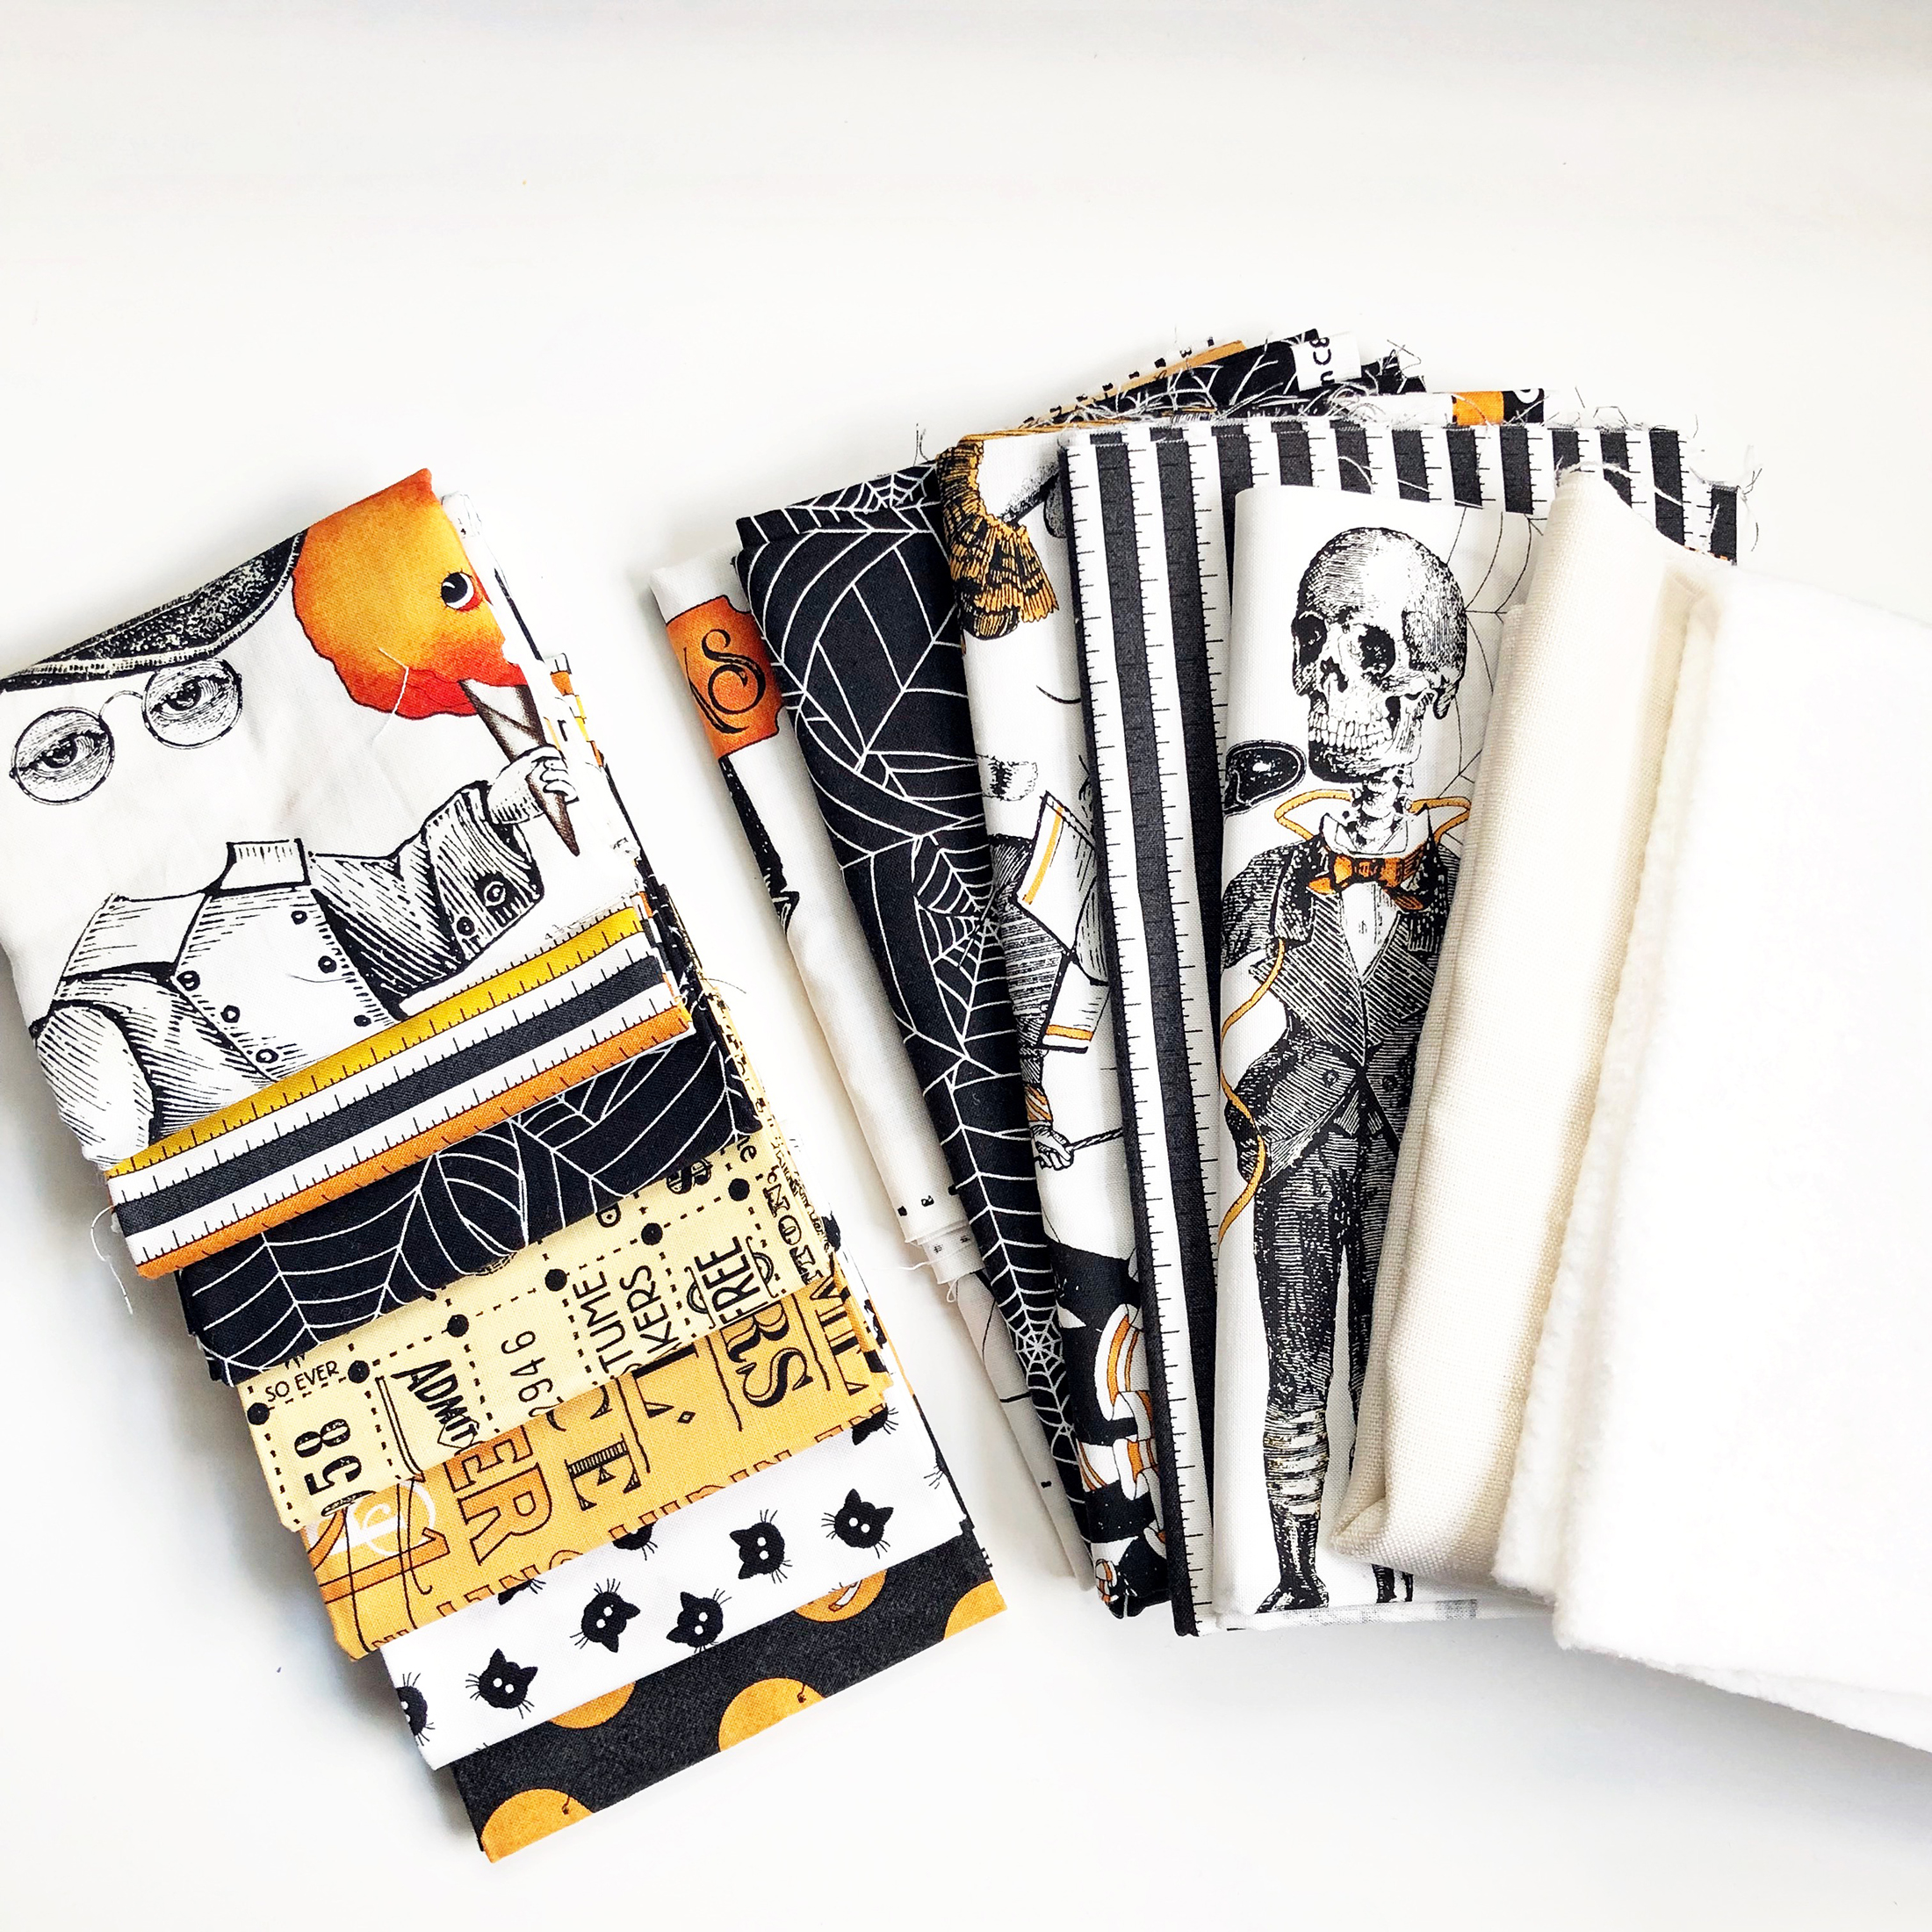
Fabric and Notions
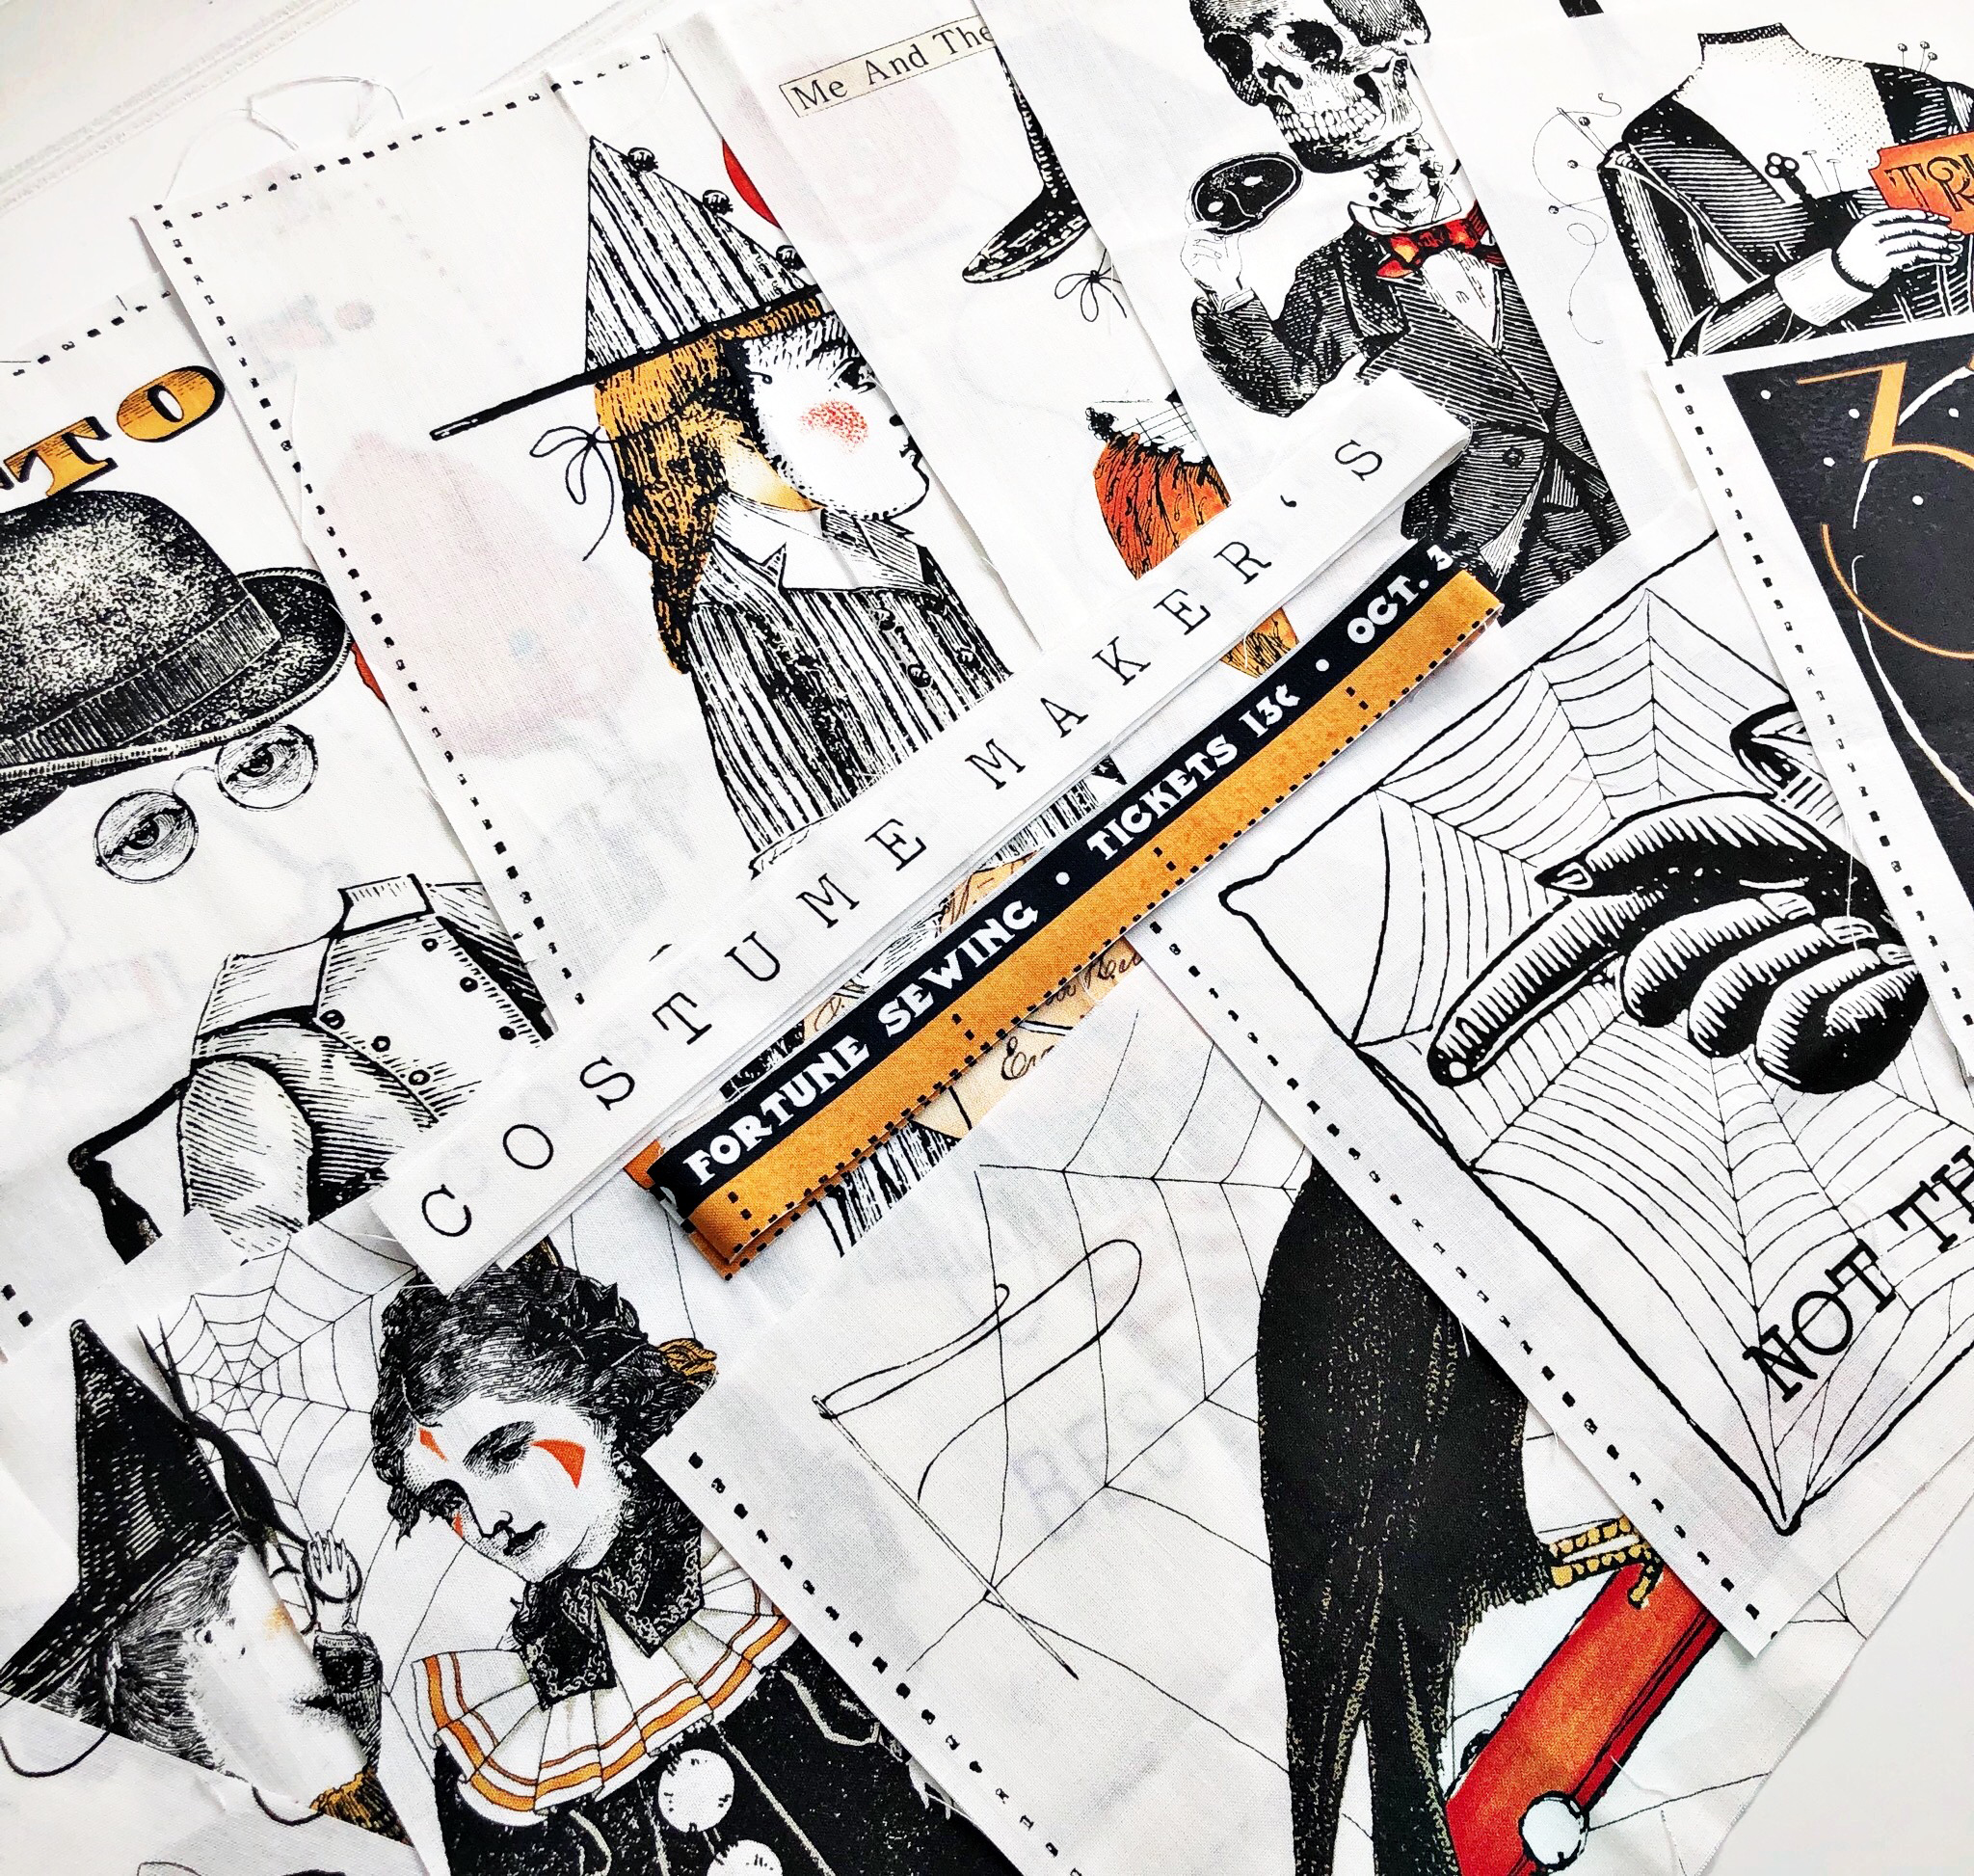
- Costume Makers Ball Fabric by J.Wecker Frisch (patch panel, border stripe and fat quarters)
- 1 yard of Linen fabric
- Quilting batting
- Black thread
- metal charms
- papercraft die cuts
- Rotary cutter and mat
- Pins/clips
- eyelet (optional)
- hole punch (optional)
- eyelet setter (optional)
Step 1 – Cut the fabric
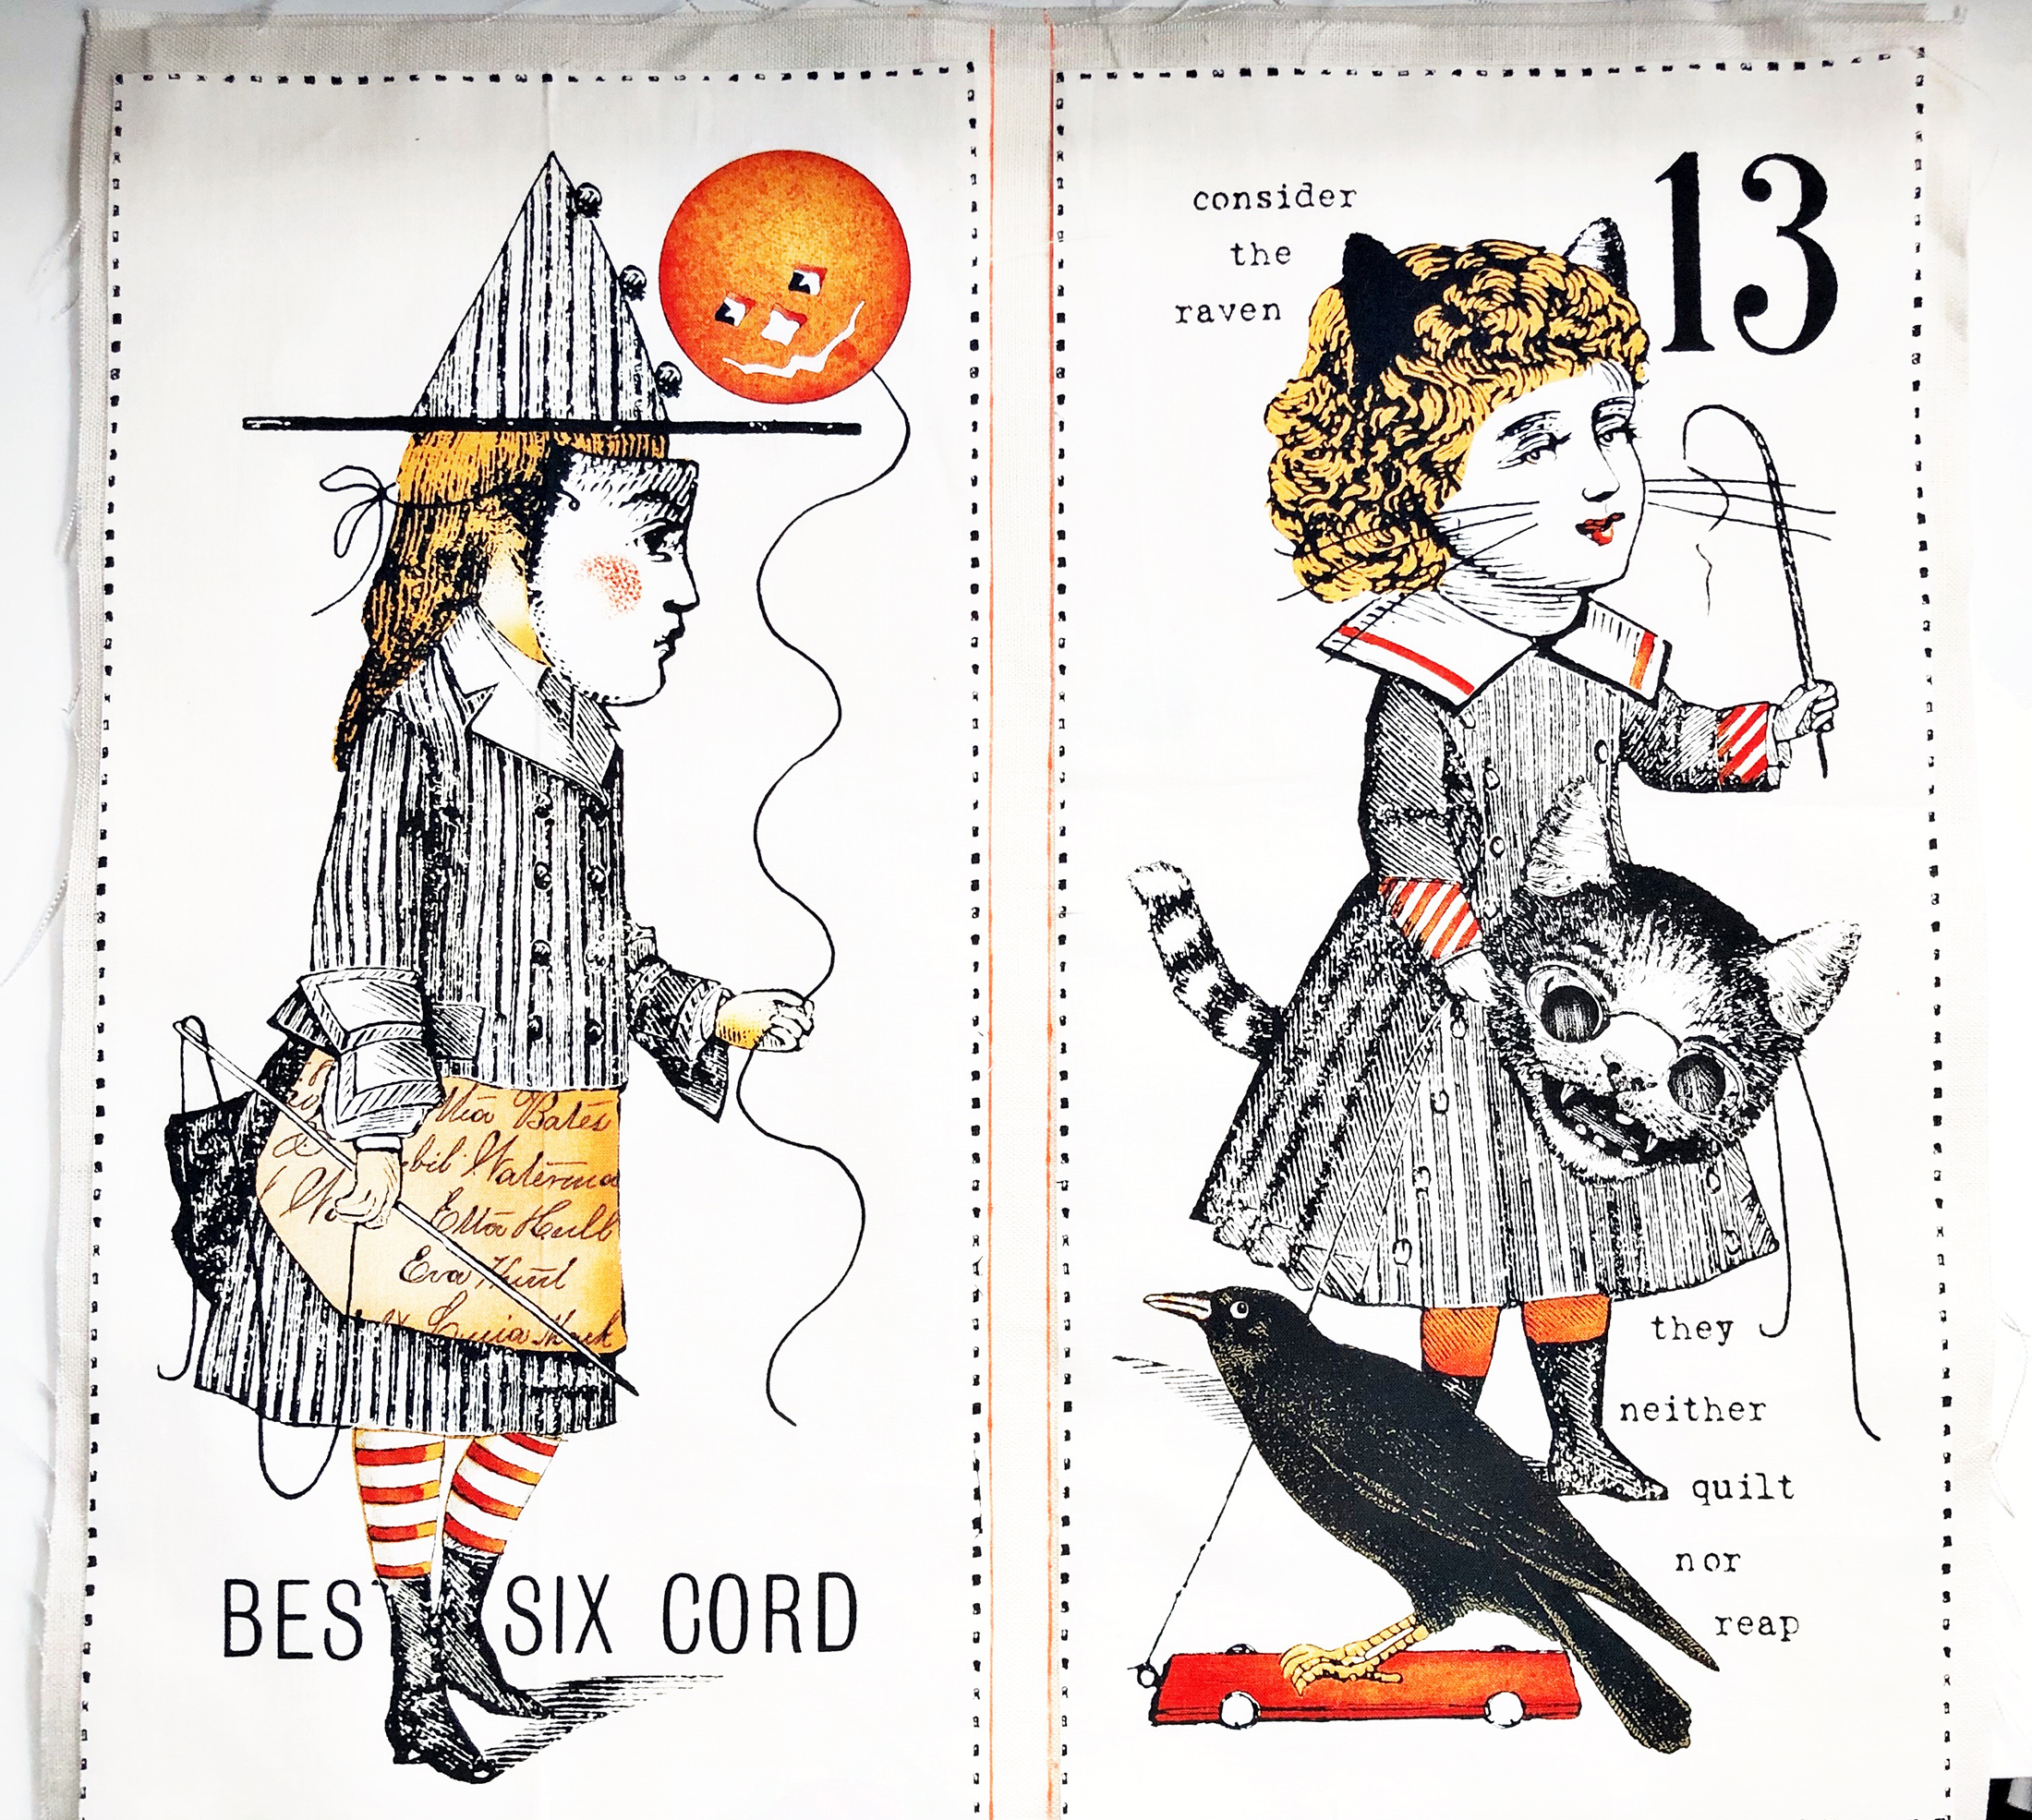
Cut (5) panel pieces that you would like to add to the book pages.
Cut (2) pieces of the linen fabric to 18 inches x 18 inches for the book cover.
Trim (4) pieces of the linen fabric to 17.25 inches x 17.25 inches for the inside pages.
Cut (3) pieces of batting to 17 inches x 17 inches.
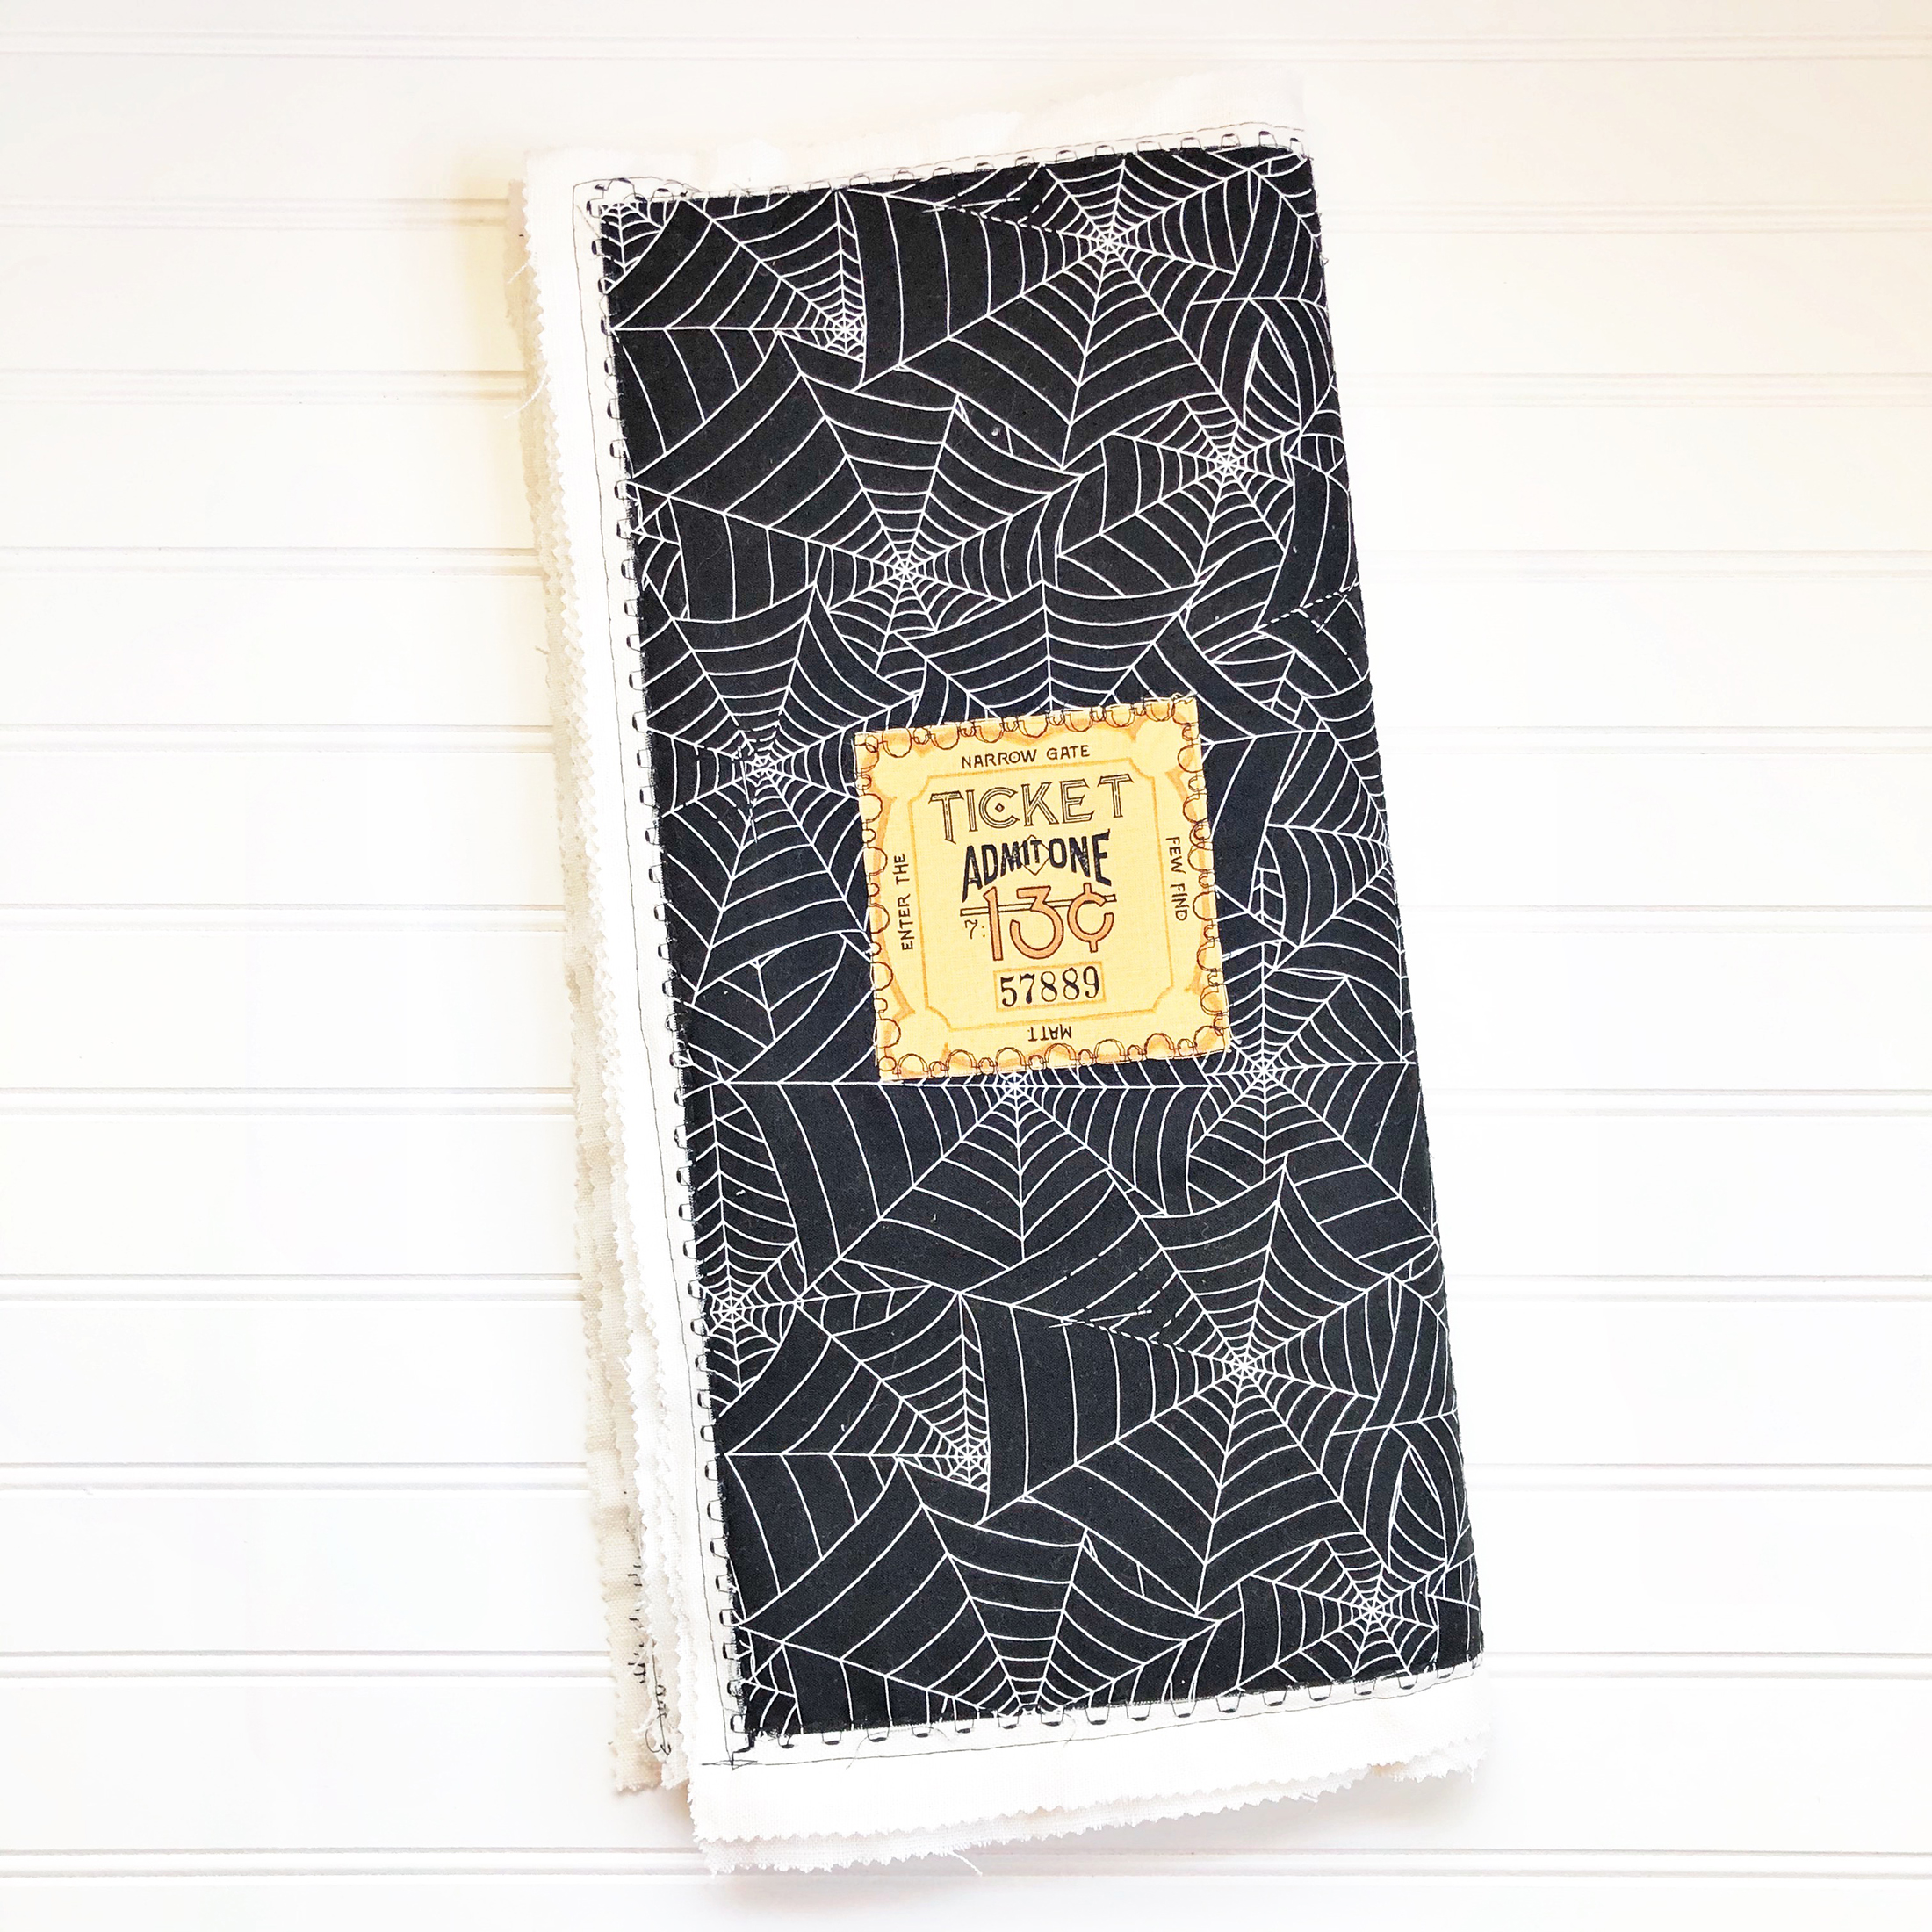
Cut (2) pieces of cotton spider web fabric to 8 inches x 16 inches for the front and back pages.
Trim (4) pieces different prints to 8 inches x 16 inches for the inside panels.
Cut (3) pieces from the border strip for the tags.
Cut (3) pieces from cotton fabric for the back of the tags.
Step 2 – Prepare the fabric for sewing
For the inside pages of this Halloween scary book, draw two lines in the middle of the book to determine how far apart the panel pieces should be.
Arrange all of the panel pieces were you want them to be.
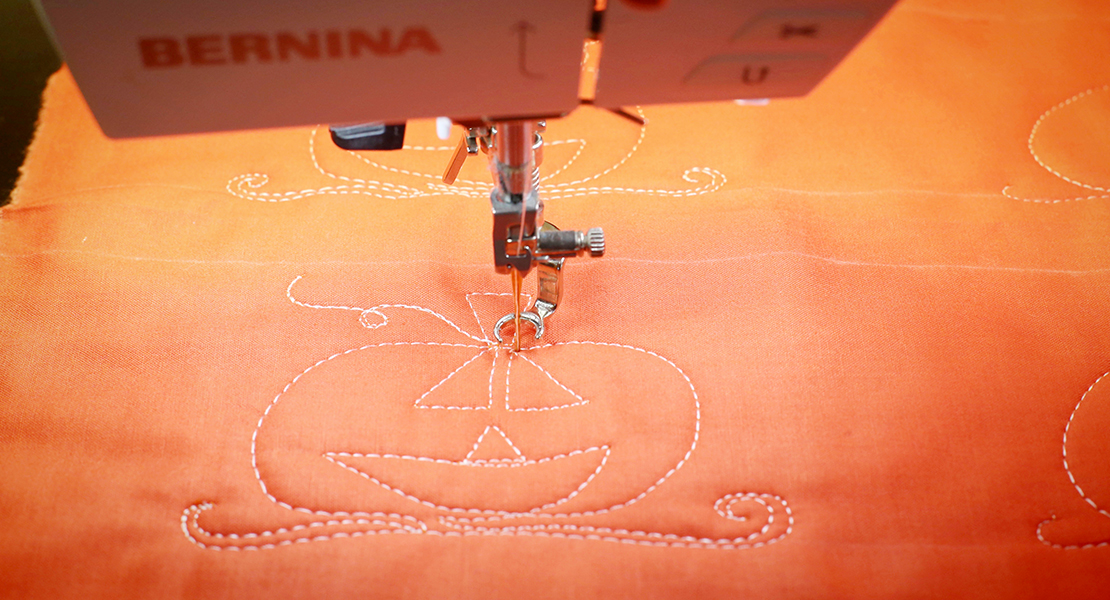
Step 3 – Sew the panels on the inside pages
Start with the interior middle pages. Pin the panels to the linen fabric to keep them in place.
Add the Reverse pattern foot with clear sole #34D to the machine.
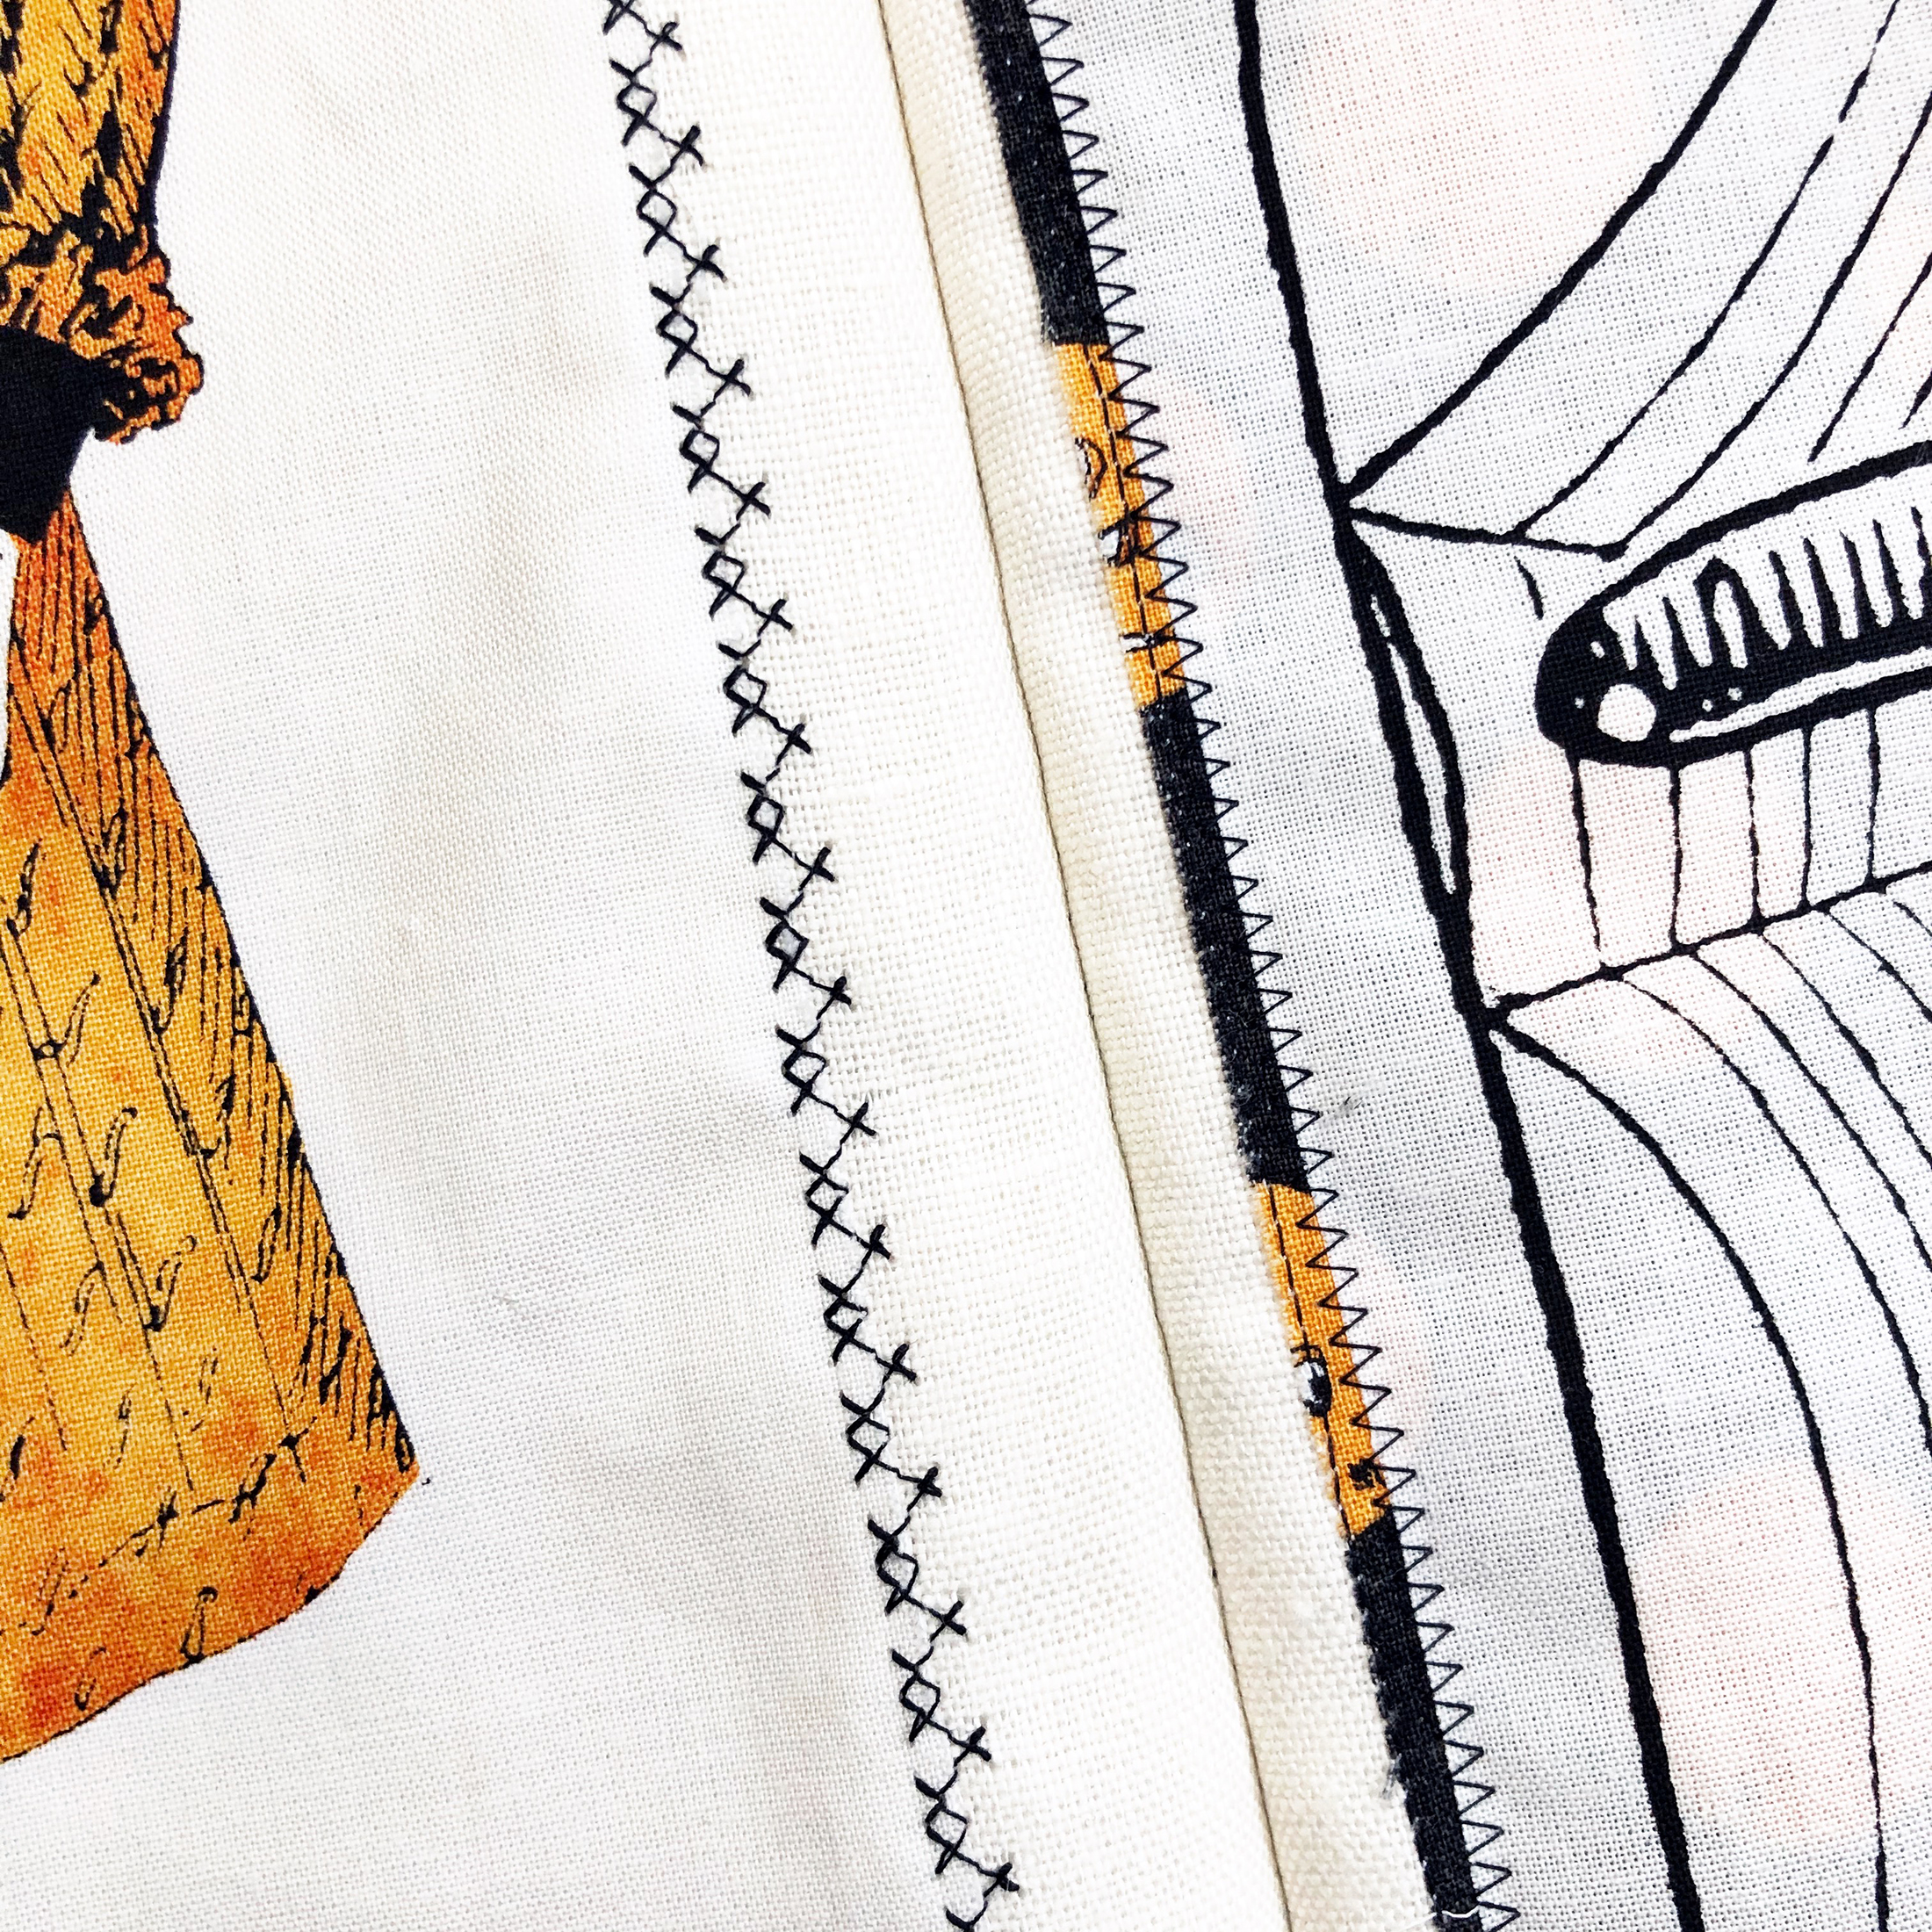
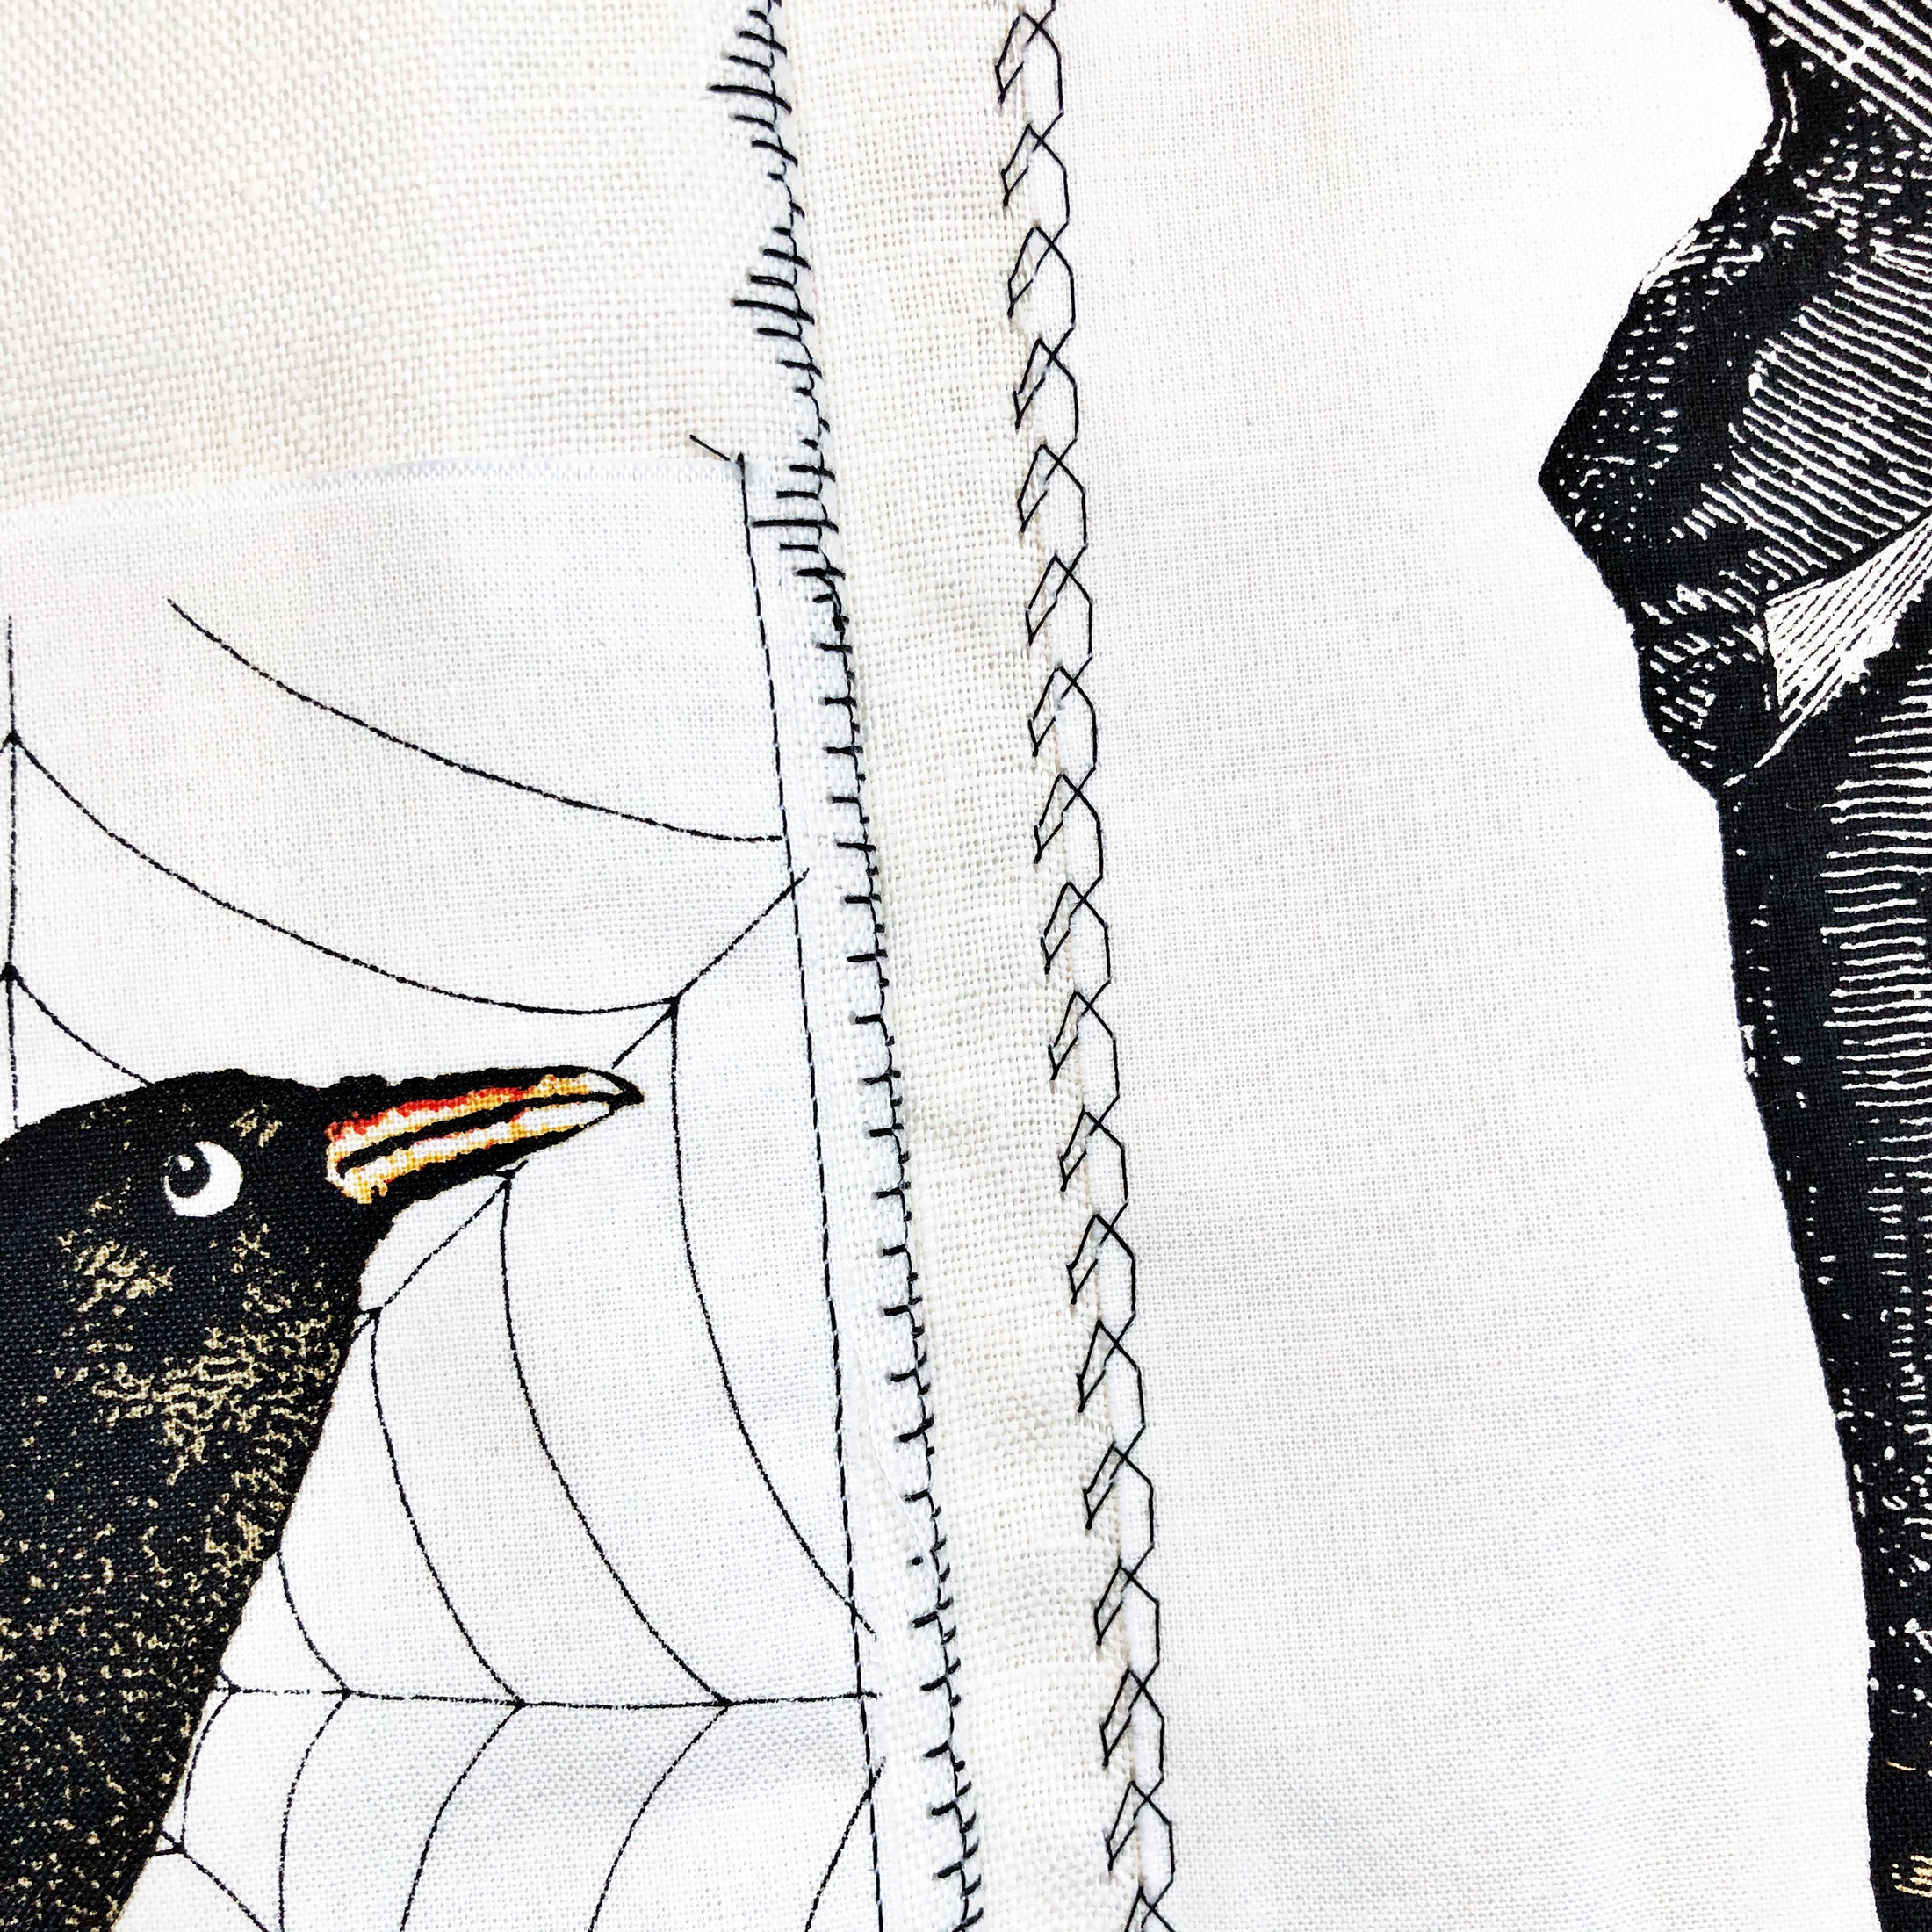
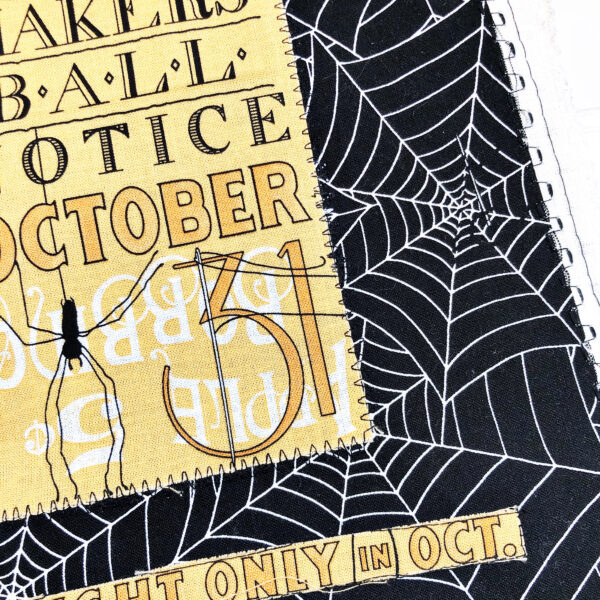
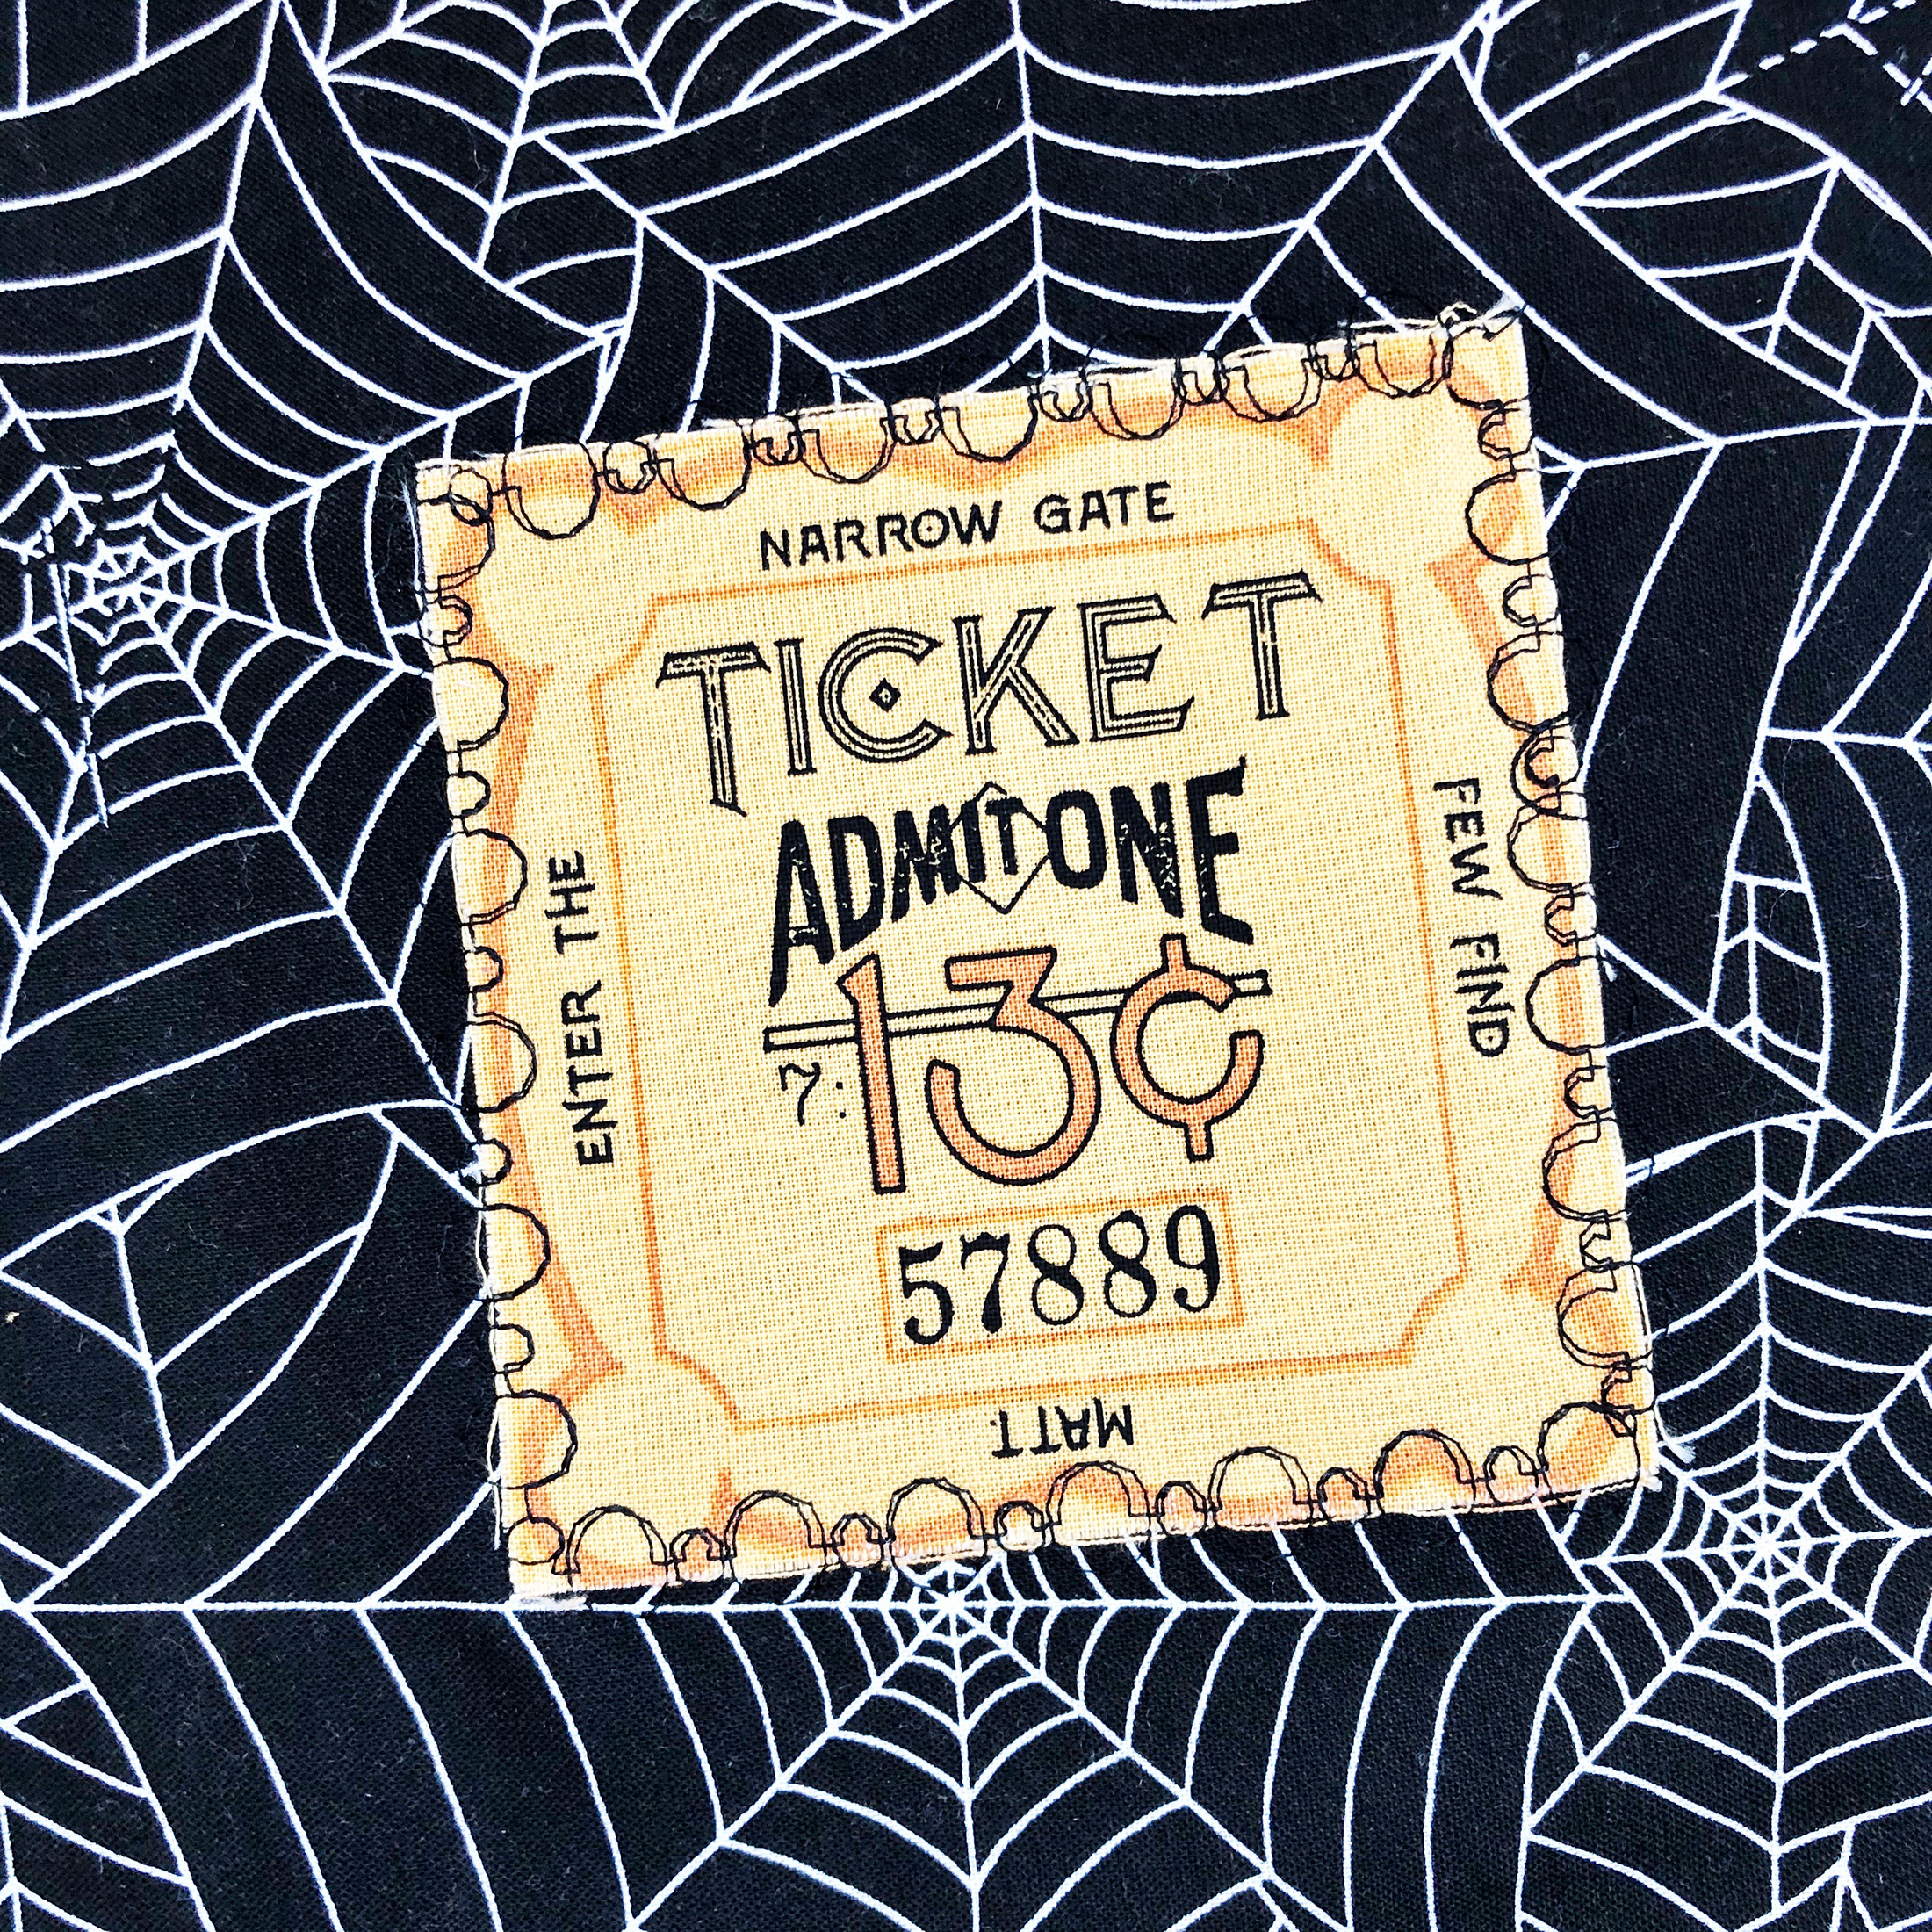
Pick a stitch and sew around the panel pieces on both sides of the linen piece of fabric.
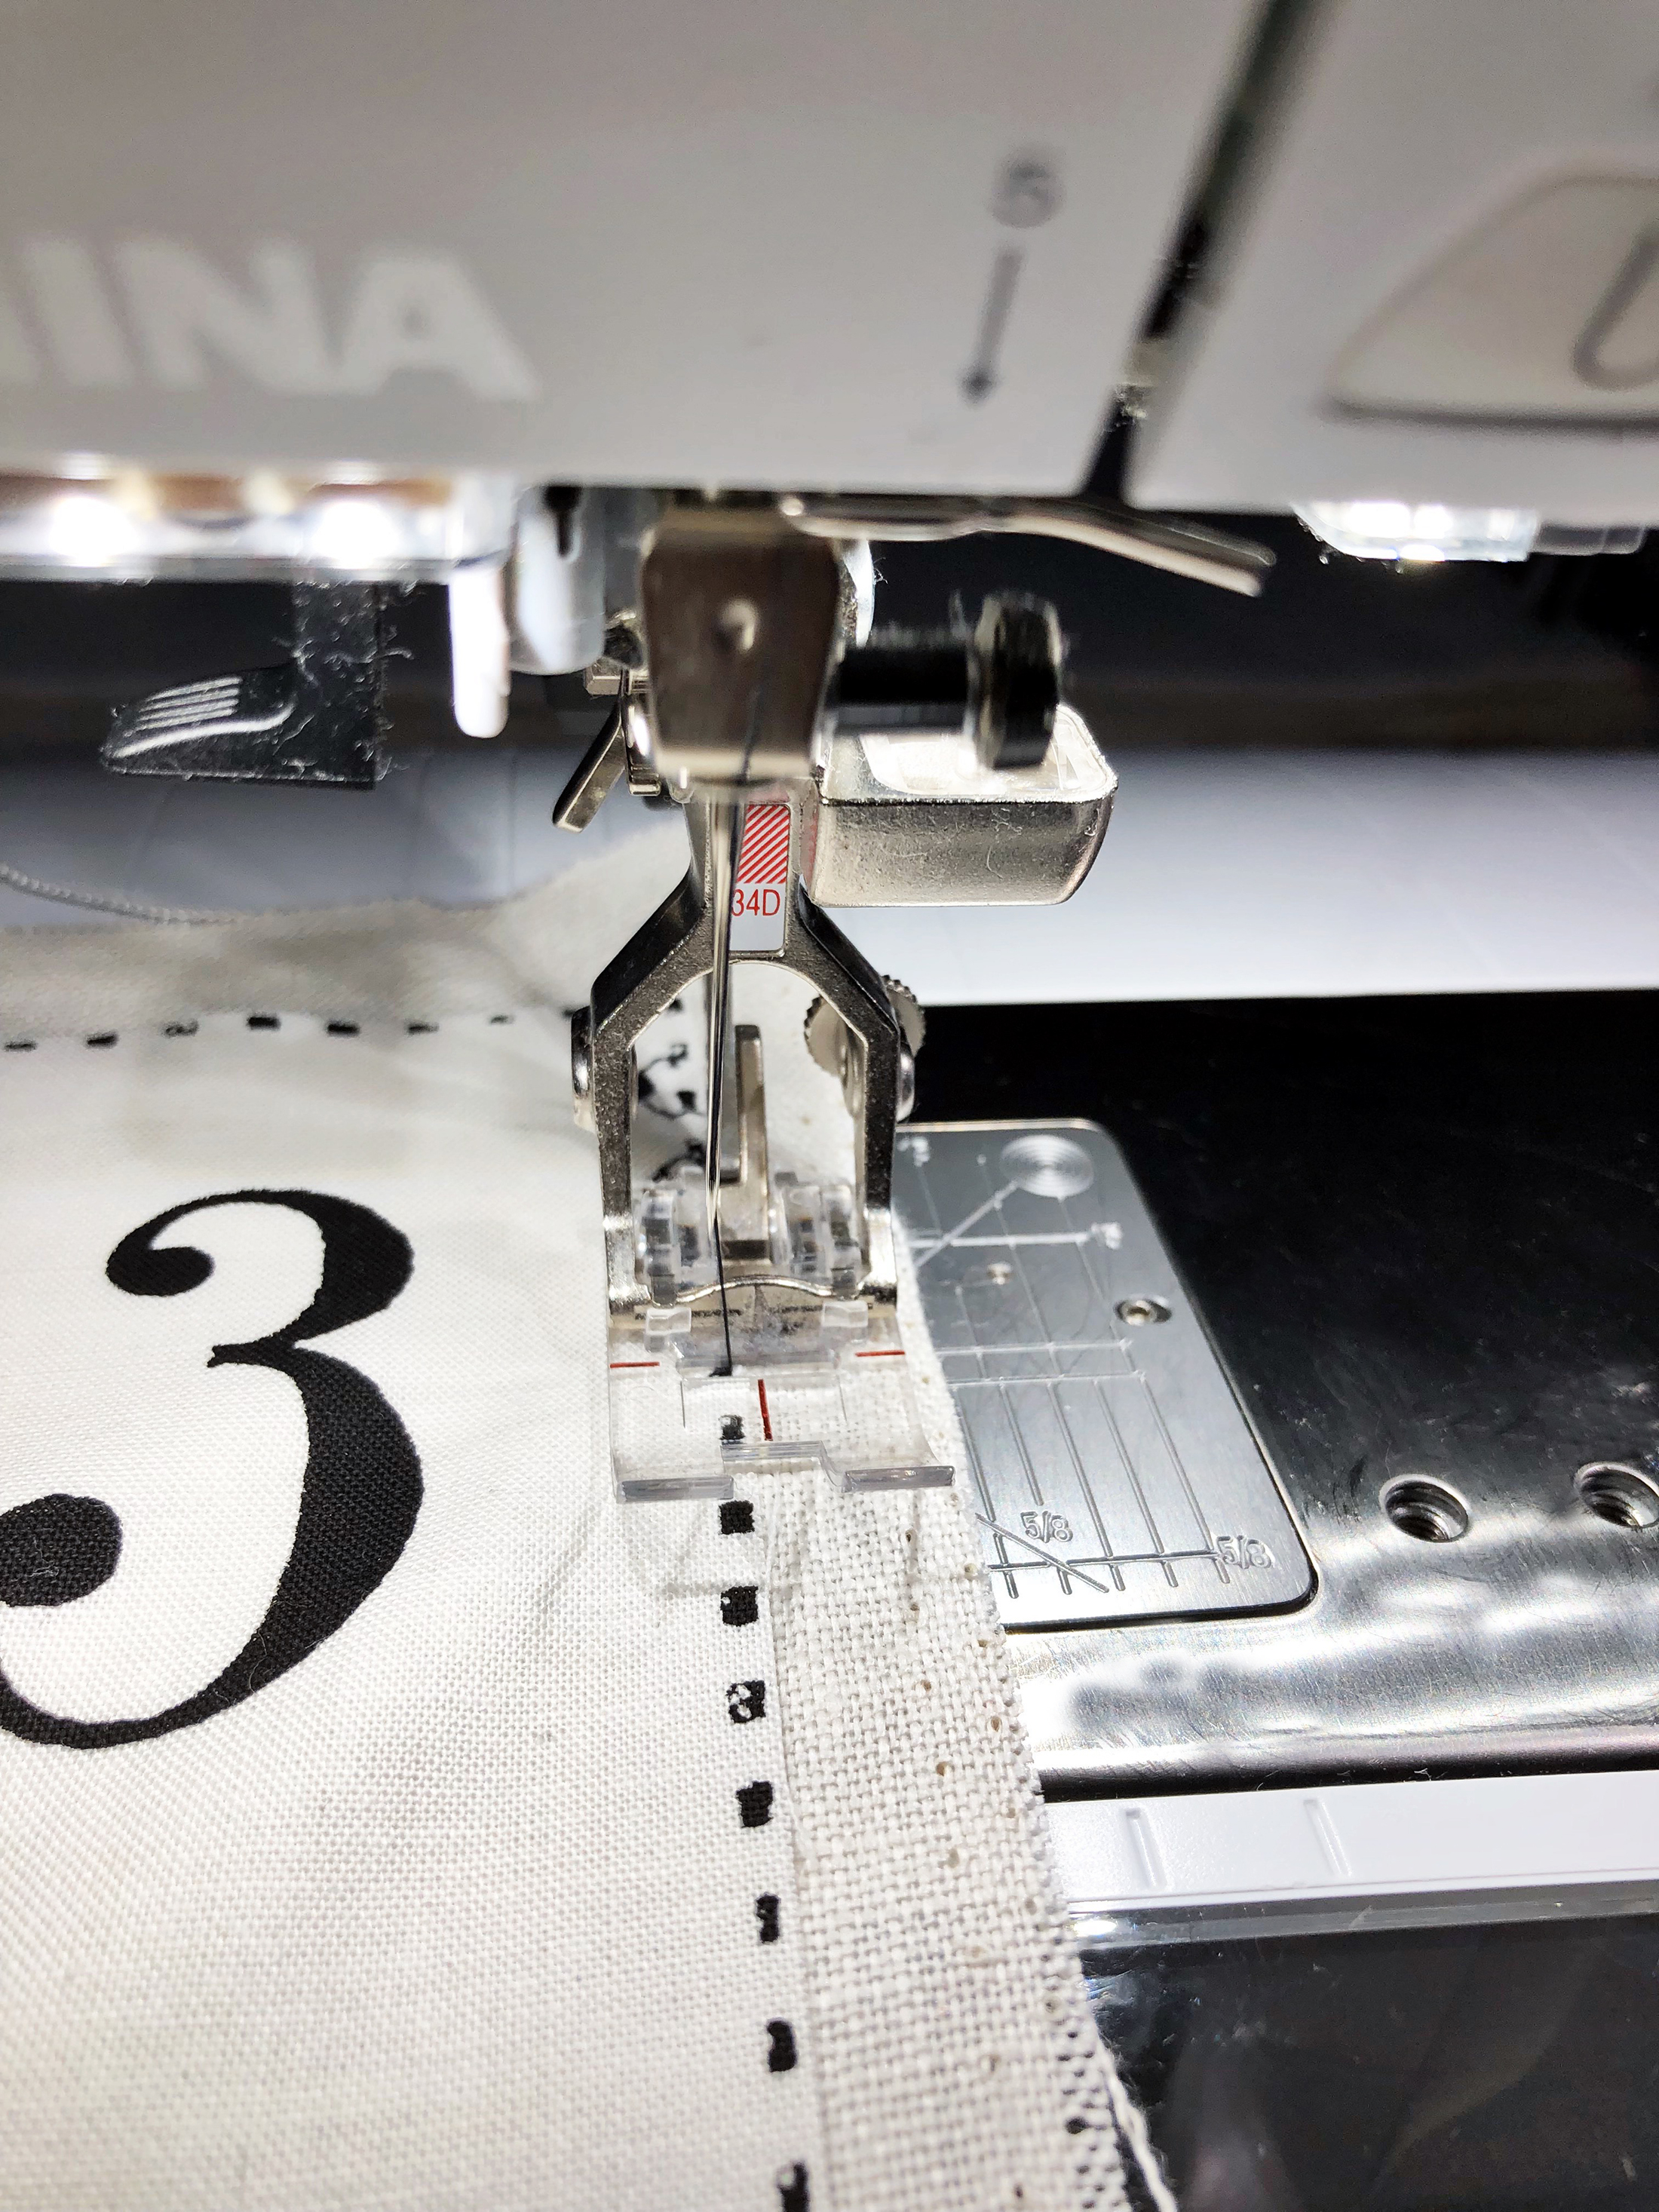
Repeat this process for each panel piece in the Halloween Scary book.
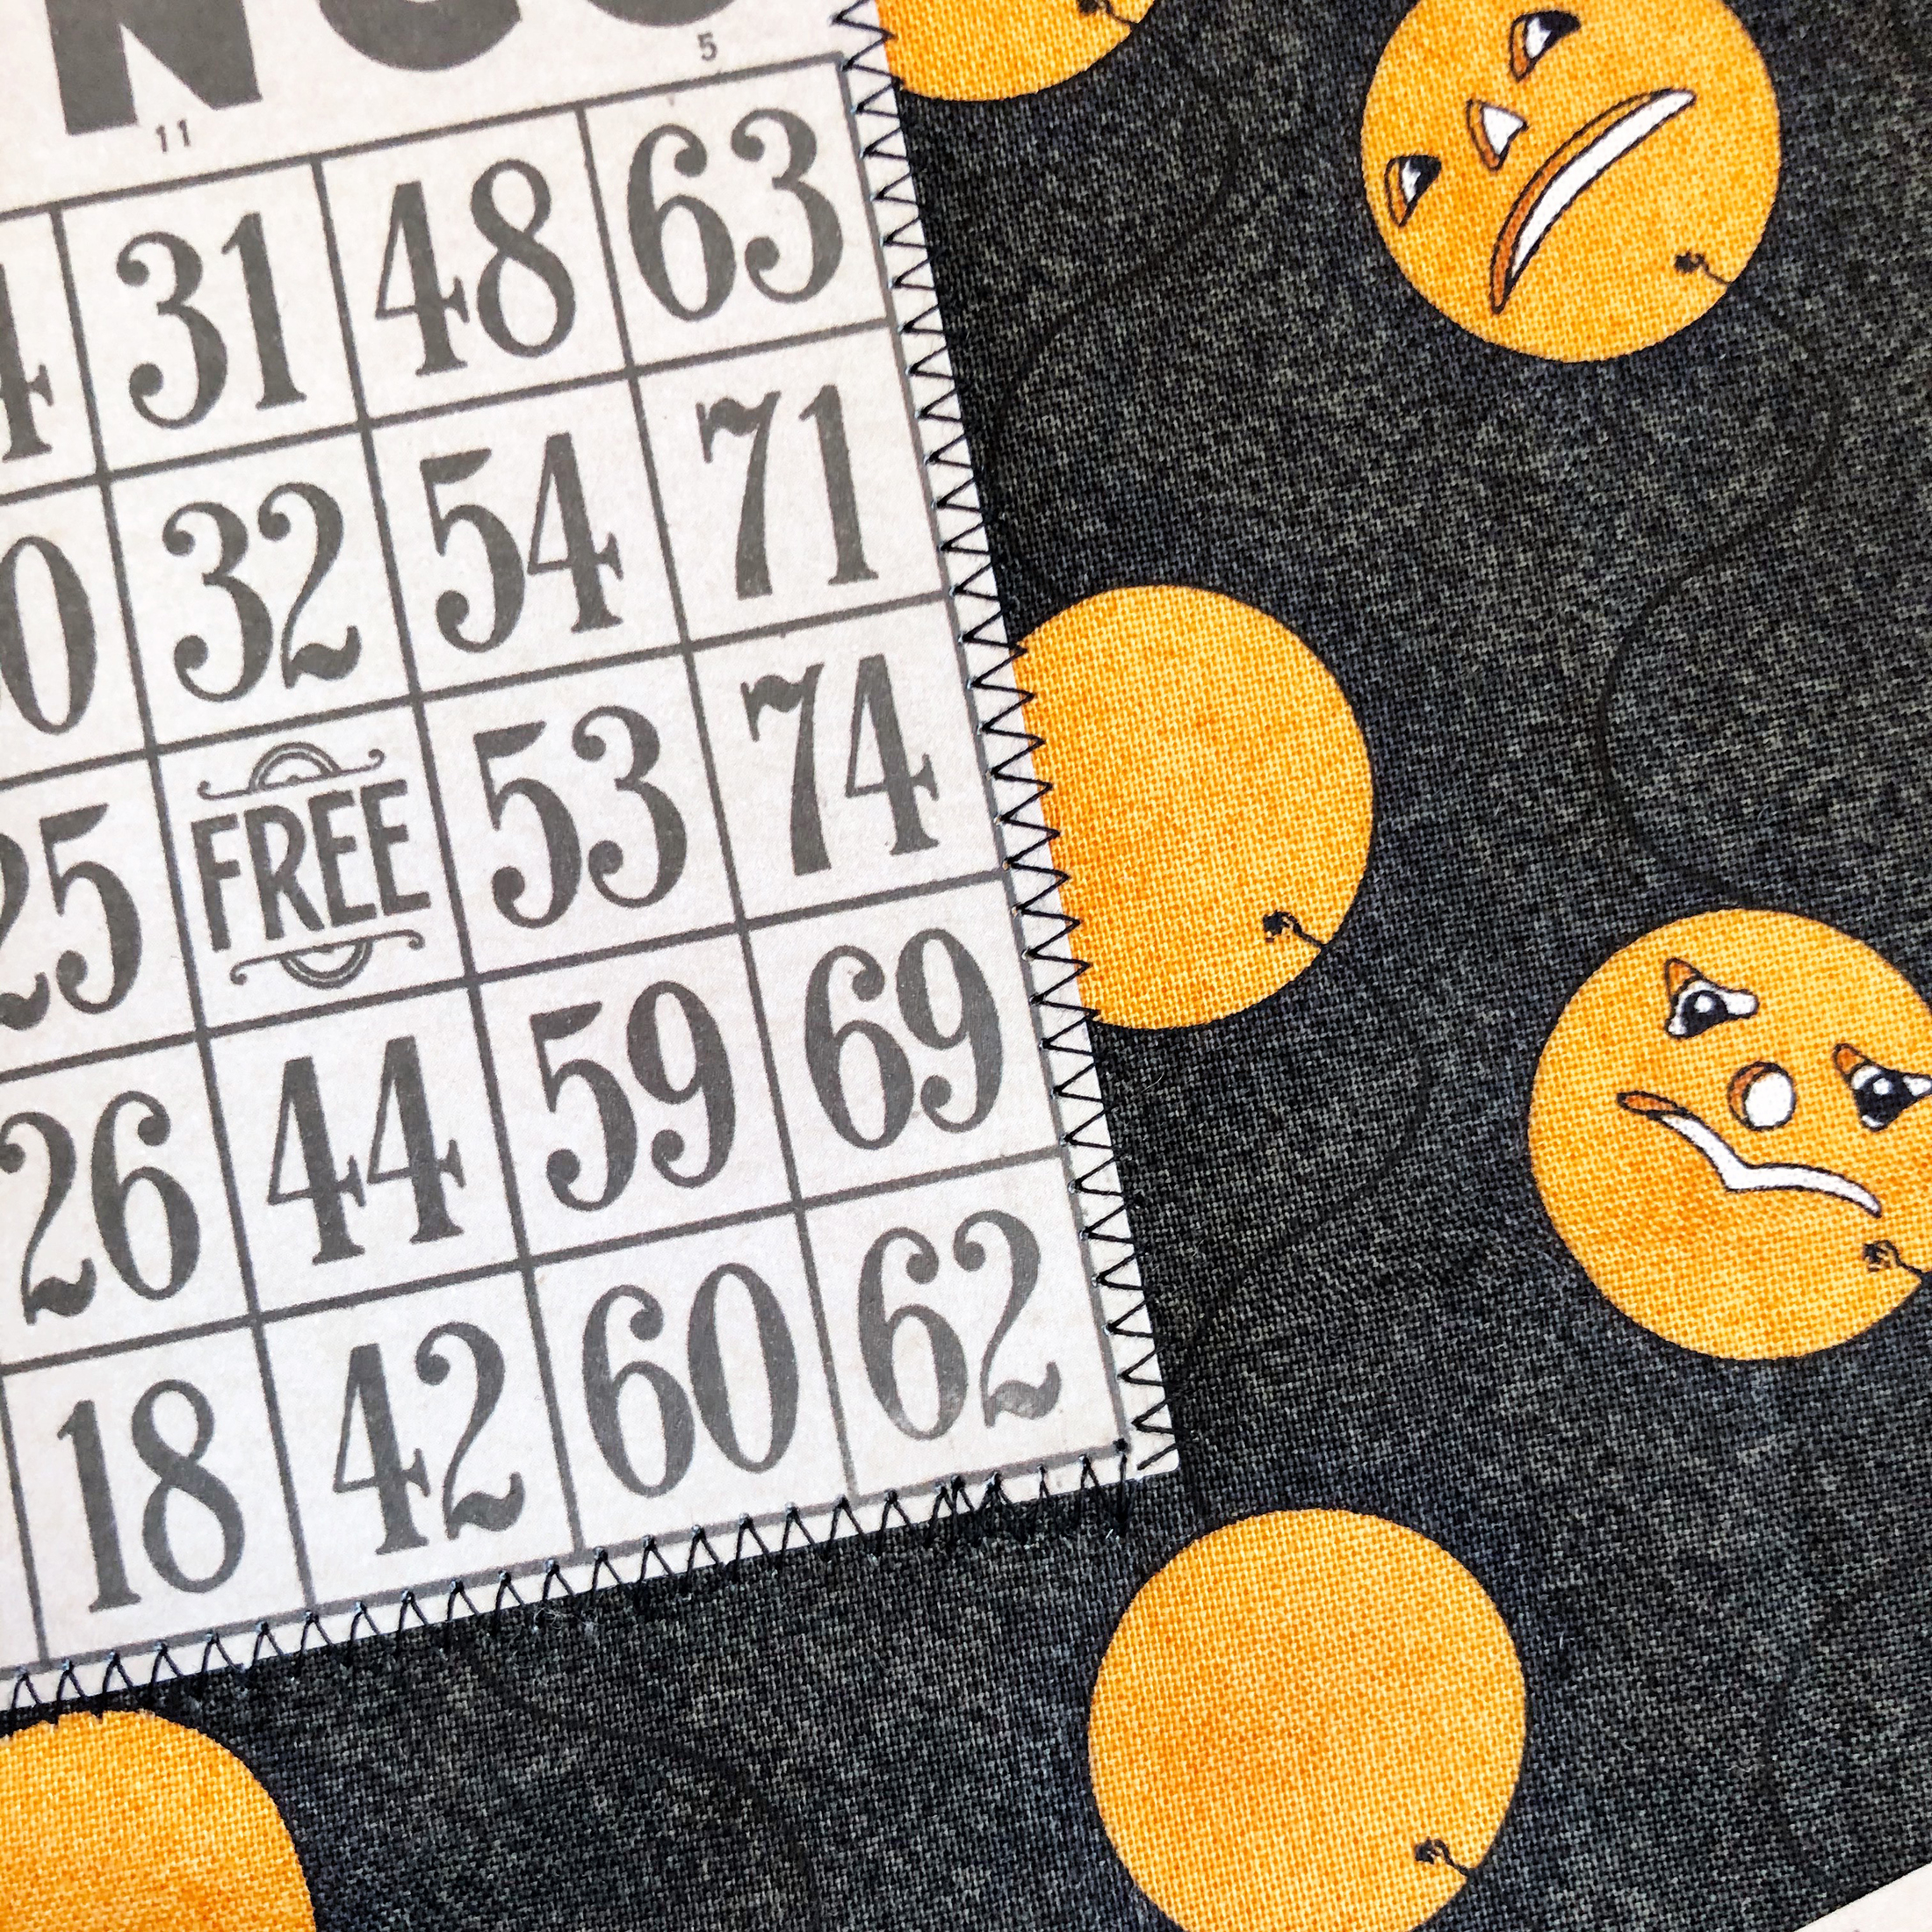
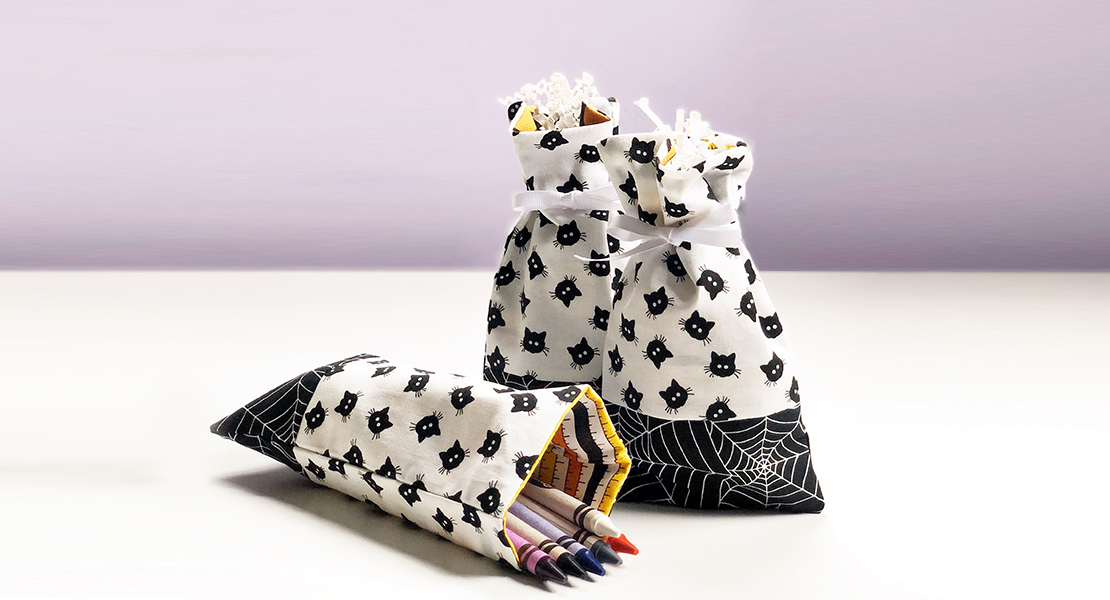
For the pages that have pockets, chose a different stitch to sew the pockets.
Pockets are on three pages. To create the pockets, simple decide which page you want the pockets on.
Then sew the pockets onto the page using a decorative stitch.
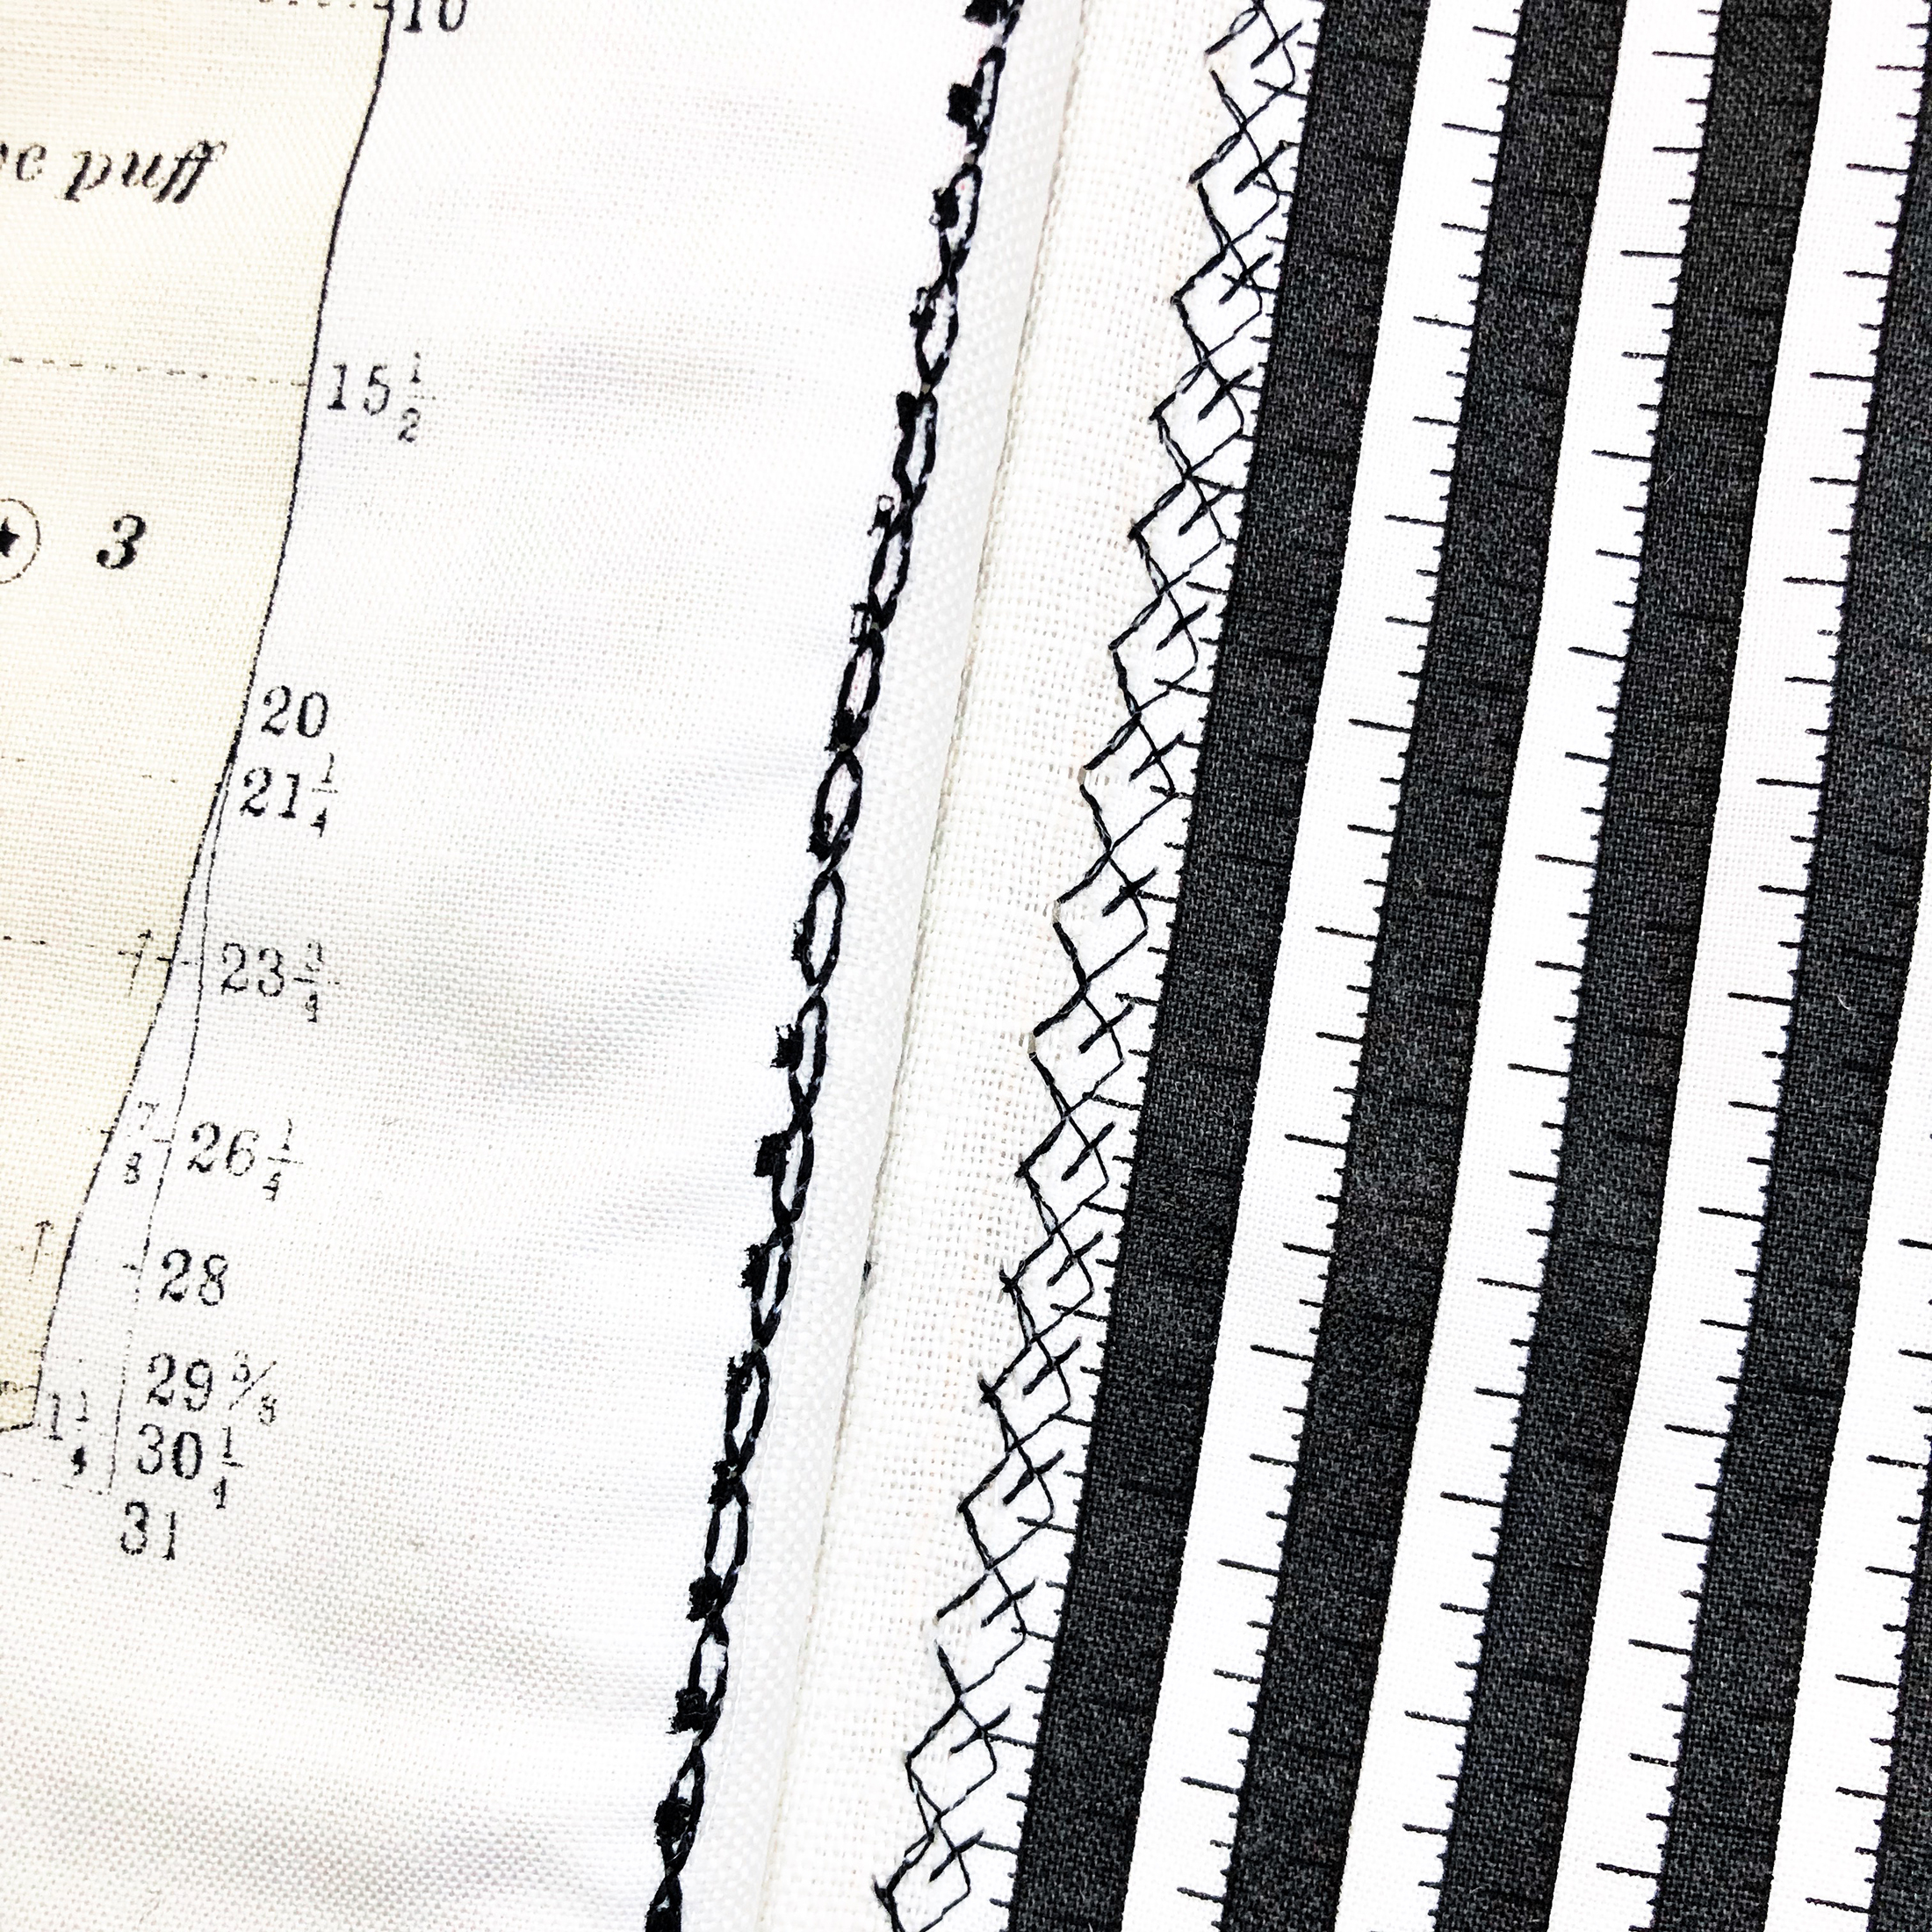
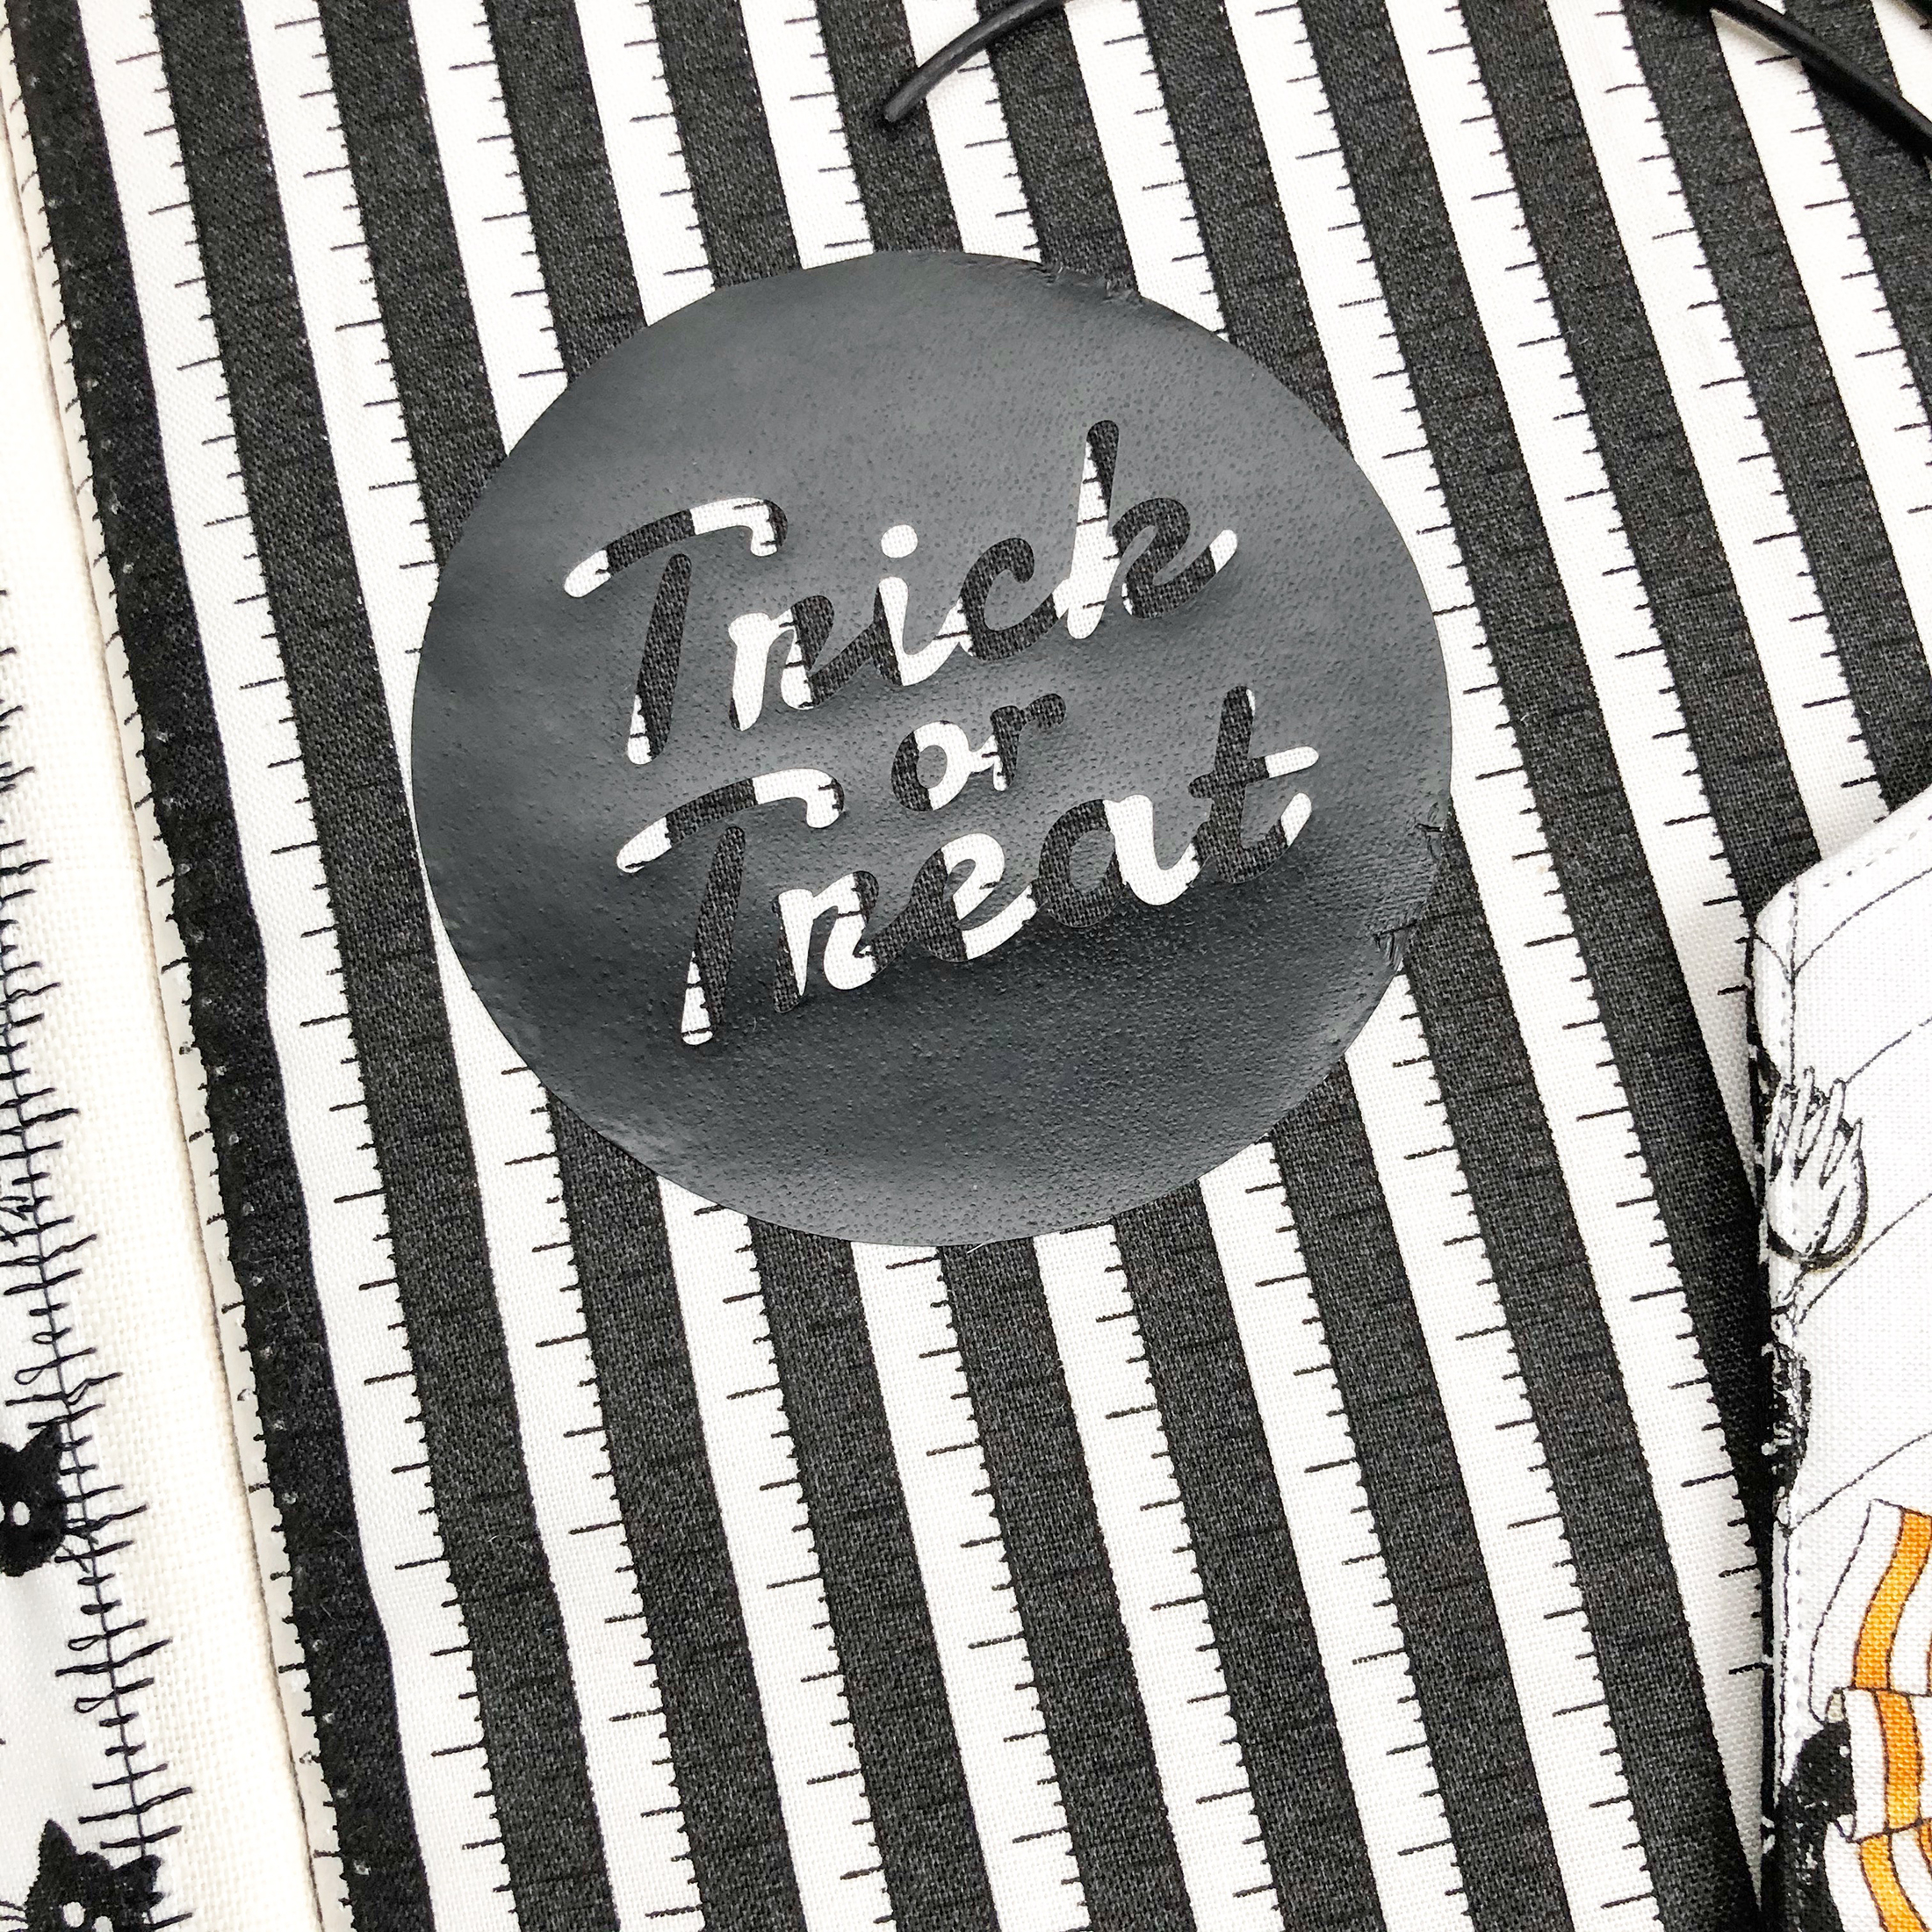
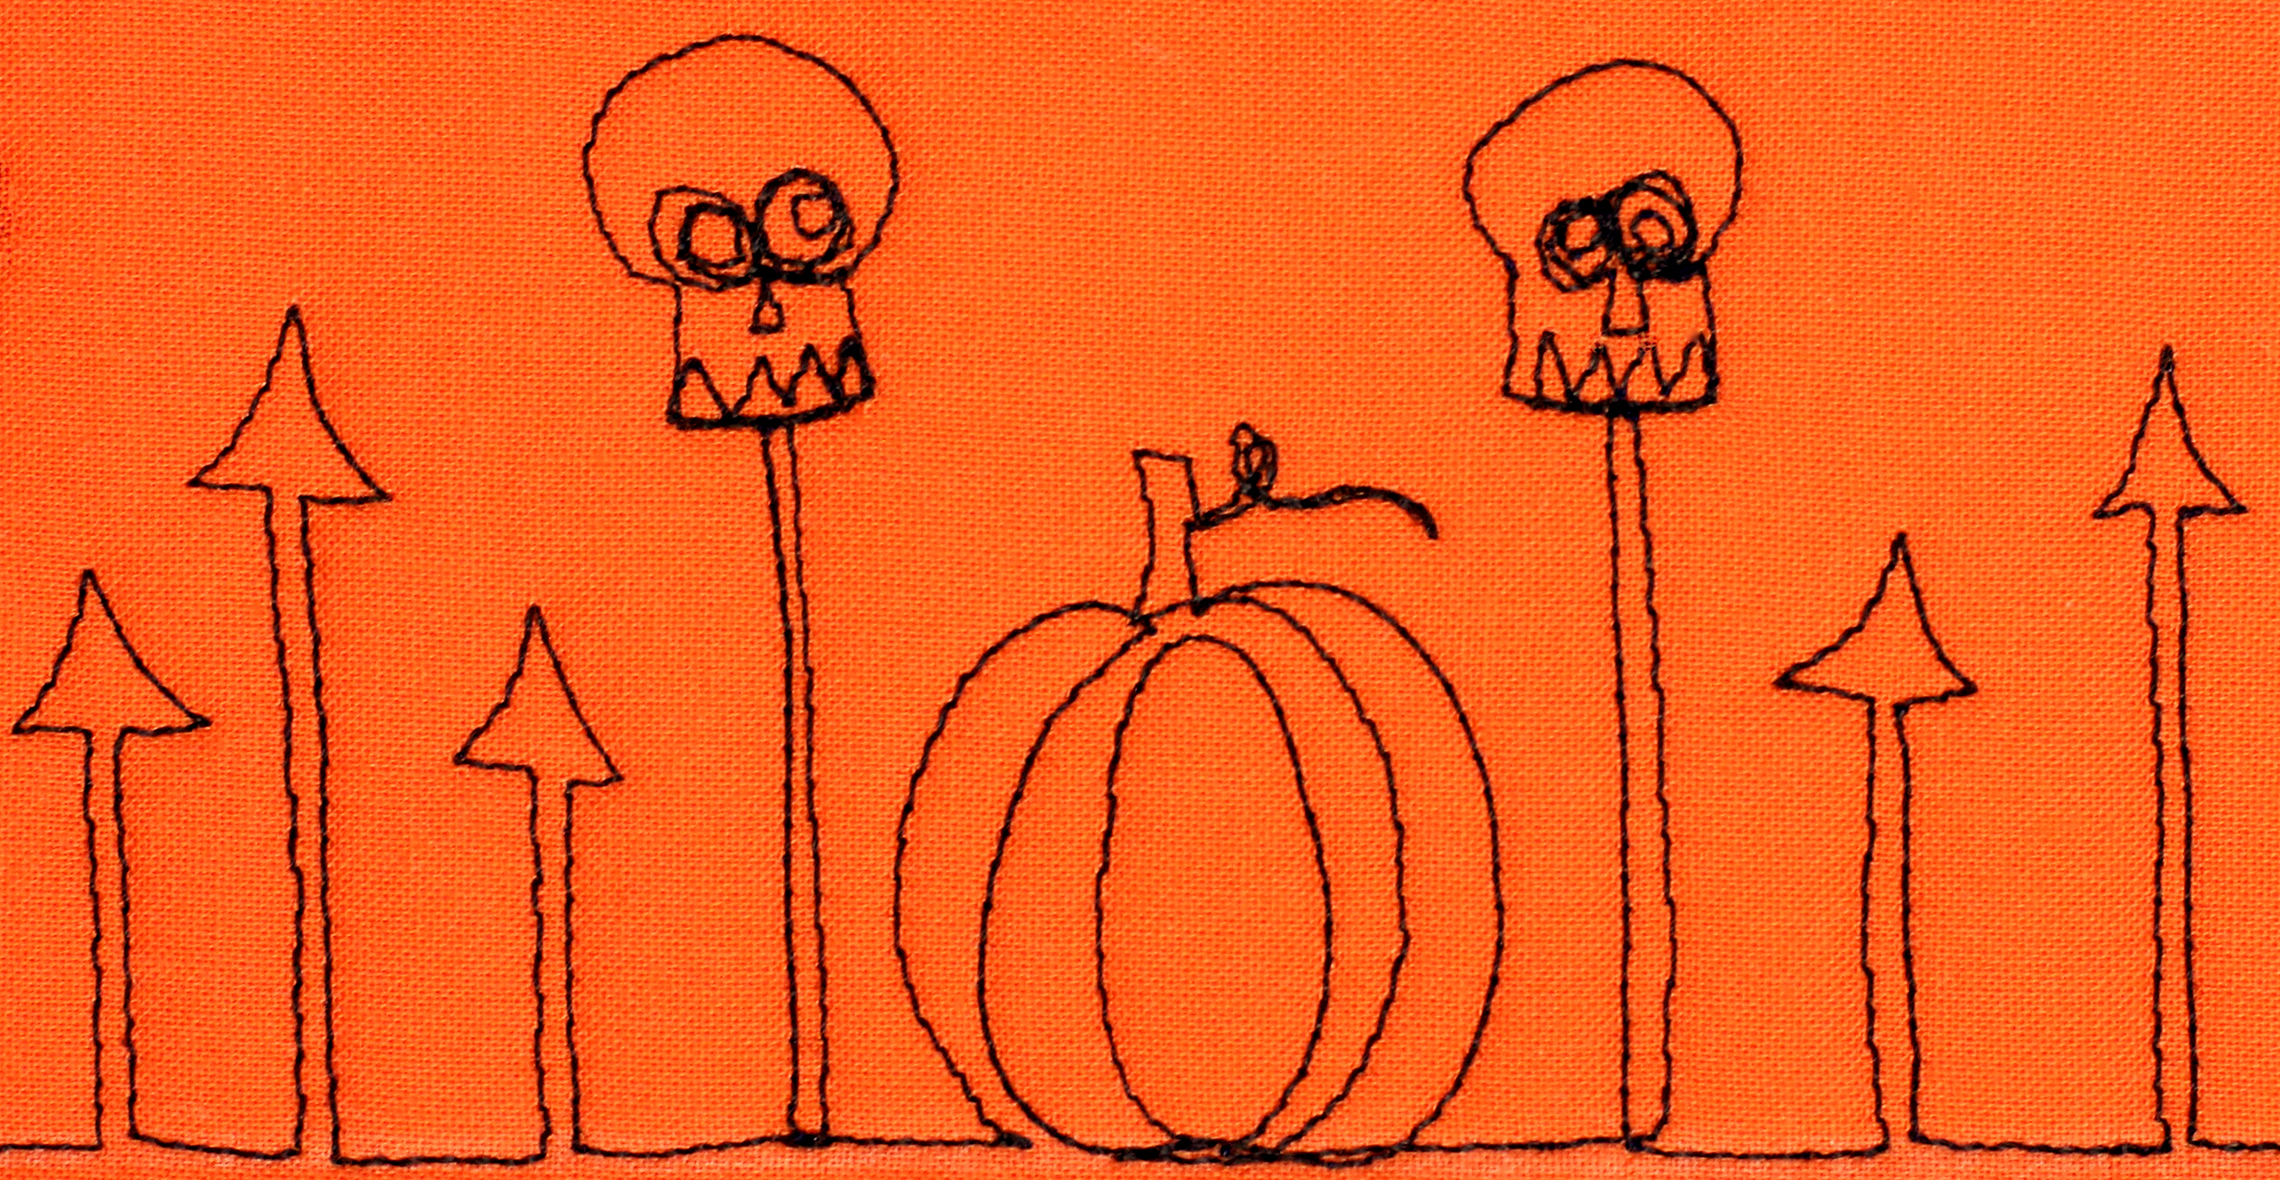
Here is a list of stitches used on this book:
Stitch number 4, 14, 18, 321, 339, 632, 680, 631, 709, 783
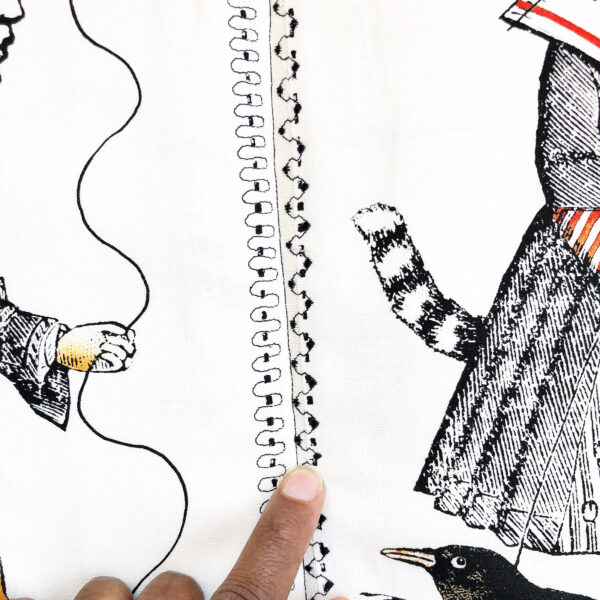
Here’s a look at a couple of the different stitches:
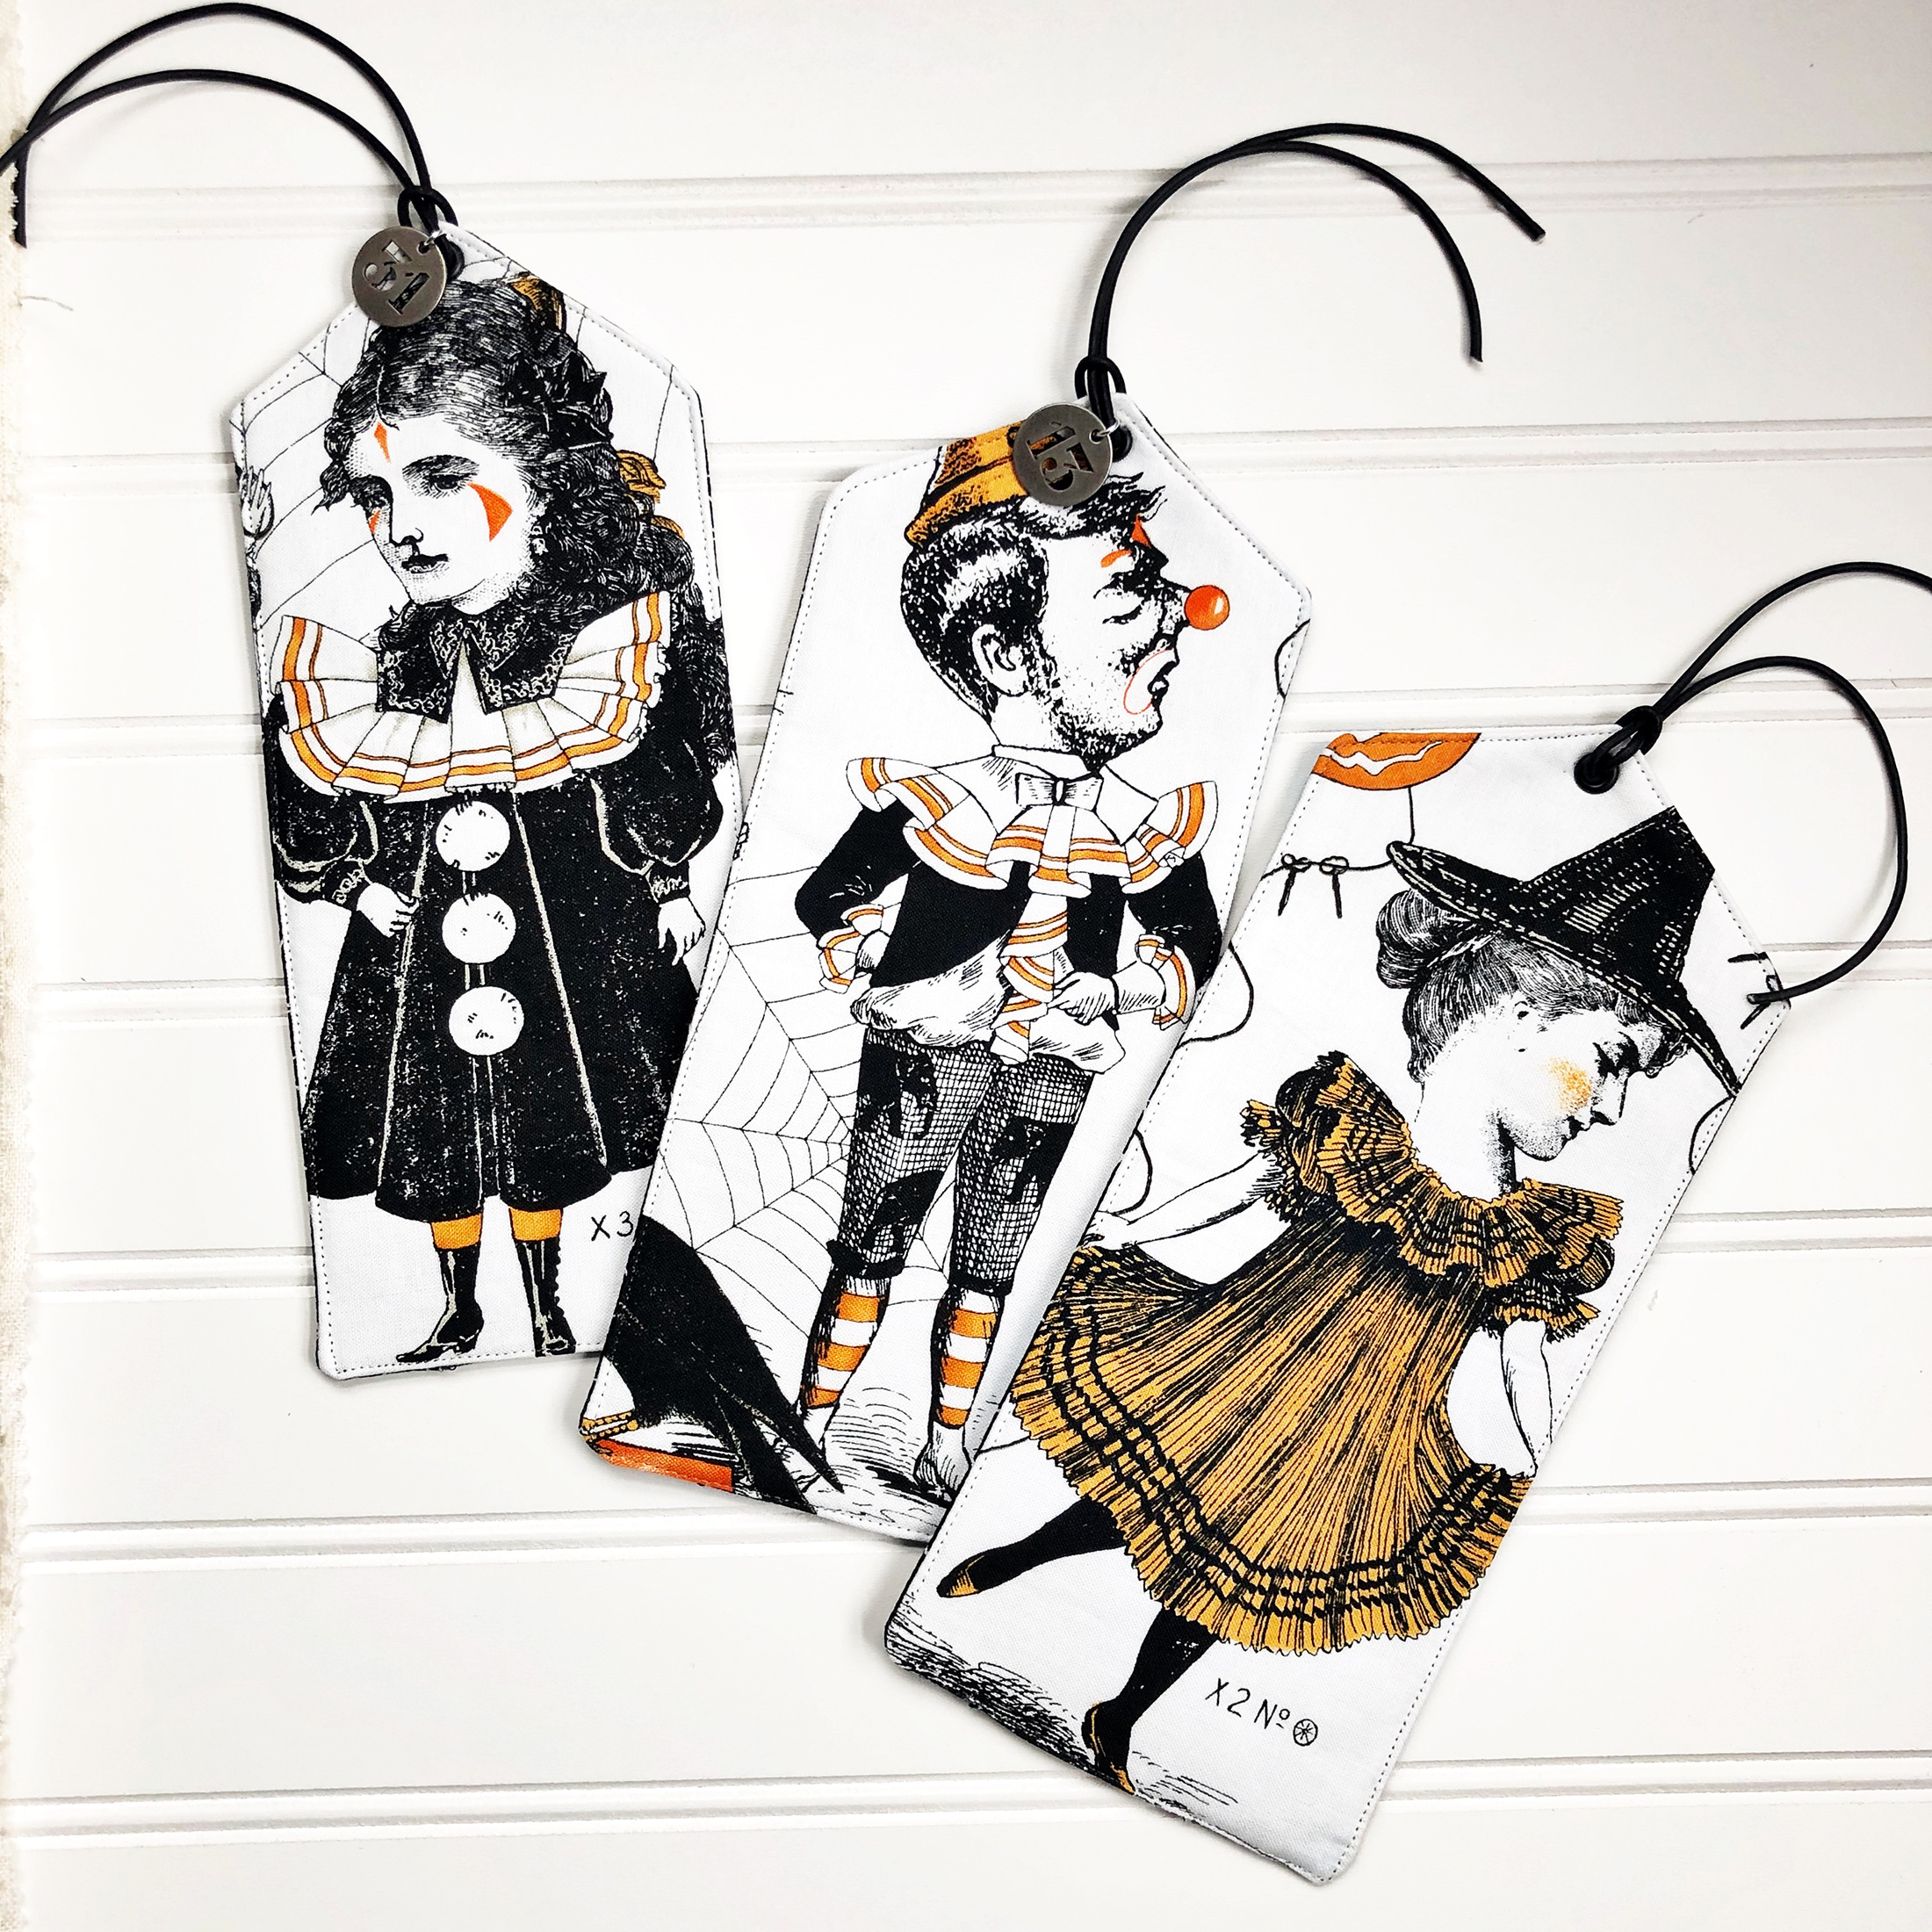
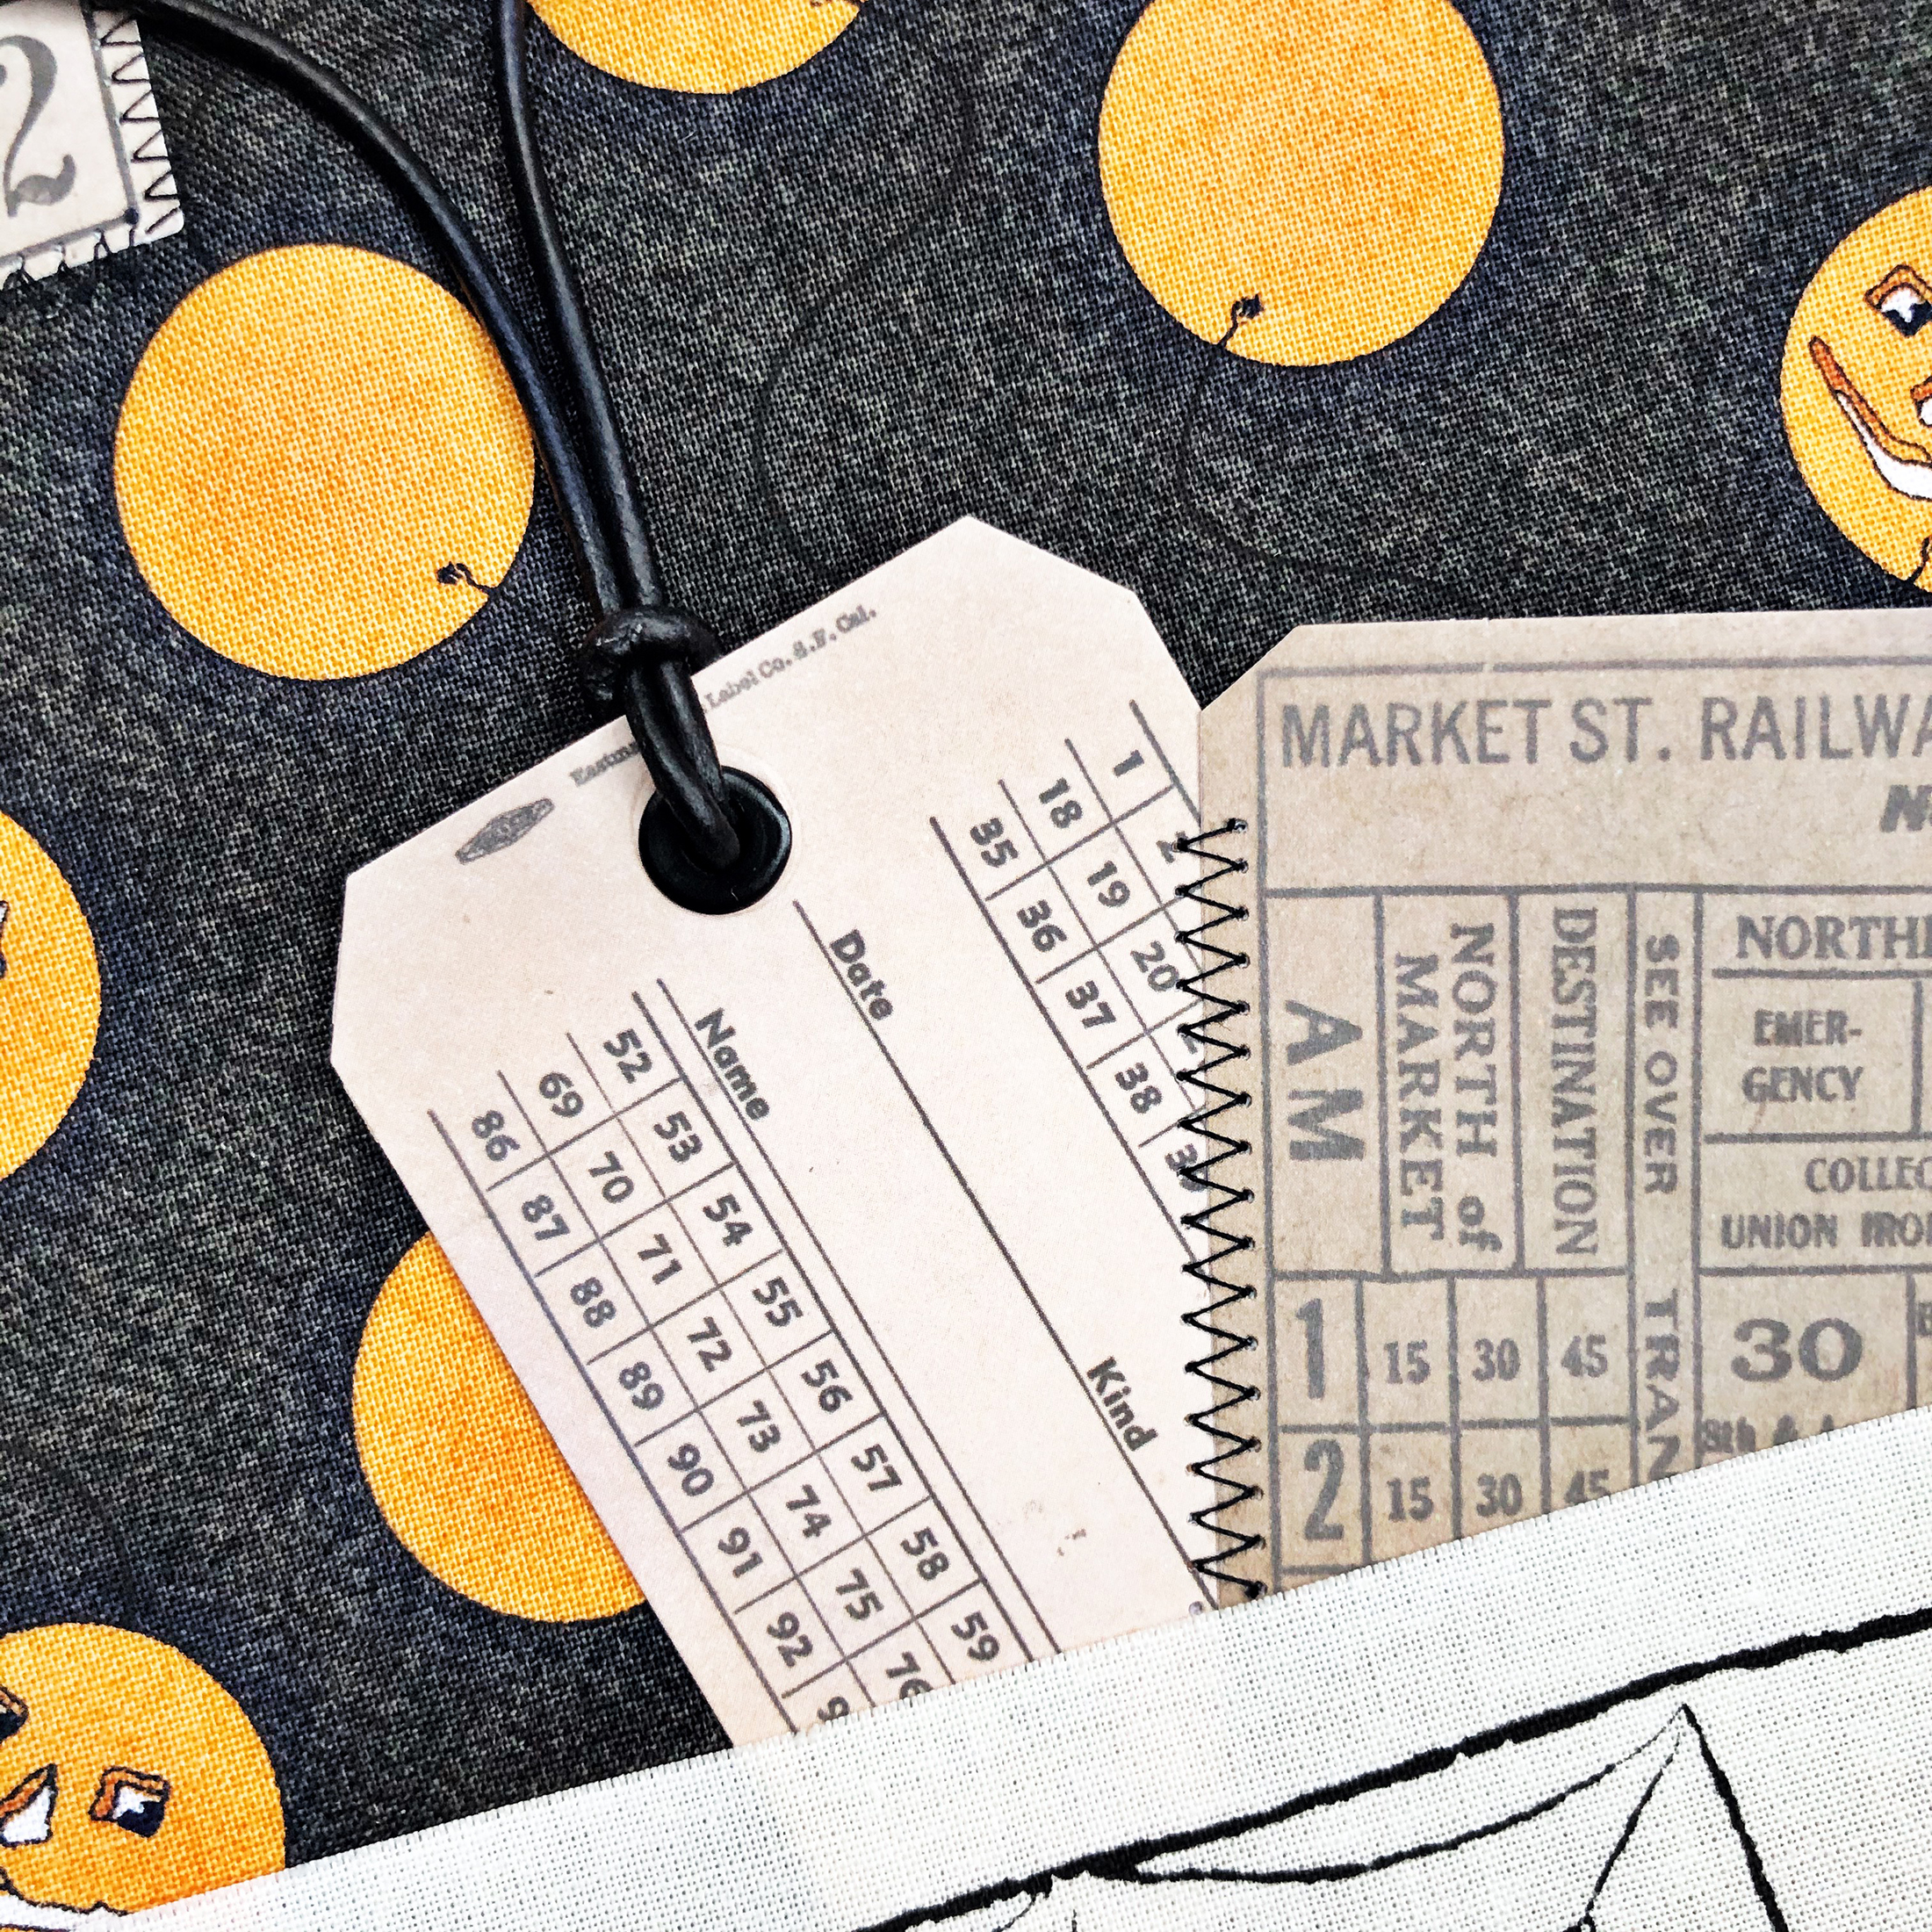
Step 4: Cut and sew the tags
Trim the corner of the three-character fabric pieces and the back fabric to create the fabric tags.
Add the Edgestitch foot #10D to the machine.
After that, with right sides together, sew around the tag using a 1/4 inch, leaving a 3.5-inch hole for turning.
Turn the tags inside out and topstitch the entire fabric tag.

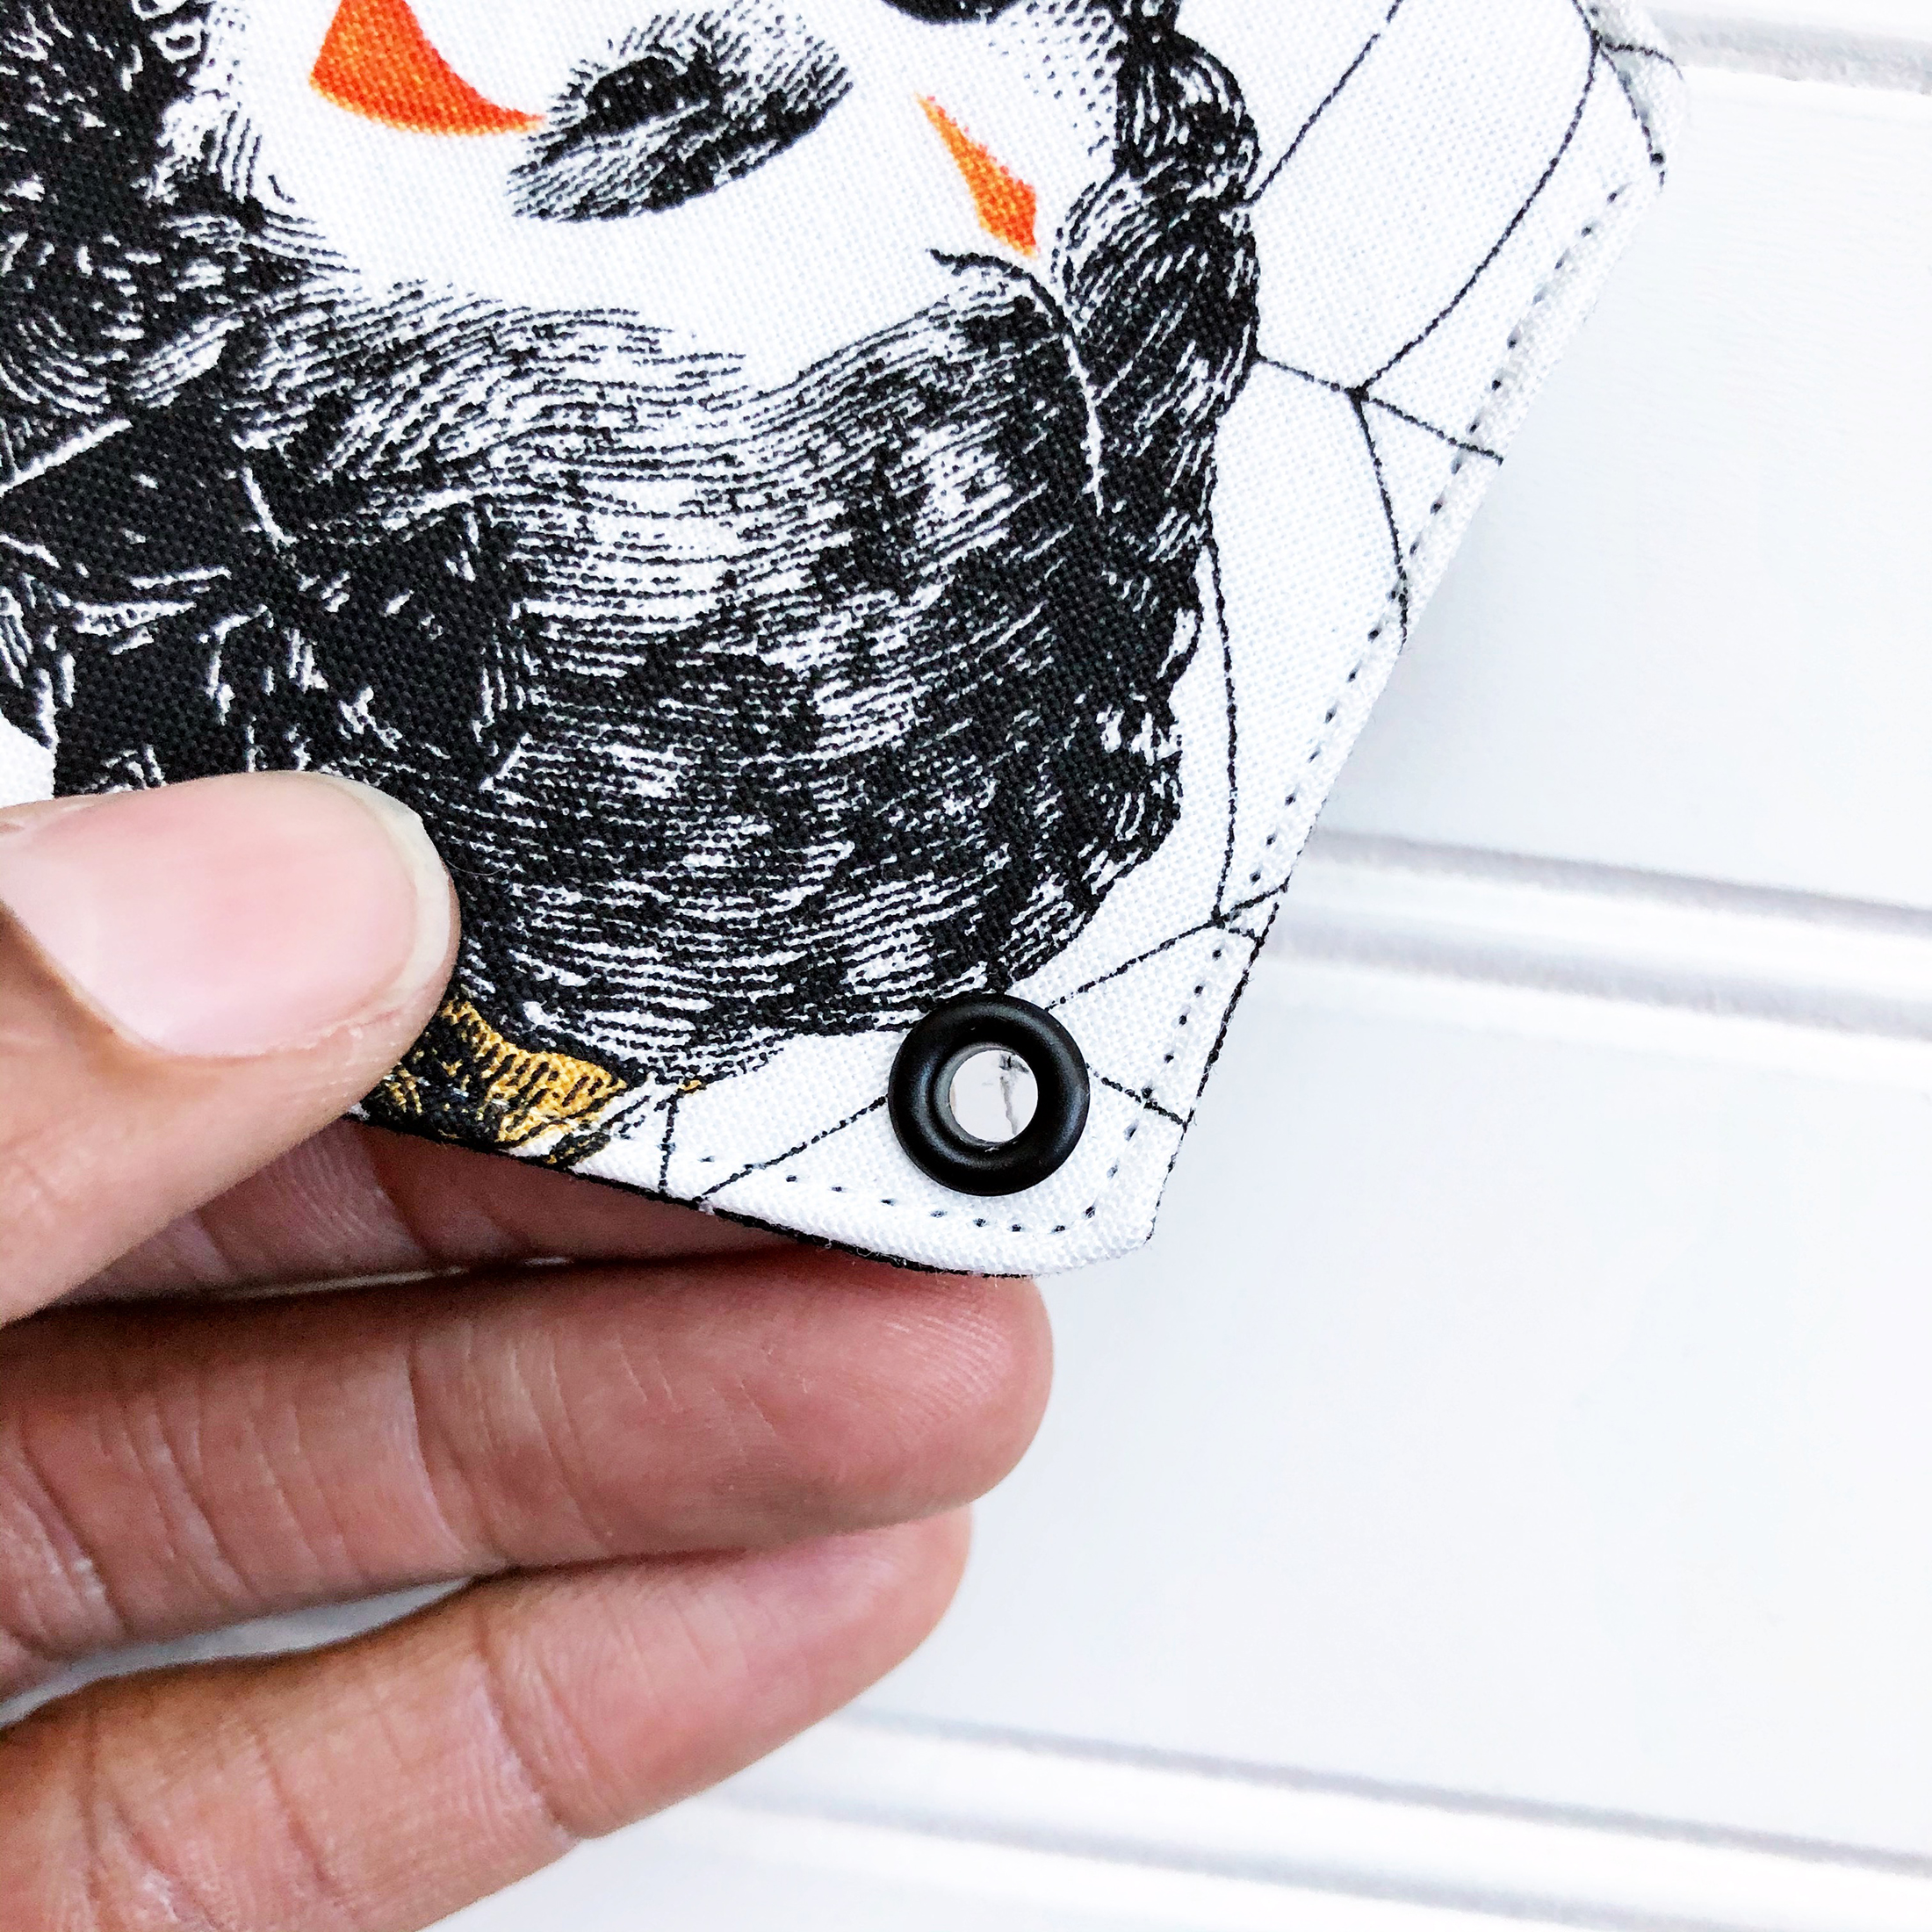
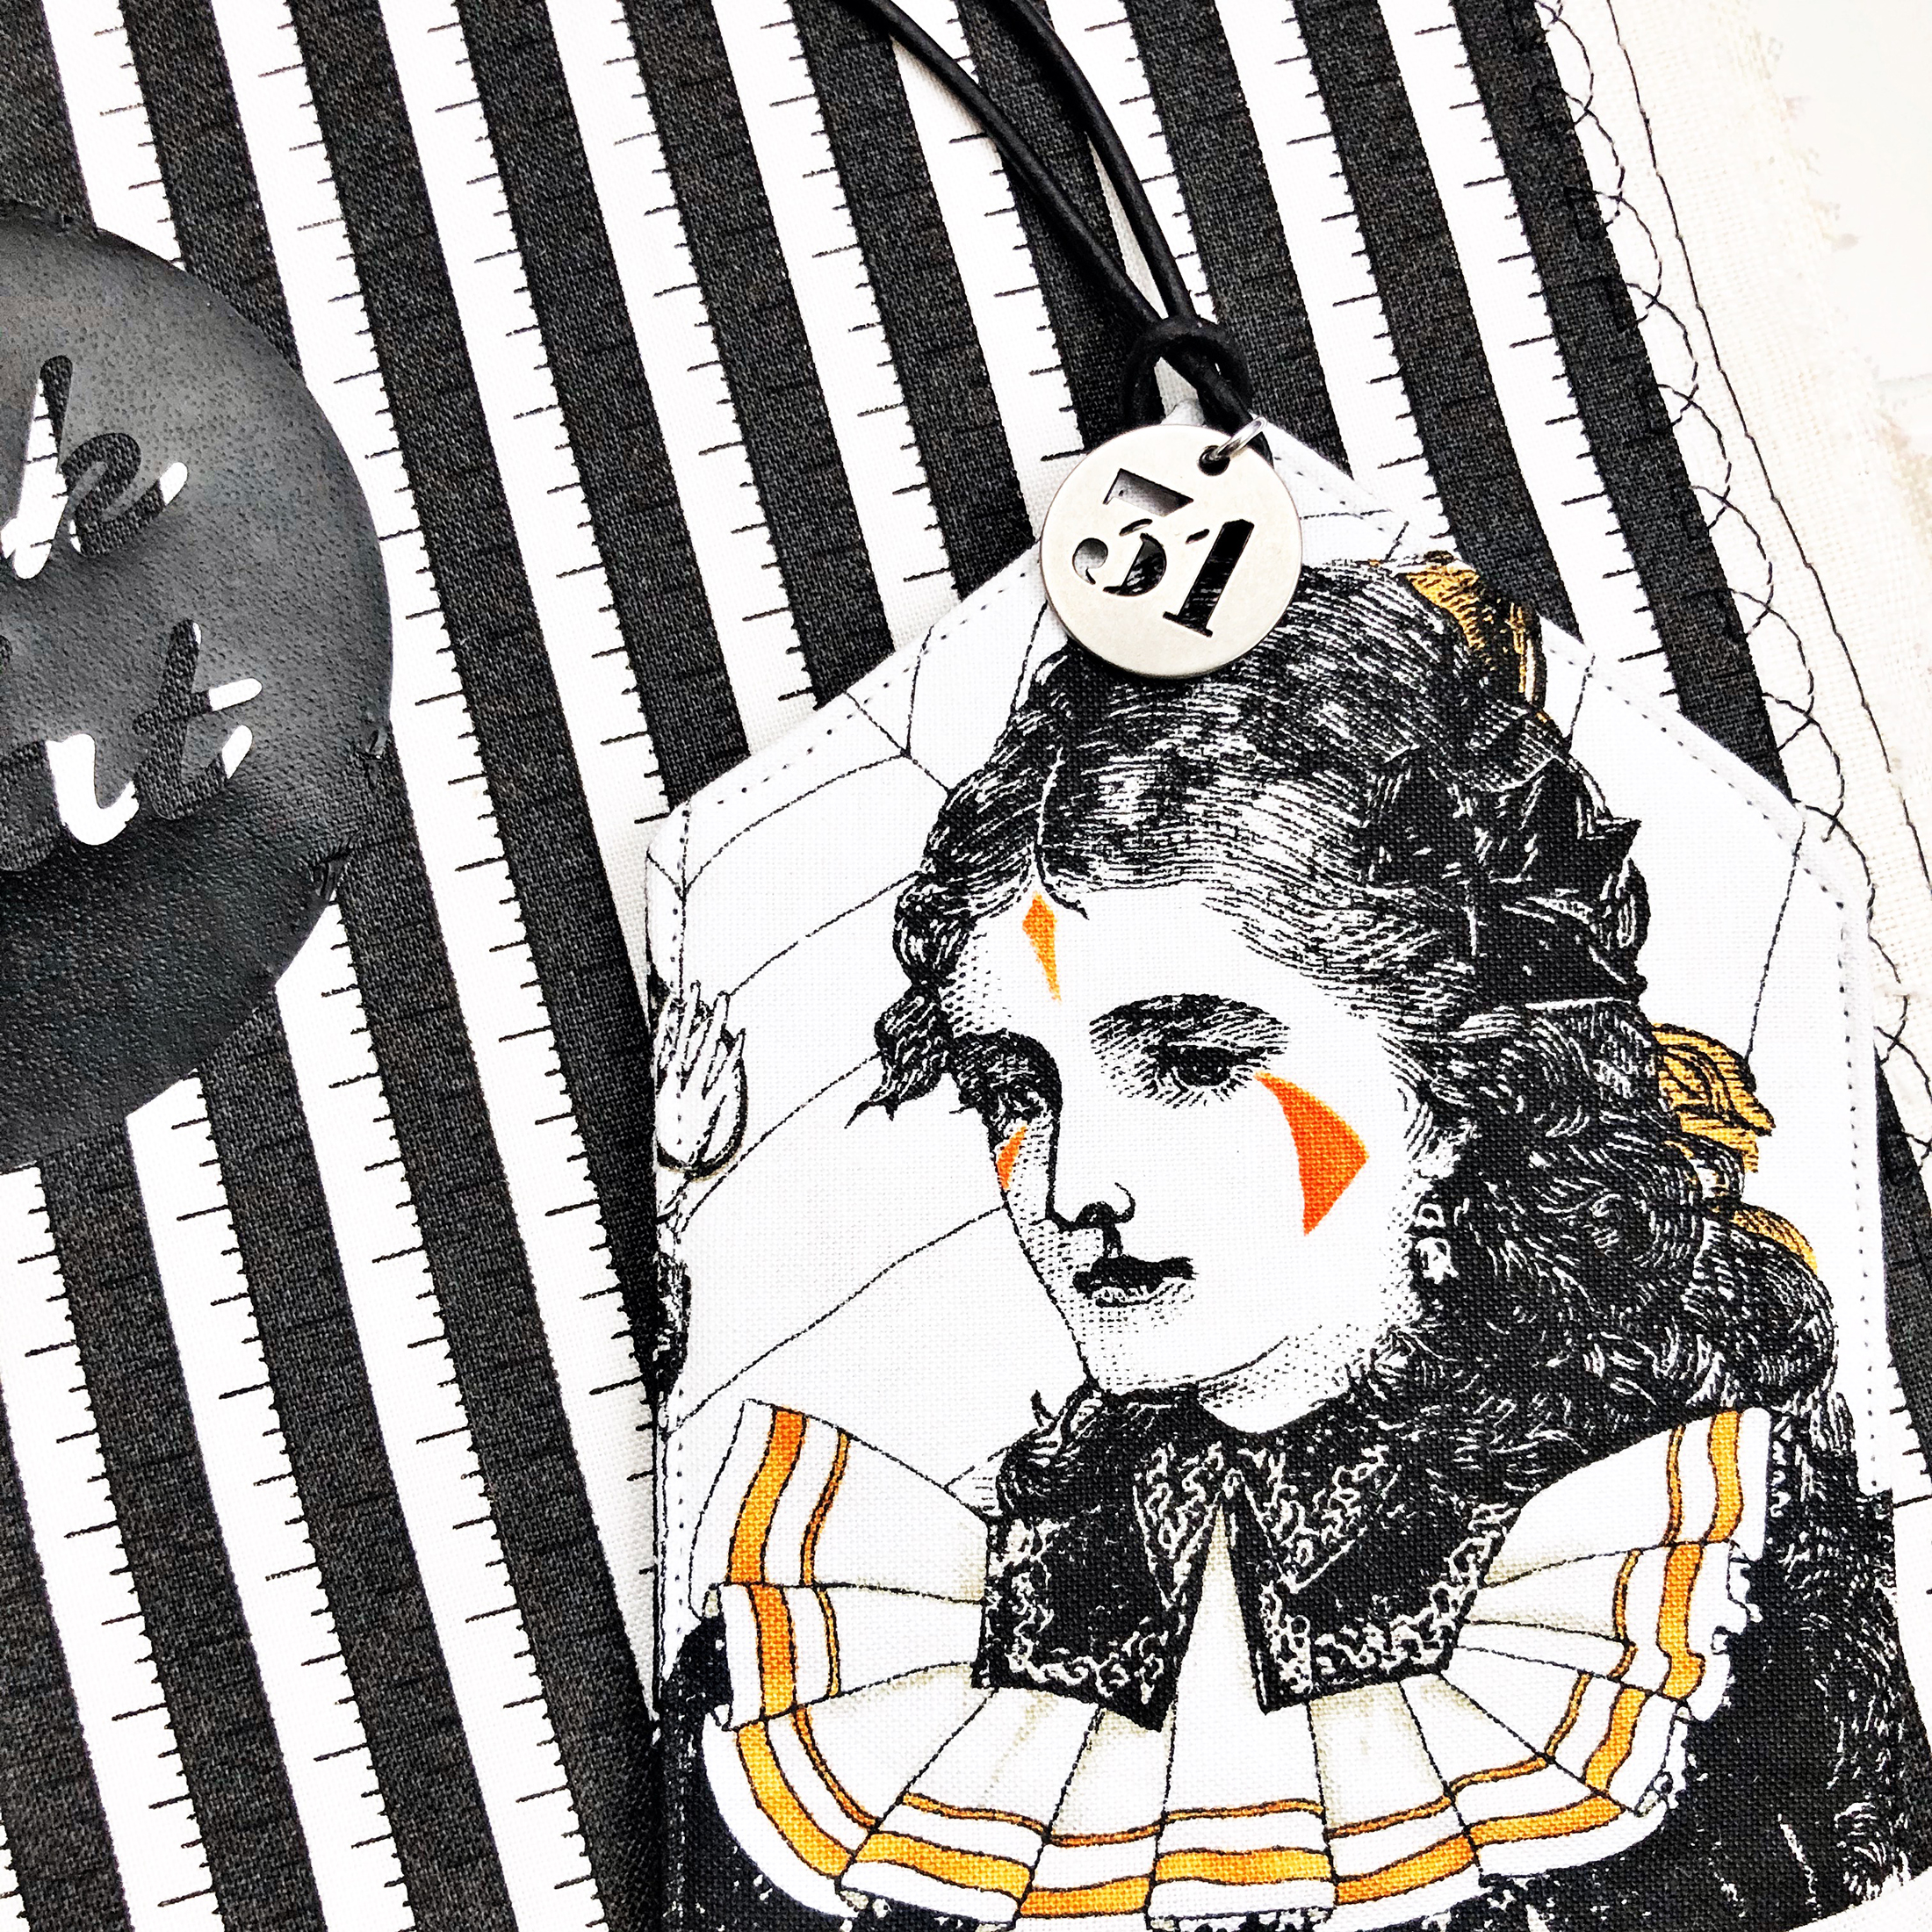
Once you sew all of the tags, punch a hole at the top, and add a piece of leather cording.
Note: Adding a hole in the tag is totally optional. They look great without it.
To add the eyelet, use a pencil or fabric pen to mark were you want the hole to be.
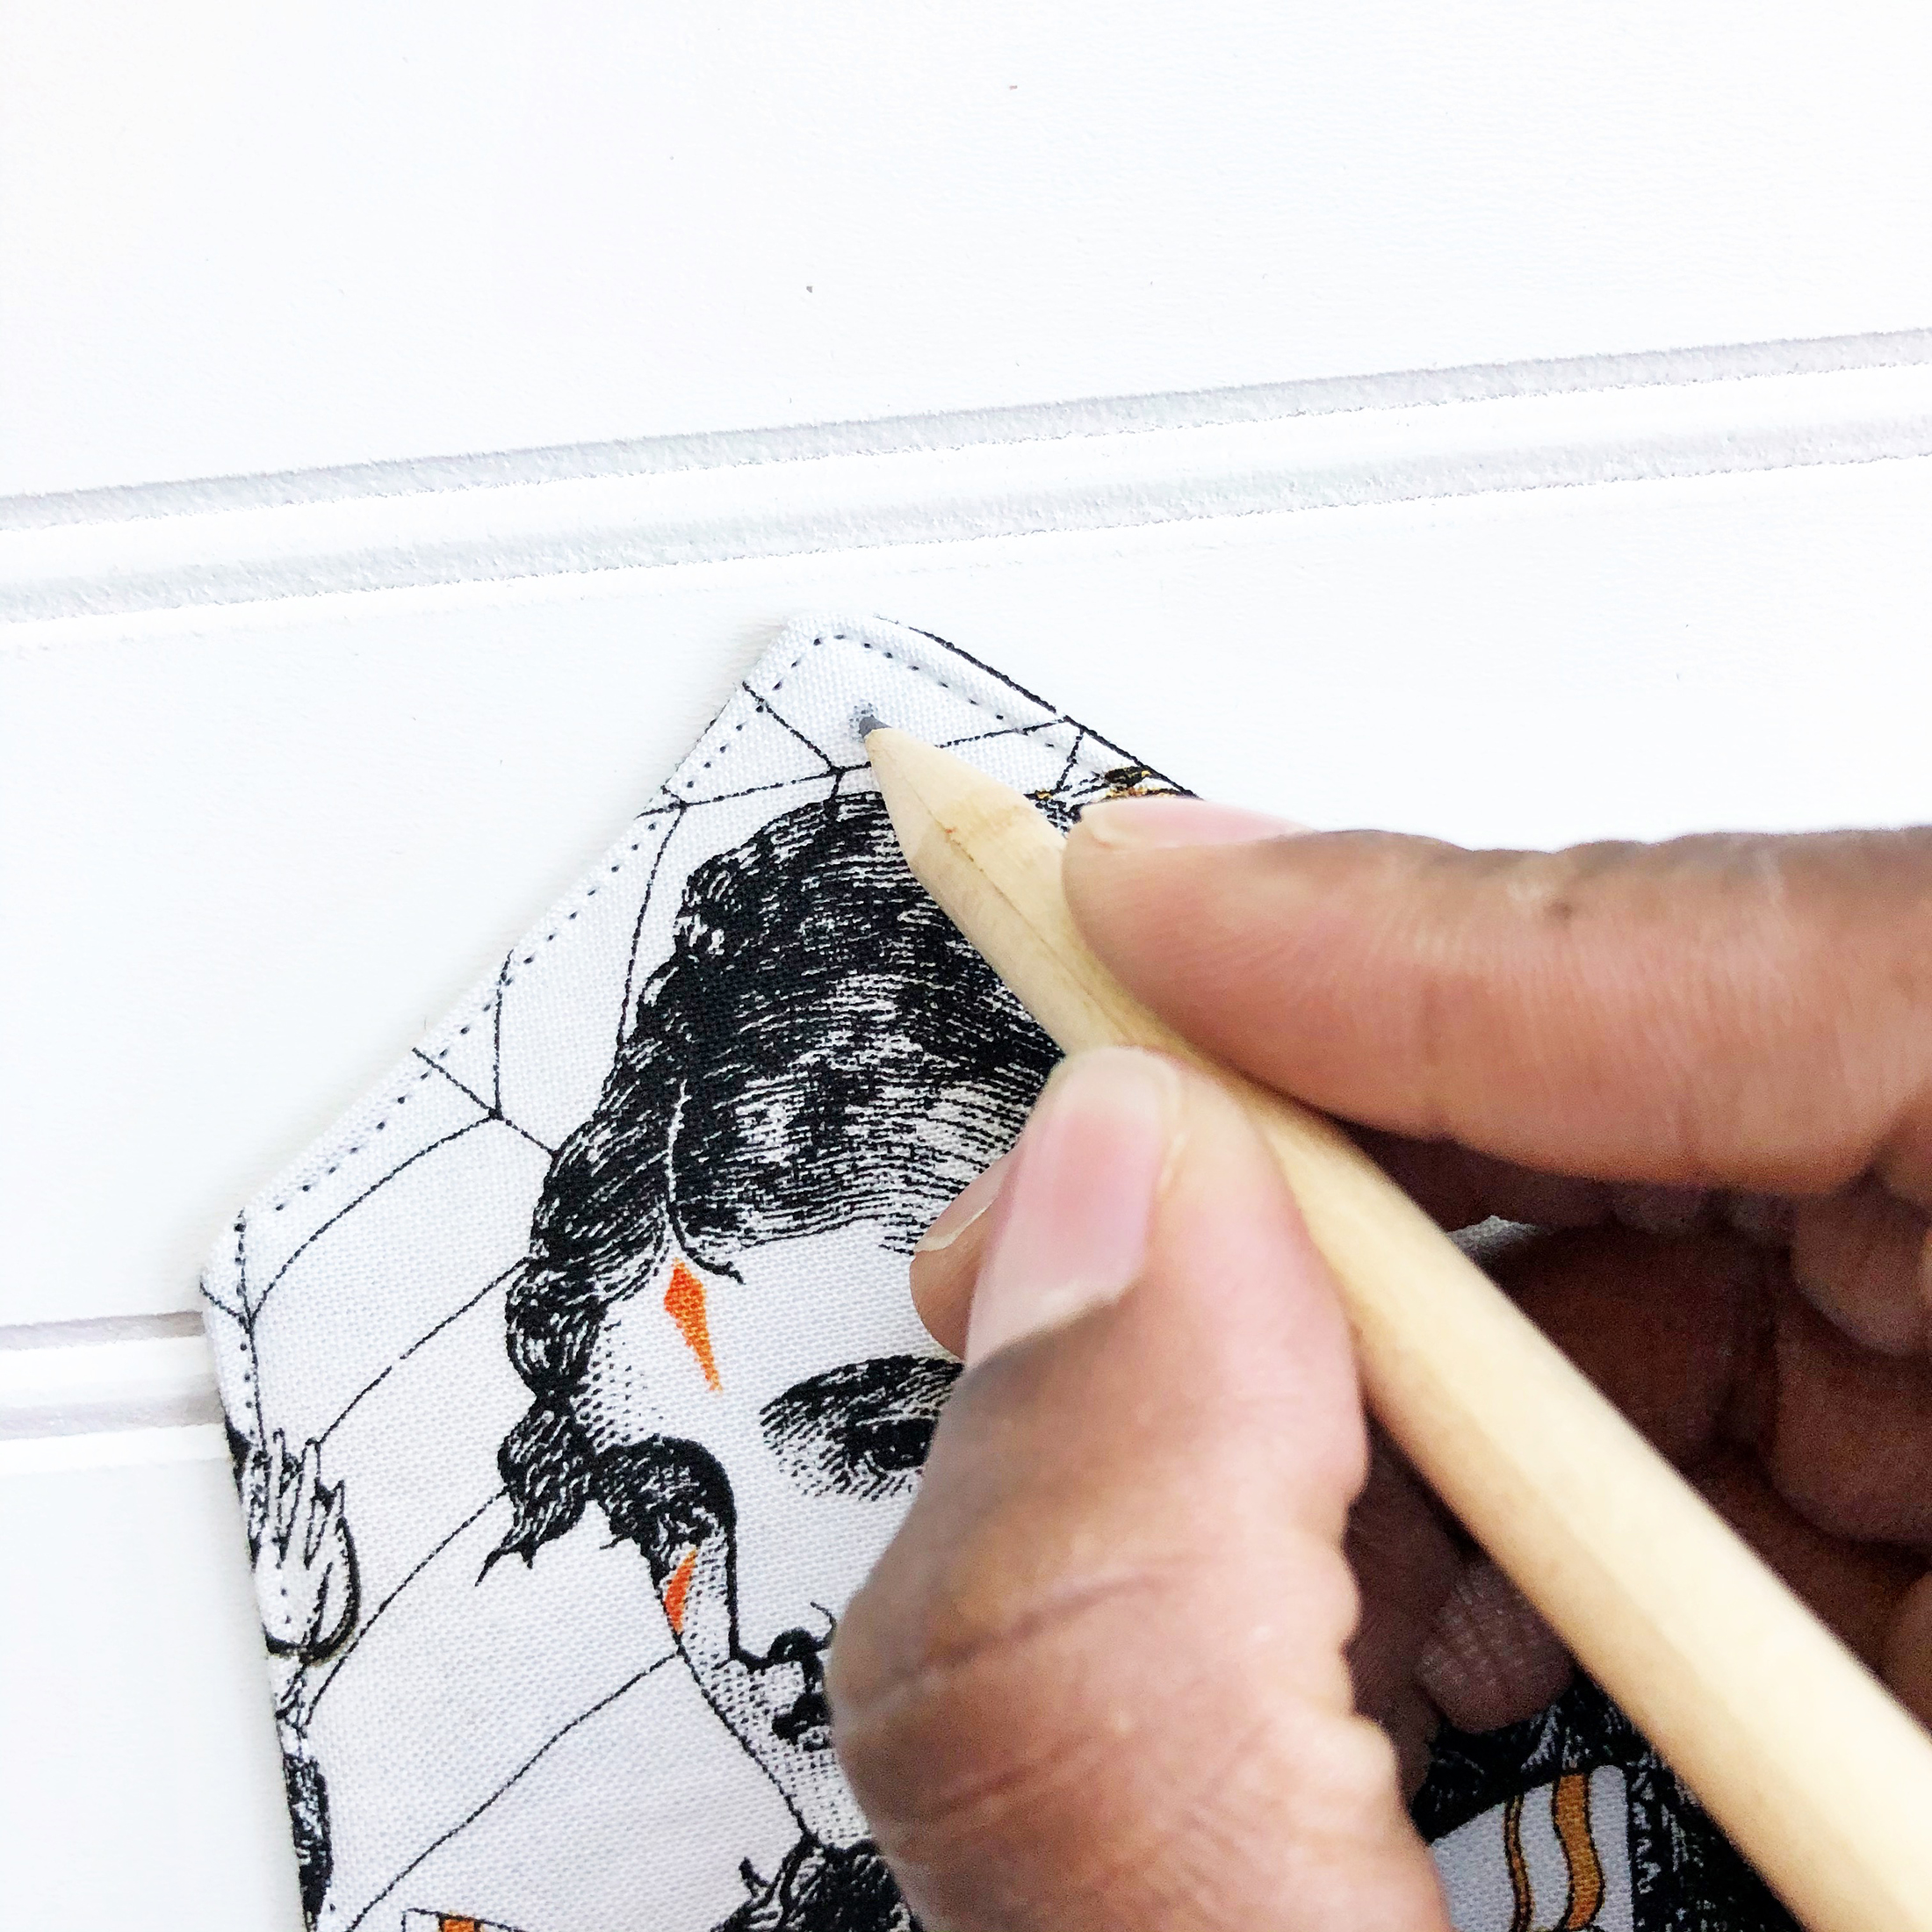
Use a hole punch that cuts fabric to create the hole.
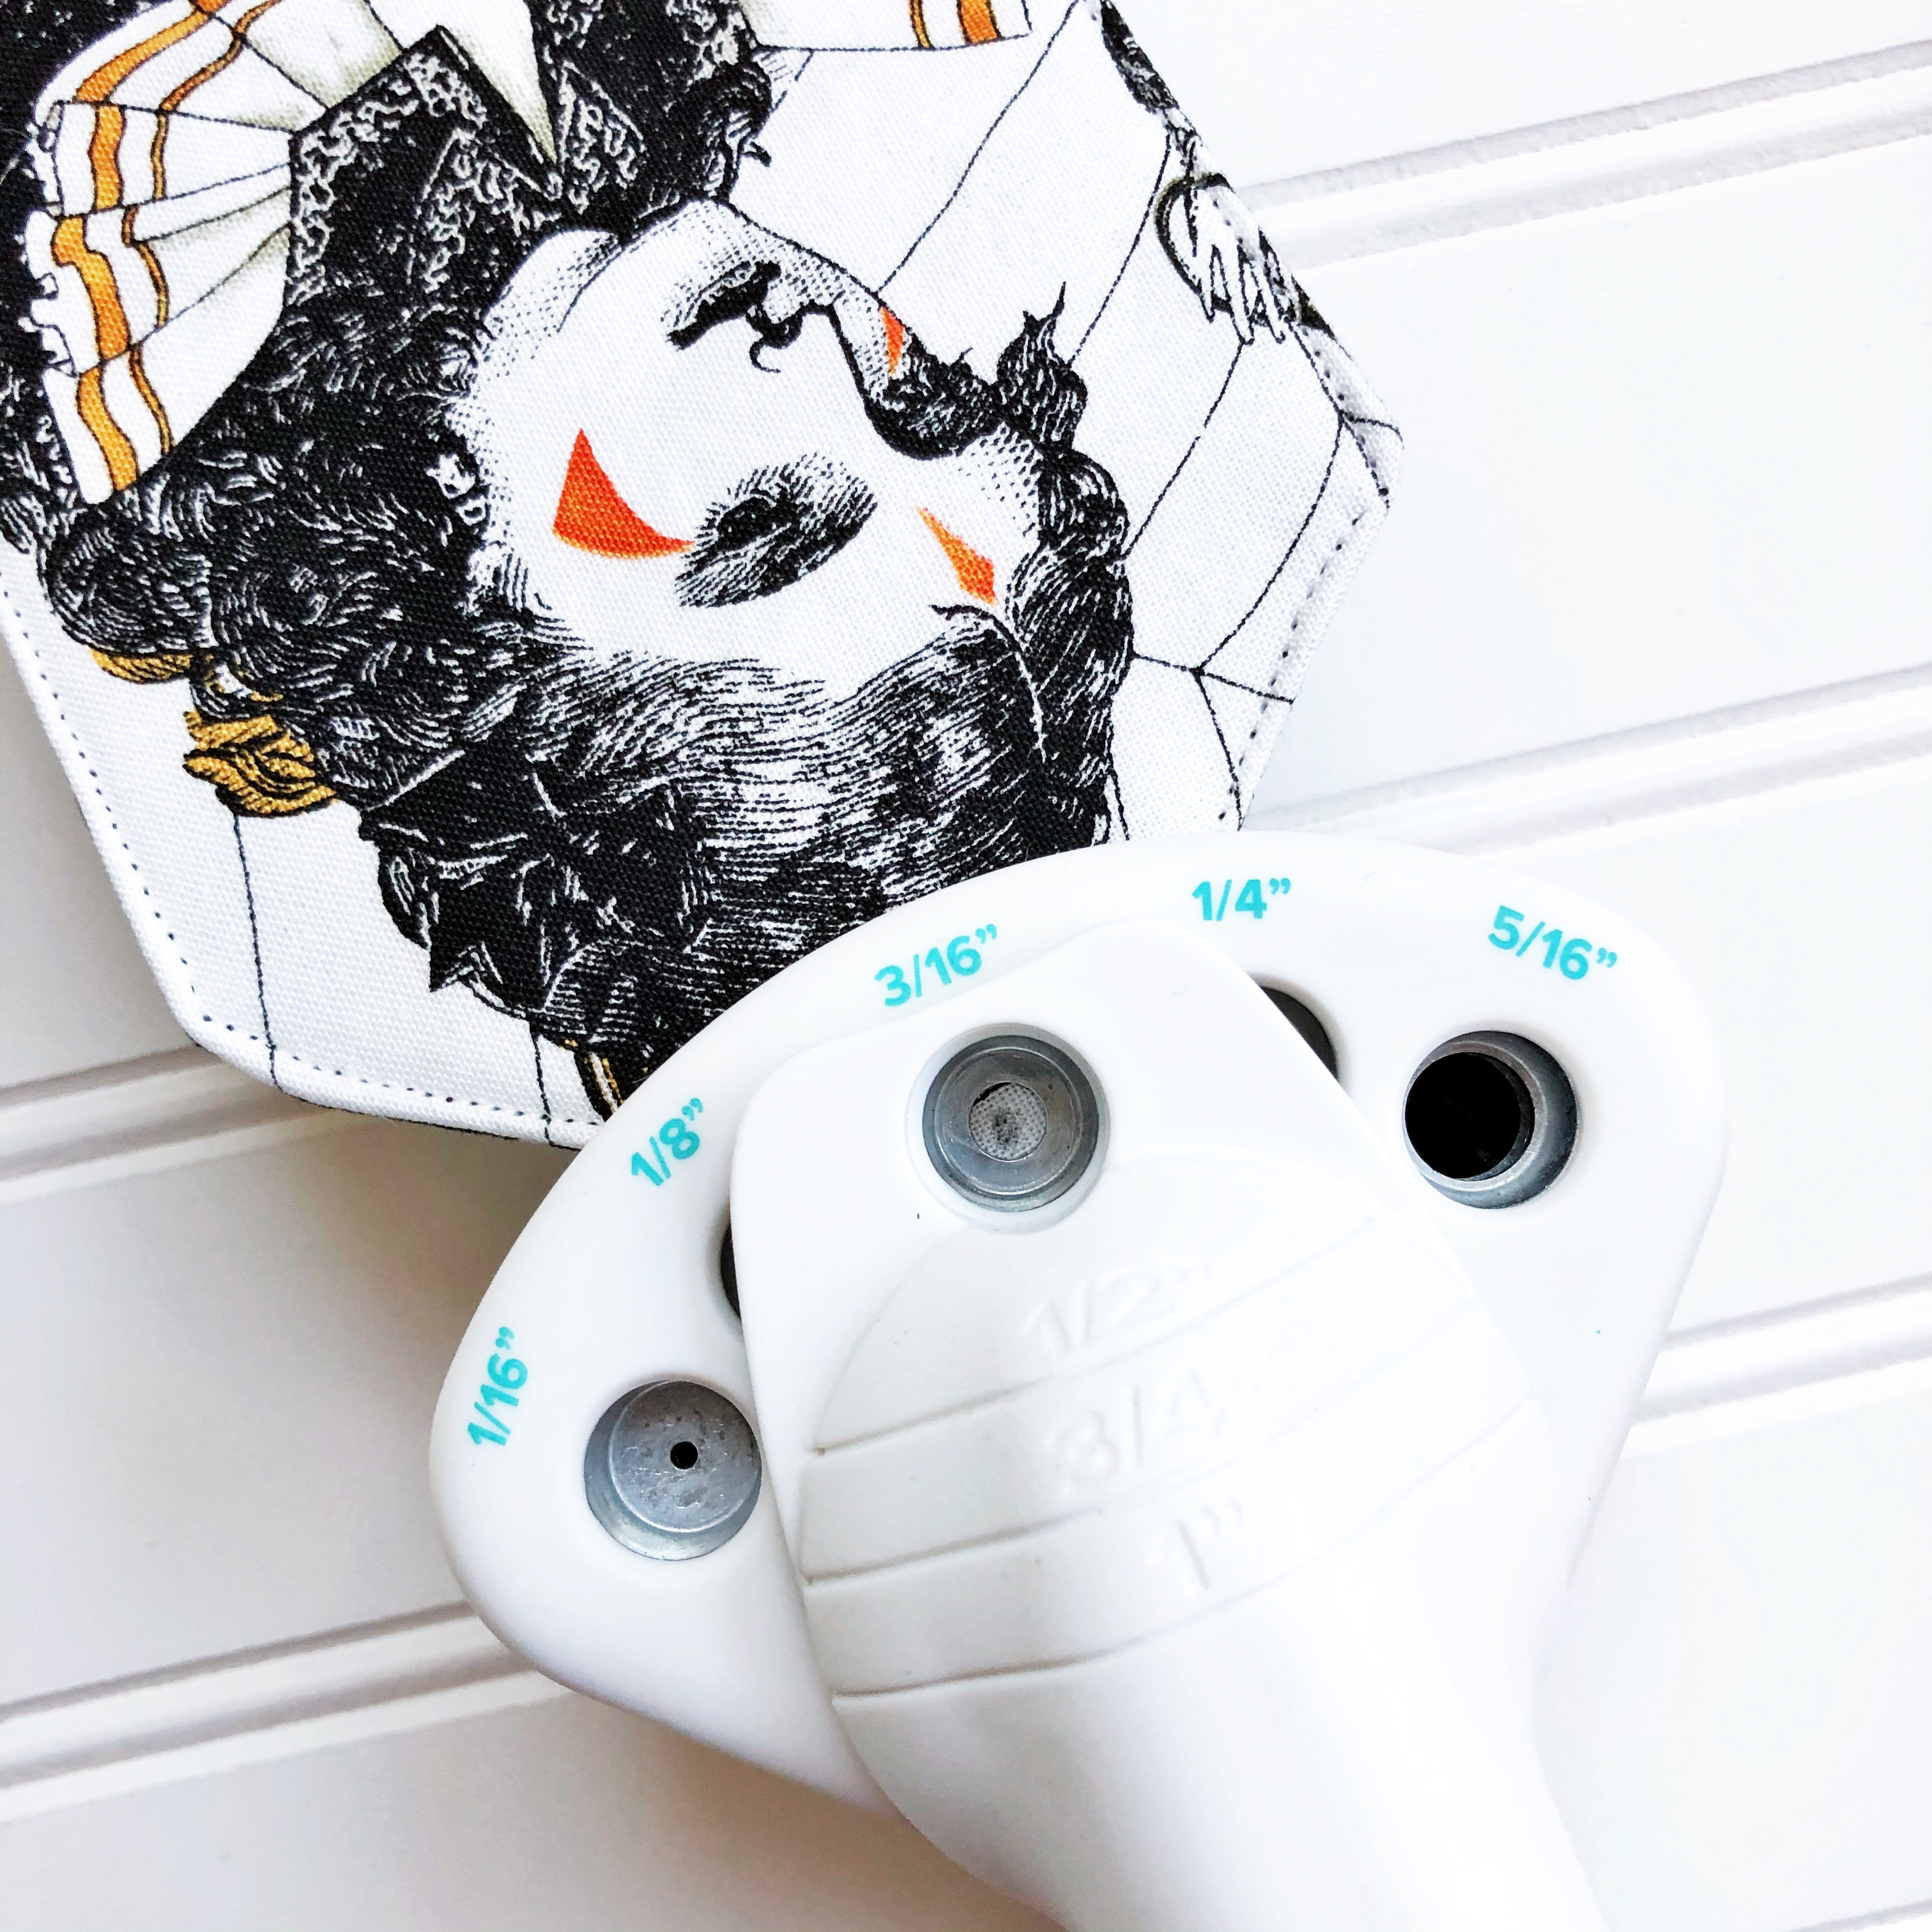
To set the eyelet, use an eyelet setter to place the eyelet.
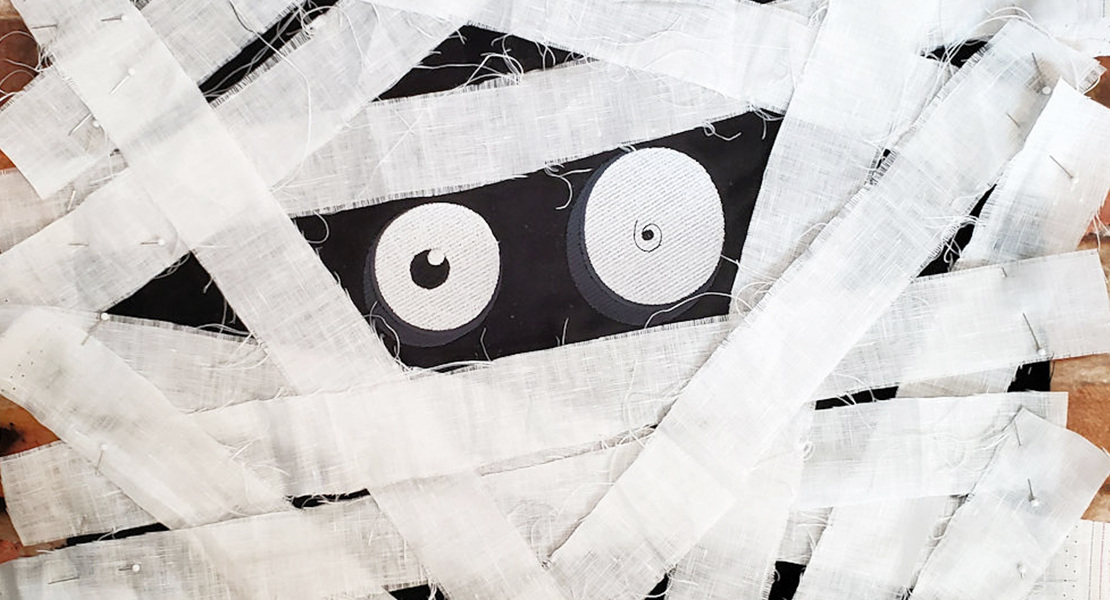
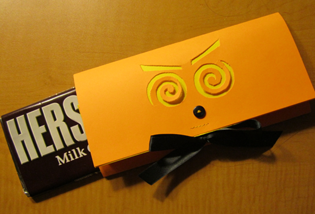
Step 5: Add other embellishments
At this point, you can add other embellishments to the pages before you sew it together.
Step 6: Sew the panels on the book cover
For the front and back cover, sew the panels the same way.
Choose three patterns from the remaining fabric to create three appliques for the cover, both back, and front.
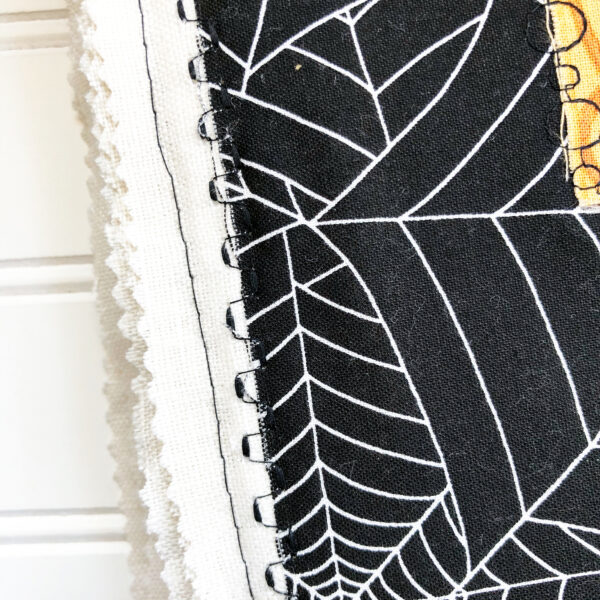
Use a decorative stitch to sew them in place.
Front panel stitches
Back panel stitches
Step 7: Sewing the book together
Stack all of the inside pages on top of each other. Take your time and stitch down the center of the book.
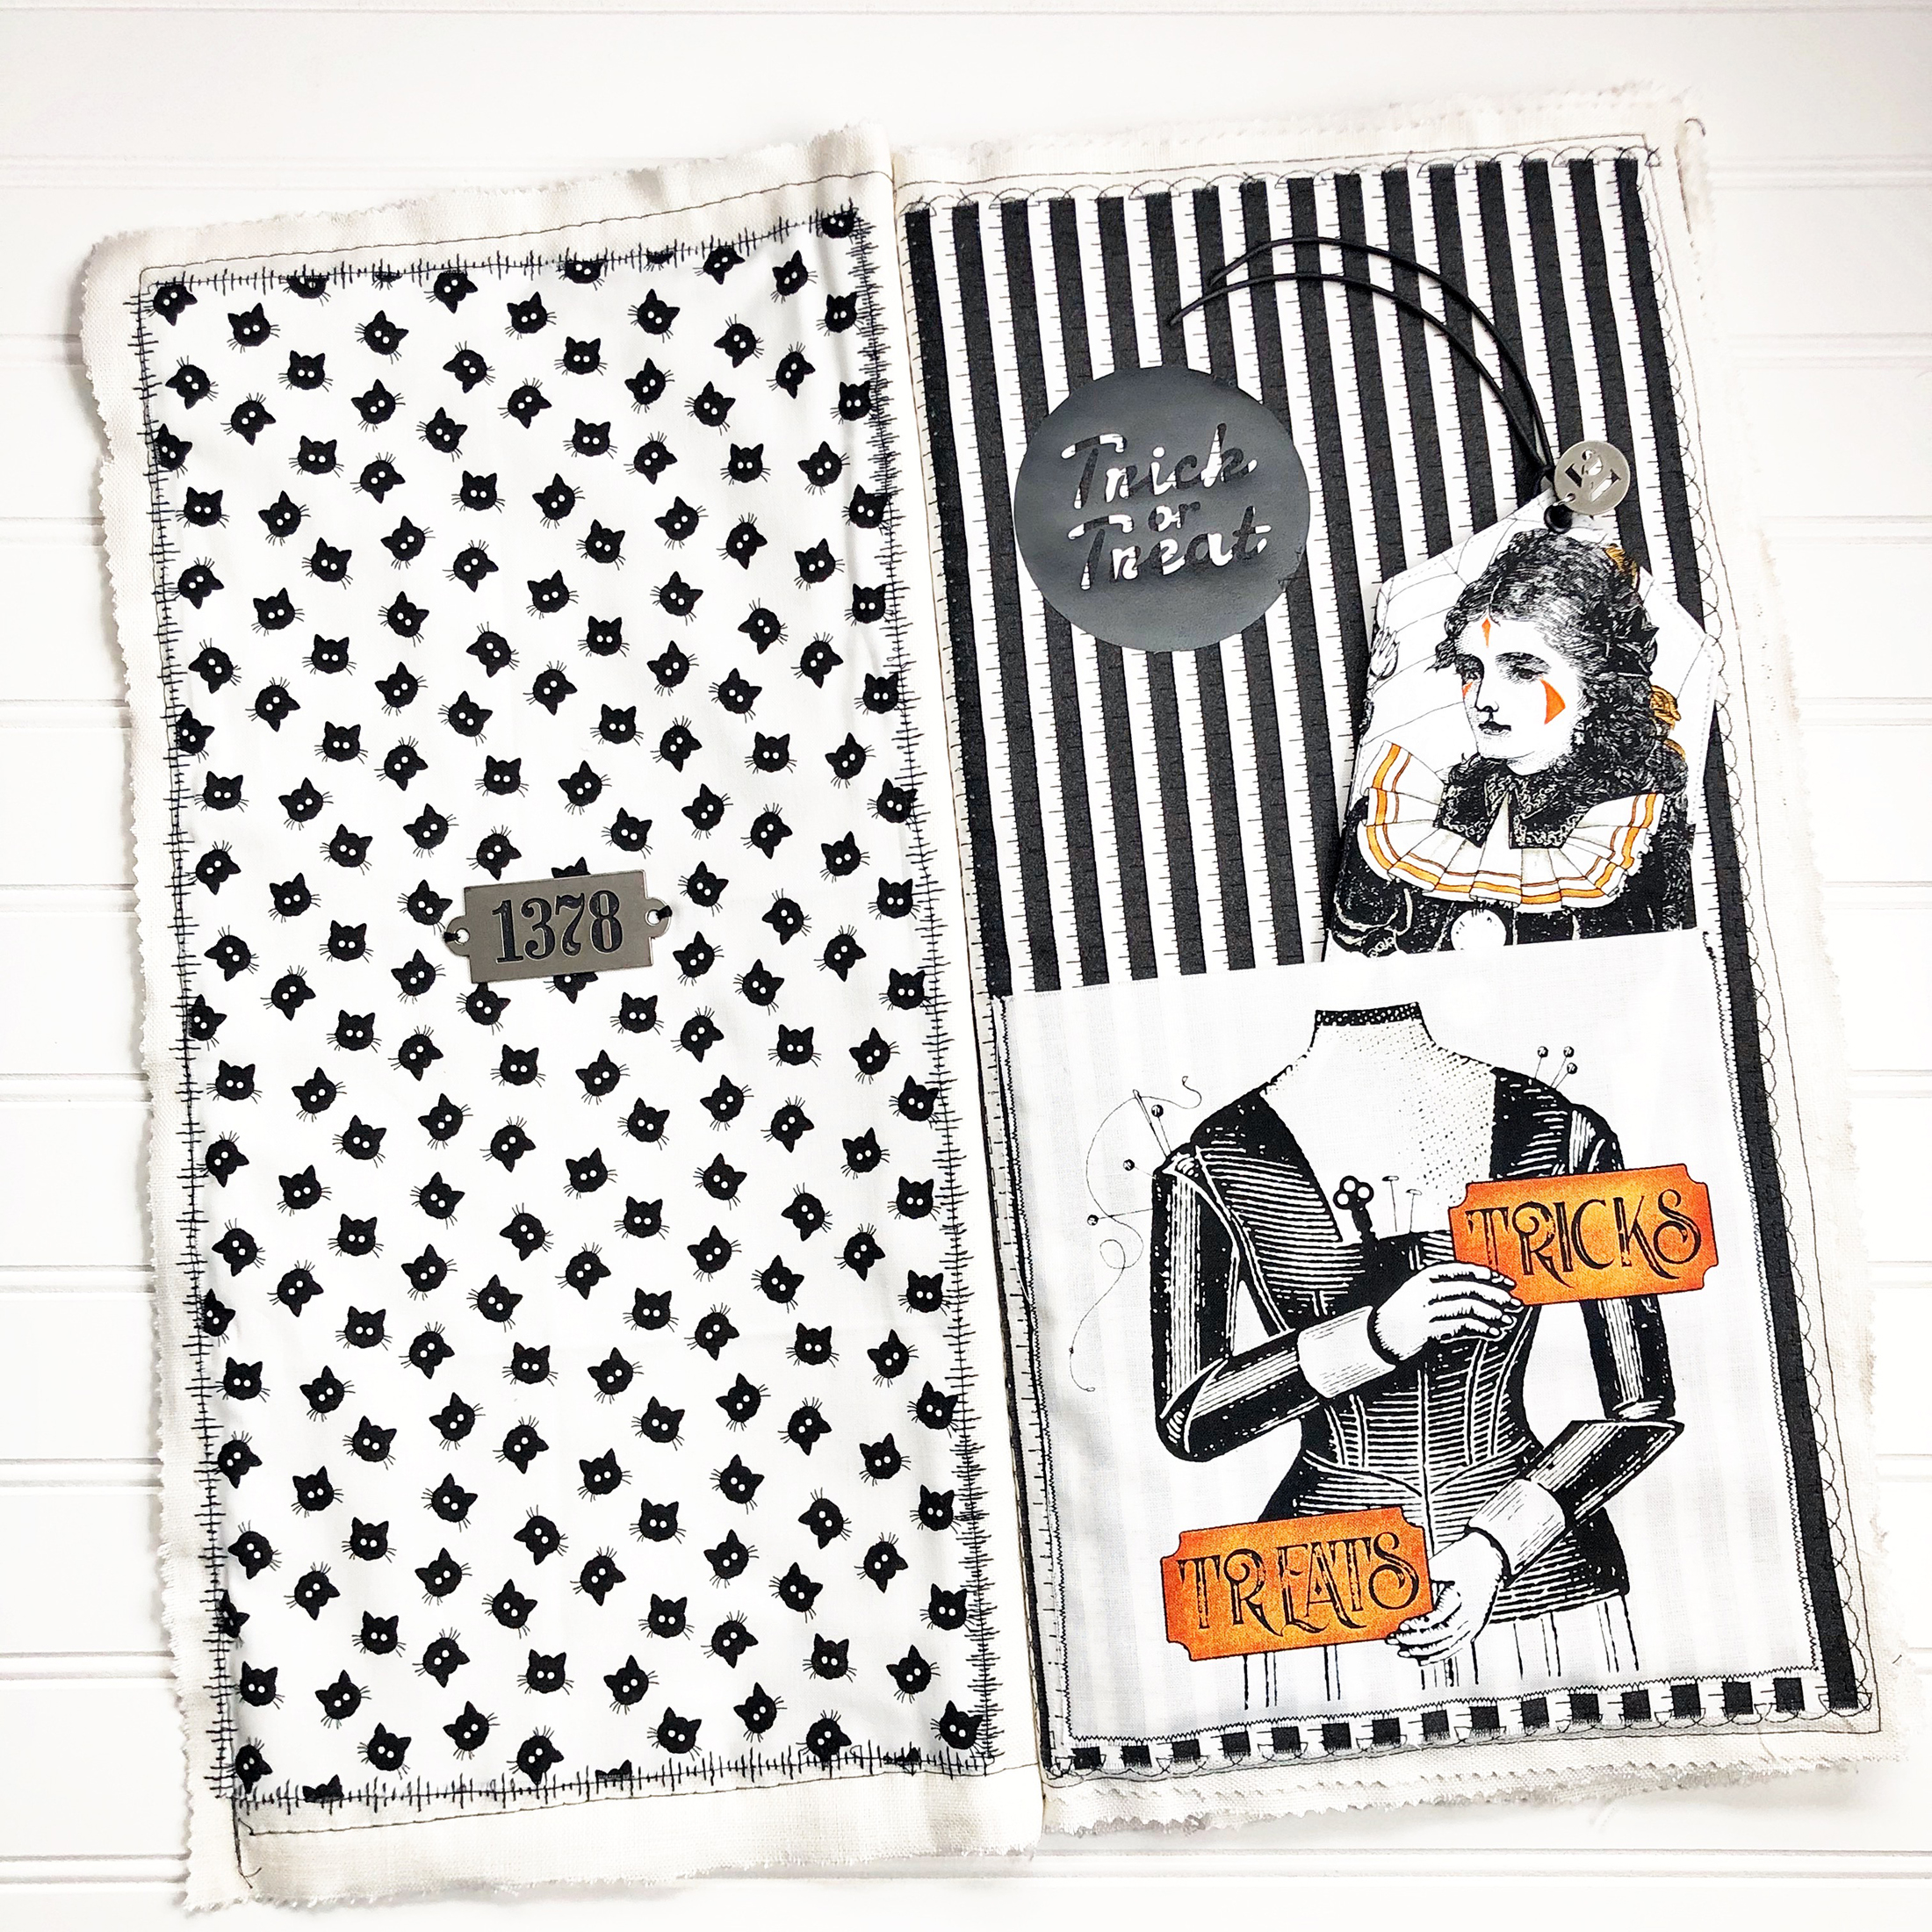
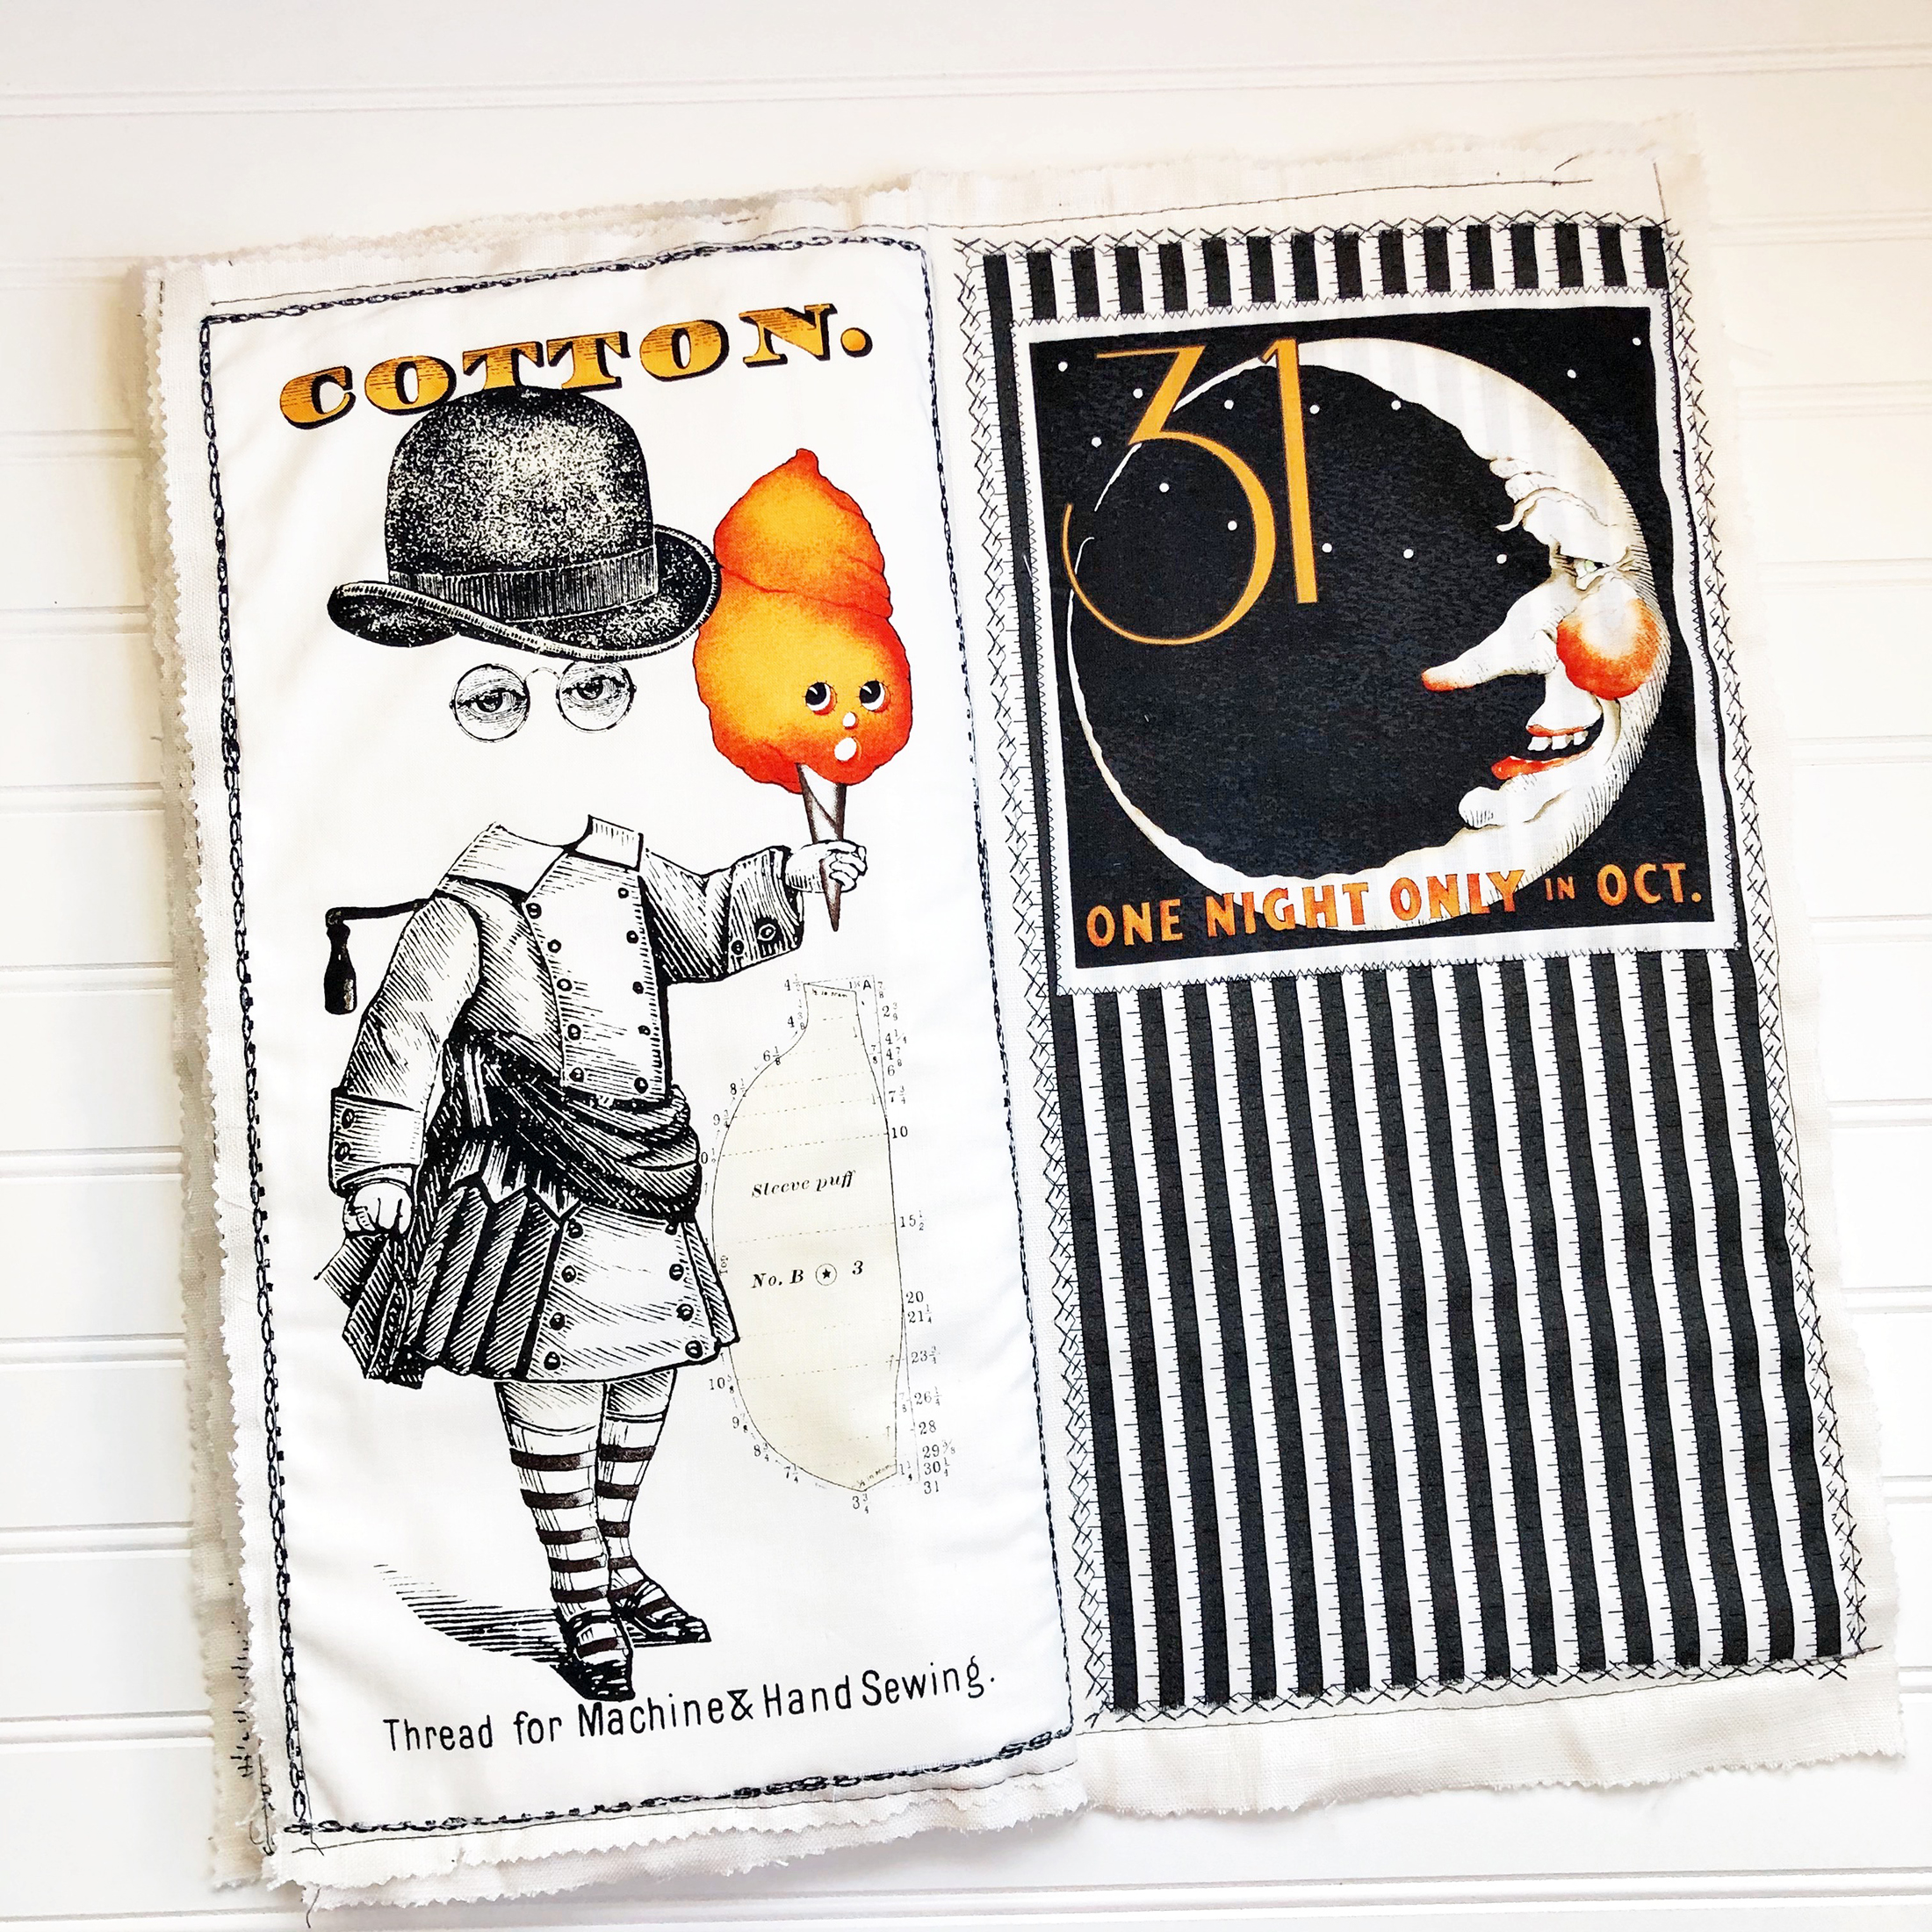
Completed Halloween Scary Book
Front Cover
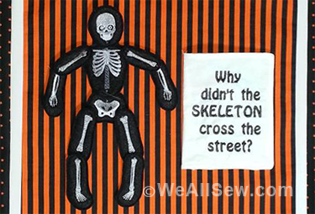
The first and second page
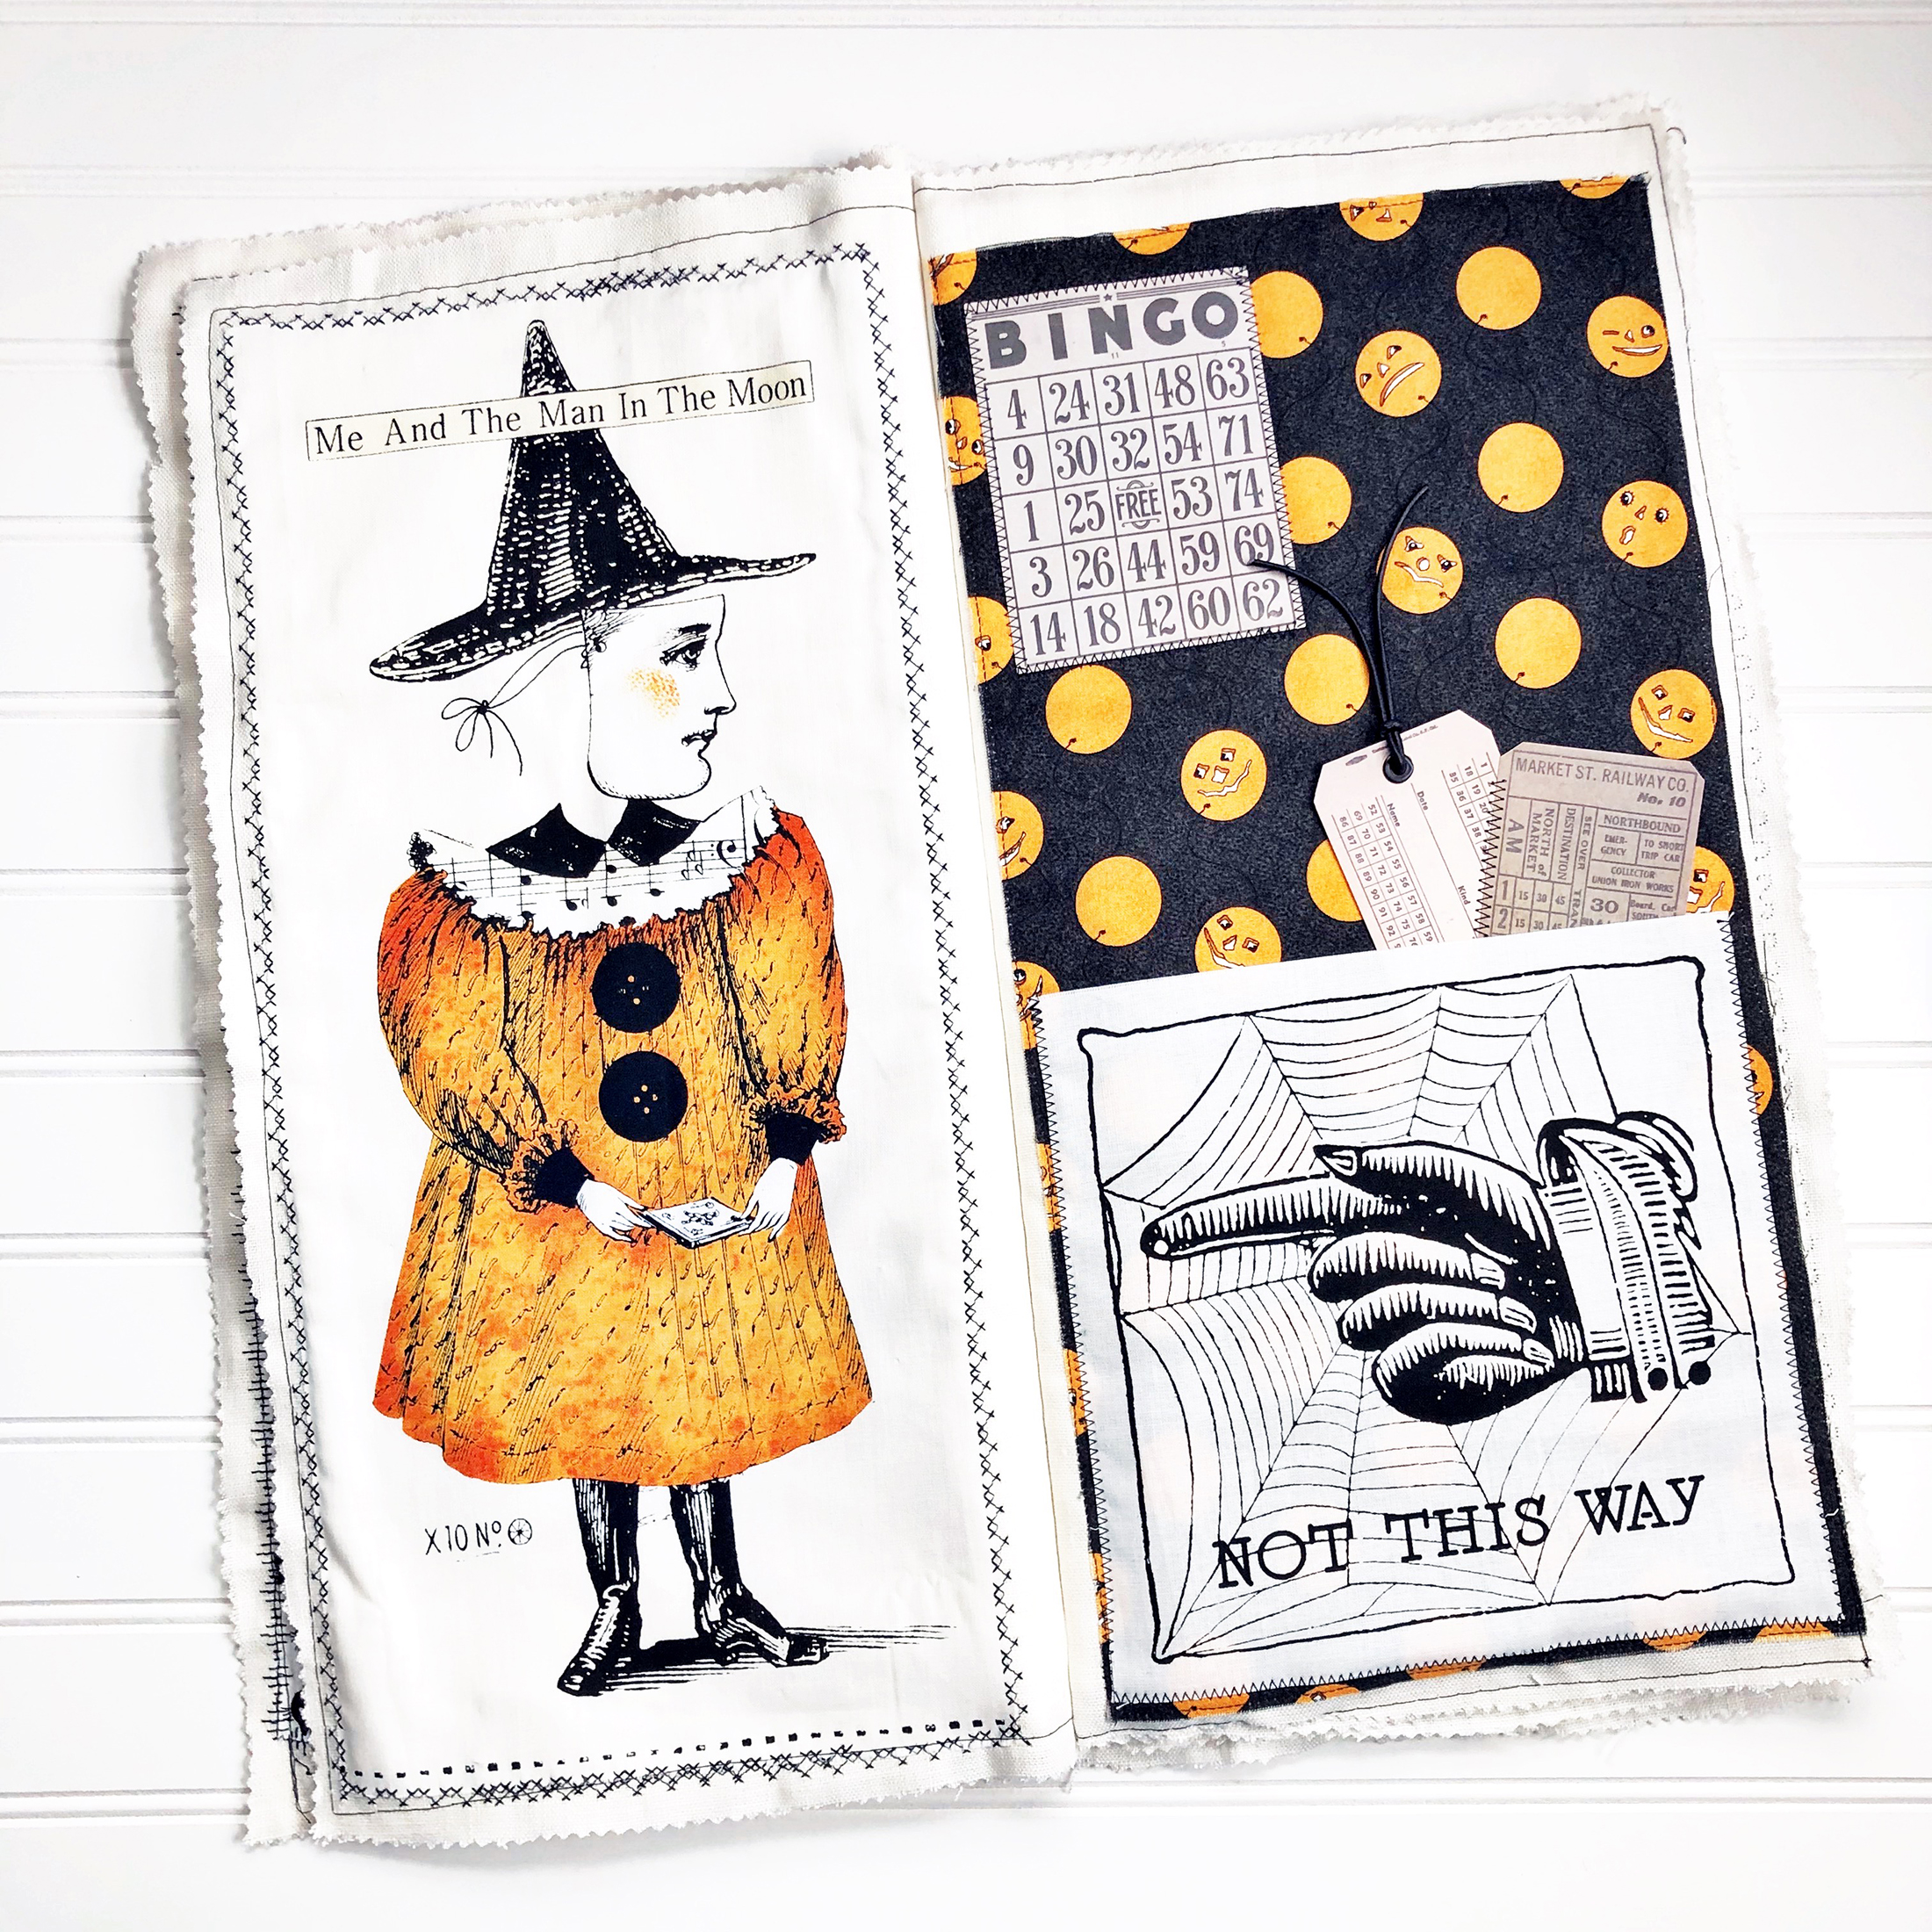
The third and fourth page
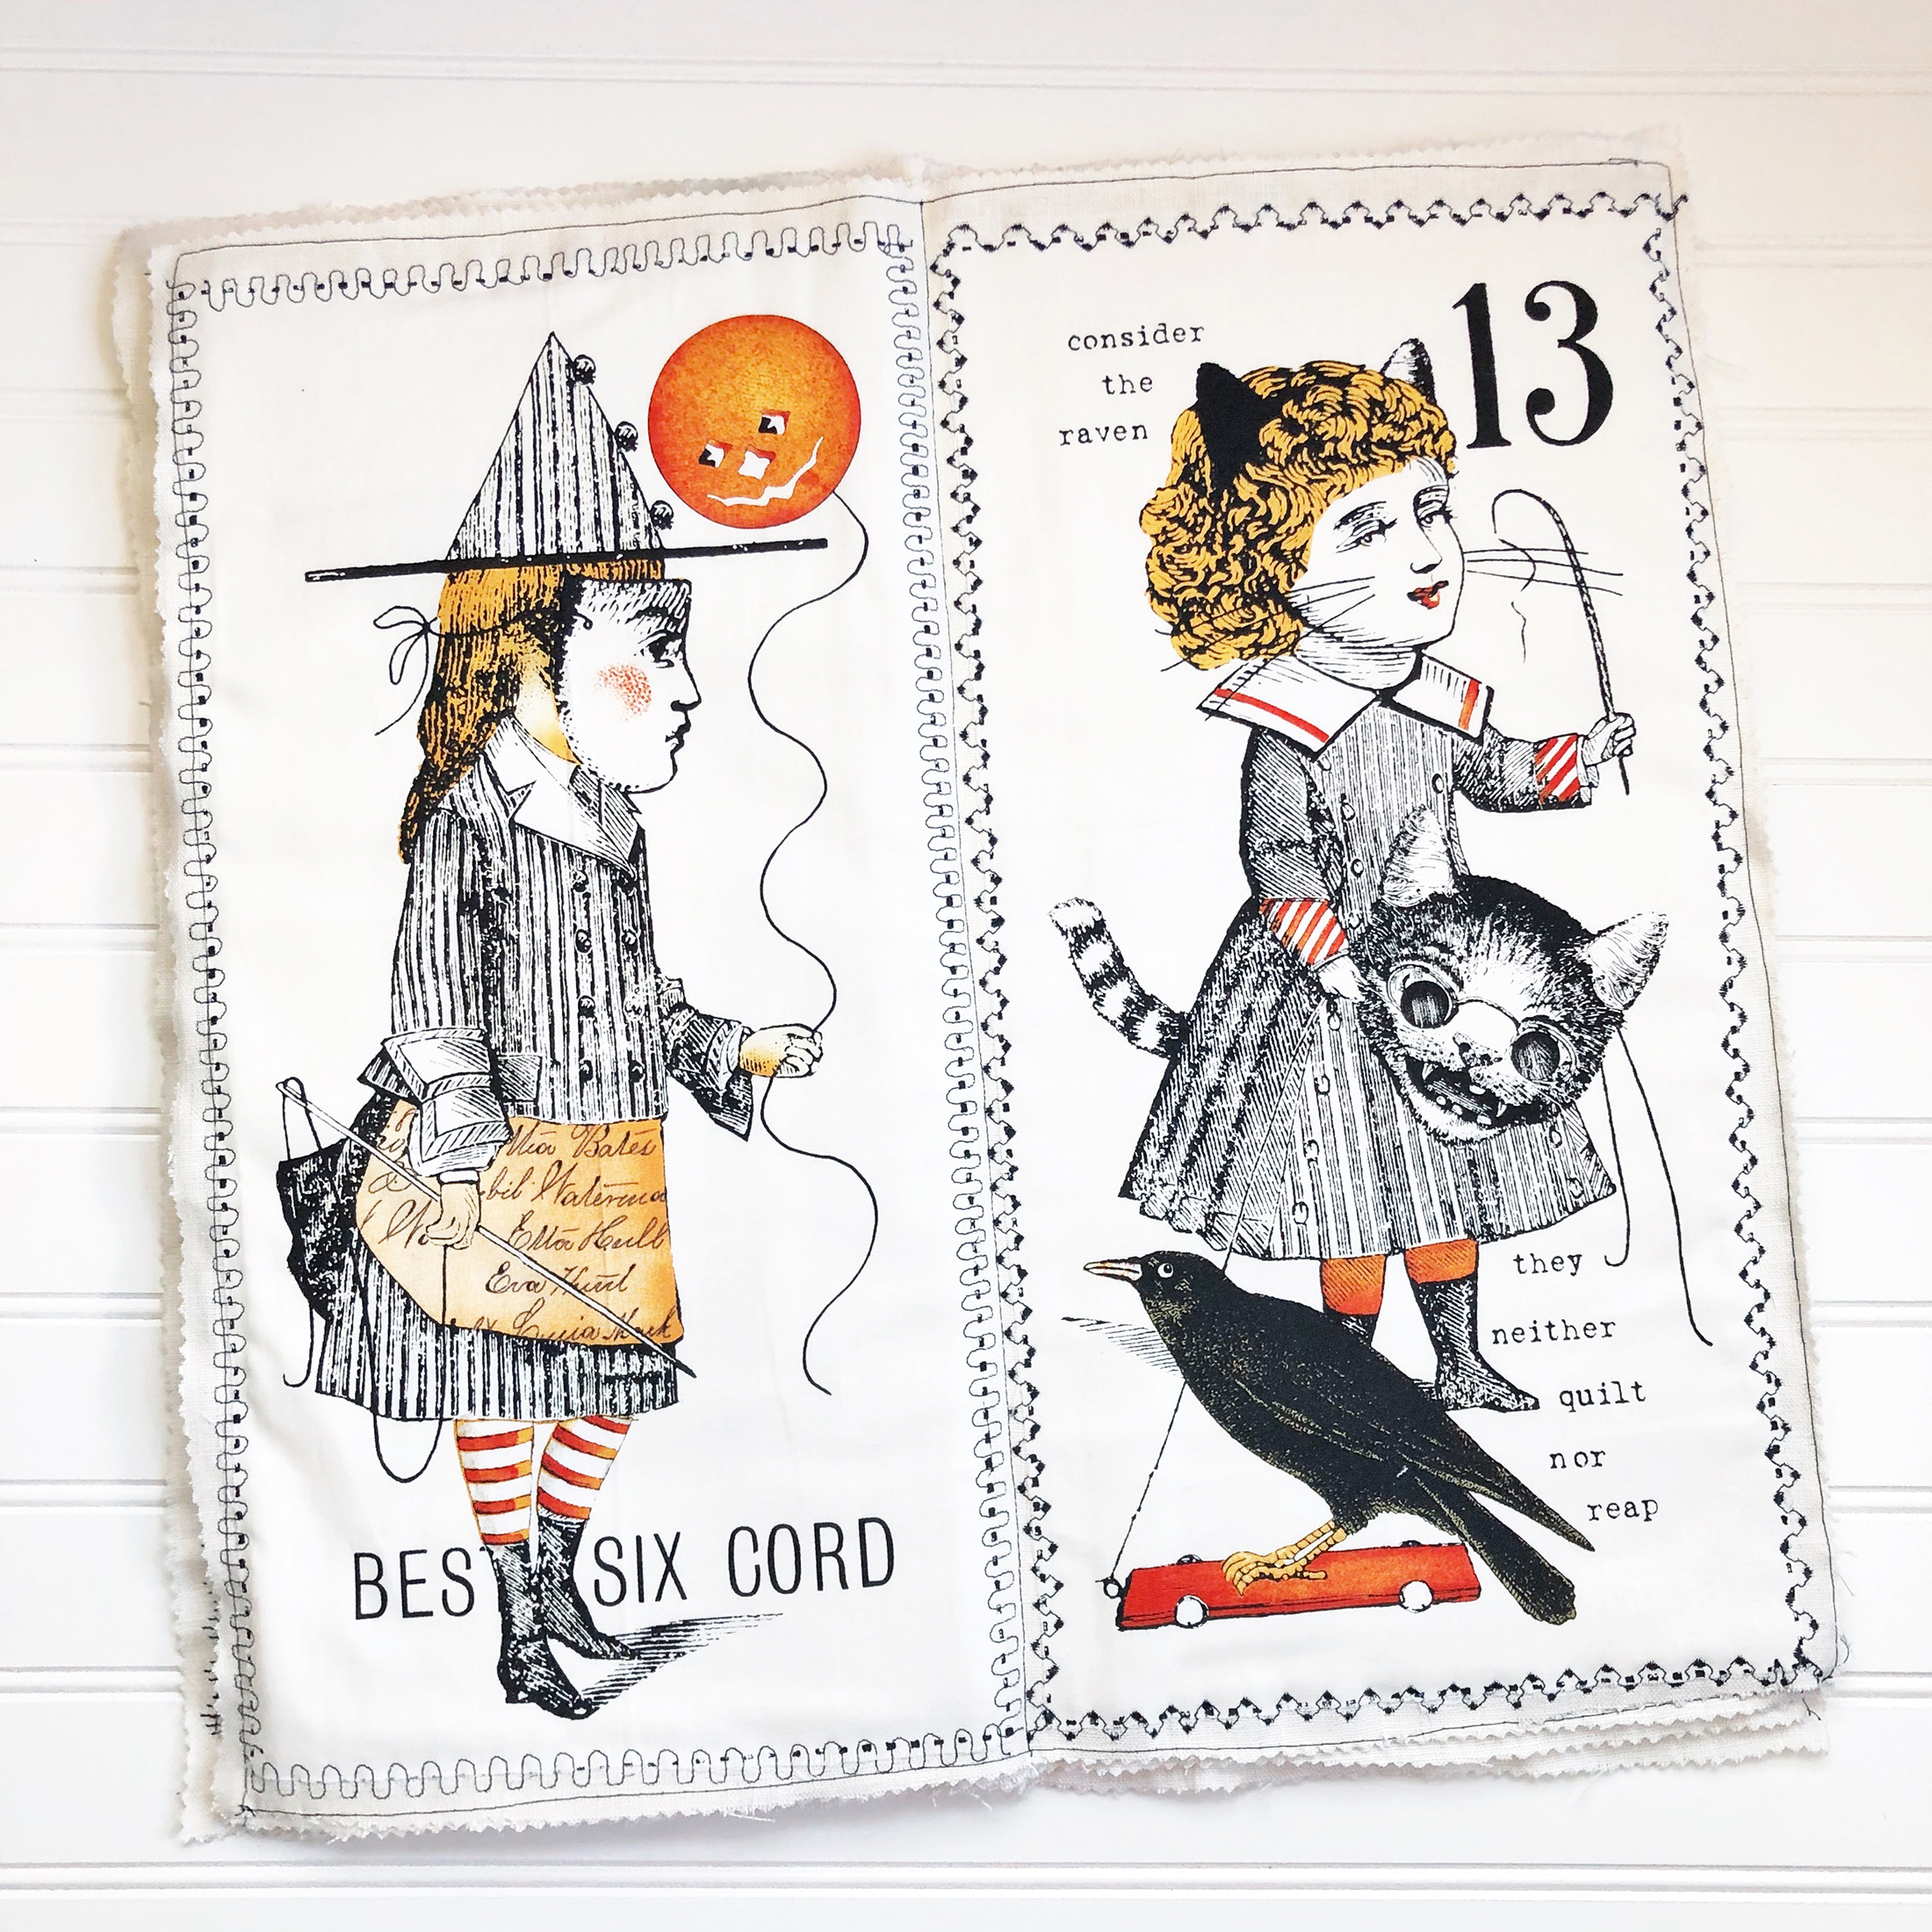
The fifth and sixth page
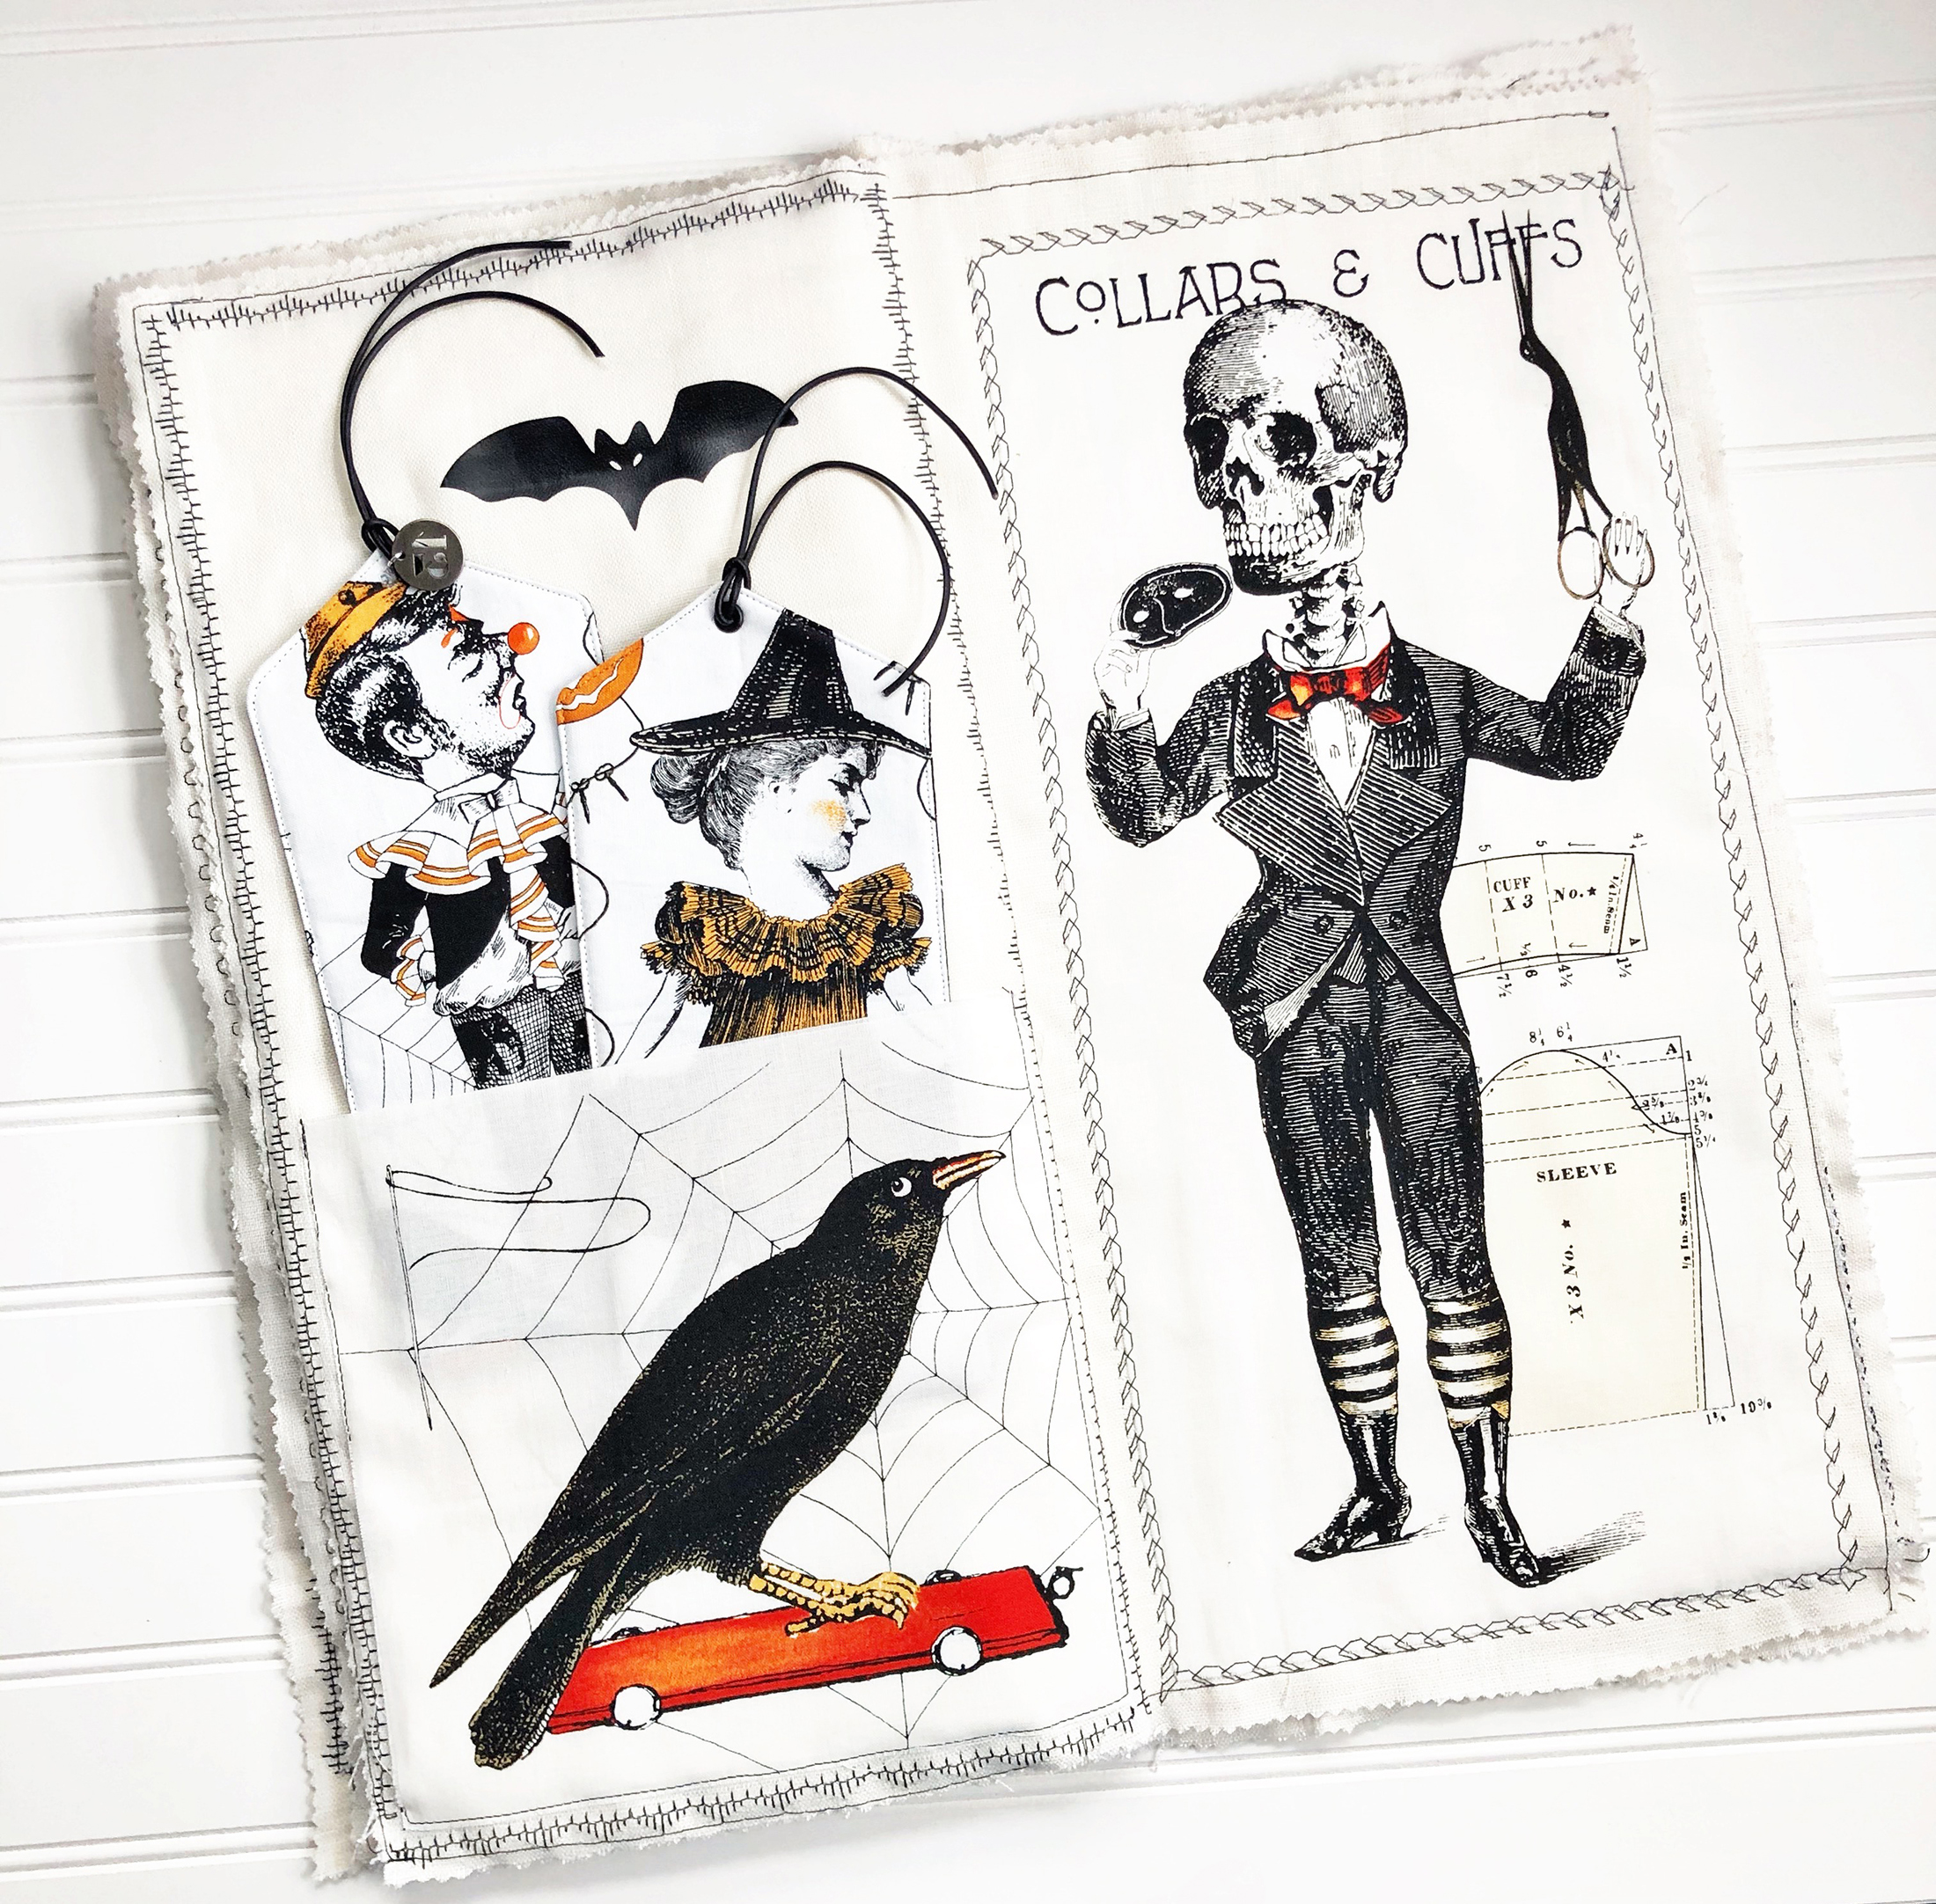
The seventh and eighth page
The ninth and tenth page
Back Cover
Such a cute book to have on a table for Halloween. You can take this tutorial and create fabric books for other holidays.


What you might also like


2 comments on “Halloween Scary Book Tutorial”
-
-
Hello Kristina!! That eyelet punch tool is called We R Memory Keepers Crop-A-Dile Multi-Punch Tool. It’s a paper crafting tool that punches fabric, even leather.
-
Leave a Reply
You must be logged in to post a comment.

What is the eyelet punch tool you used?