Spooky Halloween Bat Tutorial
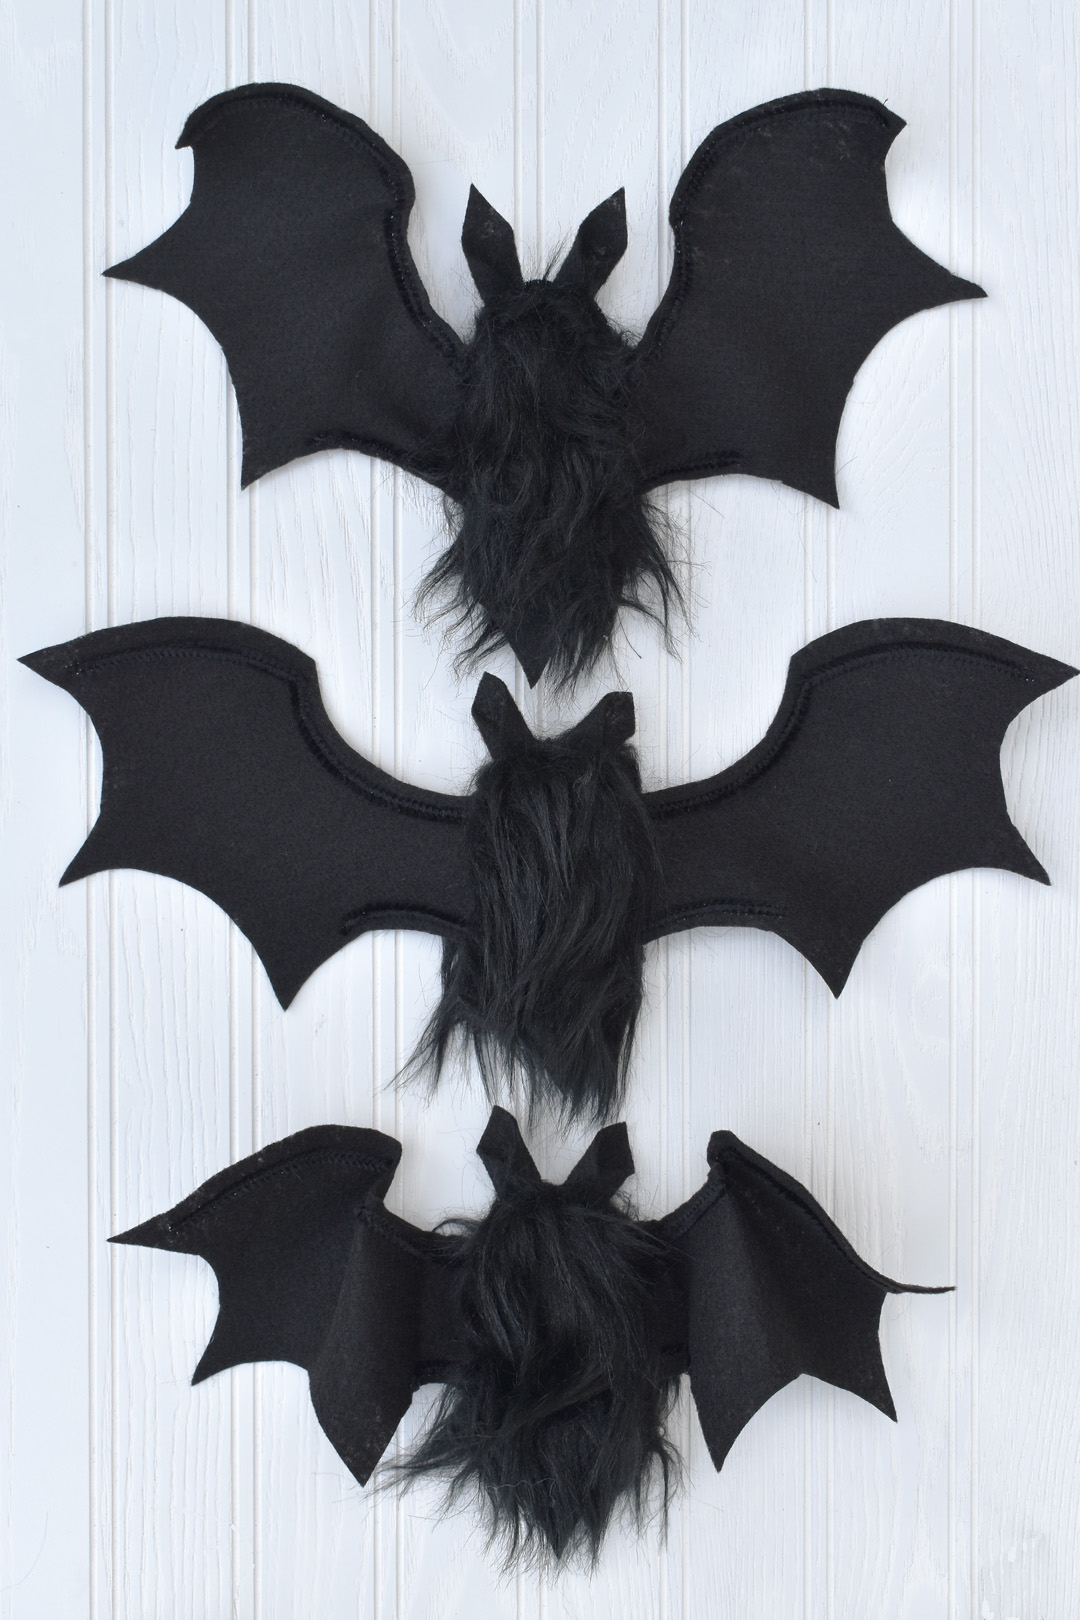
Make a cauldron of bats just in time for Halloween with this simple sewing tutorial. These spooky bats feature fuzzy, faux fur bodies about 6″ tall and wired felt wings about 15″ across.
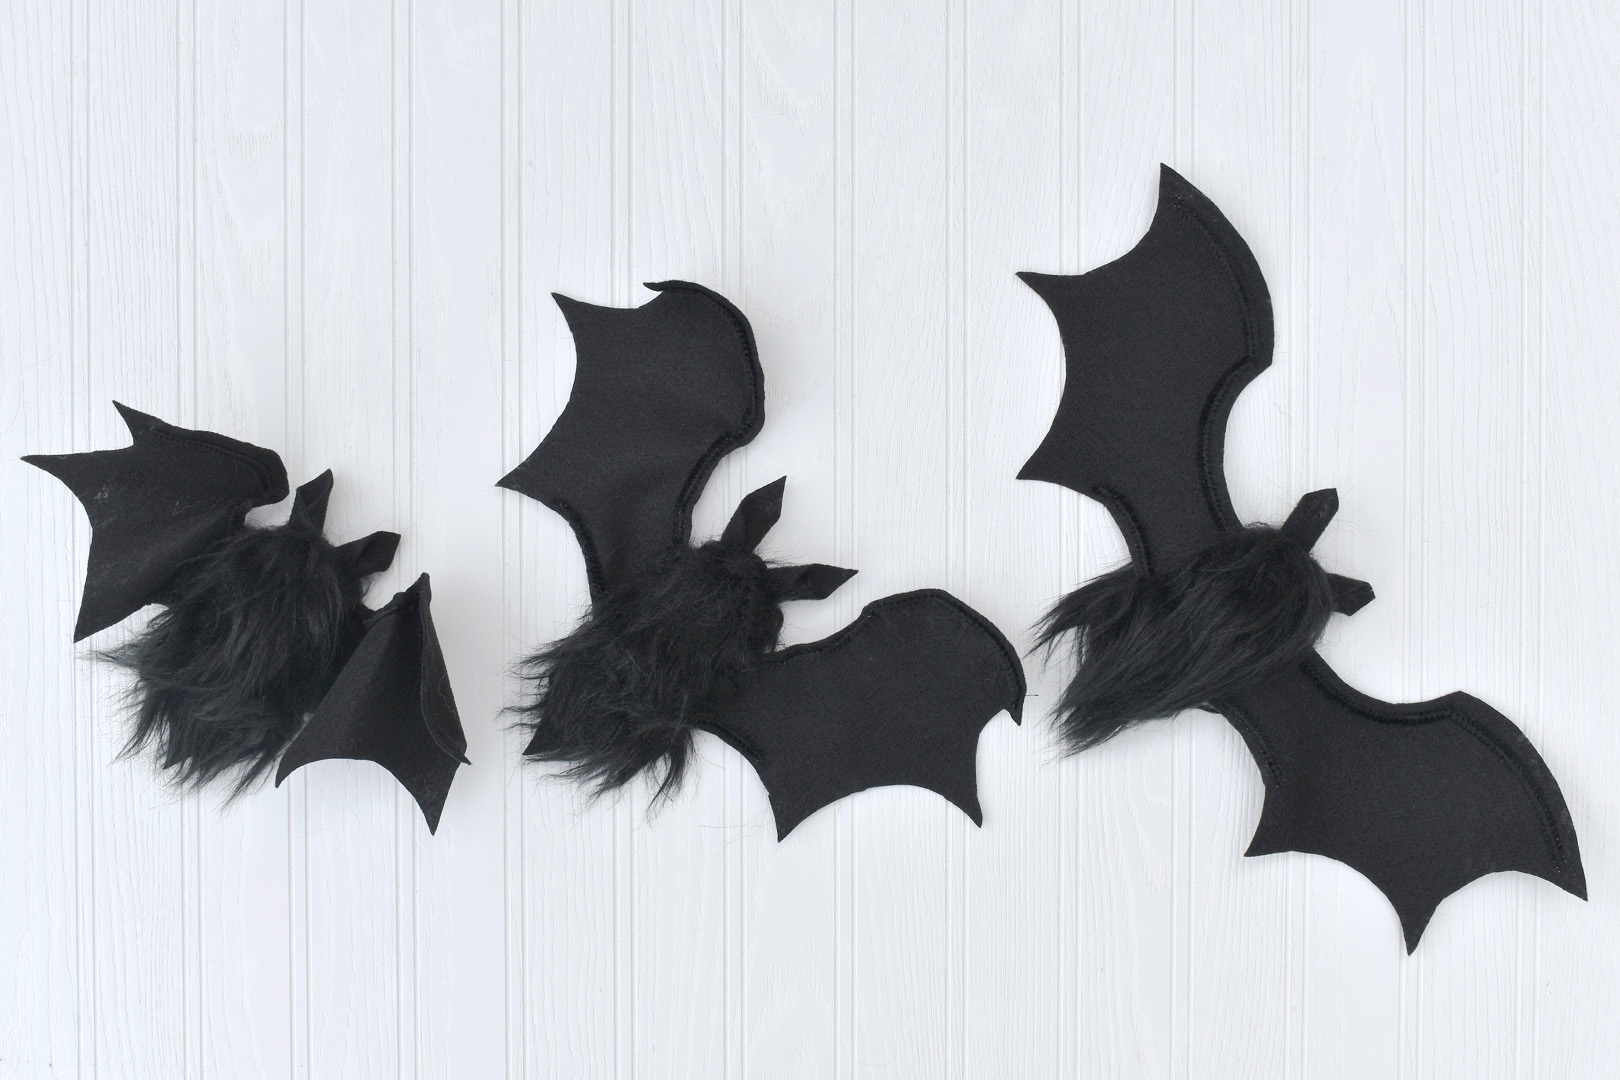
Hang them in doorways or windows, or attach them to a wreath, chandelier, or mantle for that perfectly spooky Halloween touch.
The addition of wired chenille stems to the wings adds versatility to the bats, and you can pose the wings with a bend of the wire. But, because the wires can have sharp, pointy ends, these bats are best as decorations only, and not as toys for pets or young children. Make sure to keep your finished bats up and away from your little ones!
Materials to Make a Spooky Halloween Bat
- Download and print the Spooky Bat Pattern
- Two sheets 9″ x 12″ black felt or 1/4 yard black craft felt
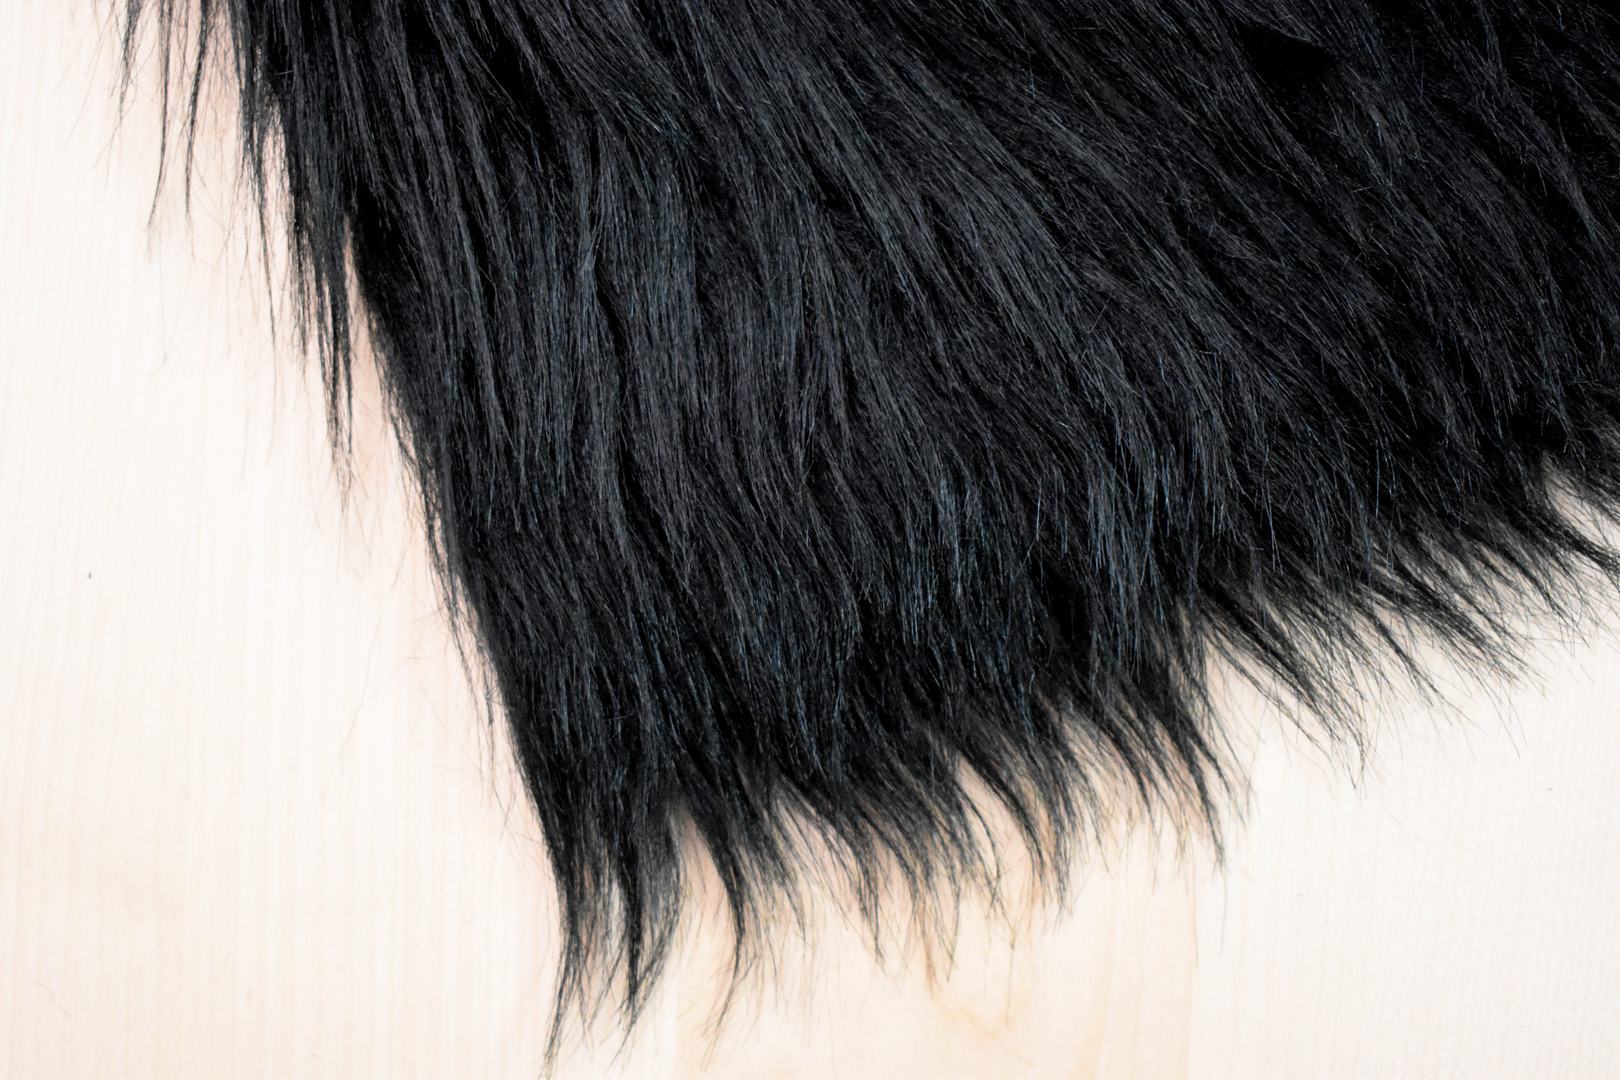
- One 6″ x 8″ scrap or square of long, black faux fur
- Two 12″ long black chenille stems (craft pipe cleaners)
- Black all-purpose sewing thread
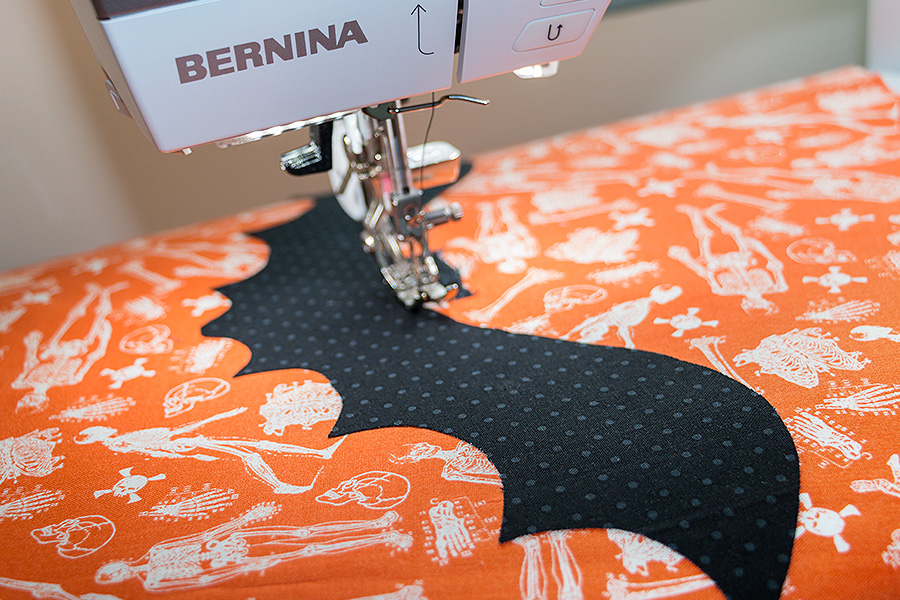
- Sewing machine (I use a BERNINA 570 QE)
- Reverse Pattern Foot #1D for use with Dual Feed, or Walking Foot #50
- Size 90 ballpoint or universal sewing machine needle
- Scissors
- Pins
- Polyester fiber fill or other stuffing
- Needle and thread

How to Make a Spooky Halloween Bat
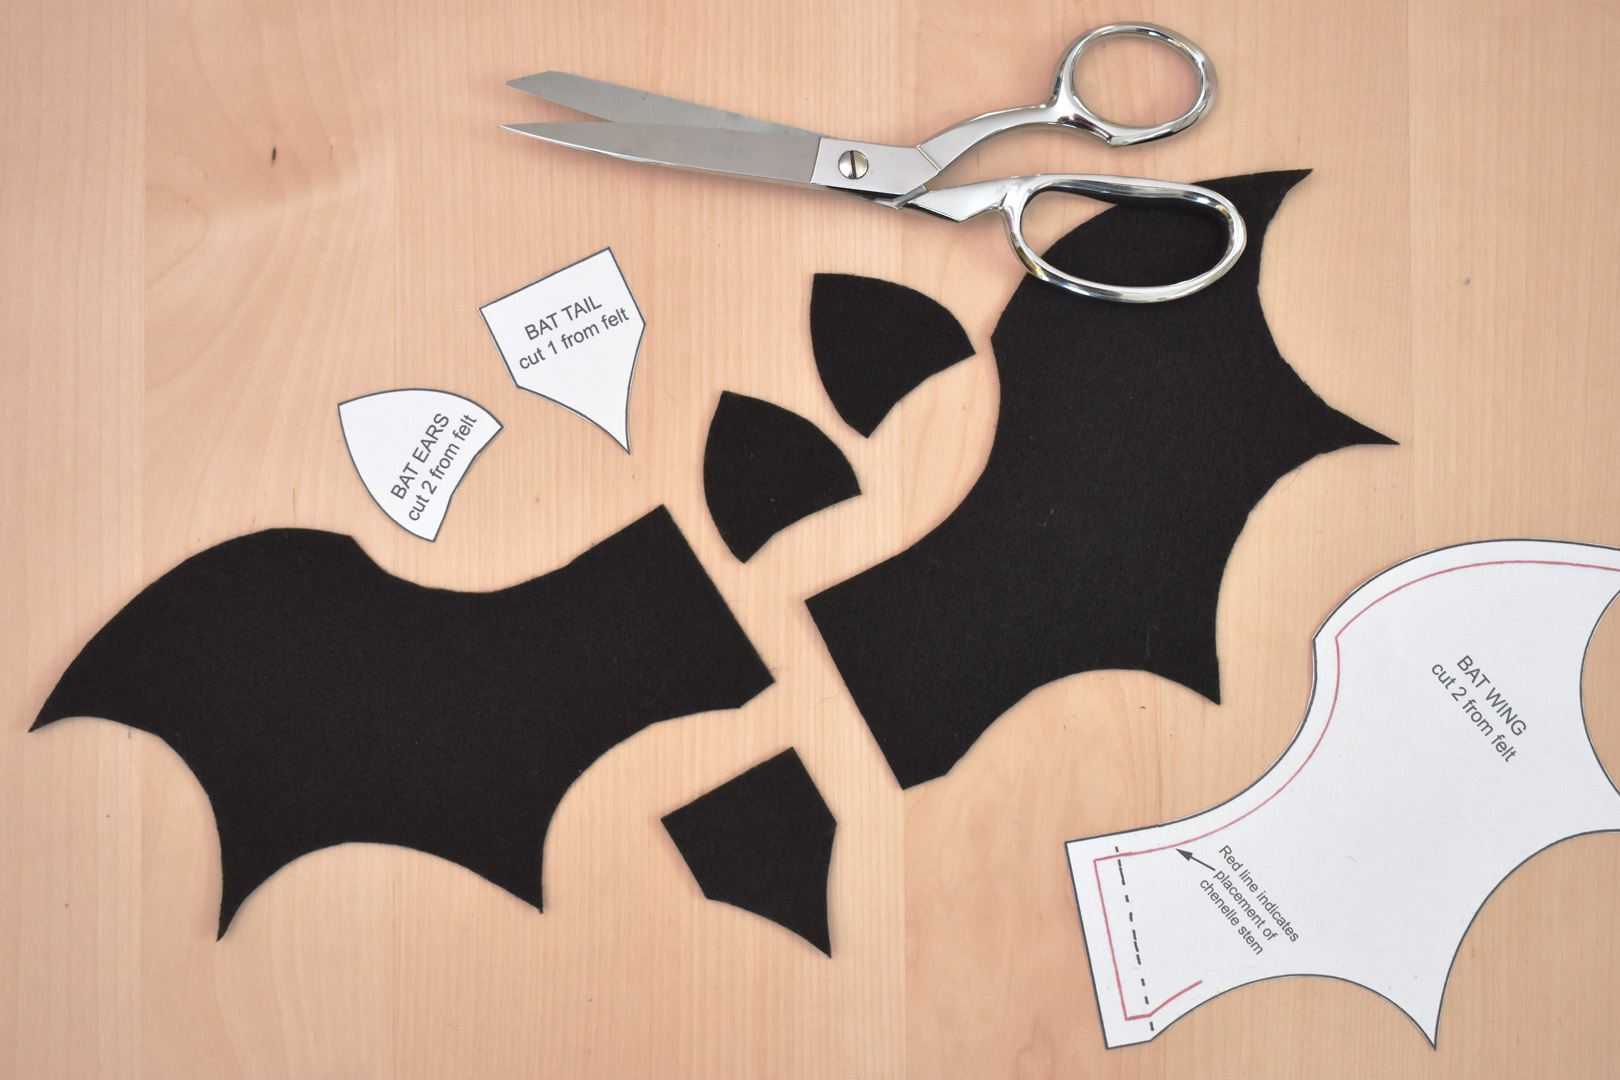
Print out the Spooky Bat Pattern PDF file, making sure to print the two pages at 100% without shrinking. Cut out all pattern pieces along the solid, black lines.
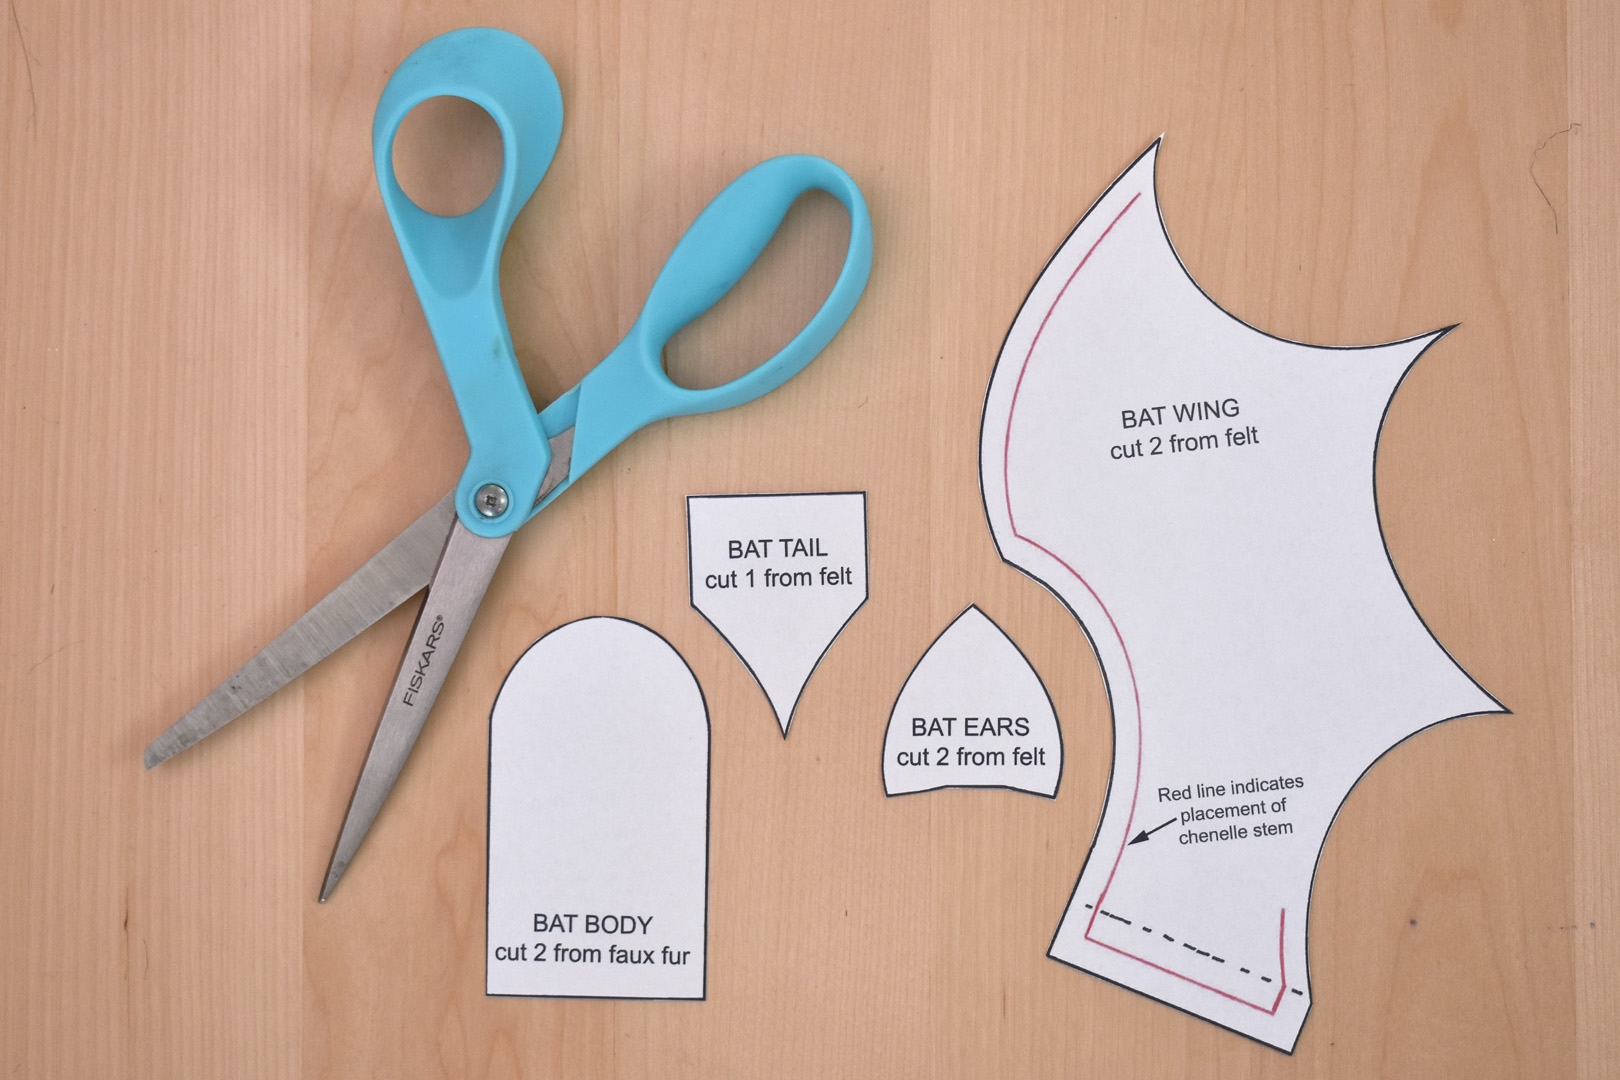
From the black felt, cut two bat wings, two bat ears, and one bat tail.
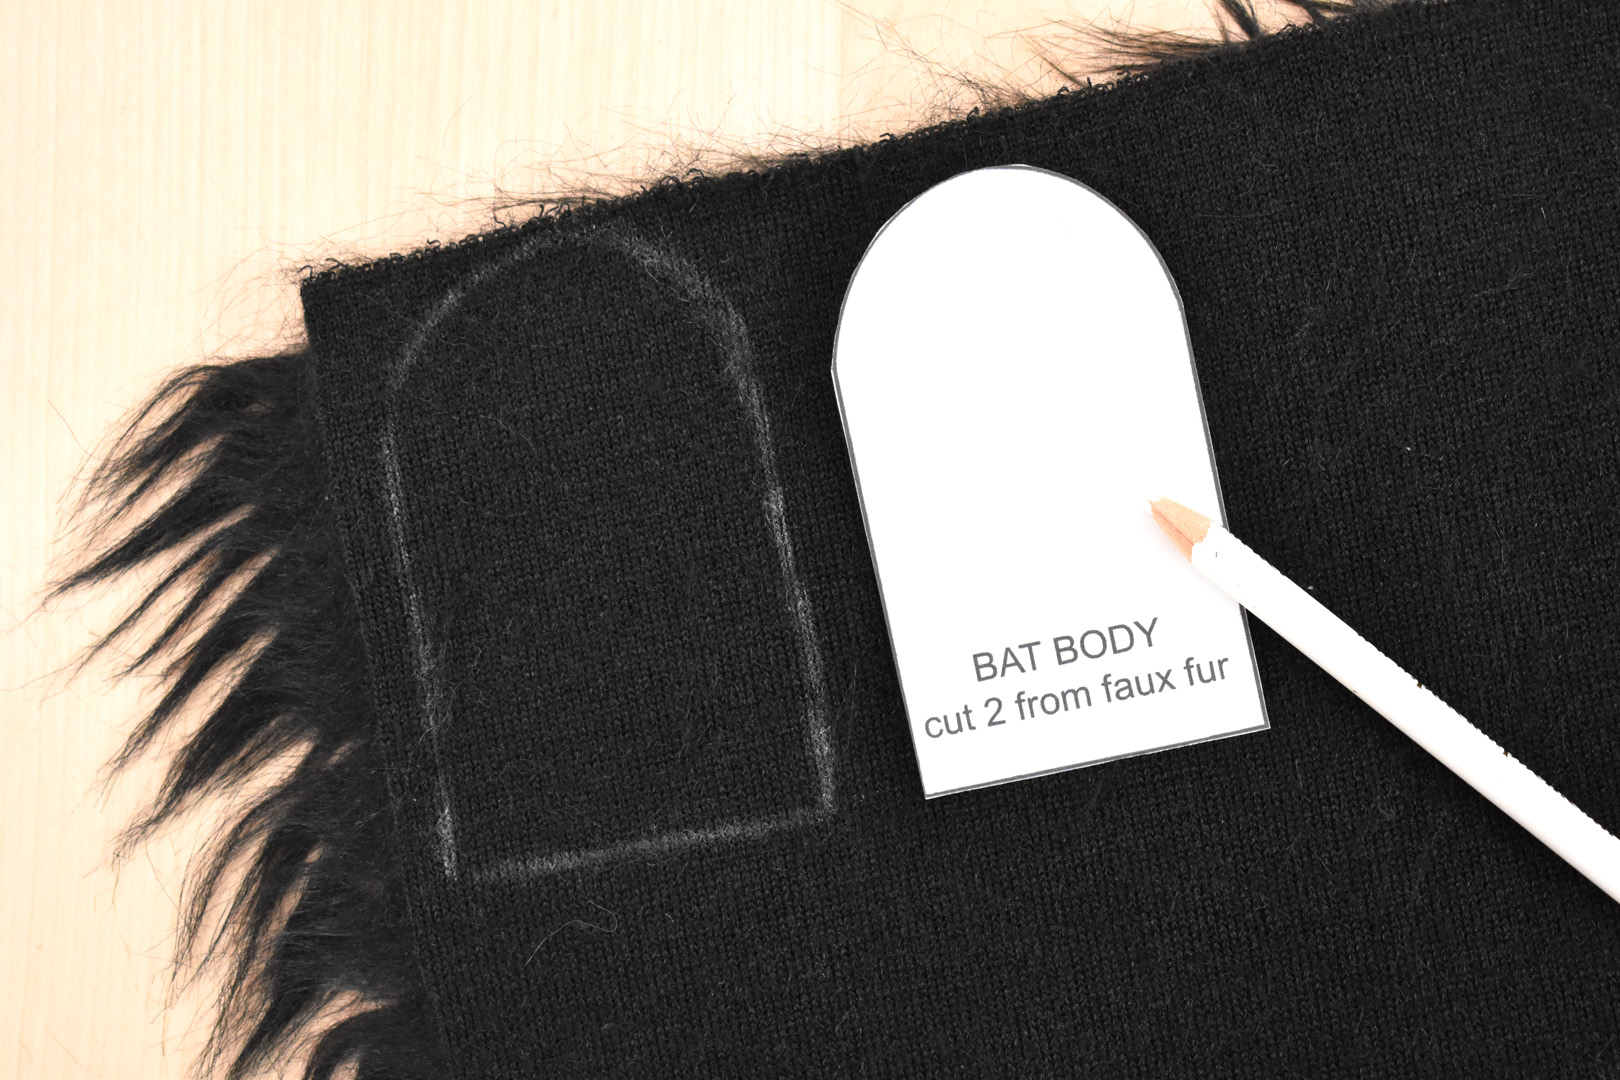
Cut two bat bodies from the black faux fur. This kind of fur has a nap, or a direction in which the fur likes to lay flat.
Place the fur back-side up, with the nap of the fur going down. Use a white fabric marking pencil to trace the pattern pieces on the backside of the fur, and cut with scissors. If you haven’t worked with faux fur before, read some good tips for using this type of material in this post here at WeAllSew.
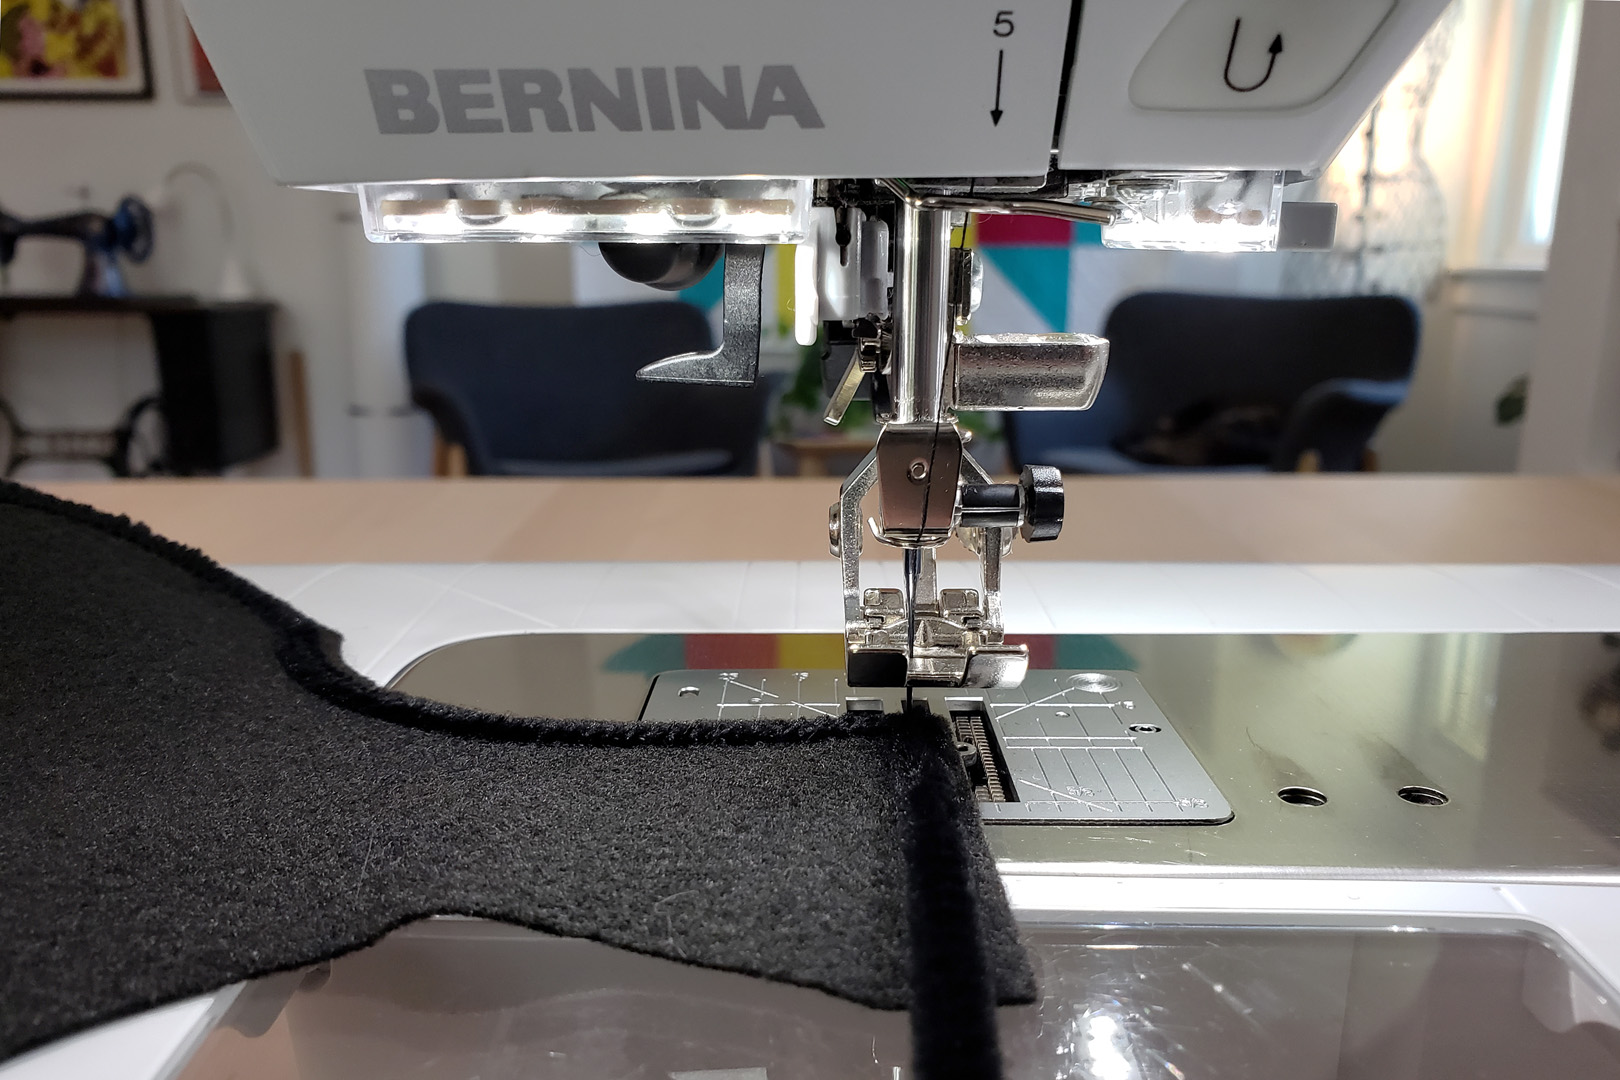
It’s time to set up the sewing machine to sew the bat together.
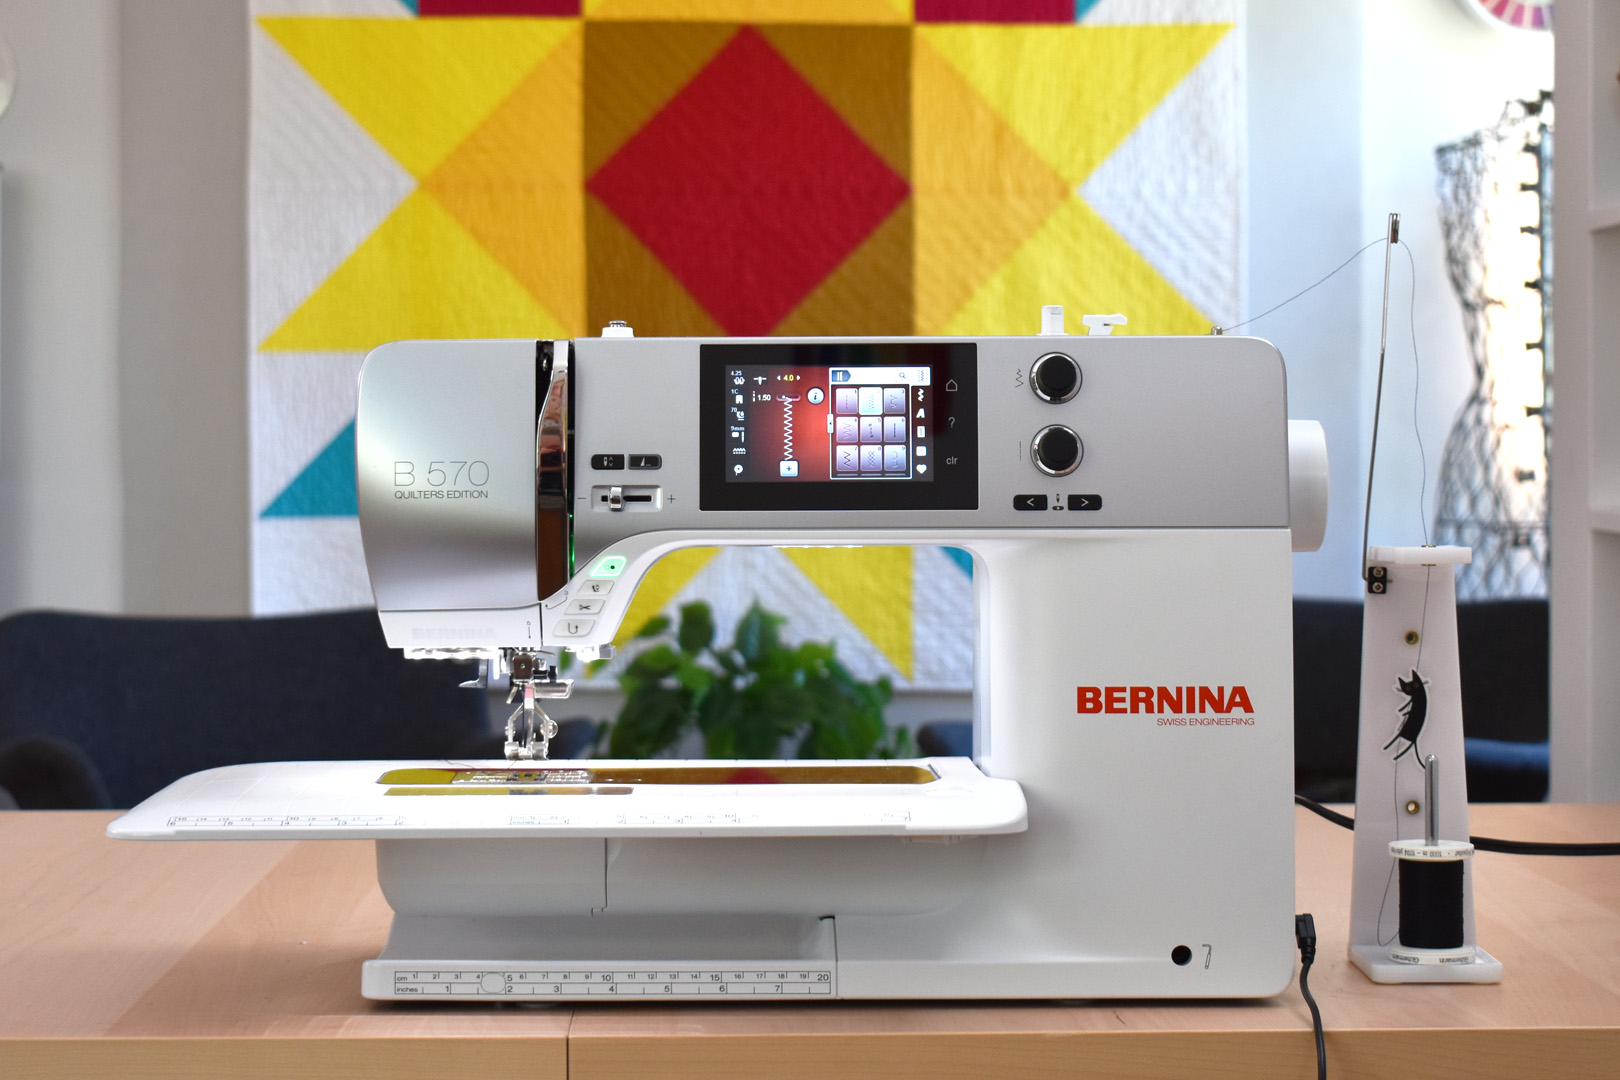
The fur can be both bulky and slippery to sew with, so a Dual Feed or Walking foot makes for better control when sewing faux fur. I am using Reverse Pattern Foot #1D with Dual Feed, but you could also use Reverse Pattern Foot with Clear Sole #34D or Open Embroidery Foot #20D. The Walking Foot #50 will also work well with either the standard sole or the open toe quilting sole.
First, a few tips about sewing with the chenille stems. These stems make the bat wings stand out and allow you to pose the wings because there is a twisted wire in the center of the stem. Pay attention to your sewing machine needle and where it hits next to the wire inside the chenille stem – hitting the wire stem full force with the needle may break the needle, or the wire, or both. I’m giving you some specific tips to avoid this situation, like slowing down, keeping your eye on the needle, and advancing the machine with the handwheel when the needle approaches sewing over the wire.
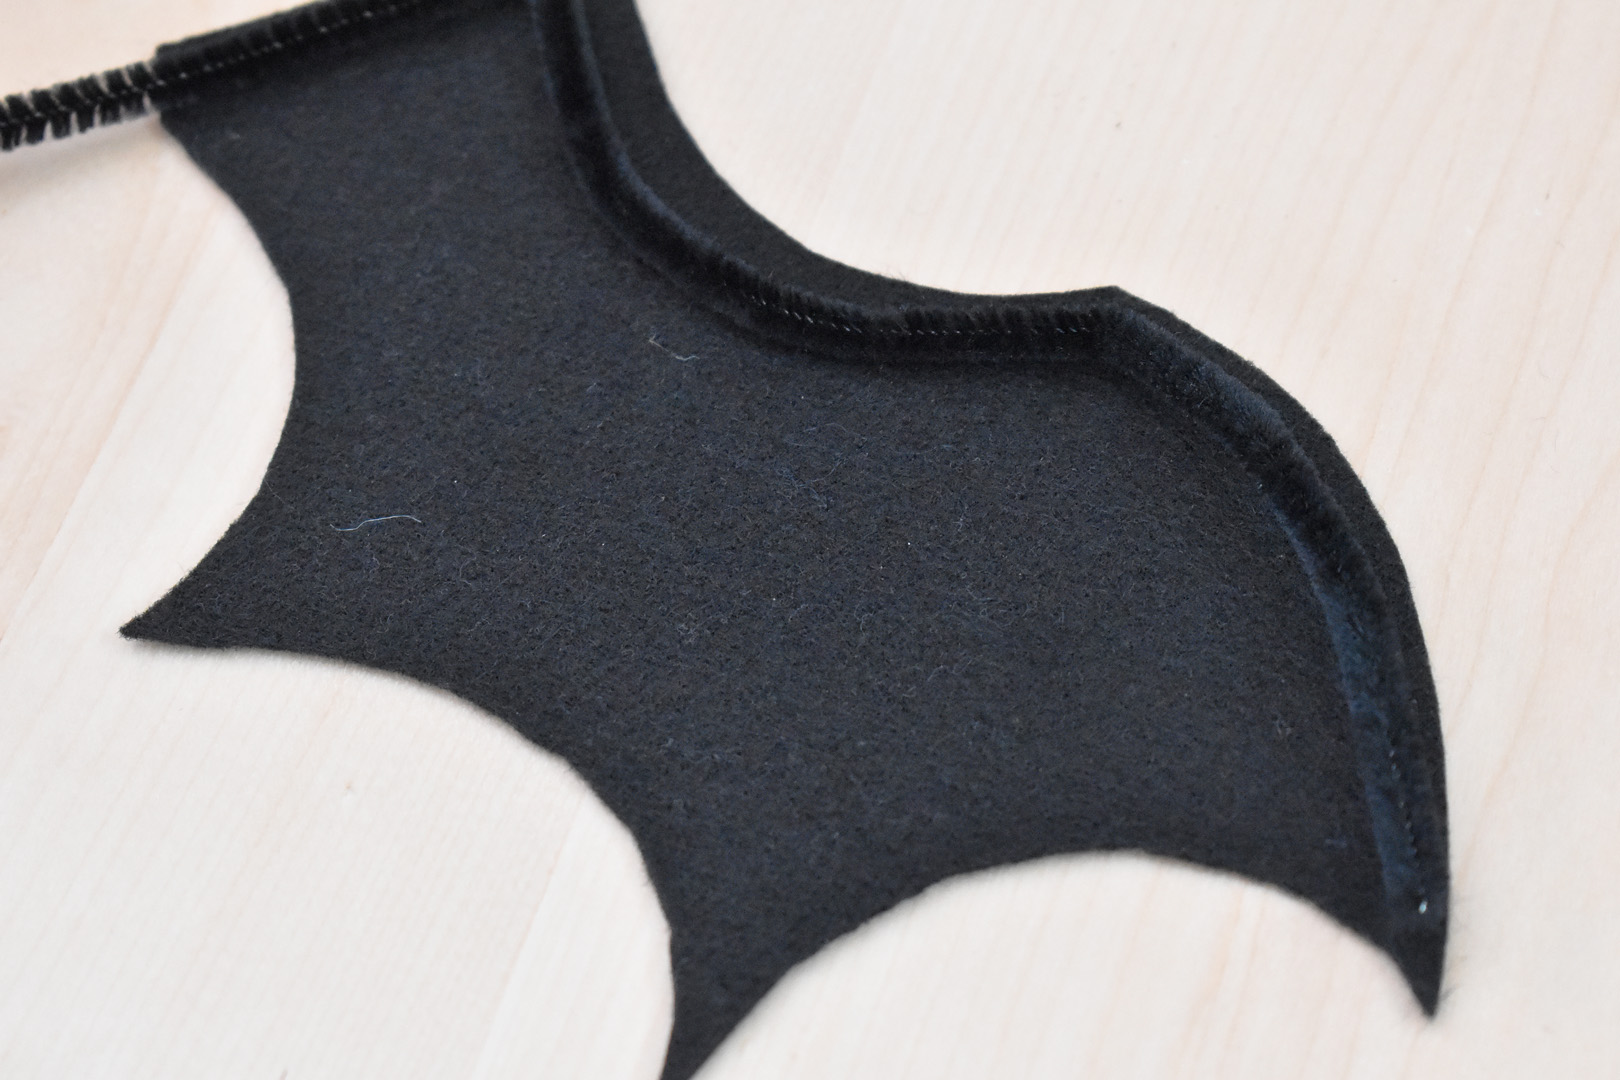
Using a wide zigzag stitch about 4-5mm, secure the chenille stem to each bat wing (refer to the red line on the bat wing pattern for chenille stem placement). Gently bend the chenille stem to shape before beginning to sew.

Begin sewing near the tip of the wing, and secure the chenille stem about 1/4″ away from the edge of the wing. I use the centerline of foot #1D to guide the chenille stem as I sew to make sure the needle does not hit the wire. Reposition the wire as needed while you sew.

I use the Needle Down function in this step as a way to check the needle position. When the needle is down, you can raise the presser foot for a better view of the needle and stem, especially when turning corners.
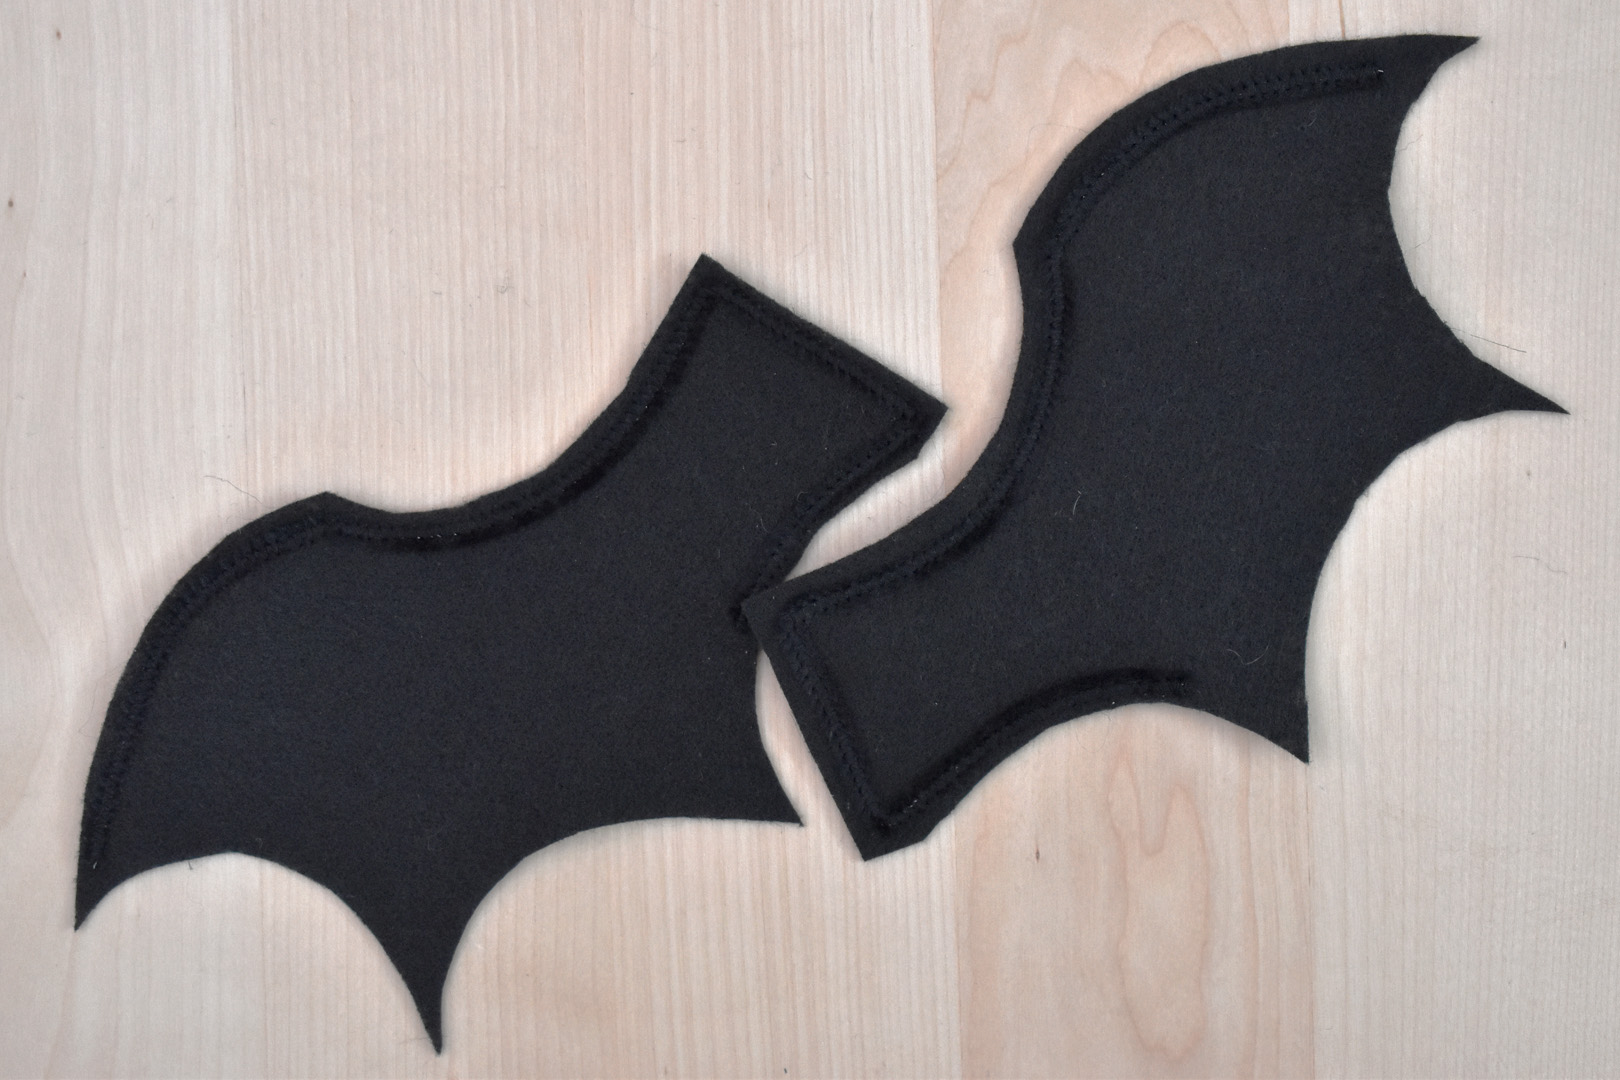
Note: be sure to sew the stems to the opposite side of the second wing, so that there is a right and left facing wing. Set the wings aside.
Fold the ears and pin together.
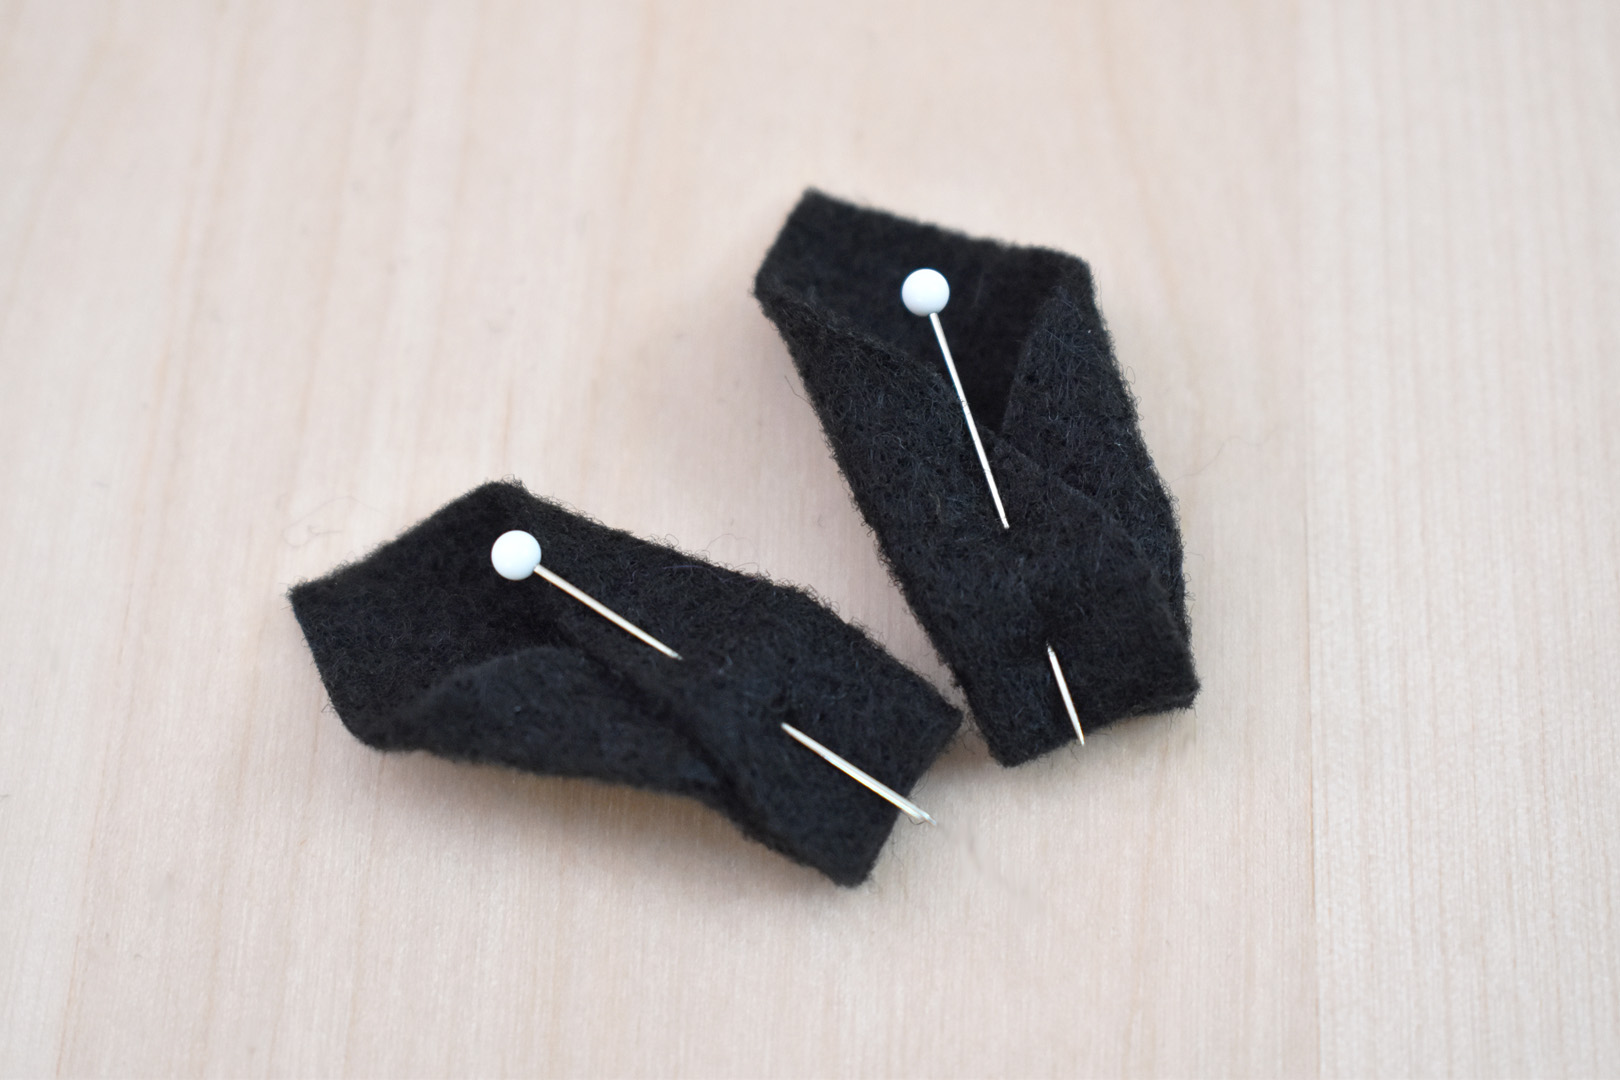
With each bat ear, fold the bottom edge in towards the center and pin. The outside edge of one ear will overlap to the left, and on the other should overlap to the right. You can play with the overlaps until you find the perfect ear shape before pinning.
Now grab all the bat parts for the next step.
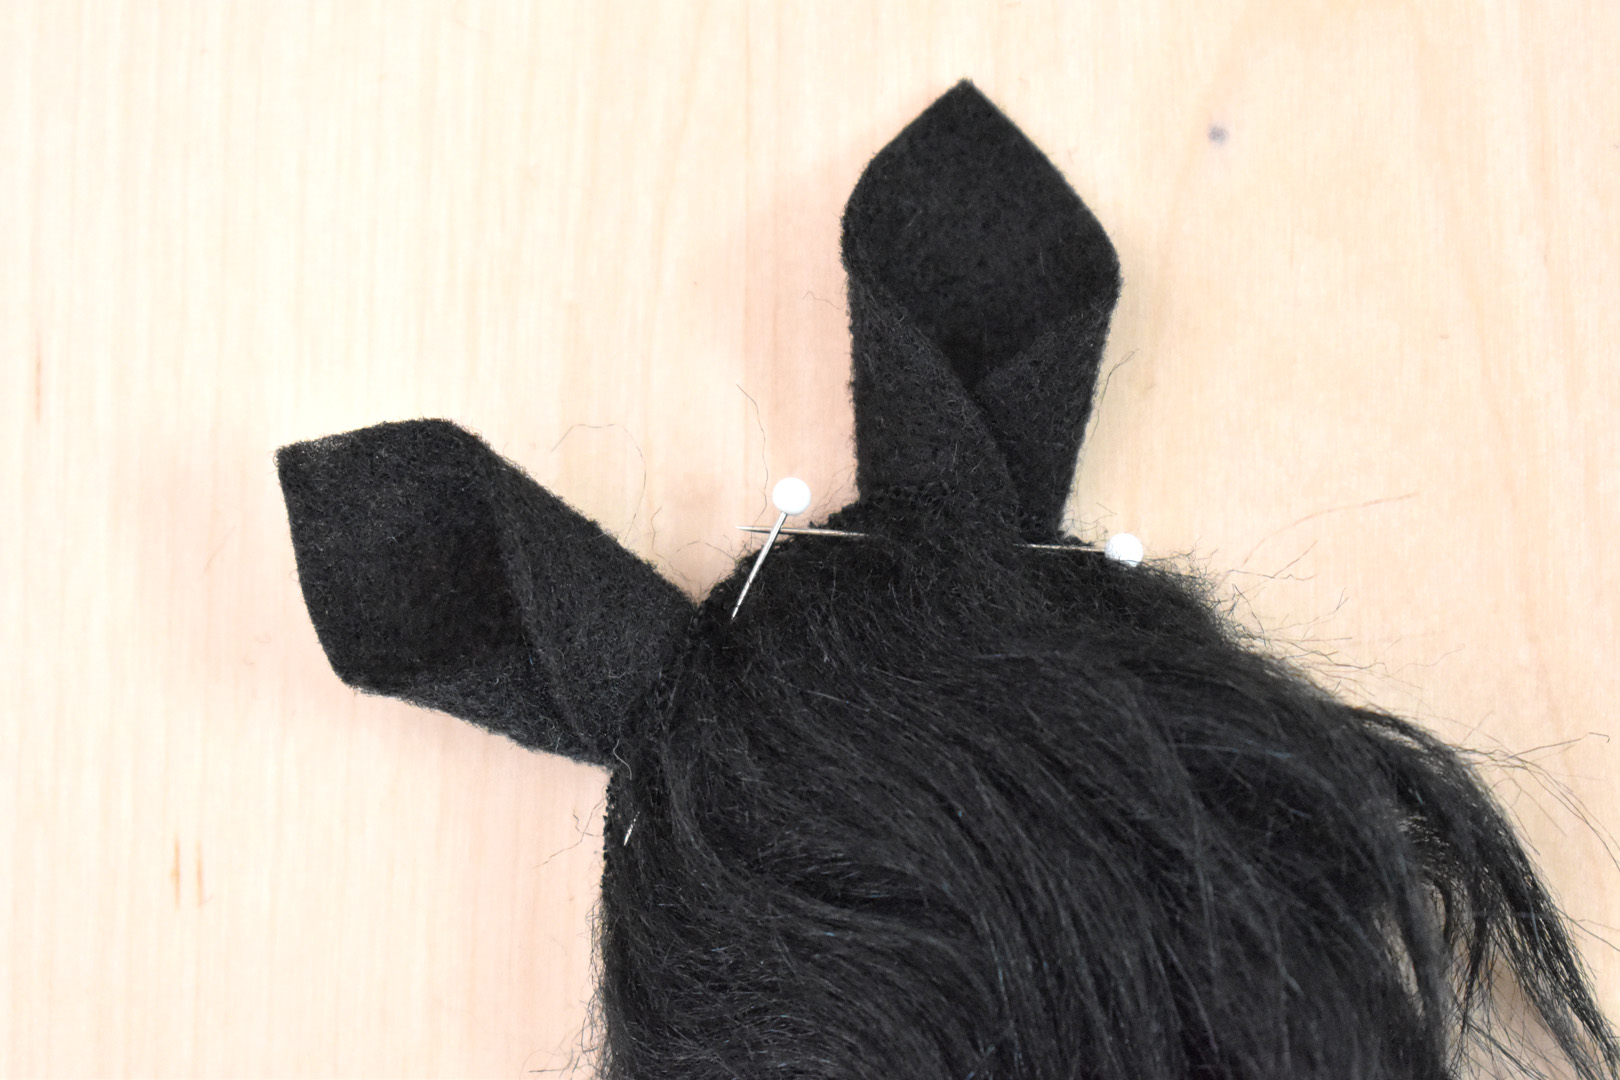
On the rounded end of one fur body, place the ears under the fur, and pin in place from the top edge of the fur. This will become the front of the bat, so make sure the folded side of the ears are facing forward.
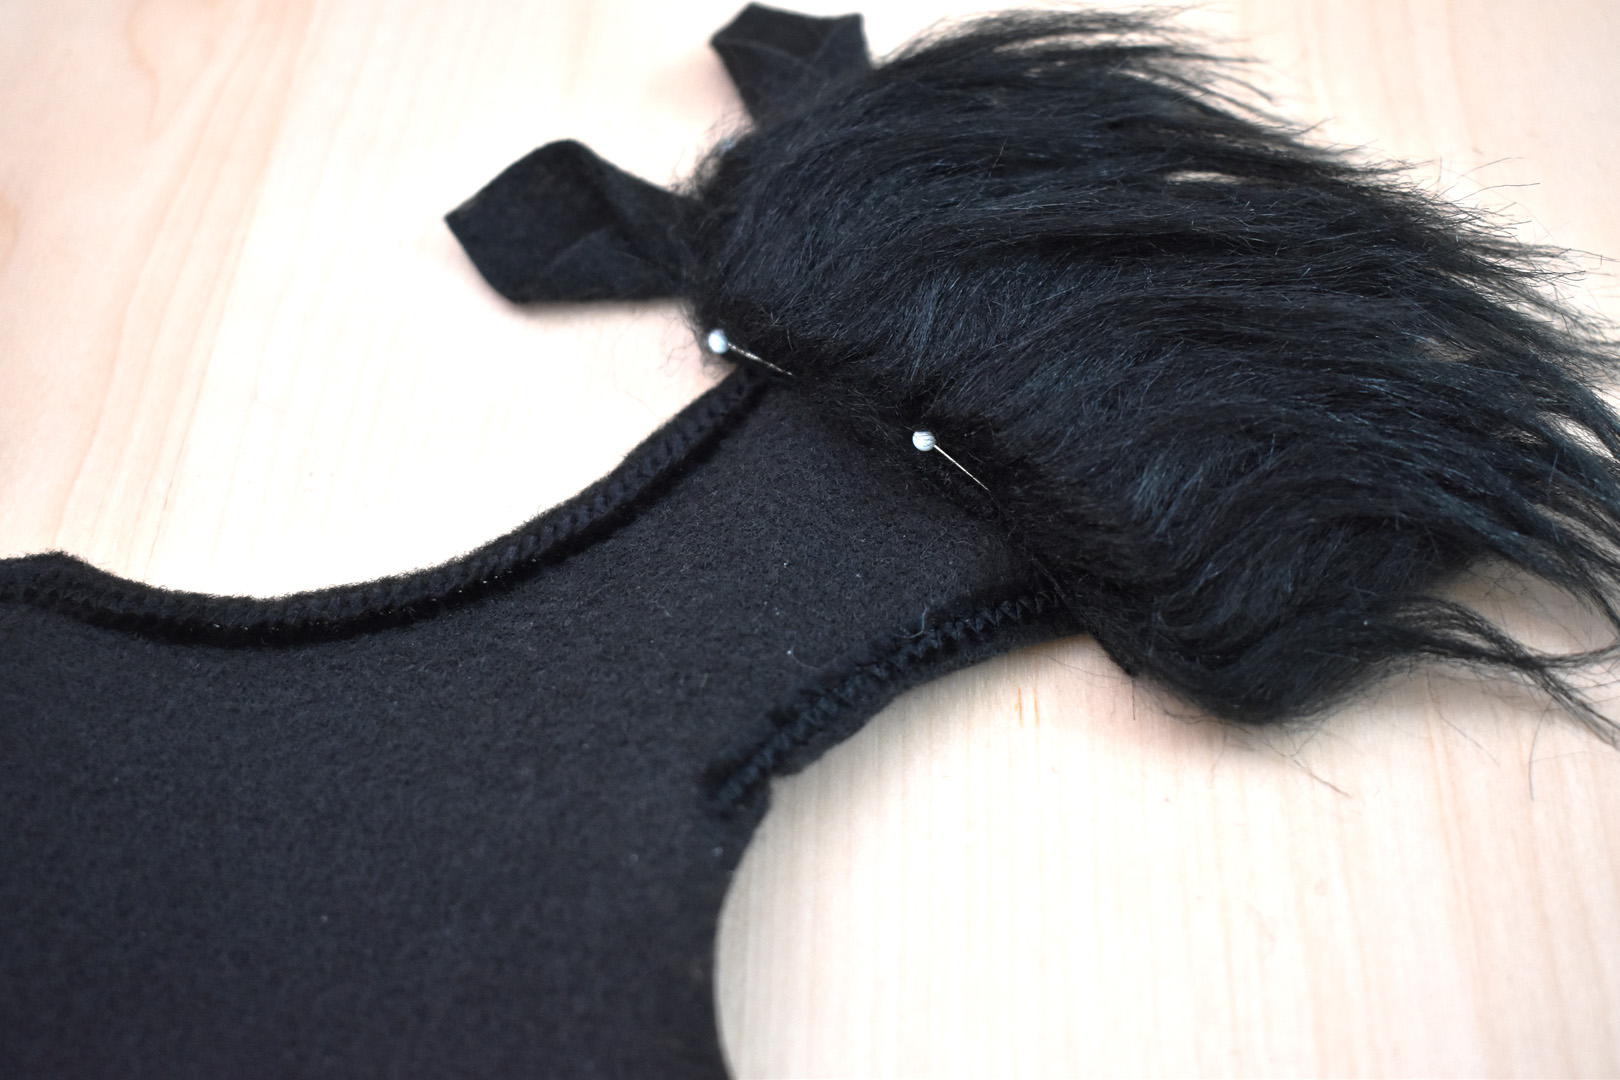
Next, add a wing to each side of the body, chenille stem sides up, overlapping the bat side about 1/2″. Move the fur to the side and pin in place along the edge of the fur. Use at least two pins to hold the wings securely on each side.
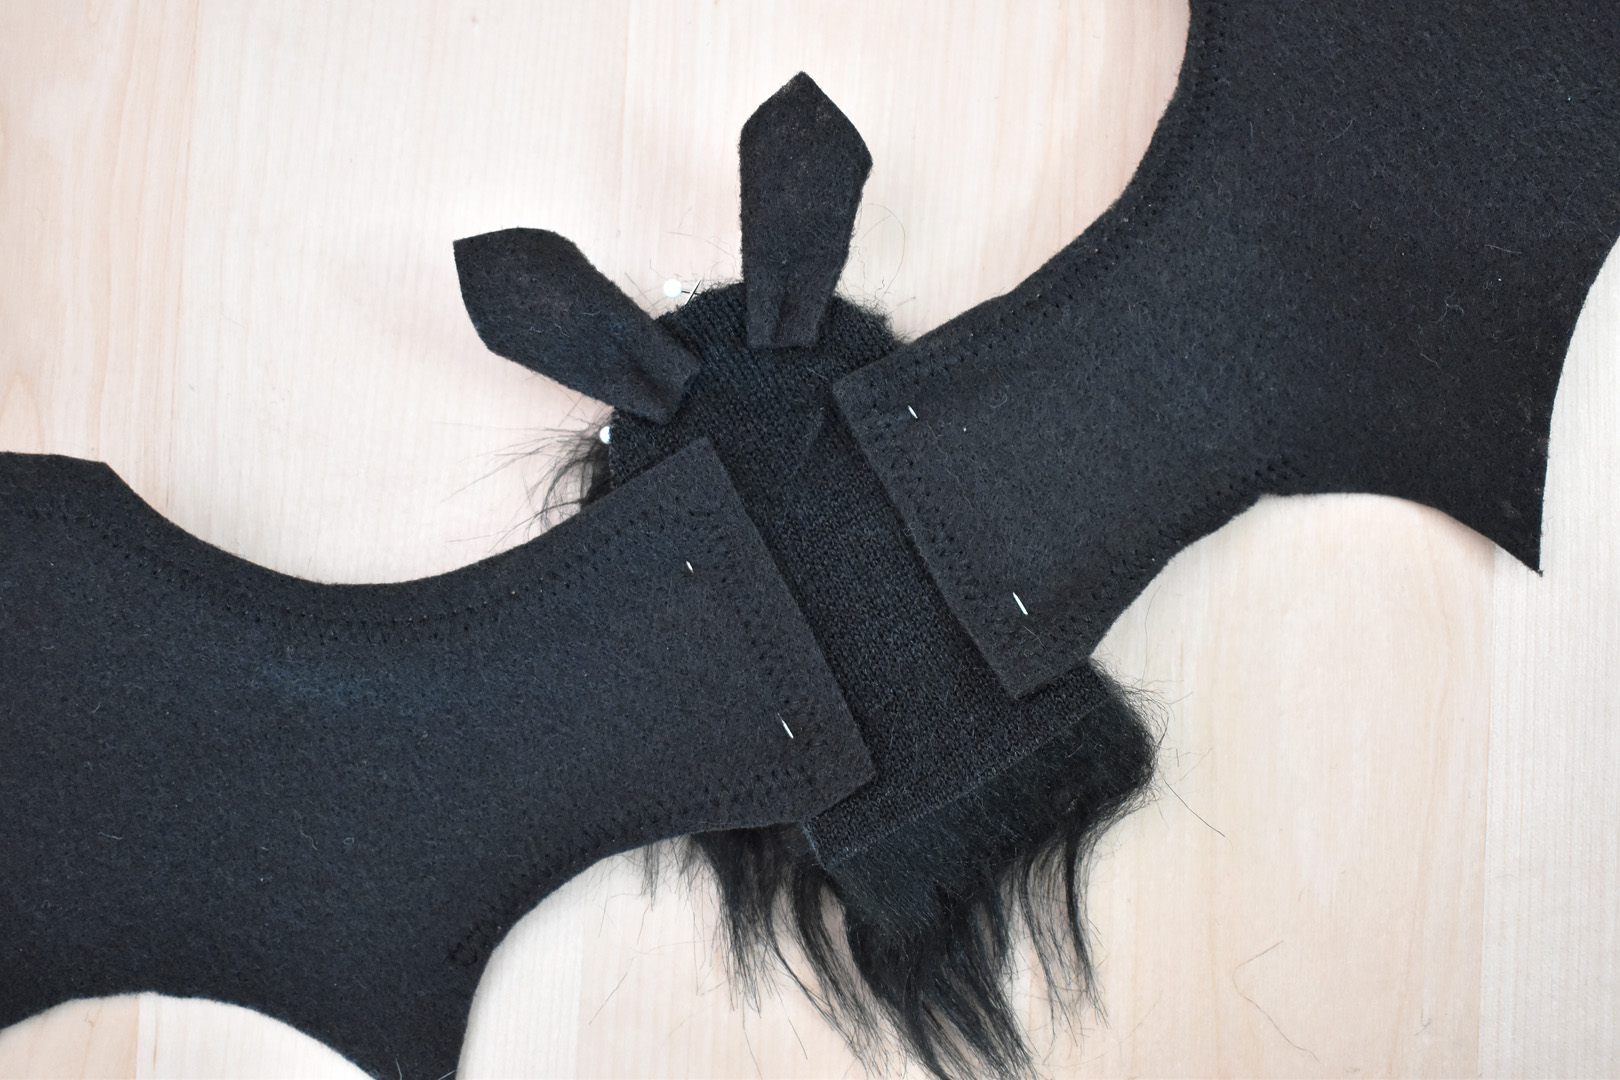
Here is the placement of the ears and wings from the backside. Set the front bat to the side, and grab the back body and tail.
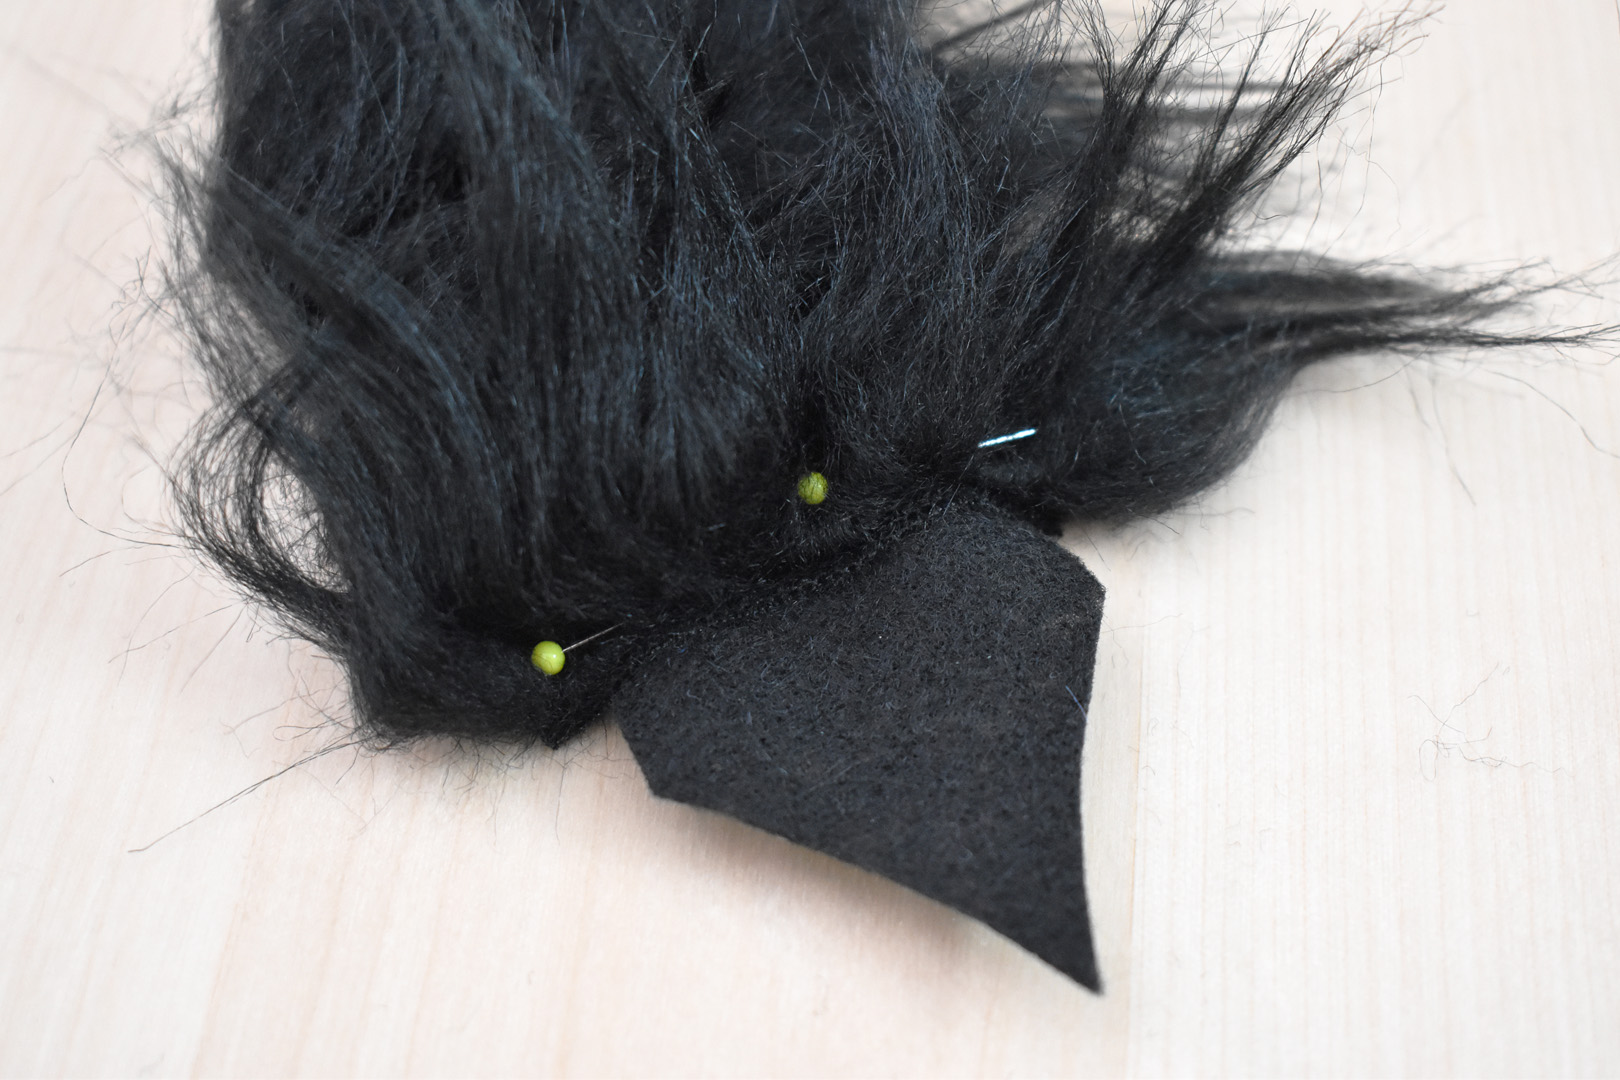
Pin the tail to the flat, bottom part of the back body, overlapping the tail about 1/2″.
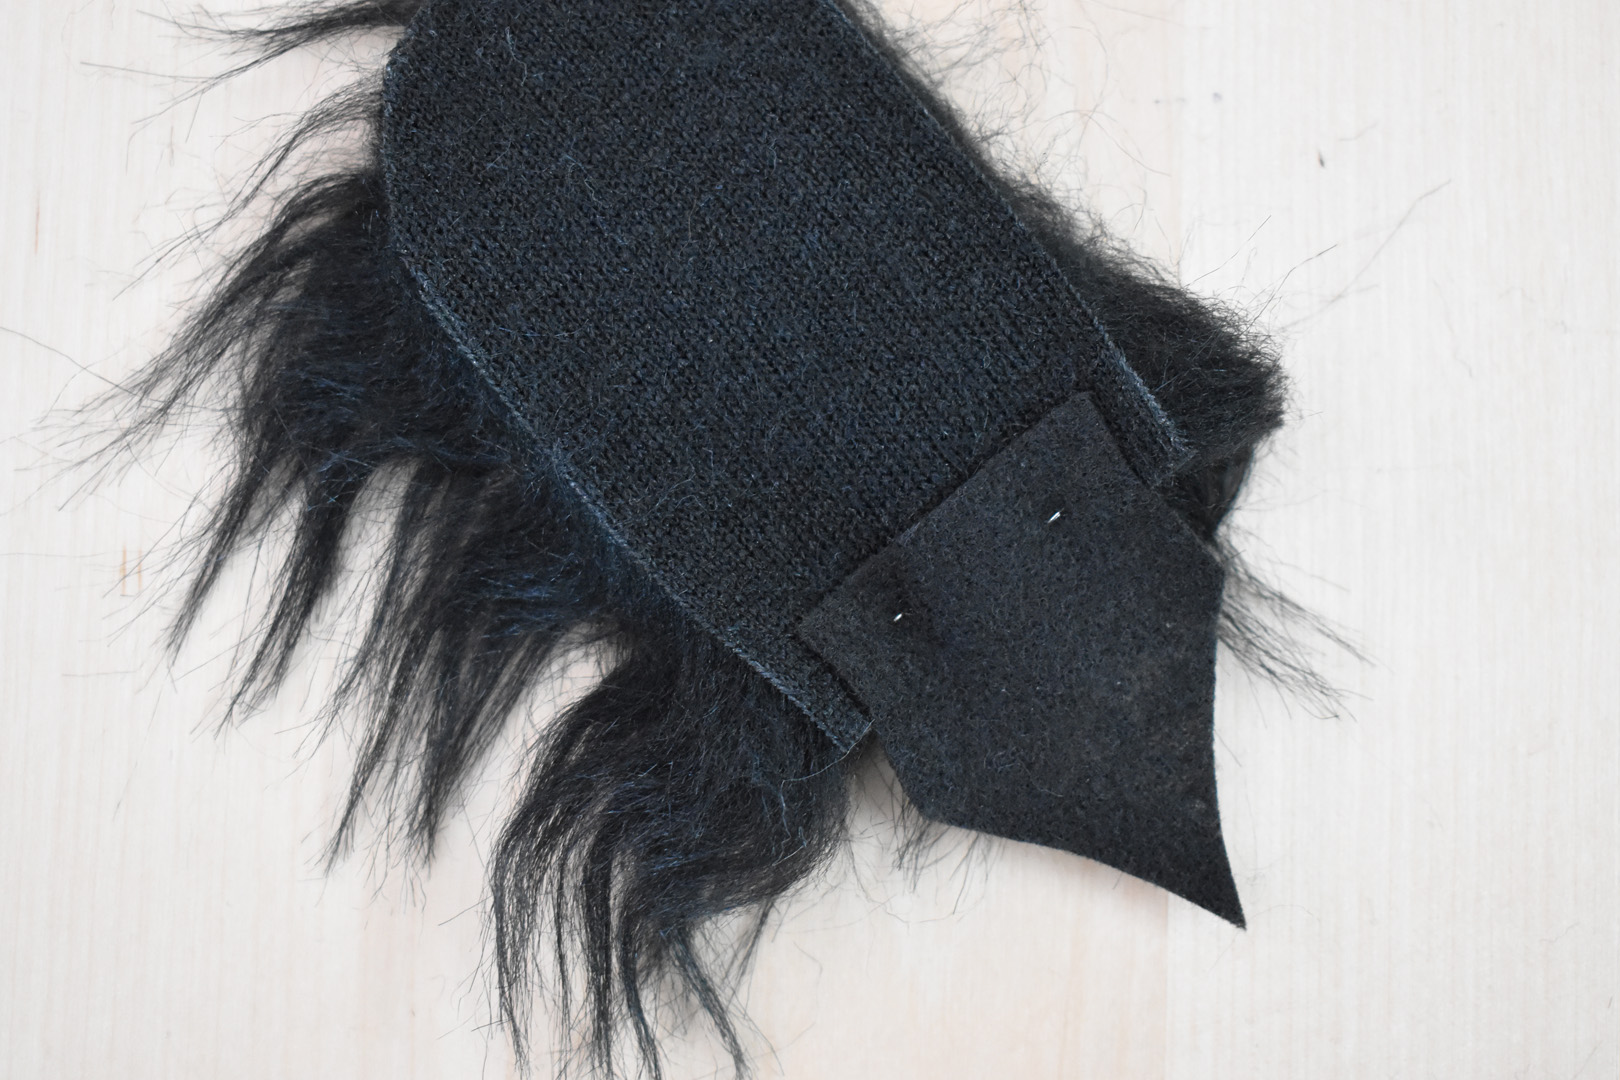
You can see the placement of the tail from the back side.
Set your sewing machine to use a straight stitch for the basting step.
Starting at the bottom near the wing, sew a straight stitch very close to the fur edge to secure the wings and ears. TIP: when sewing over the chenille stems in the wing, use the handwheel to slowly advance the needle over the wire stem. This will avoid hitting the metal stem with the needle full force. Keep moving the fur to the side with your fingers to keep the edge of the fur in view while stitching.
Set the bat front to the side, then stitch the tail to the bottom of the bat back in the same way.

Now the two sides of the bat are ready to stitch together.
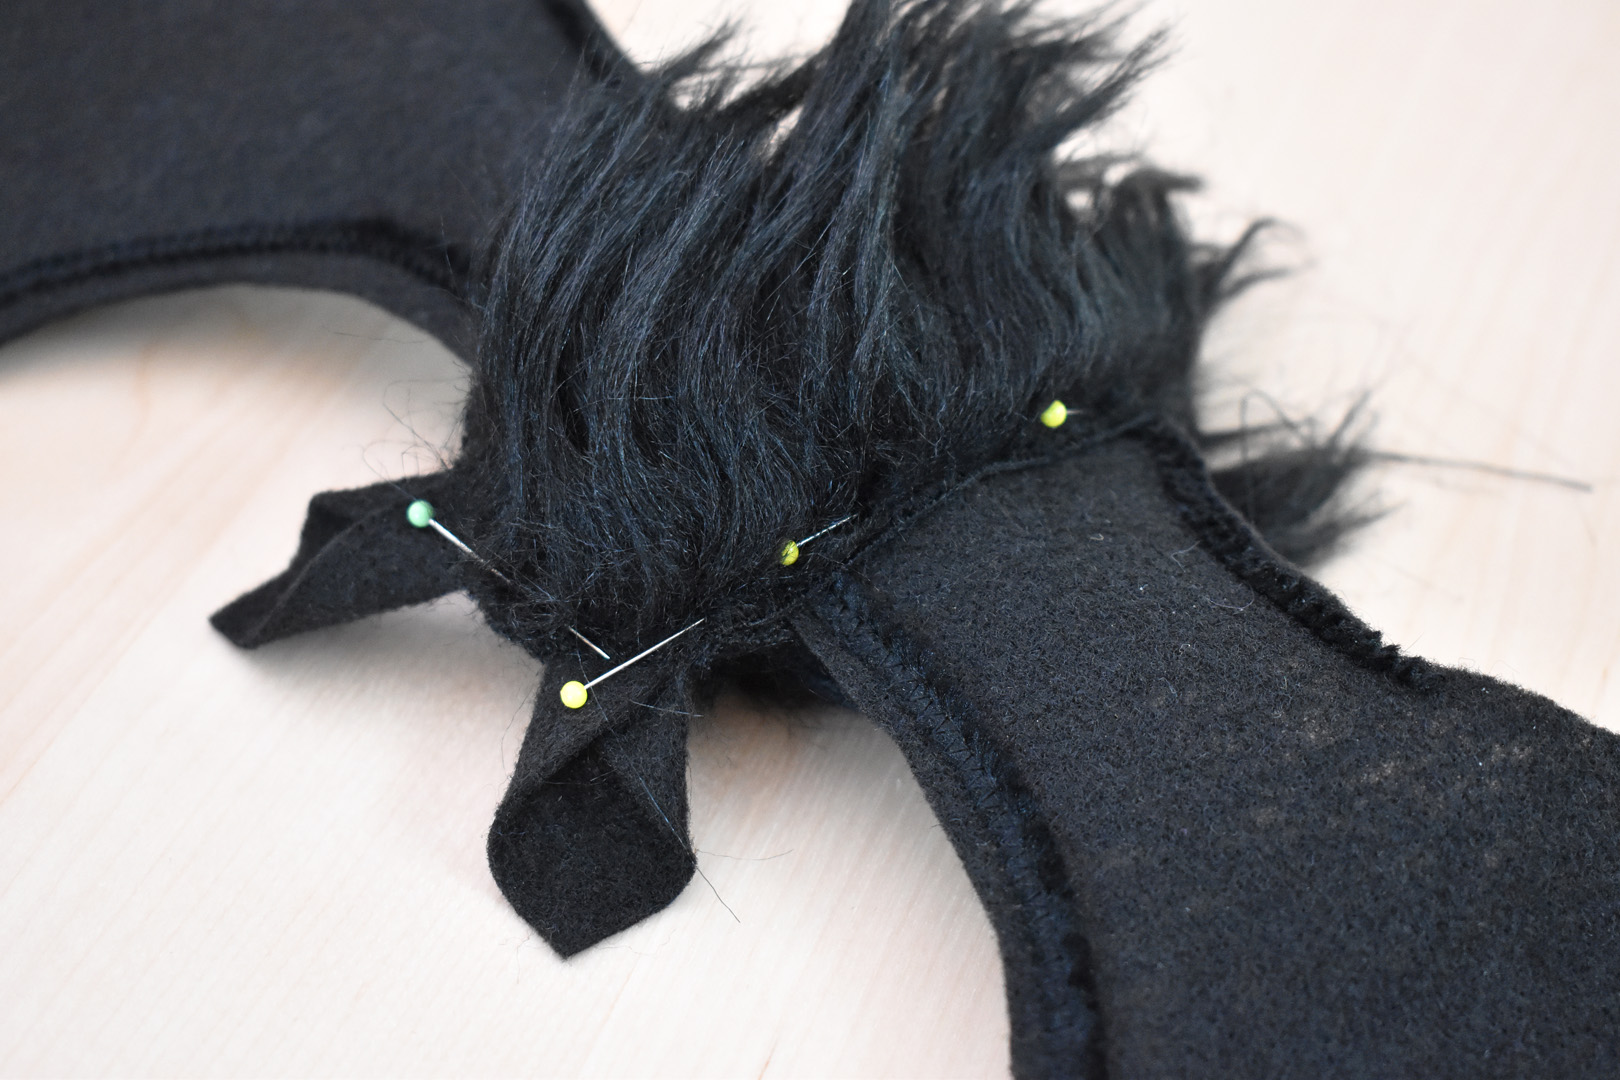
Carefully pin the two sides of the bat together all along the sides and top, leaving the flat bottom open for stuffing. Move the fur away from the edges with your fingers to make sure you are matching both sides together, and pin well.
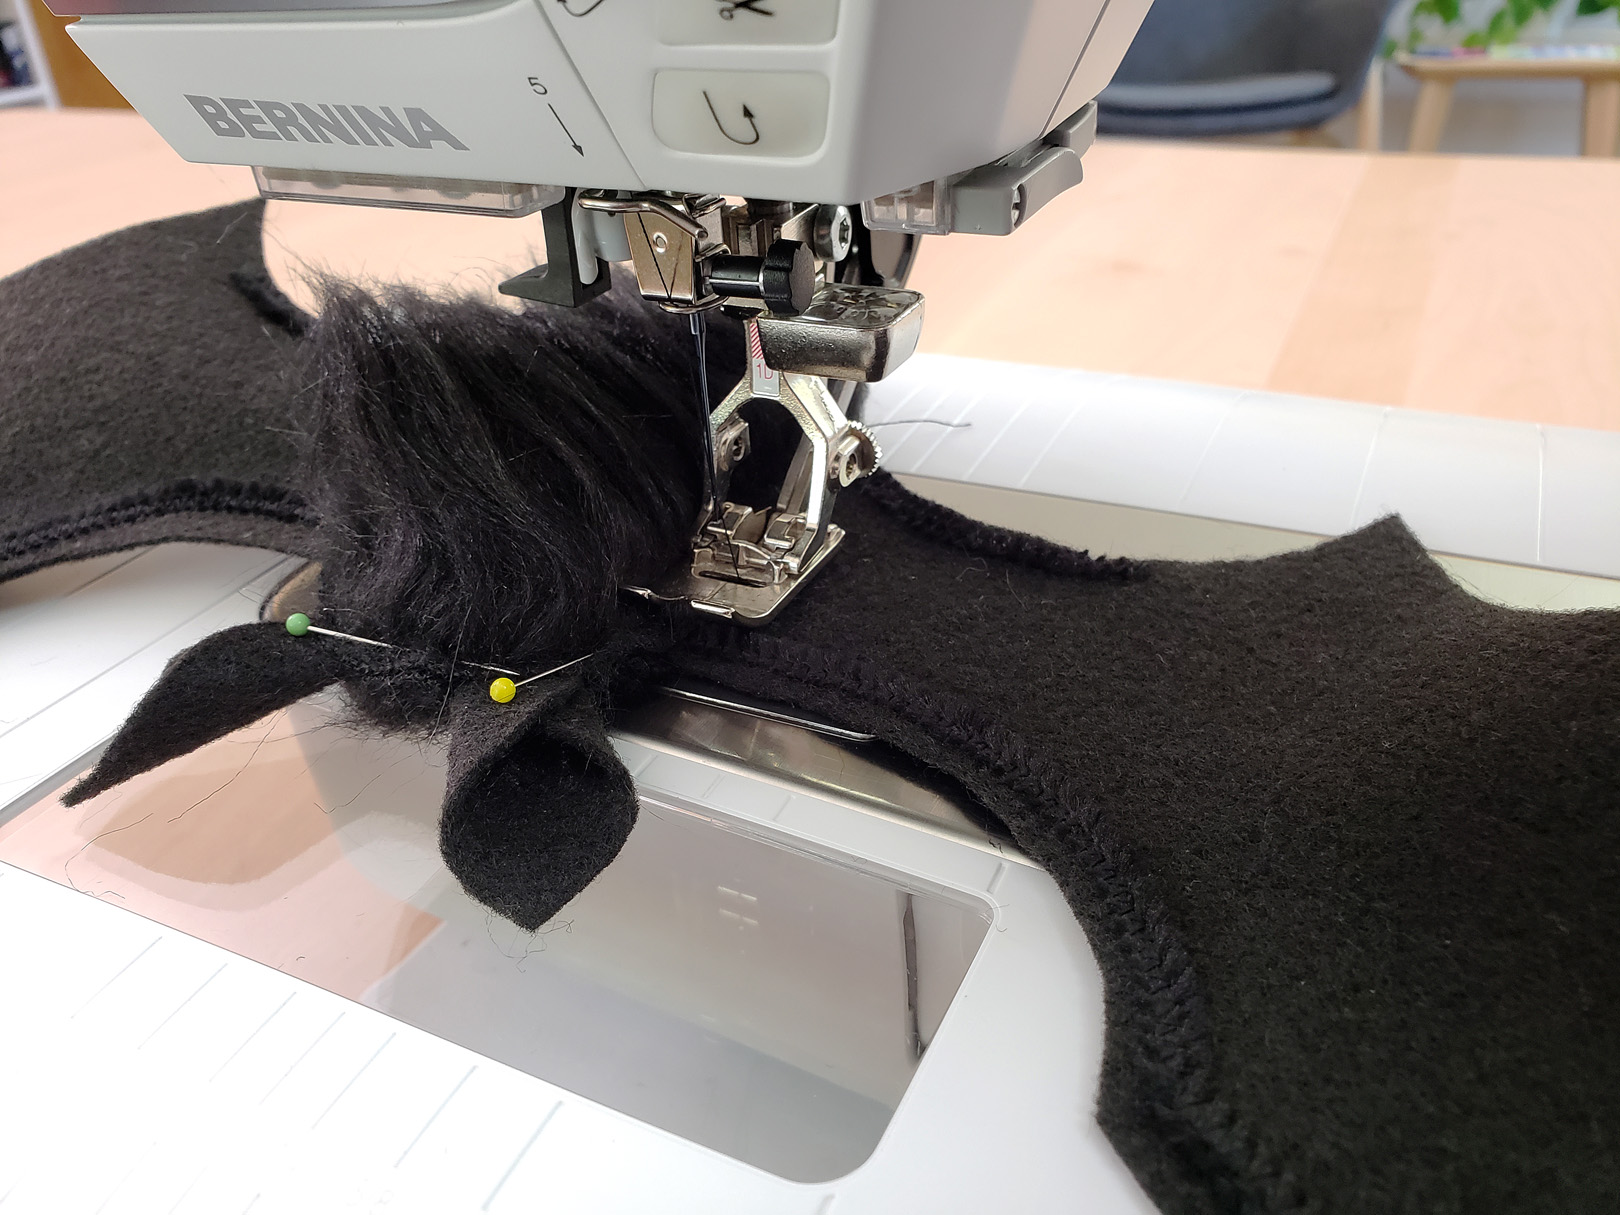
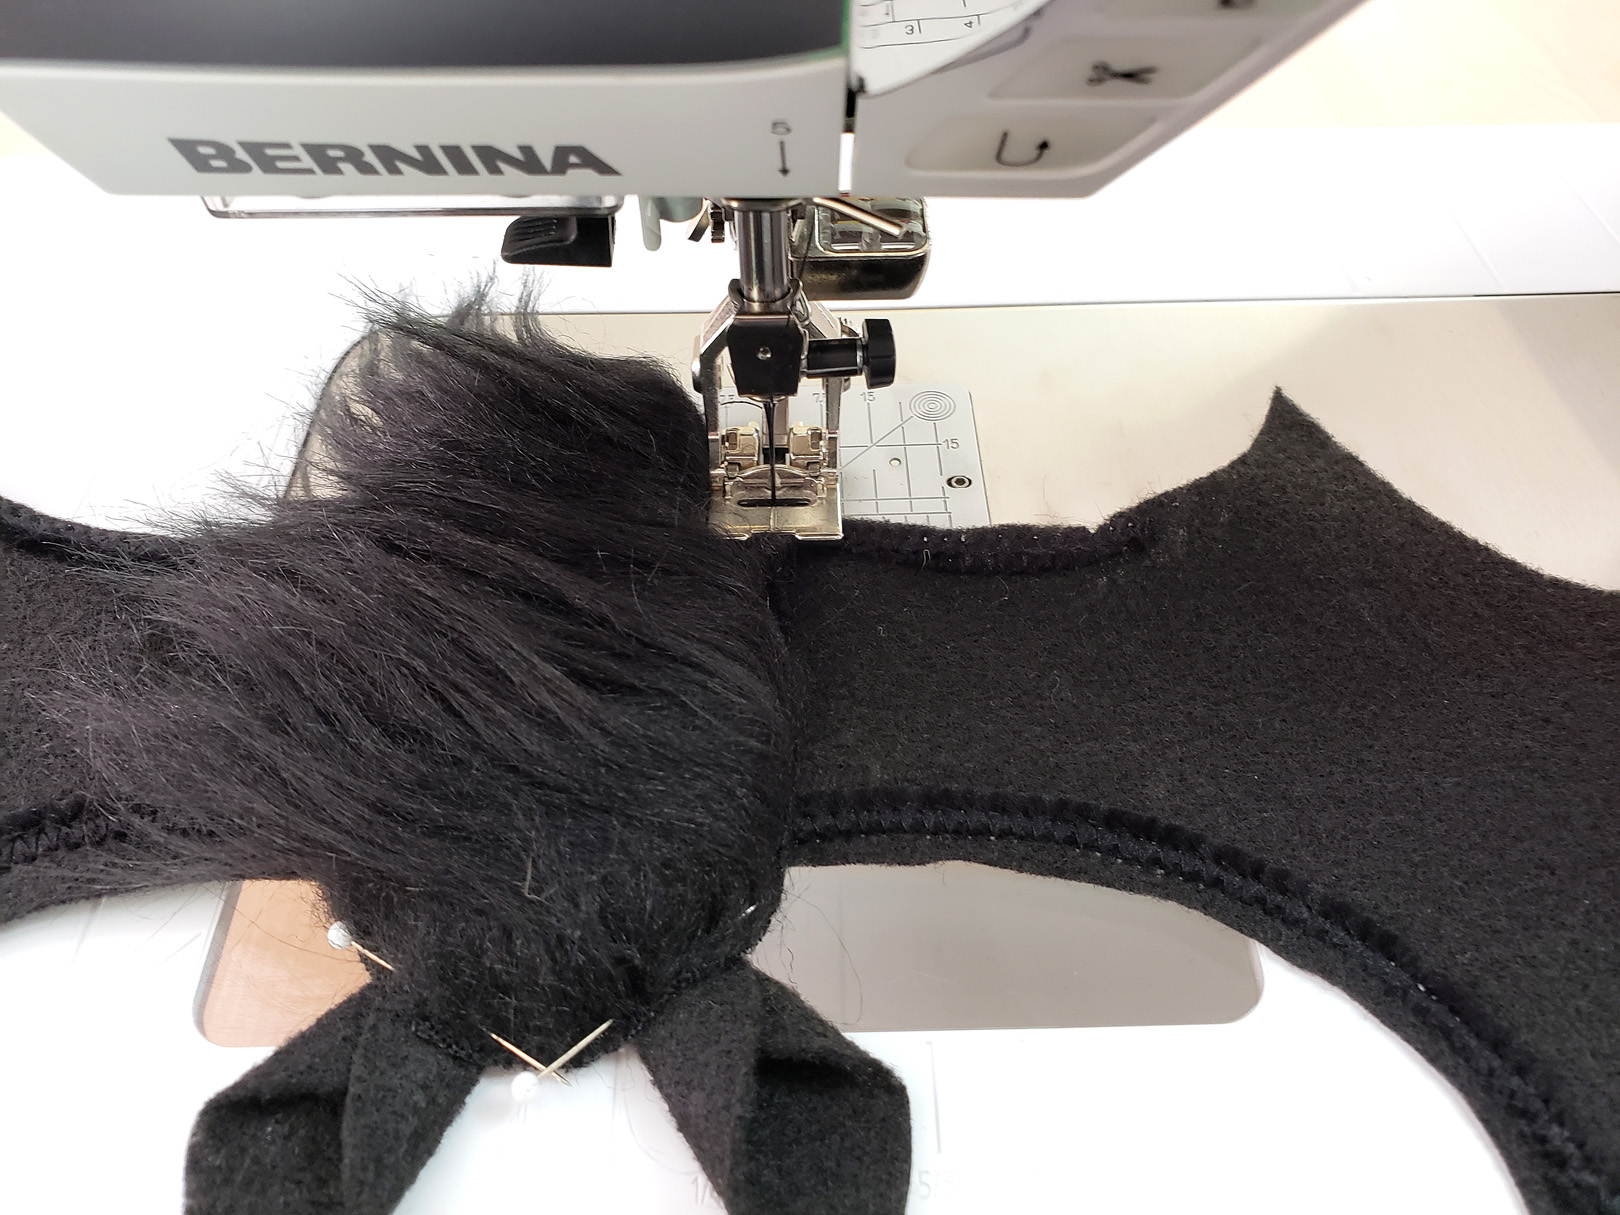
On the sewing machine, switch back to a medium width zigzag stitch about 3-4mm. Sew along the edge of the fur body with the zigzag stitch. Try to keep the stitches along the edge, so the needle just barely falls off the right edge of the fur fabric. You might think the zigzag stitches will show, but the long fur will fluff out right over the seam and make it nearly invisible.

As in the basting step, slow down when sewing over the chenille stems advance the needle with the handwheel to avoid hitting the wire at full speed with the needle.
Lightly stuff the bat through the bottom opening. Move the fur back with your fingers and pin the opening closed. Stitch closed as in the step above with the medium zigzag stitch.

Give the bat a good fluff and they are ready to fly!

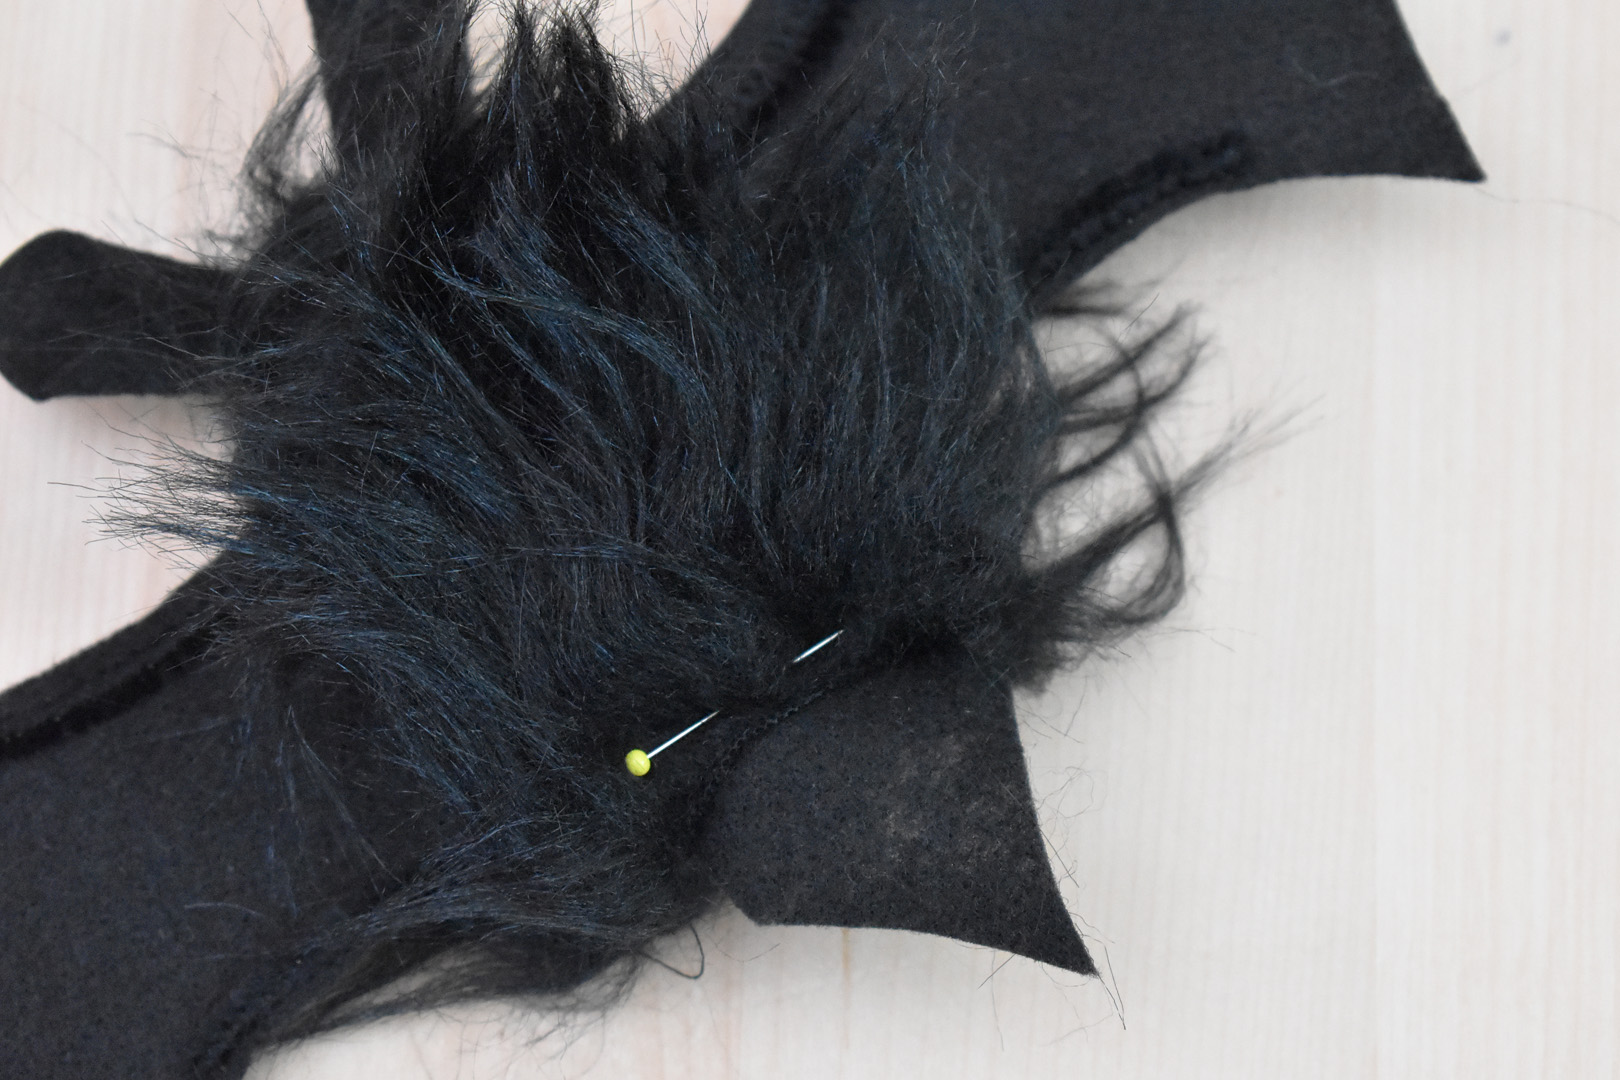
Use a needle to draw thread through the bat body to hang.
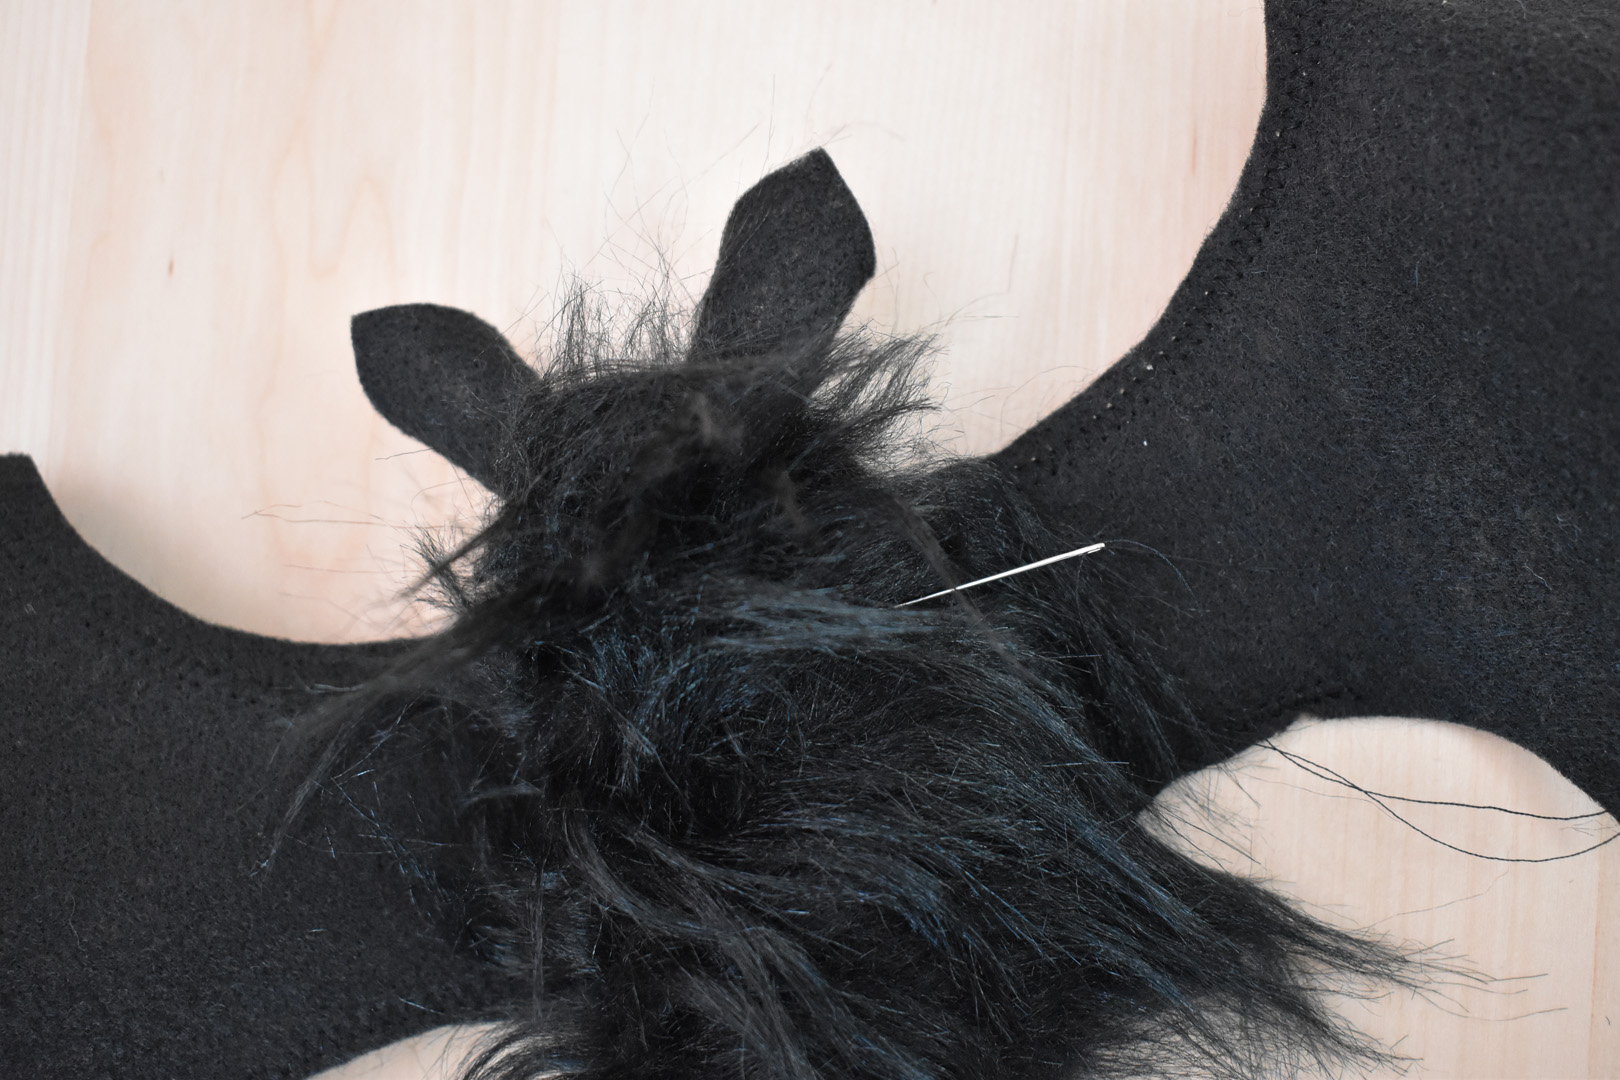
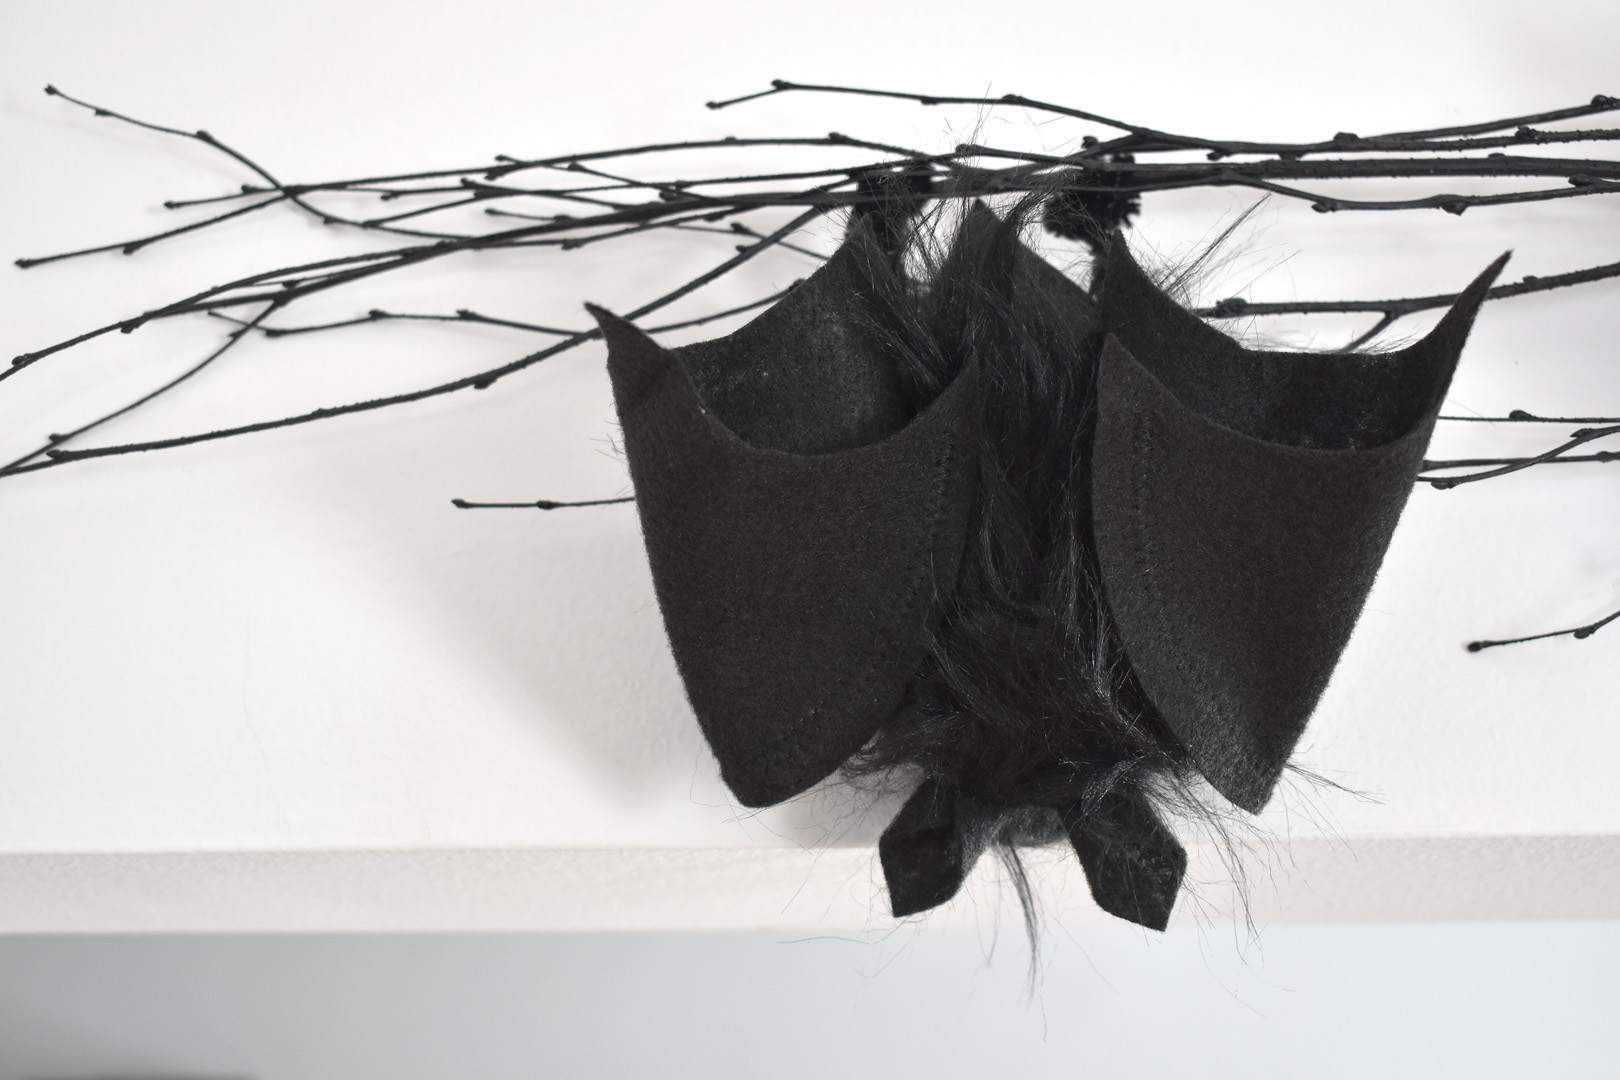
Draw the thread towards the top of the bat to make it hang right side up, or draw the thread near the tail to hang the bat upside down.
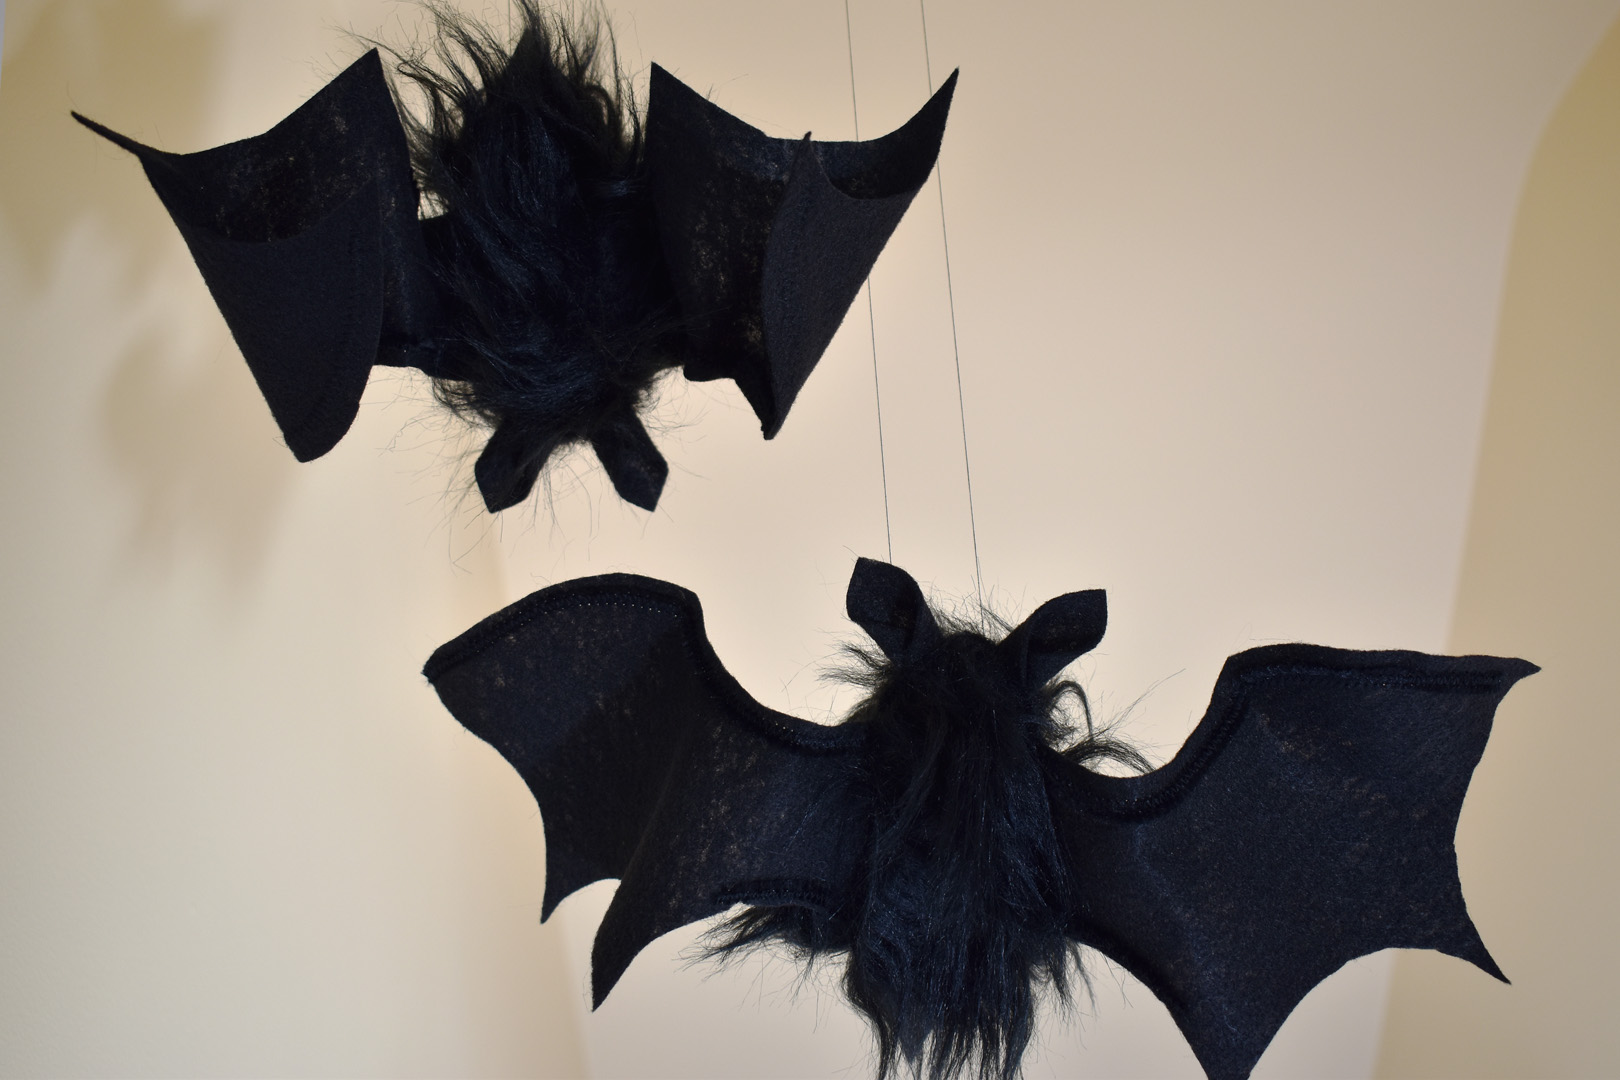
Bend the wire wings to move the wings in different directions.
Or fold up the wings to make a sleeping bat.
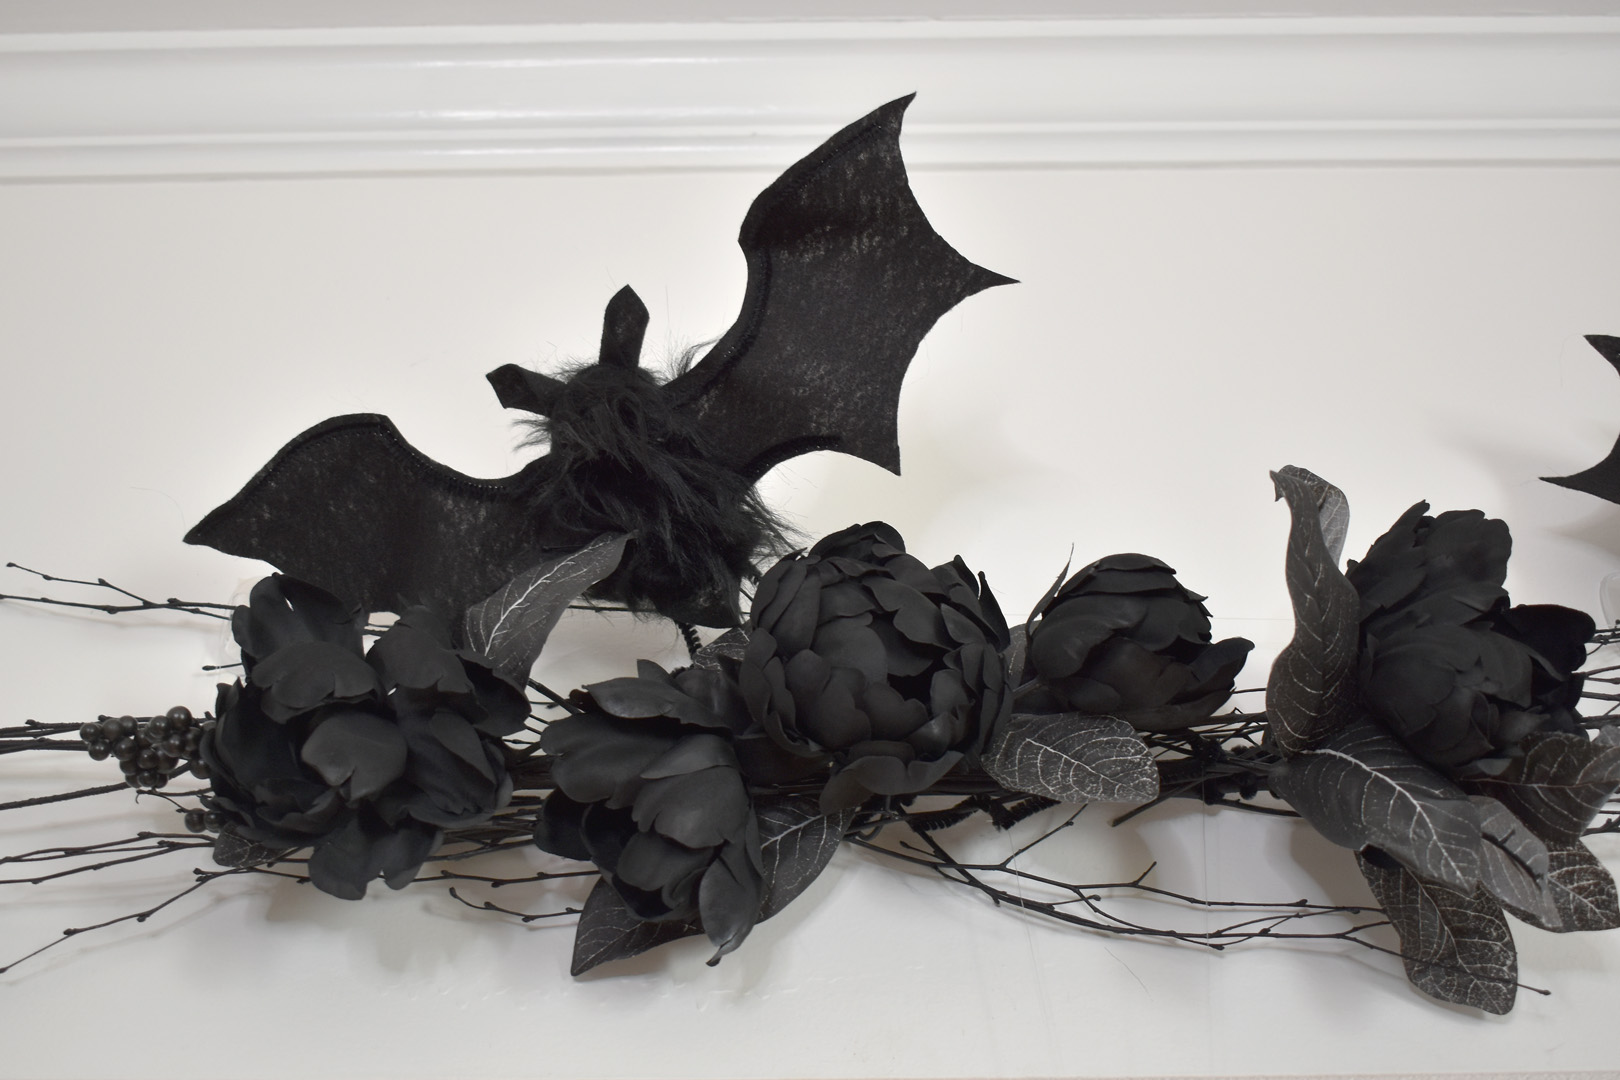
Use a few to decorate a floral swag.
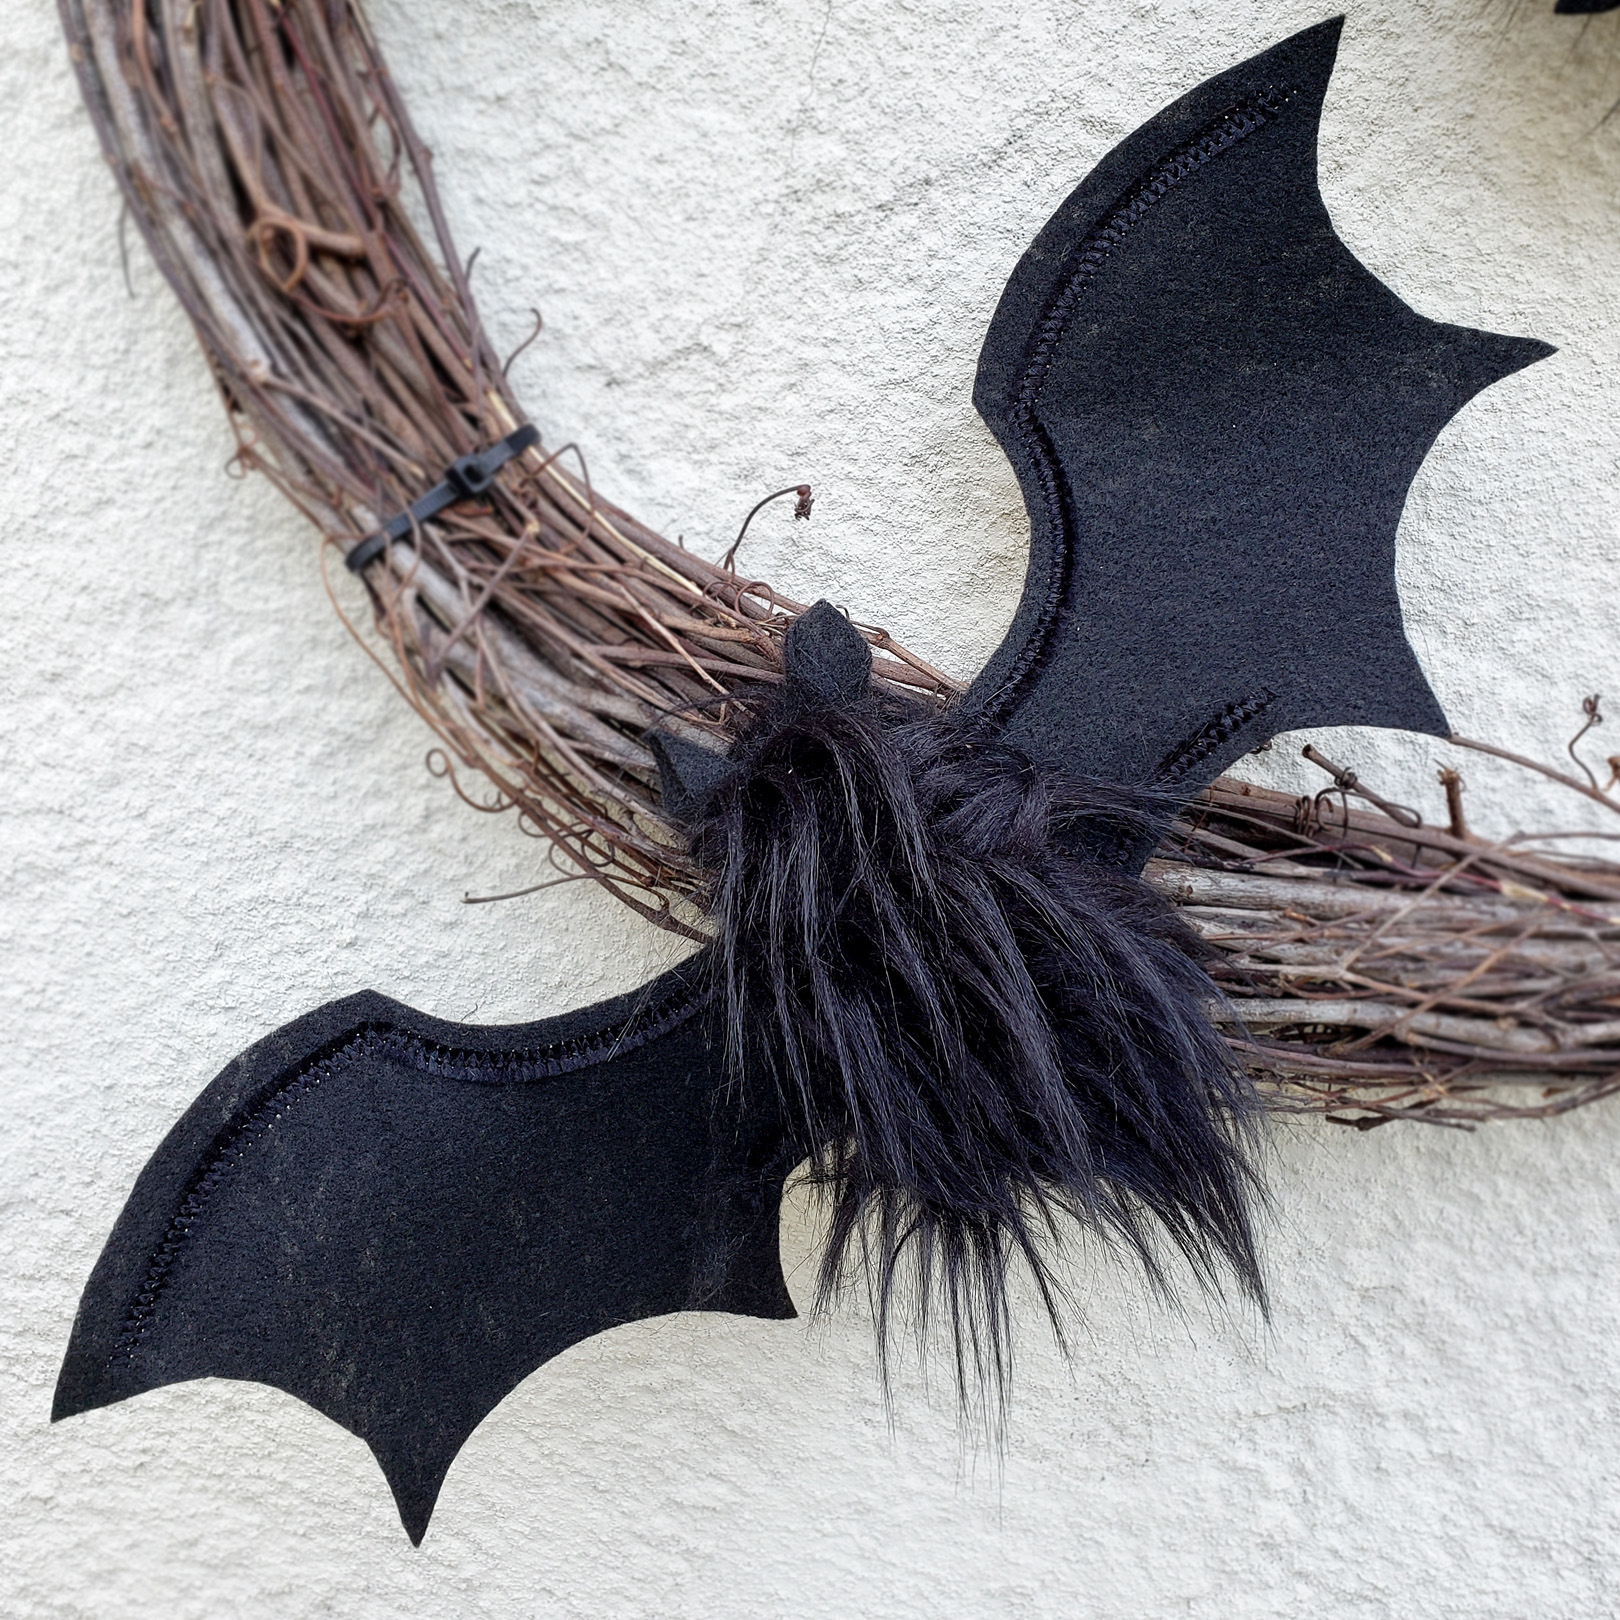
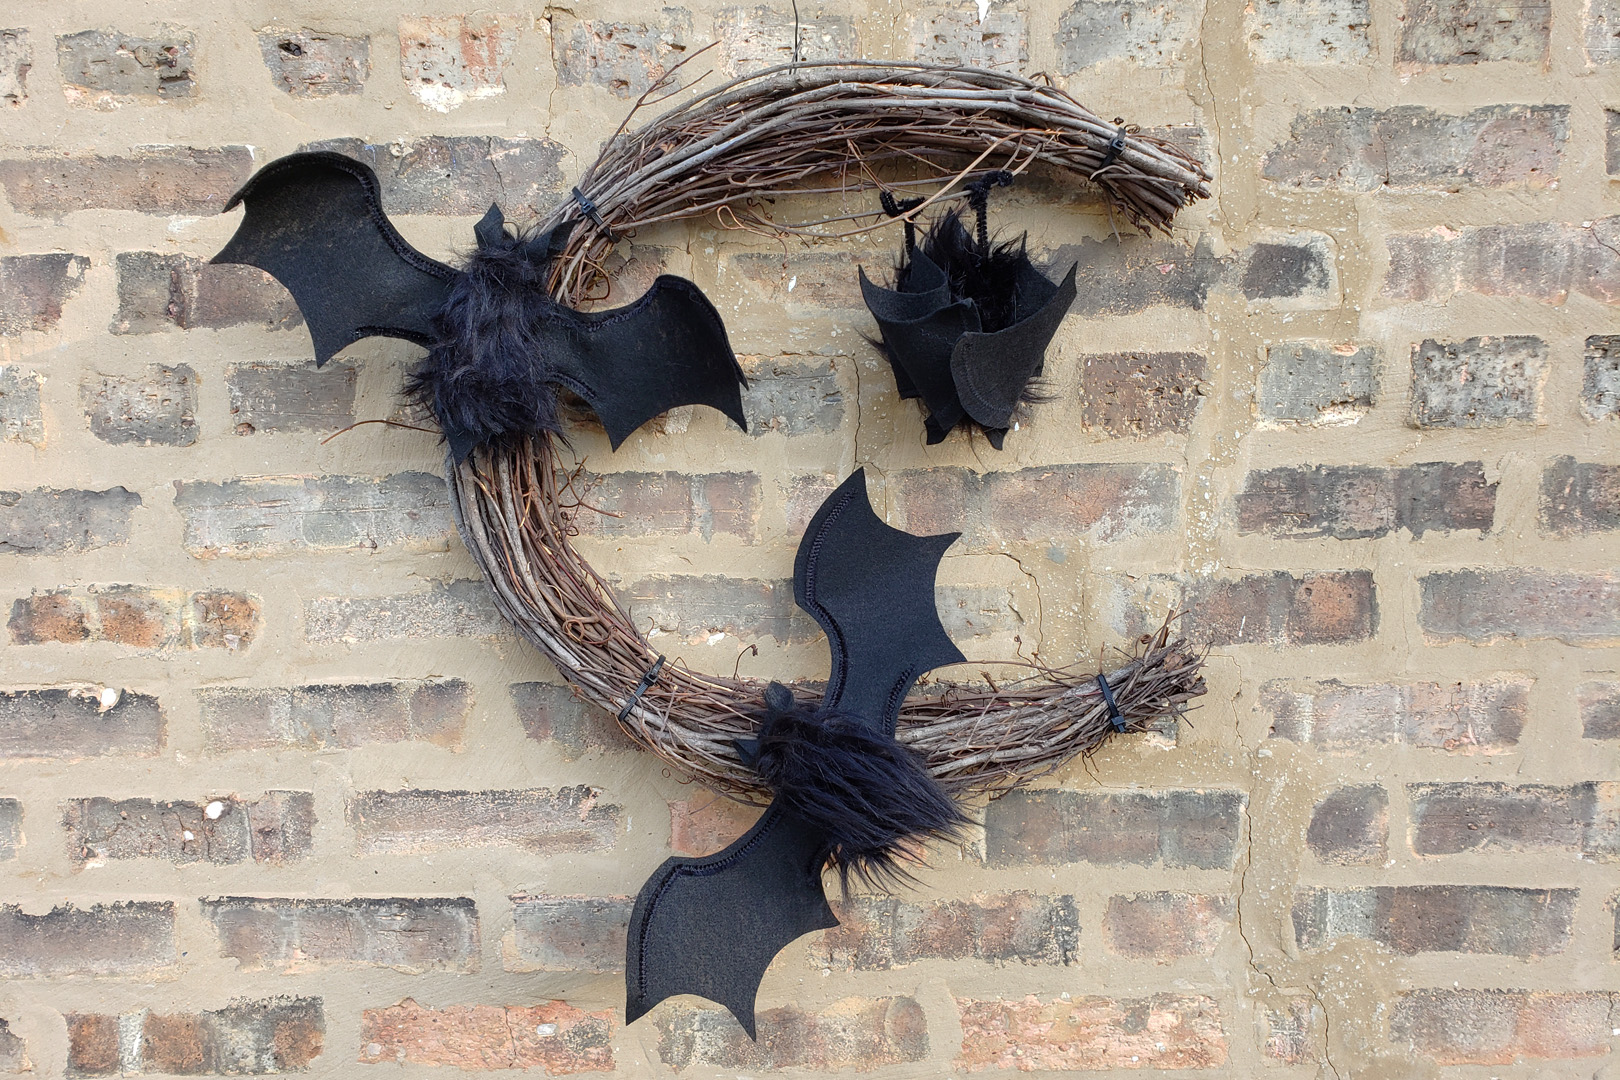
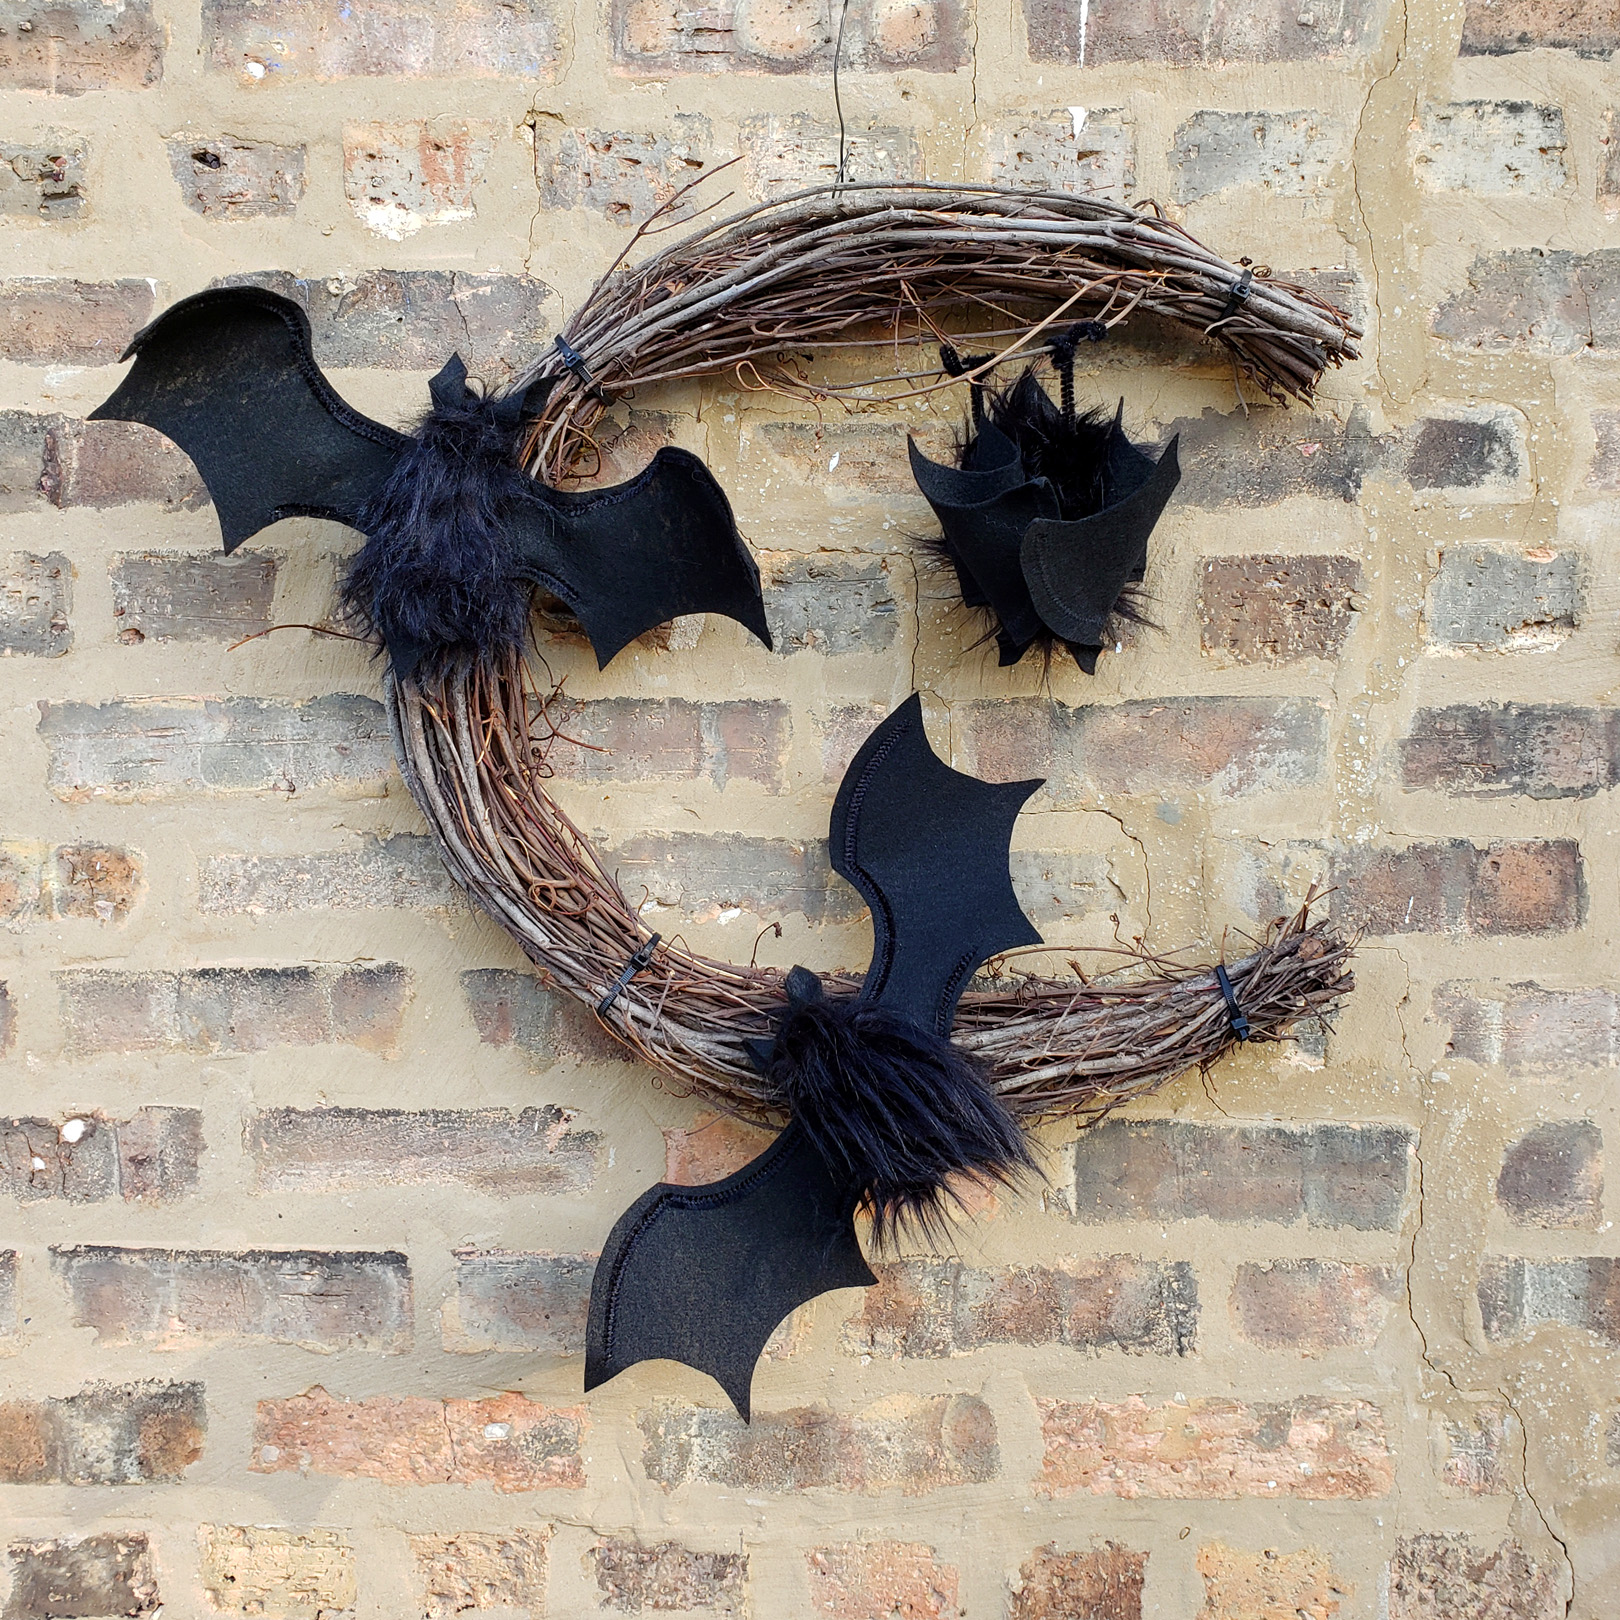
Or a wreath.
I hope you enjoy these spooky bats!
Used Products


What you might also like


6 comments on “Spooky Halloween Bat Tutorial”
-
-
Thanks so much Julie! ?
-
-
How did I miss this!!! I can’t wait to try this, thank u!
-
Hope you enjoy the bats Trish! – Erika
-
-
What a wonderful project, I asked the Grandchildren what I could do for Halloween the other day and they didn’t know. I can surprise them with some Spooky Bats. Thank you very much from Maureen in the Island of Jersey, UK 🙂
-
Thanks so much @mopinwil, I hope you enjoy making a few bats! Happy Halloween!
-
Leave a Reply
You must be logged in to post a comment.

ok that is super cute and fun!!!