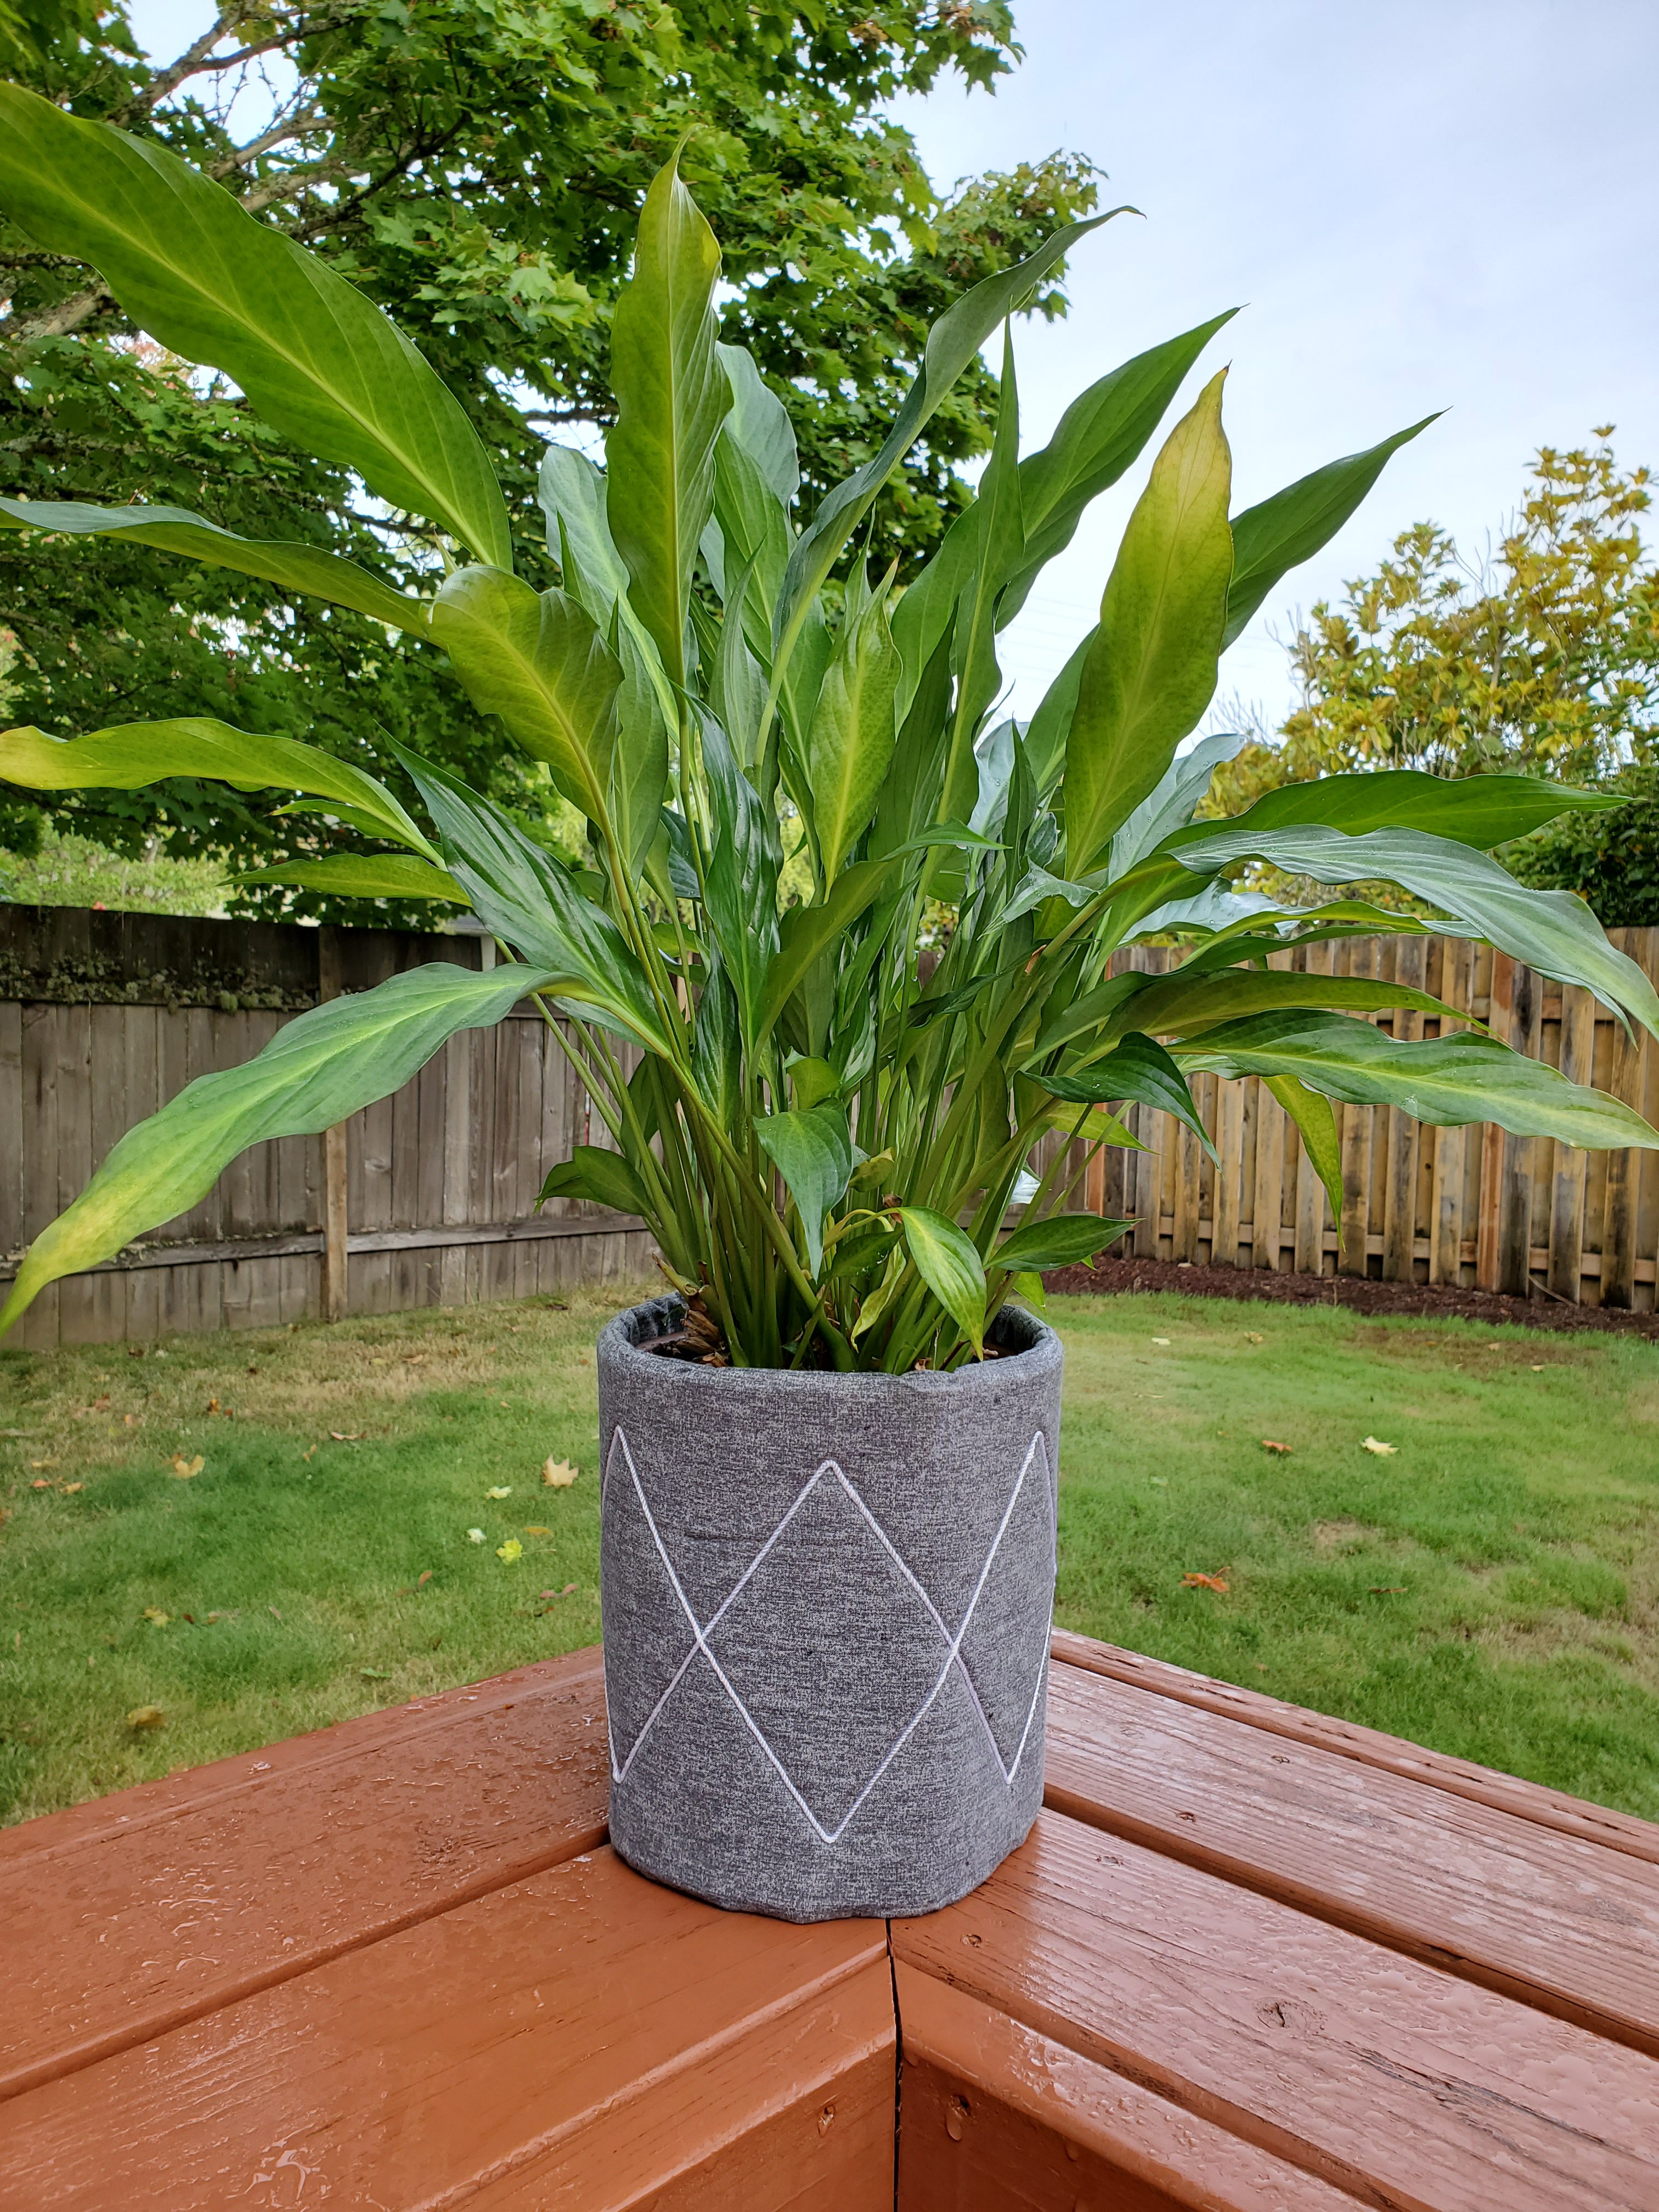
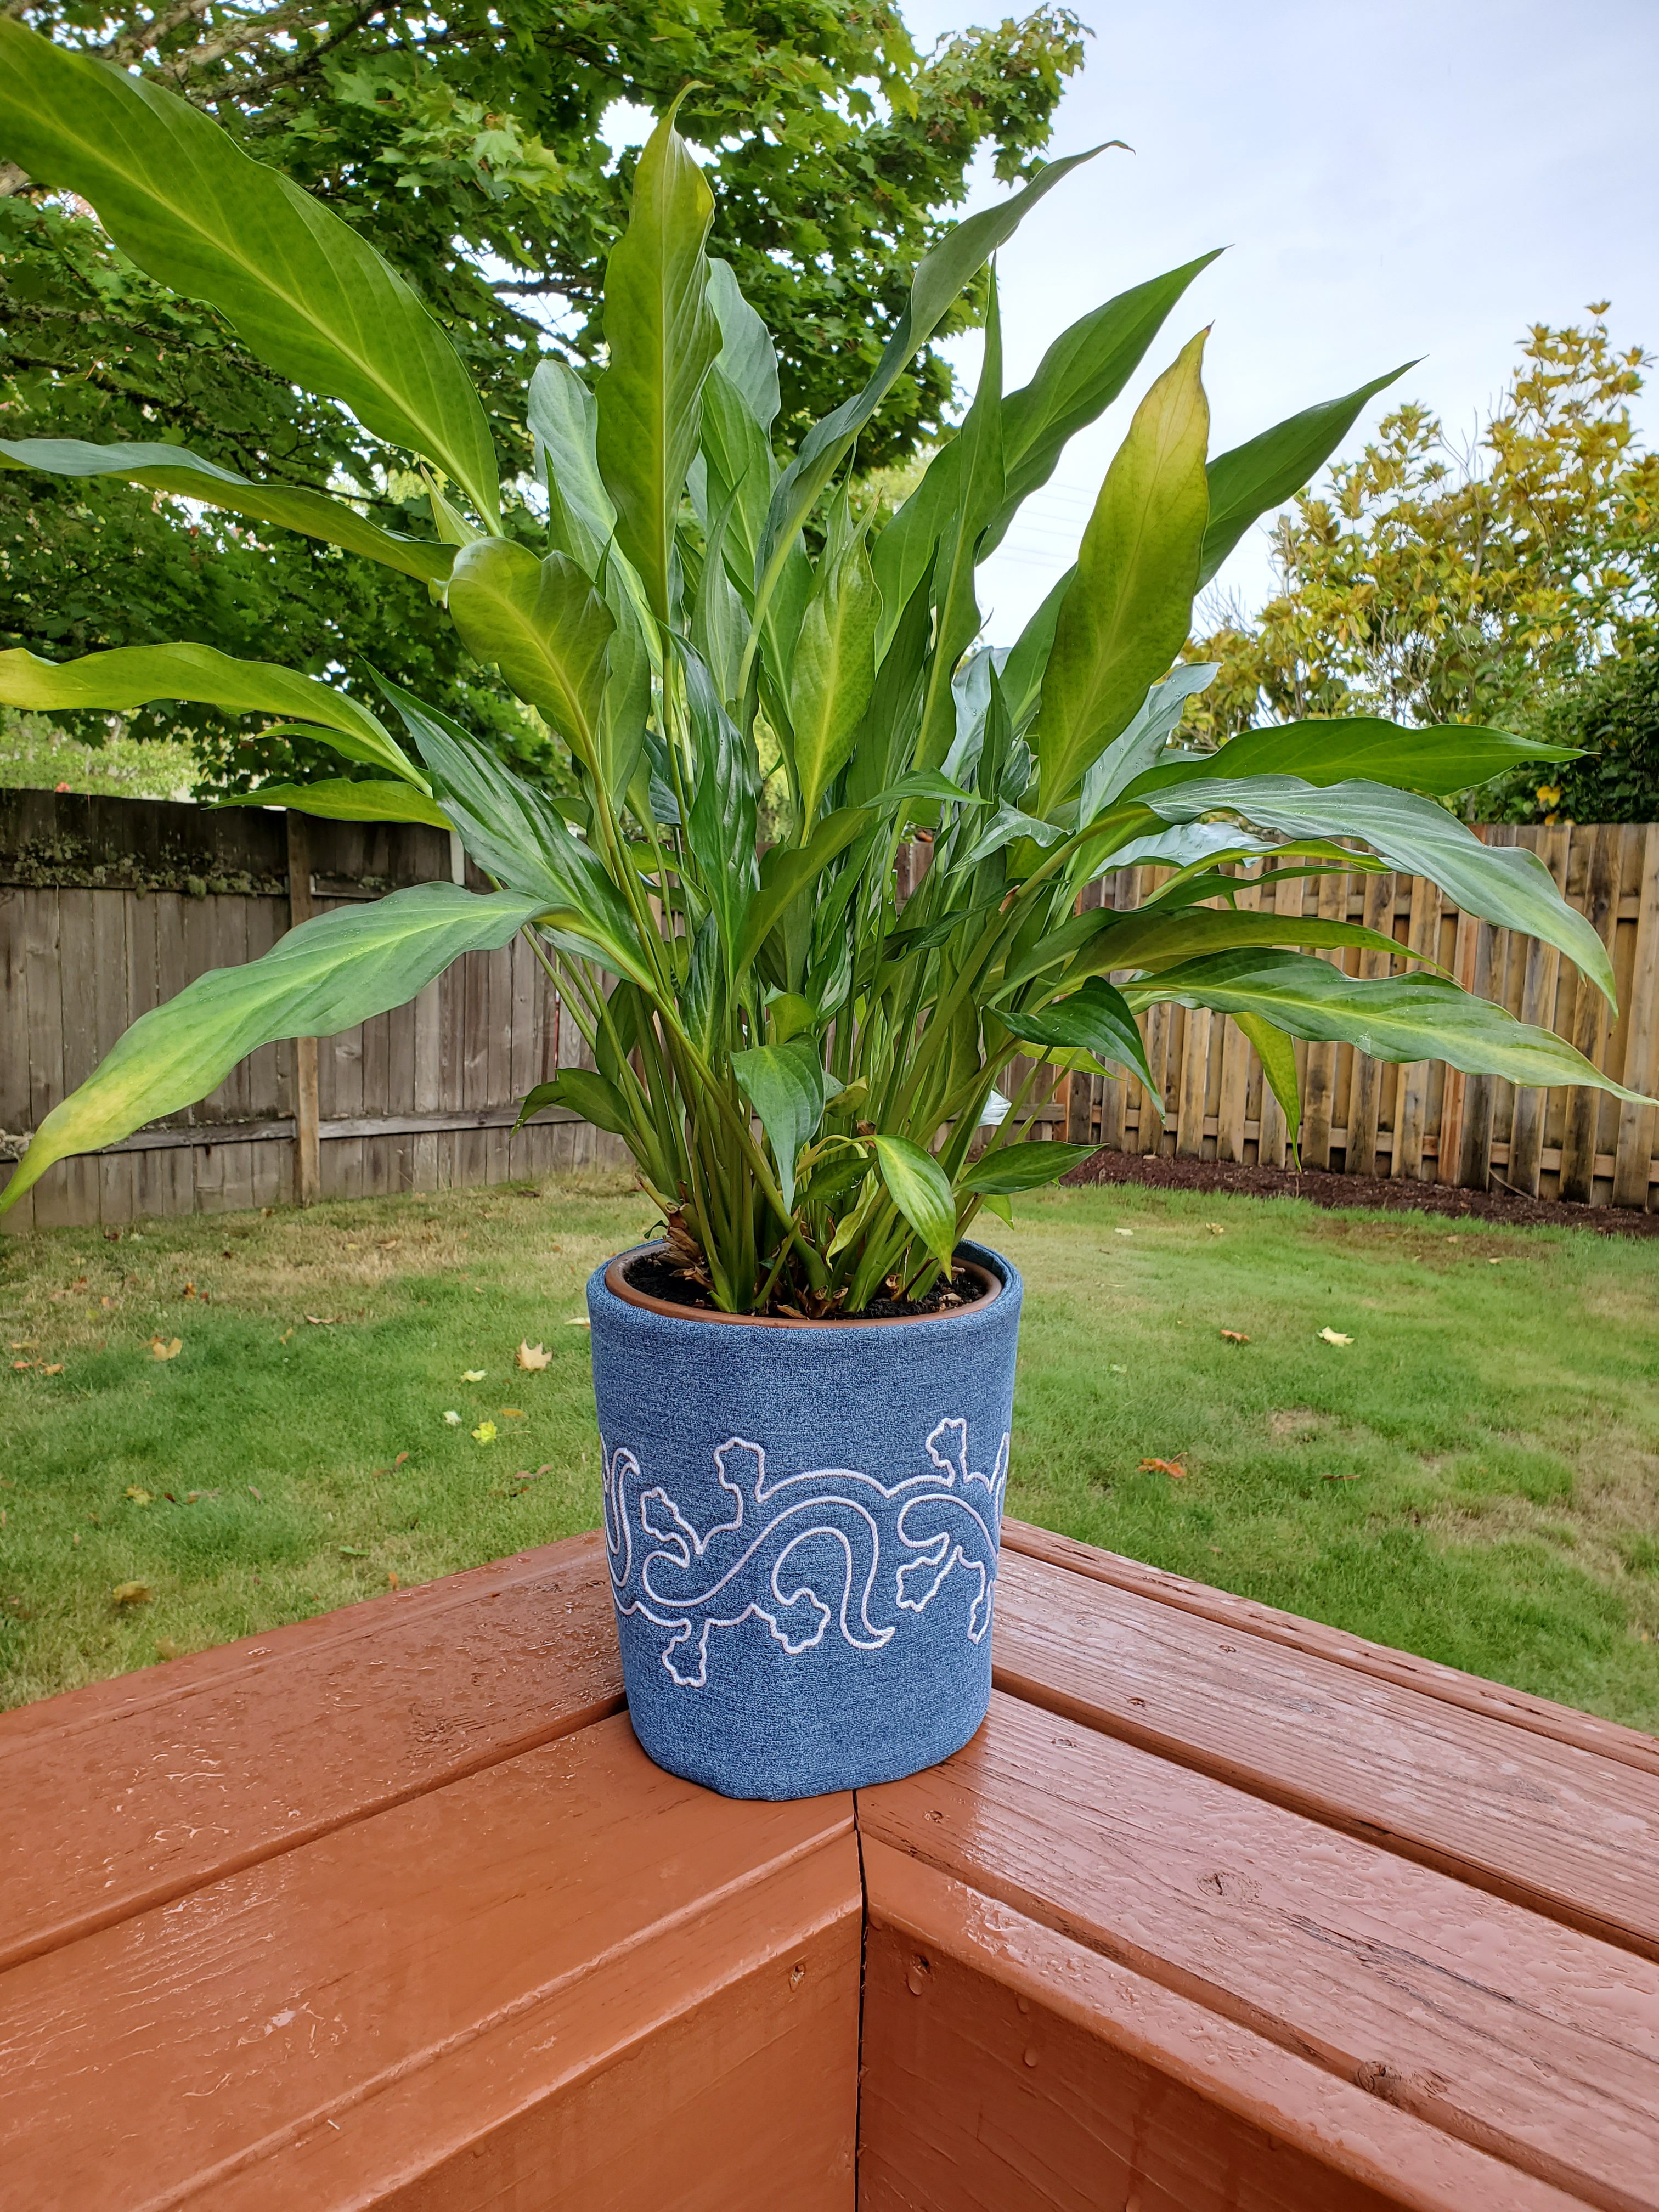
How to Sew a Flower Pot Wrap
Take your basic flower pot from ‘Drab to Fab’ using your BERNINA Q-matic Longarm Quilting Automation System! Now my plants can look great for all occasions with a little help from Leo, my Longarm.
Supplies to Sew a Flower Pot Wrap
- BERNINA Q 24
- BERNINA Sewing Machine (I used the BERNINA 880 PLUS)
- Flower Pot
- Measuring Tape
- Fabric
- Soft and Stable
- Muslin (lightweight cotton)
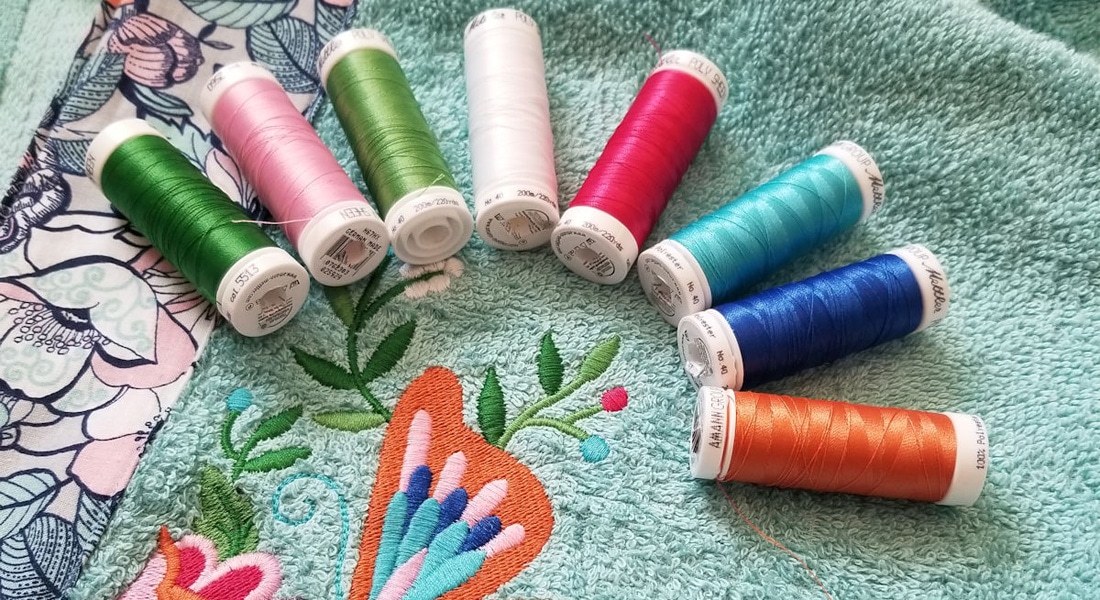
- Mettler Silk Finish Cotton thread
- La Espiga Cording #18
- ¾” Hook and Loop Tape
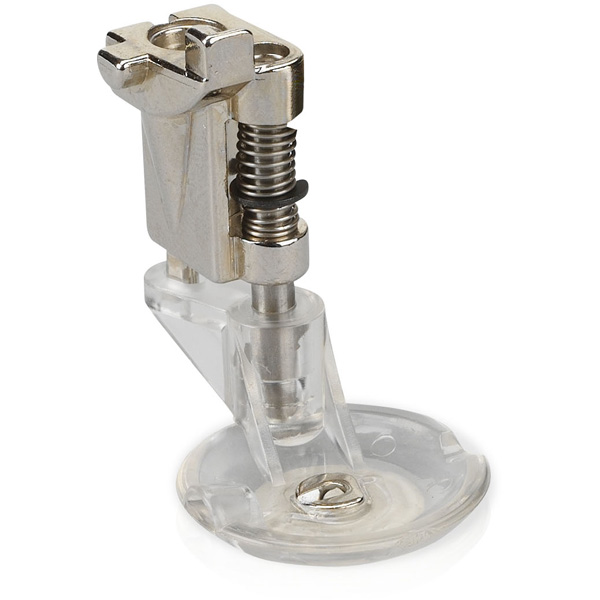
- Free-motion Couching Foot #43
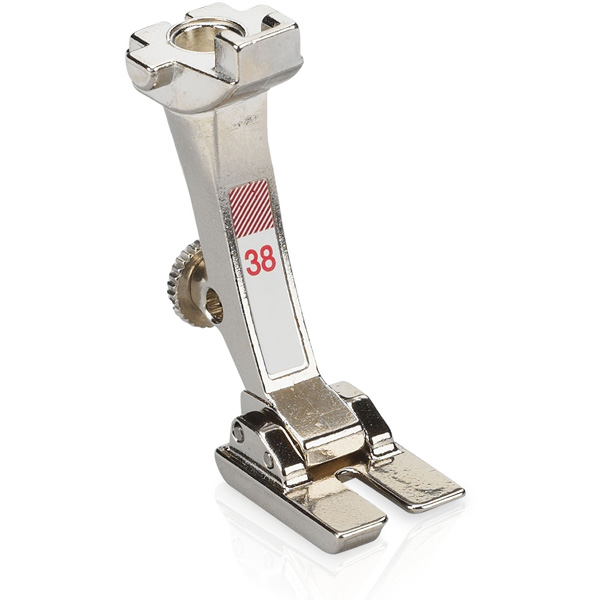
- Piping Foot #38
Steps to Sew a Flower Pot Wrap
Step 1. Measure the Pot
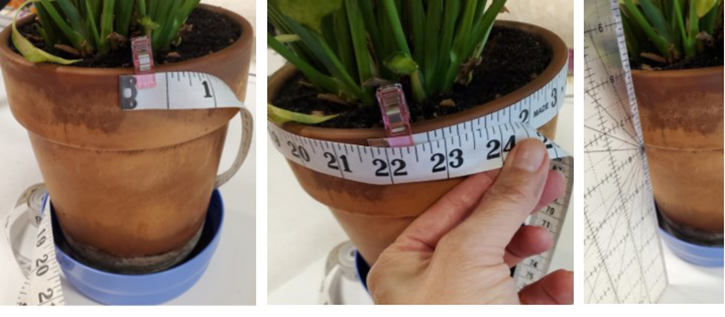
Measure the circumference and height of your clay pot. I found a Wonder Clip extremely helpful when trying to measure the circumference as shown below. Be sure to write the measurements down. My pot measured height 8” and the circumference measured 22 3/4” To ensure there is enough to wrap around, add 1 inch to the circumference. That makes my length 23 3/4″.
Cutting instructions based on your measurements (here are mine):
- (1) Soft and Stable: 8” x 233/4” (Your Height x Your Length)
- (2) Main fabric & Lining fabric (Cut 1 each): 12” x 28” (Your Height + 4” x Your Length + 4”).
- (1) Flap (cut 1 piece of fabric): 4” x 8” (4” x Your Height)
- (1) Velcro (hook and loop): 71/2” long (Your Height – ½”)
Step 2. Create the Flap
Use your BERNINA sewing machine to create a flap.
Fold the flap in half, right sides together, to make a 2” x 8” rectangle. Using a ¼” allowance and your favorite patchwork foot, sew the two short edges. Then turn the fabric right sides out and press. Stitch the “hook” portion of the hook and loop tape about ¼” from the folded edge of the flap using Piping Foot #38.
Set the prepared flap aside for now.
Step 3. Set Up the Longarm
- Clean and oil the Q-series Sewhead before starting the project.
- Load the frame with muslin or lightweight cotton for the backing—the same rules as backing fabric (6-8” wider than the length of the top).
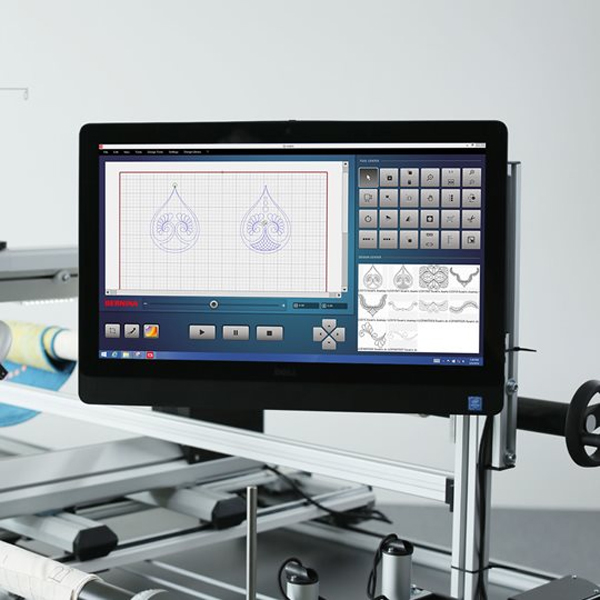
- Turn on the Q-matic and set the Safe Area.
- Load the following designs into the design center: Square and PRPANTO21.
Step 4. Create the Pattern in Q-matic
Placement Box:
- Resize the Square design to be 23 3/4″ x 8” (or your length x your height).
- Remember to Apply and Confirm the changes.
- Place in Safe Area.

Quilting:
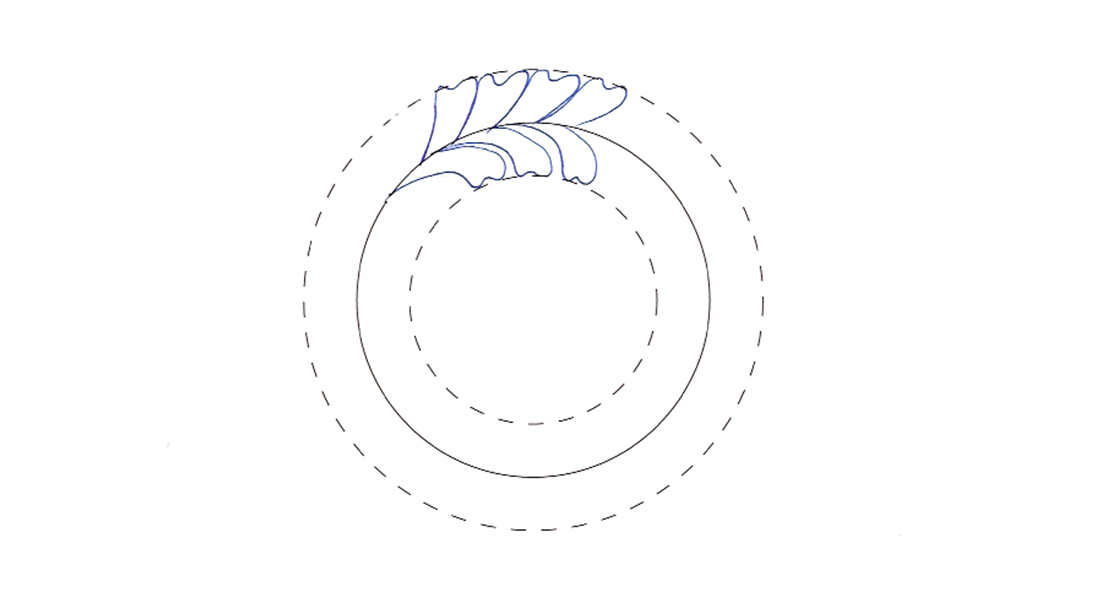
I used PRPANTO21—added 2 repeats, trimmed right side down to 5 geckos, then resized to Maintain Ratio (proportion) to fit your length (mine is 23 3/4″).

- Create a mini E2E in the center of the Placement Box.
- Centering—use the Alignment tool to ensure the Placement Box and Quilting design are centered.

Step 5. Stitching Using Q-matic
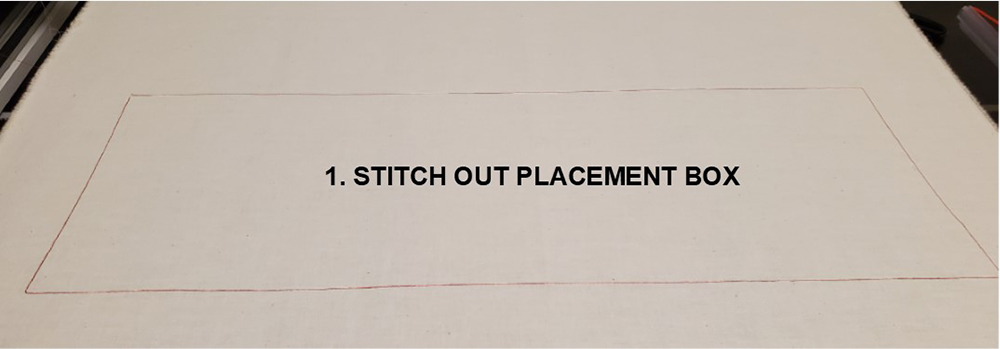
- Stitch out Placement Box onto muslin fabric backing.
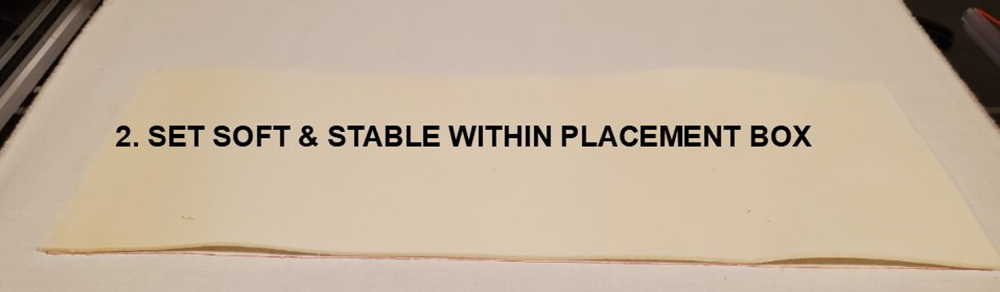
- Set Soft and Stable within the Placement Box.
- Place main fabric, right side up, centered over the Soft and Stable. Then pin or stitch baste along the top and bottom edges of the fabric.

- Change BSR2 stitch length to 12 SPI.
- Load the Couching Foot #43 with La Espiga cording. Use the threader to pull the cord through the tunnel on the left side of the foot and down into the needle hole. Then attach the foot to the machine.
- Sew the geckos using the couching cord.

- Go to the Q-matic screen and select the Placement Box and mask a 6-8” opening on the bottom edge to create an opening for turning.


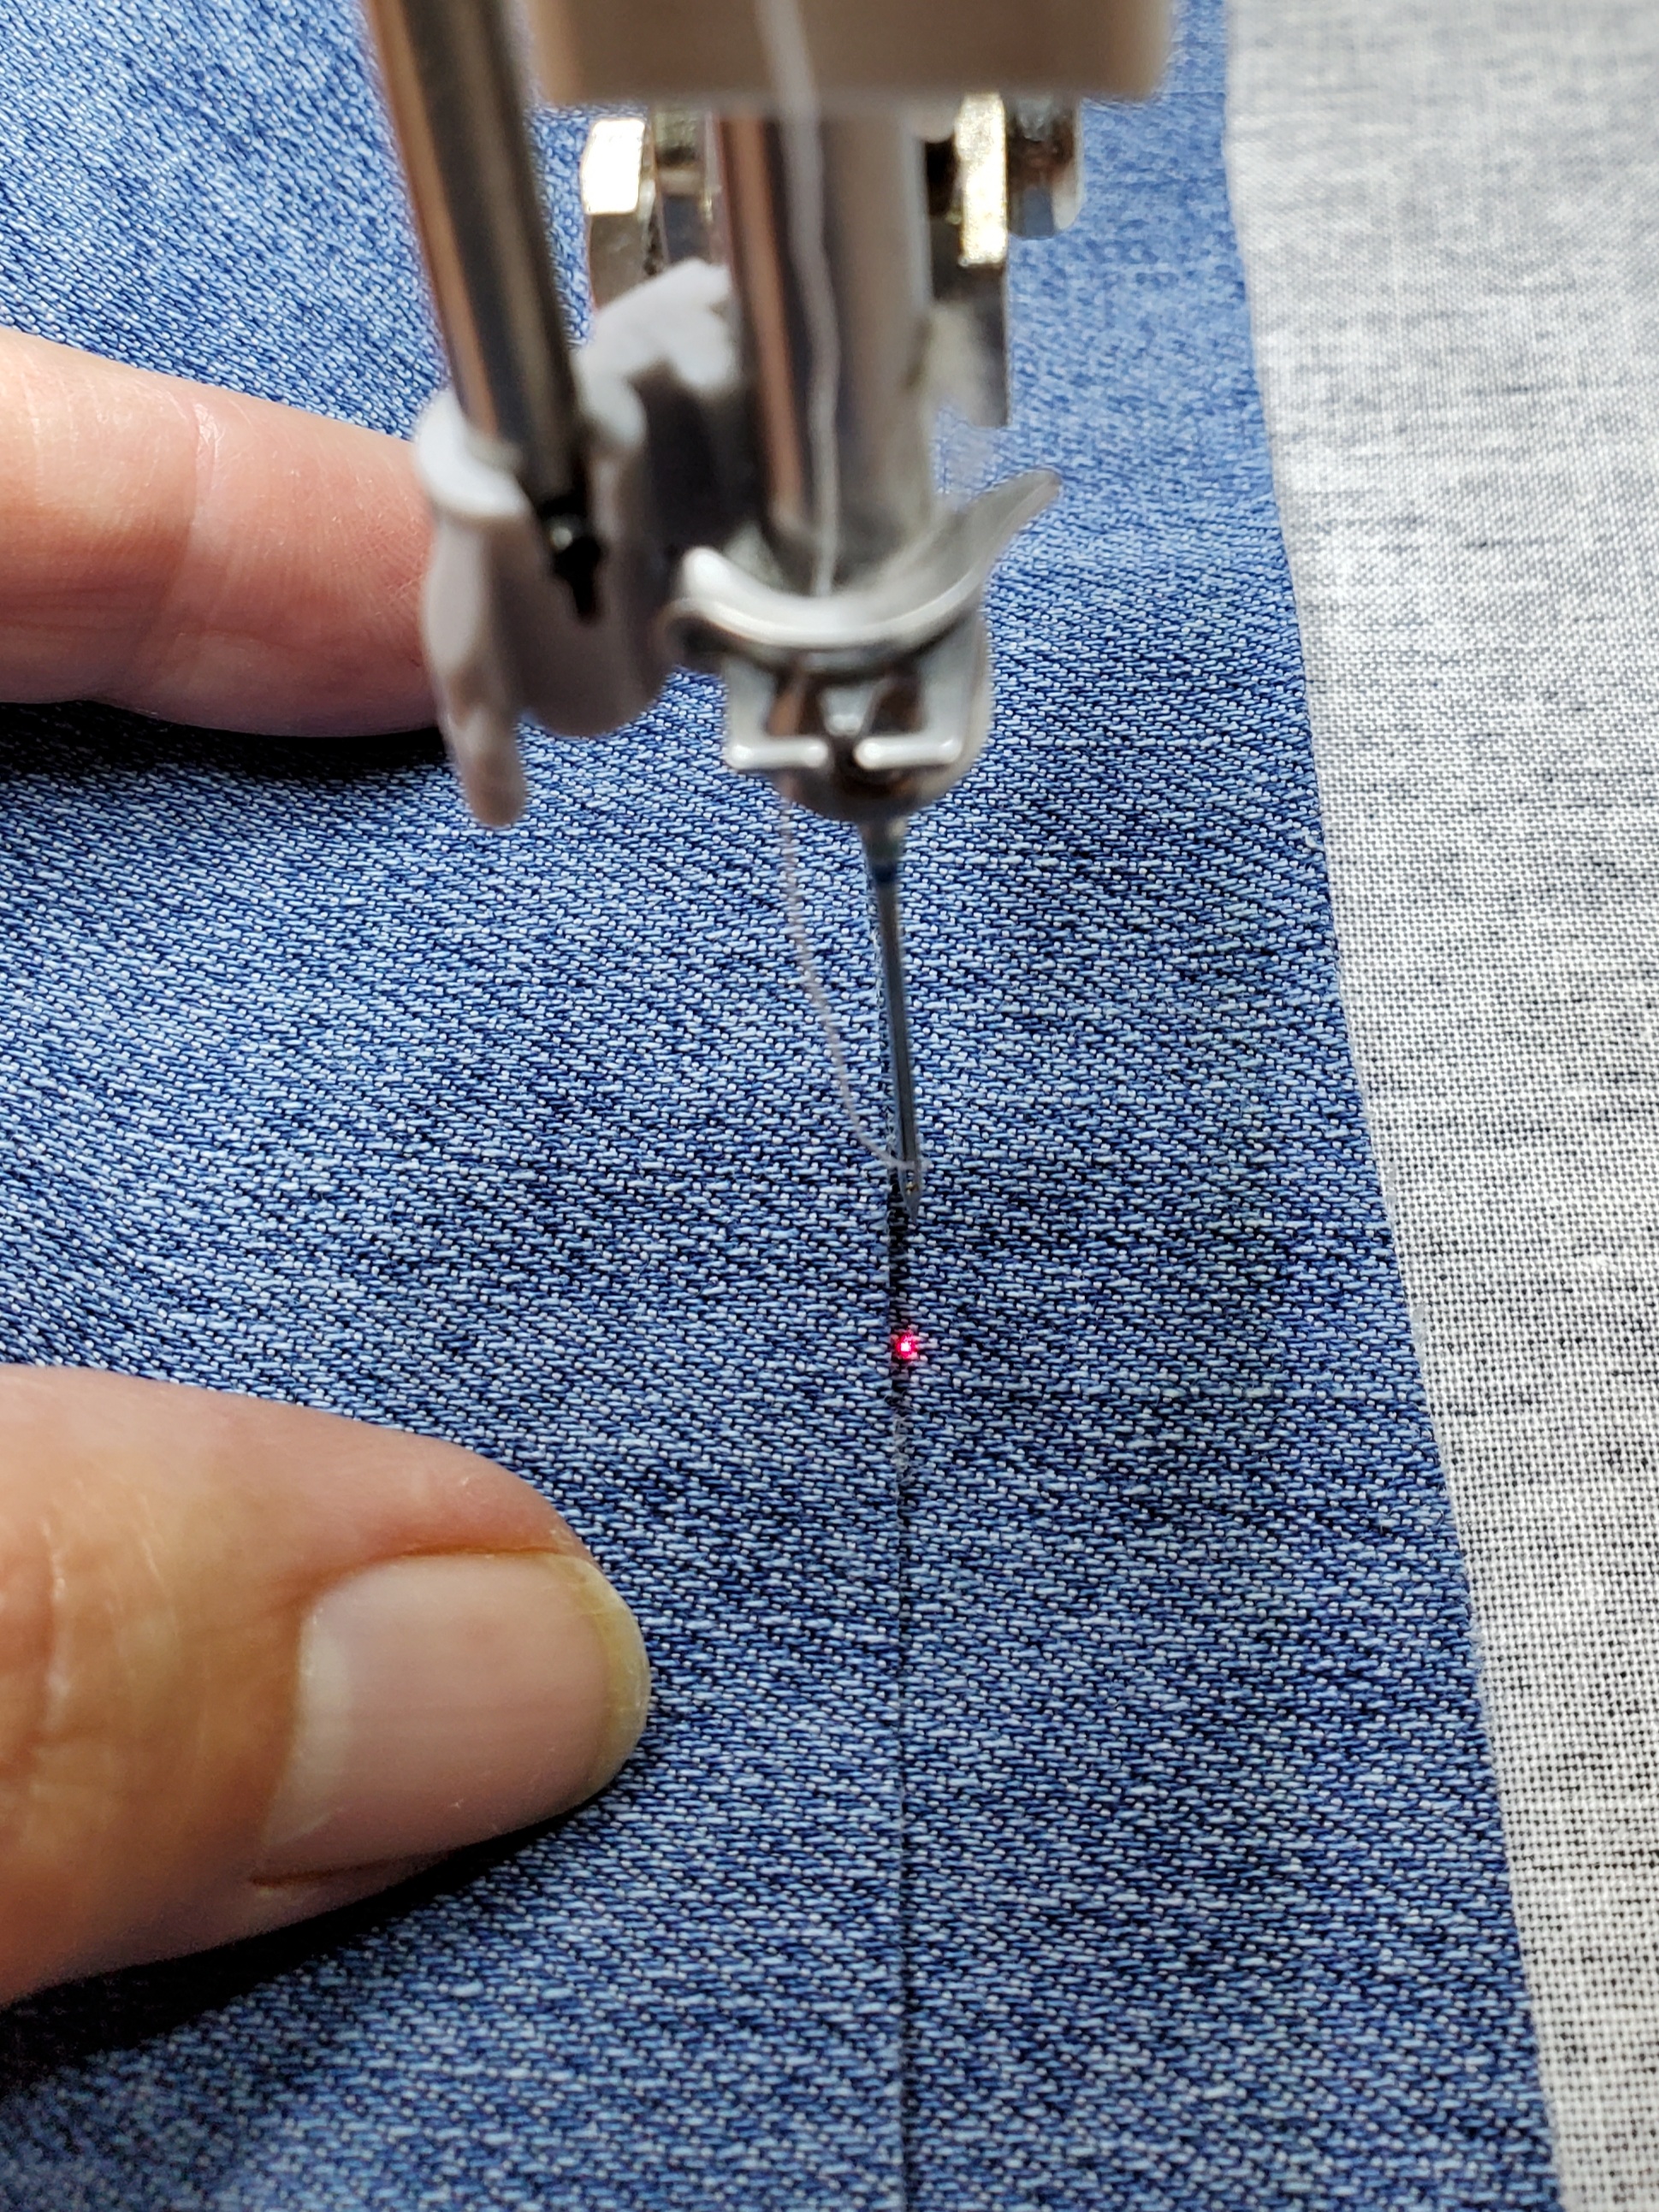
- Move your needle position 1” from the right edge of the placement line and turn on the Needle Point Laser to align.
- Place the flap you created earlier, hook side down, using the needlepoint laser to align and pin or tape it in place.
Tip: If you don’t have a needlepoint laser—use your needle as a reference by turning the handwheel to raise and lower the needle for better visibility.
- Place the lining fabric, right side down, matching the fabric edges and pin baste near the outer edges of the fabric.

- Stitch out the sewing line to join the layers.
- Unload the frame.
- Trim the edges to ¼” seam allowance, then turn the wrap right side out through the opening in the bottom.
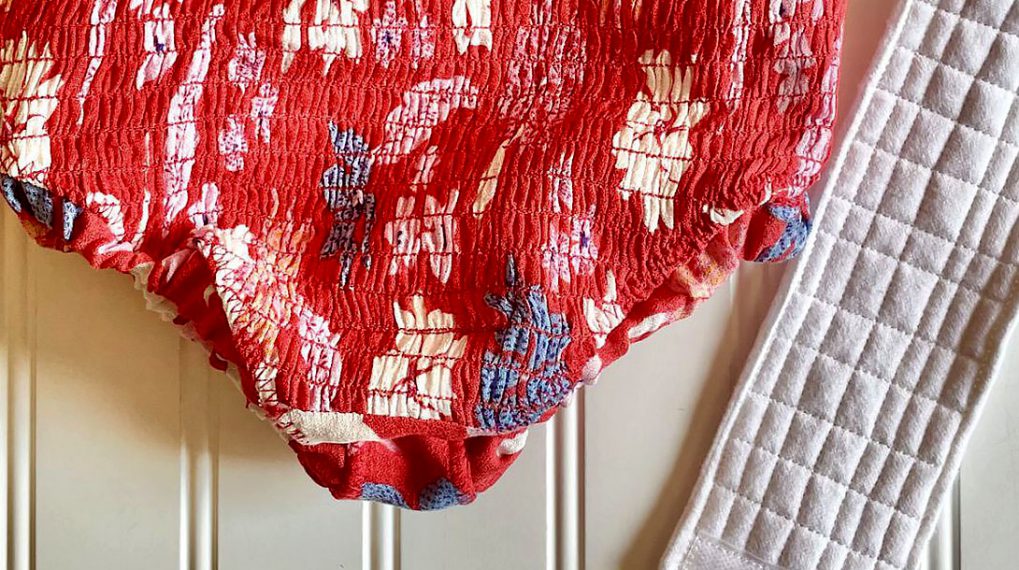
- Hand stitch or edgestitch the opening closed and sew the loop side of the hook and loop tape onto the lining side of the wrap at the left edge of the wrong side.

Wrap your favorite pots and enjoy!