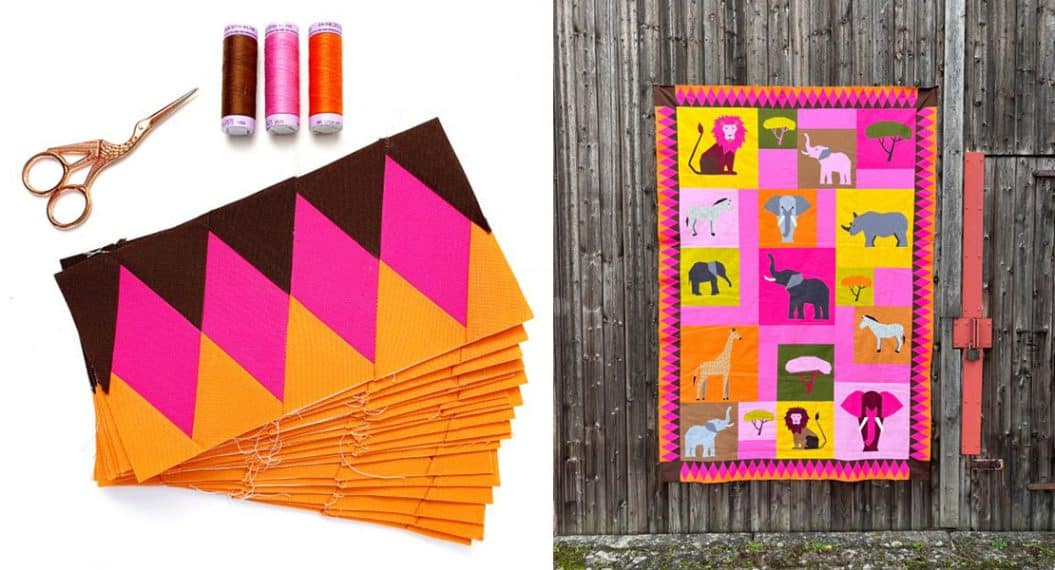
Quilt Safari, Part Ten: Sewing the Quilt Blocks Together
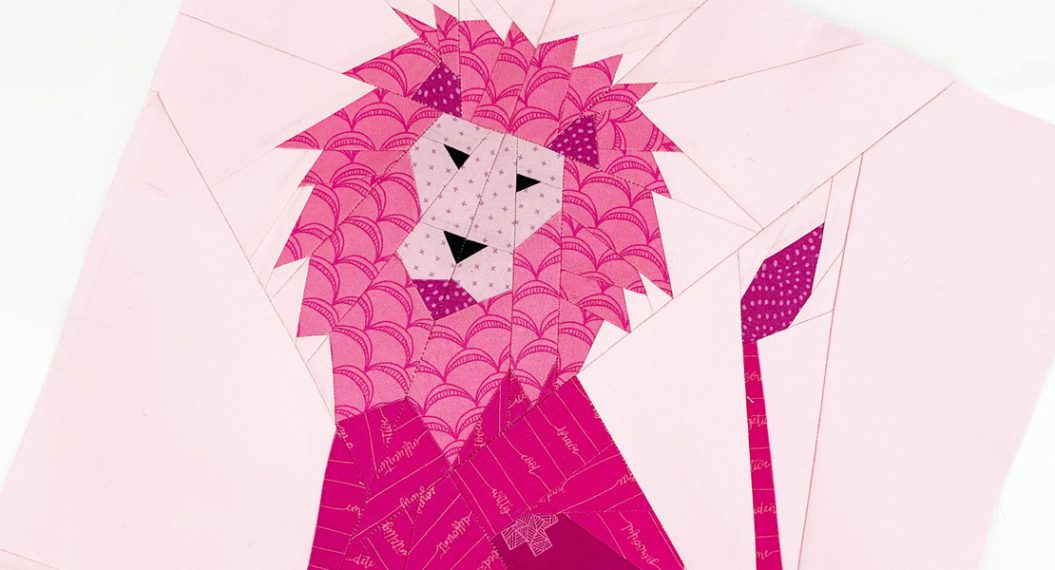
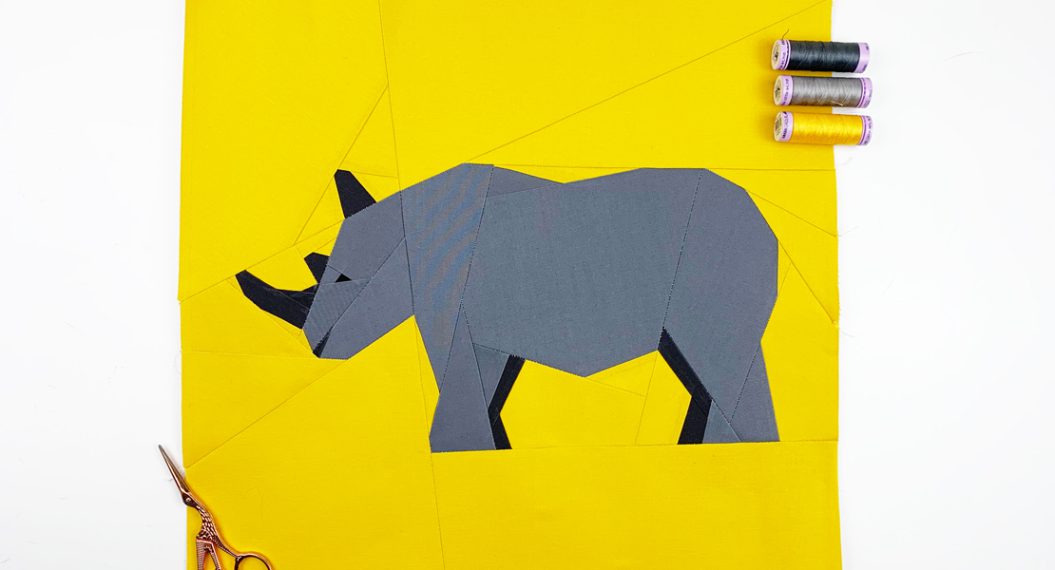
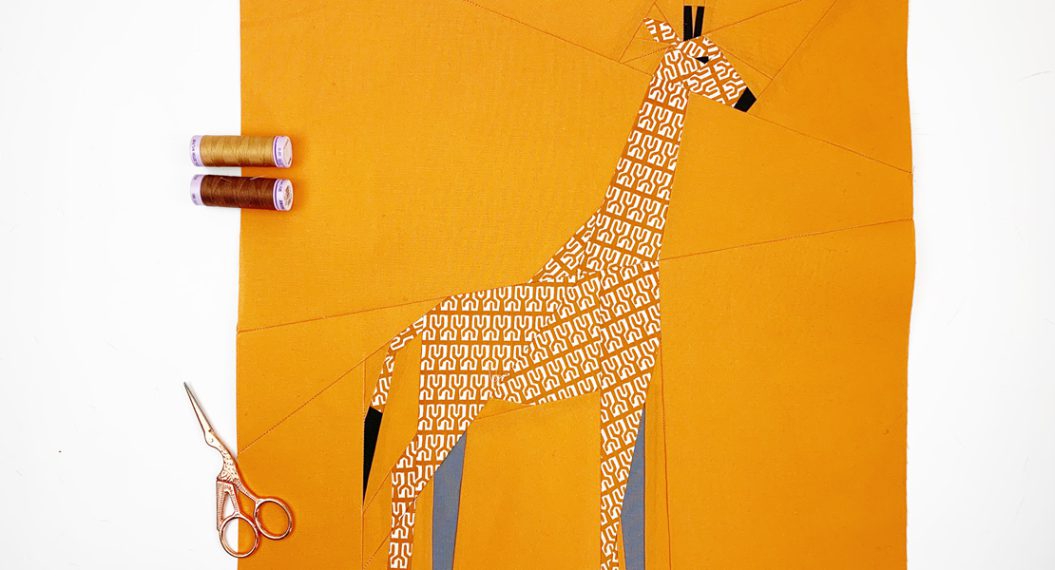
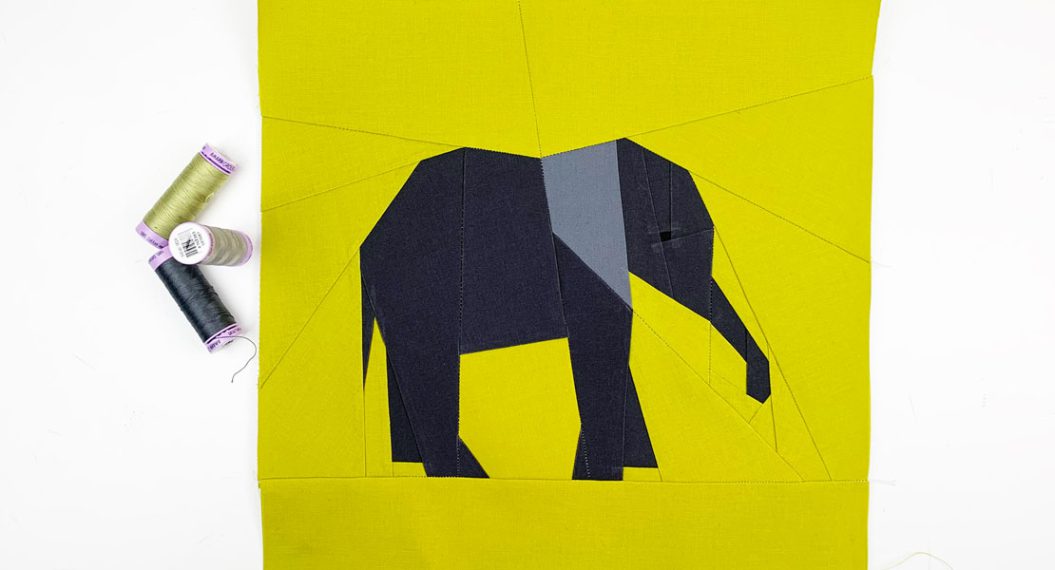
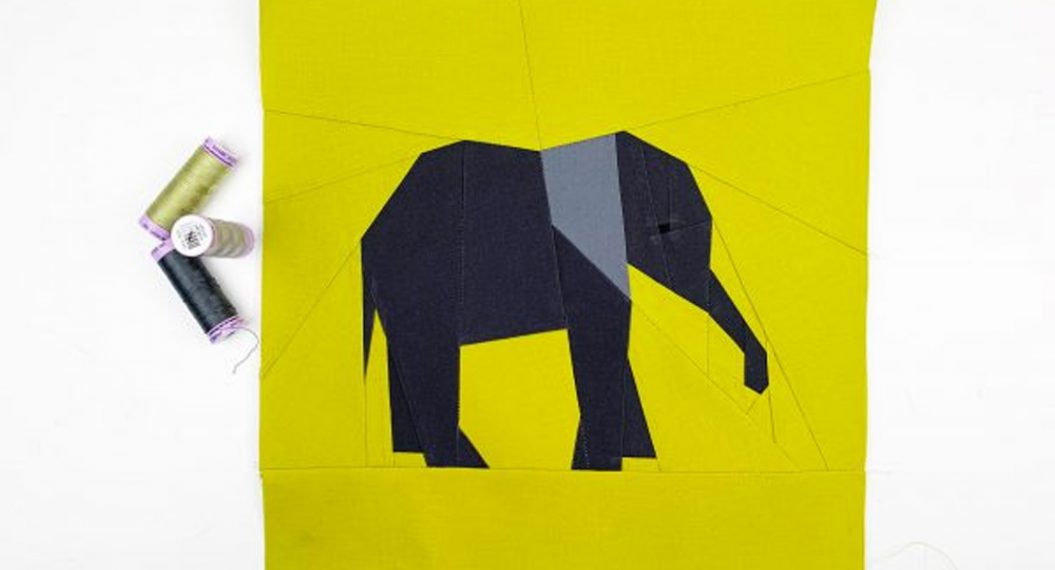
Hello and good morning, dear participants and fellow travelers of the quilt safari. In January, we started here on the WeAllSew blog together with our jeep through the African savannah and now the journey is slowly coming to an end. You have now finished sewing all your Foundation Paper Piecing quilt blocks for the safari quilt and you are now a FPP pro, right?
“If you are building a house and a nail breaks, do you stop building or do you change the nail?” – Proverb from Rwanda
I think this quote from Rwanda is very appropriate for our quilt along …. We don’t stop sewing if a pin breaks or a seam goes wrong. It’s annoying, but it doesn’t stop us from sewing, does it?
Today we are going to cut the squares that will be placed between the blocks. We will also join our quilt blocks together.
This part of the quilt-along is so satisfying for me! You can finally see a bigger result – that’s a joy.
Are You New to the Quilt Safari?
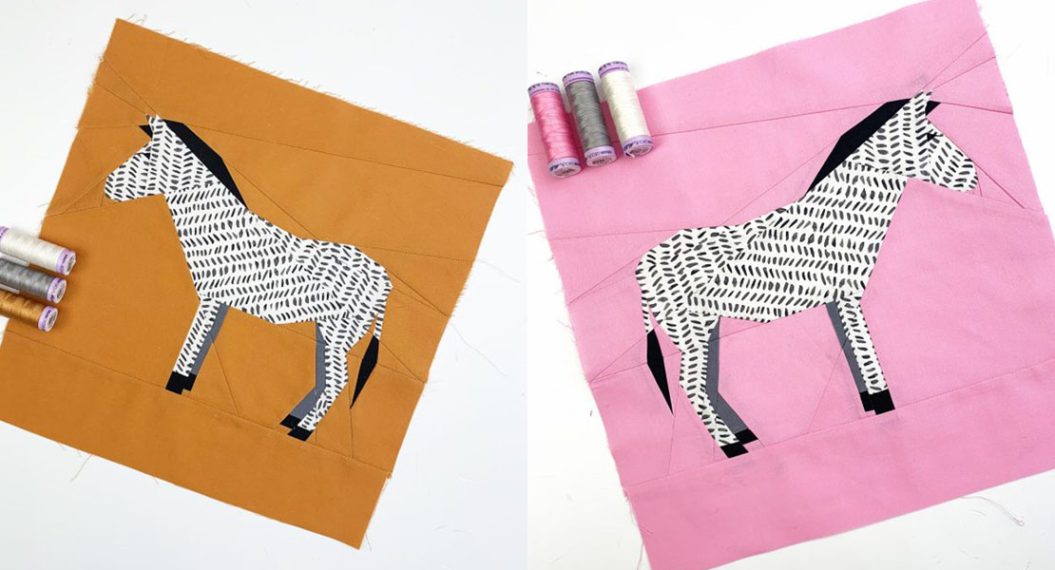
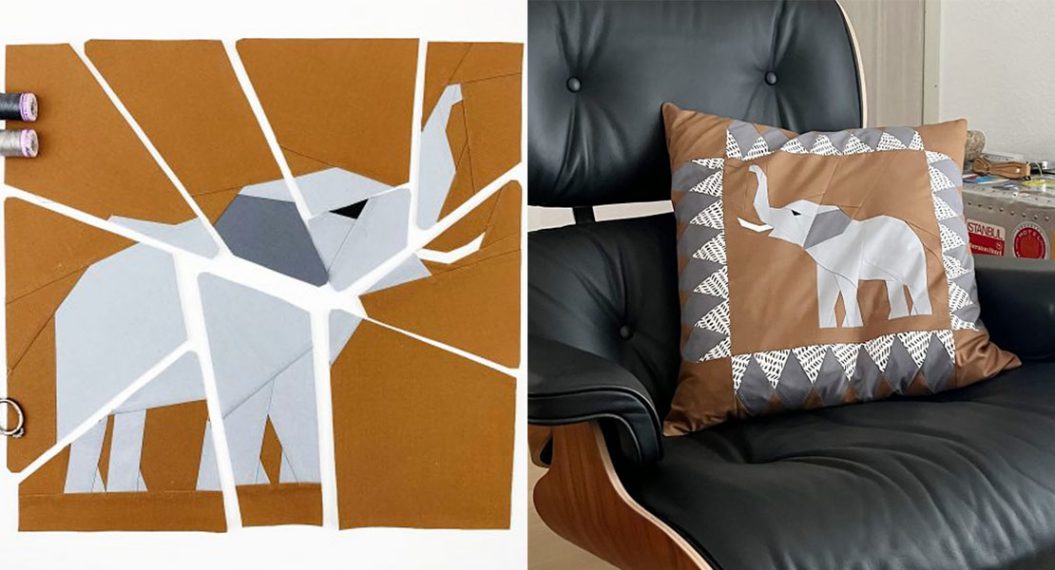
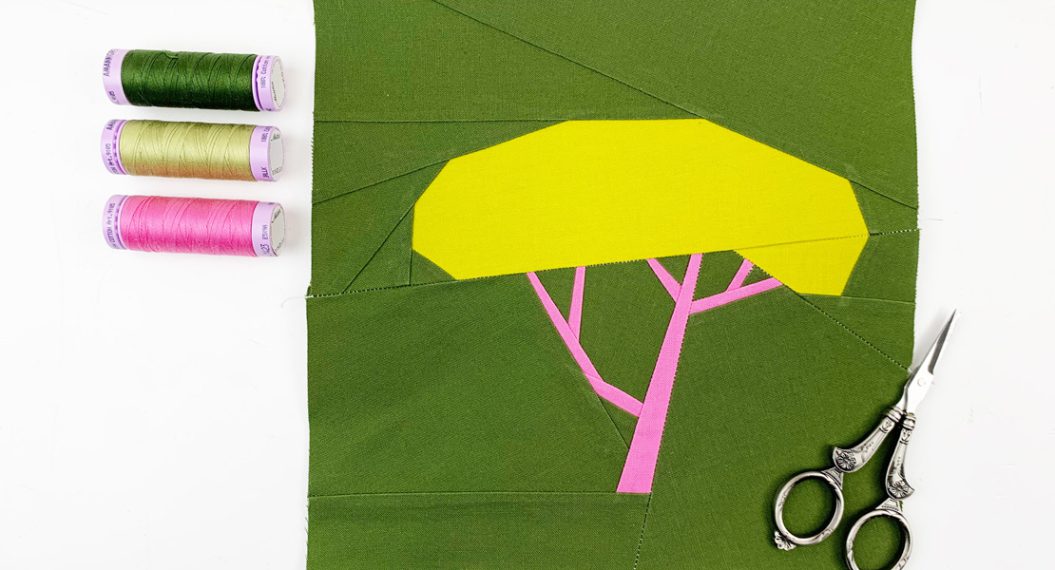
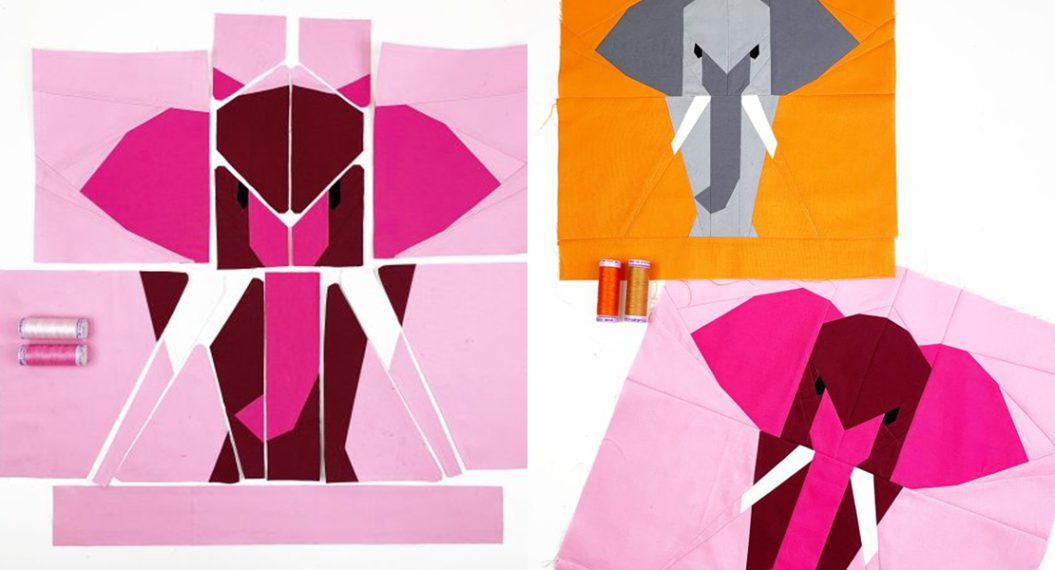
Is this your first time reading about the Quilt Safari? Or have you only just decided to join this quilt along for the Safari Quilt? No problem, you can start at any time and sew along! Together we will sew a quilt from FPP blocks with beautiful African animals and trees. The individual block tutorials will be published block by block on the WeAllSew blog. You can find an overview of all previous blog posts here.
The best way to start is to read my first Quilt Safari article: Welcome to the BERNINA Quilt Safari.
There is no time pressure with the Quilt Safari. Basically, you can follow your own rhythm. There is only one date to keep in mind: If you want to participate in the final giveaway, you have to show a photo of your finished quilt top on social media or in the community section of the blog by June 16, 2024.
Cutting the Squares and Joining the Blocks
In the pattern instructions for the Safari Quilt you will find the following overview of the individual quilt blocks and the squares between the blocks. You will also find the instructions for sewing the individual blocks together.
 Now let’s start assembling the blocks:
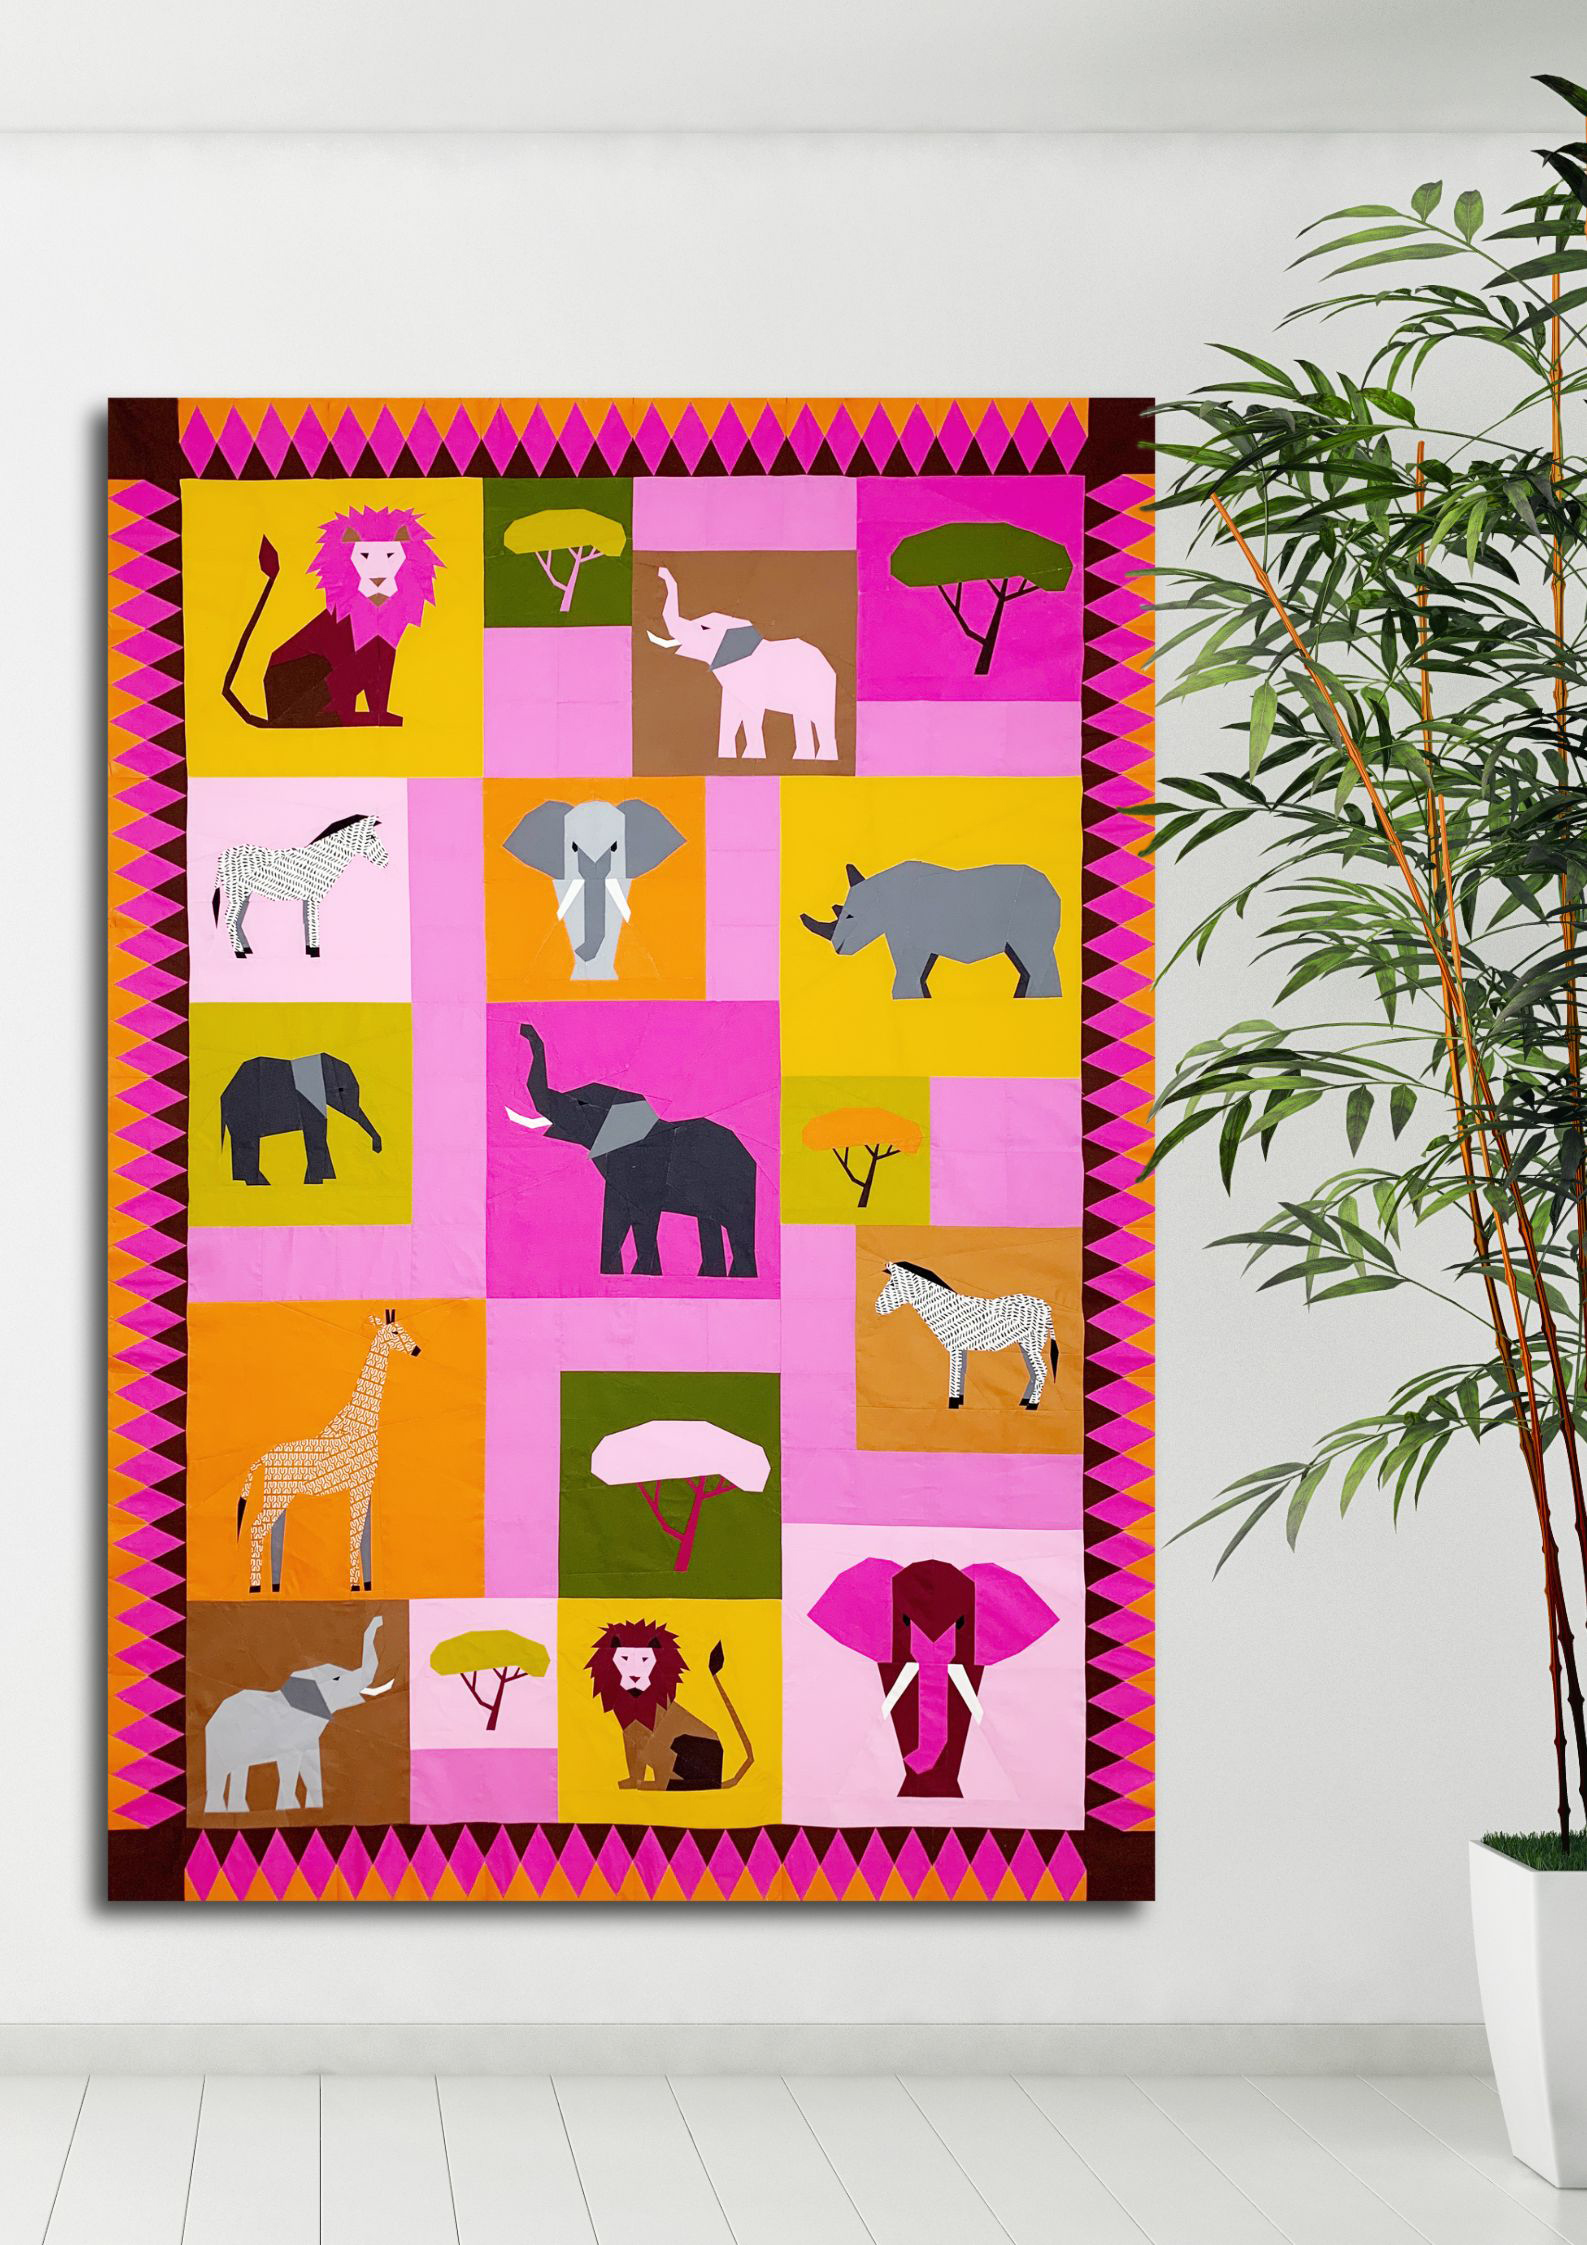
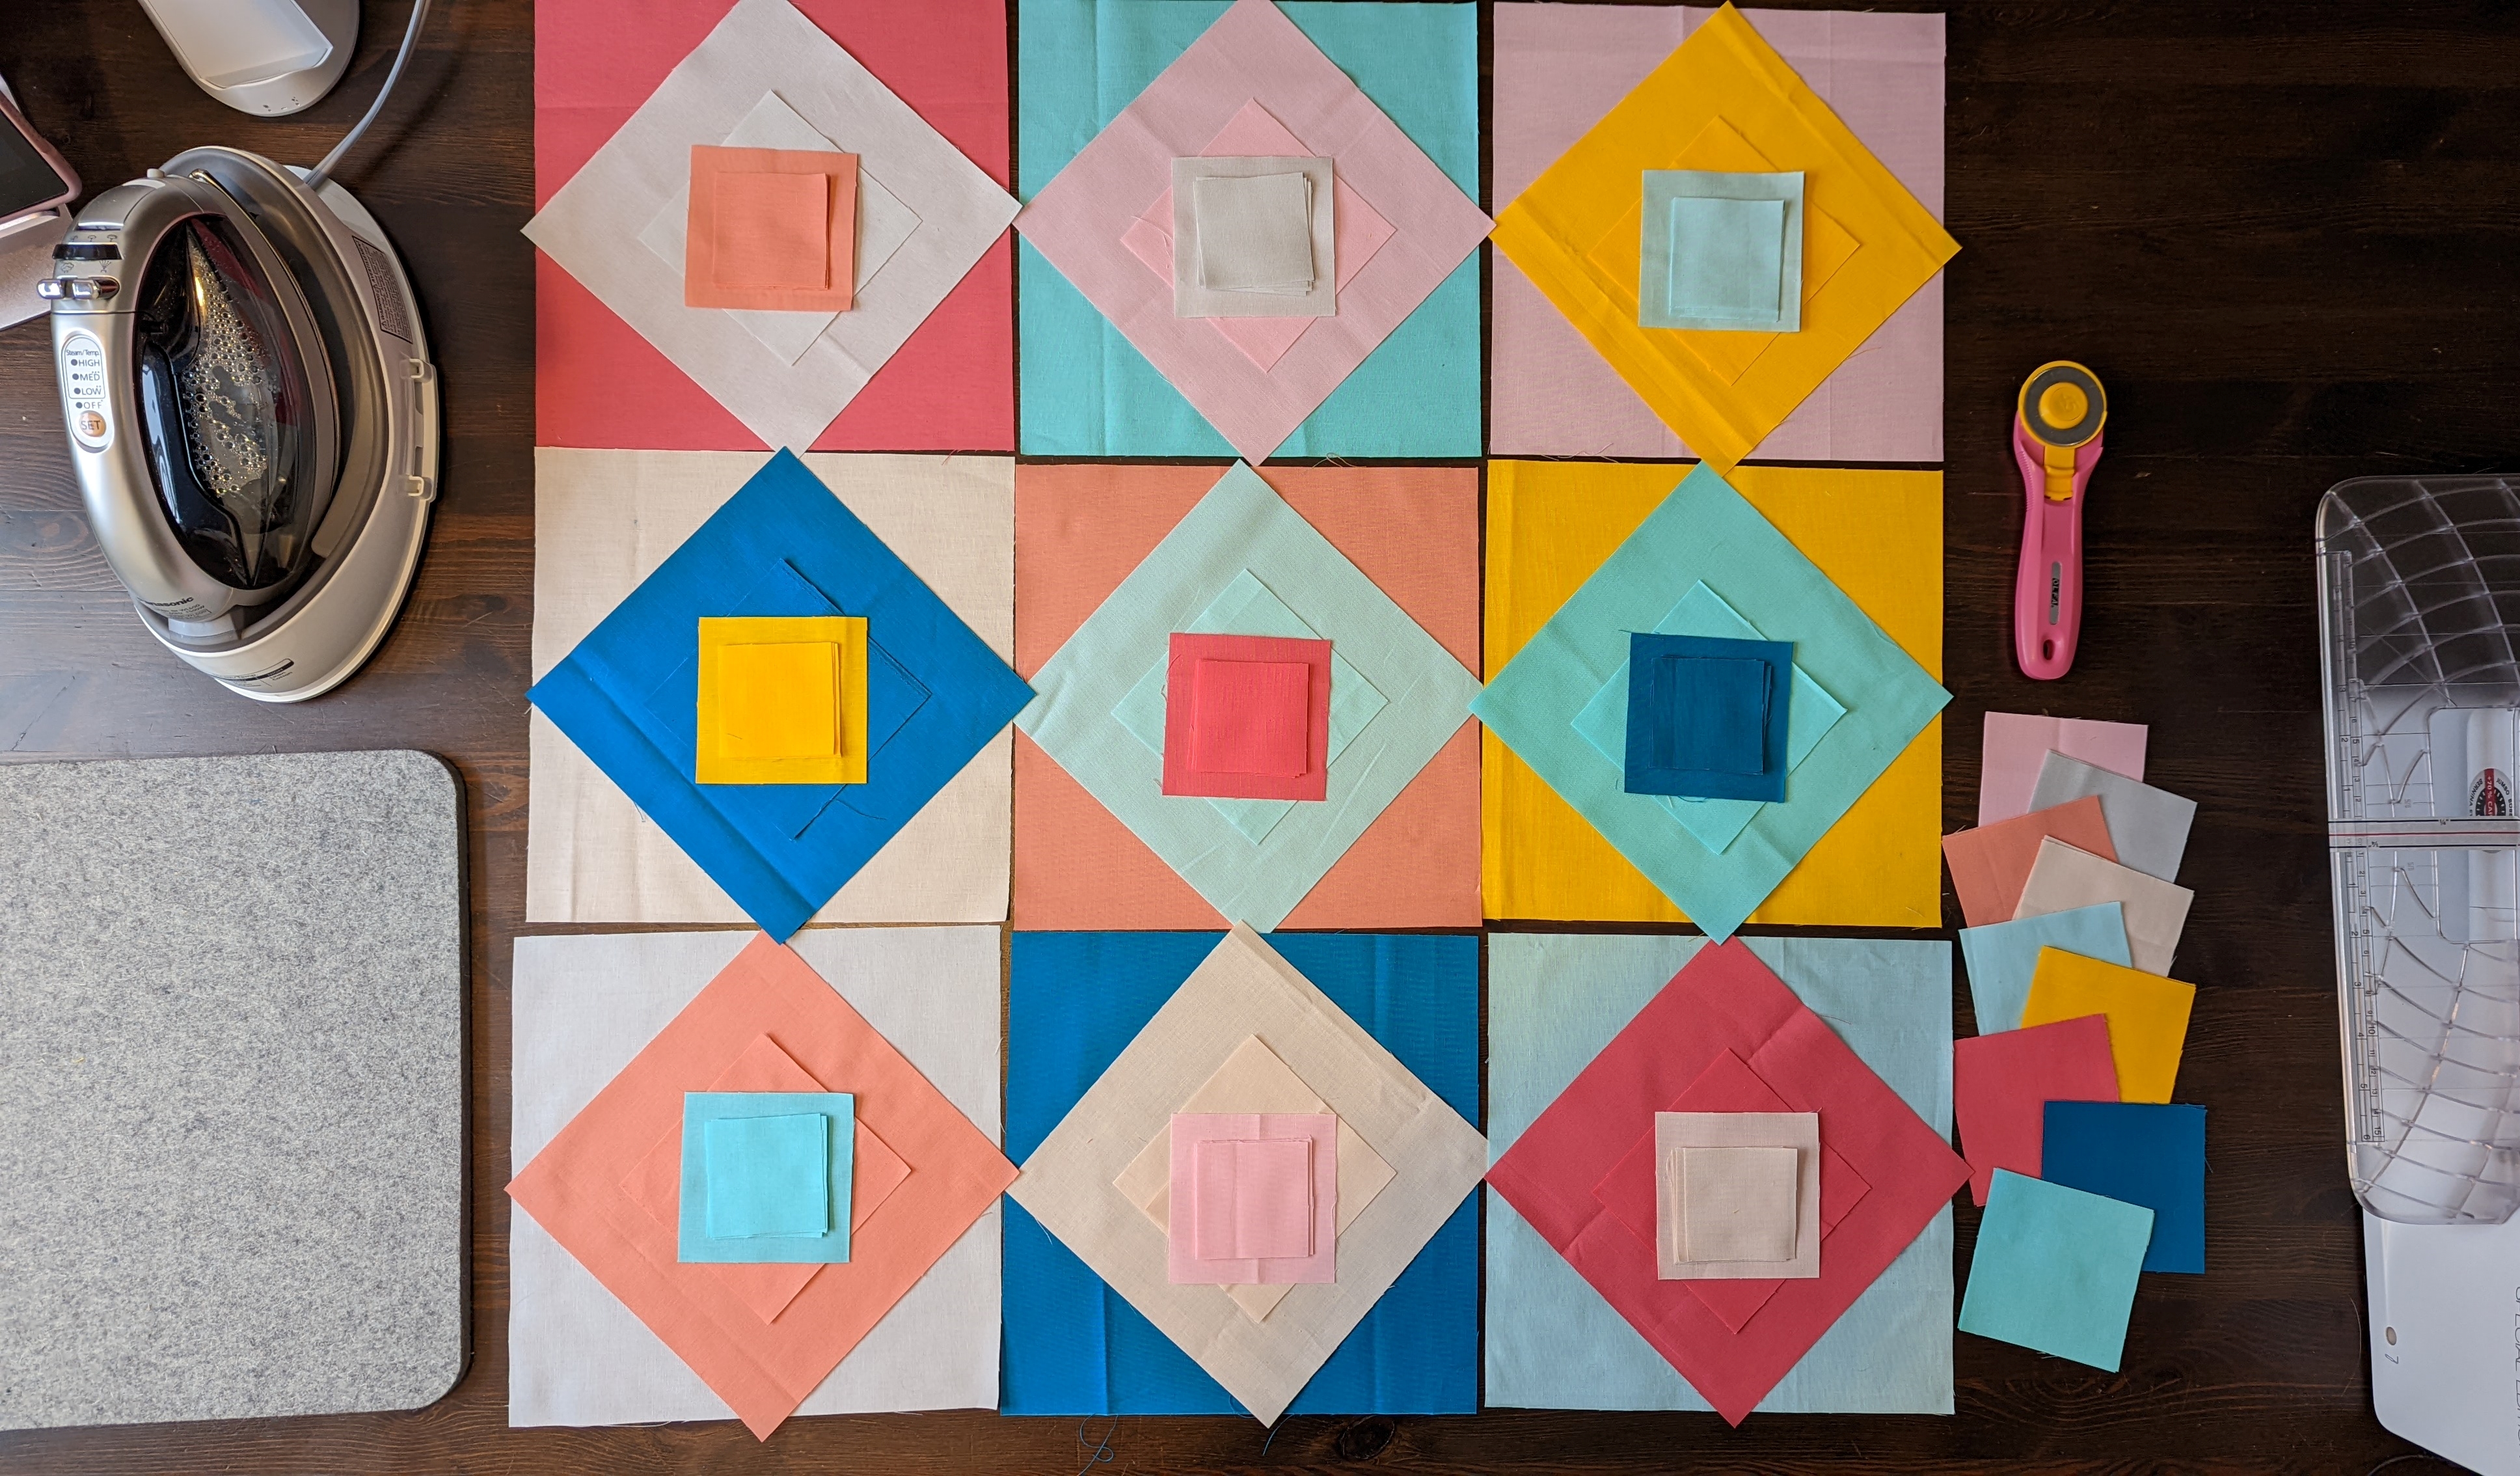
1. First we cut 43 squares for our quilt. The individual squares are 4.5″ in size. There are countless different methods for cutting. You can cut your squares with a classic acrylic ruler and rotary cutter. Of course you can also use a ruler, fabric marker and fabric scissors. For this quilt, I have only used plain squares, but there are many different options available to you. Patterned, striped, dotted, flowered … the possibilities are endless.
2. It is best to start by laying out your quilt blocks as shown in the overview. Now you can add your squares one by one. There is no rule, you decide how it feels and looks best for you.
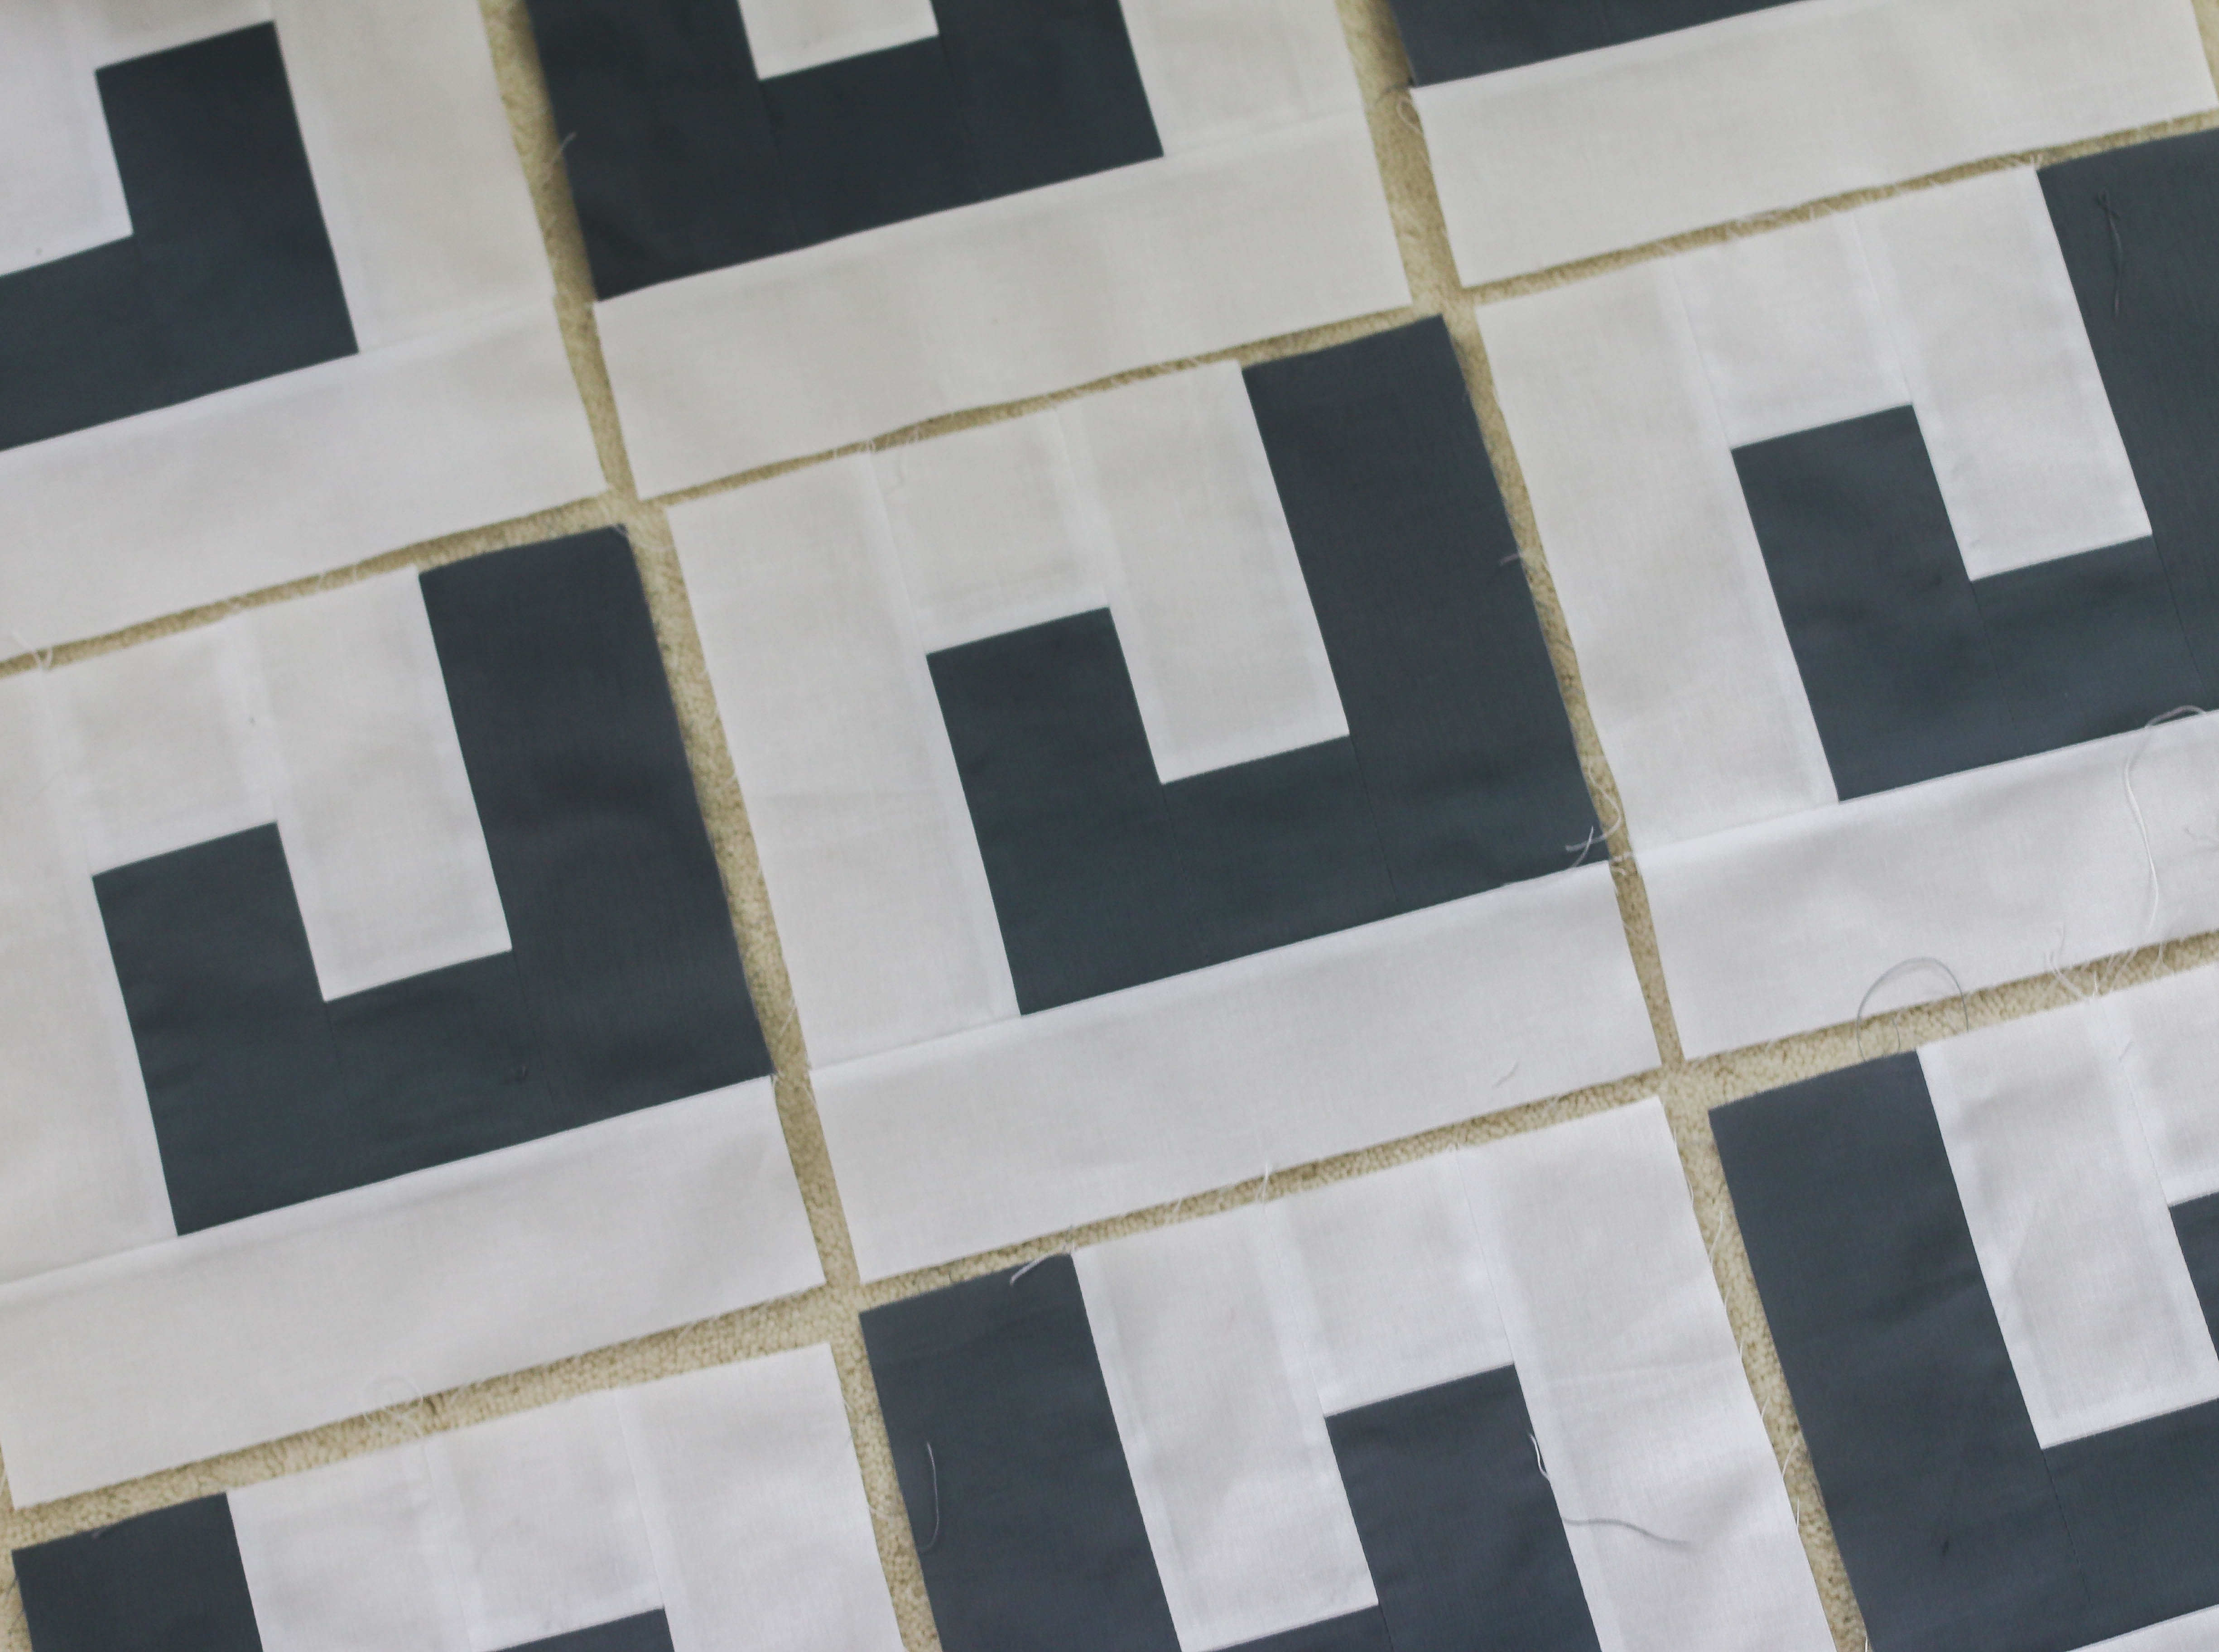
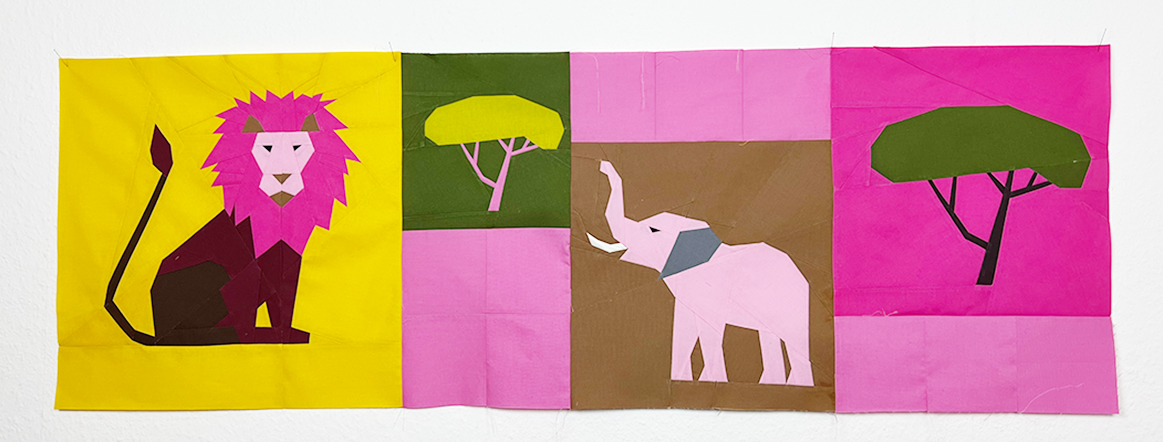
3. Now sew your squares together. For me, it is easiest to join the blocks of 4 first. There are two of these in this quilt. I always press the seam allowances open.
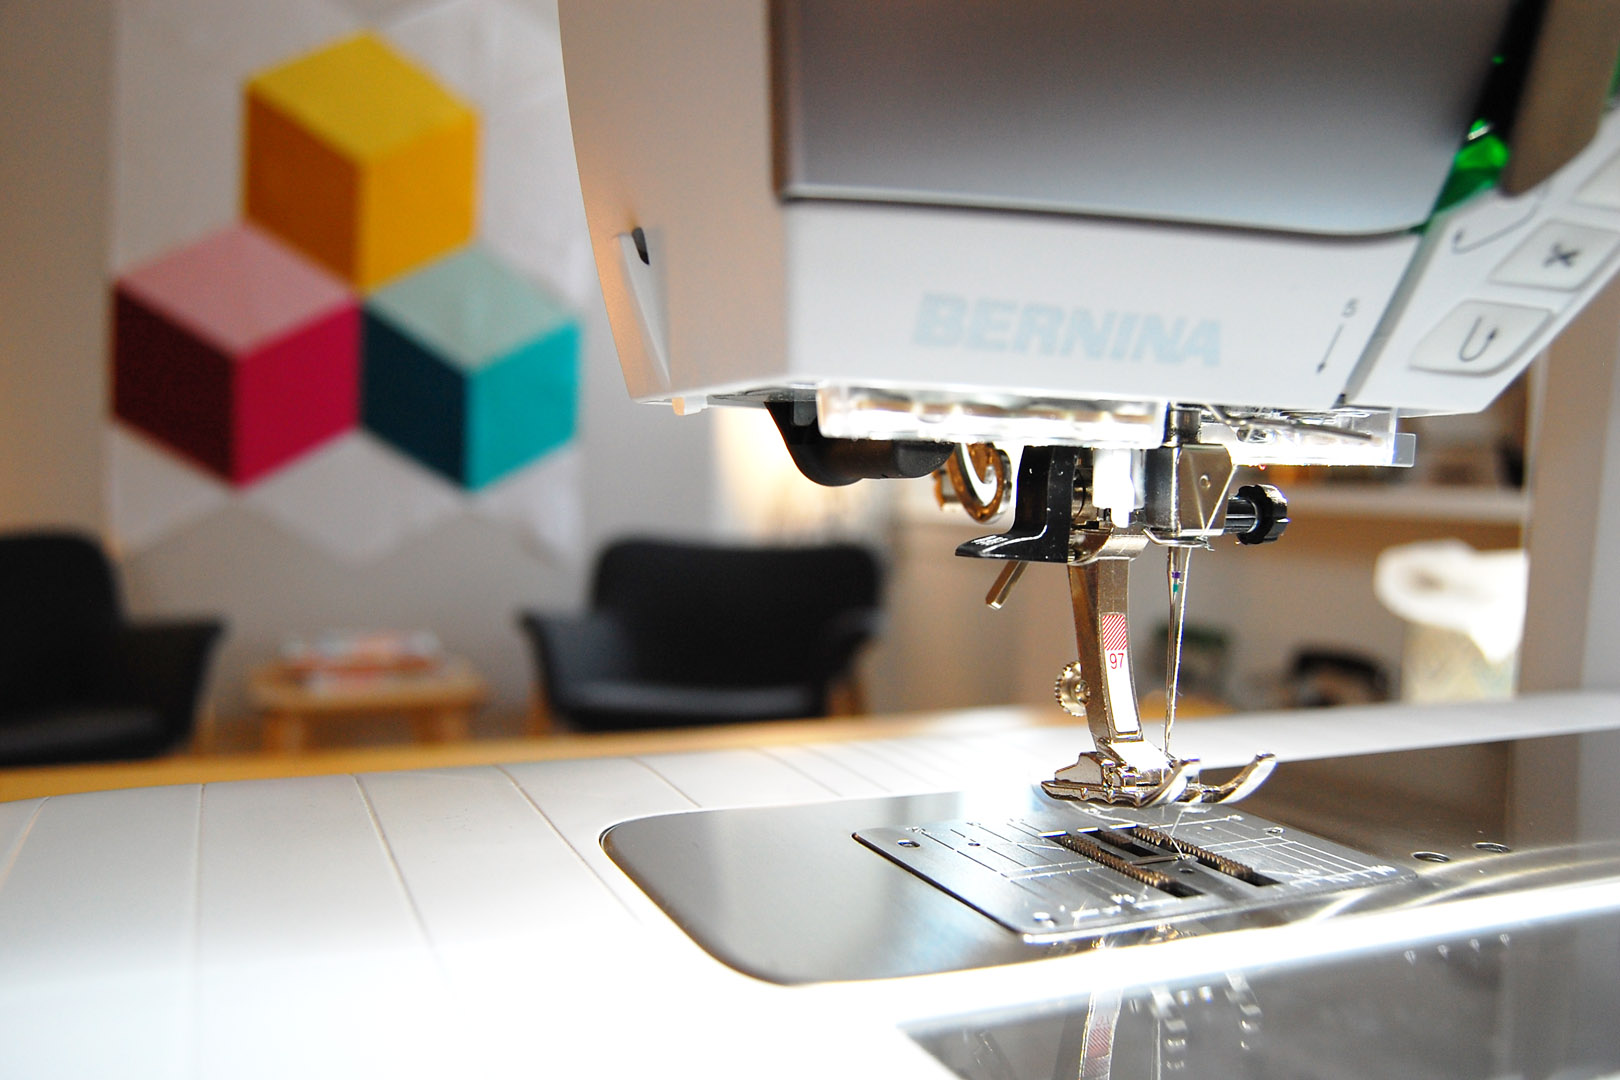
The patchwork foot #97D is again very practical for sewing the squares together. With this foot, sewing the squares together is super easy because you only have to make sure that the foot is aligned with your edge.
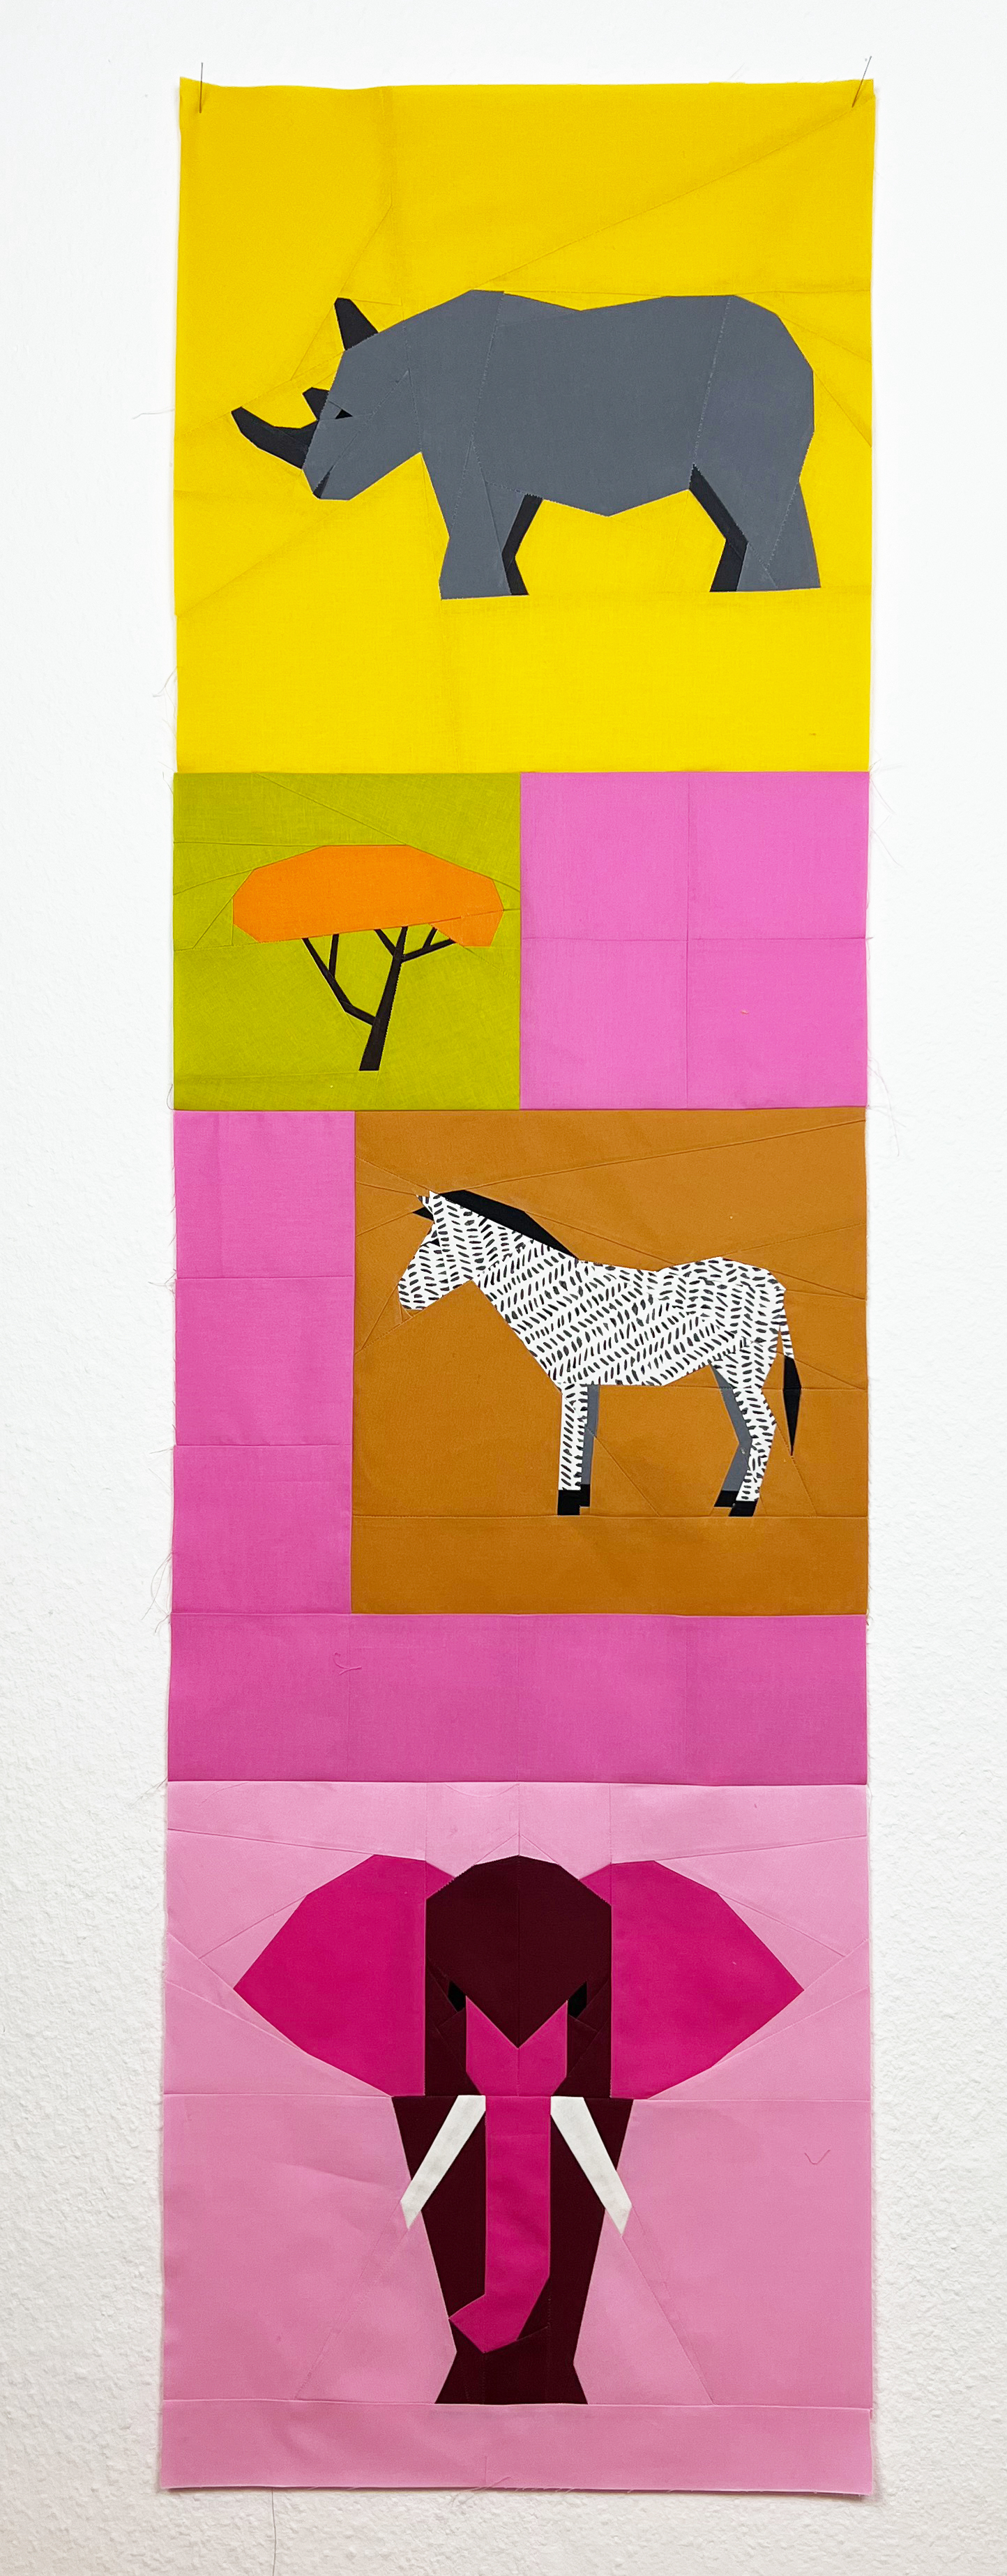
4. Now it’s time to sew the individual rows of squares. Pay attention to how the individual rows of the quilt blocks are sewn together. This is described in detail in the pattern instructions. When sewing the squares together, I always press the seam allowances open.
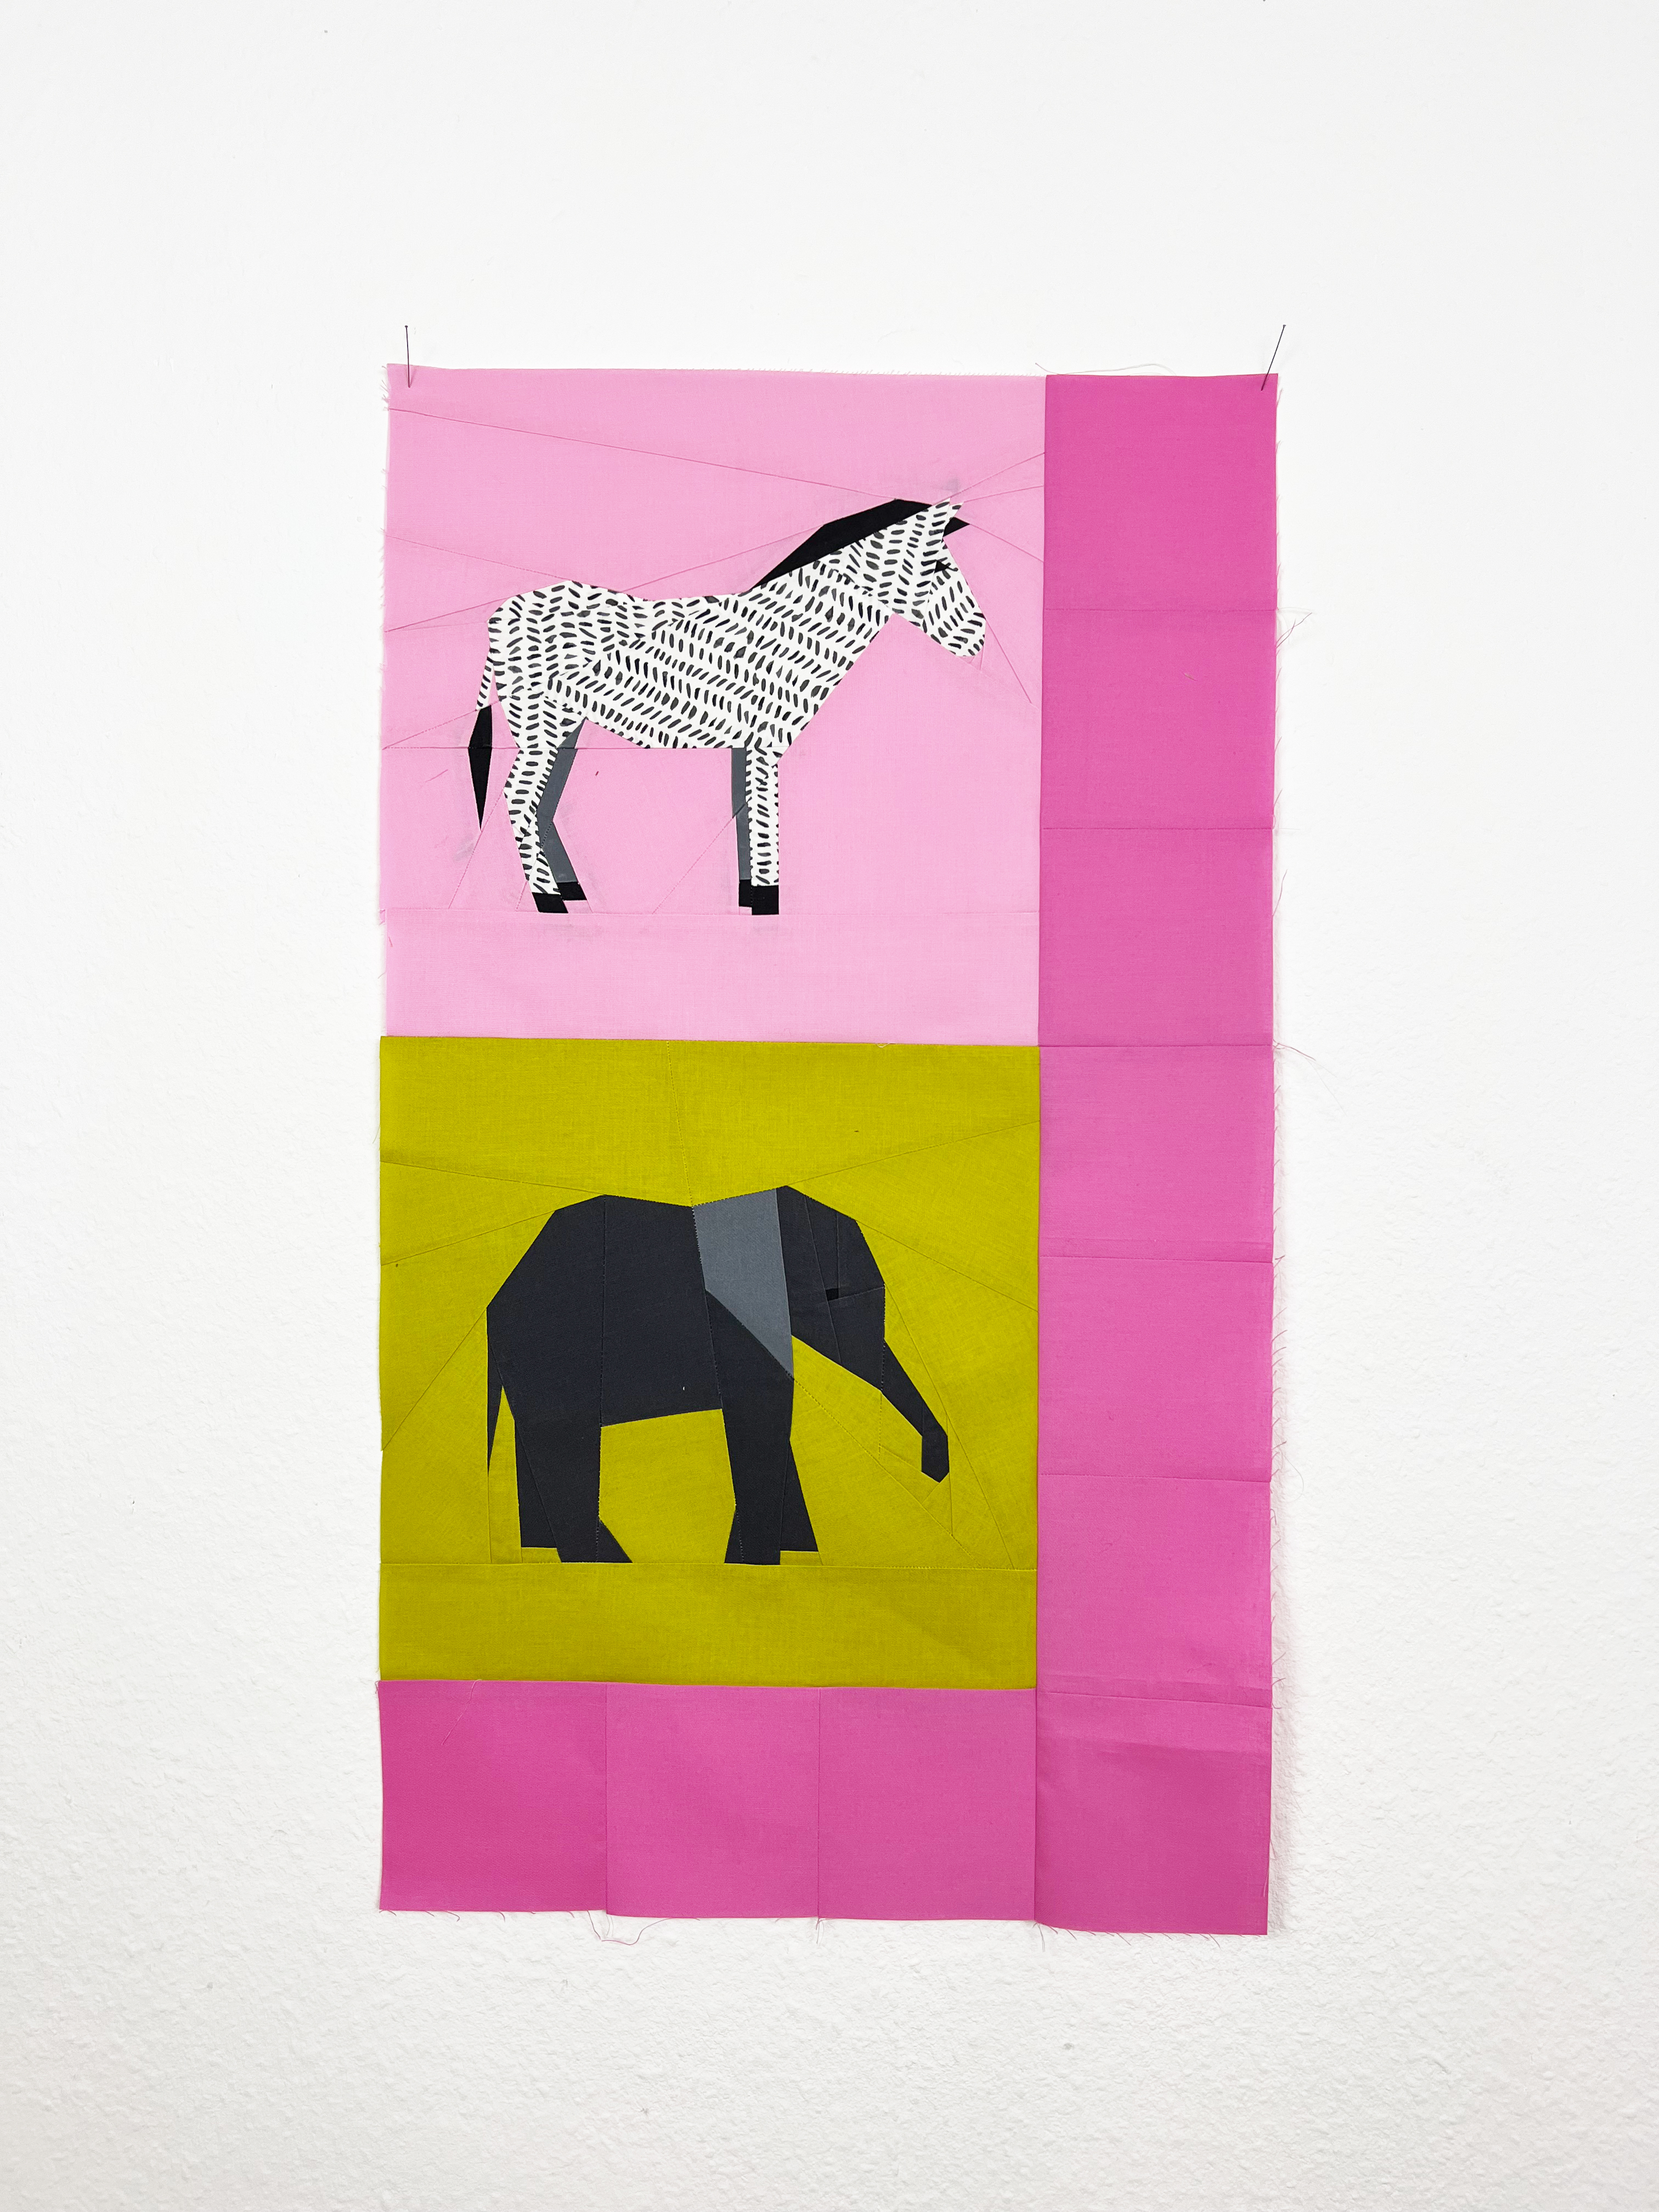
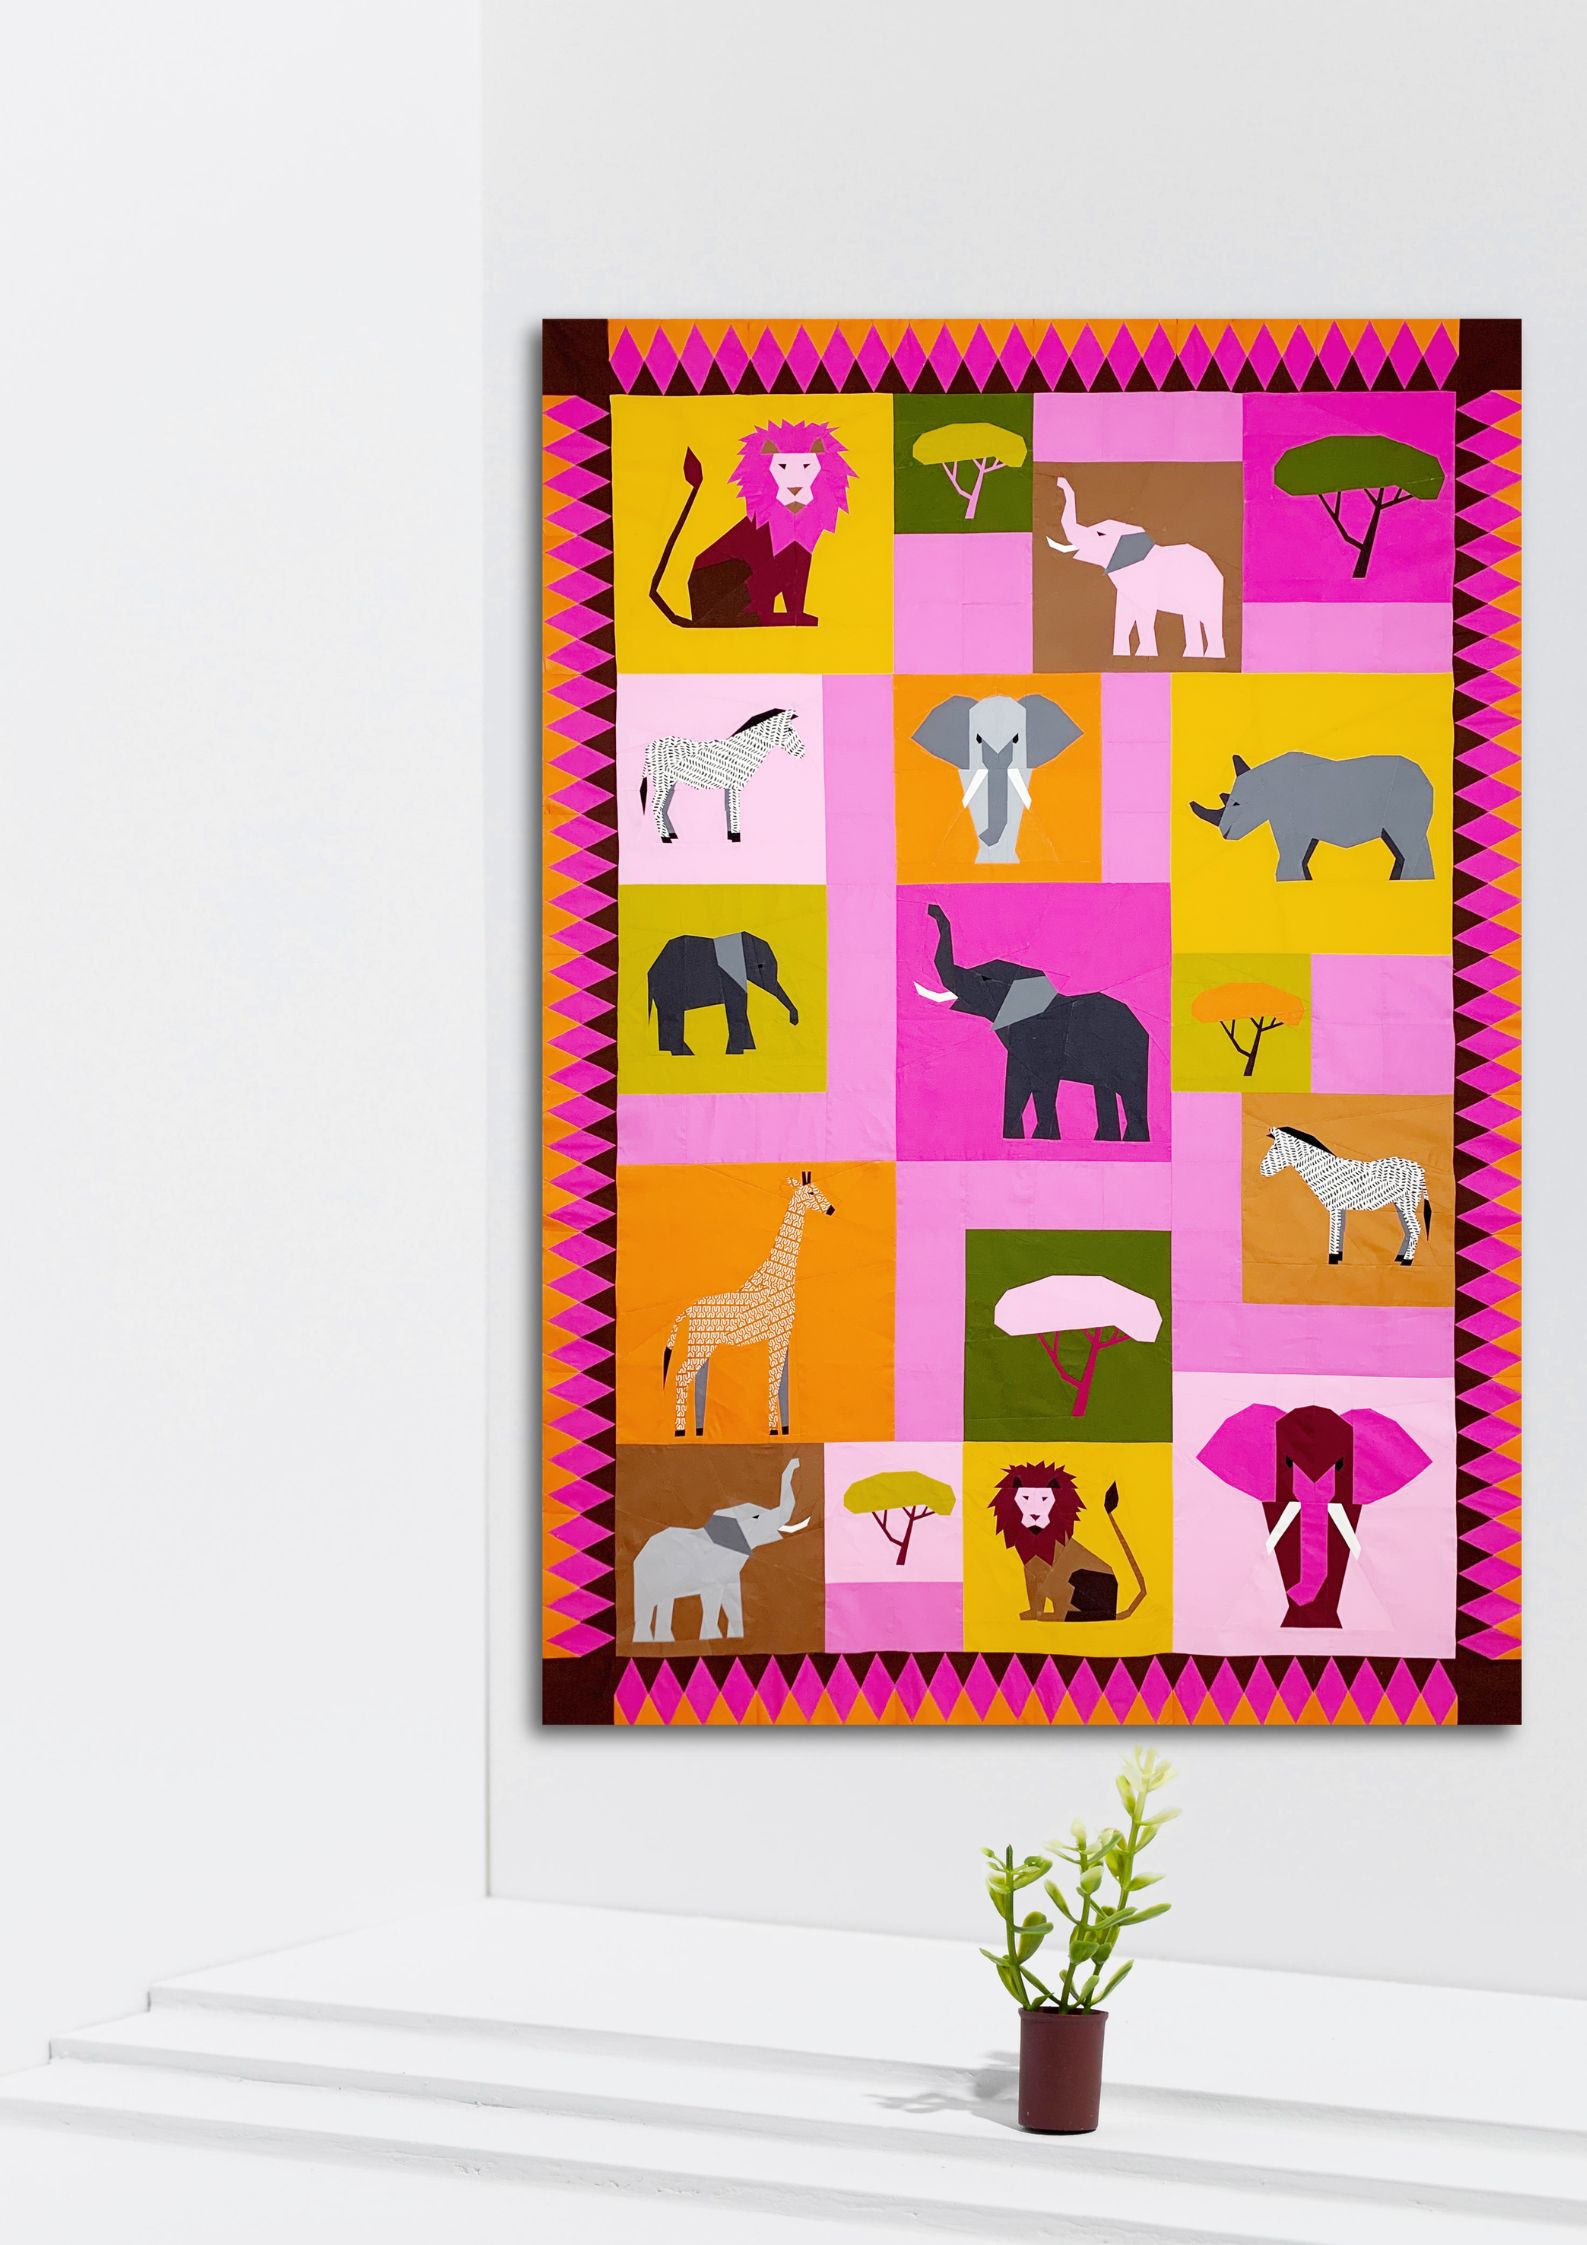
5. You have now assembled your individual quilt blocks and squares into blocks/rows. It will look like this: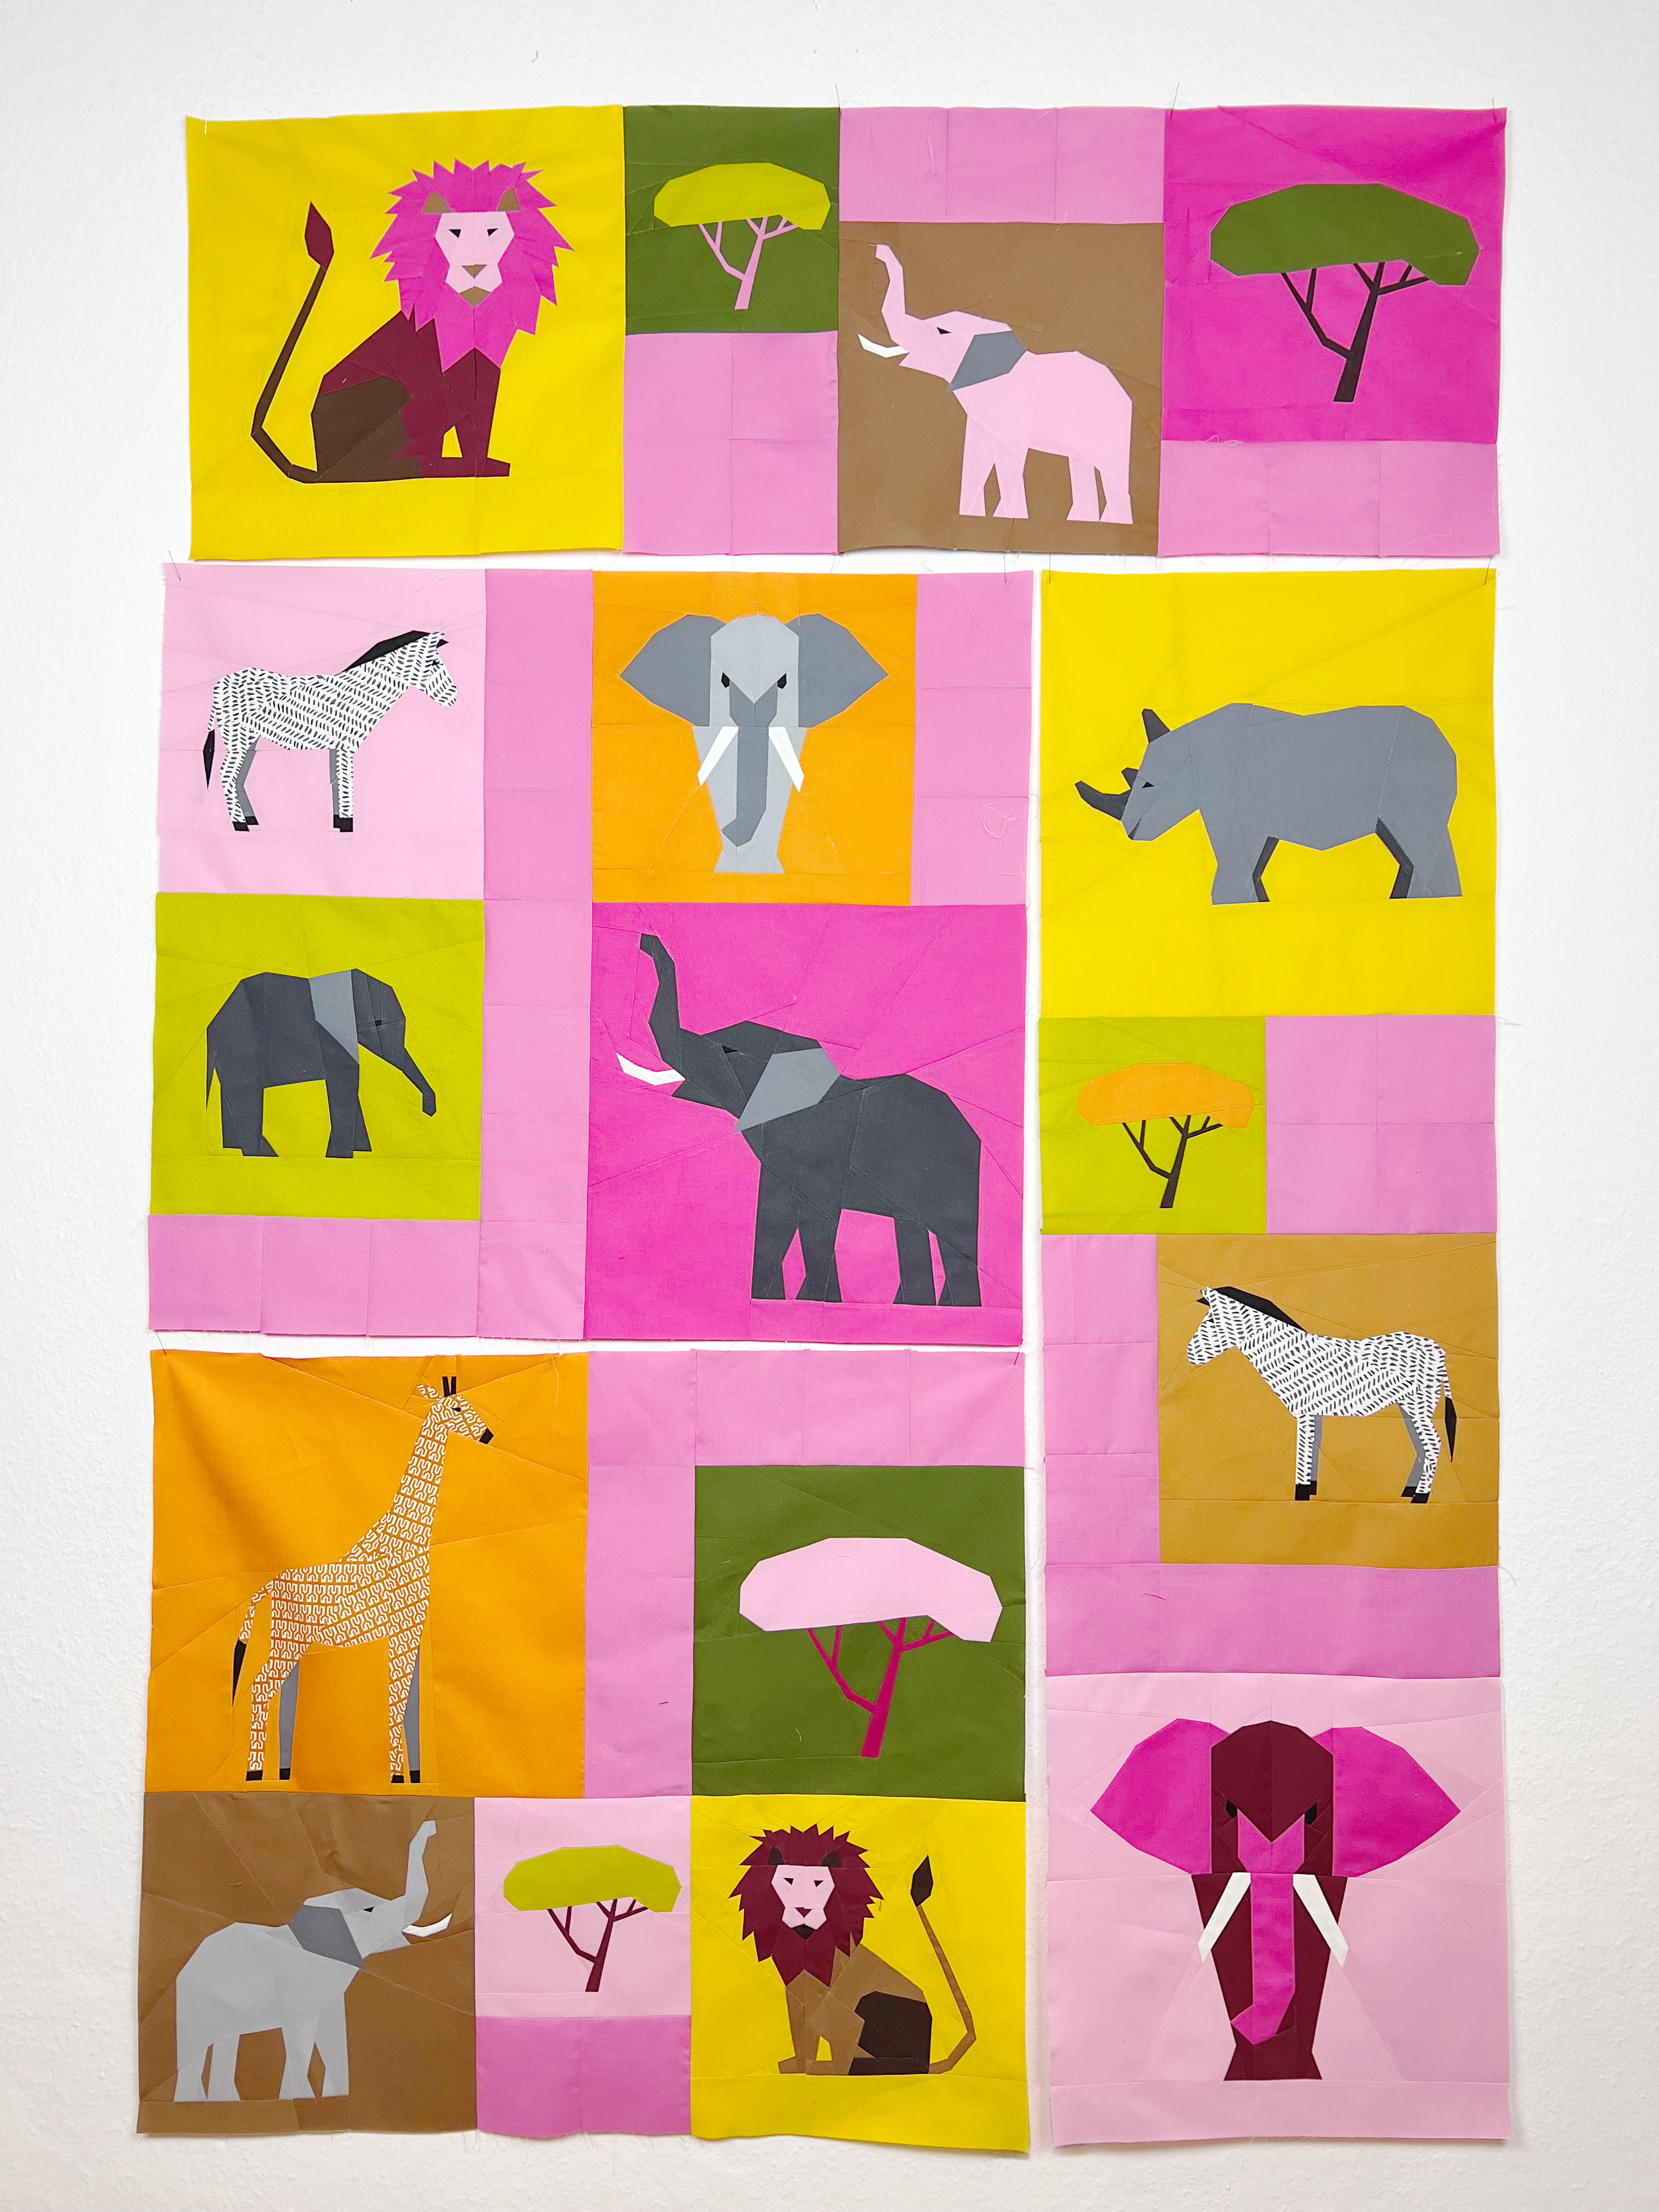
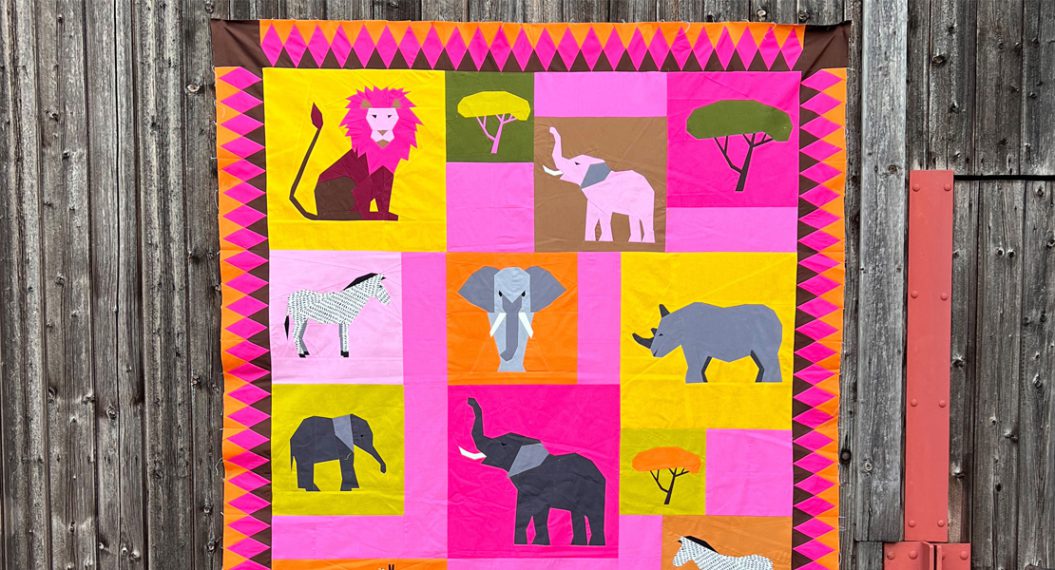
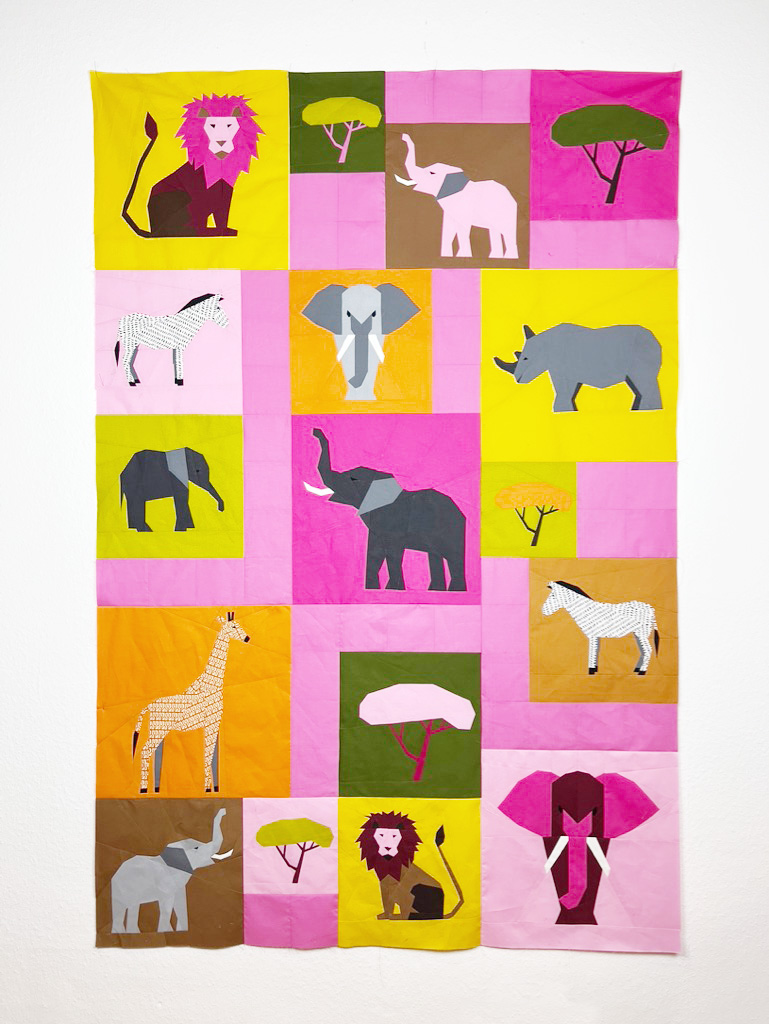
6. To finish the quilt top, sew the blocks/rows together.
Et voilà, your quilt top is finished!
We are approaching the end of our quilt safari. Next week we will finish sewing the Diamond Border.
Wow, I am so pleased that you are so enthusiastic about it. I really can’t wait to see your quilts.
… Show Me Your Quilt Tops!
Your quilt tops have certainly turned out super creative. I’m so excited to see the photos. Show them to me on social media or in the Community Section of the blog! Always use the hashtag #quiltsafari on Instagram. In the Community Section of the blog, don’t forget to select the “Quilt Safari” campaign.
See you next week
Ingrid