Embroidery on Leather
Embroidery with leather is so fun and so simple once you know a few tips and tricks to make it go smoothly.
Whether you want to use real leather or faux leather, this blog post will cover some of the differences in using these materials as well.
Let’s get started! Though this is a technique blog post, with a few supplies you’ll be able to follow along with the steps in the second half of the post.
Machine and Products Featured
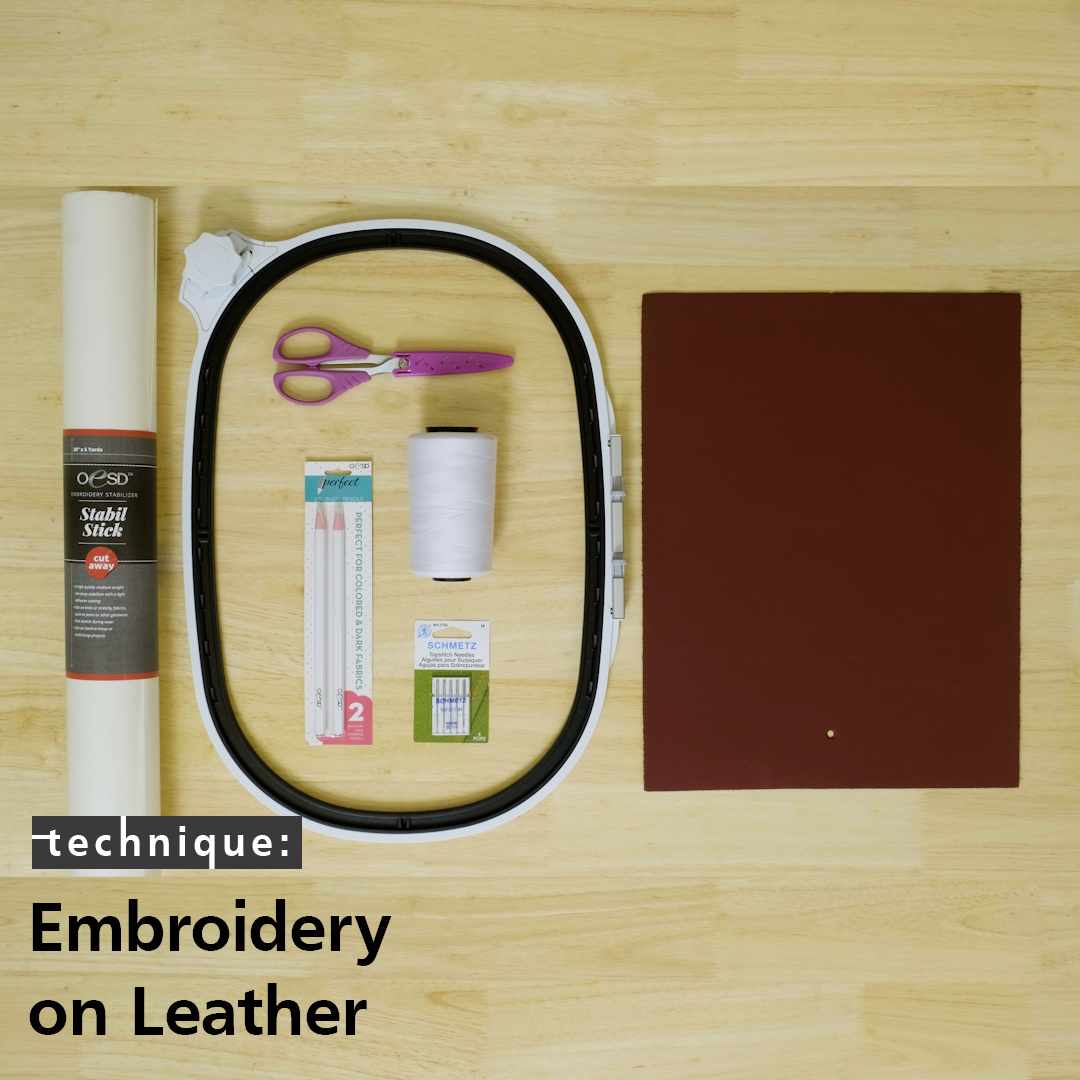
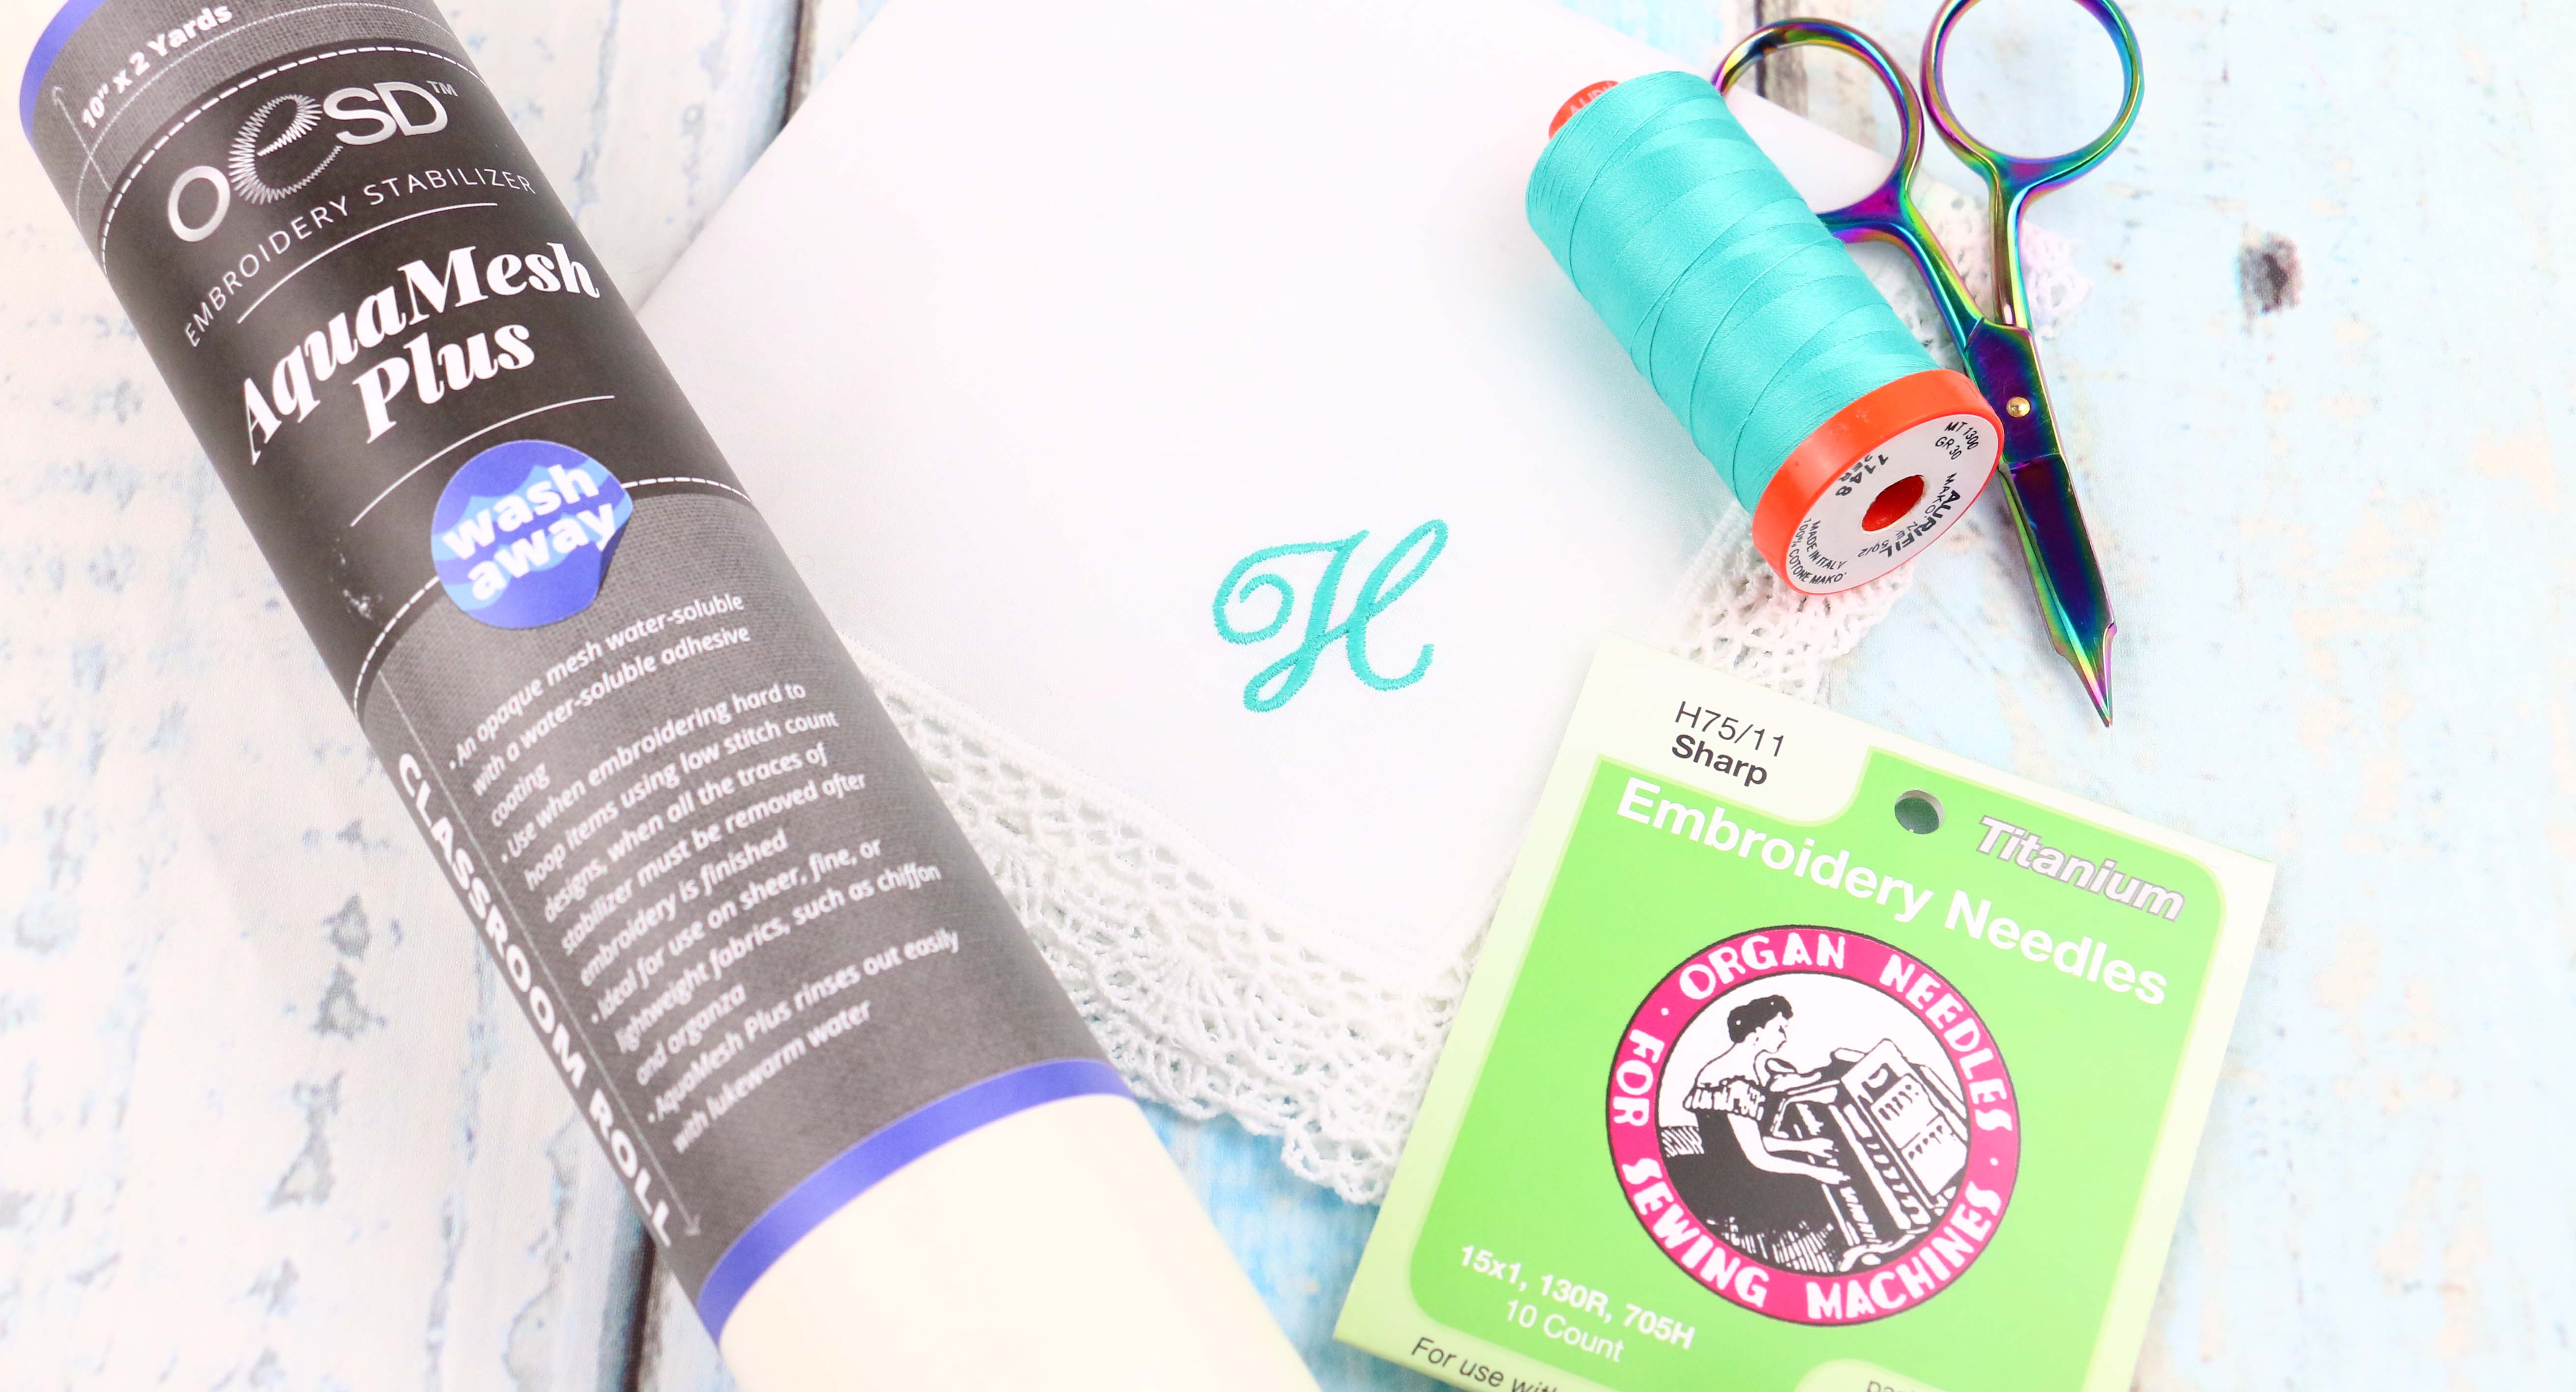
Materials for Embroidery on Leather
- Piece of leather or faux leather
- OESD StabilStick CutAway
- The Perfect Pencil from OESD
- OESD Bobbin Thread
- 90/14 Topstitch Needle
- Embroidery Thread
- Emboidery Design
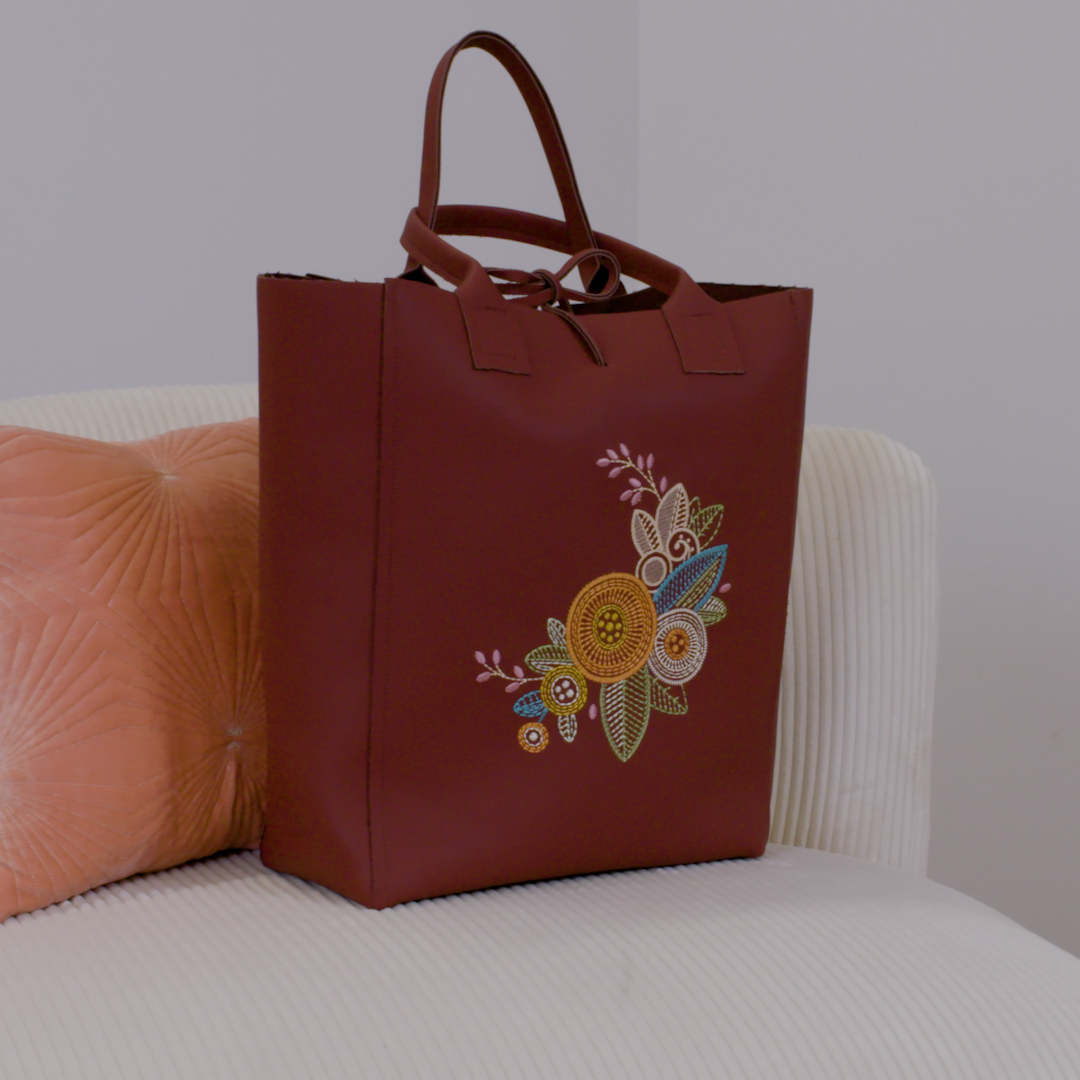
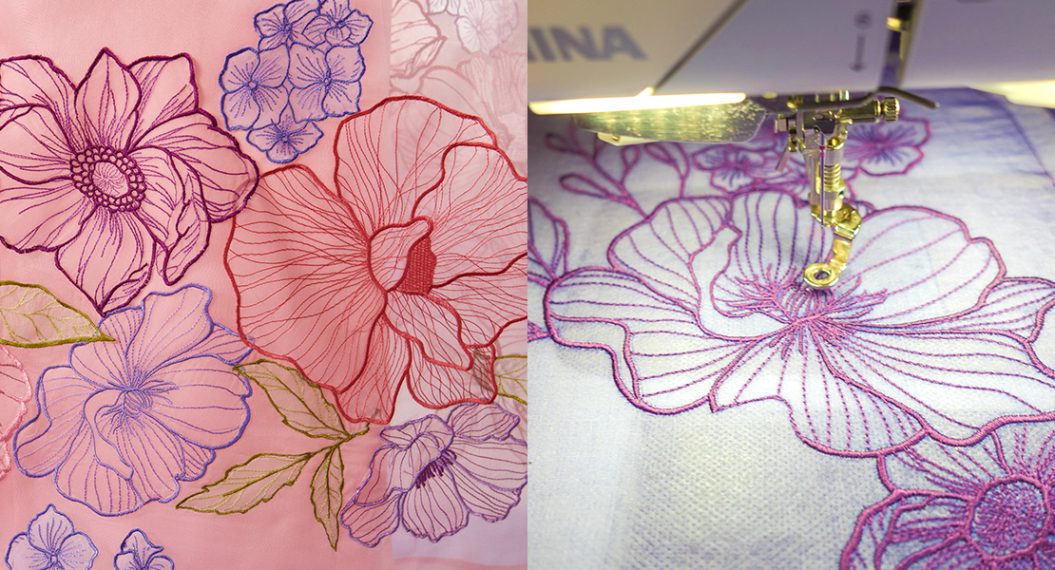
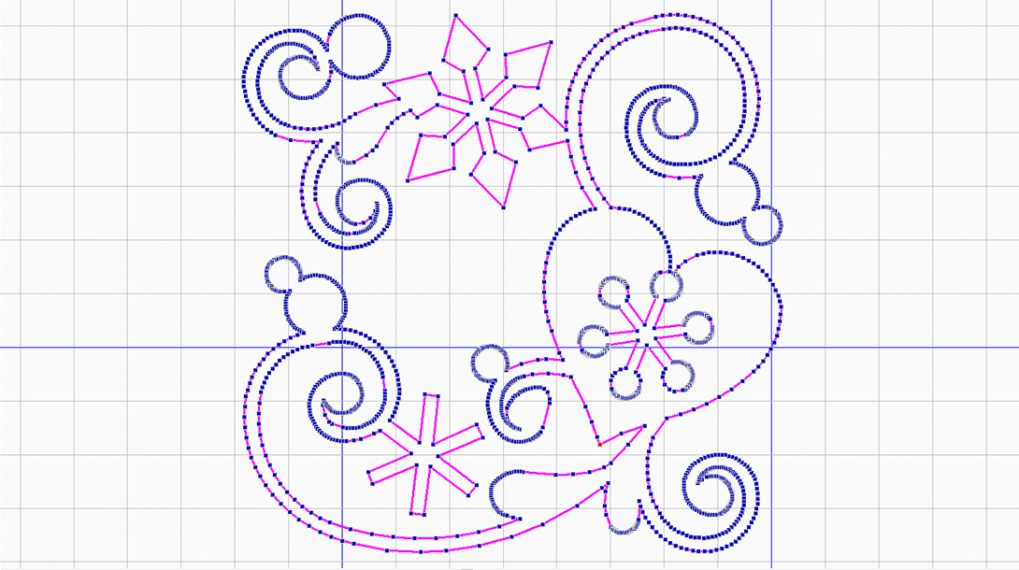
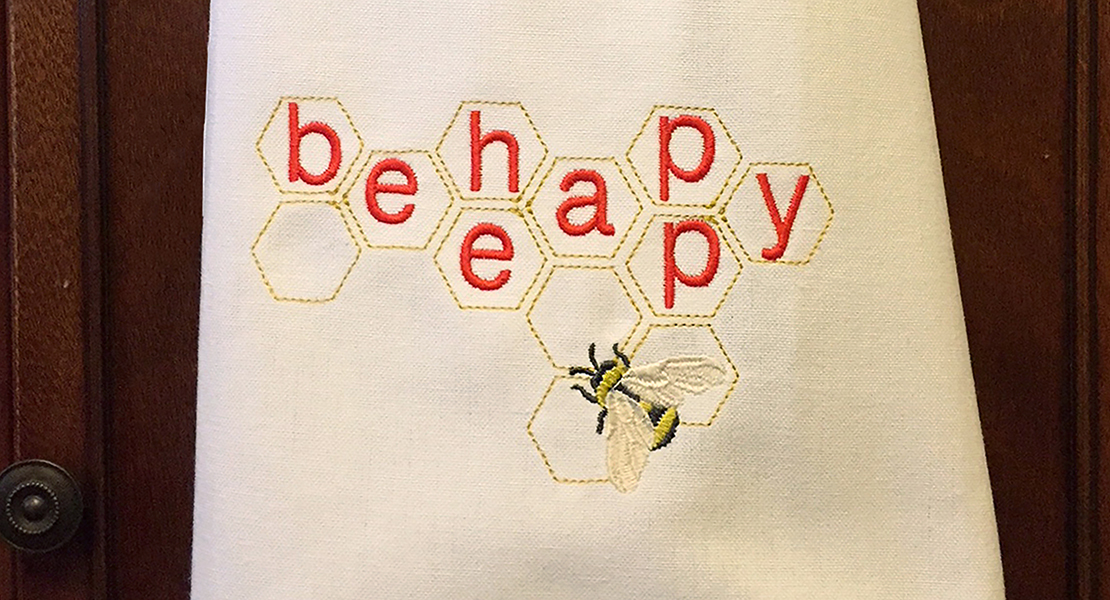
- I used “Sun Blooms Jumbo” From OESD’s Sun Blooms collection.
Tips for Embroidery on Leather
Hooping the Leather
When working with specialty fabrics that are too thick to hoop between the rings of the hoop or could easily be marred by hooping, ‘floating” them in the hoop is the best option. This is true for leather, faux leather, vinyl, cork, velvet, extra thick bath towels, and more.

To float our leather we will hoop a piece of paper-backed pressure sensitive stabilizer (often referred to as a sticky stabilizer) by itself. Once hooped, we can remove the paper backing to reveal the sticky stabilizer and affix the leather to the stabilizer with the right side up. Be sure to push firmly so the leather is well adhered to the stabilizer.
OESD sticky-backed stabilizers are available in wash away, tear away and cut away varieties. For leather. I love to use cut away as it help keep the integrity of the material during and after
Once you’re finished you can cut away the excess stabilizer from the back of your embroidery project.
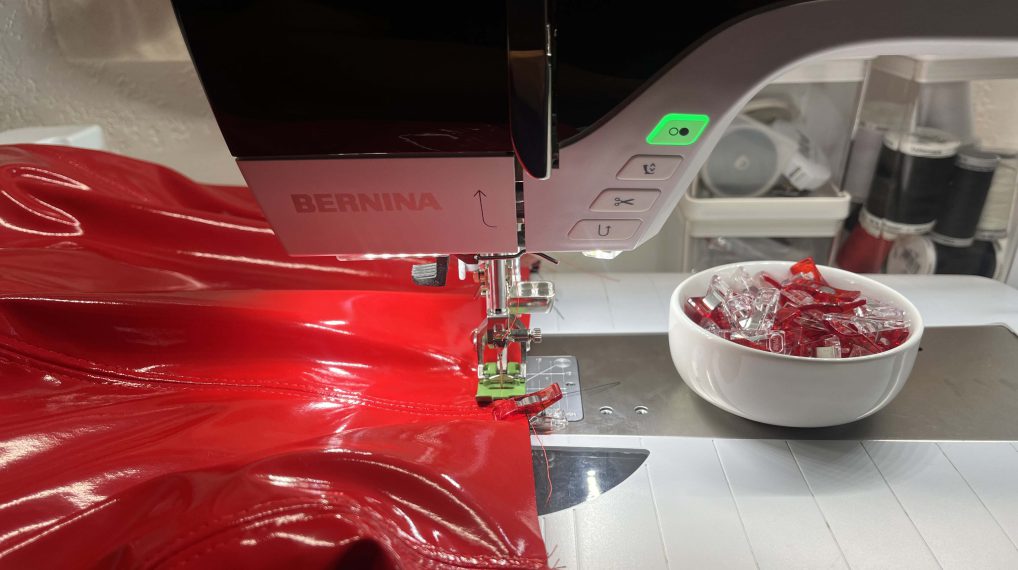
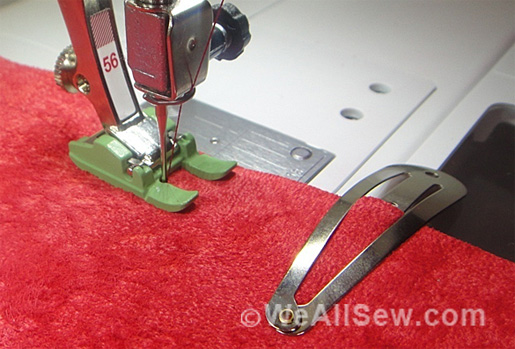
Choosing a Needle
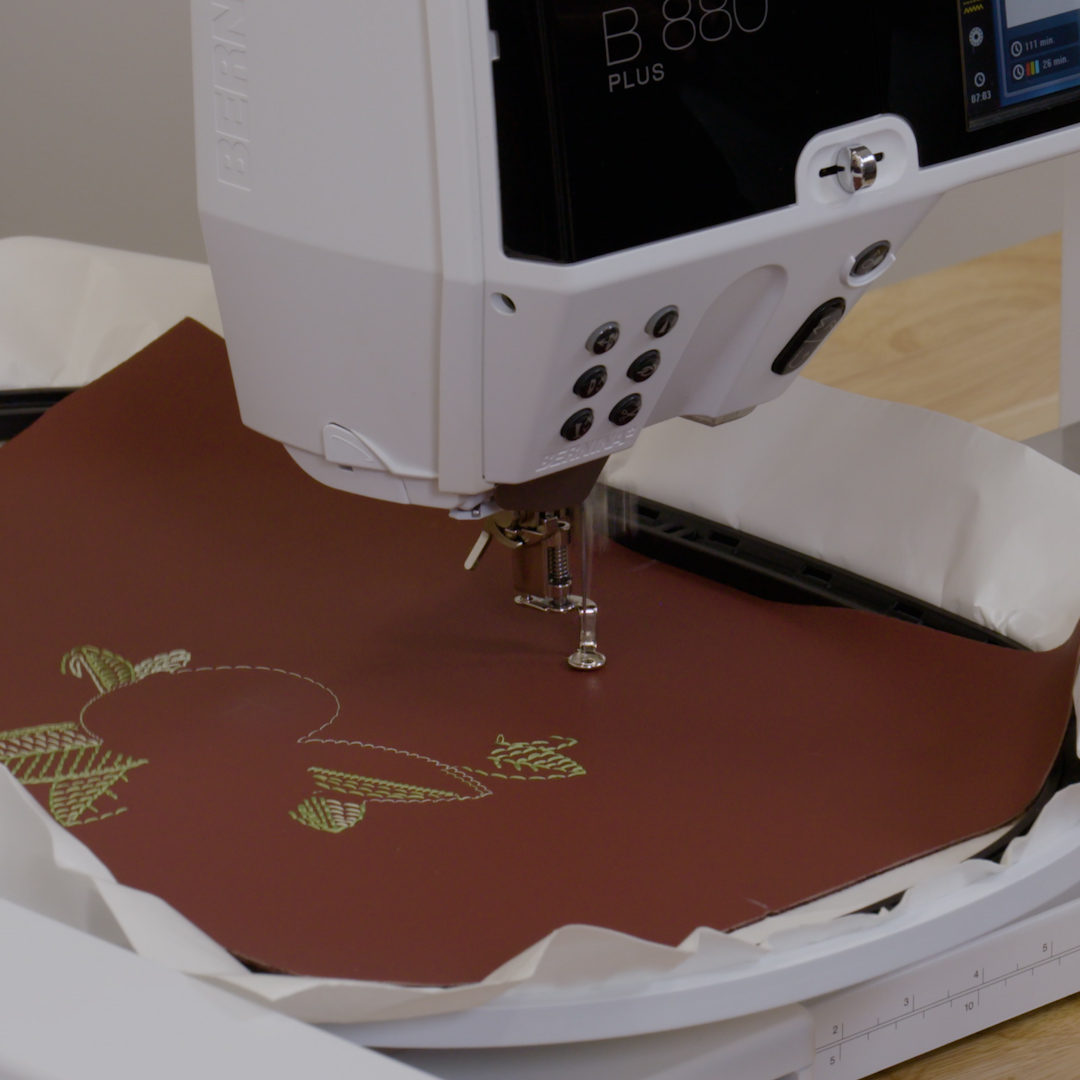
For embroidery on leather, I love to use a topstitch 90/14 needle. Topstitch needles have extra long eyes which help the thread pass through the needle quite easily when stitching through thick materials. Though I have tried other needle types and sizes with success, in my experience a 90/14 topstitch needle forms the most consistent stitch for the widest array of projects when stitching on thick materials like cork, vinyl, leather or faux leather.
Machine speed
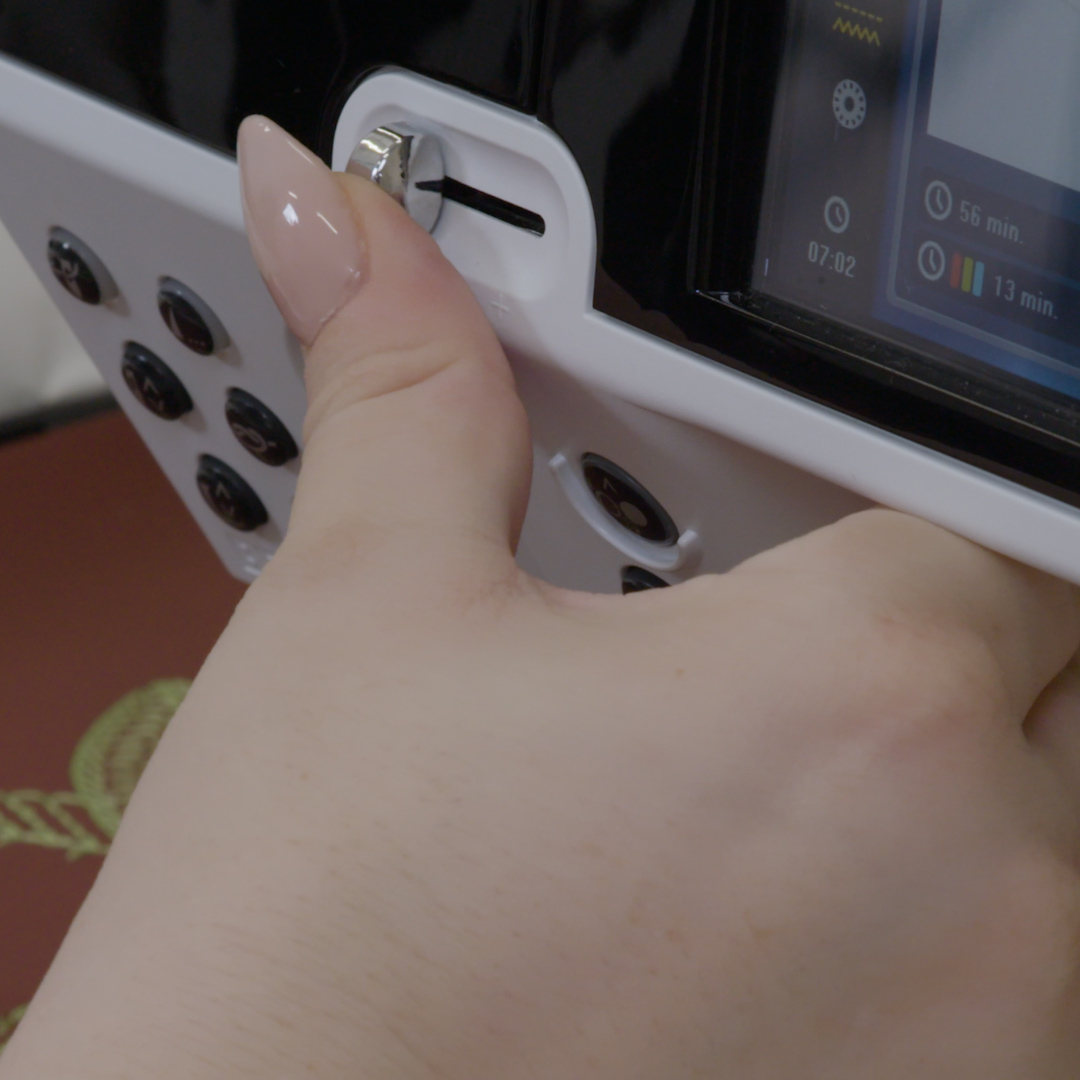
I love to embroider at top speeds on BERNINA embroidery machines! It often makes my students nervous when I encourage them to turn the speed on their machine all the way up, but I always start at high speeds and then slow down if I start to notice any issues.
The exception is when I am working with specialty threads or thick material. In the case of leather, it’s helpful to reduce the embroidery speed to half speed, to allow the stitches to form properly with the thick material.
Choosing an Embroidery Design
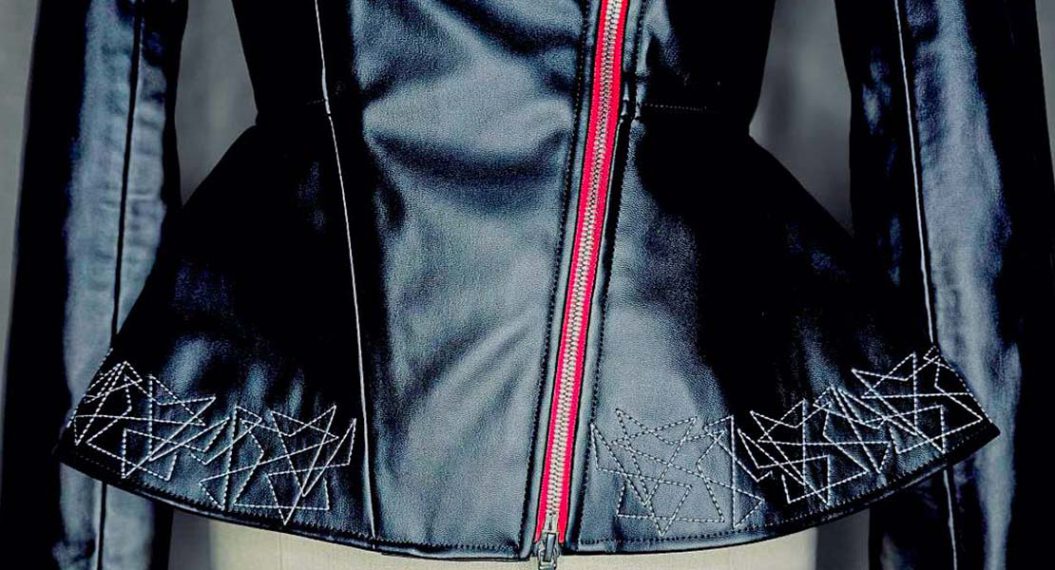
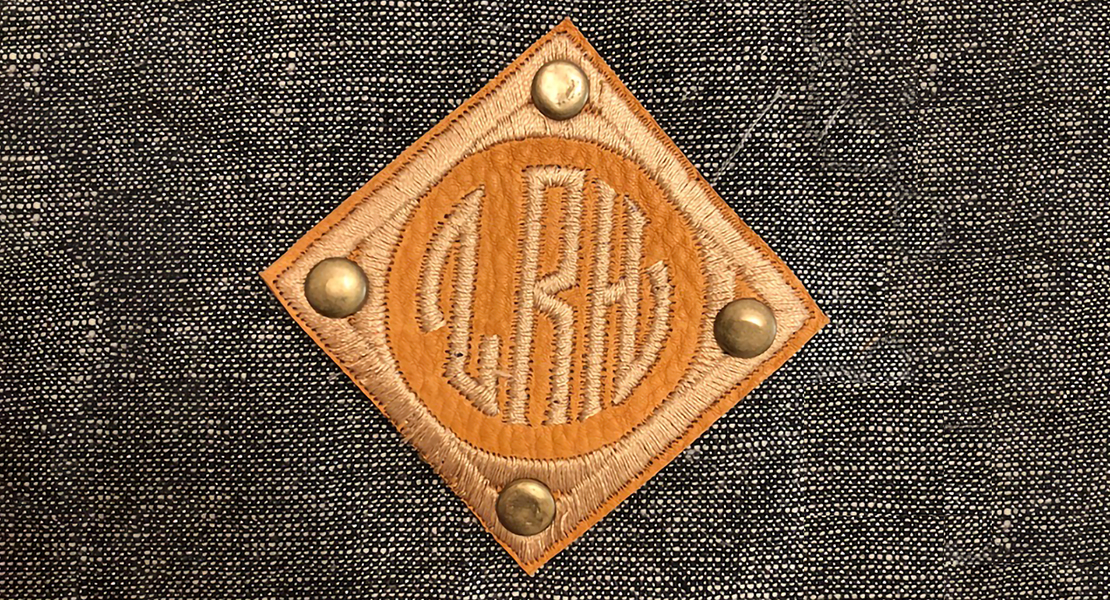
When embroidering real leather it’s important to choose the right kind of embroidery design as dense designs with a lot of satin stitching could ruin your project by causing ripples in the design or perforating the leather too much. These perforations in real leather can cause your design to effectively punch out of the leather, leaving you with a giant hole in the leather.
Faux leather is more forgiving with embroidery design choices and can stand up better to more dense designs, though I still tend to air on the side of caution by using designs that are more open and airy.
I chose this design because it’s a light stitching design without lots of satin stitches or fill stitches. The dense satin stitches at the top and right side of the design are an example of something that worked okay on faux leather but may not have been so successful with real leather.
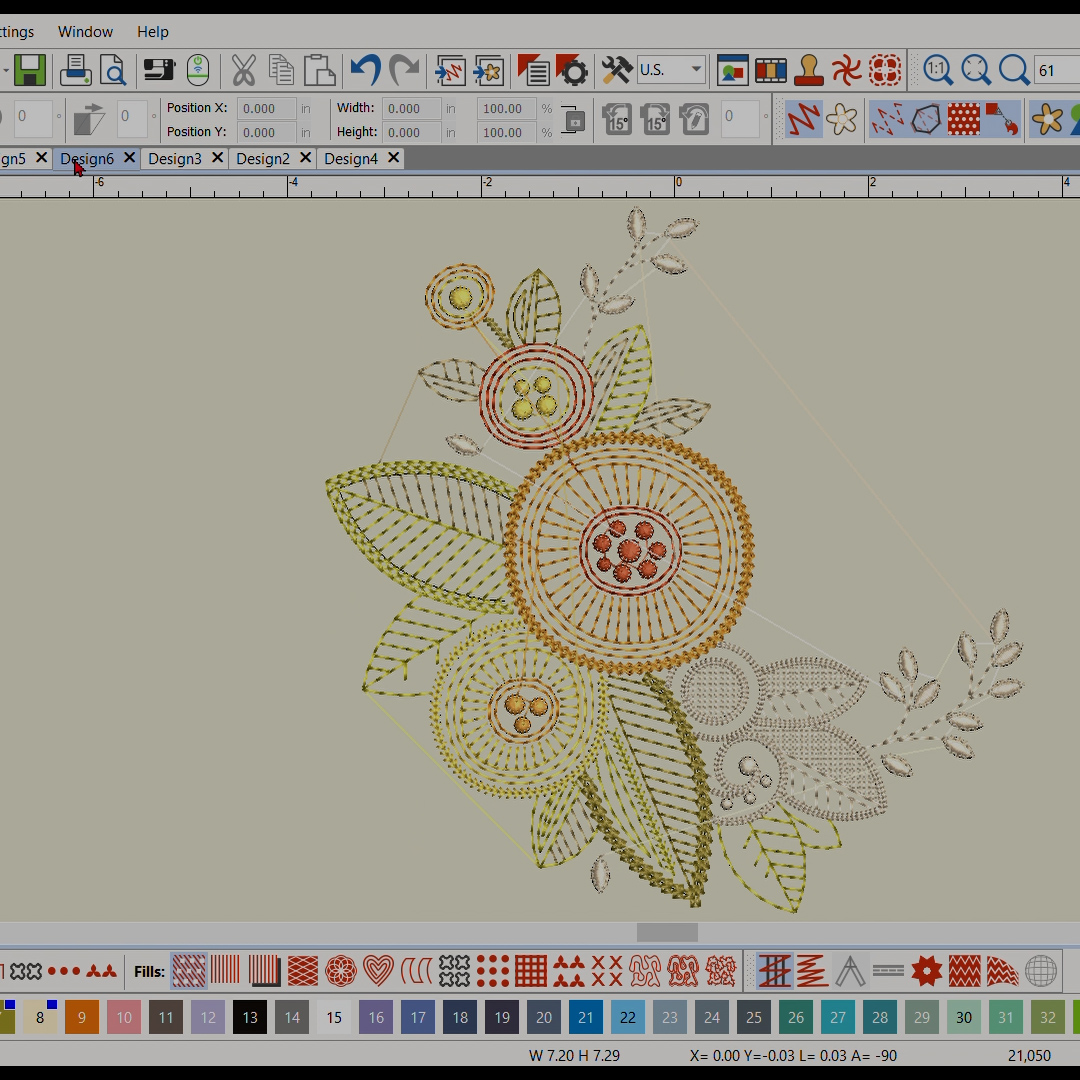
When stitching on real leather, it’s better to stitch quilting, redwork or light stitching designs without satin stitches or fill stitches.
This frog is a great design but has far too many fill stitches to be successful on real leather and will likely give you difficulty on faux leather as well.

As always, if you have questions about whether or not the design will work on your material, run a test stitchout using the exact materials you plan to use on the final project. This will give you an exact idea of what works and what doesn’t.
Embroidering on Leather
Step 1: Prepare for Embroidery
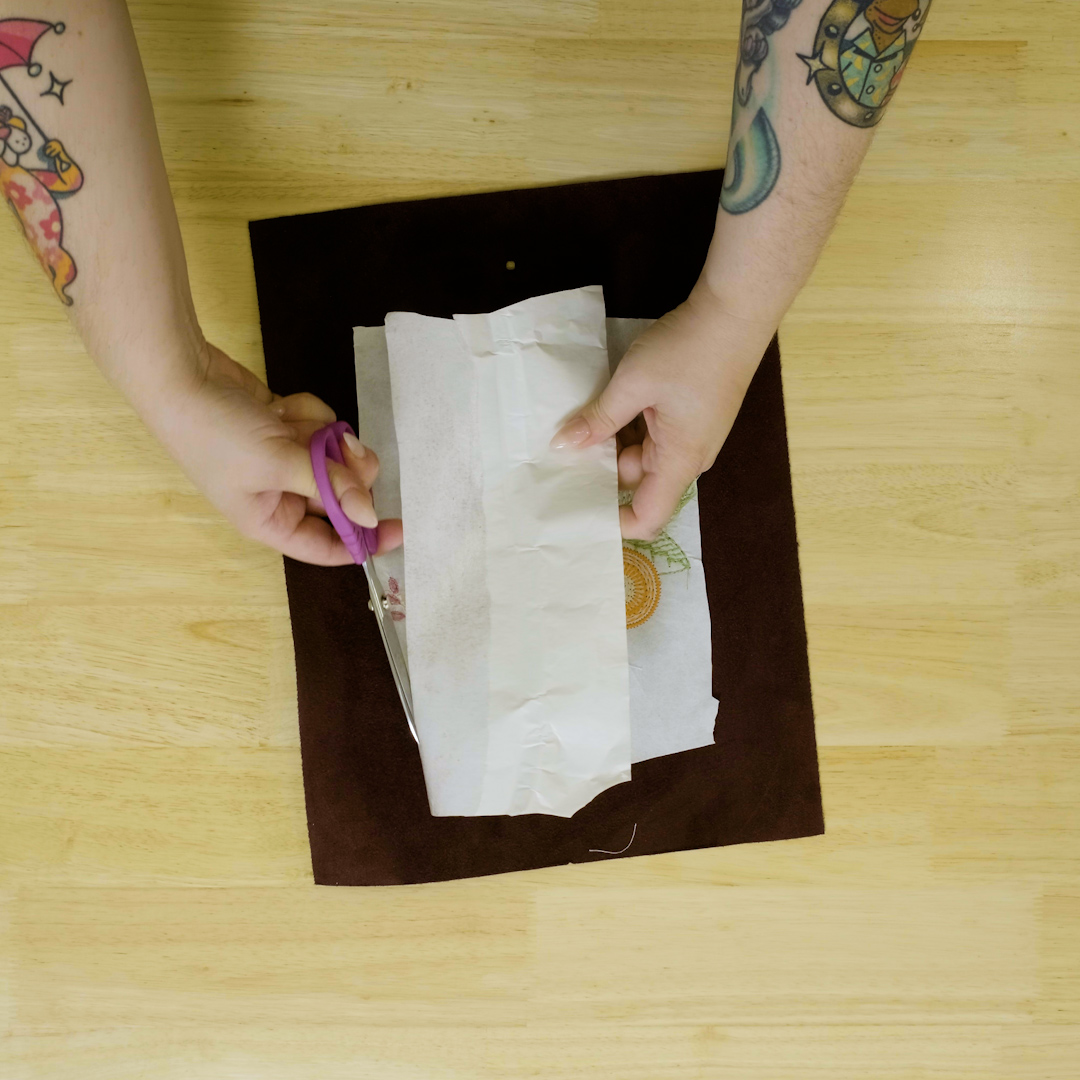
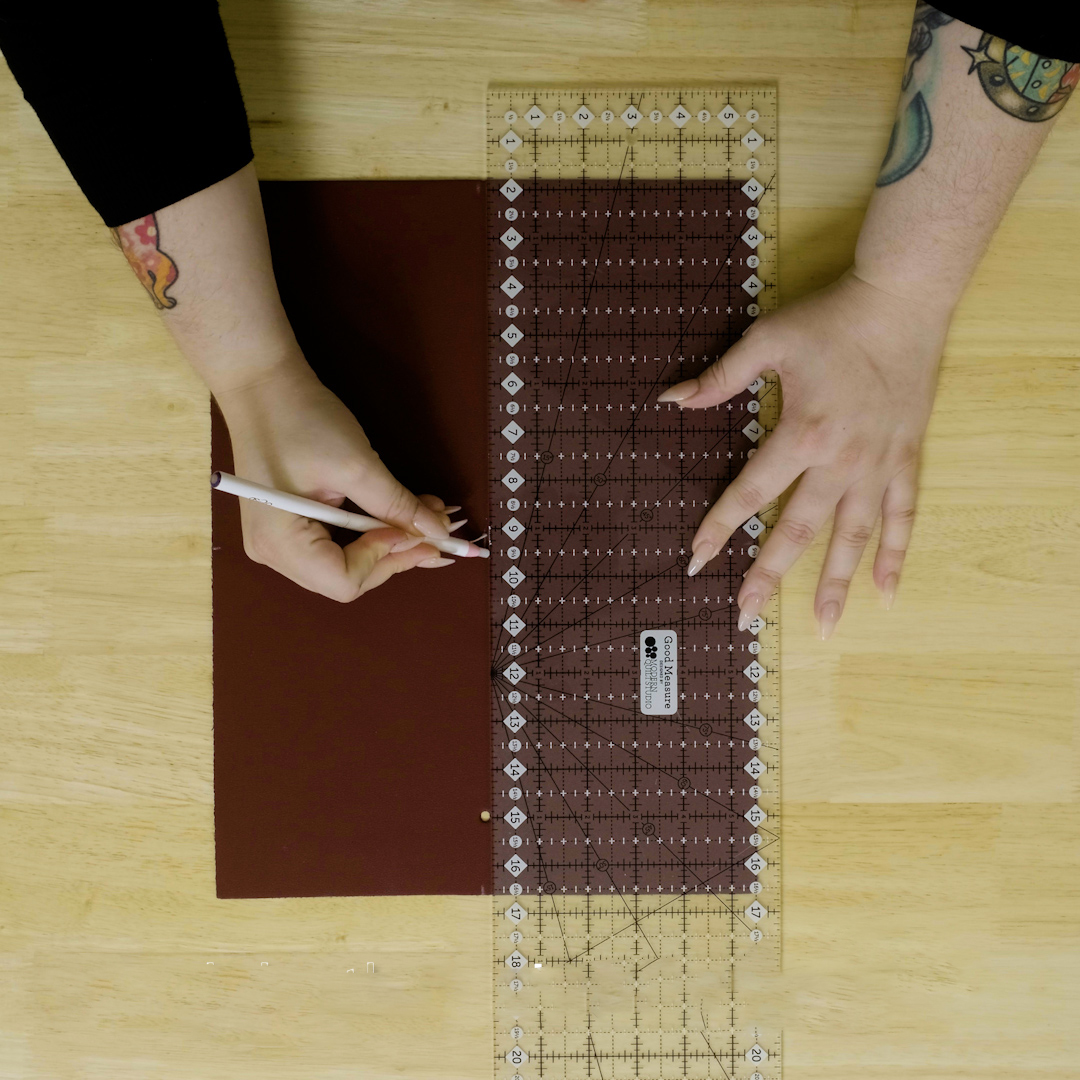
Mark the center of your leather with The Perfect Pencil from OESD. Although the marks this pencil makes are intended to be removed with an iron, I found it easy to just rub the marks off of my project. Use caution if you choose to remove the marks with an iron as it might damage the leather.
Step 2: Prepare for Embroidery
Cut a piece of OESD StabilStick CutAway to fit the hoop, giving yourself at least 2 inches on every side. Then hoop the stabilizer in your Jumbo Hoop with the shiny paper side up.
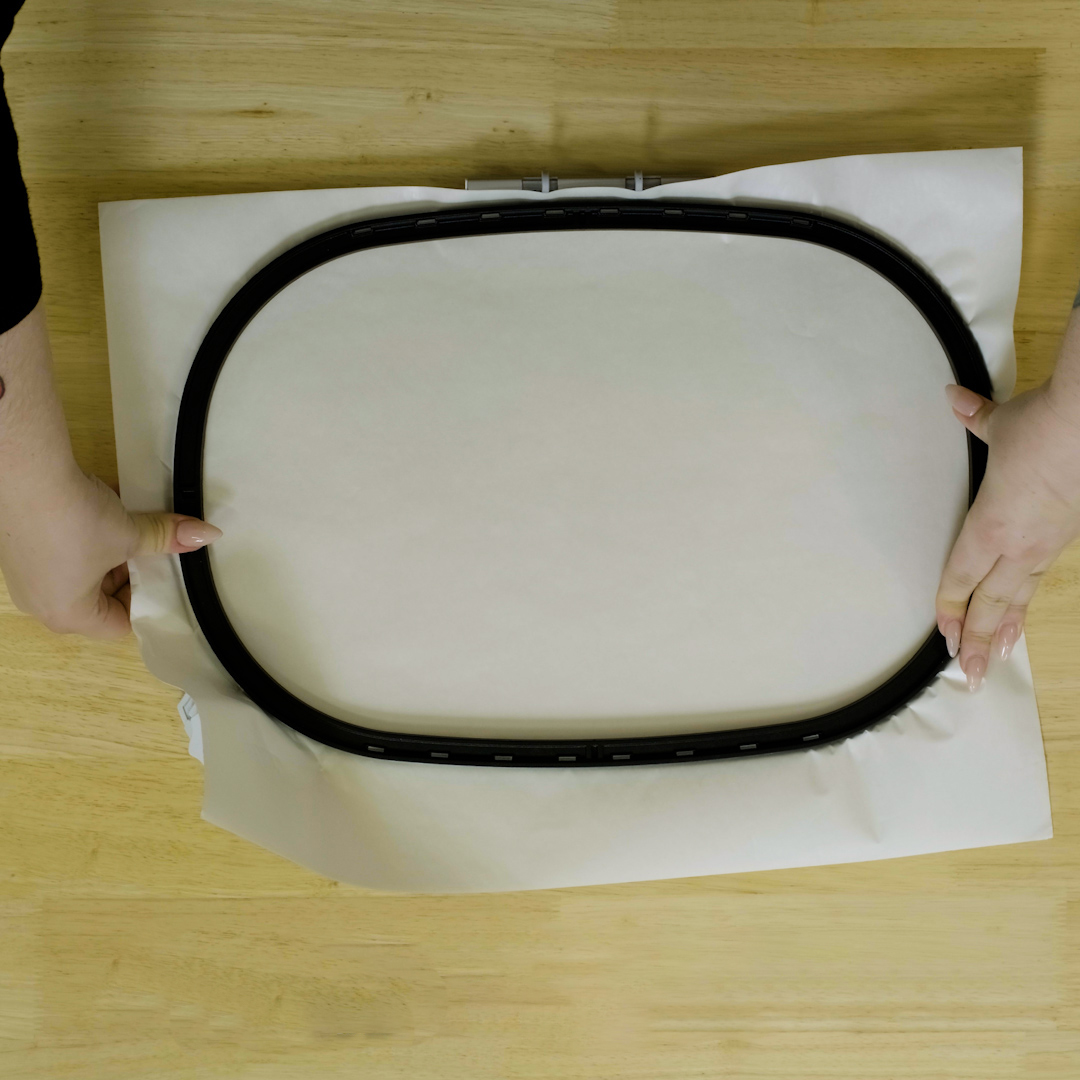
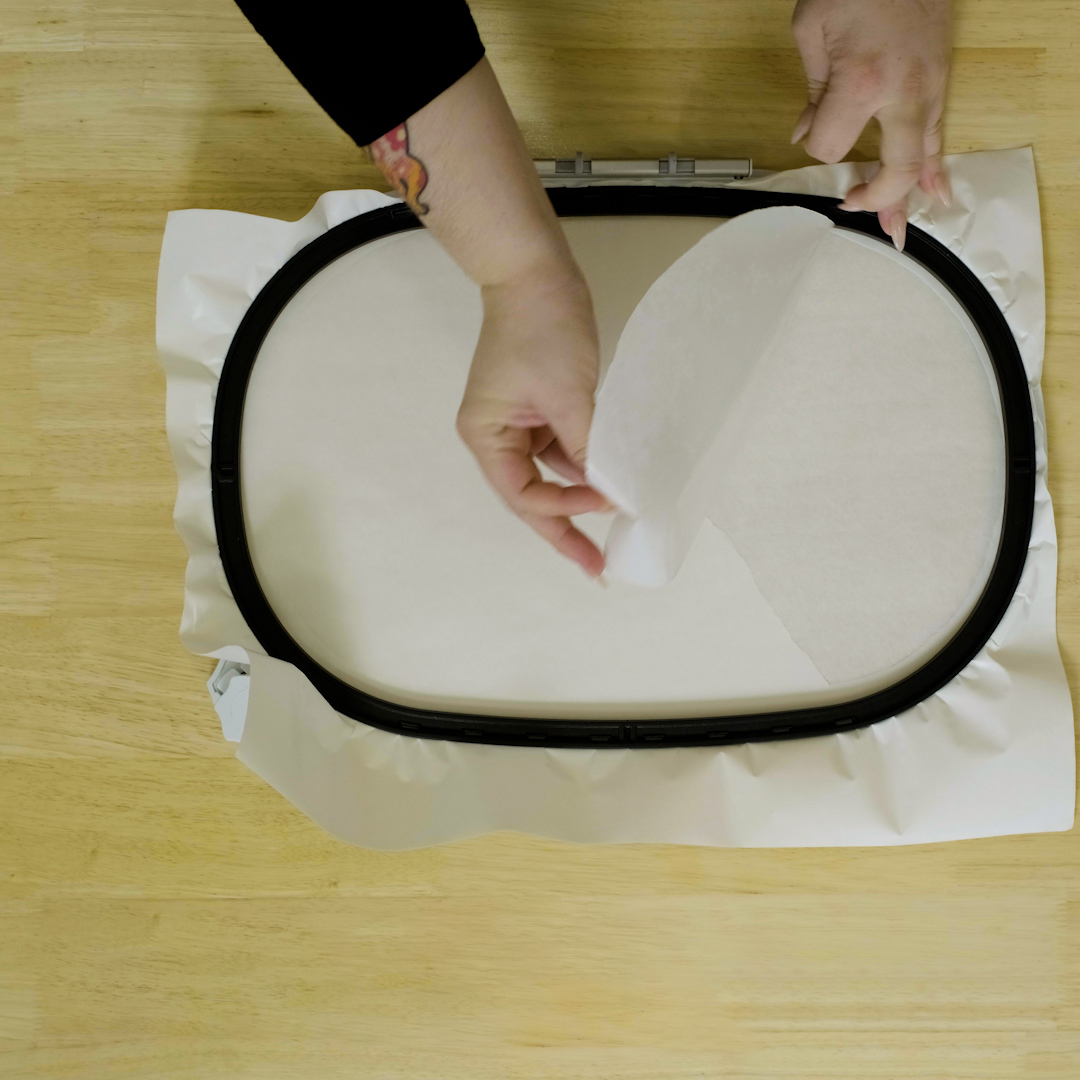
Score the stabilizer with a sturdy pin or discarded needle. Do so firmly enough to get through the paper, but not so firmly that you cut through the stabilizer.
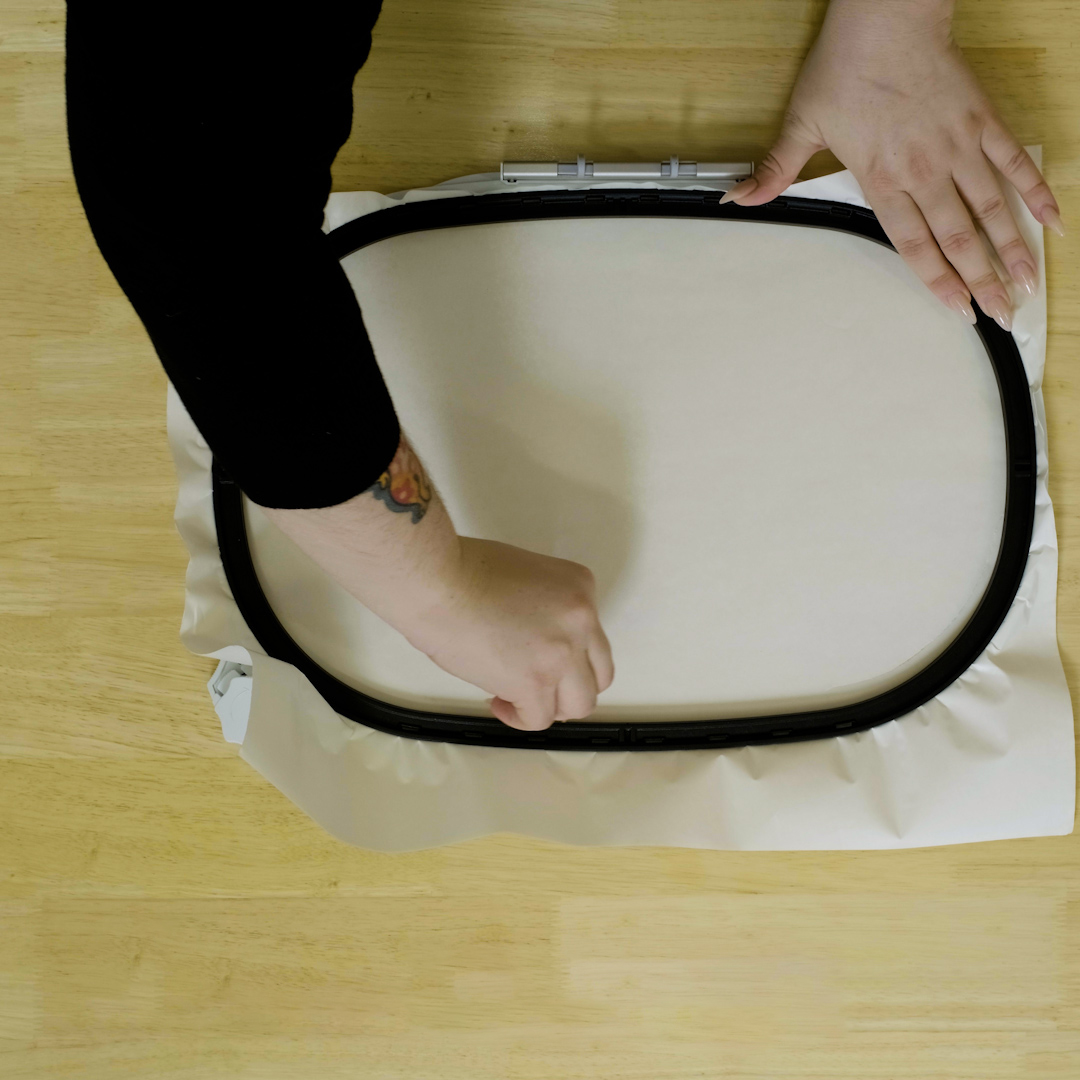
Peel away the paper to reveal the sticky stabilizer
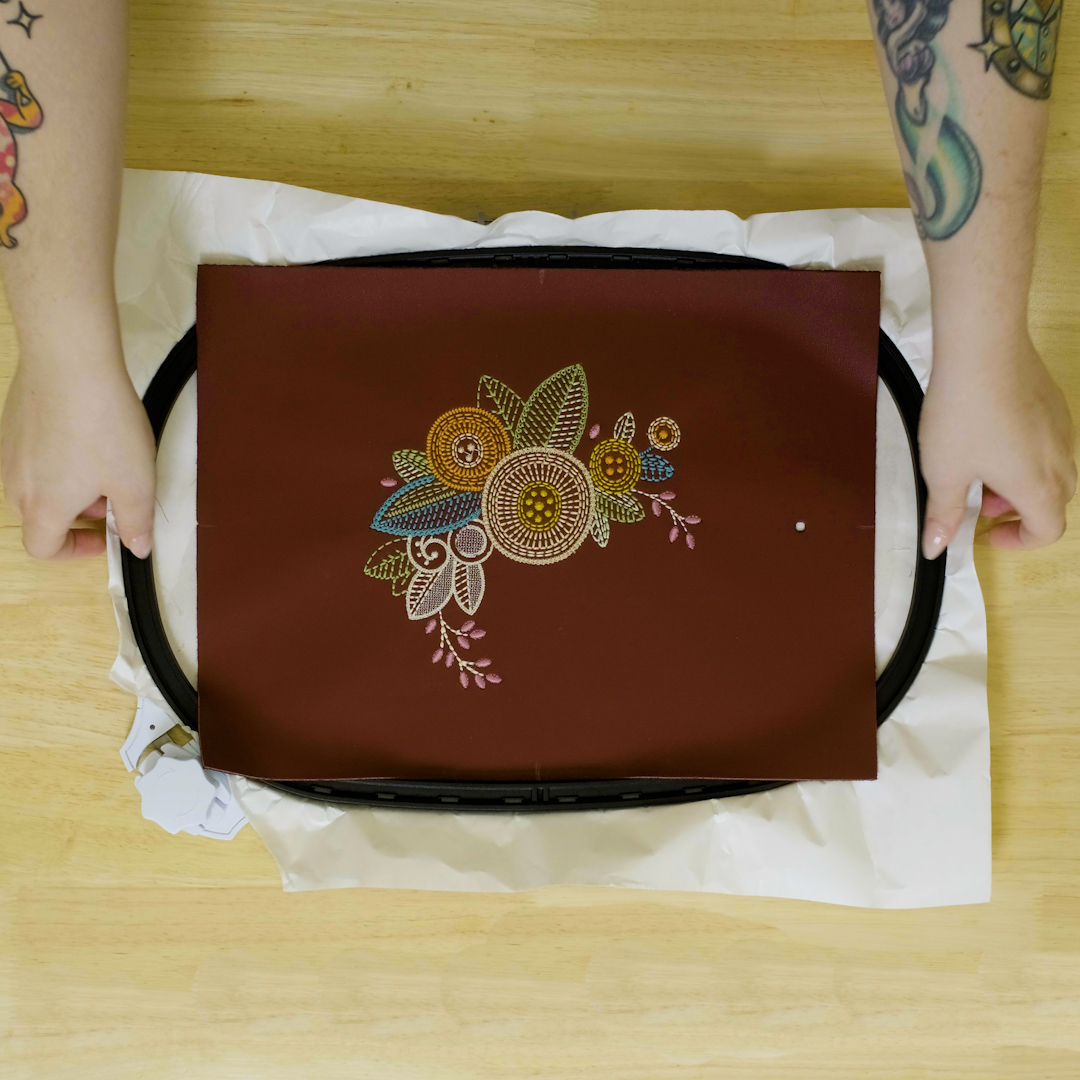
Center the leather in the hoop, with the right side up, and press firmly to secure in the Jumbo Hoop
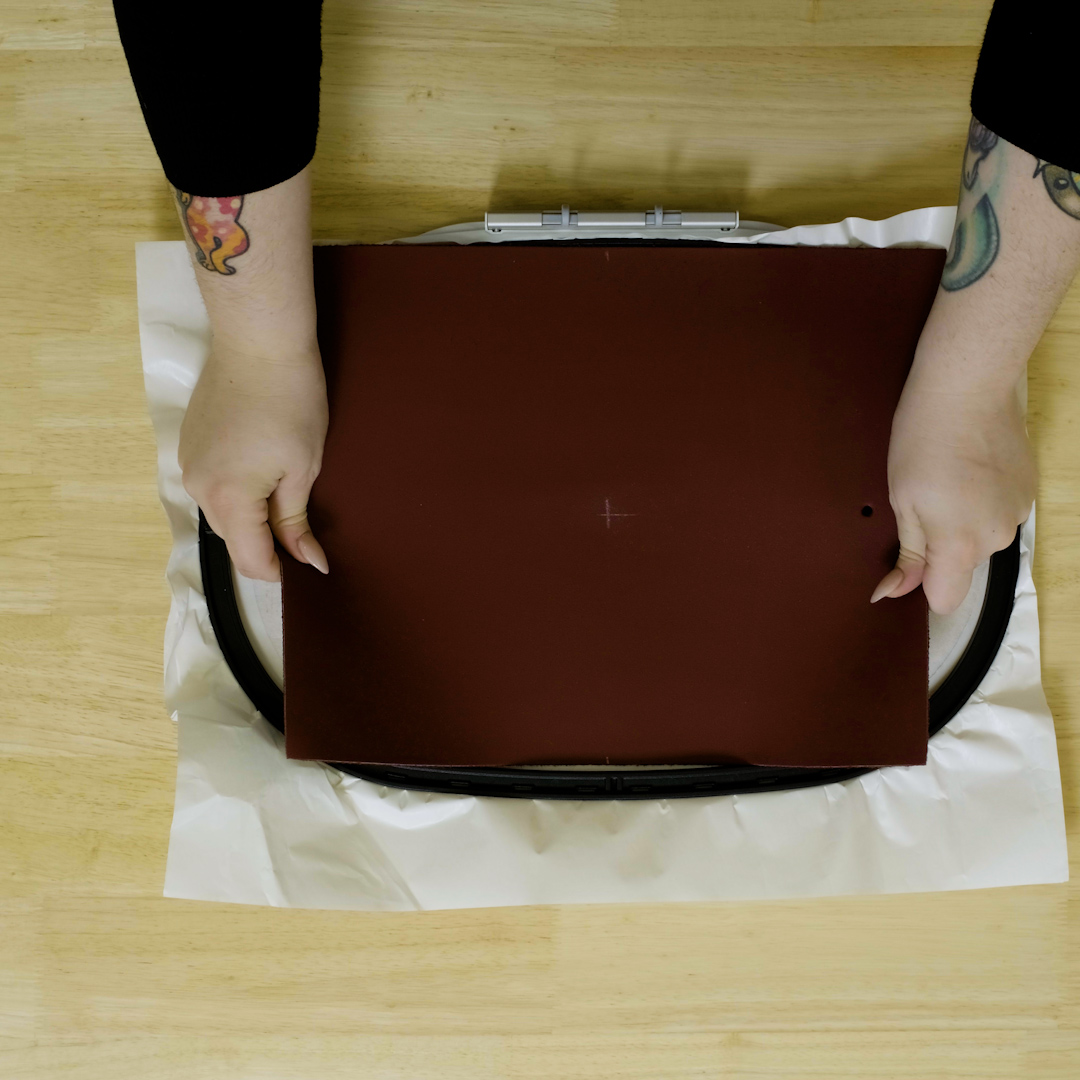
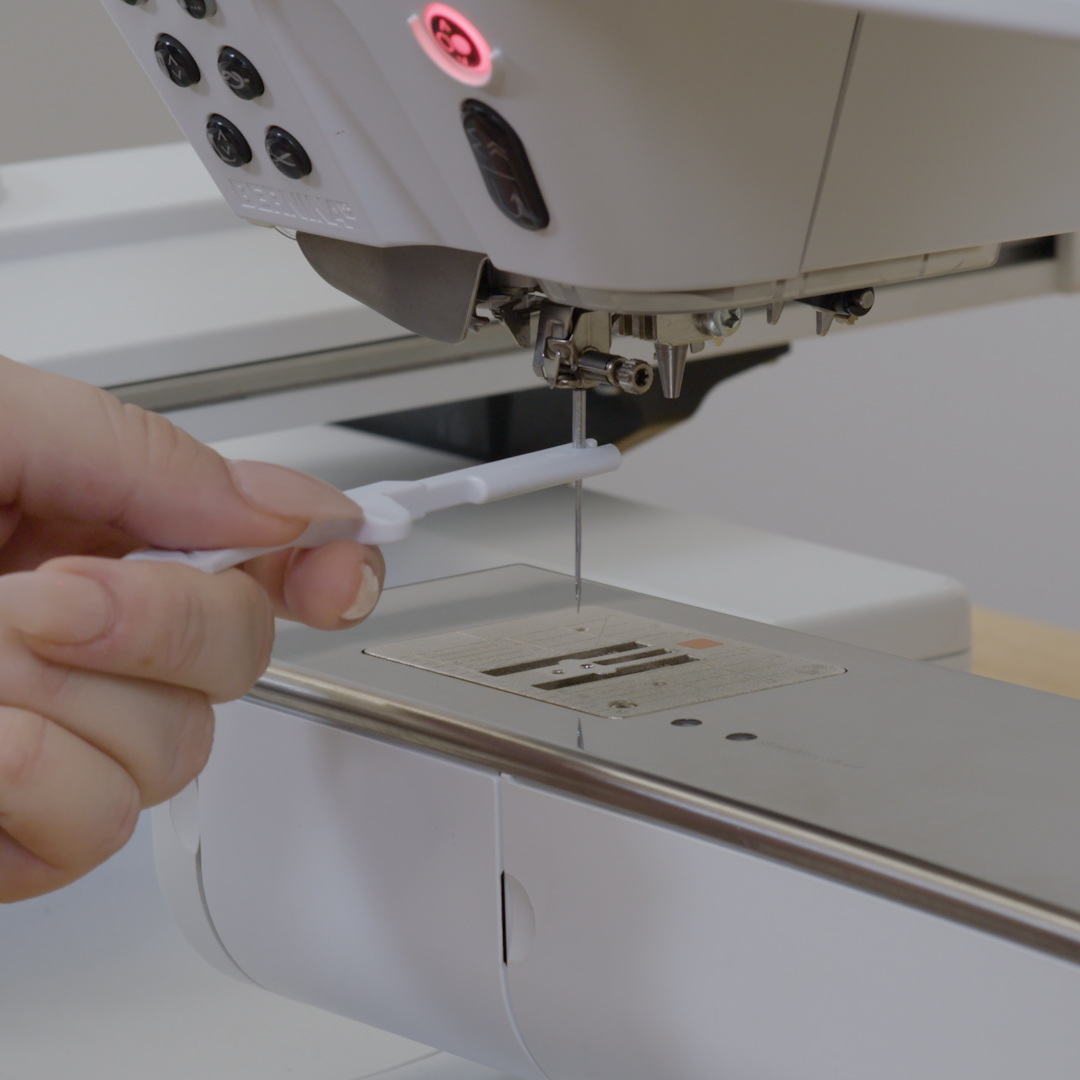
Prepare the machine by installing a topstitch 90/14 needle and attaching the Drop Shaped Embroidery Foot #26. Thread the bobbin with OESD bobbin thread and the needle with your first embroidery thread.
Reduce the speed of the machine and begin to embroider your design on the leather.
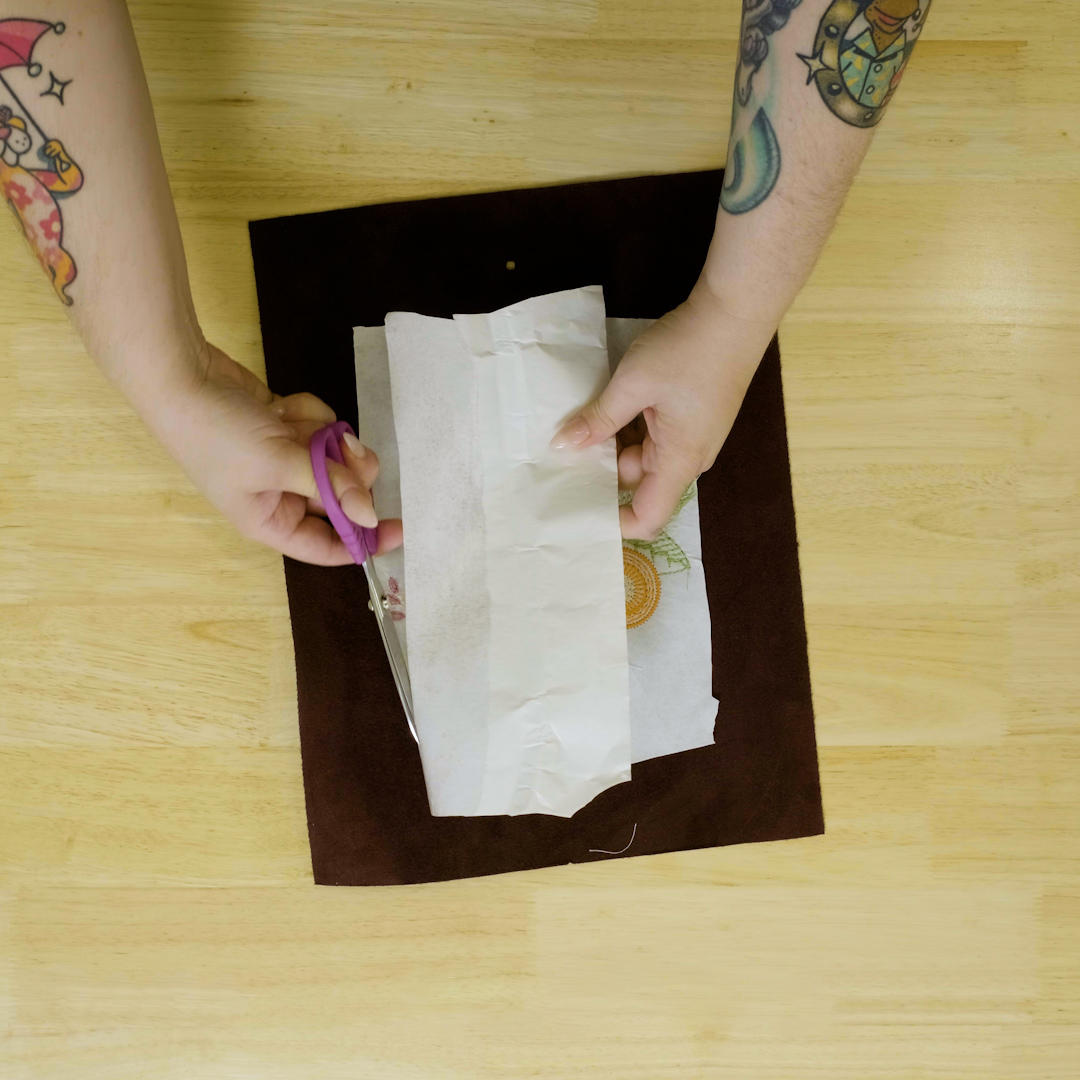
Once the design is finished, remove the hoop from the machine and the stabilizer/embroidered leather from the hoop.
Turn over the project and use scissors to gently cut away the excess stabilizer, being careful not to cut the leather or your stitches. I leave lots of stabilizer in the project, but you can decide for yourself how much you like to leave behind, being careful not to cut so closely that you can snip the stitches by accident.
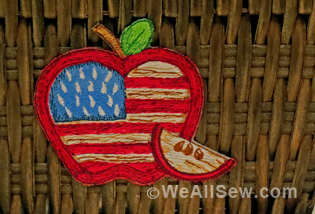
Finish sewing your project and you’re all set! A beautiful, impressive project that helped you expand your skills.

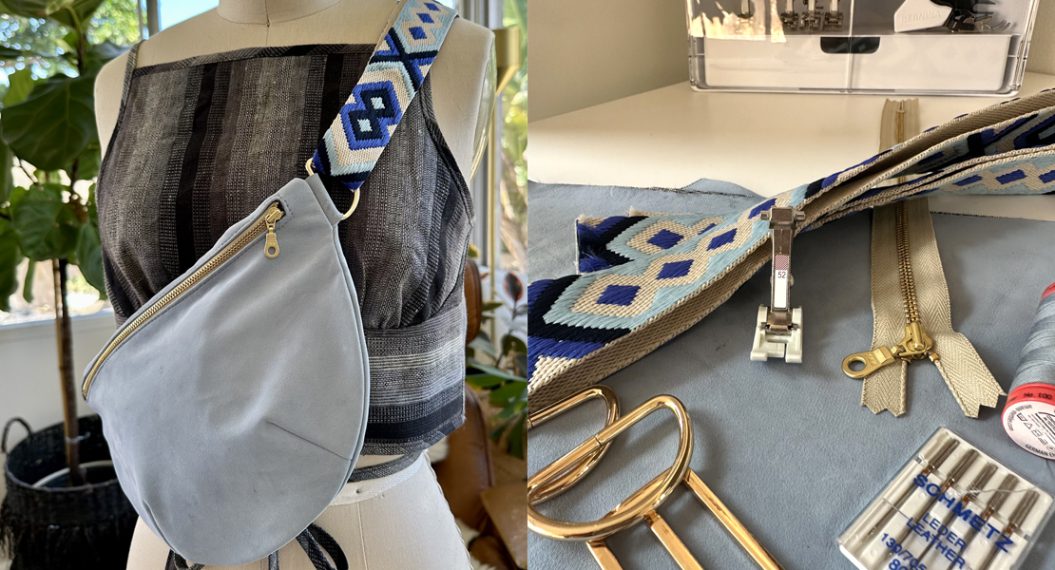
Want to work with more leather? Check out these other great blog posts:
- Sewing with Leather: Tips and Tricks – WeAllSew
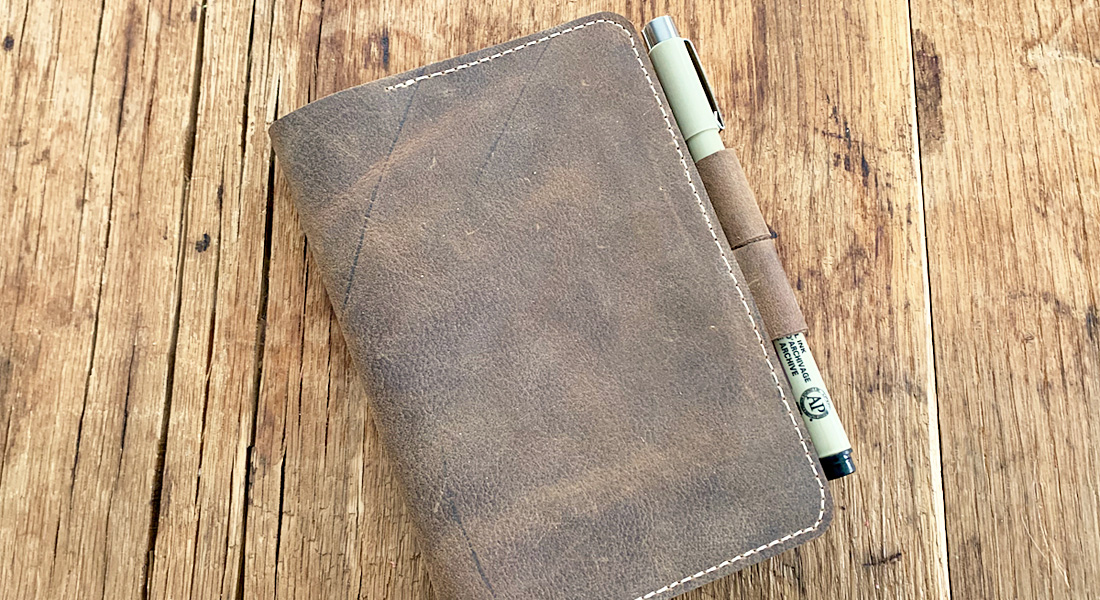
- How to Make a Leather Notebook Cover – WeAllSew
- Make a Leather Tote Bag – WeAllSew
- Leather Belt Bag – WeAllSew
Happy Embroidering!
Used Products

What you might also like


2 comments on “Embroidery on Leather”
-
-
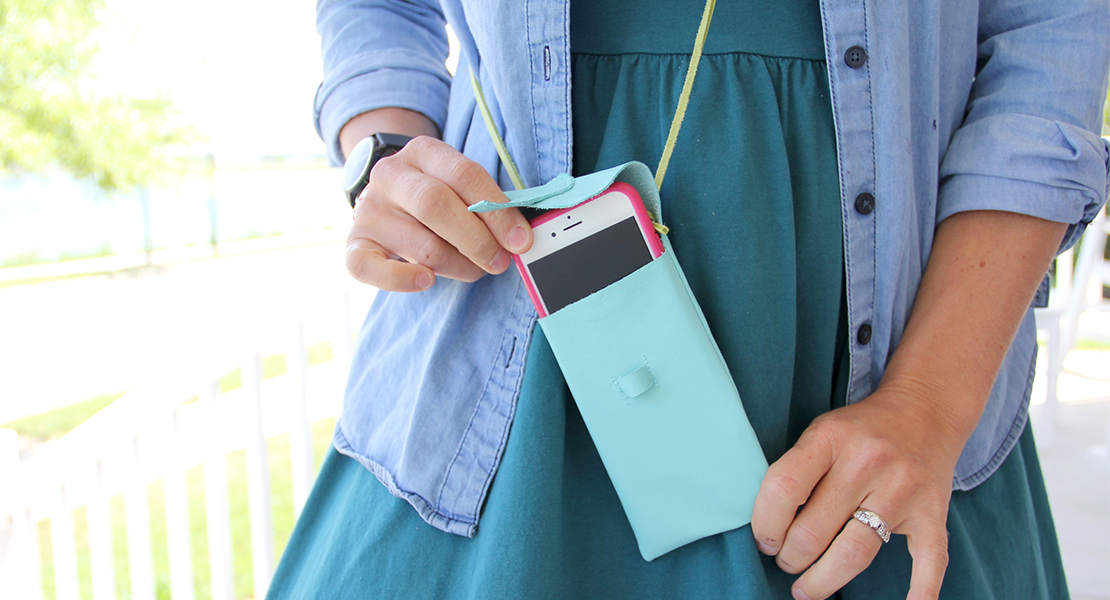
I want to know if there is a pattern available for this bag?
Leave a Reply
You must be logged in to post a comment.

I just made this bag and embroidered a Sashiko design. But to mark where to place the design, I did it a little different. I took the design into V9 software and printed out the design on the grid. (I’m pretty sure you can do this in ARTLink too) I placed the design on the leather that was already stuck to the stabile stick and used OESD paper tape to hold it. Then I used pinpoint placement. Easy to get it embroidered out exactly as I wanted.
Thank you for a very fun project!