Group and Ungroup, Tips on New BERNINA Embroidery Features
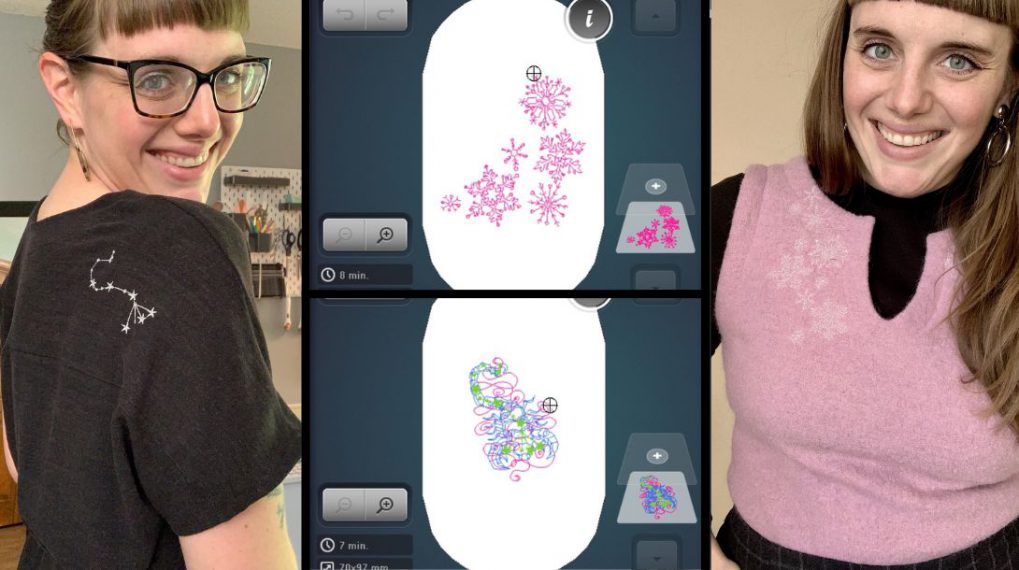
Wow, it just got easier and more convenient to make changes to an embroidery design project right on the embroidery machine screen! I like to combine designs and make changes, and now by simply using the Grouping/Ungrouping function, I can make changes to each individual element of the combination. And that’s not all, the Rearrange function will change the stitch order of design elements.
Don’t get me wrong, I love my embroidery software programs, all of them—yes, I have more than one. But these new time-saving and easy new tools make change no problem!
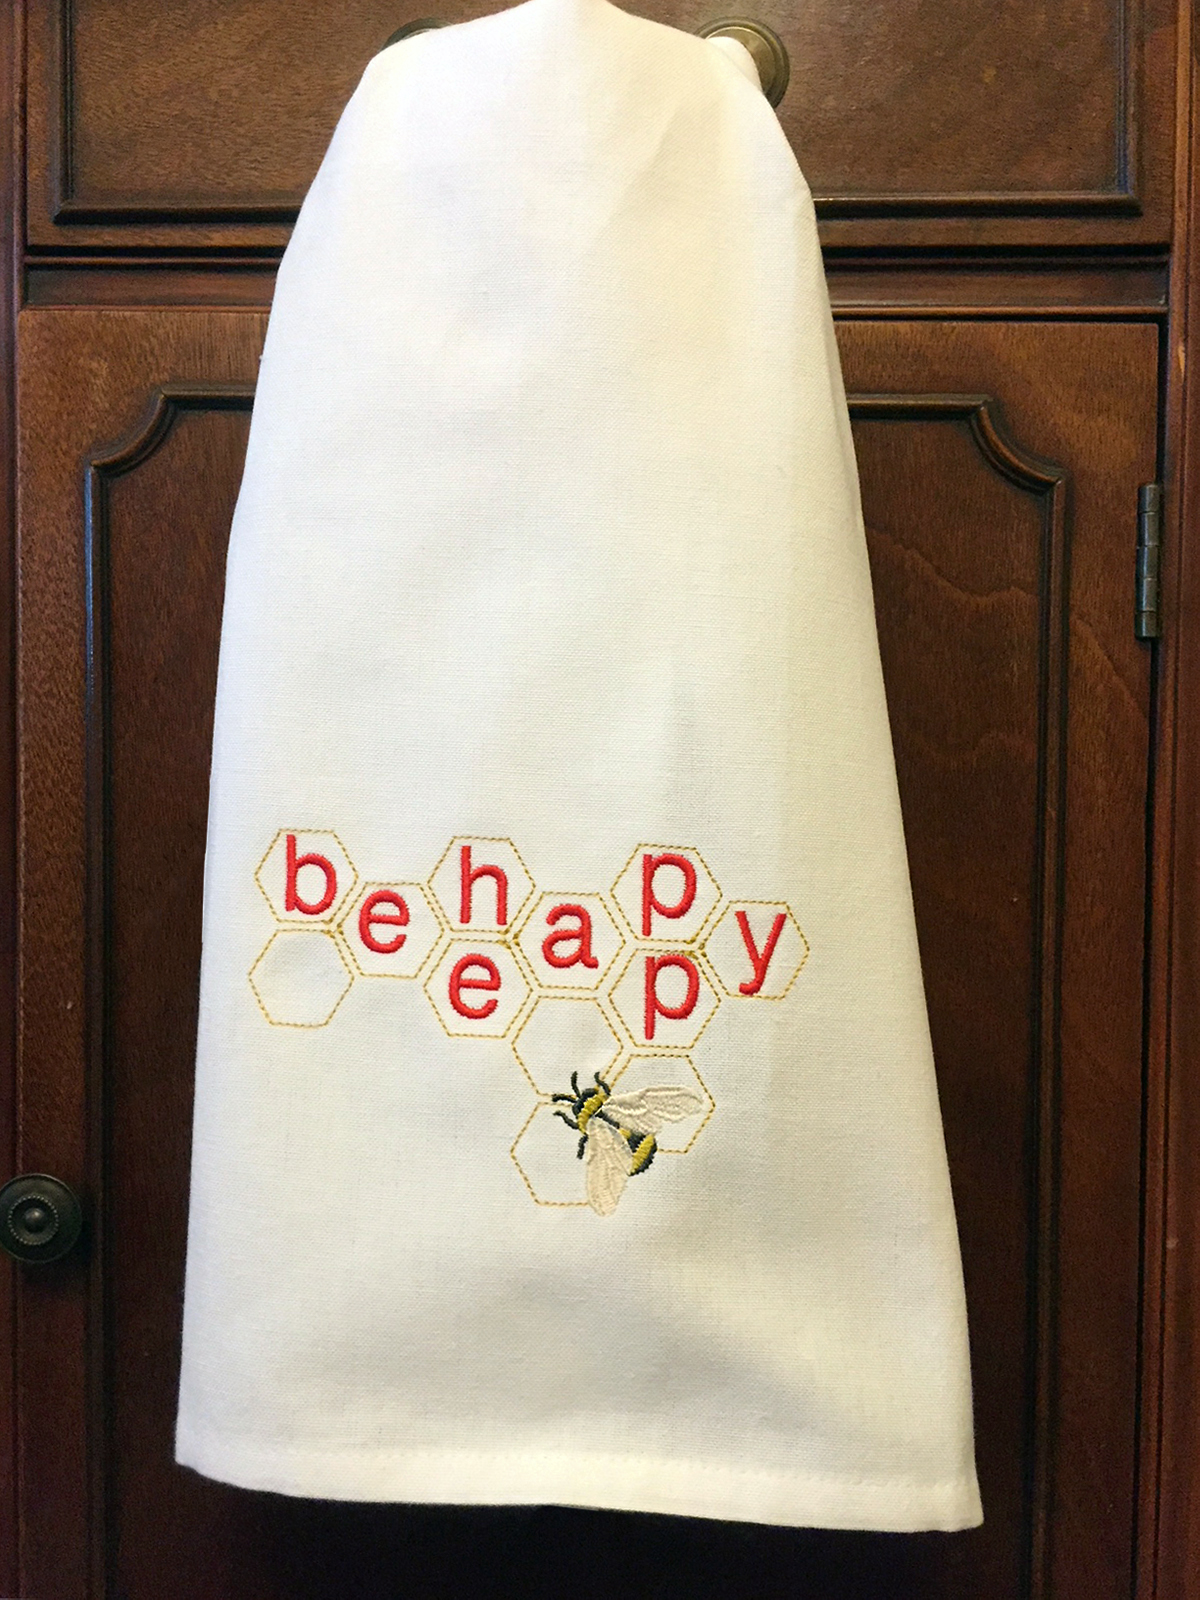
Using these built-in tools to combine designs and lettering for this Tea Towel Host project was fun, and it makes a quick hostess gift. I really love the Ungroup function for lettering—no more needing to bring each letter on screen individually when I want to change things up.
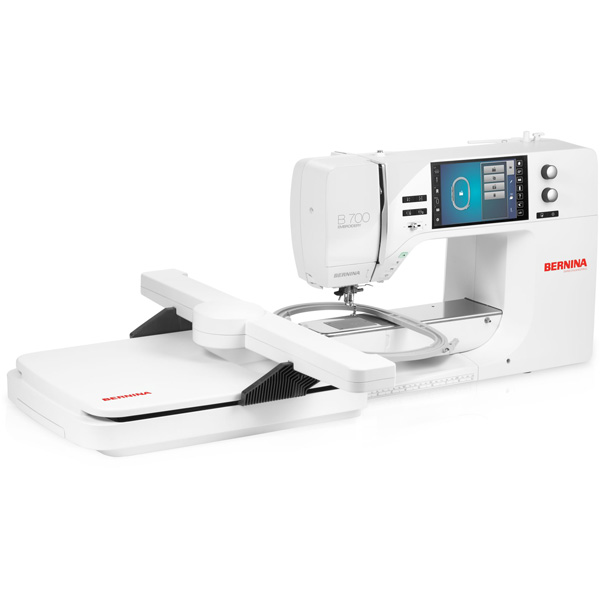
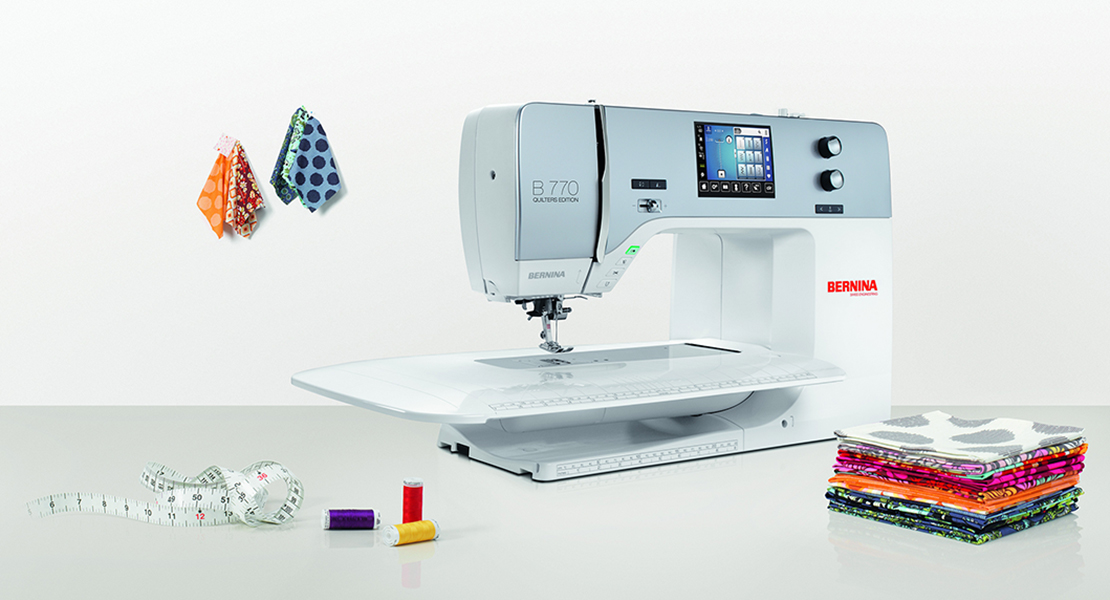
The new embroidery features for Group/Ungroup and Rearrange are included on the B 880 PLUS, B 790 PLUS, B 700, B 590, and B 500.
Materials for Quick Tea Towel Hostess Gift
- Purchased Tea Towel
- OESD Ultra Clean and Tear Stabilizer
- 505 Spray Adhesive
- 60 Wt. Embroidery Thread
- 40 Wt. Embroidery Bobbin Thread
- BERNINA Exclusive Design Collection #82020 Royal Bee Monograms (Design #82020-67 and #82020-72)
- BERNINA Embroidery Foot (Drop Shaped) #26
- BERNINA Midi Hoop
- BERNINA 880 PLUS, B 790 PLUS, B 700, B 590 or B 500 Embroidery Machine (These BERNINA machines include the Ungroup/Ungroup and Rearrange features)

Setting Up the Design
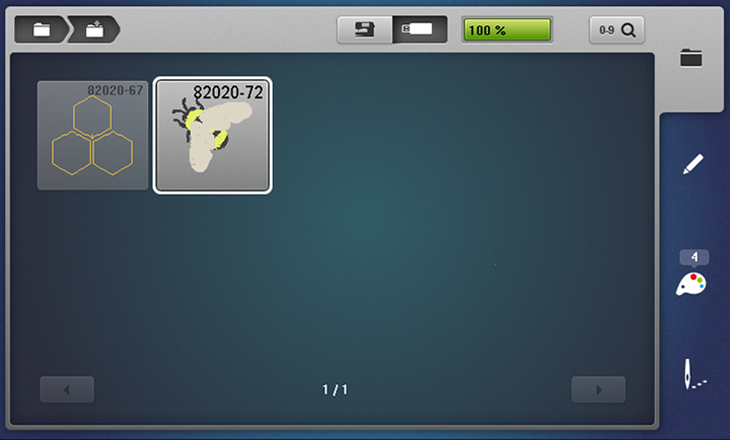
Save the embroidery designs to a USB drive in the BERNINA EXP format and insert the stick into the machine. Select the USB icon on the screen, and touch design #82020-67 (the honeycomb design).

The design opens in the hoop size closest to the design’s size.
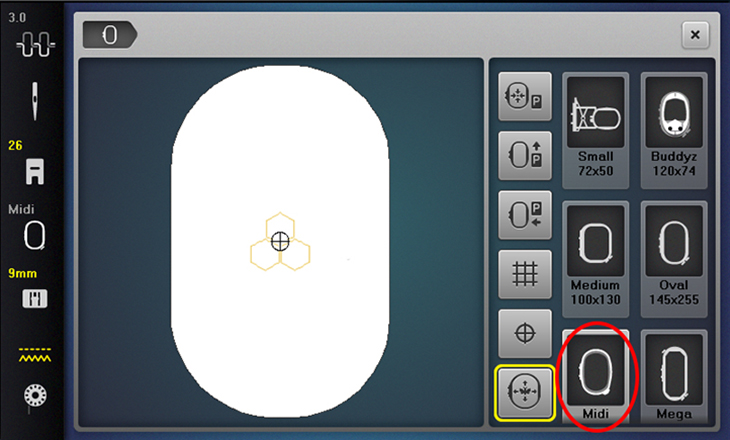
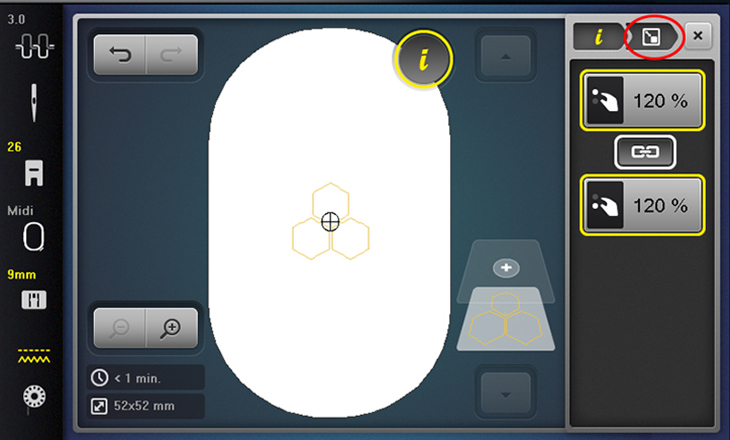
Touch the Hoop Selection/Hoop Display icon and choose the Midi Hoop from the hoop selection and close the screen.
Touch the Information icon, touch the Altering the Size icon, and change the size to 120%. Touch the yellow “I” in the breadcrumb trail (navigation display).
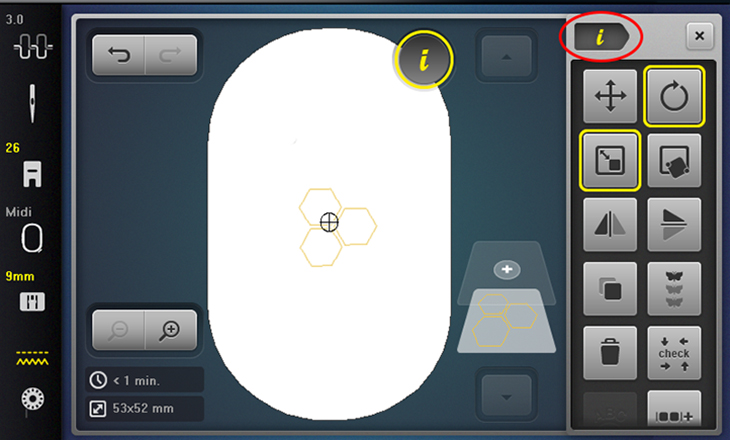
Touch Rotate Motif and using the using the Upper Multifunction knob, turn it to the left to rotate the design approximately -30 degrees.

Touch the yellow “i” in the breadcrumb trail to return to the Editing Menu.
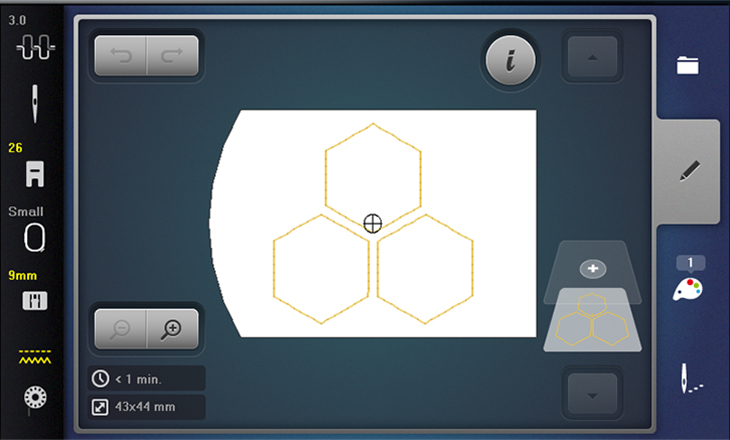
Touch Duplicate three times for a total of 4 honeycomb sets.
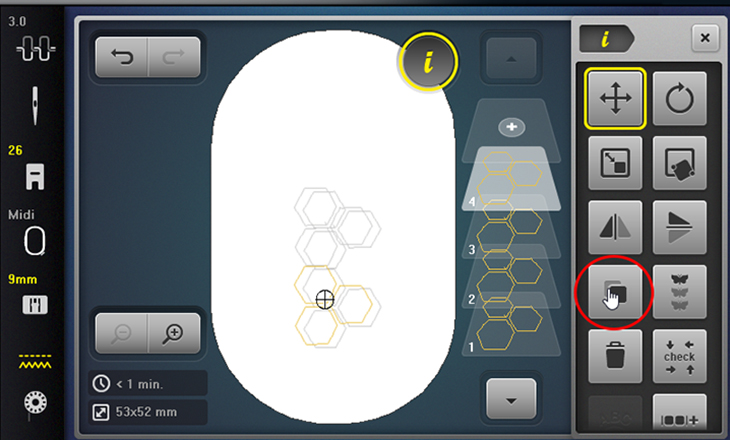
Touch Layer 1 in the Layers Panel to move and position the first honeycomb set using your fingertip, stylus, or the Upper and Lower Multifunction knobs.
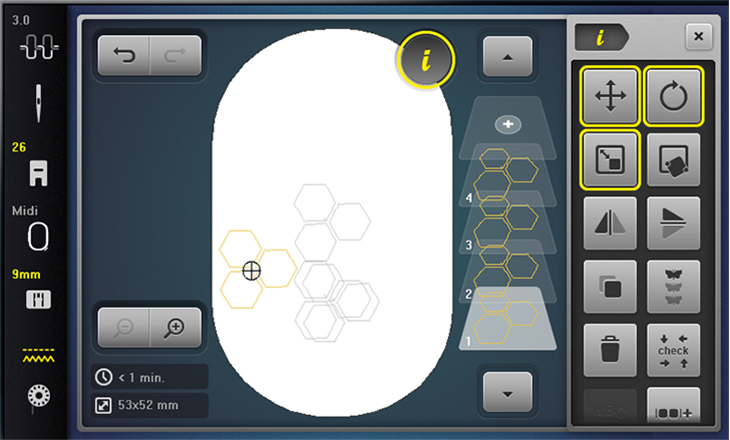
Continue to select and position layers 2-4 as shown in the image below.
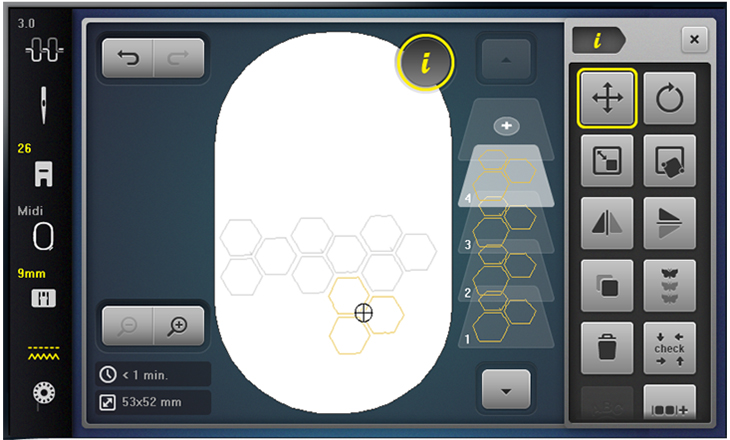
Scroll down and touch the Group icon. Touch Layer 1 and touch the Group icon (one with the +). Continue until you have all 4 honeycomb sets combined. Touch the Add Motif icon (the + above the combined design) to add a new design.

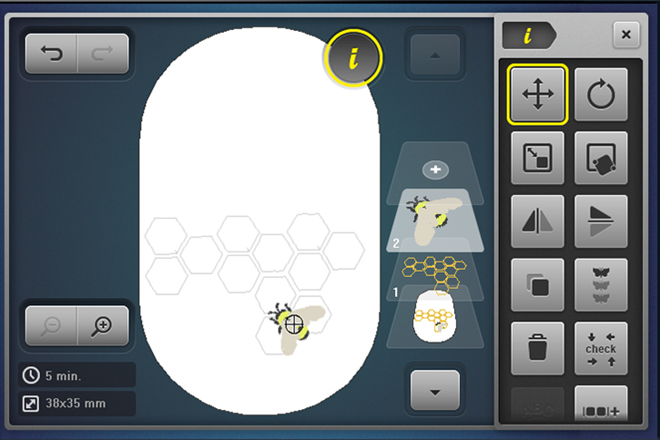
Select and touch design #82020-72 the Bee.
Move the bee into position on the lower honeycomb set.
Touch the Add Motif icon to add the lettering. Touch the embroidery machine icon, touch the Alphabets folder.
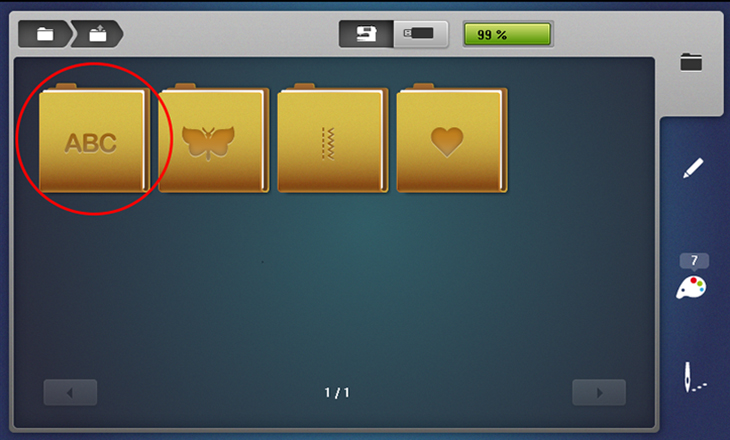
Touch Font Swiss Block. (This font is on all the machines listed in this blog, but will have a different number.
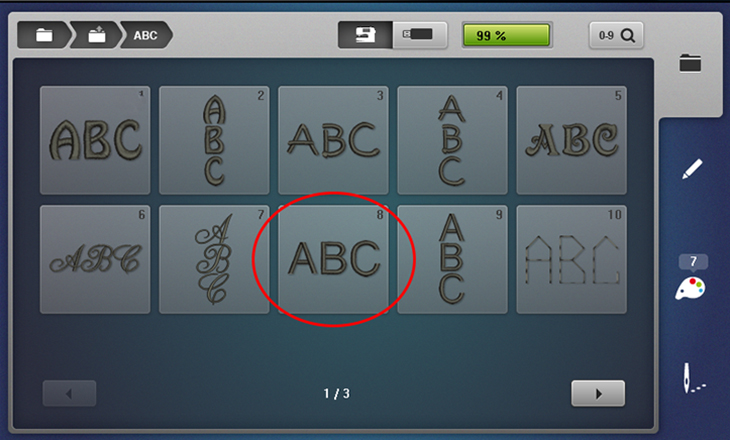
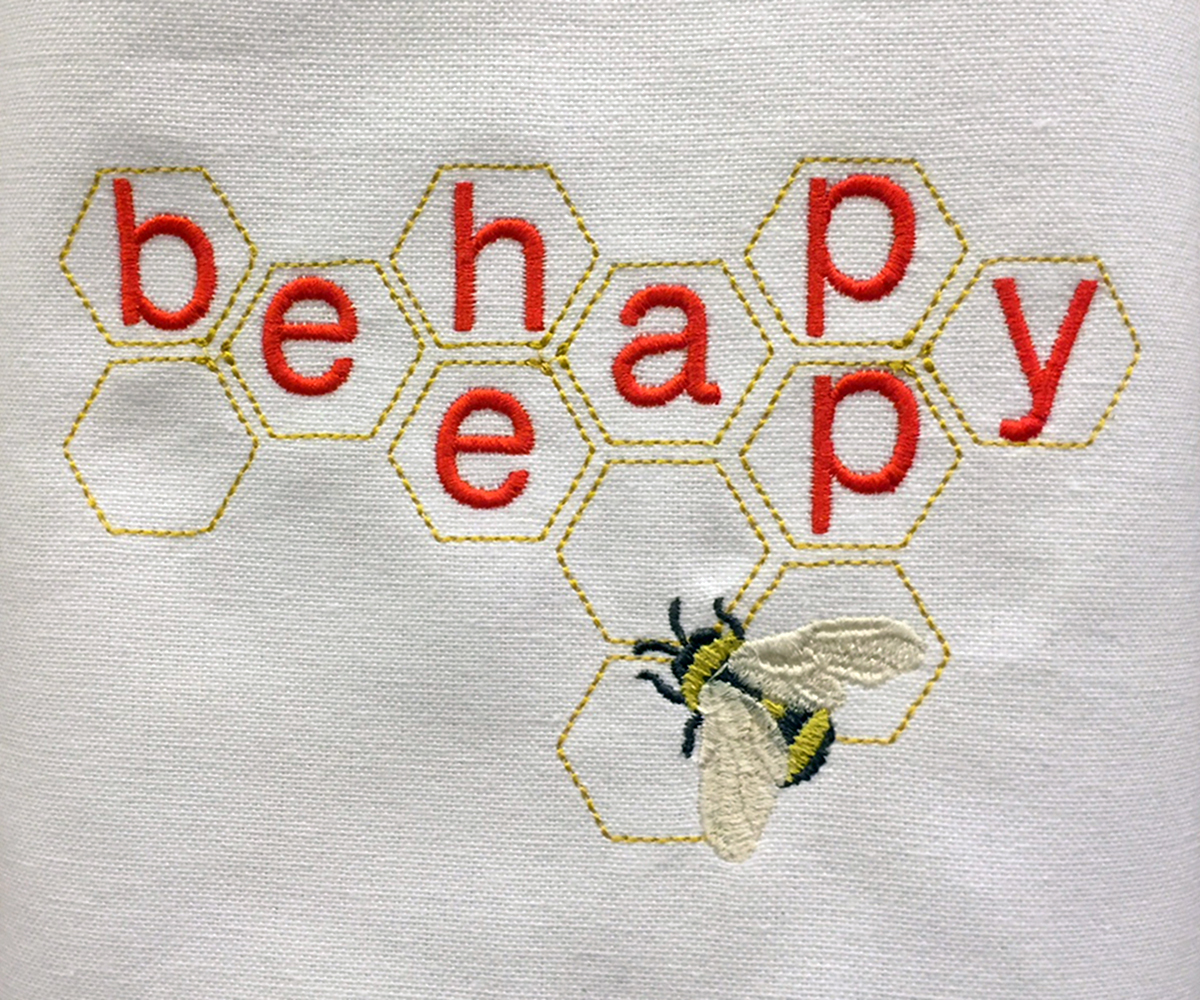
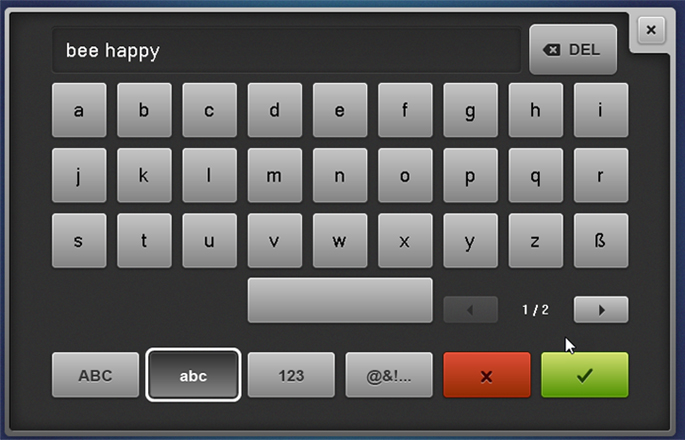
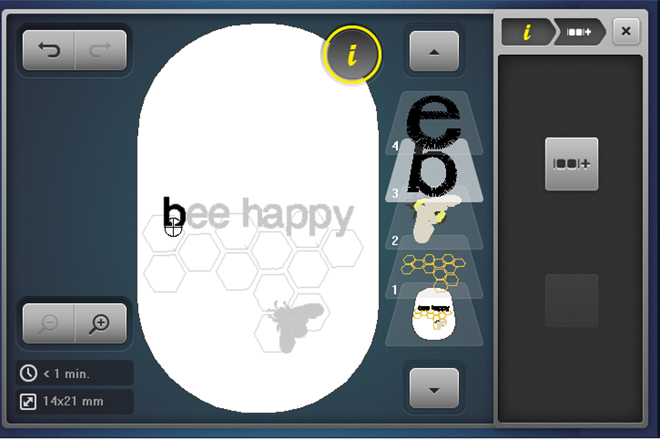
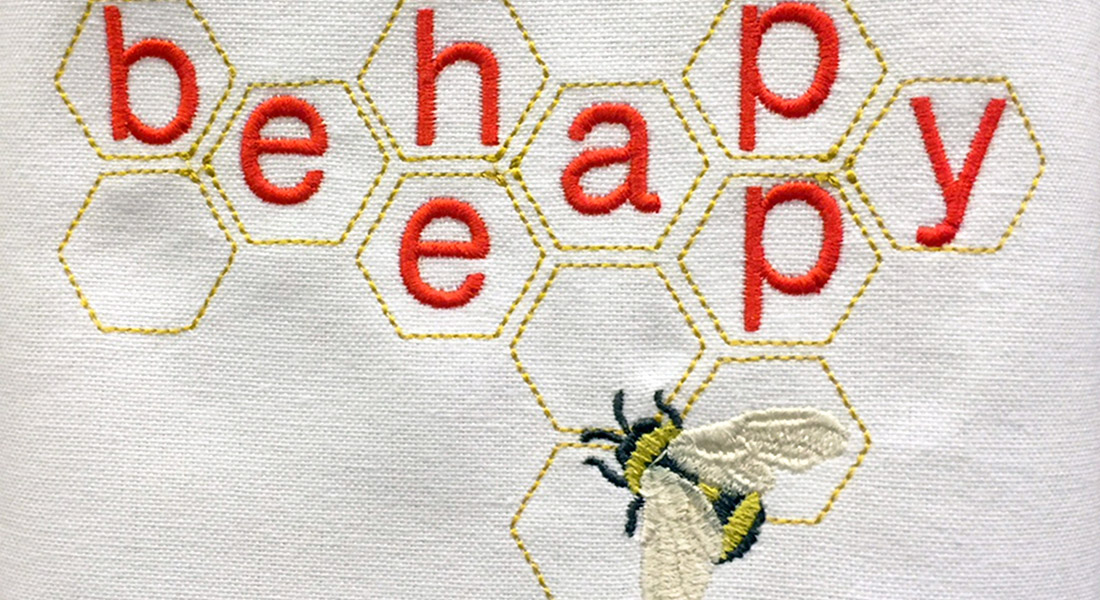
Touch lower case letters and enter text “bee happy”. Touch the green check to Confirm.
The lettering appears on the Editing Screen.
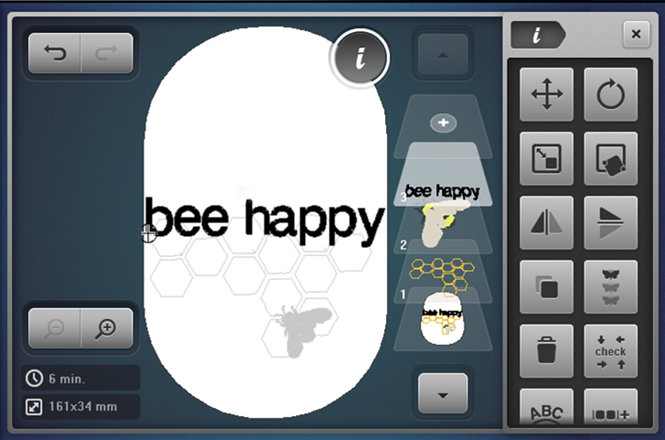
Touch Altering the Size and change the size to 80%.
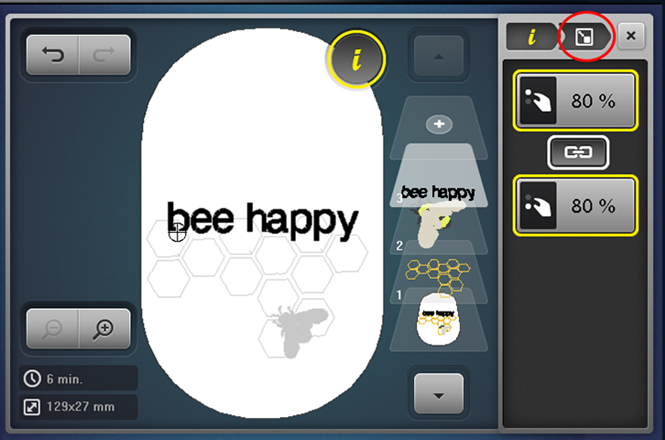
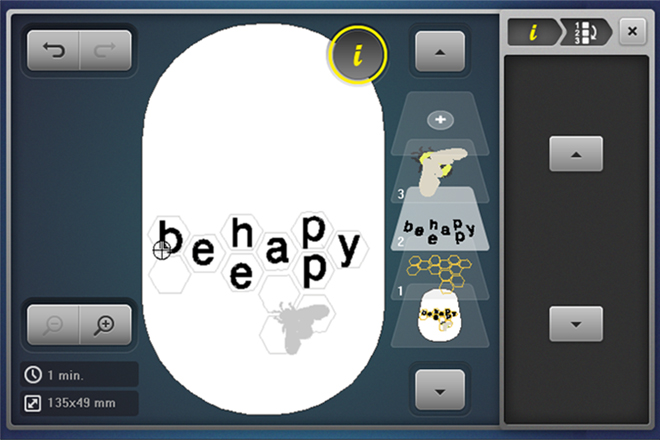
Touch the yellow “i” in the breadcrumb trail. Scroll down and touch the Group icon; touch Ungroup. Now you will see there is a layer for each letter and each can be worked with individually.
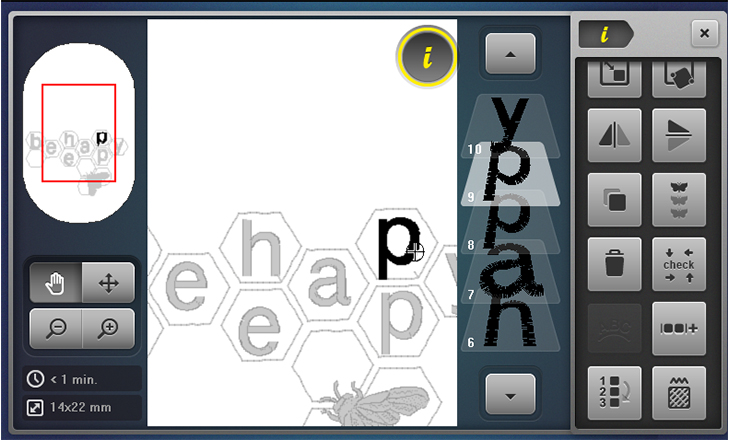
Touch each letter layer and position into the Honeycomb shapes to create letter tiles. Use the Multifunction Knobs to fine tune the position of each.
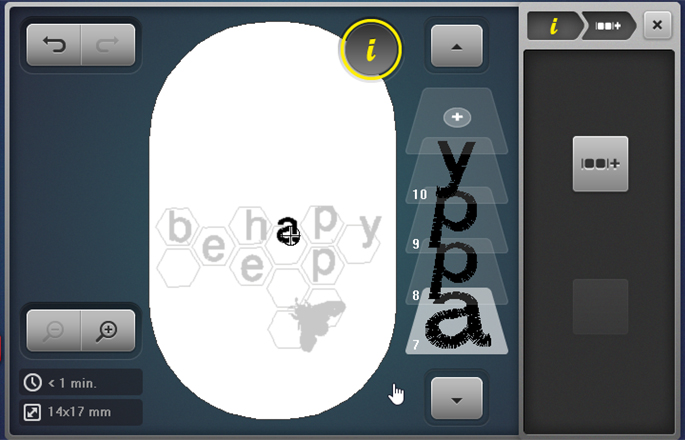
The Zoom (+) will also help with positioning by enlarging the area for a closer view. Touch Zoom (-) when finished.
To group the lettering together, touch Layer 3 (the letter “b”) and touch Group, touch Group +. Repeat this step until all the letters are grouped on Layer 3.
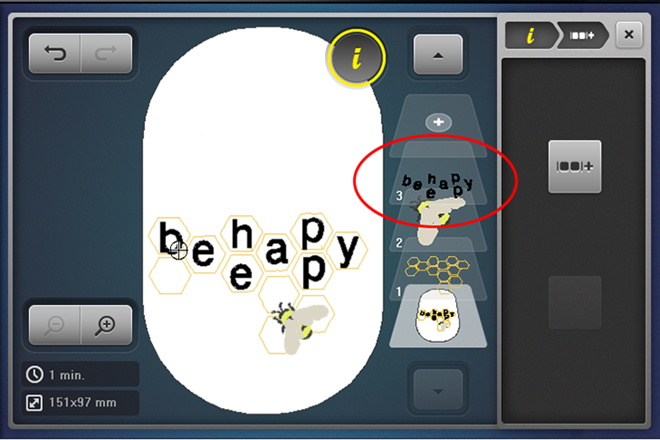
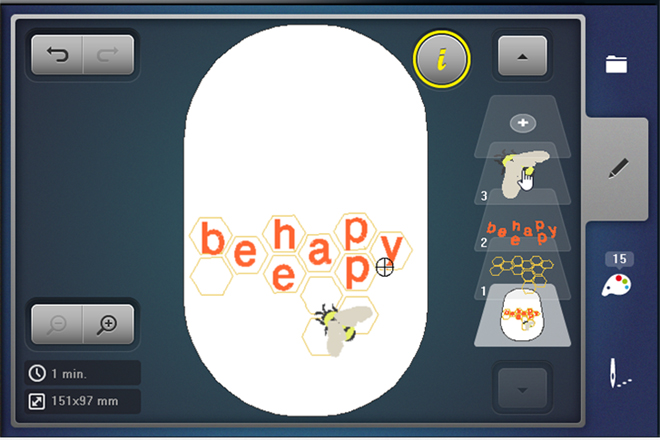
Arrange the stitching so the lettering “bee happy” stitches before the bee design. Touch the yellow “i”. Scroll down, touch the Rearrange icon. Now touch Layer 3 (be happy), and touch the down arrow one time. The bee design will now be Layer 3 and the last design to stitch out.
Close the Information Screen. The design is ready to stitch.
If you desire to change the colors of the lettering, touch Color Information. Select your brand of thread, and you can easily input thread color numbers and change the appearance of the color on screen.
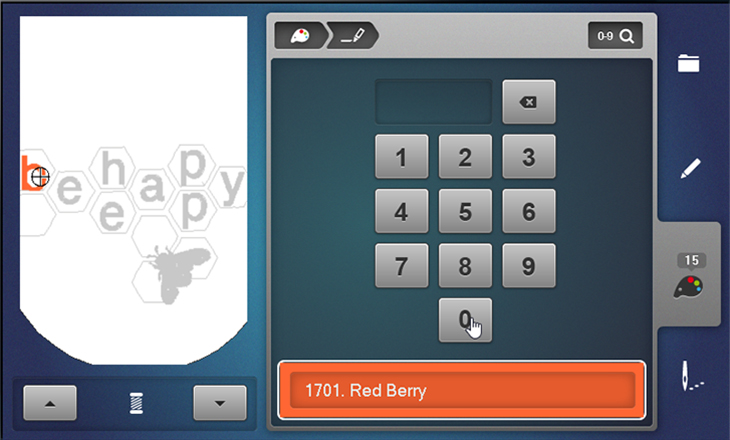
Continue to work through the color sequence to change the elements that you wish to a different color.
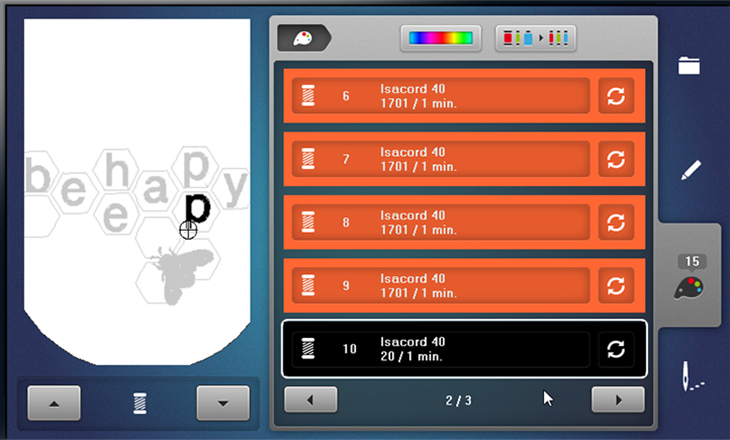
I changed all the lettering colors to Isacord 1701.
Remember the machine will stitch whatever color you thread the machine with—you are in charge!
It’s time to stitch.
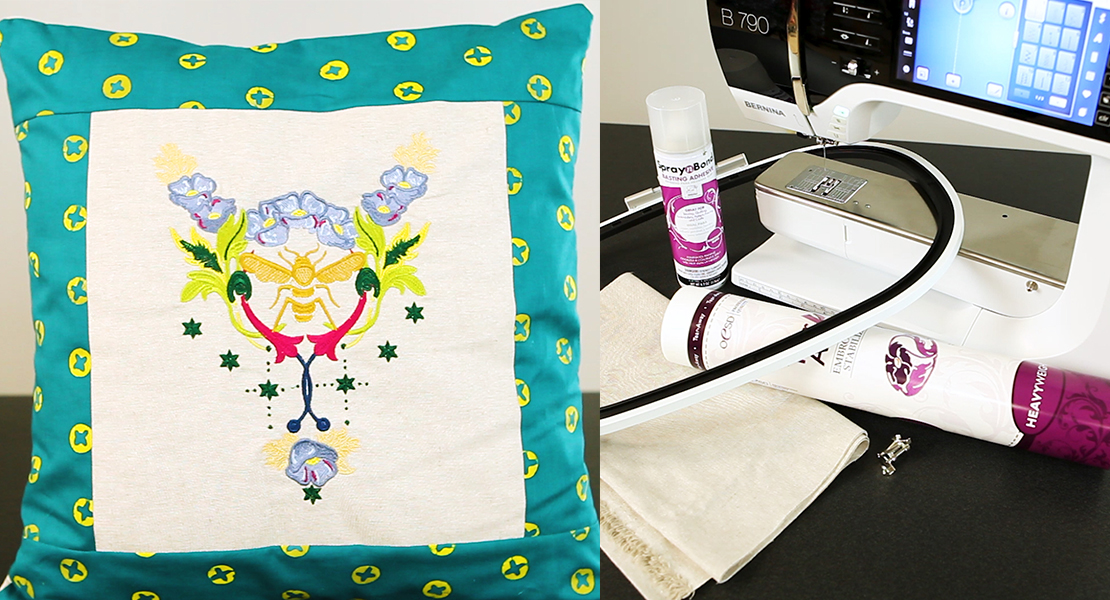
Prepare your tea towel for embroidery using the temporary spray adhesive to attach the Ultra Clean & Tear Stabilizer to the back of the towel. Hoop the prepared towel in the Midi Hoop. Following the prompts on the embroidery machine, attach the hoop and stitch out the design. There you have it—a quick and easy gift or a new item just for you. “Bee Happy”!
Used Products


What you might also like


3 comments on “Group and Ungroup, Tips on New BERNINA Embroidery Features”
-
-
Love this project. Where and how can we get these embroidery designs. I get as far as seeing and scrolling through the designs, but nowhere to purchase or download. I hope someone can help.
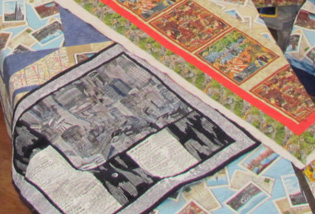
Thanks for these projects – enjoying them a lot as I am making progress on my story quilt in blue! -
Hello, I’m interested in where to download or purchase the 82020 Royal Bee design.
Thank you for your response.
Leave a Reply
You must be logged in to post a comment.

This is amazing. I am thinking to get my new Bernina embroidery machine for next projects.