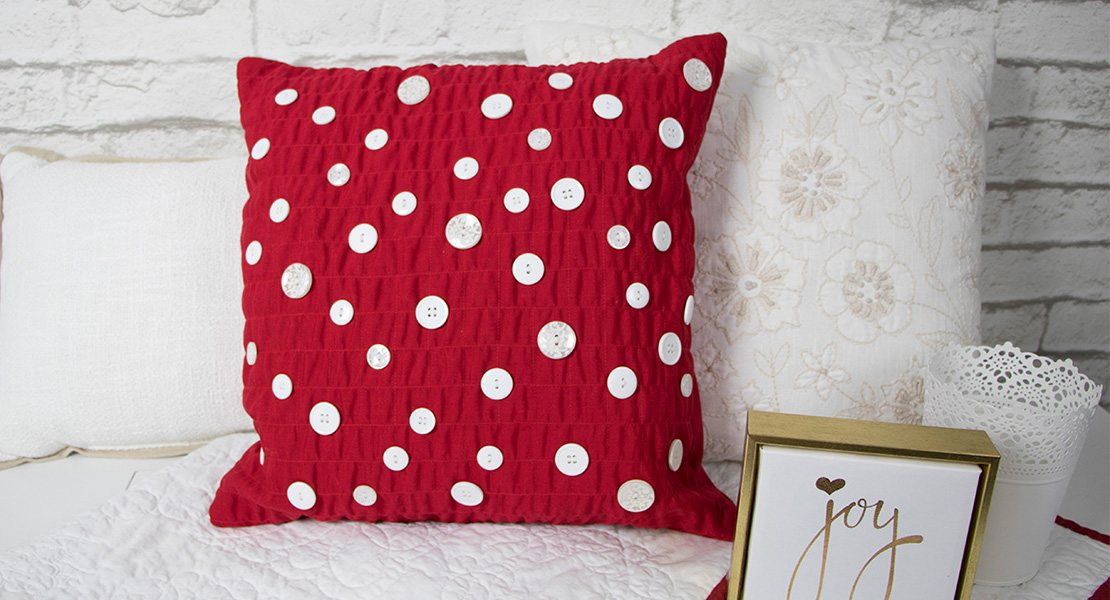
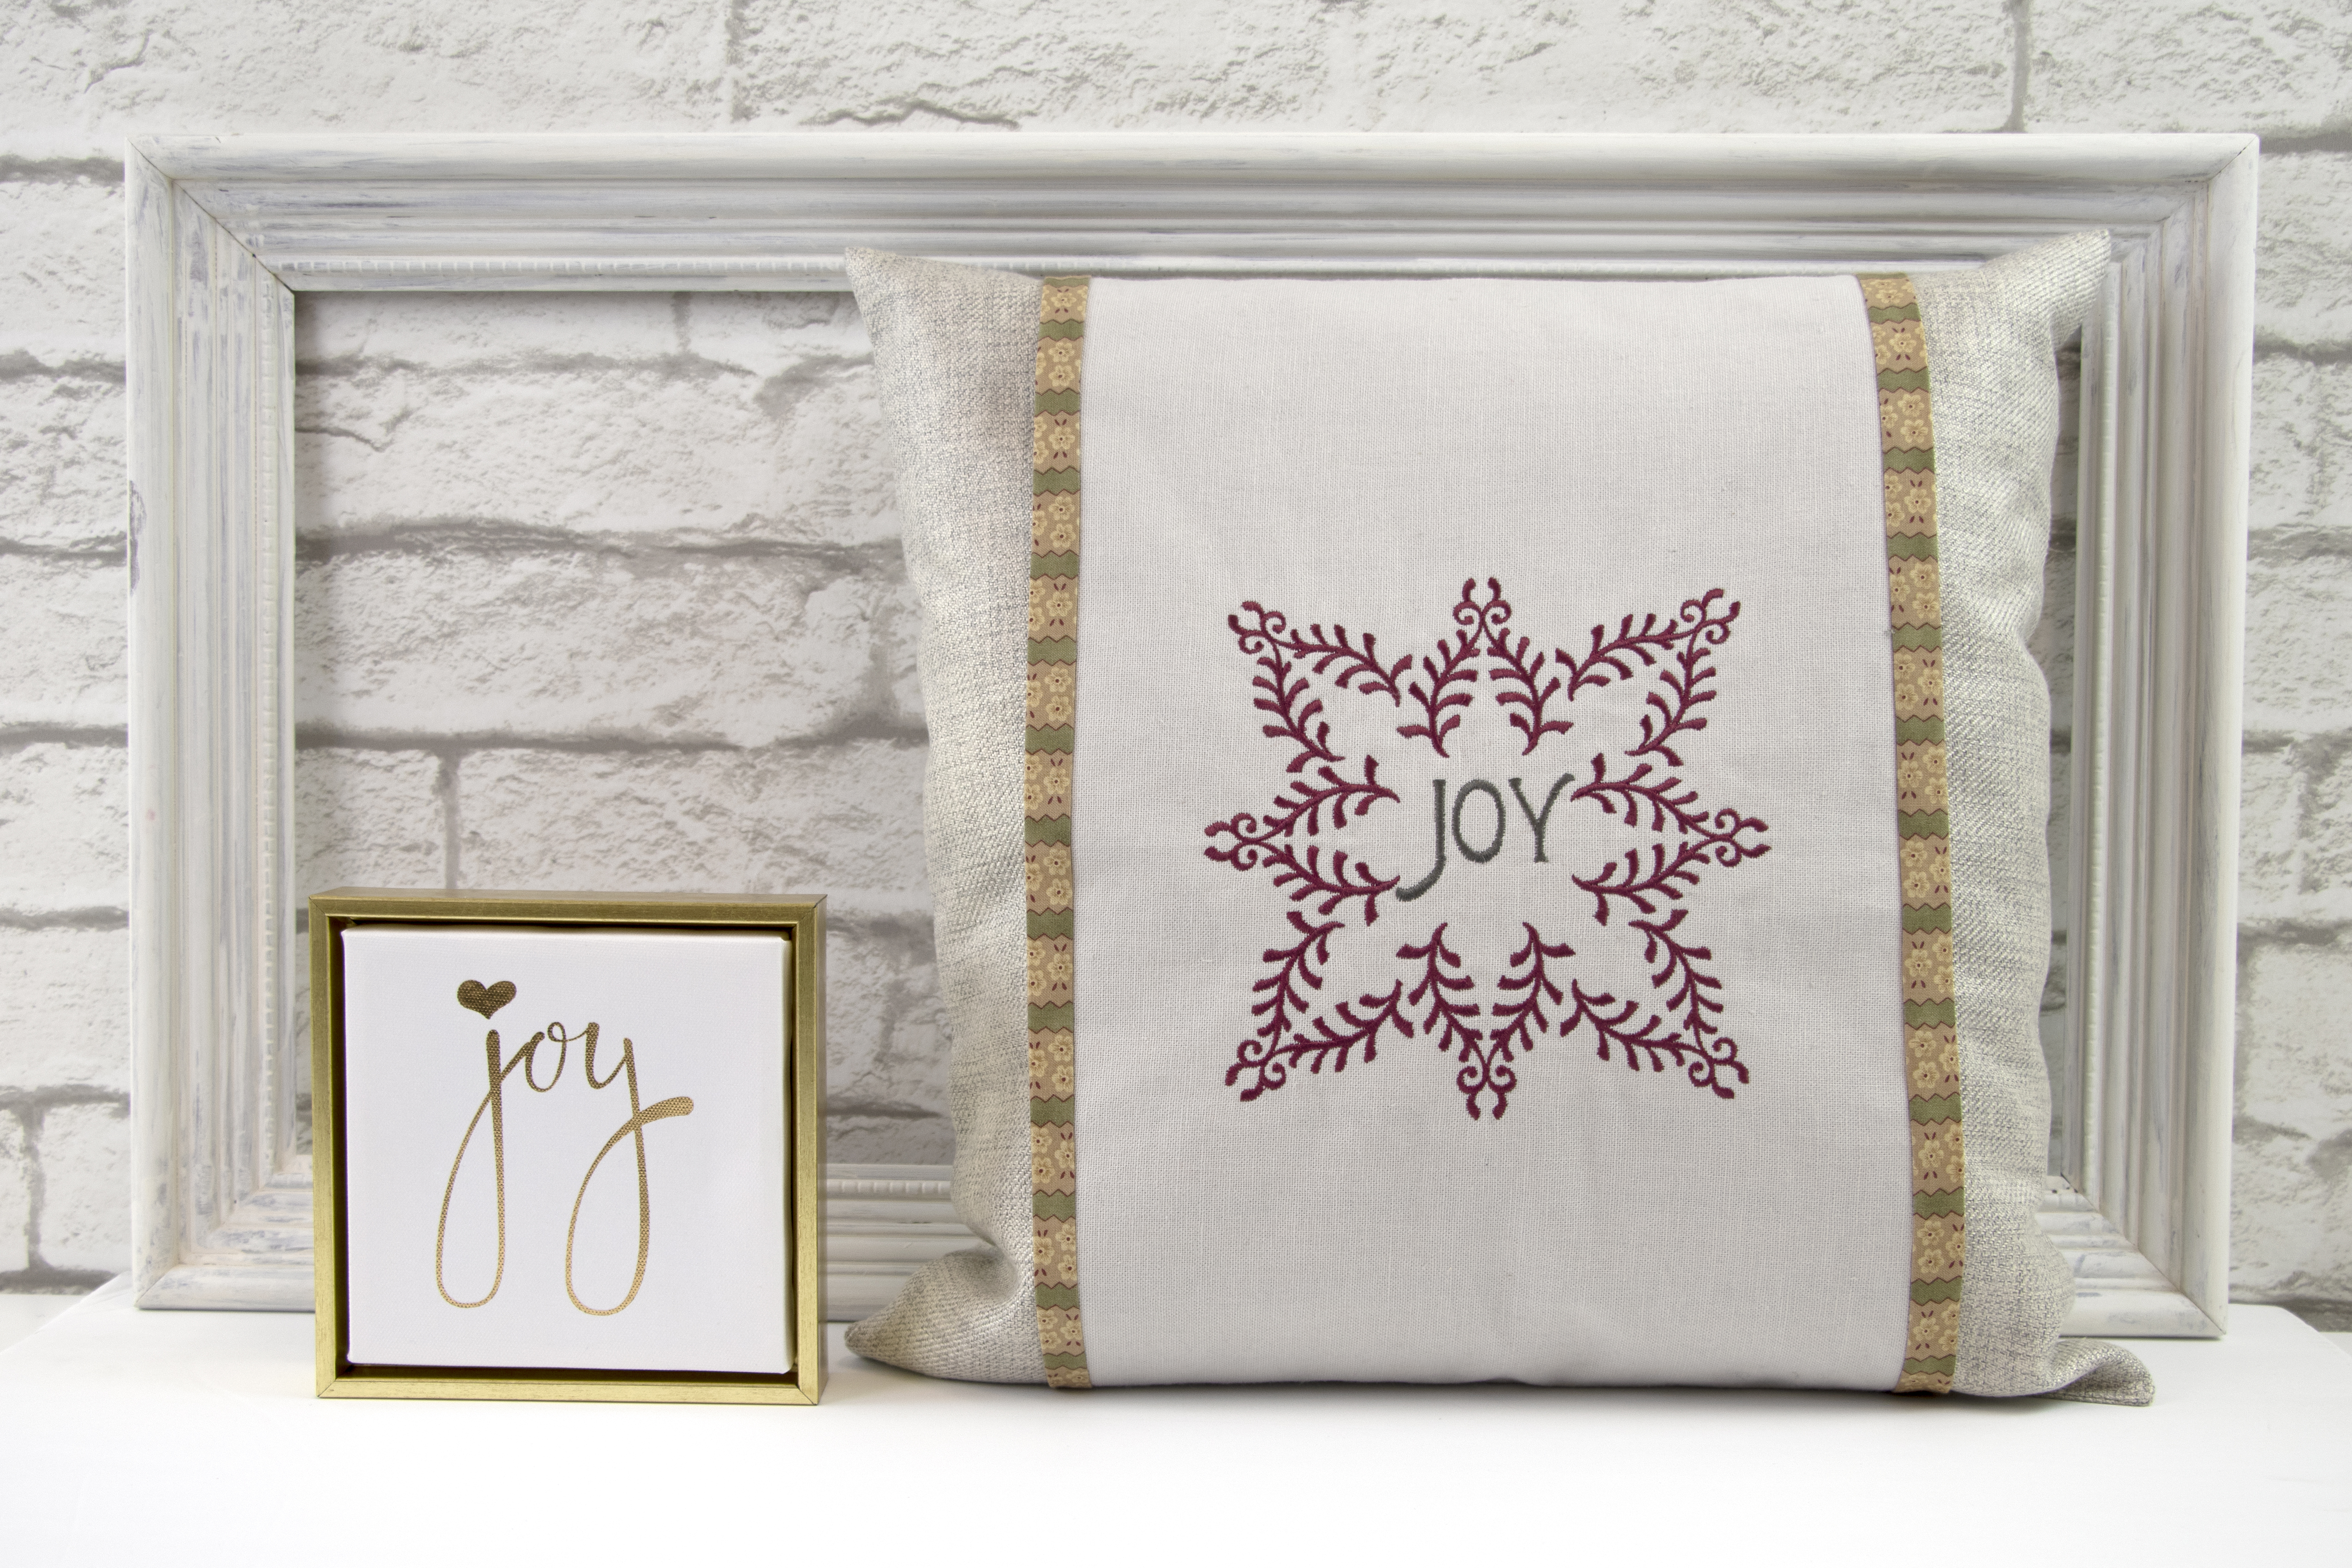
Shape Designer Pillow
Today we are going to grab an element of a design and use the Shape Designer on the B 880 PLUS to create a new design. Add lettering and use some basic editing features and you’re ready to stitch using the Maxi Hoop.
I am using a designs from the BERNINA Exclusive Collection Celestial Lights by Amanda Murphy, the design I am using is 80300-40. The pillow wrap is created in the Maxi hoop. We will combining it with a lettering on the embroidery machine.

Supplies:
- Exterior wrap fabric (cut 12” x 36”)
- Wrap lining fabric (cut 13” x 36”)
- OESD PolyMesh CutAway Embroidery Stabilizer (one piece cut 20”x12”)
- OESD Fusible Woven Lining (one piece cut 15” x 12”)
- Isacord embroidery thread
- Superior Threads Bottom Line
- Three 1” buttons
- 16” square pillow form
- OESD Point and Press Tool
- Painter’s tape
- KAI 4” Curved Needlecraft Scissors
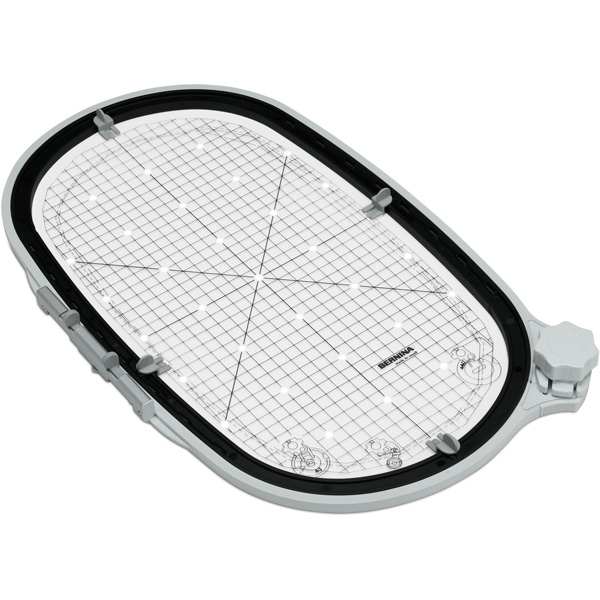
- BERNINA Maxi Hoop
- Reverse Pattern foot #1D
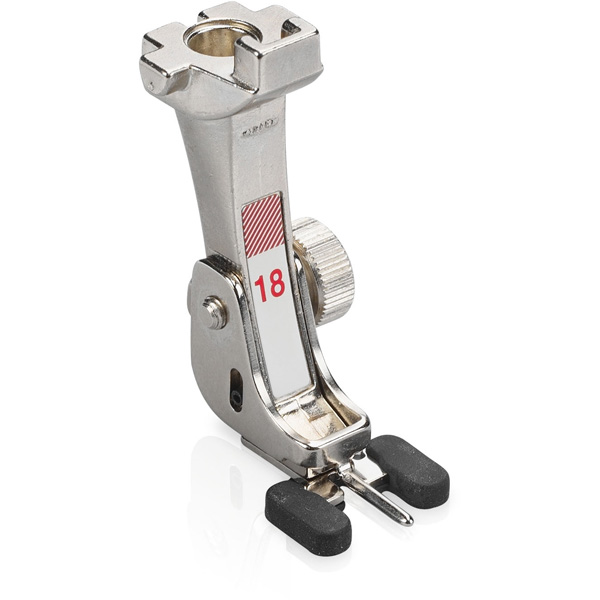
- Button Sew-On Foot #18
- Design 80300-40 from BERNINA Exclusive Collection #80300 Celestial Lights by Amanda Murphy
Shape Designer Feature on the BERNINA 880
With the Shaping Tool you can take an embroidery design, lay it out into a shape and duplicate the design within that selected shape.
The choice of shape ranges from circles, squares, stars and hearts, to semi-circle, pentagrams, triangles. There are nine shapes available. The size of the shape can also be adjusted.
You can arrange embroidery designs or you could choose to use sewing stitches with the Shaping Tool.
Now lets’ head to the machine and prepare the design for stitching.
Setup the Design
The built-in editing tools are easy to use and allow you to have fun creating unique designs. Deleting parts that you do not want to stitch is fast and efficient. Always do a test stitch out just to make sure it’s going to give you the desired end results, no surprises.
Tip: Remember- most designers allow editing for your personal use only, especially with licensed designs such as the one we are using today. You will need to check out the fine print if you are planning anything other than that.
Open the design file 80300-40 from the Celestial Lights by Amanda Murphy loaded on the USB stick. Select the Hoop icon and select the Maxi Hoop and select the Grid icon twice to activate the grid and hoop center crosshairs. Close the Hoop Menu.
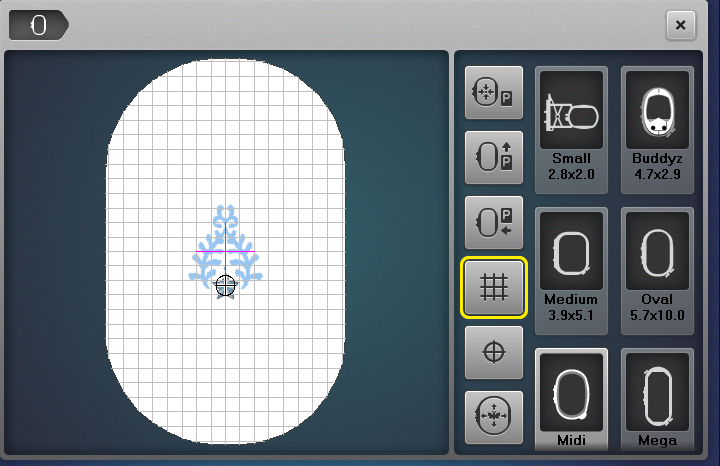
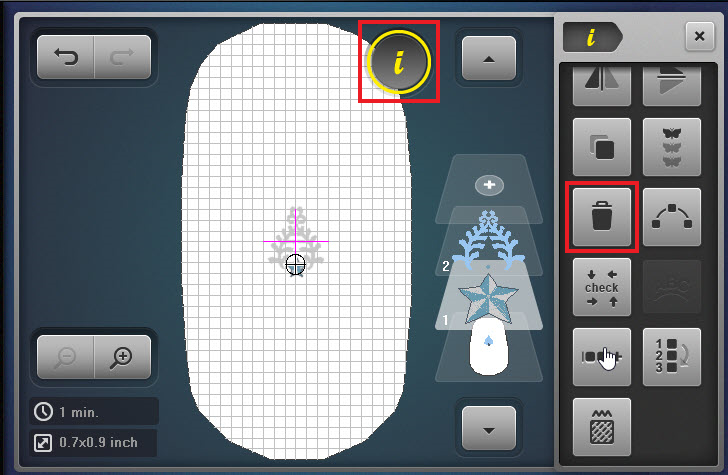
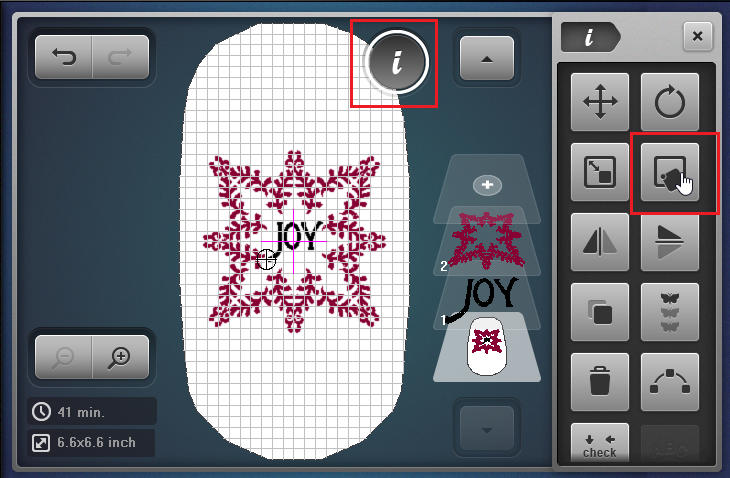
Select the Information menu and Select Group/Ungroup. Select (-) to ungroup the design and you will now have four layers.
For this project, we want to delete layers one through three. Select Layer 1 and select Group (+) until you see that the complete star design is on Layer 1, while the flourish remains separate on Layer 2. There are now only two layers in the design.
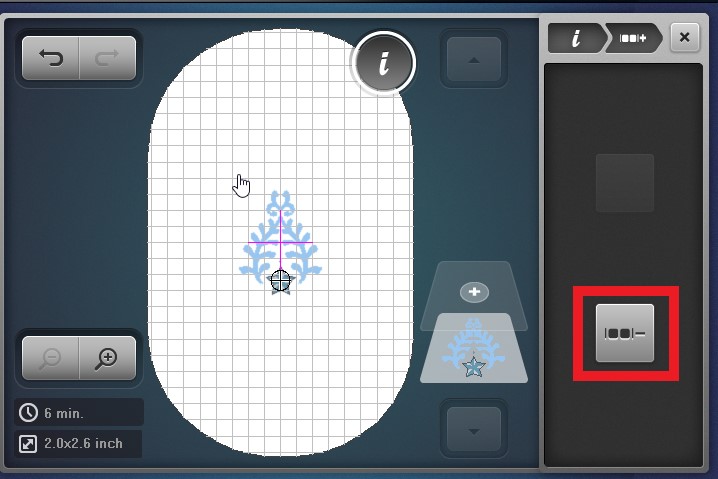
Select the “i” in the breadcrumb navigation. With Layer 1 selected, select the Delete icon. Select the green check to confirm.
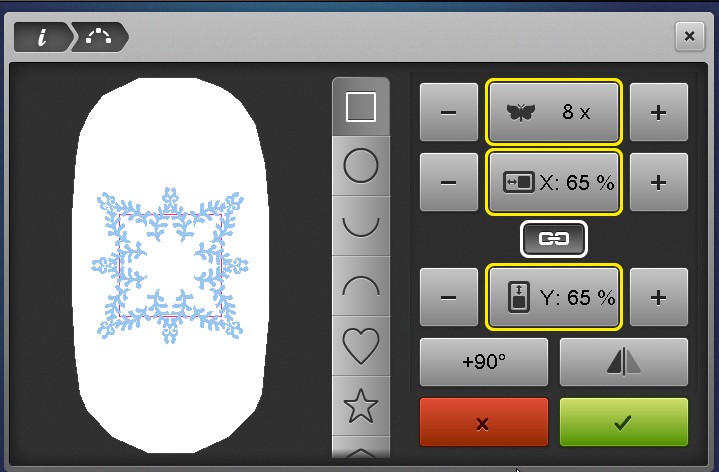
Using Shape Designer
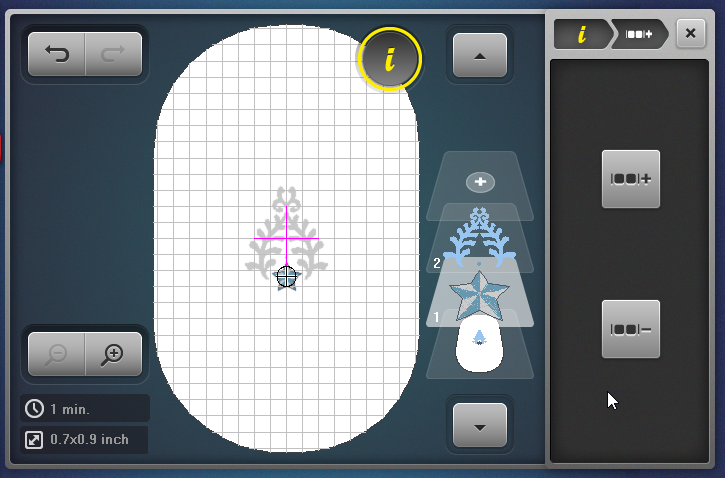
Select Shape Designer.
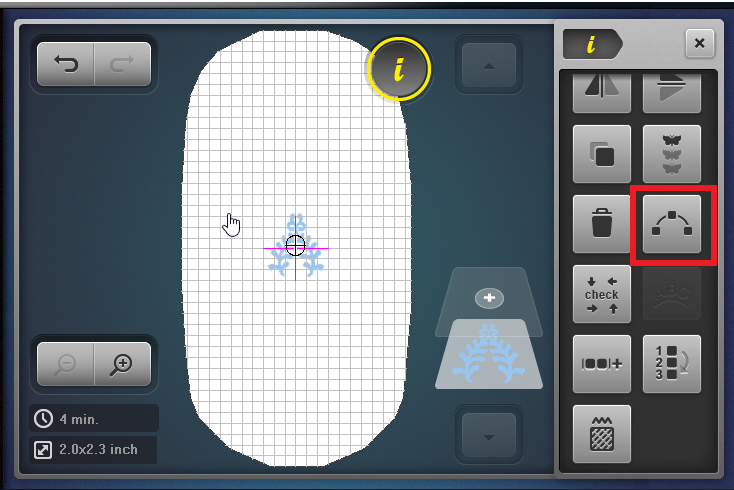
Select the square base shape and increase the number of designs in the shape layout to 8. Next, decrease the size of the shape to 65%. Select the green check to confirm.
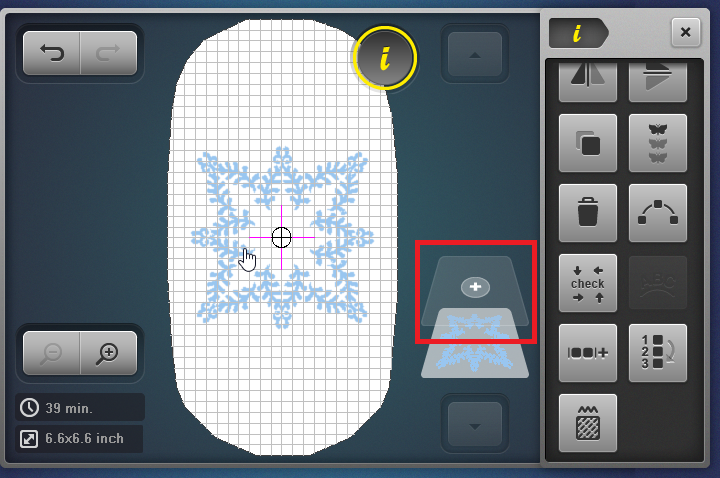
Customize With Lettering
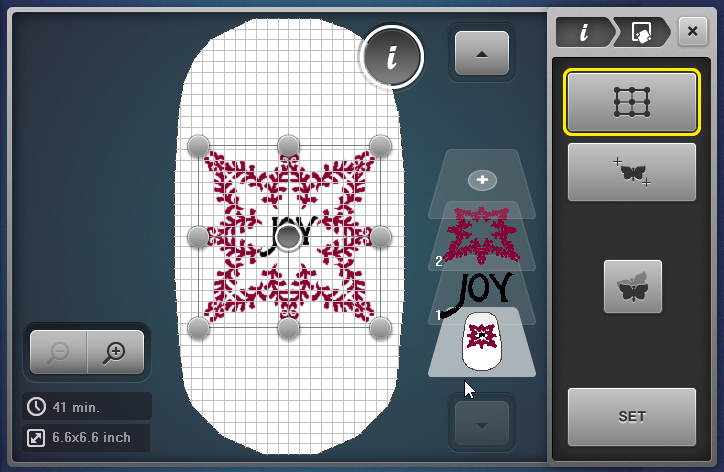
Select Add Layer.
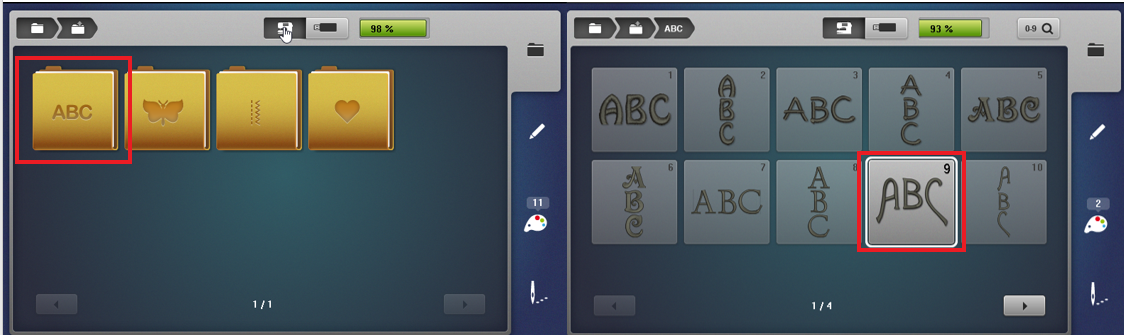
Select the machine and the Alphabets folder and select the Alice alphabet (9).
Tip: To determine the names of the alphabet folders, select the Help (question mark) soft key then select a folder. The name will be displayed on screen.
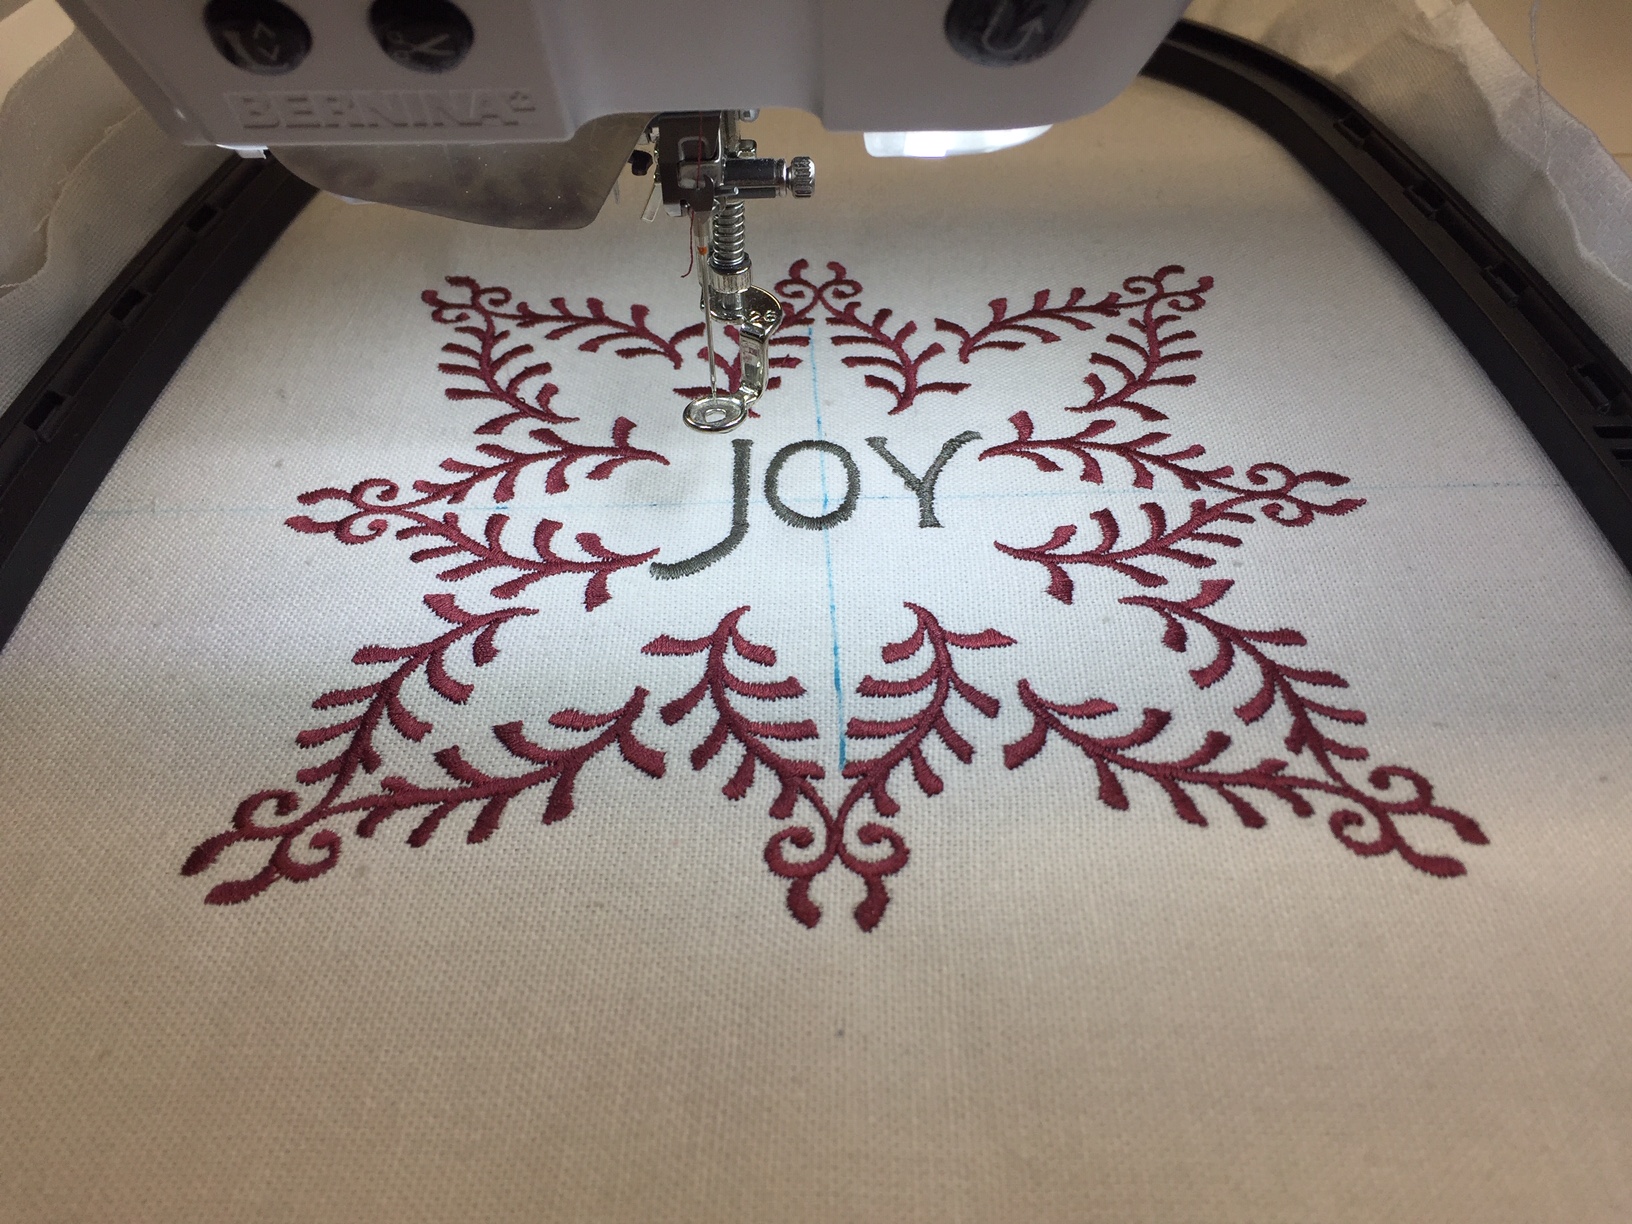
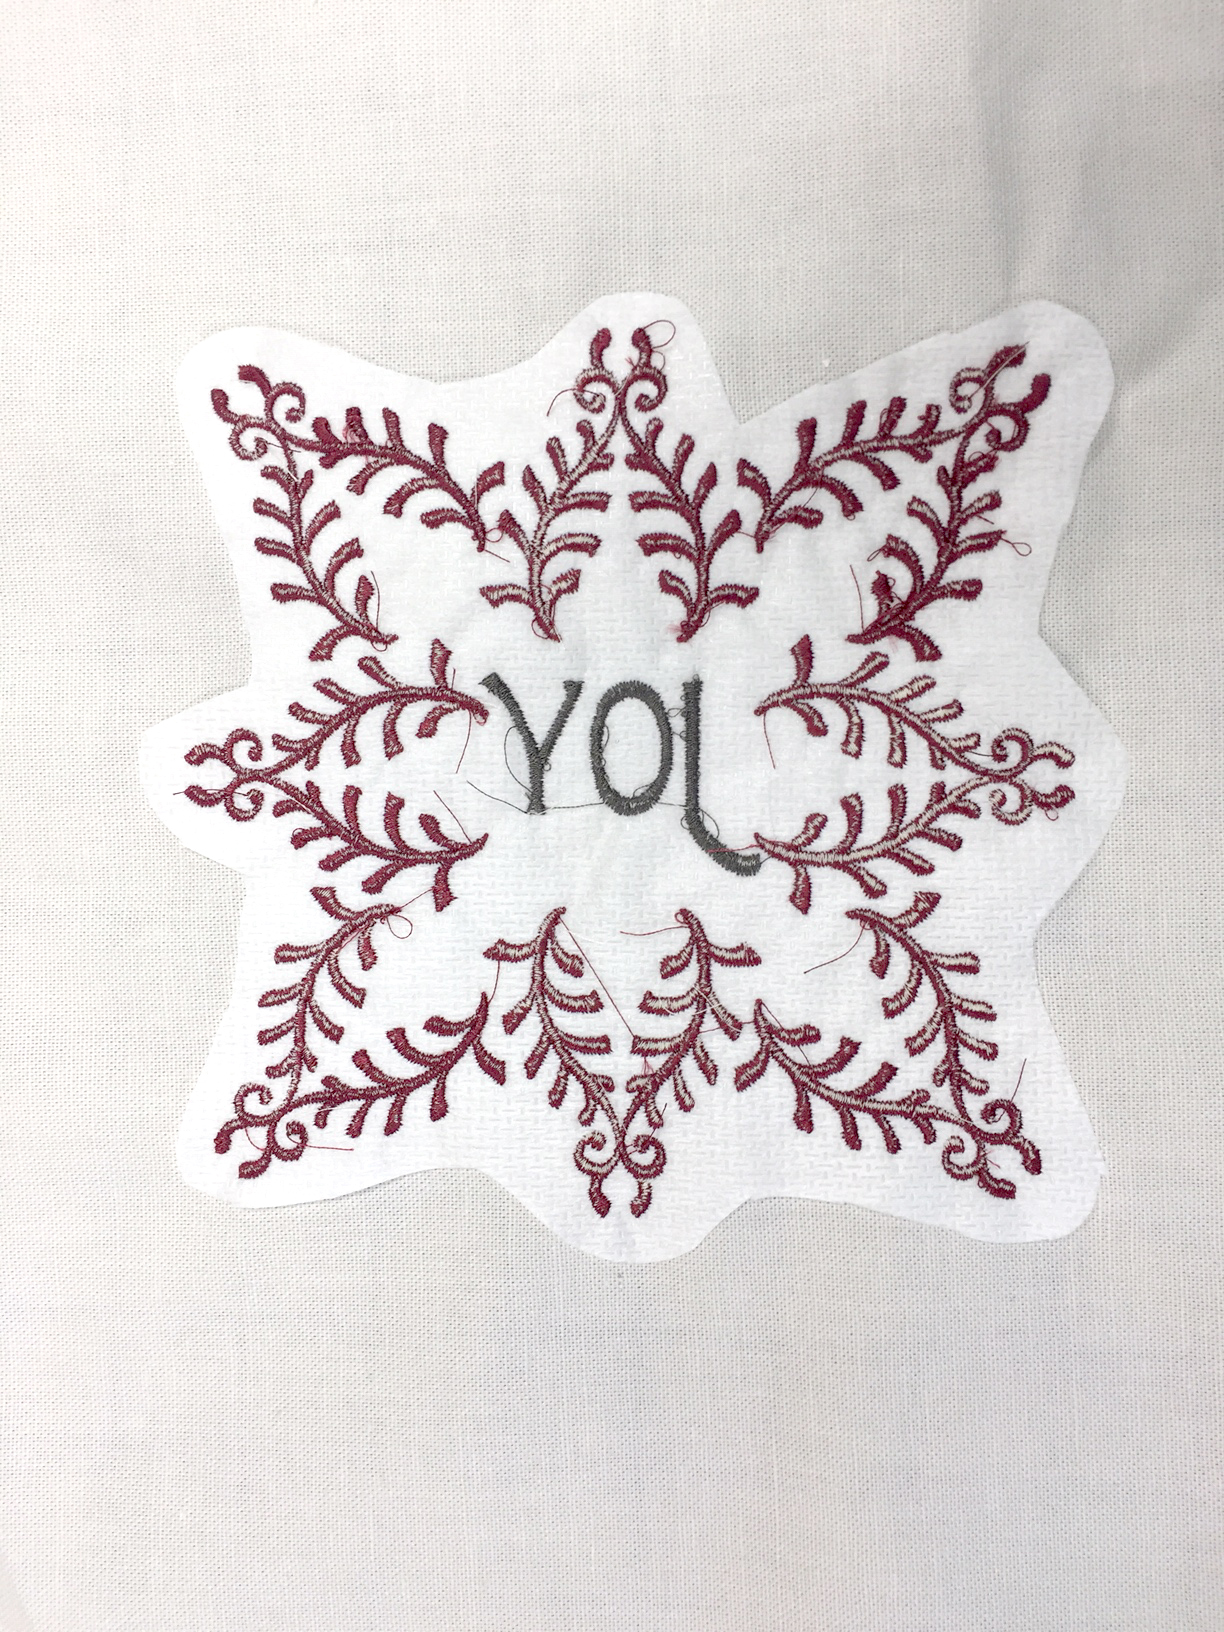
Type “JOY” using the keyboard and select the green check to confirm when done. Next, select the Zoom In icon. Check the positioning of the newly added lettering so it is in the middle. If needed, use the Multifunction Knobs to reposition.
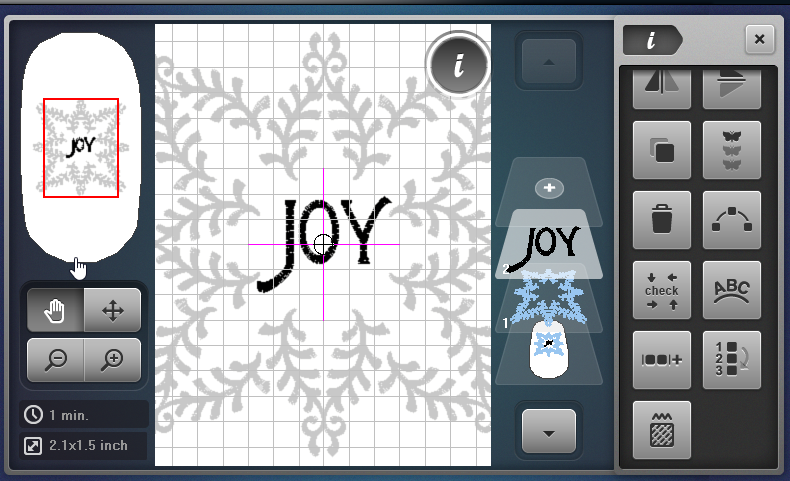
Select the Zoom Out icon and select Rearrange Stitching Order.
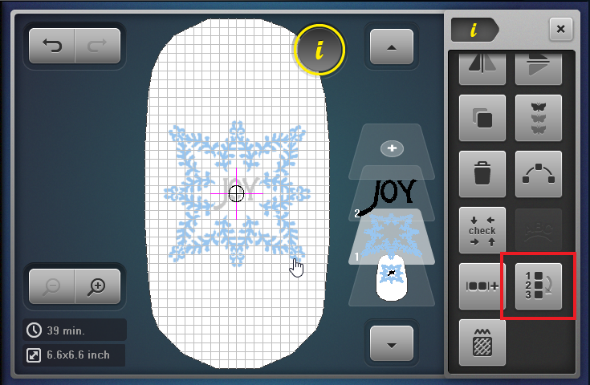
Select Layer 2 with the word “JOY” and select down arrow to move the lettering to stitch first.
Tip: Embroidering from the center out, when possible, will result in a better stitch out and the fabric will “push” out and reduce the chance of fabric puckering at the center.
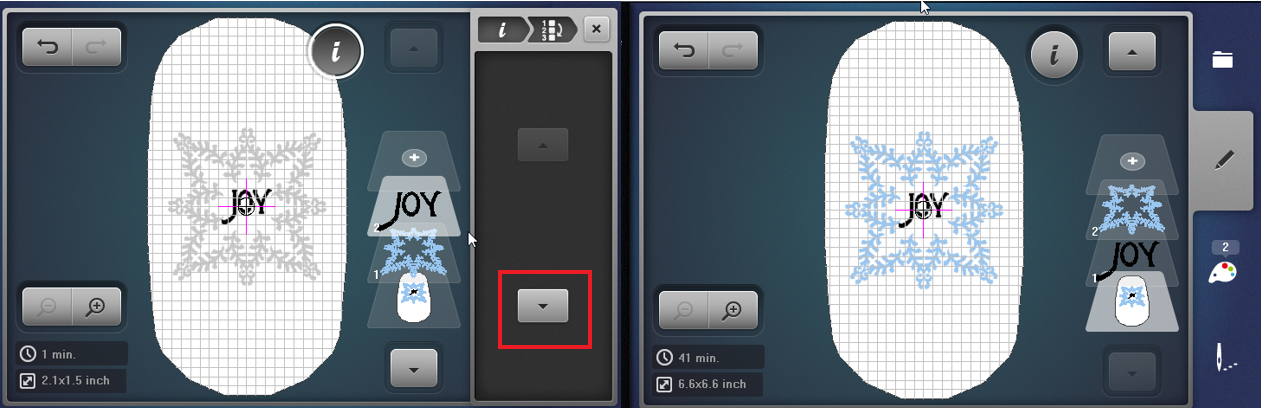
Select bottom layer and close the Information menu.
Hooping Fabric
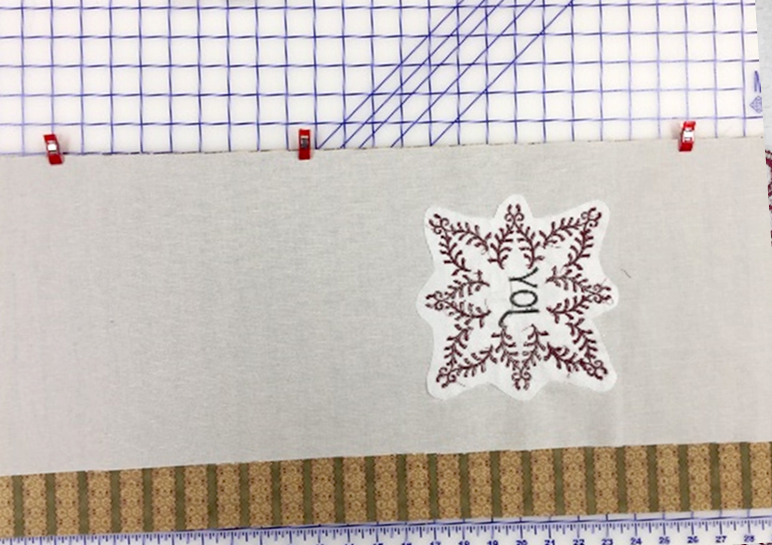
Following the manufacturer’s instructions, fuse the OESD Fusible Woven to the wrong side of the exterior wrap fabric.
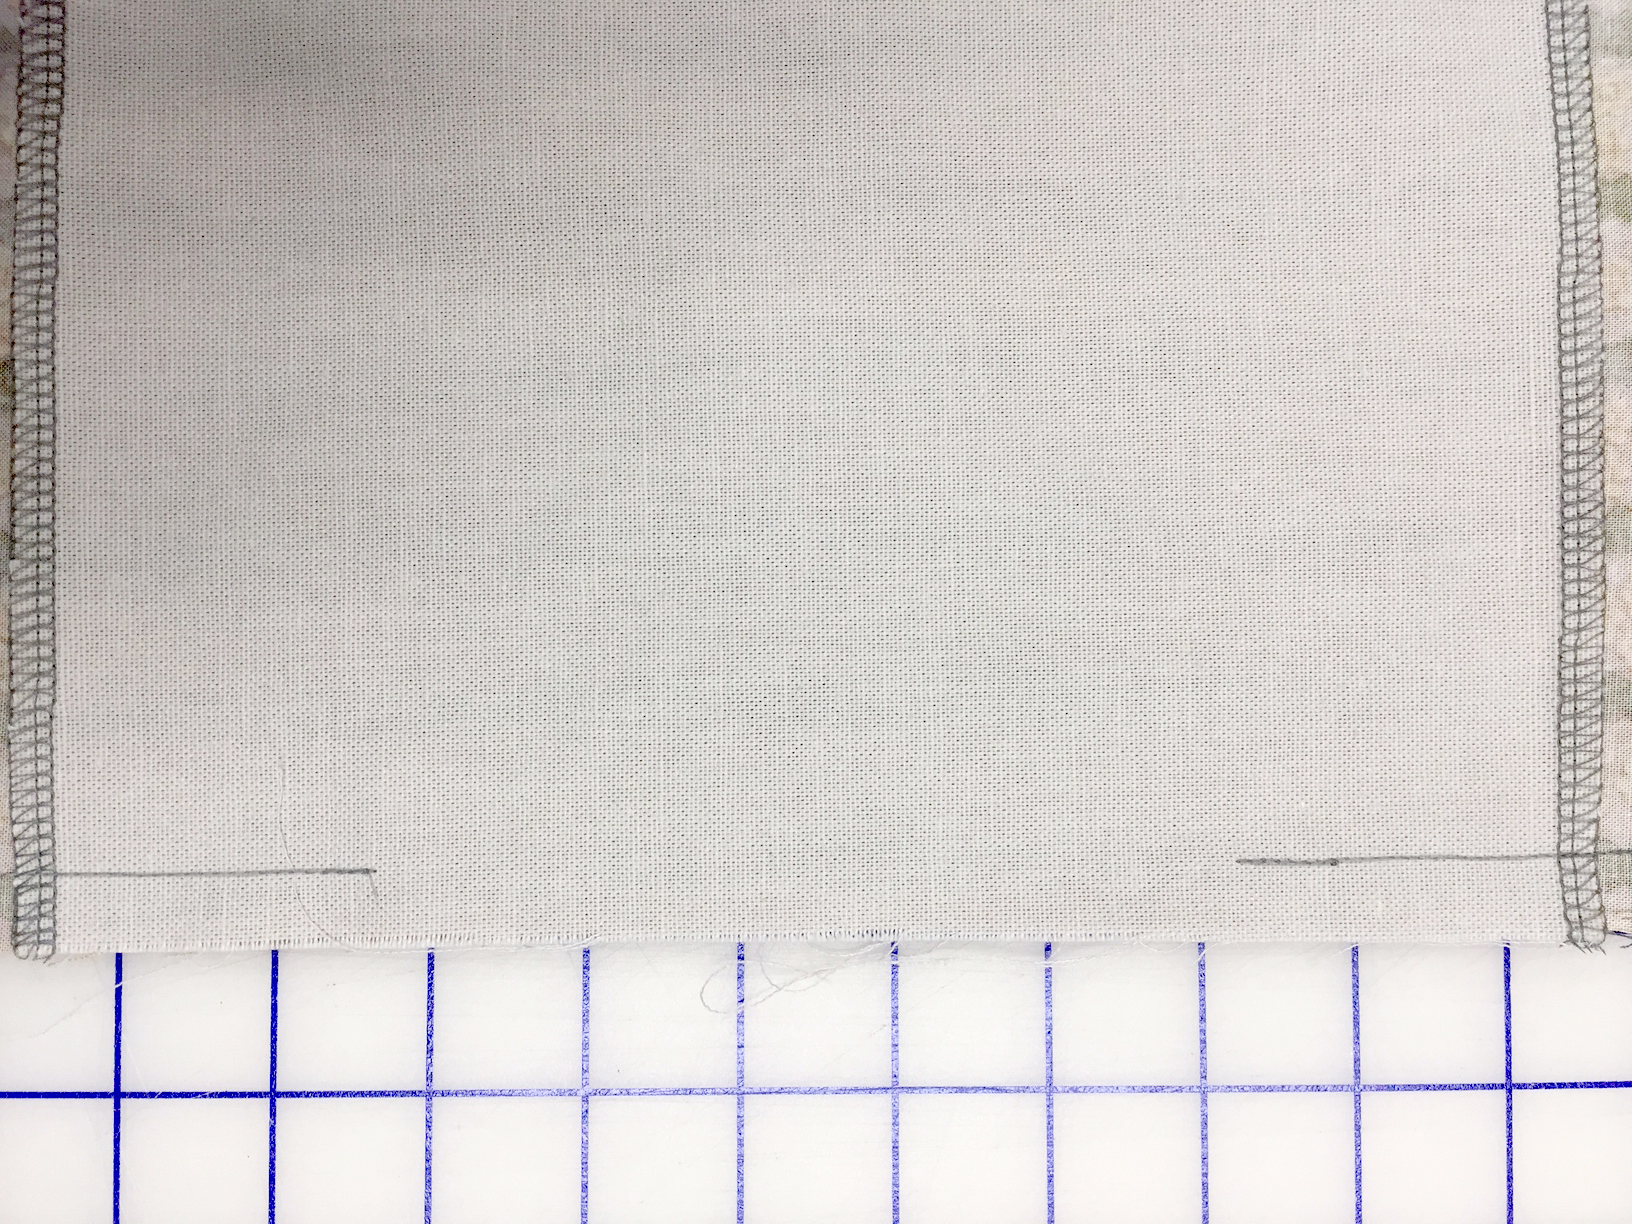
Fold the fabric in half the lengthwise to determine the lengthwise center. Crease the fold. Then fold the fabric in half in the crosswise direction and crease the fold.
Mark the vertical and horizontal center lines using a fabric marker or painter’s tape. Hoop the prepared wrap fabric with two layers of PolyMesh Cutaway stabilizer into the Maxi Hoop. Use the Hoop Grid template to center the marked lines with the template markings.

Positioning the Design
Select Information menu and then select Pinpoint Placement. When prompted, attach the hoop to the embroidery module.
Select the Grid option for placement and select the center node.
Use the Multifunction Knobs to move the center of the design to the marked center point on your fabric.
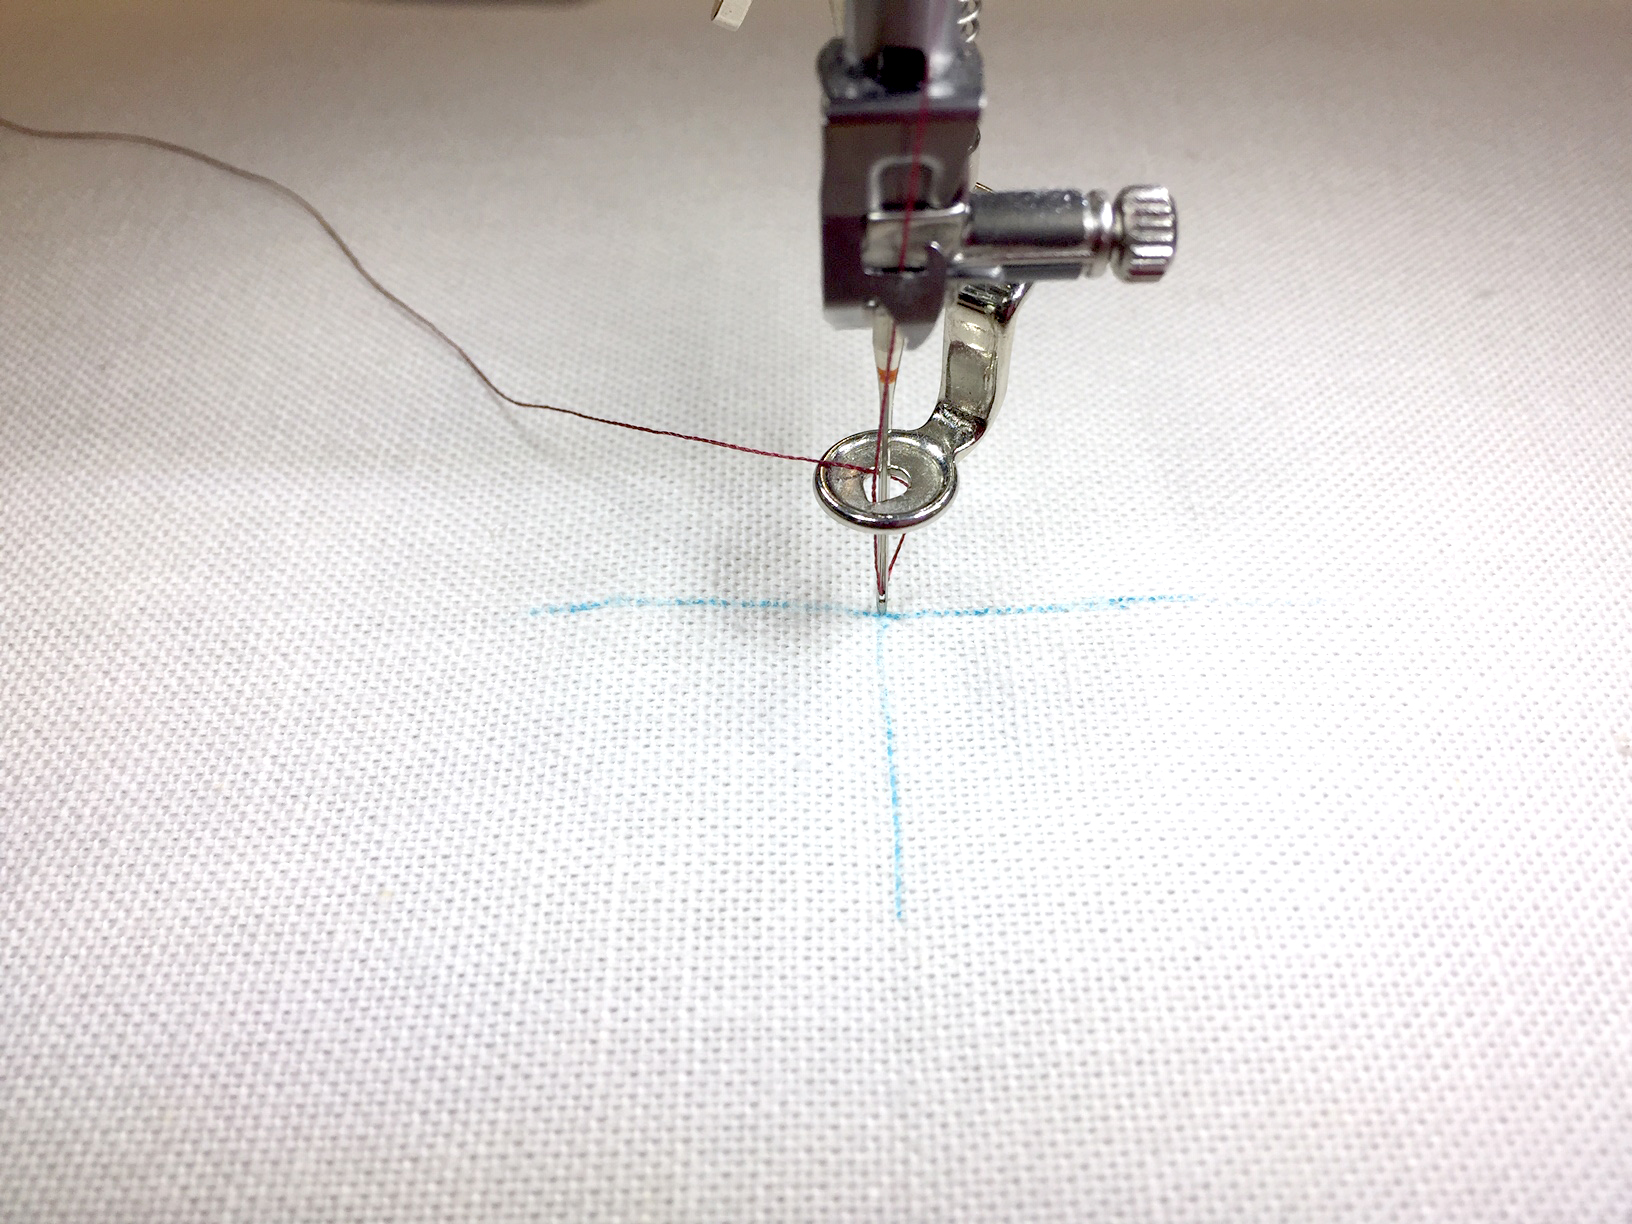
Select the upper and lower center dots confirm their position along the vertical line. If necessary, use the Multifunction Knobs to nudge into position.
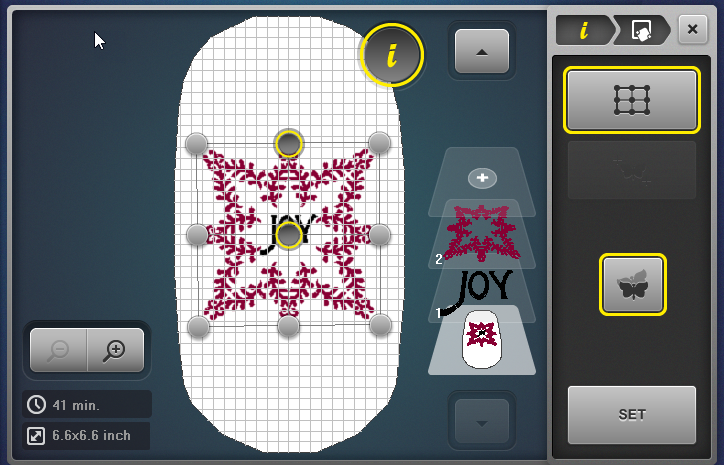
Once you are happy with the placement, select “Set” to confirm and lock their locations.
Select the needle icon to move to the stitchout screen.
Stitching Out the Design
At the stitchout screen, select the Cut Connecting Stitches icon to activate thread trims.

Press and hold the Start/Stop button to begin stitching.
When stitching is complete, remove the project from the hoop and cut away excess stabilizer.
Sewing the Pillow Wrap
Place the embroidered panel is right sides together with the lining fabric.
NOTE: The lining fabric is slightly larger, when you turn right sides out there will be a bit of it peeking to the front to create a faux trim.
Stitch using a 1/2” seam allowance along both of the long edges and press seams toward the lining fabric. About 1/2” of lining on each side will show on the right side as the faux trim.
Stitch the short edges leaving a 4 inch opening on one of the short edges to allow for turning right side out.
Turn right side out, press and stitch opening closed.
To secure the wrap, overlap the ends 1 1/2” and stitch together using the Reverse Pattern Foot #1D. This turns the wrap into a continuous loop and secures with a “topstitched” look.
Sew the three large buttons on with Button Sew-On Foot #18 to create a faux button closing.
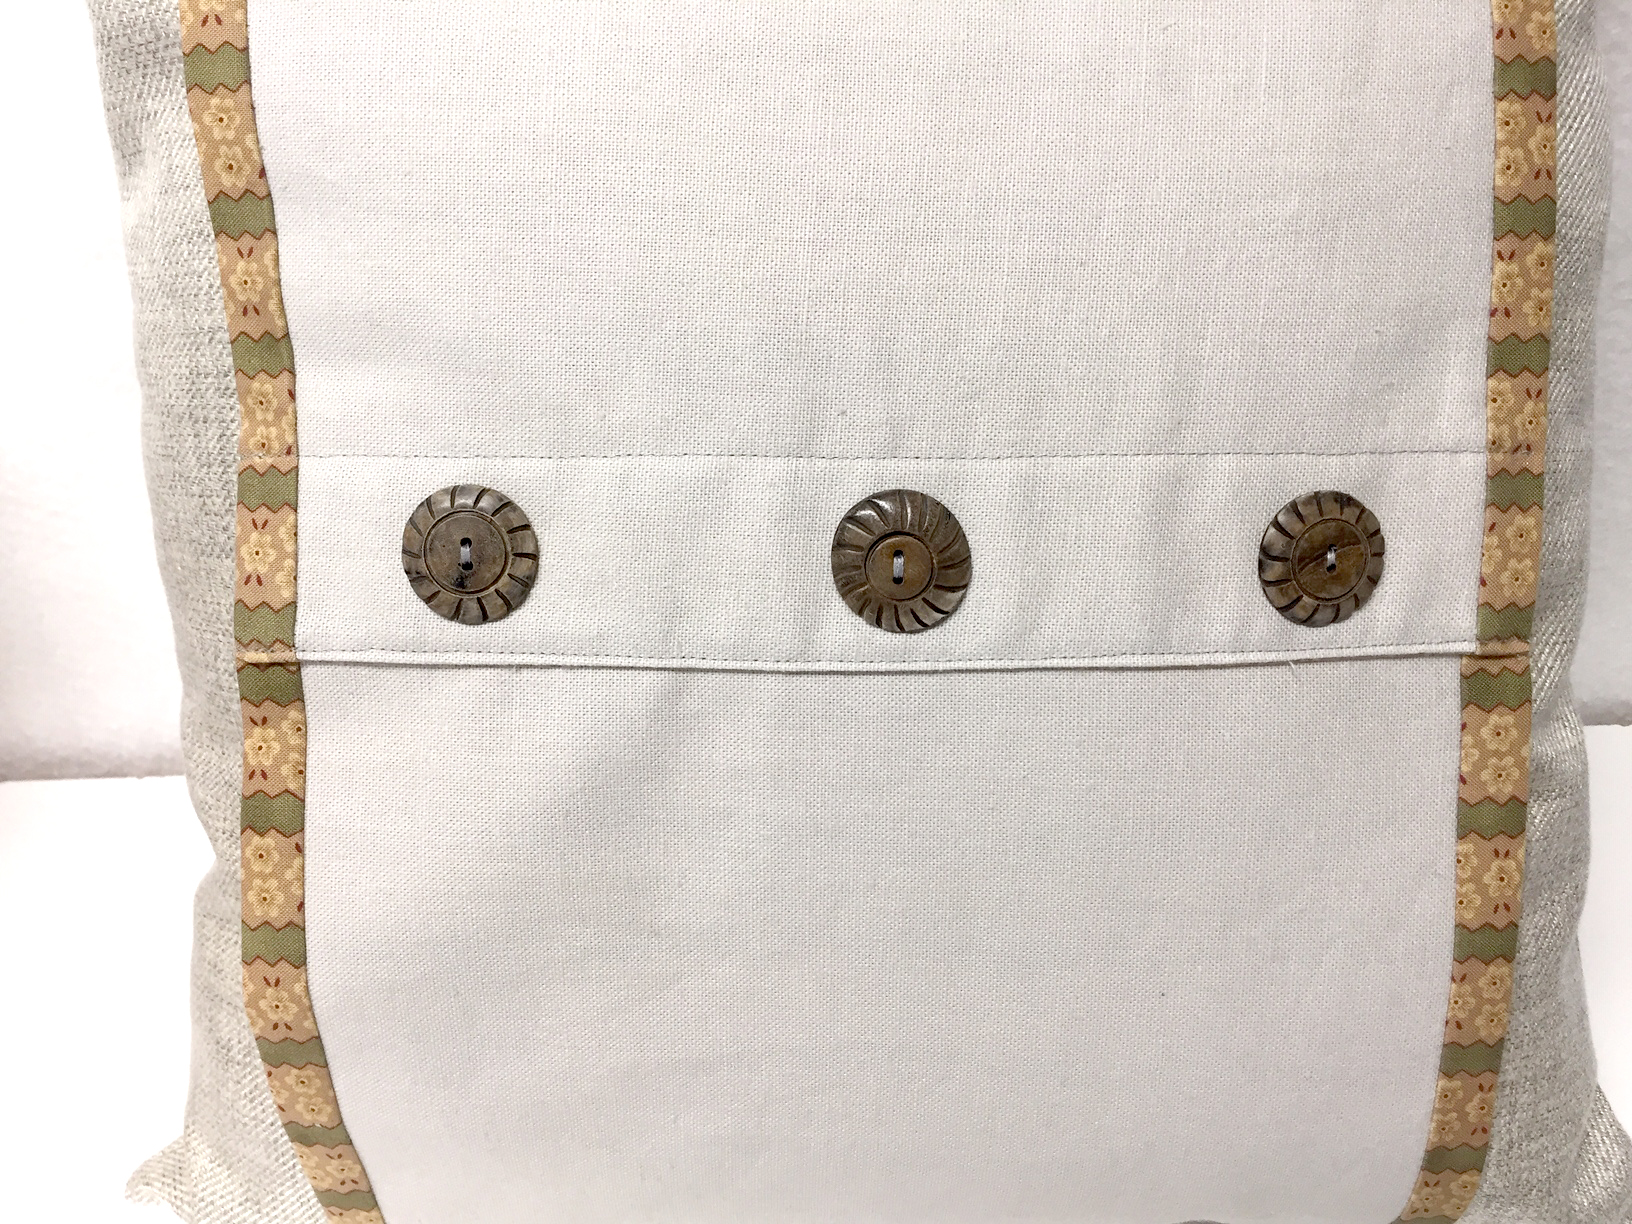
Slide the wrap over a 16” pillow and enjoy the festive winter-style pillow!