Digitizing Letters in BERNINA Designer Plus Software
Hello friends! Candice here from A+CO. I’m so excited that today we get to chat about digitizing letters in the BERNINA V9 Designer Plus software using the Auto Digitize feature.
Auto Digitize is an amazing tool when creating digital embroidery files from an existing design. It was the very first thing I tried when I downloaded the software and continues to be a go-to feature in my digitizing journey.
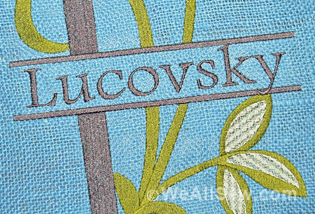
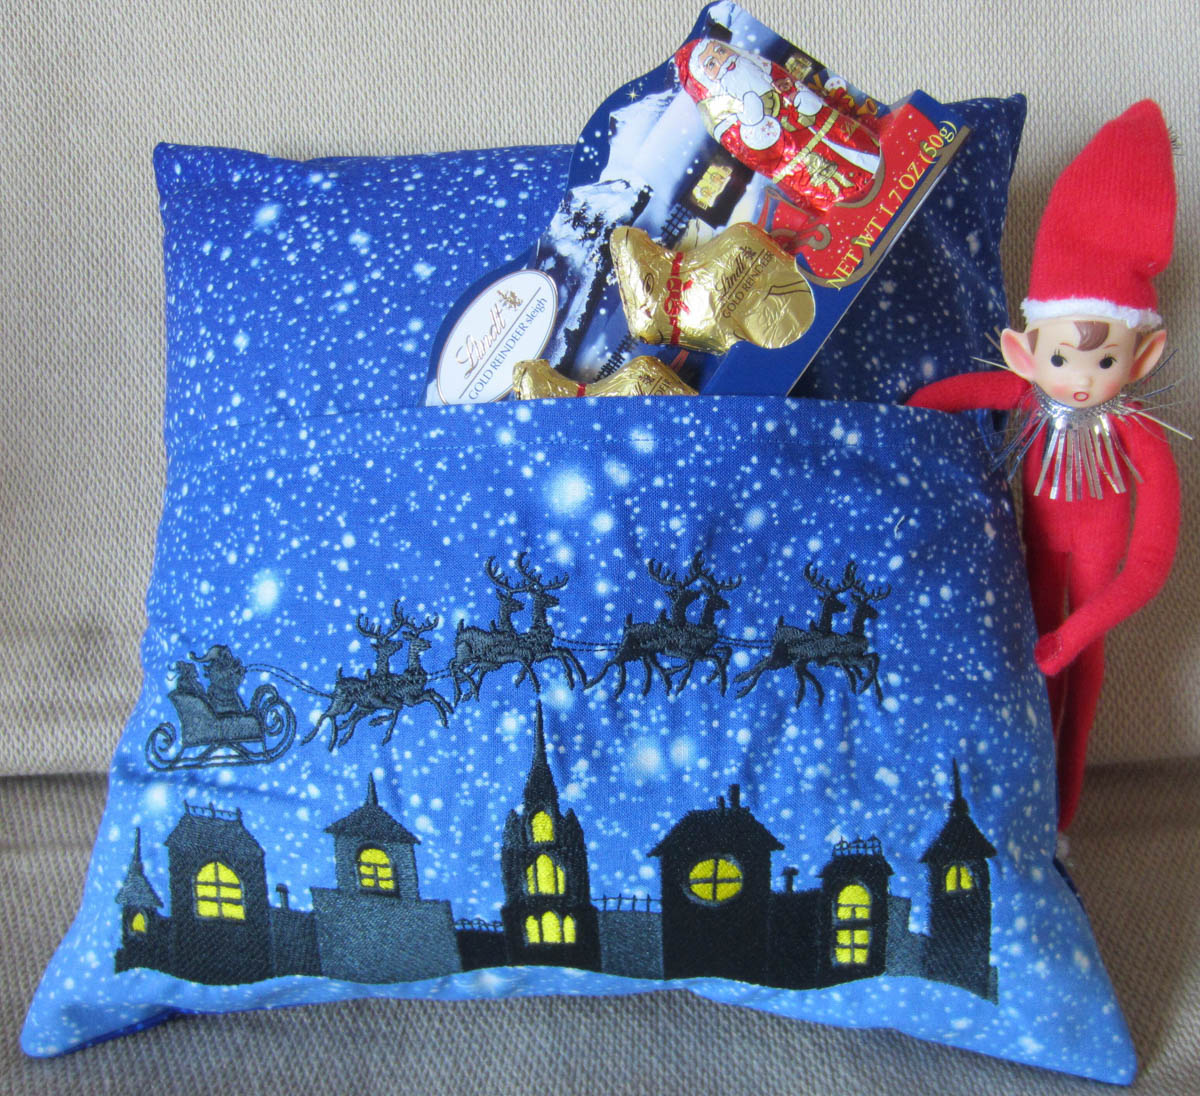
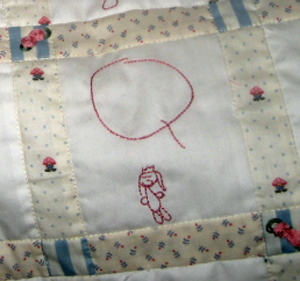
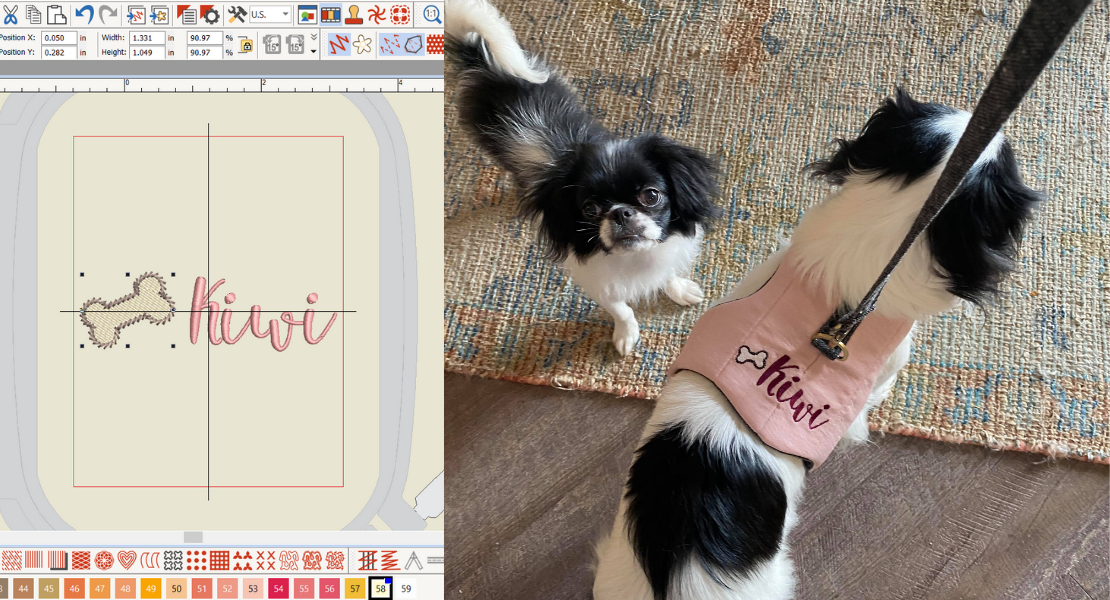
In preparation for my Celebration Banner, I wanted a specific style of lettering but had trouble finding something that fit the bill. I had a file with letters drawn out from a printable project and realized they would be a great candidate for the Auto Digitize tool.
While I’m making letters for a specific project, Auto Digitize is a great tool for creating unique embroidery files for any project. Let me know down in the comments what you’ll be digitizing, I’d love to hear all about it!
Materials
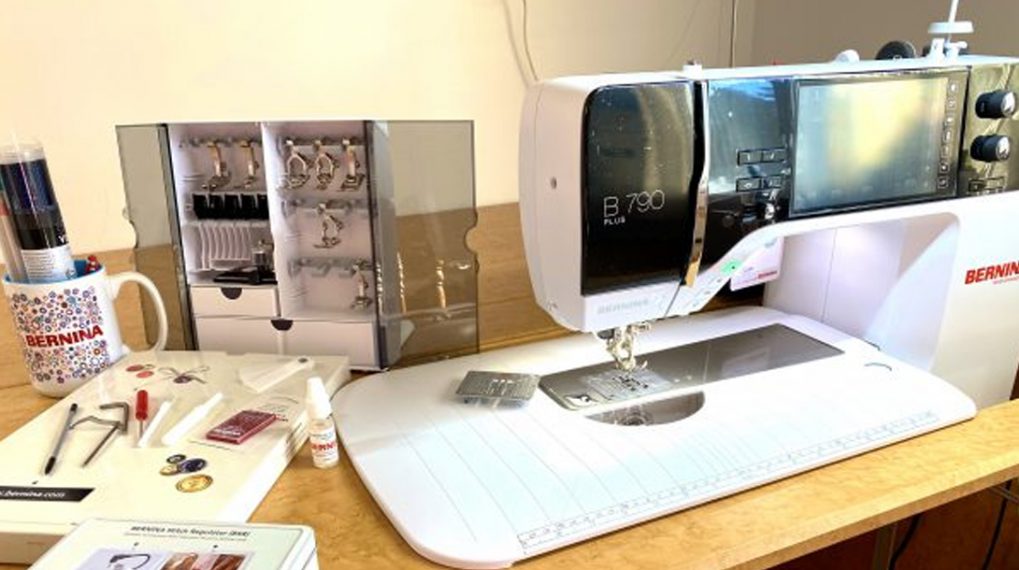
BERNINA Embroidery Software 9 Designer Plus
Design to be digitized
Instructions to Digitize Using Auto Digitize Tool
Step 1: Insert your design into the software
Start by opening up your Designer Plus software and click “New” to open a new blank design.
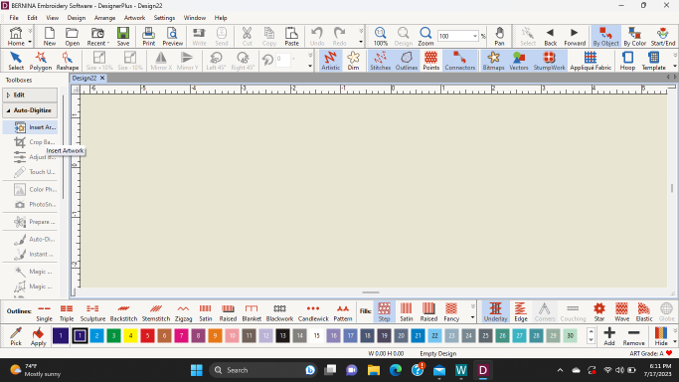
In the Digitize Toolbox, expand the Auto-Digitize list.
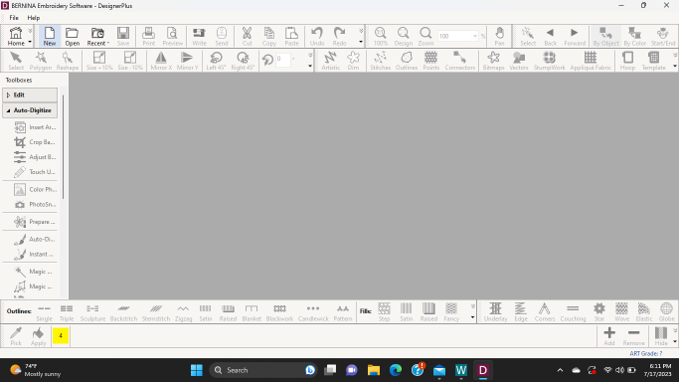
Click “Insert Artwork”
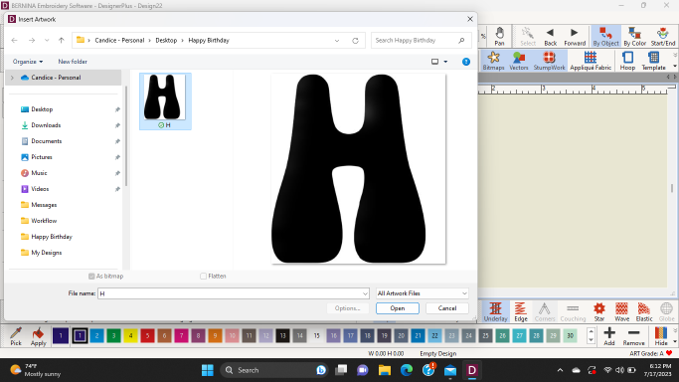
Select your file
Step 2: Auto Digitize
Using the Auto Digitize tool will convert your image to an embroidery design that you can either leave as is or modify to suit your needs. I’ve learned that at times, Auto Digitize can take a few extra minutes depending on the complexity of your design. Not to worry, it’s worth the wait!
Once you have your image loaded, be sure it’s selected (you can tell by the little boxes on the corners of the image). Click the “Auto Digitize” button

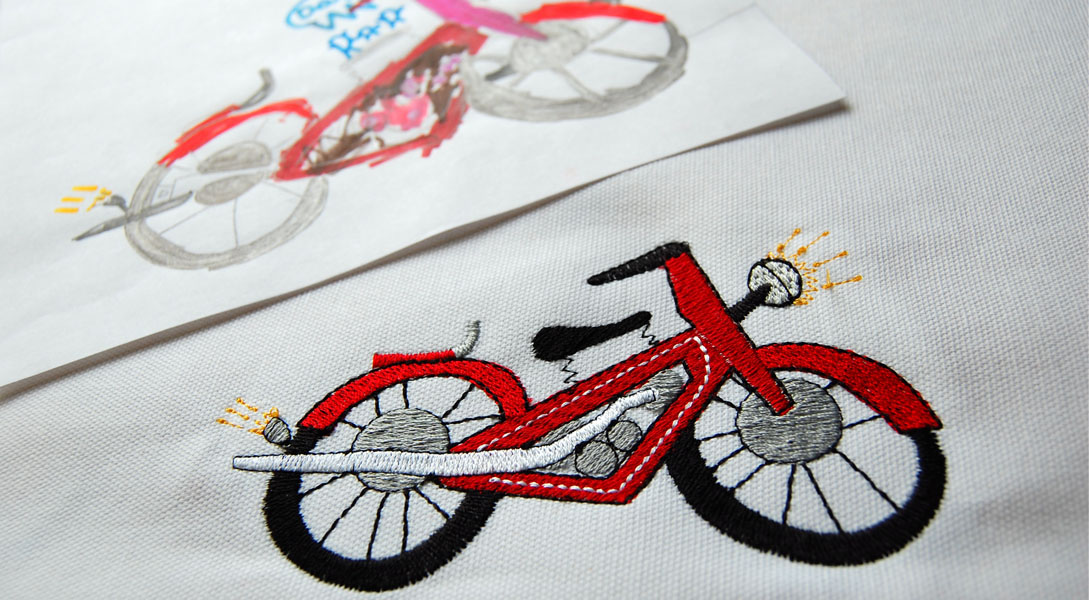
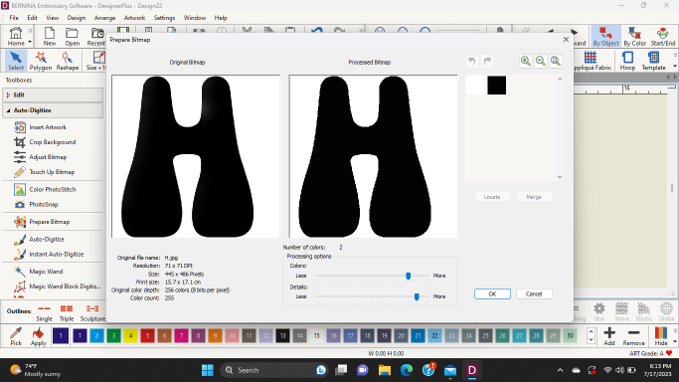
The Prepare Bitmap box will populate. This step allows you to adjust how many colors and the level of detail that will be included in the design before the Auto Digitize process starts. For the letters I was designing, I left the settings at two colors: black for the letter and white for the background, which we will delete in a future step.
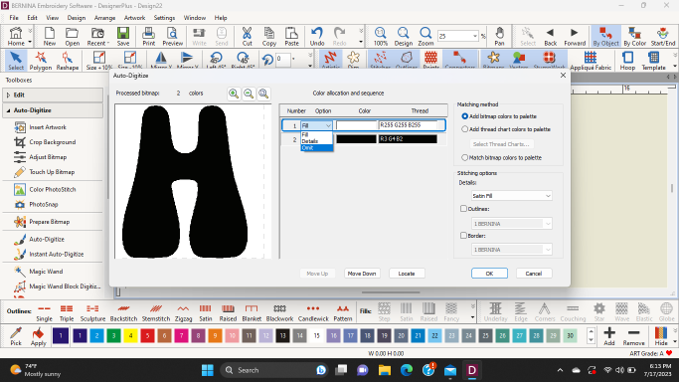
Once the Auto Digitize is complete, a box will populate that allows you to change the color allocation and sequence. Since I only want the letter to embroider, I’m going to use the dropdown box for color 1 (white) and select “Omit”. This will remove all white from the design and leave only the items in the black color. Click Ok when you are done.
Step 3: Adjust size and stitch style
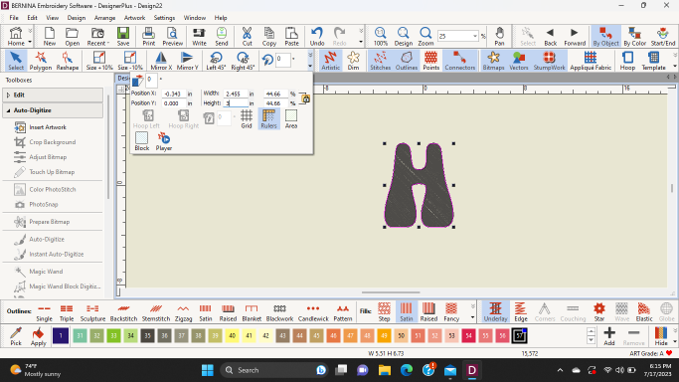
Once your file is digitized, you have loads of options to further customize the design. Before you start customizing, you’ll want to delete the embedded image file so that you only see the embroidery design. Select the image file and then either right-click and select delete, or press the delete key on your keyboard. Now you are ready to customize your design!
The first step is to adjust the size to fit your project. To adjust the size, select the object (your letter). In the Transform Toolbar, ensure that the lock by the sizing is locked. This makes sure that the width:height ratio stays the same. The Celebration Banner I was making needed a design that was 3″ in height. Change the height to your desired size and the width will automatically adjust.
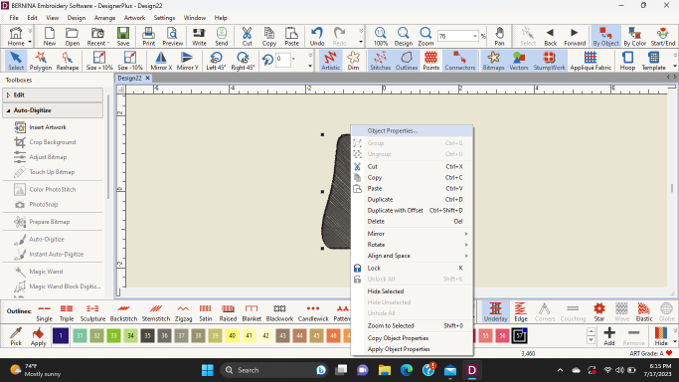
Next up you can adjust the stitch style and density. Both of these options allow you to create a truly unique design. To adjust the stitch style and density, select the object. Right click and select “Object Properties”.
A dialogue box will open with options to change the fill stitch type. The design currently has a satin stitch however, I wanted to change it to a step stitch. By selecting the dropdown titled “Fill Type”, I can choose which stitch I’d like. The step stitch type also had several step patterns, 30 to be exact! Take some time to click through the options, there are some really neat designs.
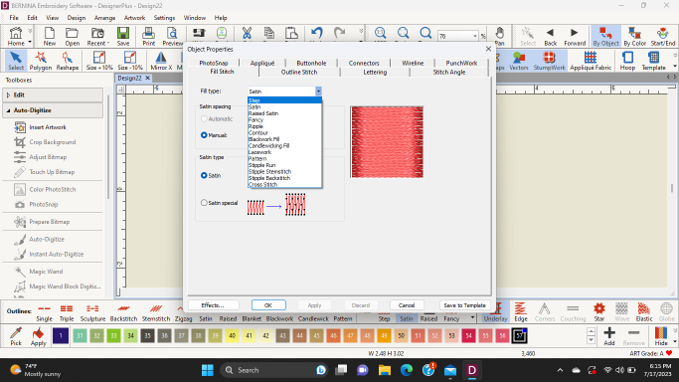
Under the “Fill Type” drop down there is a section for Stitch Settings. Here you can adjust the length and spacing of the stitches. The preview to the right shows how the adjustments you’ve made will look. When you are done, click Ok.
Step 4: Stitch Player and Preview
The last step I recommend is to utilize the Stitch Player and the Preview functions.
The Stitch Player will generate a video of the design being stitched out. This feature allows you to see exactly how the design will stitch out on your machine, and let you see if there are any modifications you want to make. When I designed the letter “D”, it was through the Stitch Player that I discovered that the inner circle of the letter would be too dense. I was able to increase the stitch spacing to ensure that the letter would stitch out the way I wanted.

The other great tool to check out before exporting your file is the “Preview” button. The Preview function will populate the Design Worksheet. This worksheet has details about the size, number of stitches, and approximate runtime for the stitch out. I also recommend doing a test stitch out of your design before stitching it onto your final project.

There you have it my friends! Using Auto Digitize is an amazing way to create a truly unique design to embellish your projects. Keep an eye out for my upcoming tutorial where I walk through how to use your digitized letters to make a fun Celebration Banner!