Adding Lettering and Choosing a Font in BERNINA Embroidery Software 8
While all BERNINA embroidery machines can create lettering from built-in embroidery alphabets, adding lettering is where BERNINA Embroidery Software 8.2 really shines. It makes it fast and easy. You begin by using your keyboard, which makes typing lettering that much easier.
There are two basic ways to use the Lettering tool in BES8:
Express Method
- Click (left click) on the Lettering tool.
![]()
- Click on the Embroidery Canvas (the text input cursor will appear, blinking).
- Type the text and press
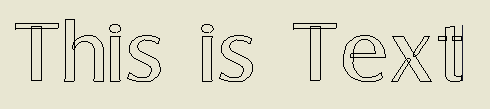
The text will appear as an outline until you press Enter.
When you press Enter, the lettering will be generated and selected. That quick!
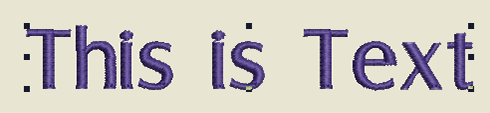
What you will get—your lettering will be created with:
- Default font (Usually London)
- Default font size (14 mm; just over 1/2 inch tall)
- Default (left) justification (the lettering will appear to the right of where you clicked and landed the cursor so the left edge of the lettering will be placed where you clicked)
- Default color: dark blue
TIPS:
- For multiple lines of text at once, use the Shift-Enter key combination at the end of a line to wrap to the next.
If you would like to change the defaults above, you can do so in the Object Properties dialog box and click on the Save to Template button to make your personal choices the defaults for quick lettering going forward.
Full Options Method:
- Right-Click on the Lettering tool (or Type the letter ‘A’ on your keyboard)
The Object Properties dialog box will open, at the Lettering Tab
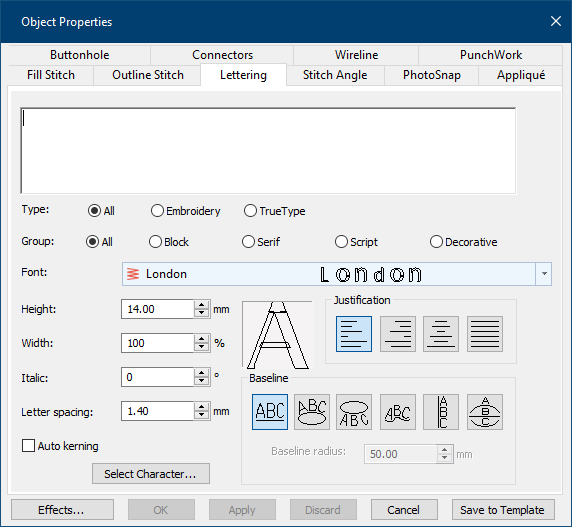
- Type in the lettering in the main input field at the top.
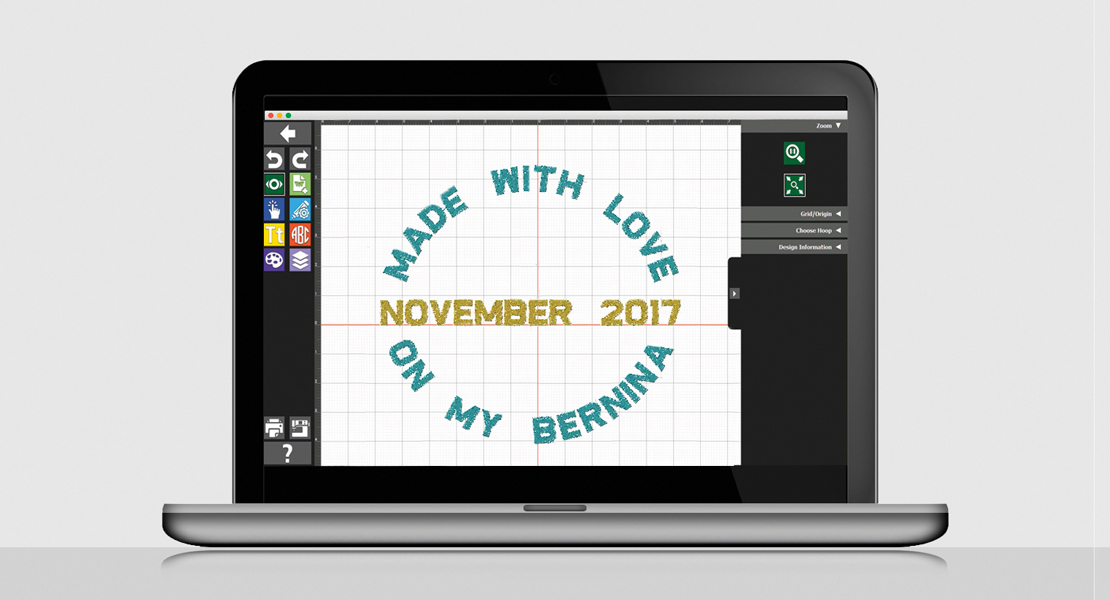
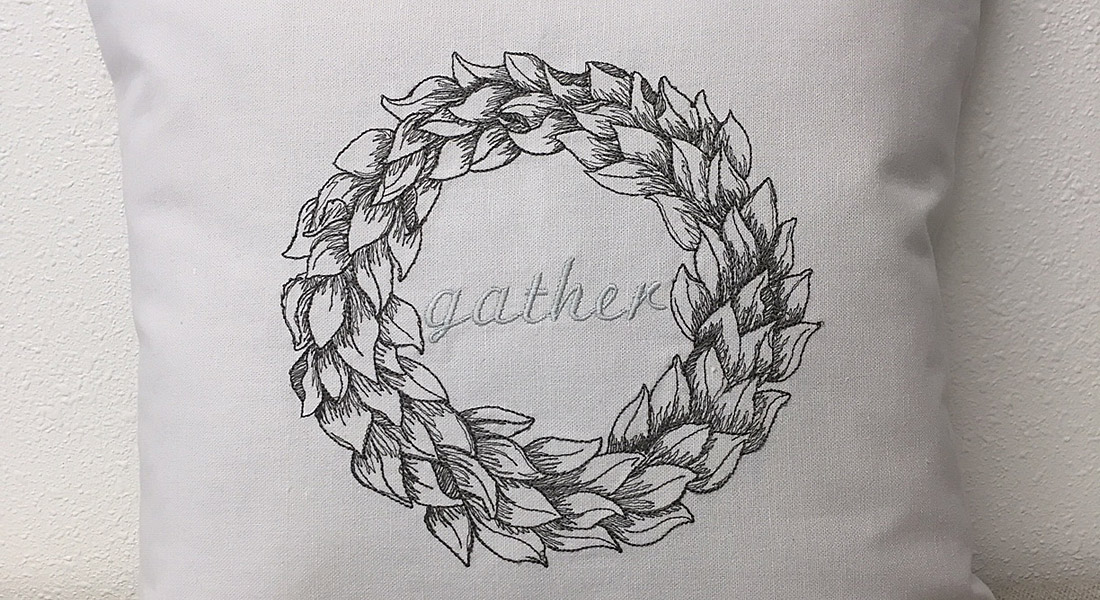
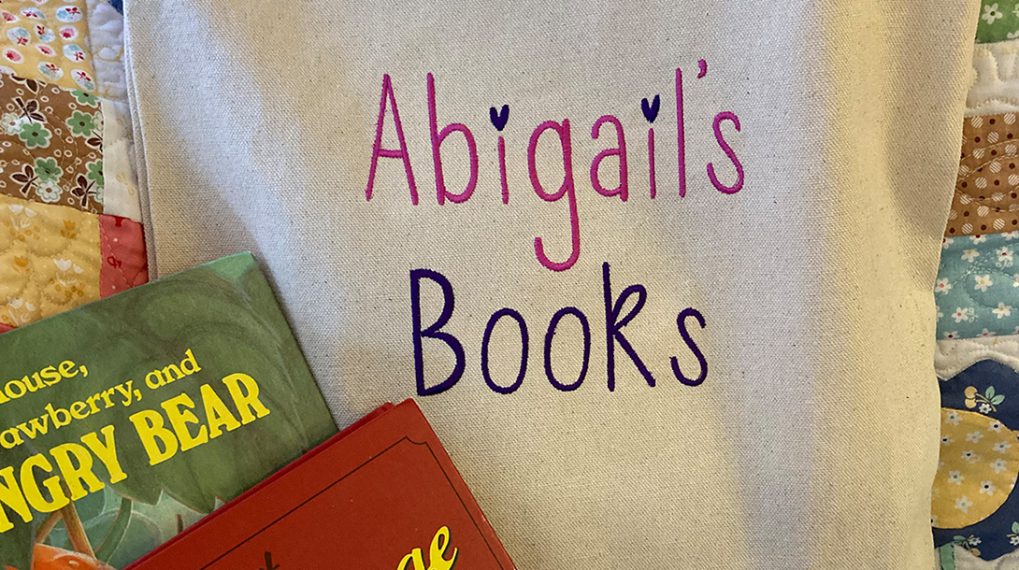
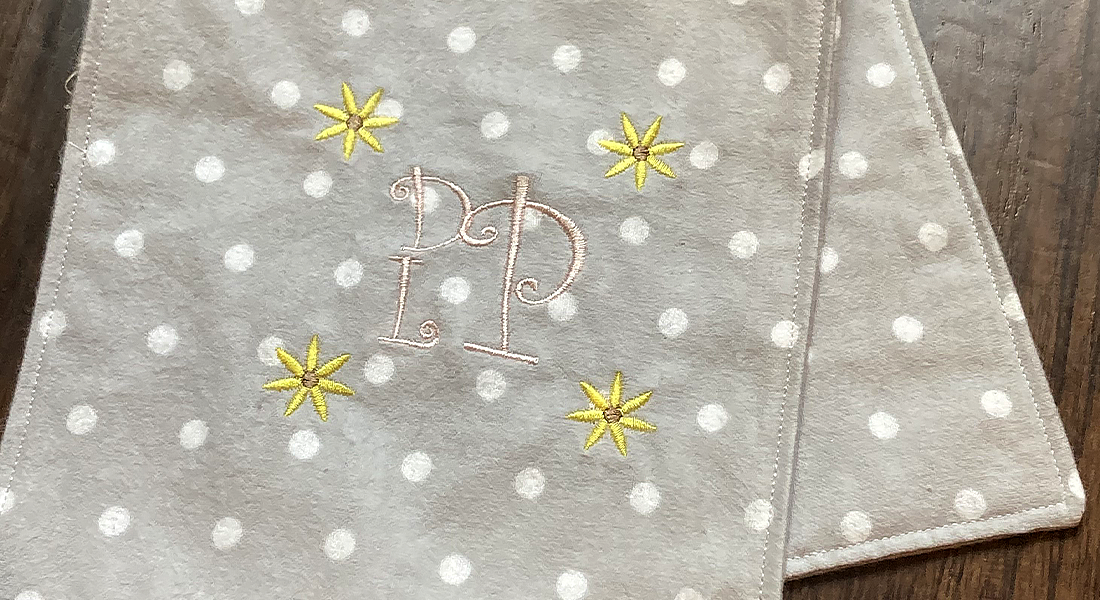
You can press Enter between lines of text to type in a whole ‘paragraph’. This option is great for creating quilt labels and recipe towels for instance.
- Exercise your options:
- Select a font, either a built-in digitized embroidery font or a TrueType font from your computer.TIP: If you know the name of the Embroidery or TrueType font you want to use, start typing the name in the Font drop list field. The name of the font will quickly appear as soon as you’ve typed enough letters for the software to identify the unique font.
- Adjust the font size and style to taste:
- Height: increasing height will proportionally increase width as well
- Width: similar to boldface
- Italic: slant
- Letter spacing: aka kerning
Select a justification (default is left) - Select a
Note: if selecting a circular type of baseline, you will be able to type in the radius for the defining circle.
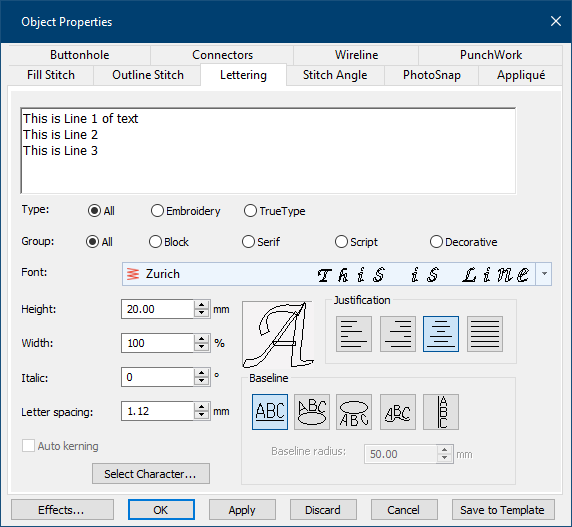
For instance, if selecting Zurich as the embroidery font, height of 20 mm and a center justification, the dialog box would look as follow:
To generate the lettering, you can either:
- Click on OK to accept the current options and Click on the Embroidery Canvas to generate the stitches and close the dialog box.
OR - Click on Apply to accept the current options and Click on the Embroidery Canvas to generate the stitches. The dialog box will remain open so that you can change settings further. This option is useful when auditioning fonts and size for instance.
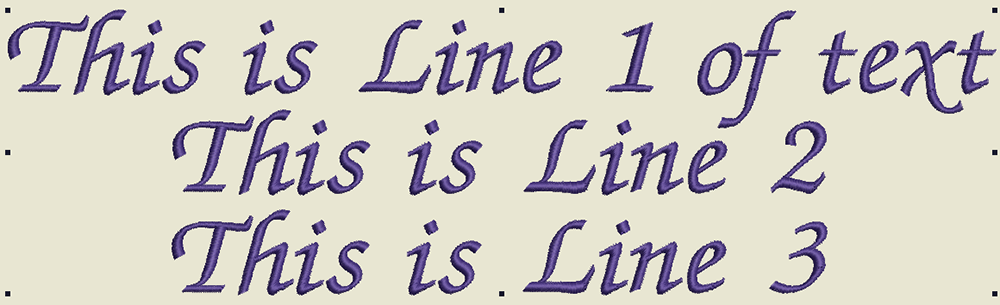
With the example dialog box above, the resulting text would look like this:
Practical TIPS:
- For large lettering, review the fill type and underlay style to better manage stitch count and texture.
- For lettering over 2 inches tall, consider a satin special fill rather than the default satin stitch. Also, consider using 2 types of underlay (combining Center Walk and a common zigzag or step type) for best results.
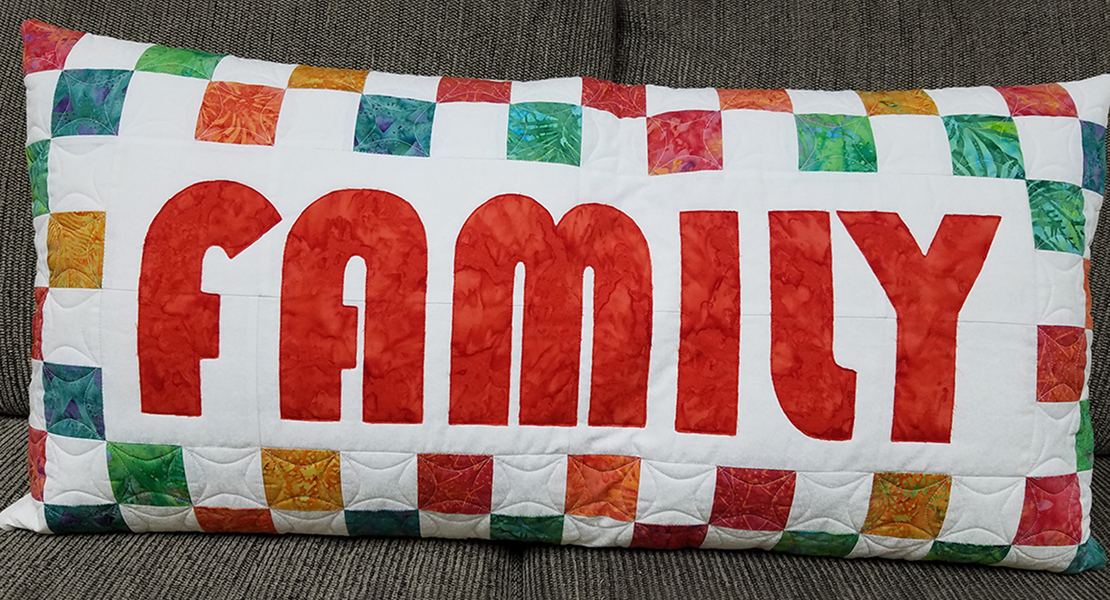
- For extra-large letters (e.g. 4 inches tall), consider step fills instead of satin or satin special. Another option is to use an appliqué font for faster coverage with far less stitching.
NOTES on Font Types
- Digitized Embroidery fonts are optimized for stitching. Each of these fonts has been tested with a recommended size range. If you need to exceed that range, either in smaller or larger sizes, be sure to do a test stitch-out first. Also, some embroidery fonts are available and pre-digitized for specific applications like very small lettering, quilt labels, 3D styles, etc.
- TrueType fonts are regular computer fonts, used by all programs on your personal computer. BERNINA Embroidery software 8.2 can digitize an embroidery font on the fly based on a TrueType font. This multiplies your options!As with any conversion, keep in mind that your results will vary:
- Not all TrueType fonts are suitable for embroidery. E.g. fonts with very small curlicues and fine lines may not render properly in thread. Simple font styles tend to yield a better result.
- TrueType fonts often work very well for oversized lettering (e.g. when digitized embroidery fonts are not recommended for very large lettering).
Final TIP: if a digitized embroidery font is already available, it should be your first choice over a converted TrueType font, as long as you intended lettering size falls within the recommended size range. E.g. the Swiss Block font is very similar in style to the Arial font on your computer. Within the recommended sizes of 0.25 to 2.4 inches it will be generally preferable to using the Arial conversion. For larger sizes (e.g. 4 inches tall) Arial may be preferable.
In the end, your BERNINA Embroidery Software 8.2 make adding embroidered lettering simple and efficient, with all the key options needed to get exactly what you need. The only thing missing is a spell checker!
To view a video on how to add lettering and choose a font, click HERE.