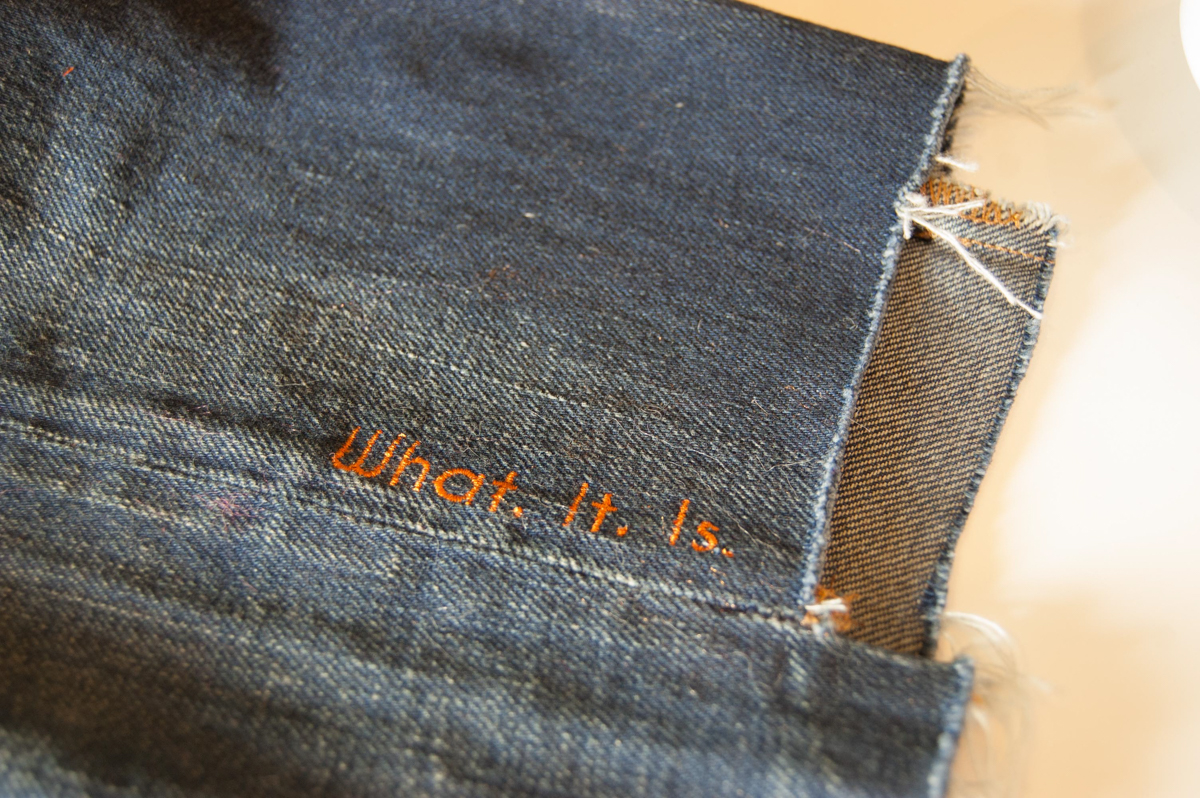
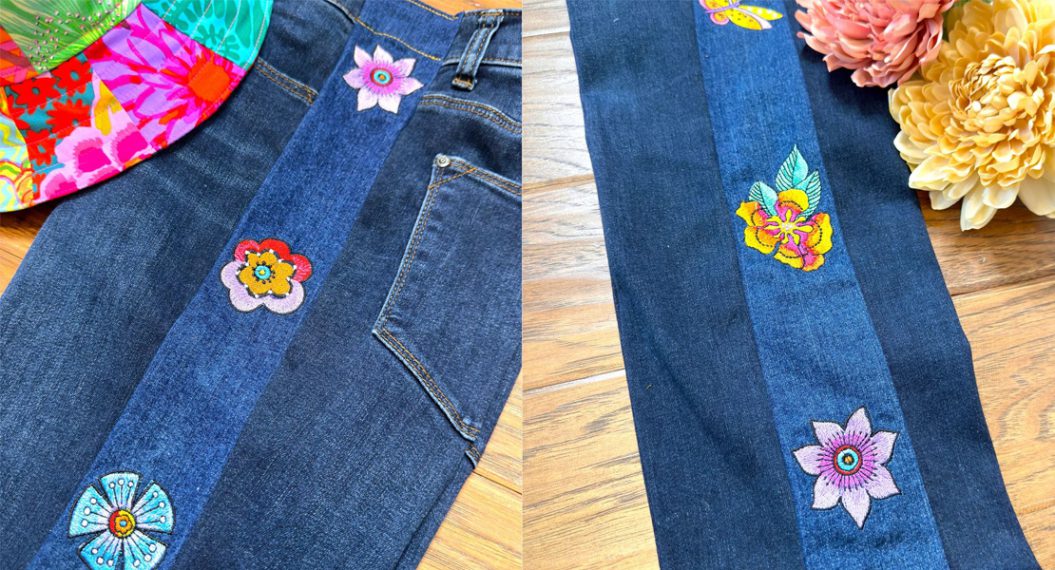
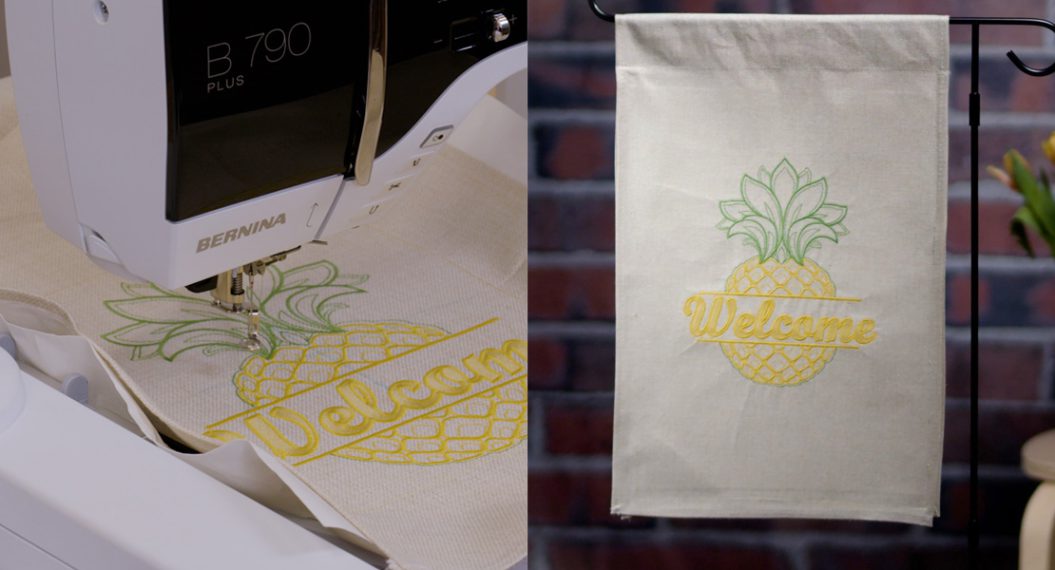
Embroidered Jeans
IF THESE JEANS COULD TALK….
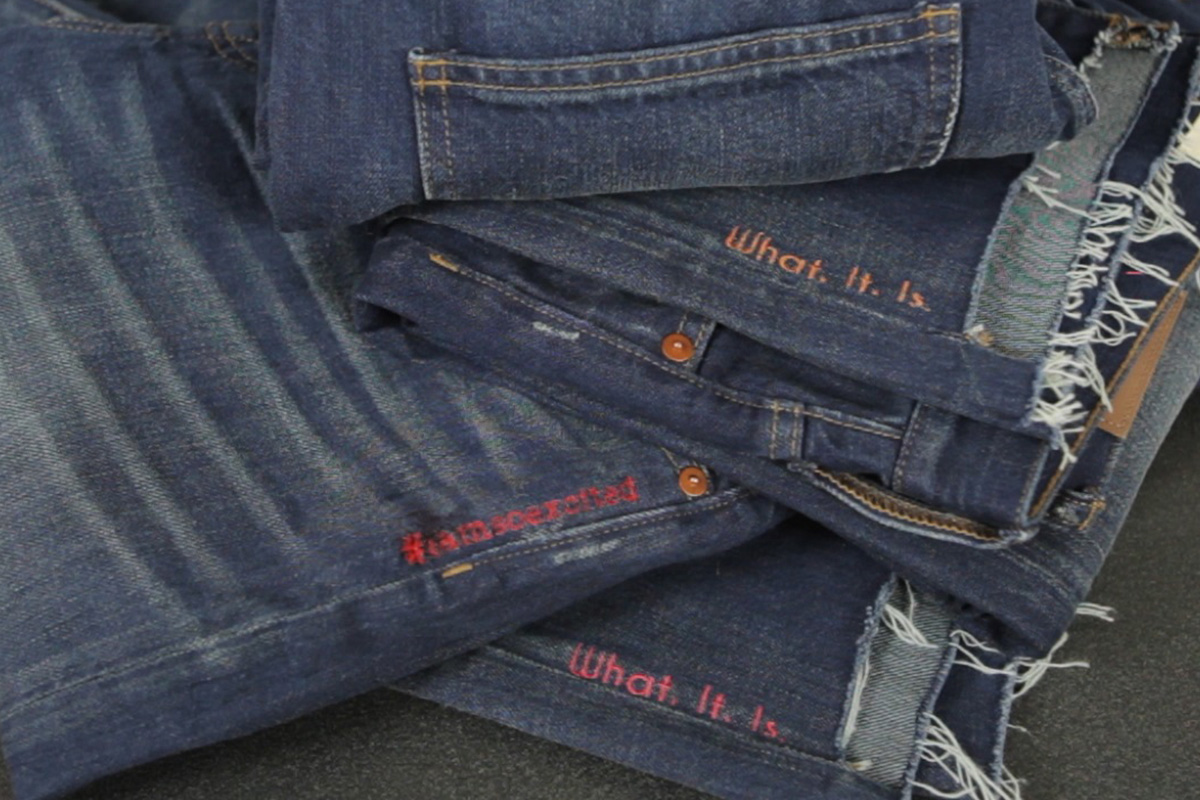
Create your very own fashion staple by adding a fun saying to your favorite Jeans. Learn how easy it is to place and embroider the design in a fun color.
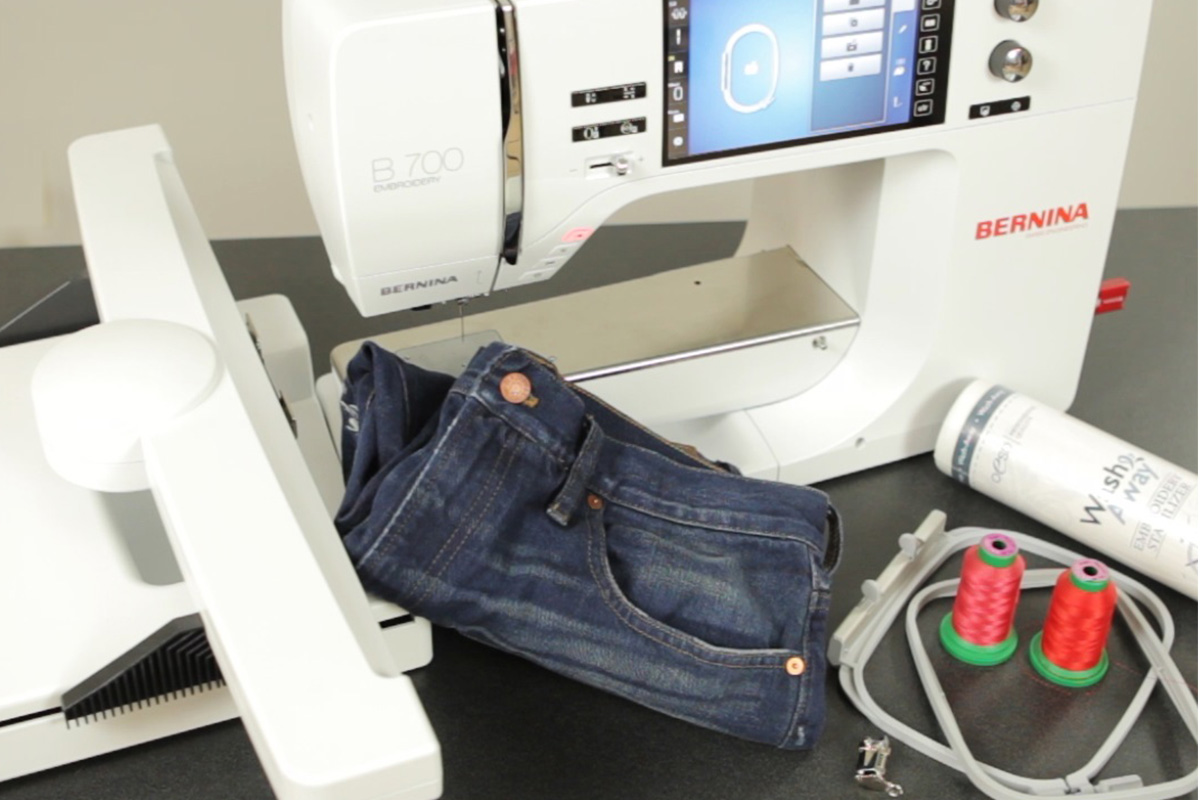
Materials to Embroider on Jeans
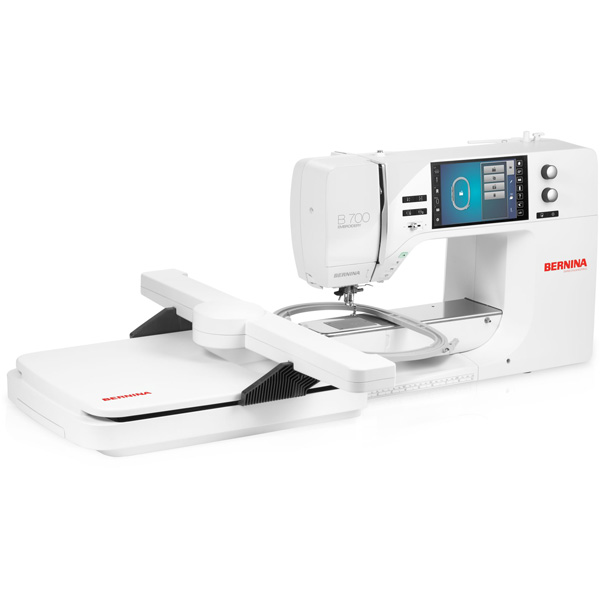
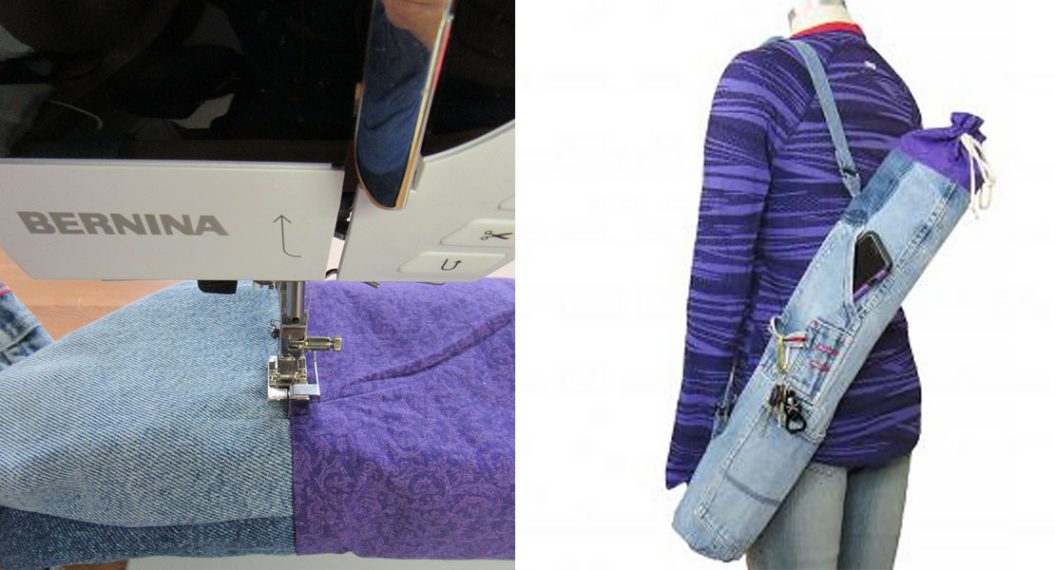
- Your sewing machine. We sew on a BERNINA 700 with embroidery module
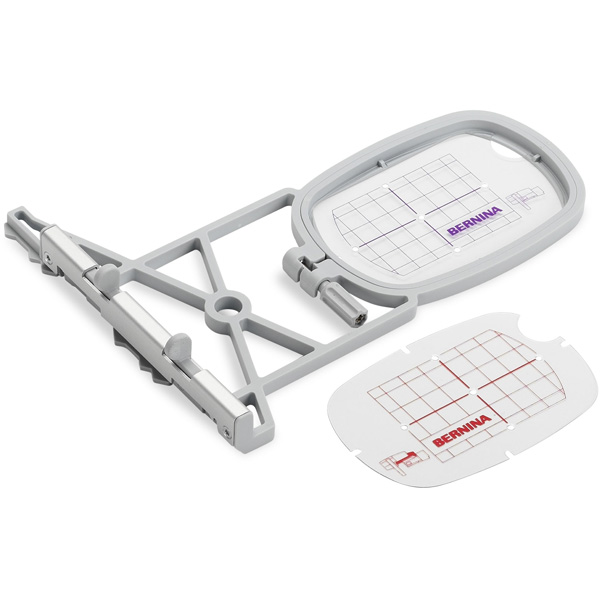
- Small Embroidery Hoop
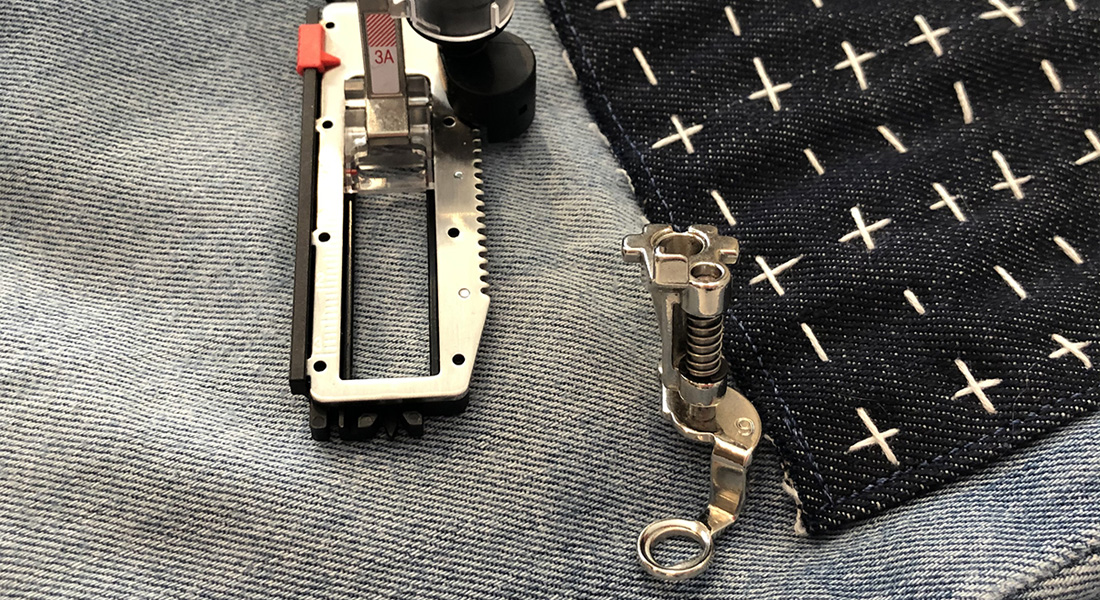
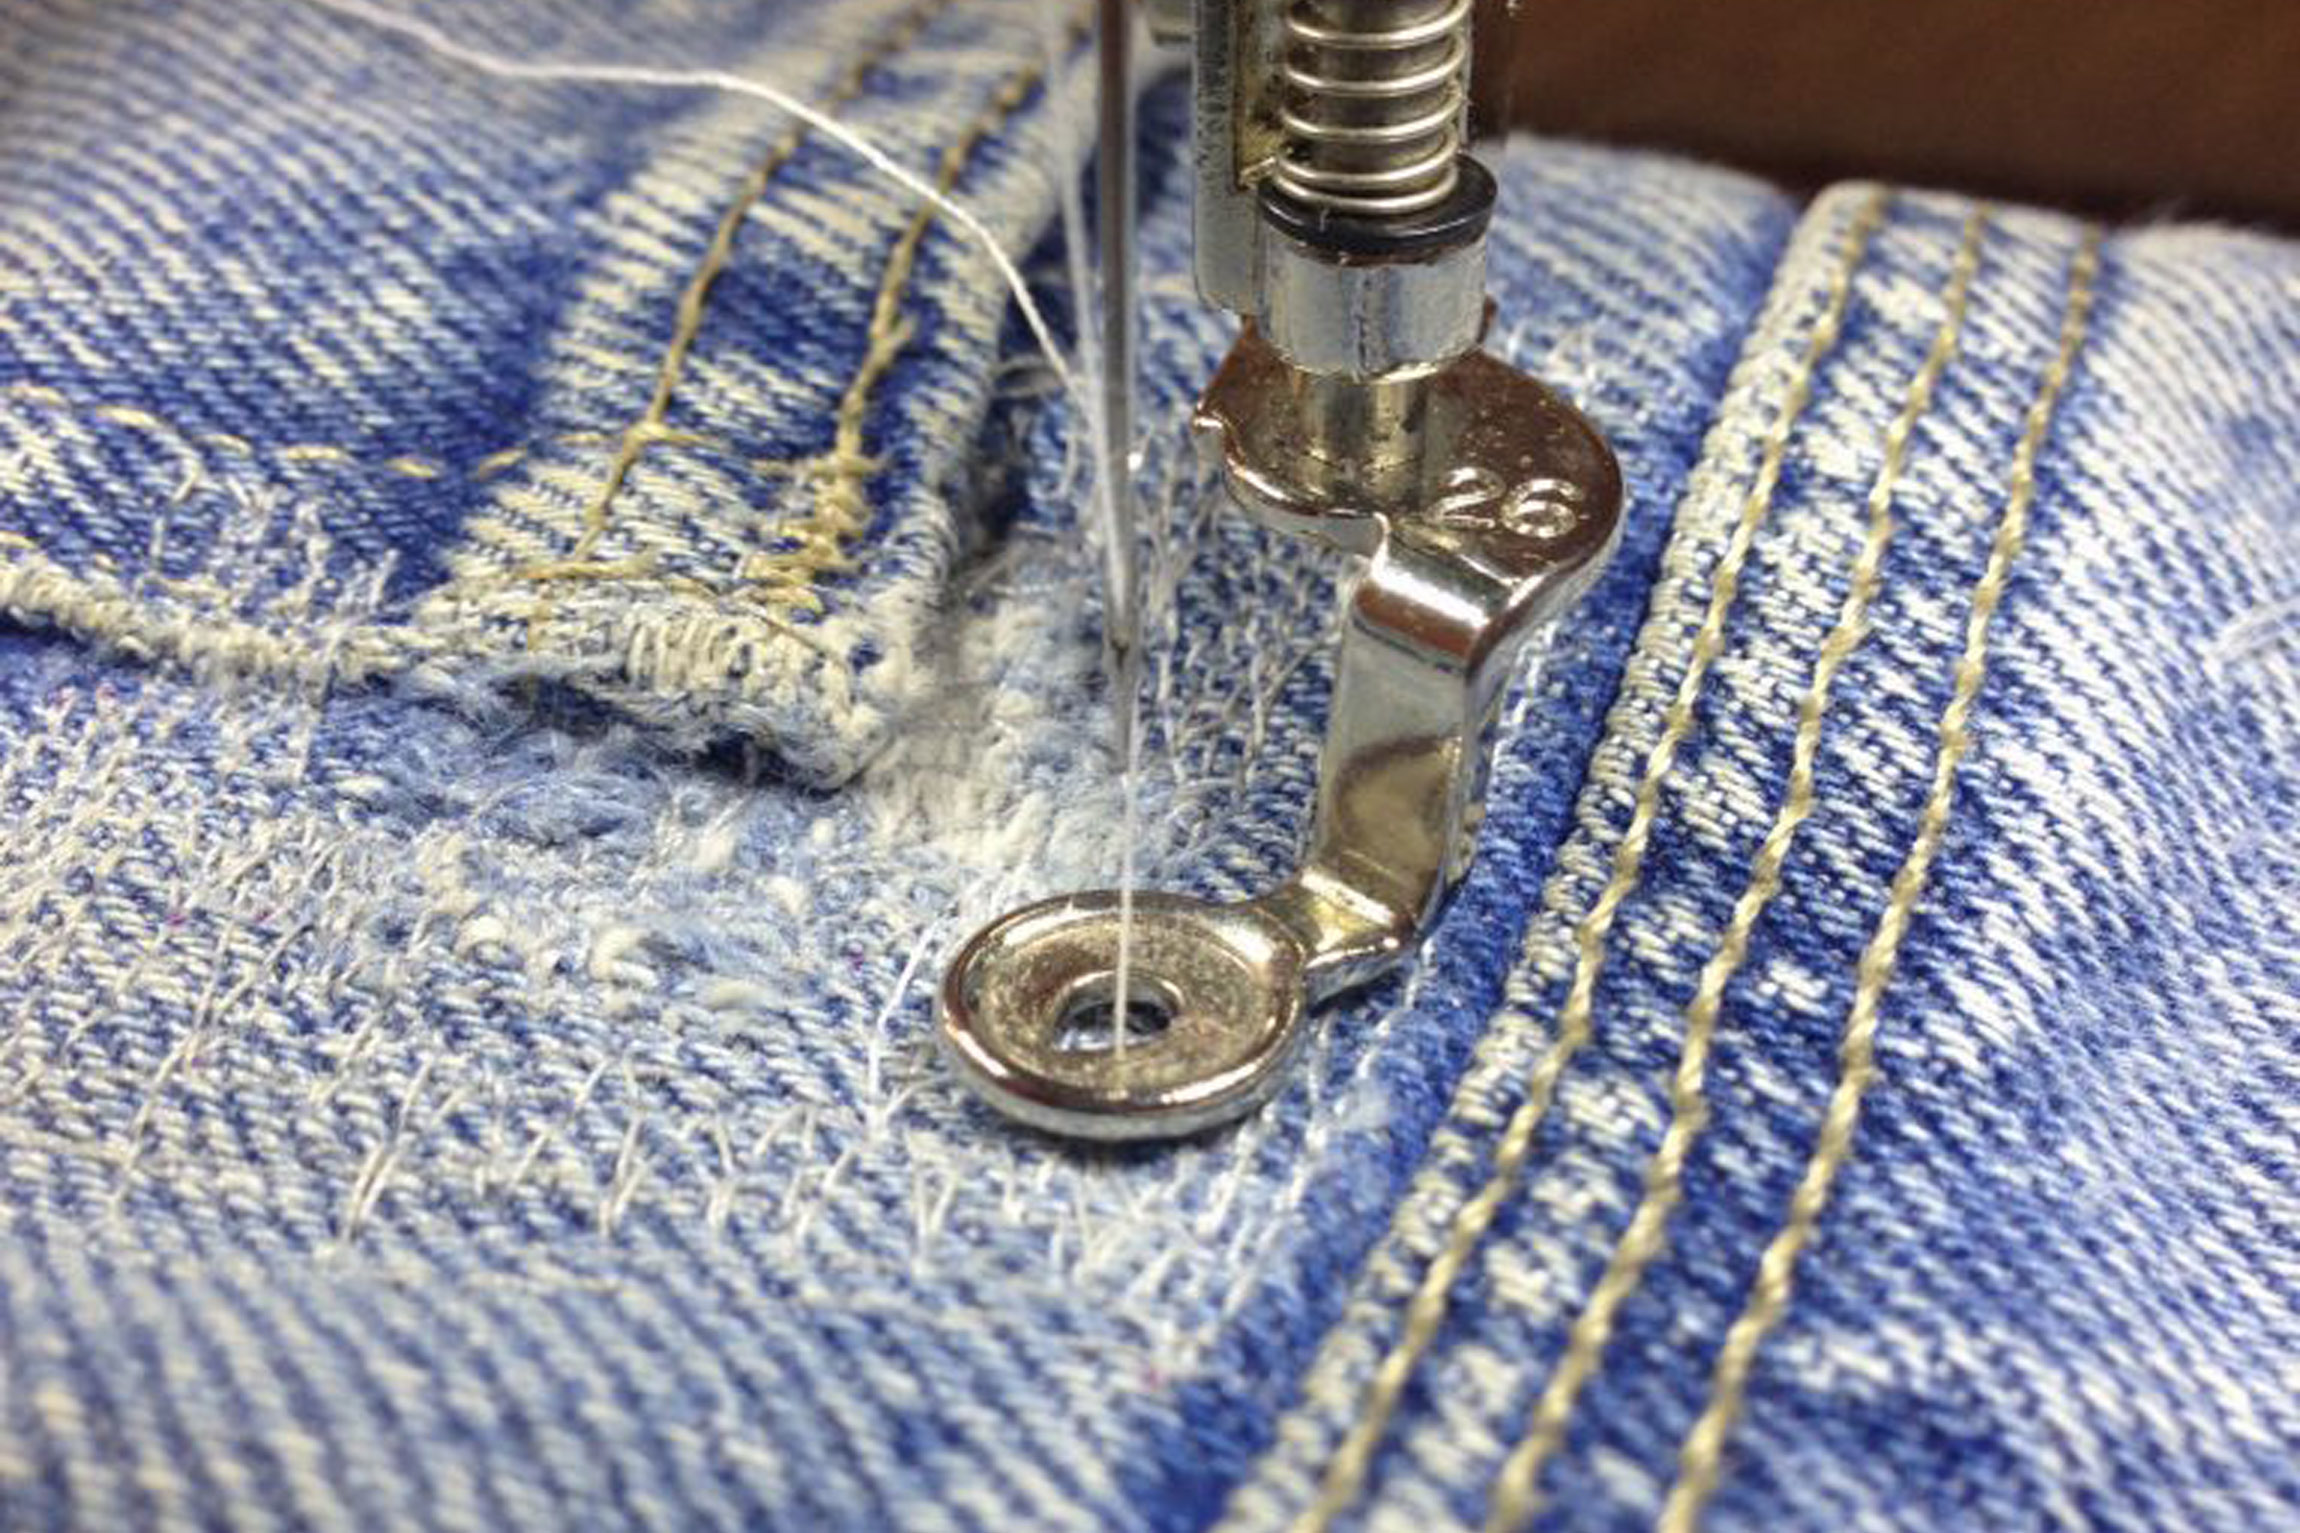
- Dropped-Shaped Embroidery Foot #26
- Pair of Jeans
- Thread of choice (12 wt cotton thread will give it a nice and heavy look)
- OESD Stabil Stick Tear Away Stabilizer
Instructions on How to Embroider on Jeans
THREAD MACHINE WITH THE HEAVY STUFF
- Choose thread based on the desired look. A 12 weight thread will give a heavier look. If choosing a 12 weight thread, select a font for the words that will stitch well with the heavy weight thread.
- The thread used in the video is Isacord Thread #932
HOOP IT UP

- Hoop the OESD Stabil Stick Stabilizer in the Small Embroidery Hoop with the paper side of the stabilizer up.
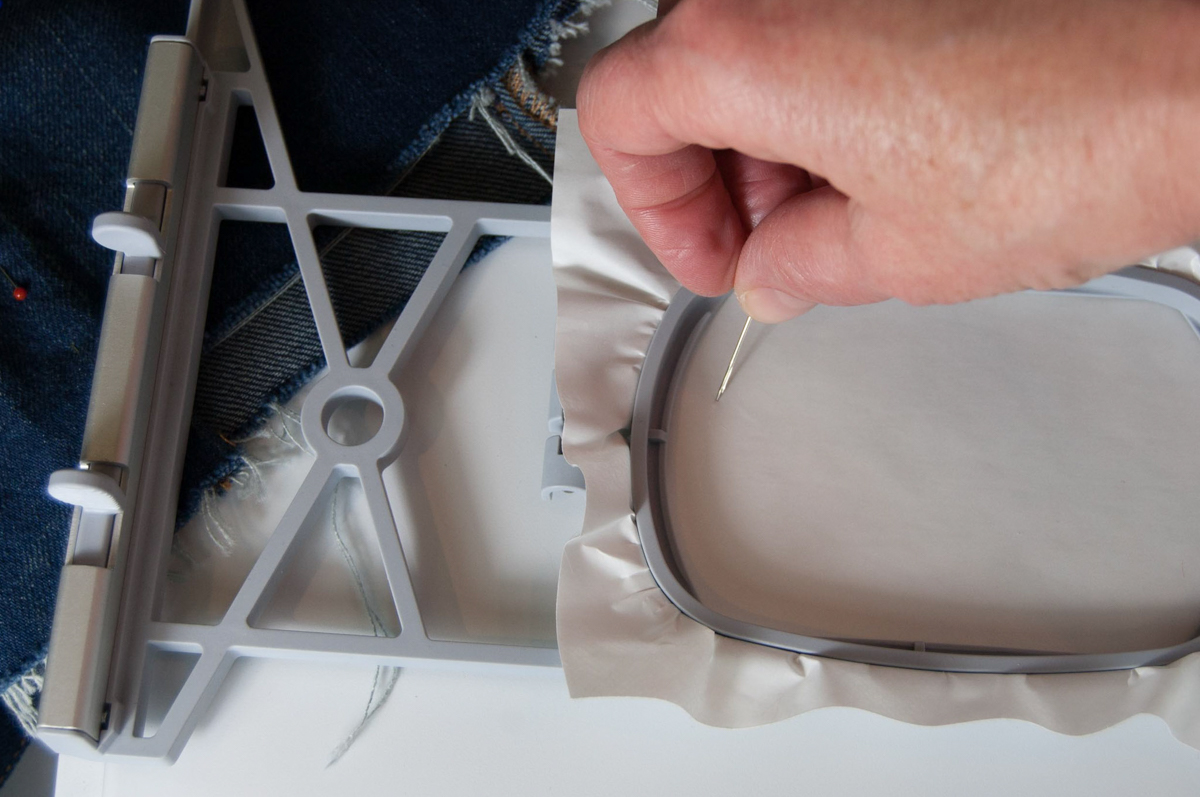

- Score the paper of the stabilizer and remove to expose the adhesive stabilizer.
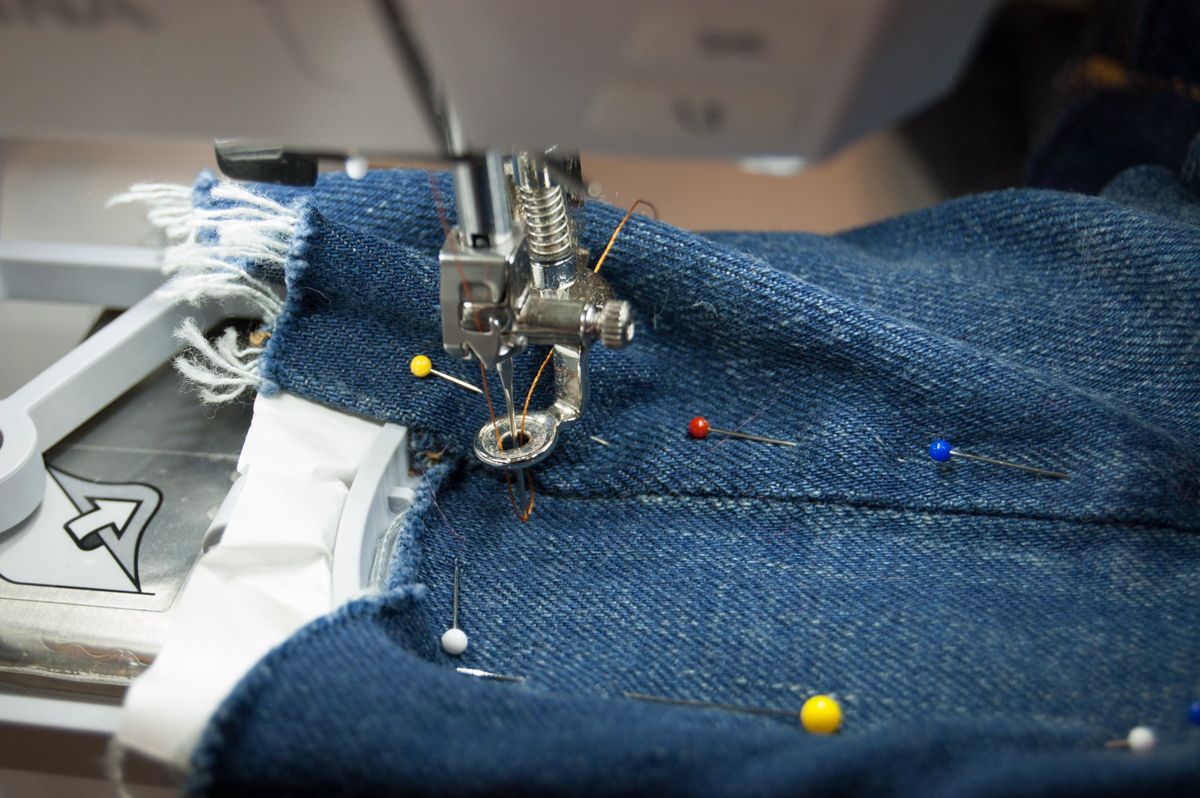
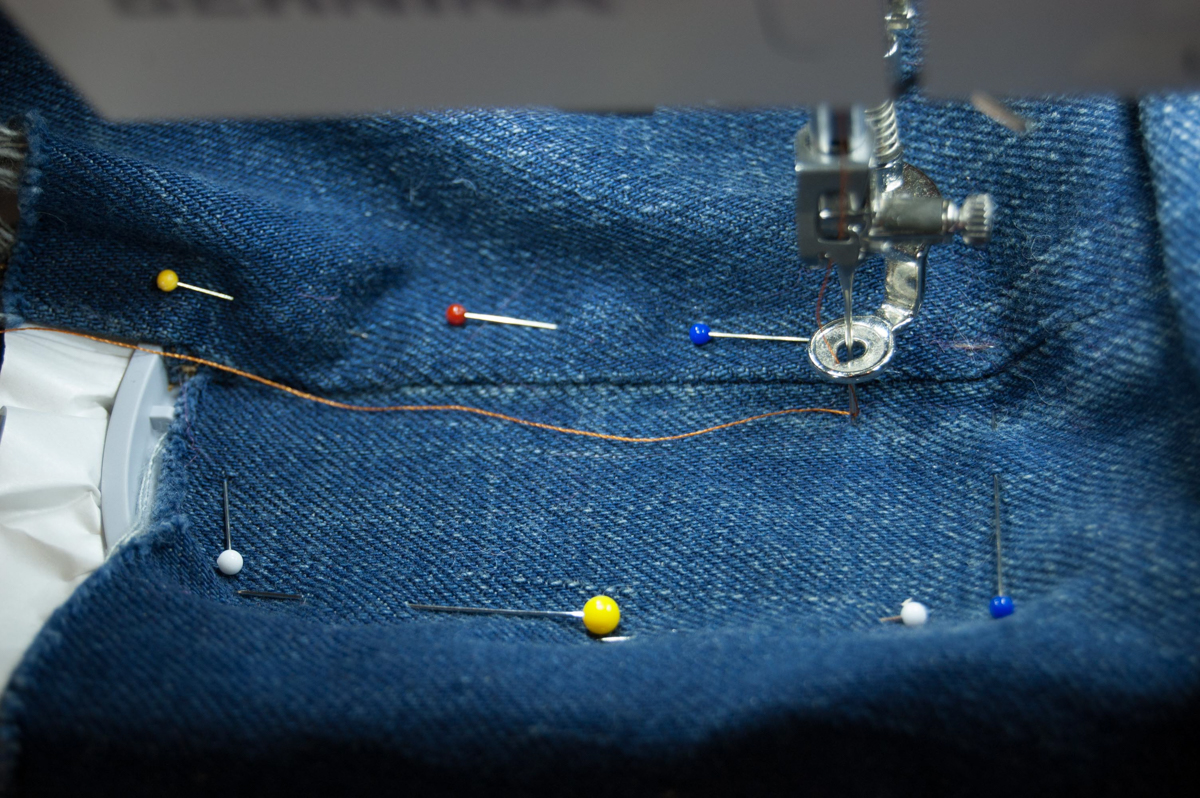
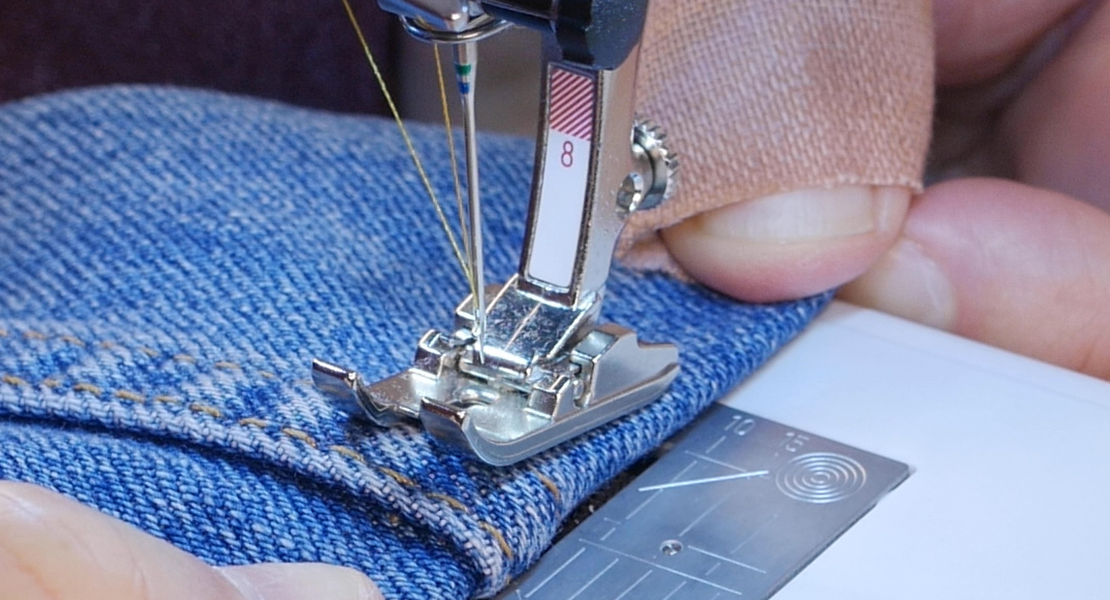
SLIP LEG OVER ARM
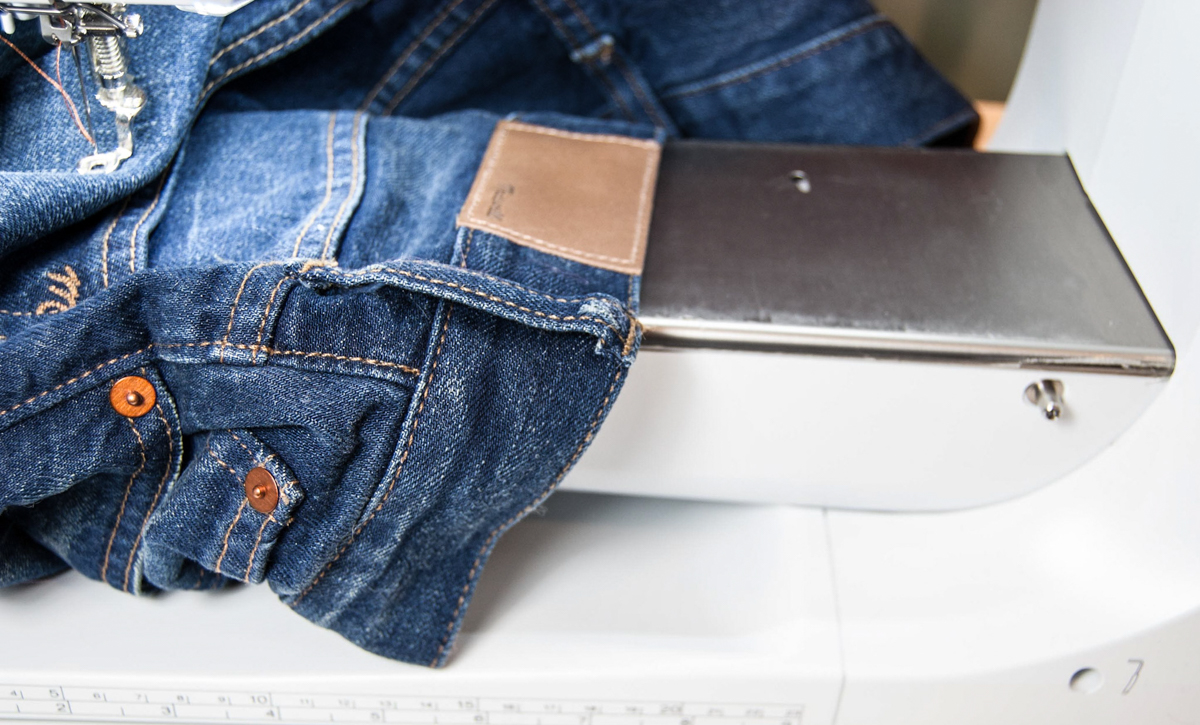
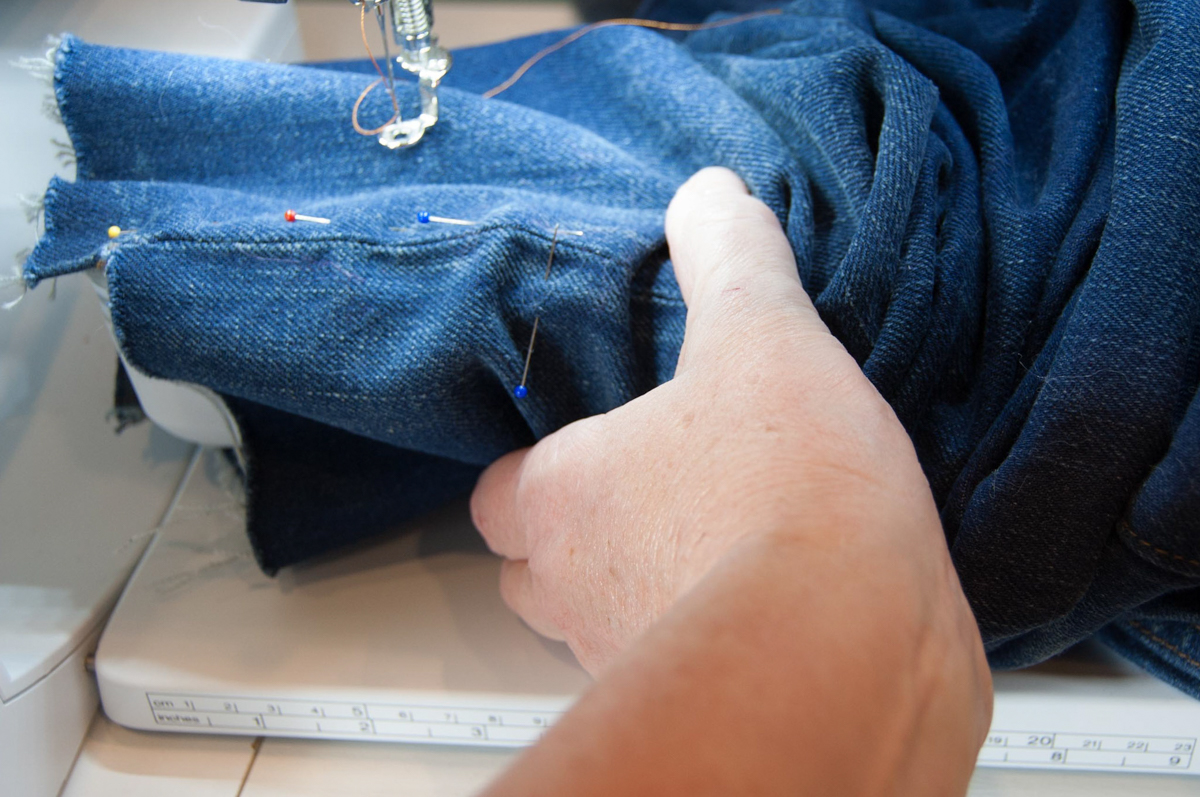
- Thanks to the free arm on the BERNINA 700, the leg of the jeans can be slipped over the arm of the machine. Waist first, slip the jeans over the free arm of the machine.

- Place the Small Embroidery Hoop with Stabil Stick Stabilizer on the embroidery module. Slide the leg of the jeans over the hoop and stick to the stabilizer in the desired position.
- No need to worry about hooping it straight, with Pinpoint Placement the words can easily be aligned.
- To prevent the jeans from peeling off the adhesive stabilizer, pin the jeans to the stabilizer placing the pins close to the small hoop.
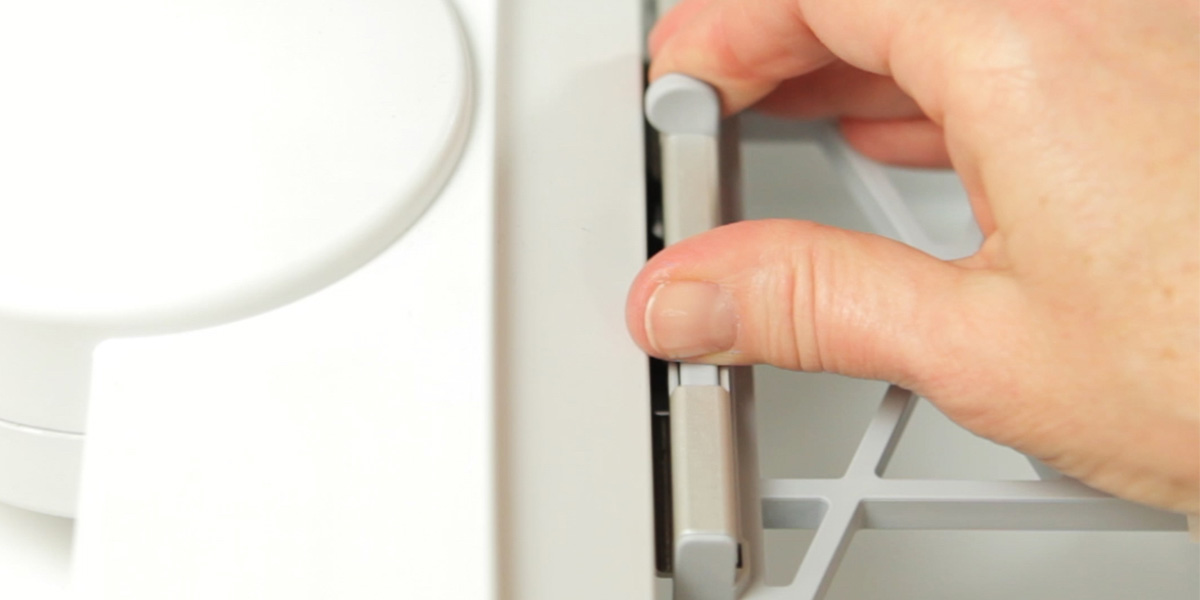
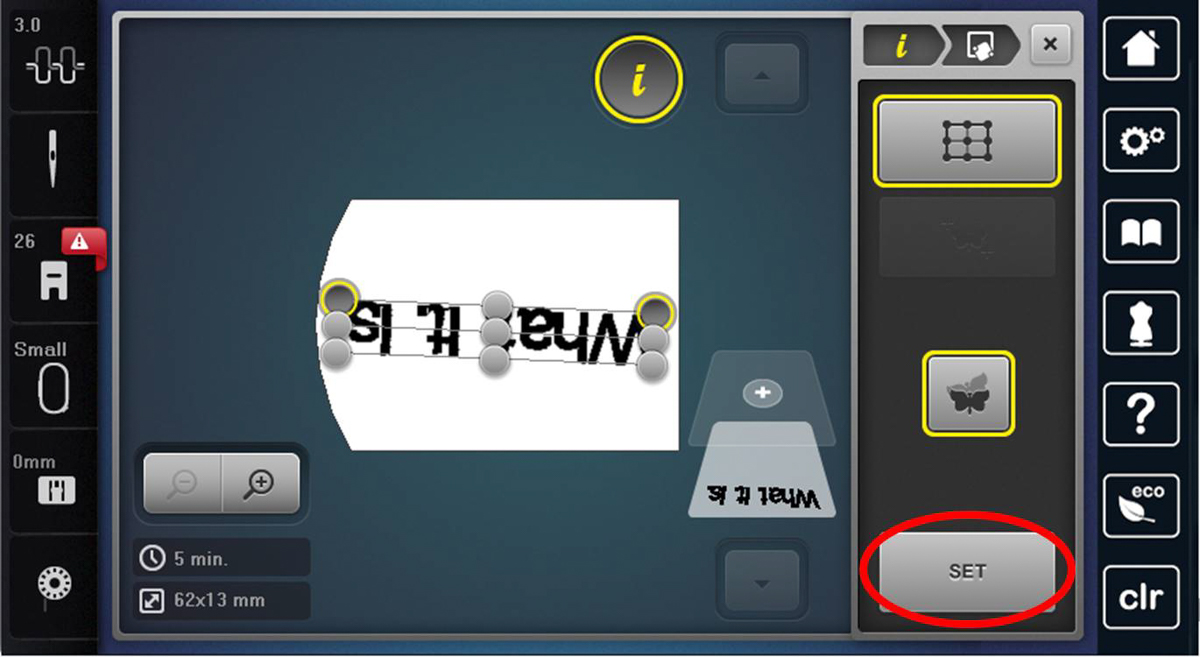
PINPOINT PLACEMENT
- The pinpoint placement feature of the BERNINA 700 allows for perfect placement of the words.
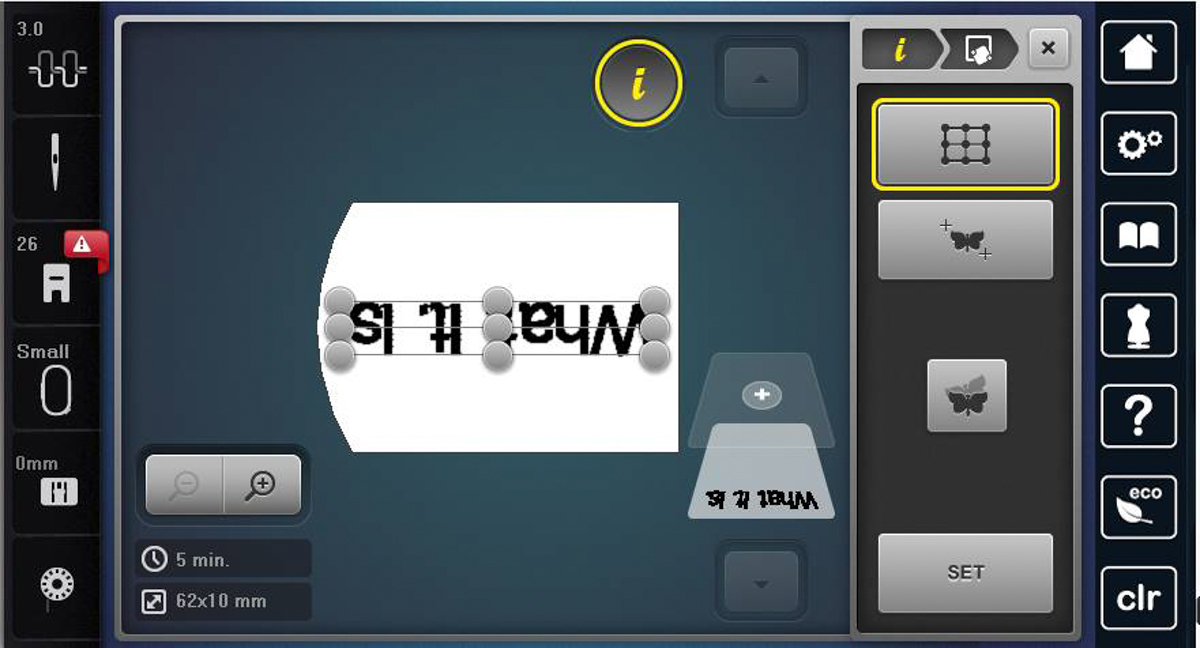
- Select pinpoint placement.

- Select the first point that you want to use to align the words.
- Using the multi function knobs, move the hoop so the needle is at the point where you need it to be.
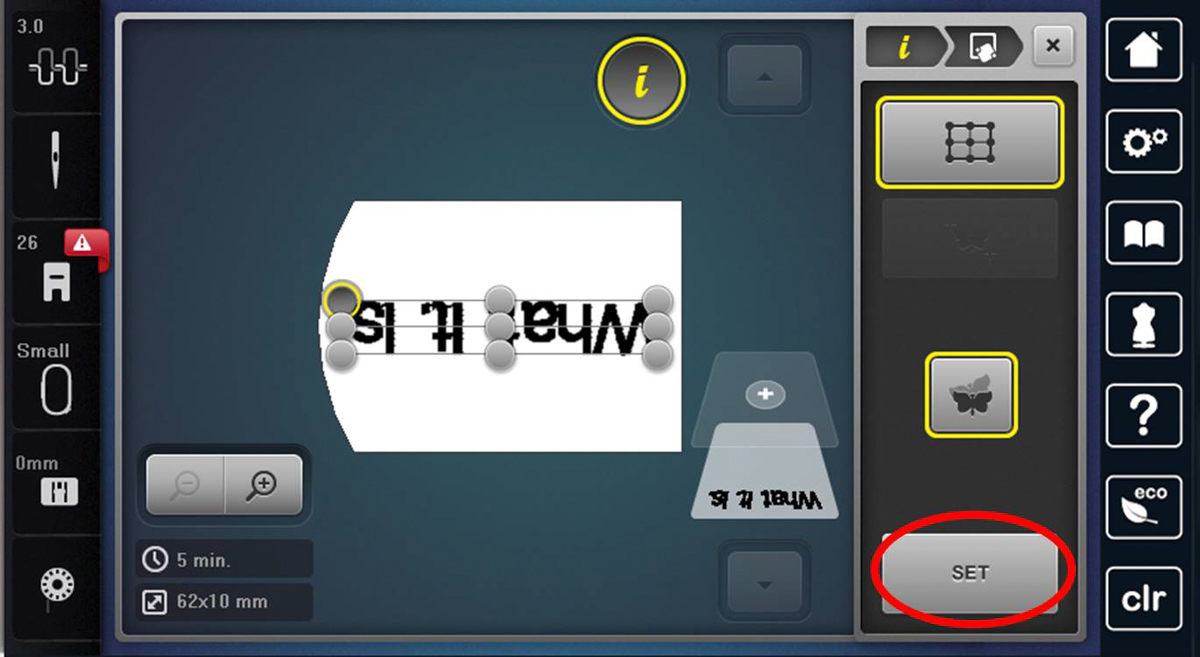
- Select SET.
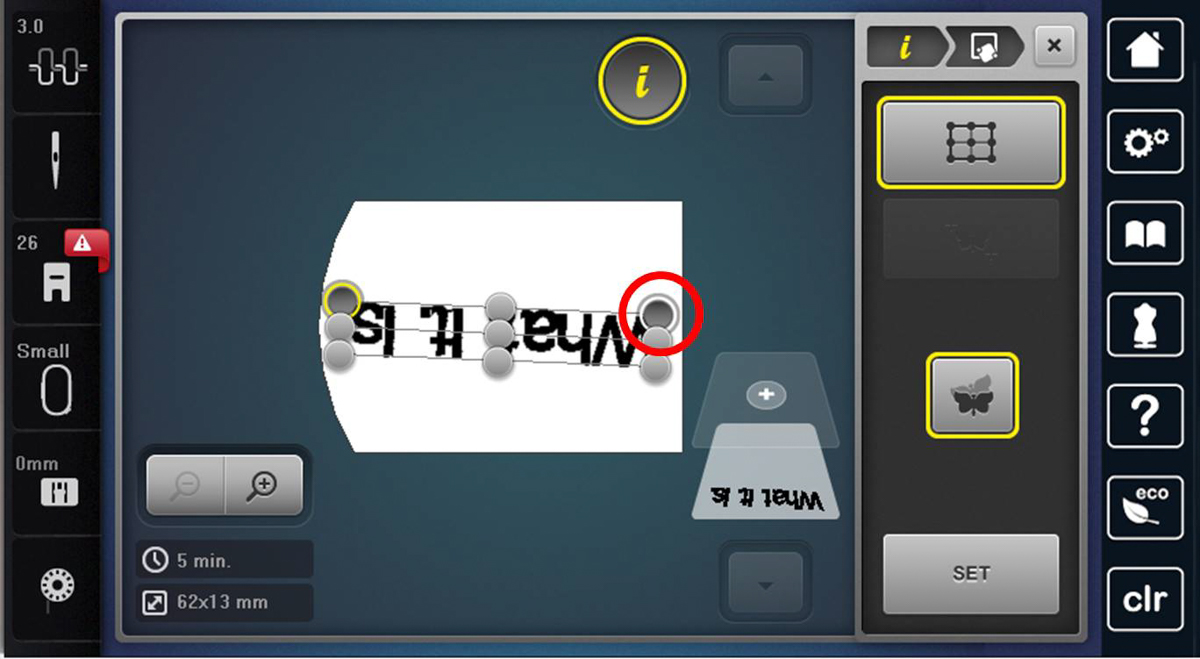
- Select the second point that you want to use to align the words.
- Using the multi-function knobs, move the hoop so the needle is at the point where you need it to be.
- Select SET.
LOOK MOM NO HANDS!

- Start the machine and watch it stitch.
SEW YOU!
Words can be made using the built in fonts of the BERNINA 700 or using BERNINA Toolbox Software as they were for the video.
In the Toolbox Software:
- Start a new design
- Name the design
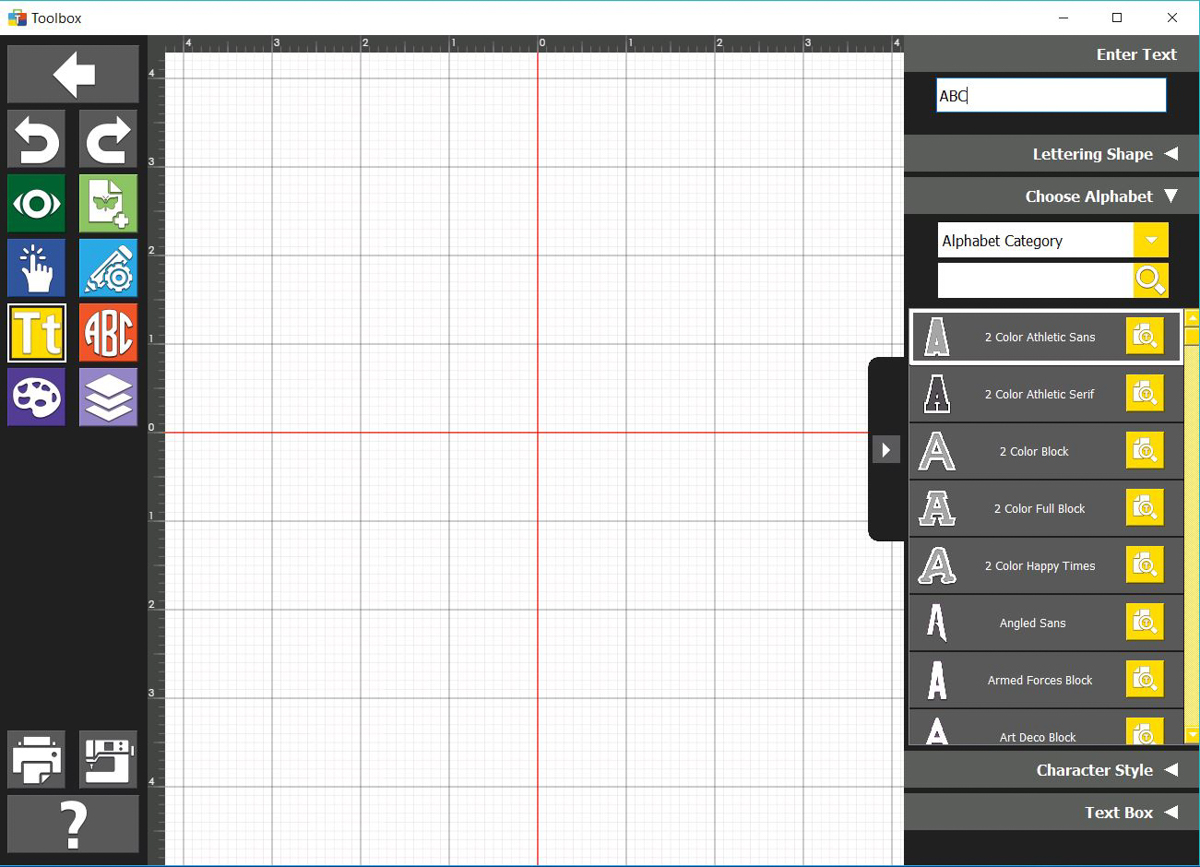
- Open Lettering Module
- Select the font of choice.
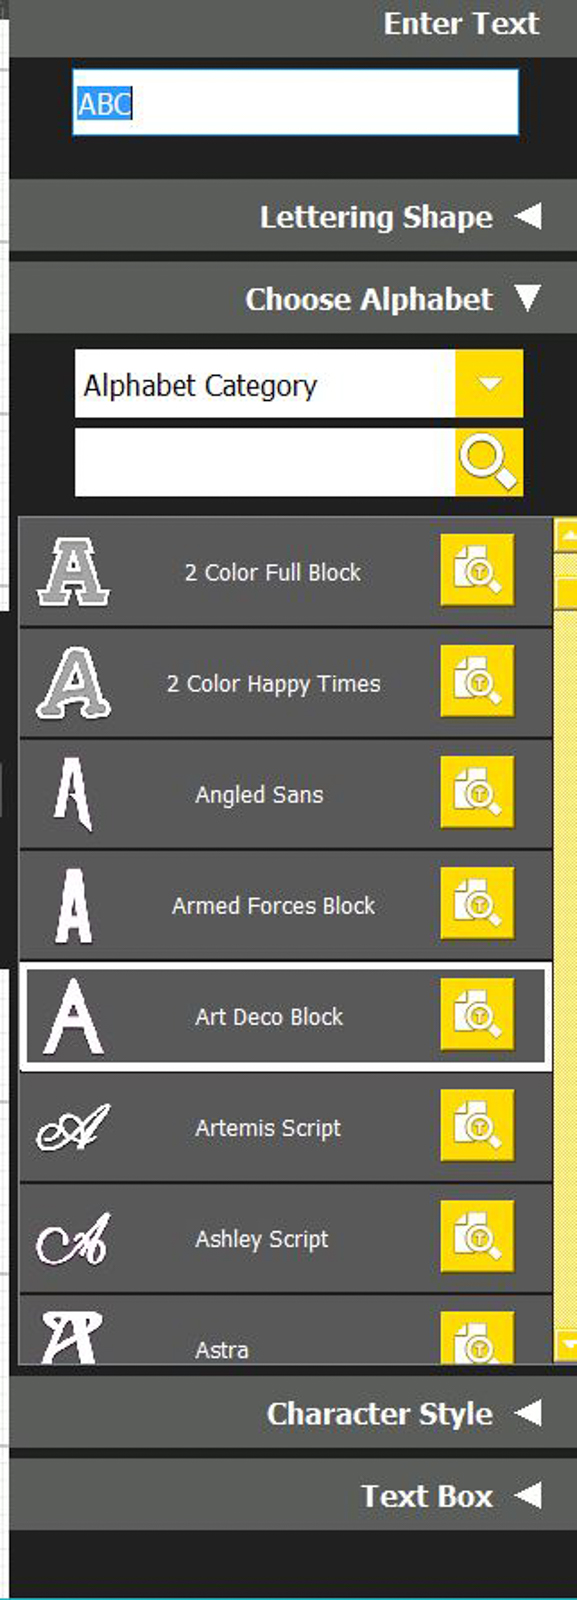
- The font used in the was Art Deco Block
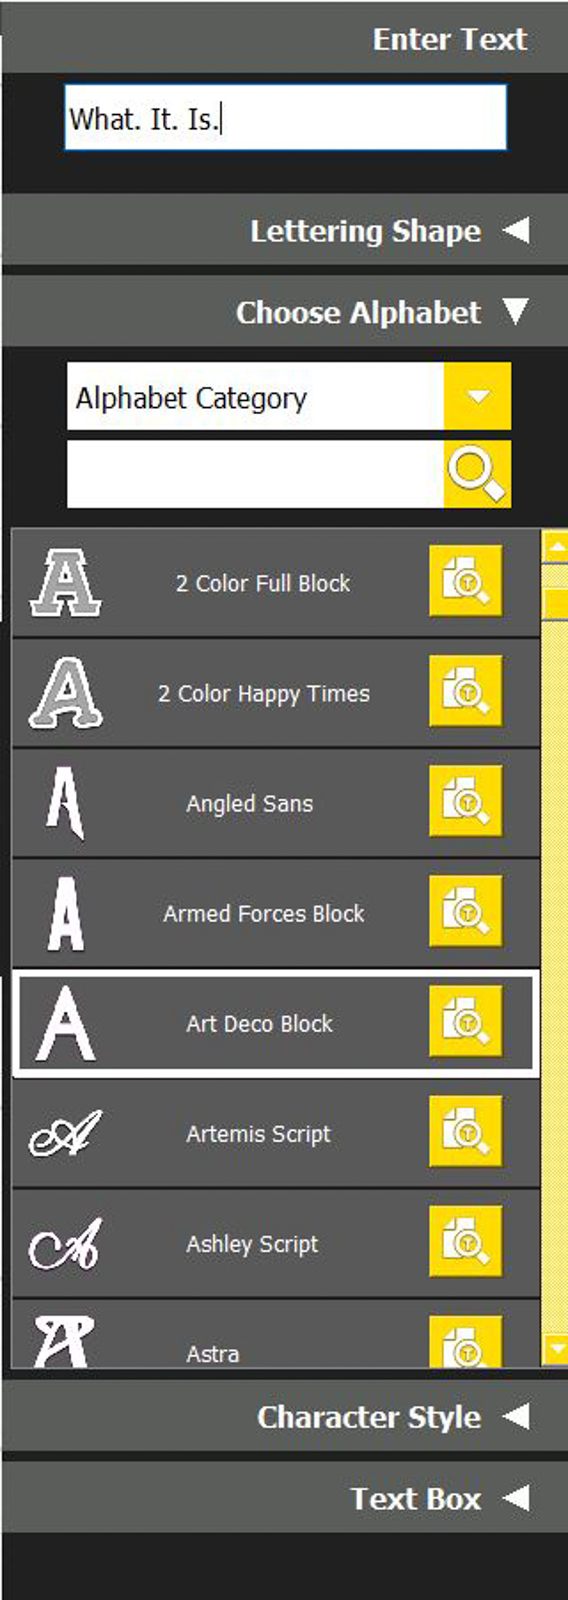
- Type in the words.
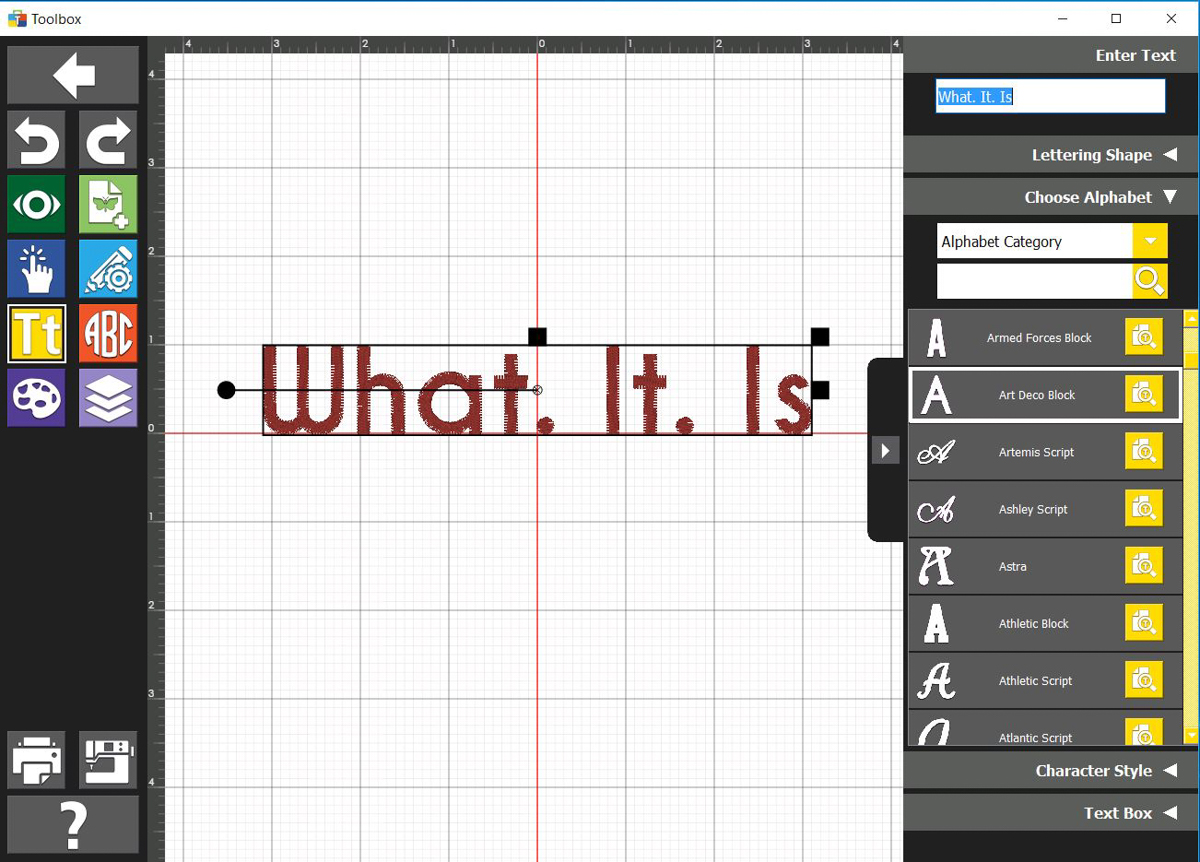
- The words appear on the screen and are ready to save to a usb stick.
- Save design to usb stick in EXP format.
- Insert usb stick in machine and bring up the design and stitch.
Used Products

What you might also like


7 comments on “Embroidered Jeans”
-
-
Thank you for including ToolBox in your tutorial!
-
Omg!!!! This rocks!!!! I thought I was going to have to take the pants apart & stitch them back together!!!
Thank you thank you!!! -
I do not use toolbox, are we able to use a 770 and use machine screen?
-
I LOVE this idea! Thanks Connie. I am so doing this to my cut off shorts when the weather gets warmer!!!!
-
Can this be done on an 830 as well? Can you position the lettering on the 830 like this also?
-
On the 700 the pins work fine but on any 9mm machine you might want to use flat head pins. Especially on thinner fabric. The small glass head pins can get hung up in the feed dog opening. As me how I know…
Leave a Reply
You must be logged in to post a comment.

Did I miss a step where you rotated the design?