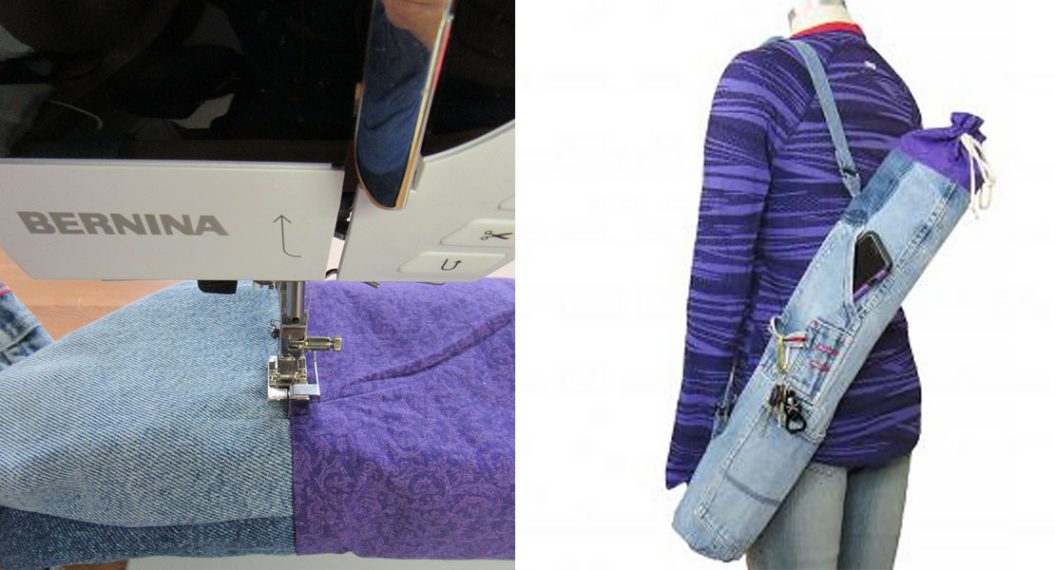
Mend your Jeans!
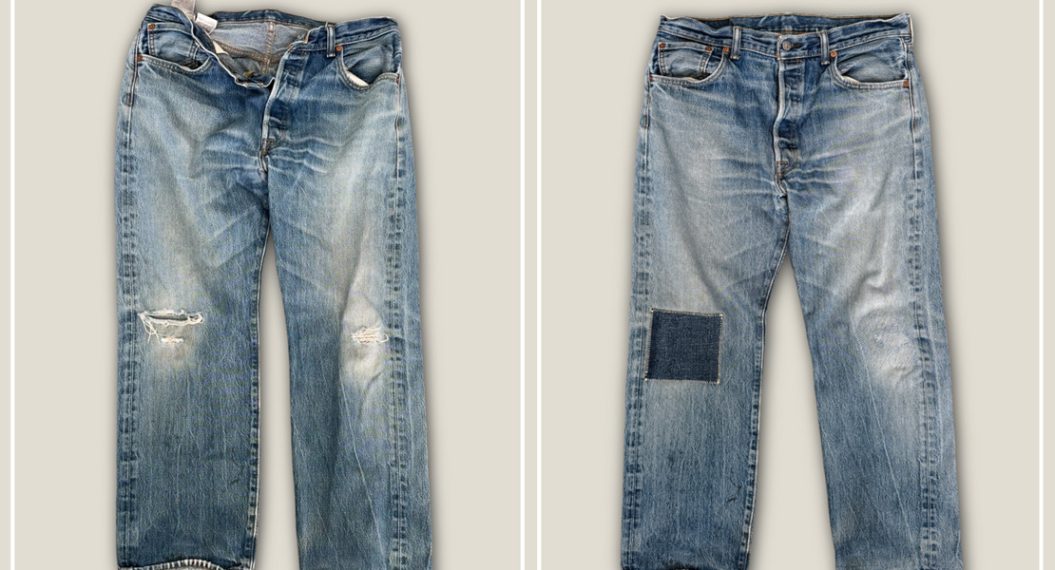
My husband’s ‘work around the yard jeans’ had reached new levels of distress, so I had to step in.
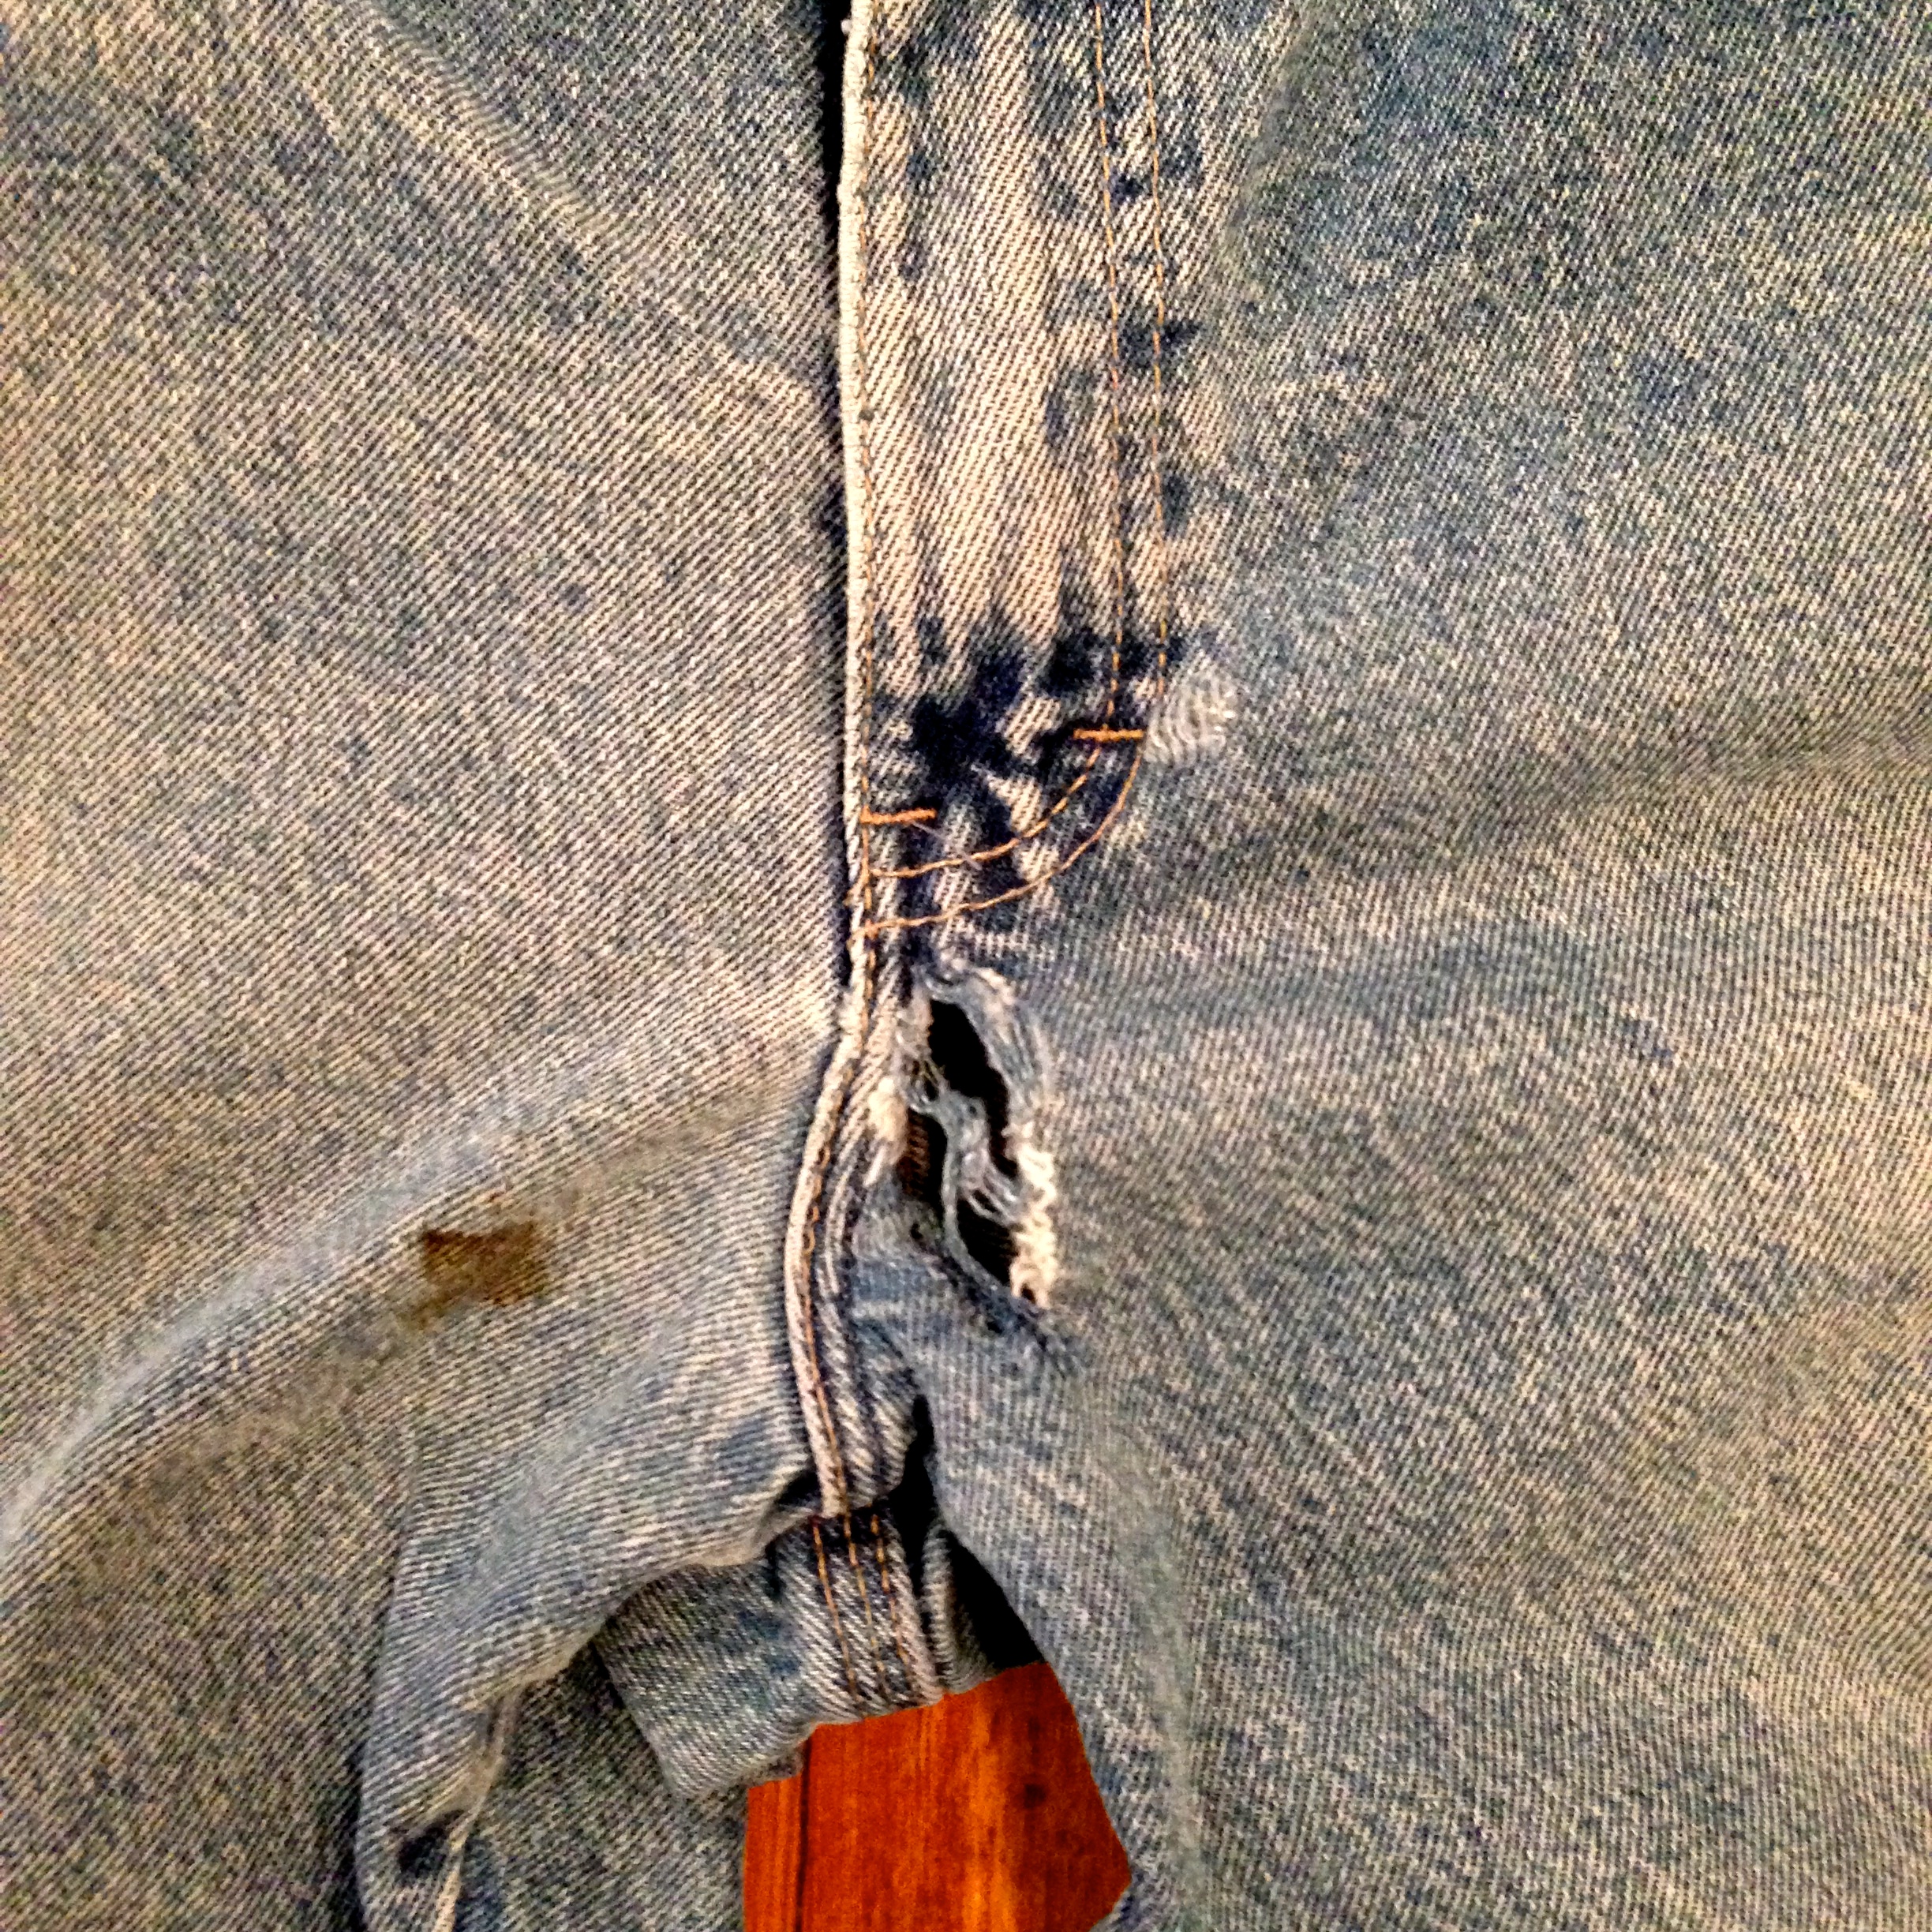
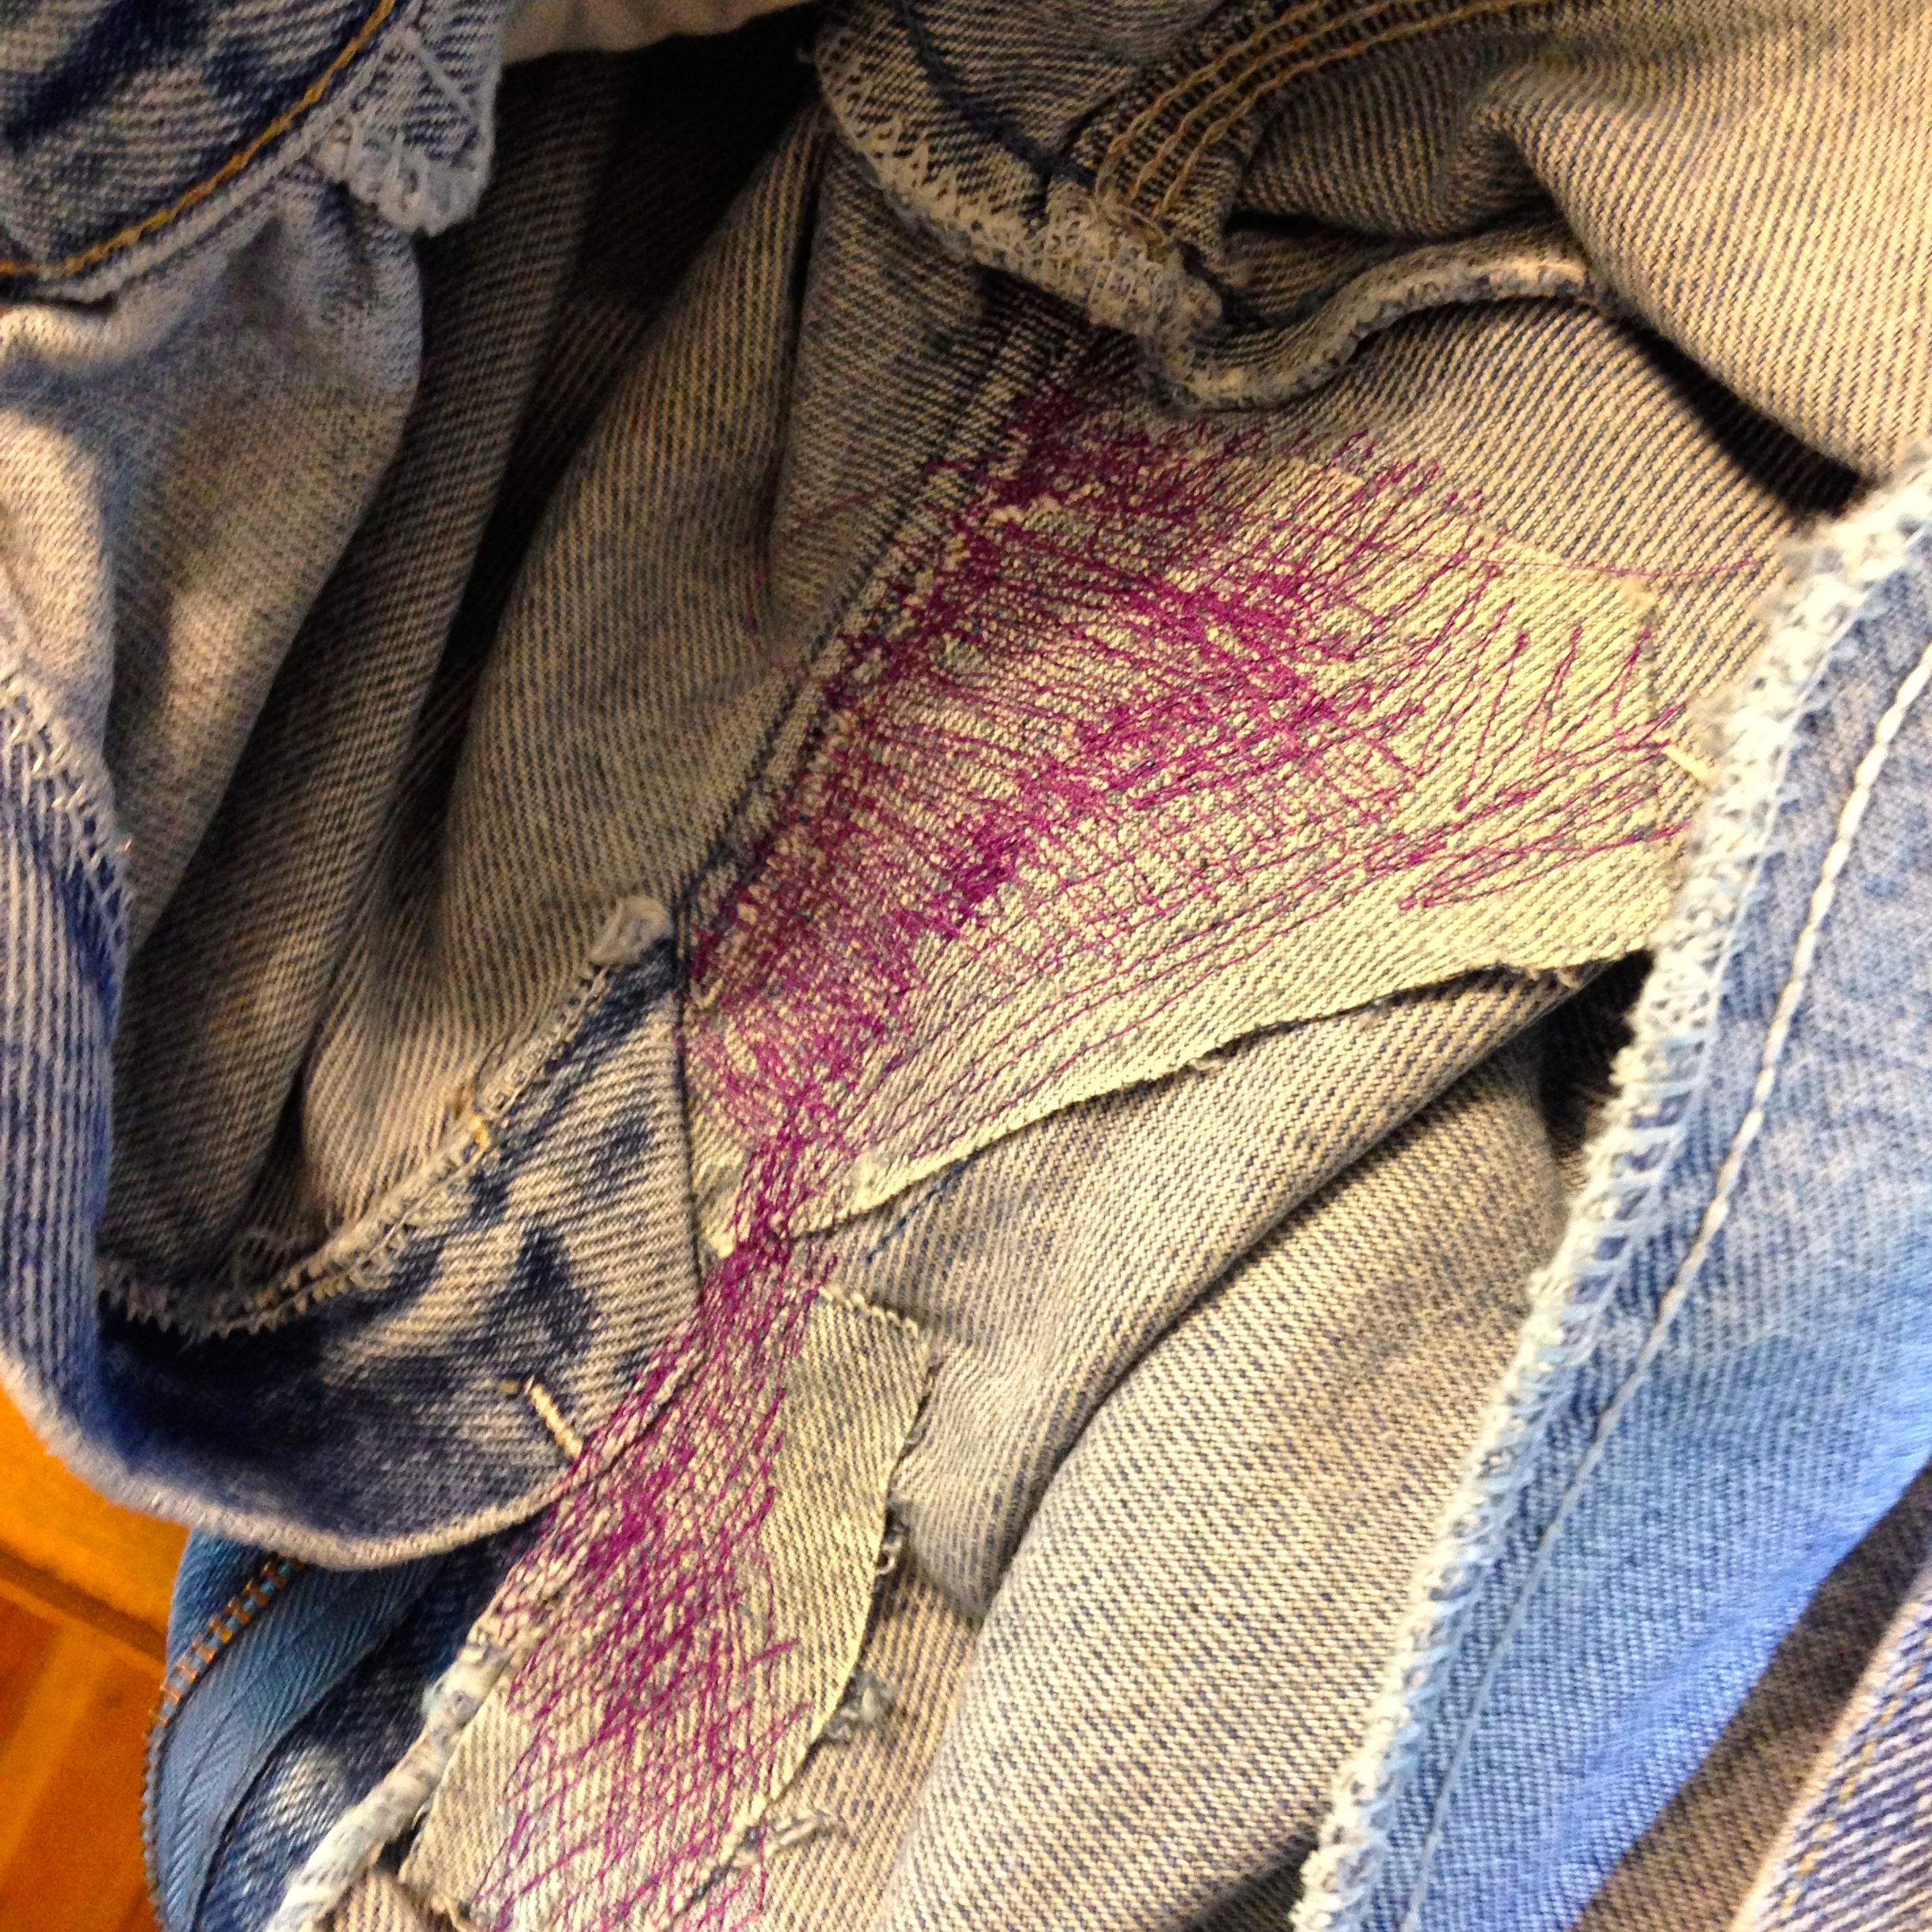
See that stain too? They are his grubby jeans, but you’ll see how I took care of that at the end of the post!
I’m not normally the kind of gal who does a lot of mending of my husband’s clothes. Ok, any mending of my husband’s clothes. But I was on a sewing-clothes-for-myself bender and was so excited about being so handy that I grabbed the jeans and got to work.
Did I know what I was doing? No. Did I look it up? No. I figured, I wasn’t going for perfection, I just wanted his boxers not to show, you know? I could figure that out on my own.
First, I used Elmer’s washable school glue to tack down a piece of denim in place (face down) over the hole from the inside.
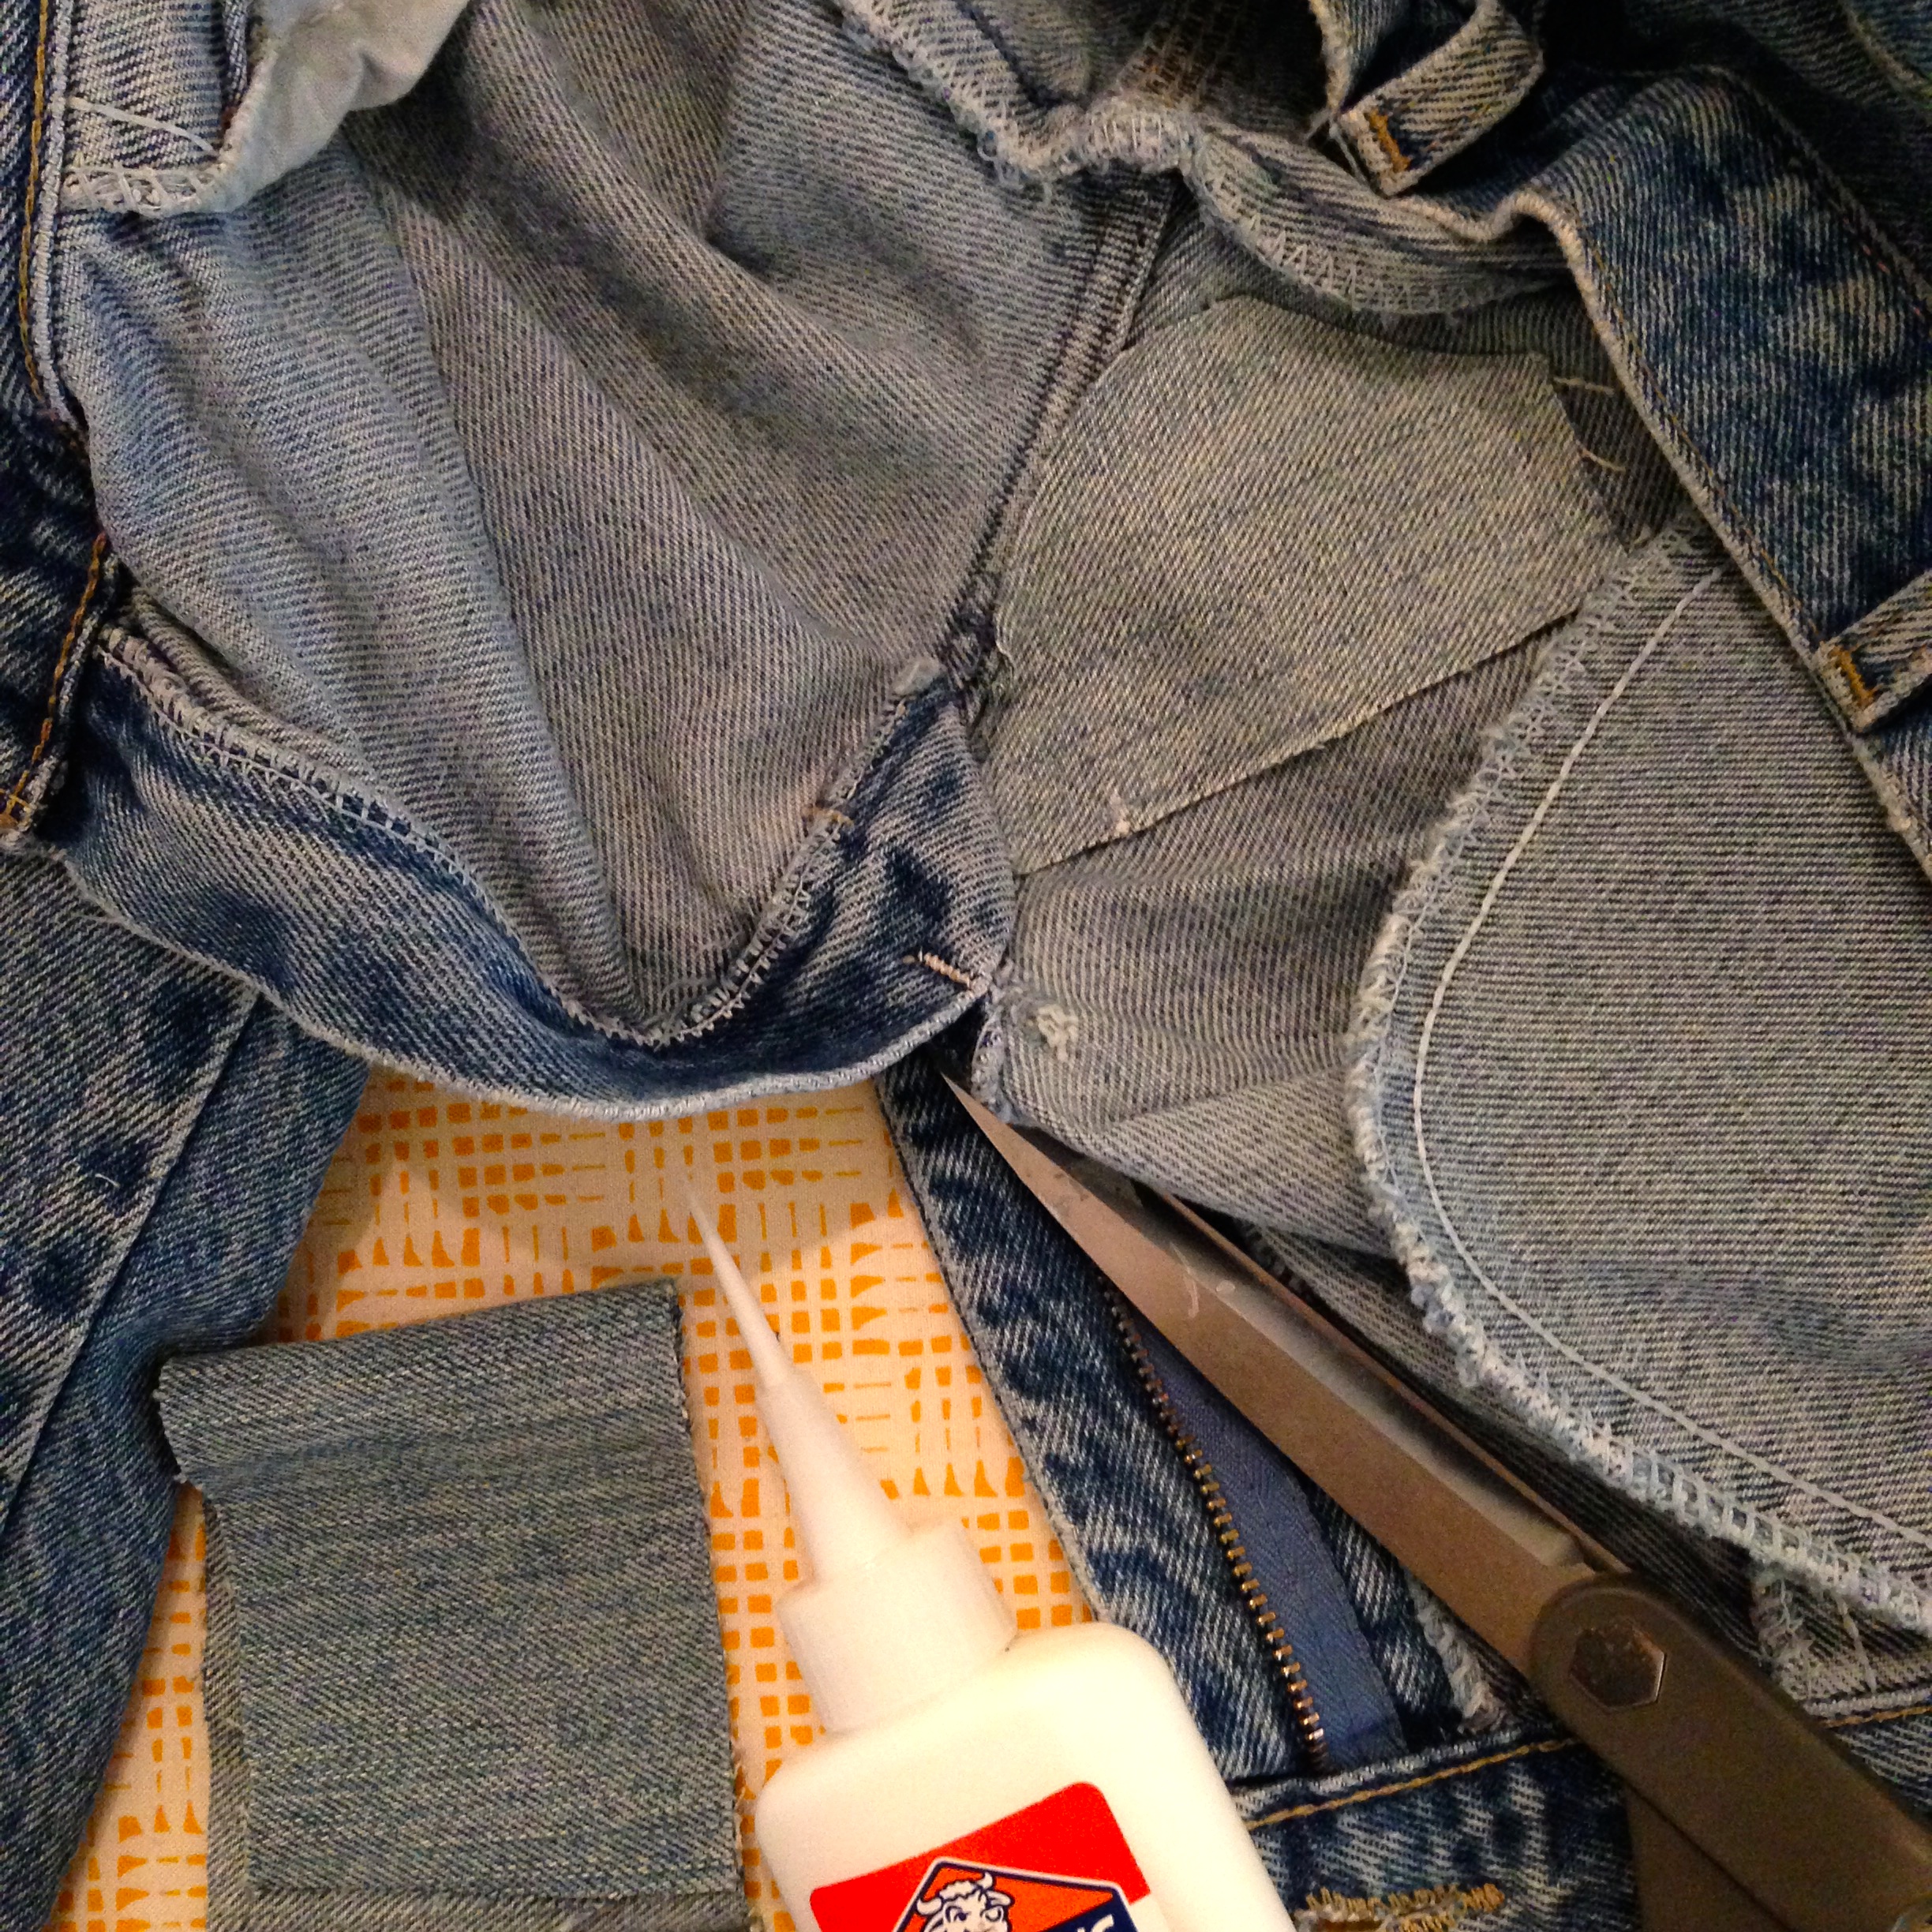
I cut it about 1/2″ larger than the hole on all sides. (The denim was left over from My Brother’s Jeans quilt, which I blogged about here on WeAllSew!) A quick press with the iron dries the glue quickly so the patch stays in place without pins—awesome!
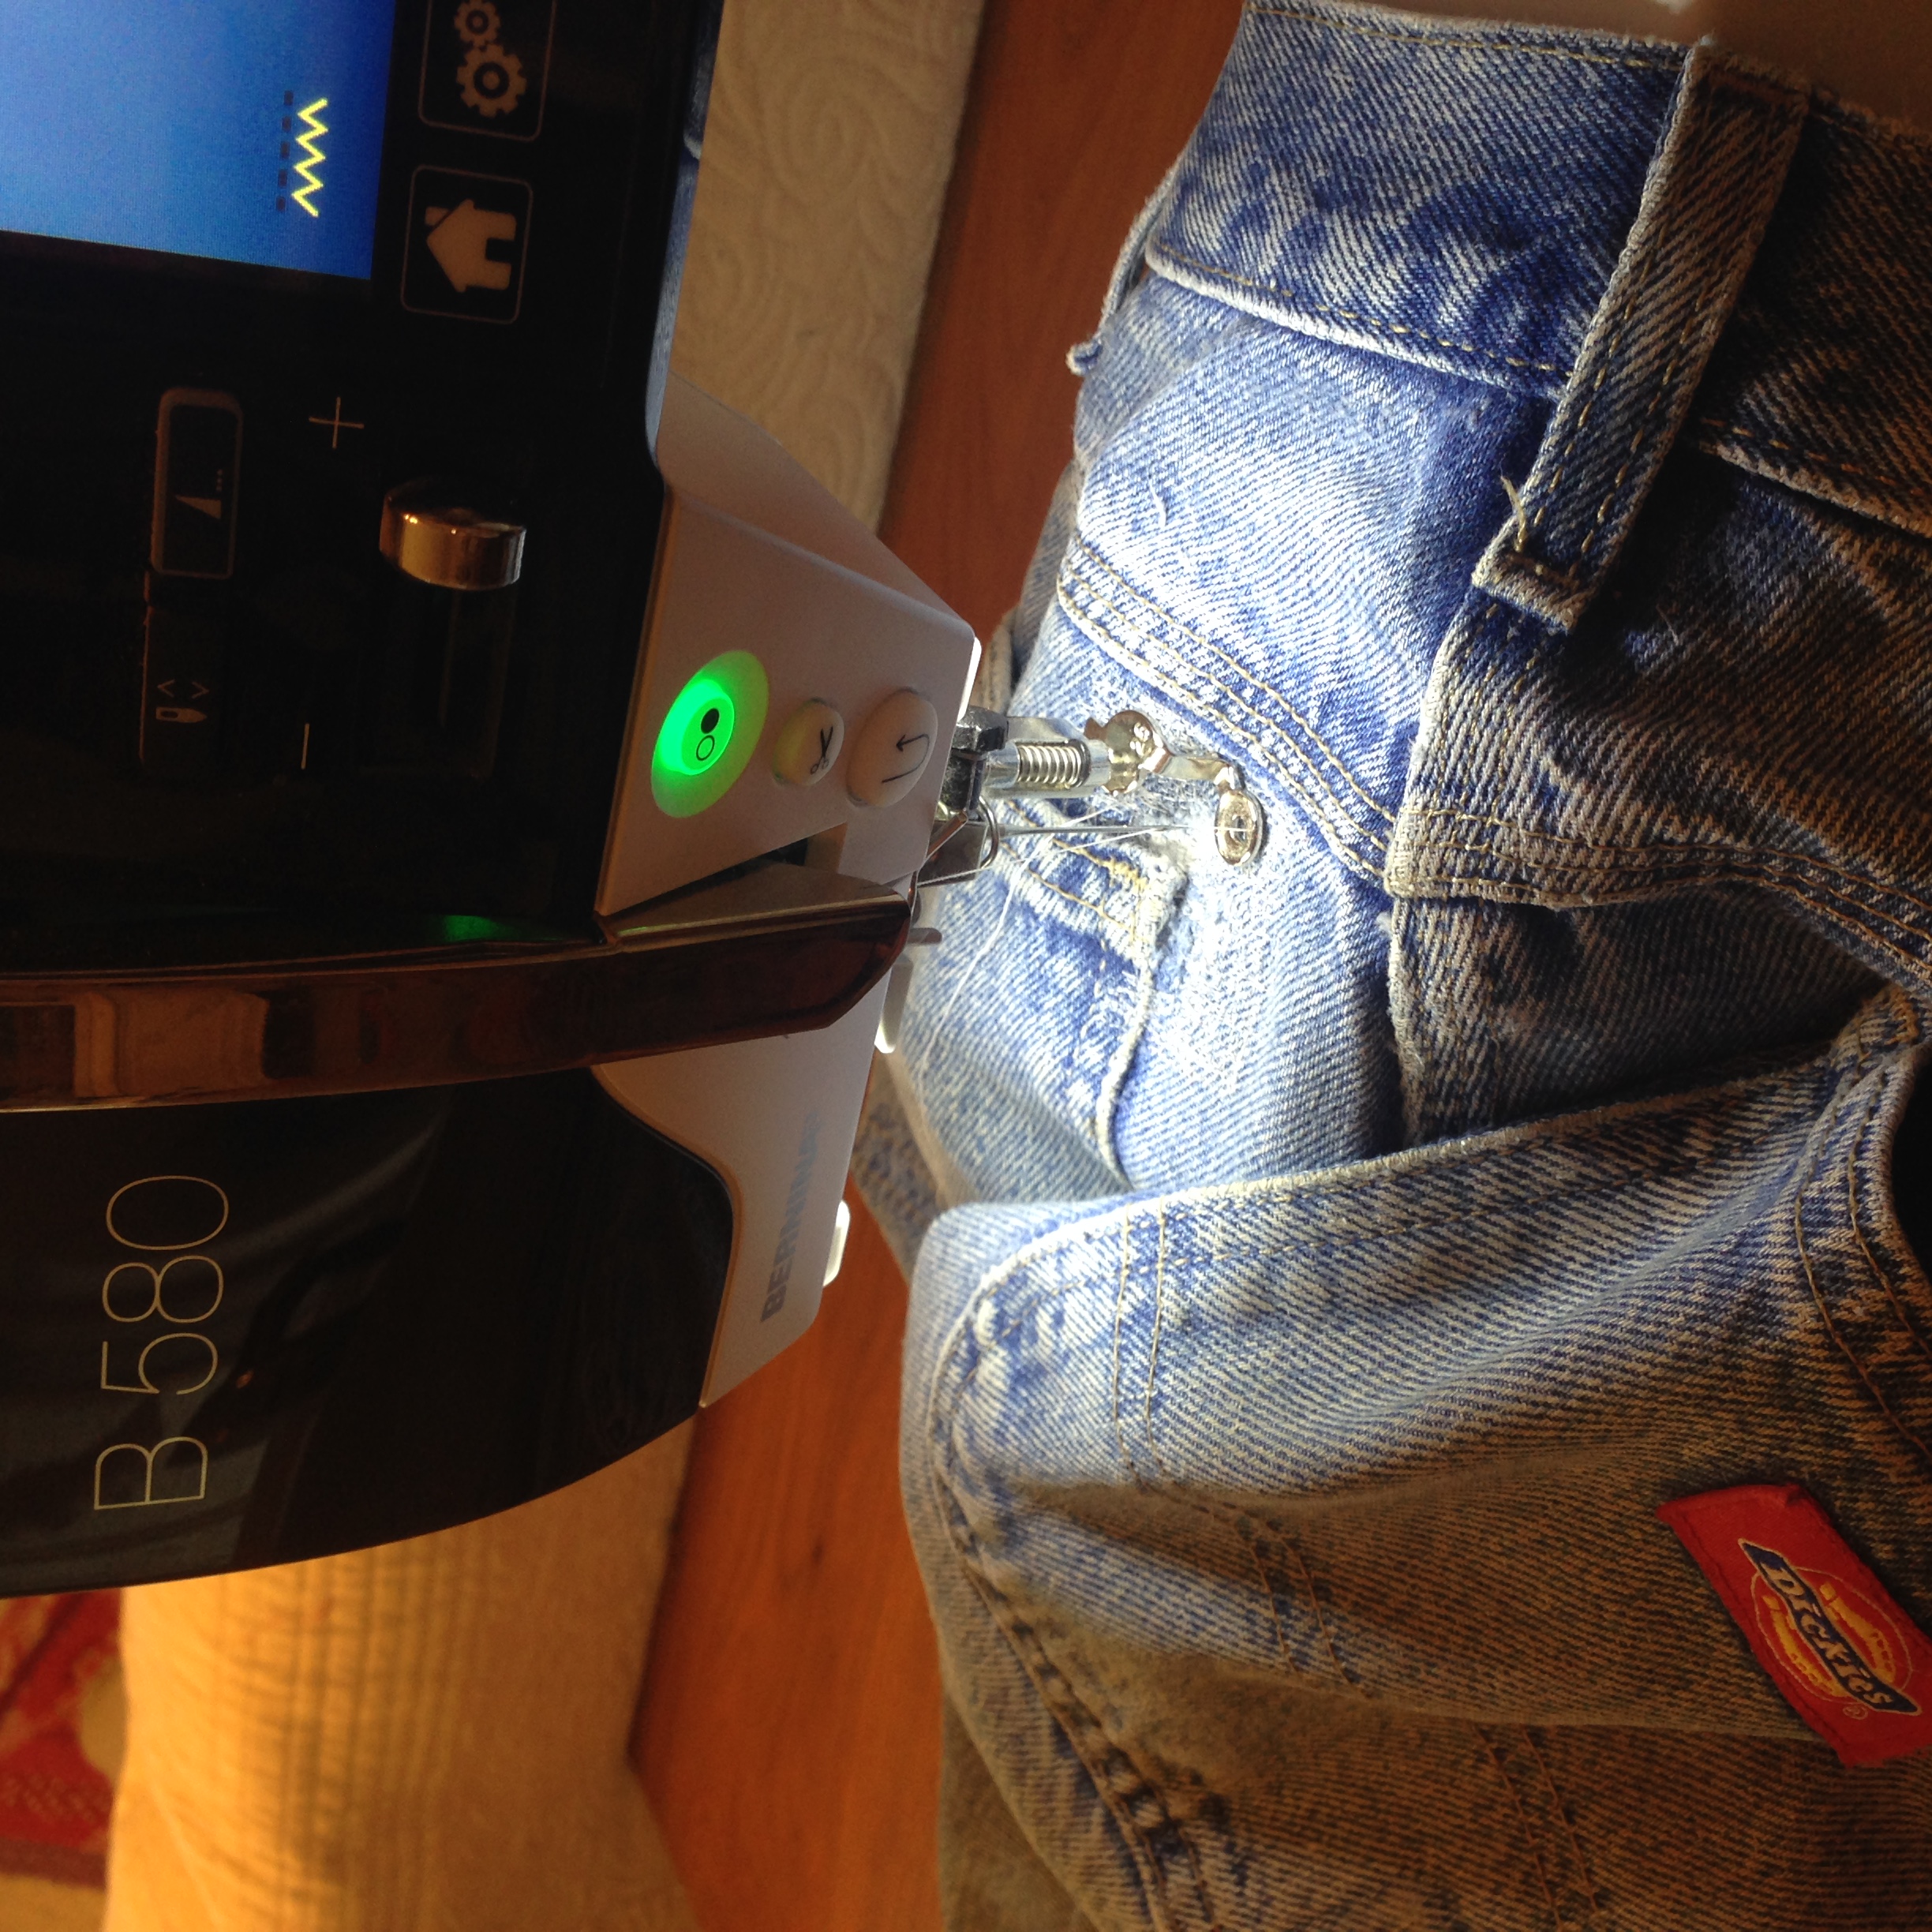
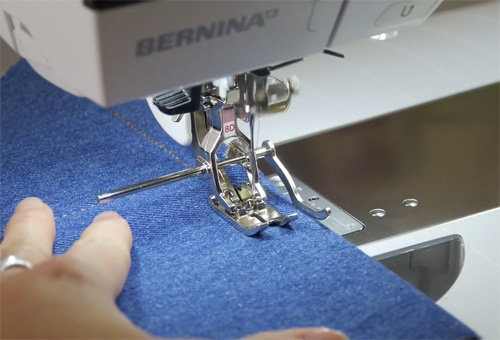
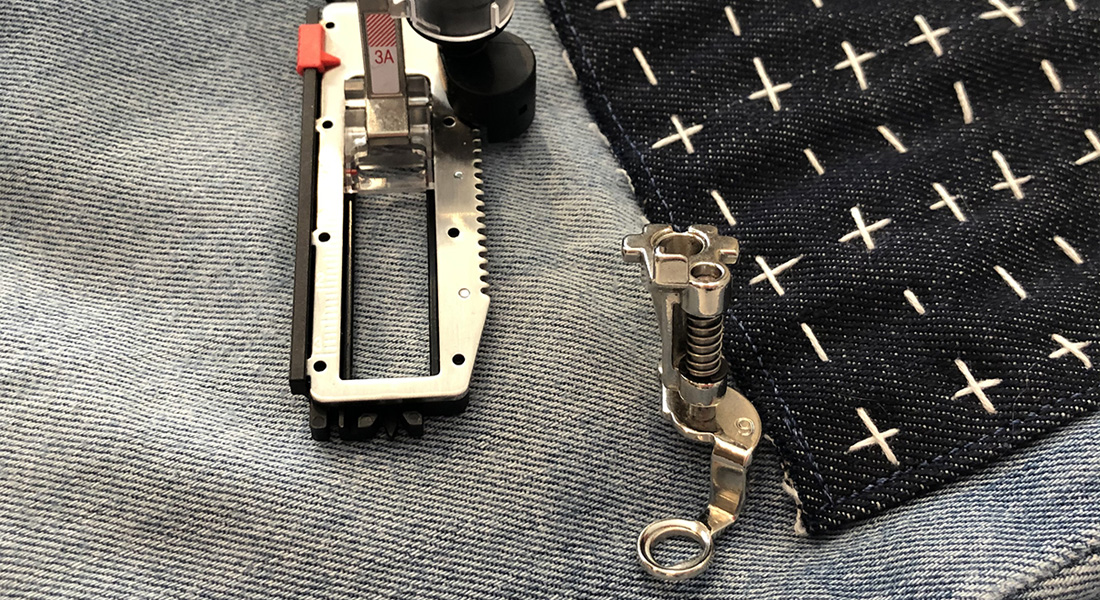
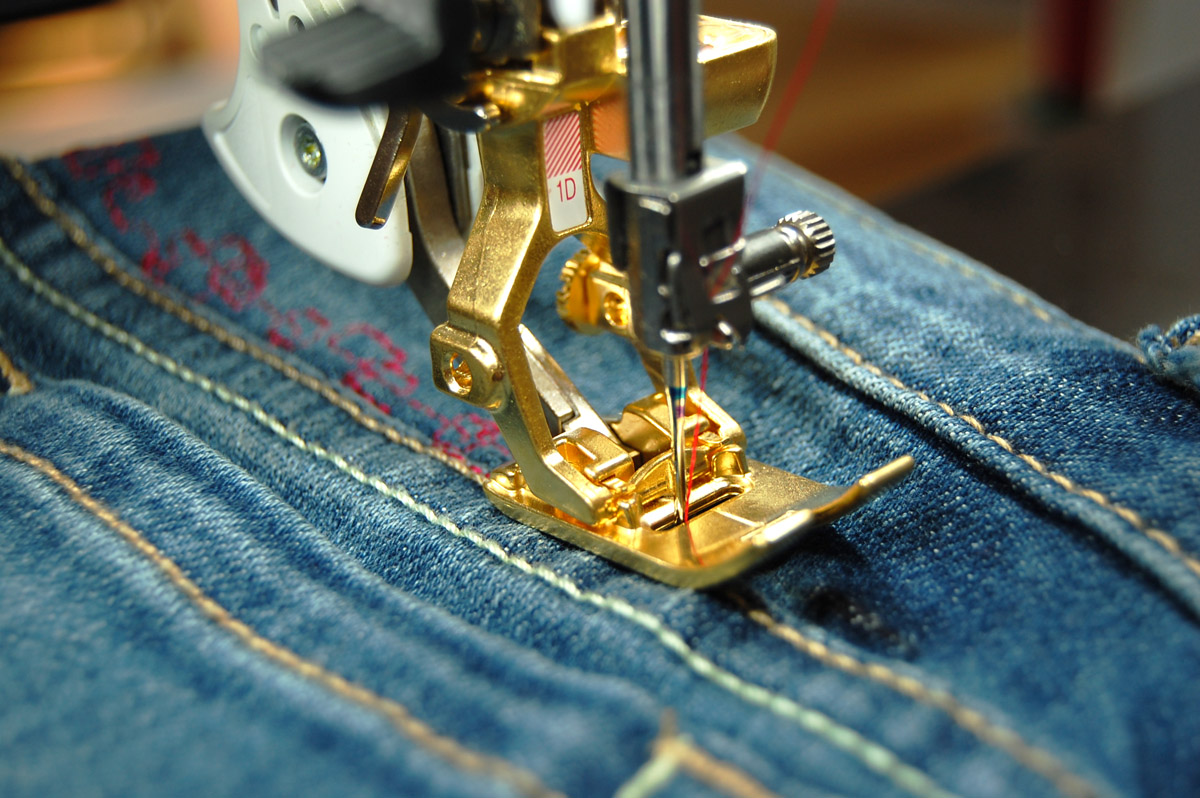
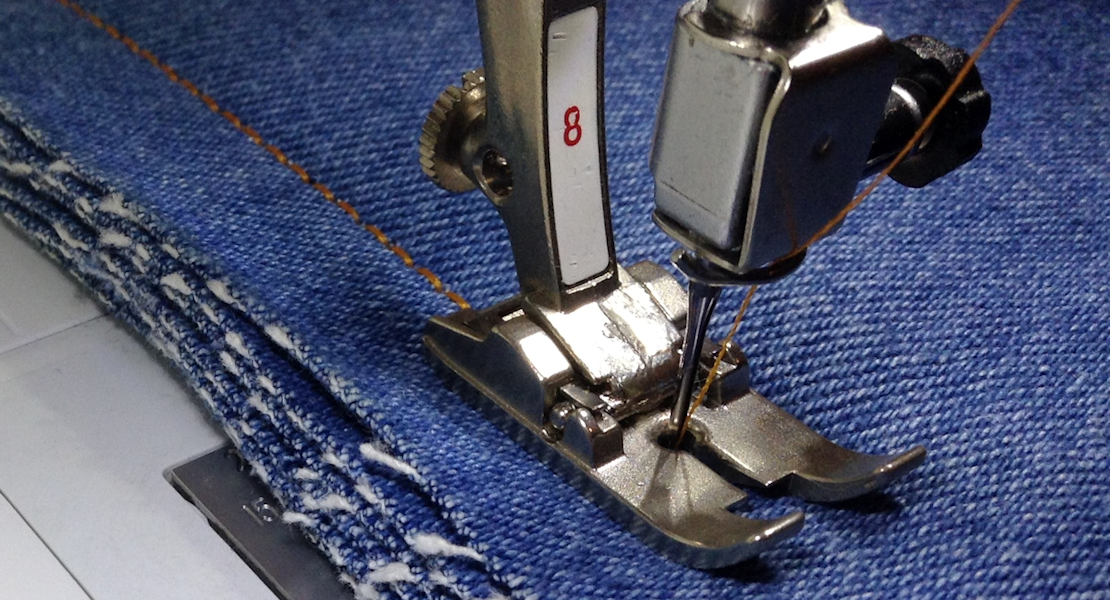
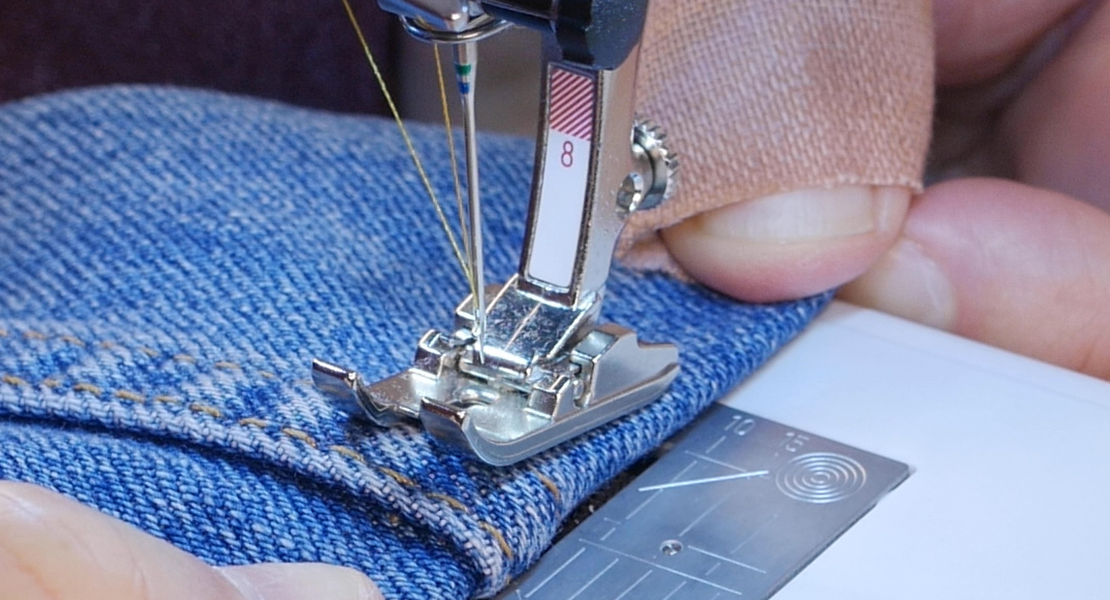
I turned the jeans right side out, put the darning foot on my BERNINA 580, and lowered the feed dogs.
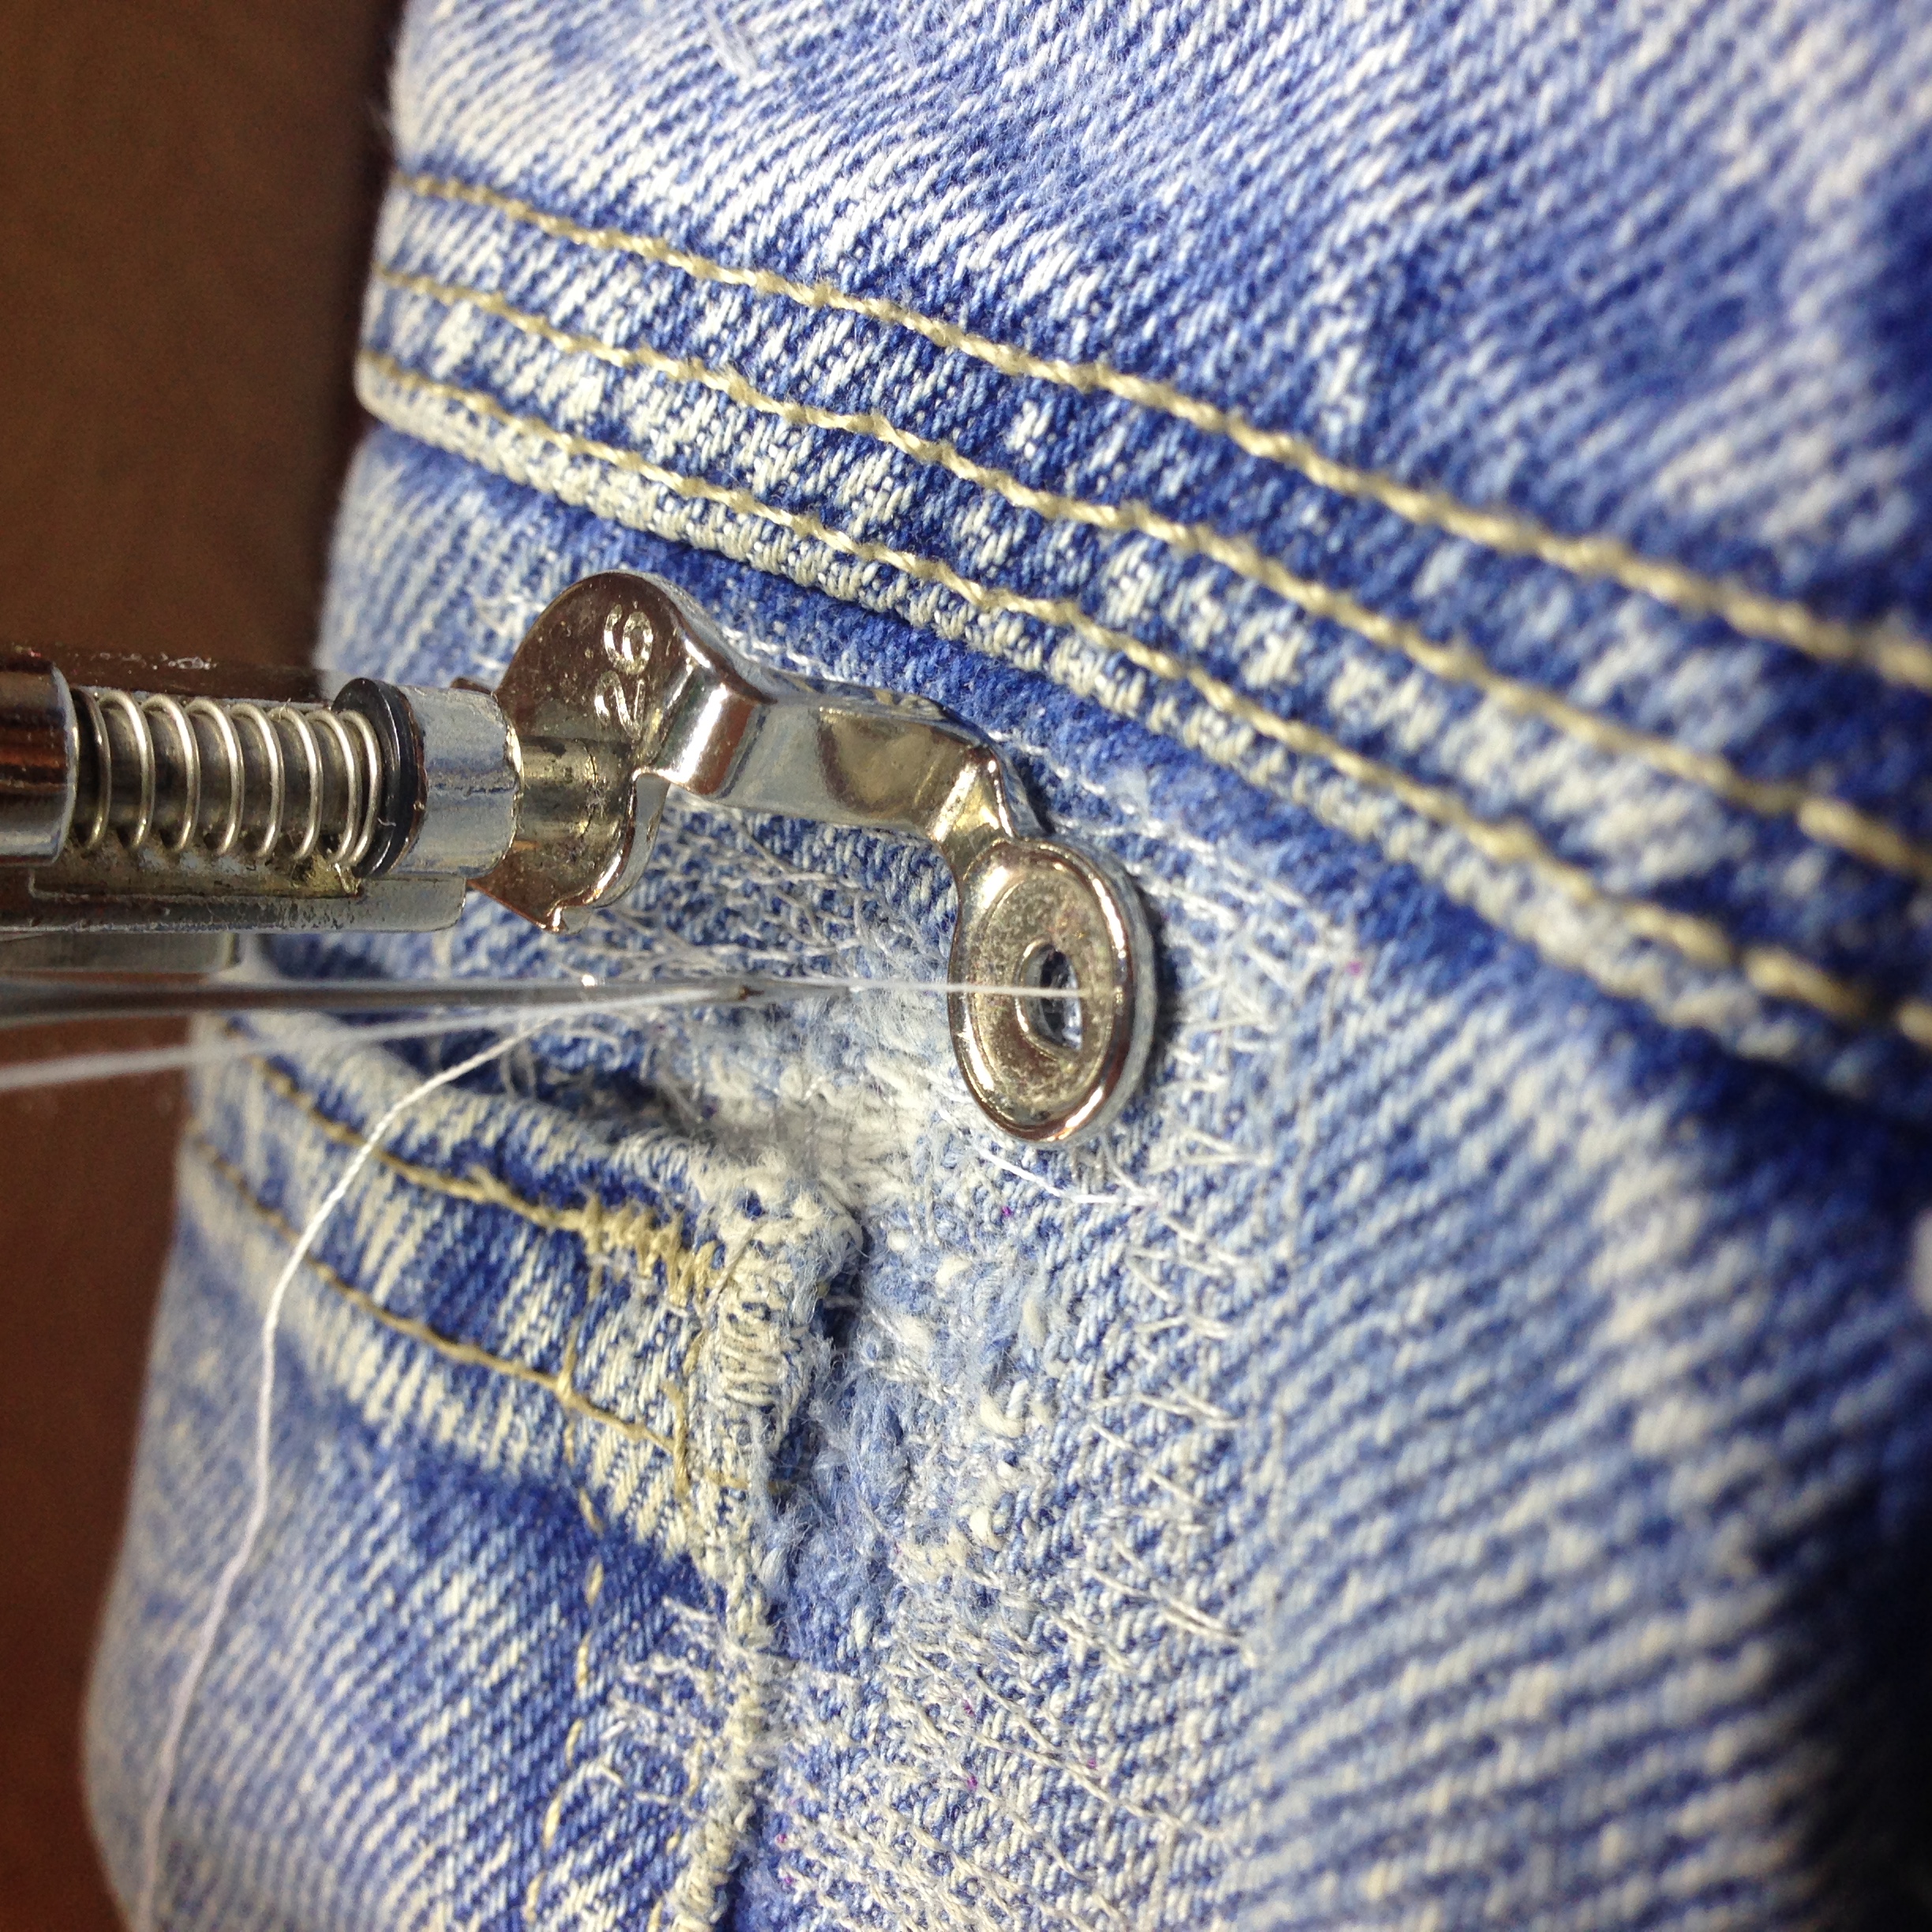
If you haven’t tried free-motion quilting or darning, you might like to test out either the Darning foot #9 or the Embroidery foot #26 (with feed dogs lowered) to see how it feels on a couple of layers of scrap fabric first. You need to move the fabric under the needle rather than the feed dogs doing it for you, so it does feel different from regular sewing!
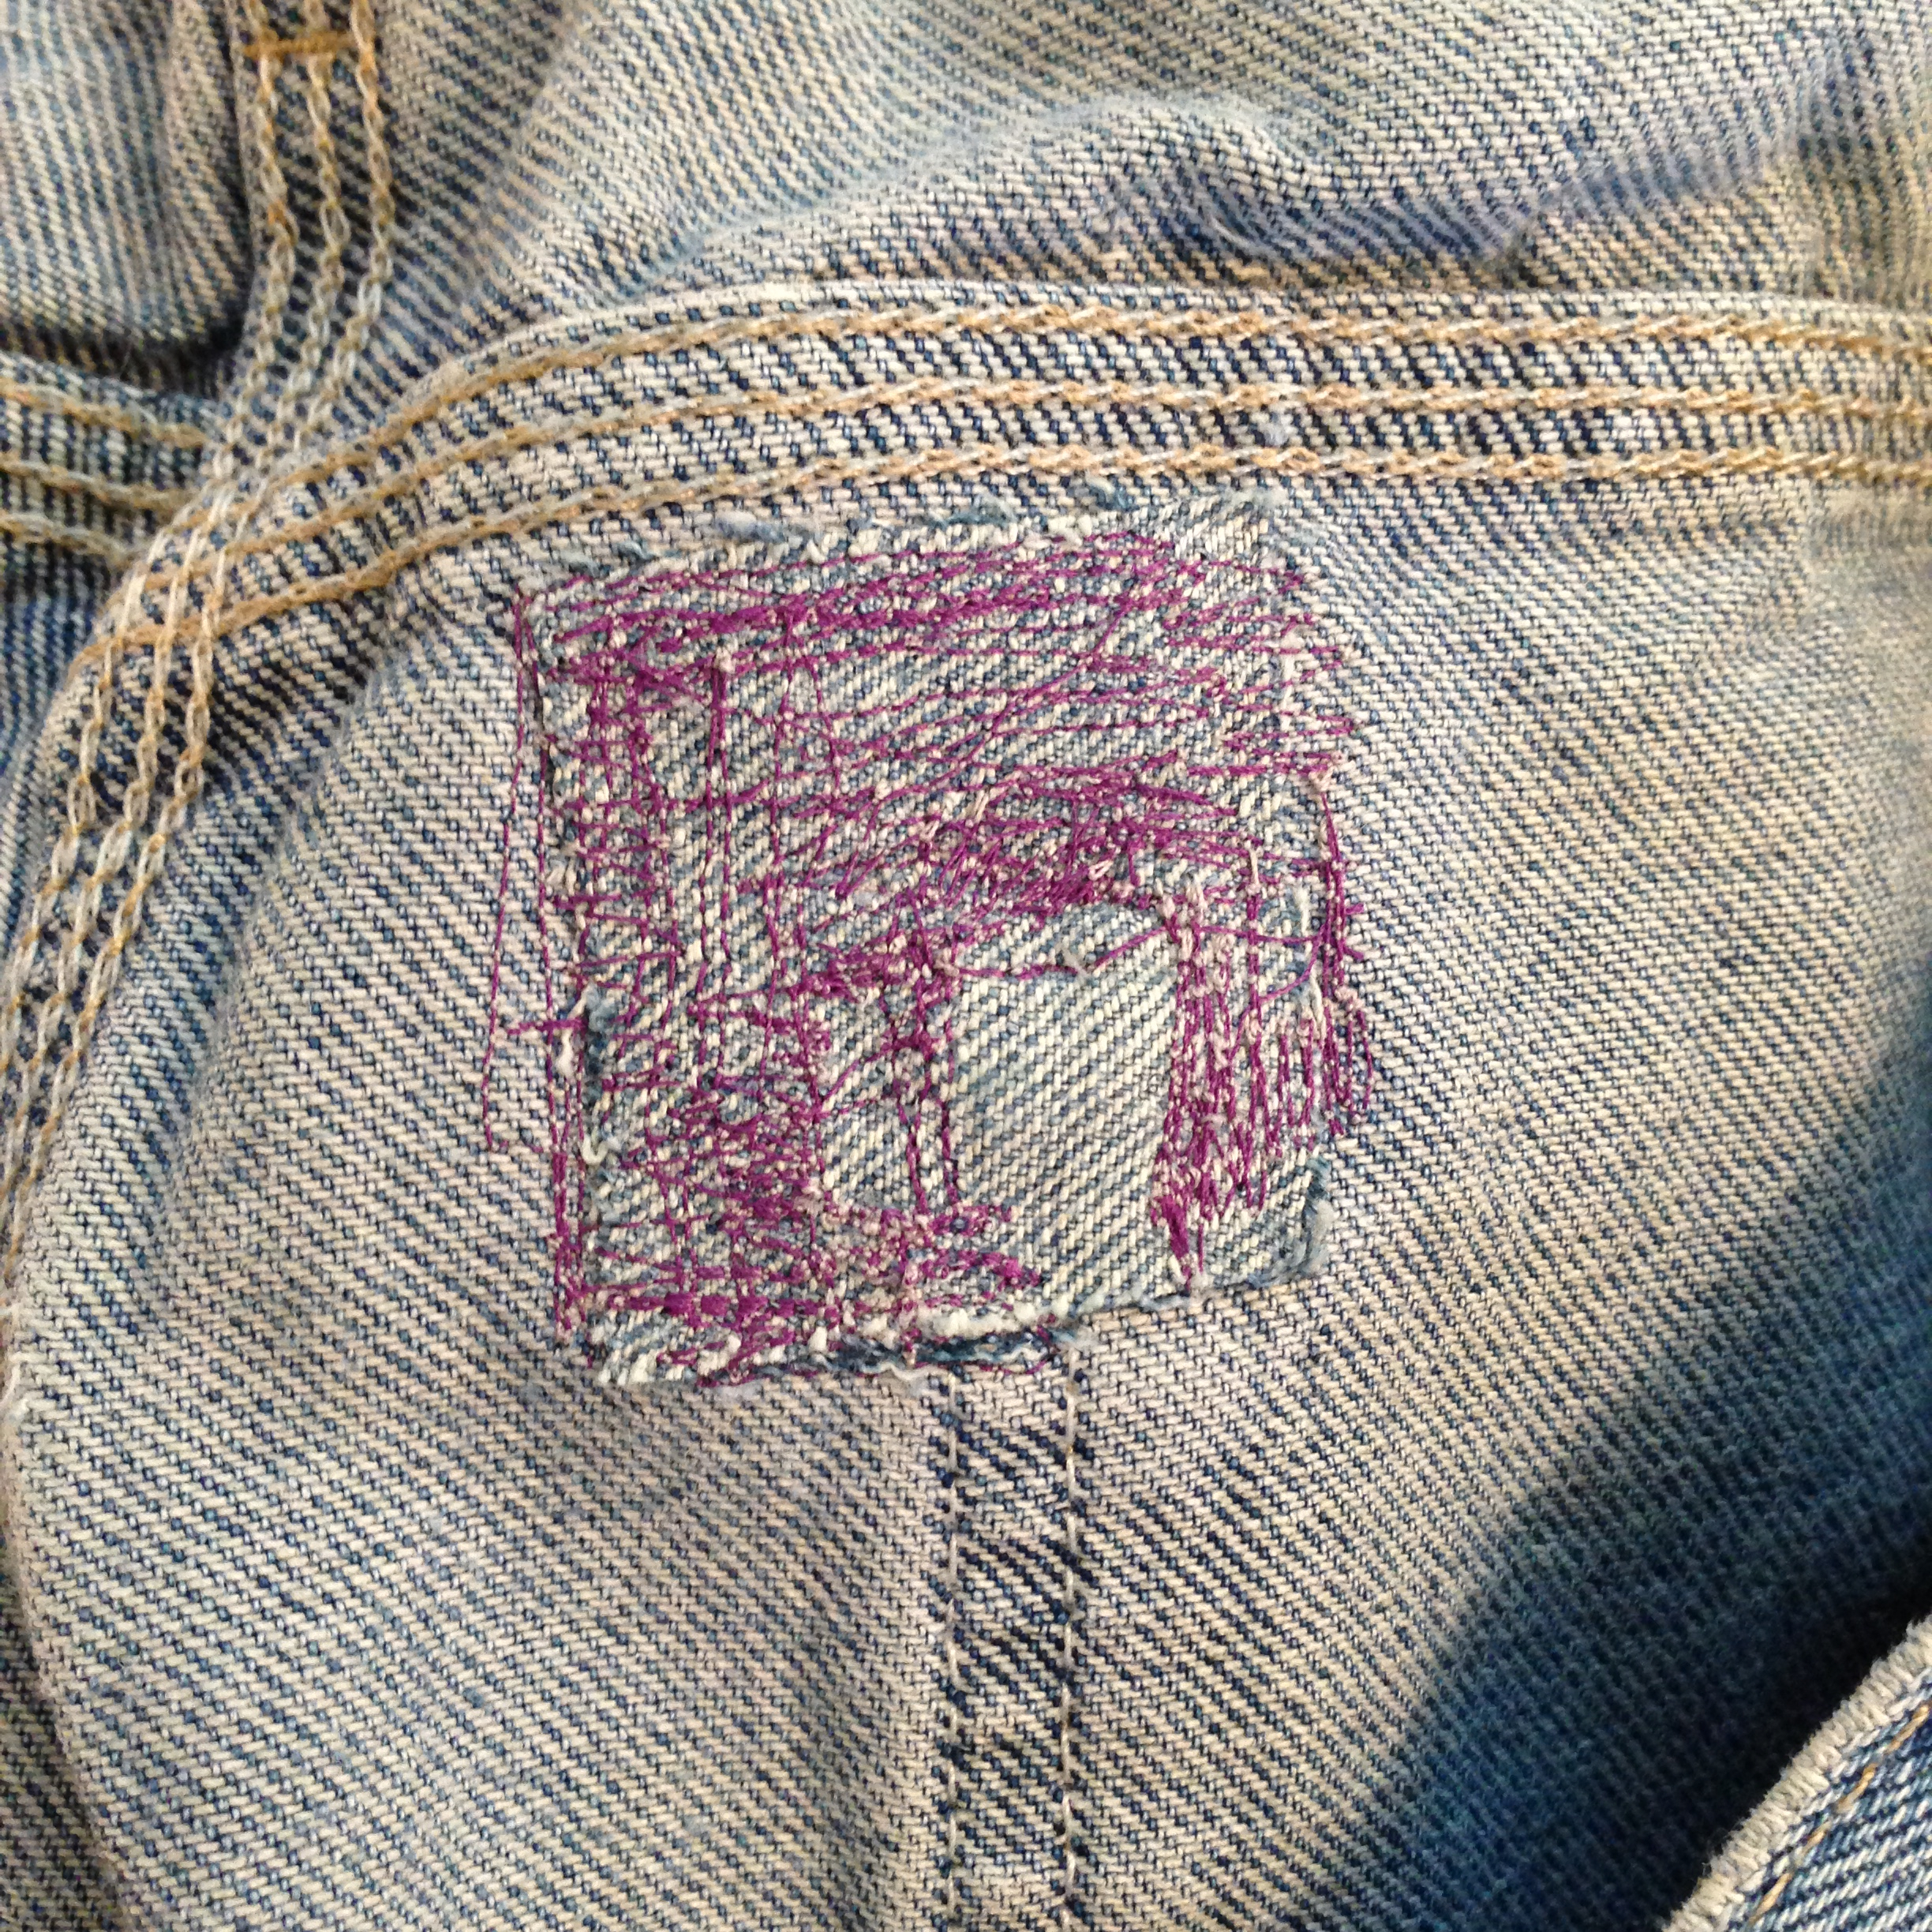
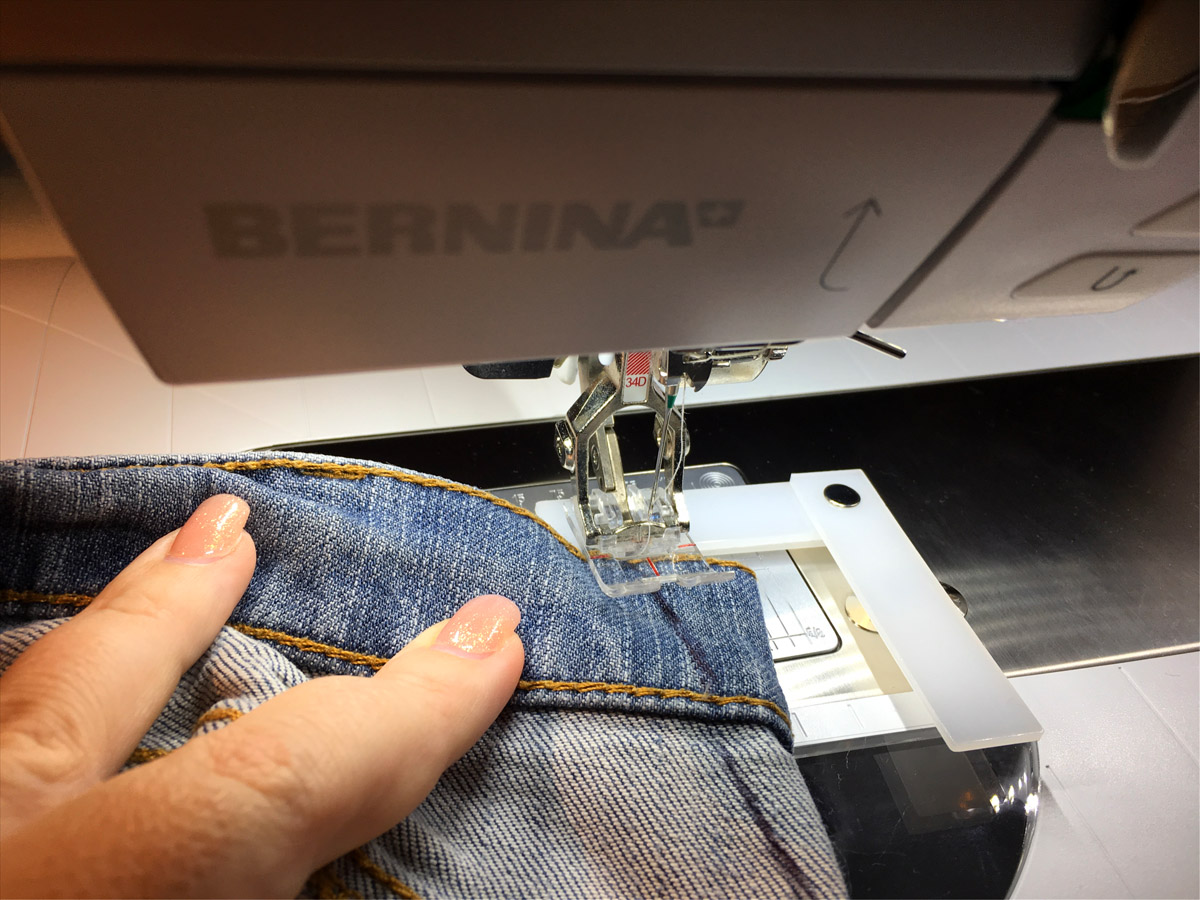
I carefully maneuvered the jeans so I could stitch a bunch of lines through the jeans and the patch, while avoiding the bulky seams! Full disclosure: I did break a couple of needles, but that was because I was moving the fabric too fast! A broken needle, while a bummer, isn’t the end of the world—it’s a learning opportunity. I slowed down! You might also try using a jeans needle for a bit more stability.
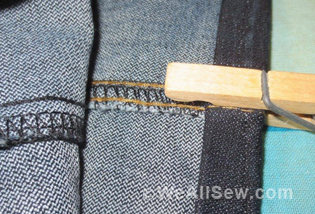
Here’s what the inside looks like:
I used the all-purpose threads I had in my machine already—I’m like that. You might choose to use a better matching top thread (and matching bobbin) if you want a less visible repair. I love the look of something that is obviously mended, so I just went with it!
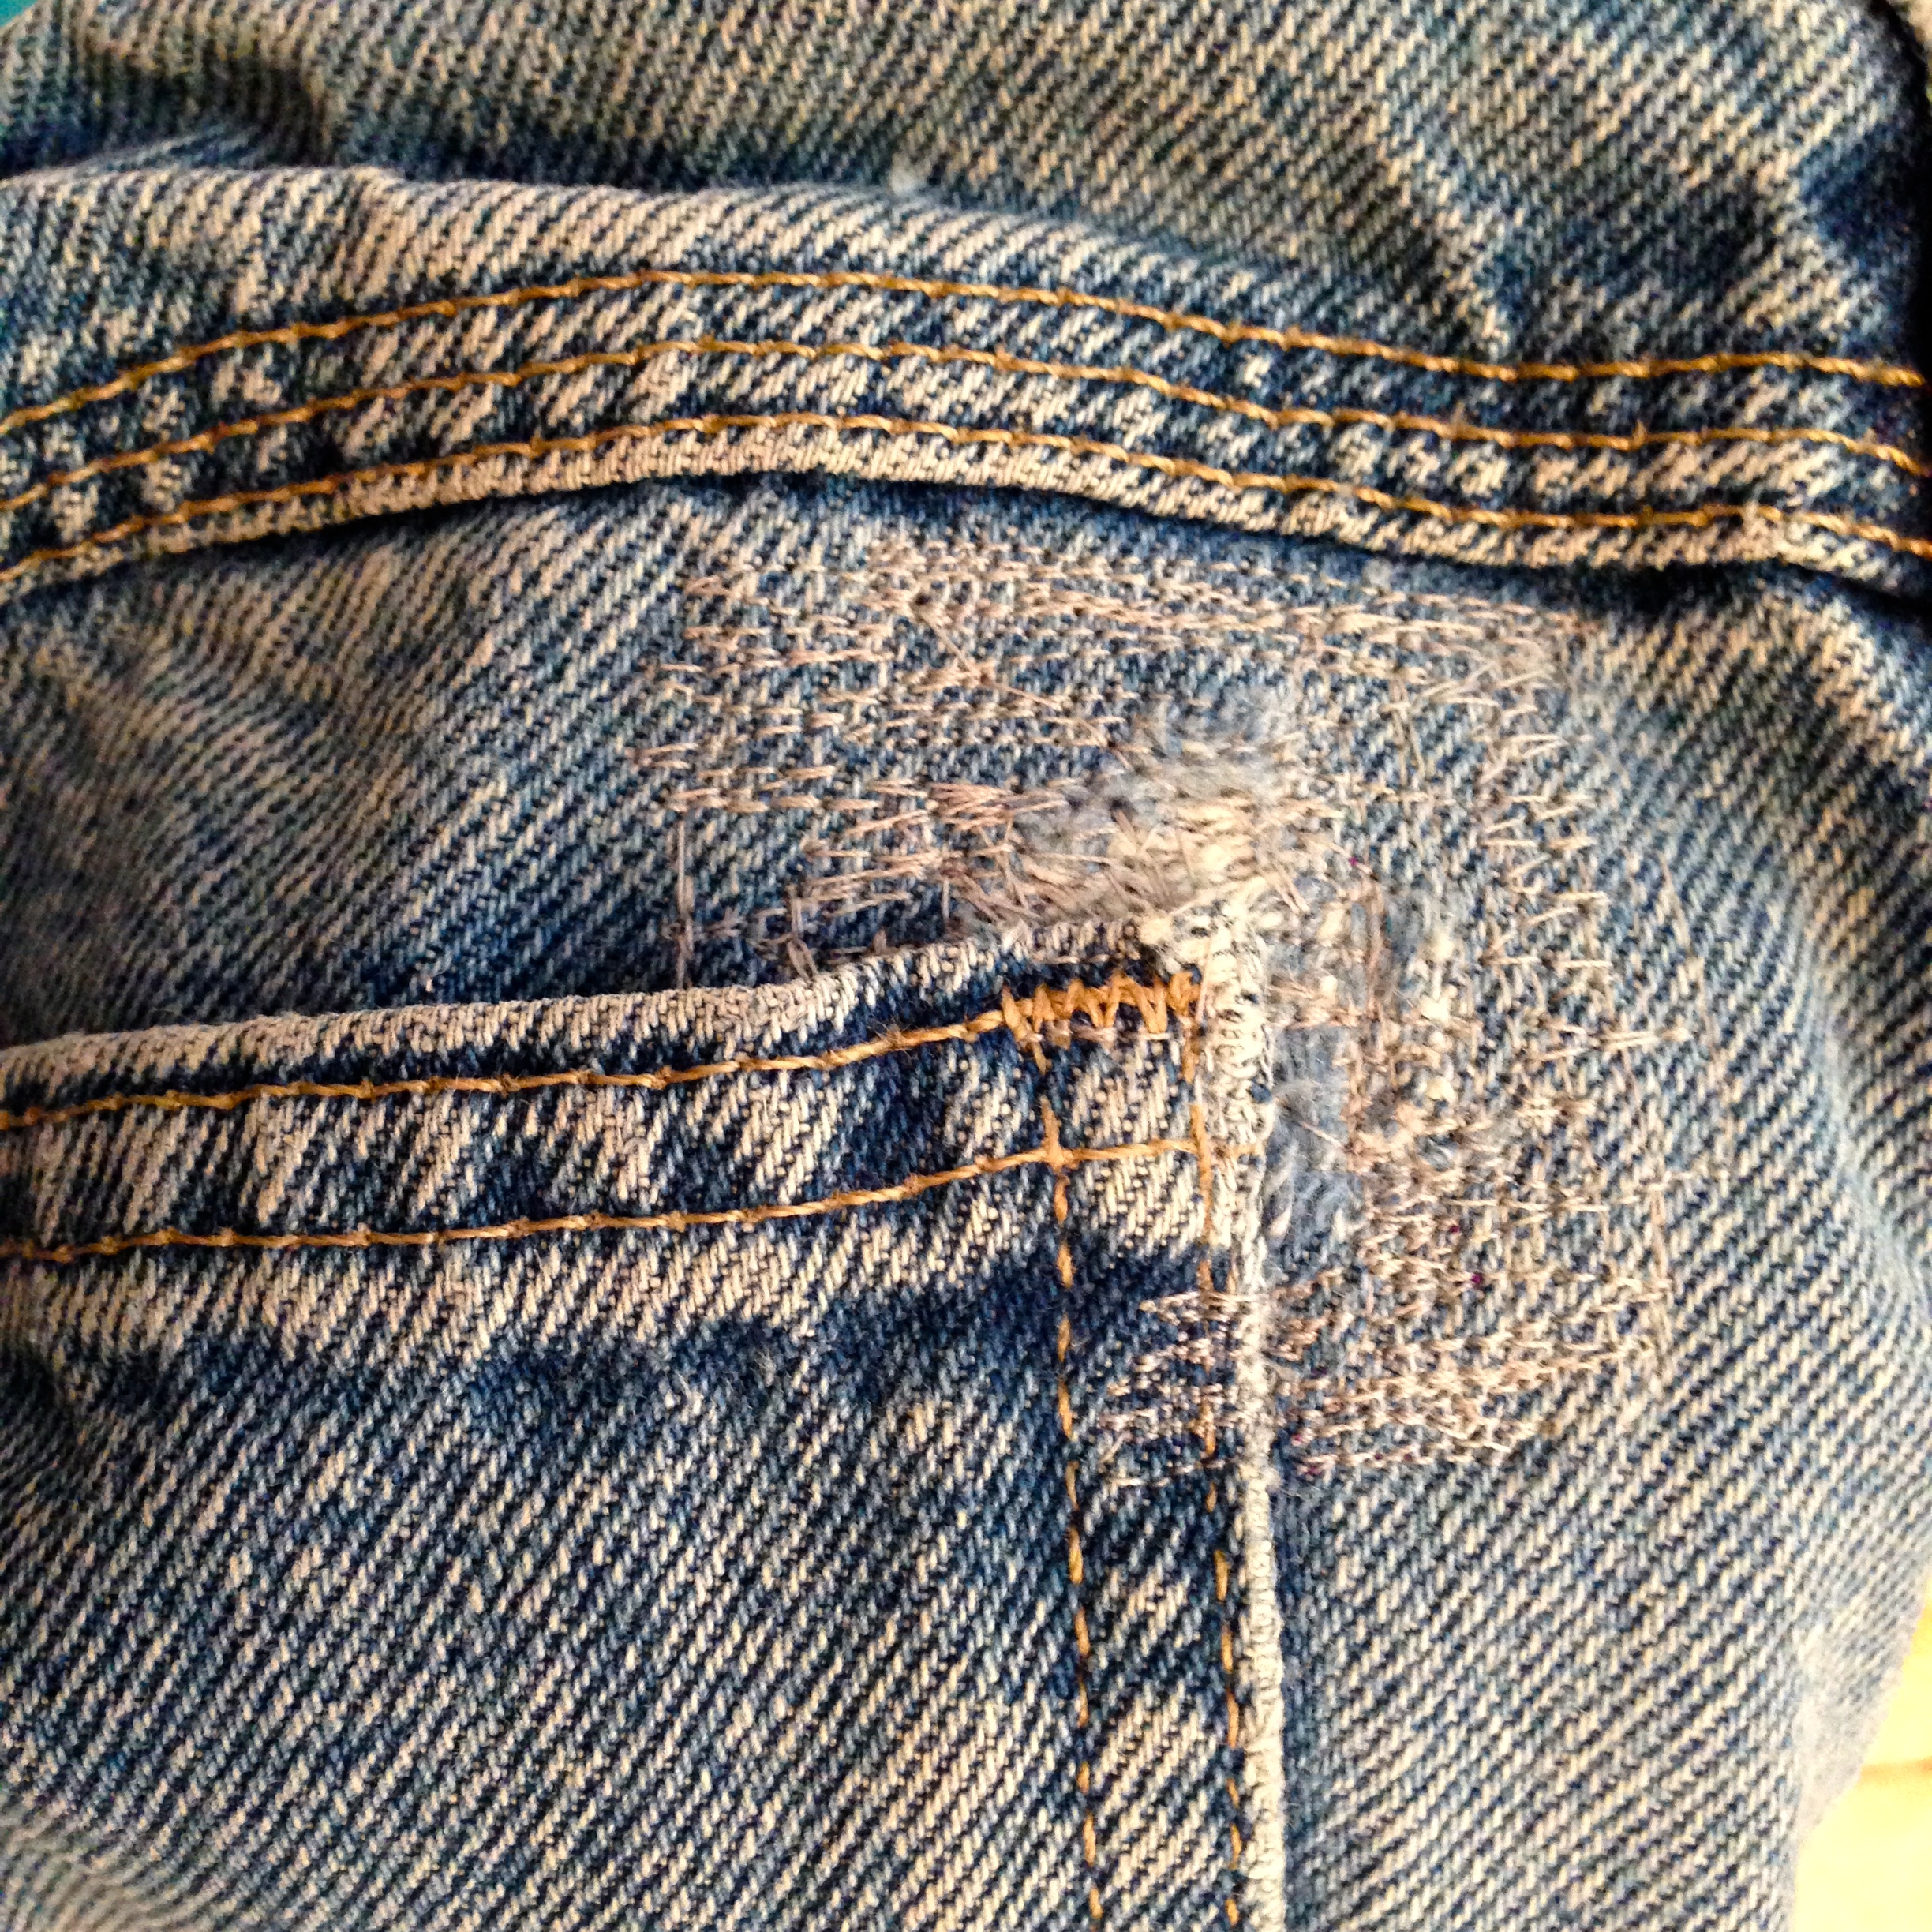
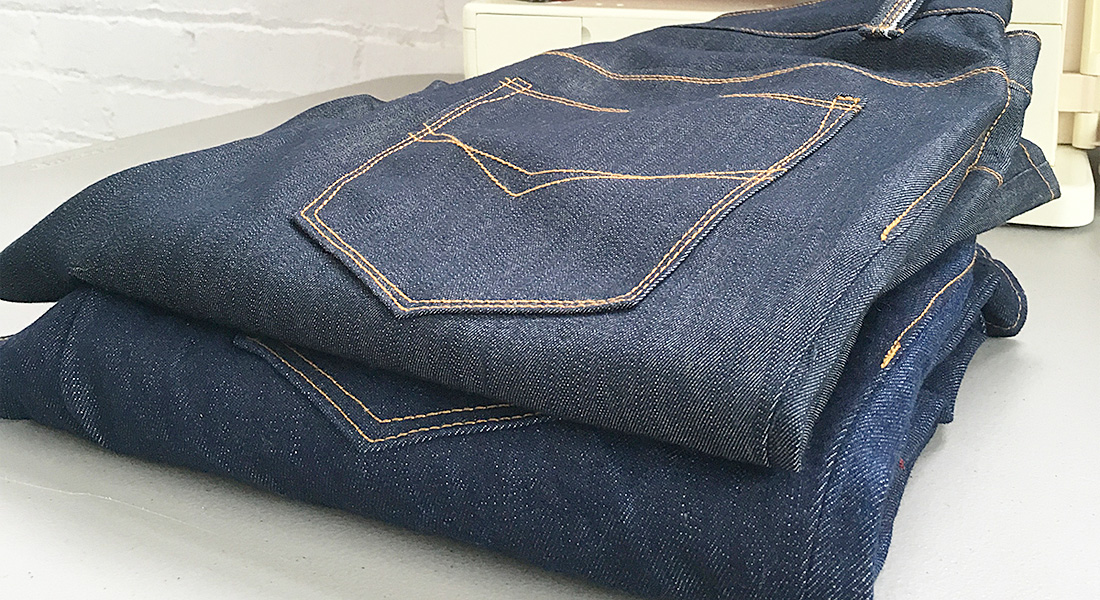
And here’s what the finished repair looks like:
I had fun doing it and it was fast! So I decided to fix a few other spots as well.
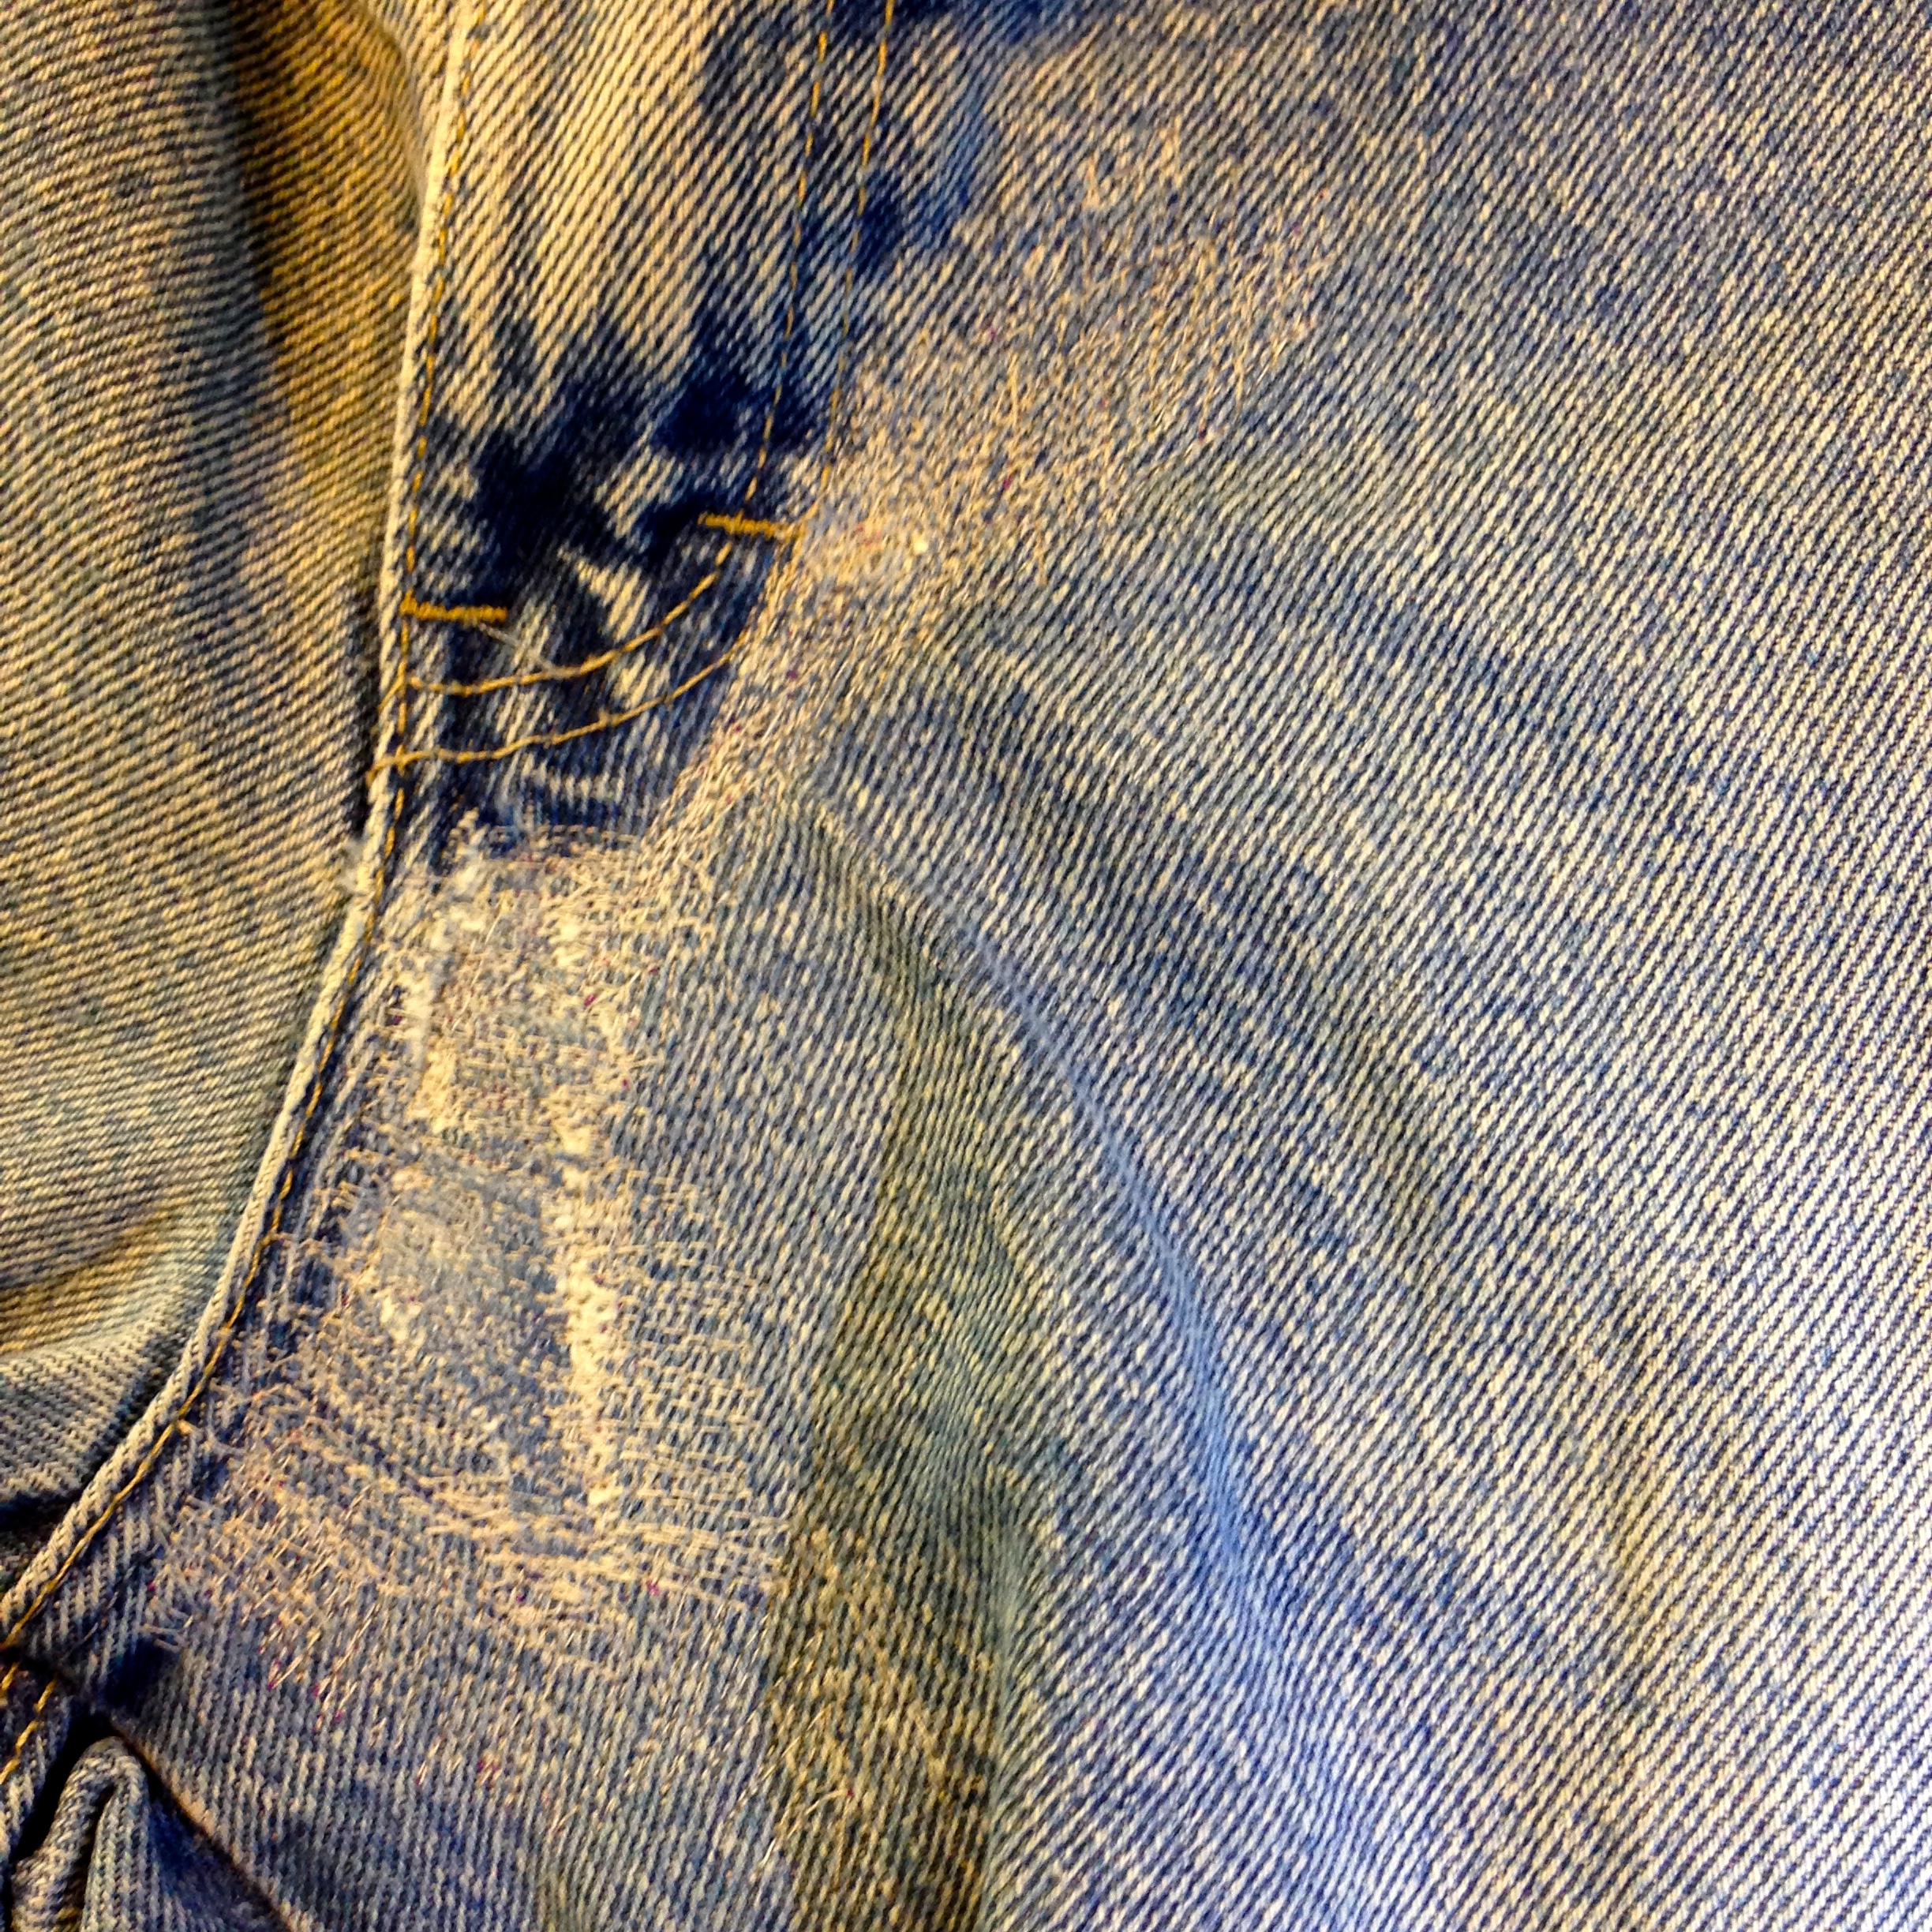
A little hole beginning around the back pocket:
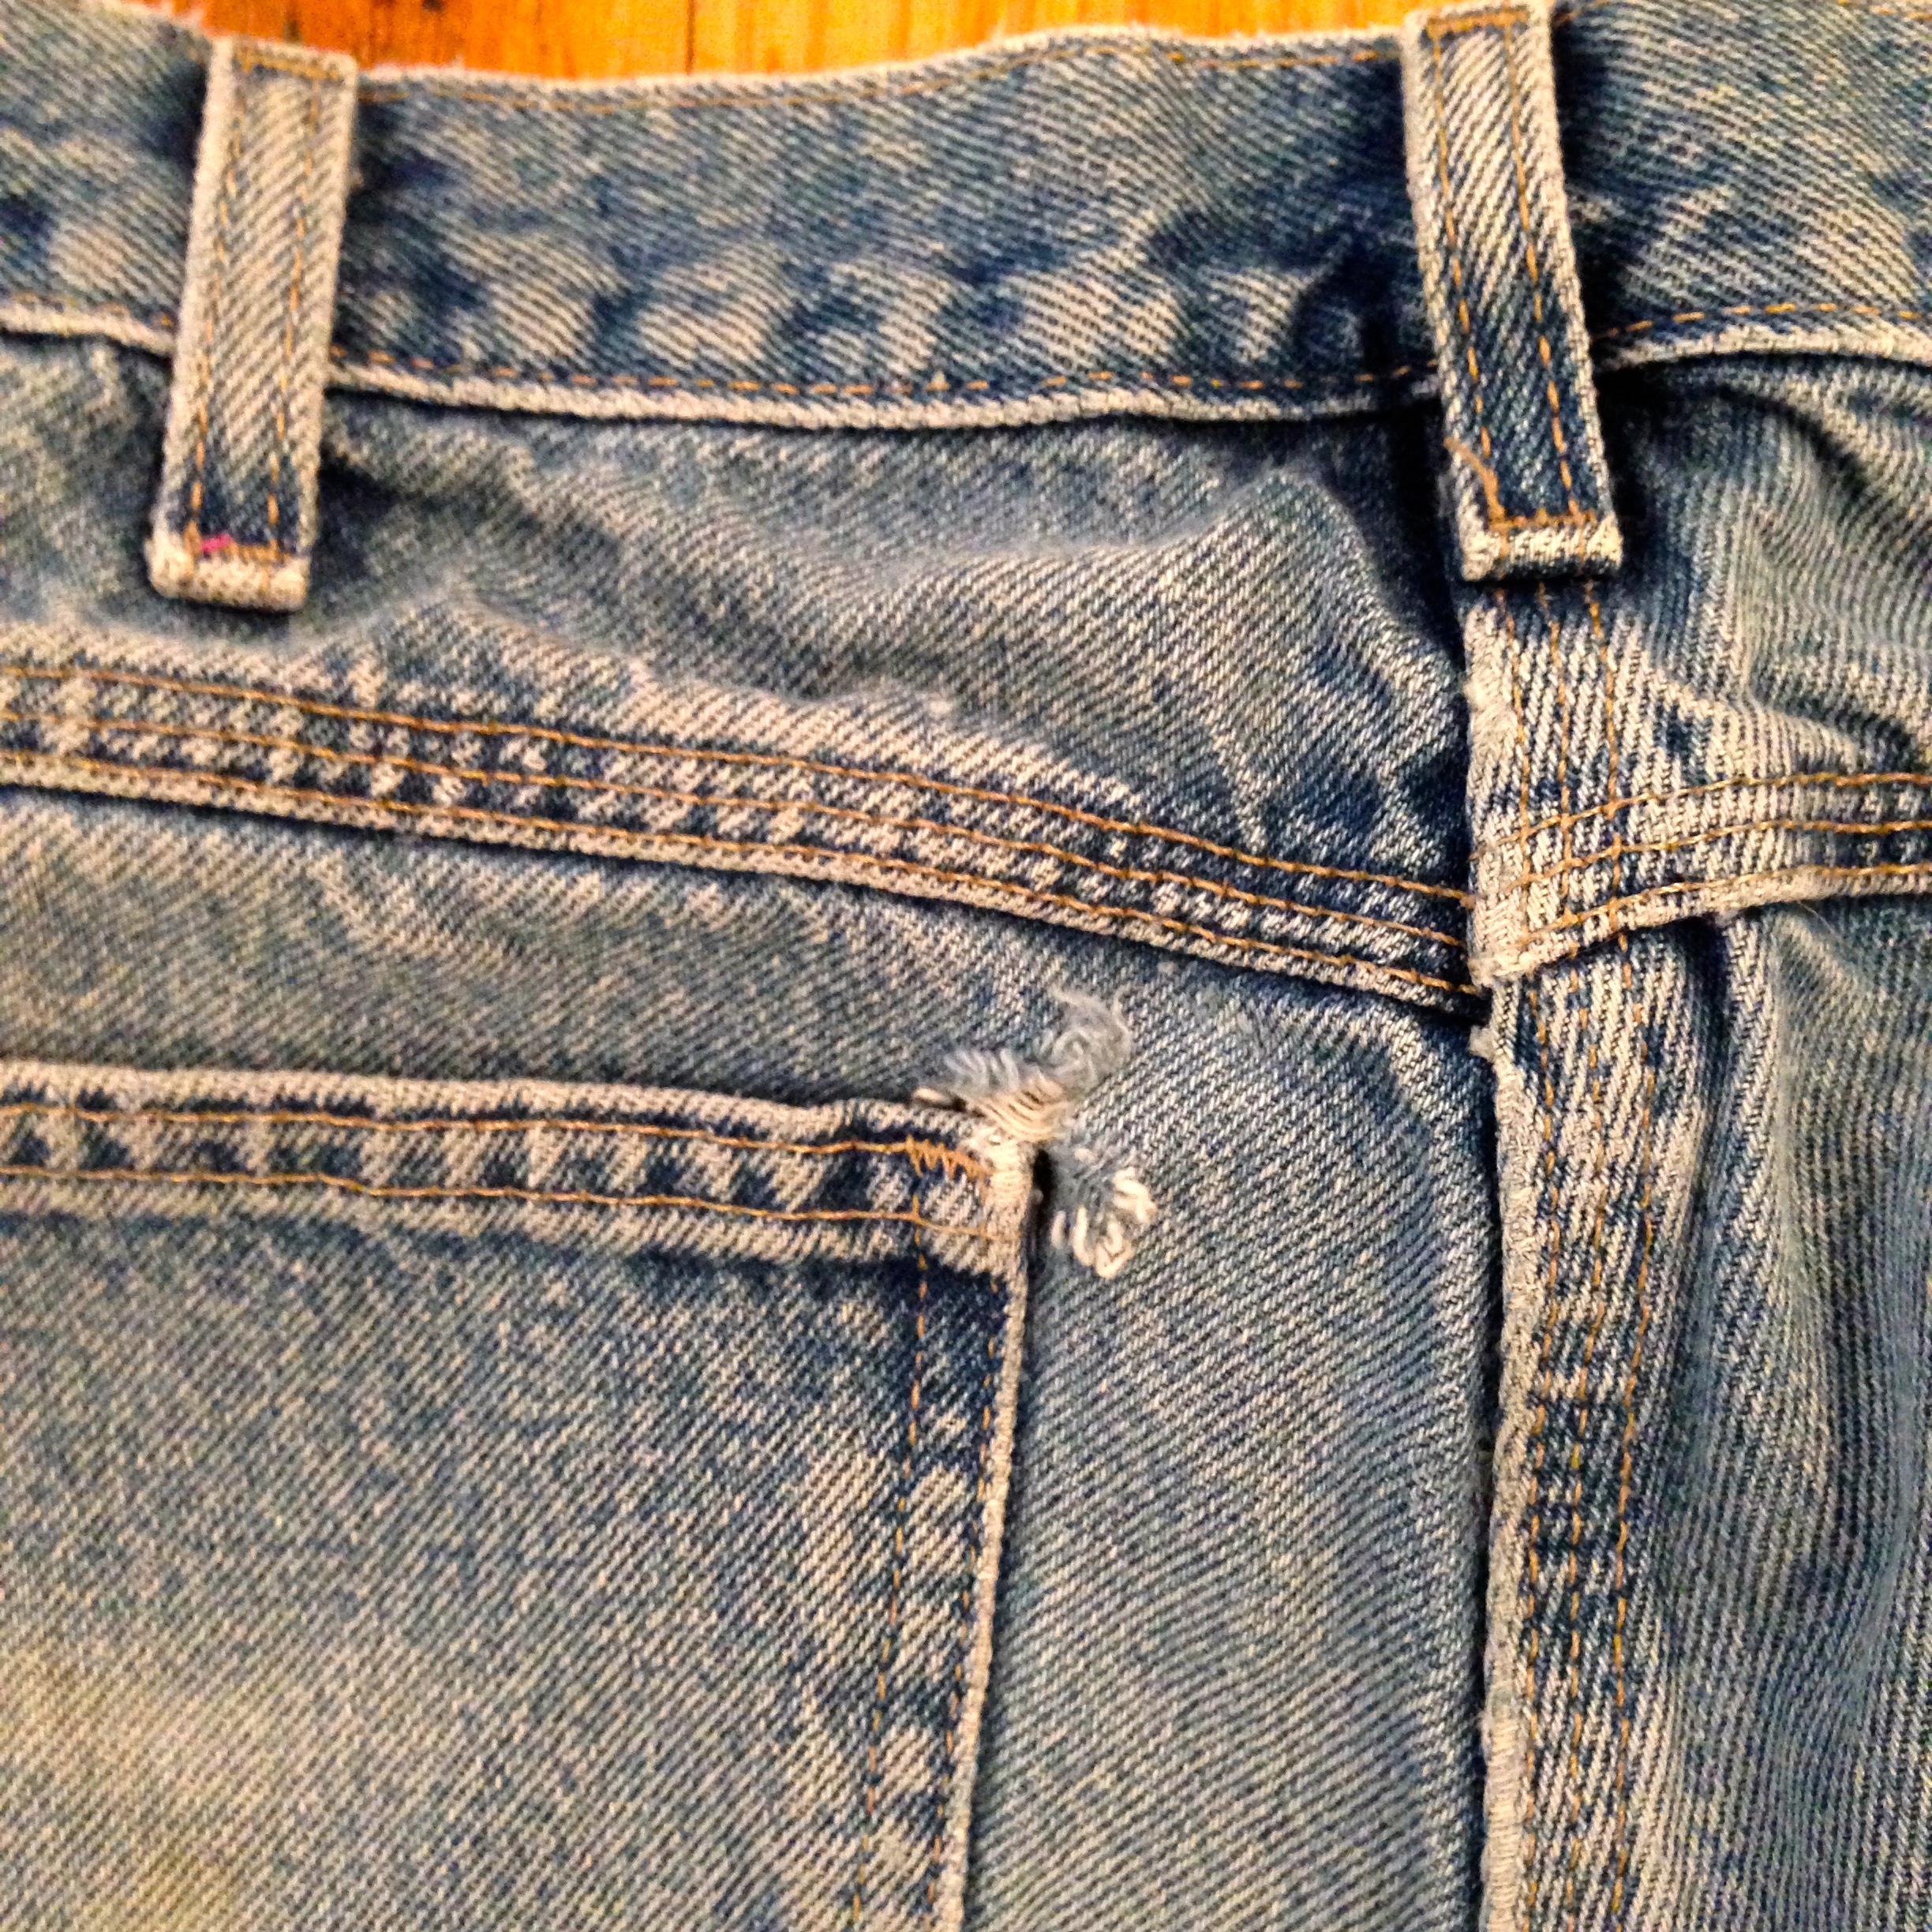
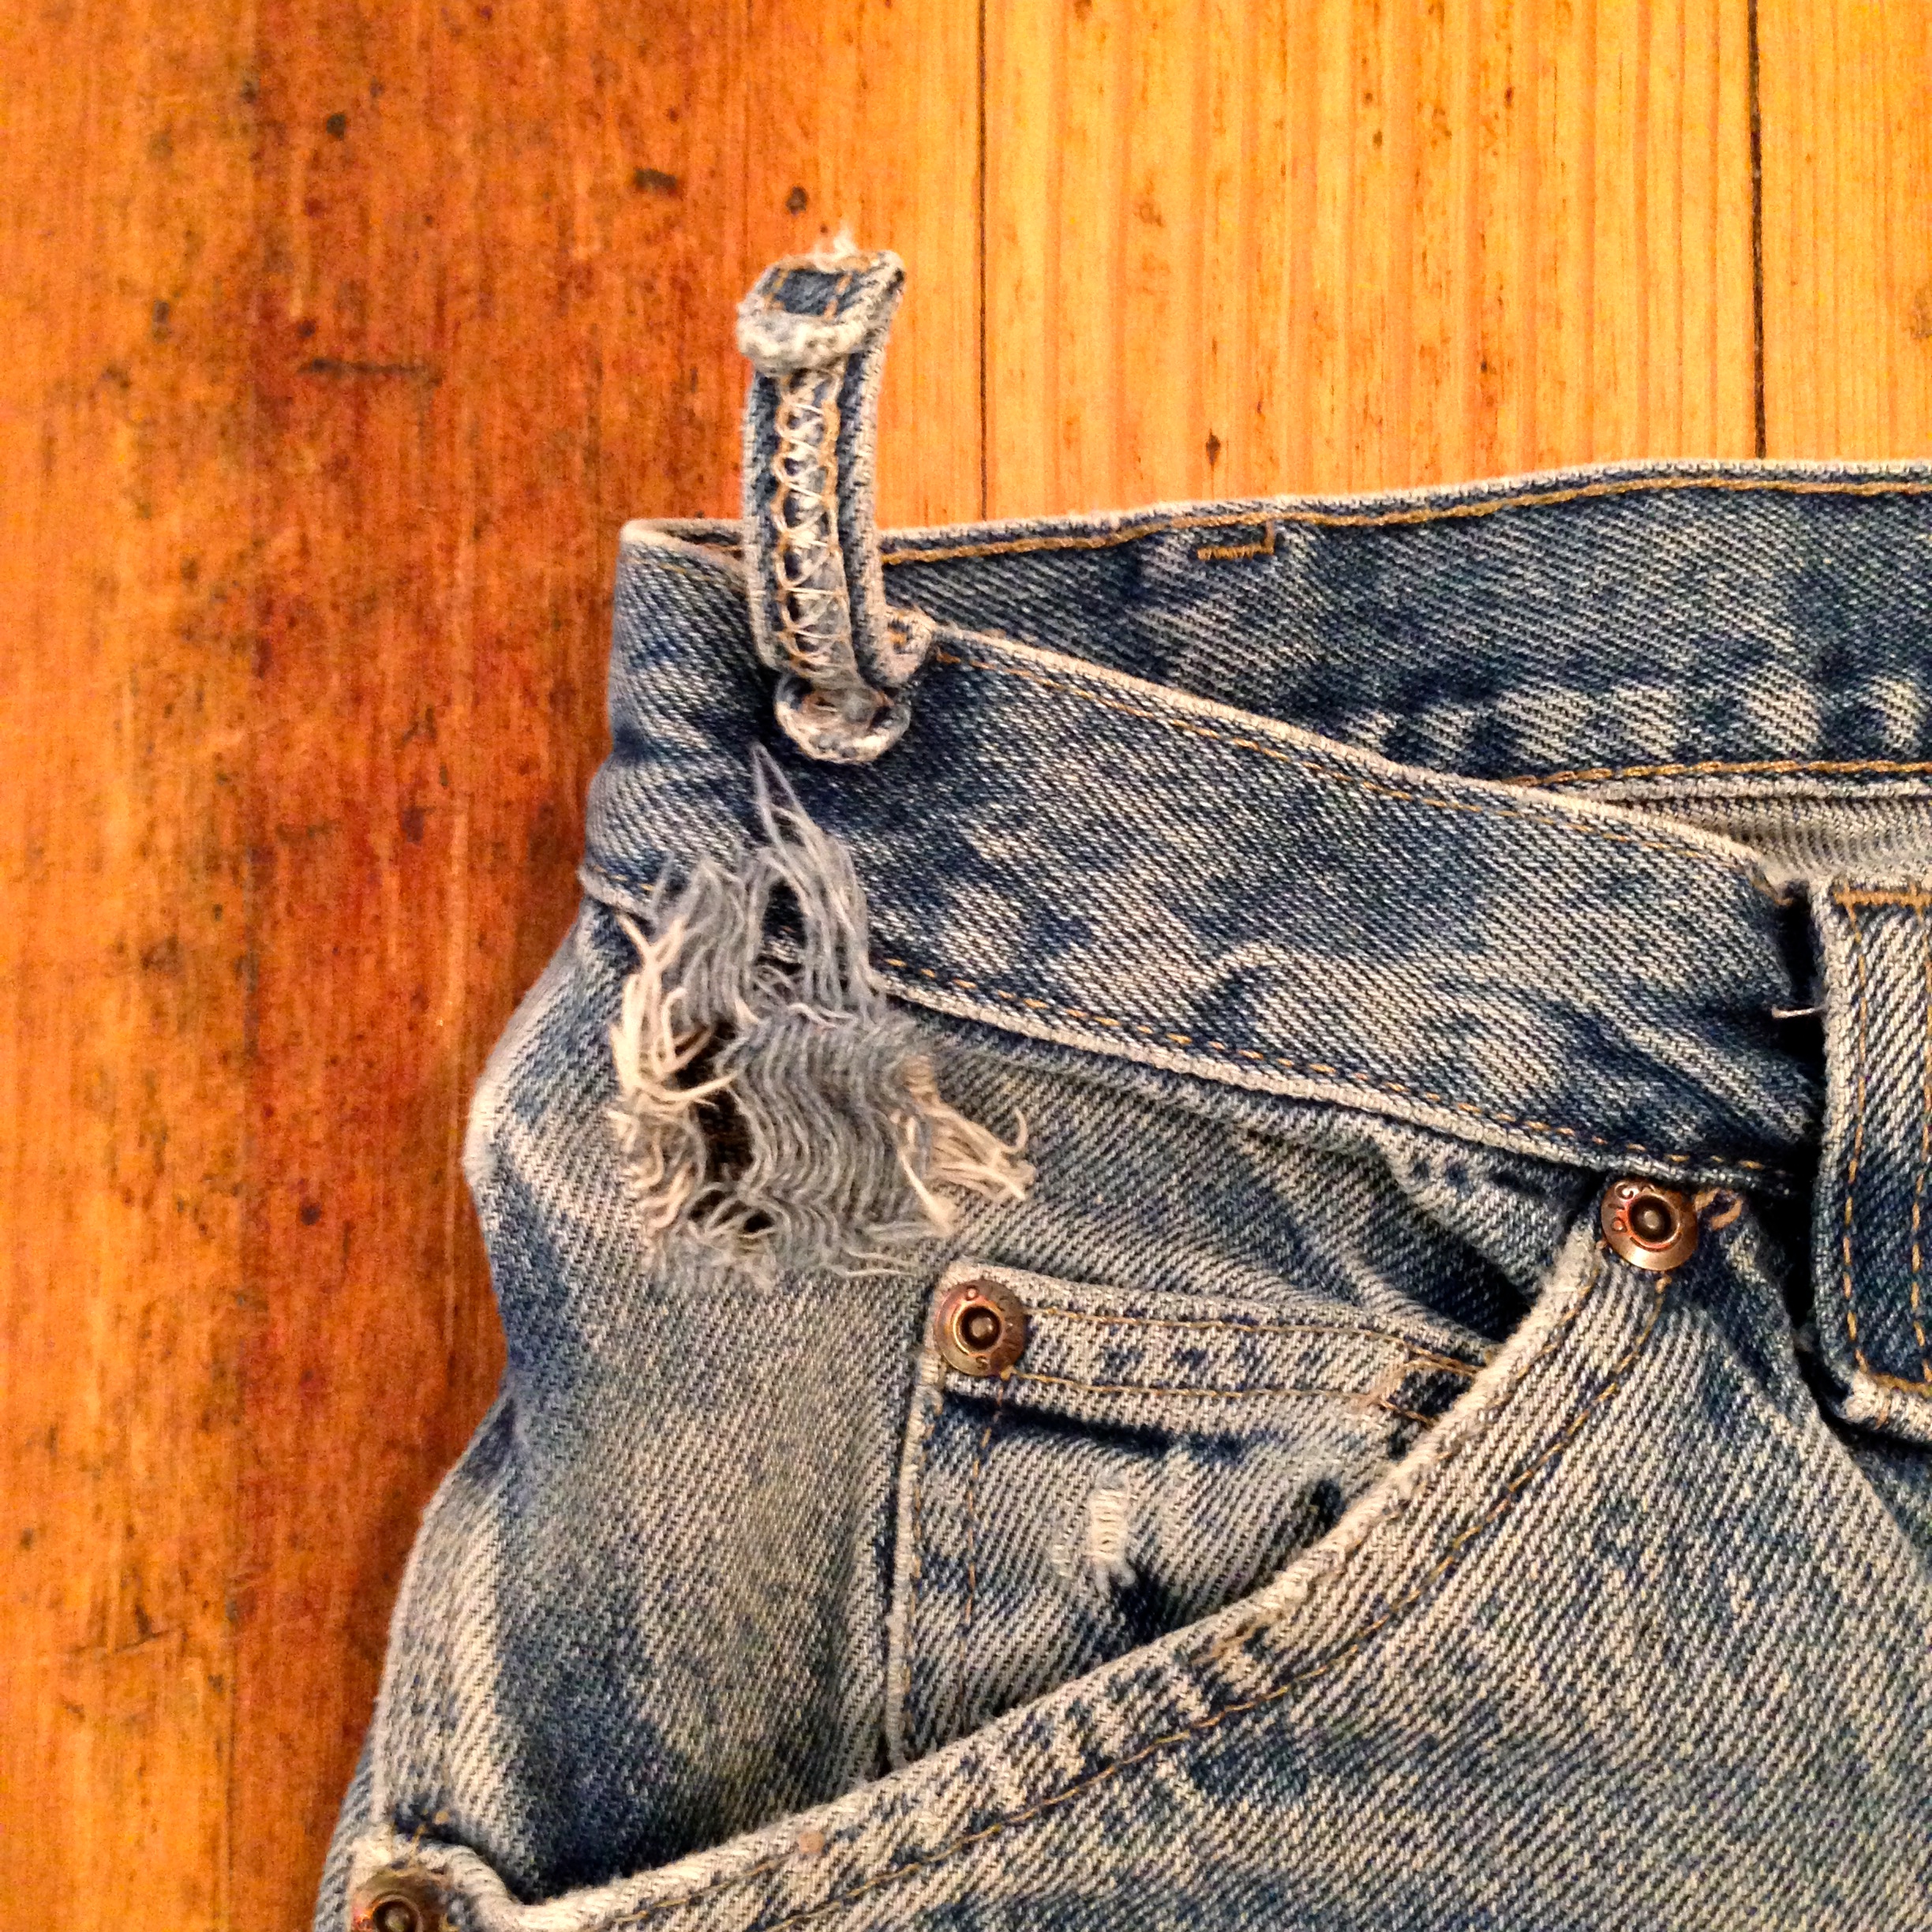
And a pretty big hole by the front pocket—and an errant belt loop:

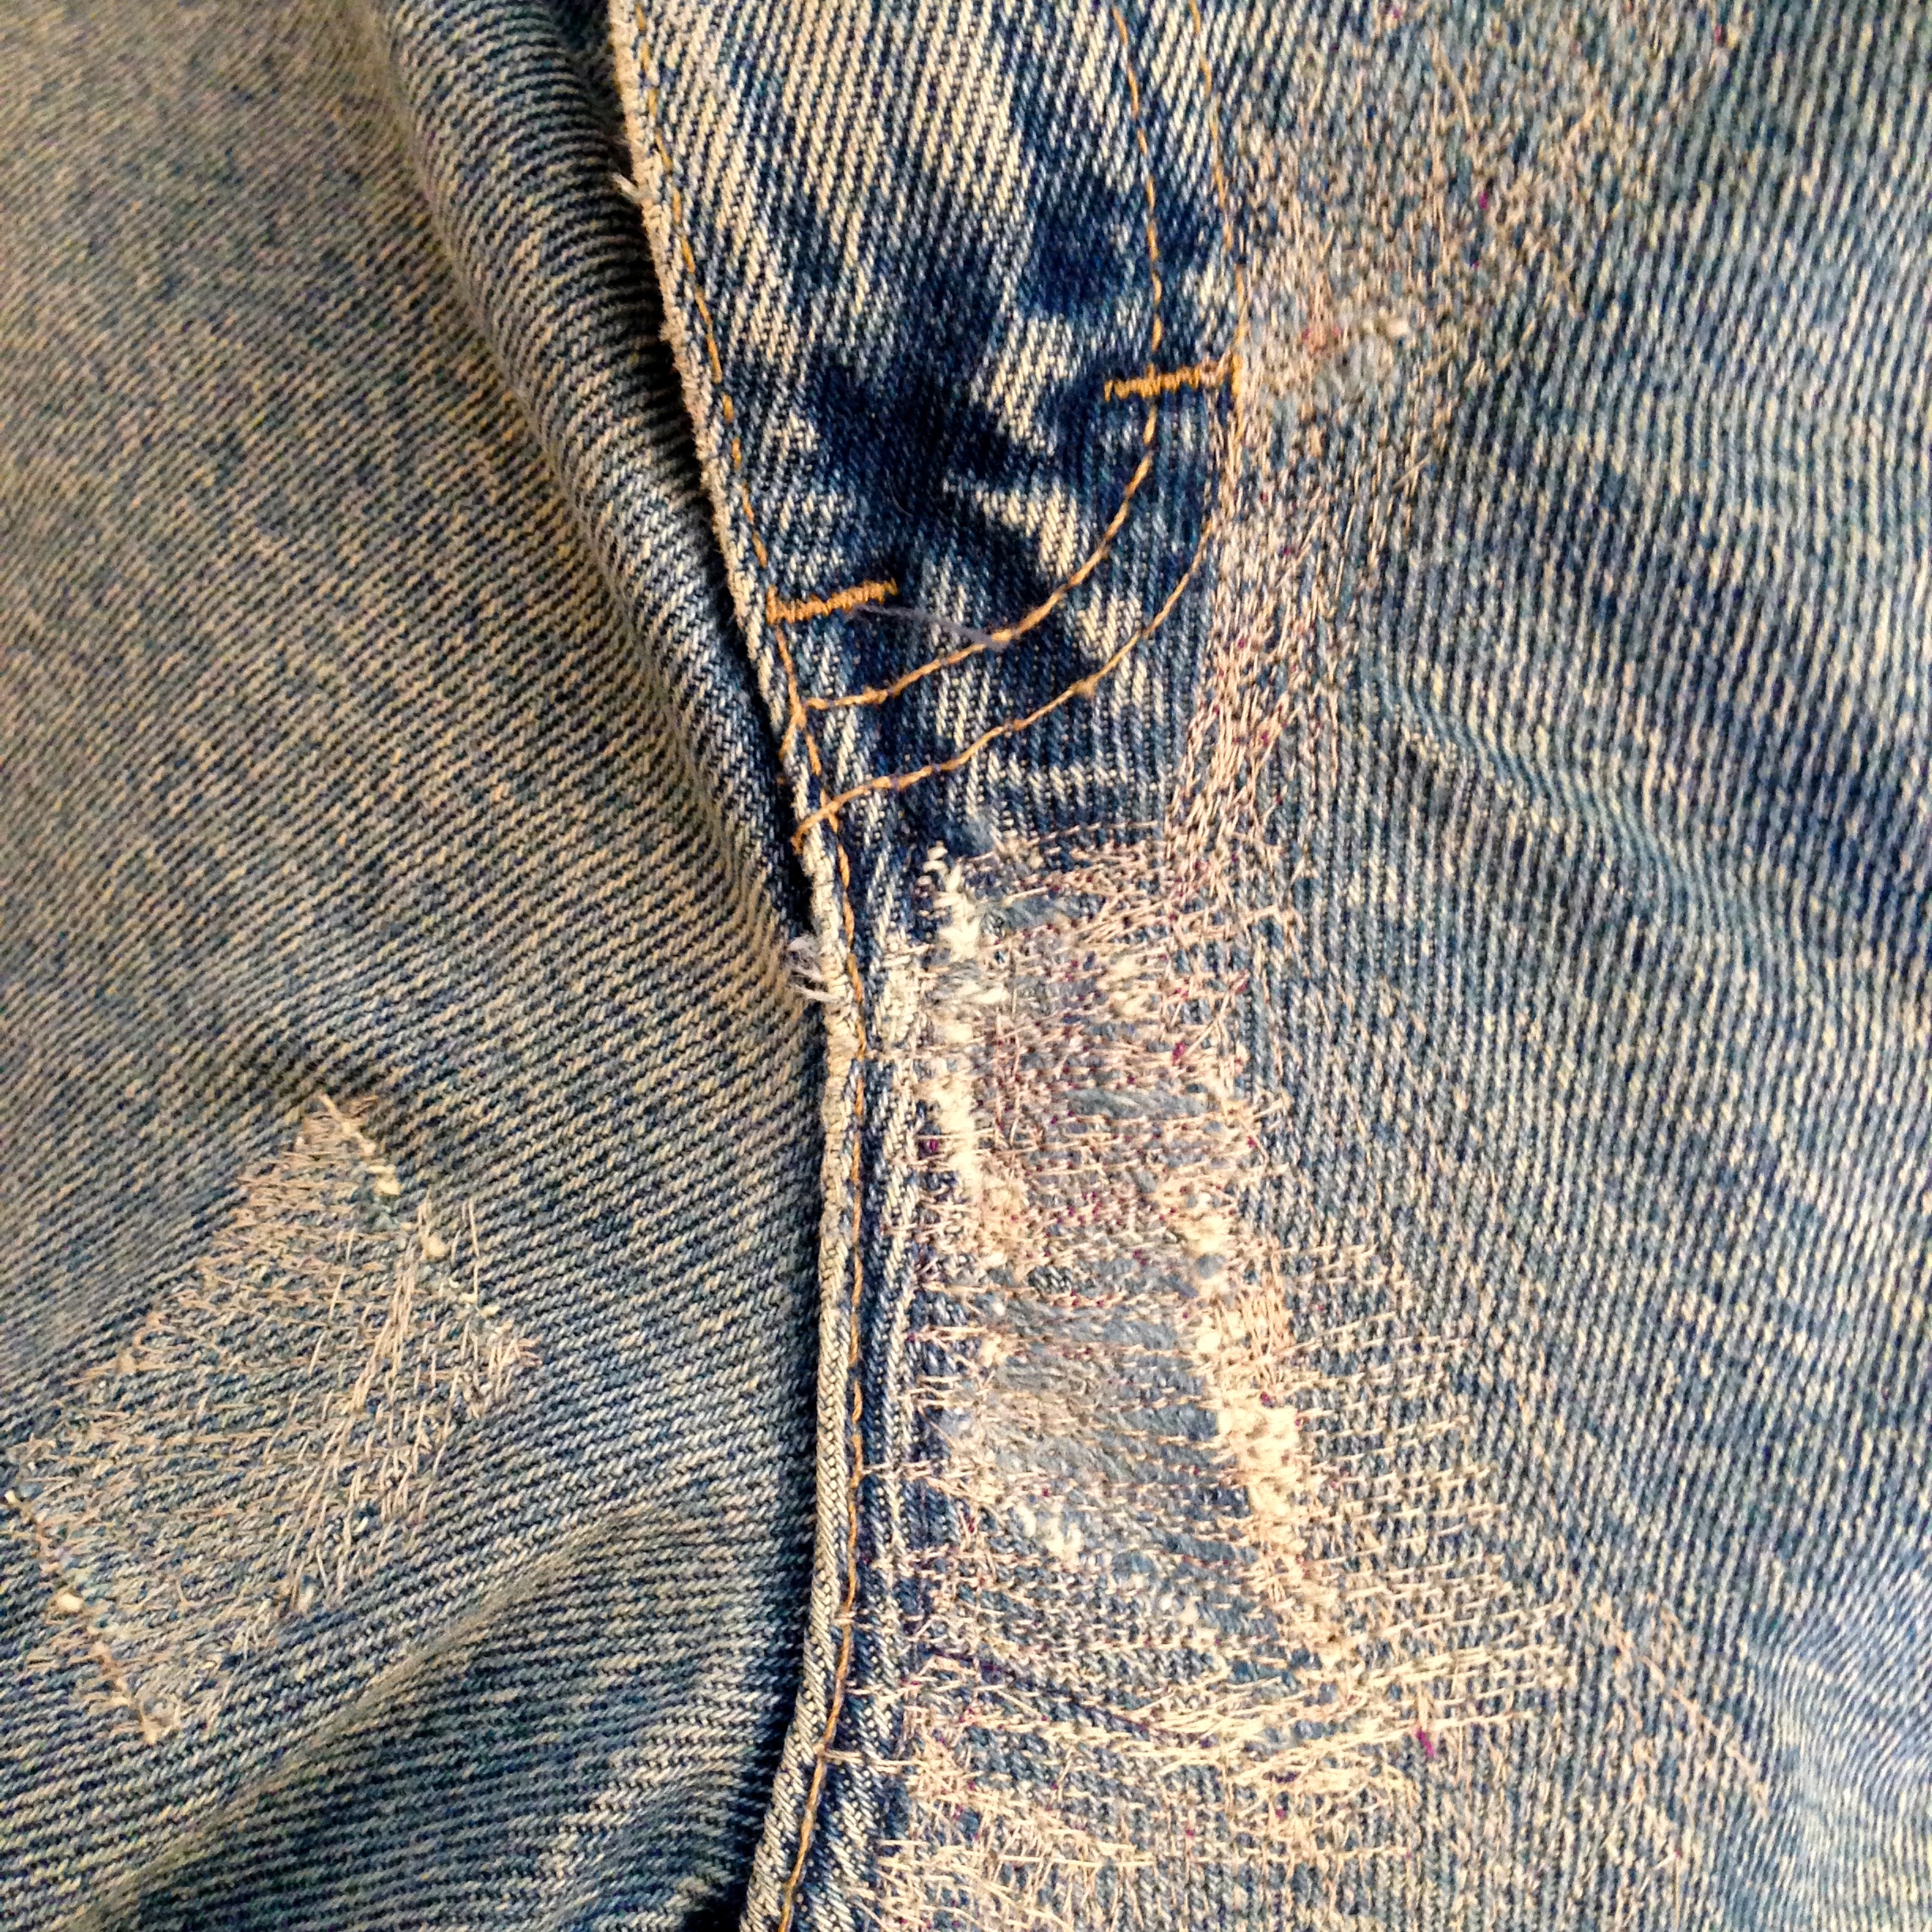
And it may not be technically mending, but I did the same thing on top of that stain I pointed out! See it there on the left?
They may not look brand new, but it’s good enough for me—and my husband’s work jeans!
If I can do it, so can you!


What you might also like


13 comments on “Mend your Jeans!”
-
-
I get this repair request all the time from my children. I have always used a regular zigzag stitch to sew on a patch. I can see that this method is more adaptable to the exact area of the hole. I have saved this to my Sewing Techniques Pinterest board: https://www.pinterest.com/thelostapron/sewing-techniques/
-
for a less drastic tear, you might also use the built-in darning/mending stitch that is available on some Bernina machines (it’s included on my Artista 730)
-
What number is the built-in-daring /mending stitch I have a Bernina 730 thanks
-
-
my man’s flannel pj shorts frequently need these kinds of repairs, so I’ll try your method instead of zig zag next time…..he wears them year round so I’m sure it won’t be long!
-
I worked for a dry cleaner and got a lot of requests to repair jeans. I used this exact method (except the glue idea which I will adopt. Instead I used an iron on bonding method). My customers were very pleased with the results and I often got repeat jeans with my mending on them to mend a different hole. It was hearty and held up well expecially for farmers and truck drivers who beat their jeans to death!!
-
This is one of those ‘duh!’ moments 🙂 So obvious, so simple. I have been contemplating the Darning Foot, but wondered why I couldn’t just use the #26 … thank you so much for this tutorial. Big Help!
-
I have repaired lots of worn jeans, but never thought of using school glue to hold the patch in place! Great idea. In fact this will motivate me to get my grandson’s jeans mended so I can try it out. Also enjoyed reading about “my brothers jeans quilt”! Thank you for sharing. It made my day!
-
I mend a lot of jeans when I volunteer for the hypothermia program at various churches in the area. The homeless are housed and fed during the winter months for a week at each church. I started mending at one church and have added a couple more. I have used iron on interfacing to hold the threads in place. I usually use a 3 step zig zag stitch up and down then sideways. It sort of makes fabric out of holes! I buy thread that looks like denim. Surprisingly the mend is almost invisible. think I will try the embroidery foot next time. Would be easier near a seam.
-
I have mended some of my husband’s jeans until there was nothing left that could claim original except the waistband and now it is bags full from a carpenter son and grandson and I never thought of school glue to hold those patches in place till I could sew around them. Thank you so much for the wonderful idea. I glad you did not look it up. Thank goodness there are a few (I’ll do it my way) people left.
-
-
Thanks for these tips. I’ve mended many of my husband’s jeans and coveralls. I use the store bought iron on jean patches on the inside of the garment and they work well for darning also. Never tried the belt loops and pocket. Glad you posted those suggestions. Love that Bernina darning foot.
-
You did a spectacular job of mending, blends right in, great tips, thank you.
-
Thank you so much for this tutorial with its excellent photos and instruction. Your husband’s jeans look just like my husband’s jeans. I tried your method over 2 months ago with amazing results. The hole repair is sturdy and barely noticeable.
Leave a Reply
You must be logged in to post a comment.

BRILLIANT!!!! I will definitely consider doing this for my husband’s jeans as well as my own!