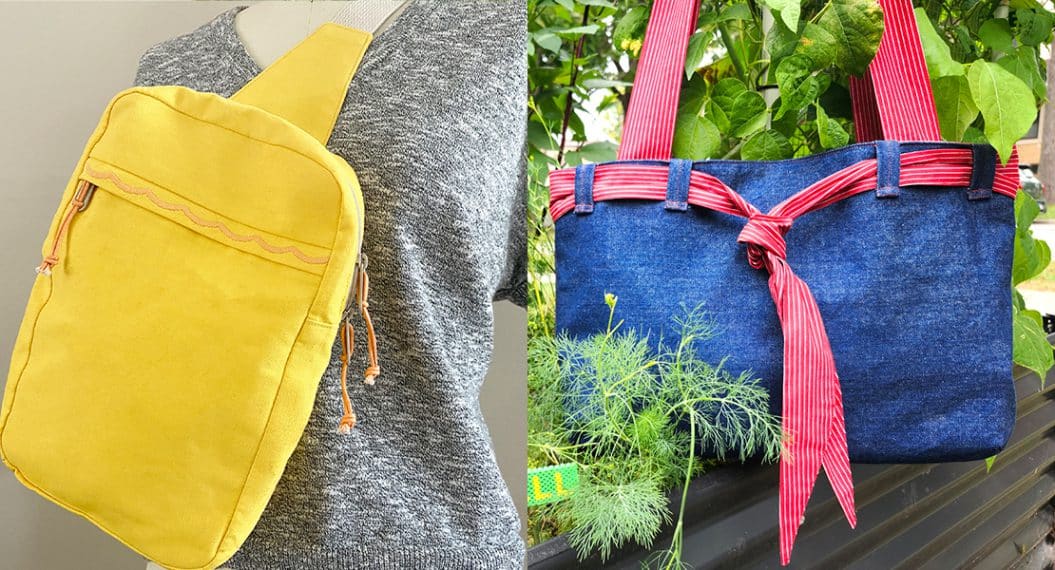
Jeans Bag Upcycle
Today there are hundreds of projects on upcycled jeans. A quick search on Pinterest will bring up everything from dog toys to potholders to pillows. I even saw a windsock! There’s a good reason why: thrift stores are overloaded with jeans! This means you can get denim material for cheap. So today we’re making a tote bag out of 2 pairs of jeans using the pockets, the waistbands, the legs and even the belt loops. No waste here! Ok, the zipper isn’t used but maybe you can find a way to add it! So grab a couple pairs of your old jeans or run to your local thrift store and let’s get started! Wait, first read the entire tutorial before you start. You’ll be glad you did!
Machine Set Up
- BERNINA 475 QE
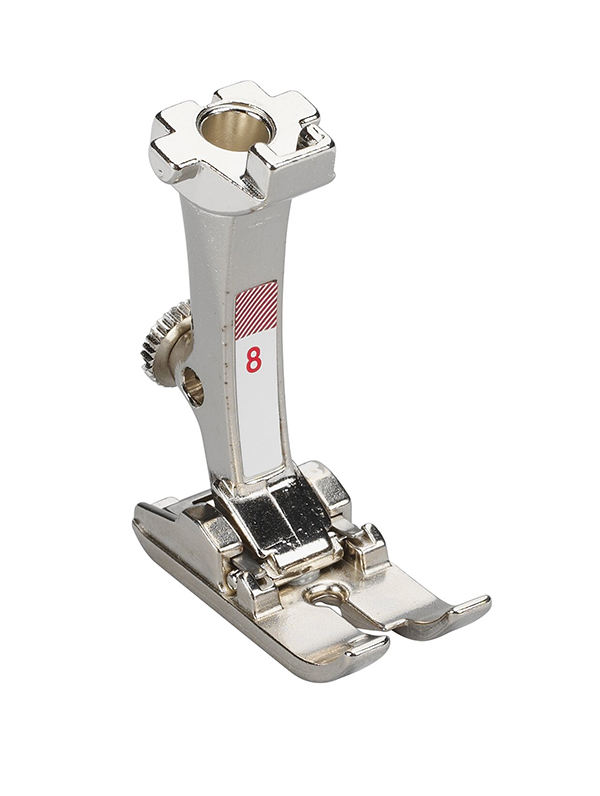
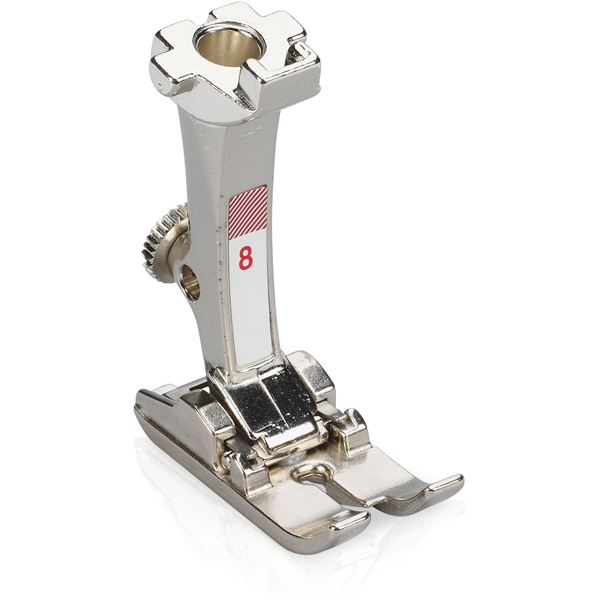
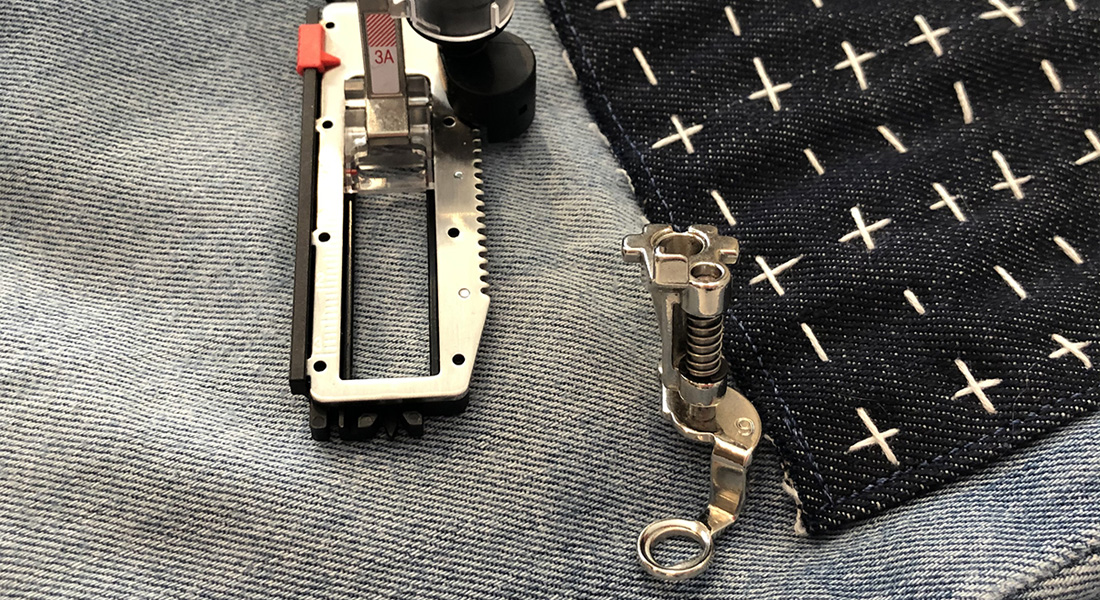
- Jean Foot #8
- Walking Foot #50
- Height Compensation Tool
Supplies
- 2 Jeans to upcycle
- 1 yard fabric for lining
- Pellon 808 Craft Fuse
- Mettler Denim Doc Thread or Mettler Cotton Thread 40 wt
- Schmetz Jeans Needle Size 90
- Olfa 16 1/2” Square Acrylic Ruler
- Wonder Clips
- Fabric Shears
- Seam Ripper
Note: All seams allowances are 1/2”.
Fabric Prep
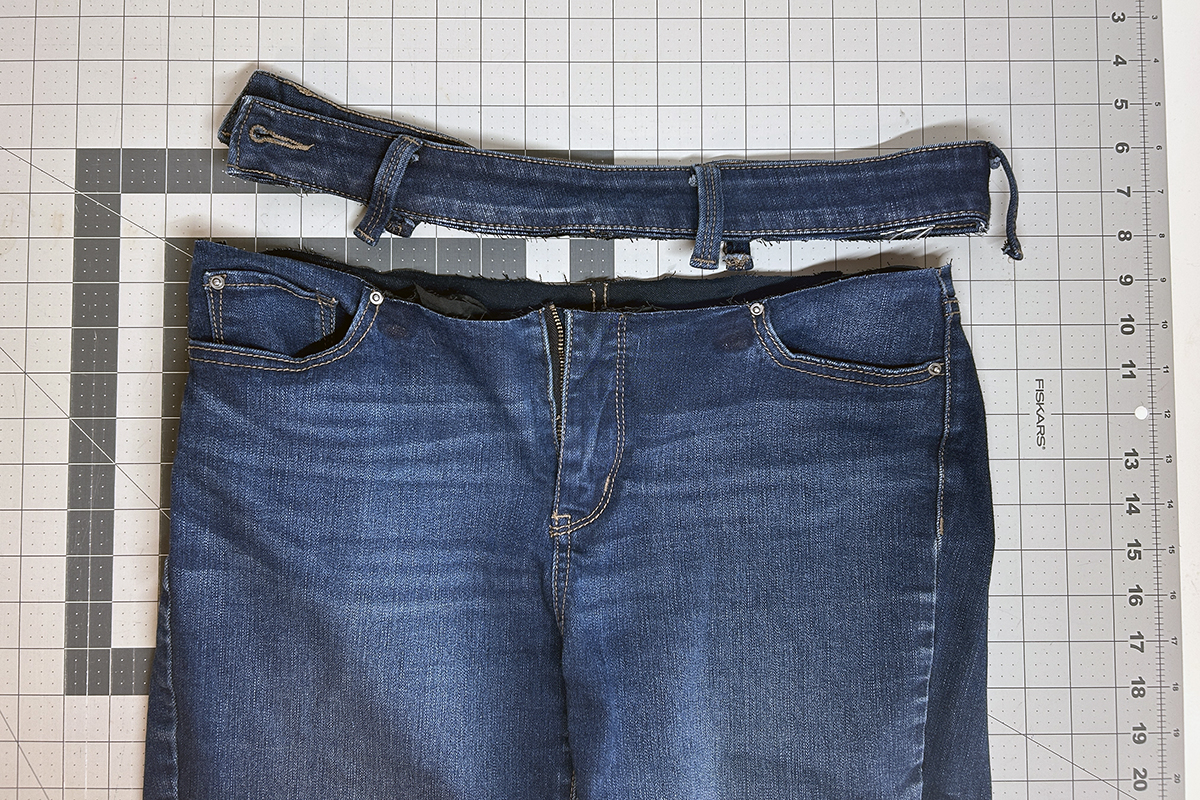
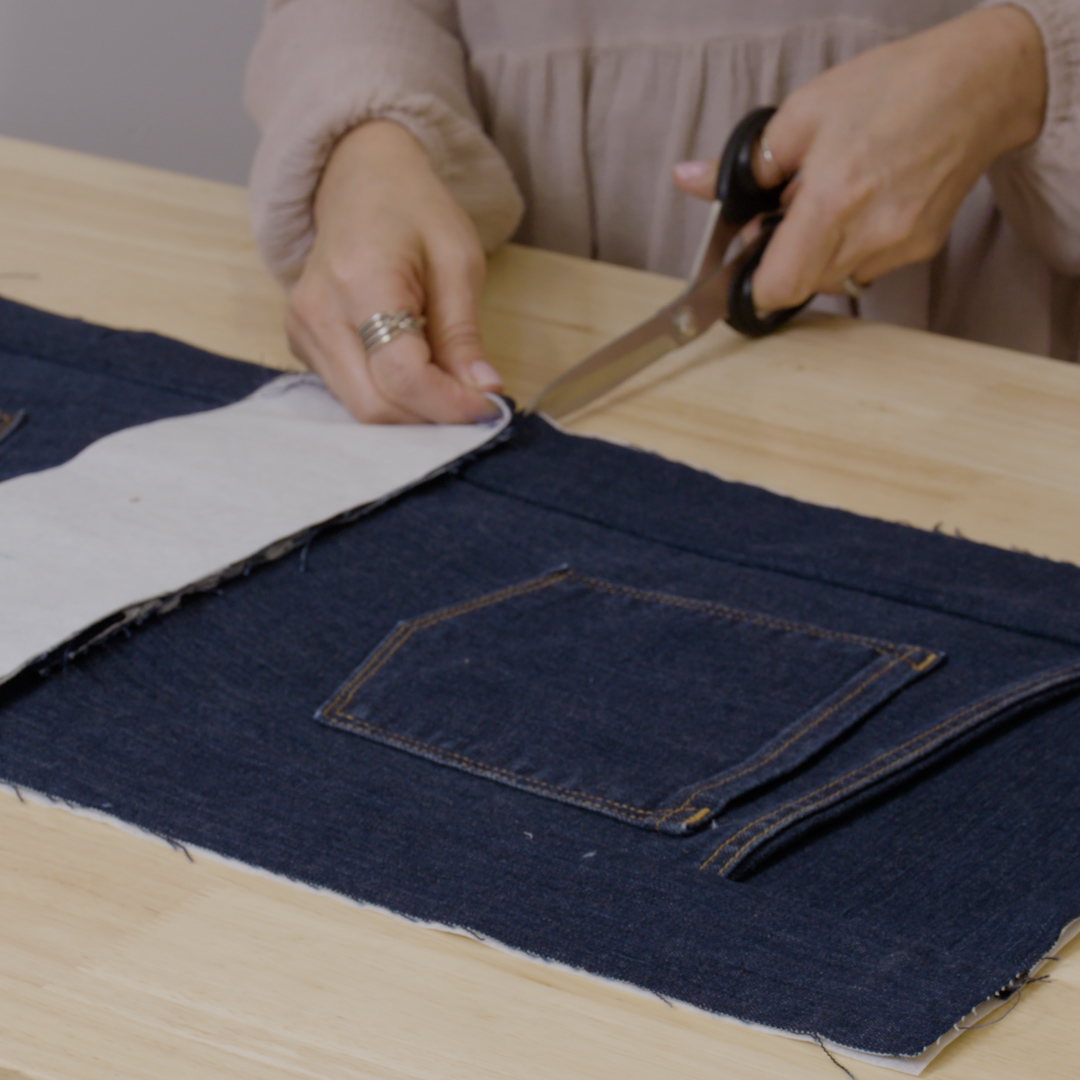
To start, we need to cut the jeans in a way that is most useful and efficient for making bags. First, remove the bottom of the belt loops with a seam ripper. Then, remove the waistband with sharp fabric shears, cutting just below the thick seam. Avoid hitting the zipper teeth with your nice, sharp fabric shears!
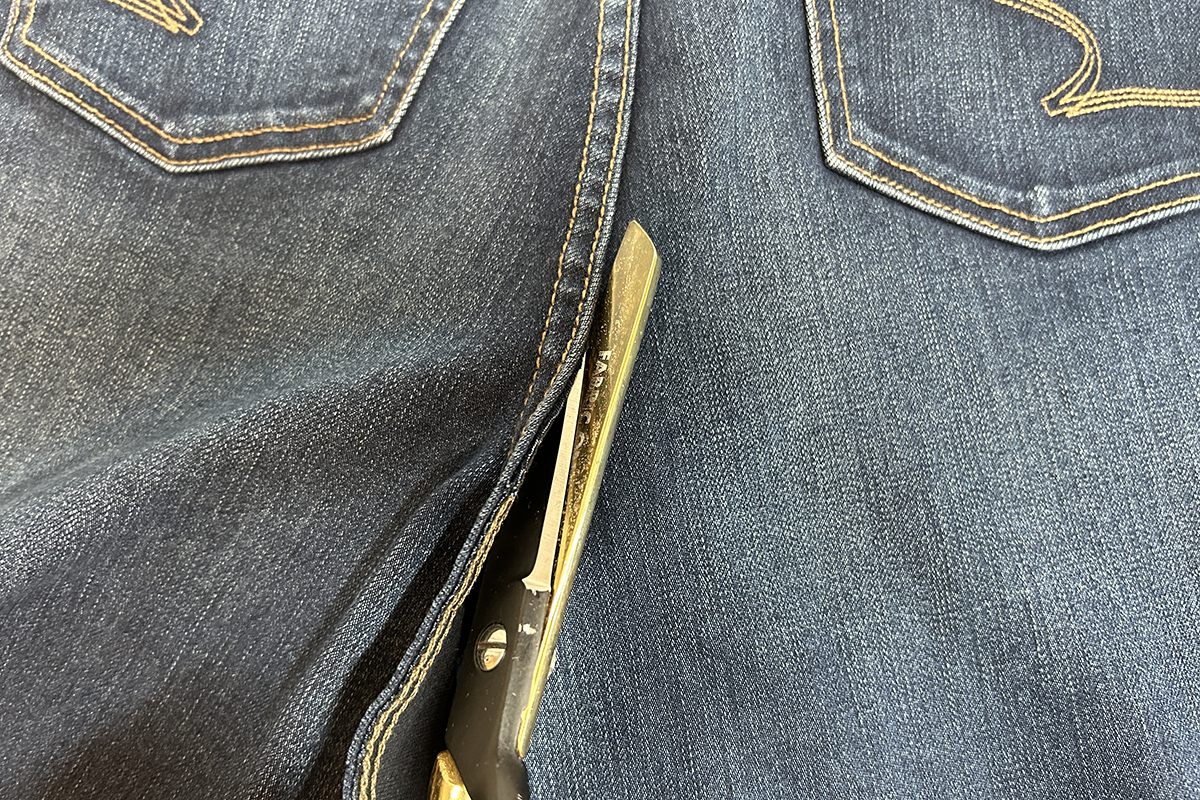
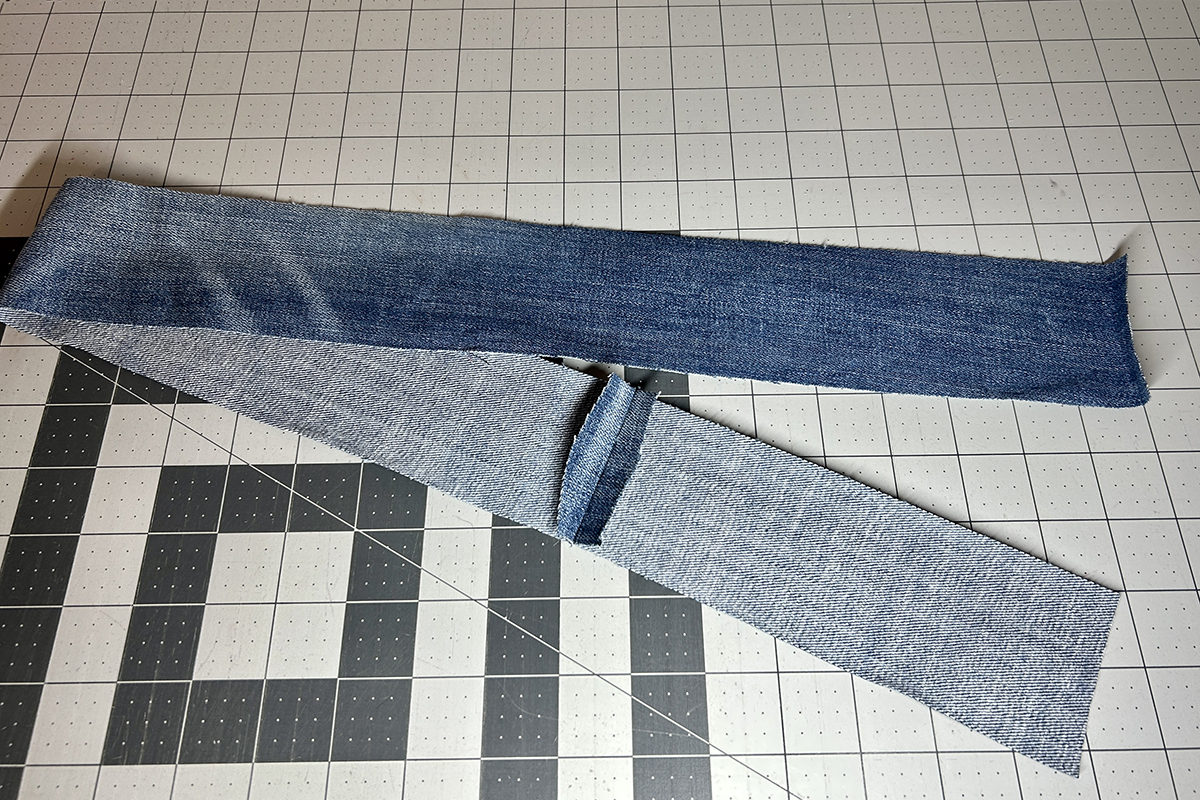
Next, cut along the inside pant leg seam, aka inseam. Cut next to the seam but not in the seam.
Now cut along the front and back rise which are the seams that go from the crotch area to the waistband (that we cut out).
Again, cut along the seam, not in the seam. It looks much better and it’s so much easier to cut through one layer rather than the bulk of a flat felled seam.
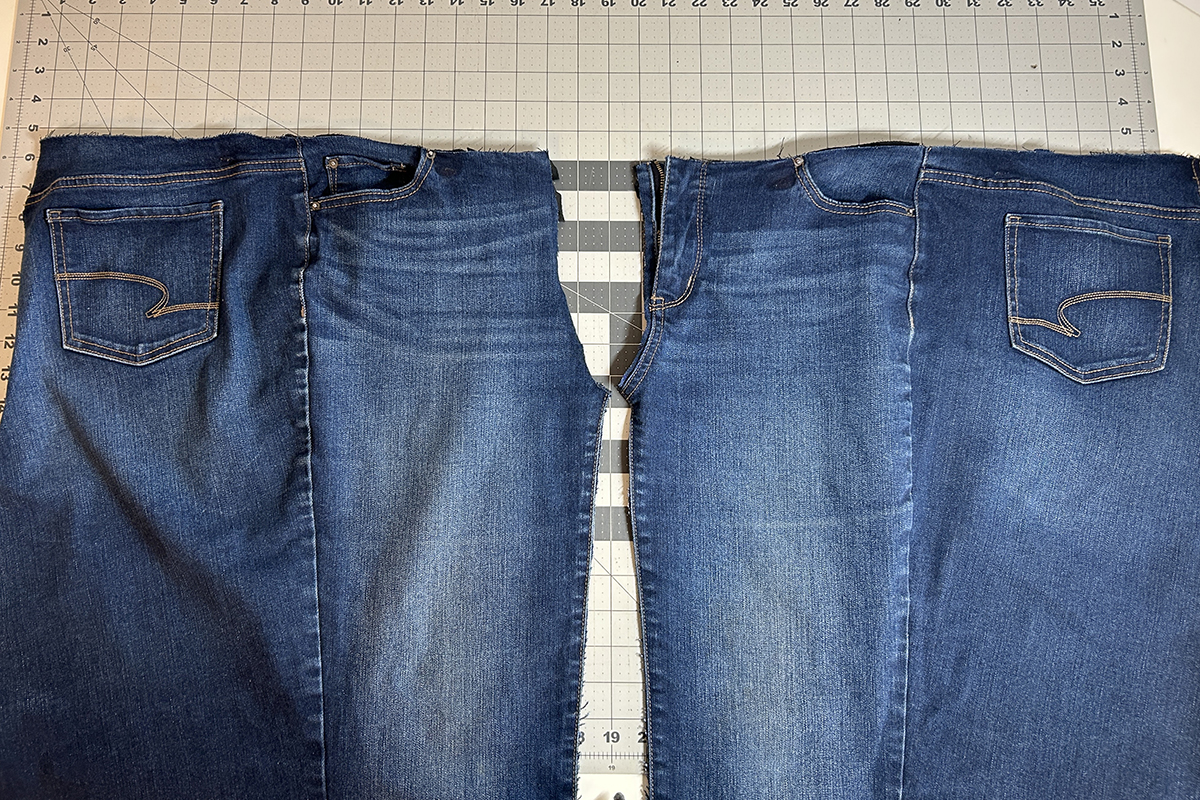
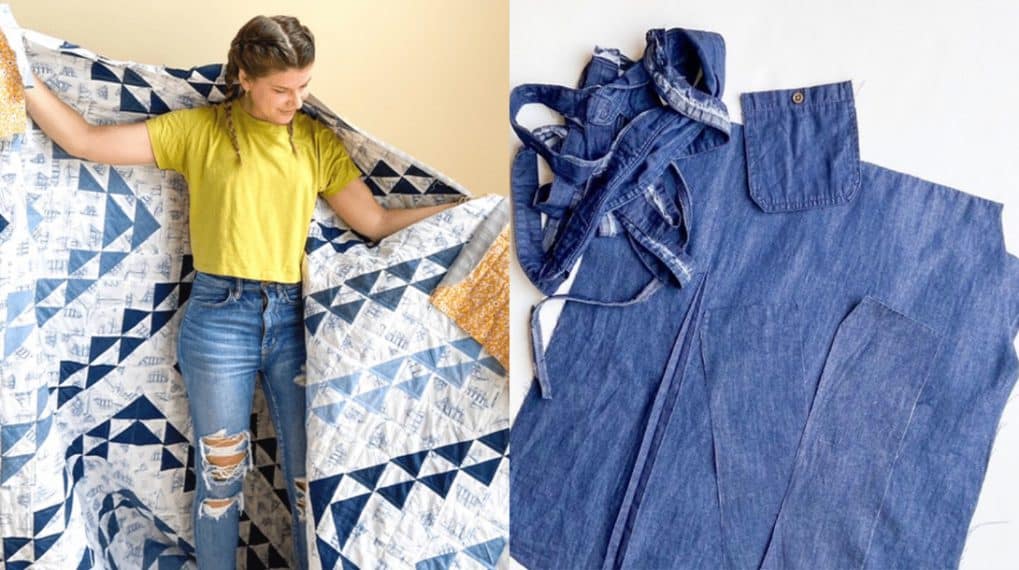
You should have two large pieces to create your bag. Do the same with the second pair of jeans.
Jeans come in all different sizes. Sometimes I use jeans that I no longer wear or I buy thrift jeans when they are super cheap. I tend to buy large sizes so I have more material to work with. Also as you will see later, I buy ones that have fun pockets and designs.
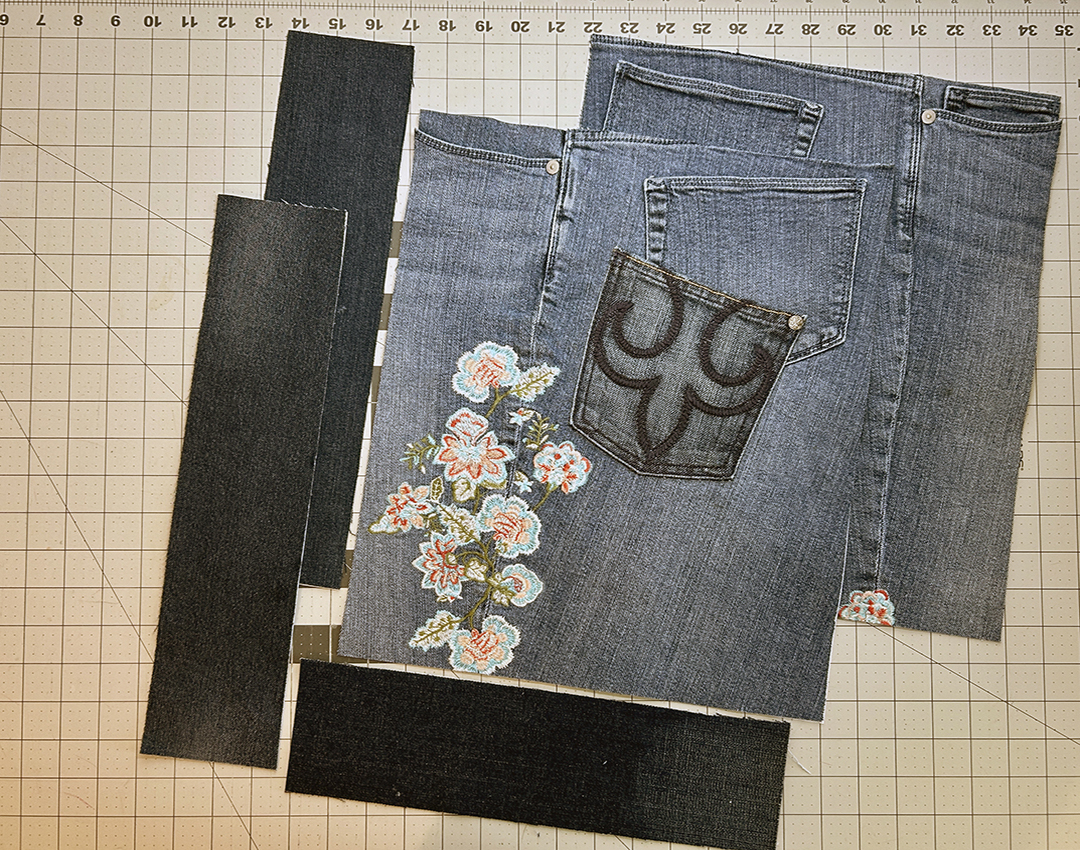
Since we are not working with the same size jeans, we don’t have the same amount of material. Below is a diagram of the 5 pattern pieces that make up the bag’s body.
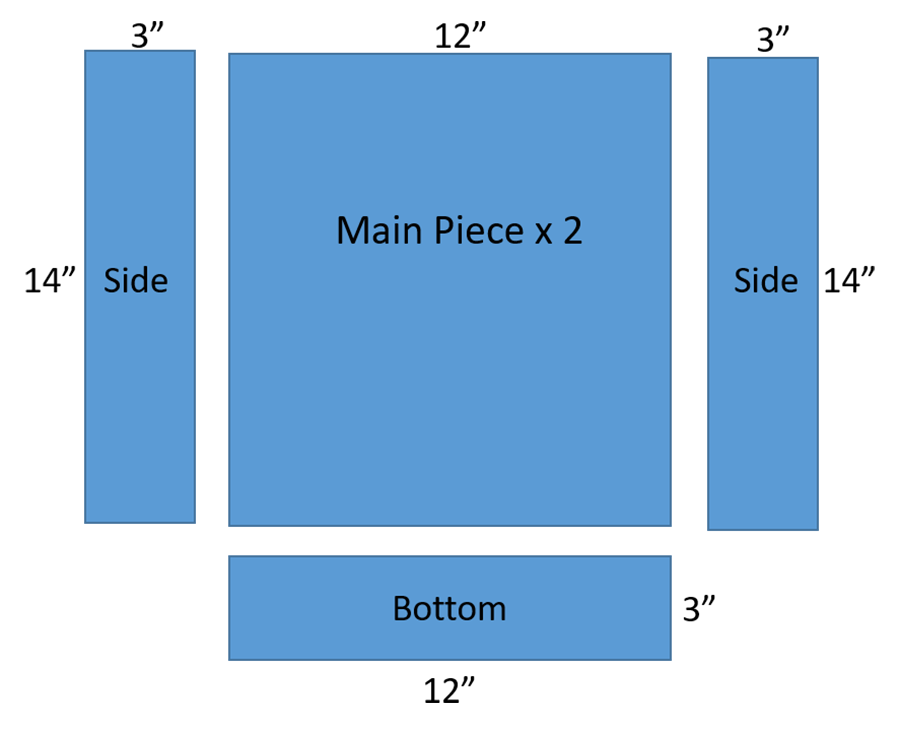
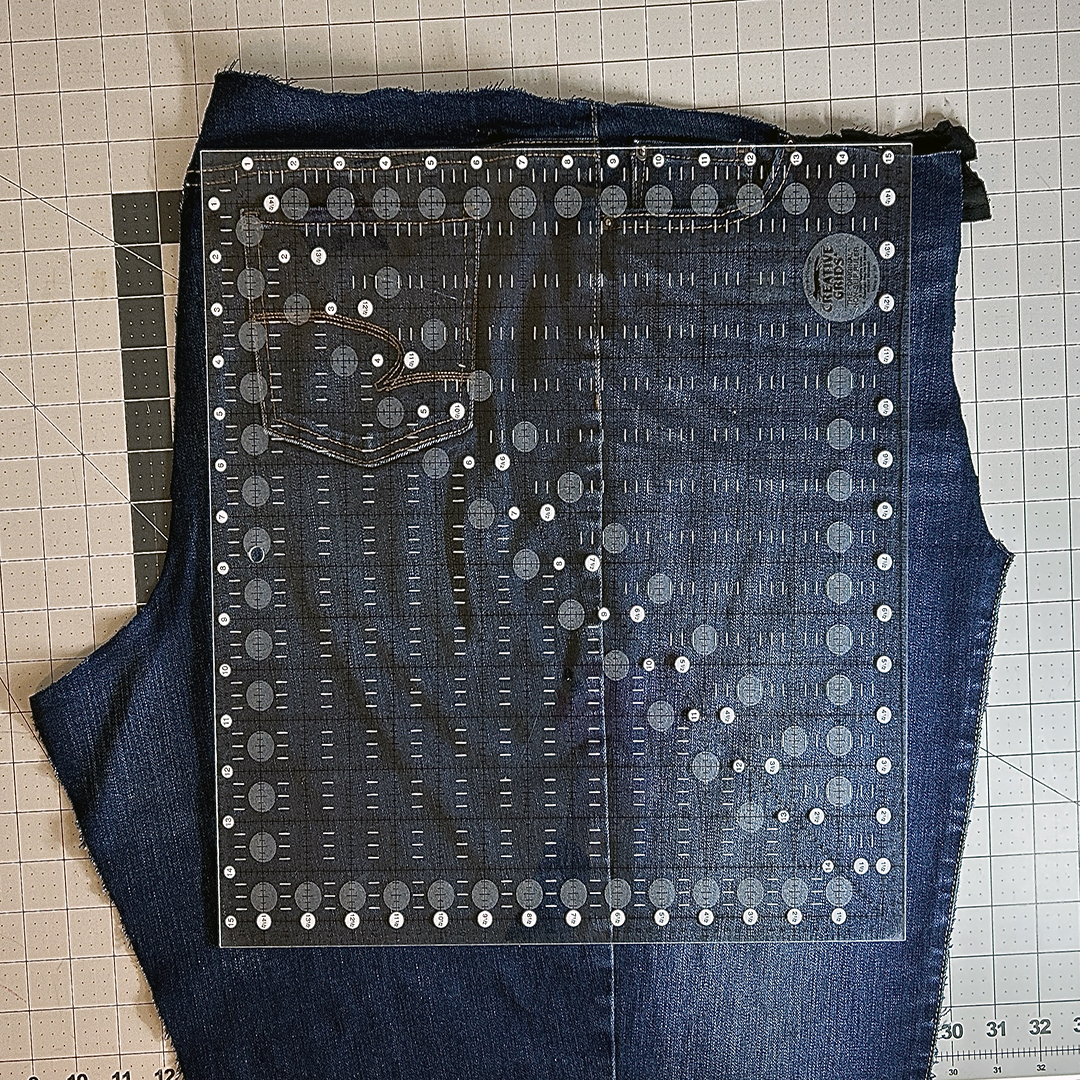
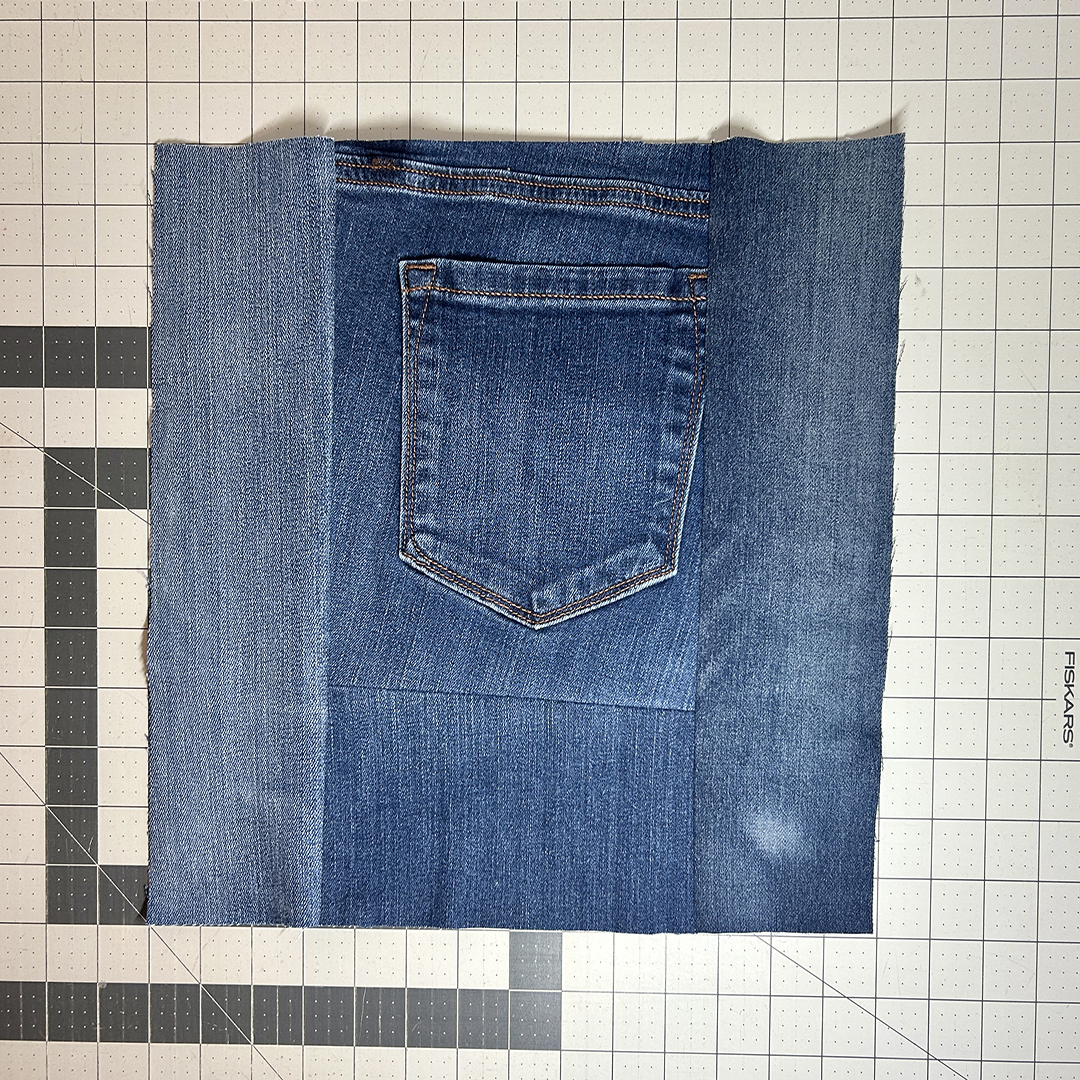
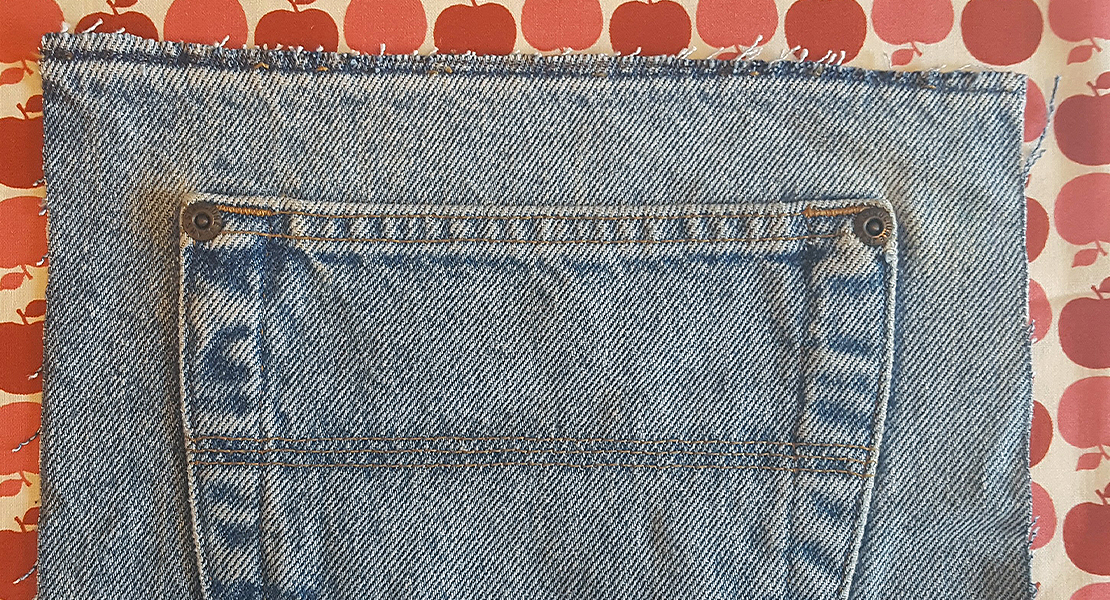
Place your square acrylic ruler on one of the pant pieces. If you can get the entire main piece with the back pocket or both the back and front pocket, great! Cut it 12” x 14” and do the same with the second pant piece. If your pant piece is too small, keep reading…
If your material isn’t big enough for the measurements above, you can do one of two things: (1) make a smaller bag or (2) add material to make it bigger. Use your second pair of jeans to sew on material where needed. If your second pair is a different shade of denim, you can create some fun effects.
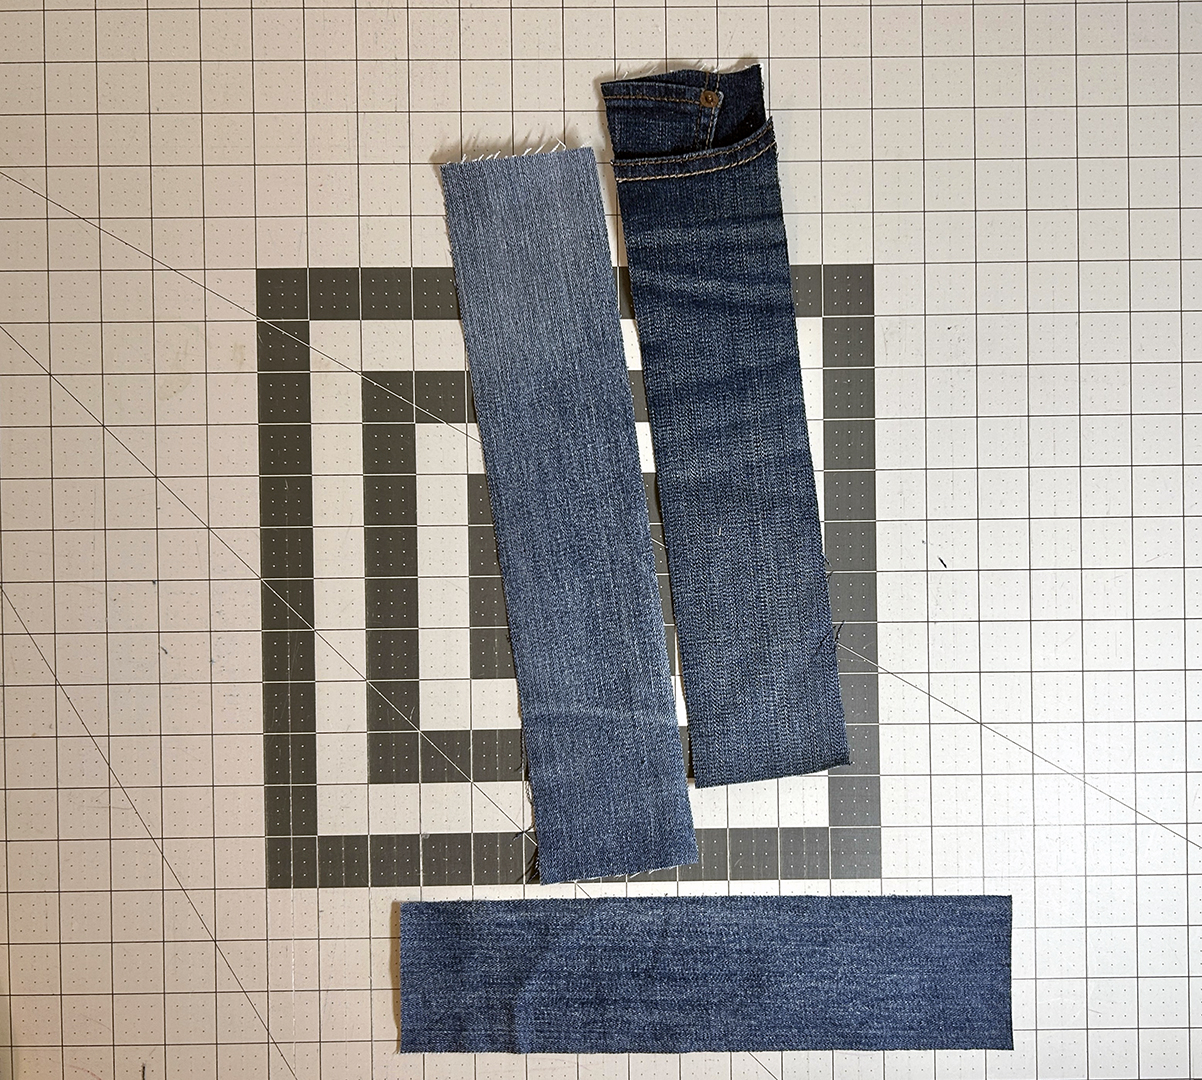
My side pieces measure 3” x 14”. Cut these from the pant legs or the front pockets. Having two pairs of jeans gives you more options to play around. For the bottom, cut one piece 12” x 3”.
Embellishing the Main Pieces
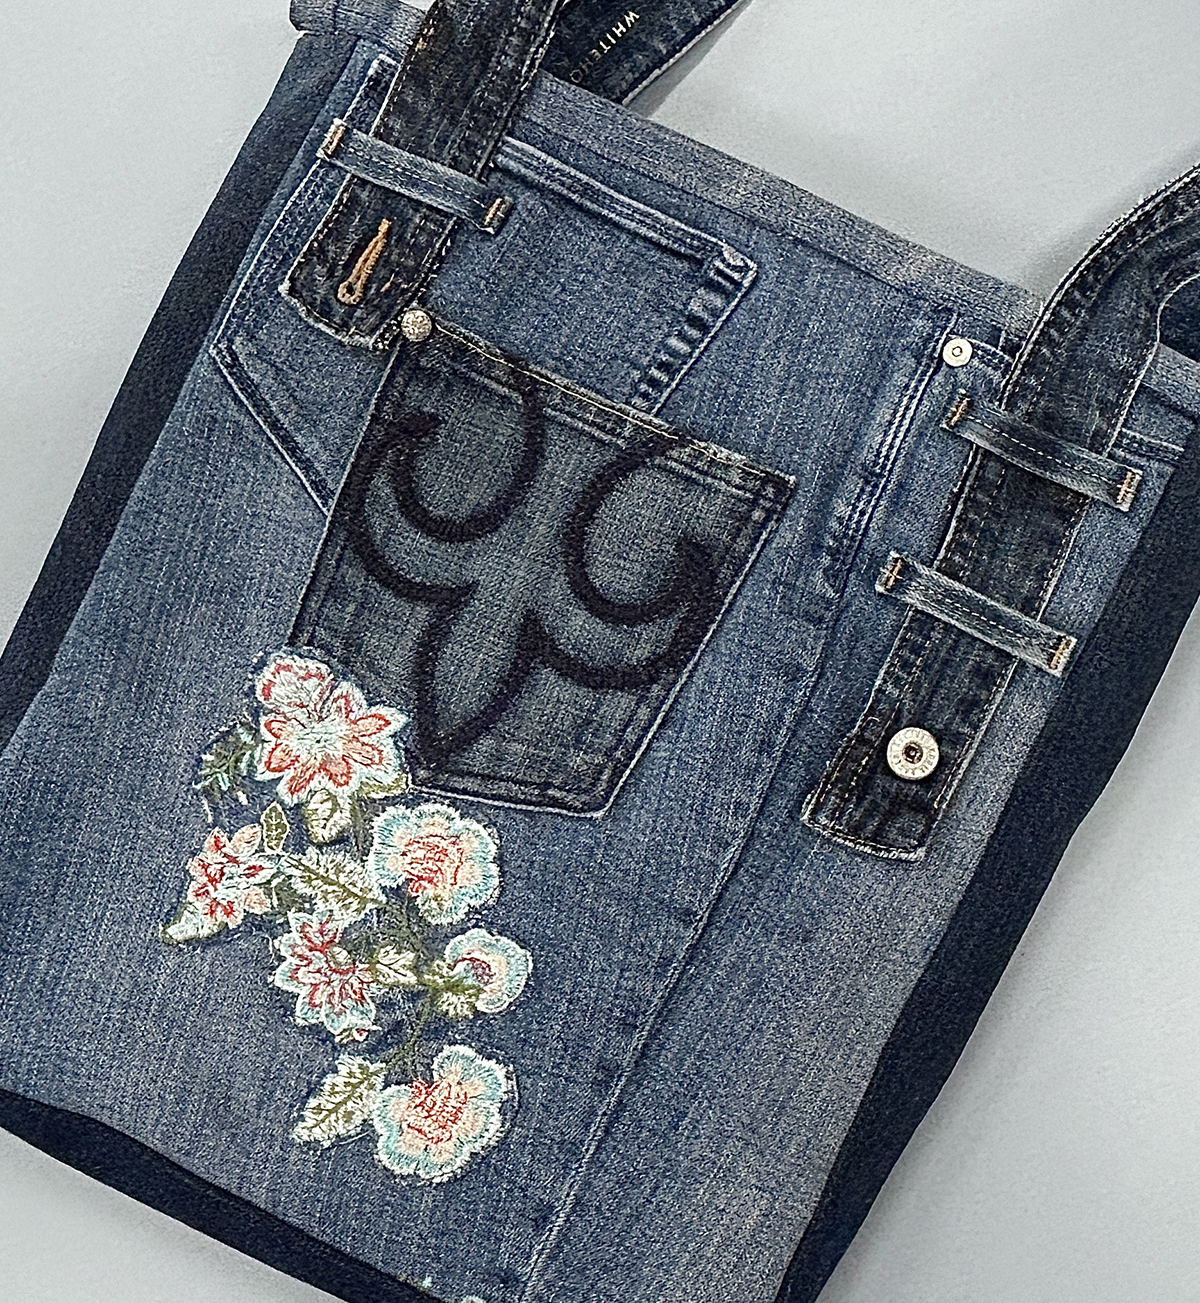
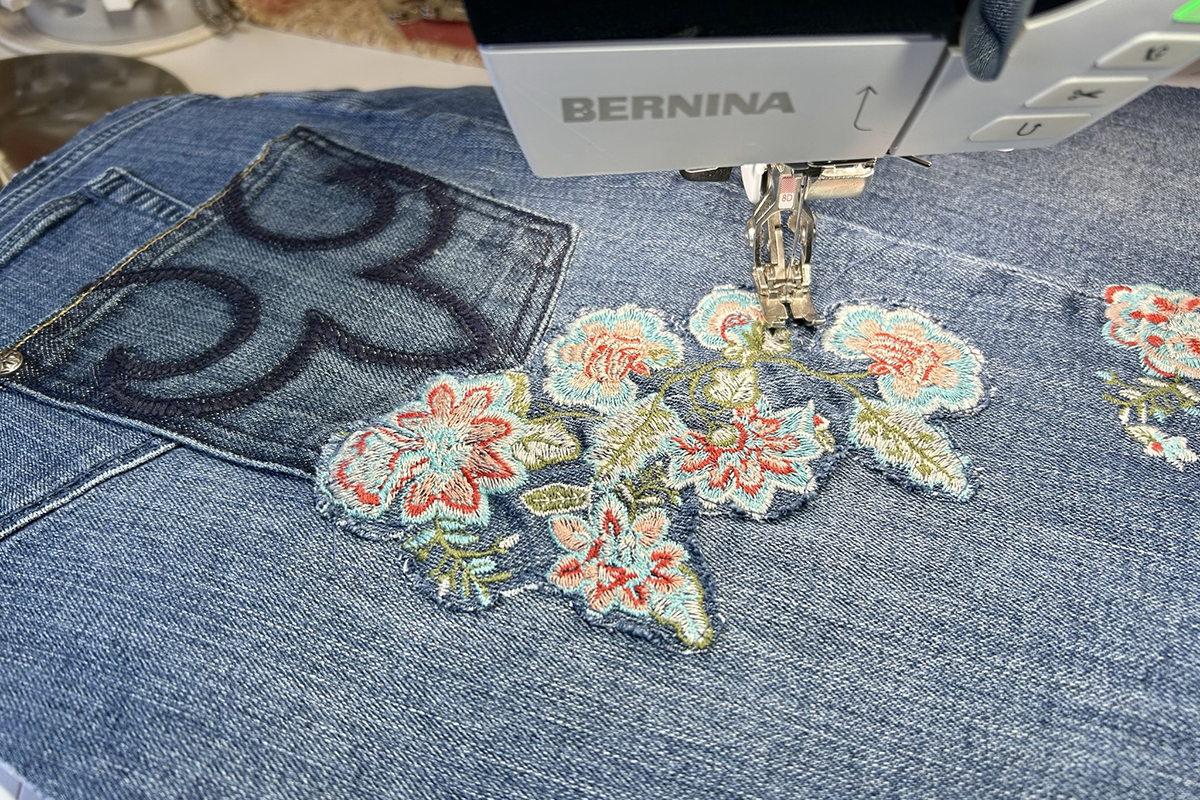
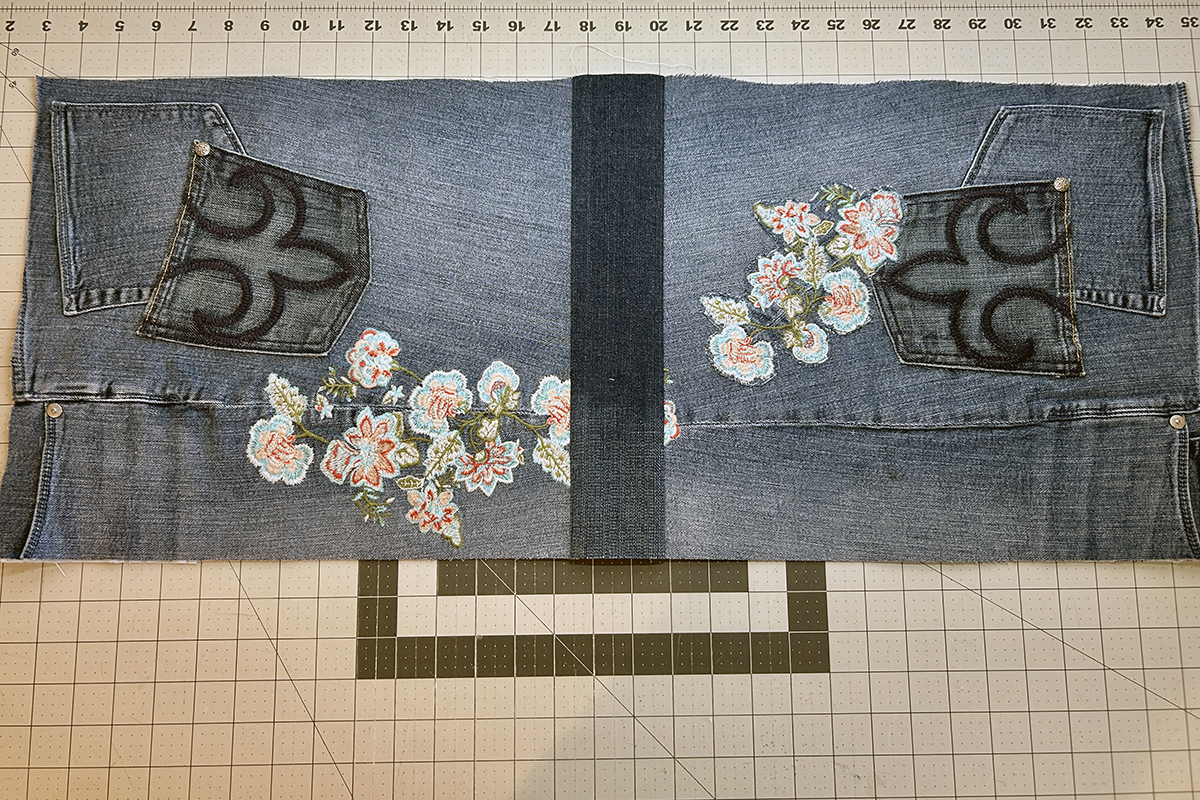
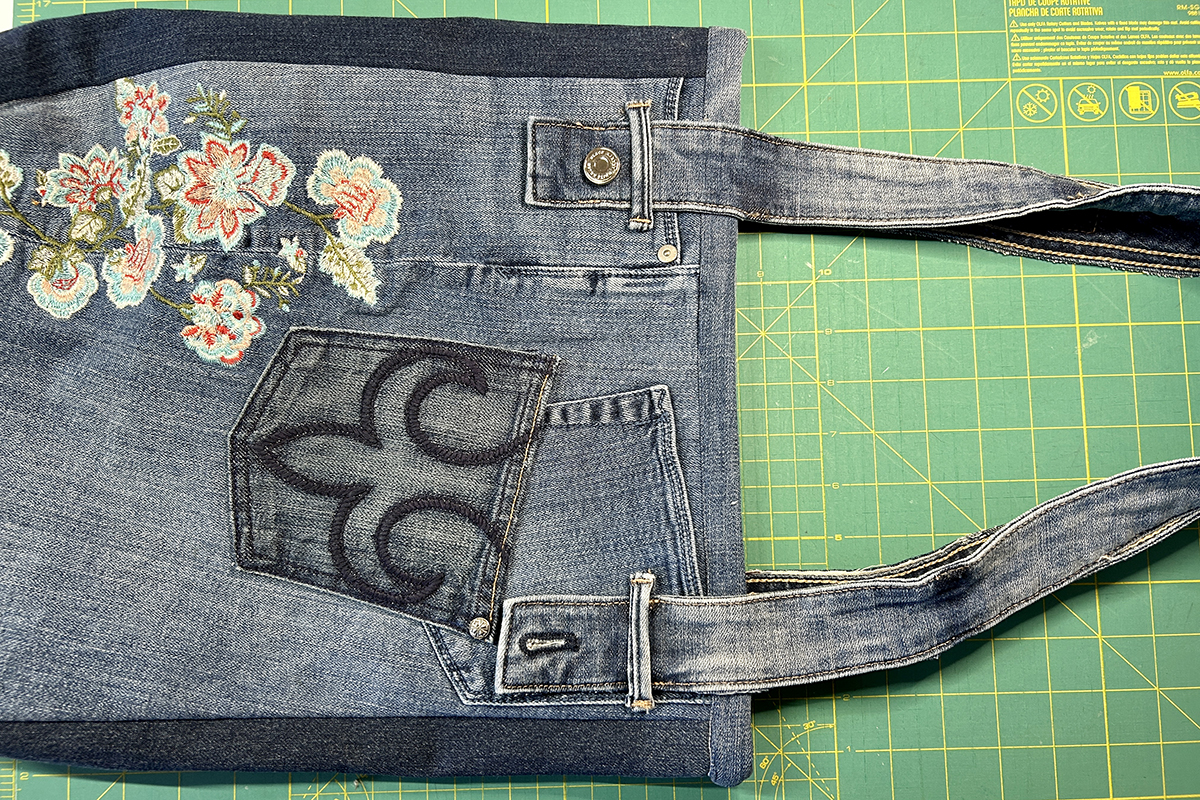
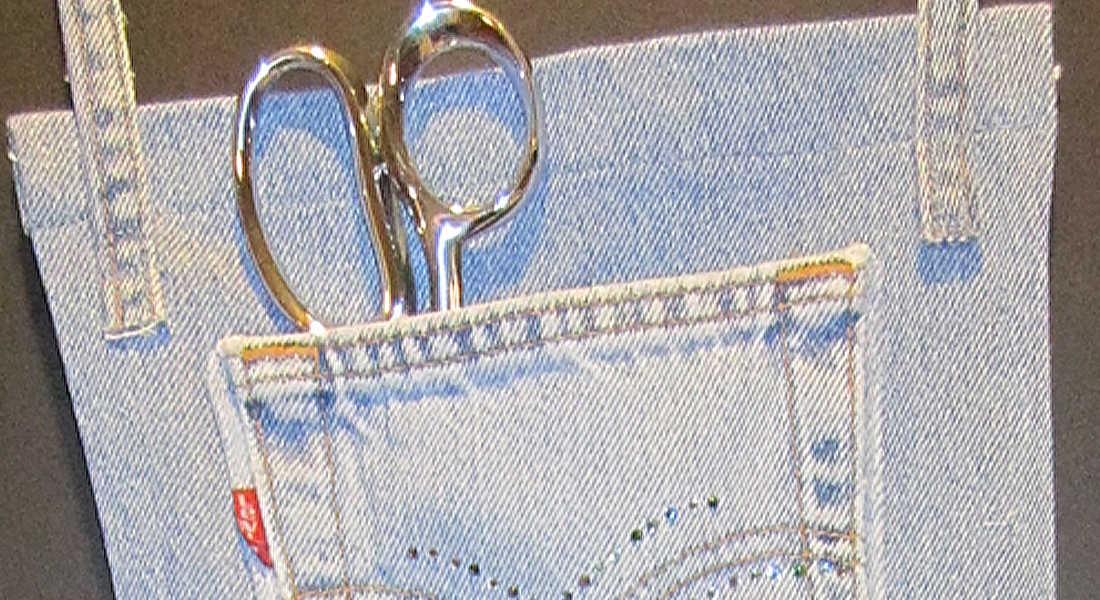
This is a great time to embellish the main pieces with additional pockets, design elements and embroidery from the same jeans or other discarded jeans.

Here I added a pocket with a fleur-de-lis and a floral embroidery design – both from different jeans I found thrifting.
Craft Fuse
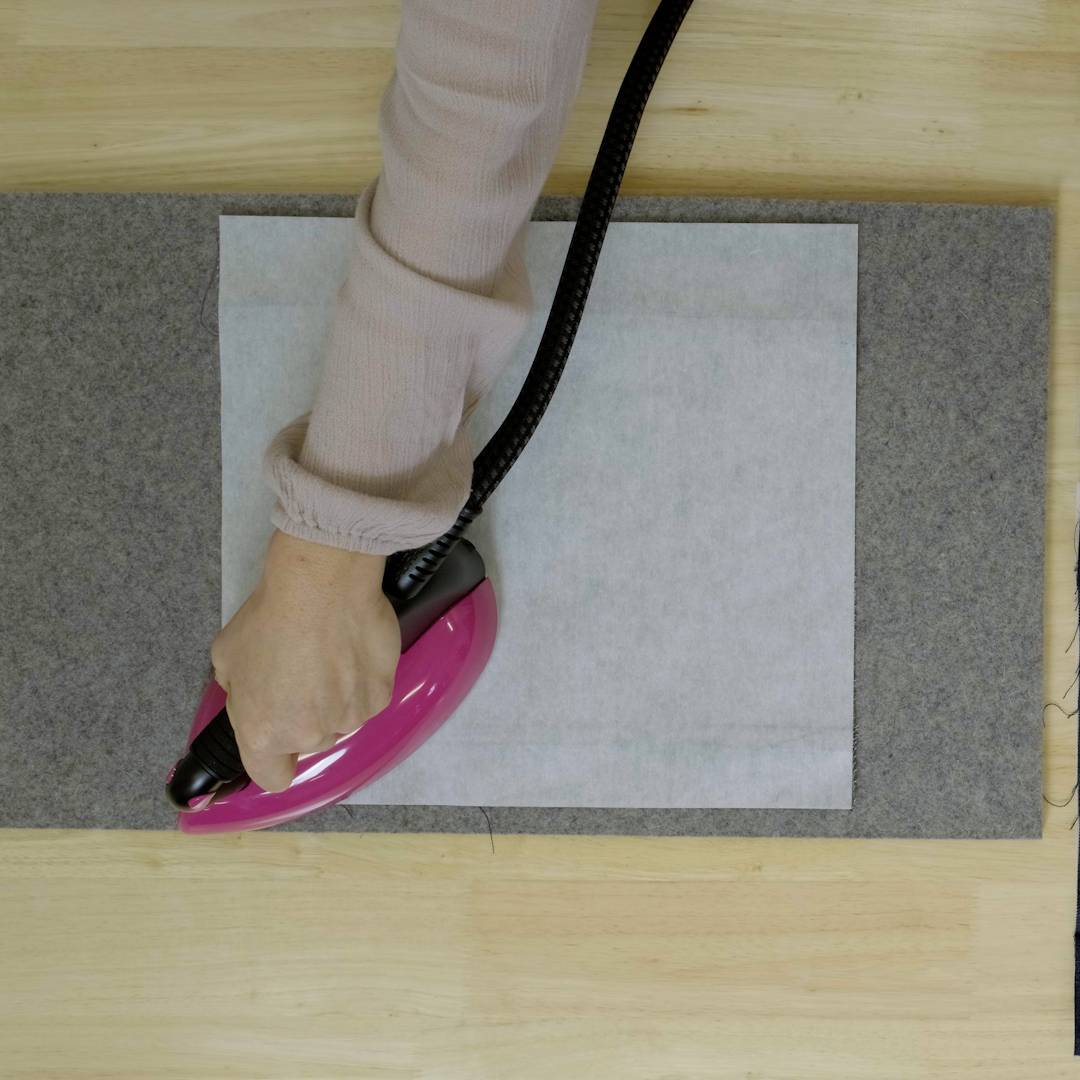
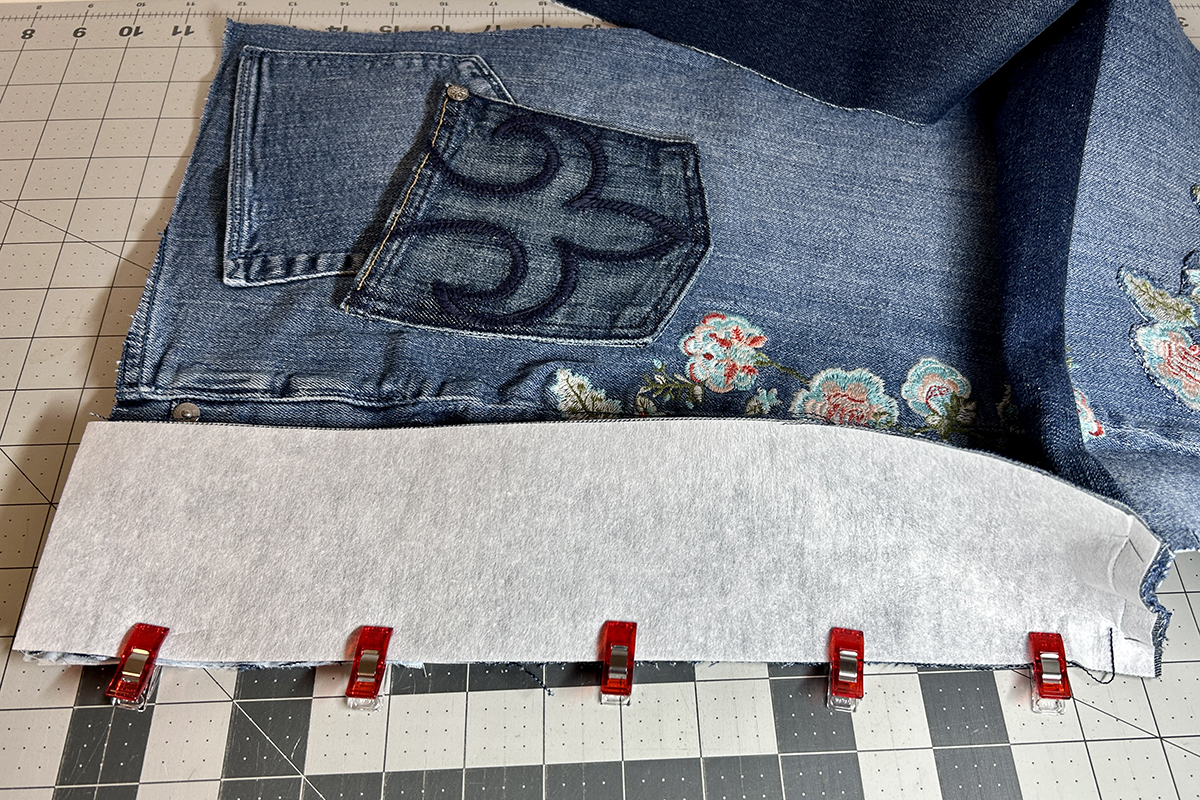
Pellon 808 Craft Fuse is a nonwoven, fusible fabric backing that adds strength and body. It’s perfect for projects that need rigidity and is totally sewing machine safe. For extra rigidity, you can add 2 layers. Cut Craft Fuse to the same dimensions as your 5 jean pieces (2 main, 2 sides and 1 bottom).
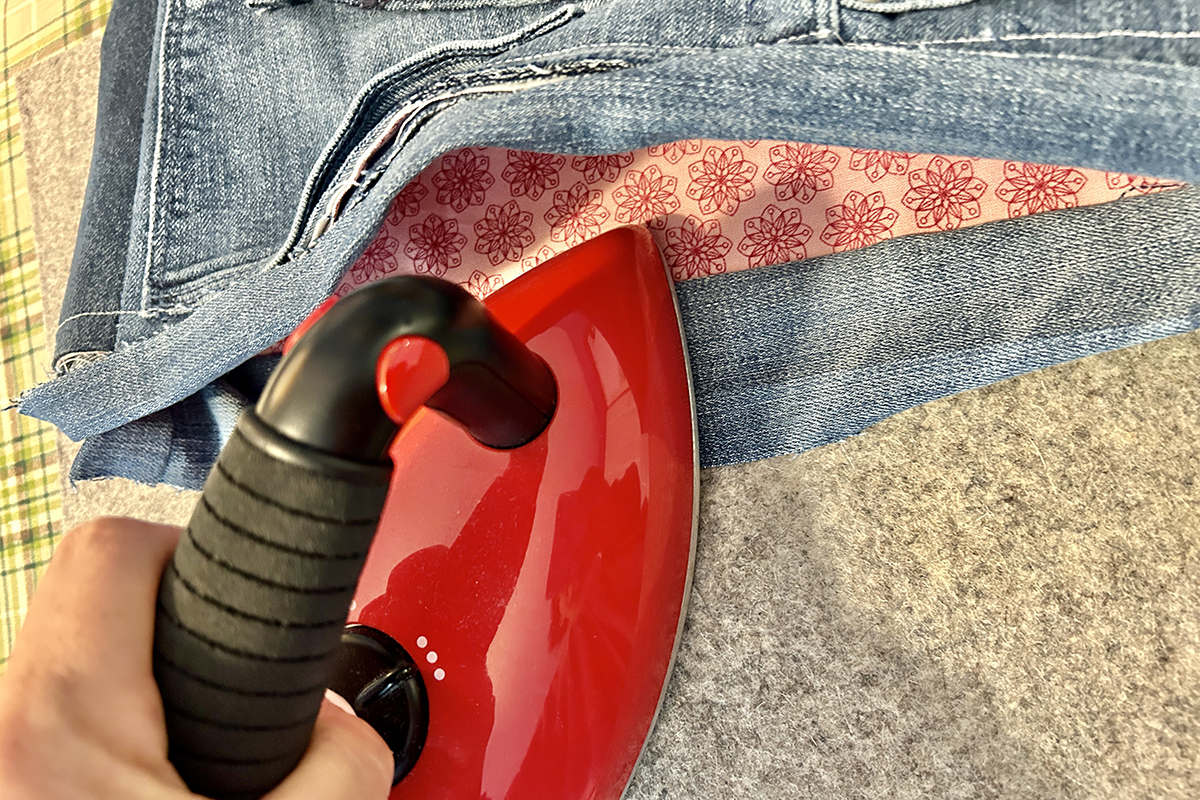
Place Craft Fuse on top and the jean material under it, wrong sides together. This way if the adhesive gets on the ironing mat, it’s much easier to remove than on the iron! By the way, I love my Laurastar Lift Steam Iron!
My 5 pieces fused!
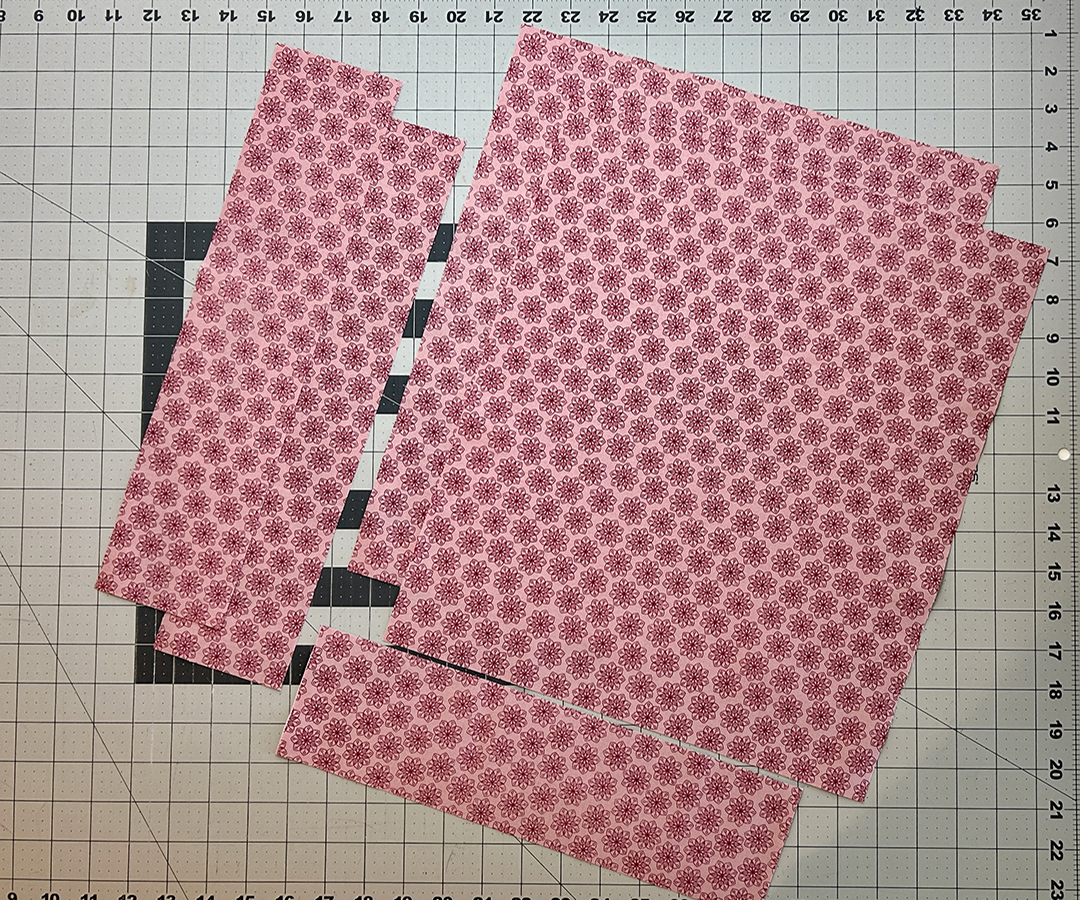
Fabric Lining
Cut the fabric lining to the same dimensions as your 5 fused jean pieces. Do not add Craft Fuse to the fabric lining.
Time to Sew
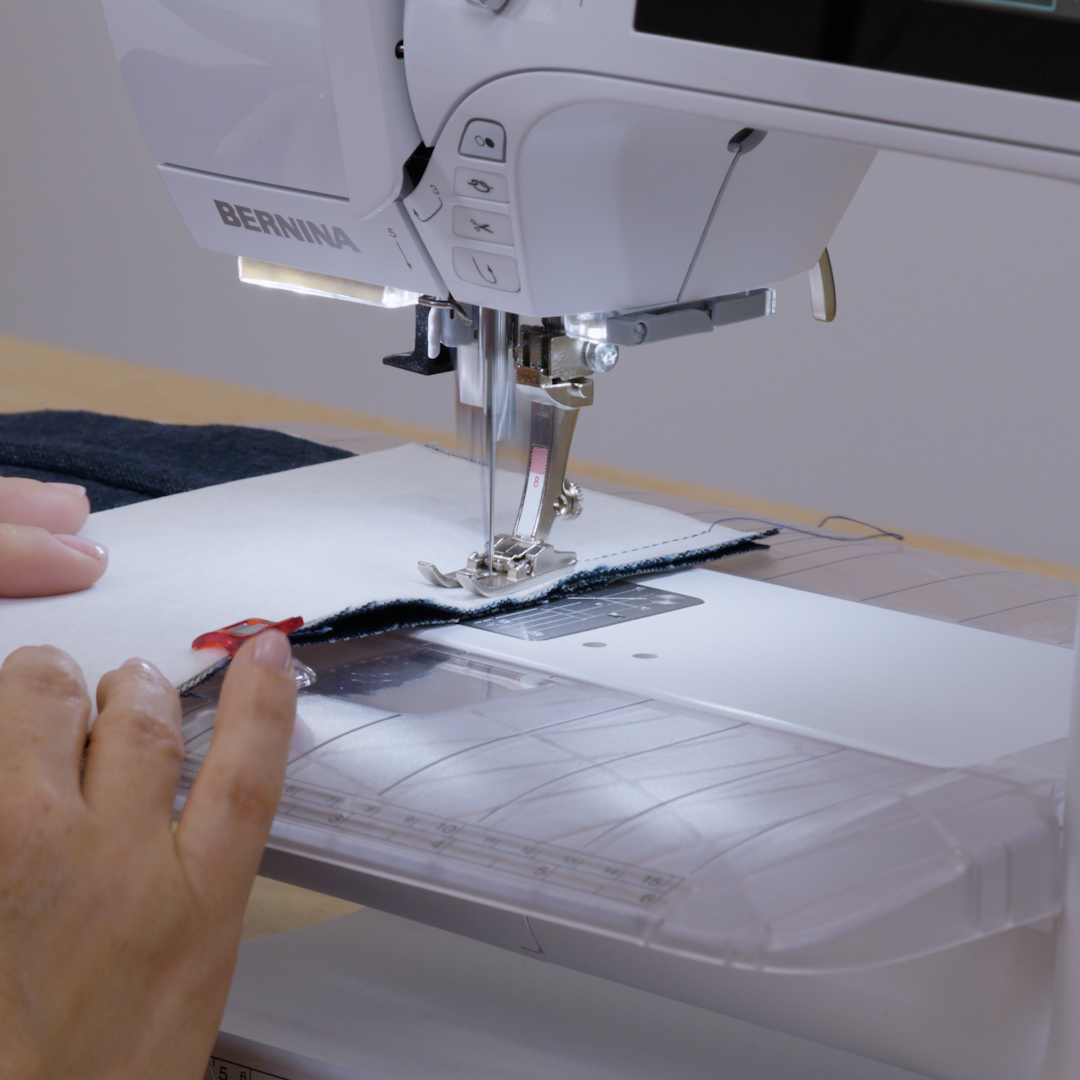
Attach BERNINA Jeans Foot #8/8D to the machine. This is a solid foot designed to stitch through heavy layers of fabric. It’s essentially a straight stitch foot. Selecting a zig-zag stitch or decorative stitch with this foot will result in a broken needle! Select Straight Stitch #1 and increase Stitch Length to 3 mm.
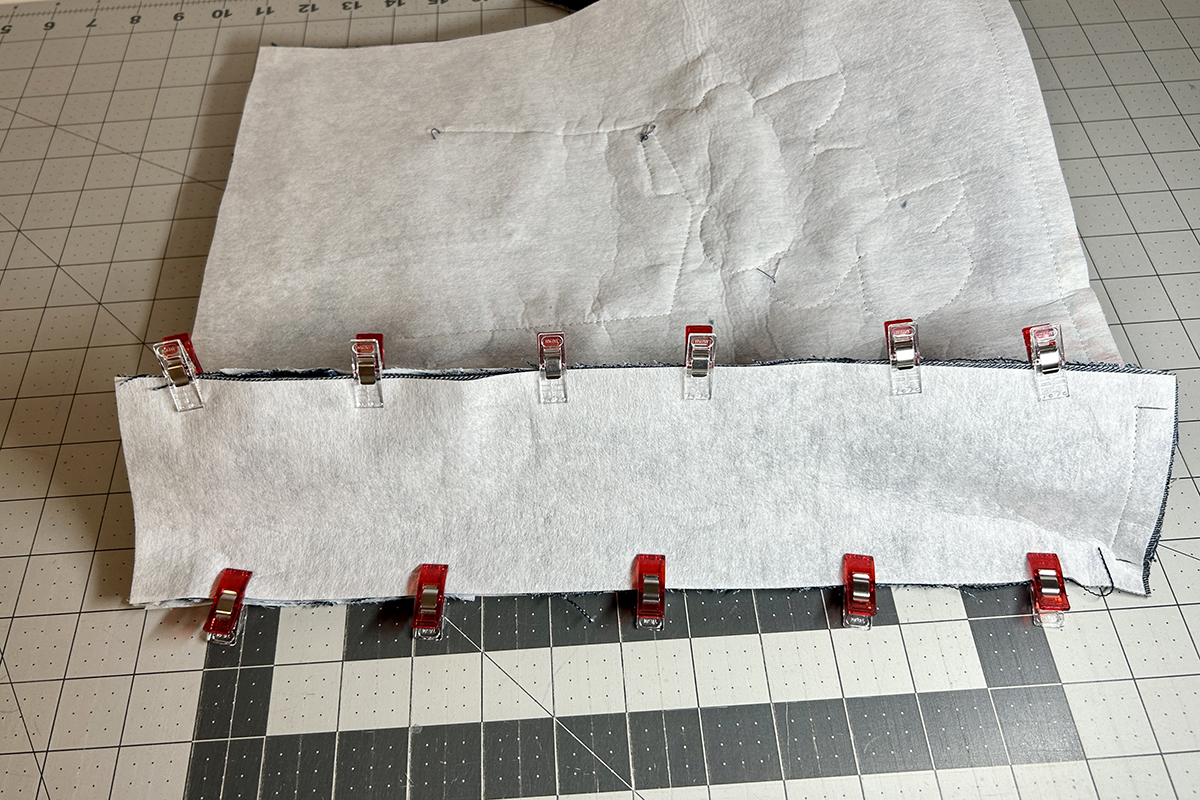
Place bottom rectangle on top of one of the main pieces, right sides together. Make sure the pockets are right side up! Secure the raw edges with clips and sew.
Add the other main piece to the opposite side of bottom piece, right sides together.

Secure raw edges with clips and sew to create one long piece.
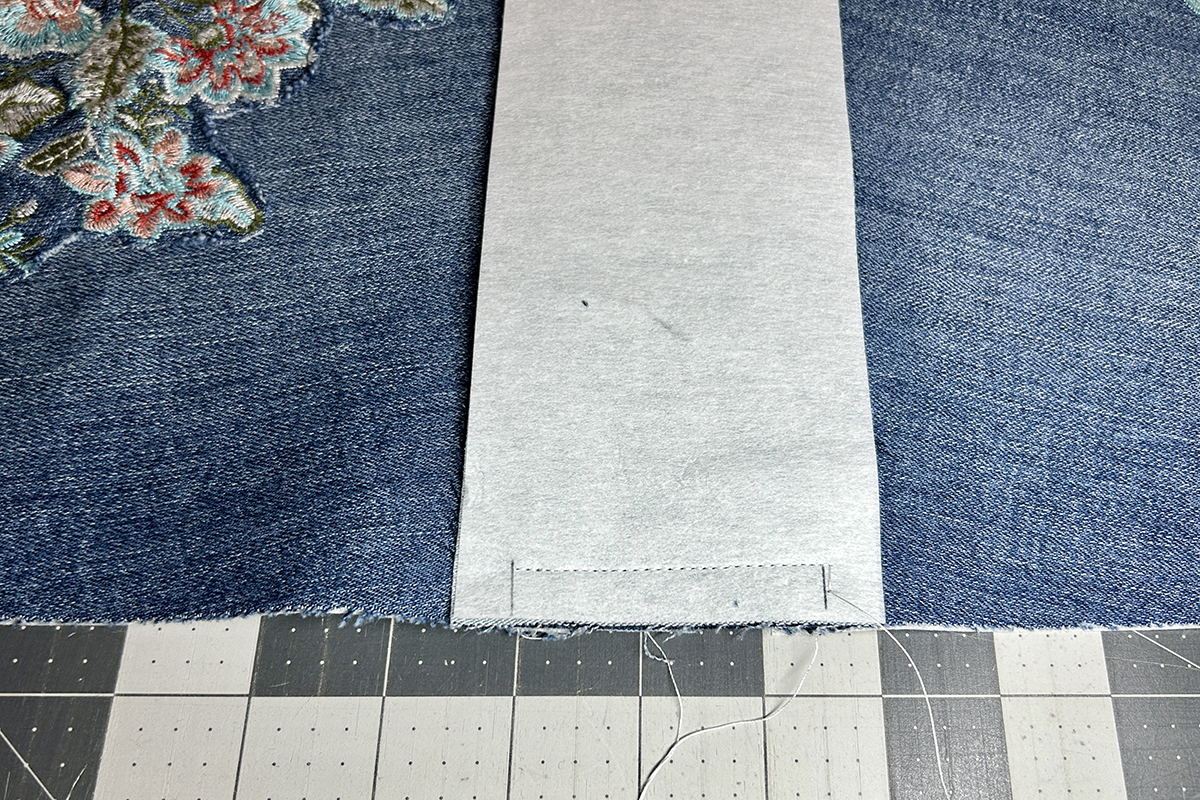
Grab your side pieces and mark 1/2” from the left and right side at one end.
Place one side piece on top of the bottom piece, right sides together. The marked lines should match with the seams. Align the raw edges and clip in place.
Sew from one marked line to the next. Backstitch at the start and end. Do the same for the second side.
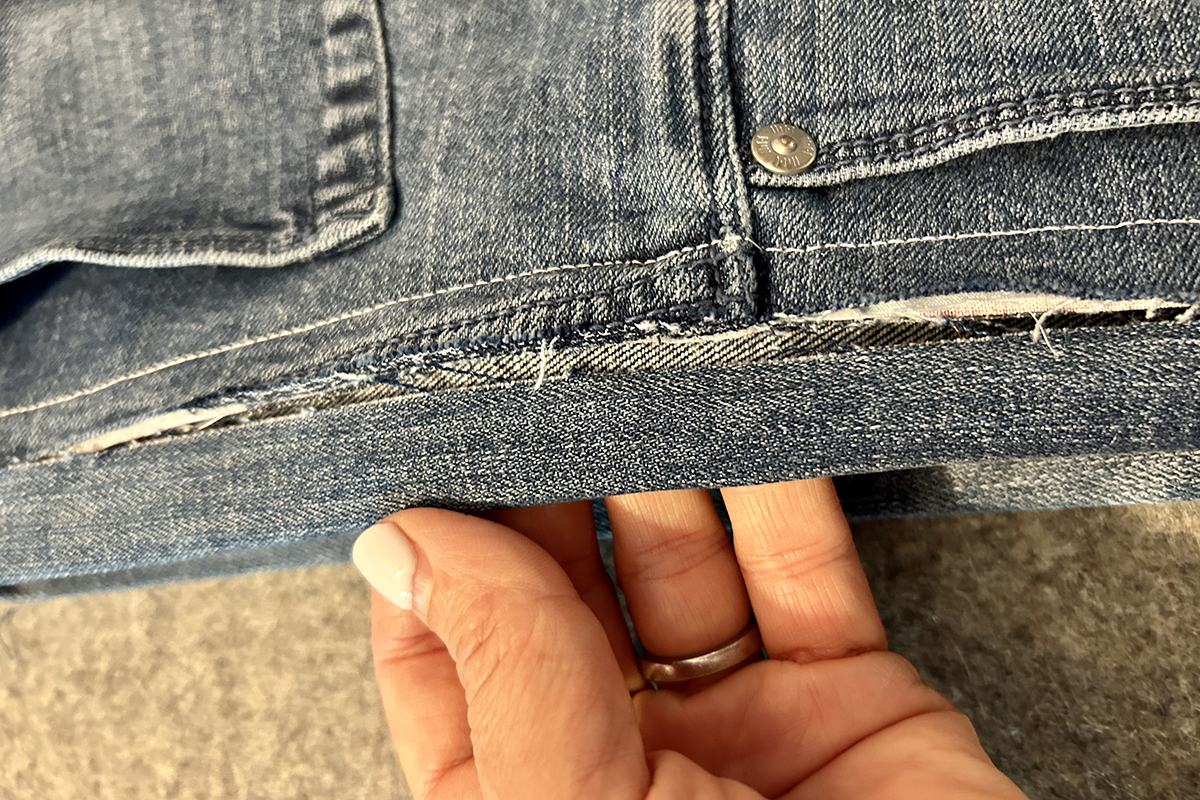
Snip into the main piece next to the bottom seam, but not in the seam. This will be right under the marked line. Make the snips under all 4 lines.
Place one side along the main piece, right sides together. Clip to secure in place. Snipping the fabric in the previous step makes turning the side so much easier!
Place the opposite side along the other main piece. Clip to secure in place.
Stitch together. Do the same for the second side.
Bag Lining
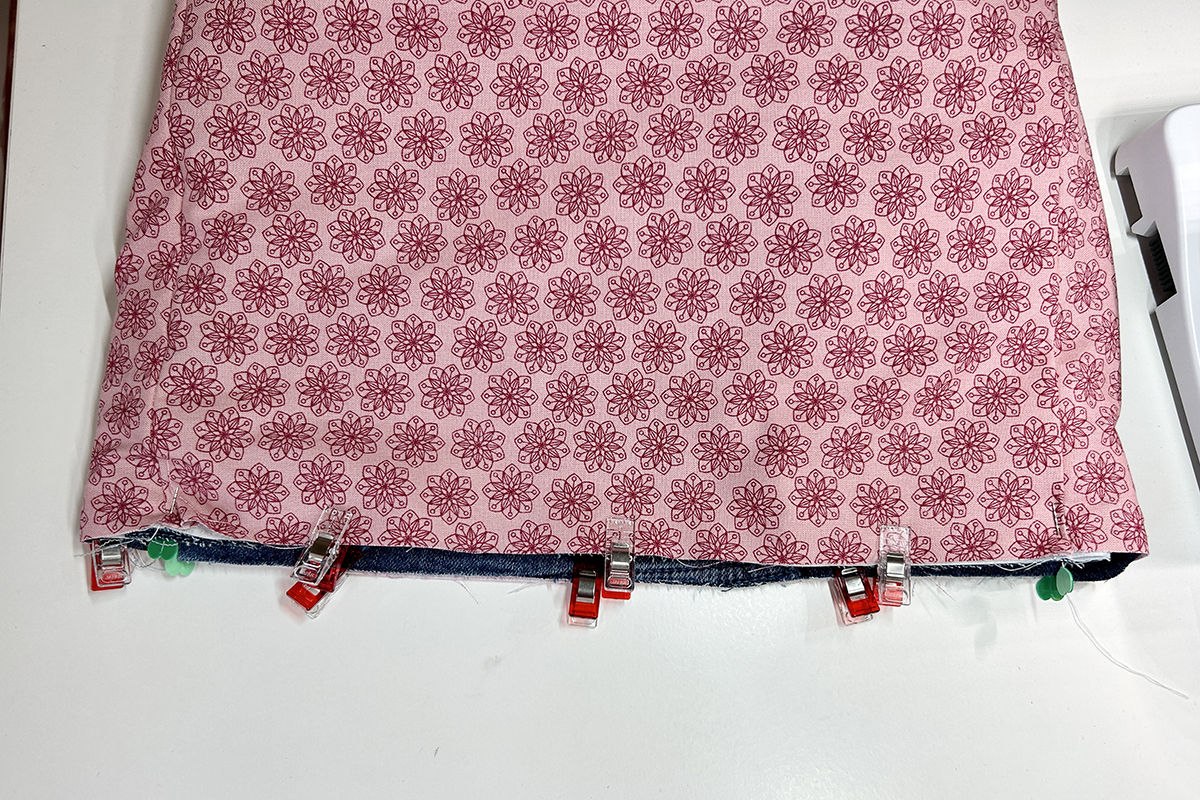
Change Straight Stitch length to default. Follow the same method to create the bag lining. Insert the jean bag into the lining, wrong sides together, with the lining on the outside. Clip the raw edges together matching the side seams first. If you are a beginner sewer, baste along the 1/2″ seam.
Binding
The binding goes around the top of the bag to cover the raw edges. With the remaining jean material, measure and cut 2 ½” x 36”. If you need to join pieces of denim, press seams open for less bulk. You can use the cotton fabric as the binding if you don’t want to work with the bulky layers of the jean material.
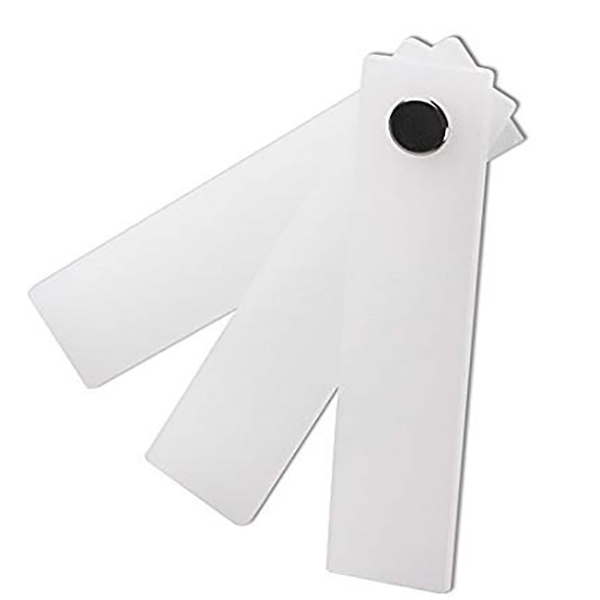
Change Stitch Length to 3 mm. Get out the Height Compensation Tool that came with your machine. This small plastic tool doesn’t look like much but it’s a big stitch saver! There are 3 height options to choose from to level the sewing surface when working with bulky fabrics. This prevents skipped stitches – those super long stitches that stand out and look unseemly.
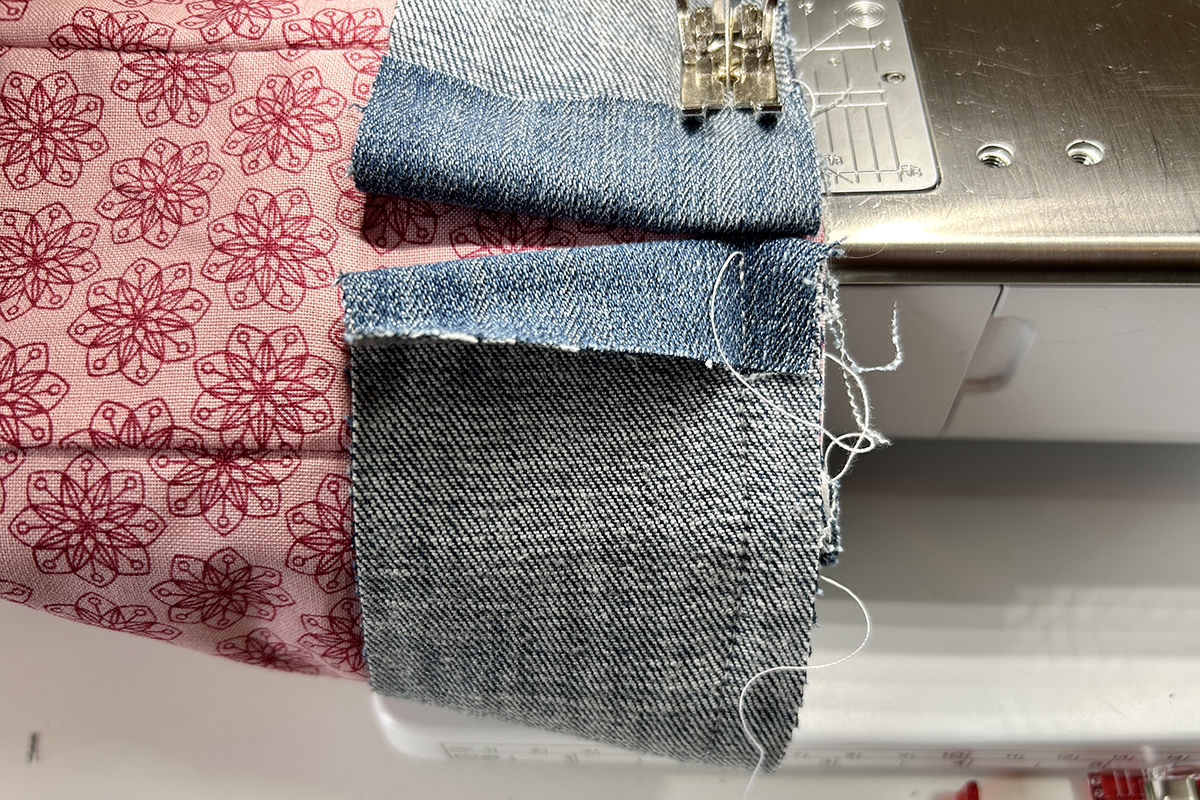
Remove the slide-on table so you can insert the opening of bag onto the freearm. Isn’t that so much easier? Place the binding strip on top of the bag so all raw edges are aligned. At the beginning, fold short end of the binding strip 1” to the wrong side. and sew raw edges at 1/2” seam allowance.
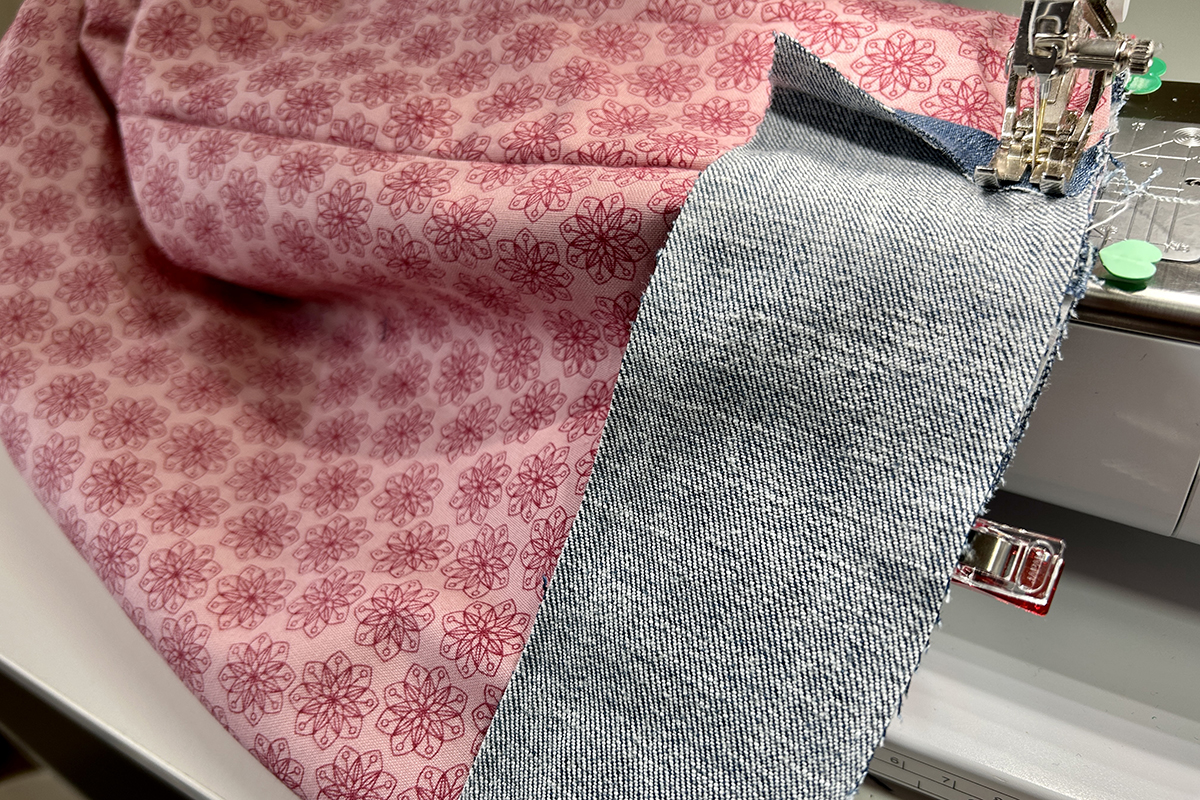
Continue to sew until you’re about 3” from end. Fold strip so it butts up again the starting fold. Sew the last few inches and backstitch.
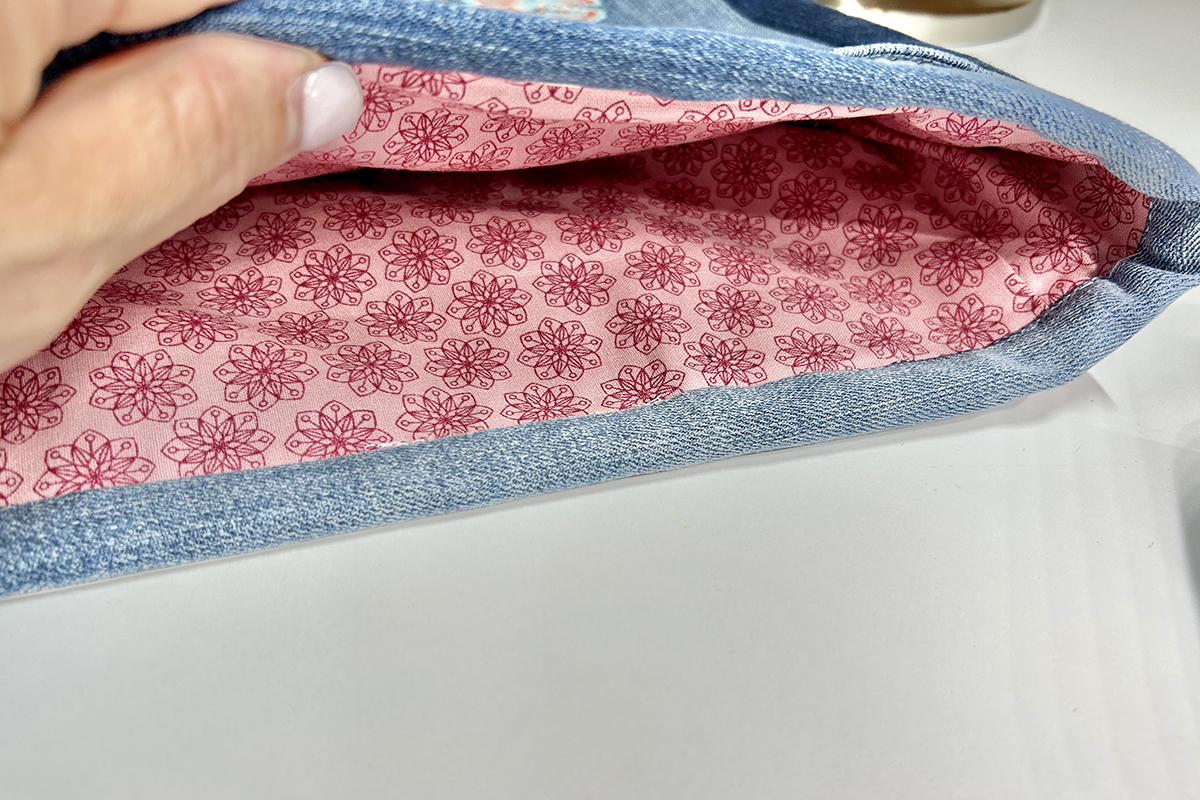
Turn bag right side out. Fold the binding strip up and press along the seam so it lays flat.
Fold the binding strip lengthwise so the raw edges butt up against the raw edges on the opposite side. Press.
Fold over again so that the folded edge is positioned along the seam line. Press and clip as needed.
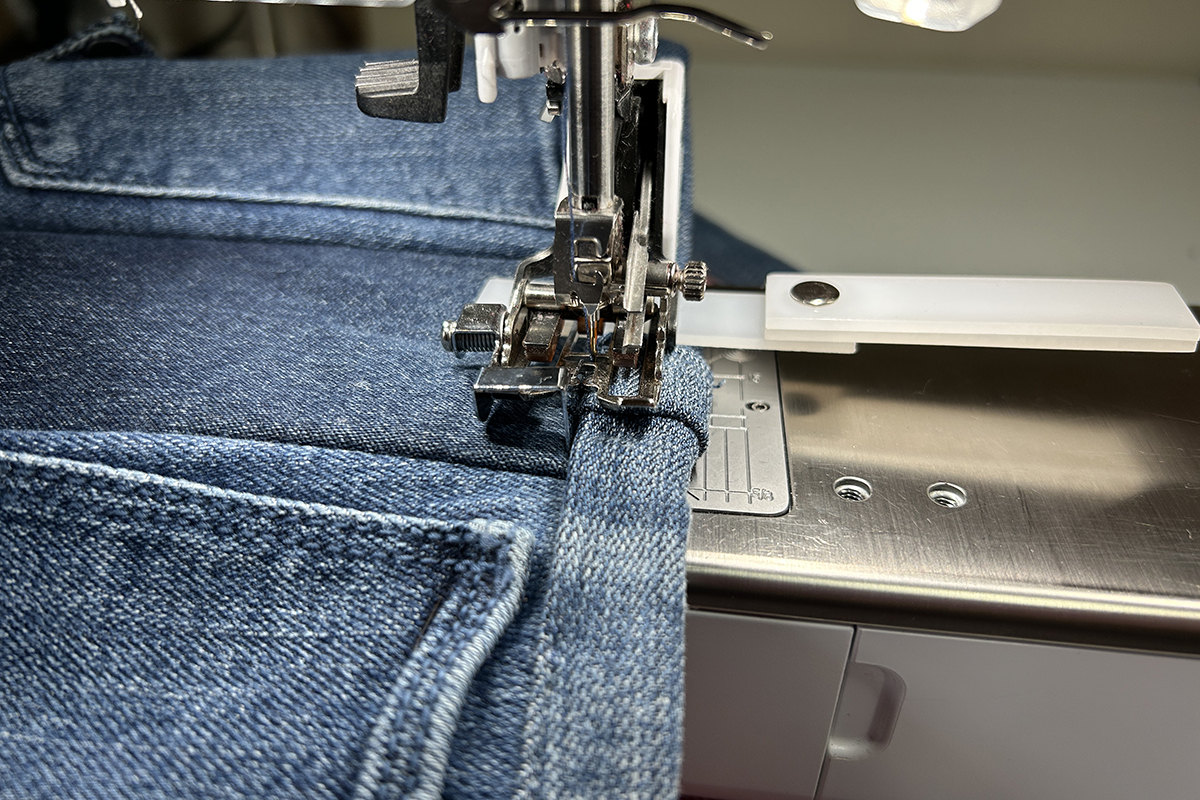
Attach Walking Foot #50 with Center Guide Sole. Increase Stitch Length to 3.25 mm. Position the Center Guide up against the binding. Move the Needle Position to 3. Using your handwheel, lower the needle and check placement. Adjust if needed.
Stitch the binding strip. You definitely need to use your Height Compensation Tool here, especially where the folded ends butt up together. Go slow.
Handstitch the ends together, if desired. Looking good!
Handles
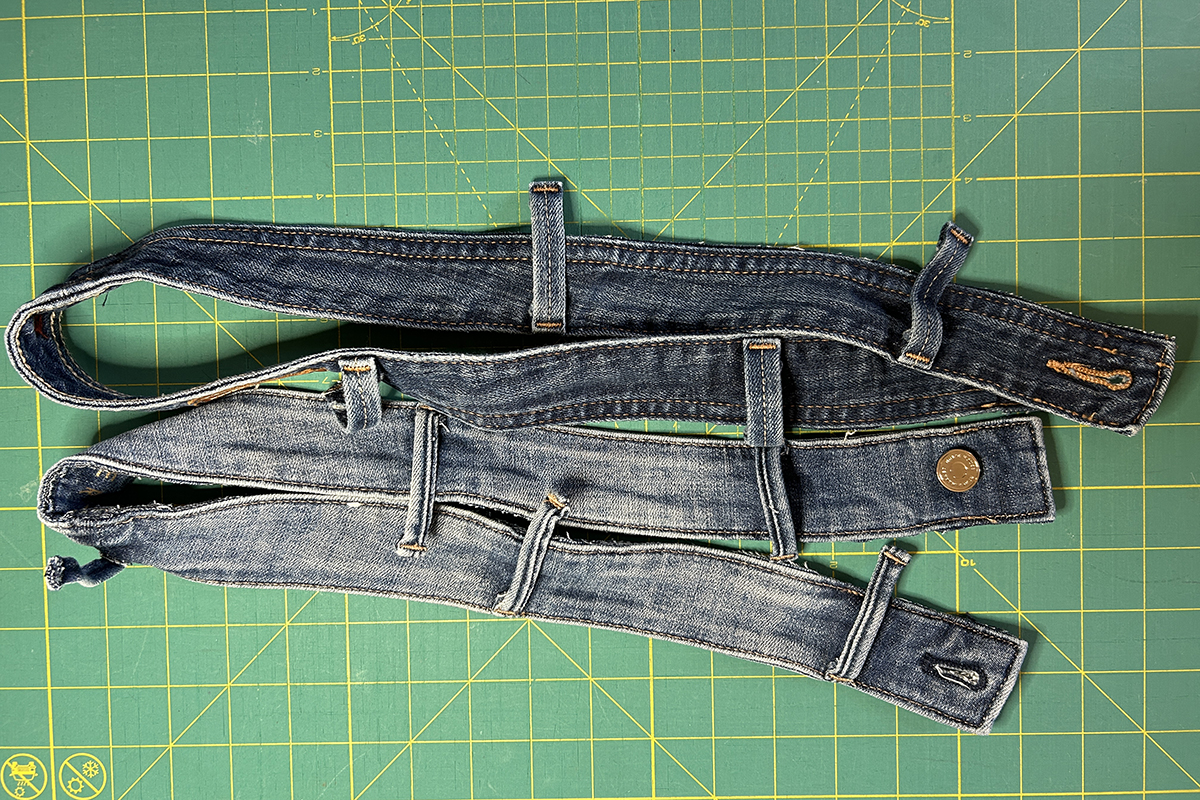
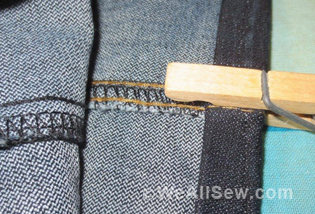
Grab the waistbands you removed from the jeans in the beginning. Notice the length of each one. Most likely they will be a bit different. Also, notice the belt loops. Remove them with a thread ripper and set aside.
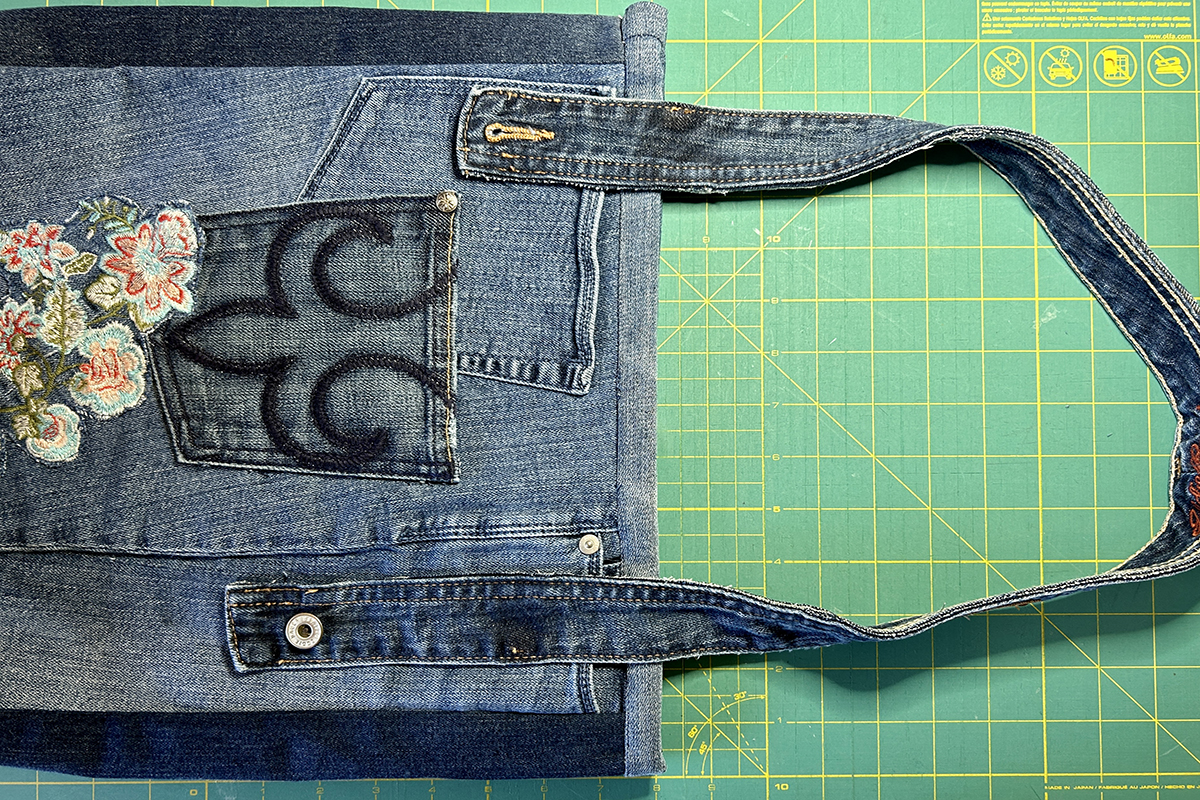
Place one waistband on the bag. Decide where on the bag you like it and how long you want it. Pin in place.
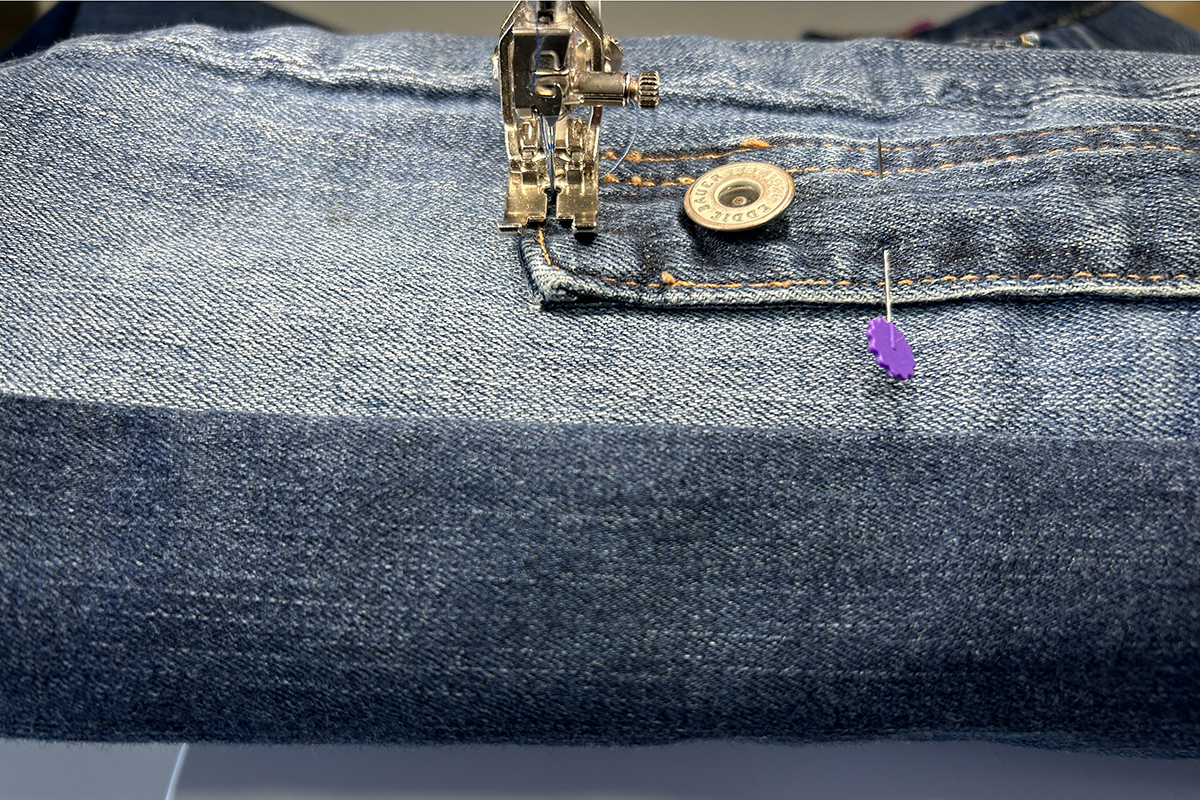
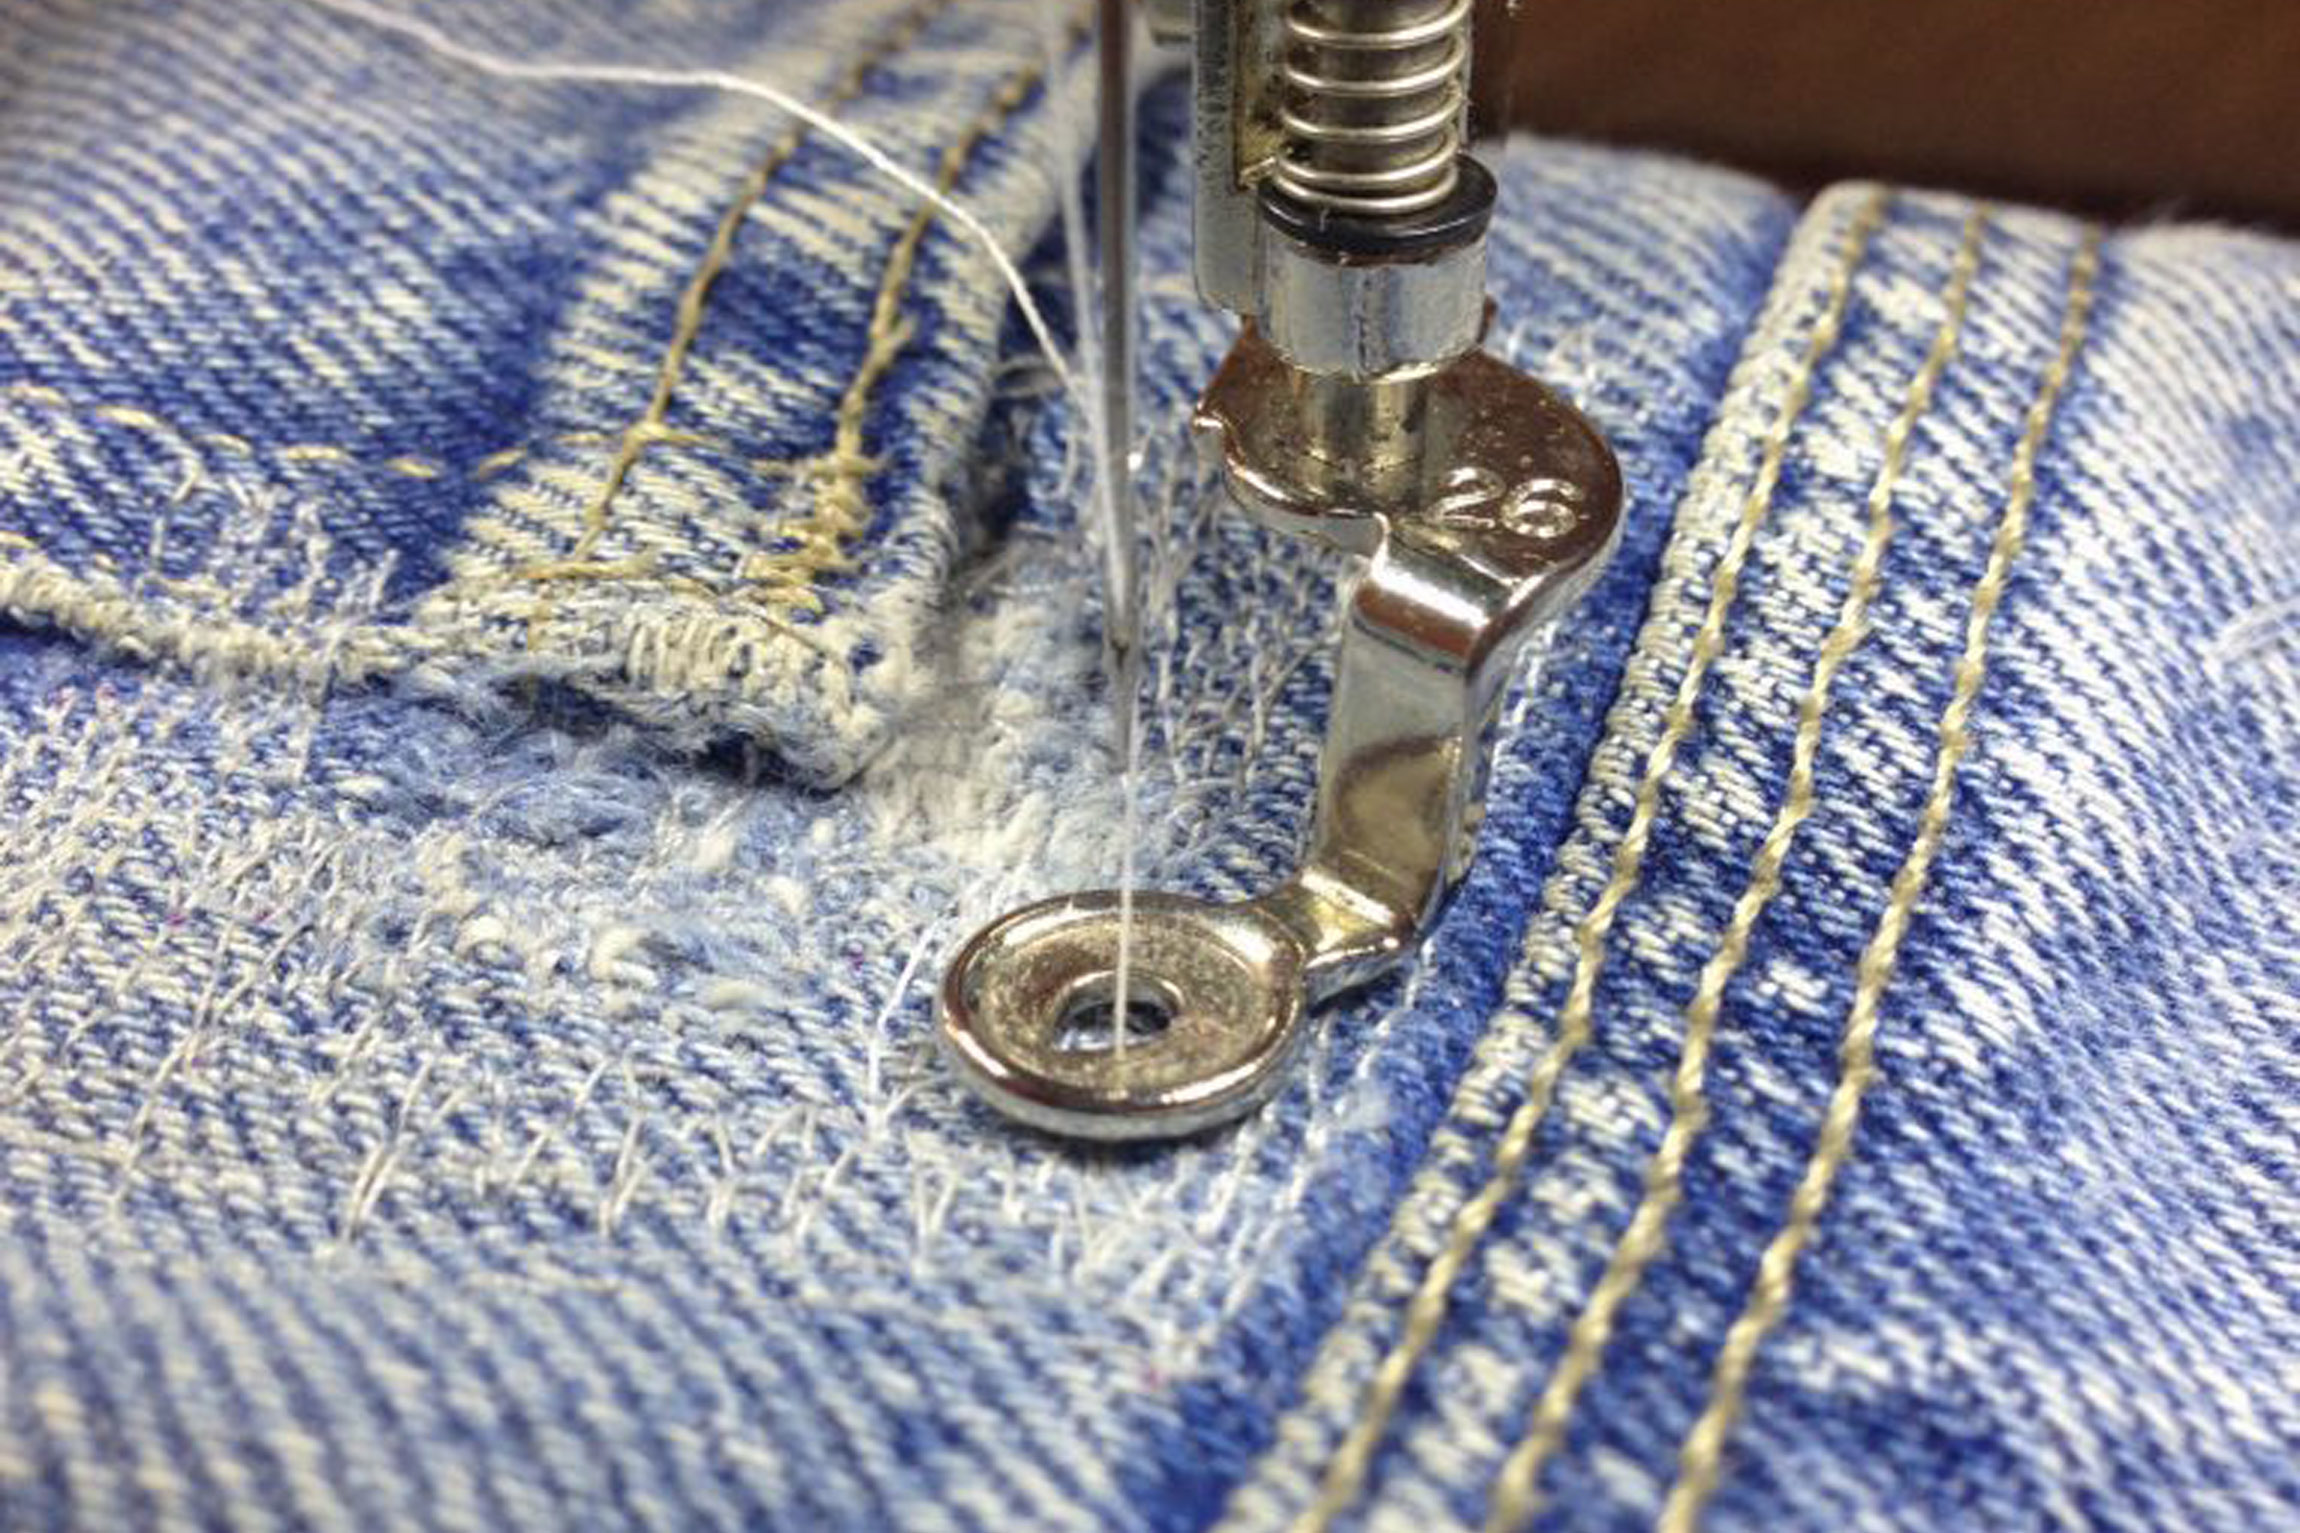
Attach Jeans Foot #8. Select Straight Stitch #1 and change Stitch Length to 3.25 mm. Thread your machine with Mettler Denim Doc in a color that matches your jean material. Stitch waistband in place along the edges, backstitching at start and end.
Use the belt loops to add interest to your bag. Don’t you love how we use every part of the jeans? Stitch down along the existing gold bartacks. Use as many belt loops as you like!
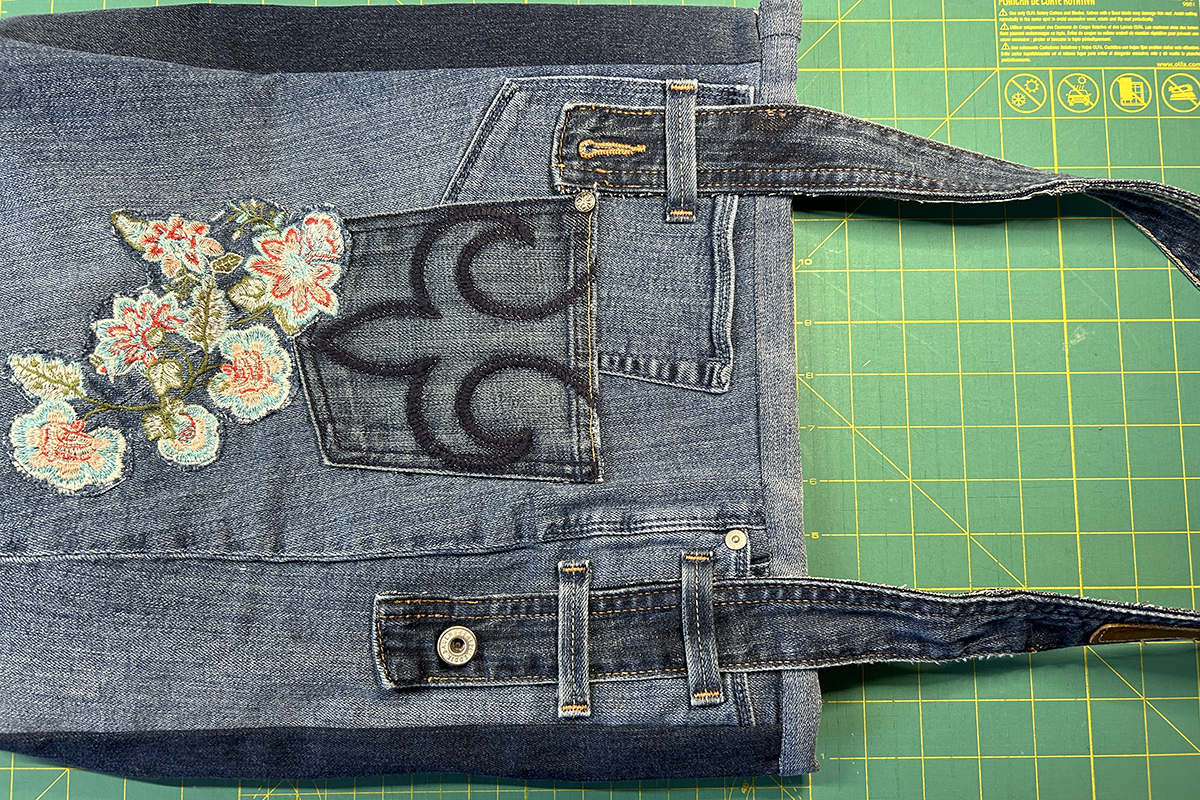
Do the same for the other side making sure the handles are at the same height when holding the bag.
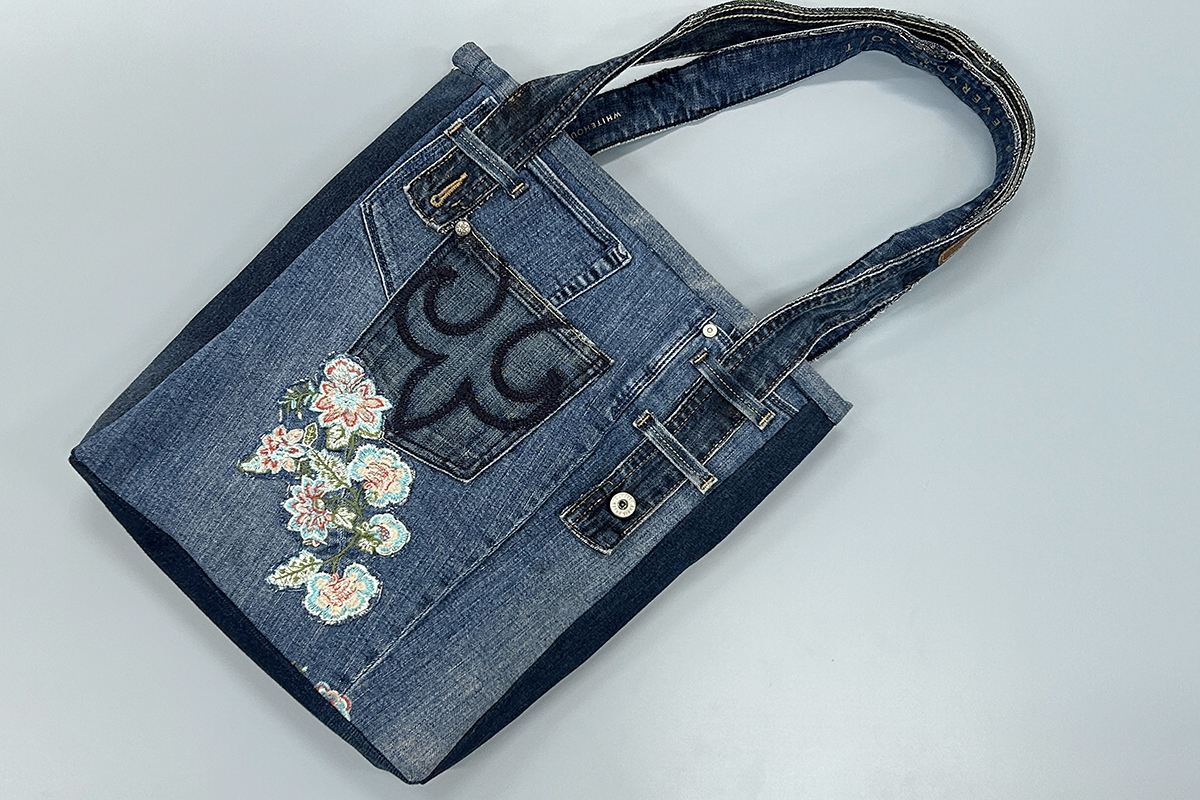
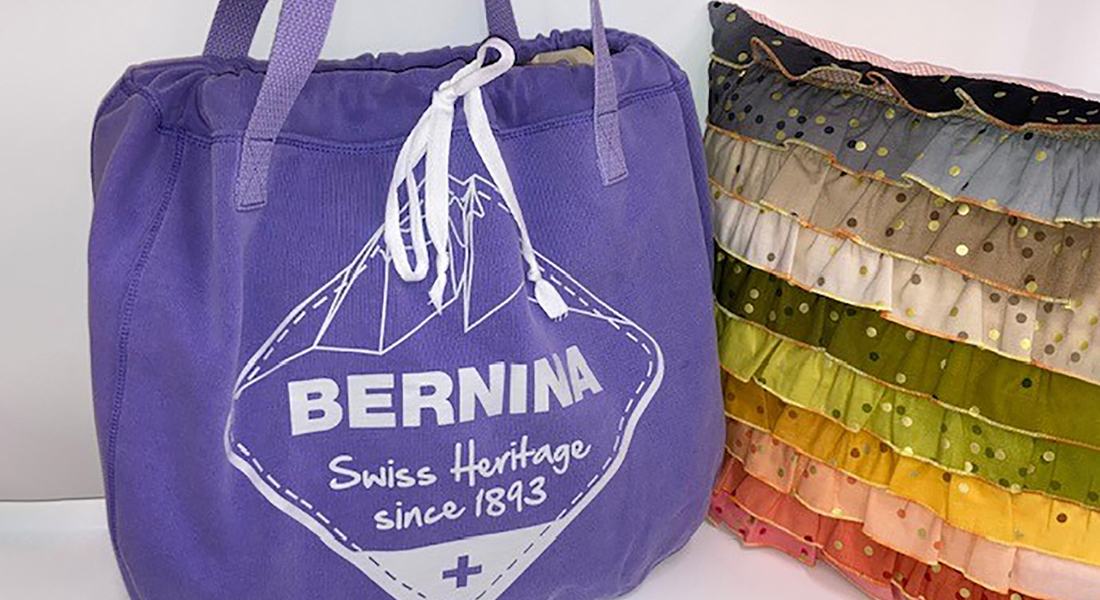
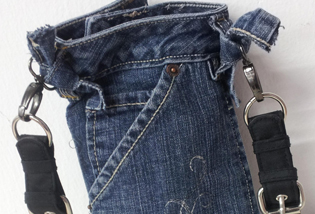
And done! I hope you enjoyed this fun and creative tutorial on bag-making with upcycled jeans. Now that you know the basic construction, think of the endless variations. If I was teaching a class, every single bag would look different. What a great way to spark creativity. Not to mention saving old jeans and plastic bags from the landfill!


So I made this today with a friend…we both had issues with the Pellon 808 adhering to the denim.