Bow Cuff Upcycle
How to Transform Sleeves with a Decorative Cuff
Sometimes, no matter how much you love it, a t-shirt needs a new life. Maybe you’re looking to get more time out of a piece when the elbows are looking a bit worn out. Maybe you’re like me and long sleeves just never seem to be the right length. This quick trick will transform a long sleeve t-shirt into a short sleeve with a cute extra touch. The best part is that this new look can be created in about 30 minutes start to finish!

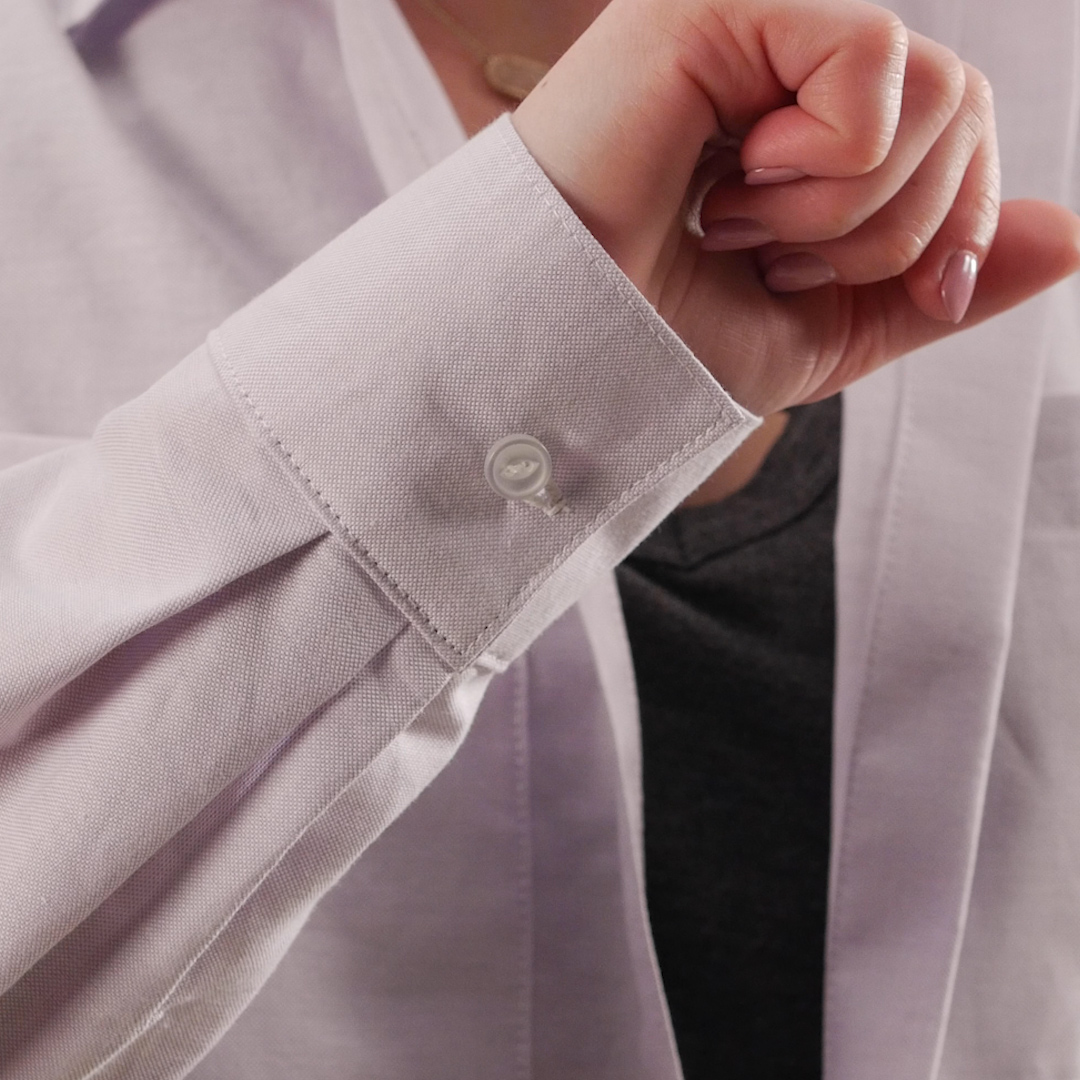
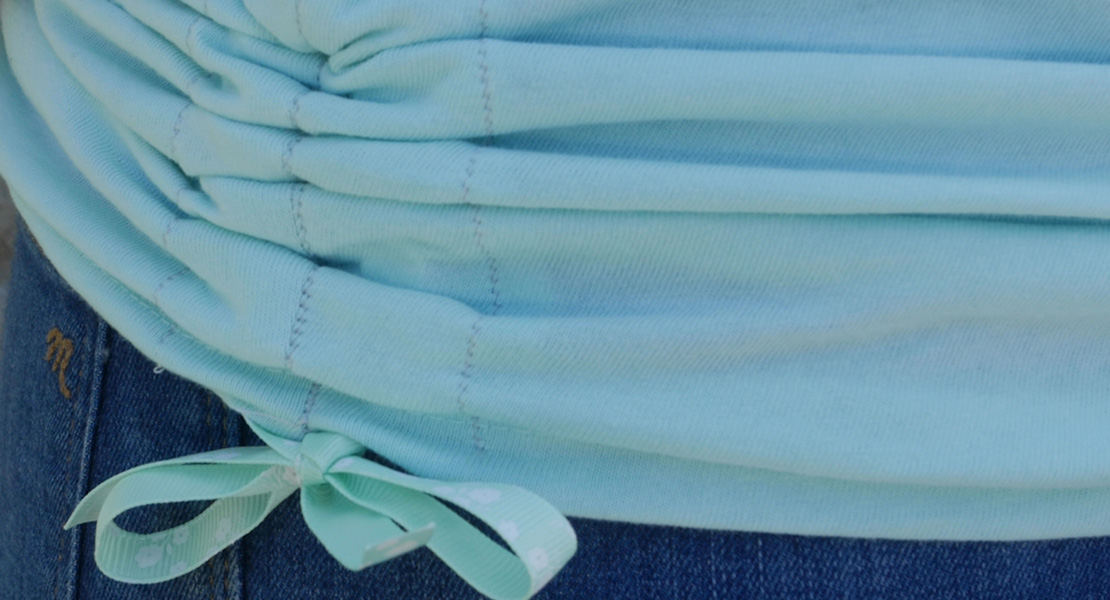
The gathered bow-like look on this shirt cuff is shockingly easy to create and adds a slightly feminine detail. It looks adorable on a shirt sleeve but could also be easily translated to the bottom cuff on kid’s leggings. Add a new contrasting fabric to add length and hello, another three months of wear for that kid who’s growing like a weed!
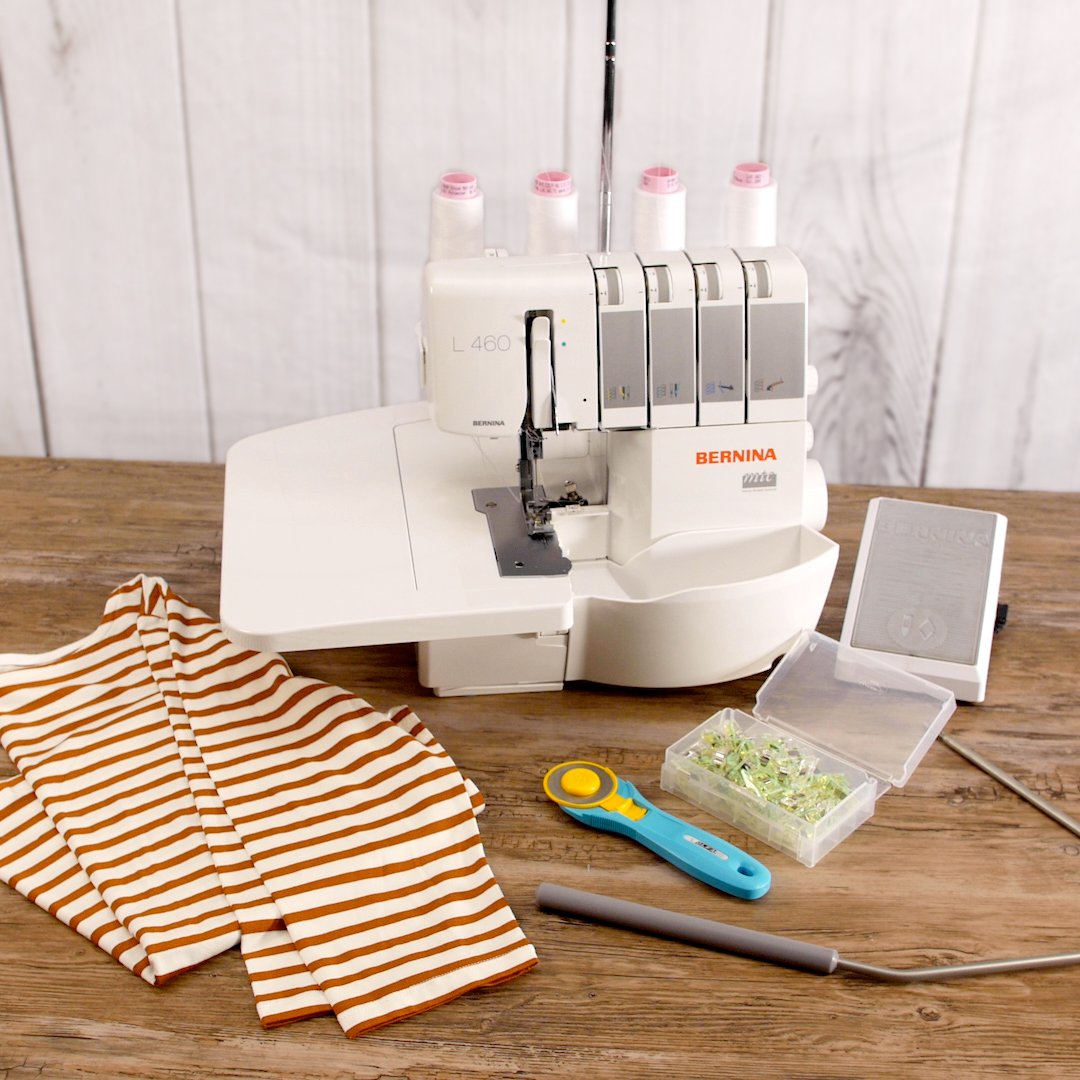
Supplies to Transform a Sleeve into a Decorative Cuff
- Long sleeve t-shirt
- Rotary cutter
- Ruler
- Cutting mat
- Serger thread
- Wonder Clips by Clover
- BERNINA L 460 Overlocker
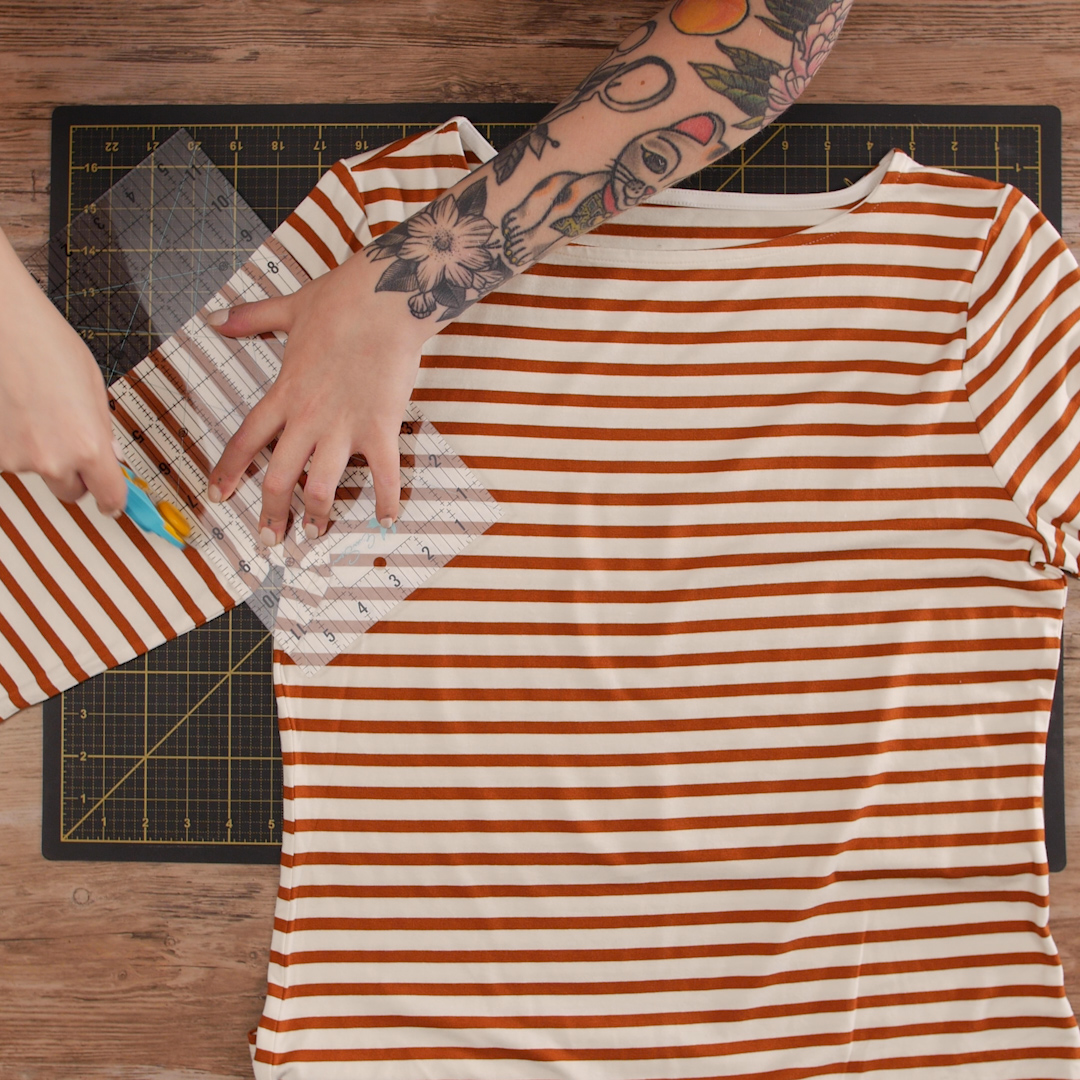
Step 1. Cut off sleeves
Begin by cutting the existing sleeves off from the shirt. Measure 1” down from the underarm seam where the sleeve meets the bodice and cut perpendicular to the sleeve seam.
Step 2. Create cuff
From each cut-off sleeve, measure 5” from the raw edge and cut. Set aside.
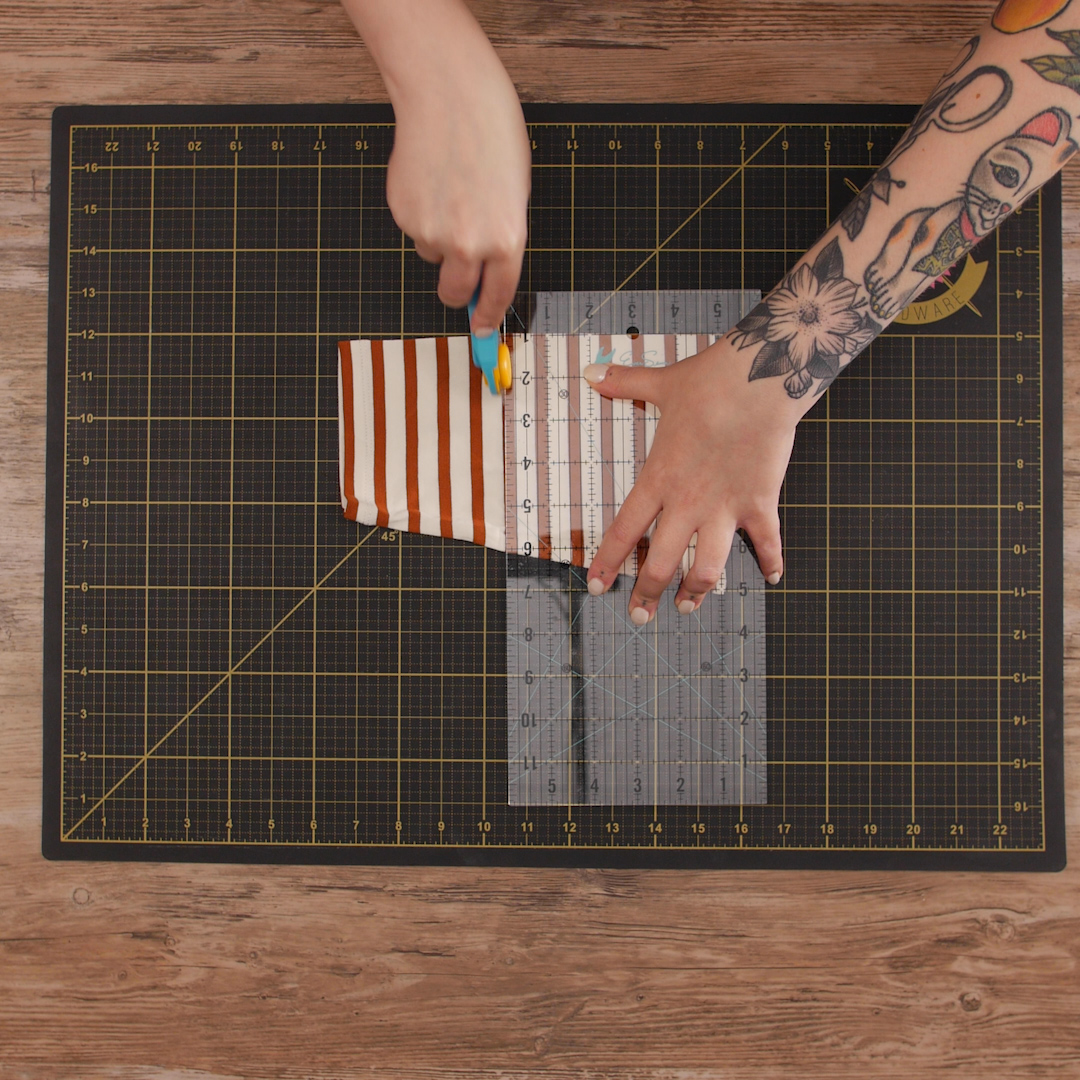
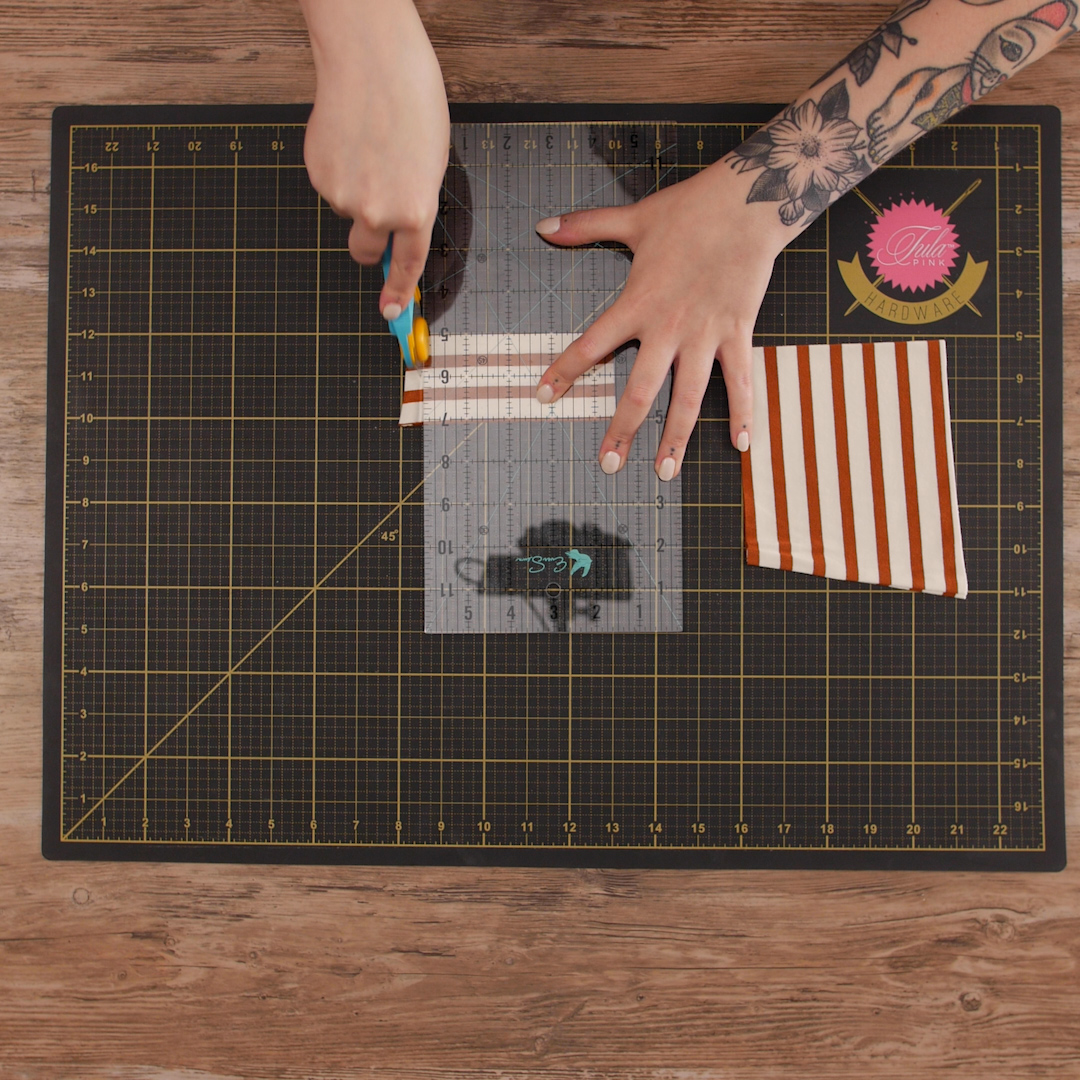
Again from the remainder of sleeve, cut a 2” strip.
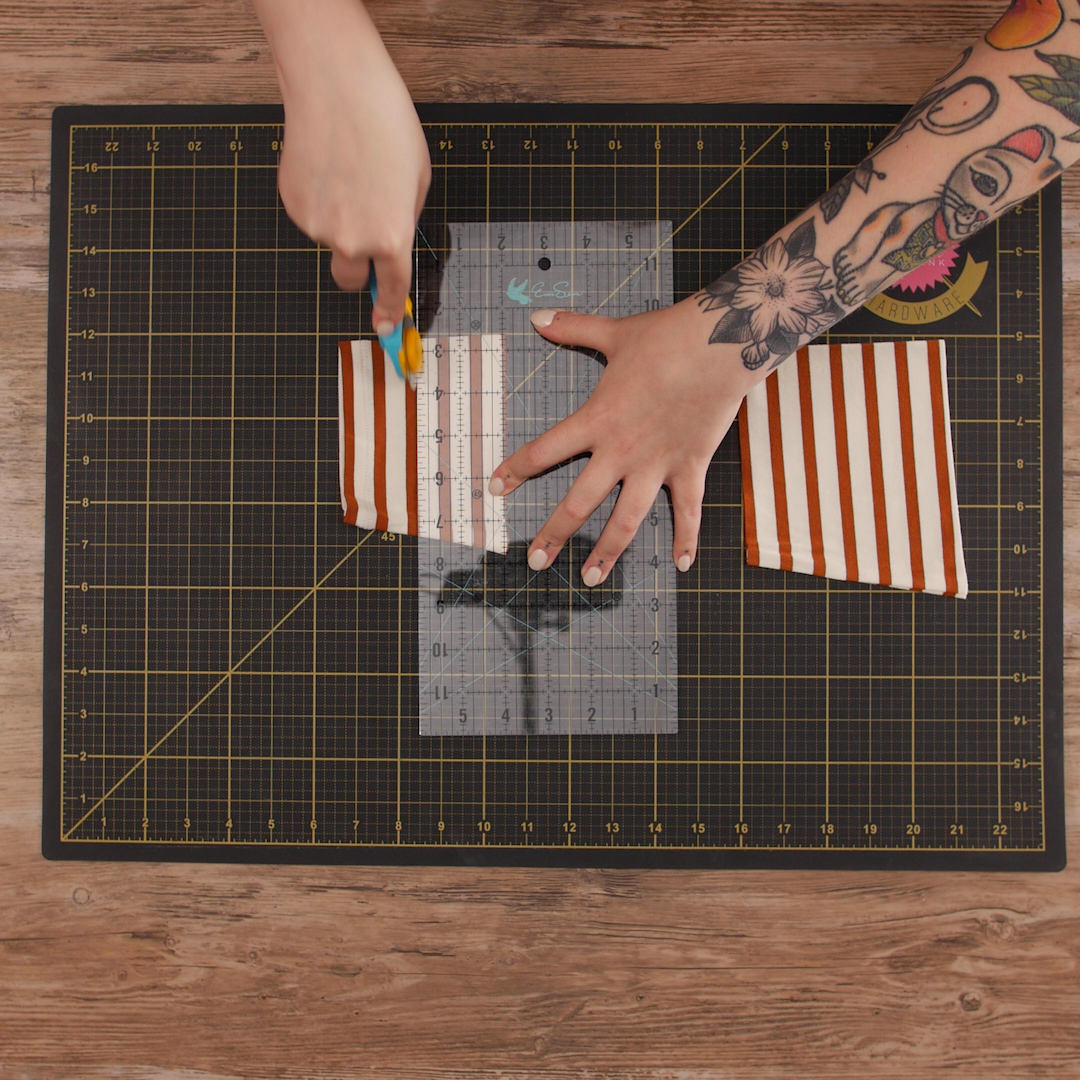
Then cut away the seam allowance so the strip lays flat.
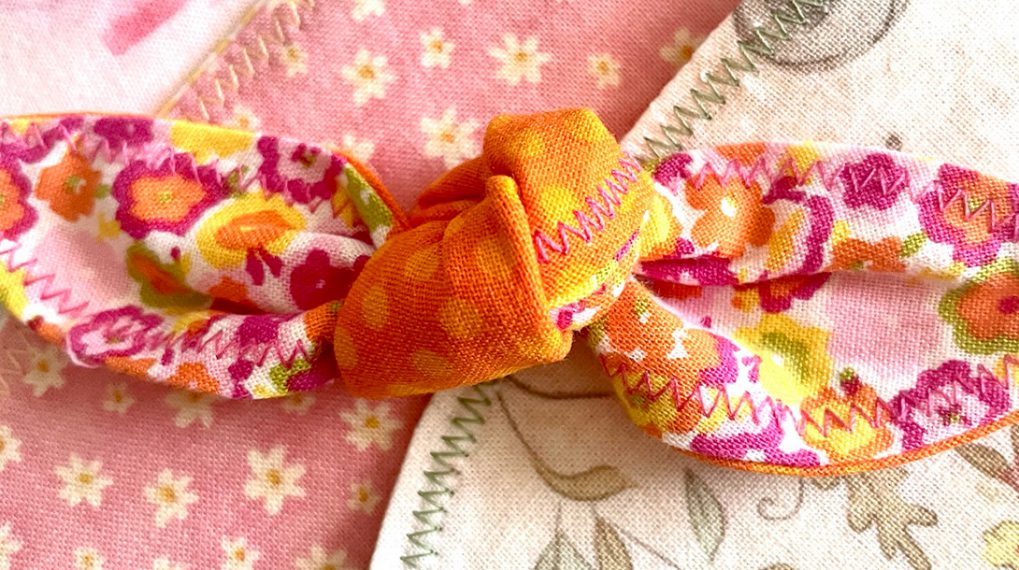
Step 3. Create cuff tab
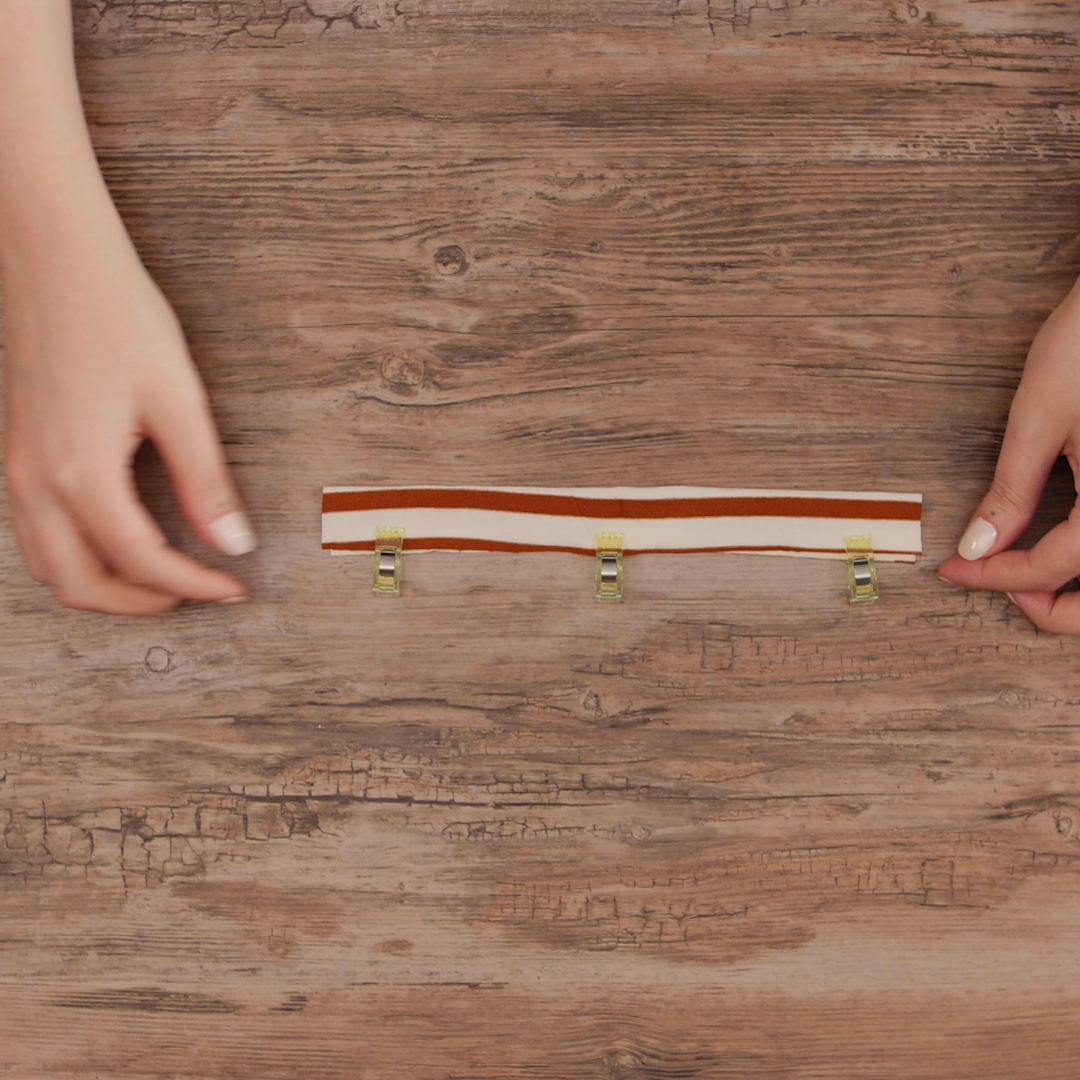
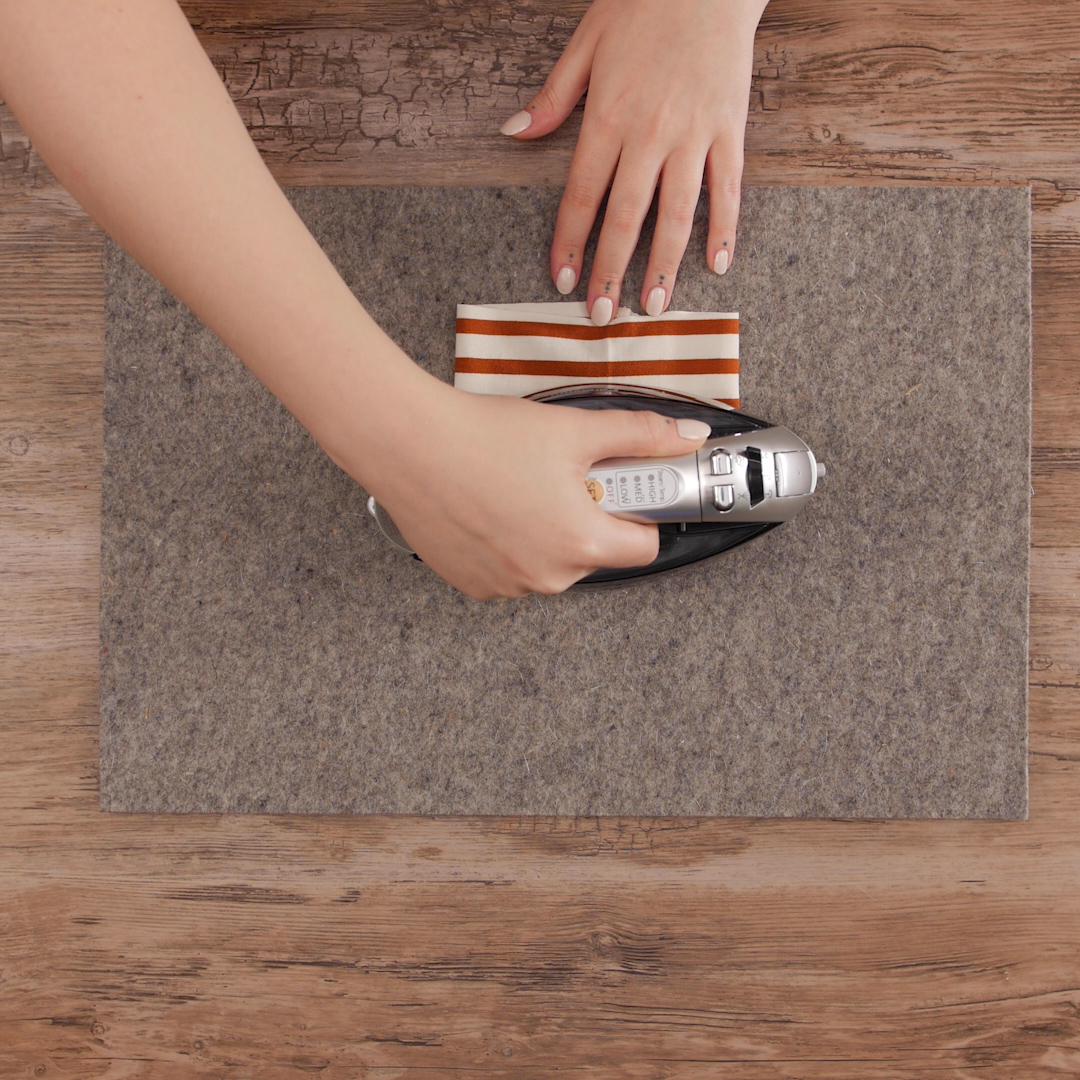
To make the tab on the cuff, take the 2” strip and fold it in half lengthwise with right sides together. Place Wonder Clips along the edge to ‘pin’ in place.
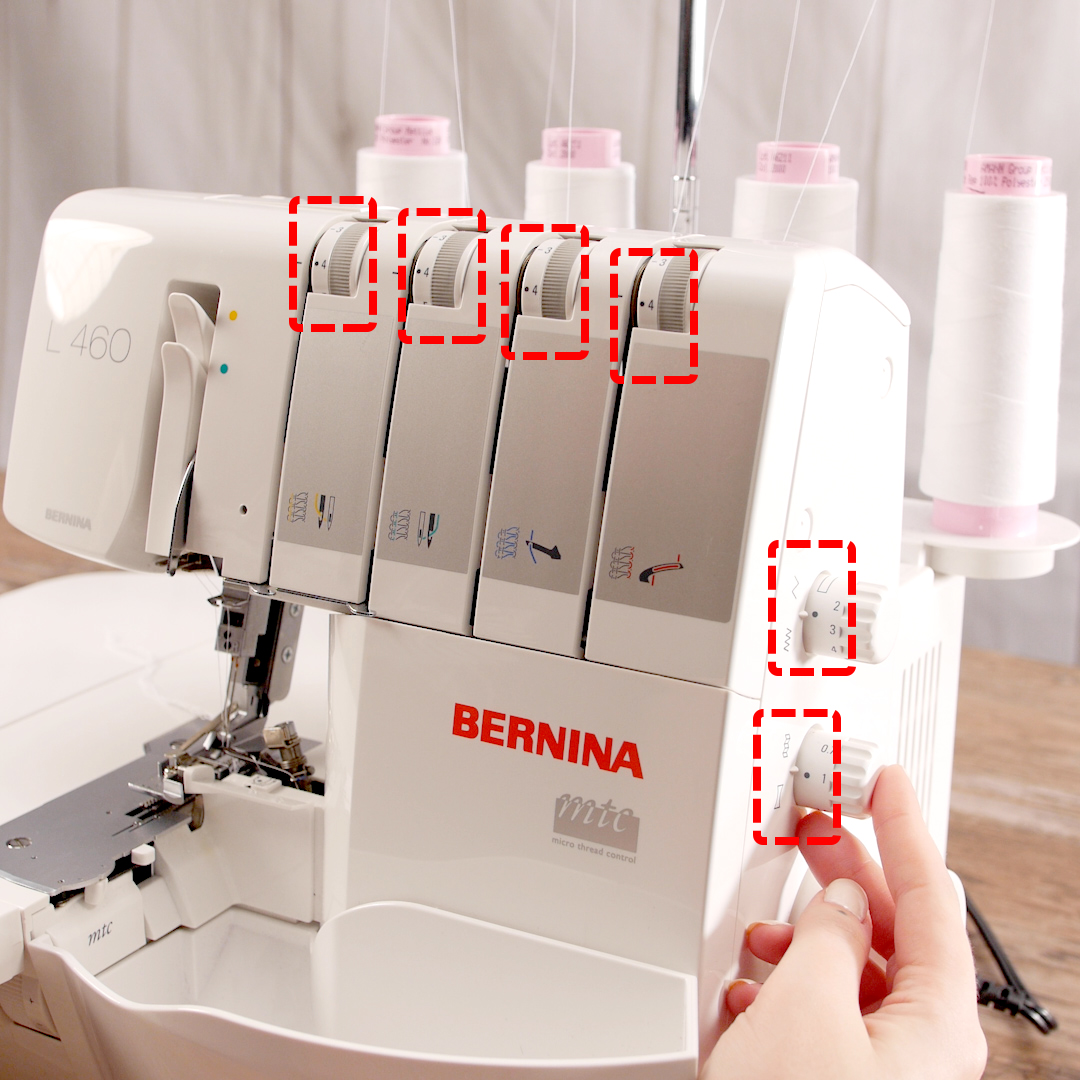
Set up the overlocker for a standard 4-thread overlock seam.
Serge down the ‘pinned’ edge. Turn the tab right side out and press.
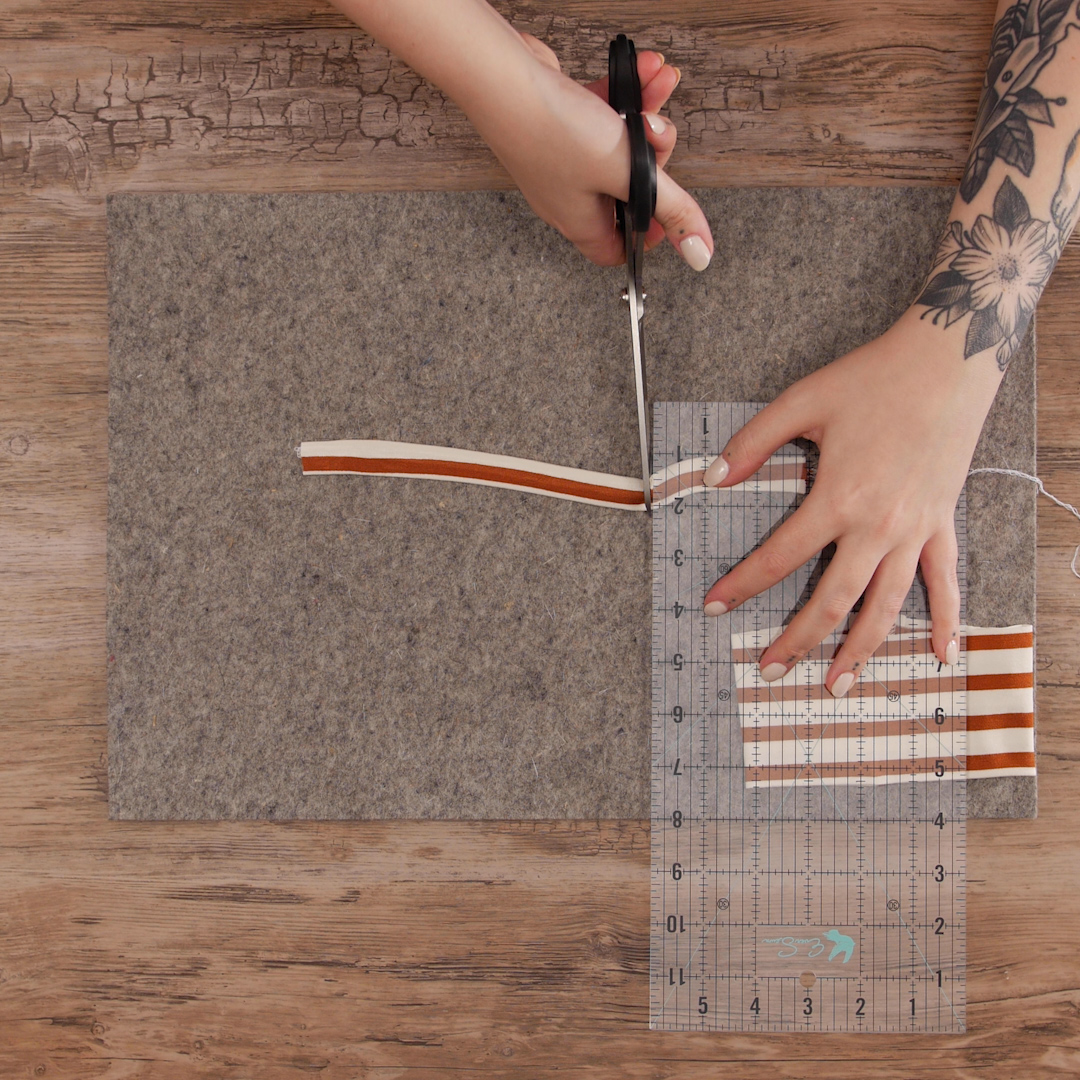
Trim this tab into two 3” pieces.
Step 4. Prep and pin cuff
Next, we’ll take that 5” tube and turn it into the shirt cuff. Fold the cuff, bringing raw edges together with the wrong sides together and nesting the seams on the cuff. Press the fold.
Insert the now short t-shirt sleeve into the cuff piece, aligning raw edges. Make sure the seam of the cuff aligns with the seam on the underarm. Use Wonder Clips to pin all the way around.
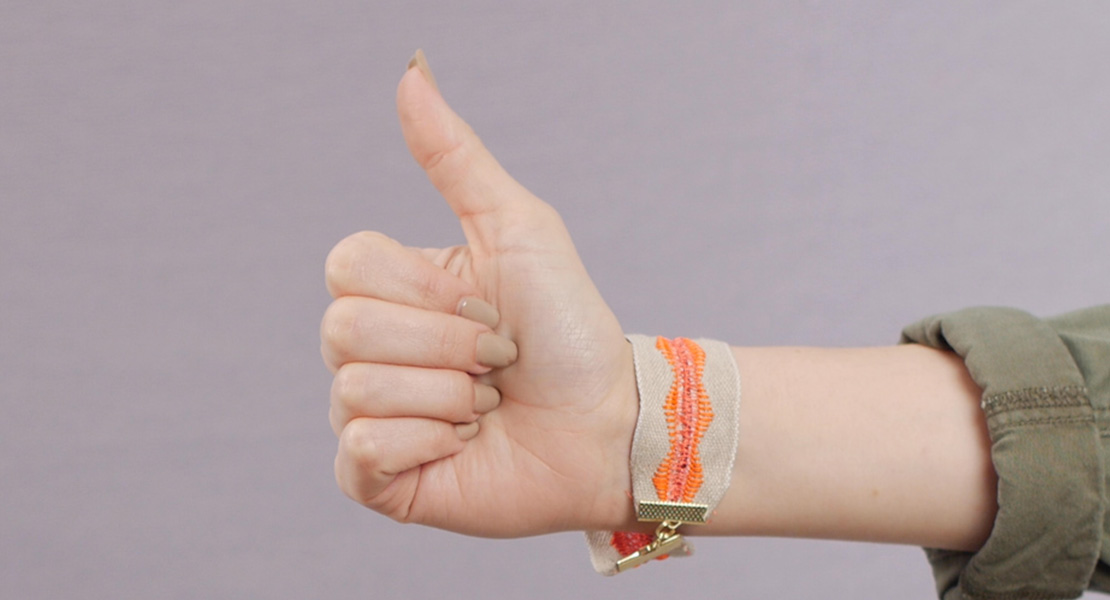
Now determine the placement of the tab. I position mine opposite the underarm seam. Layer one end of the tab between the shirt sleeve and the cuff, aligning raw edges together. Then fold the other end of the tab around the cuff, folding over to bring all raw edges together. Wonder Clip in place.

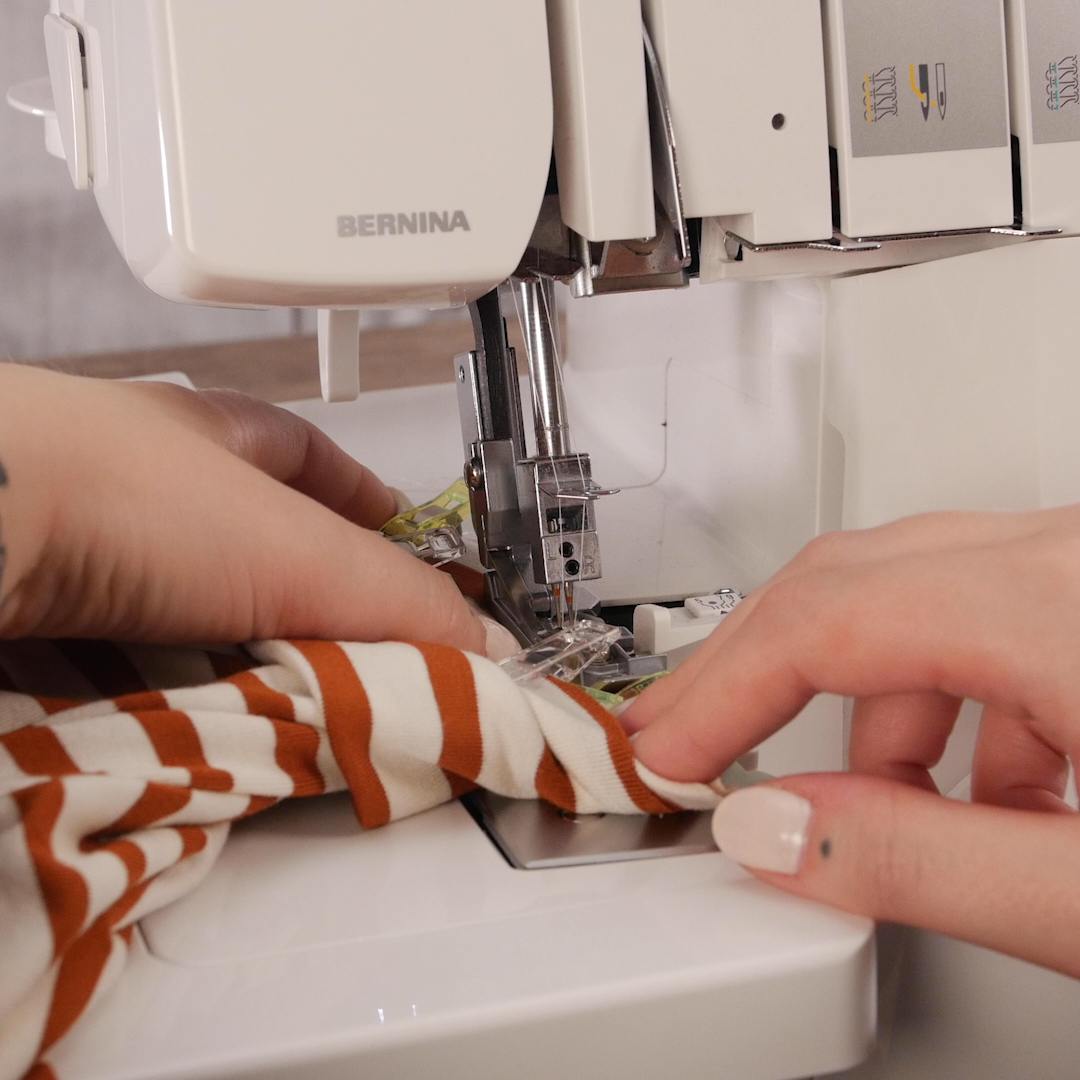
Step 5. Attach cuff
Back at the overlocker, serge all the way around this pinned edge. When you approach the bulky cuff-tab section, slow down and use the needle up/down back-kick function on your foot control to walk through precisely.
Once the cuff is attached, press the cuff down with the seam allowance being pressed up into the sleeve.
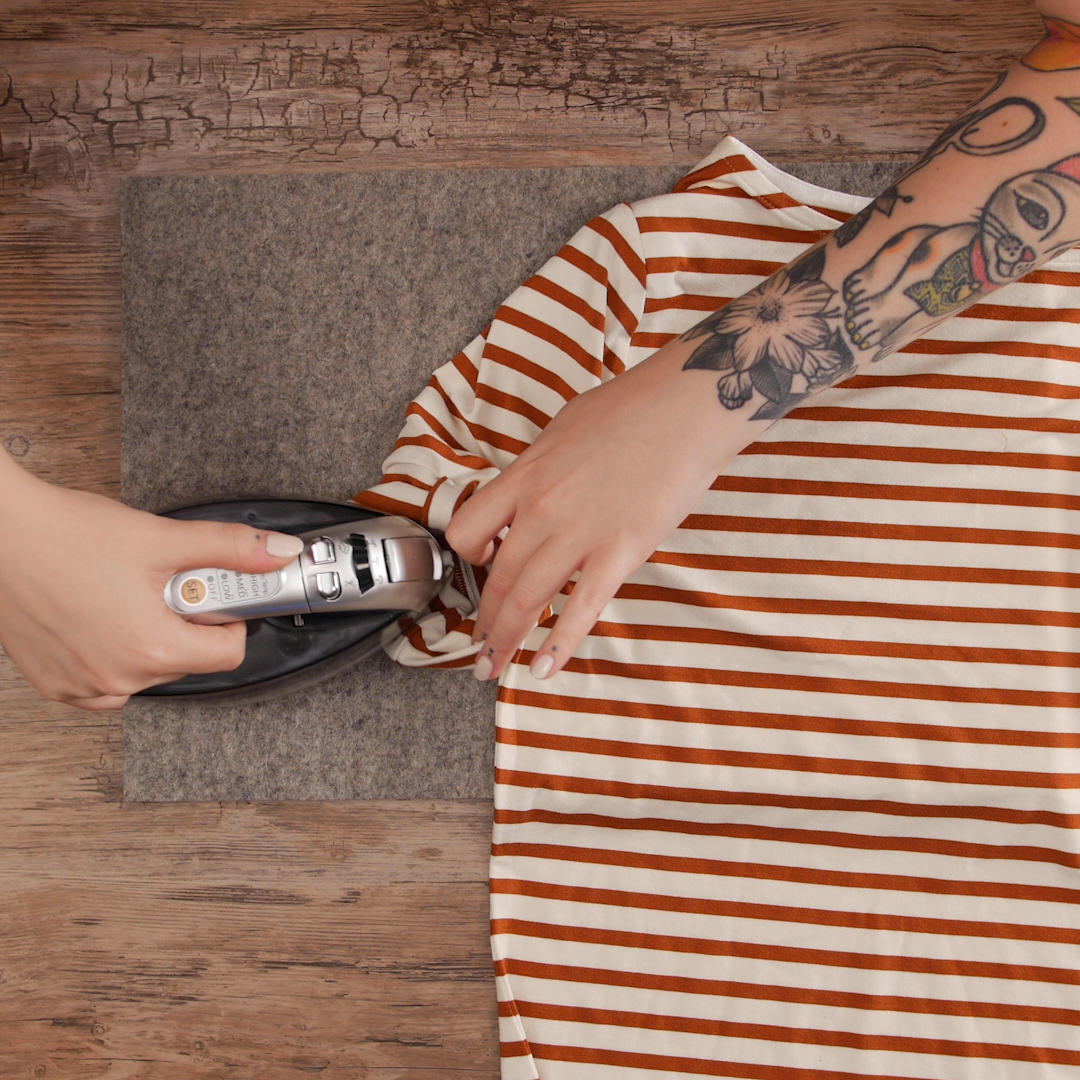
Bury the thread chain and secure the end of your seam with a seam sealant such as Fray Check. Your former long sleeve tee is now a cute and cozy short sleeve!


Great idea!