How to Sew Simple Fabric Hair Bows
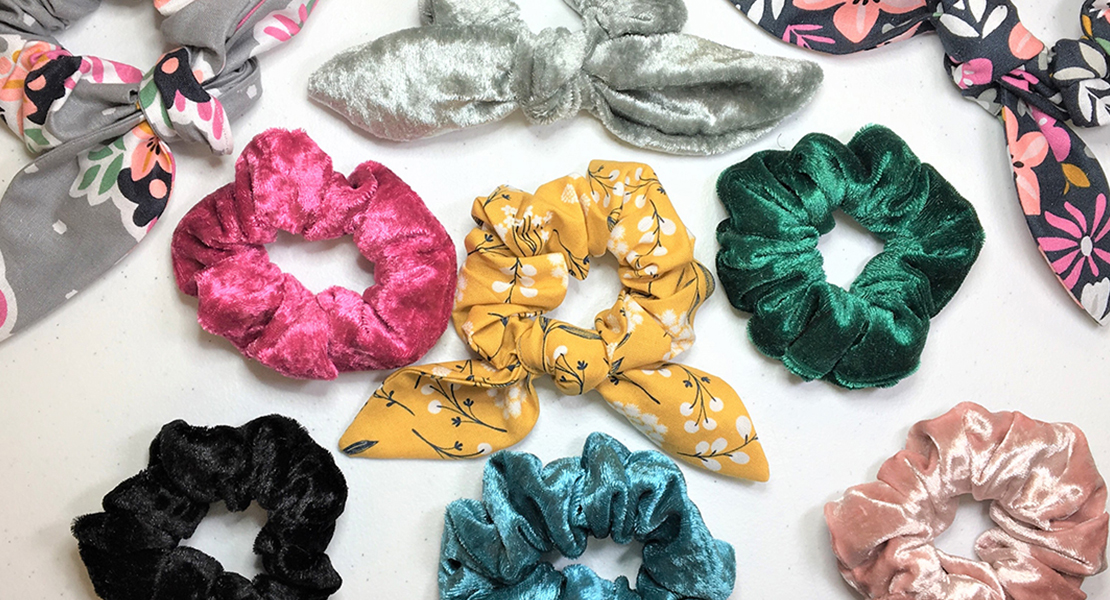
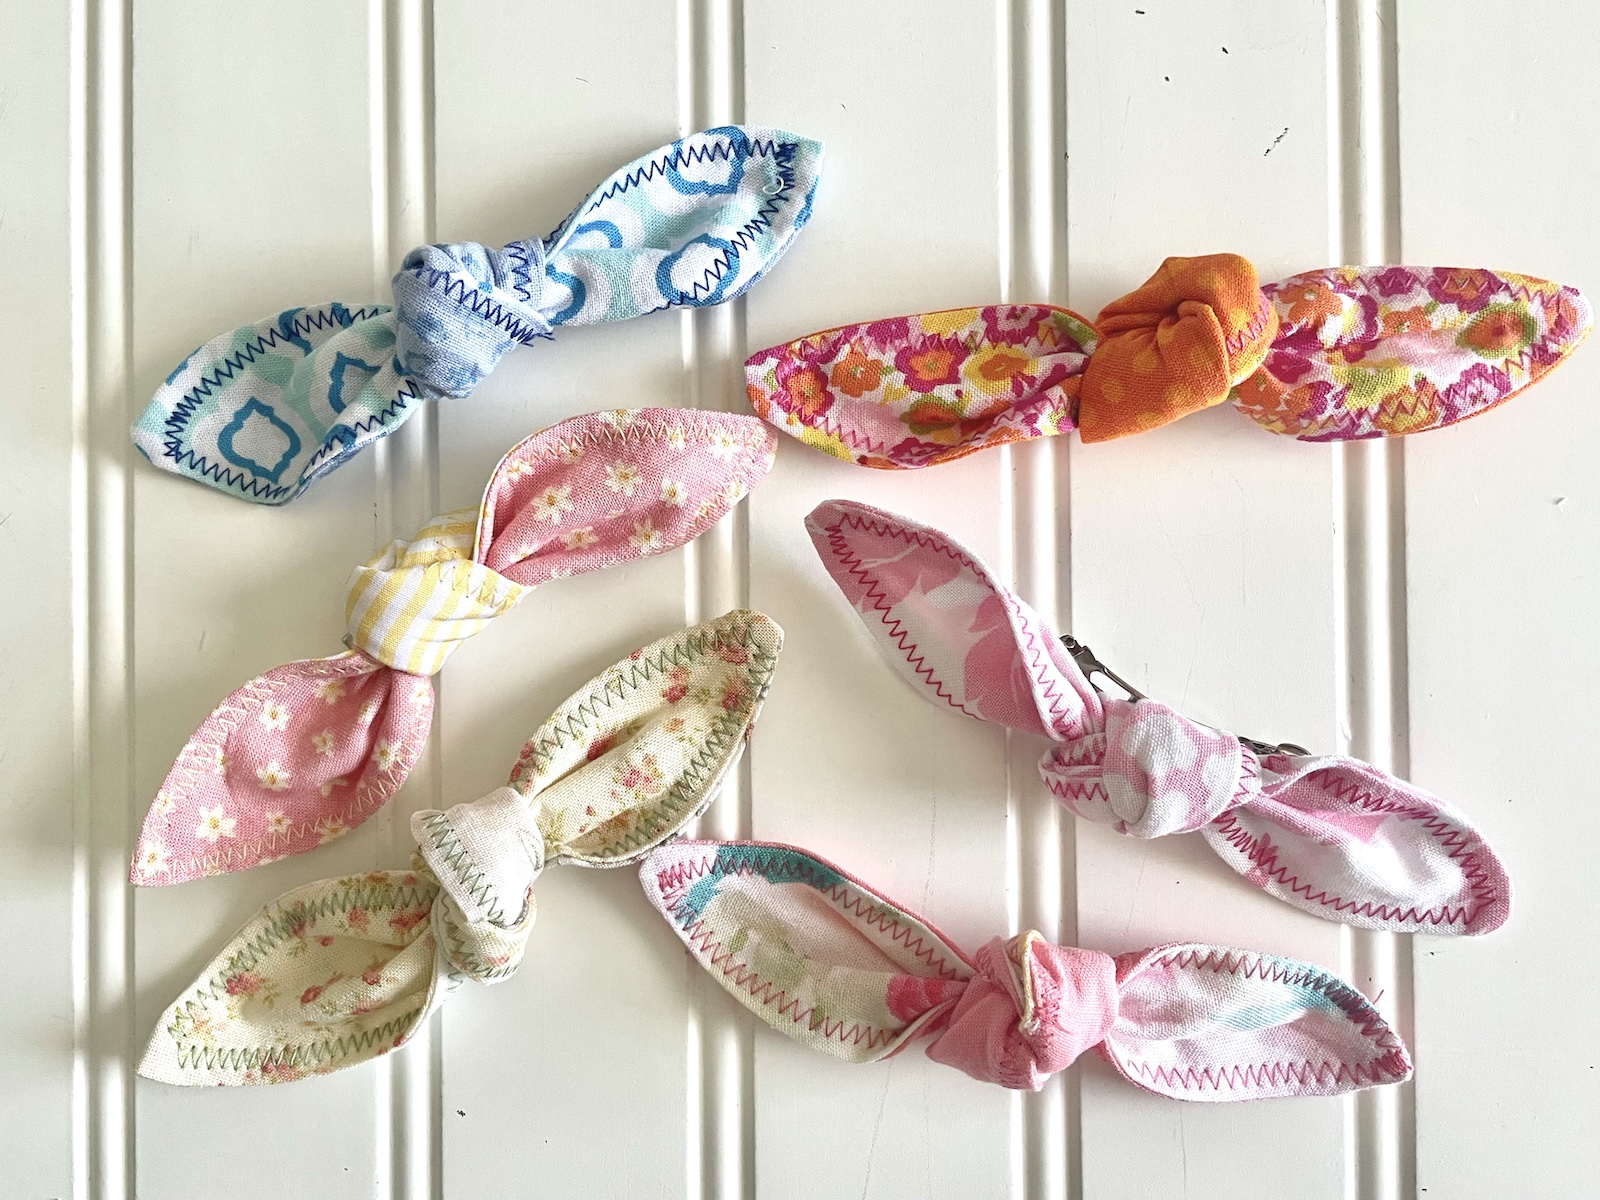
In this tutorial you will learn to Sew Sweet and Simple Fabric Hair Bows. Great for gift giving, they are so quick and easy to create, you can make a collection of them in no time at all!
Materials to Sew Sweet and Simple Fabric Hair Bows
Fabric
Scraps are just fine for this simple project! You only need rectangles approximately 9 inches x 4 inches*. I like to make reversible bows with coordinating fabrics.
*You can resize these dimensions as desired for smaller infant bows or larger statement bows. I prefer these medium sized bows for an accessory that won’t detract from the wearer. I like to say, “It’s the child who makes the bow, not the other way around.” You want people to notice your child first, not their bow! But that’s just me. Do what you like!
- Fabric Marker
- Ruler
- Any ruler will do, but I love my clear acrylic quilting ruler for just about everything!
- Sewing Scissors
- Thread
- 2 colors: one for stitching your layers and a contrasting color for your zigzag topstitching
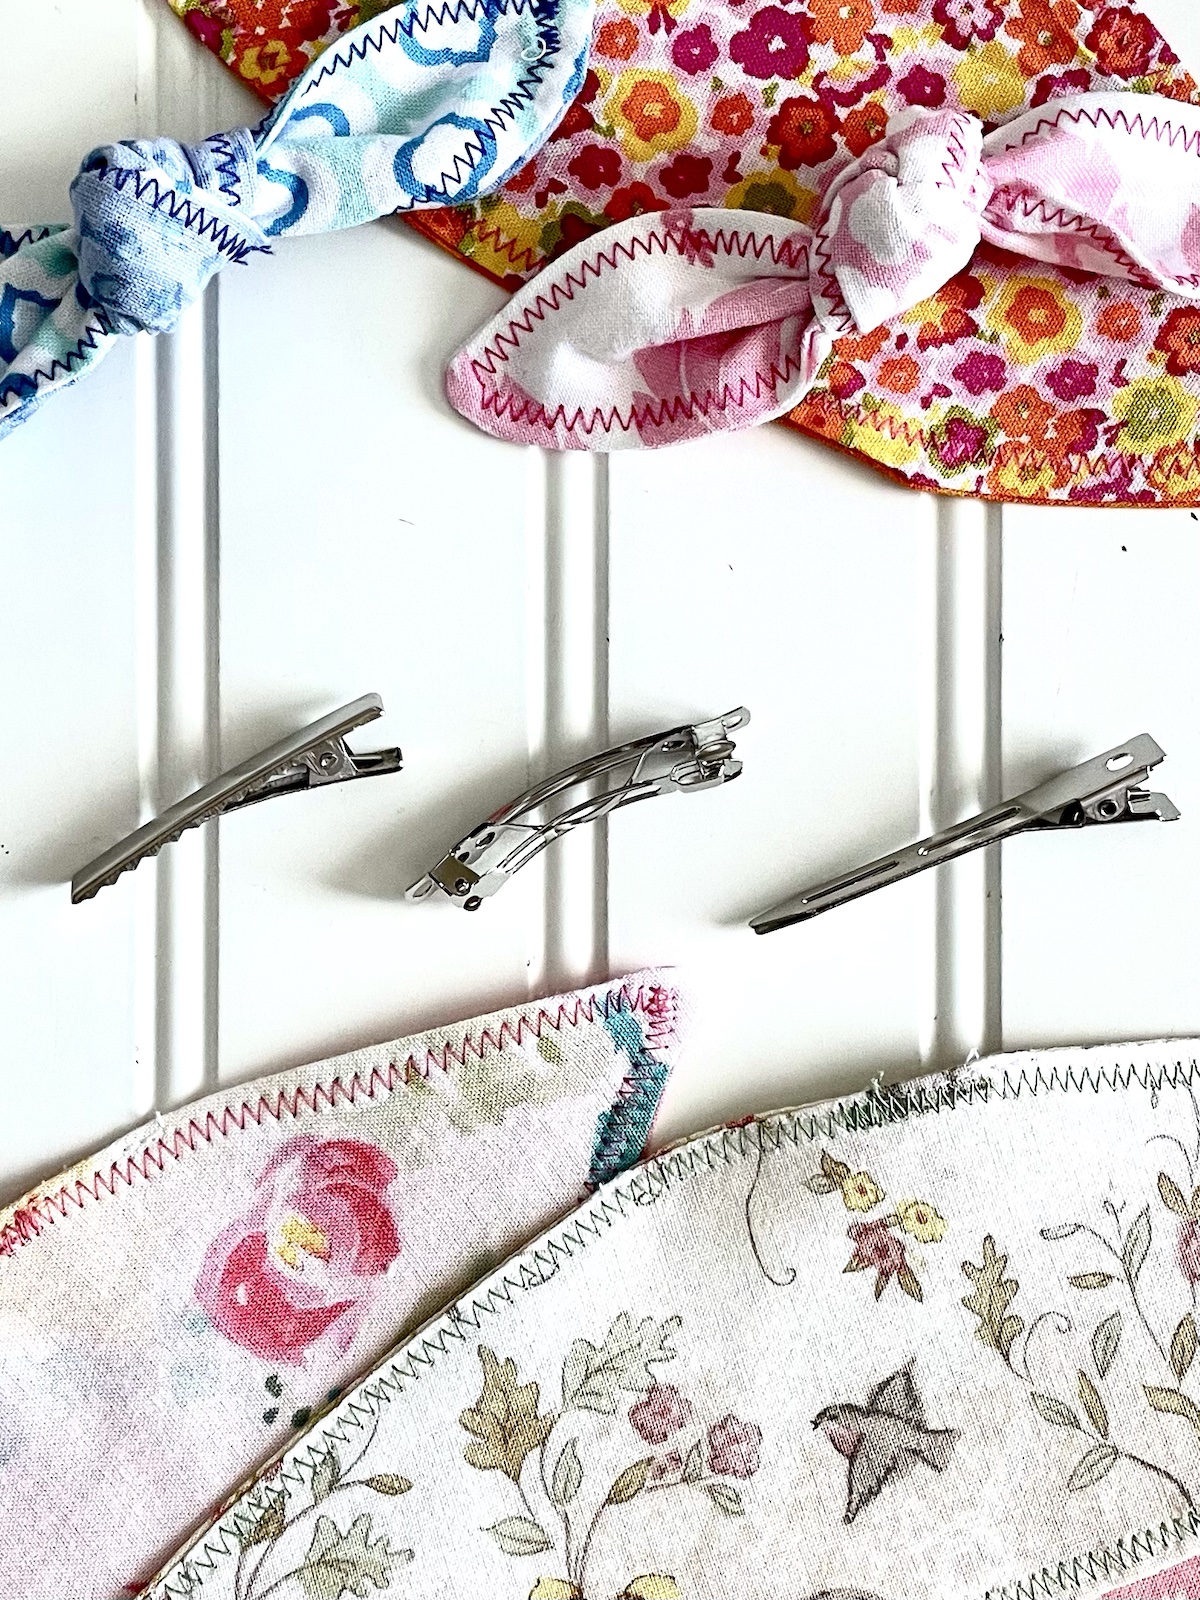
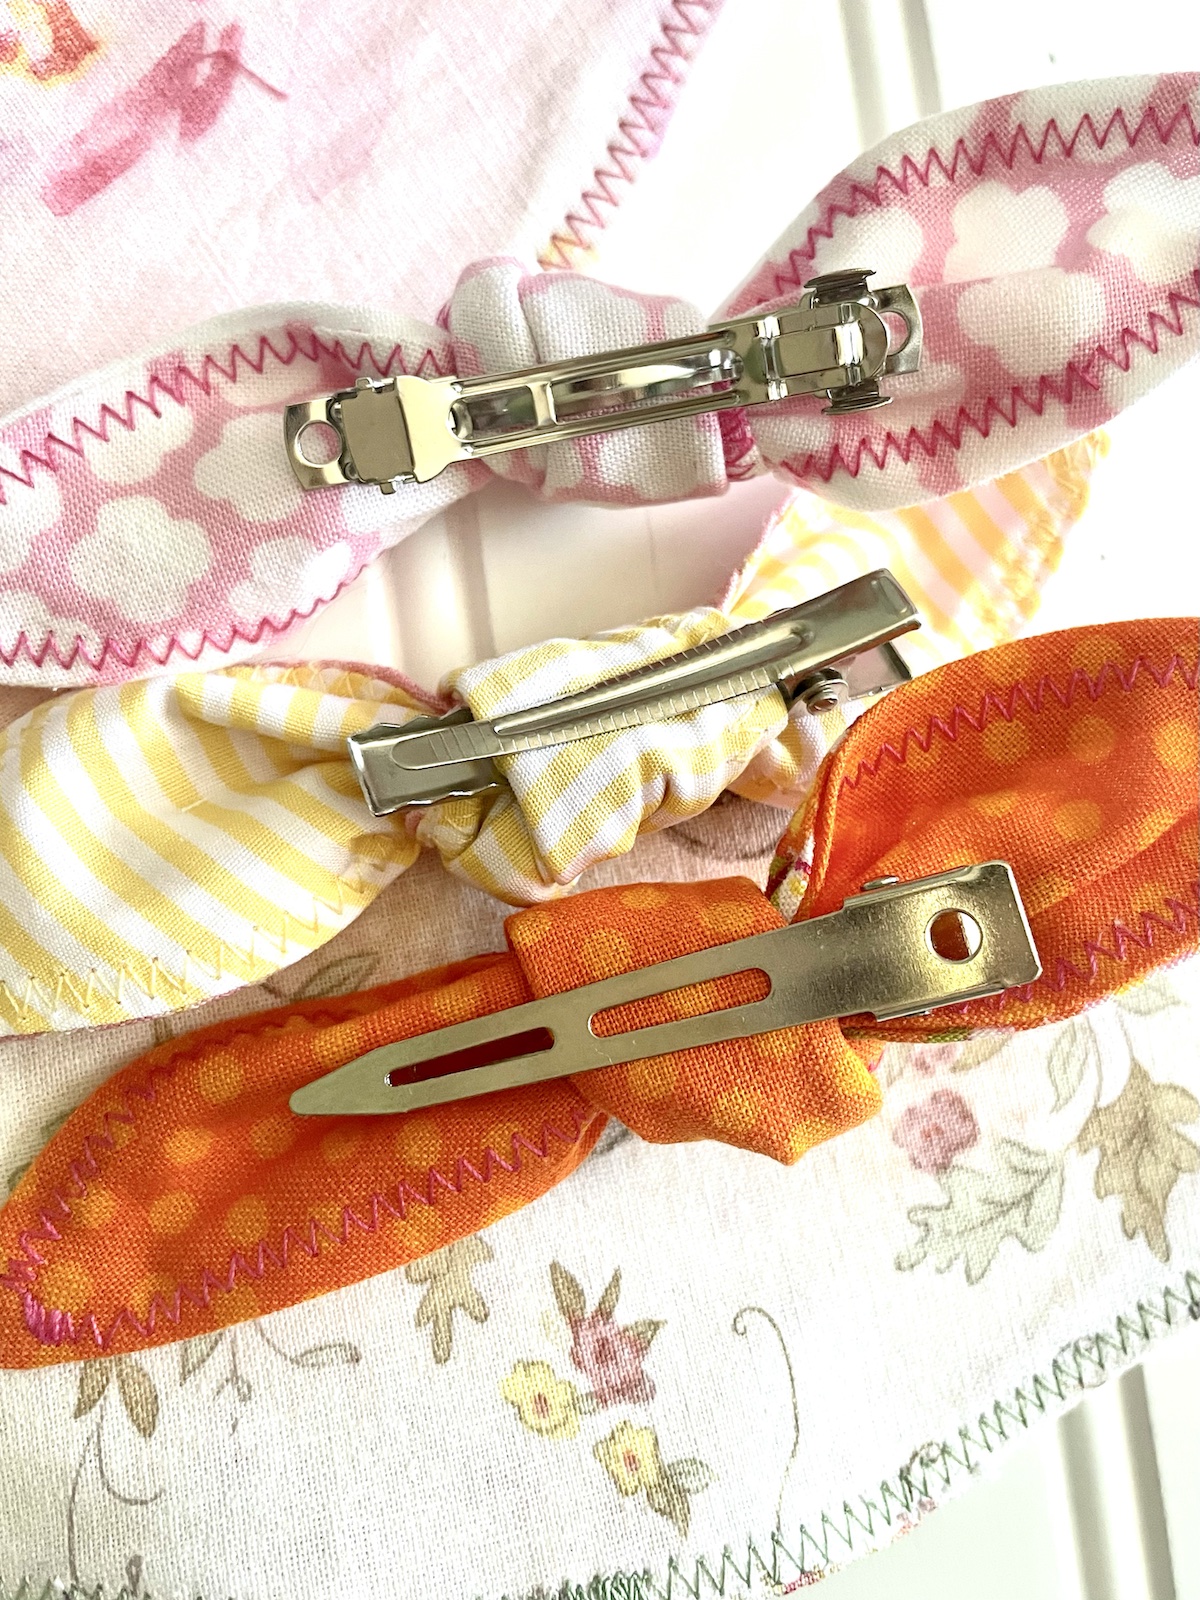
Hair Clips
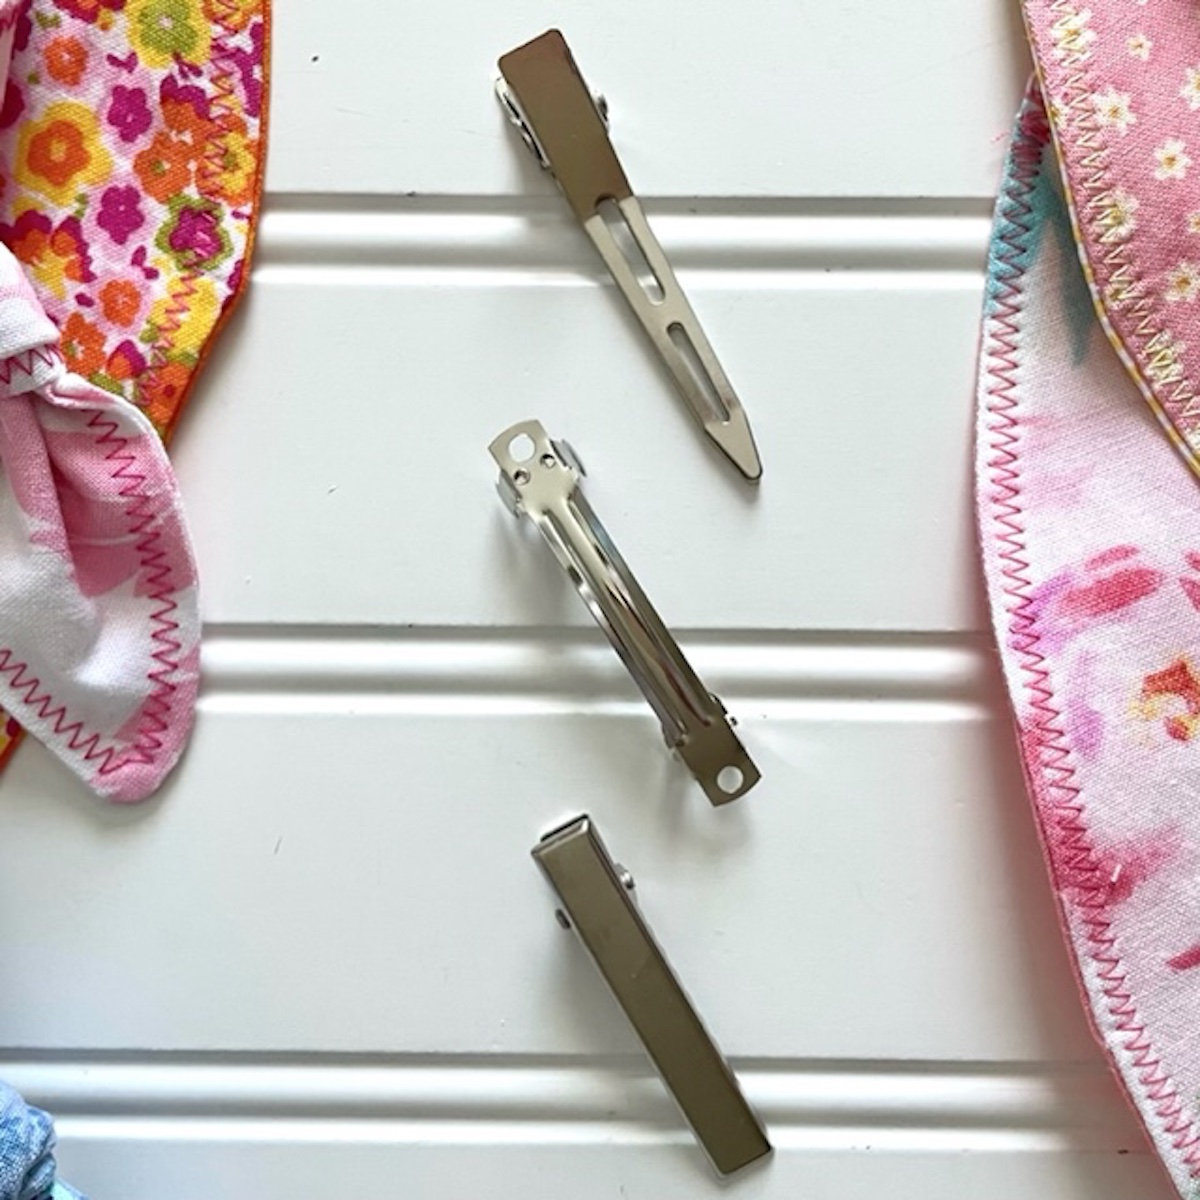
Choose the style you prefer- I tend to use the French style the most. Here are some examples.
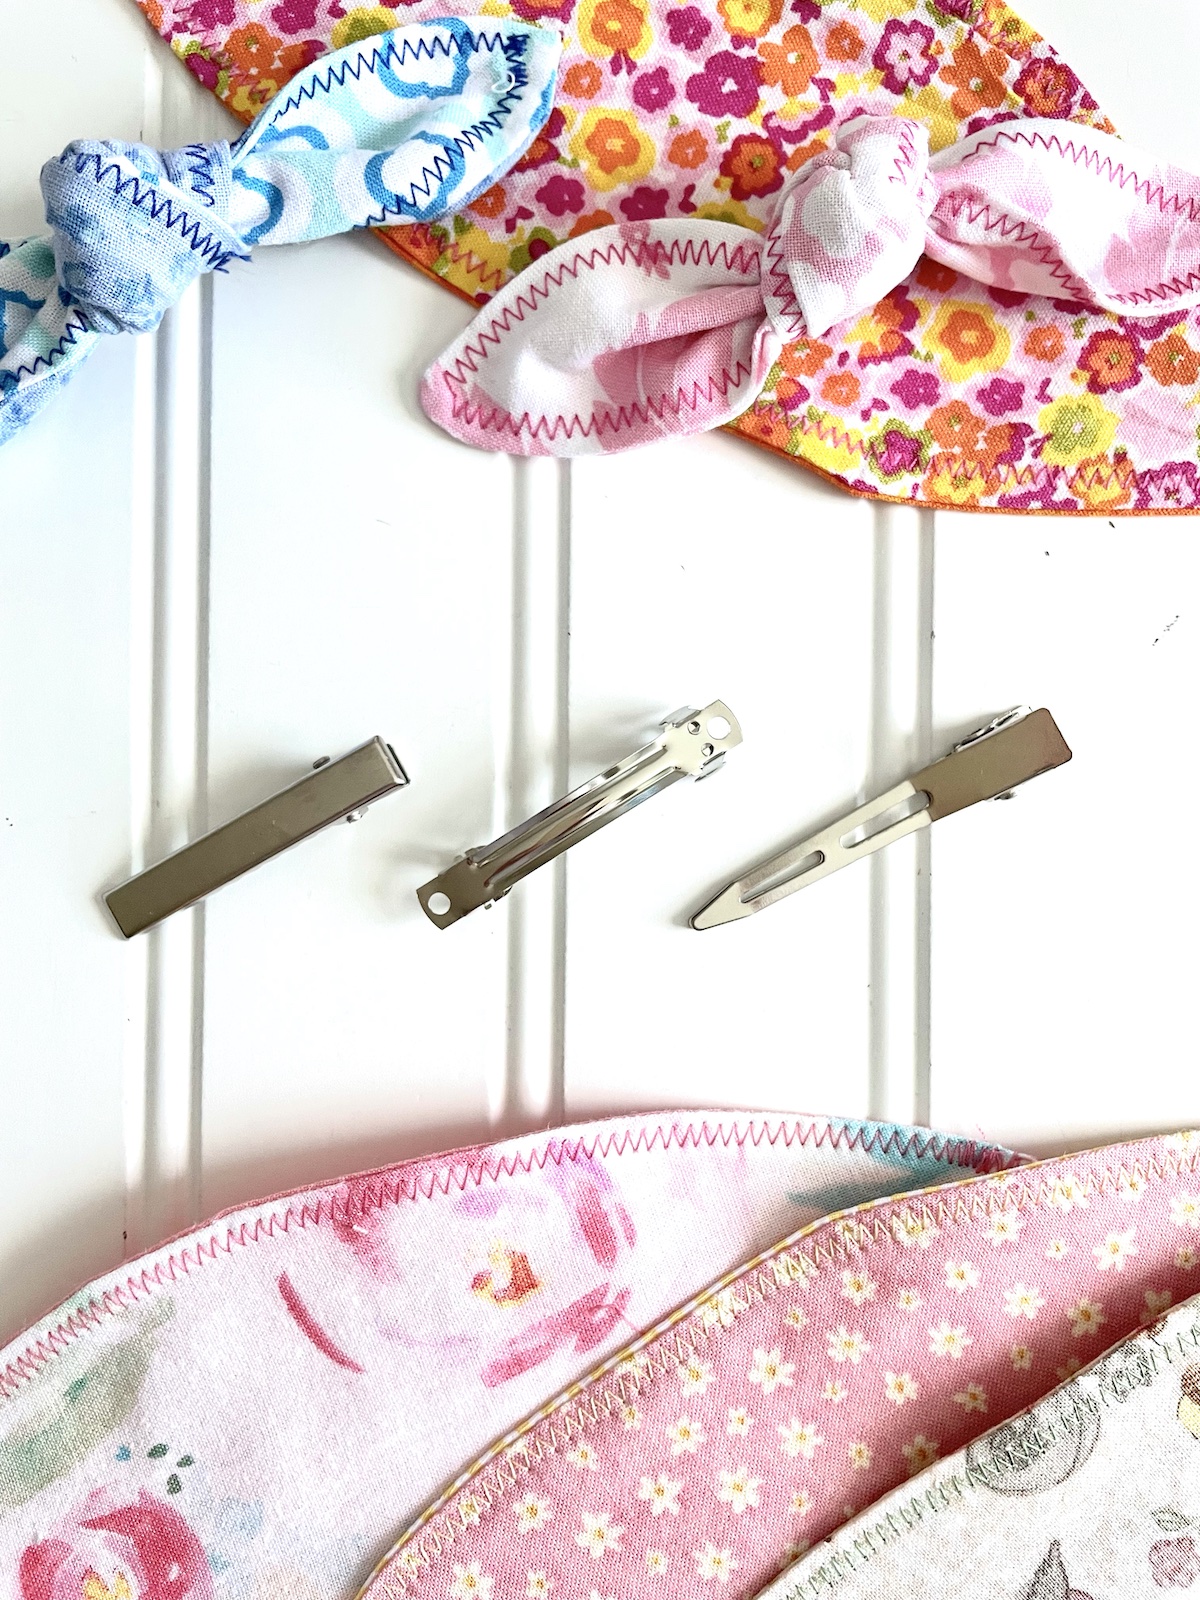
- (Top) Aligator Clips (tapered end)
- (Middle) French Barrettes
- (Bottom) Aligator Clips (squared end)
Instructions to Sew Sweet and Simple Fabric Hair Bows
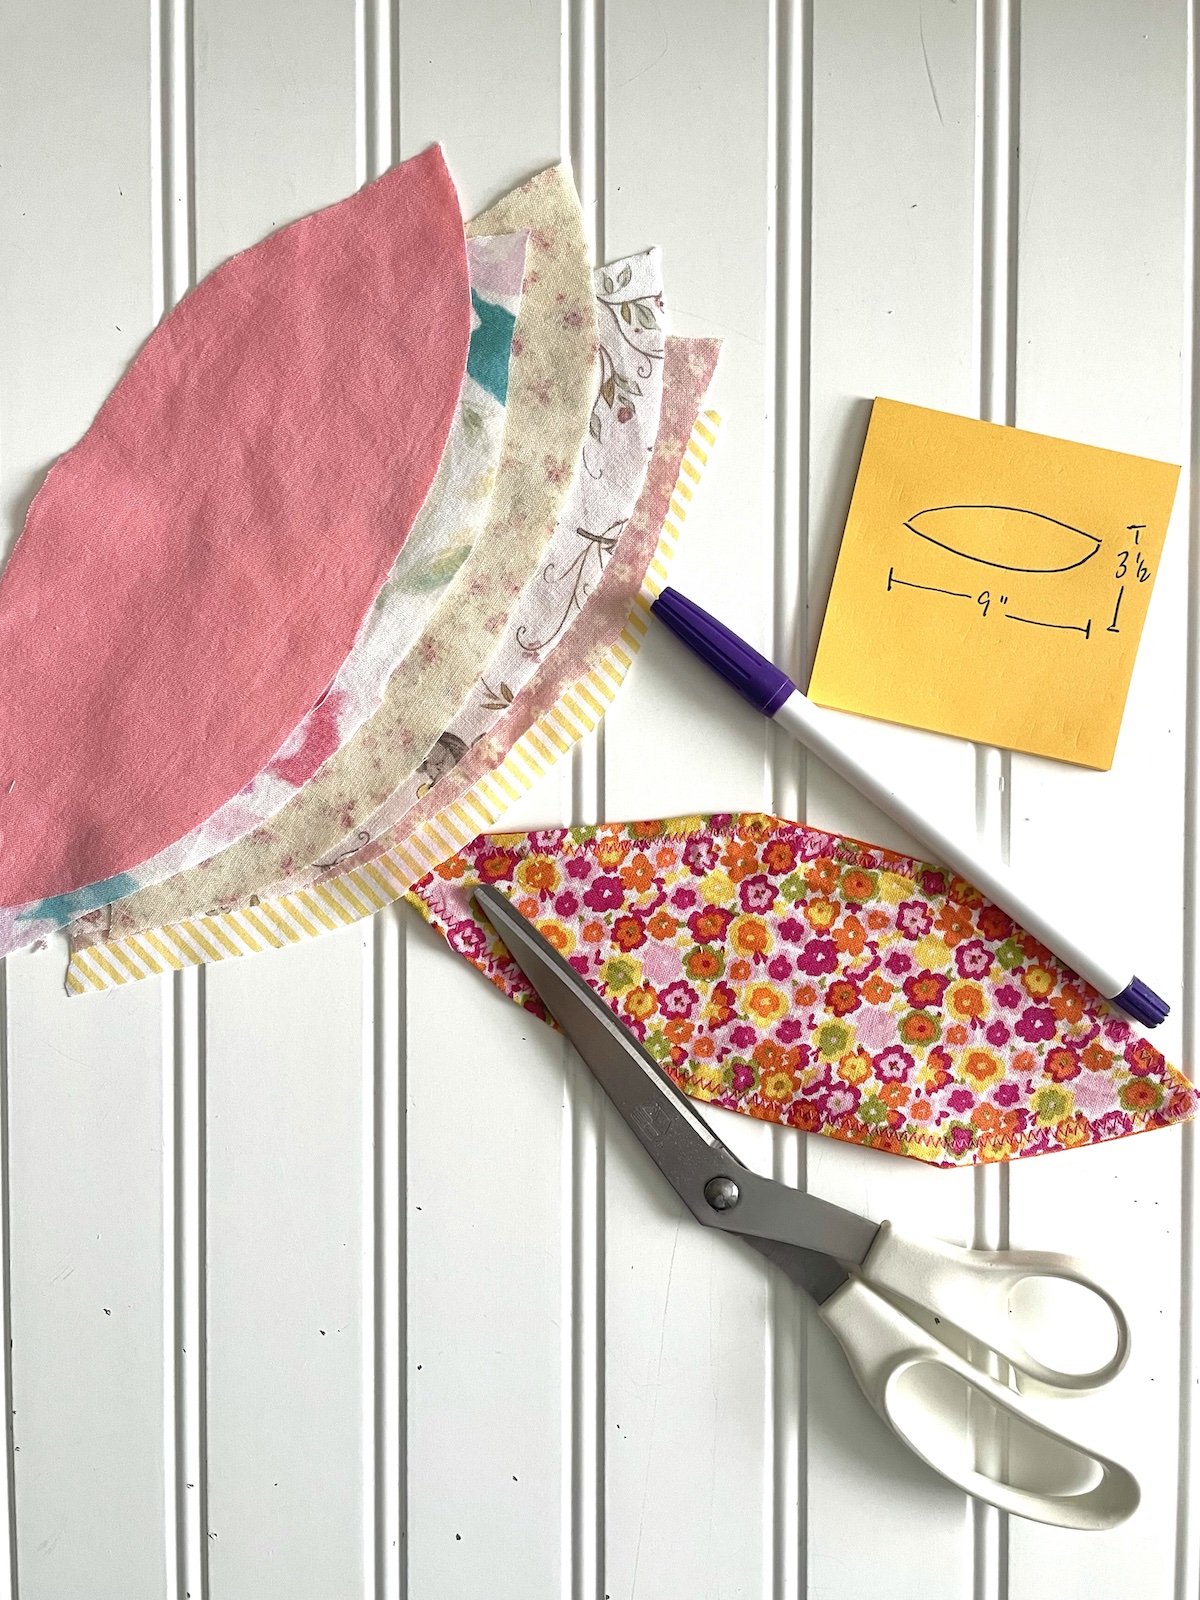
Step 1, Create a Simple Pattern
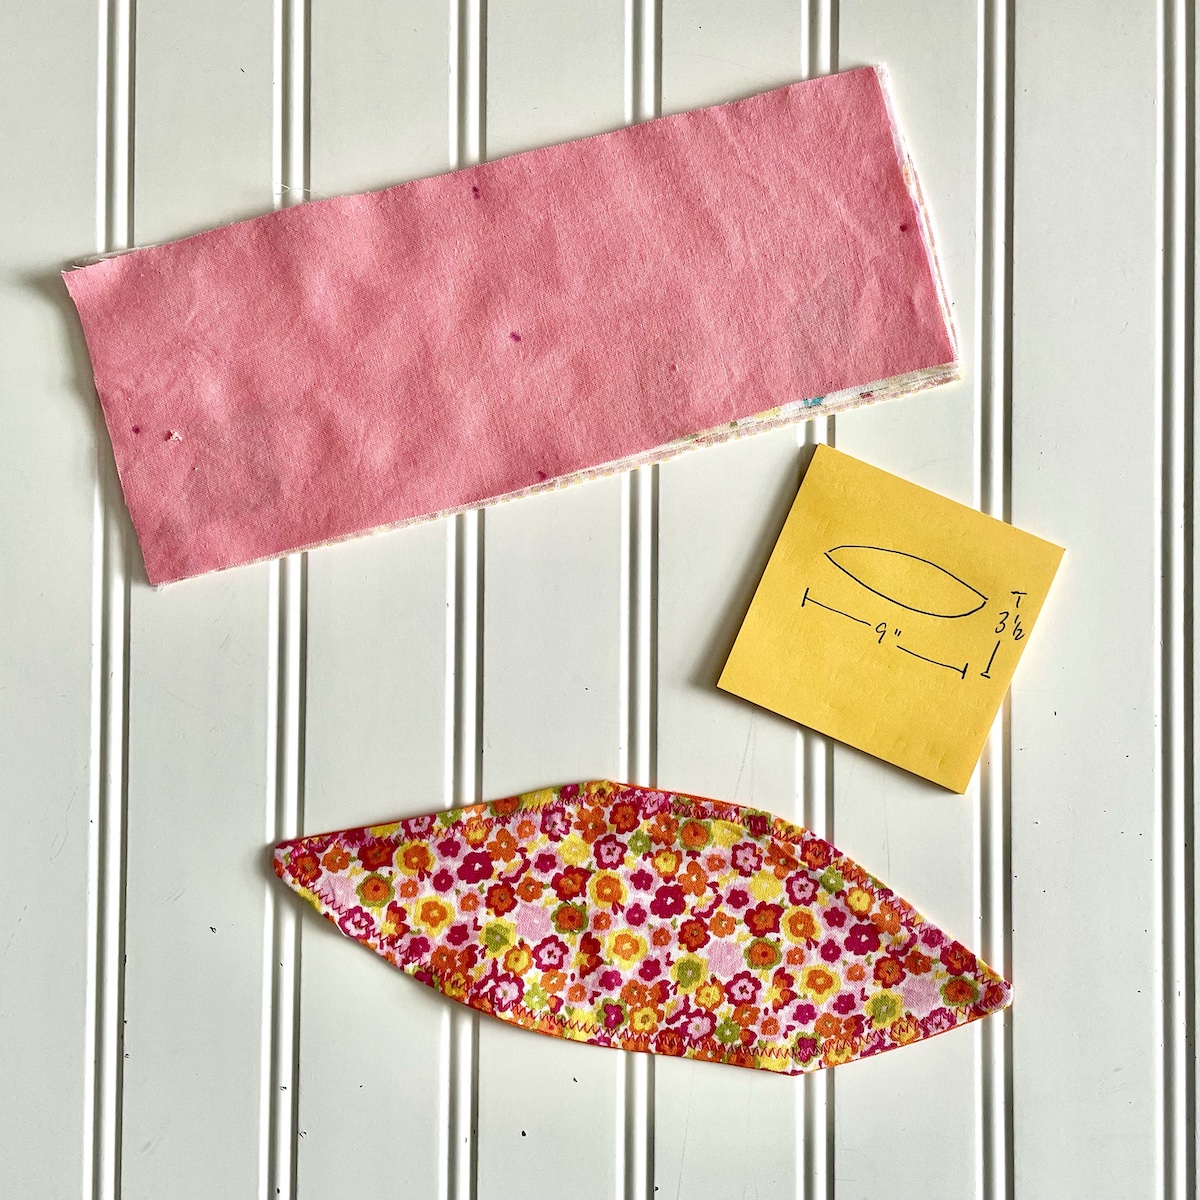
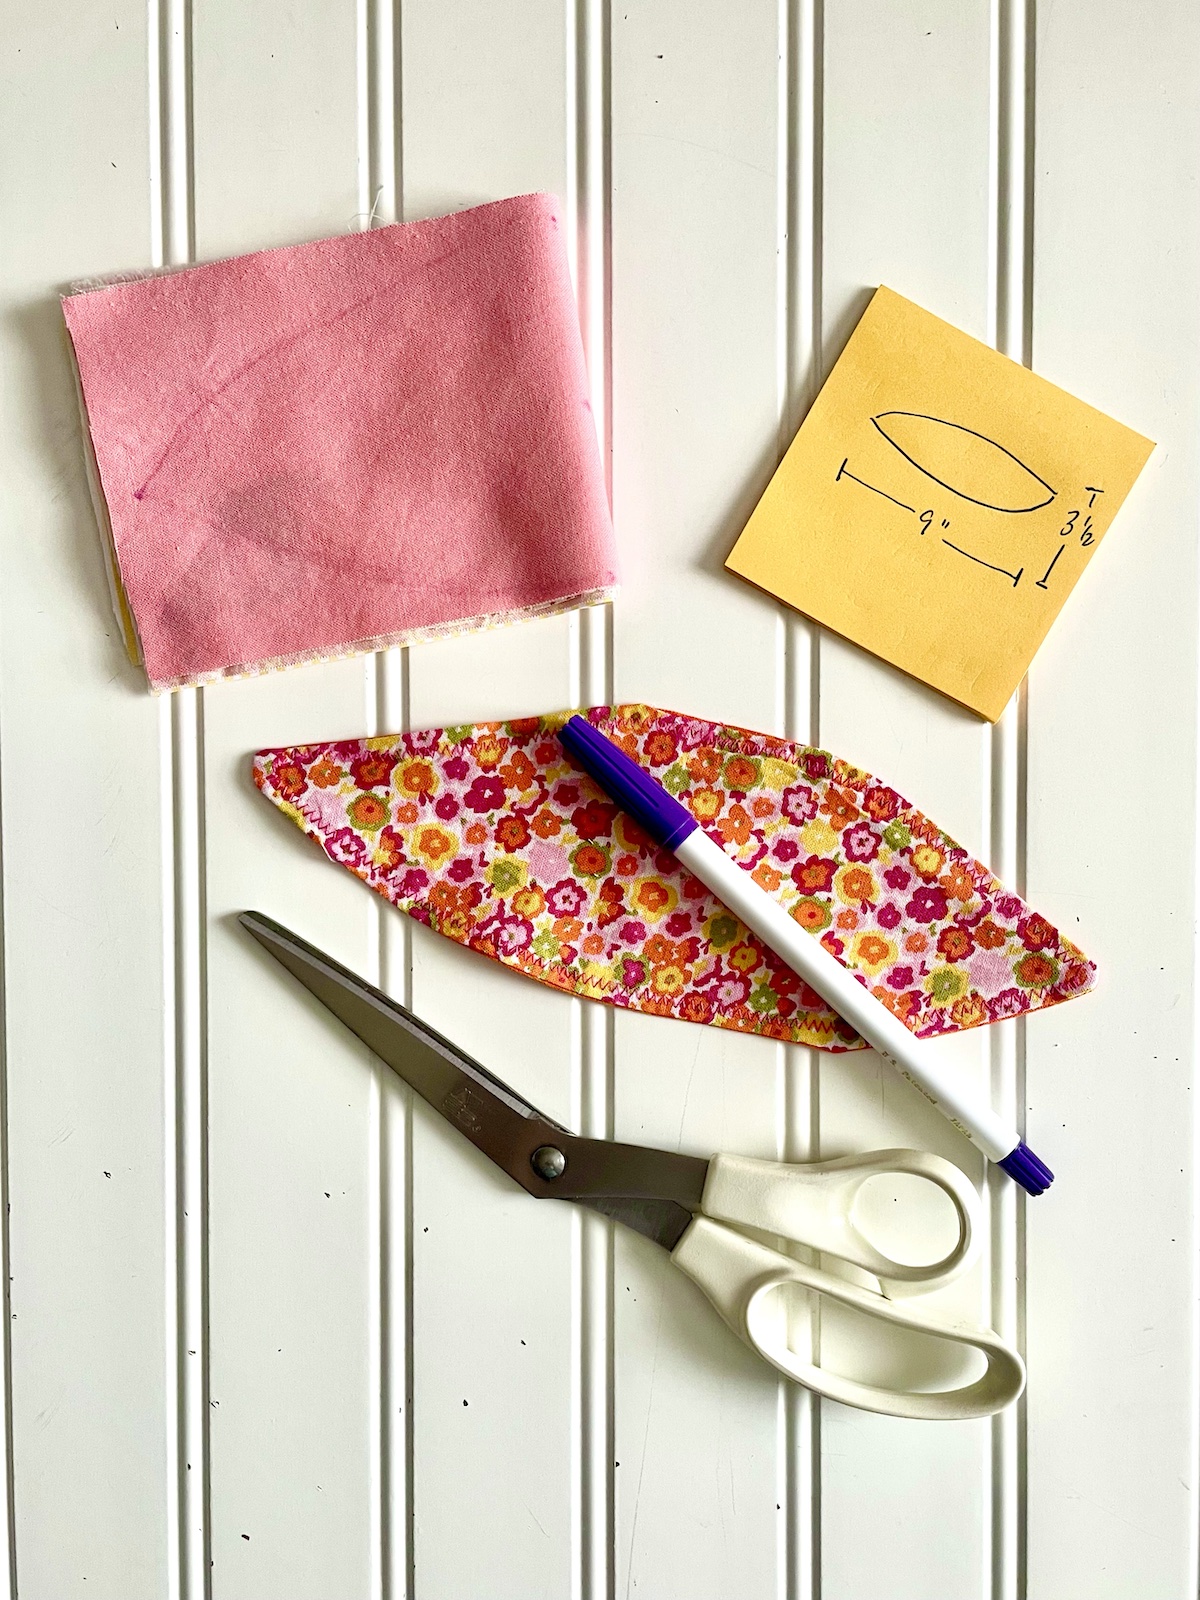
Layer two (or more)* pieces of fabric right sides together. Trim fabric to form a 9 inch x 3 1/2 inch rectangle. Fold fabric rectangle in half as shown. Mark a dot in the center of the fabric 4 1/2 inches from the fold. Draw two curved lines from the dot to the top and bottom at the fold line. Cut Fabric. * I like to cut several bows out at one time to save time, so I layered multiple sets together. Just remember you have double the layers when you fold the fabric, so be sure your sewing scissors are sharp!
Step 2, Pin Layers Together

Choose your first two layers and pin with right sides together. You will leave an opening in the center for turning, so I like to place two pins sideways so I don’t forget to leave the opening.
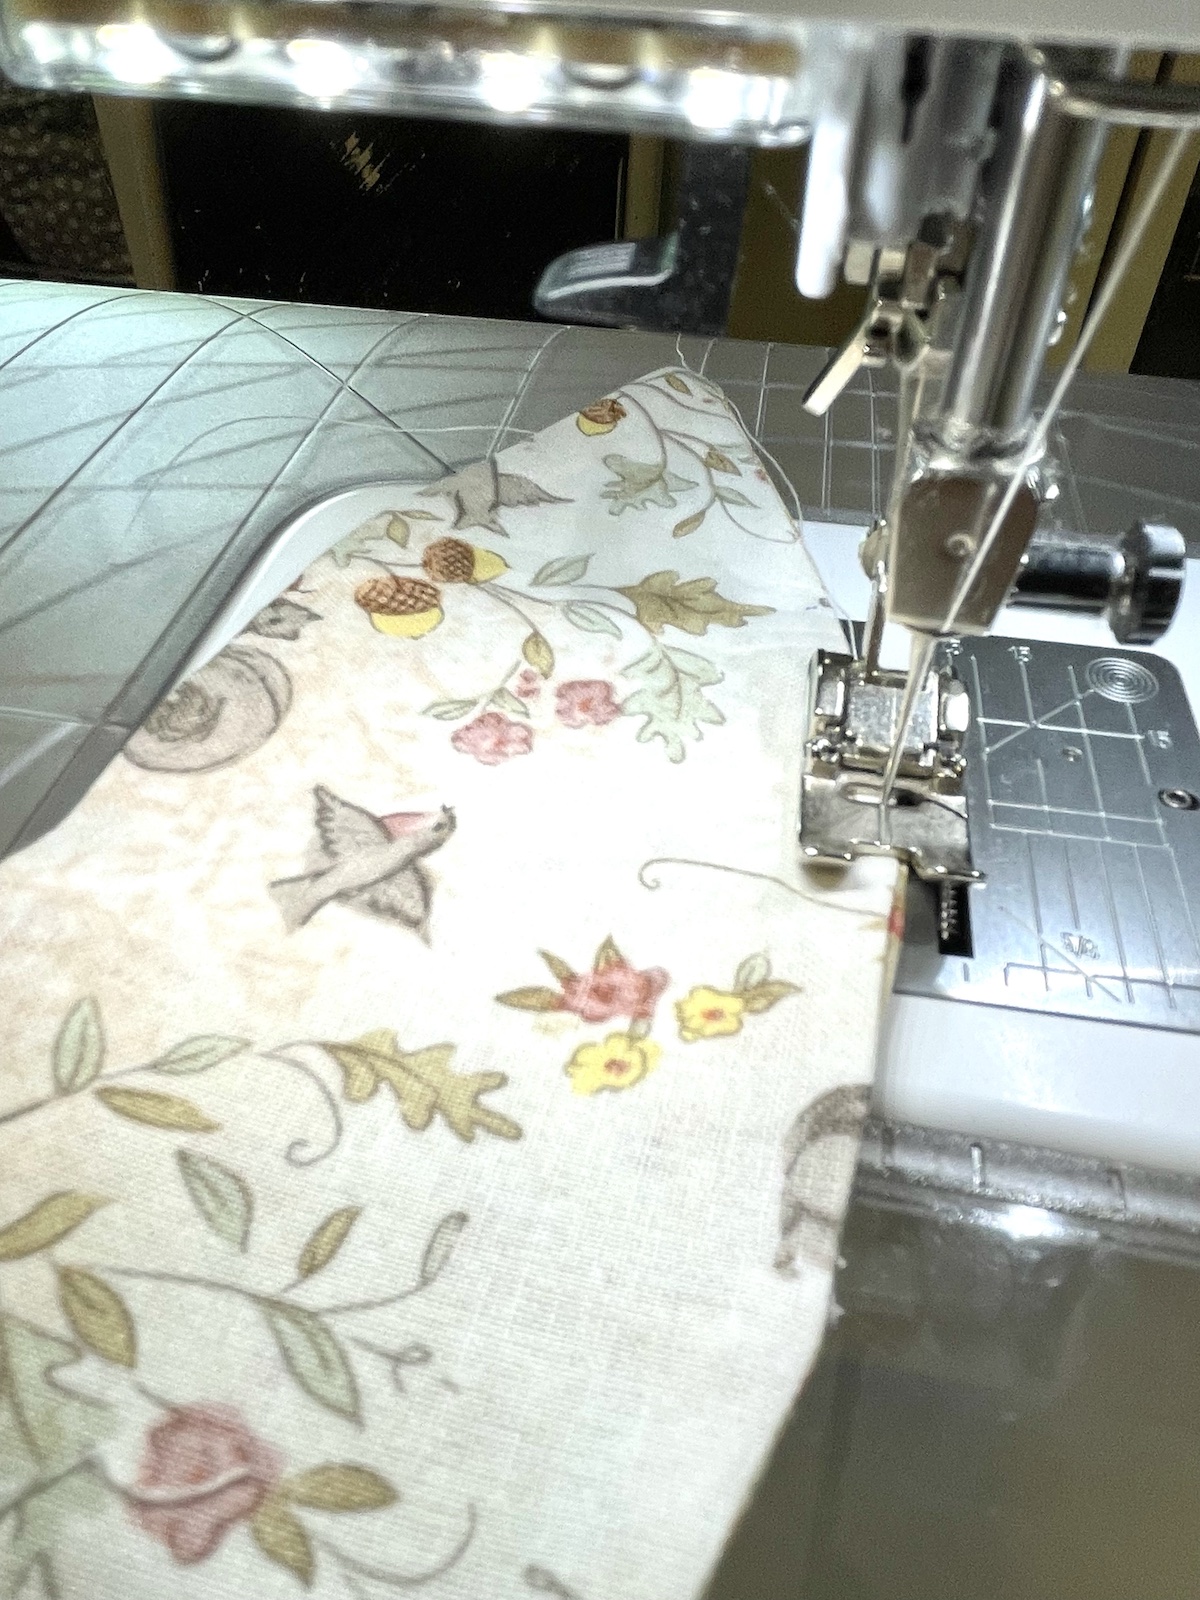
Step 3, Stitch Layers Together
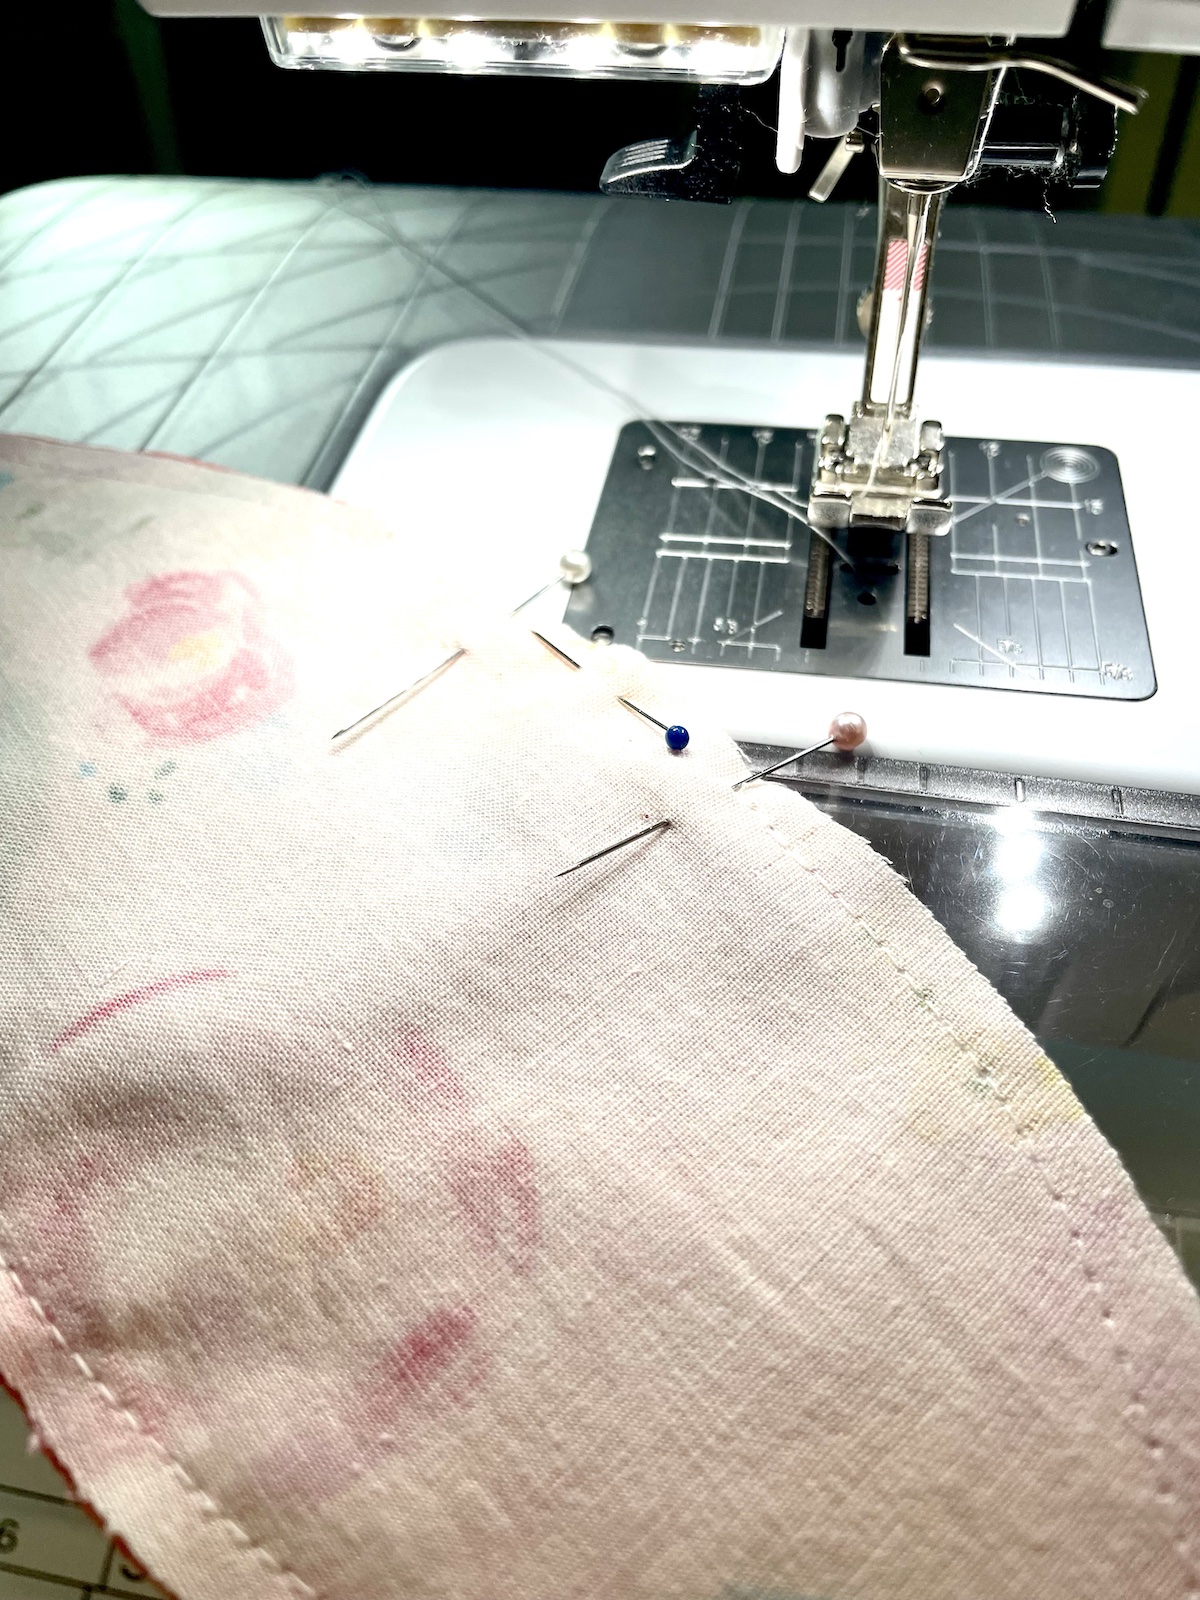
Stitch using a 1/4 inch seam allowance. Repeat for additional layers as needed.

Step 4, Turn Right Side Out
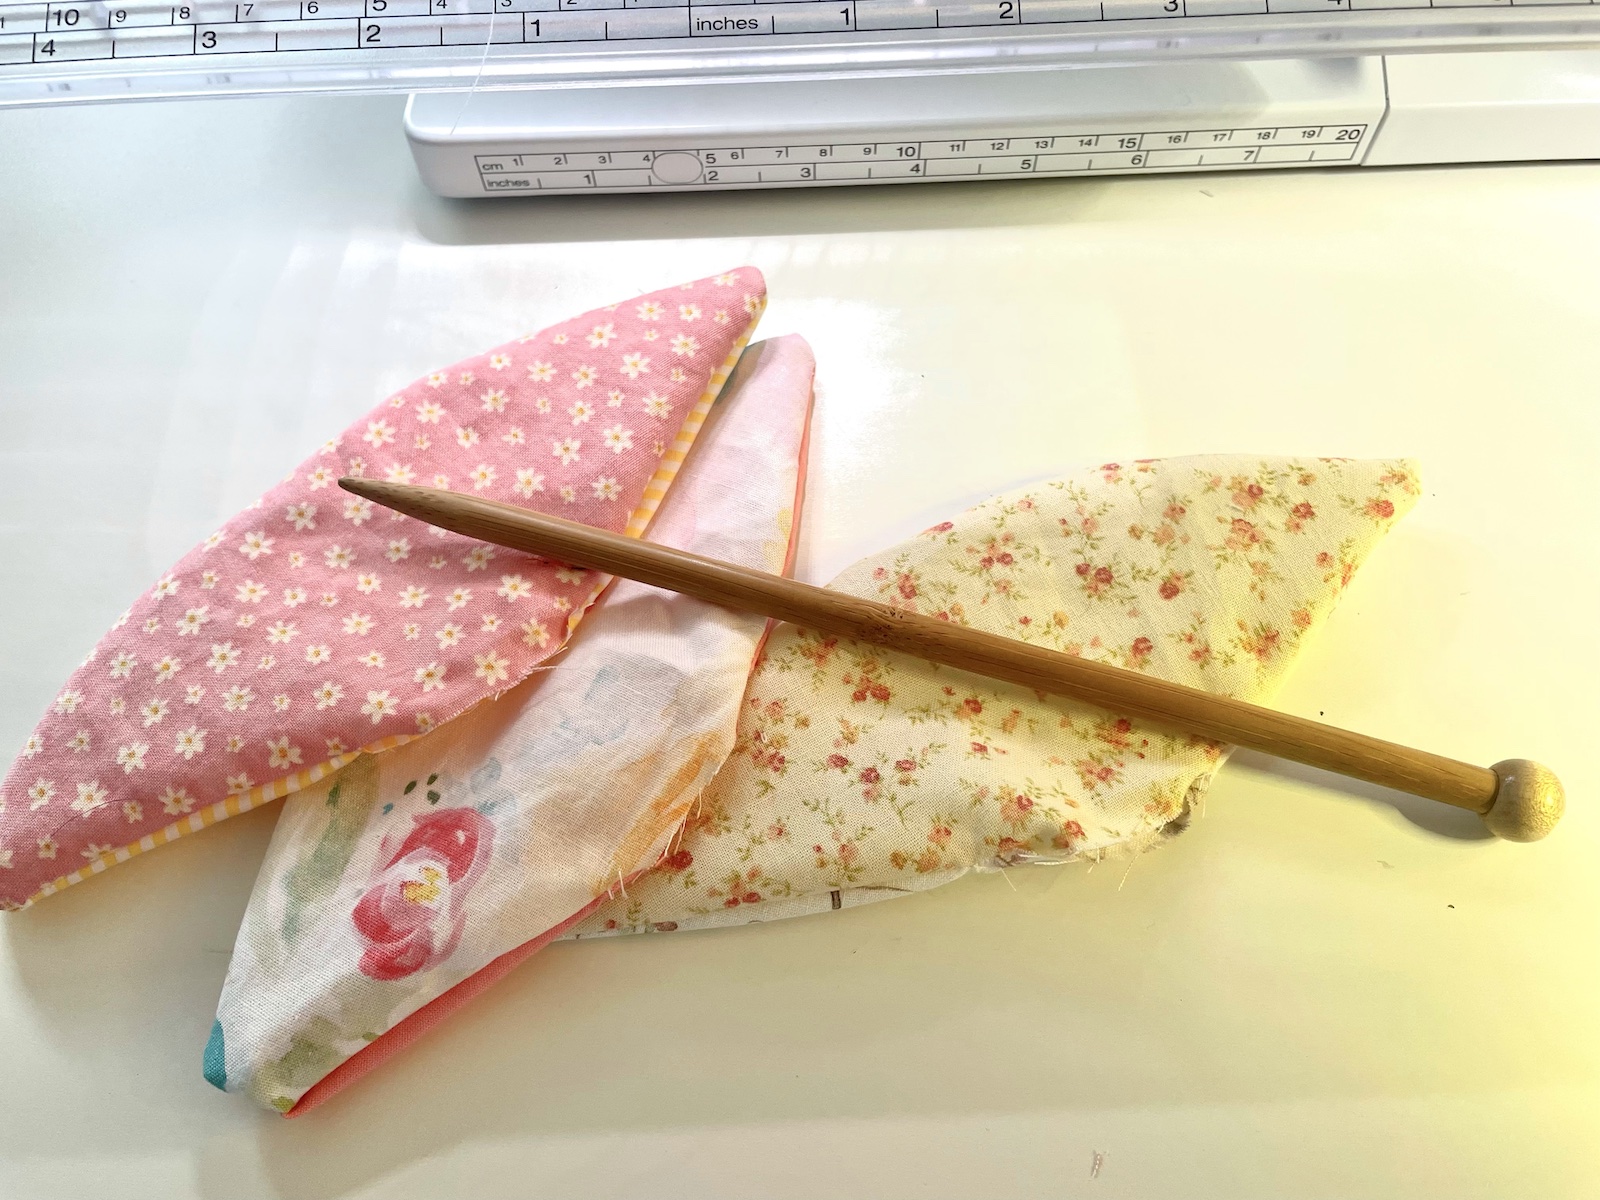
Turn so each bow is right side out. I like to use a blunt knitting needle (gently) to help be sure I get the points turned completely. Be careful not to push all the way through and put a hole in the end.
Step 5, Press and Stitch Opening
Press well and stitch opening closed. Repeat on additional bows as needed.

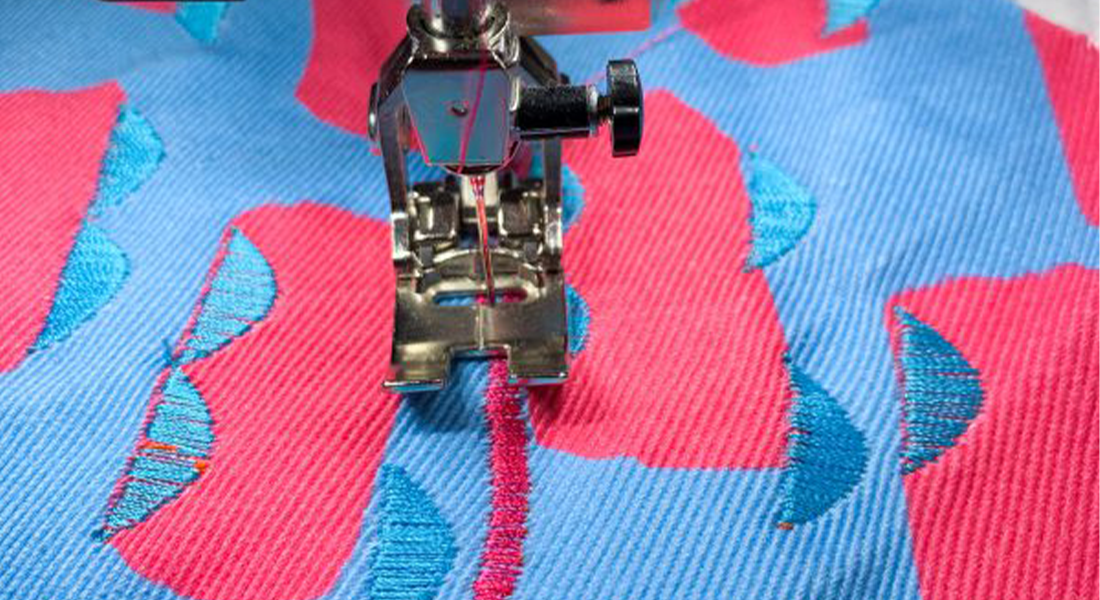
Step 6, Top Stitch Perimeter
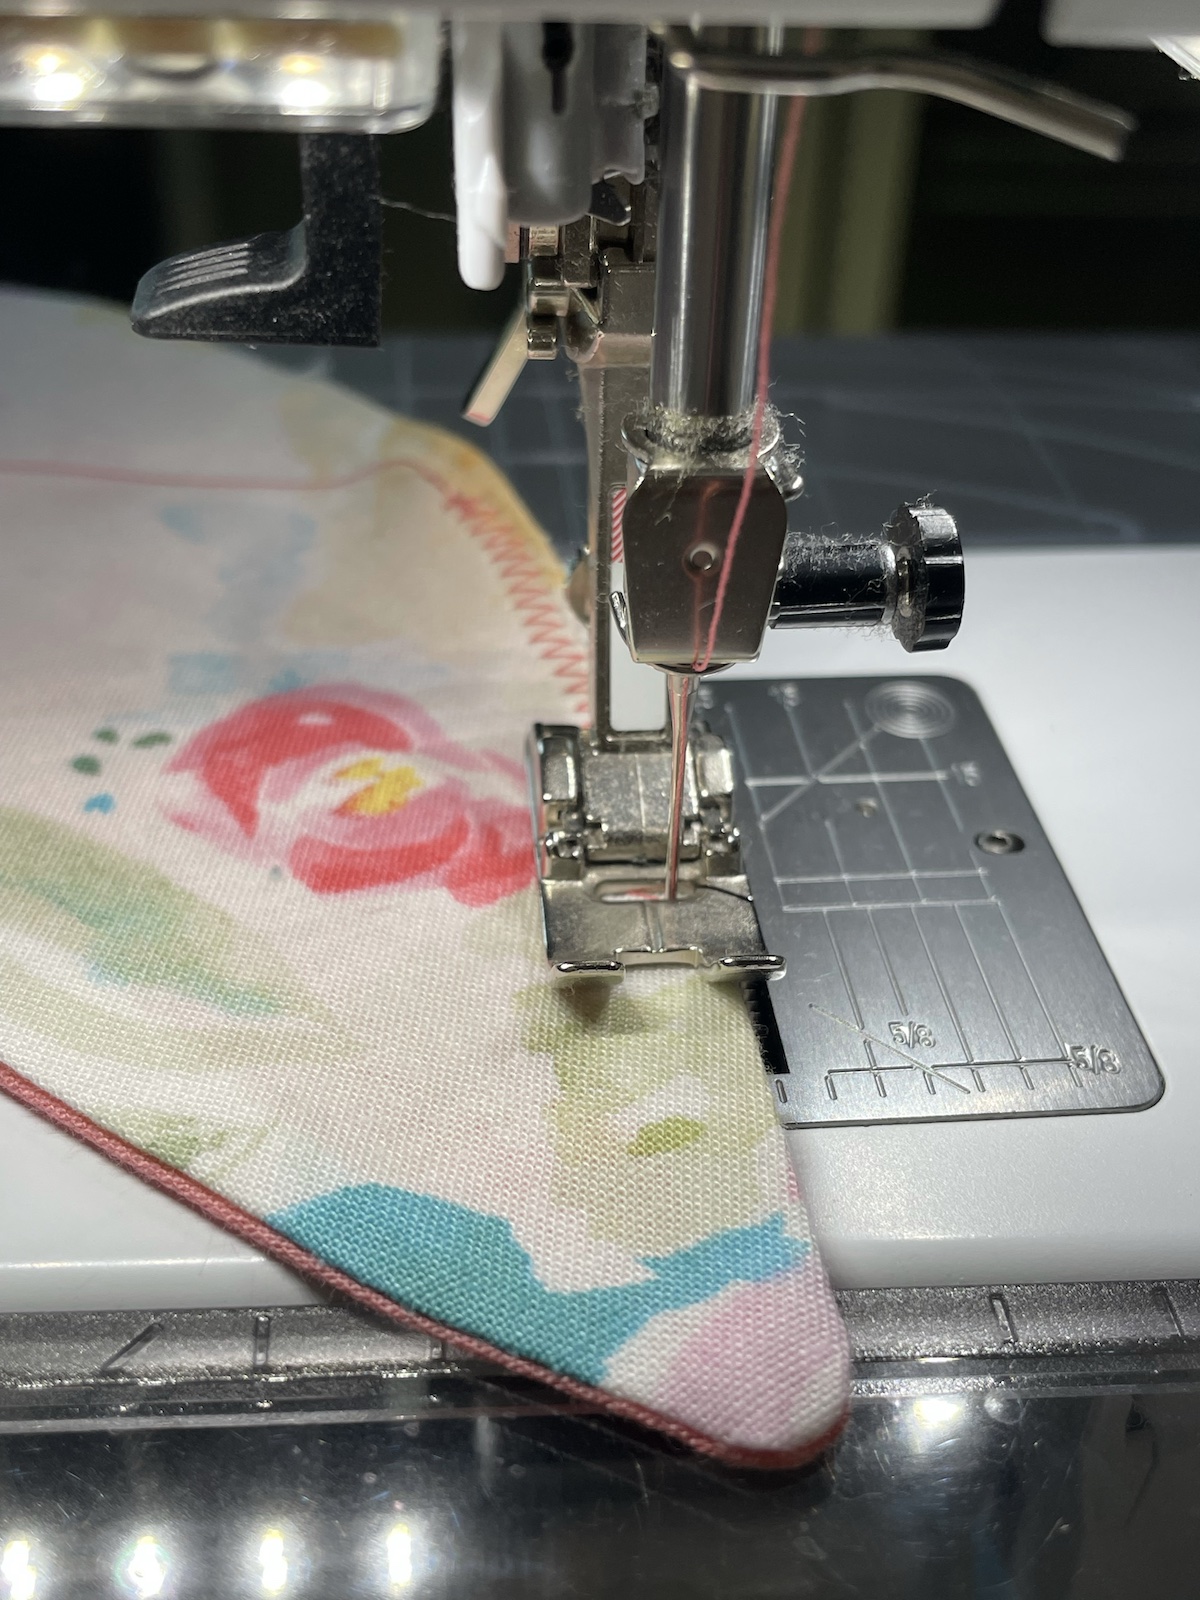
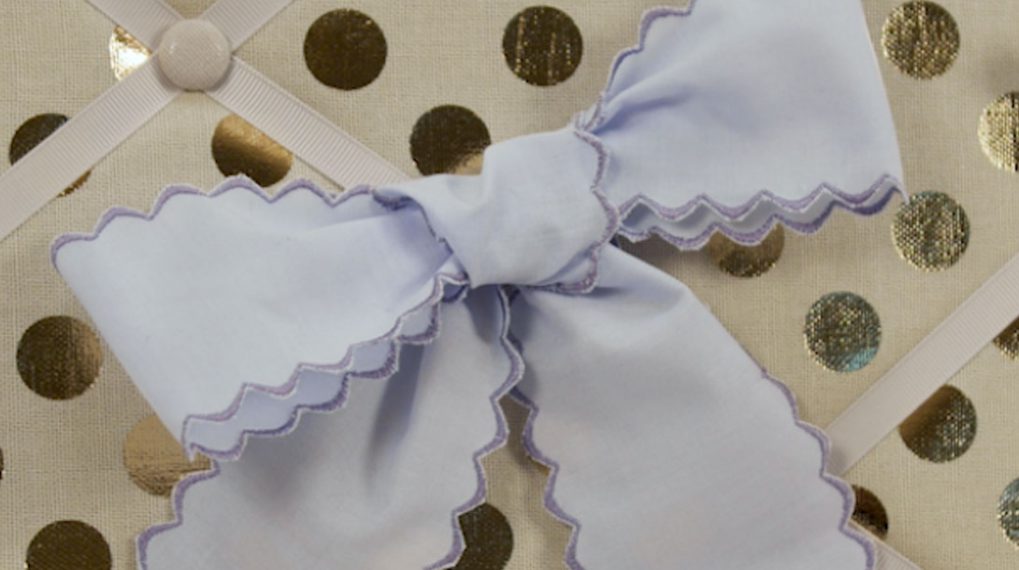
Use a zigzag stitch in a contrasting color to add a decorative touch to the edge of your bow(s).
Step 7, Choose Clips
If you haven’t chosen already, there are several options for which clips to use. I like the French style because they stay better in fine hair. At this point, you’ll also choose which side of the bow will be the front if you’ve used coordinating fabrics.
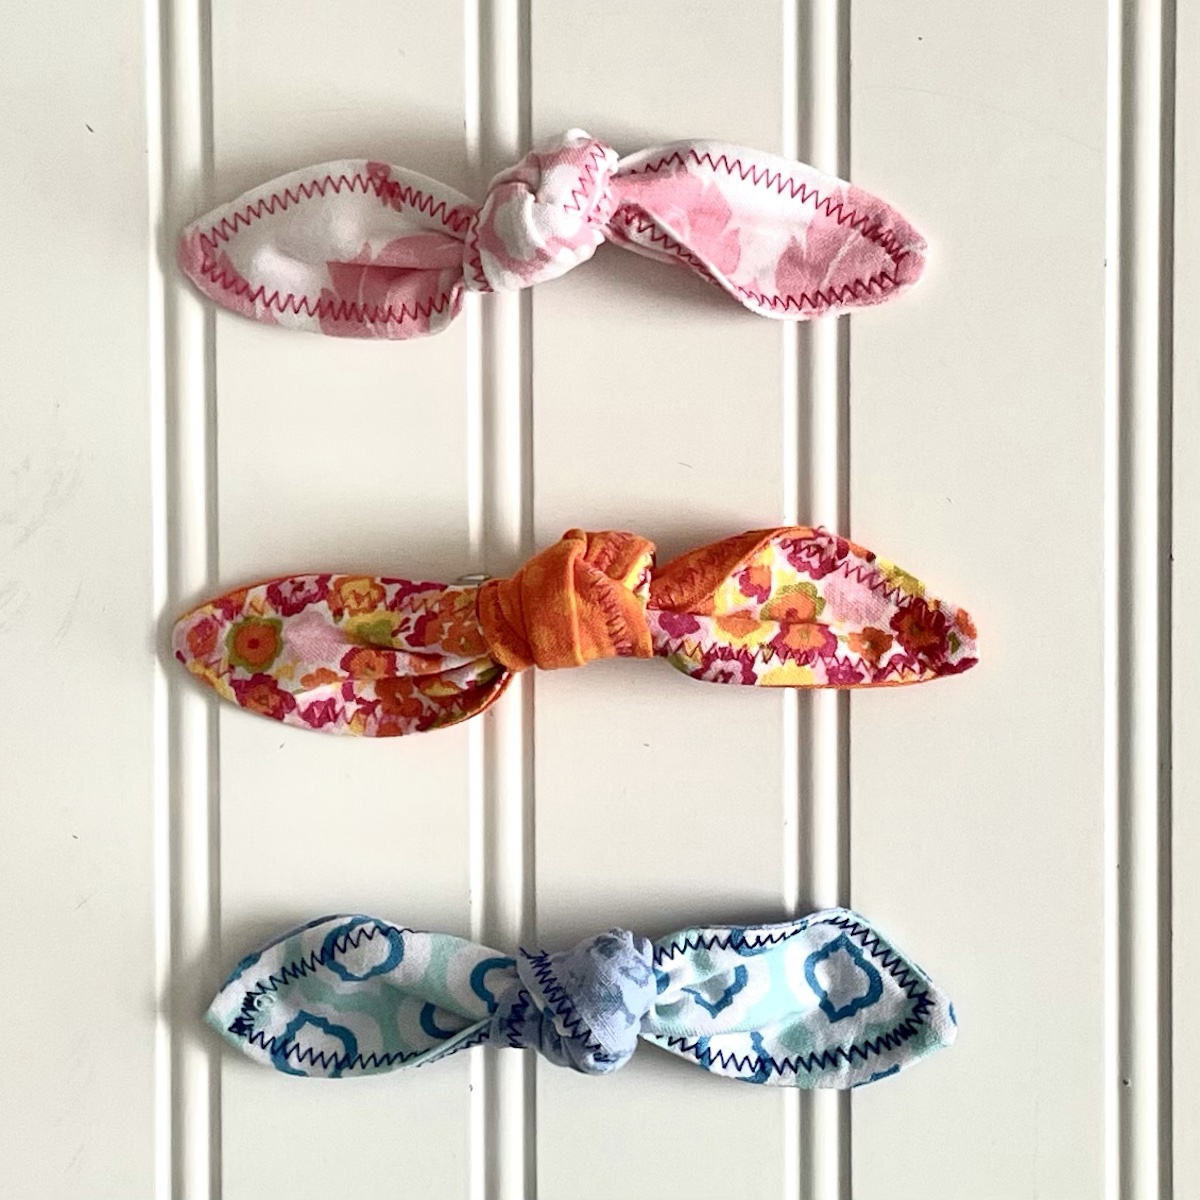
Step 8, Tie Knot to Attah Bow to Clip
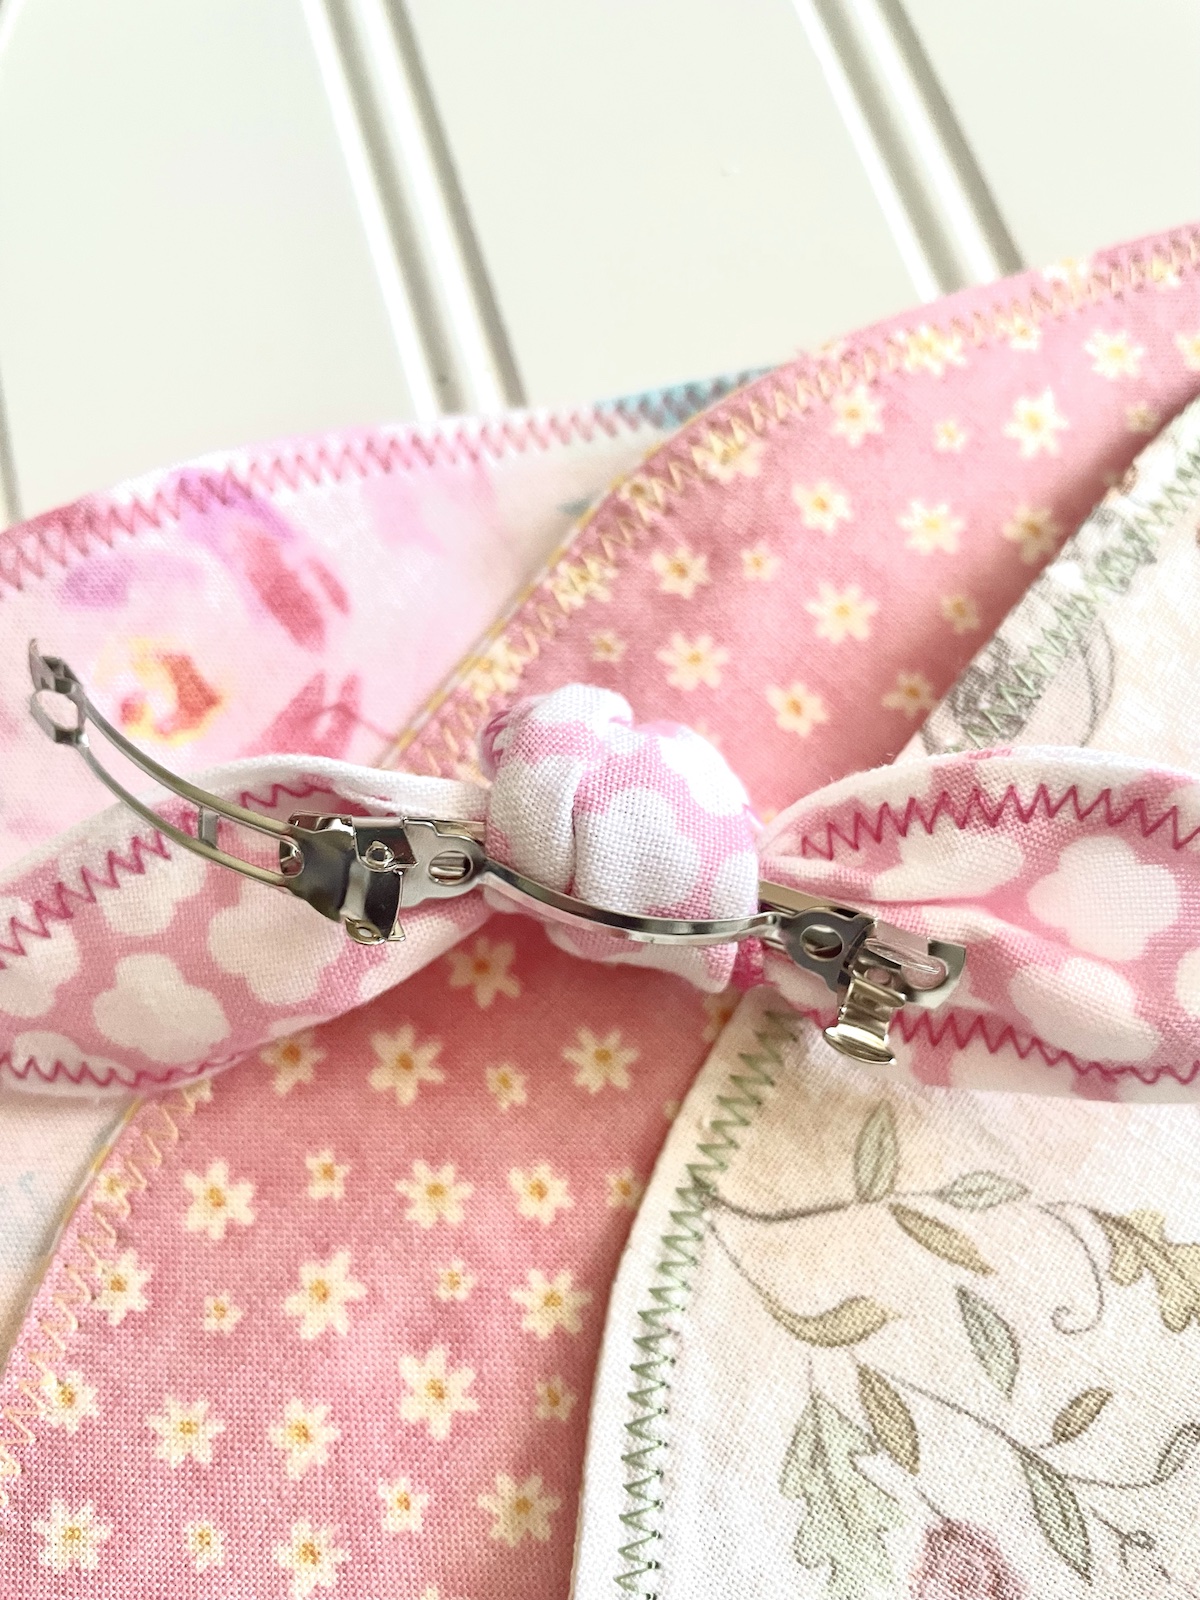
Congratulations! You’ve created sweet and simple fabric hair bows!
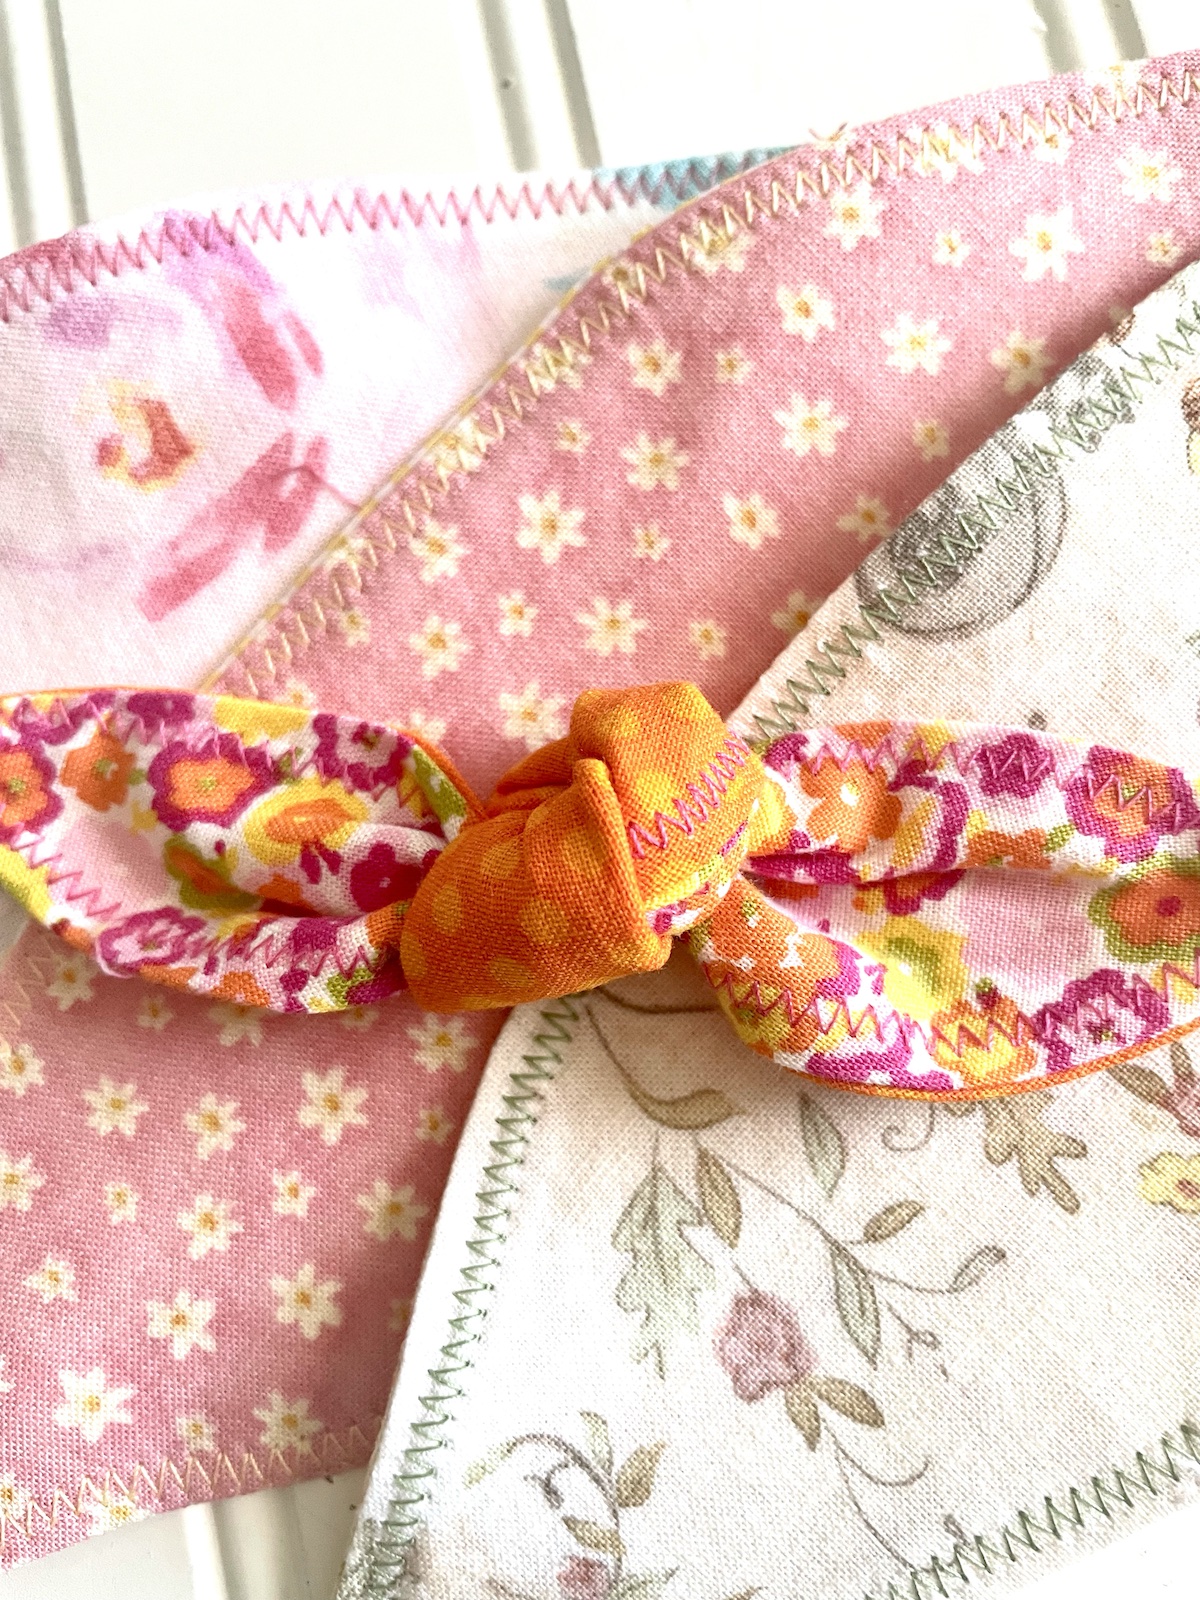
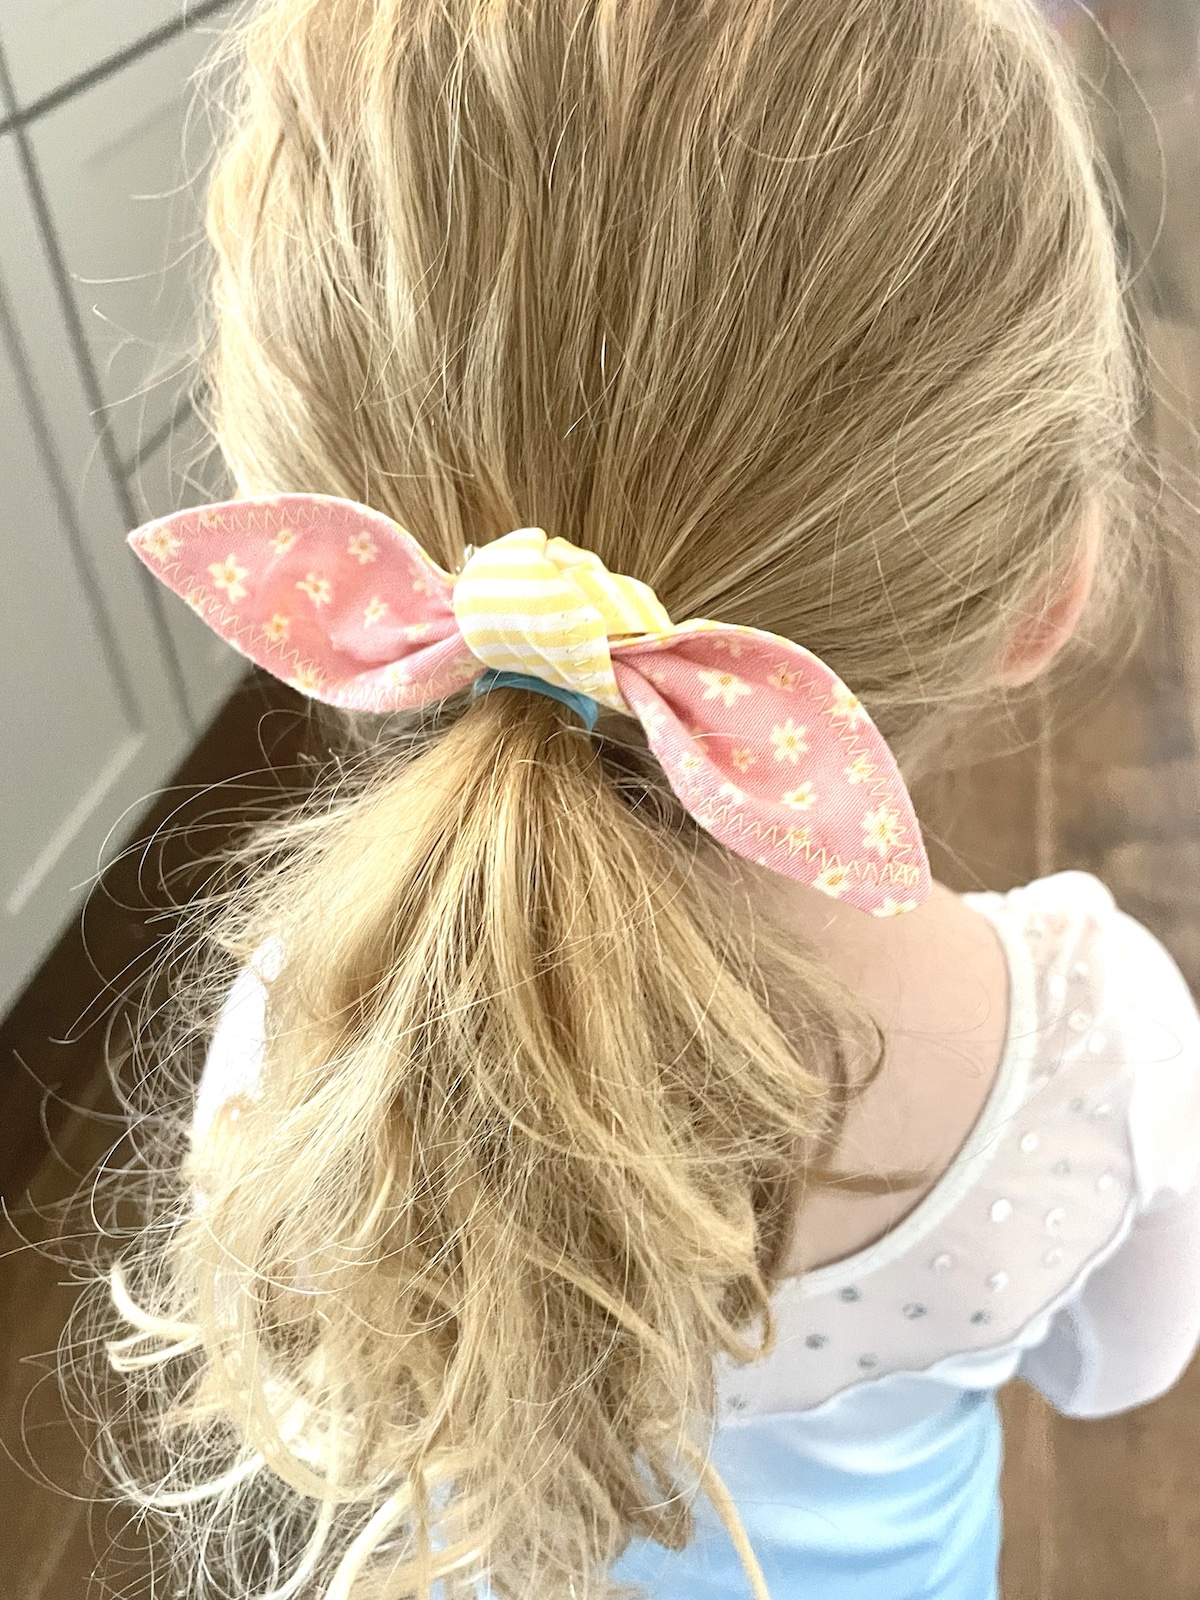
Here is the front and back of a reversible bow. To reverse, simply remove from clip and place it back on with the reverse side showing. You can re-tie it if you want the other fabric showing on the knot.
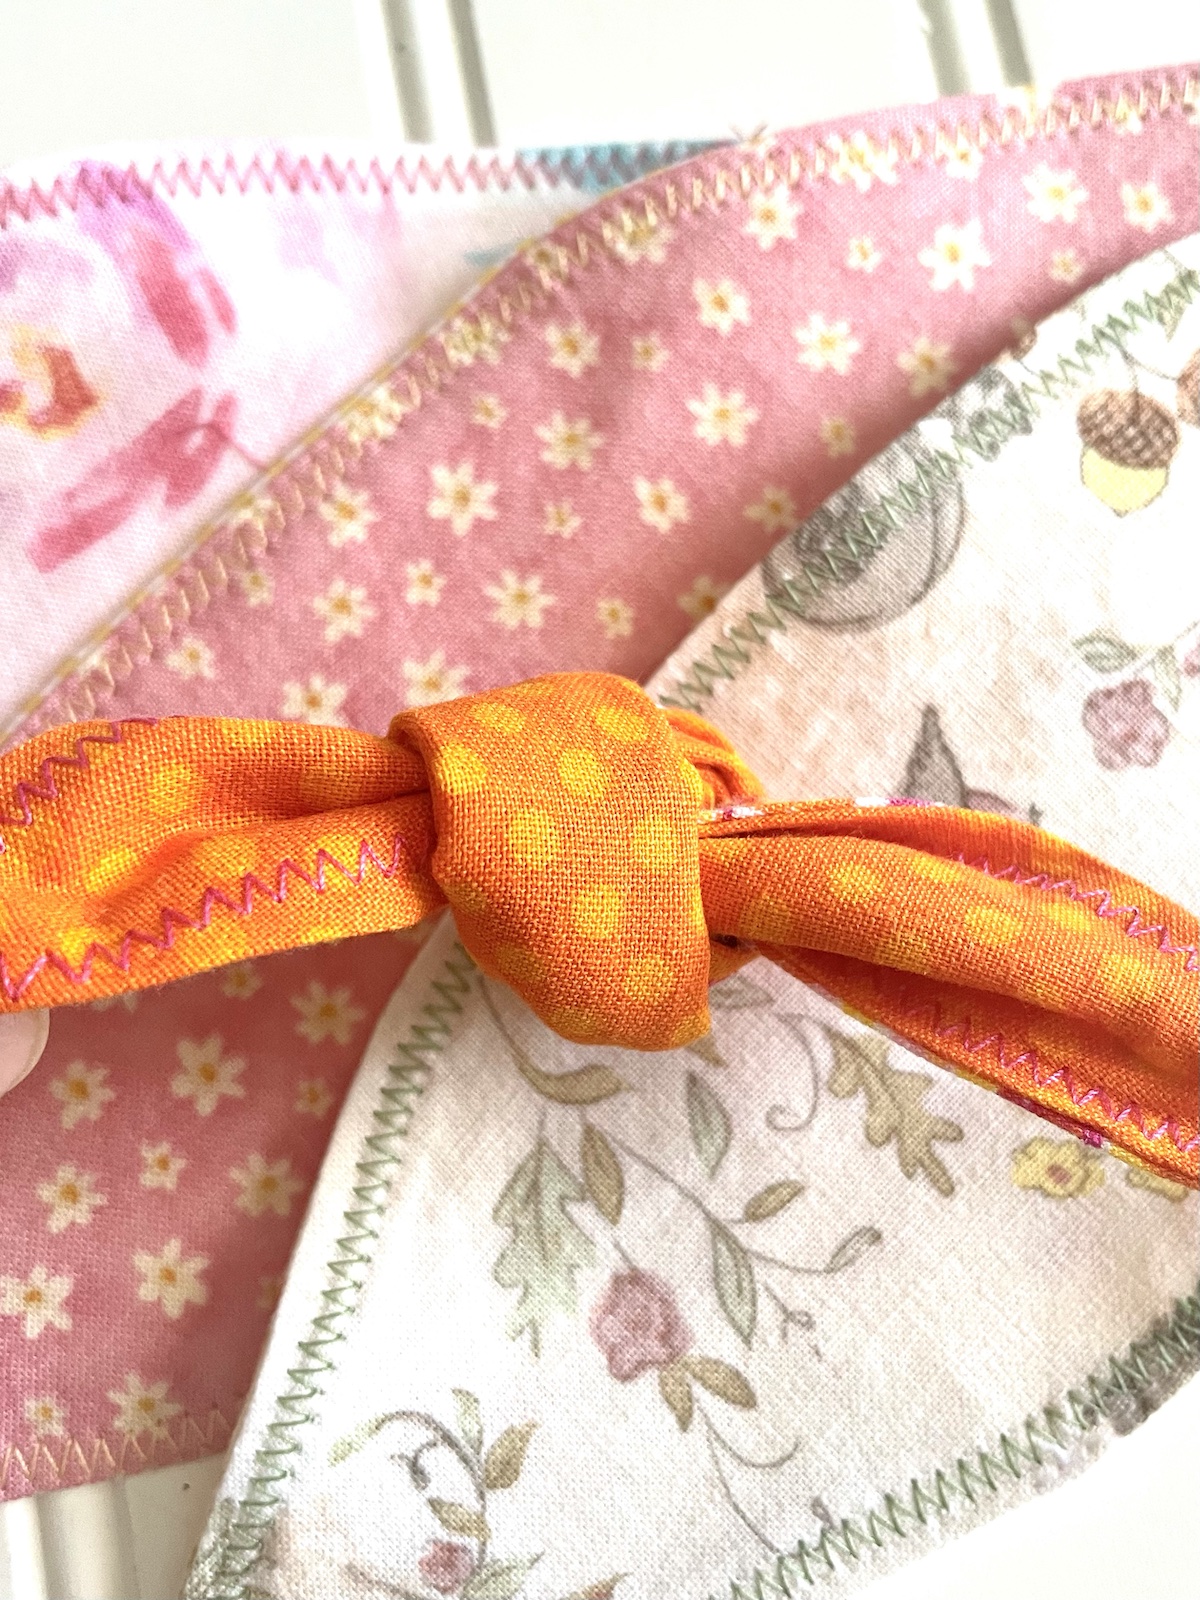
Lots of options. If you choose to re-tie the knot, give it a quick press to refresh your bow.
Sweet and Simple Fabric Hair Bows for the Sweet Littles in you life! ?