How To Sew a Scrap Fabric American Flag
American flag home décor is so popular in the United States. This post will show you how to make a scrap fabric American flag wall hanging so you can have a little Americana décor that has a little boho feel. I’ve made these flags for gifts on multiple occasions and they always are a hit. As a bonus, it’s so easy to sew! If you want a similar wall hanging without the Americana feel, you can also use different colors and ribbons to change up the whole look!
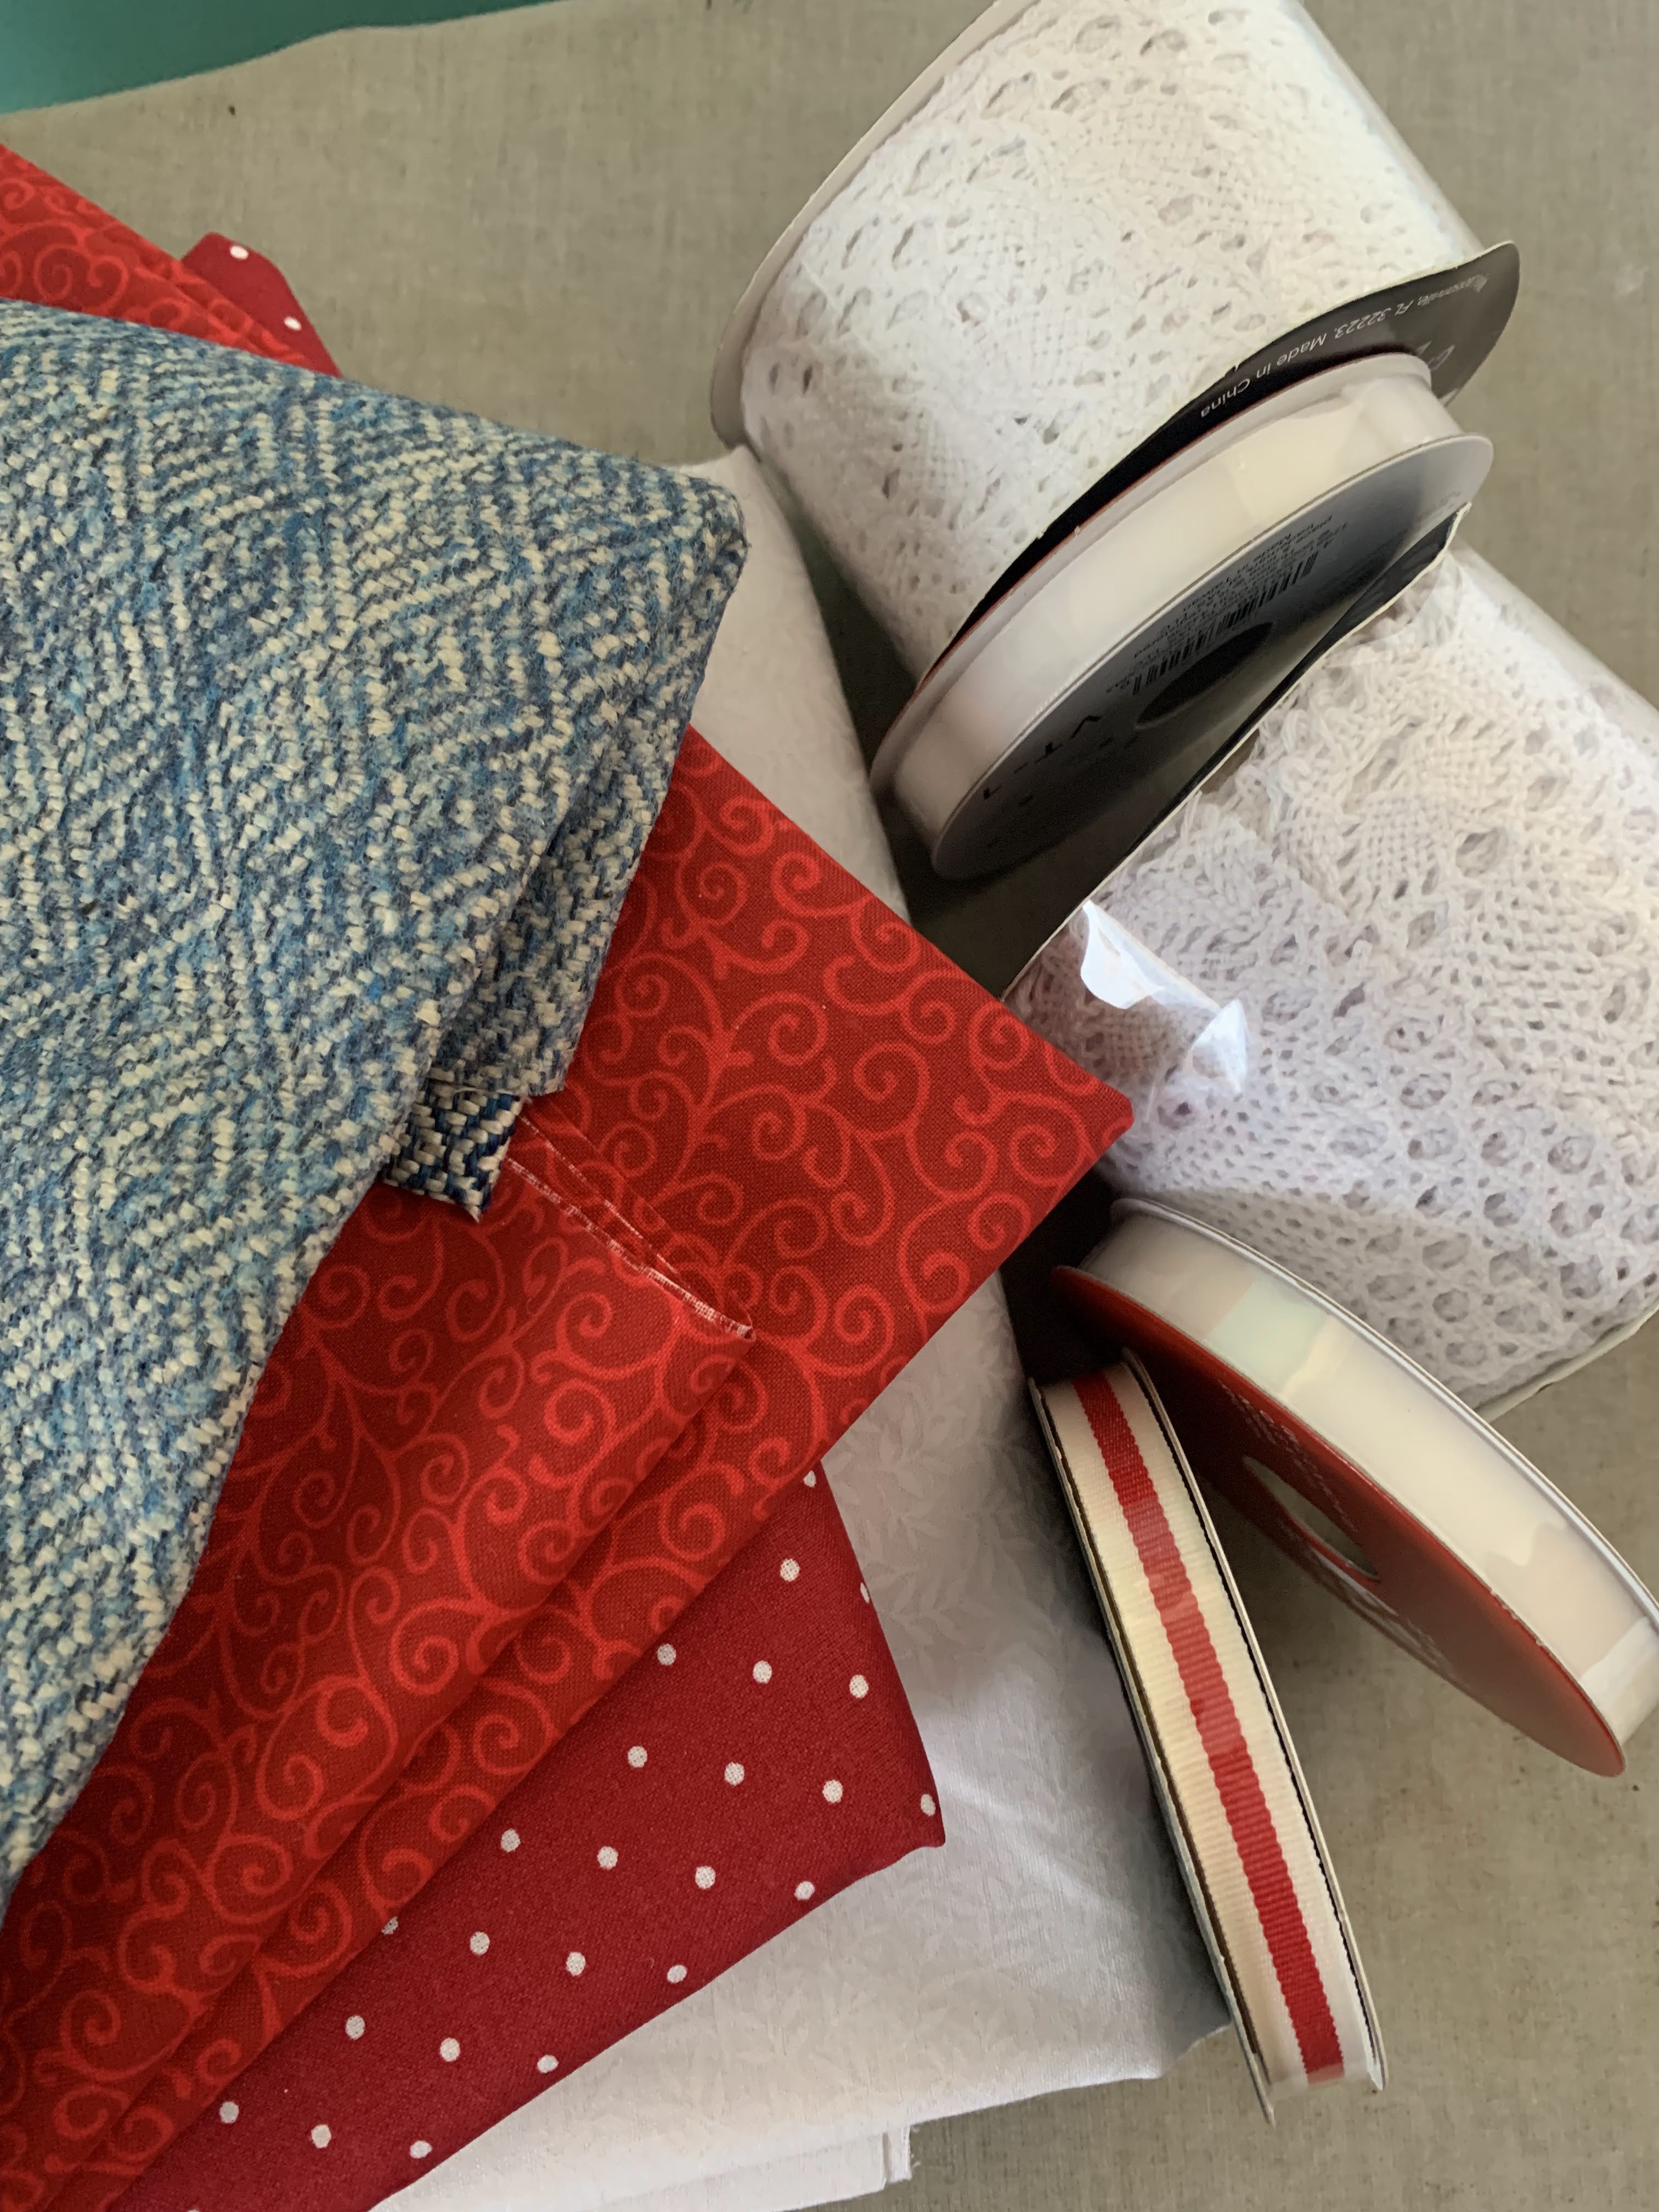
Supplies Needed to Make a Scrap Fabric American Flag
- Various red and white fabrics (I used 1/2 each of six different quilting cottons)
- Approximately 15-20″ x 15-20″ blue fabric for flag’s canton (I used a cotton canvas)
- Coordinating red and white ribbons, lace, or trims
- Wide ribbon for top of flag
- Thread
- Sewing machine capable of a zigzag stitch
- Presser foot compatible with zigzag stitch (I used Reverse Pattern Foot #1D)
- Rotary cutter
- Cutting mat
- Wonder clips
- Dual Feed or a Three-Sole Walking Foot with Seam Guide #50 (optional)
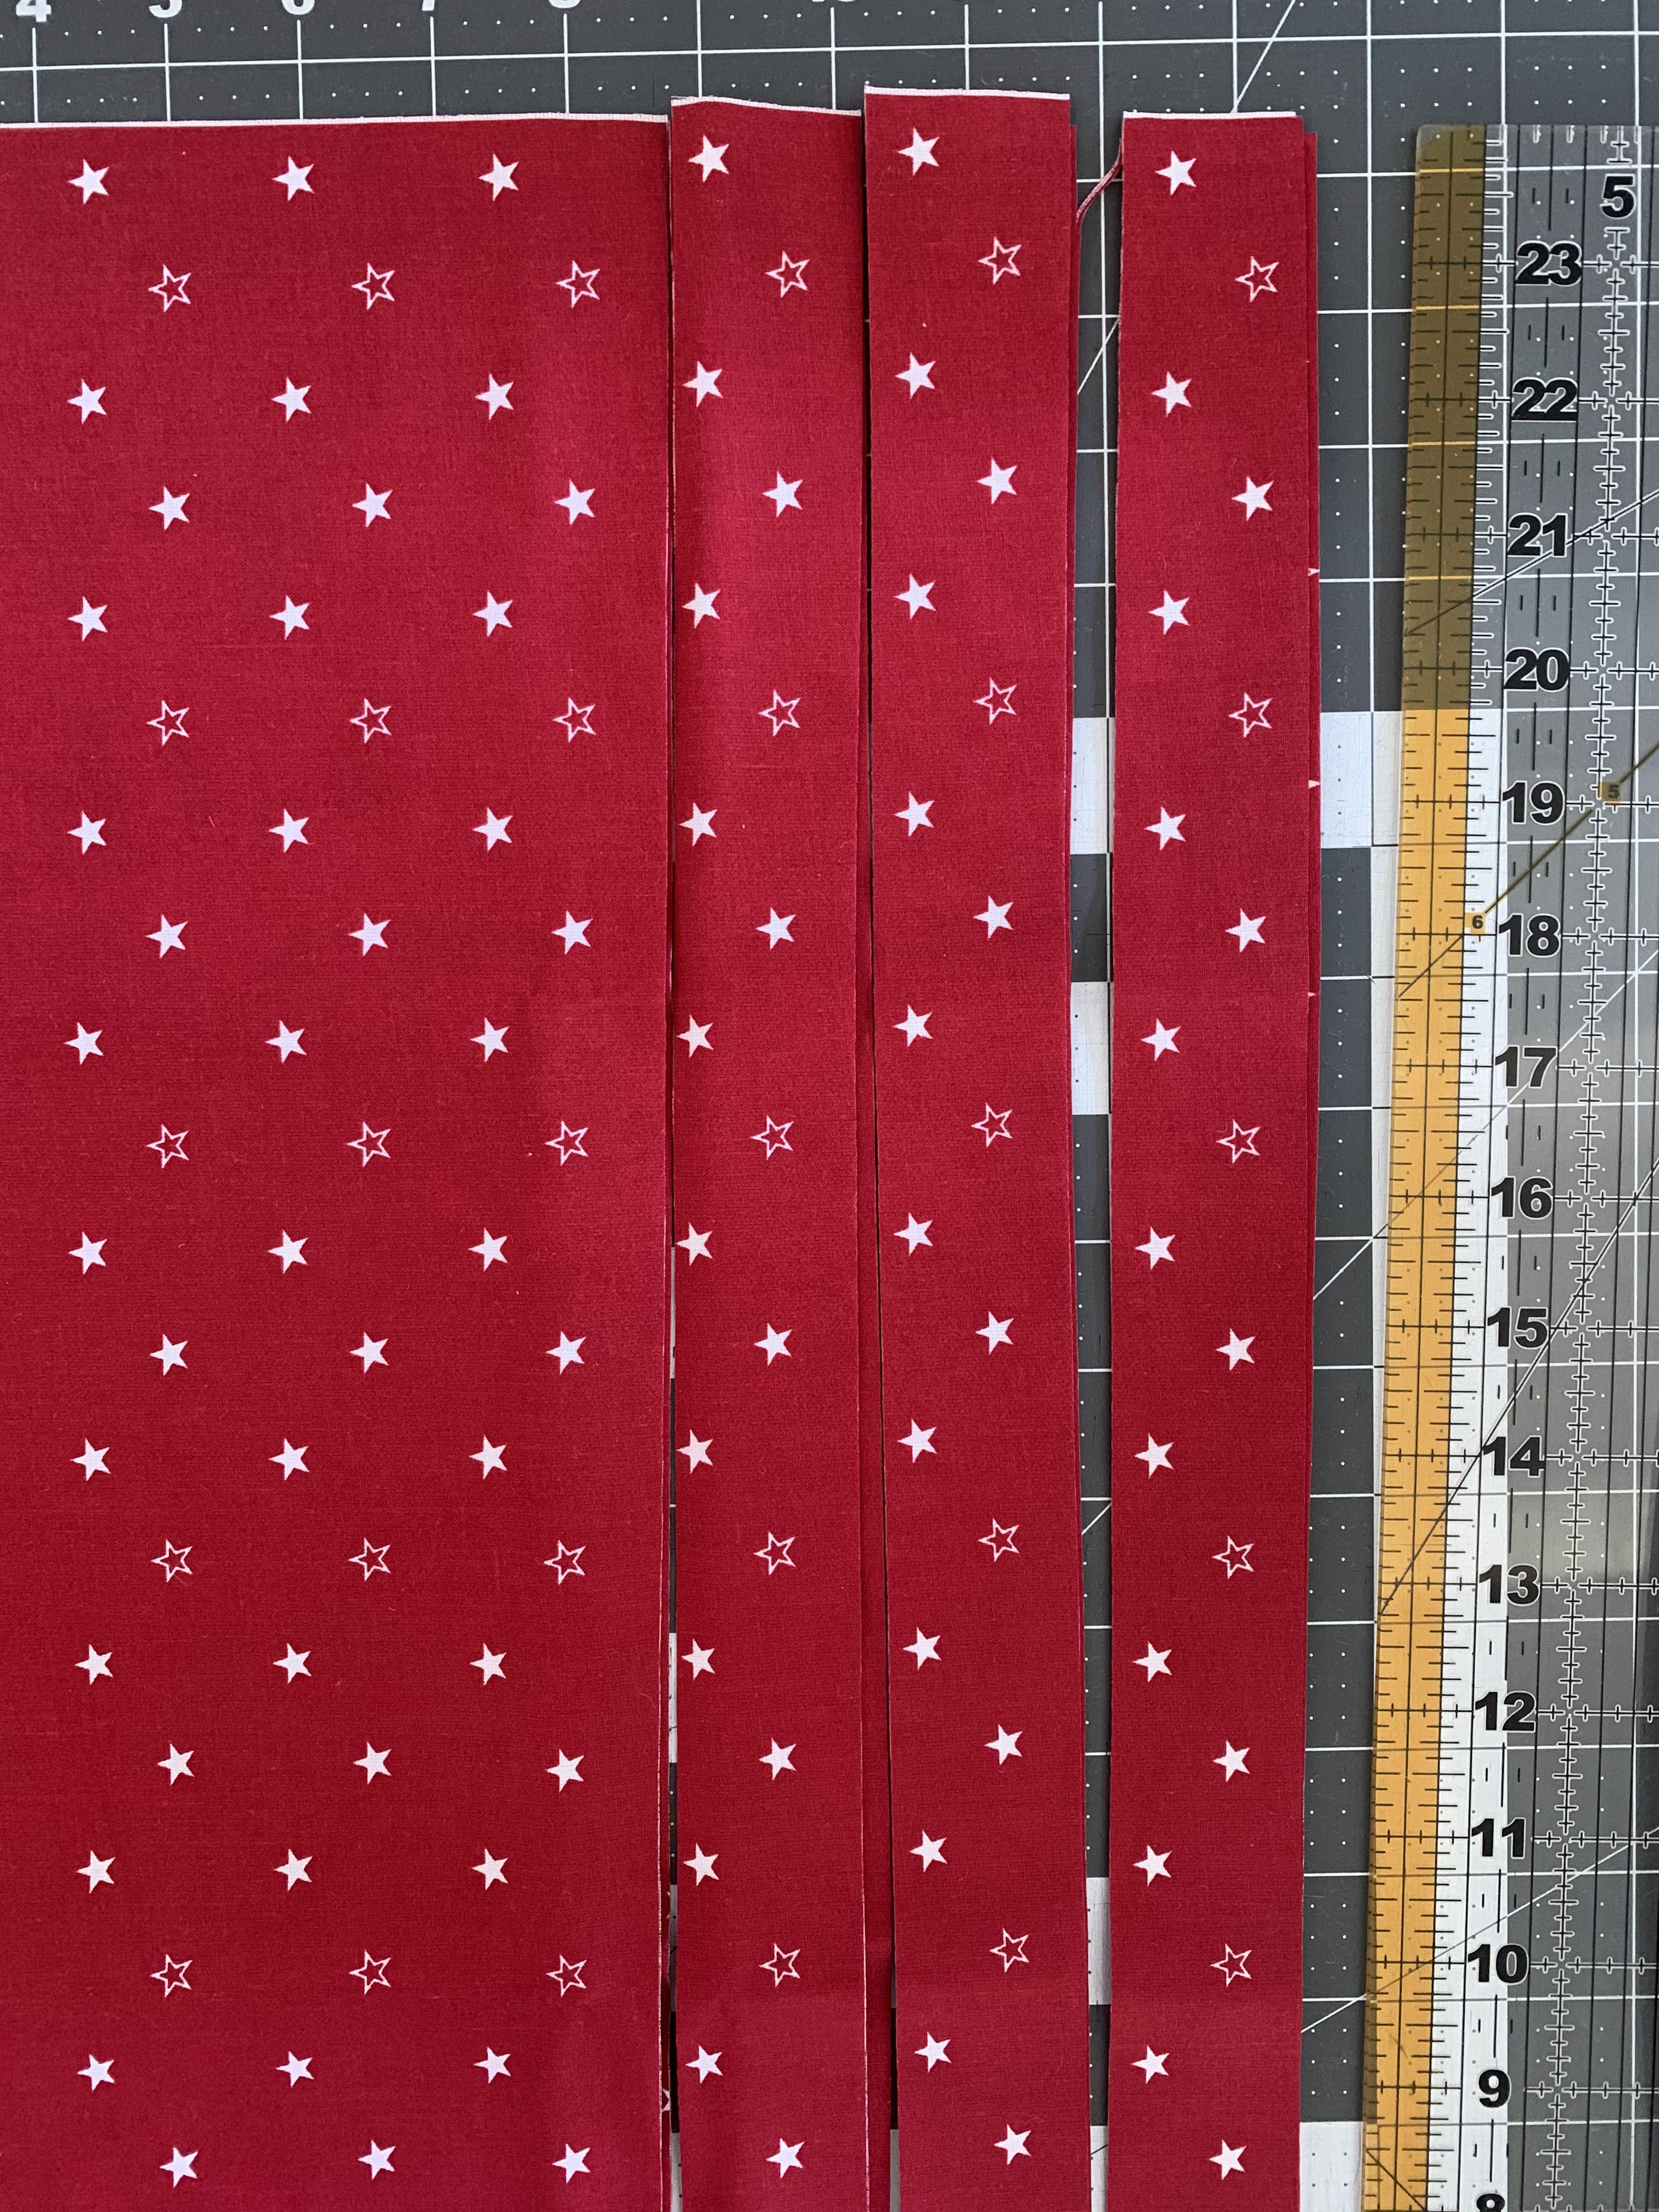
Preparing Fabric Scraps
Prior to sewing, cut the red and white fabric into strips. The should be anywhere from 1 – 2 inches wide by the length you want your finished flag to be. I made mine with width of the fabric, 44 inches. It is ok if you aren’t very precise here; all of the strips don’t need to be the same width. If your fabric has an obvious salvage edge you can cut it off so that it isn’t visible.
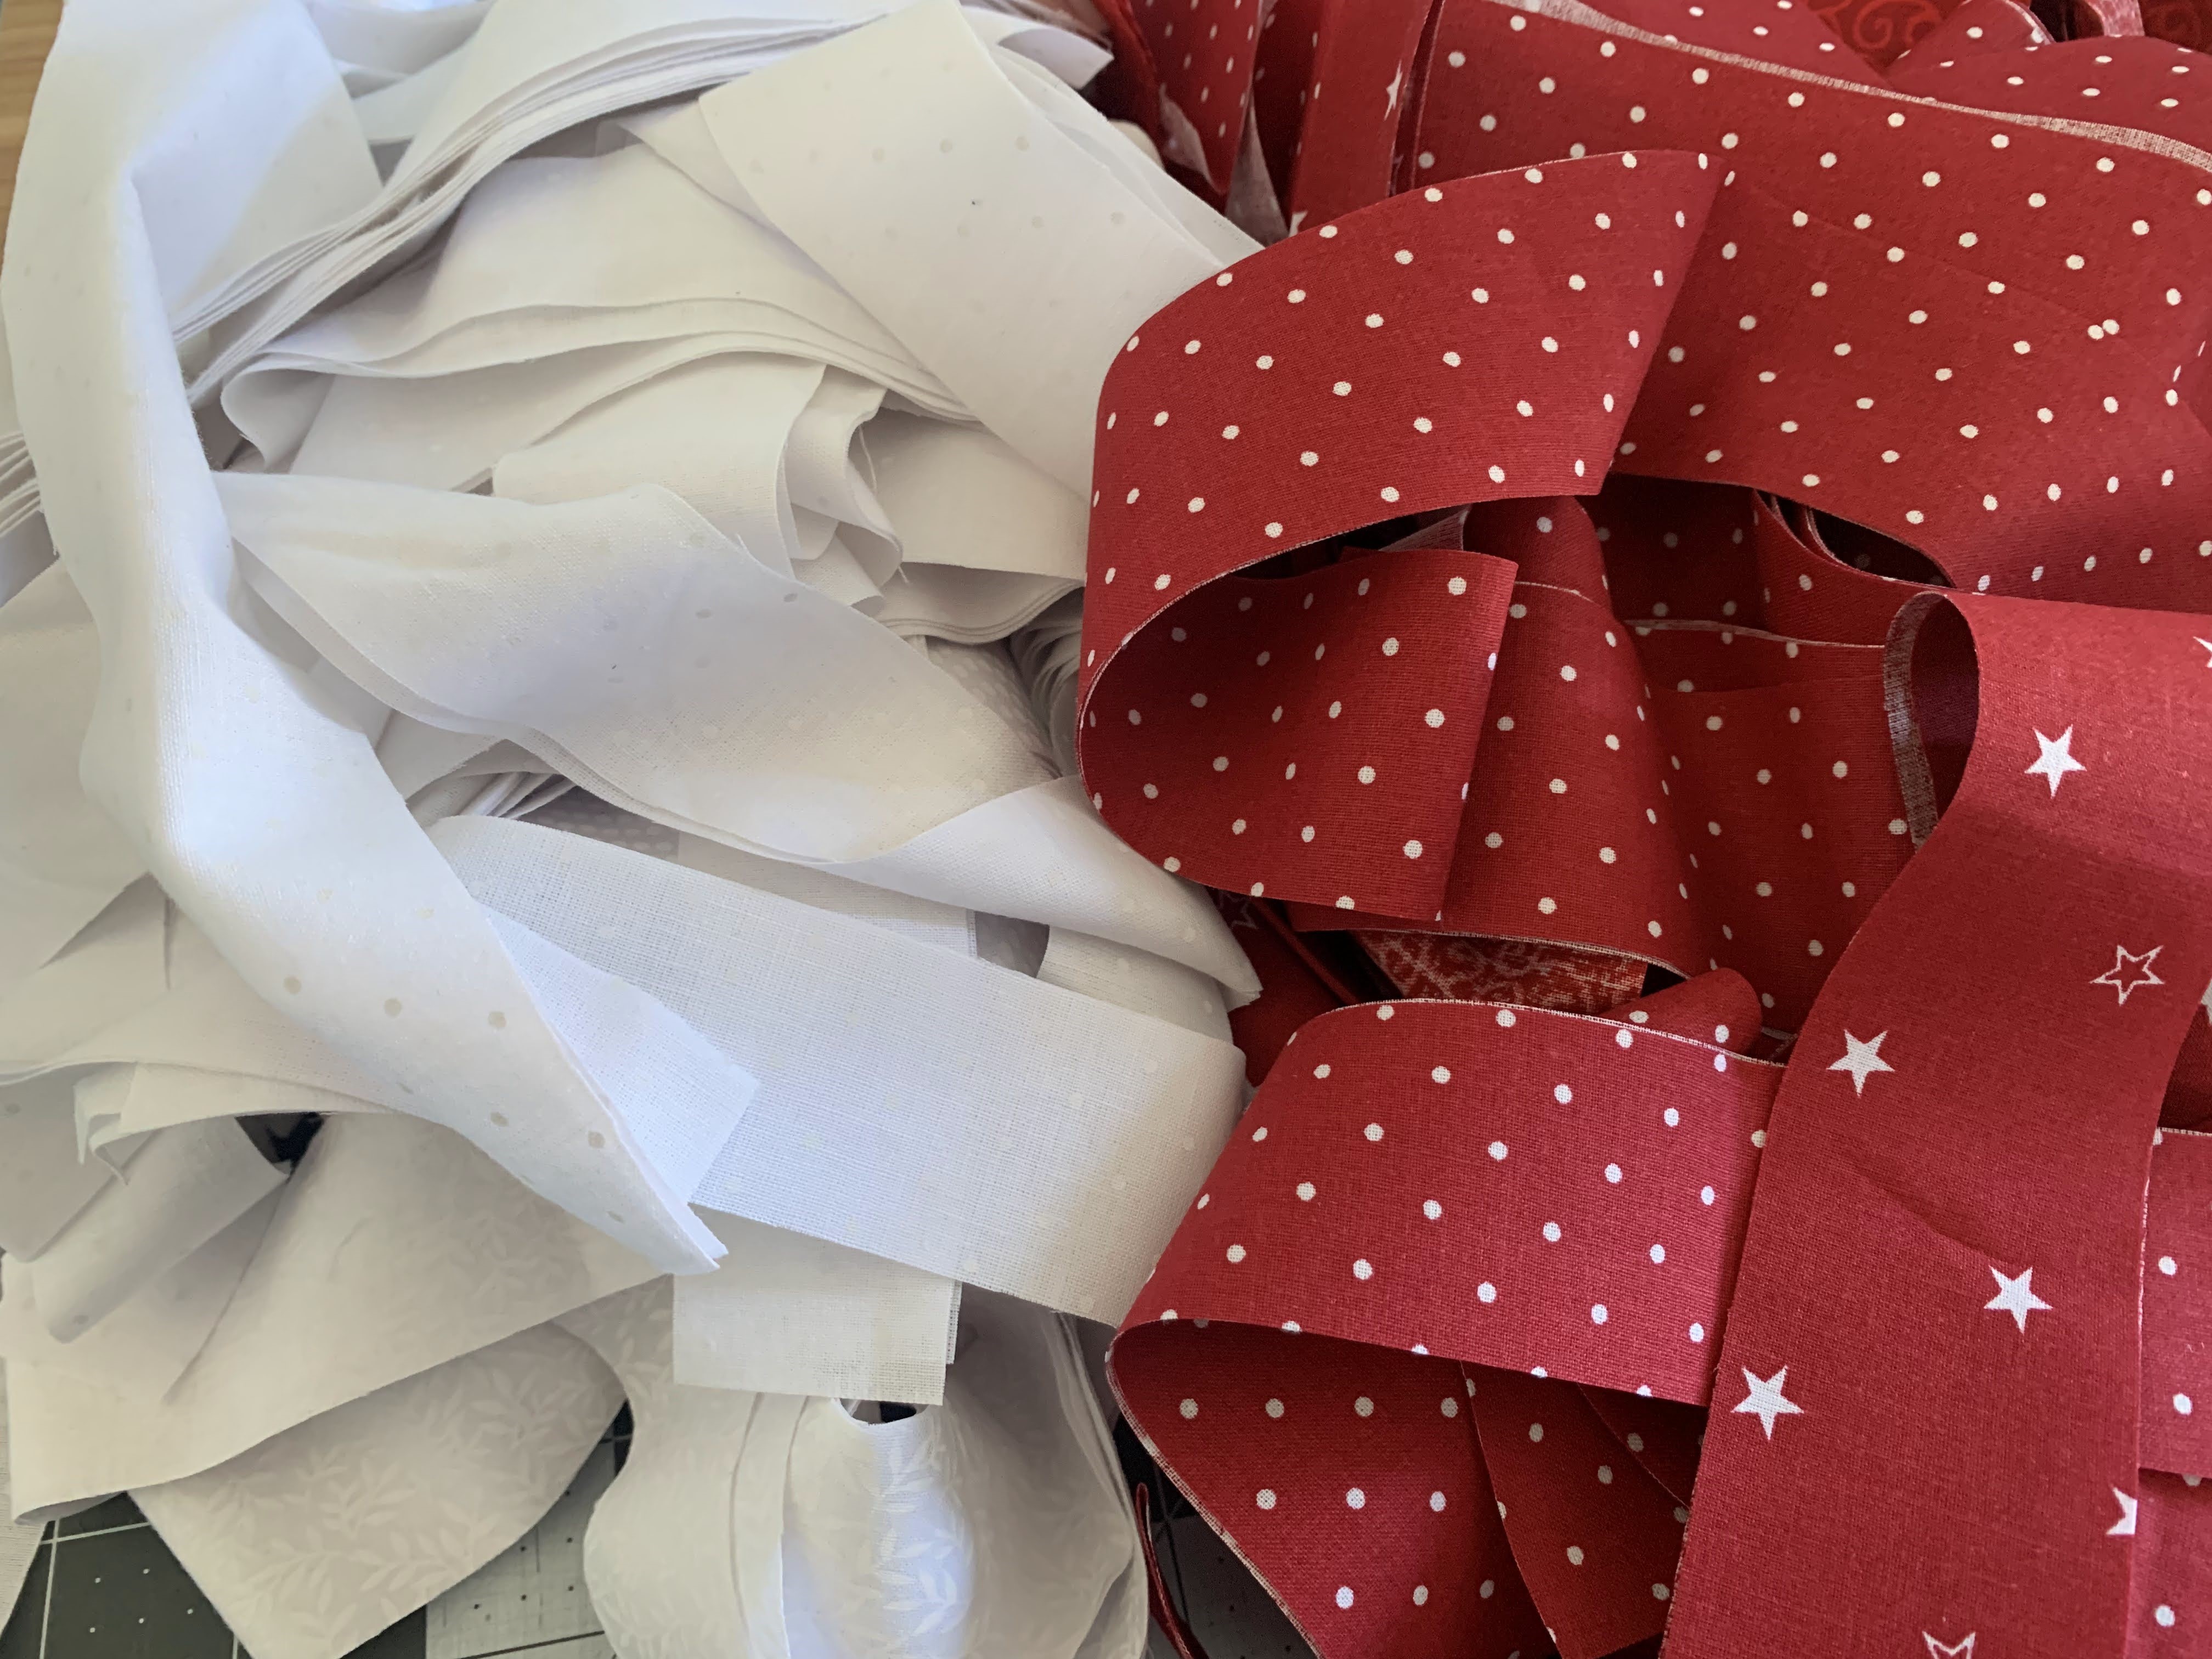
Place your fabric into piles separated by color. This will help when arranging the stripes of the scrap fabric flag.
Finish Edge of Blue Canton
The American flag has a blue canton at the top left with stars. To makeup this part of the scrap fabric flag, you’ll use square of fabric. Mine measures 15″ x 15″, but this can be a little bigger or a little smaller. The beauty of a scrap fabric flag like this is you can use what you have on hand or what you find in the remnant bin at your local fabric store. You can use a starred fabric for this or one with a blue and white design for something more subtle. (You could even embroider this piece if you wanted to add more embellishment!) To finish the edge of this piece that is in the center of the flag, I sewed on a piece of ribbon. This helps this piece of fabric transition into the rest of the fabric scrap stripes. You can also attach a piece of ribbon to the other side, but I left my edge raw.
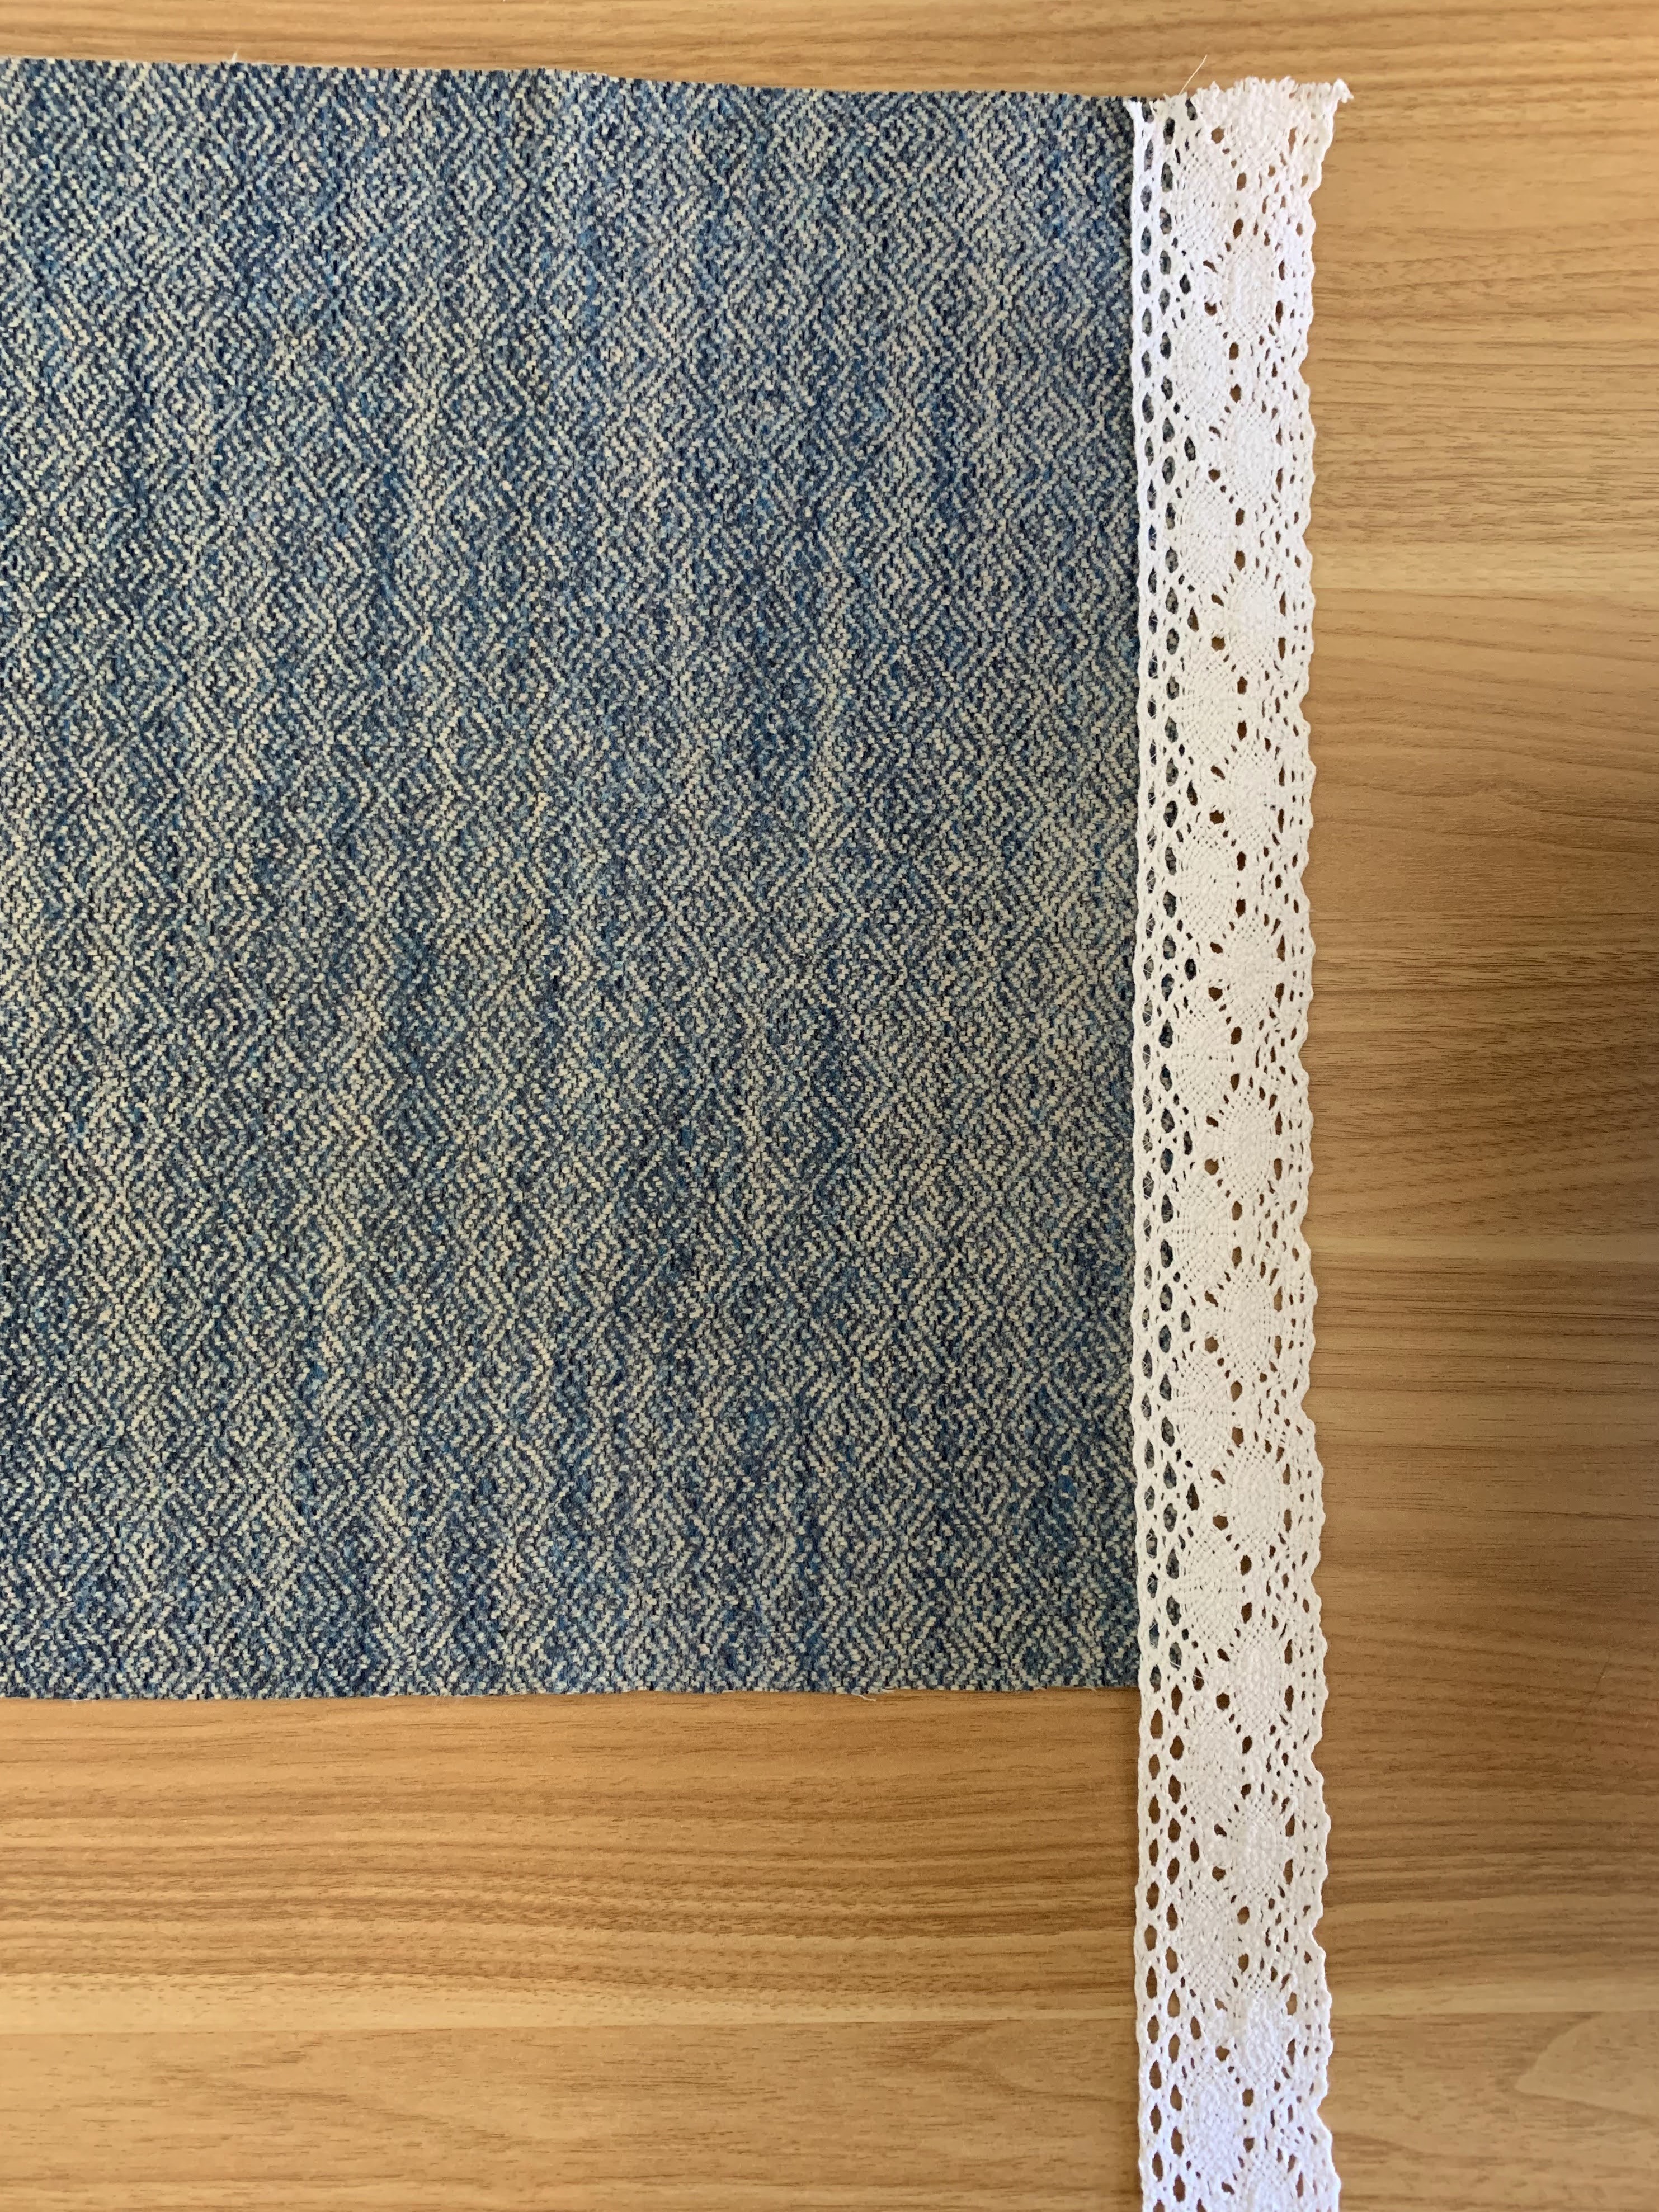
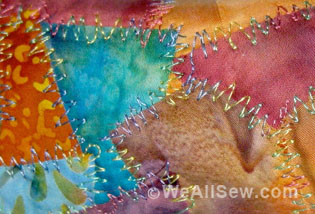
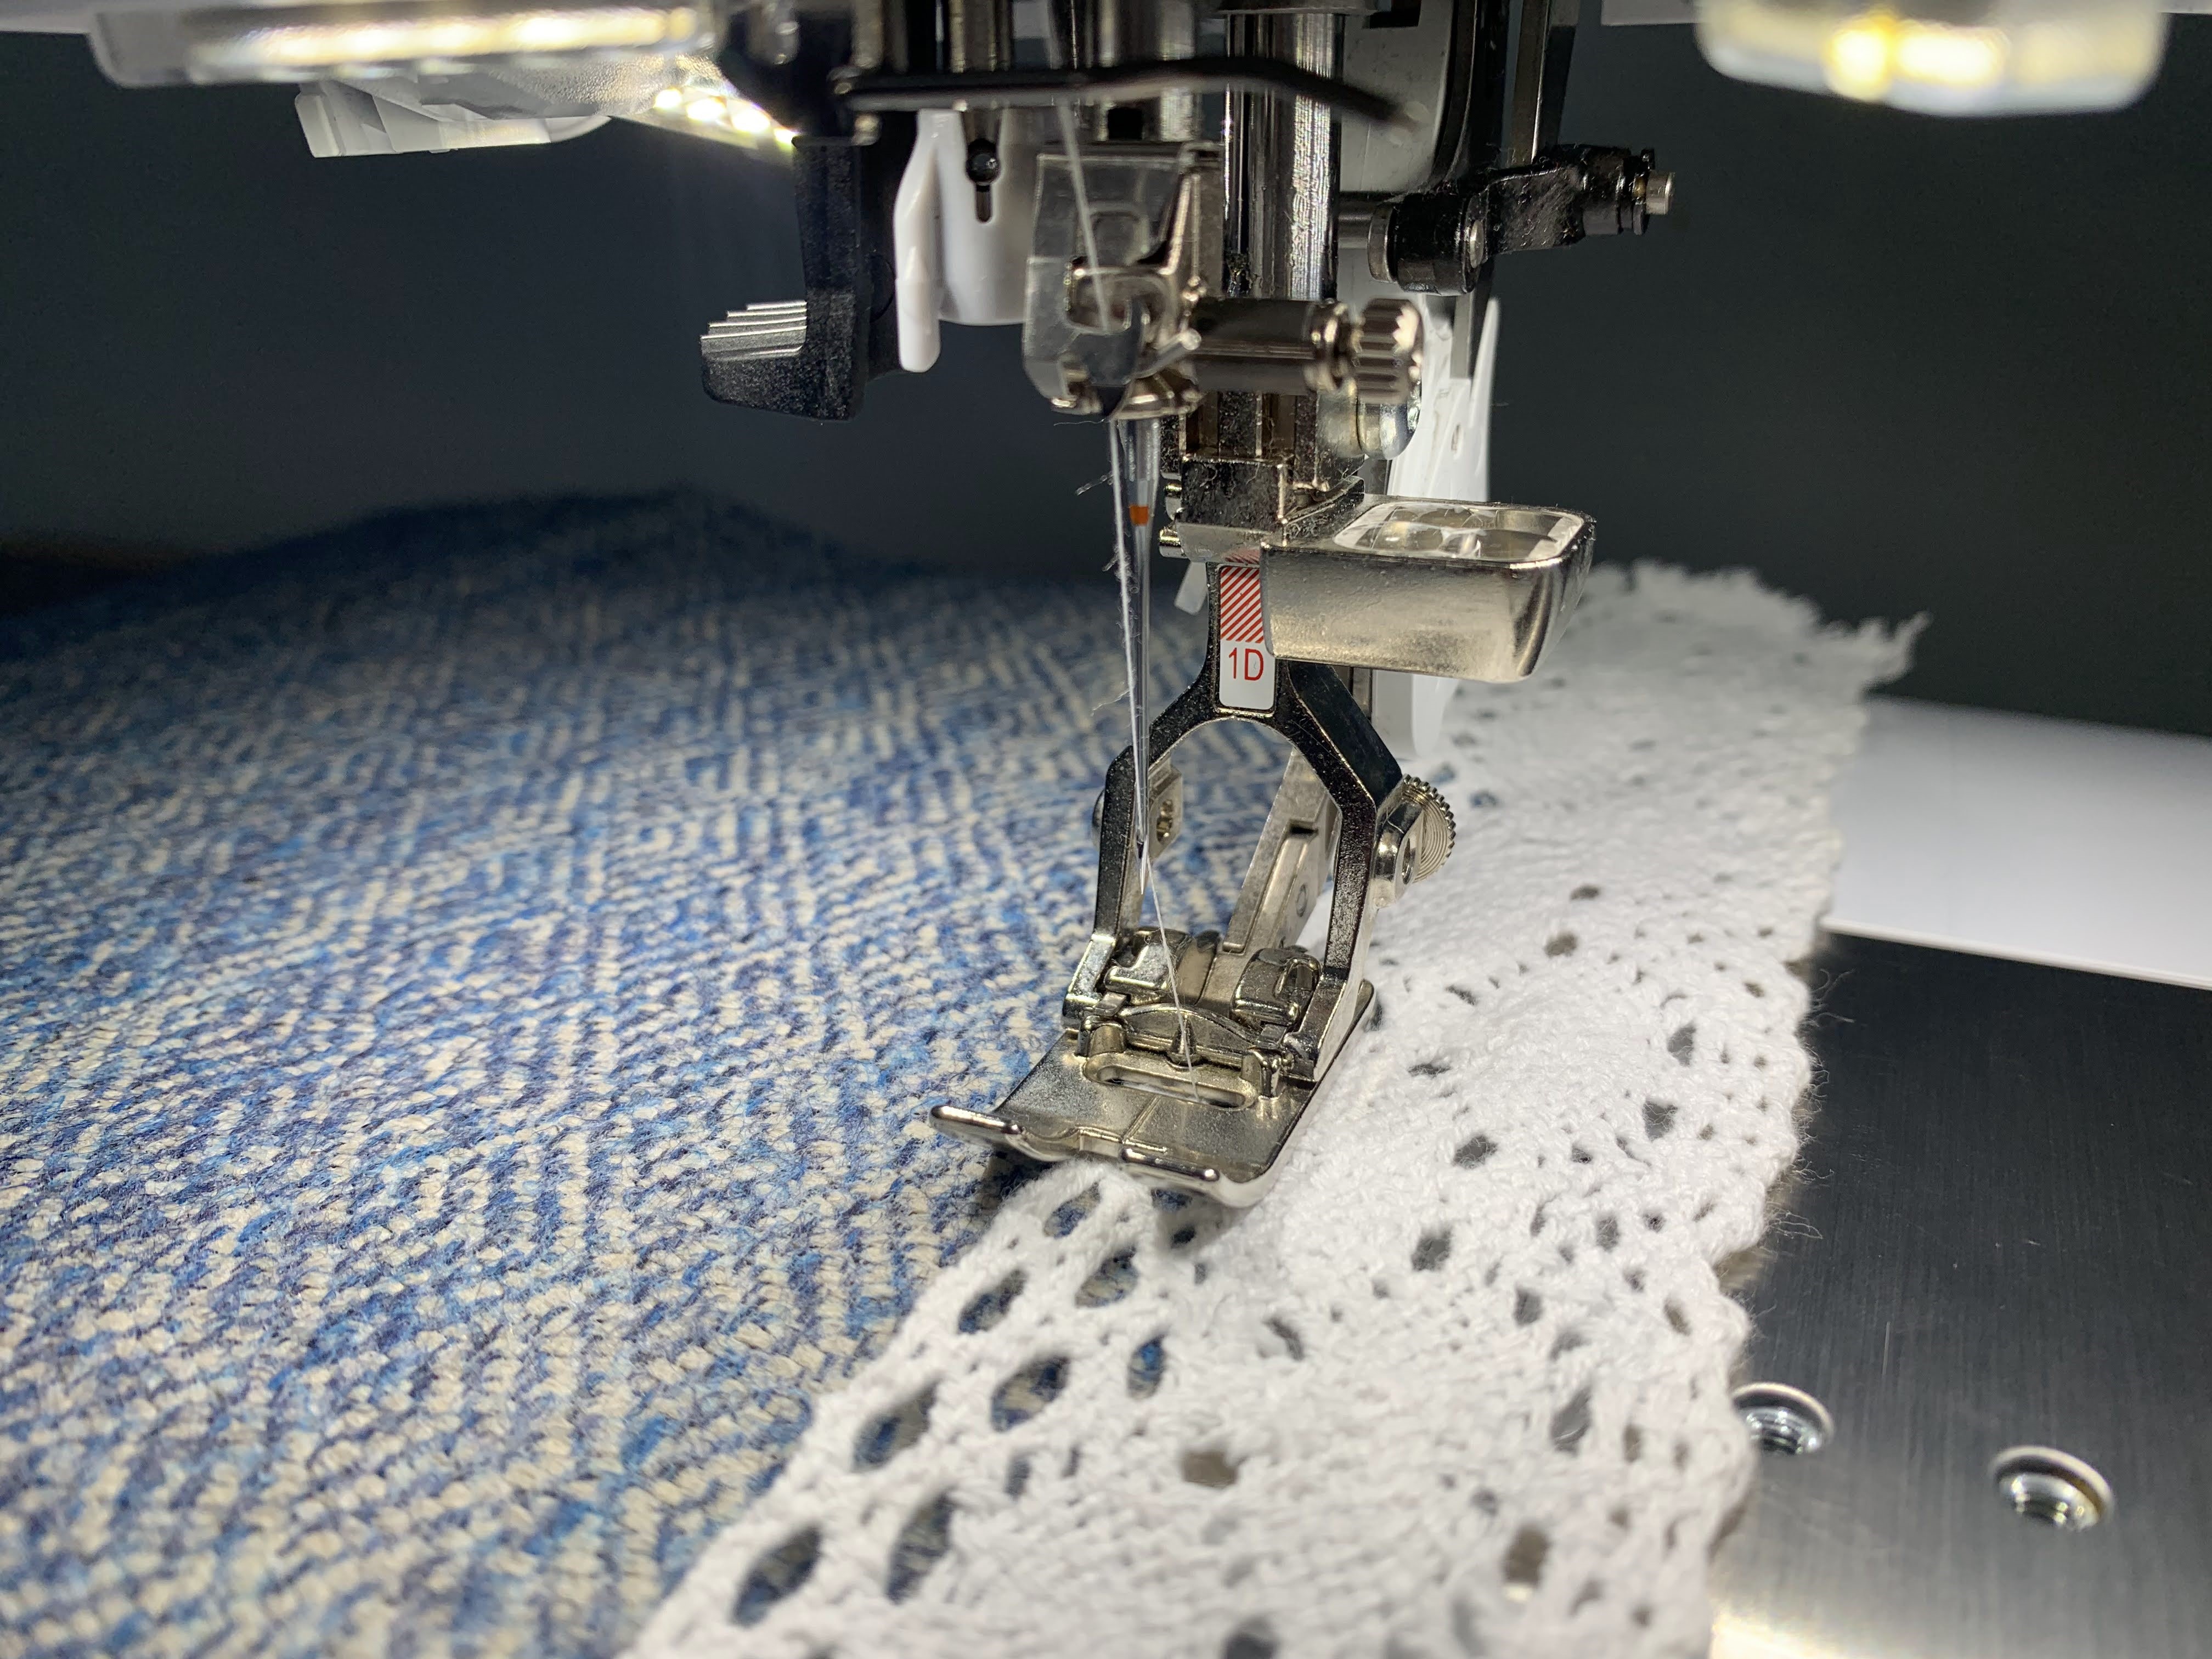
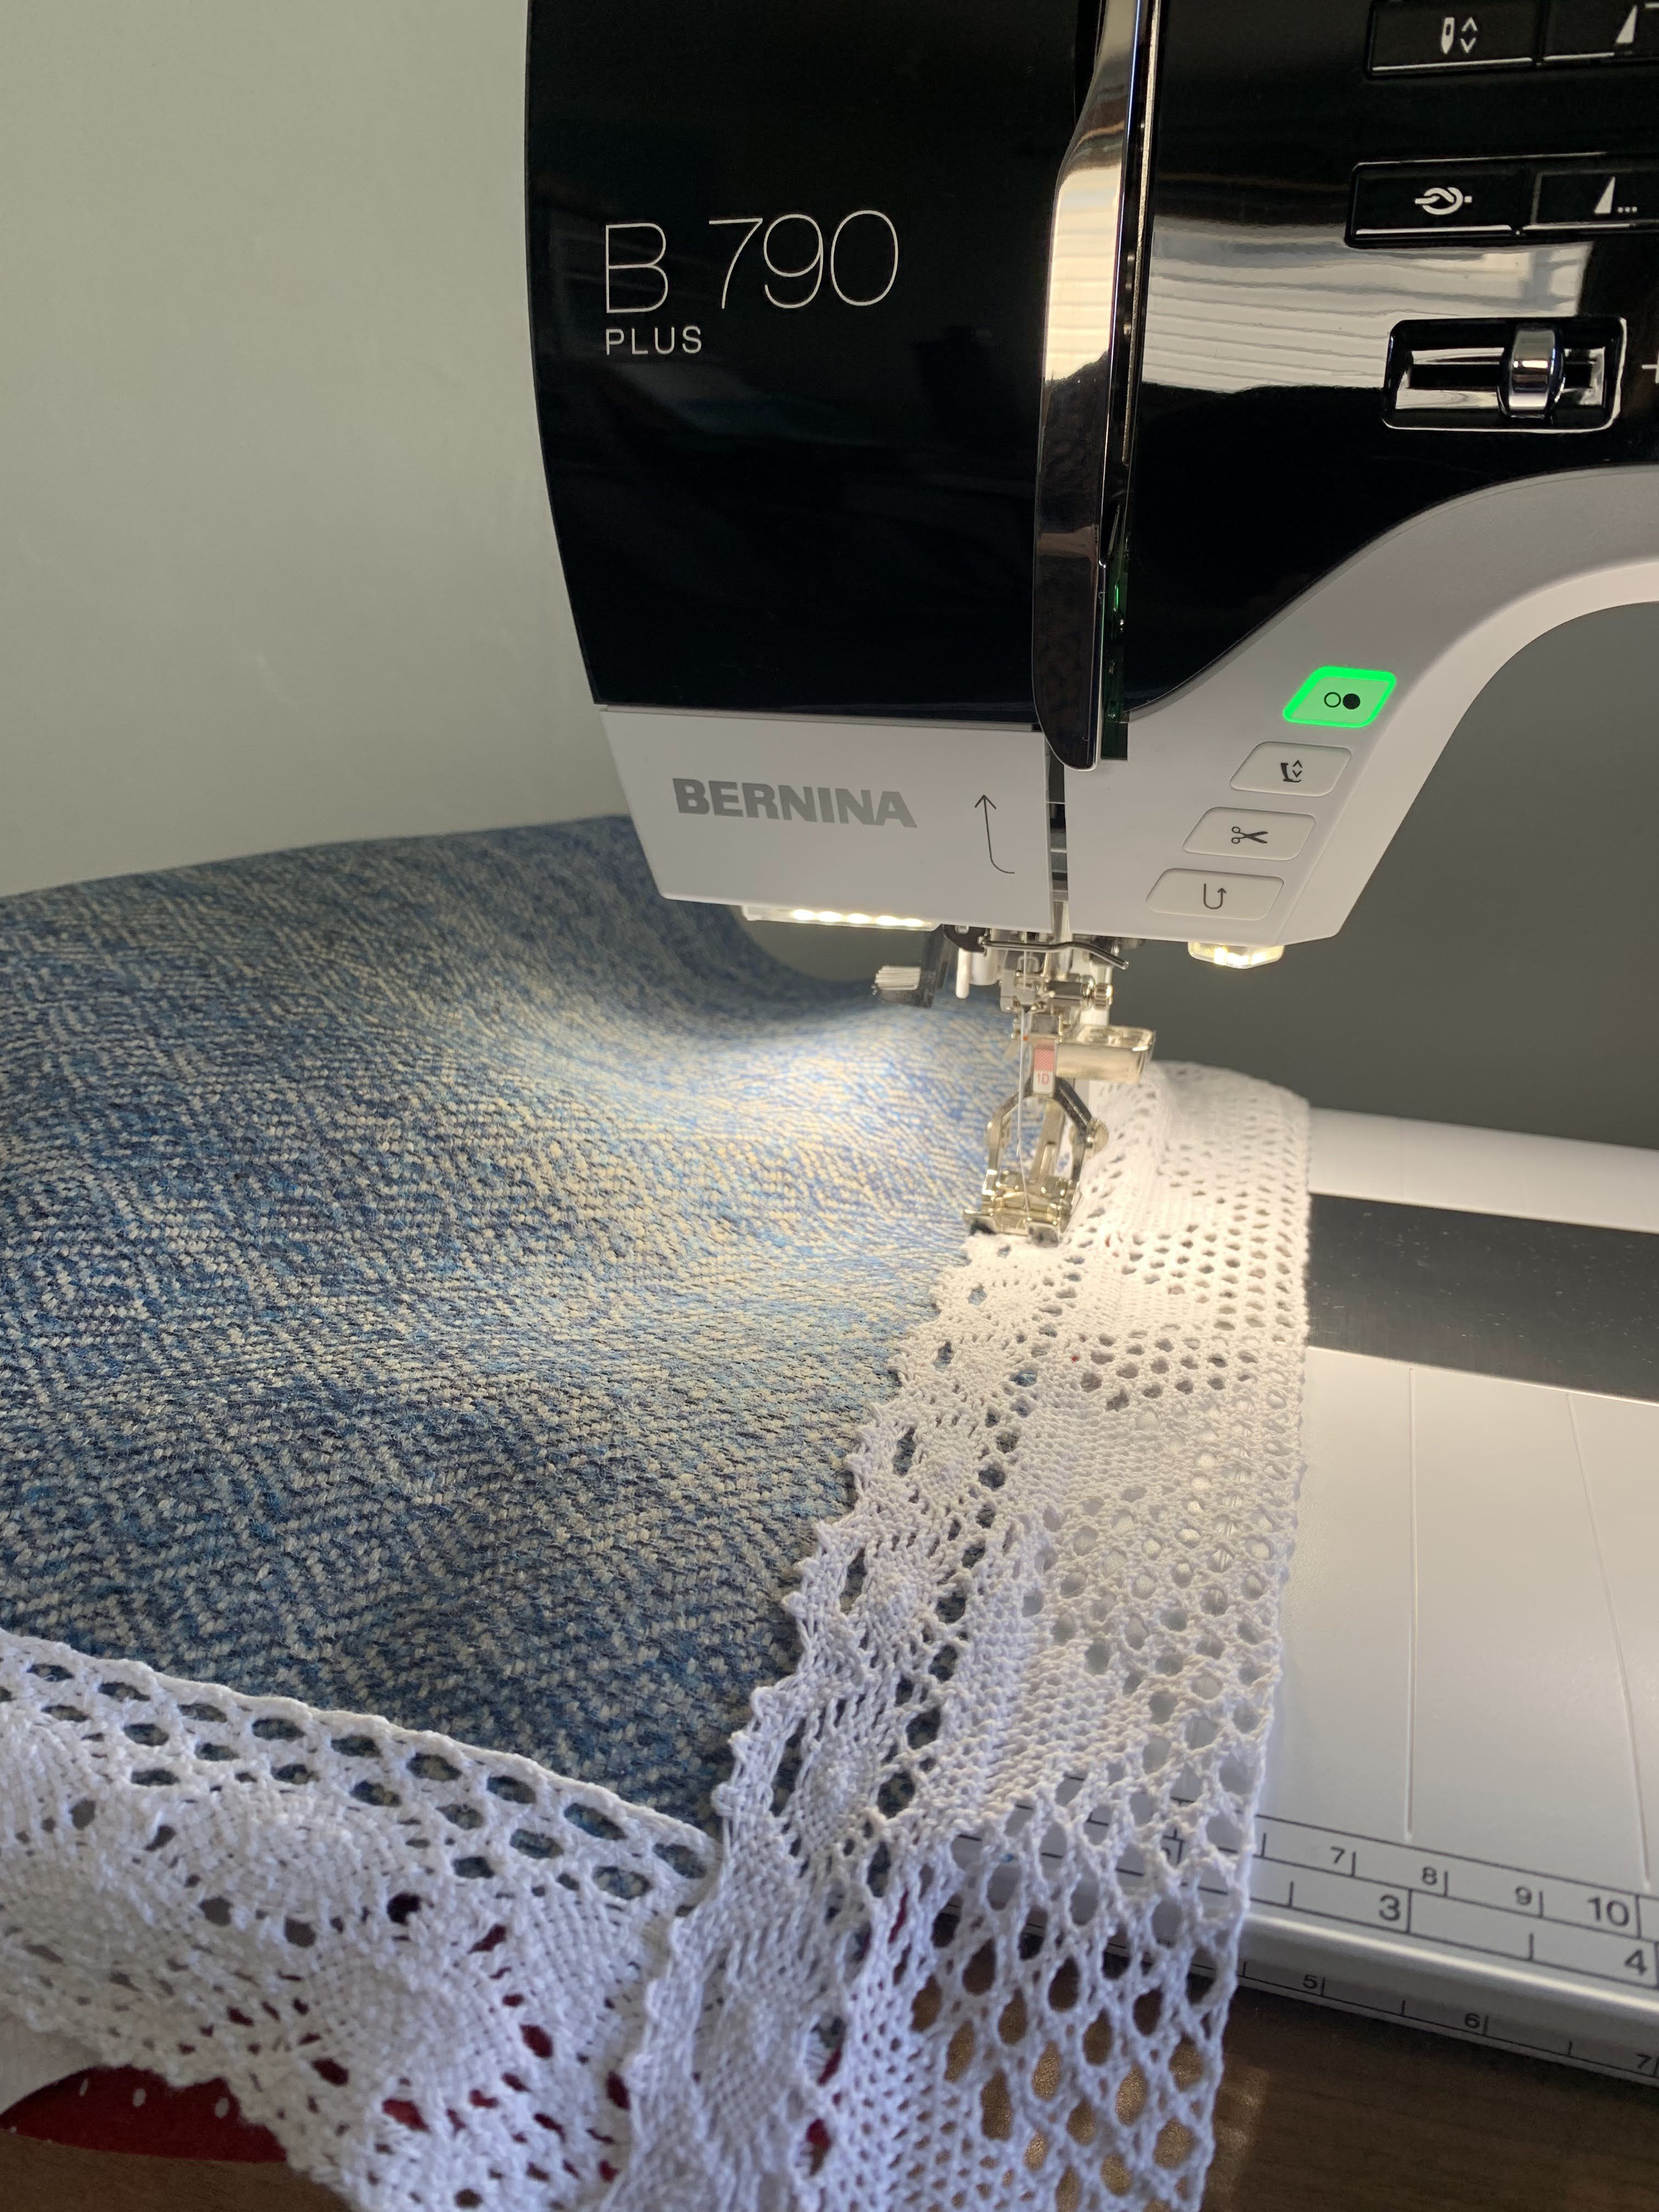
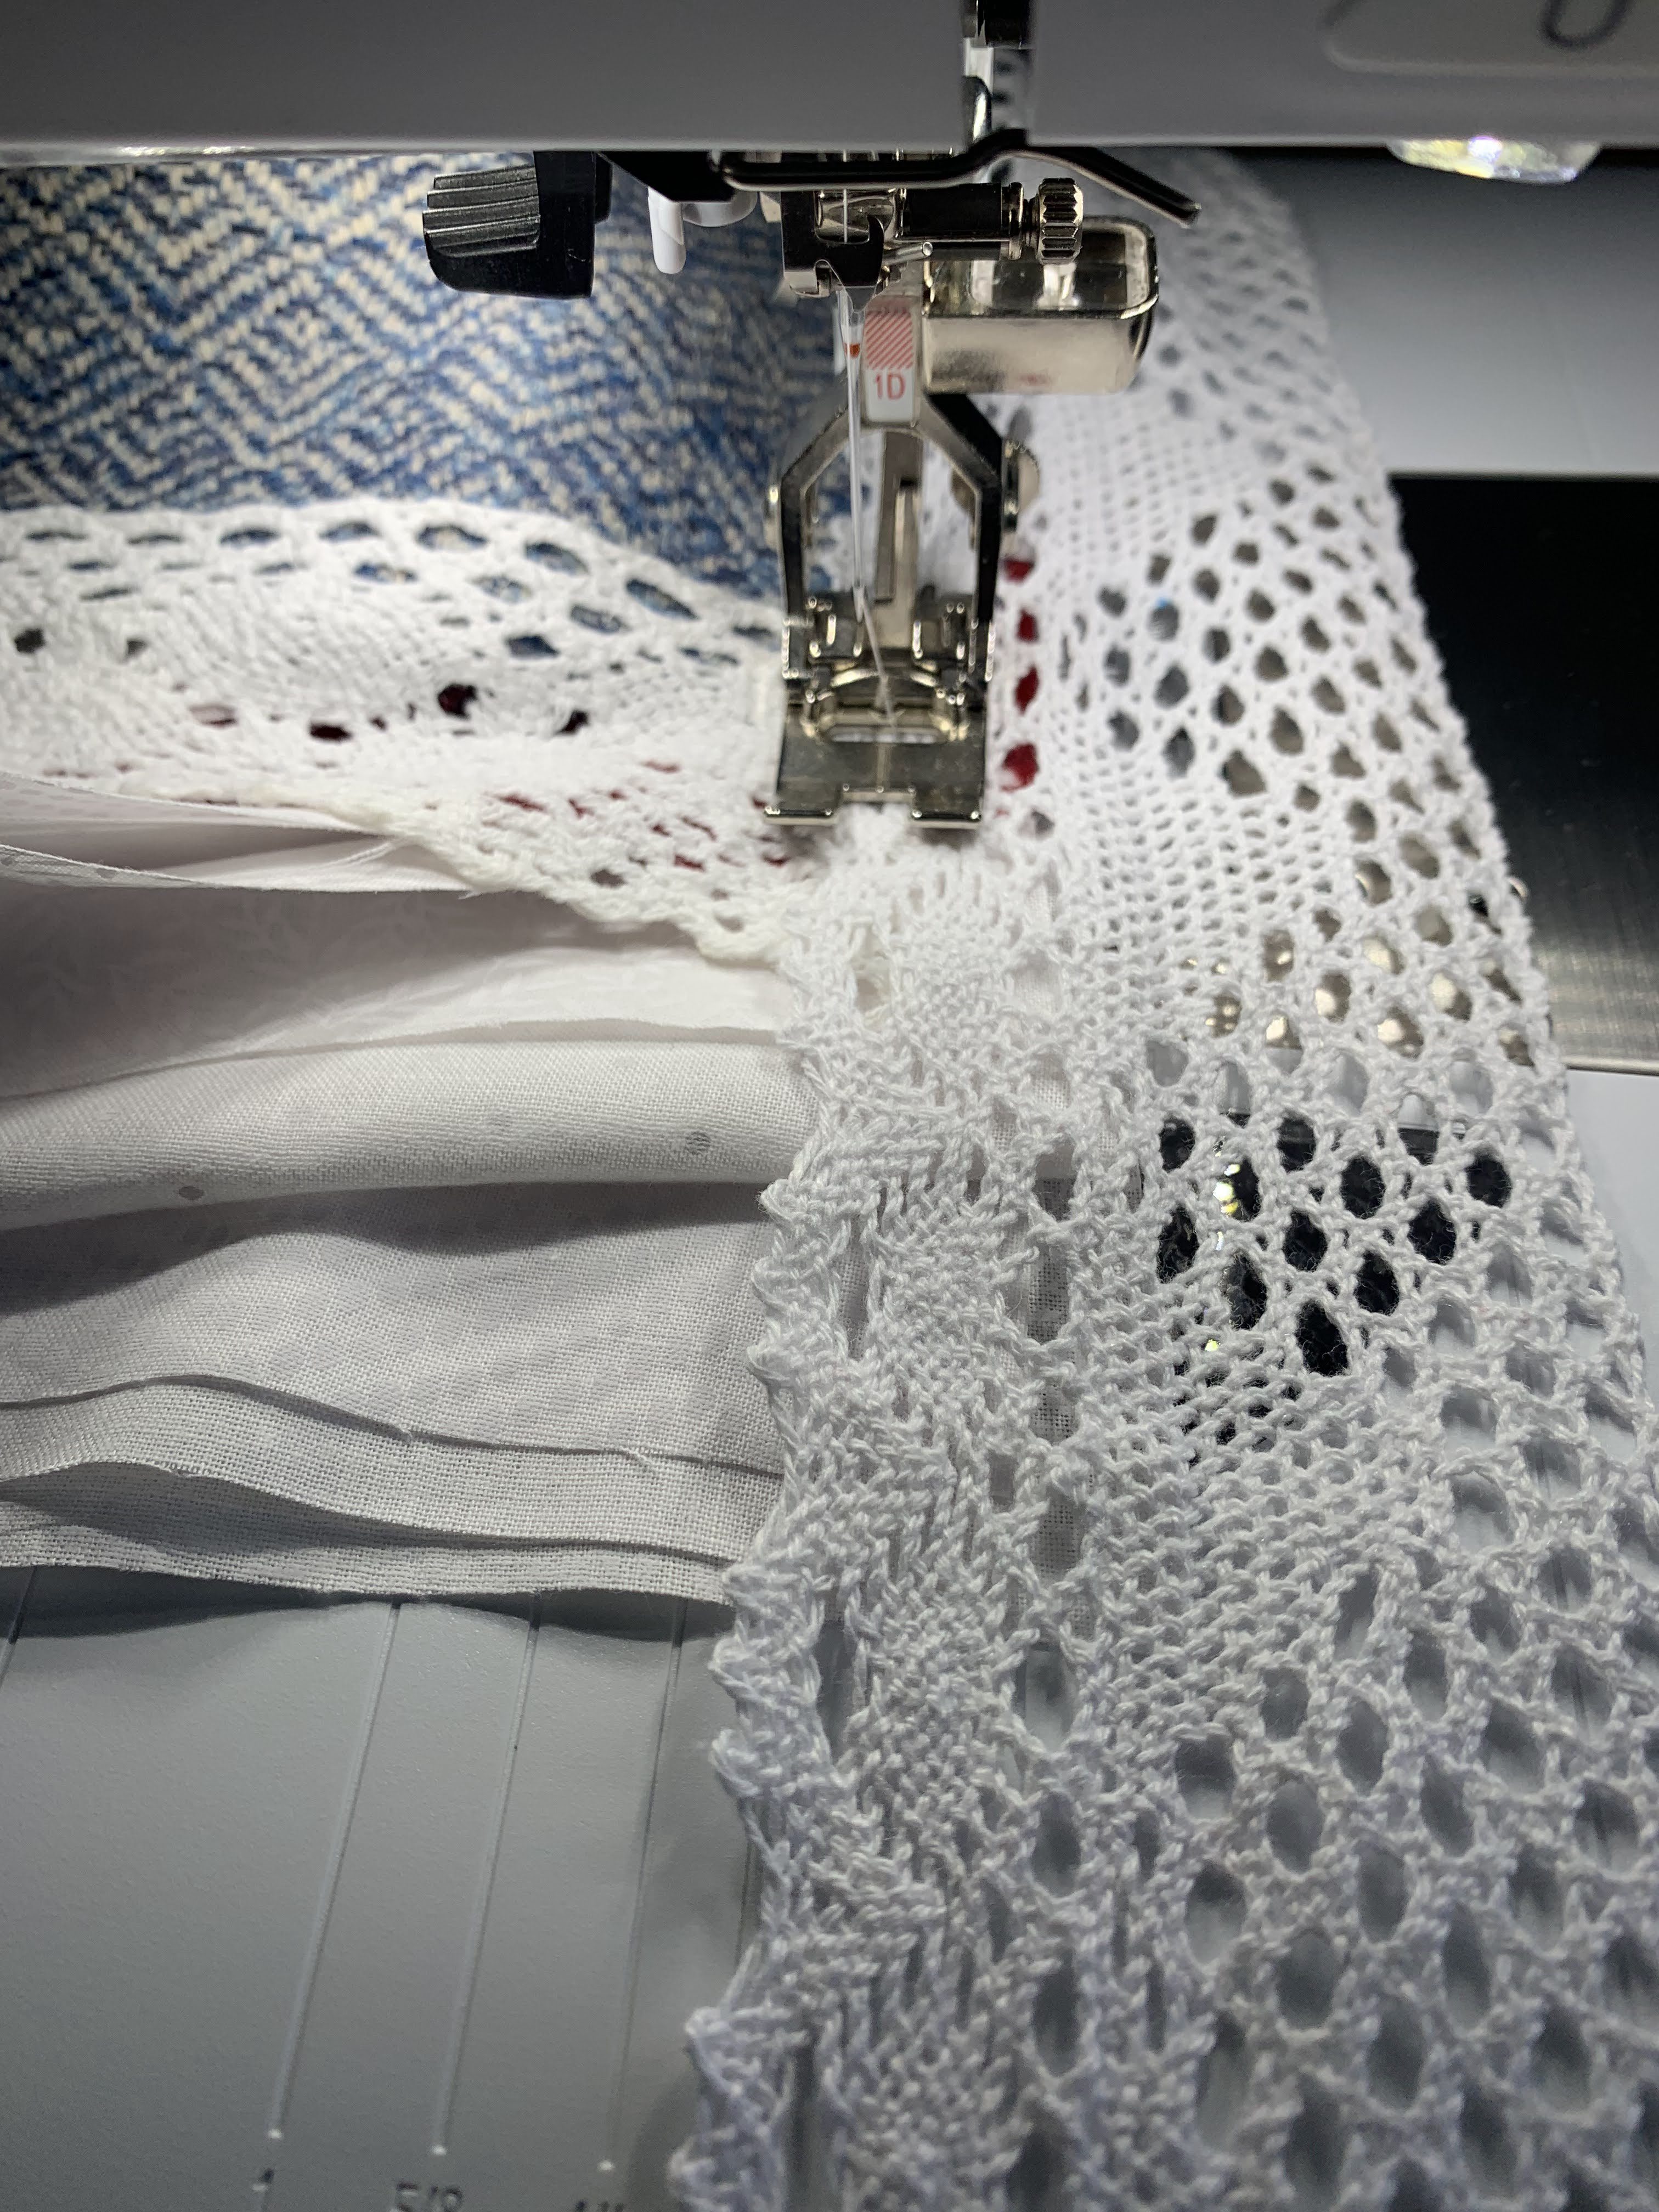
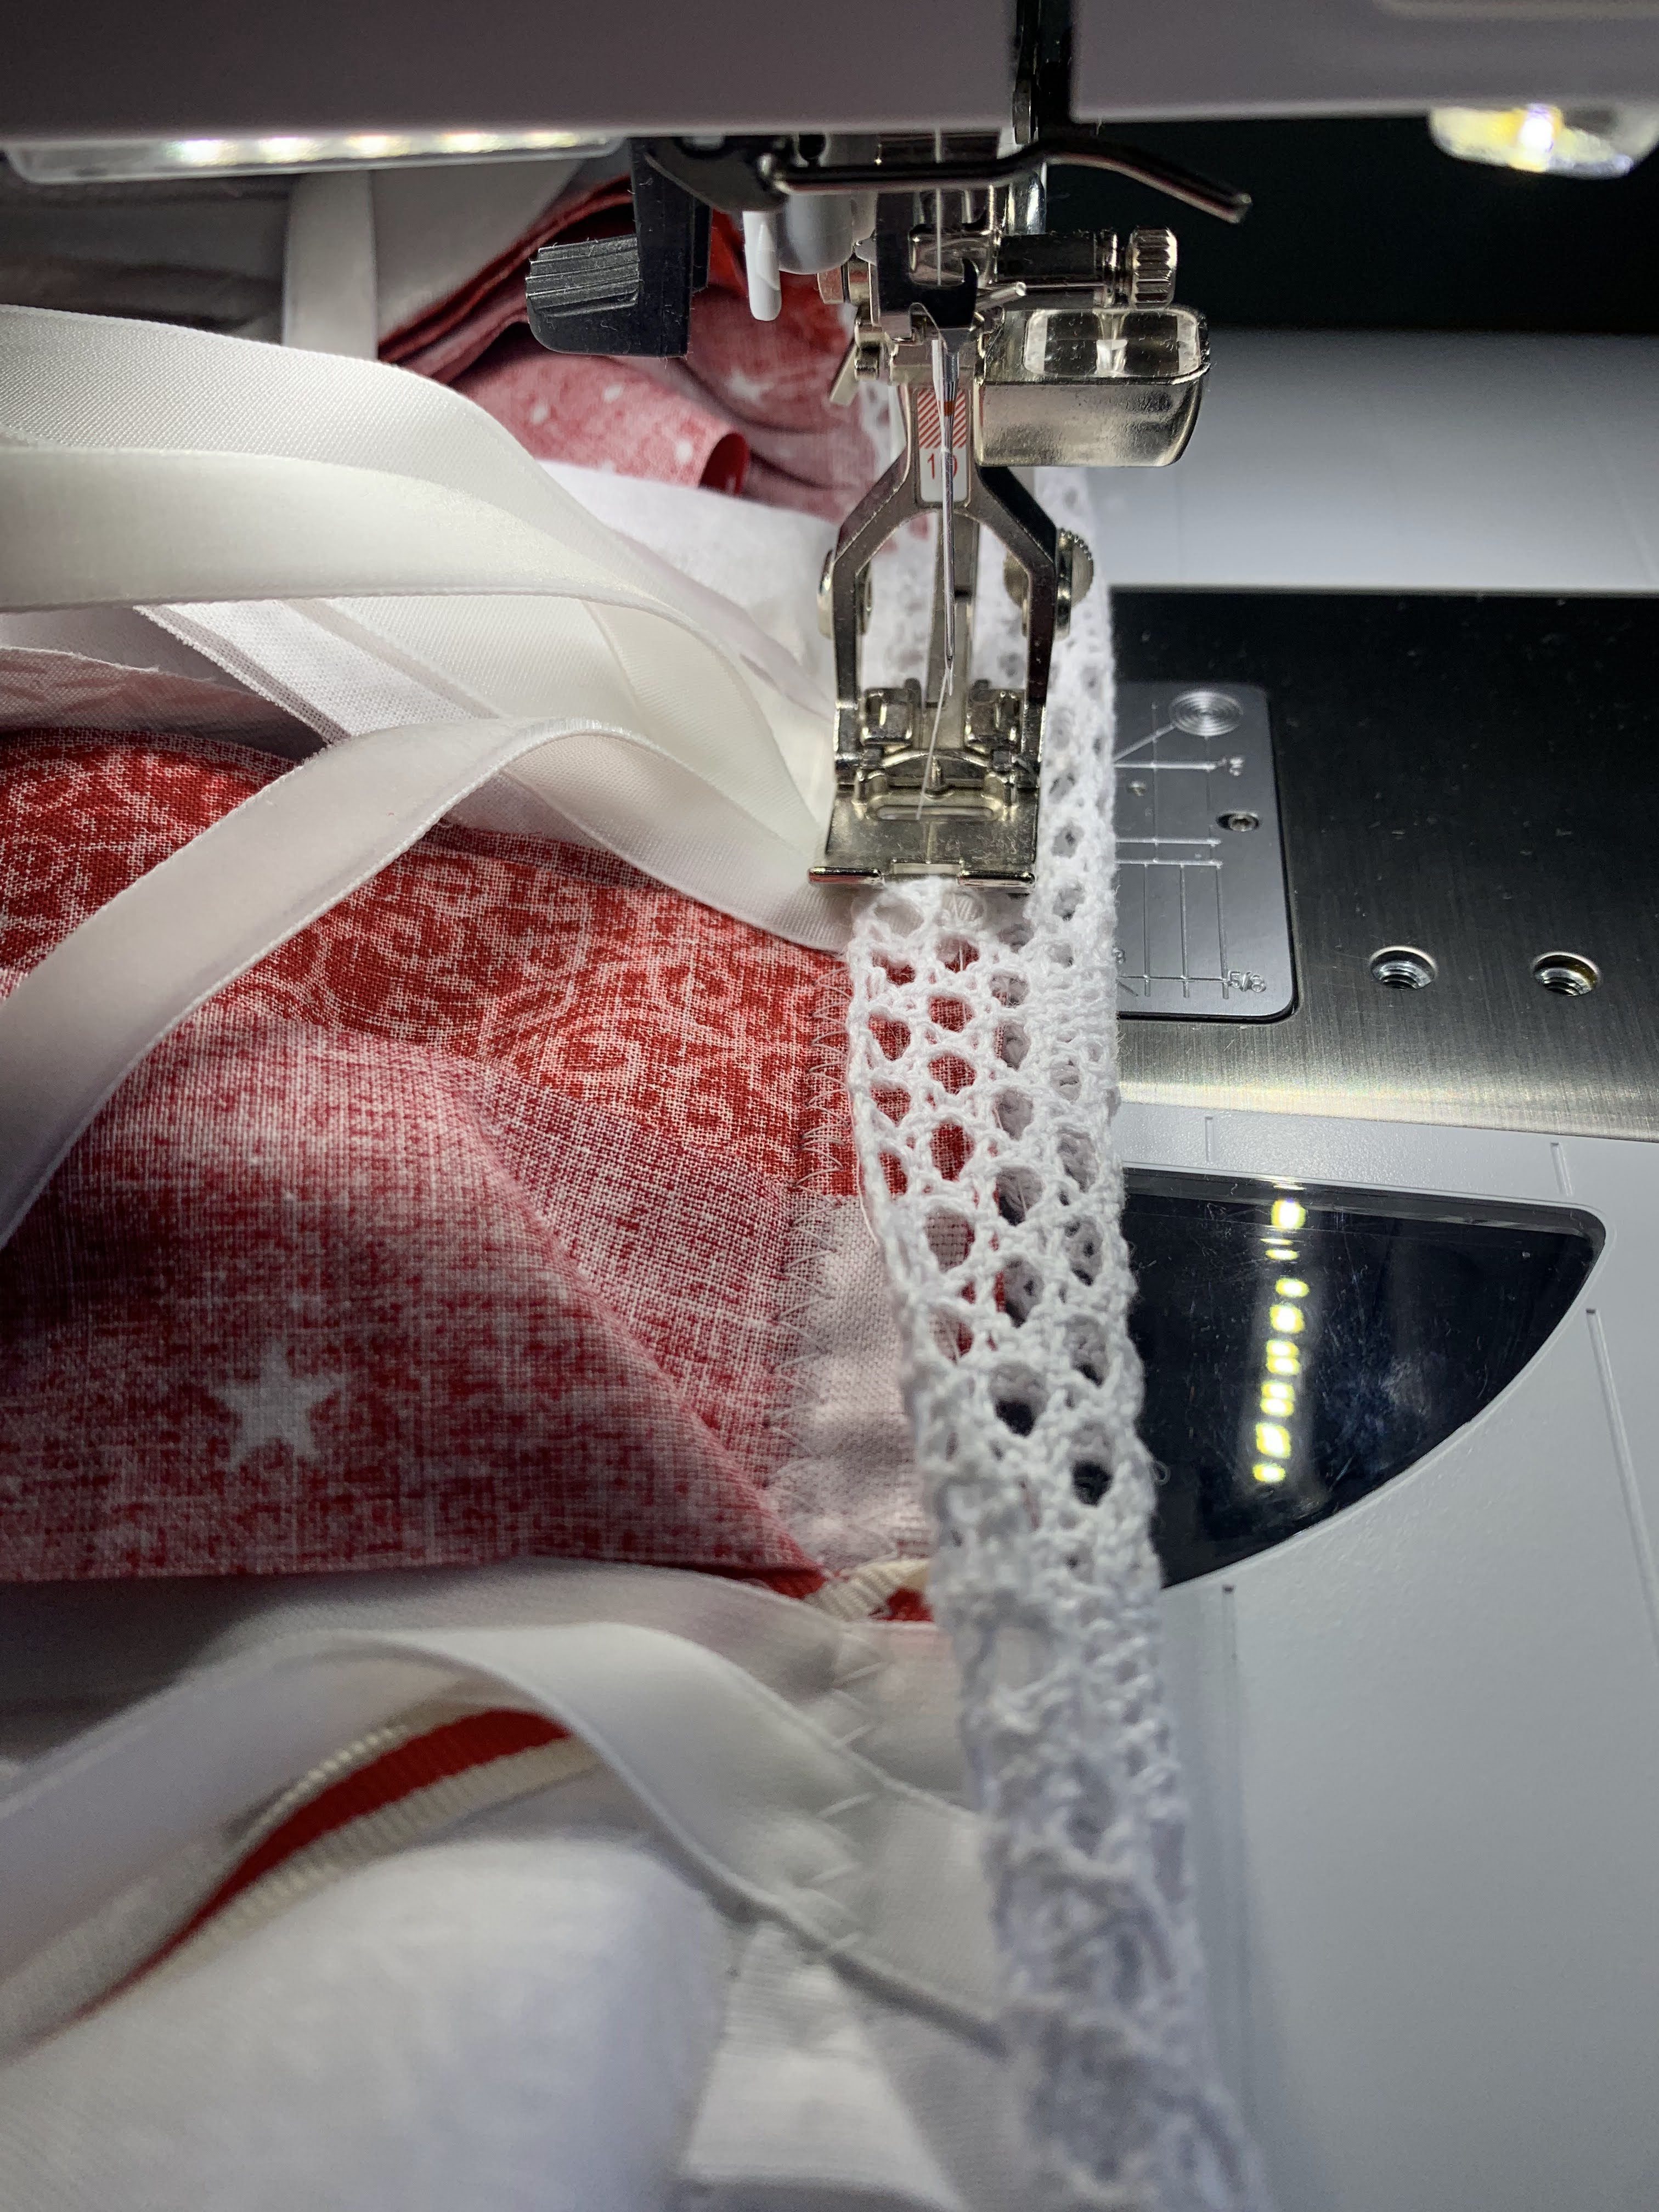
To attach this piece of ribbon, select a zigzag stitch on your sewing machine. Widen this stitch to 4.0 mm and lengthen it to 2.5 mm. You’ll use this stitch for all of the sewing in this project.

Using the zigzag stitch, stitch over the ribbon, close to the fabric edge.
Attach Fabric Scraps to Back of Blue Canton
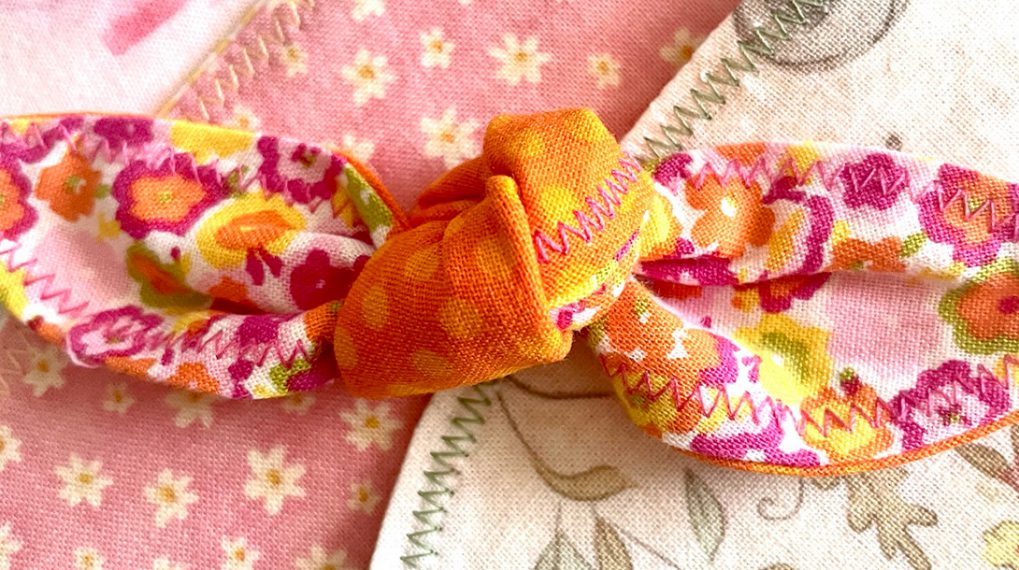
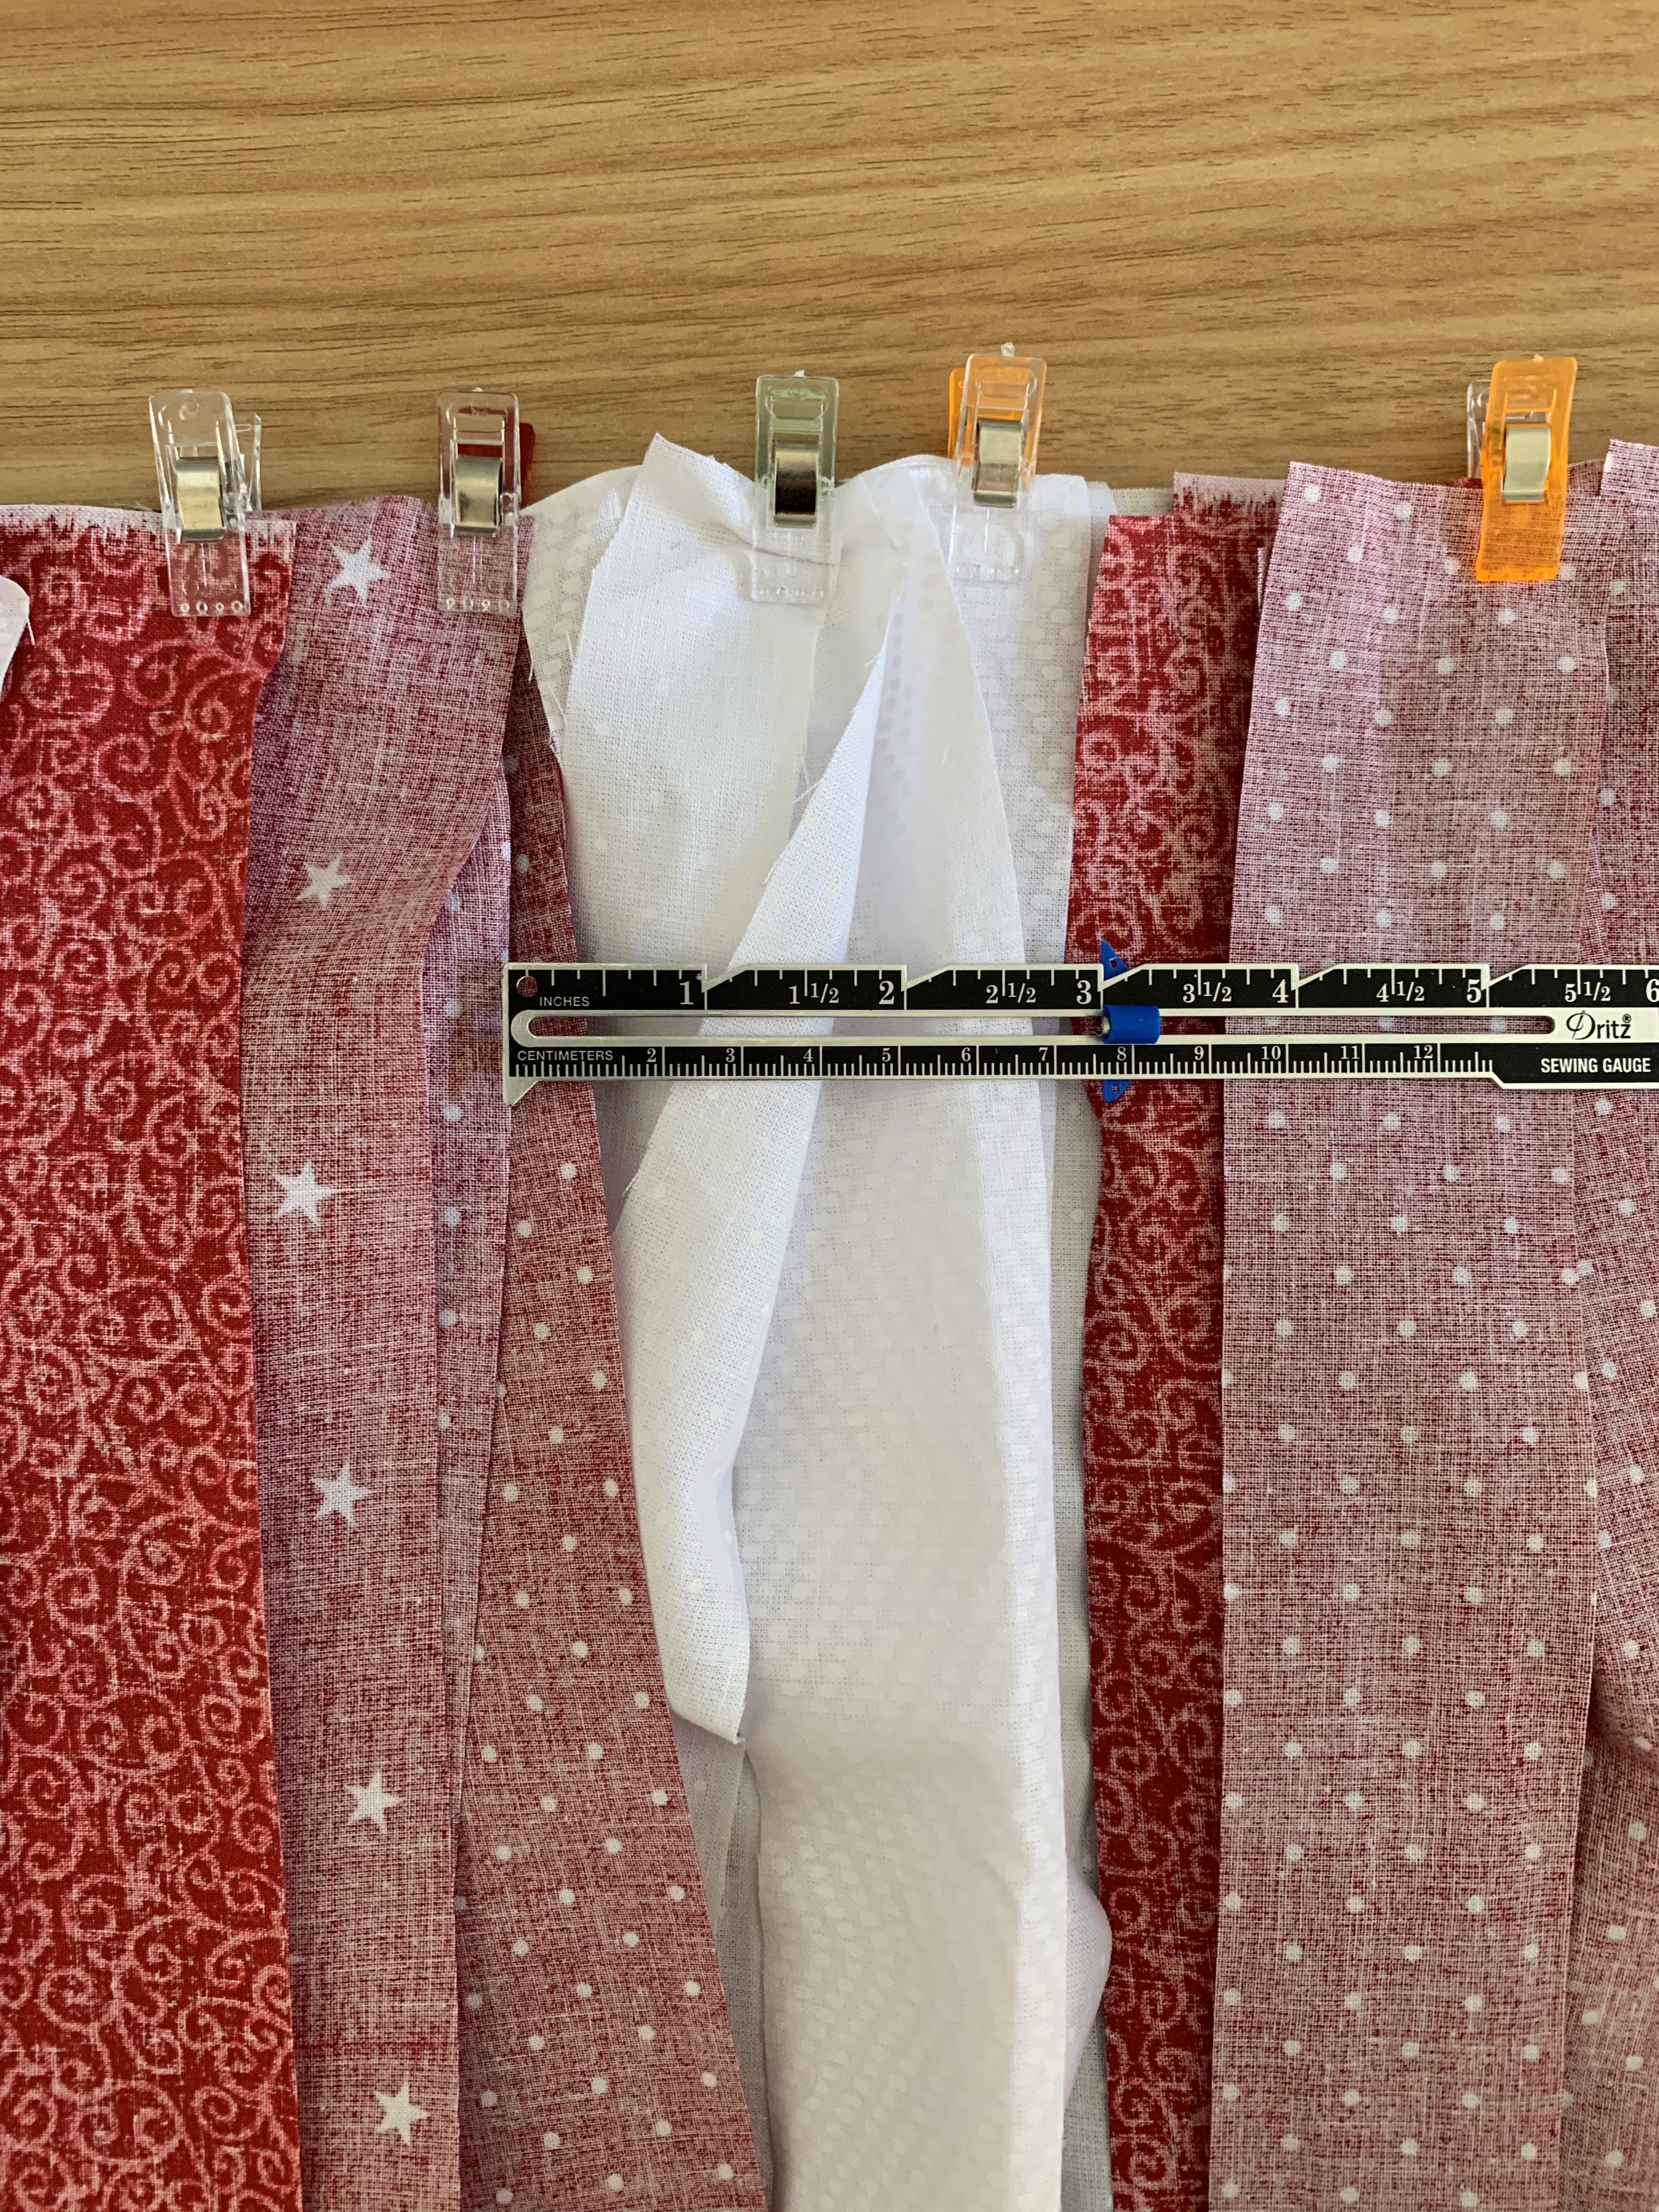
Some of the flag’s stripes extend past that blue canton. To start attaching them, use wonder clips to hold the red and white fabric strips to the wrong side of the blue canton. You’ll want the right side of the fabric strips to the wrong side of the blue canton. You can also add in ribbons or trims of similar colors. Pile fabric strips and ribbons on top of each other here. They don’t have to be perfectly straight or uniform. For my flag, I made each stripe about three inches wide.
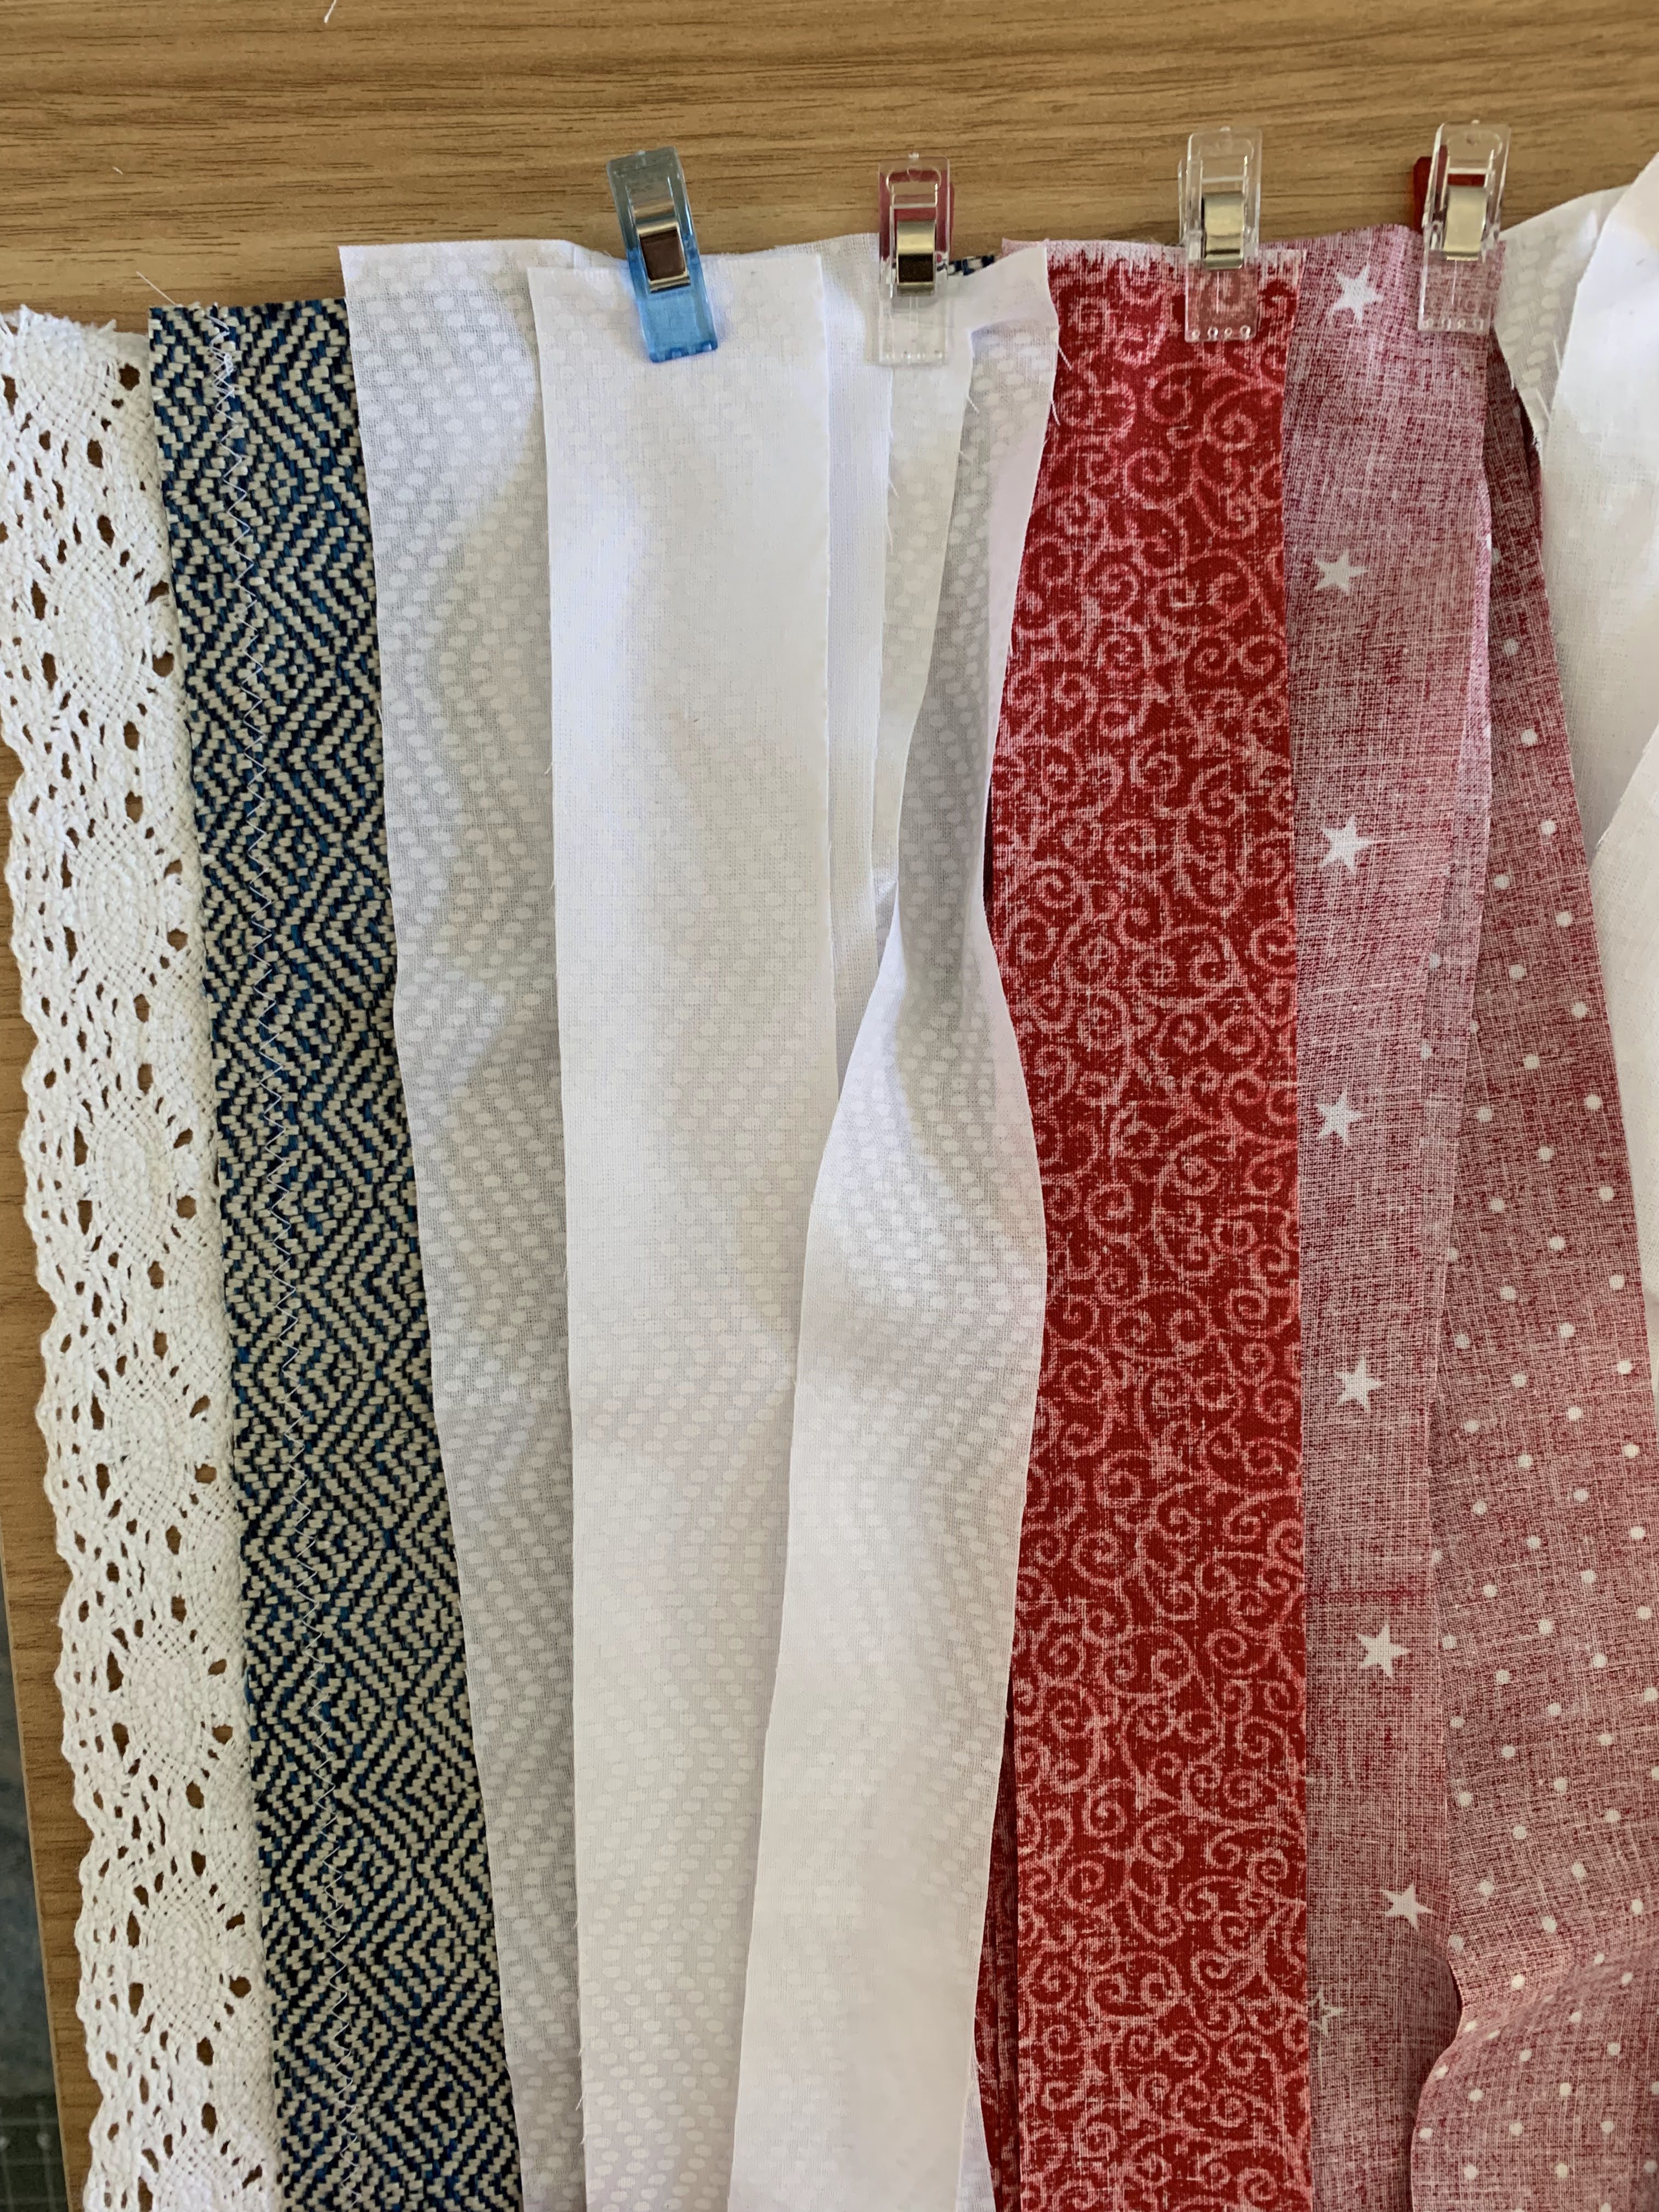
Using a zigzag stitch, stitch over the top of the fabric strips, attaching them to the blue canton. If your machine has dual feed or you have a walking foot, use that for this step. It will help all of those fabric strips to feed through while sewing.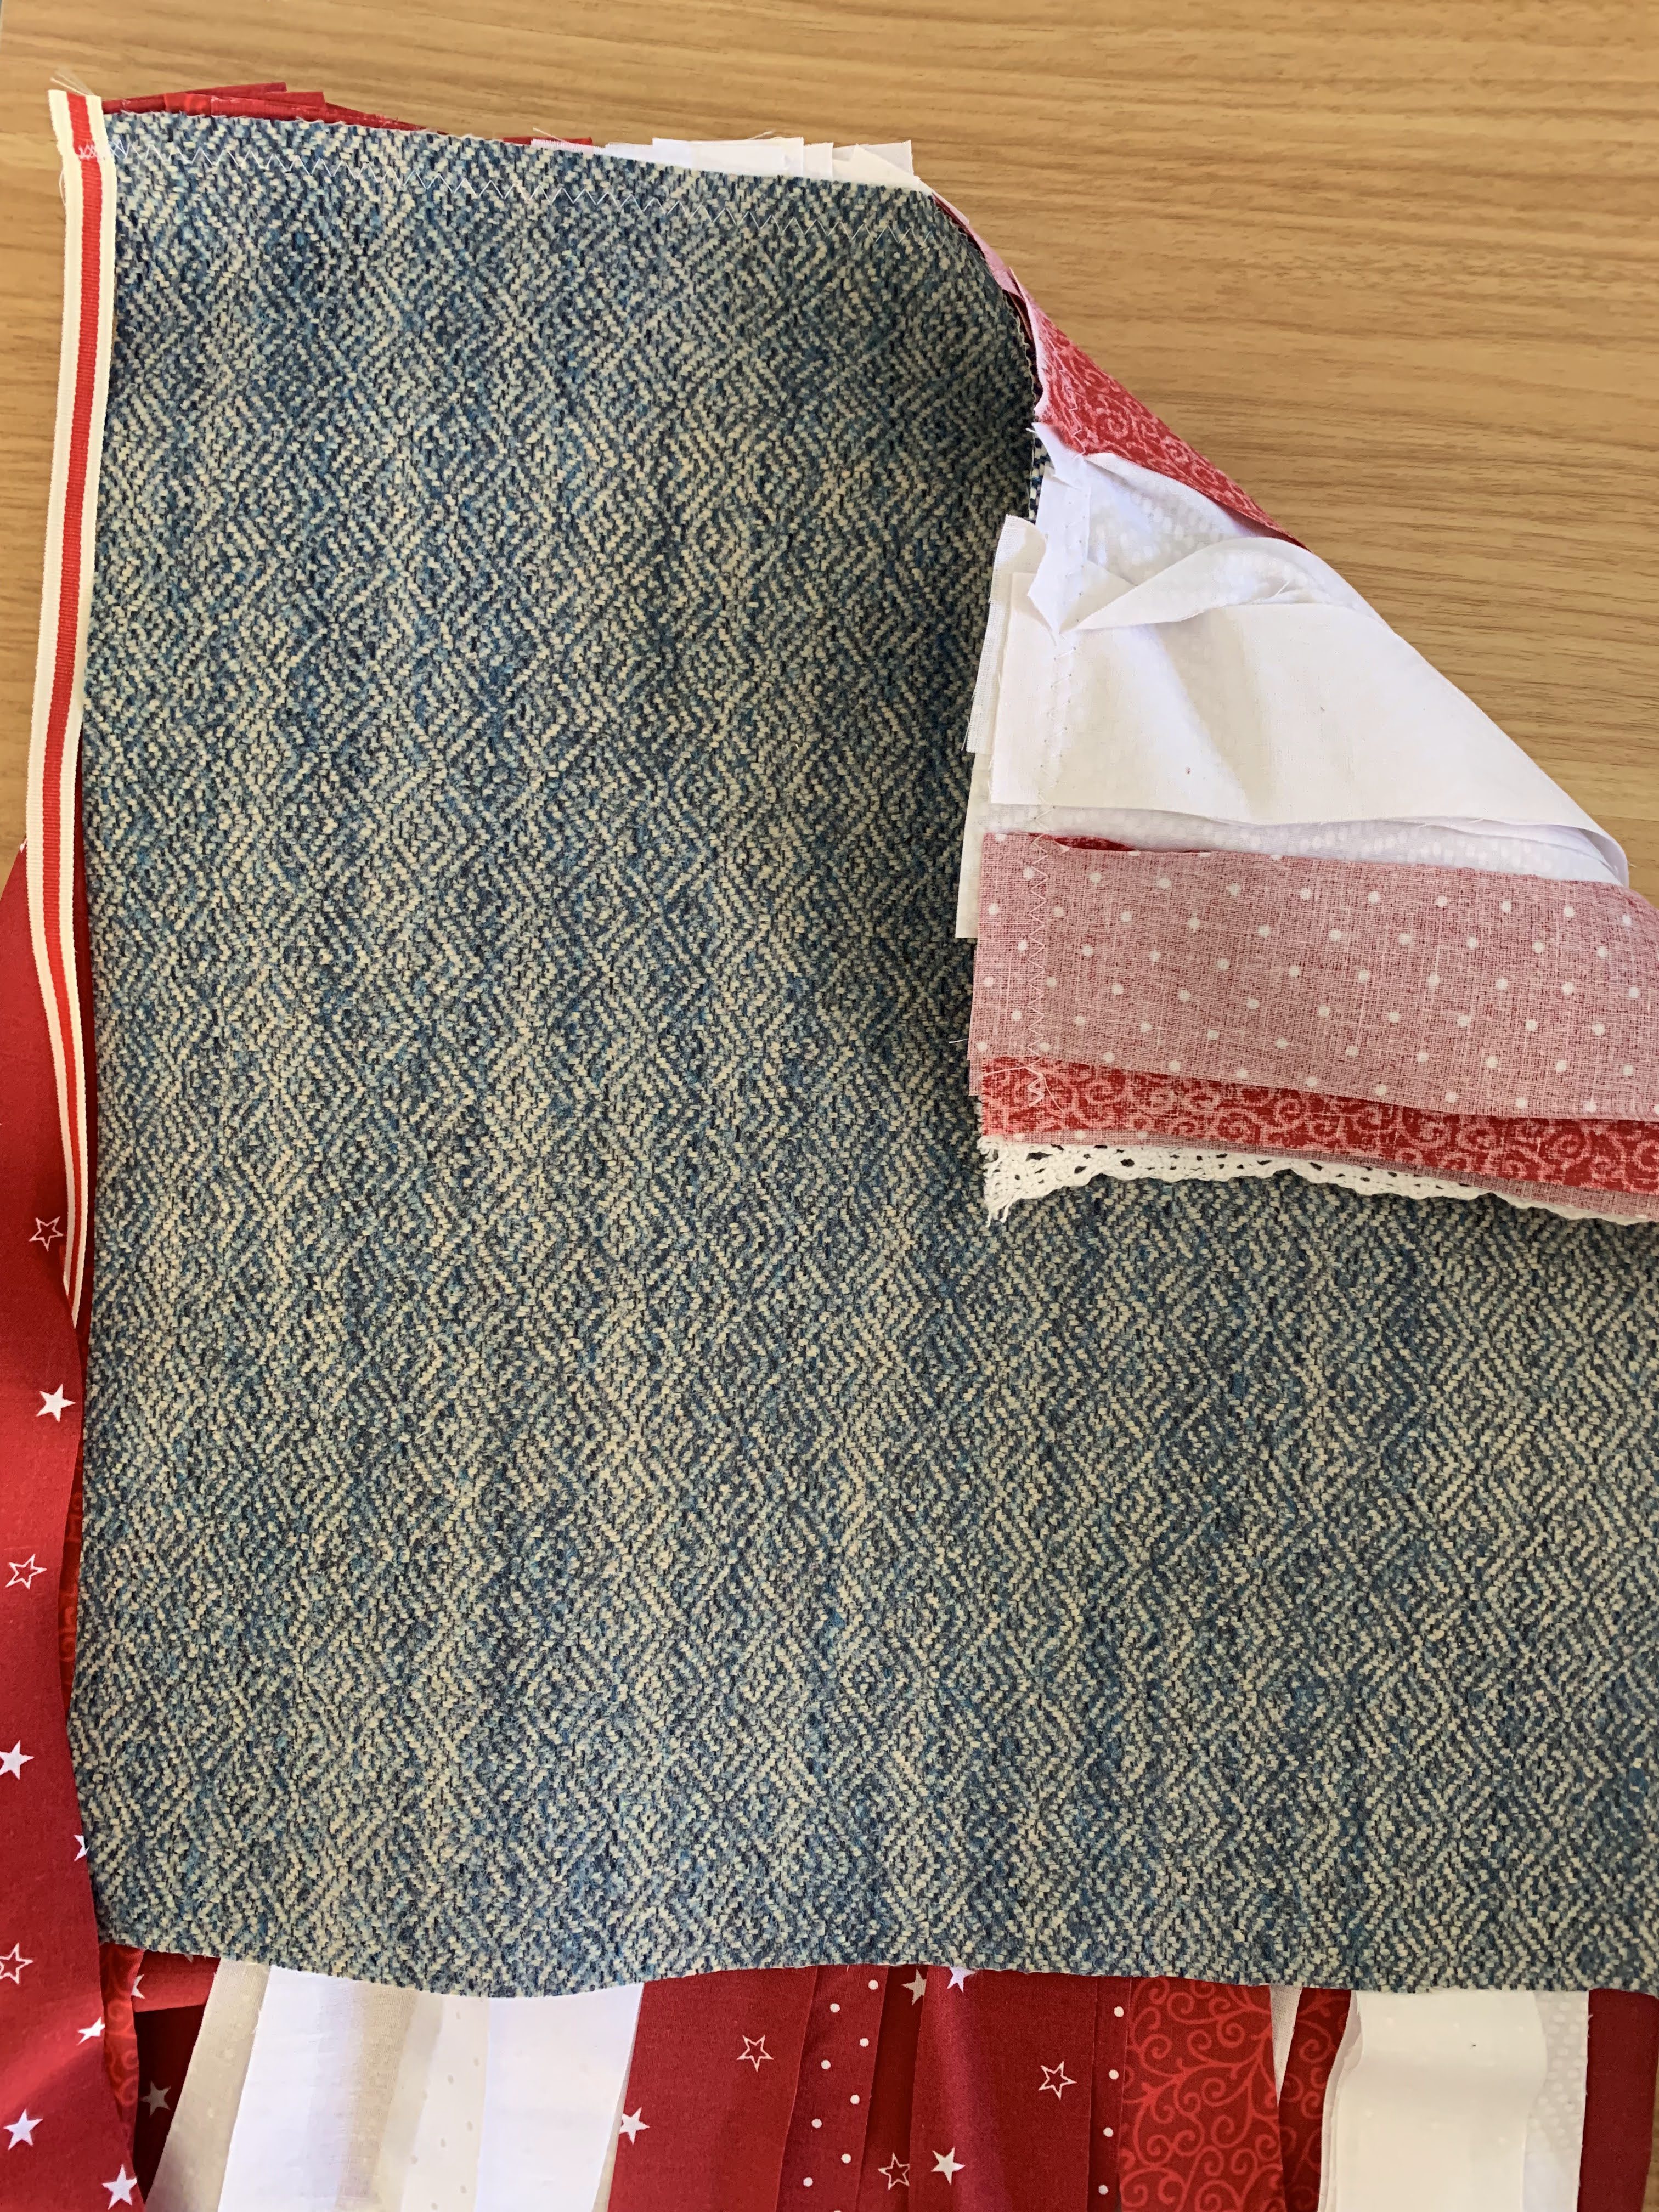
Attach the Top Ribbon
After you have fabric strips sewn to the back of the blue canton, it’s time to attach a ribbon to the top of the flag. This is what you’ll use for hanging and also what you’ll sew the remaining stripes onto. Leaving a little excess at the beginning, sew a wide ribbon to the top of the right side of the canton, covering your previous zigzag stitch. Let the bulk of the ribbon extend off the top.
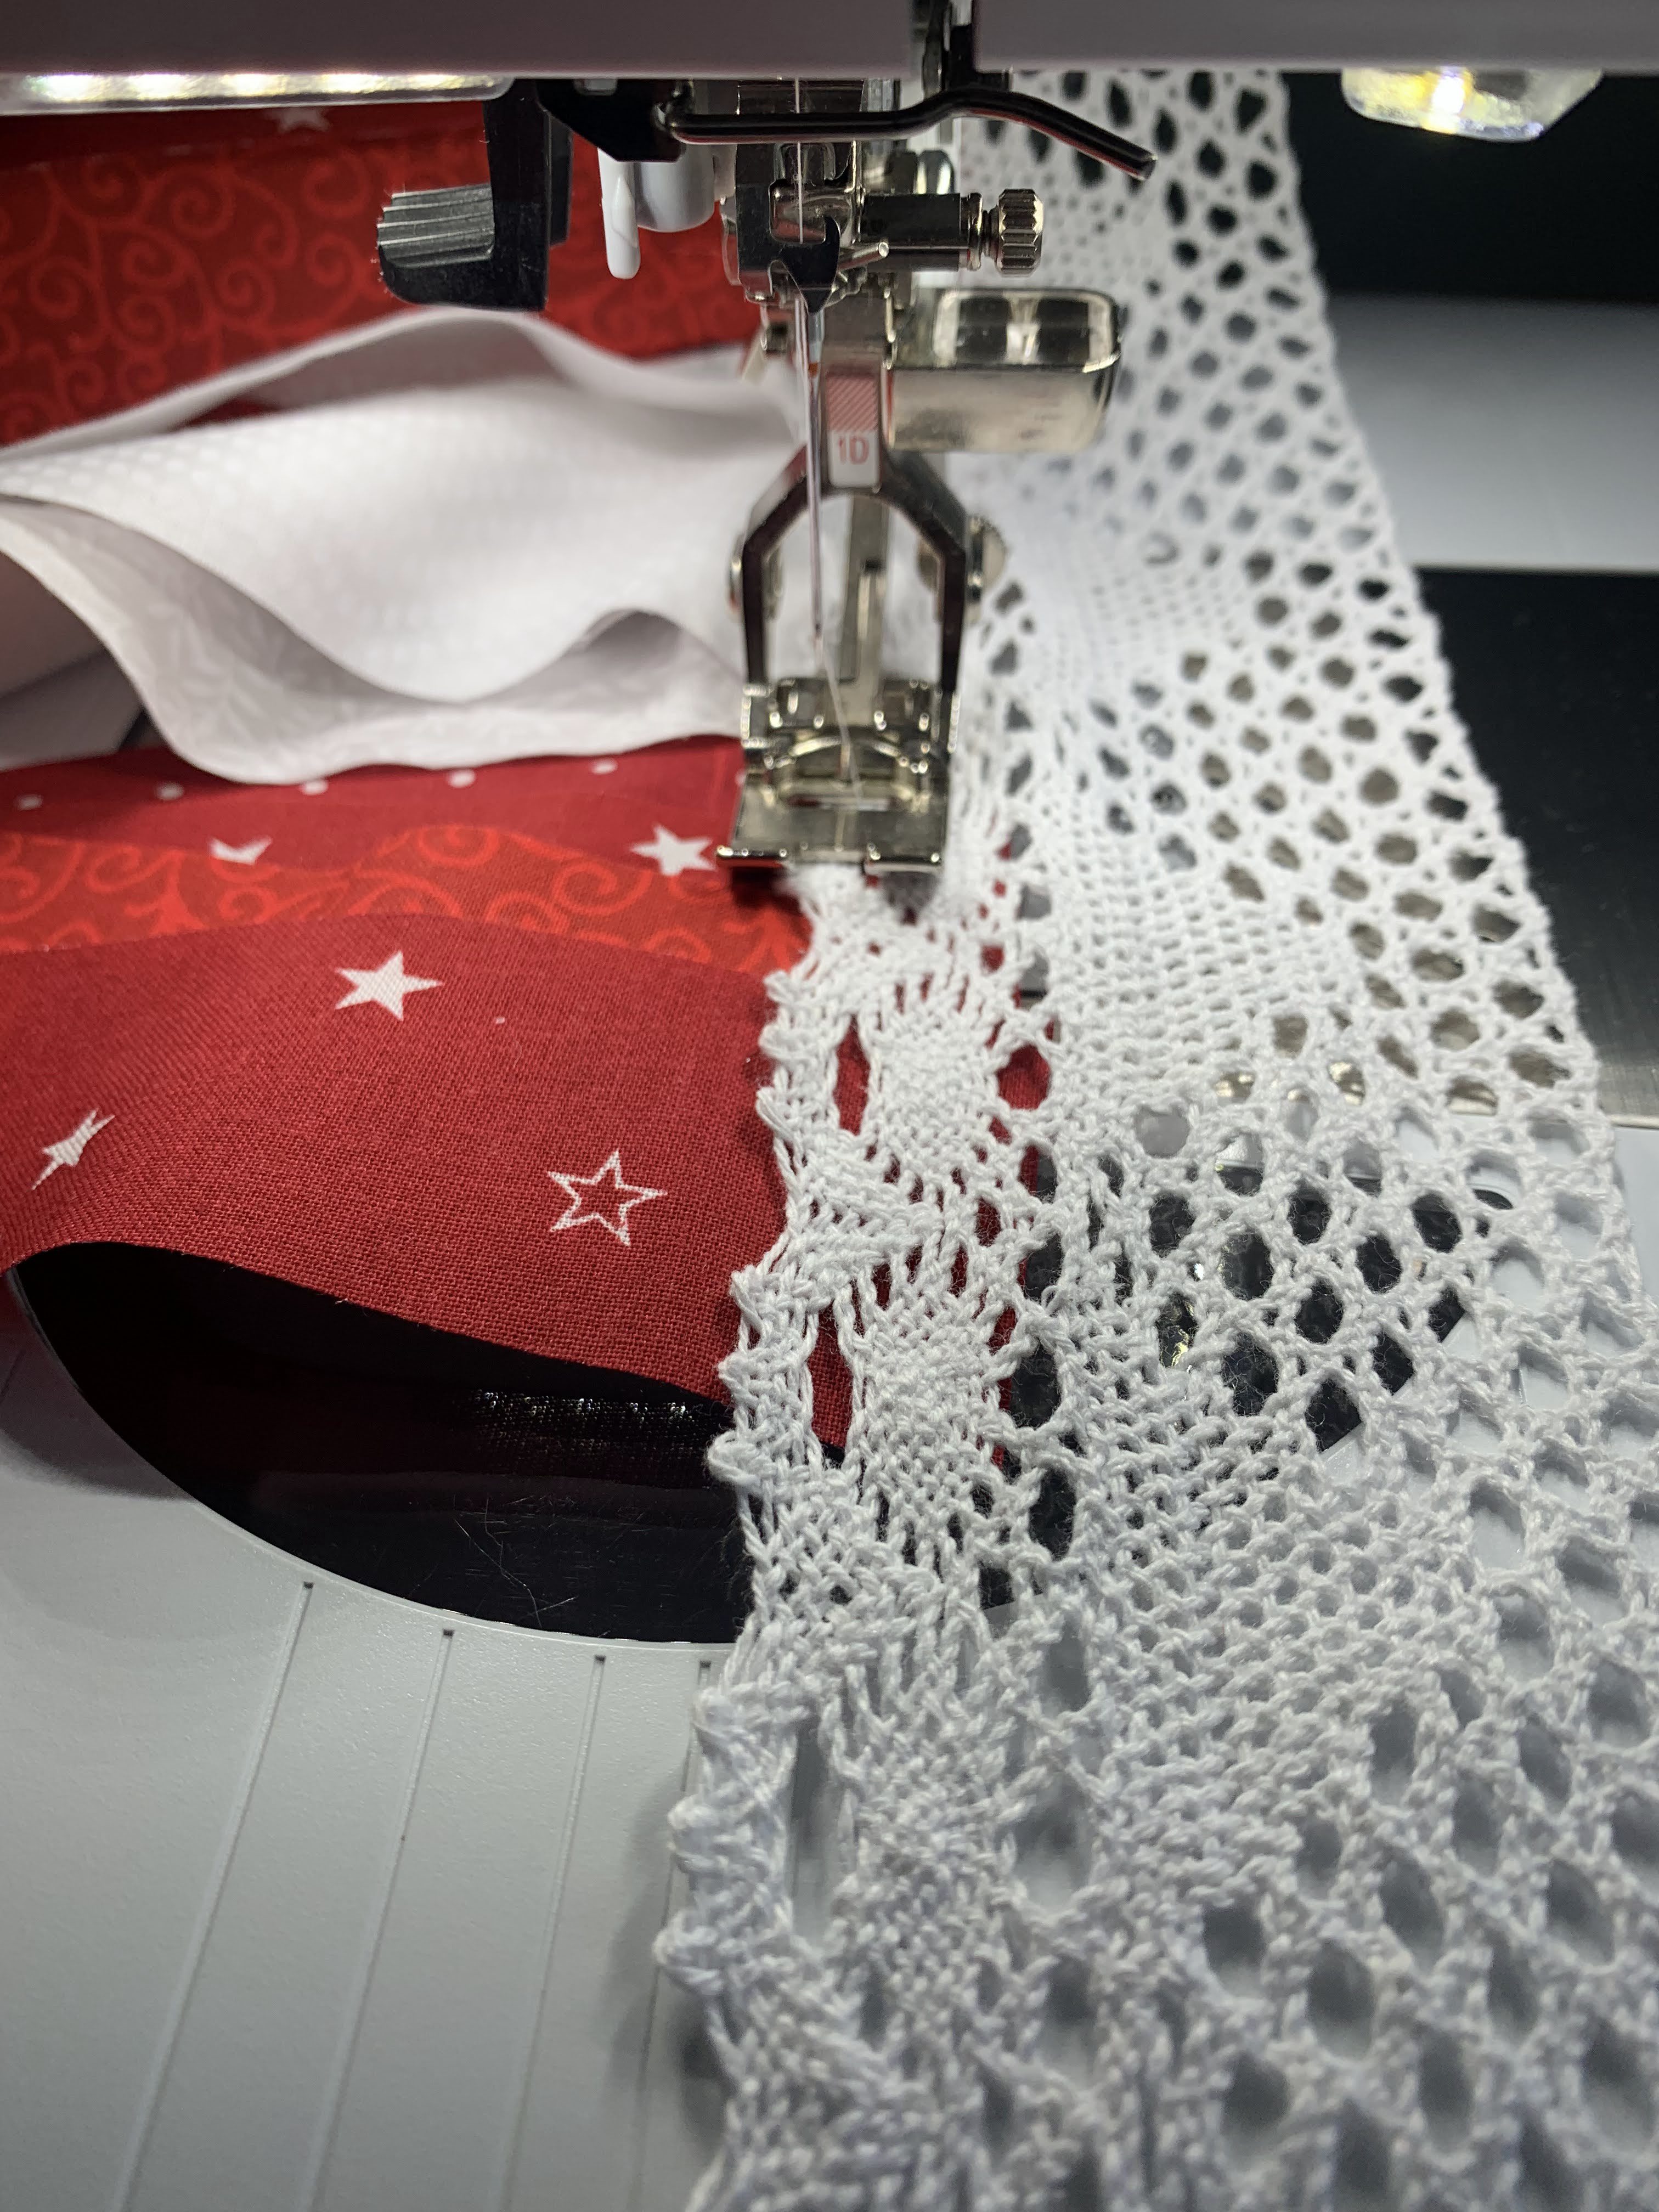
Continue the Flag’s Stripes
Using your remaining fabric strips, continue the stripes past the blue canton by stitching the fabric strips to the top ribbon with a zigzag stitch. At this stage, I work one stripe at a time and just add fabric strips and ribbons as I go. You can always go back at the end and add another layer if it isn’t full enough.
Continue adding stripes until you reach your desired length or stripe number.
Finish the Top Ribbon
This step is optional, but it may be helpful to do if your top ribbon is really wide and doesn’t have a ton of structure. With the wrong side of the flag facing up, fold the top ribbon back so that it covers the zigzag stitch. Stitch over the ribbon using a zigzag stitch to hold it in place.
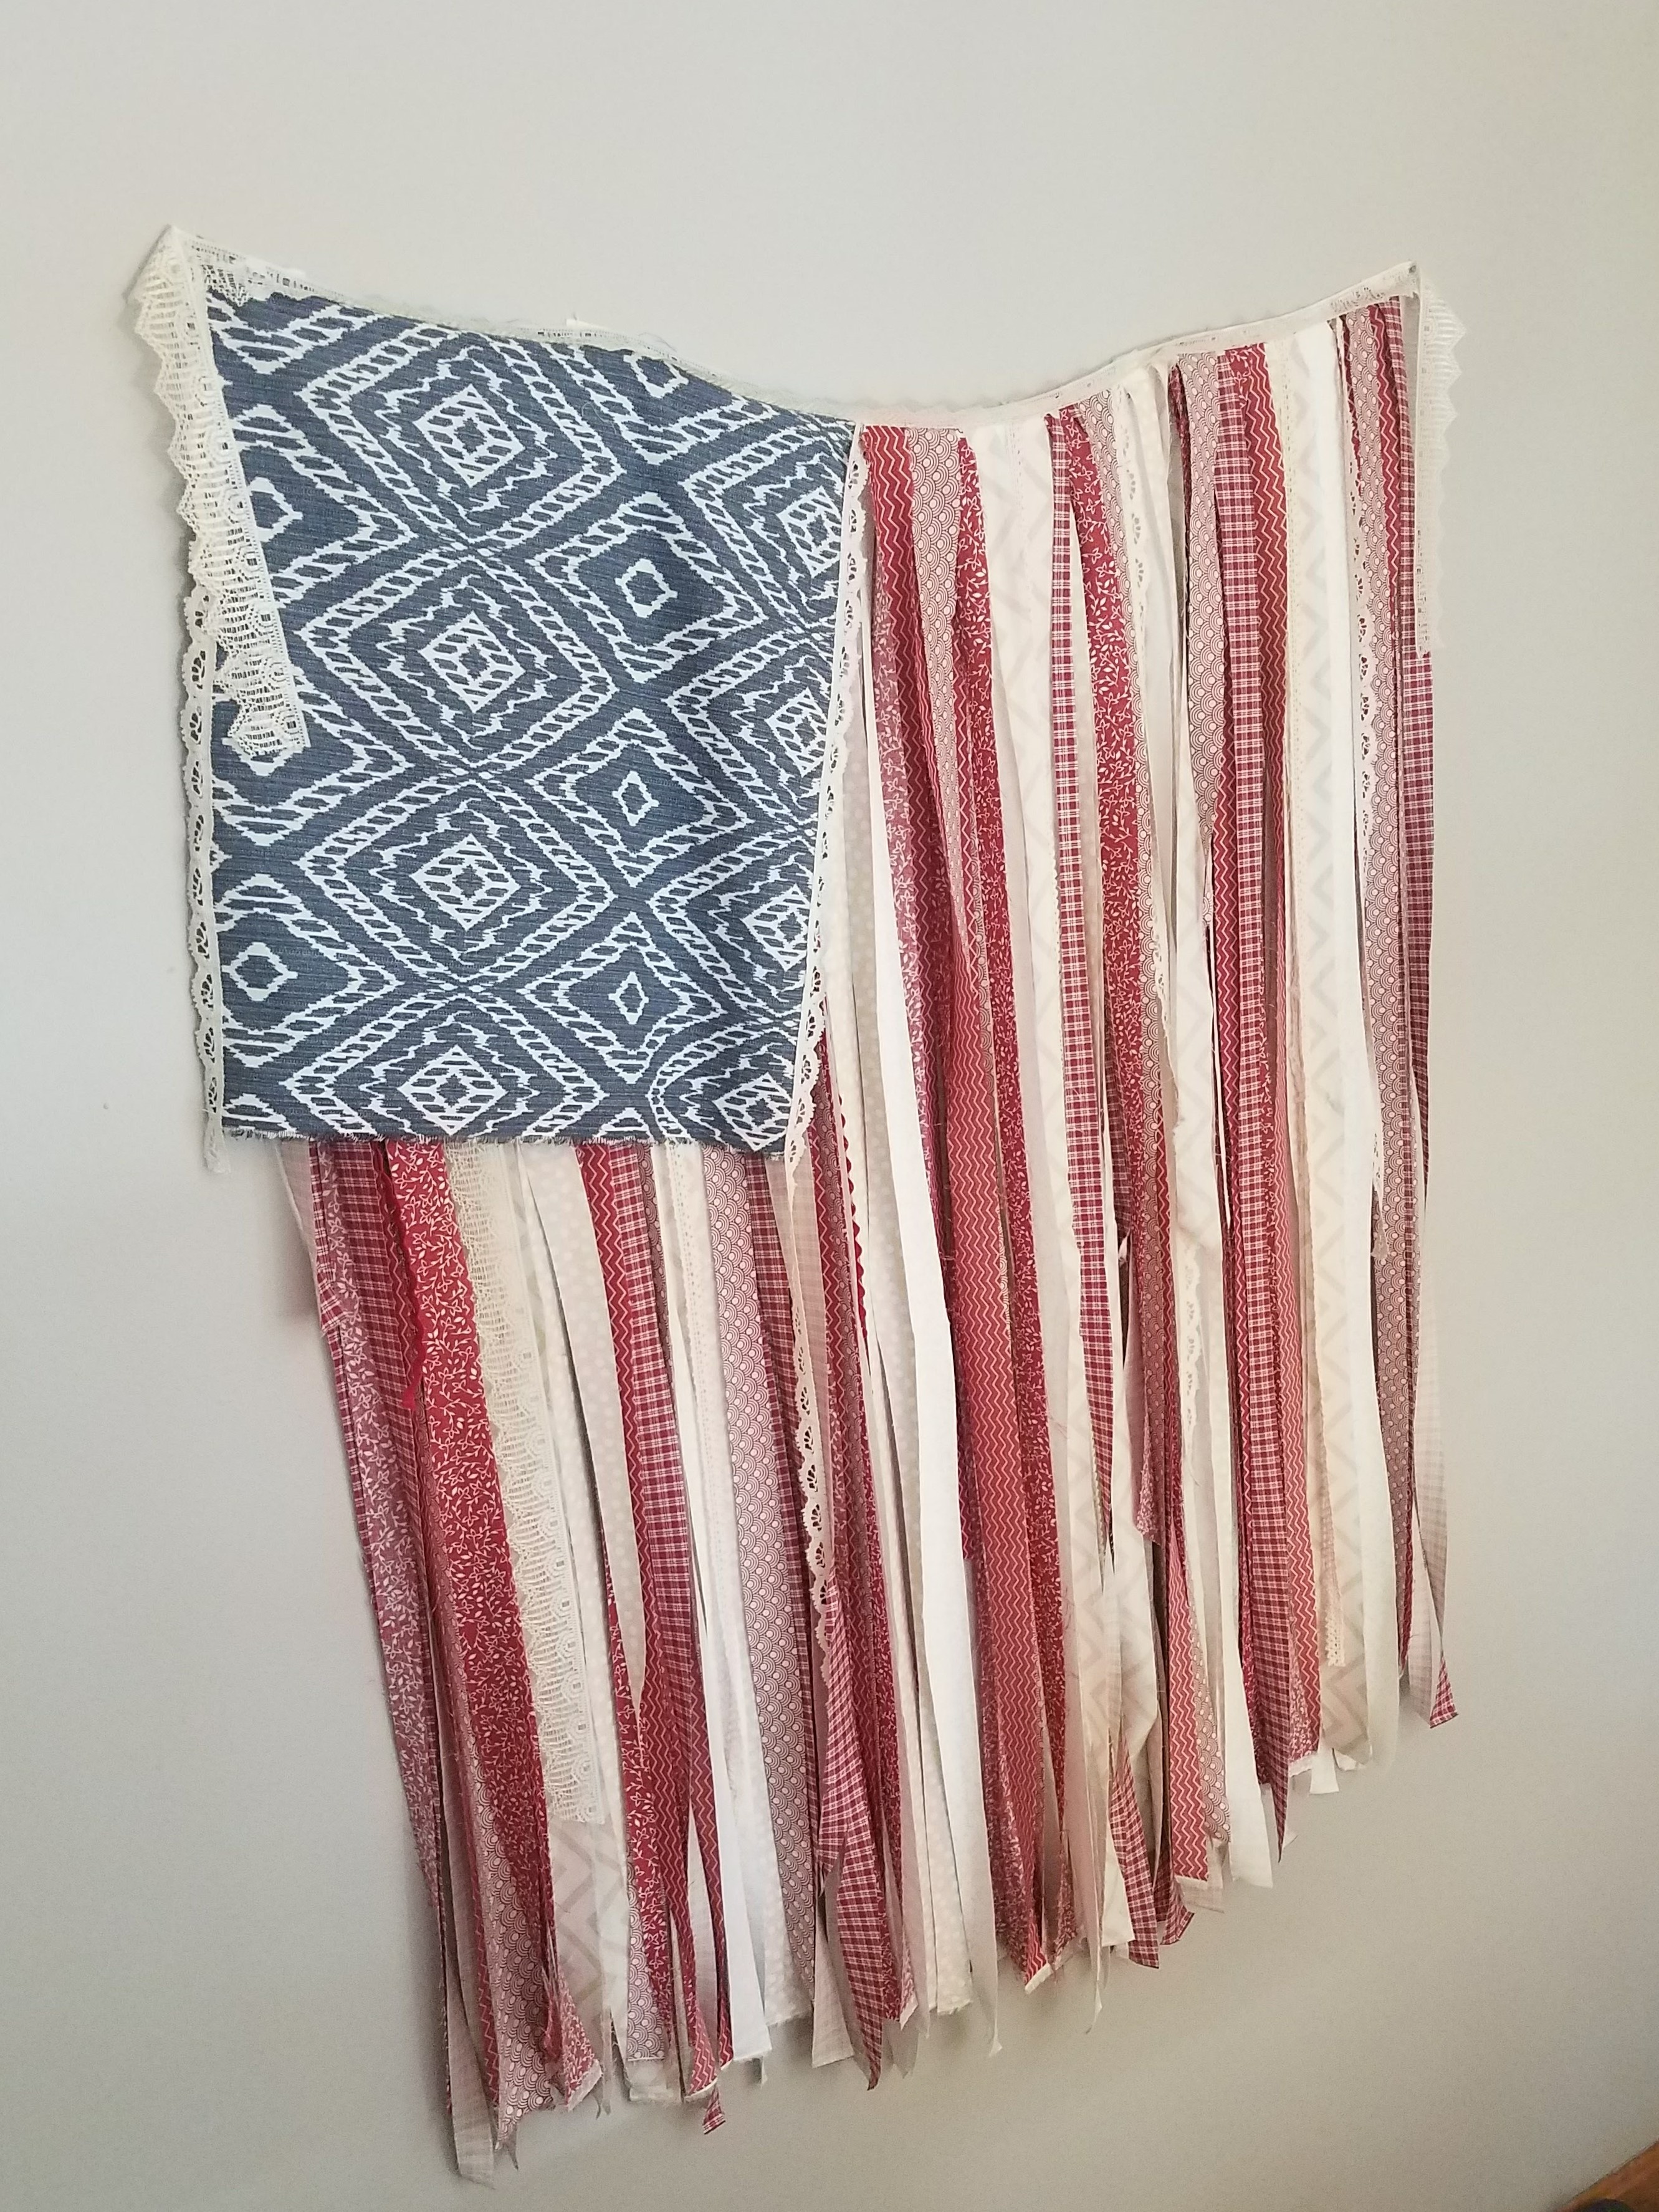
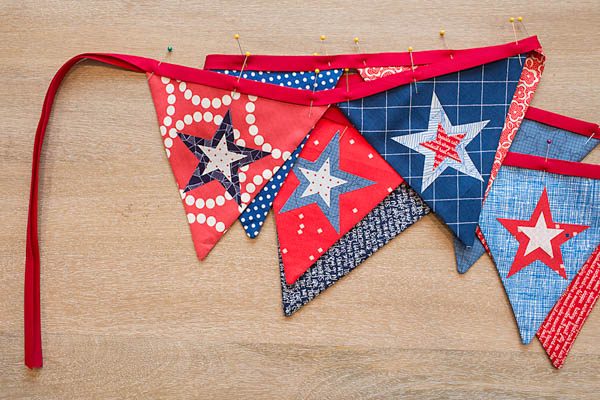
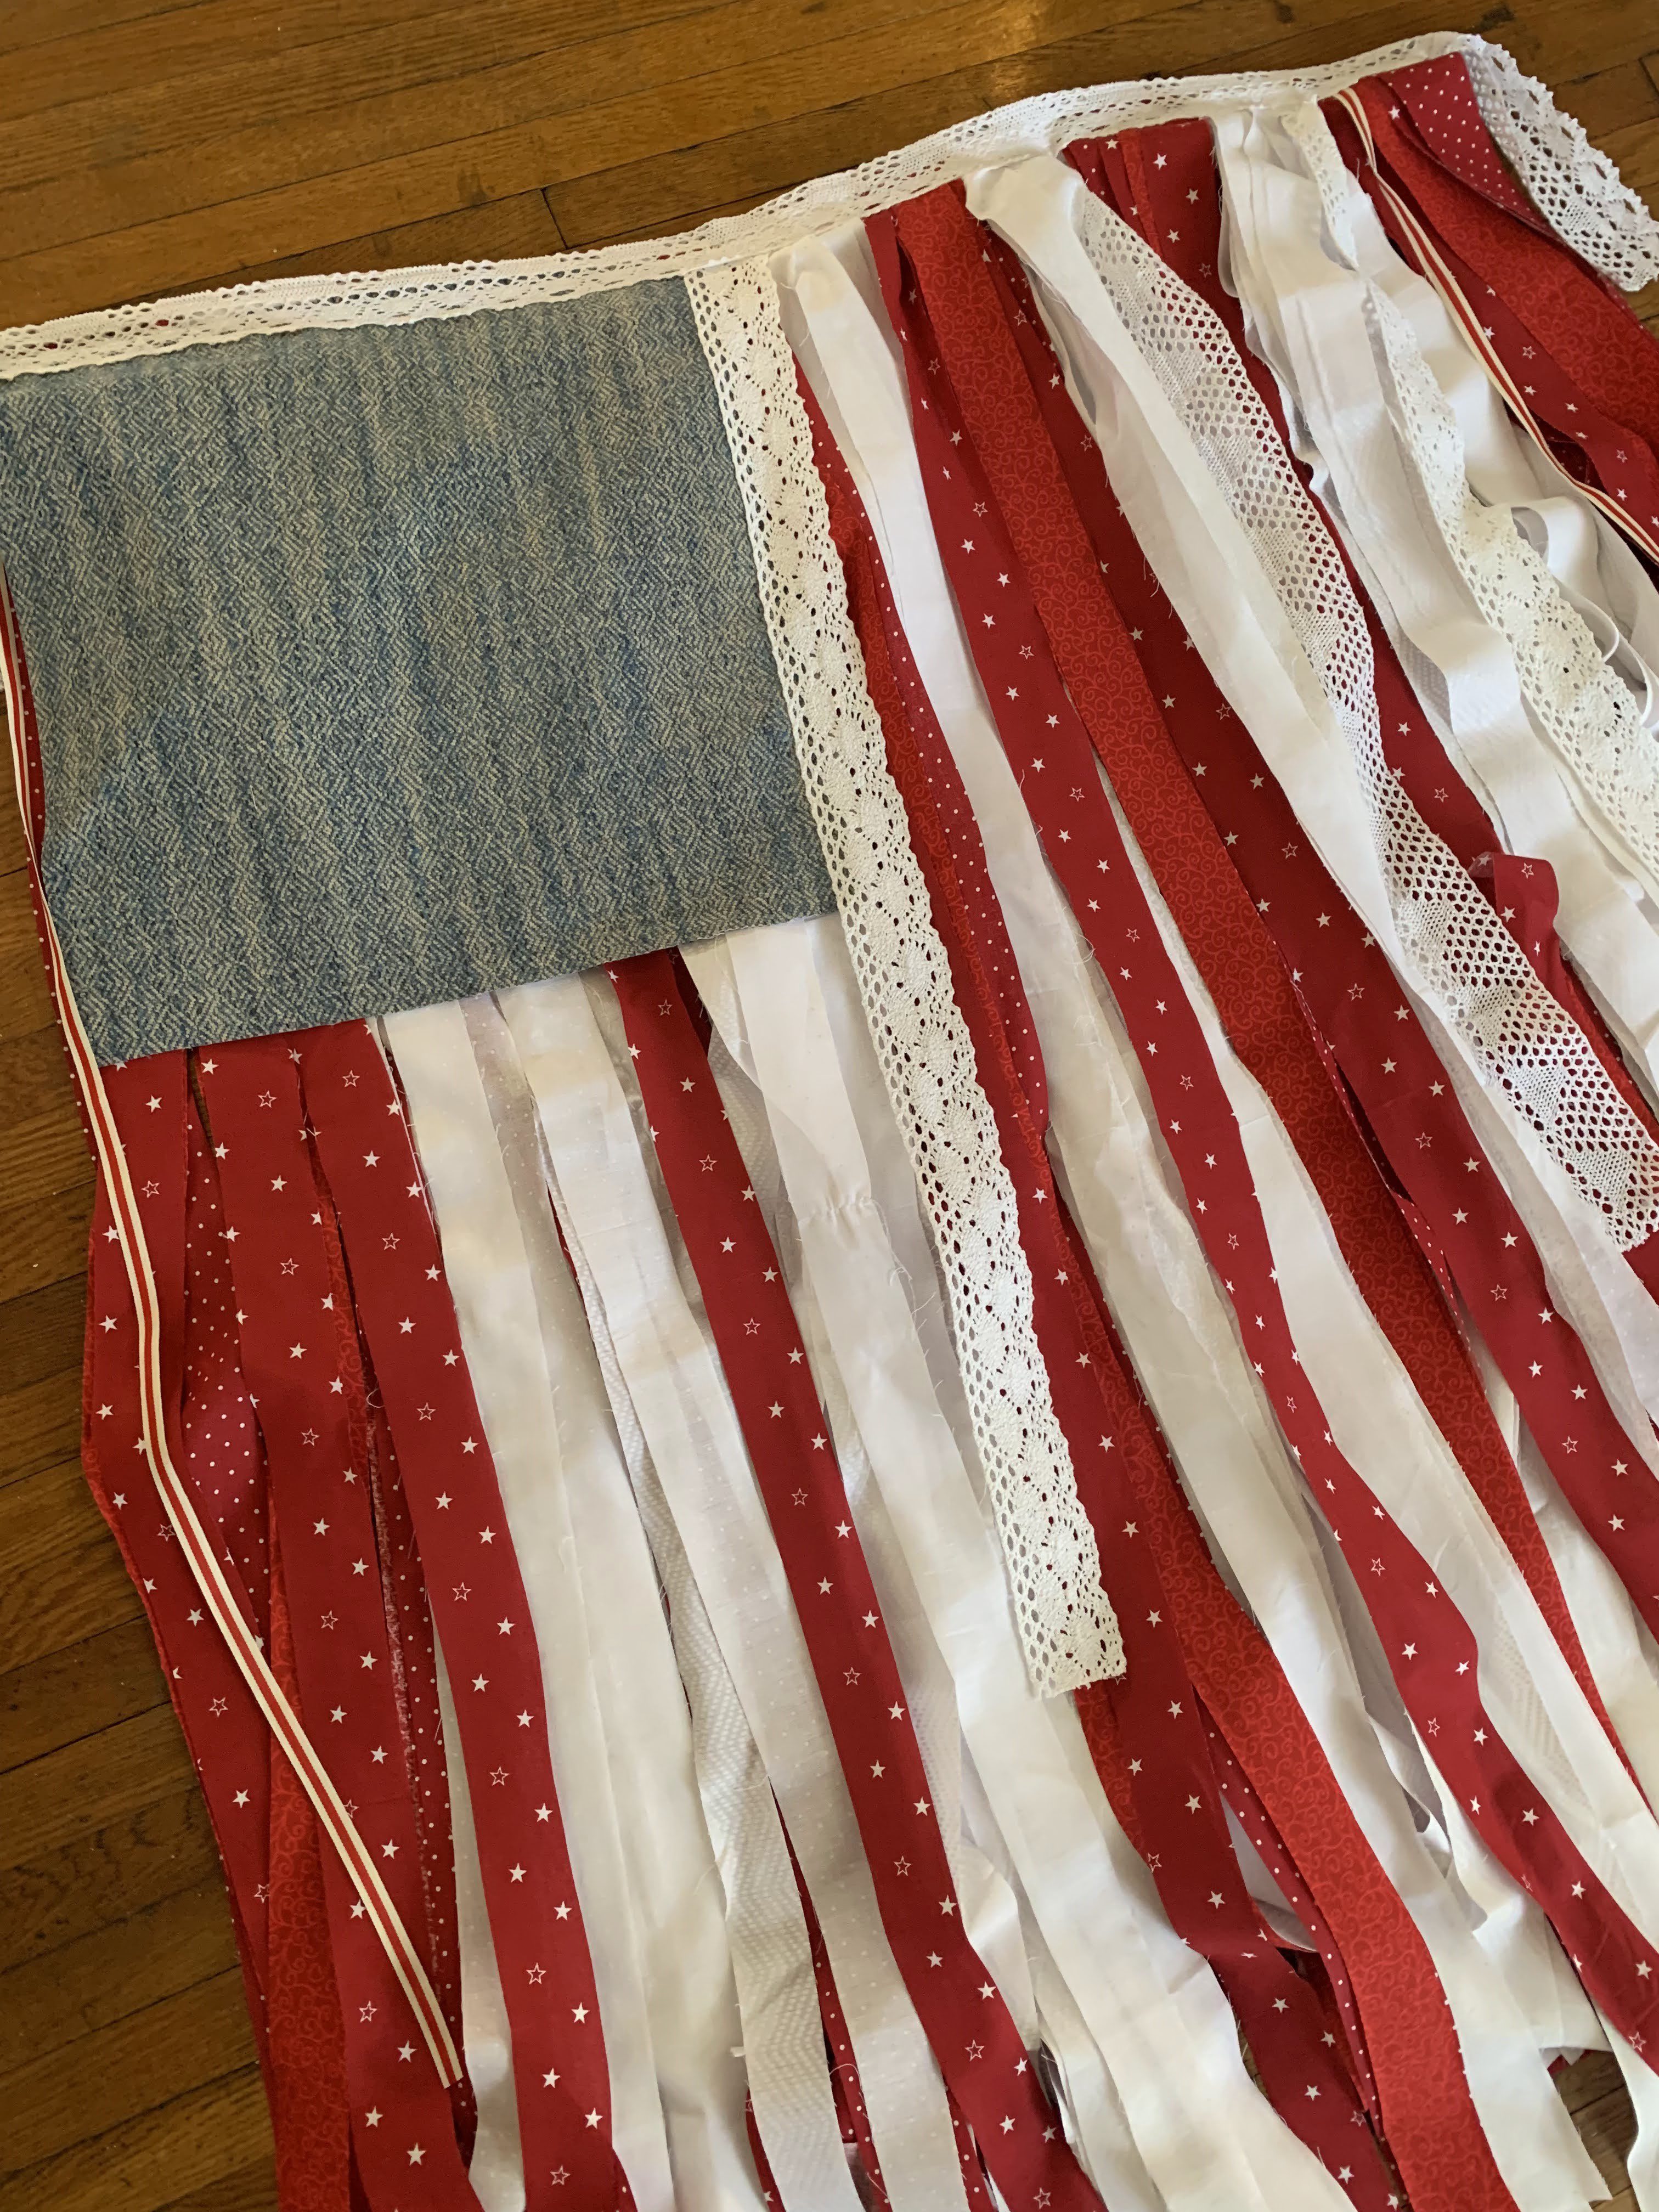
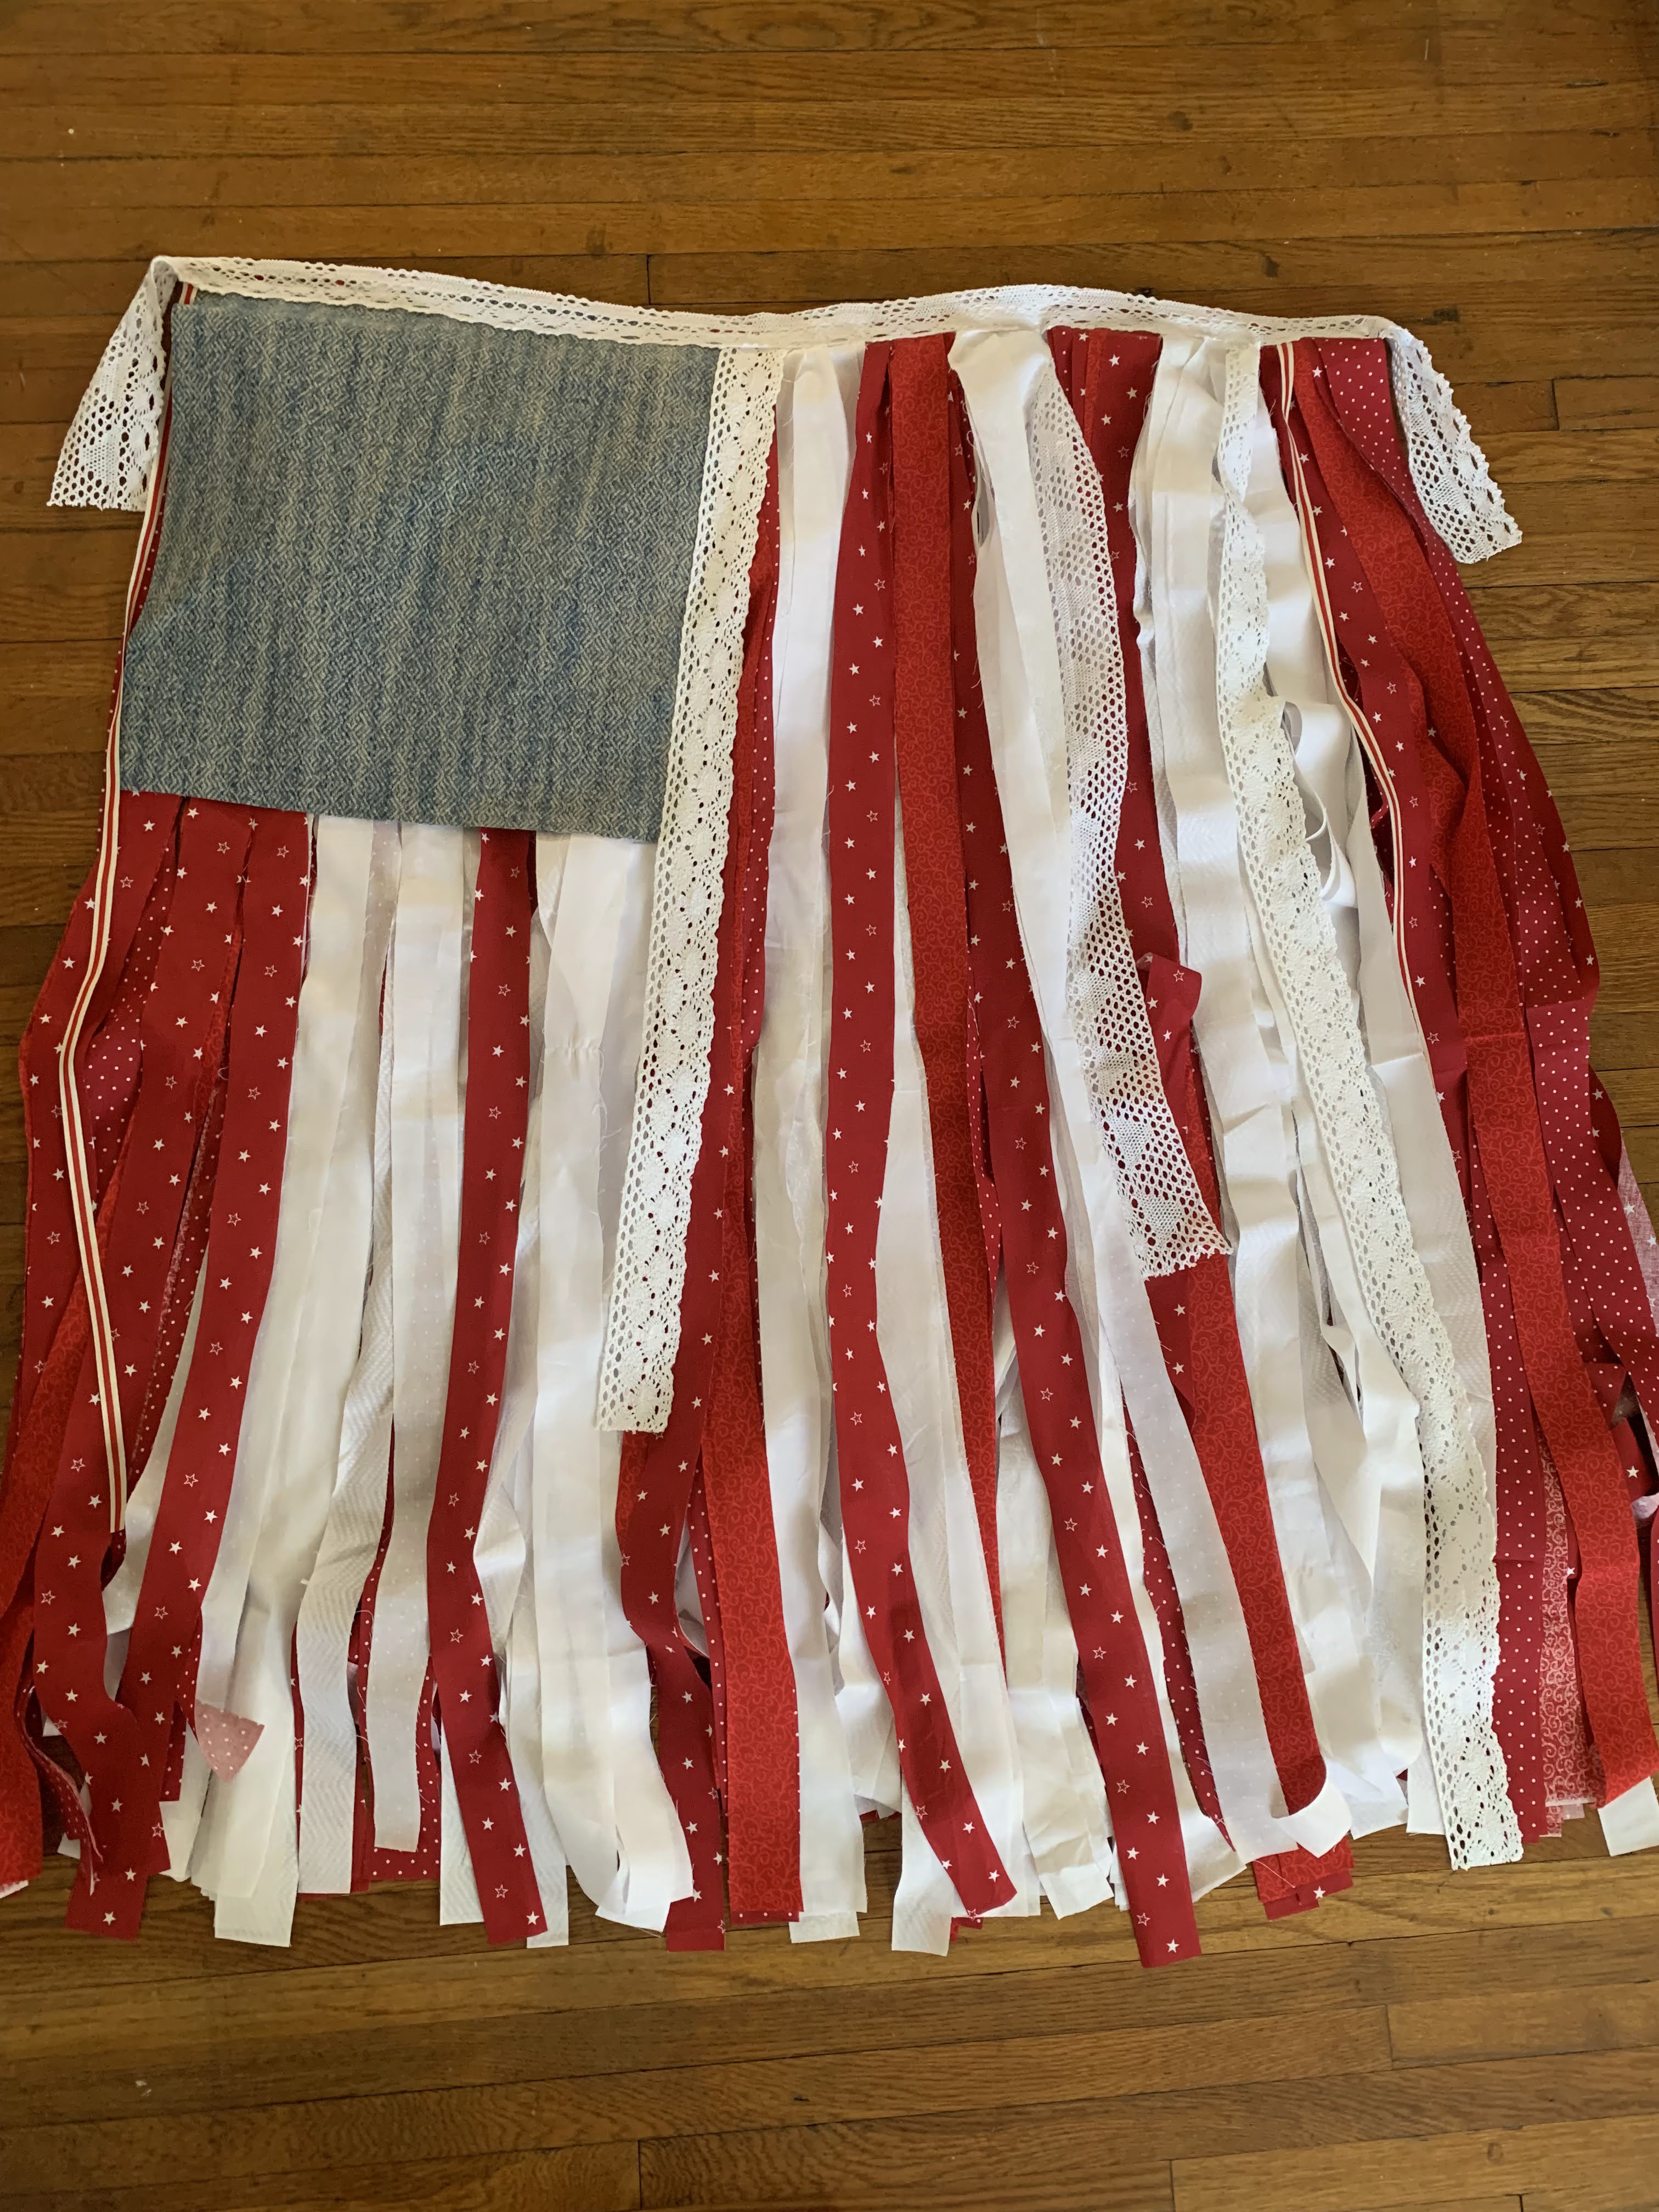
Completed Scrap Fabric Flag
After finishing the top, you’re all done! The beauty of this project is you can use up different odds and ends or purchase fabric new. The ability to just let the fabric edges fray a little makes this a really beginner-friendly home décor project. I hope you’ll give it a try!
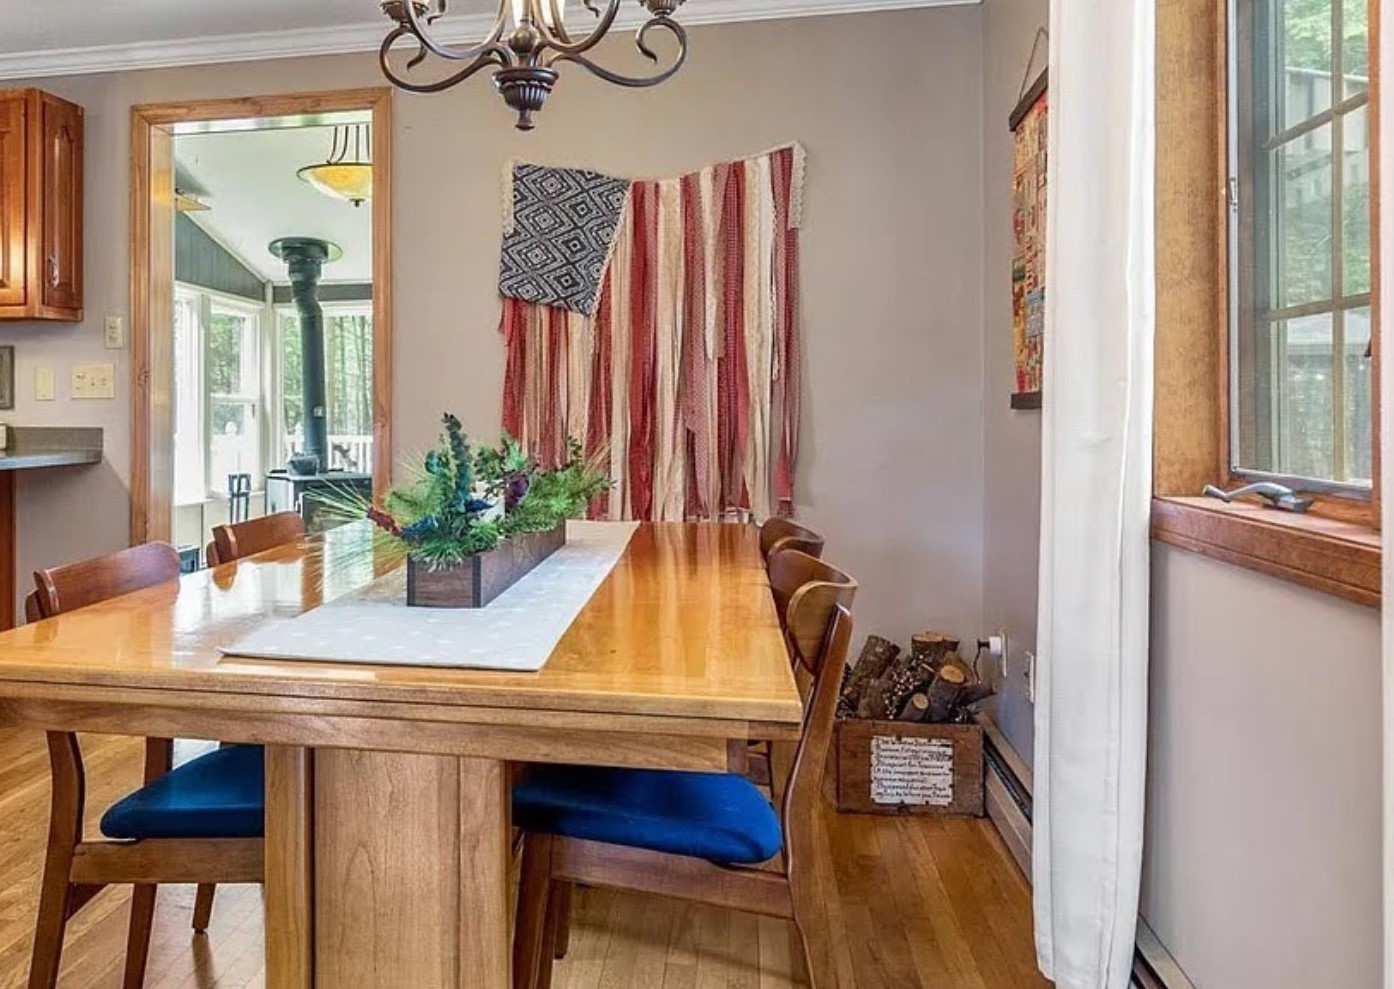
As a little bonus, here’s another strap fabric flag a made a while ago hanging in my old house. This one used completely different fabrics with a slightly more muted color palette. Happy Sewing!