How to Make a Burlap Fabric Gift Bag
Yayy, the holidays are here! Kymona, here to show you have to sew and embroider a Burlap Fabric Gift Bag.
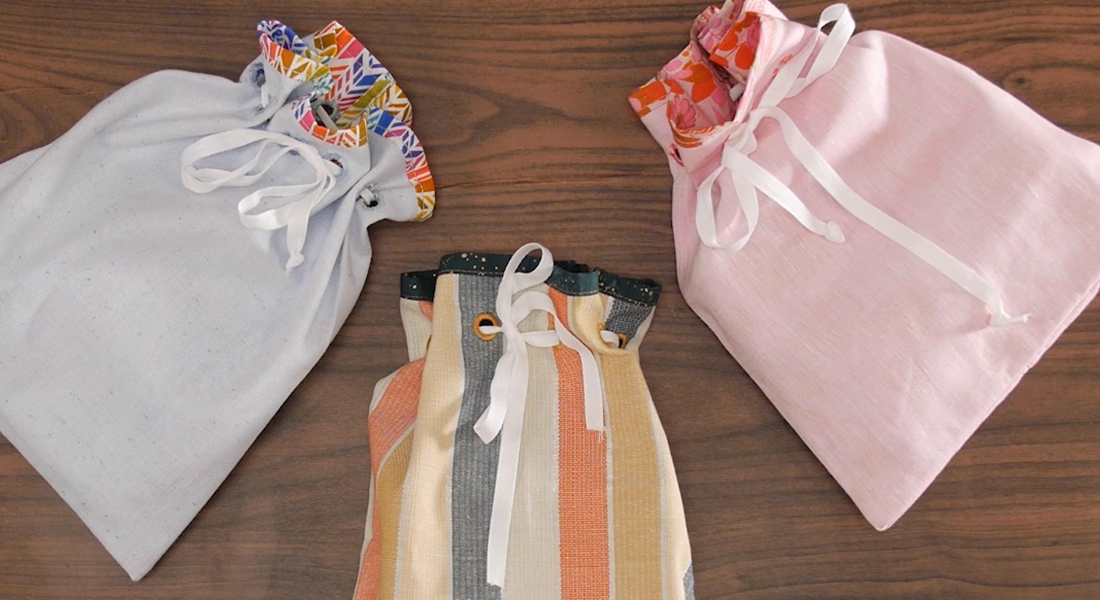
There are many different ways to present gifts to loved ones. You can wrap them with gift wrapping paper or fabric. You can put them in store-bought gift bags.
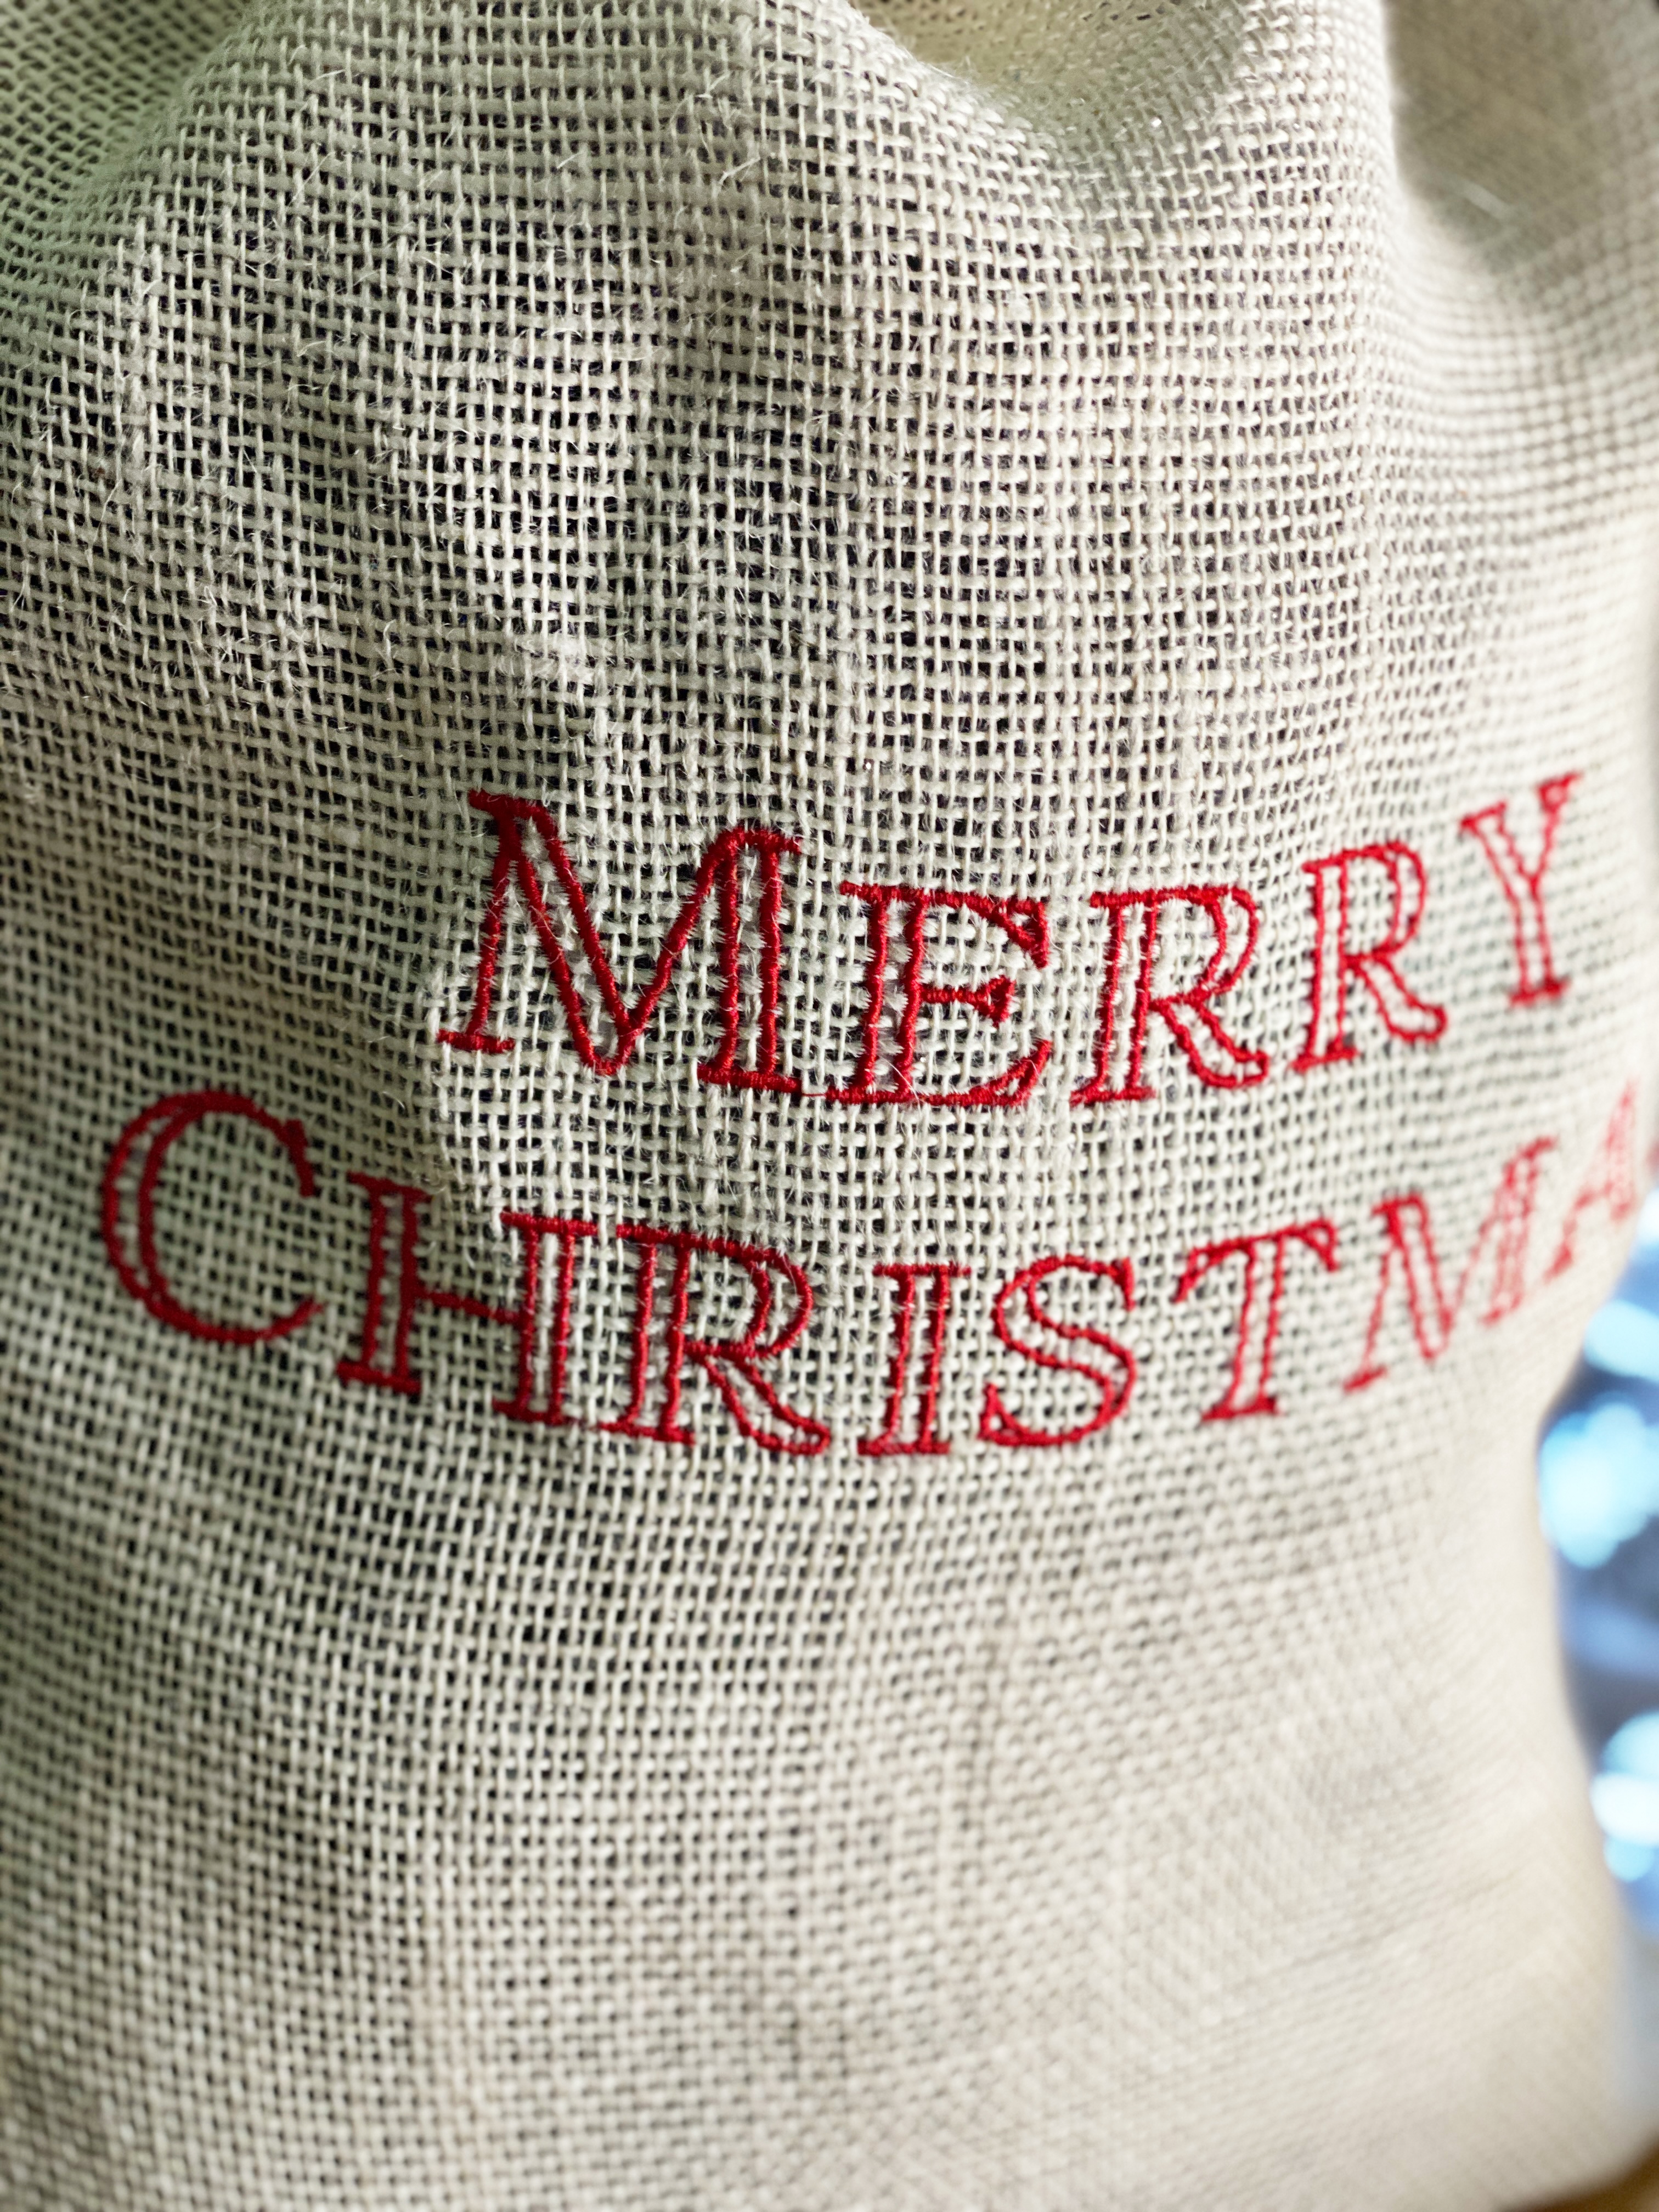
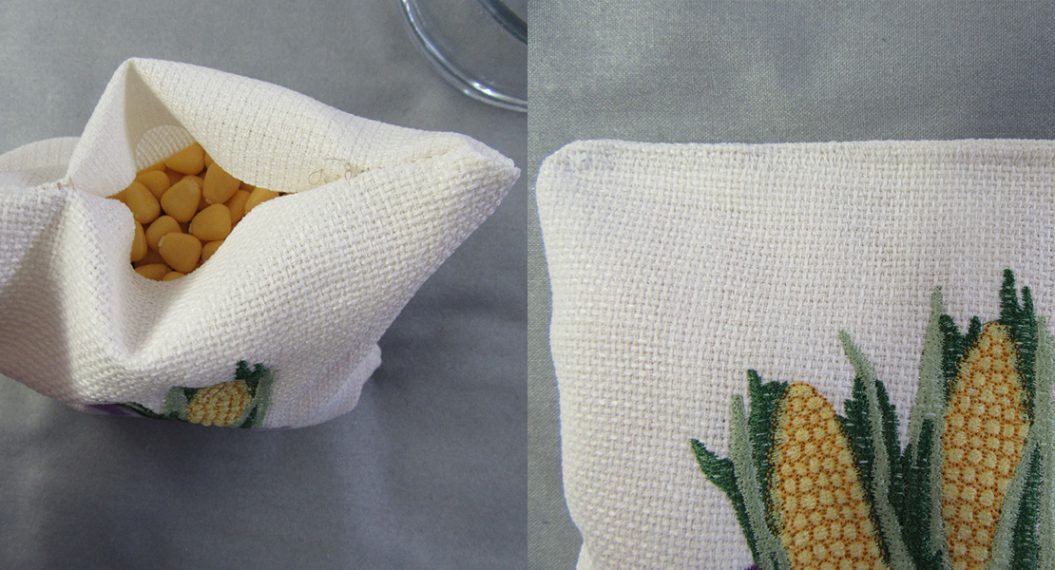
My family and I are from the island of Jamaica, and we use Burlap, known to us as crocus, to make rope, nets, and similar products. Today, I will show you how to use burlap fabric to make a cute gift back using your sewing and embroidery machine.
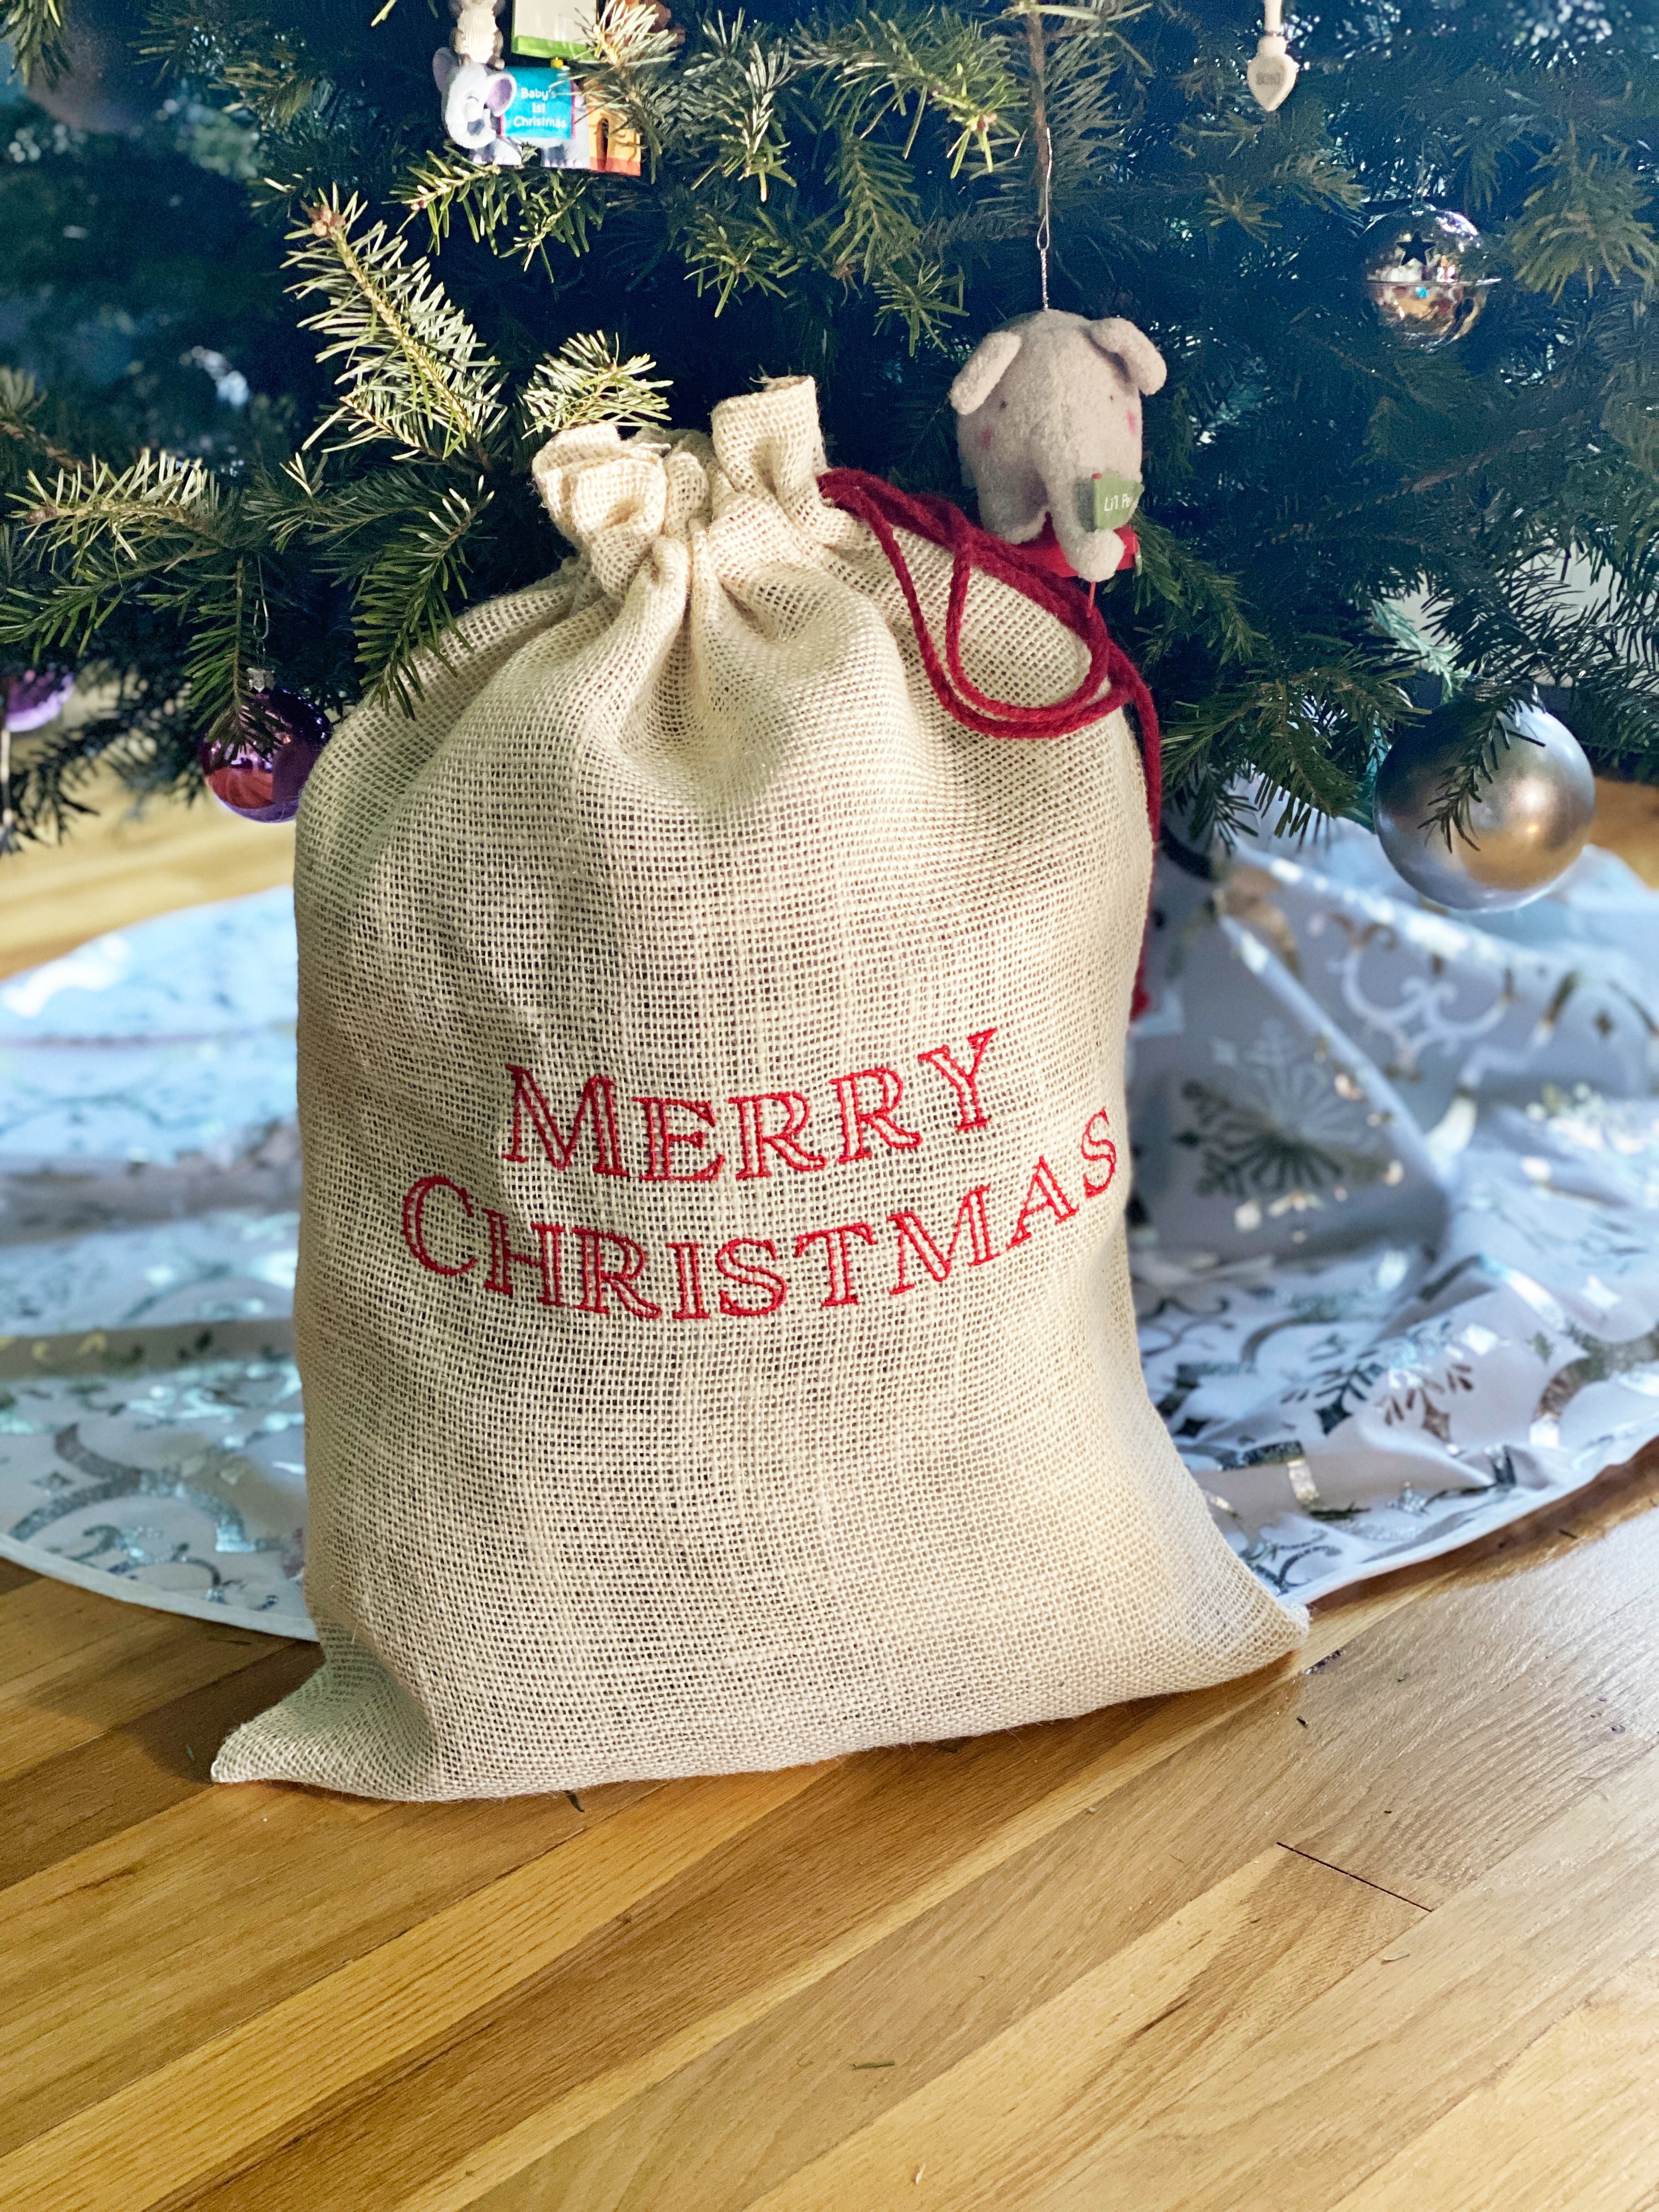
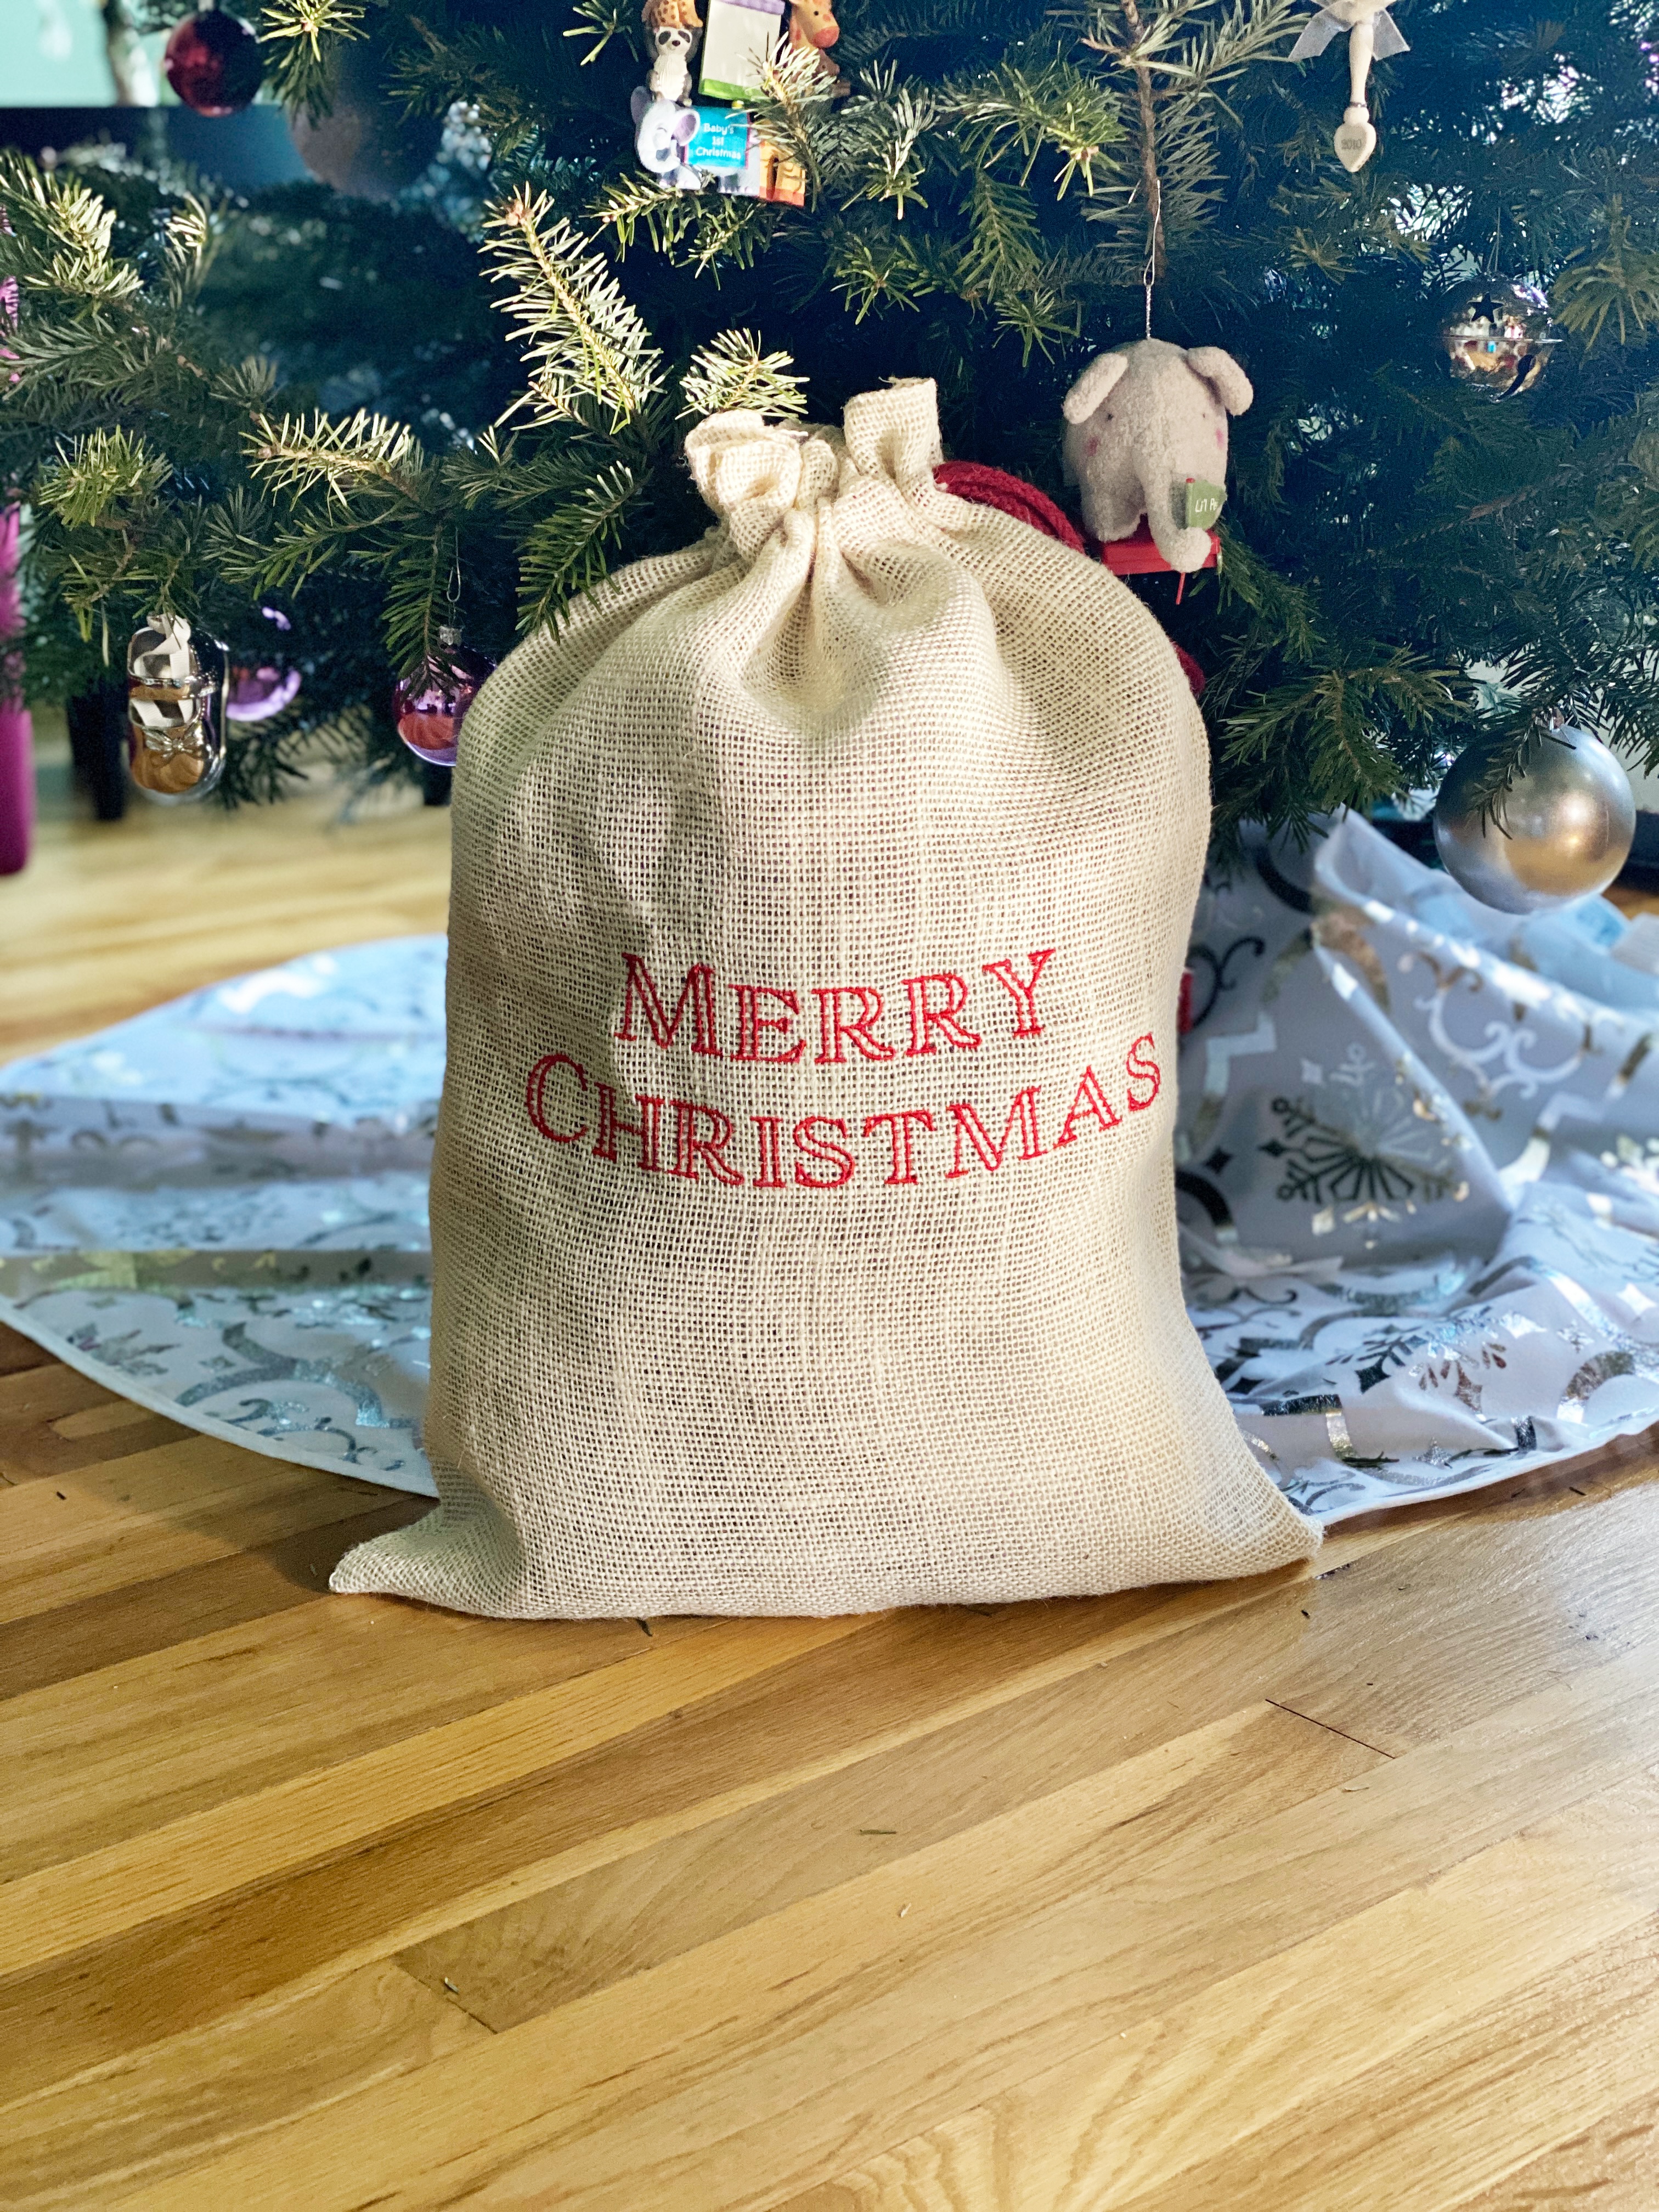
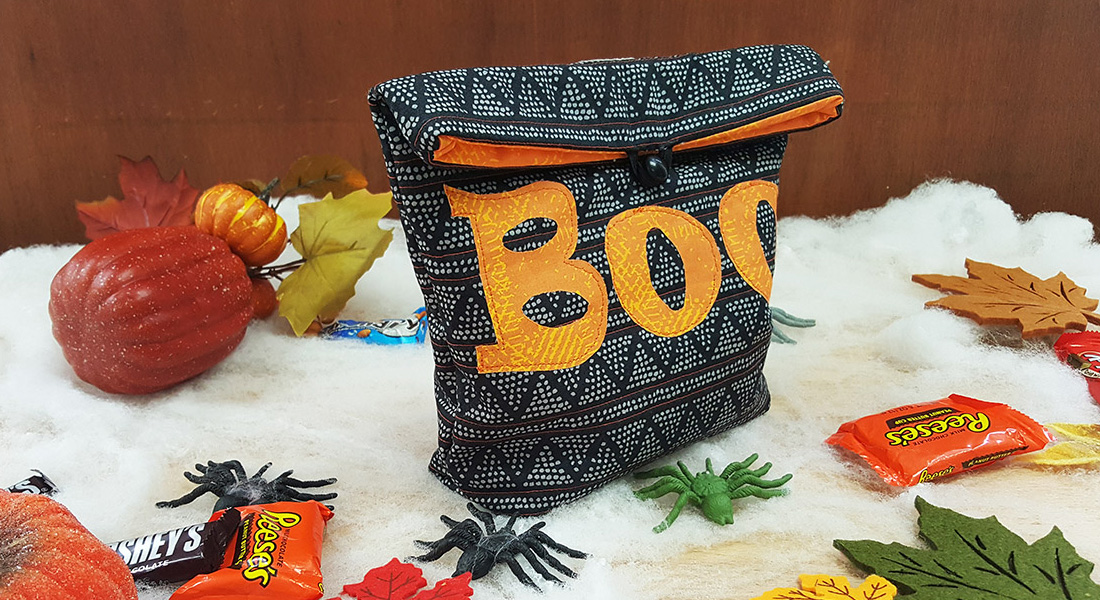
Take a look at this burlap fabric gift bag:
Materials to Create a Burlap Fabric Gift Bag
- 1 yard of burlap fabric
- Ribbon
- Cording
- Coordinating Sewing Thread
- Red Embroidery Thread
- Pins/Clips
- Quilting Ruler
- Cutting Mat
- Rotary Cutter
- Heavyweight Tear Away Stabilizer
- Embroidery scissors
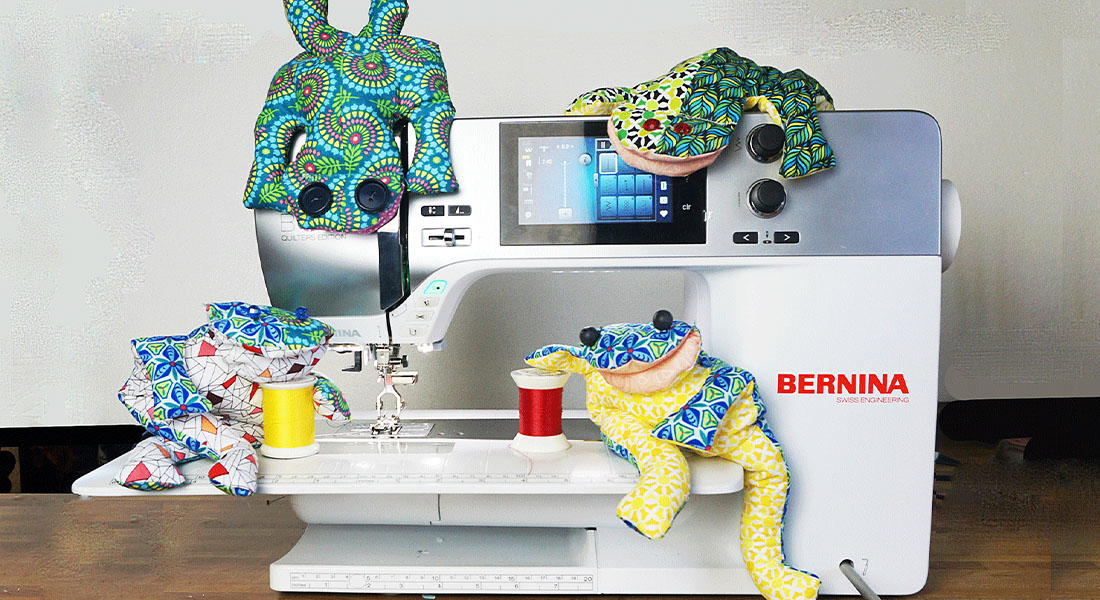
- BERNINA 570QE E
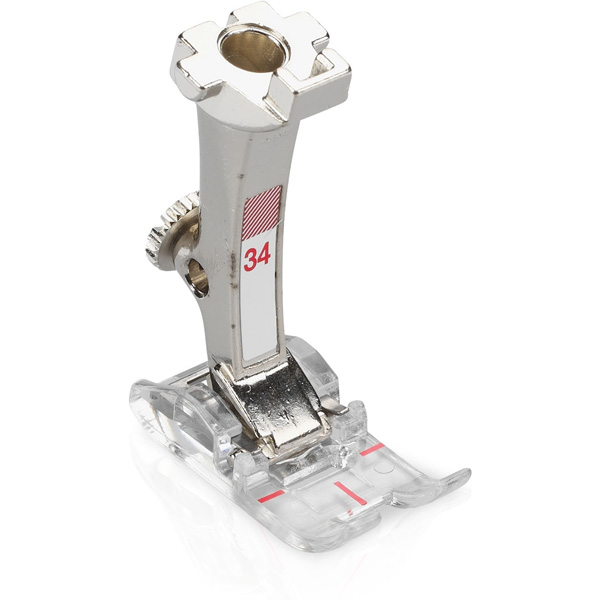
- Reverse Pattern Foot with Clear Sole #34D
- Drop-Shaped Embroidery Foot #26
- BERNINA Embroidery Software v8.2
- BERNINA Mega Embroidery Hoop
Instructions to Make a Burlap Fabric Gift Bag
Step 1: Cut the Fabric
Cut two pieces of the fabric to 15.5 inches x 22.5 inches.
Note: Do not unfold the fabric when you purchase it from the store. This will allow you only to have to sew one side and the bottom of the bag.
Step 2: Embroider the front of the Burlap Fabric
Use the BERNINA Embroidery Software to create the lettering design, Merry Christmas.
Using the largest hoop for the machine, size the design to fit perfectly inside the hoop.
Export the design and upload it to the machine.
Attach the embroidery module to the machine.
Fold the front of the burlap fabric to find the center.
Hoop the fabric and stabilizer.
Attach the hoop to the machine.
Check to make sure the design fits in the hoop.
Stitch out the design.
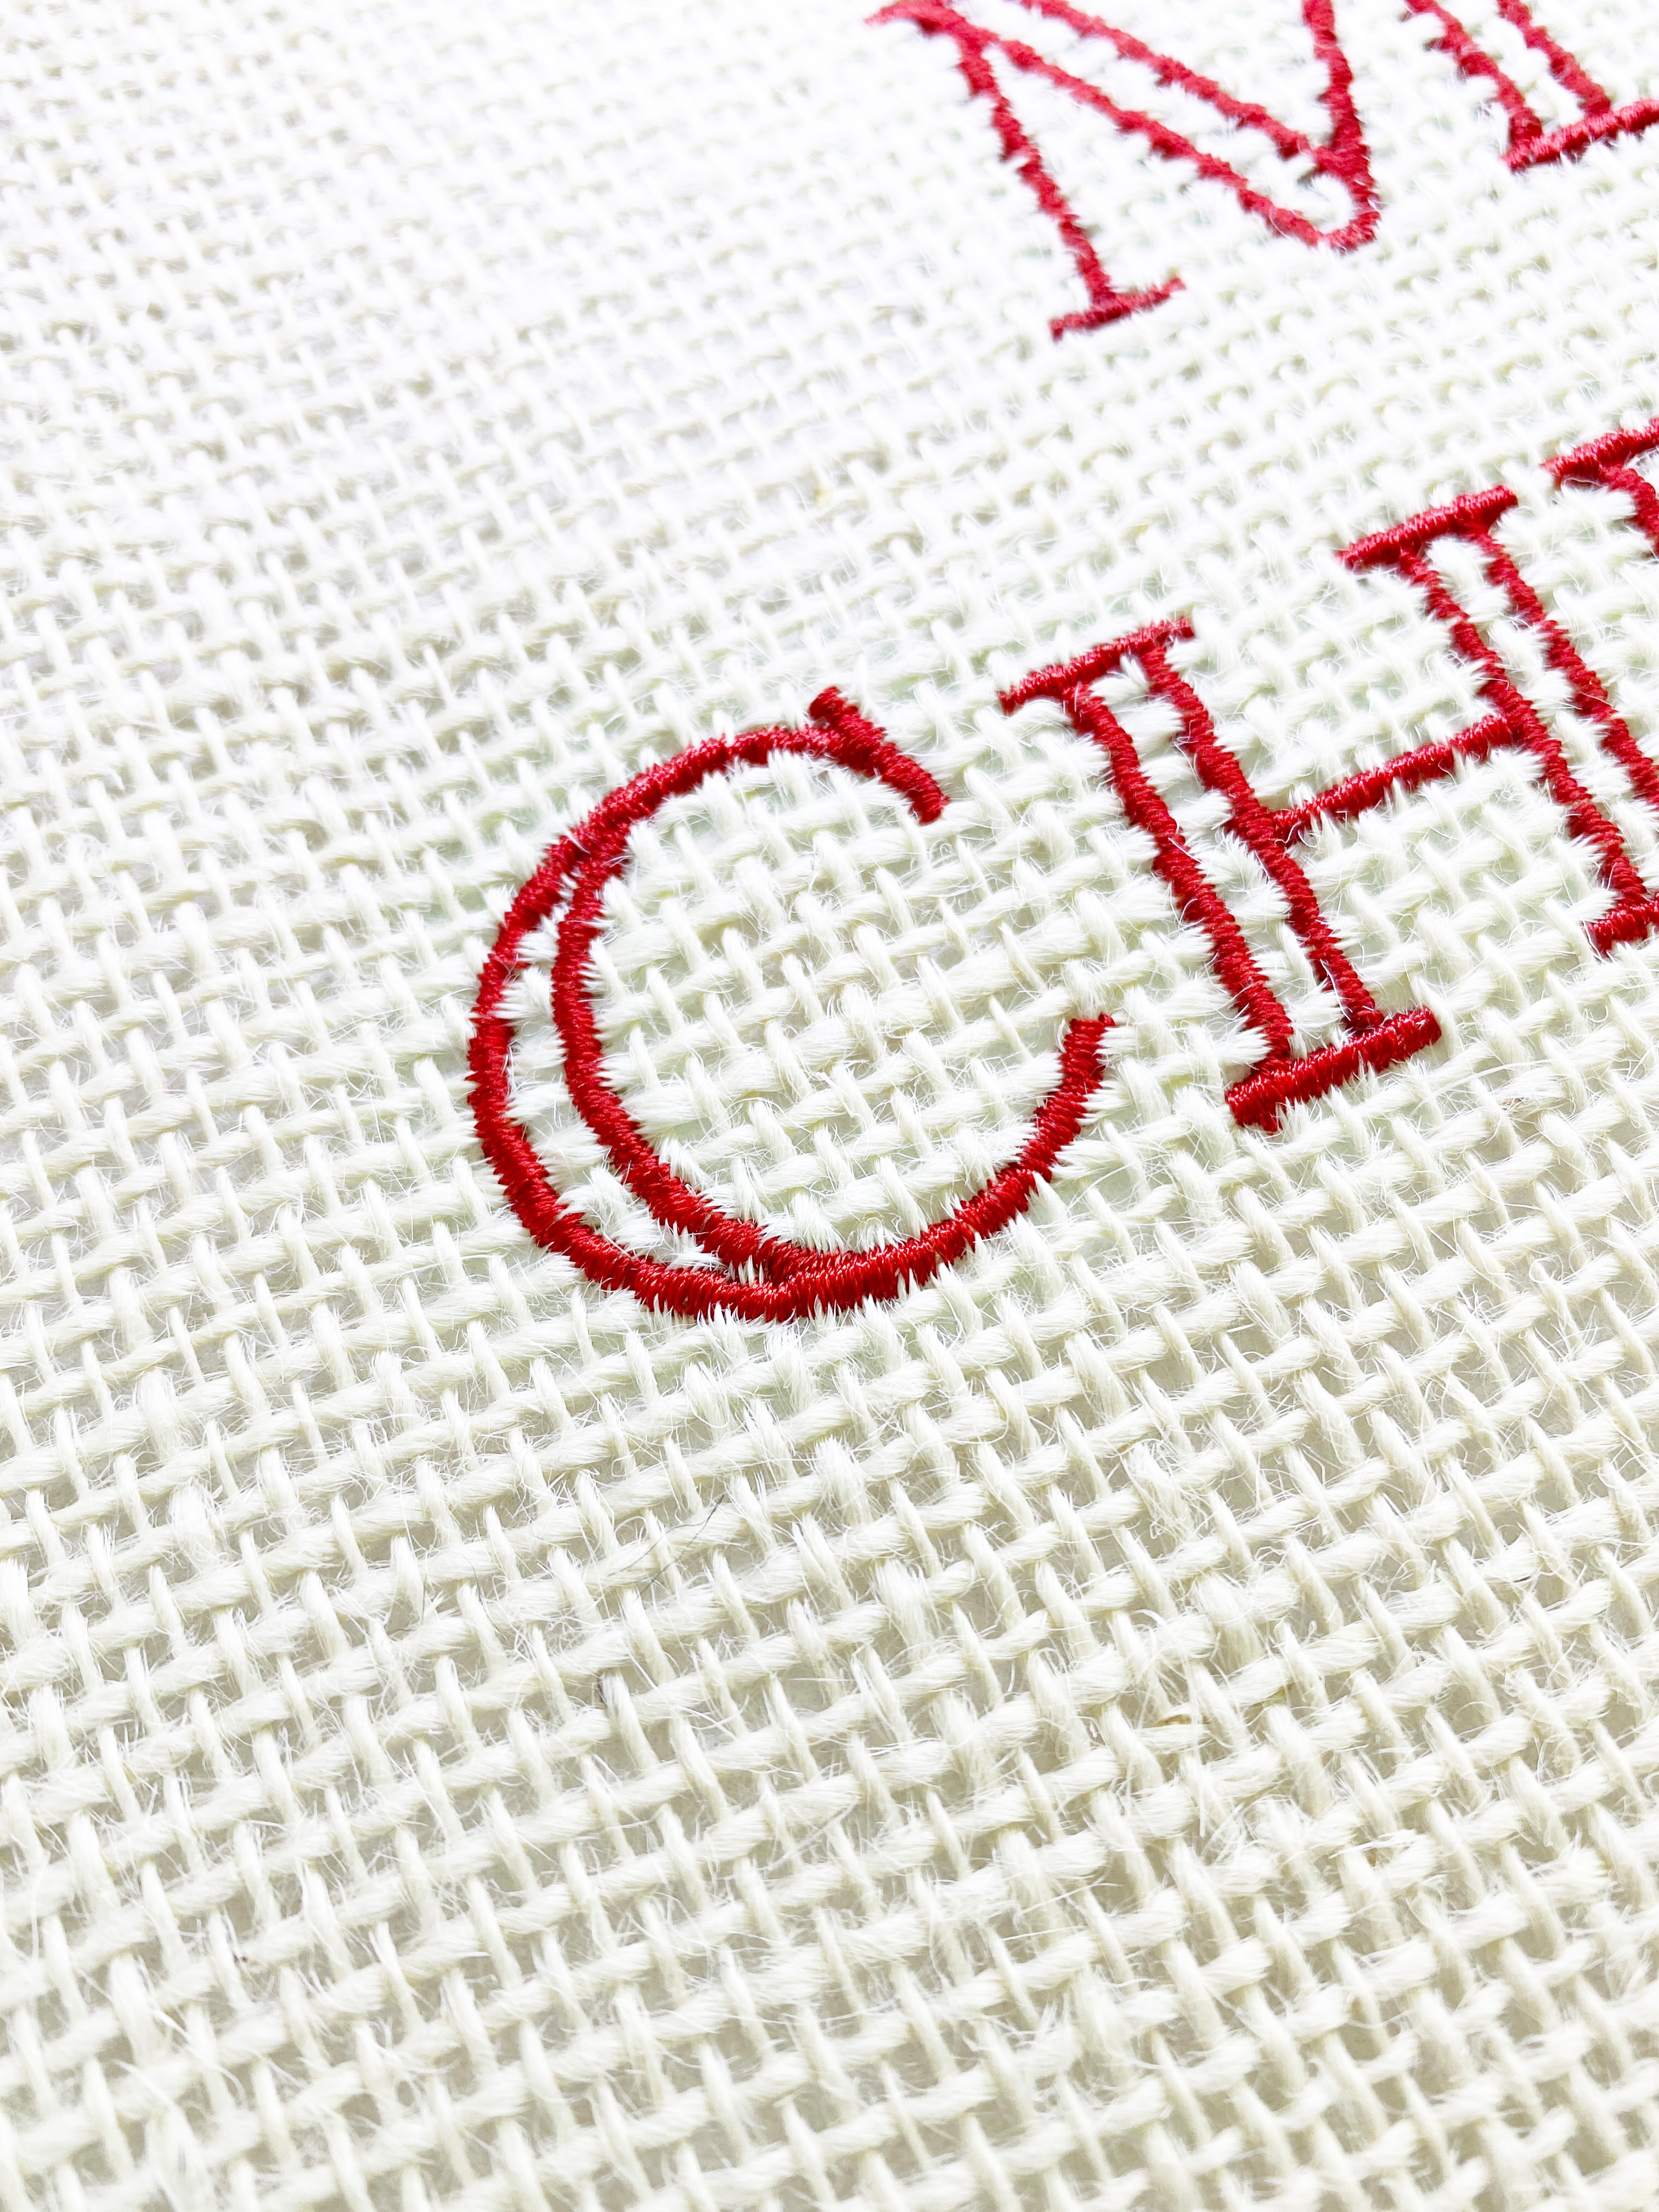
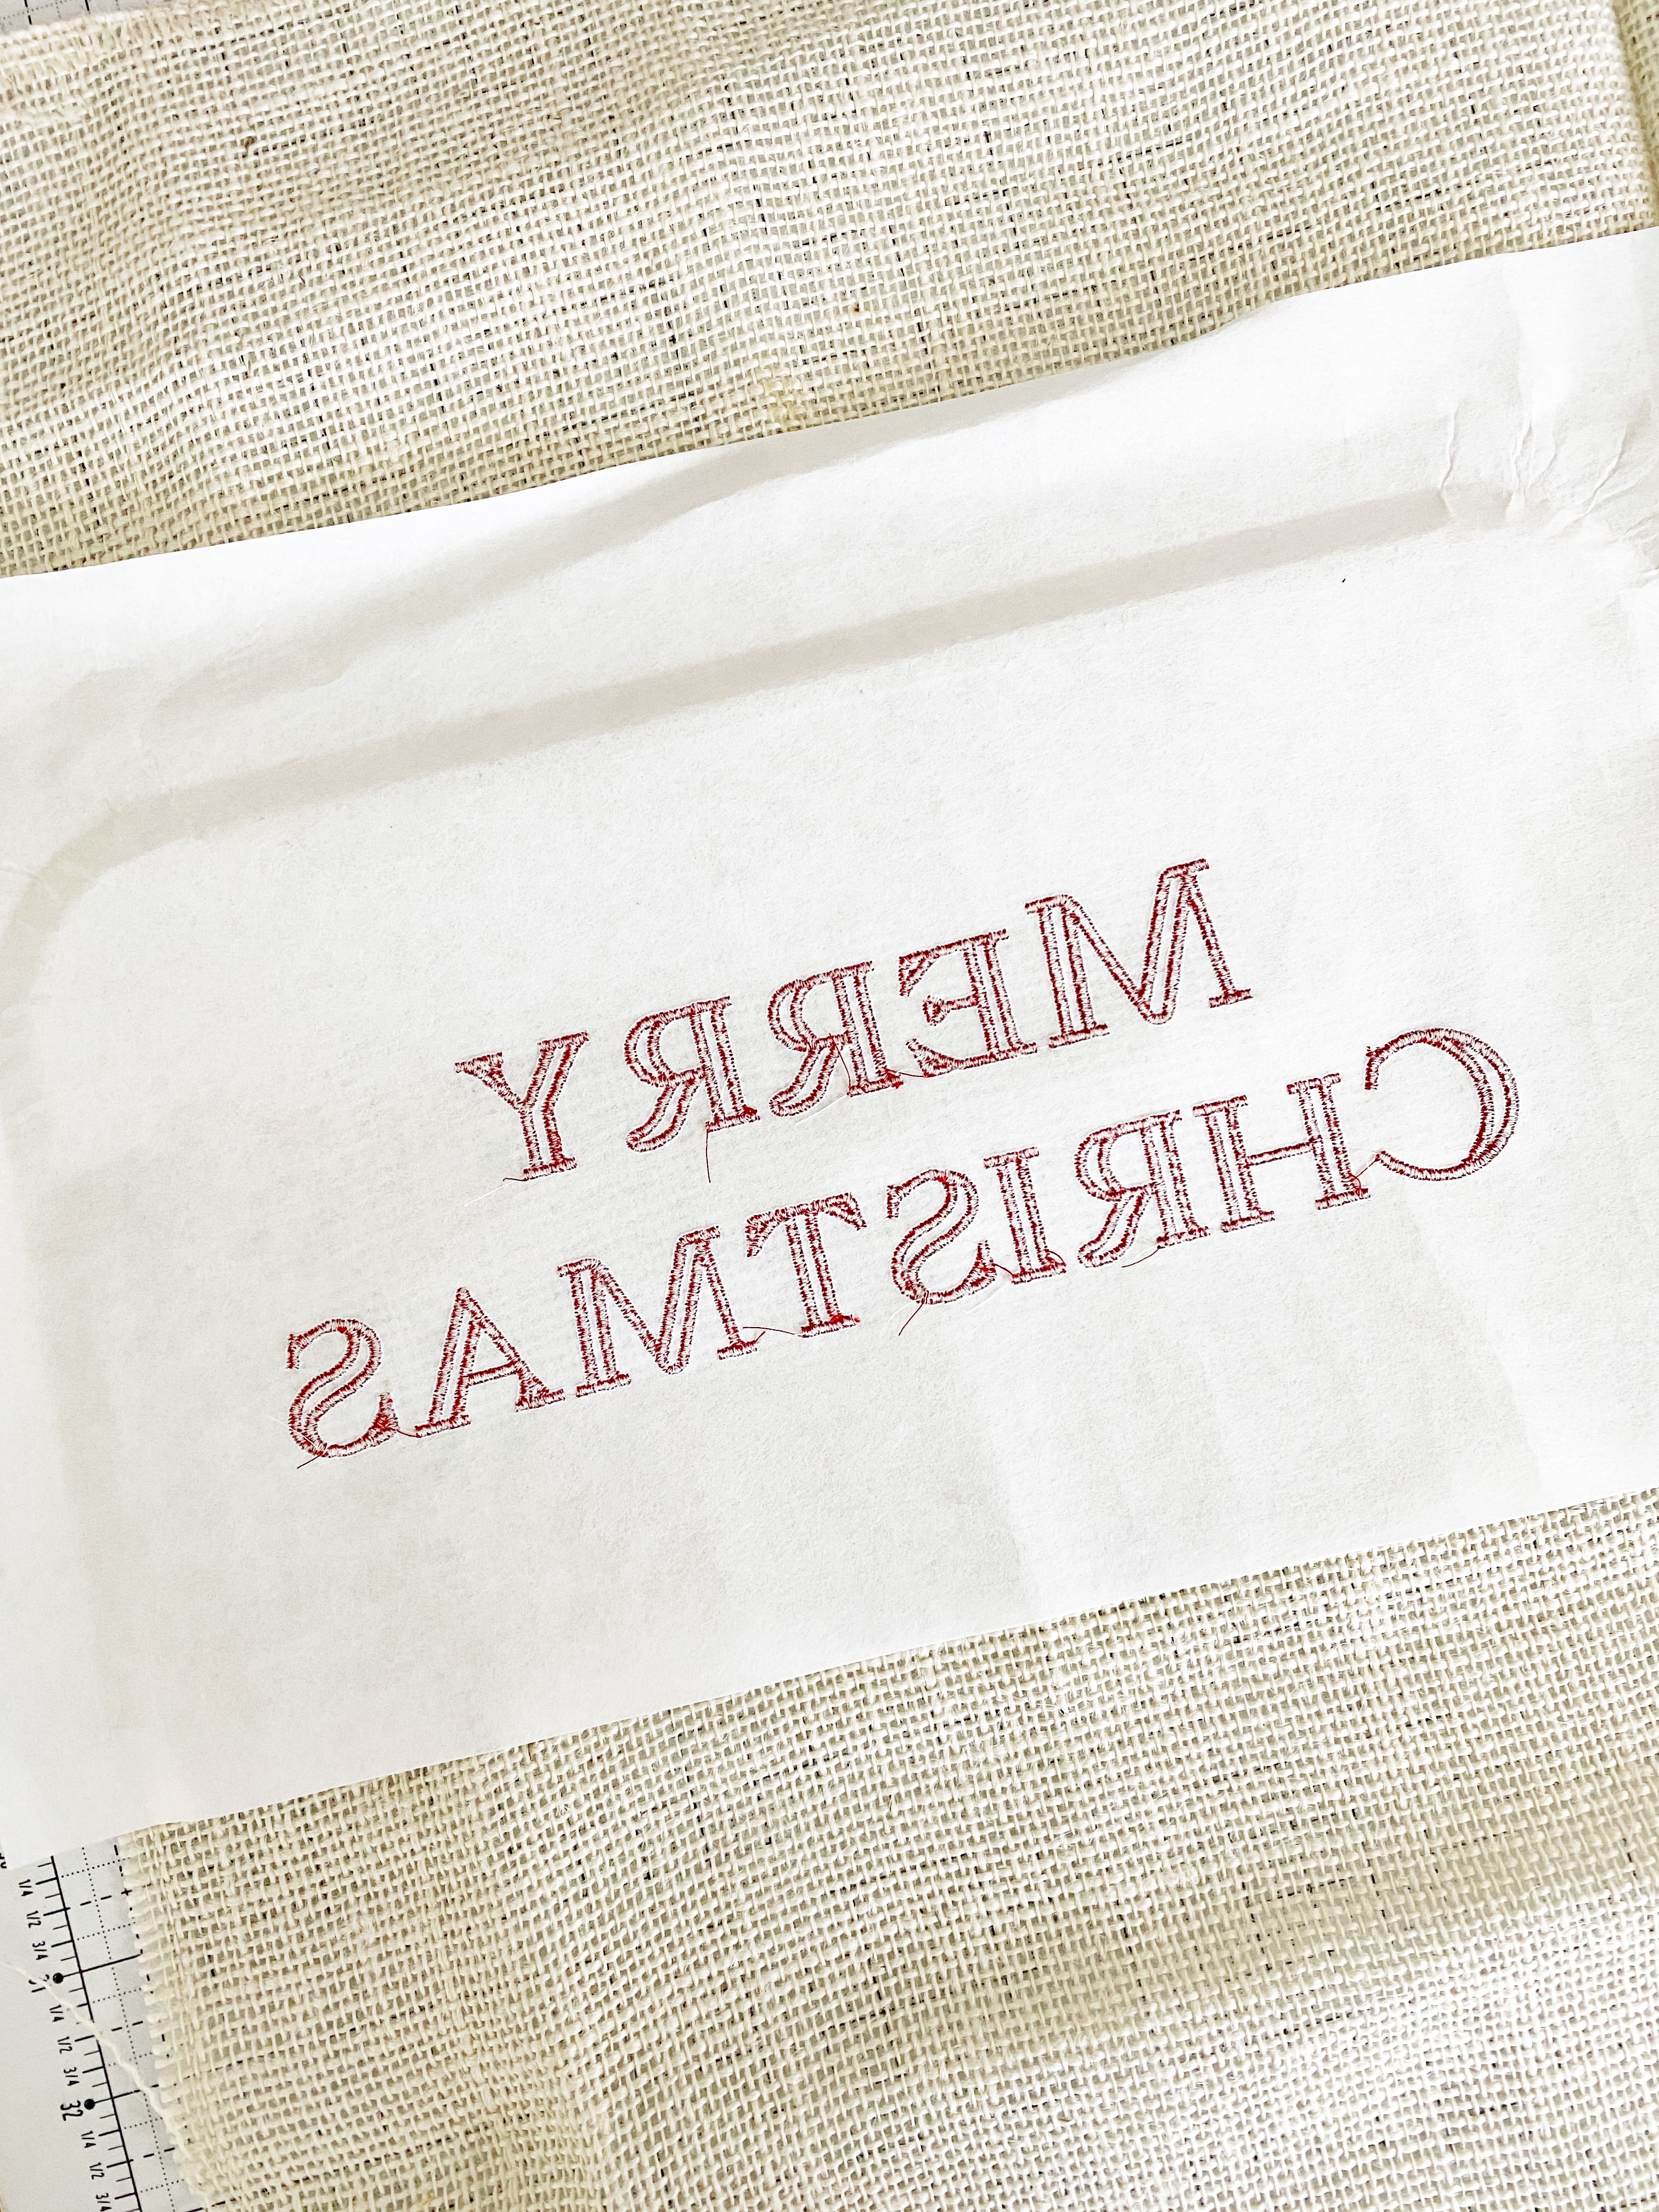
Step 3: Clean up the Embroidery
Take your time and tear the stabilizer away from the stitches.
To do this, hold the stitches with your fingers and tear the stabilizer with the other hand.
Use the embroidery scissors to cut away any stray stitches or jump stitches if you have any.
Step 4: Prepare to Sew
Fold the top edge of the burlap fabric a 1/4 inch down and clip.
Note: This fabric can be tricky to sew; it moves a lot so take your time when you sew.
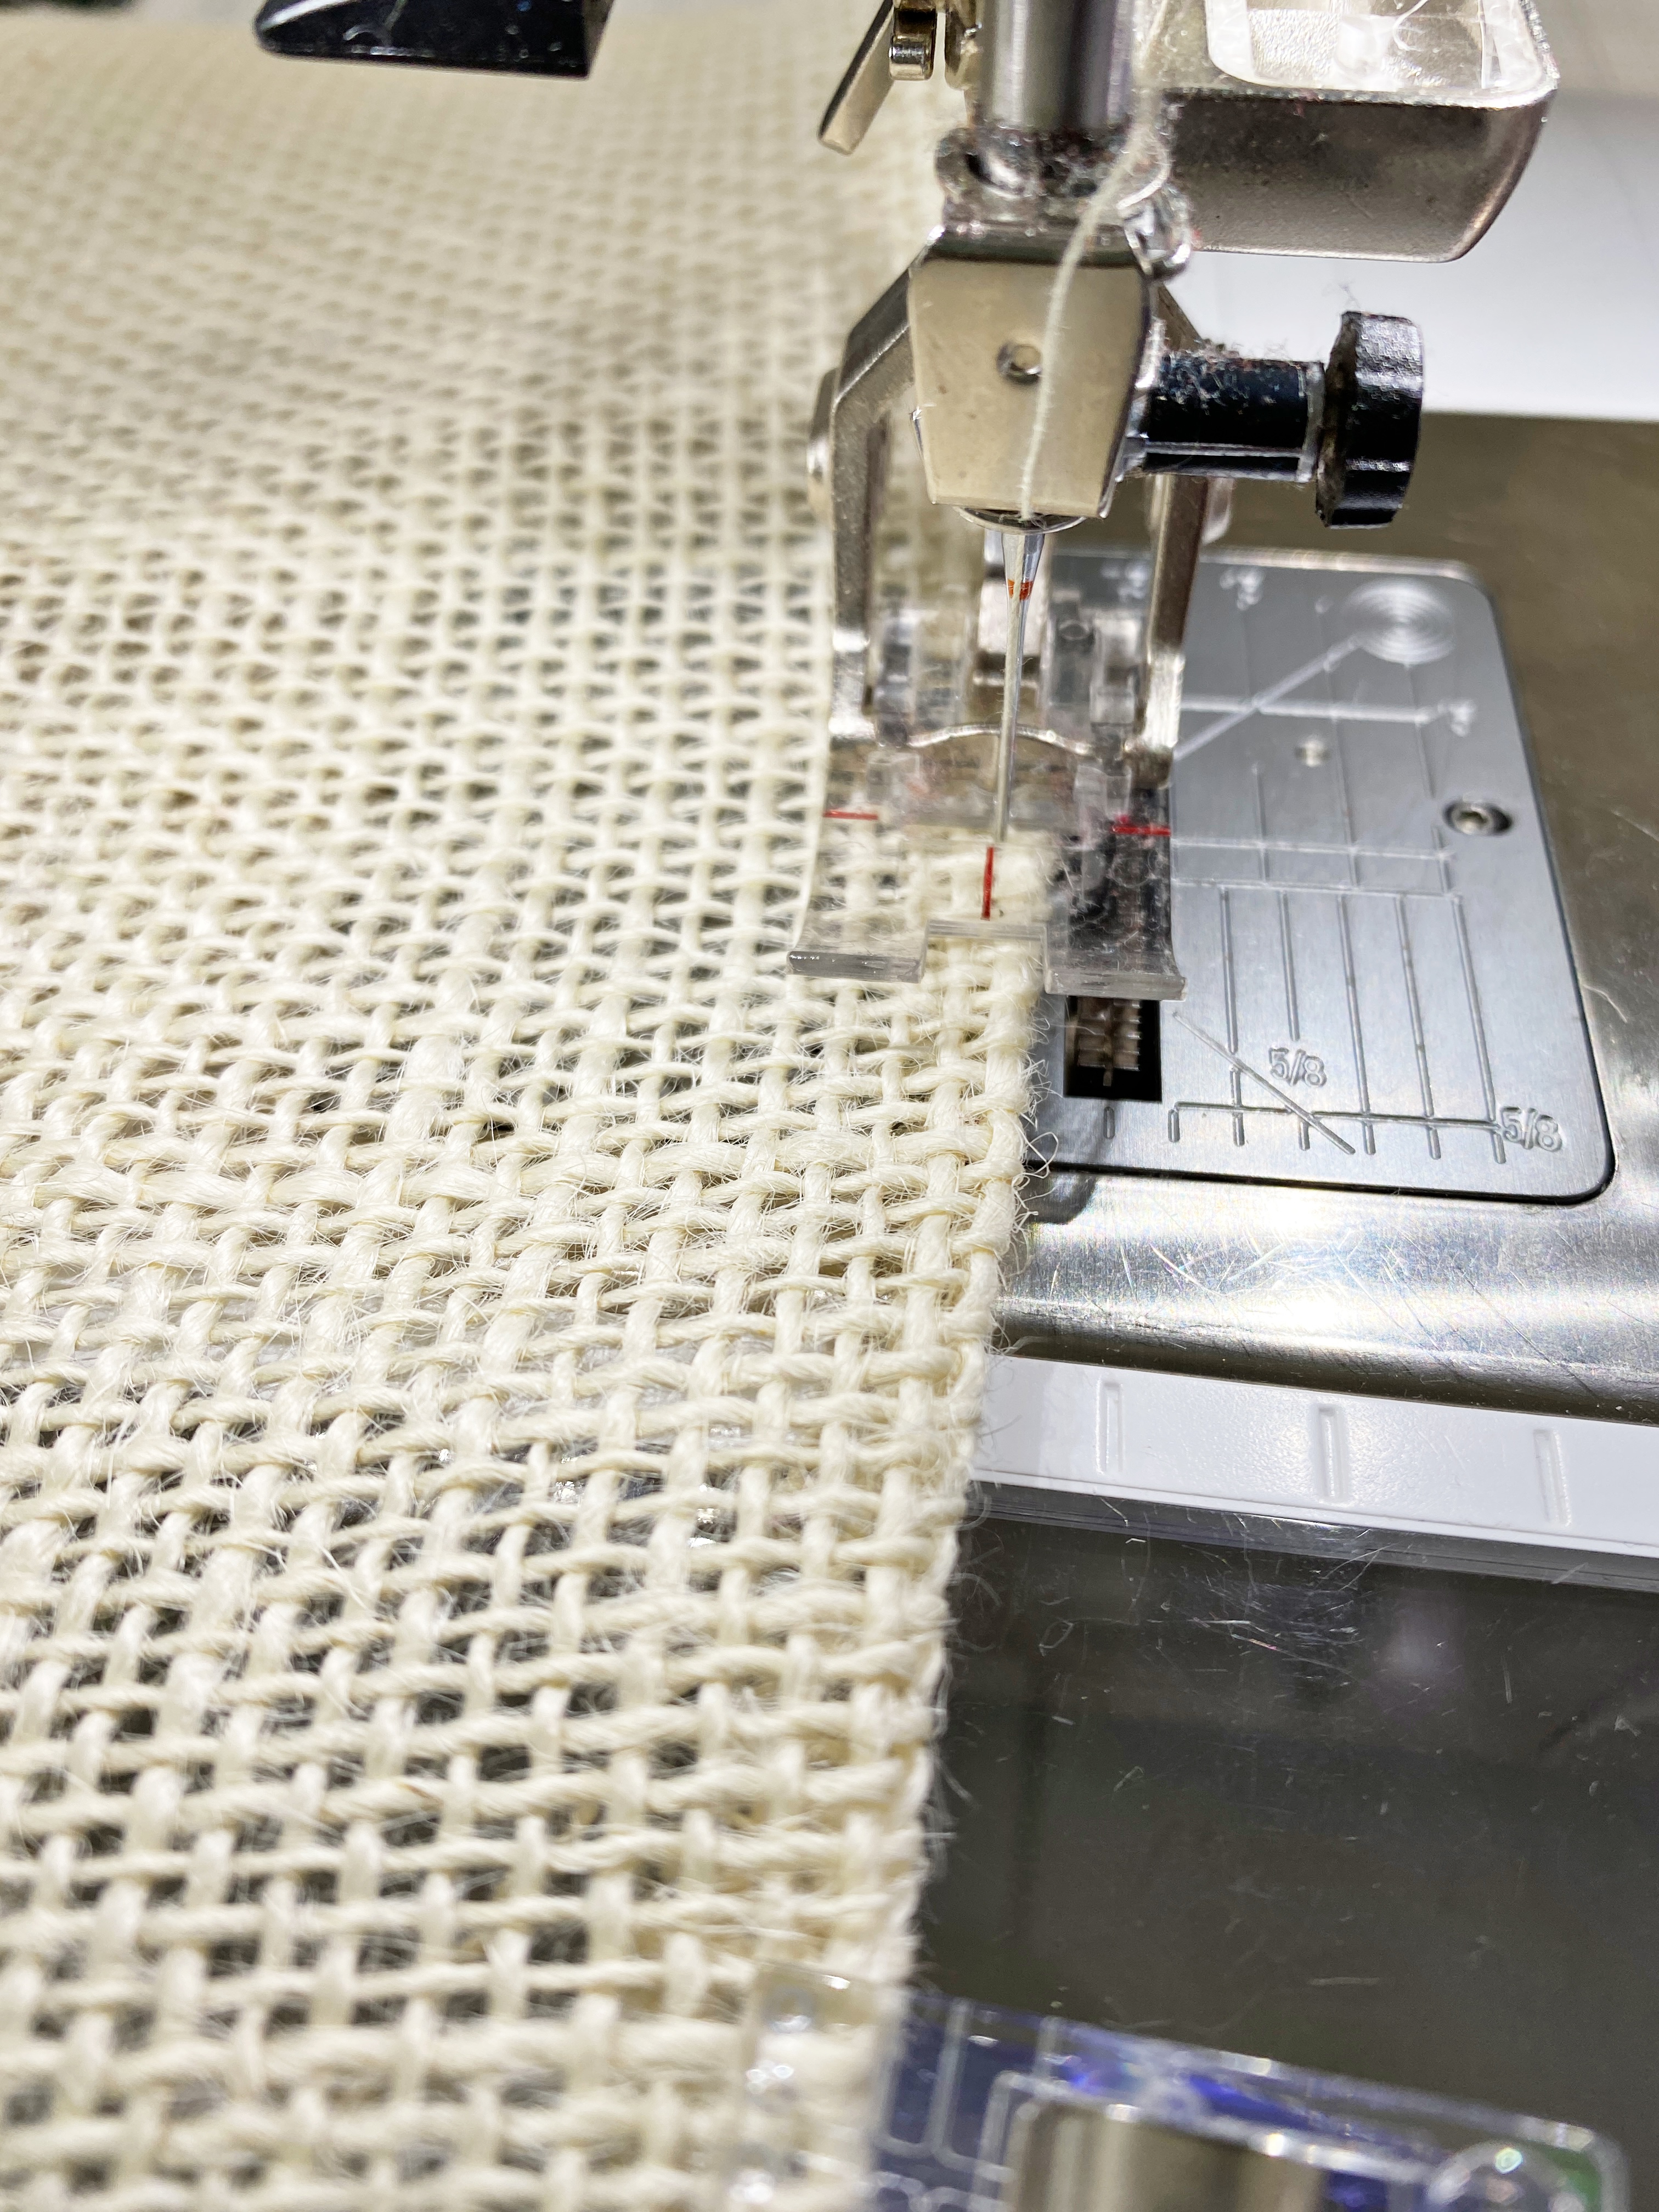
Step 5: Sew the Top Edge
Using the #34D foot, sew the top edge down to hide the raw edge inside the bag.
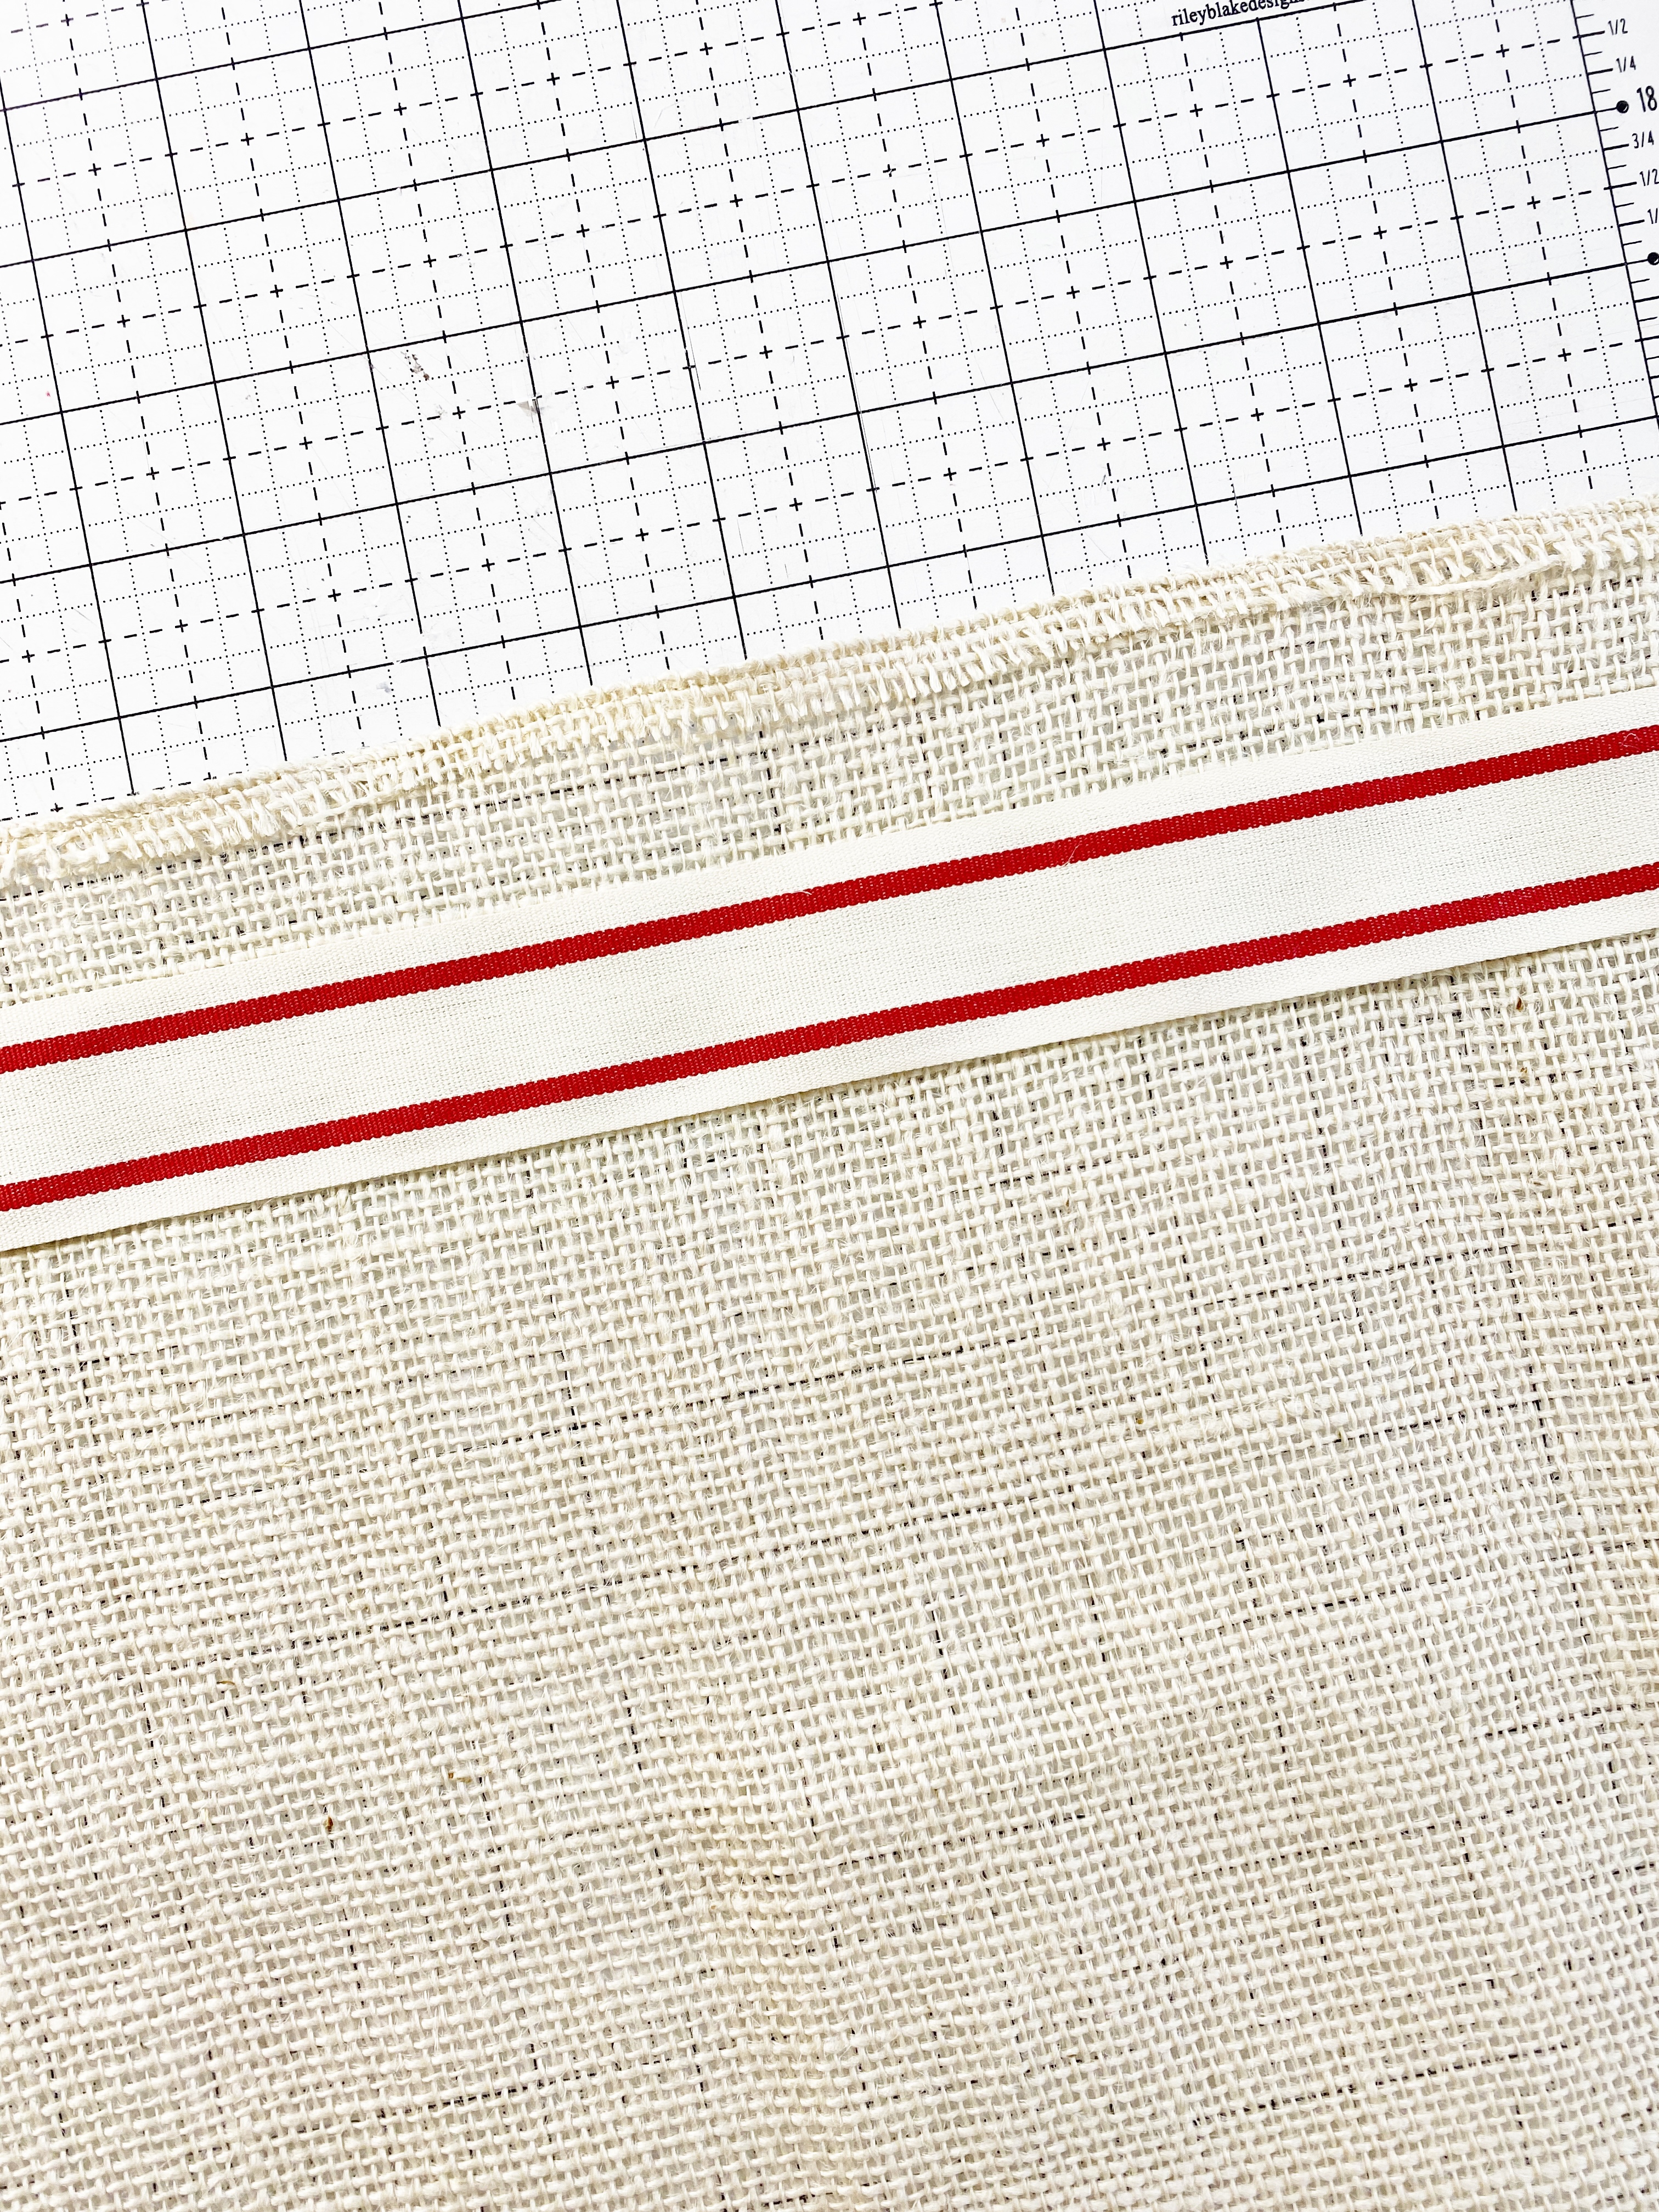
Step 6: Sew the Cording Casing Inside the Burlap Fabric
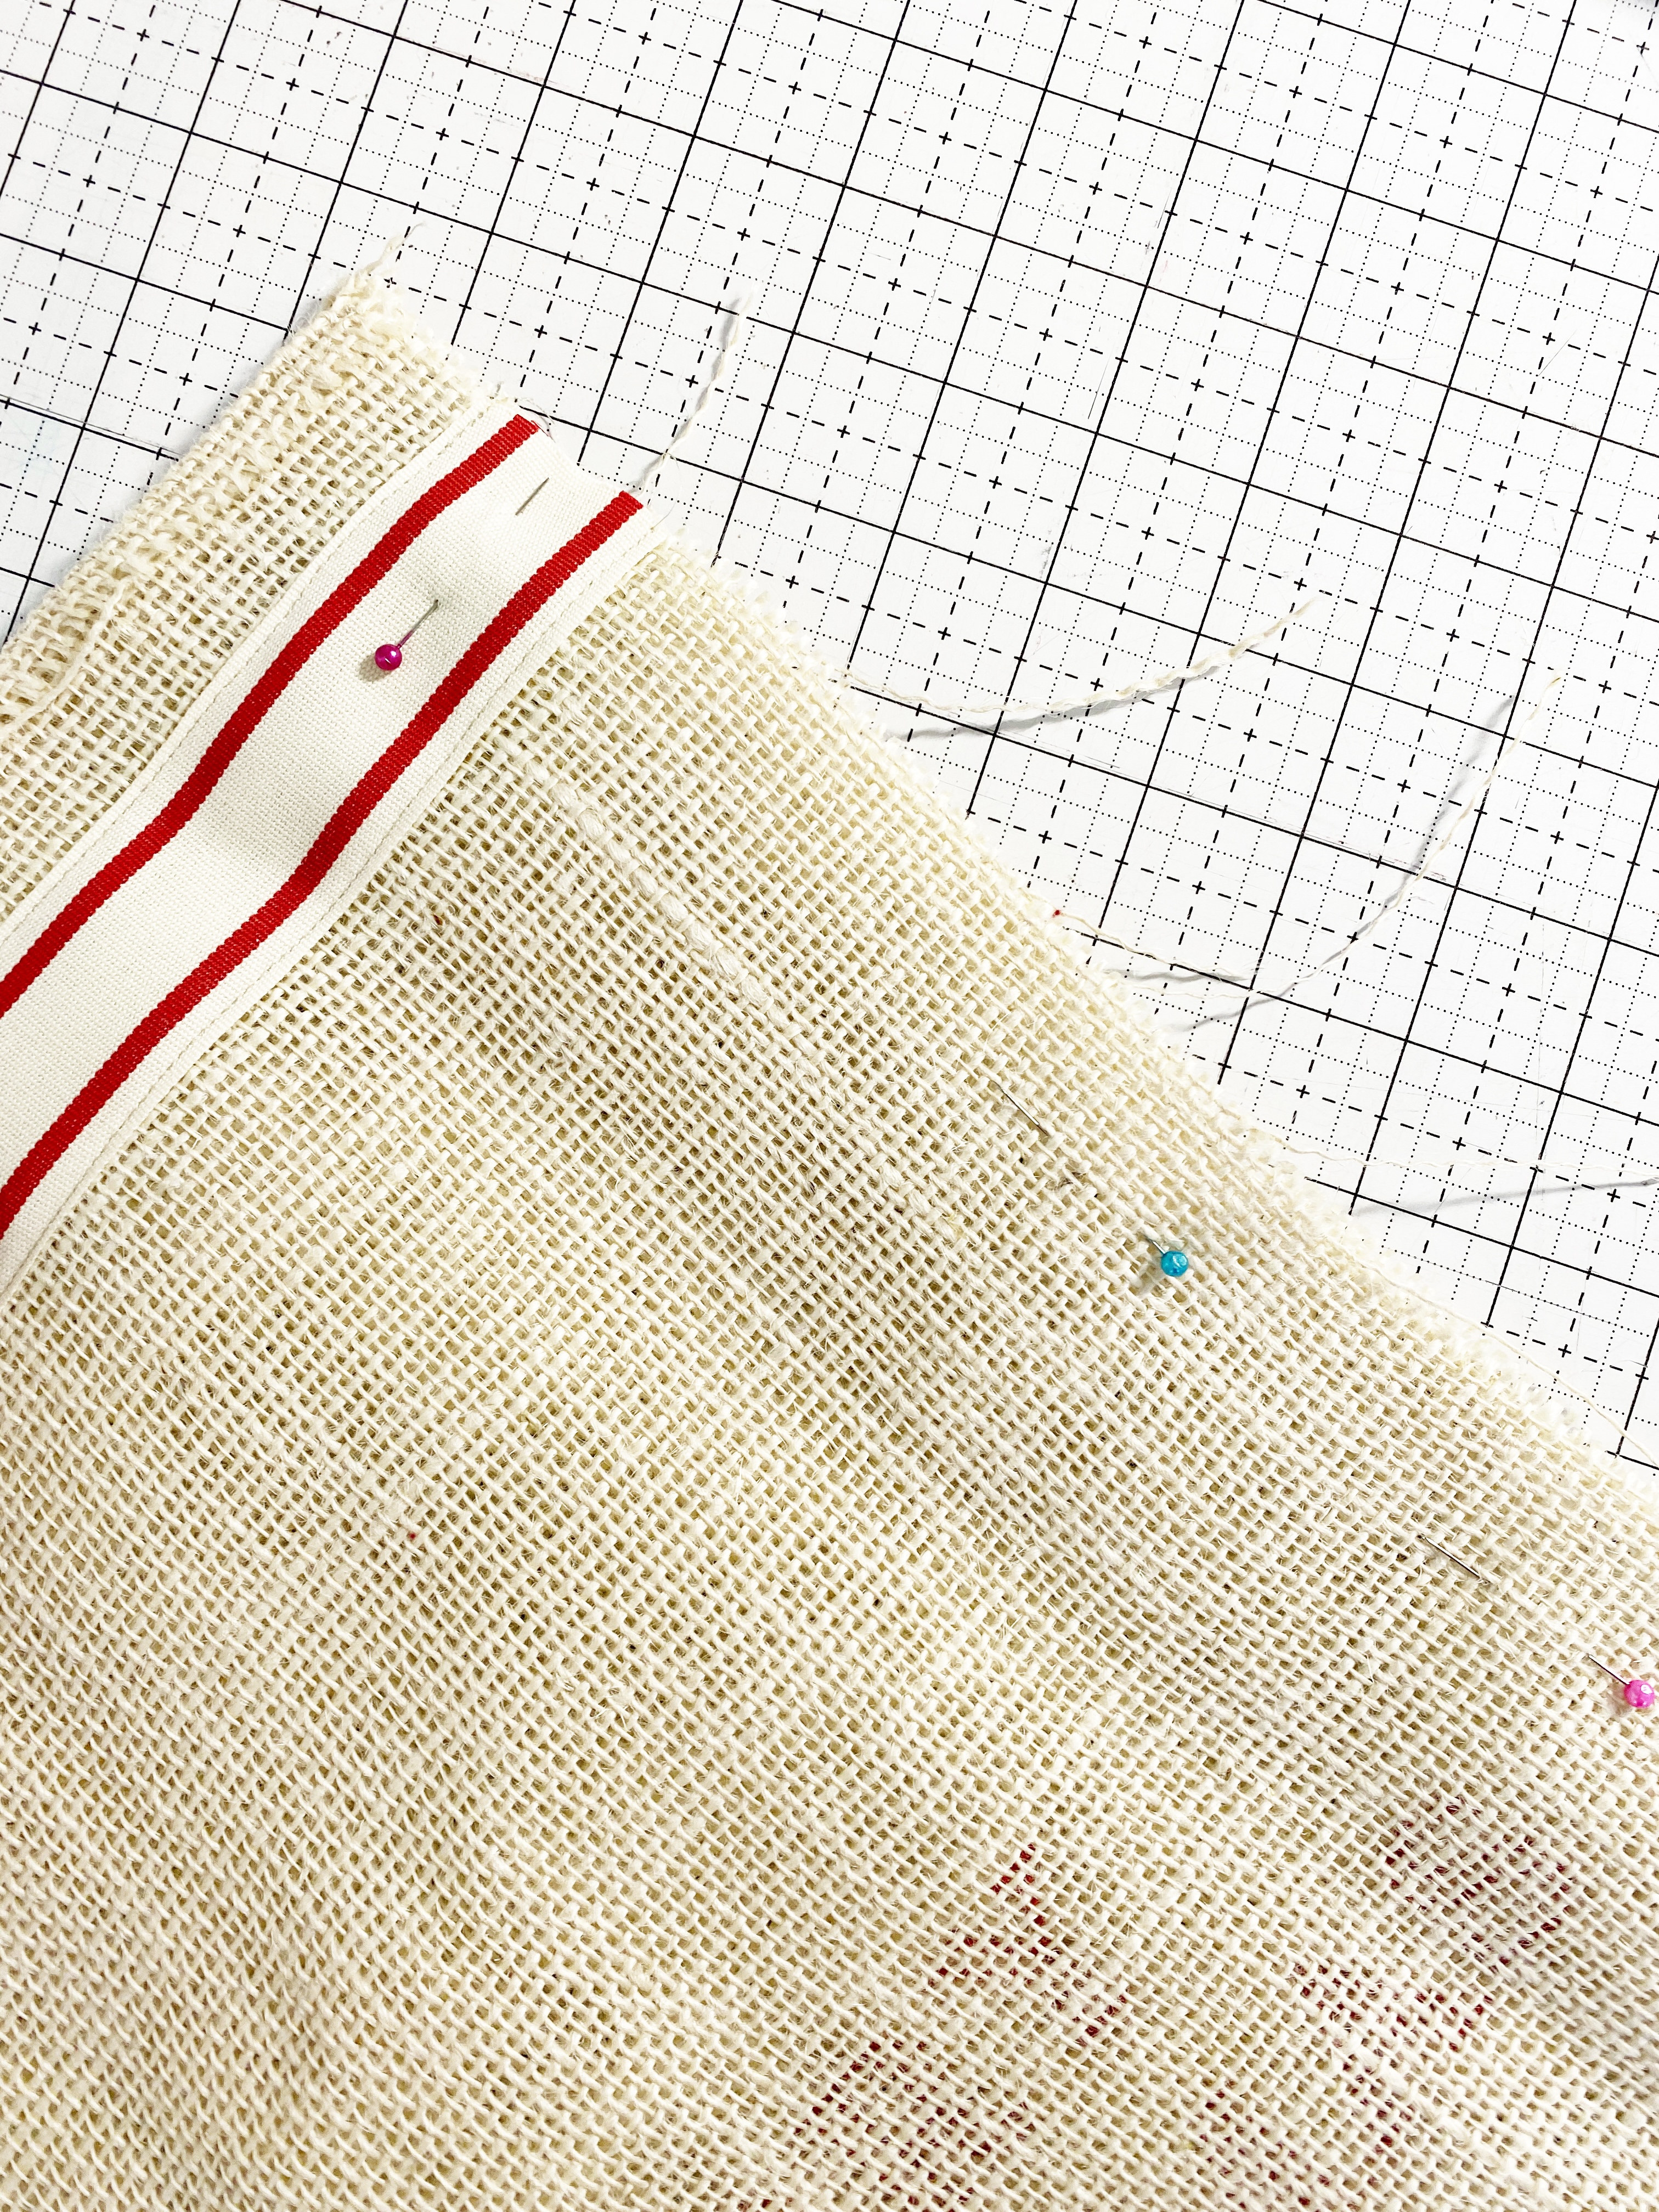
Measure 1 inch from the top of the burlap fabric and place the ribbon down and pin in place.
Sew the ribbon in place on both sides, leaving a space for the cording to slide through.
Step 7: Sew the Burlap Sides Together
With the right sides together, sew the burlap side and bottom using a 1/2 inch seam allowance straight stitch.
Go back and sew the same sides using a zig-zag stitch to stop the edges from fraying.
Cut any unwanted strands.
Clip the corners to reduce bulk.
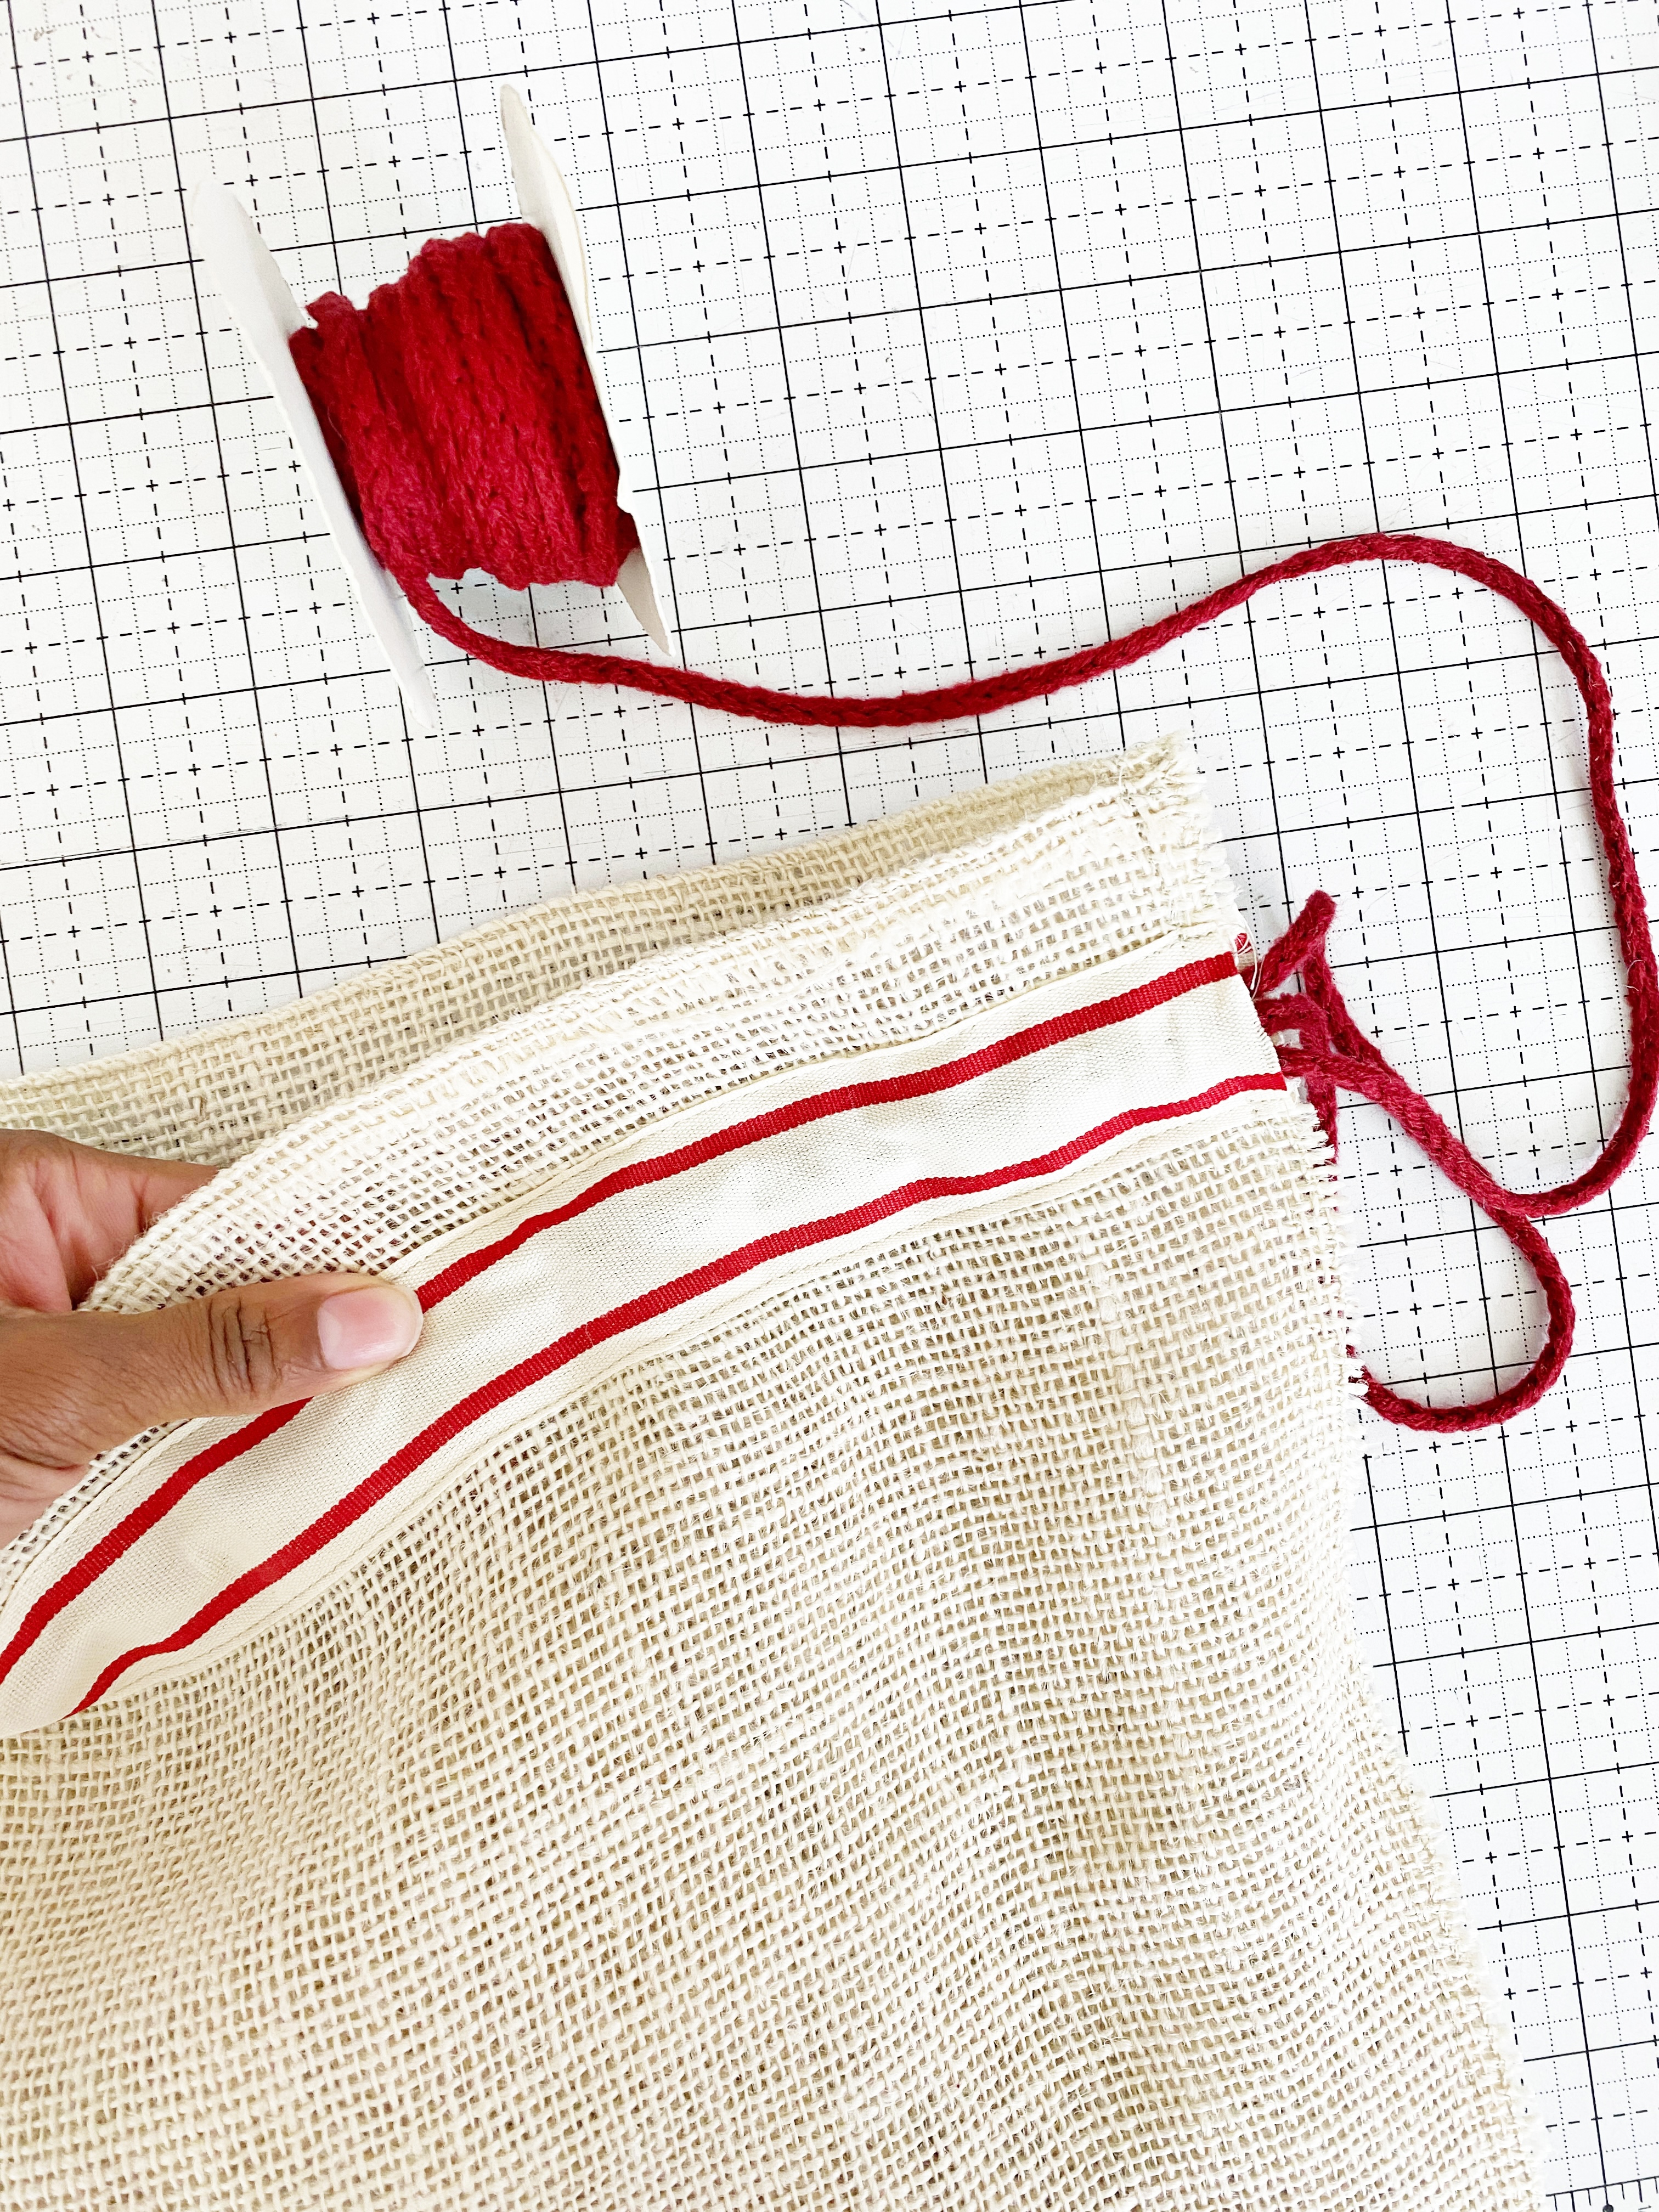
Step 8: Slide the Cording through the Casing
Before turning the bag right-side out, pin a safety pin to one end of the cording and string it through the casing.
Double back so that both ends are coming out of one side.
Note: This will take some maneuvering of the cording. Just keep pulling and shifting the fabric.
Step 9: Turn the bag and gifts
Now it is time to turn the bag inside out and fill it with gifts!
Nice and easy to make. Unusual fabrics can yield really nice results. I invite all of you to give burlap fabric a try.
Used Products


What you might also like


5 comments on “How to Make a Burlap Fabric Gift Bag”
-
-
Hello Quilt Shop Gal! Thank you so much. I’m happy you like this tutorial. This bag was easy and quick to make. Yes, working with burlap does have endless possibilities. You can make this bag as big or as small as you like. Have fun!
-
-
Very nice and I have some leftover burlap. What font was used !
-
Hello Quilt Shop Gal! Thank you so much. I’m happy you like this tutorial. This bag was easy and quick to make. Yes, working with burlap does have endless possibilities. You can make this bag as big or as small as you like. Have fun!
-
Hello Wolfemoo!! Thank you so much. Yes, pull out that leftover burlap and start creating. The font I used is called invitation.
-
Leave a Reply
You must be logged in to post a comment.

Super cute project and excellent tutorial. Thank you Kymona Tracey. I also think the possibilities of creating with burlap is endless and I love the look.