How to Quilt Christmas Stockings As You Go
Grüezi mitenand! Hello BERNINA Q . . . Quilters?!
Here is Carolina Asmussen from the BERNINA Ambassador Class of 2021 and of course, my BERNINA Q 20 Sit-down model.
How is your actual footage on Christmas decorations this year? I hope you still have time for a flash project!
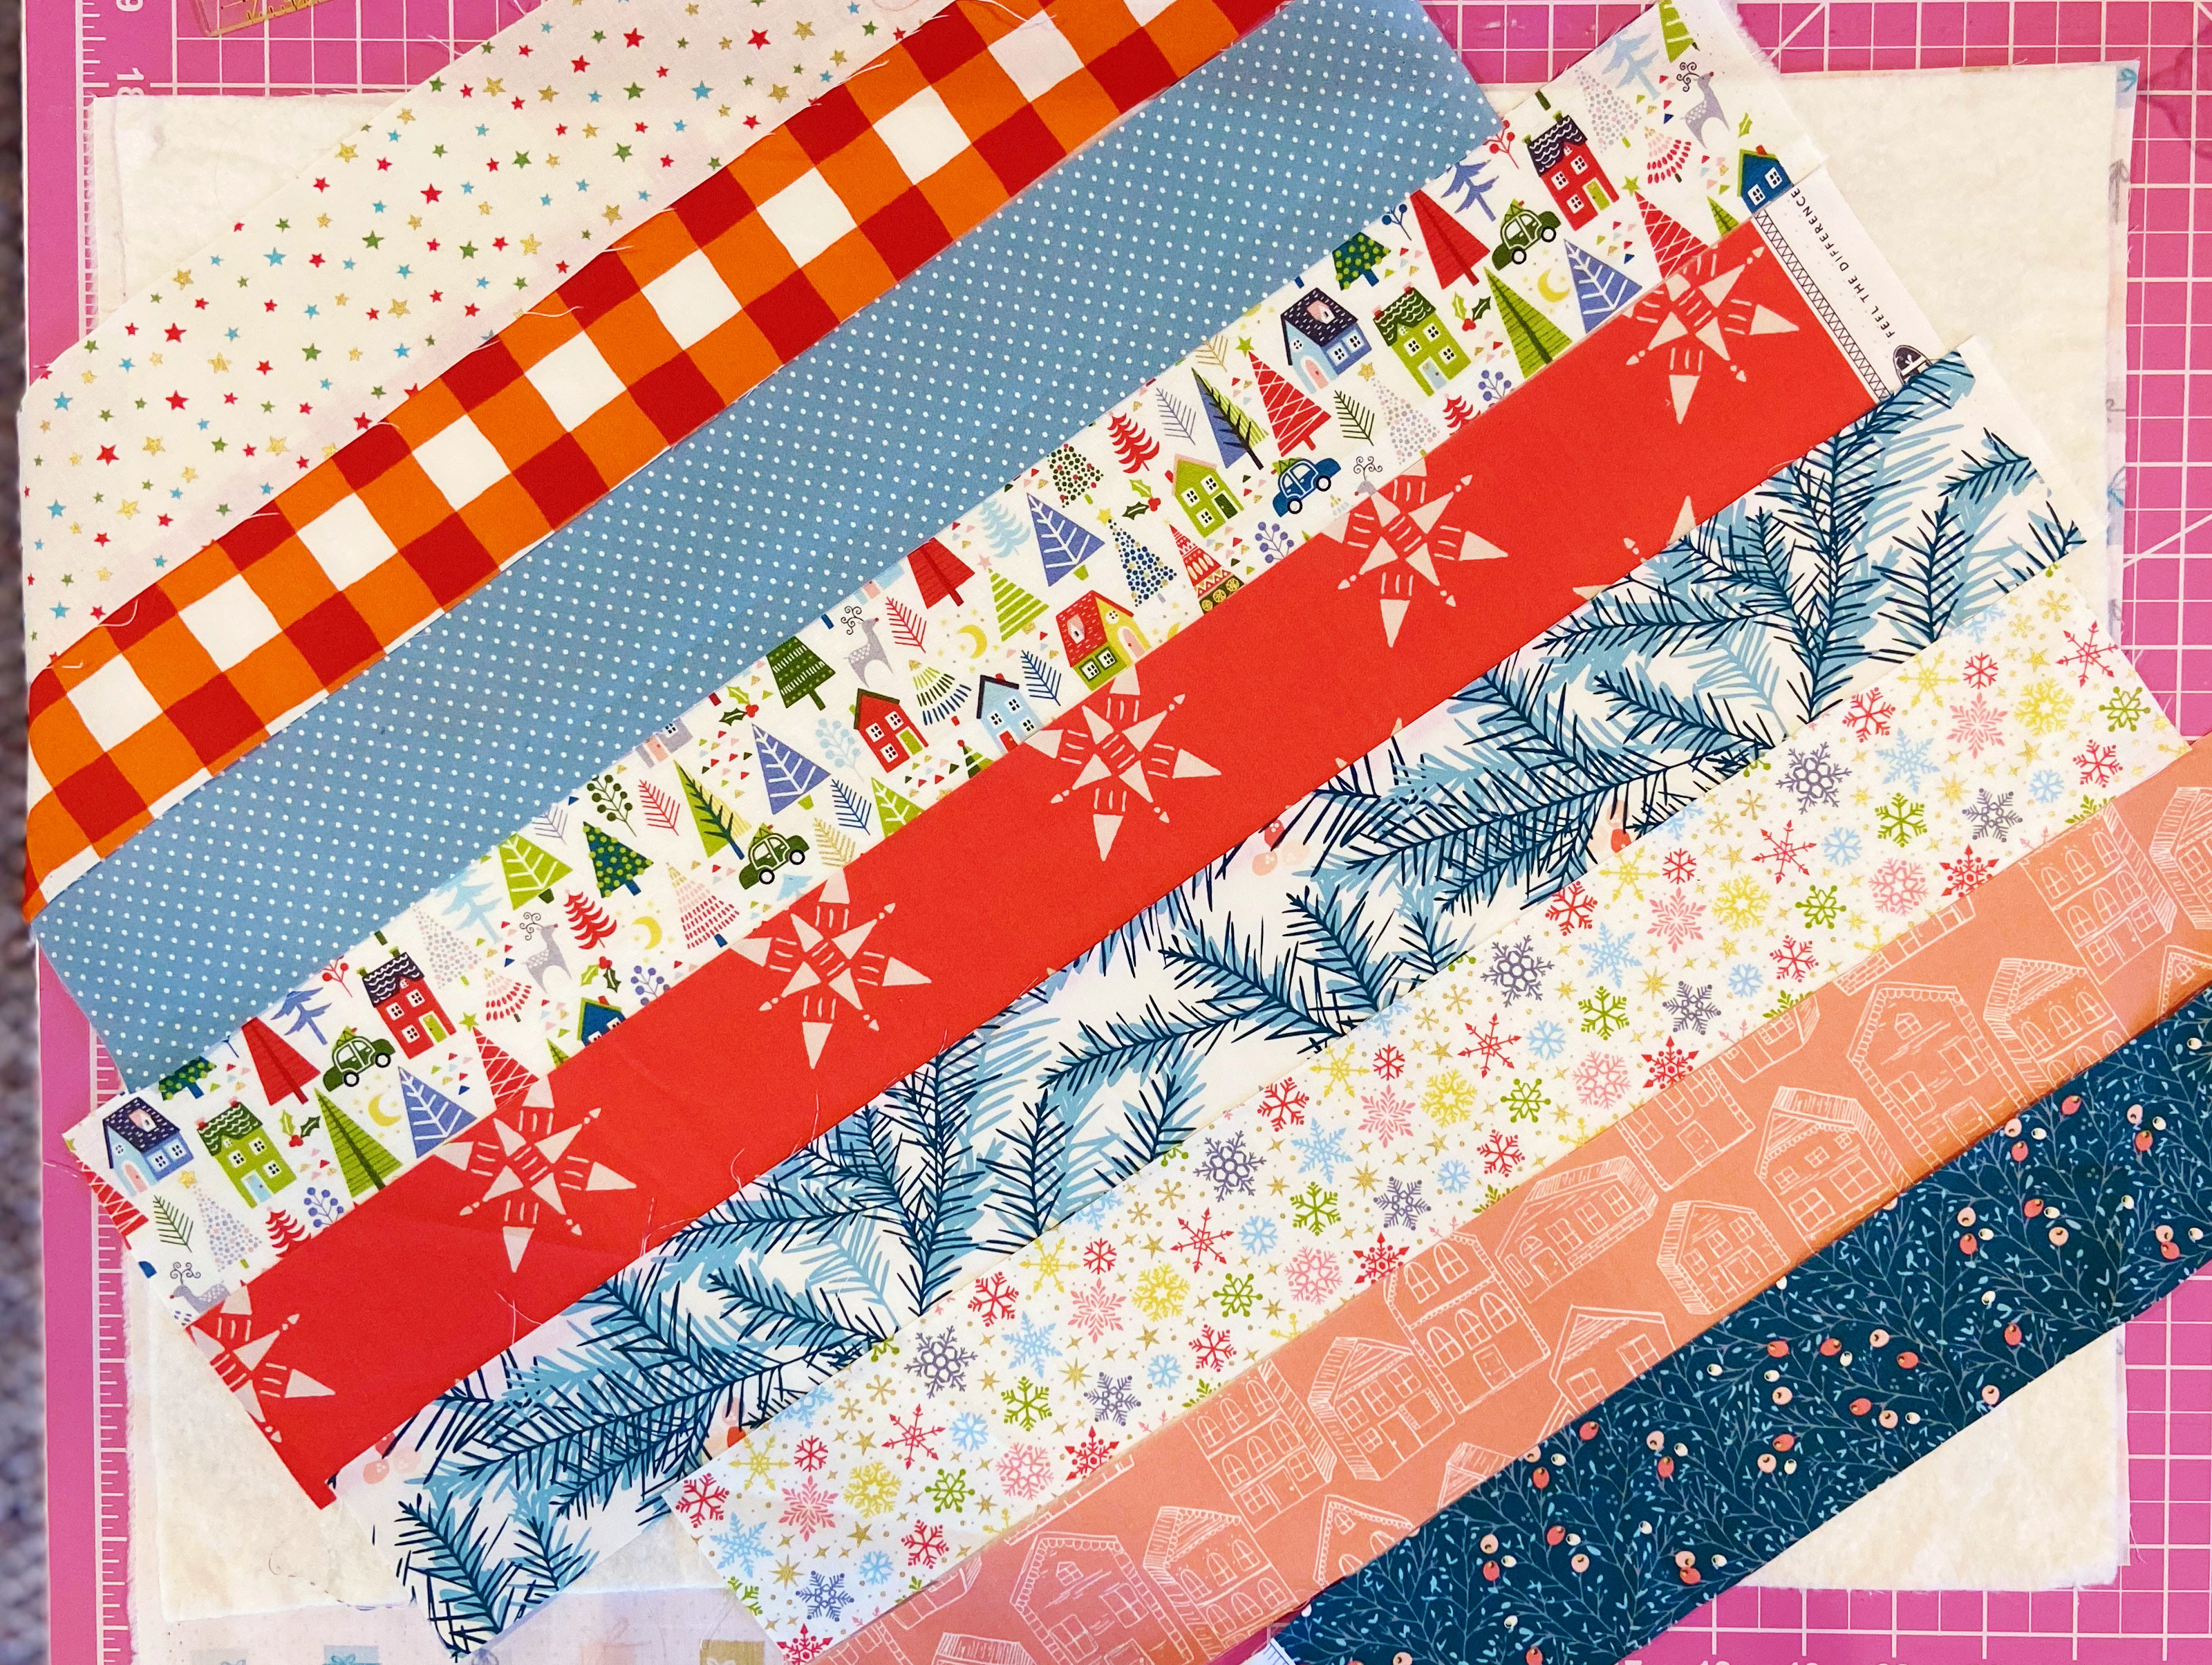
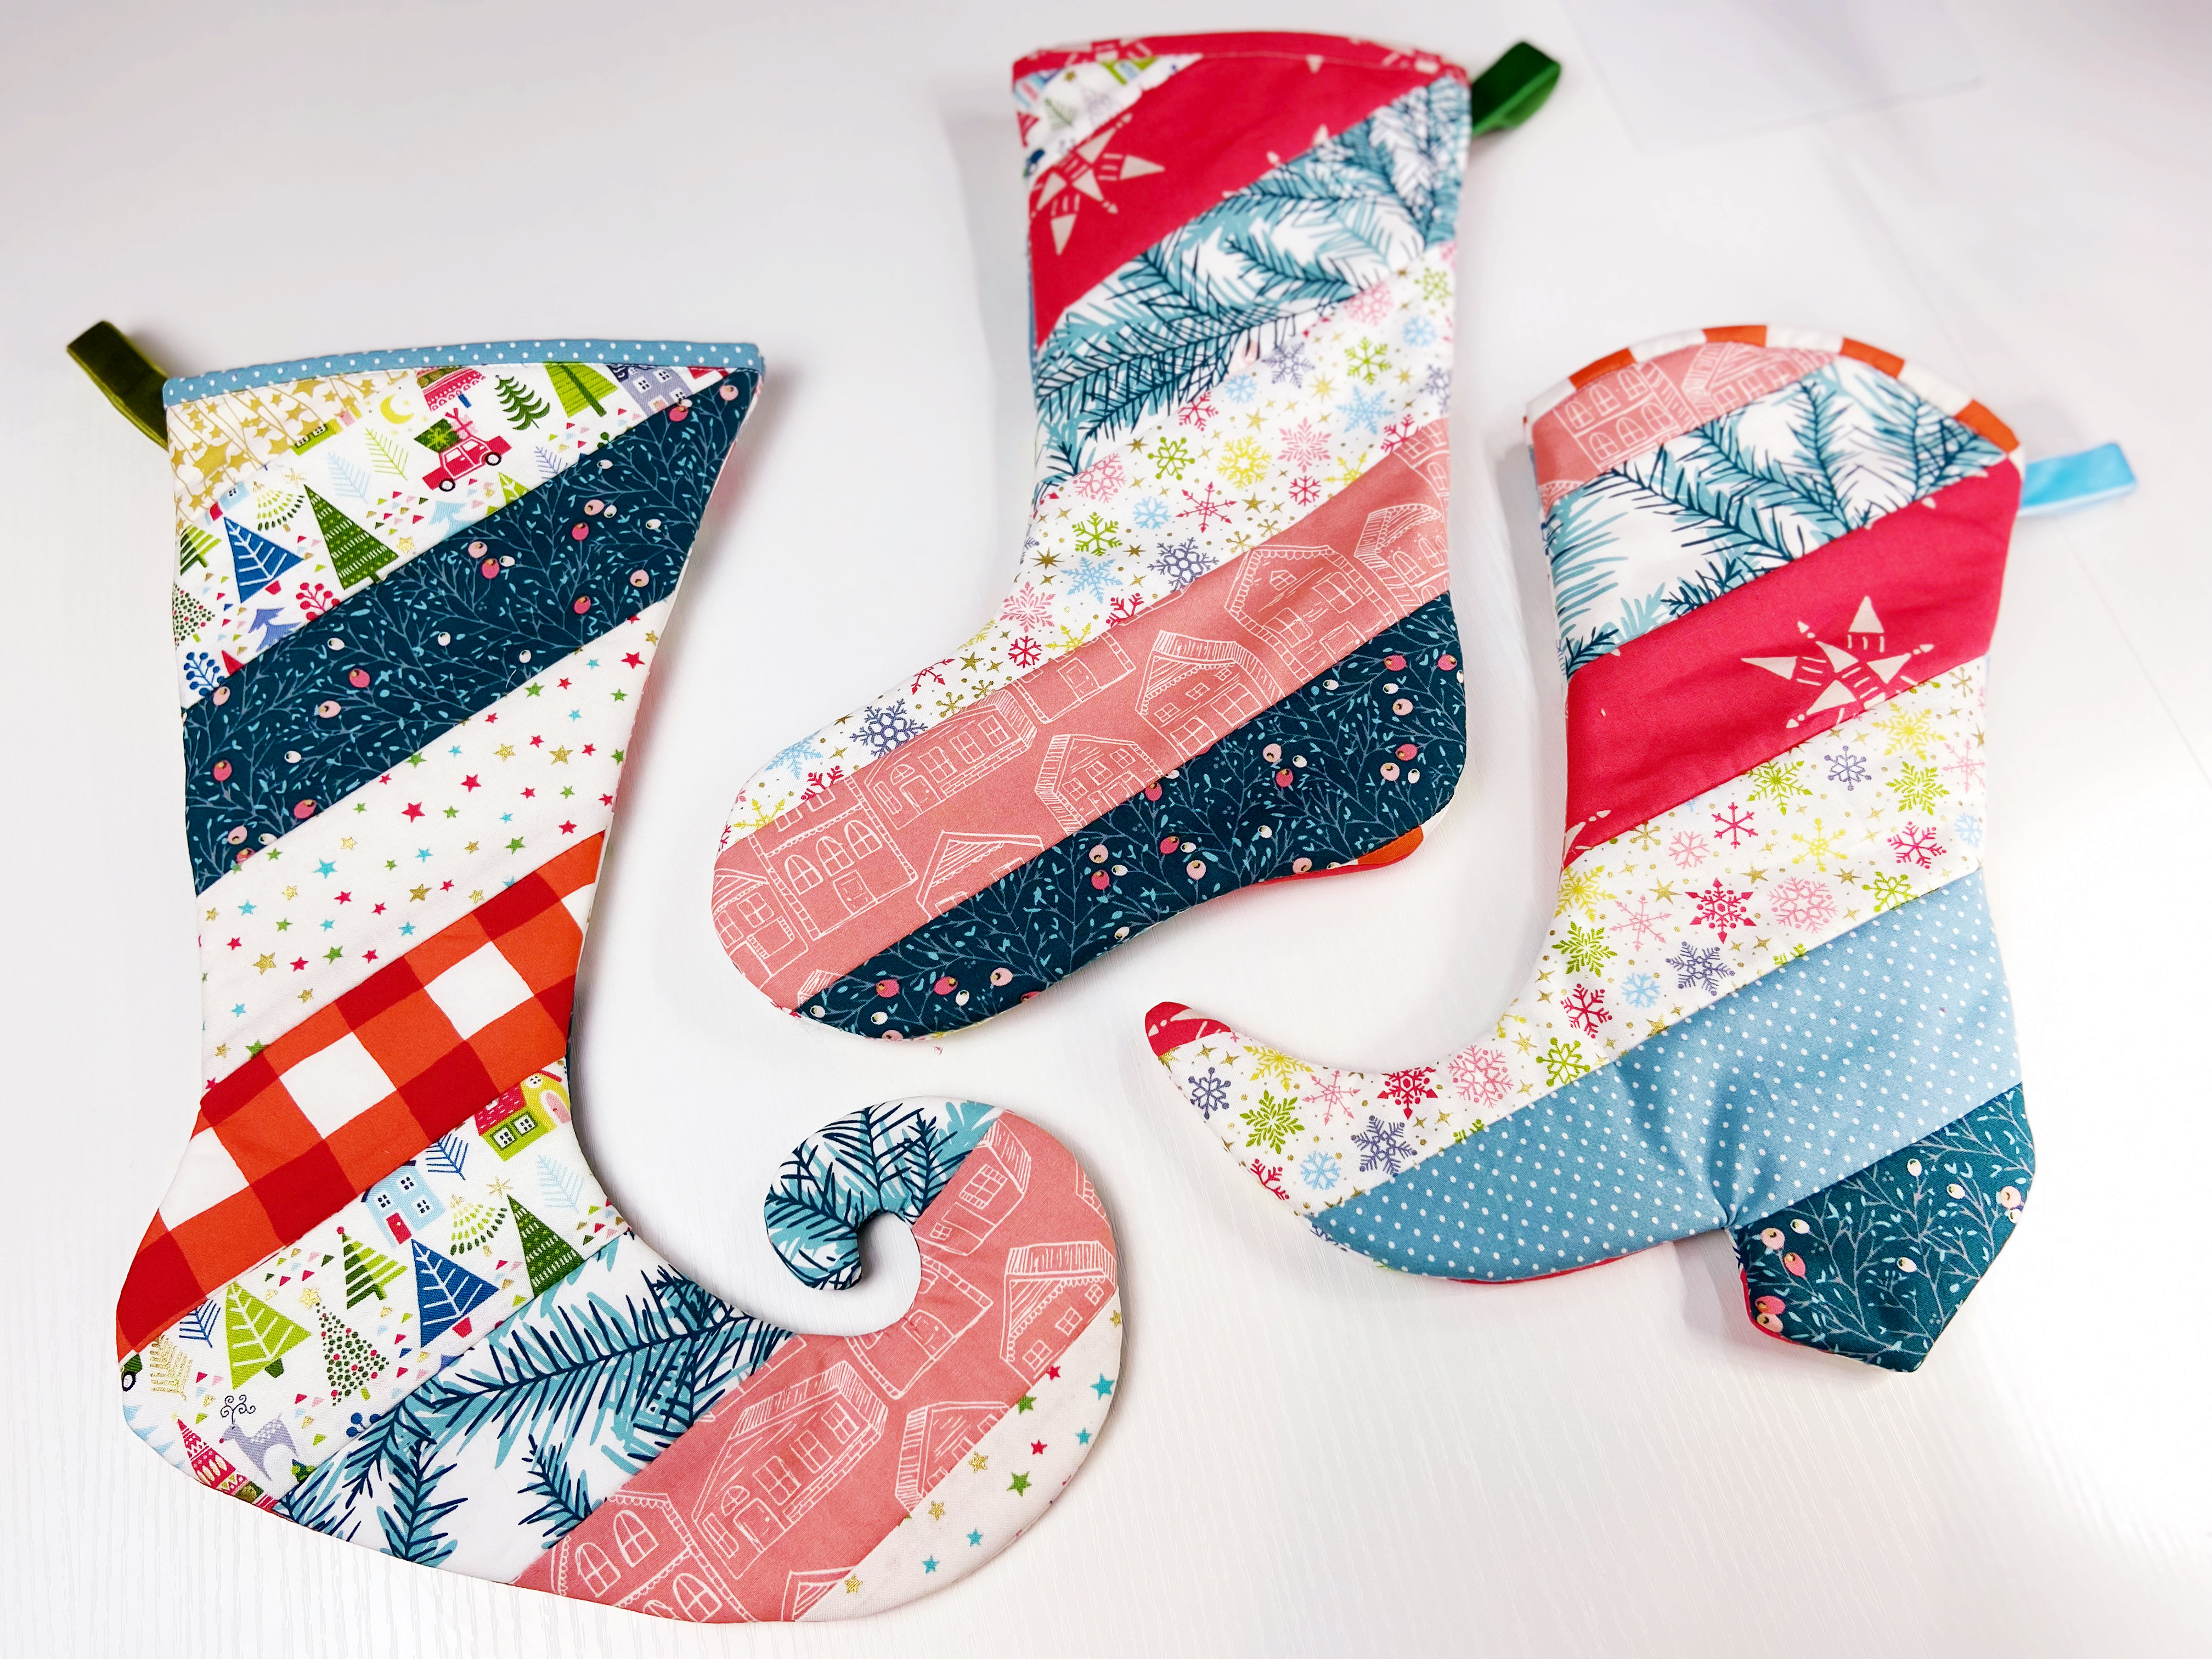
This year my kids made some unusual requests for stockings (wait for it . . .), so my solution was to gather all the 2 1/2″ strips of Christmas fabric, plus some fat quarters, and create some quilted fabric that would work for all the different stocking designs.
Are you ready for a Christmas stocking parade?
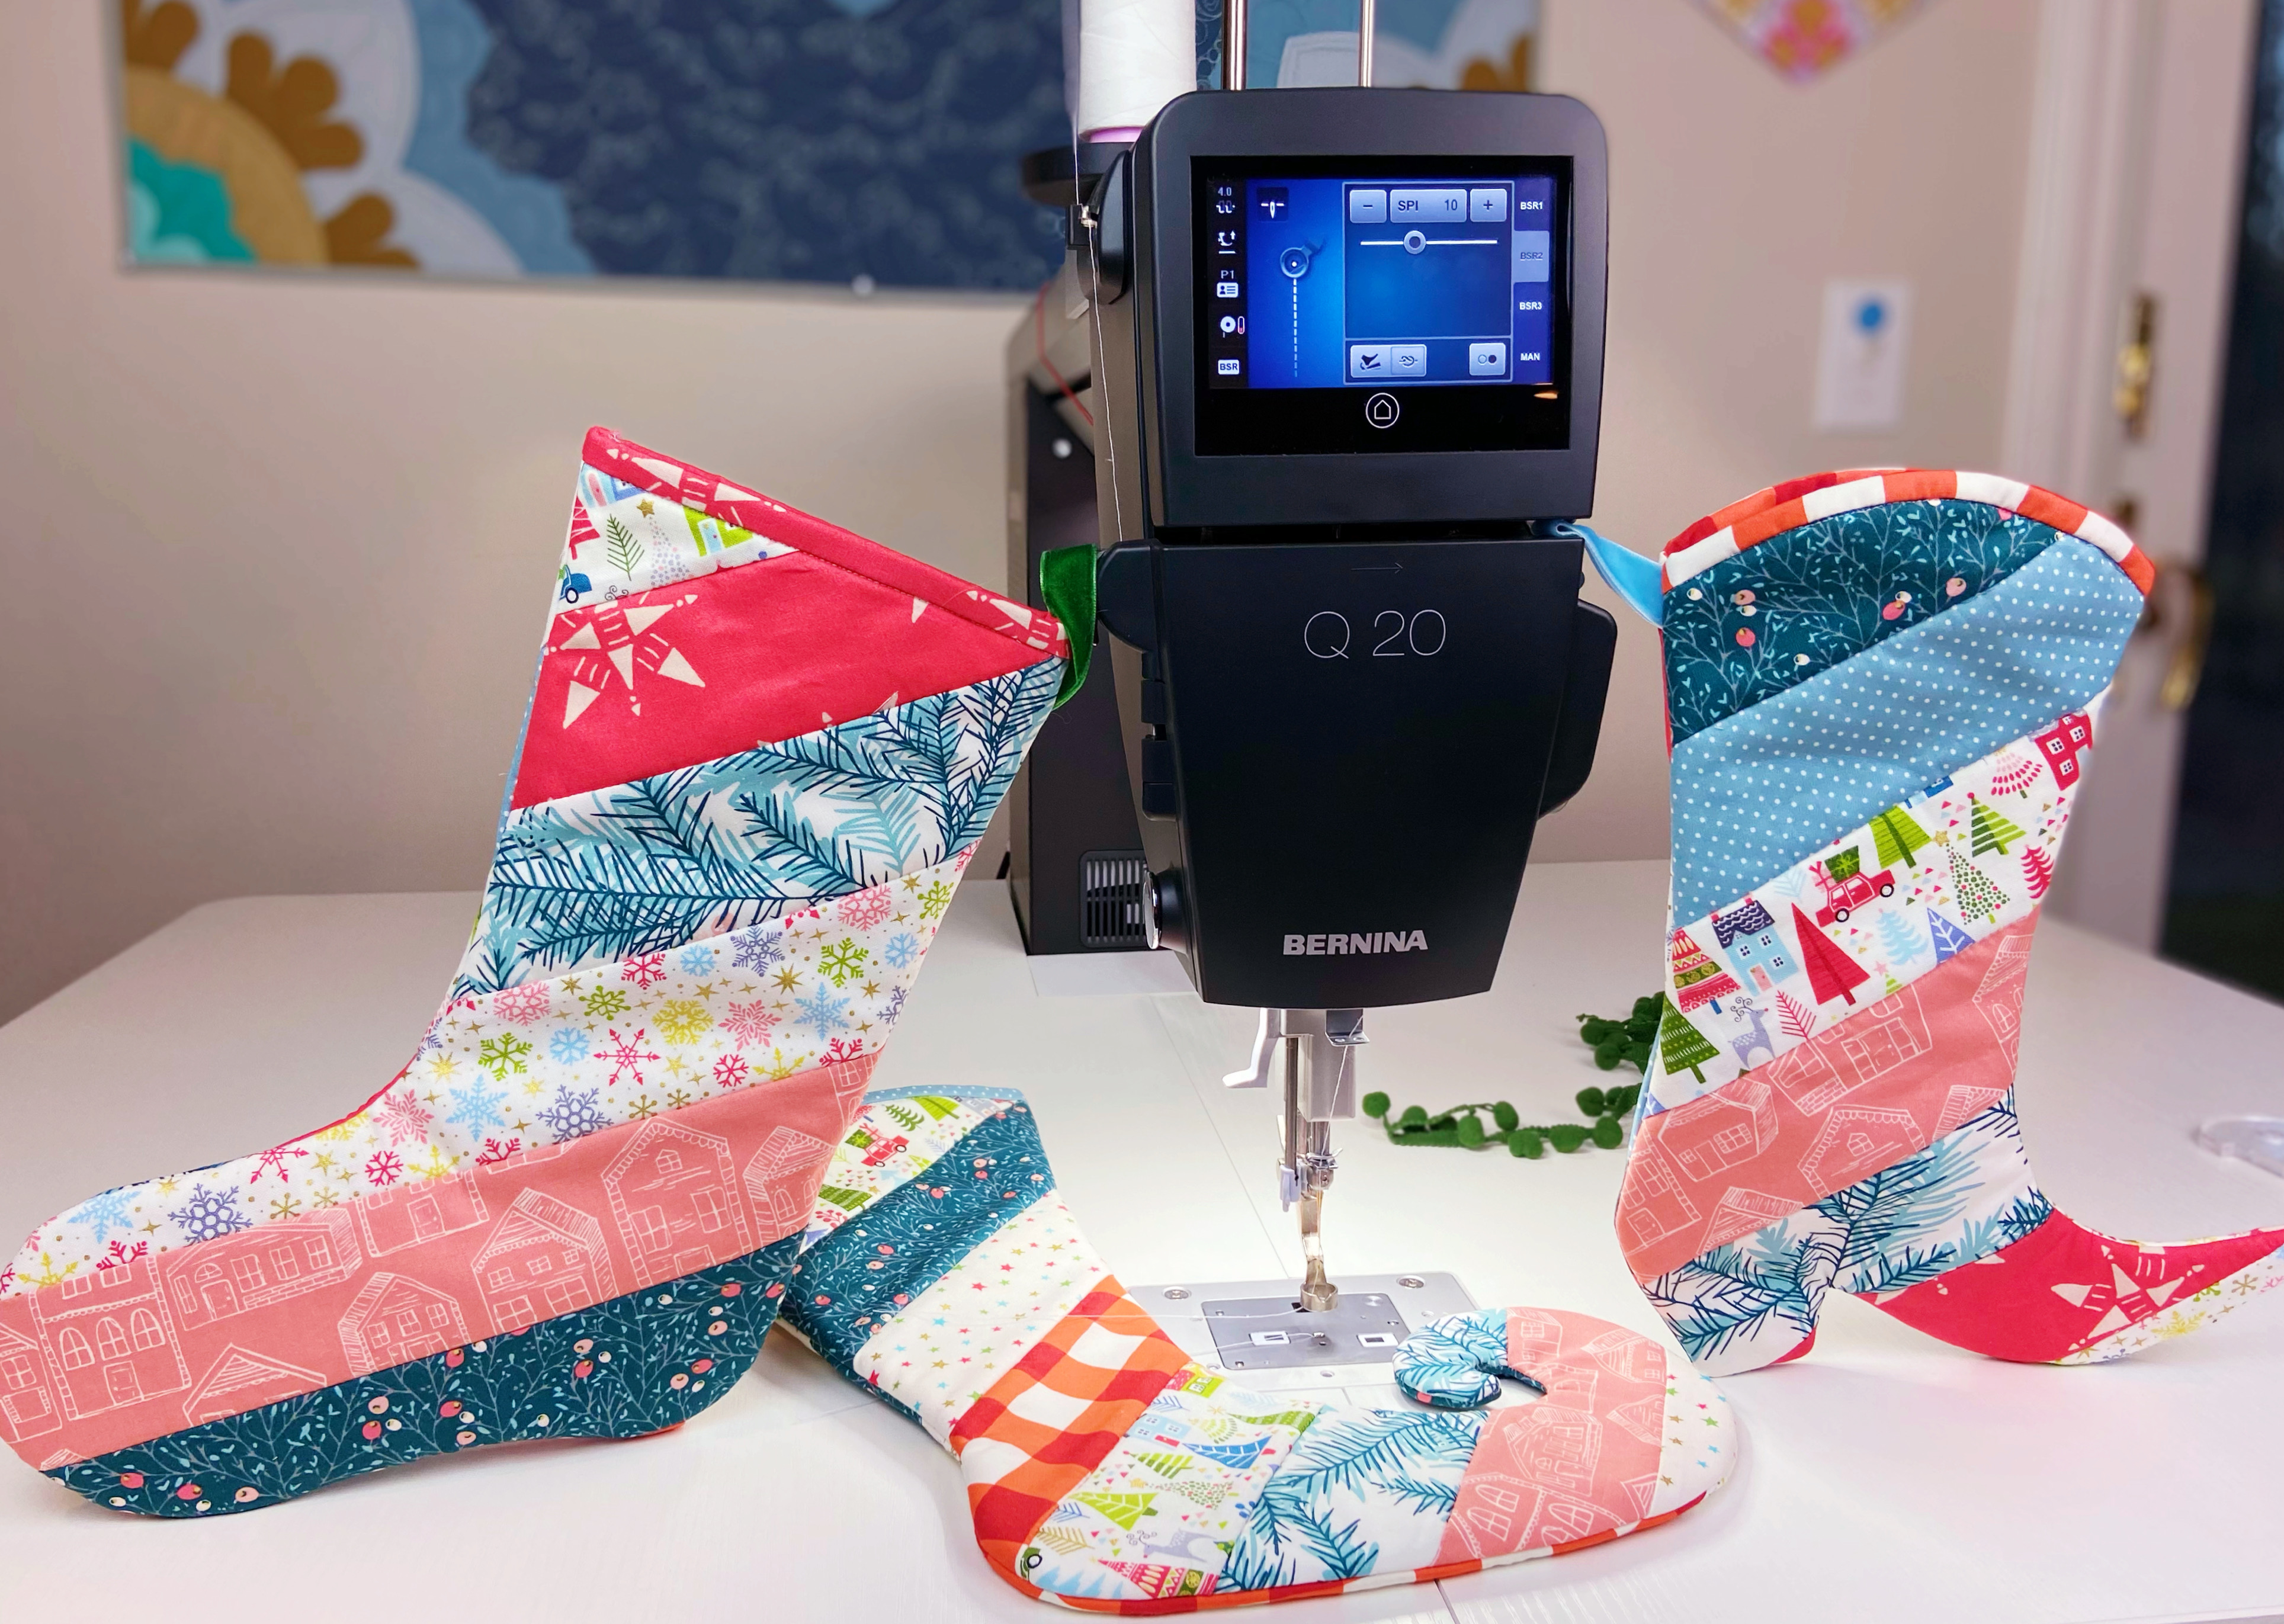
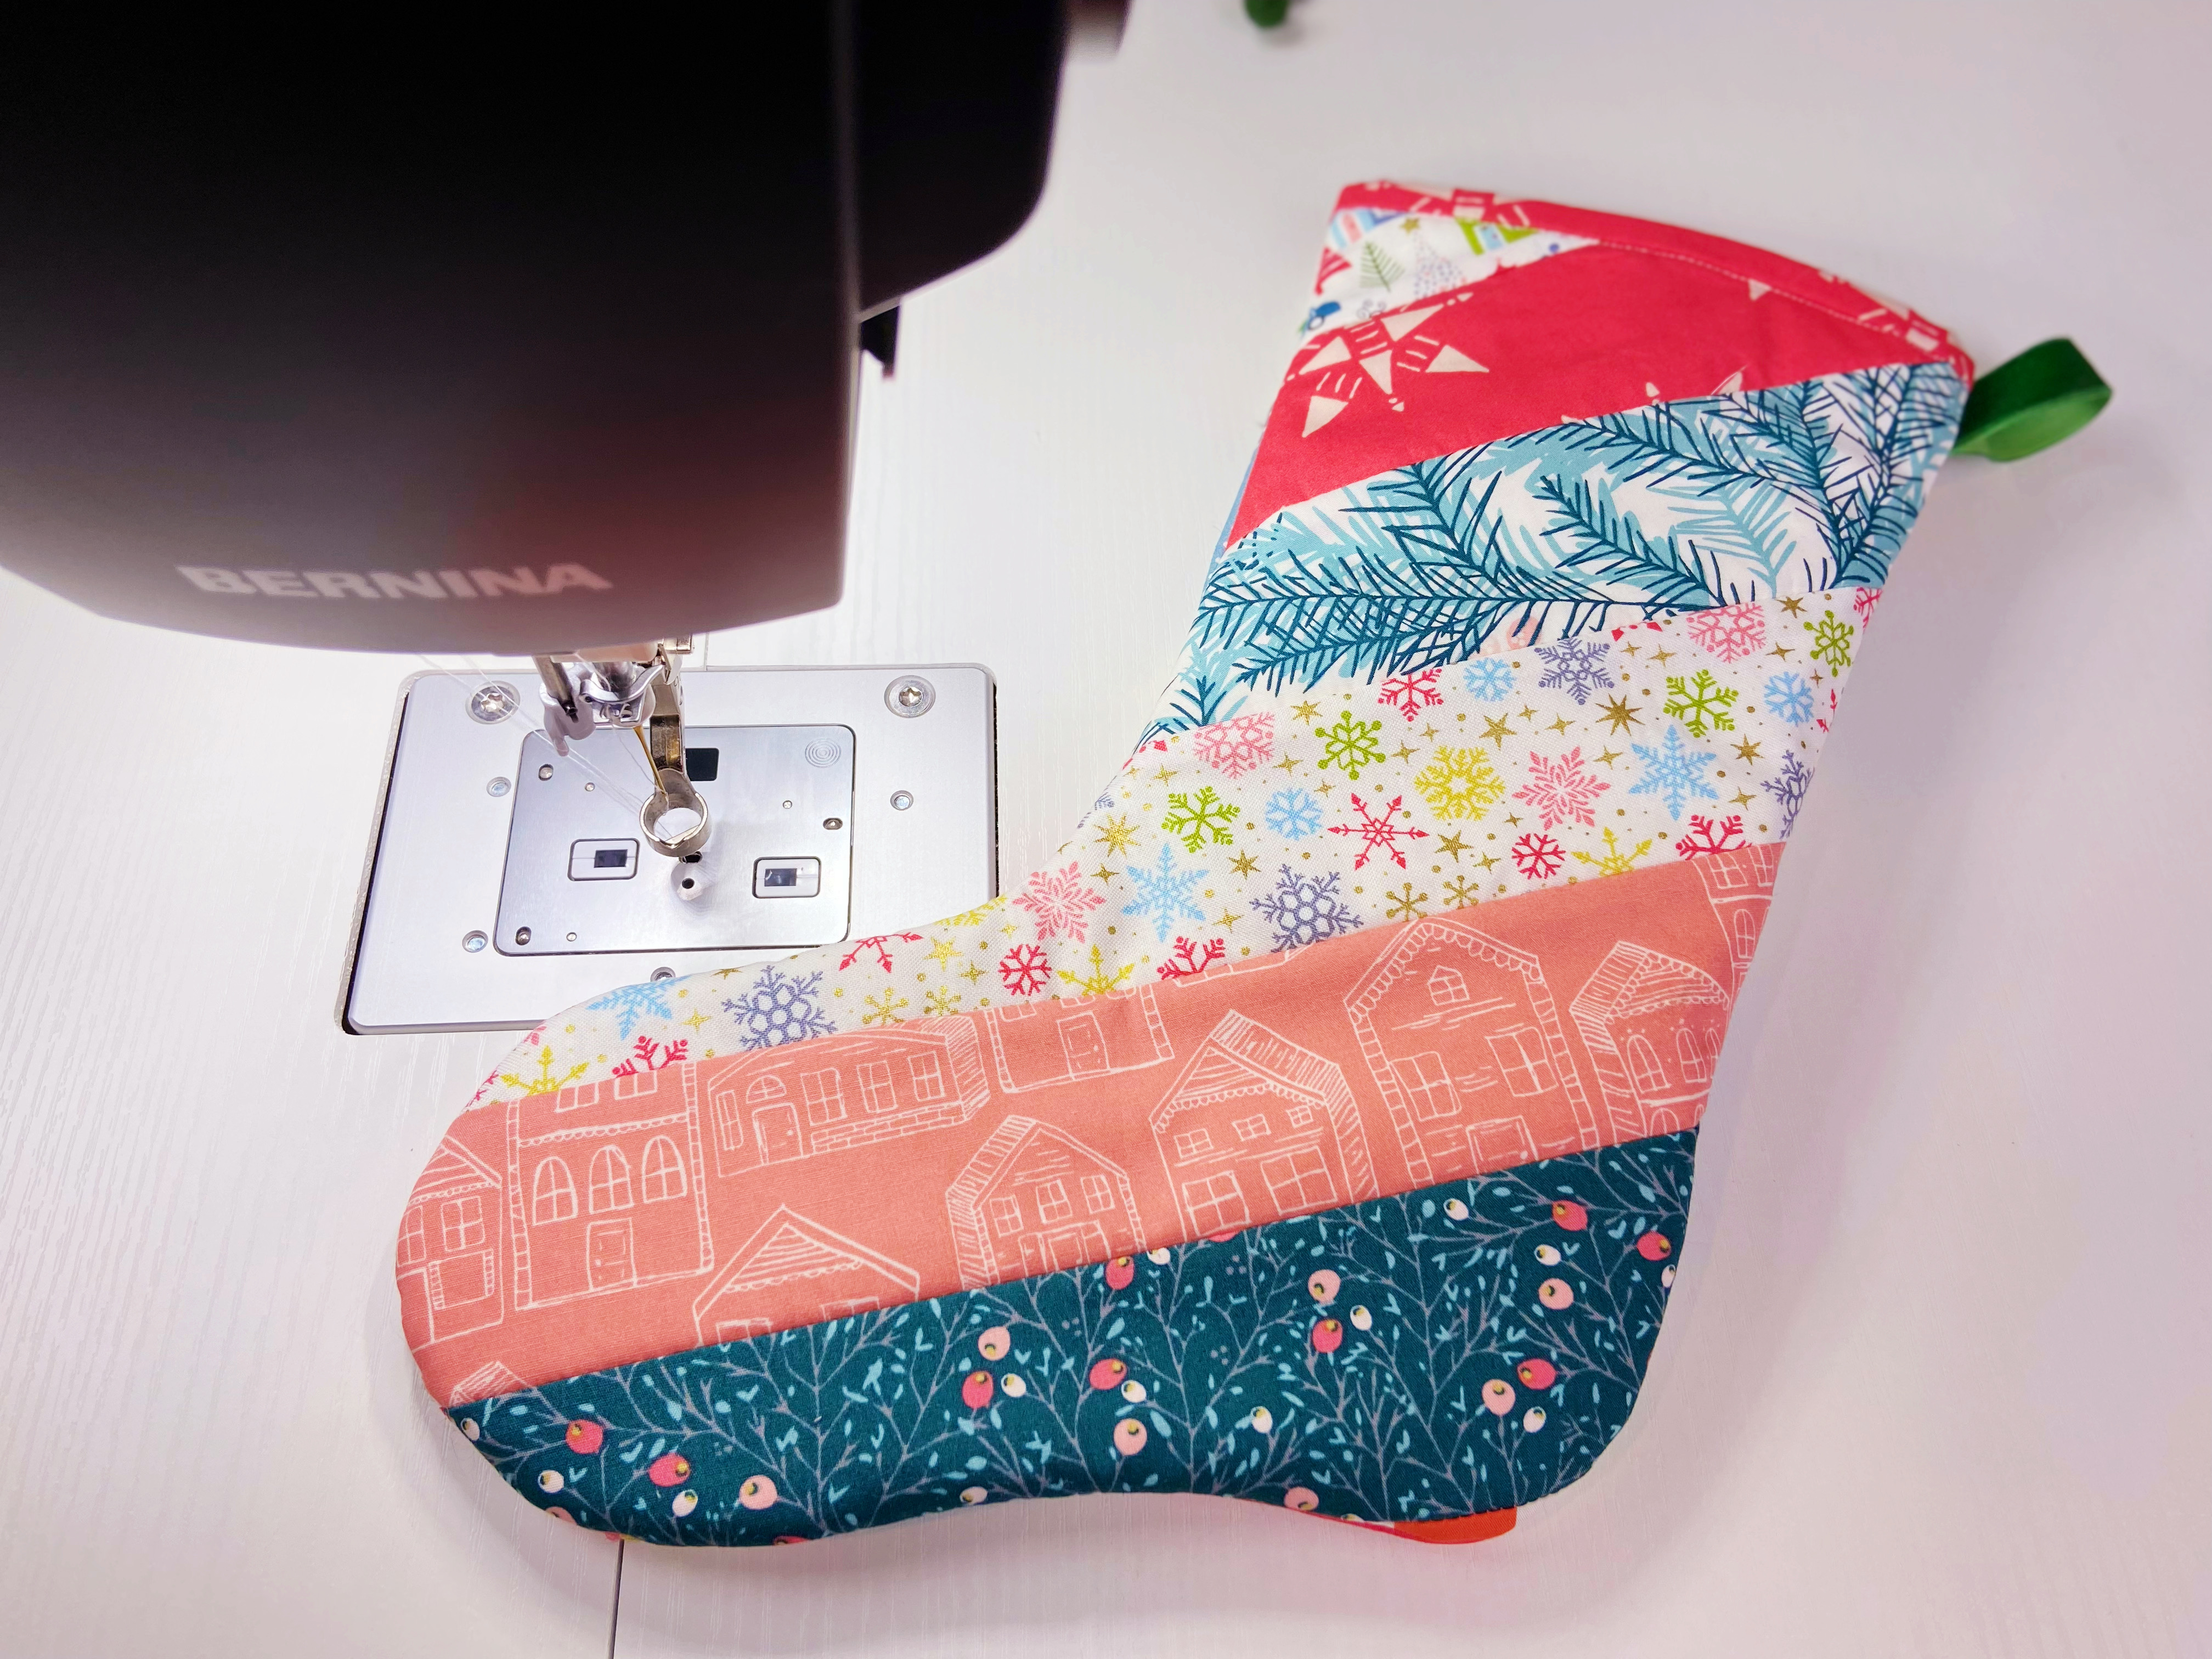
The following tutorial is for Santa’s Stocking using a quilt as you go method and it is the same for the three different stocking designs.
How to Quilt Christmas Stockings As You Go
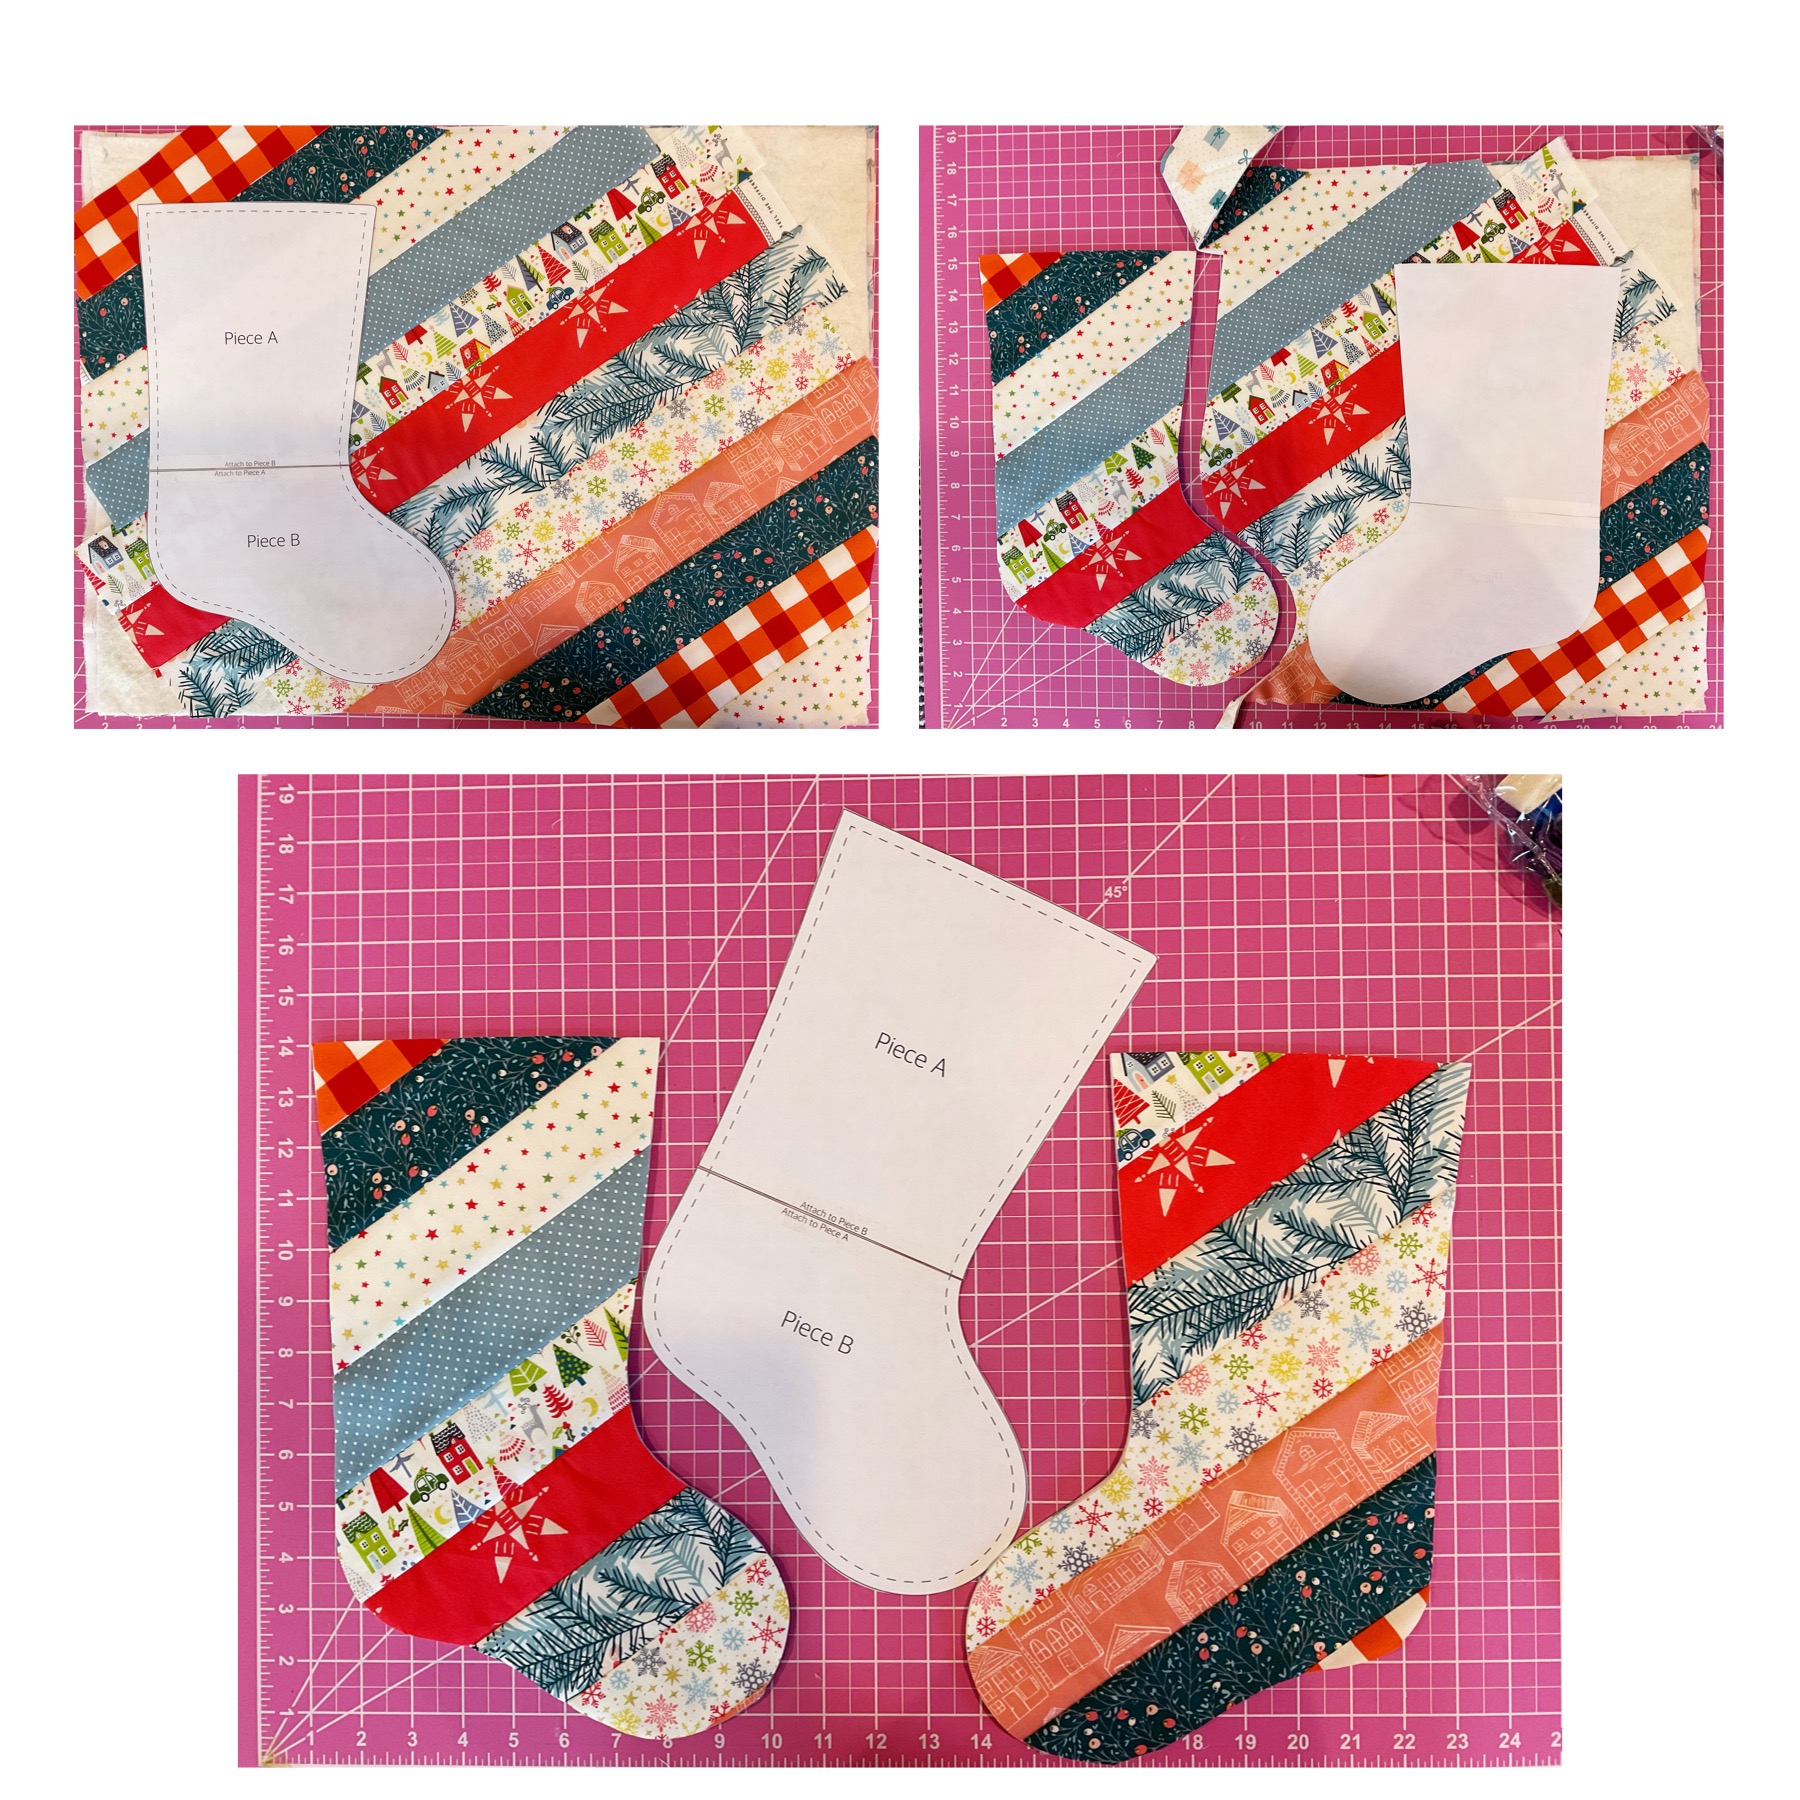
Before we start, you need to download the PDF file below and print 100% scale. You can use the 1″ square printed on paper to check the scale. Tape templates A and B together following the instructions.

Materials to Quilt Christmas Stockings As You Go
- (1) fat quarter fabric (18″ x 21″) for backing
- (1 ) 18″ x 21″ piece of fusible batting
- (12-13) 2 1/2″ x 21″ strips of fabric
- (2) 2 1/4″ x 8″ strips of fabric for binding the top side of the stocking
- (1) 6″ length piece of velvet ribbon, 1/2″ thick (I used in green color)
- 1/4″ fusible tape
- Mettler SERACOR 100% polyester neutral color or coordinating with the fabrics
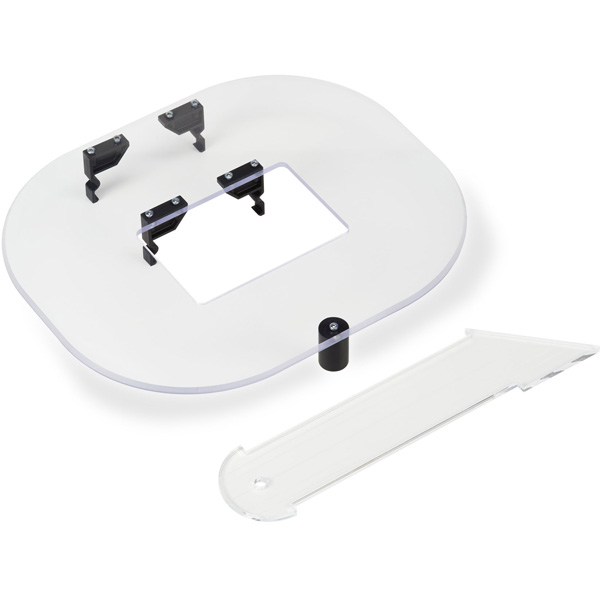
- BERNINA Ruler Kit for Sit Down Models, or any other 1/4″ thick straight quilting ruler
- BERNINA Ruler foot #96
- Topstitch 80/12 needle
- Quilting gloves are not mandatory, but can help a lot!
How to Prepare the Quilted Fabric
Lay the fat quarter fabric with the wrong side facing you and align the piece of fusible batting on the top (with the fusible side facing you).
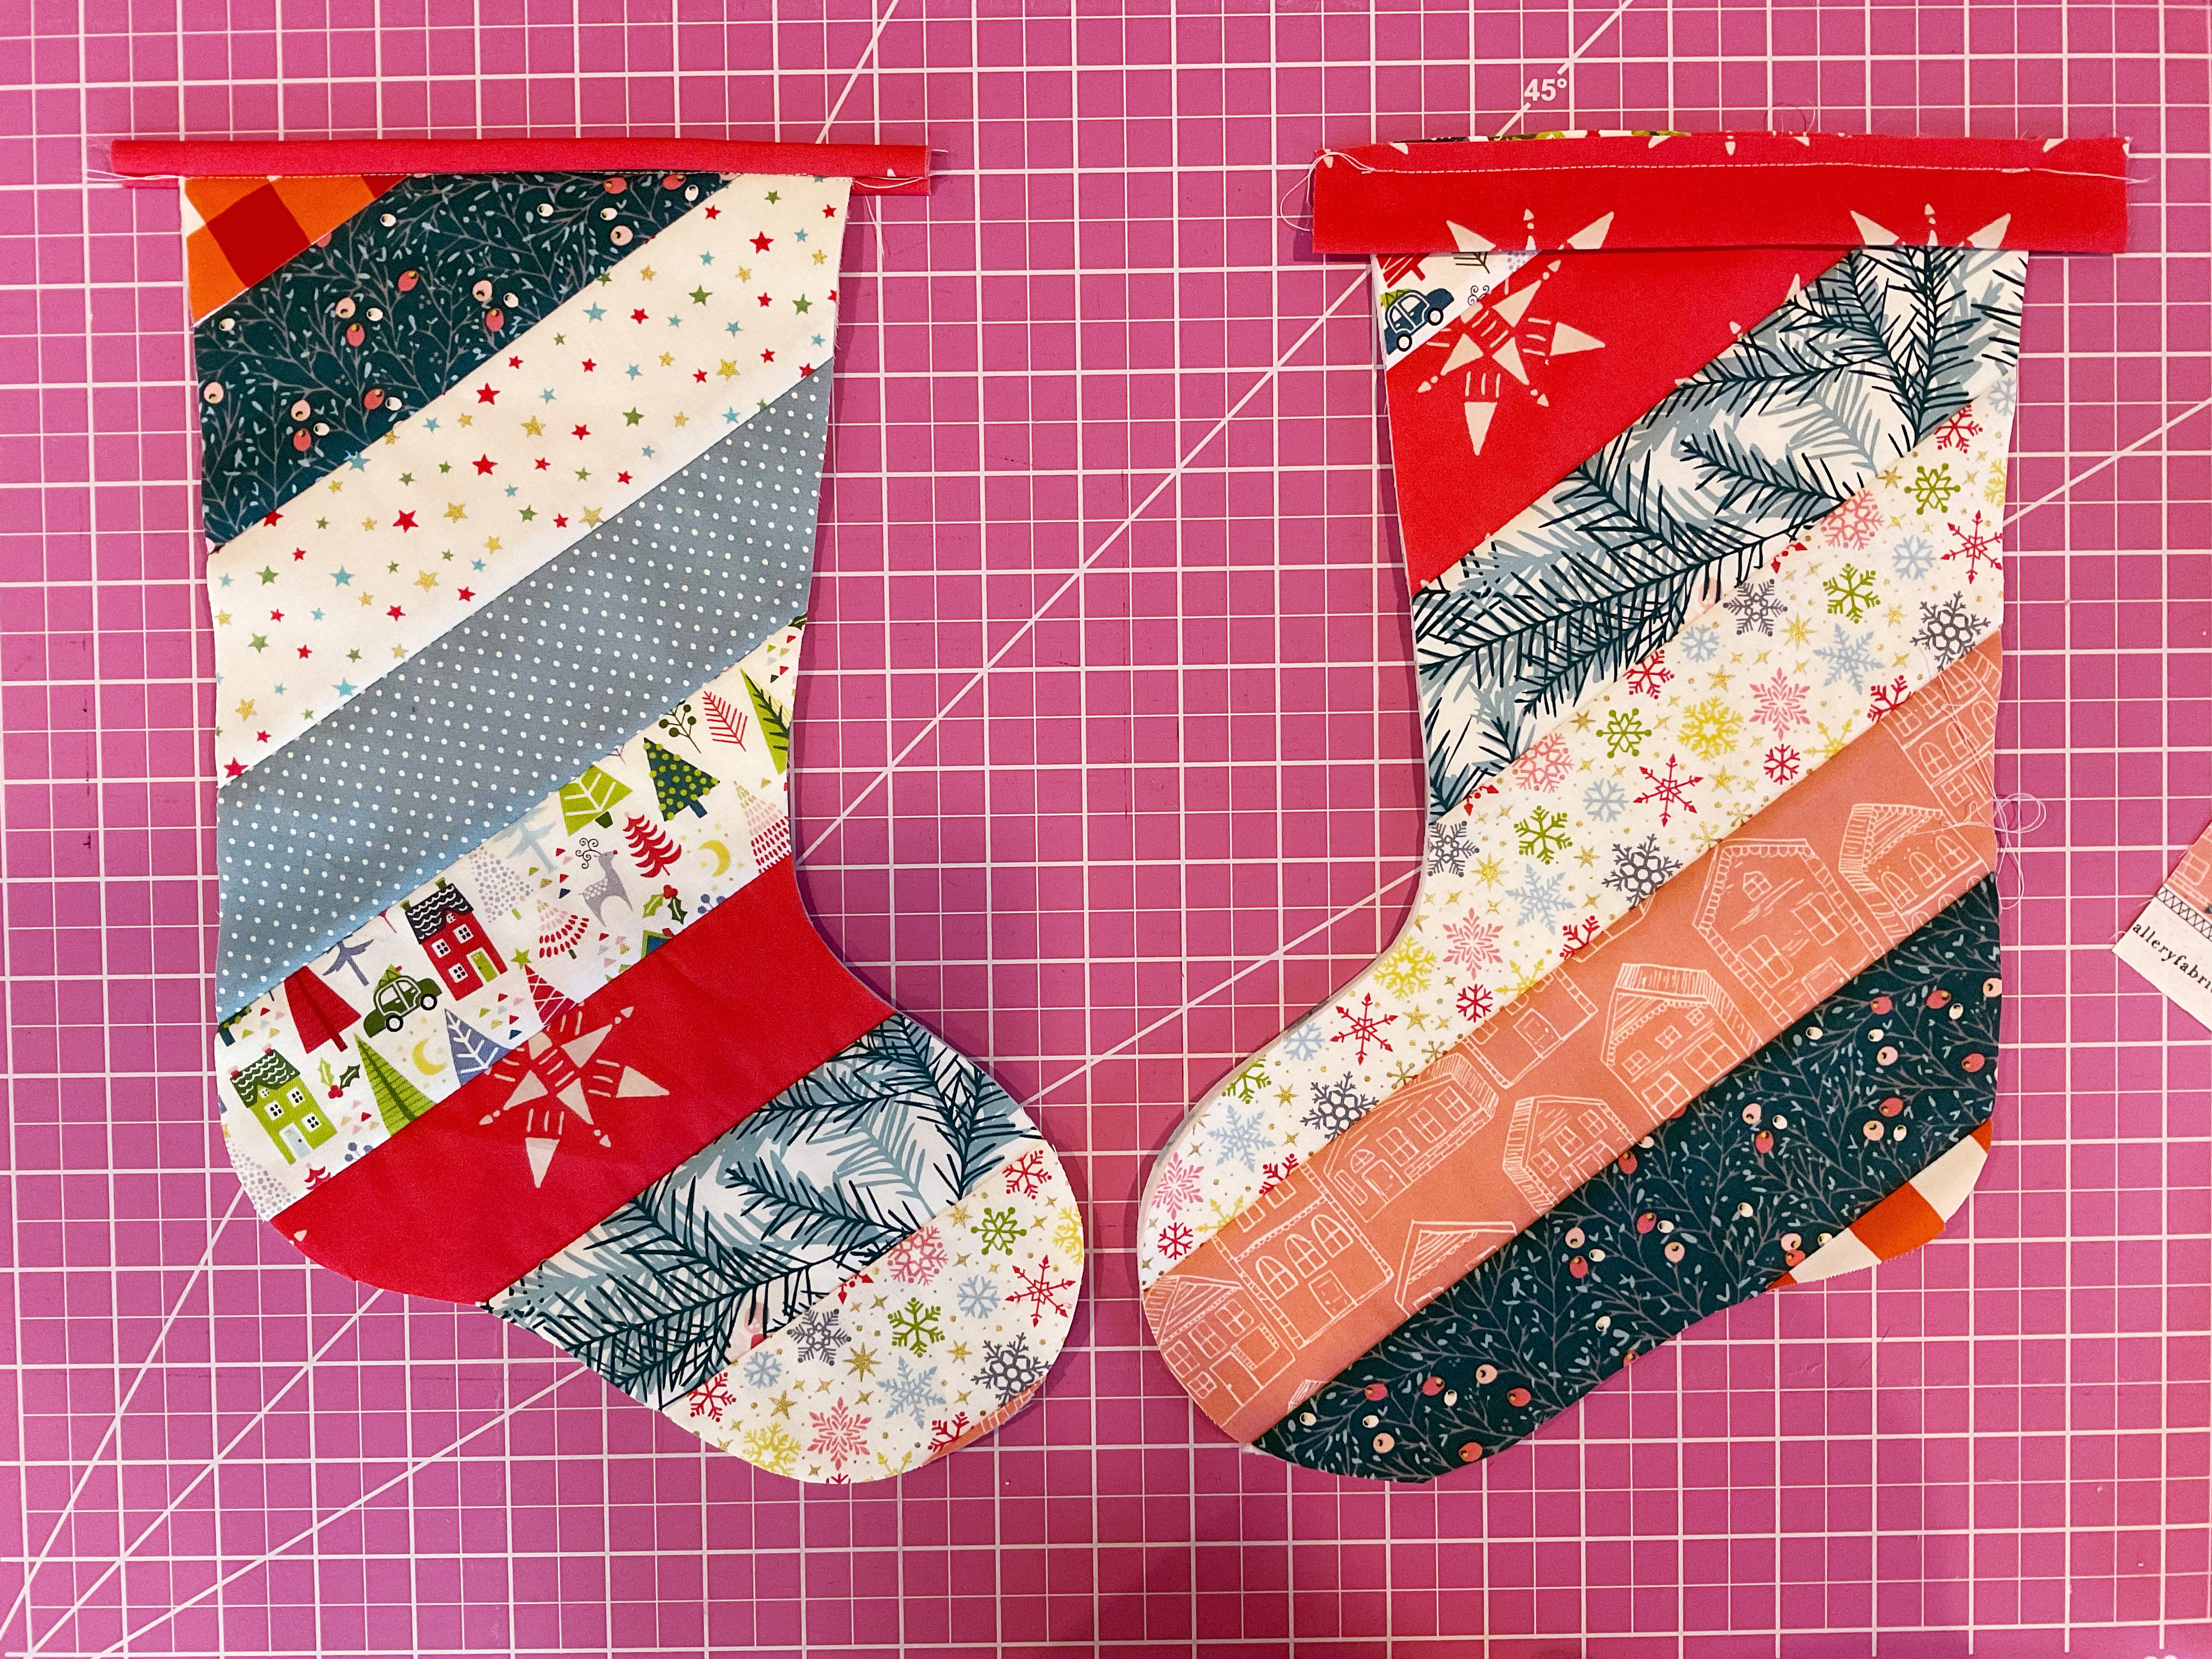
Arrange the 2 1/2″ x 21″ strips of fabric on the top of your sandwich in a diagonal way. When you covered the entire piece, take a picture to remember the layout order. You can see my example below!
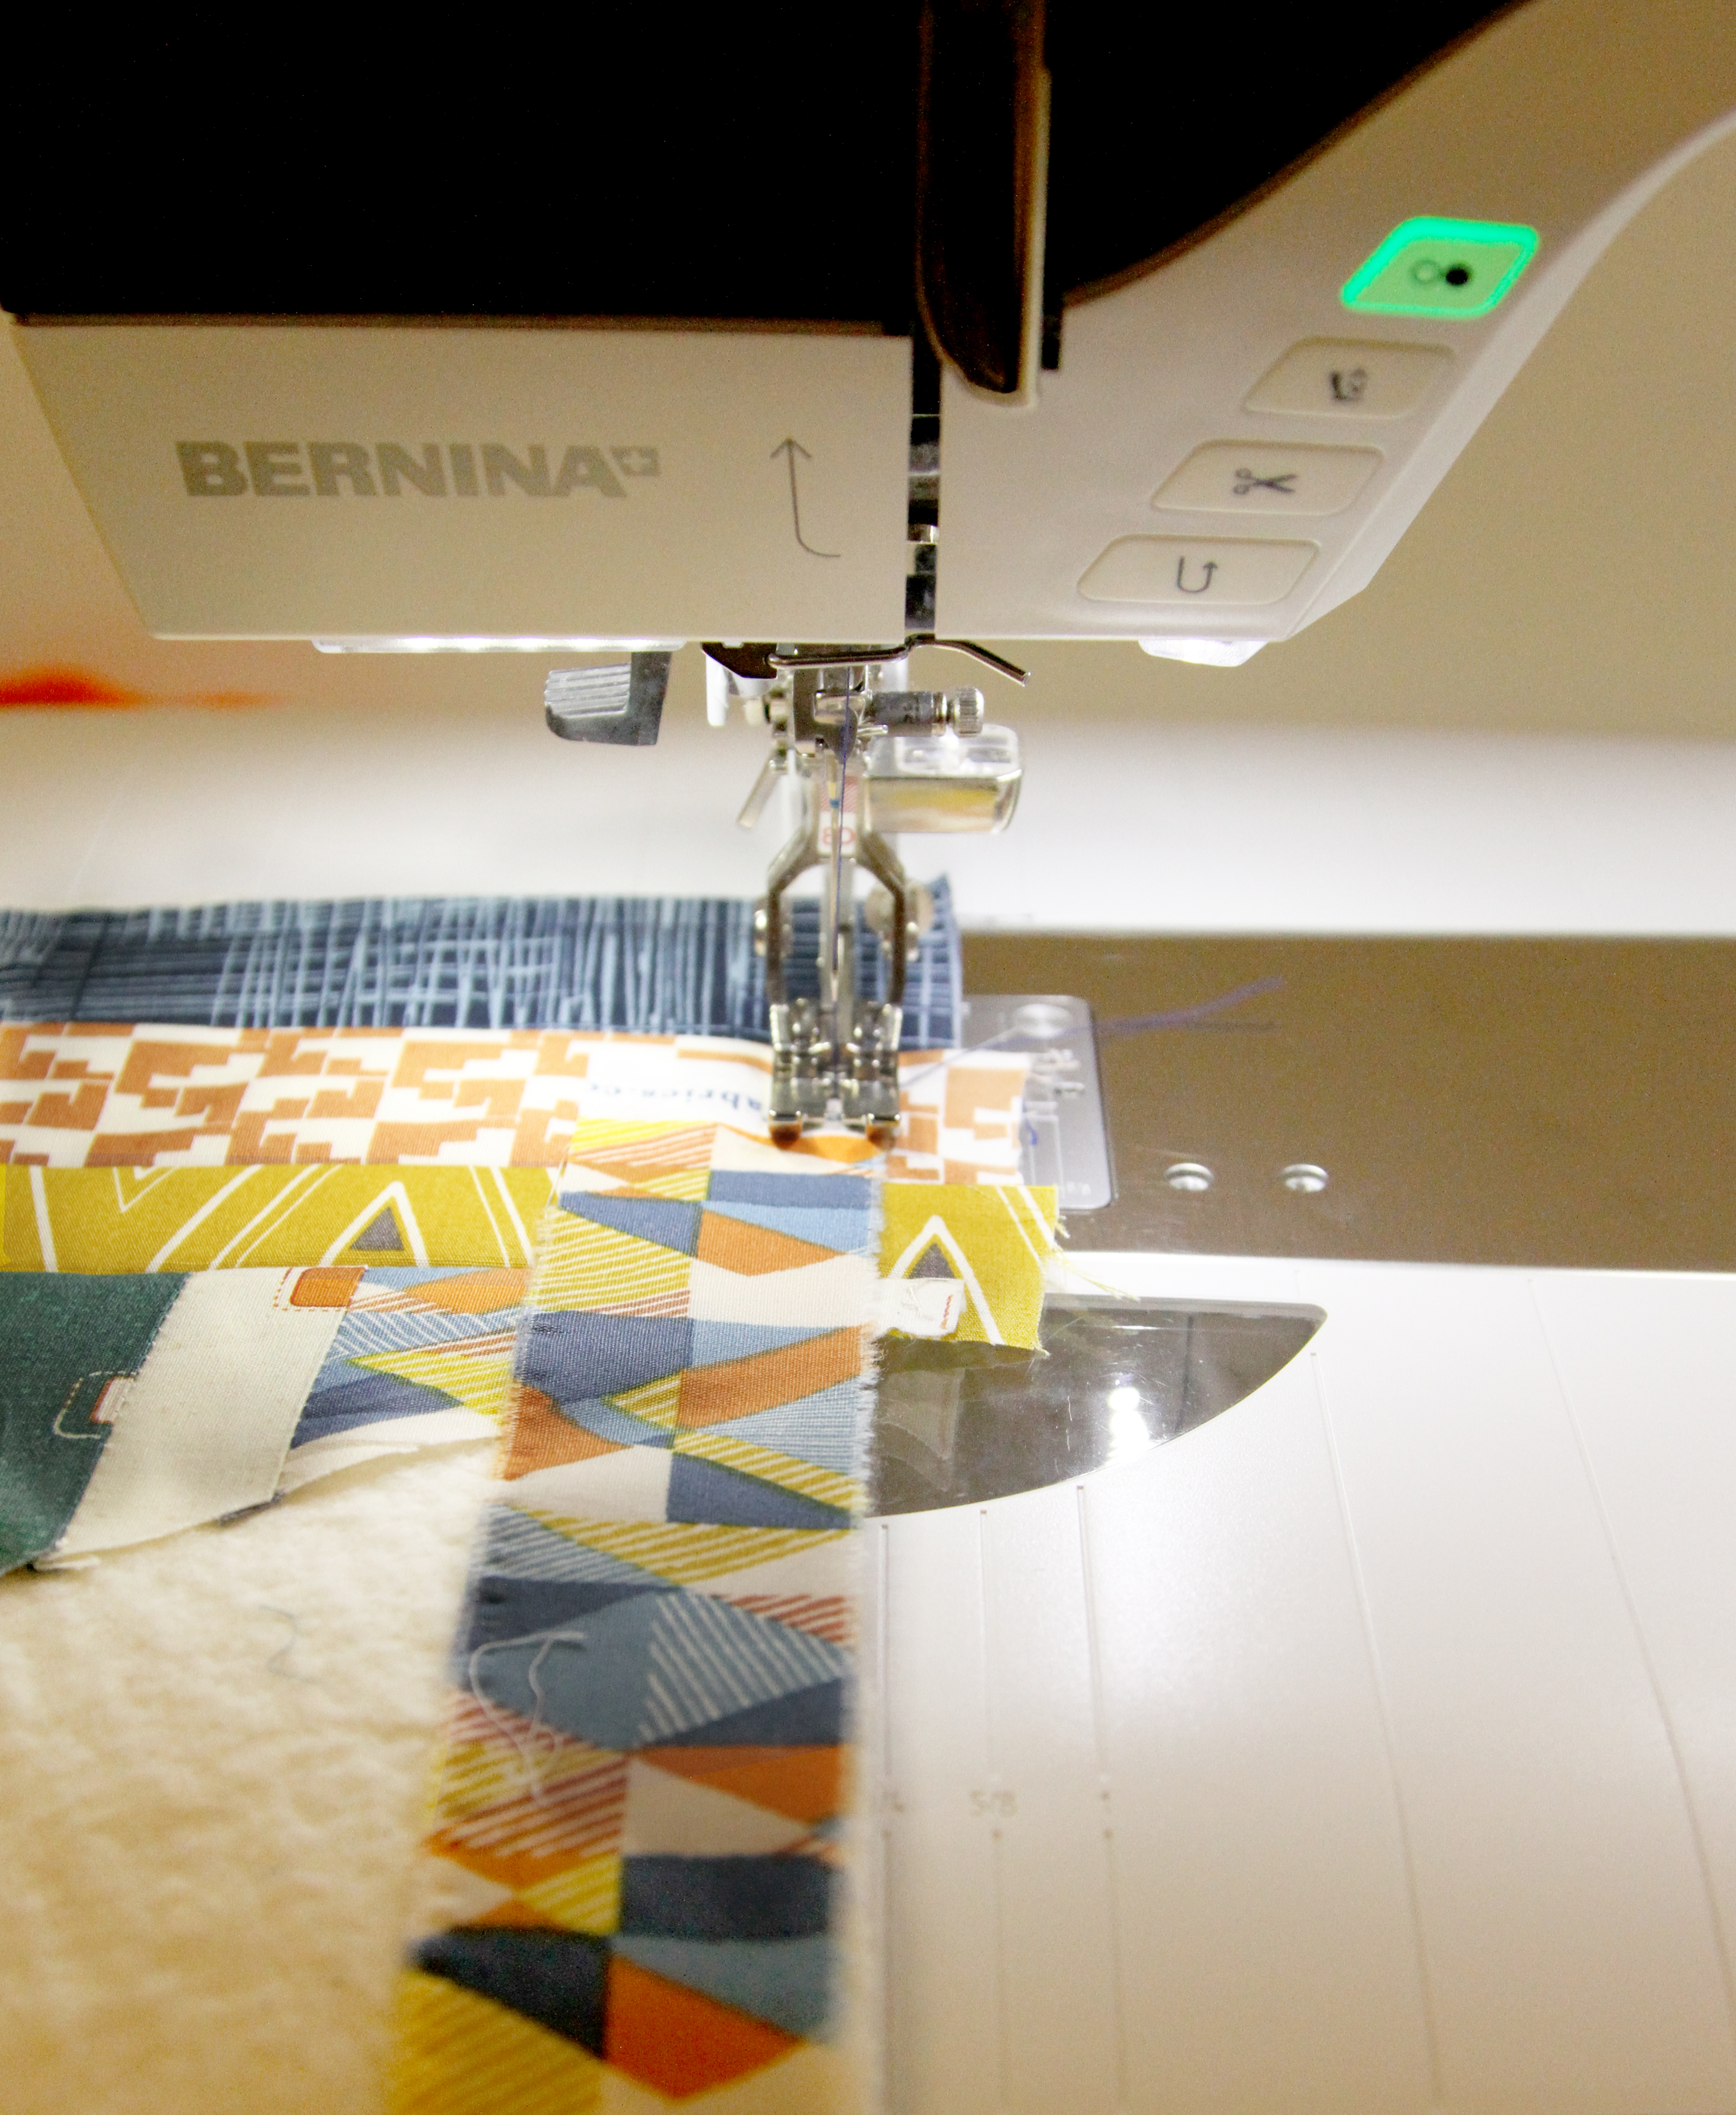
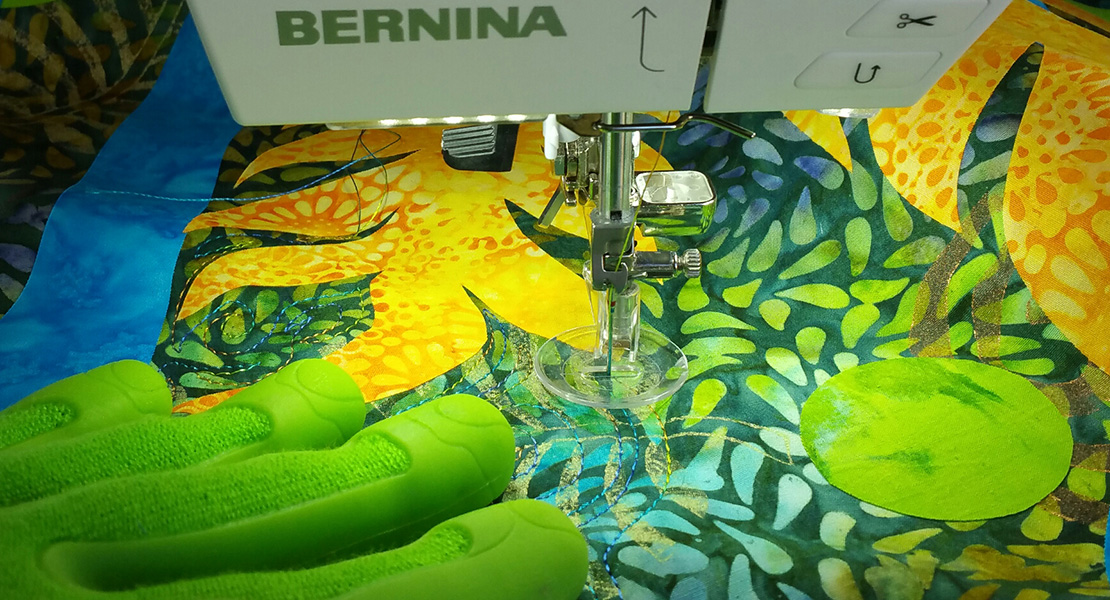
I like to start quilting as I go from the middle strip and piecing each strip one by one to the bottom. Then repeat the same process to cover the top side of the sandwich. Watch the tutorial video from the entire process.
How to Use Santa’s Template
Lay the stocking template on the top of the quilted fabric with the right side facing you. Pin in place and cut the first side of the stocking. Turn the template with the wrong side facing you and cut the other side of the stocking.
How to Attach the Binding to the Stocking
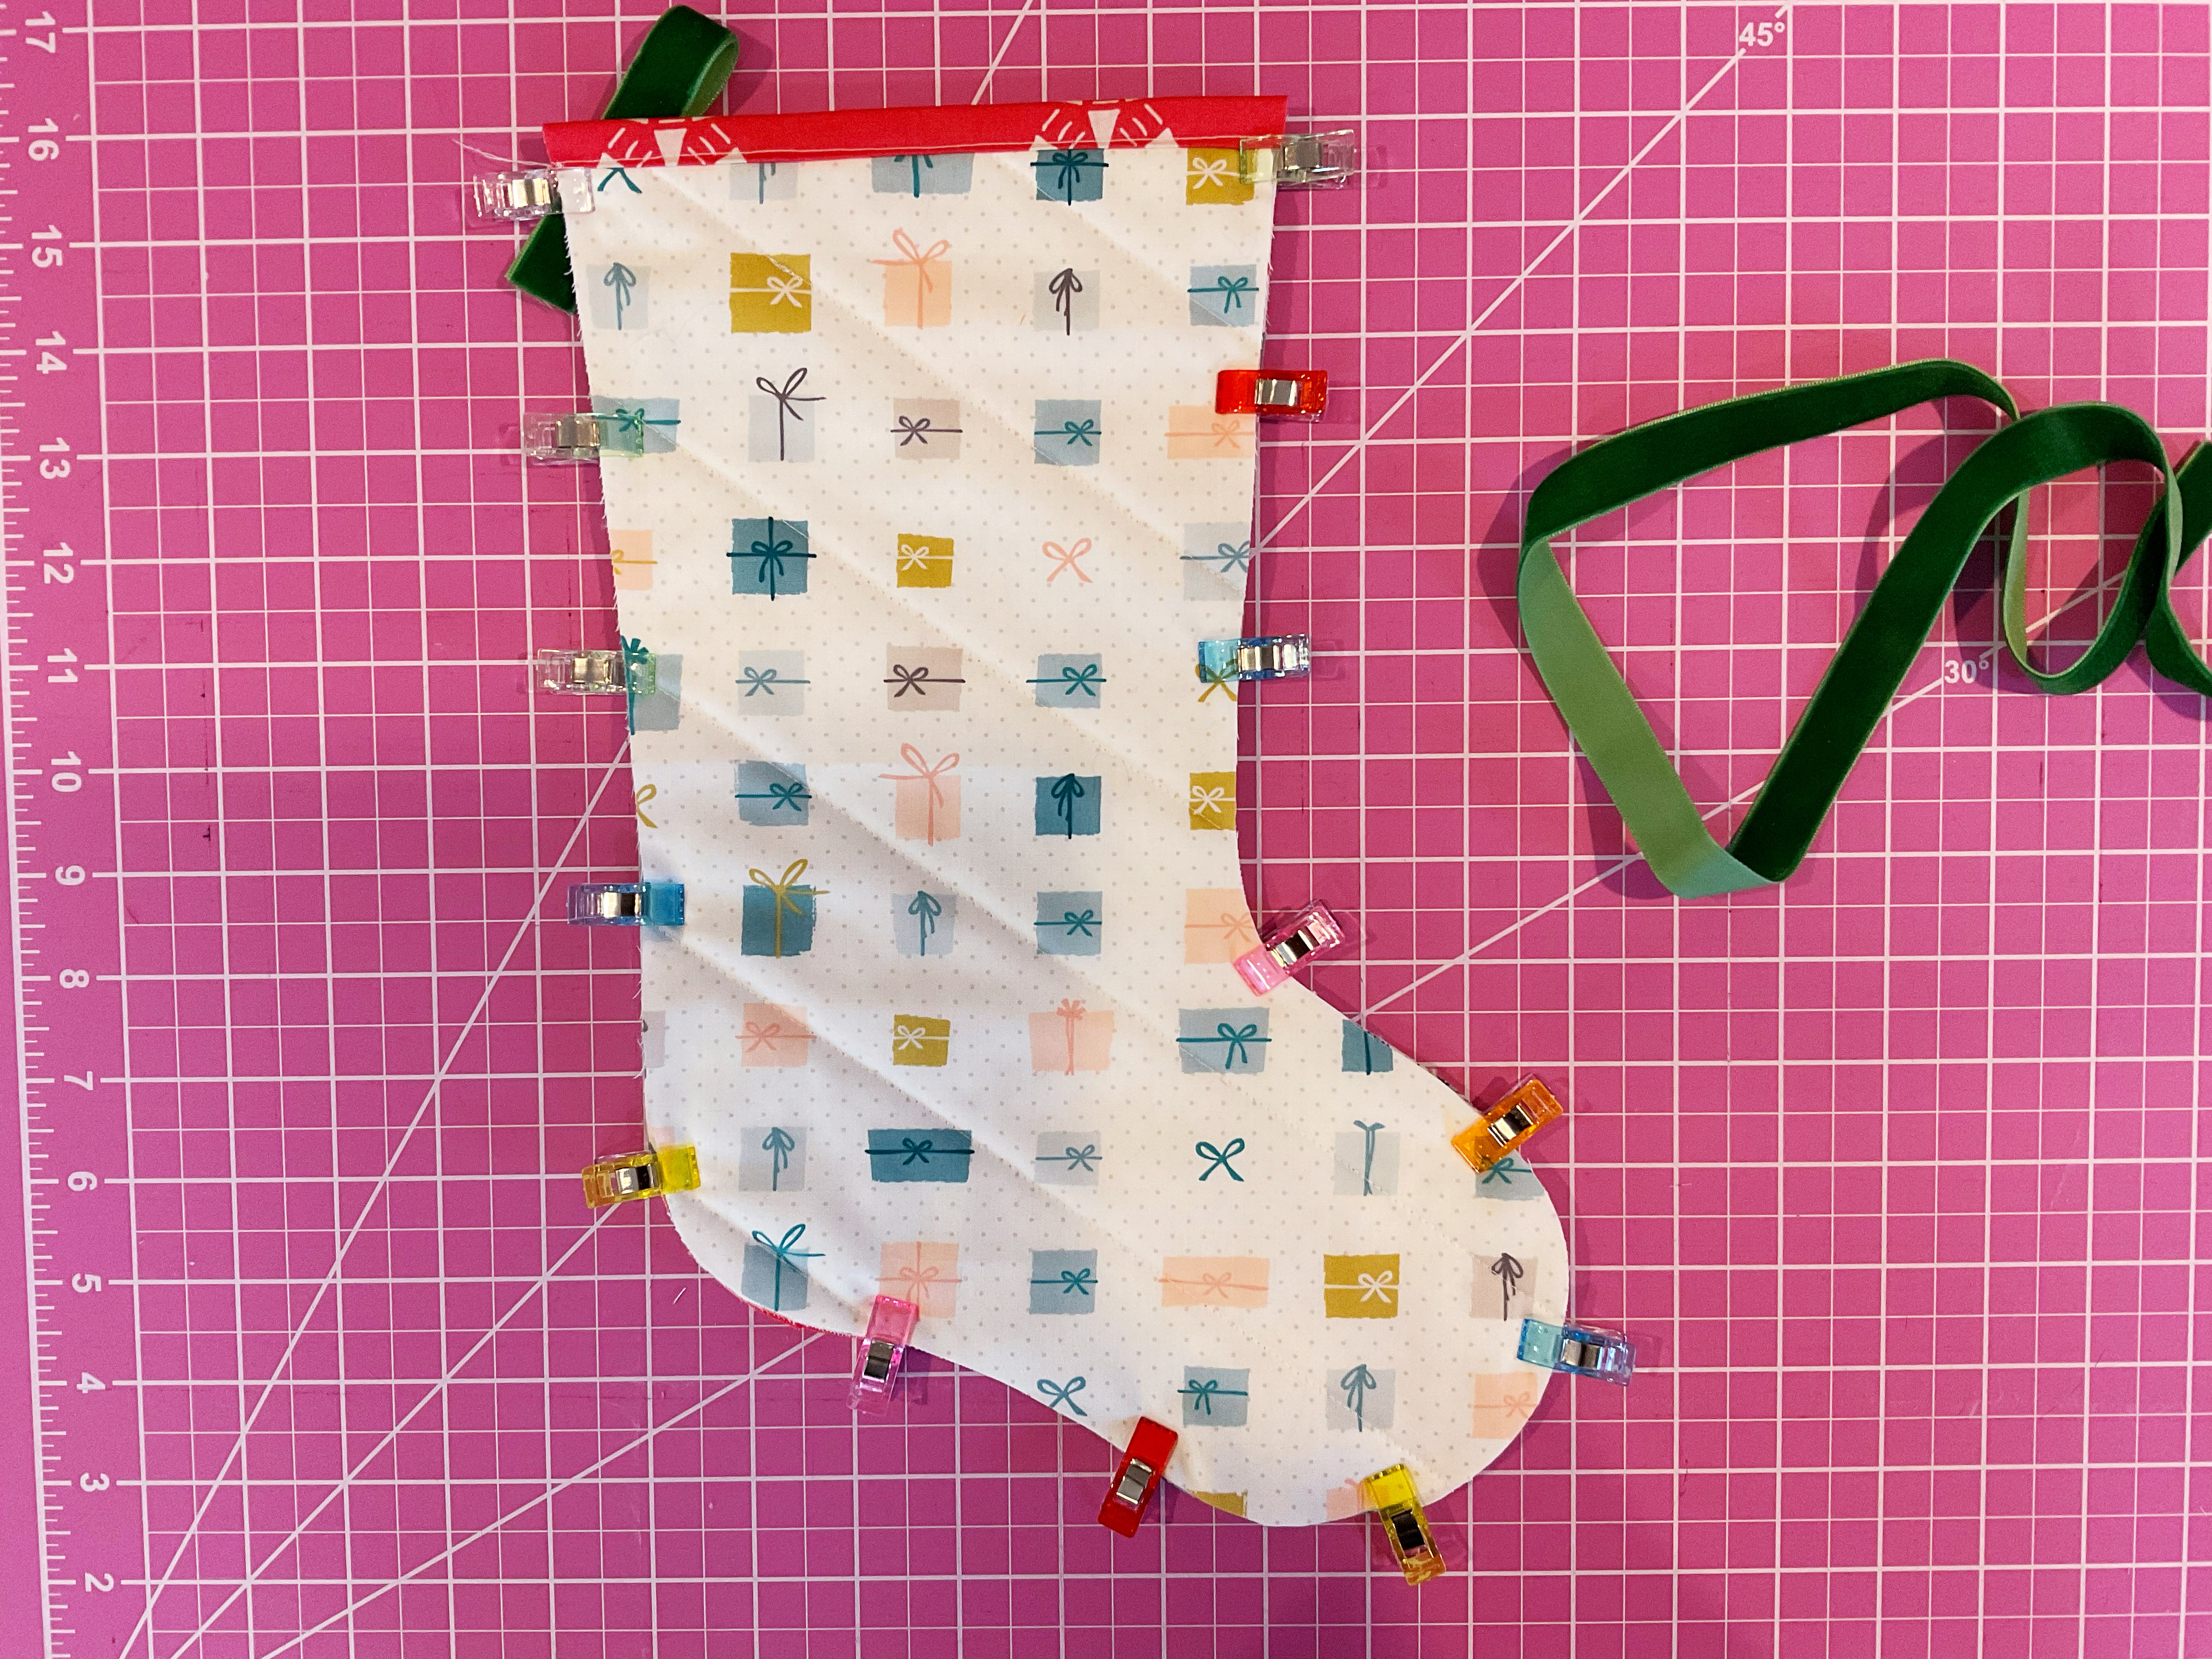
Take the two 2 1/4″ x 8″ strips of fabric for binding and fold longwise in the middle with the wrong sides together. Press it.
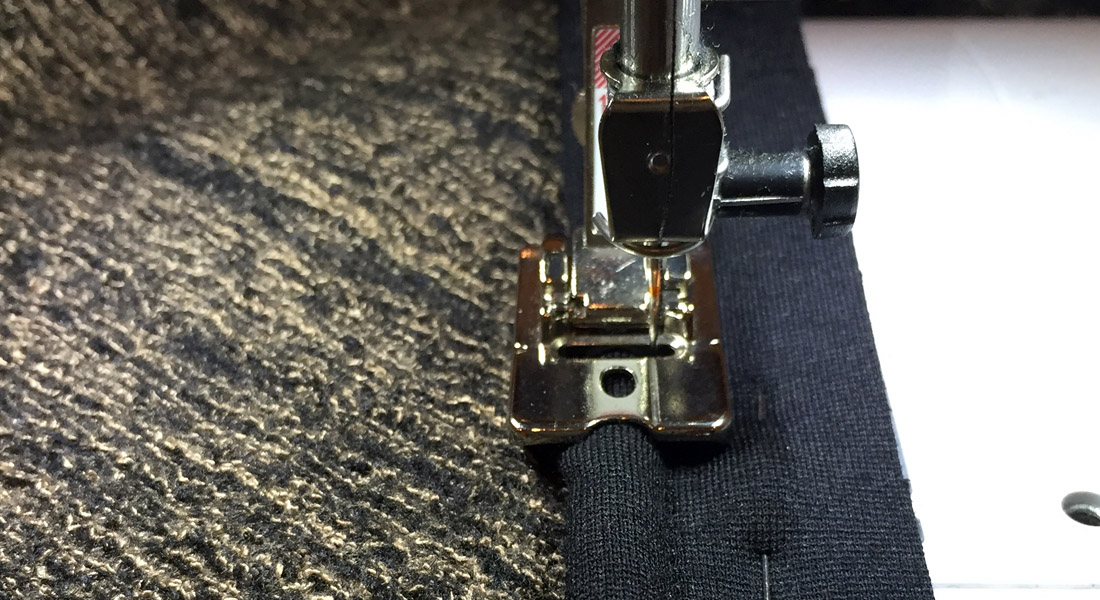
Align the raw side of the folded strip to the top of one side of the stocking and sew 1/4″ from the top edge using the BERNINA Ruler Foot #96 as a guide and the straight ruler. Press the seam and fold the strip to the backside of the stocking, covering the previous seam.
Pin in place or use the 1/4″ fusible tape. Turn the stocking right side facing you and using the straight quilting ruler stitch on the ditch of the binding. Trim the extra fabric from the sides.
Repeat the same process to the other side of the stocking. Watch the tutorial video.
Fold the velvet ribbon in half with the wrong sides together. Align in diagonal with the side of the stocking right on the bottom of the binding and sew in place 1/8″ from the edge.

How to Finish the Stocking
Place both sides of the stocking right sides together and secure in place. Make sure the velvet ribbon is inside the stocking, like in the image below.
Take the stocking to the machine and use the ruler foot to quilt 1/4″ sew allowance around the stocking edge. Watch the tutorial video below.
Using zigzag scissors, carefully cut the excess fabric around the stocking.
Turn the stocking inside out and “fertig,” you are done!
Don’t forget to share your Christmas Stocking Parade version using #weallsew on social media and with the BERNINA Community. We would love to see your work!
Frohe Weihnachten and Happy Holidays!
Used Products

What you might also like


One comment on “How to Quilt Christmas Stockings As You Go”
Leave a Reply
You must be logged in to post a comment.

What a great pattern😊 love the boot curled toe.
Thank you for great pattern :-))